The Clove Cardi-Free Crochet Pattern
This post contains affiliate links. If you make a purchase through one of those links I may receive a small commission. It's an easy to way to support this blog and helps me to keep creating amazing content.
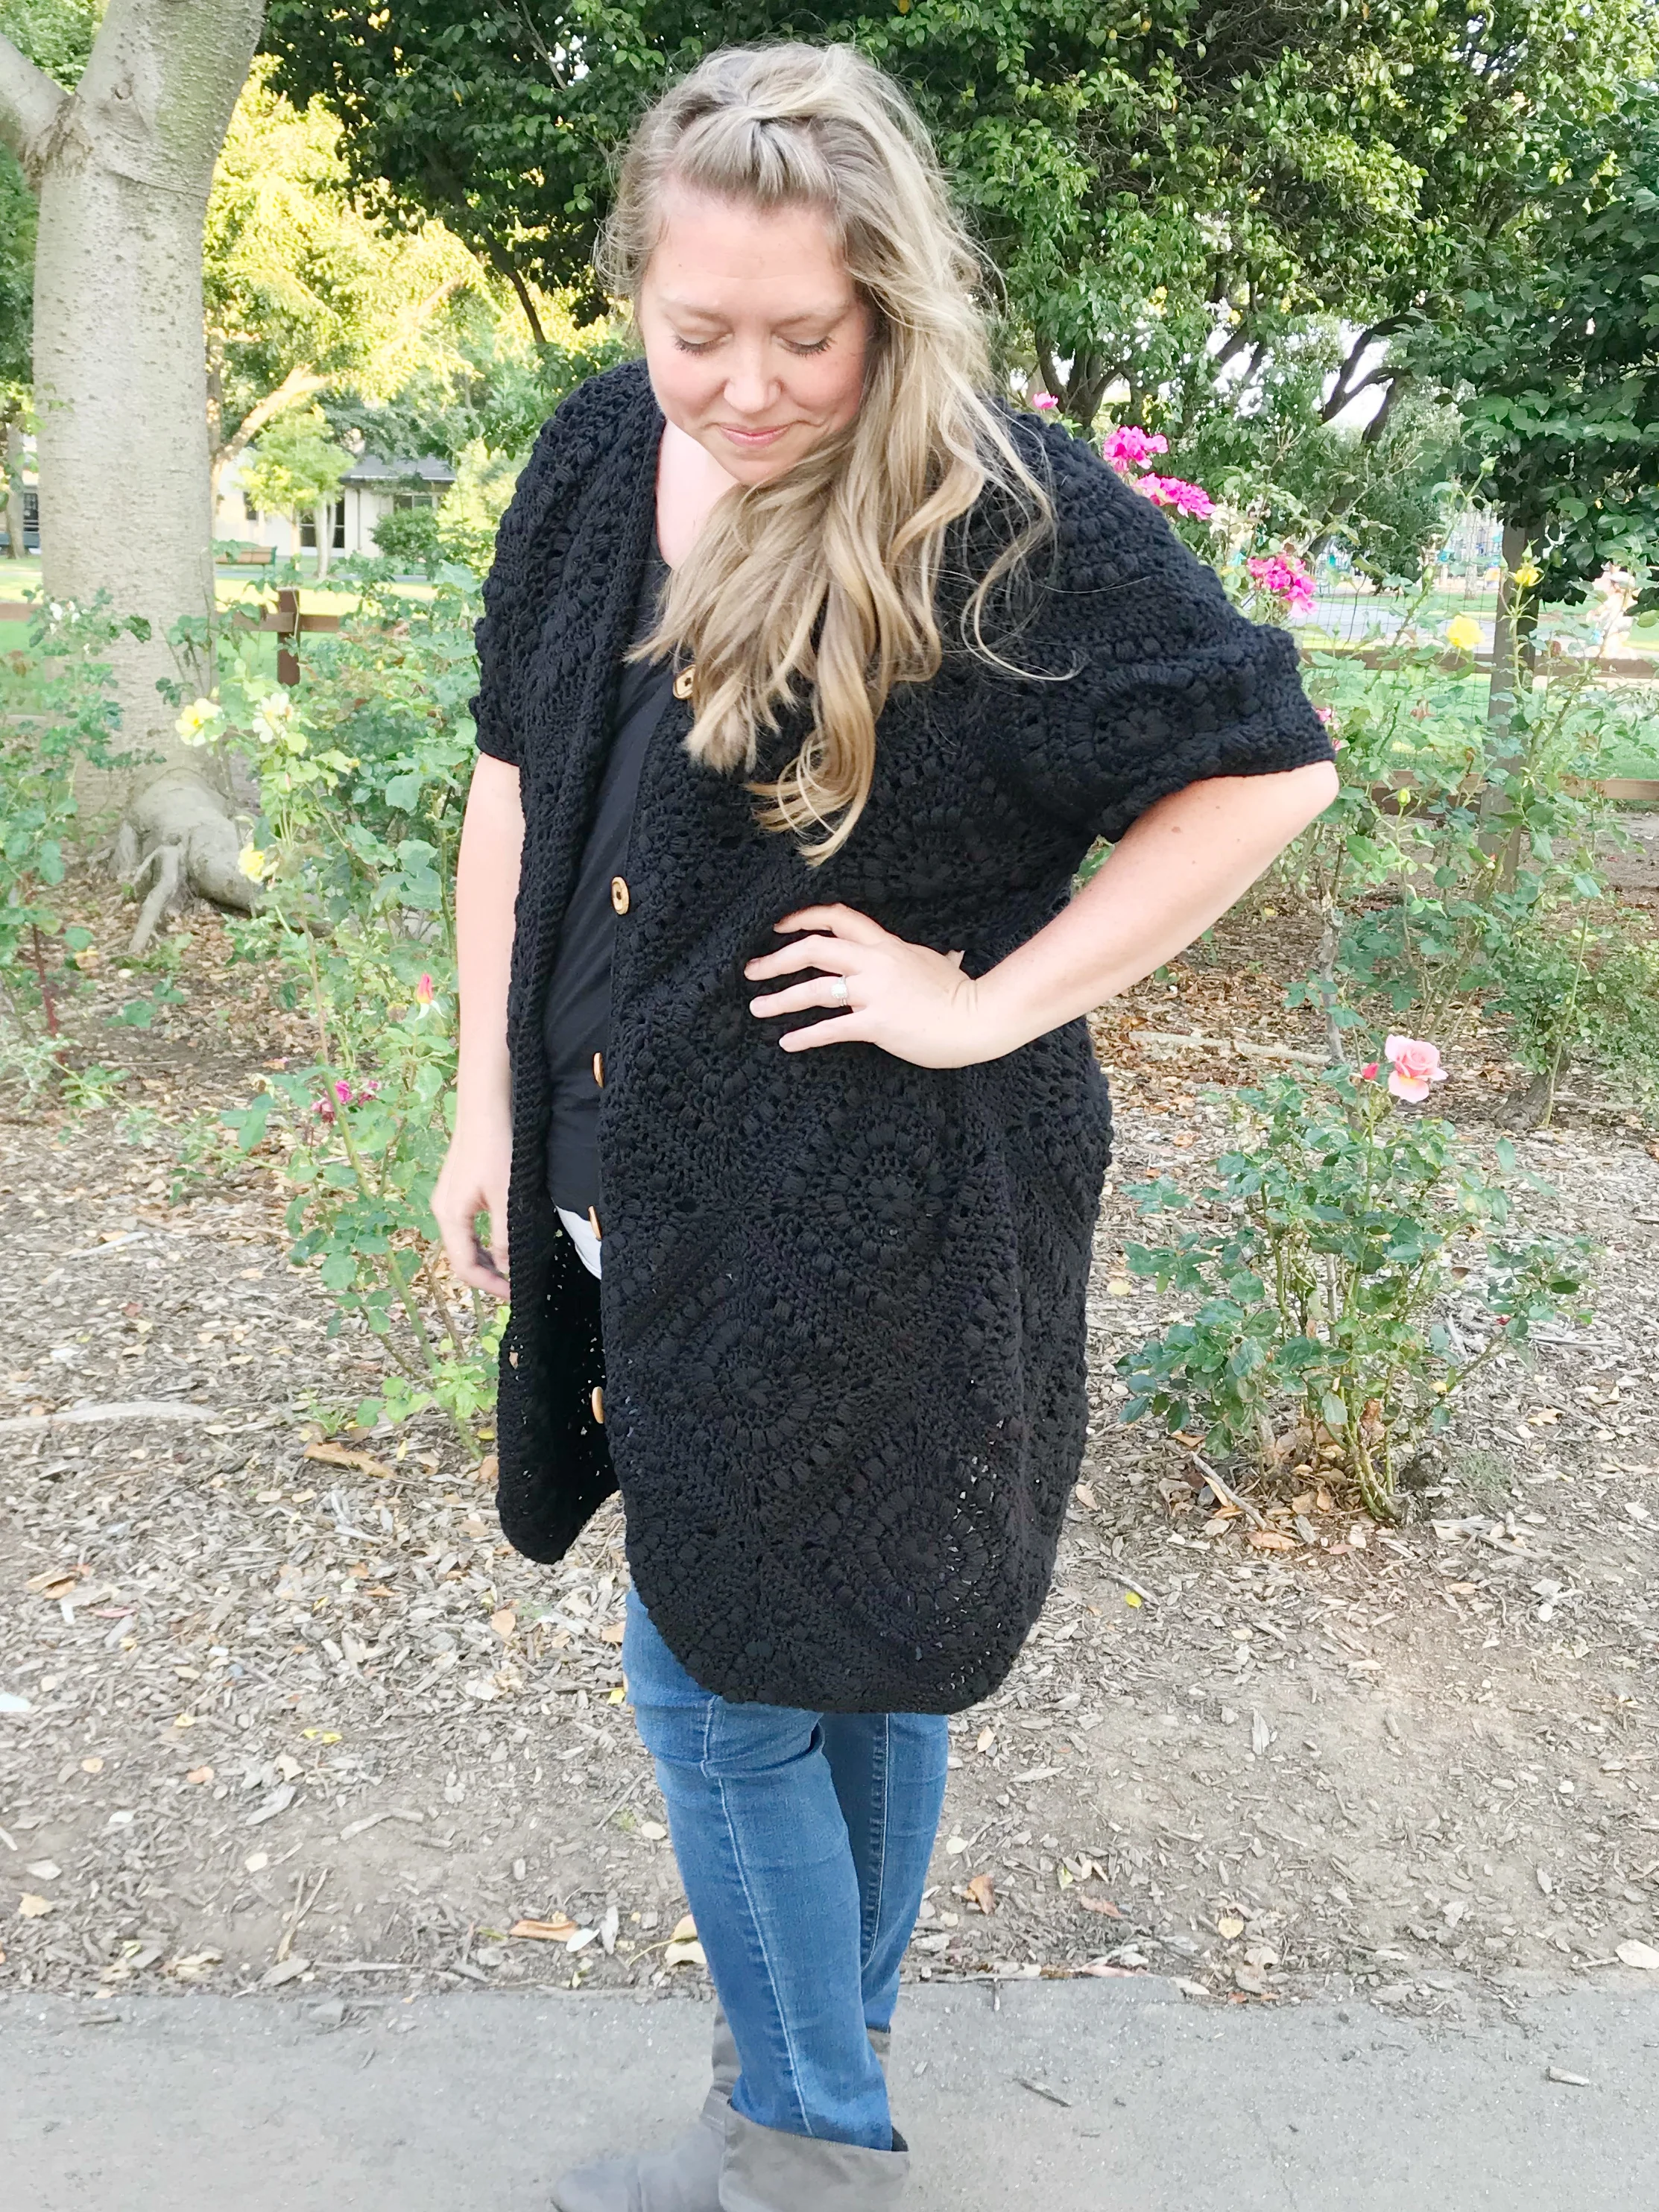
The day has finally arrived to share my first ever garment pattern with you! To say I'm excited is an understatement. This pattern is one of my favorites and I think it will always have a special place in my heart.

I started working on this design back in May and I started by creating a beautiful granny square using one of my favorite stitches. The puff stitch. I decided to use a cotton yarn because originally I had intended it to be a top and had hoped to release it in the summer. By the time I had assembled all the squares and started constructing the top I realized it was going to look more like a dress and just wasn't how I had envisioned it. After a bit of deliberation and calling on my maker friends for help I decided to try something totally different. I created a half granny triangle to match my original squares and something amazing happened. The Clove Cardi came together and now I love it even more than my first idea.
This cardi is a perfect piece to transition from summer to fall. It's over sized fit is warm and cozy. Paired with skinny jeans and ankle boots, you'll have the perfect fall outfit.
***Find the free version below or grab an ad-free PDF in my shop, Etsy or Ravelry. The PDF is 8 full color pages and includes detailed instructions and diagrams.***
I am so happy with how this design turned out and I can't wait to start seeing all of your Clove Cardis soon!
The Clove Cardi Crochet Pattern
Materials:
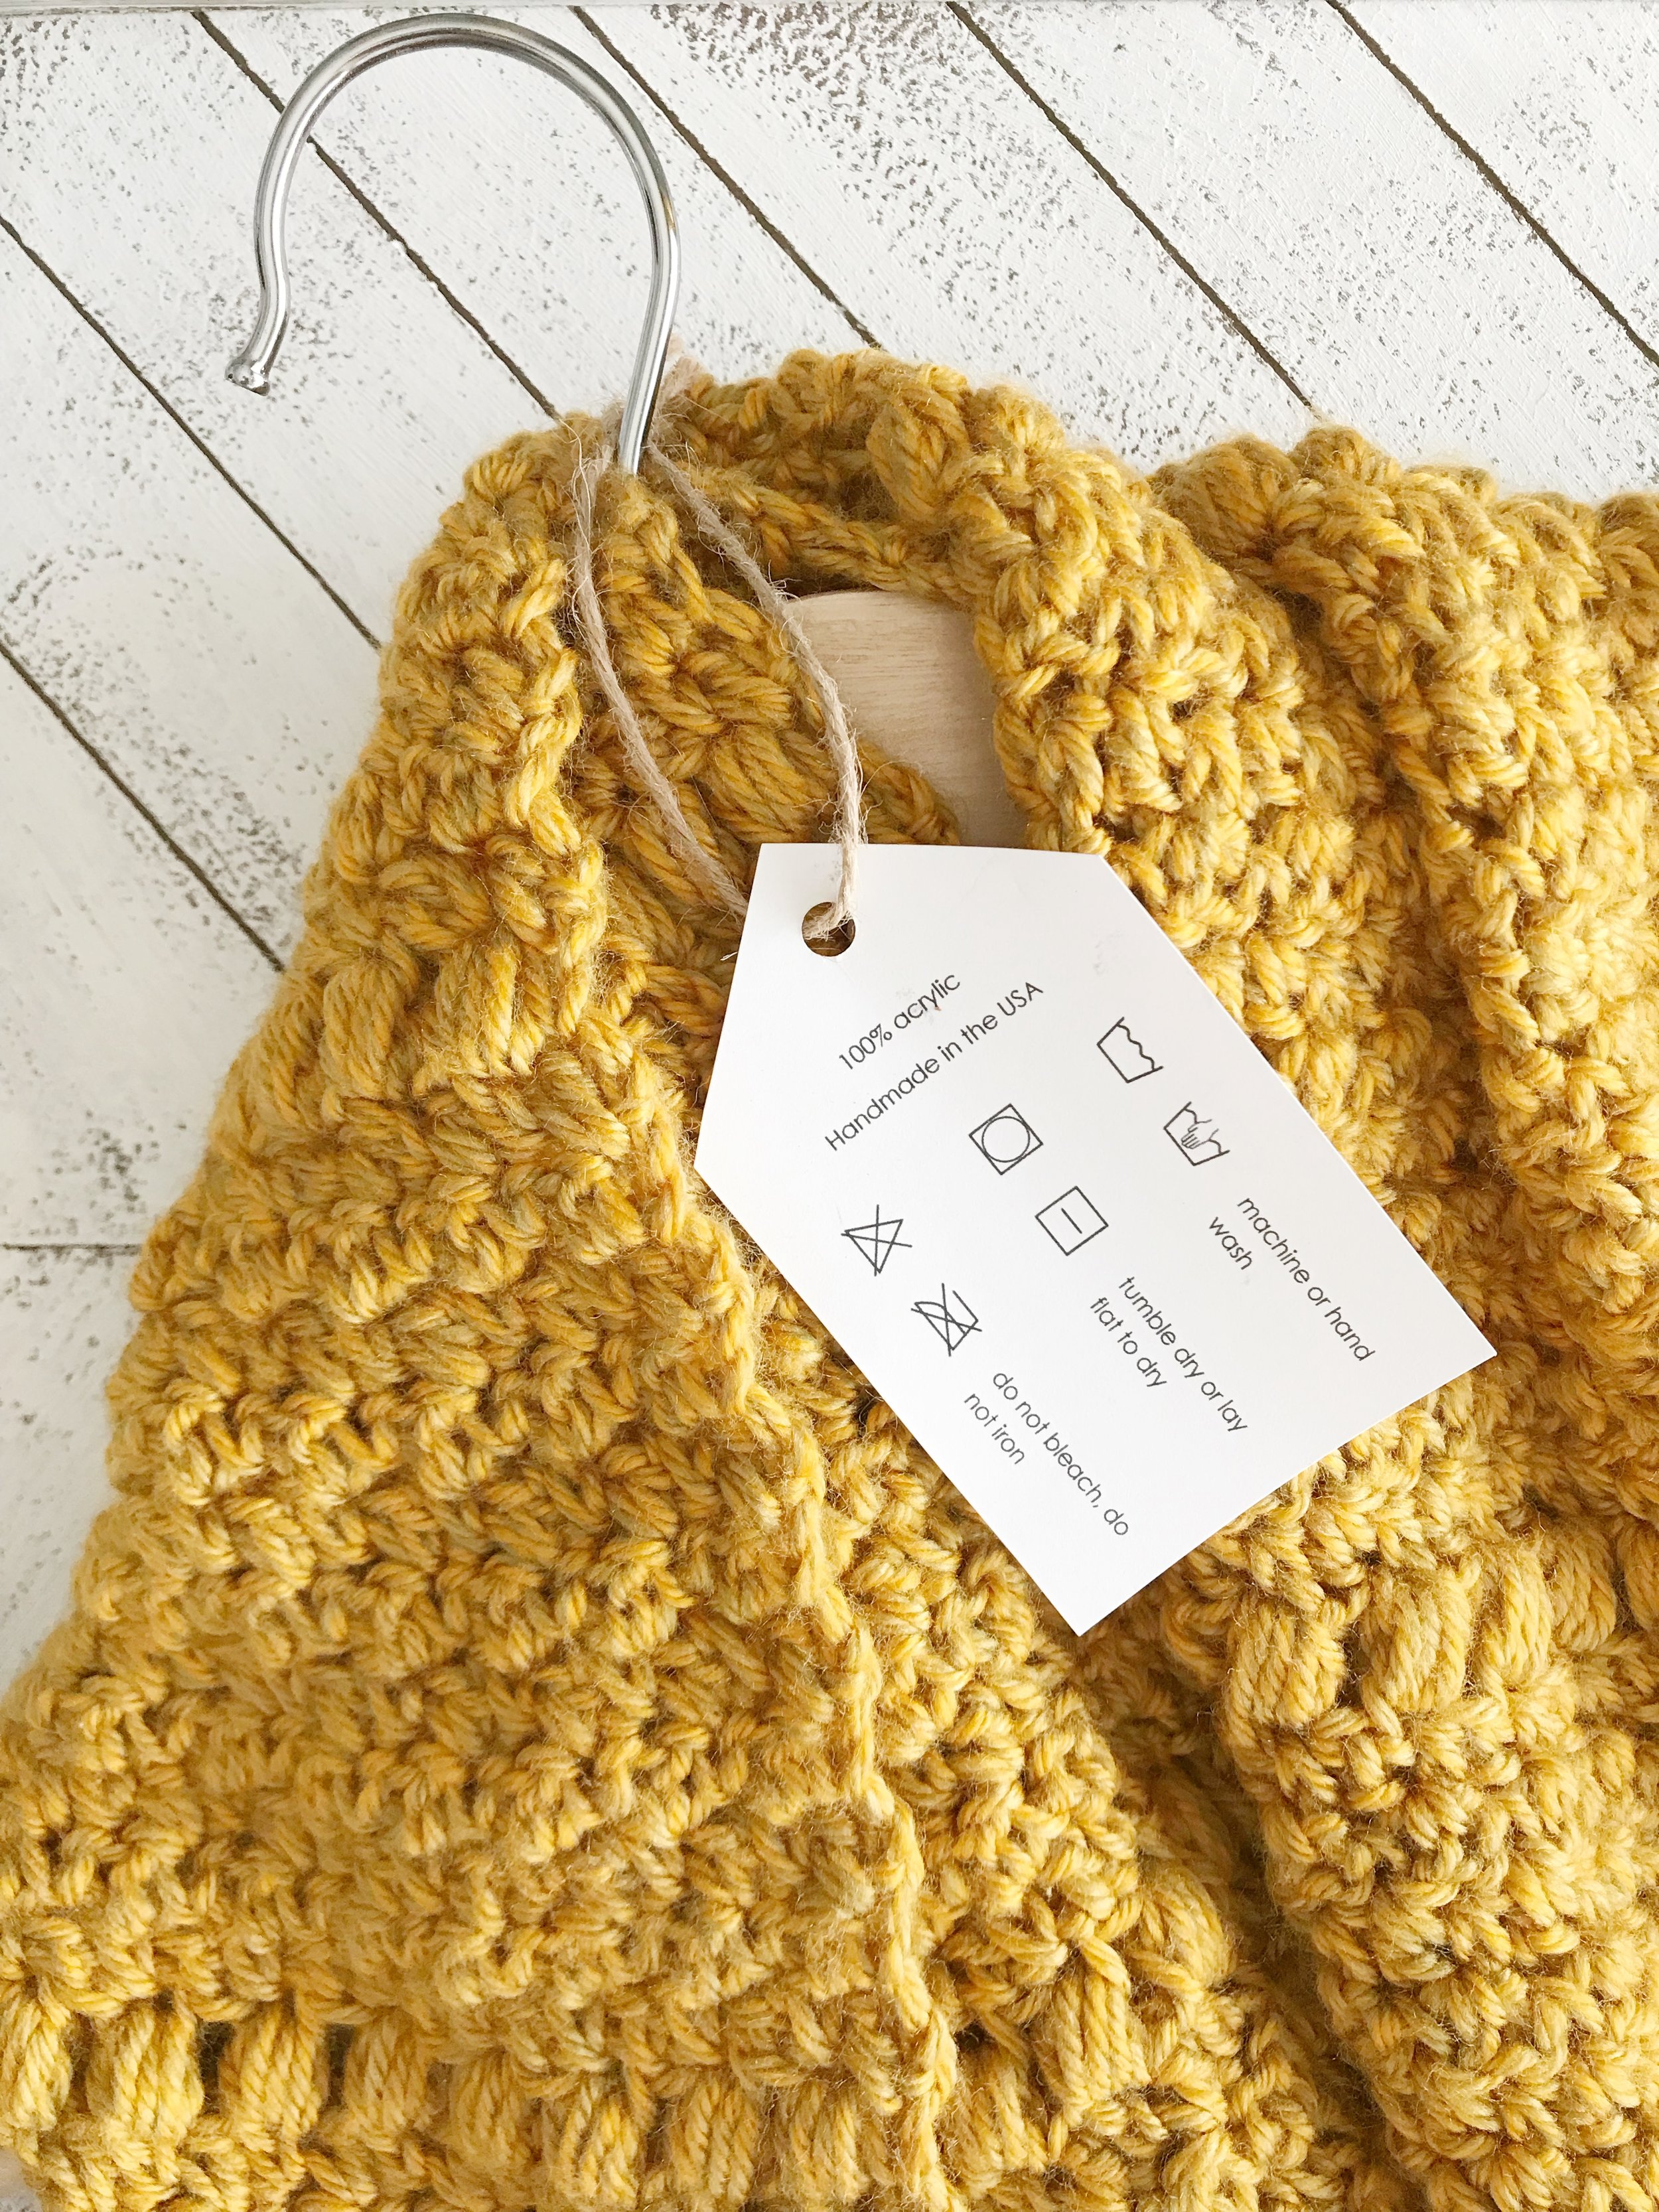
Approx. 1980 yards (11 skeins) of I Love This Cotton in Black or similar worsted weight yarn.
Crochet hook (see sizing for hook needed)
measuring tape
scissors
(5) 1-inch buttons
Sizes:
Small: Use F (3.75mm) hook
Medium: Use G (4.25mm) hook
Large: Use H (5.0mm) hook
XL: Use I (5.5mm) hook
2XL: Use J (6.0mm) hook
Or whichever size needed to obtain gauge
Gauge:
Make one square to check gauge.
F hook = 6.0” square
G hook = 6.25” square
H hook = 6.5” square
I hook = 6.75” square
J hook = 7” square
Abbreviations:
ch- chain
sc- single crochet
sl st- slip stitch
dc- double crochet
Puff- puff stitch
st(s)- stitch(es)
yo-yarn over
sk- skip
sp- space
Notes:
1. All squares are worked in the round.
2. All triangles are worked in rows.
3. Ch 3 at the beginning of rounds do not count as a stitch when working a puff stitch round.
4. Each puff stitch creates 2 stitches for the next round.
5. Cardi is made to be oversized. For a more fitted look go down a hook size.
6. Squares and triangles are made separately and sewn together with a whip stitch.
7. For a lighter weight cardi use DK weight yarn and whichever hook needed to obtain gauge.
Special Stitches:
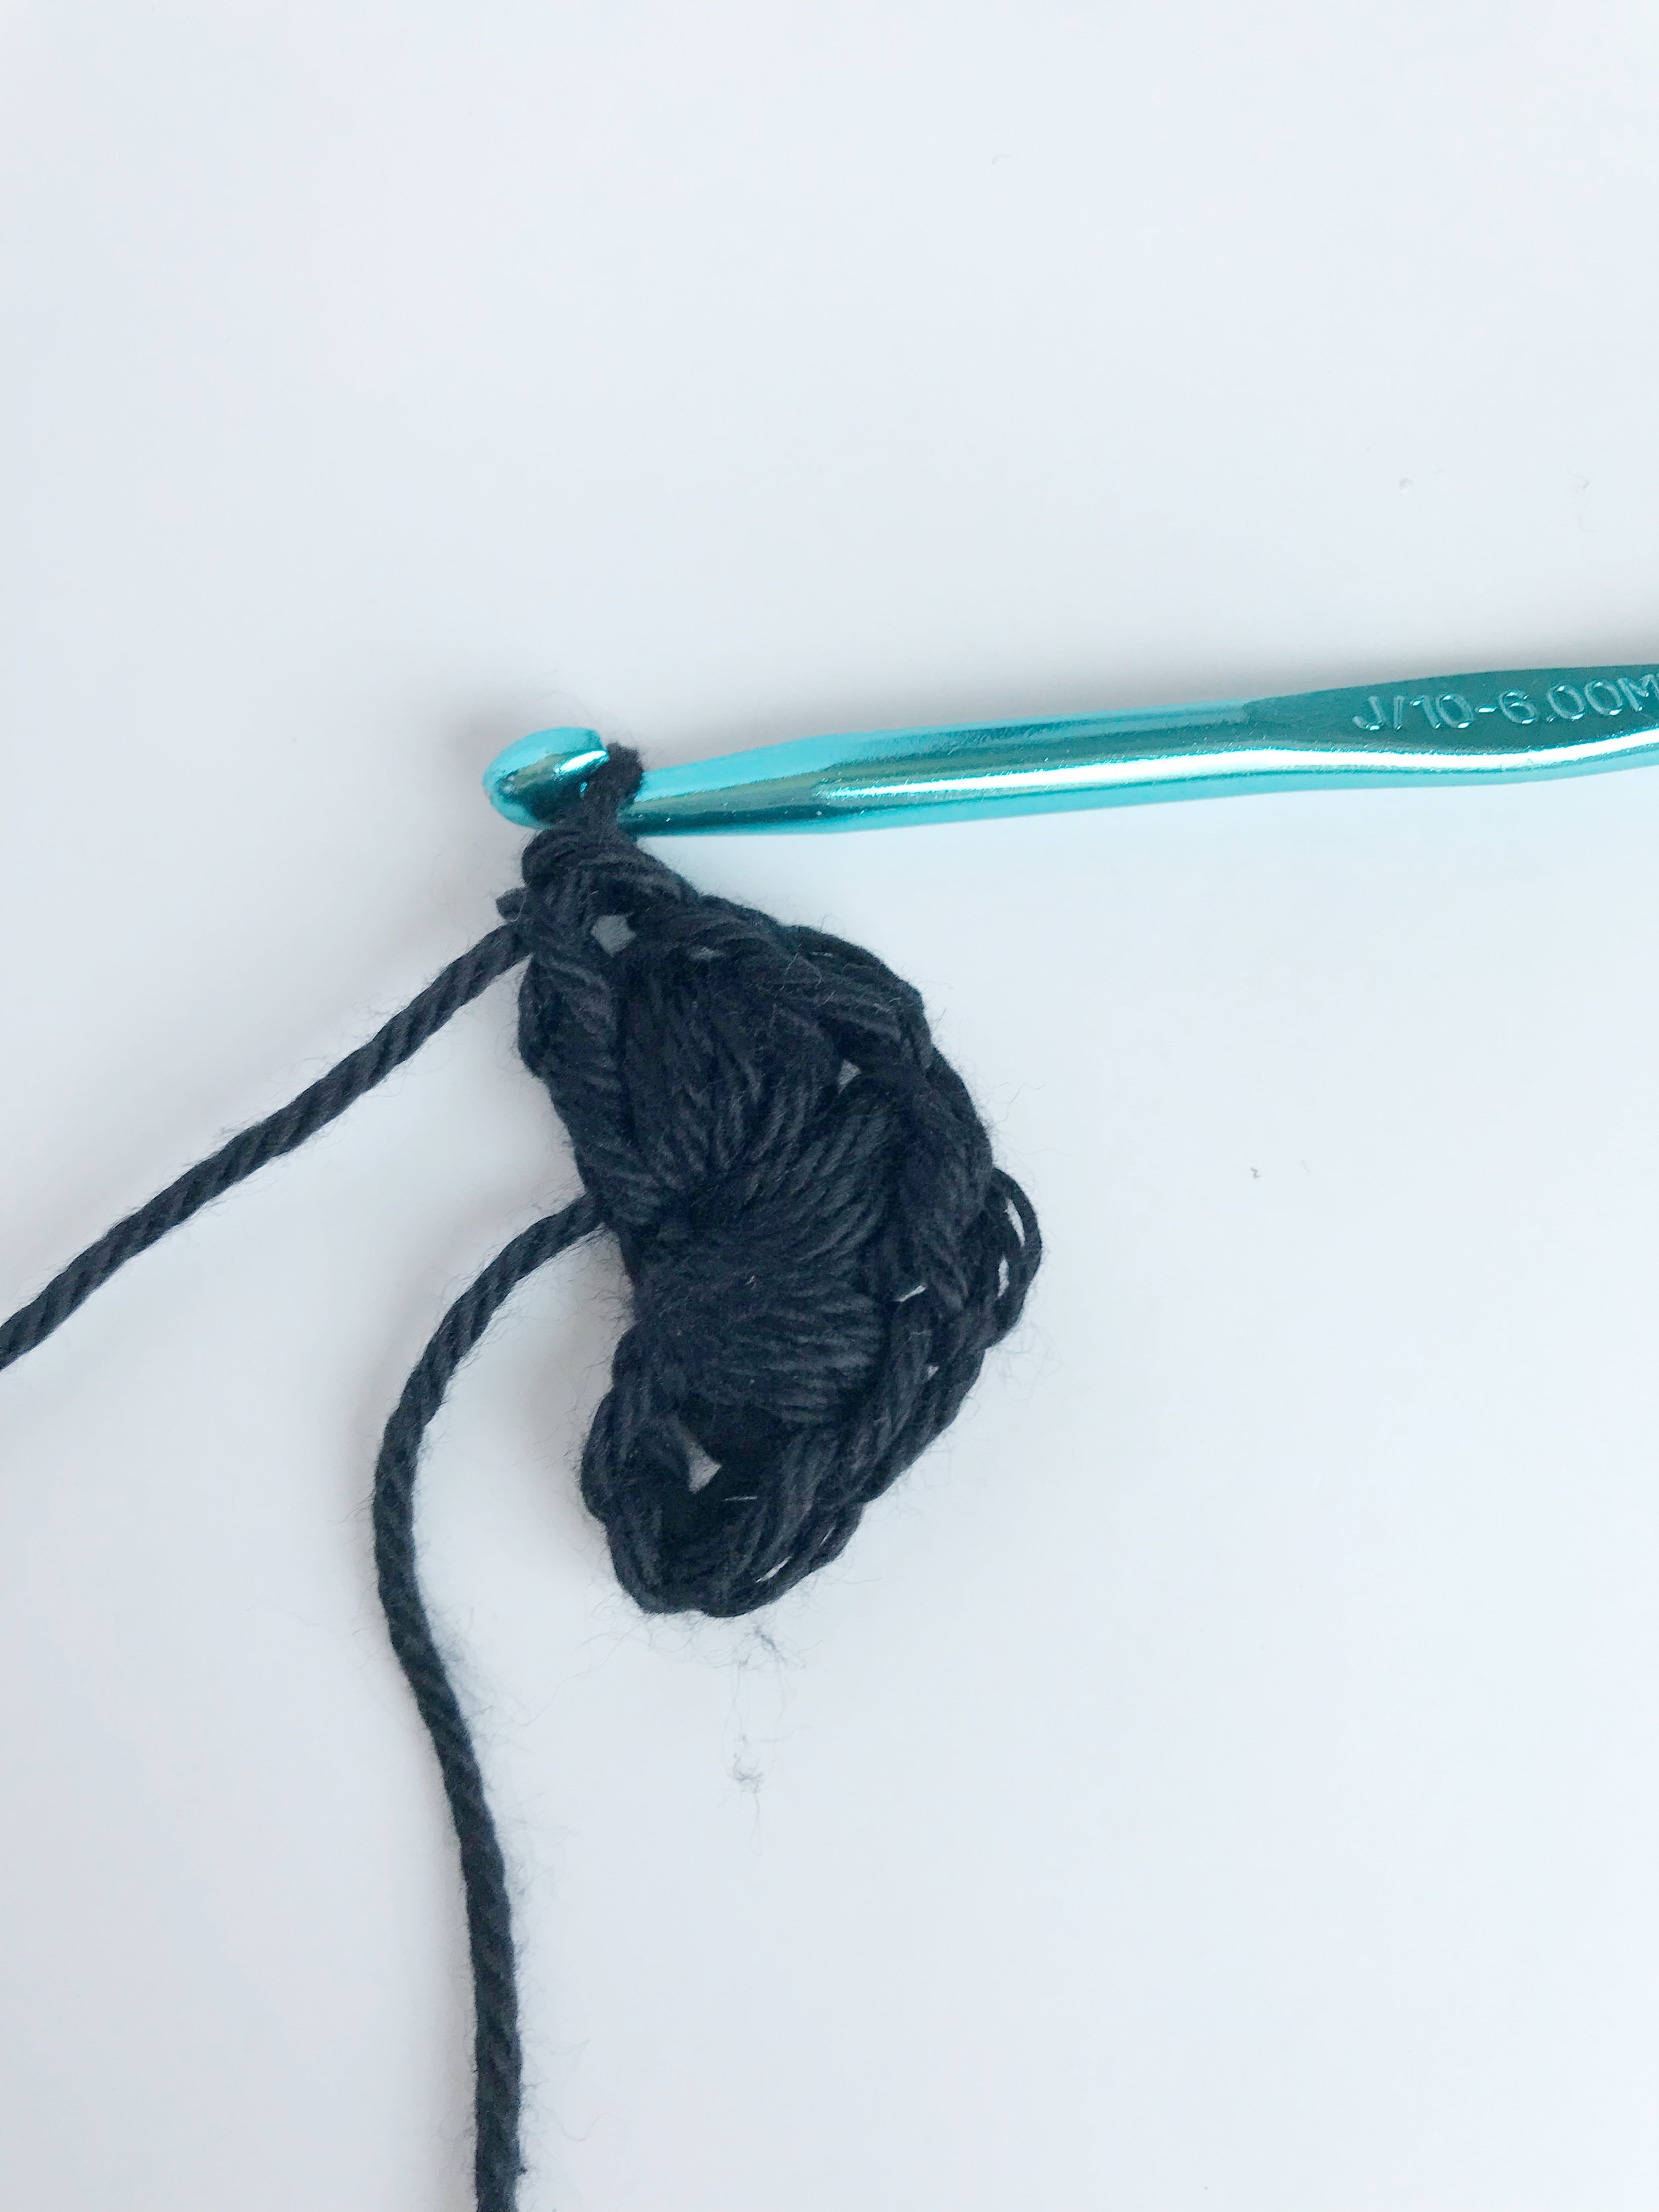
Puff Stitch: yo, pull up a long loop 4 times, 9 loops on hook. Yo and pull through all loops on hook. ch 1 to complete stitch. Each puff stitch creates two stitches.


Pattern:
Squares: make 37
Form a magic loop.
Round 1: ch 3, make 6 puff stitches into magic loop, sl st into first stitch (not ch 3) to join. (6)
Round 2: Ch 3 (counts as 1st st), dc same st as join, dc in next st, *2dc in next st, dc in next; repeat from * around, sl st to top of ch 3 to join. (18)
Round 3: Ch 3, puff into same st as join and in each stitch around, sl st to top of first puff st to join. (18)
Round 4: Ch 3 (counts as first st), dc into same st as join, dc into next 2 st, *2d in next st, dc in next 2 st; repeat from * around, sl st to top of ch 3 to join. (48)
Round 5: Ch 3 (counts as first st), dc into same st as join, ch 2, 2 dc in next st. *(sk 1, puff in next) five times, 2dc in next st, ch 2, 2 dc in next st; repeat from * 3 times, *sk 1, puff in next; repeat from * 5 times, sl st to top of ch 3 to join. (36)
Round 6: Ch 3 (counts as first st), dc in next st, *(2dc, ch2, 2dc) into ch-2 space, dc in next 14 sts; repeat from * 3 times, (2dc, ch 2, 2dc) in next ch-2 sp, dc 12, sl st to top of ch 3. (72)
Fasten off and weave in ends.


Triangles: make 12
Form a magic loop
Row 1: ch 3, work 3 puff sts into magic loop. Pull closed, turn. (3)
Row 2: ch 3(counts as st), dc into same st, and next st, *2dc into next st, dc in next; repeat from * one more time, dc around ch 3 from previous row, turn. (10)
Row 3: ch 3, puff into same st and each st across, dc around ch 3 from previous row, turn. (10)
Row 4: ch 3(counts as st), dc into first 3 sts, *2dc in next st, dc 2; repeat from * across, dc into last st, dc around ch 3 from previous row, turn. (26)
Row 5: ch 3(counts as st), dc into same st, (sk 1, puff 1) 5 times, 2dc in next st, ch2, 2 dc in next st, (puff 1, sk 1) 5 times, dc in next 2 sts, dc around ch 3 from previous row, turn. (19)
Row 6: ch 3(counts as st), dc in 1st st and next 14 sts, (2dc, ch2, 2dc) into ch-2 sp, dc in next 13 sts, 2 dc around ch3 from previous row. (35)
Fasten off and leave a long tail for sewing. Weave in first end.


Assembly:
Once all squares and triangles are made sew them together using a whip stitch. Use the following diagrams as a guide.


Match up the letters and sew those seams together using a whip stitch. The back points will slide into the V shaped areas on the sides. For example the point A on the back will be attached to the V shaped spot labeled A on the front right piece.
Finishing:
After assembling all pieces, sew together the top of the sleeves along marked squares.

Attach yarn to sleeve in arm pit. Ch 1, sc in each st around, sl st to top of first sc to join. Repeat for two more rounds. Fasten off and weave in ends. Repeat on second sleeve.
Attach yarn to the center bottom back with right side of cardi facing you.
Round 1: Ch1, sc in same stitch and in every stitch around. Work about 23-25 stiches into each one of the triangles. Sl st to top of first sc to join.
On the front right side of the cardigan mark five button holes starting at the top of the first triangle. Space button holes about 12 stitches apart. Each button hole will use two stitches. See below for button hole instructions.


To make a button hole, stop at st marker, ch 2, sk 2 sts, sc in next stitch. Then continue to sc until next st marker.
Round 2: Ch 1, sc in each stitch around, making button holes in marked stitches, sl st to top of first sc to join.
Round 3: Ch 1, sc in each stitch and ch sp around, sl st to top of first sc to join. Fasten off and weave in ends.
Attach buttons to left side of cardigan in line with button holes.
Now go enjoy your new Clove Cardi! Remember you can find an ad-free PDF version in my shop or on Etsy or Ravelry.
I would love to see your Clove Cardis! Make sure to tag me on social media @meghanmakesdo and use hashtags #meghanmakesdo and #clovecardi so I can see.
Happy Crocheting!
Meghan