

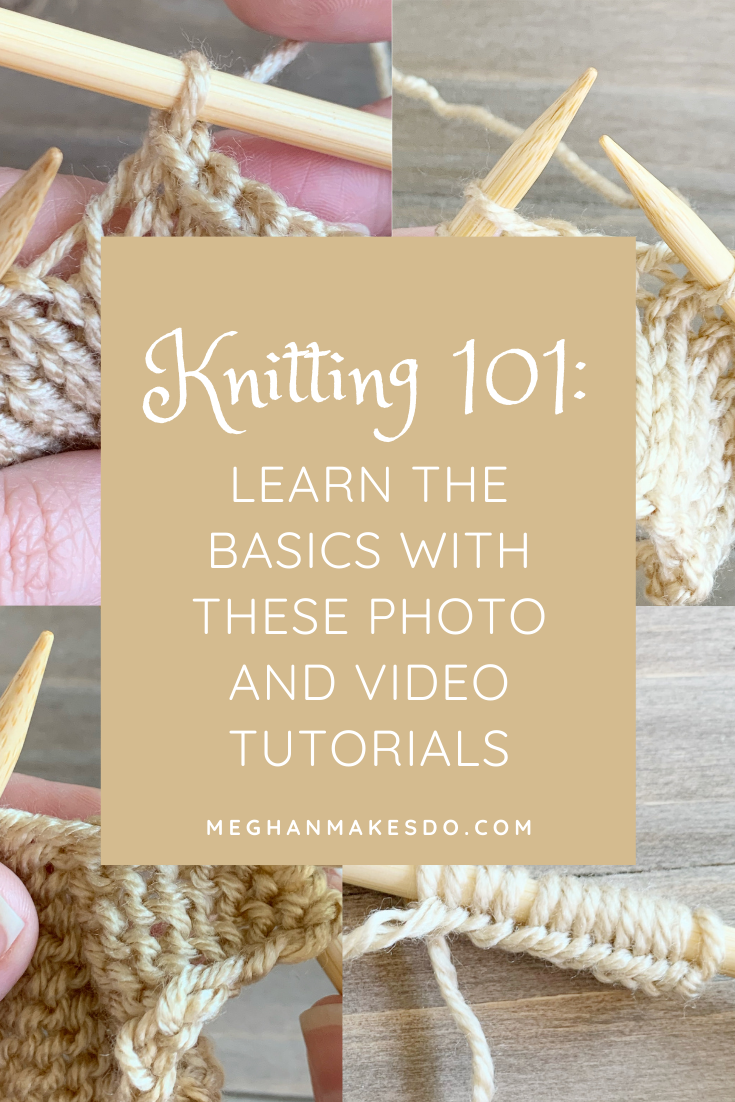
Knitting Basics
Let’s learn all the basics of knitting! Find some helpful video and photo tutorials below as well as some beginner tips and tricks.
By now you know that I LOVE to crochet, but lately I’ve been really enjoying knitting too. I used to be so intimidated by knitting because my first attempt was a disaster. About two years ago, after seeing so many gorgeous knit sweaters on Instagram, I decided to give it another go and this time I wasn’t going to give up! It took me a few teaching sessions with my mom and a lot of YouTube videos, but it finally clicked!
I’ve been loving practicing my knitting more and even started making some designs this year. Now I want to help you learn to knit too! Below I’ll be sharing 3 tutorials that will cover the basics of knitting to get you started.
Ready to give it a go? Just grab the materials listed below and let’s get started.
Materials:
yarn (any weight and fiber will work since we are just practicing) I used Lion Brand Yarn Skein Tones in the color Almond which is a worsted weight acrylic yarn.
Size 9 (5.5mm) circular knitting needles (you can also use straight needles, but I prefer to work with circular anytime I knit)
scissors (optional if you want to save your practice swatch)
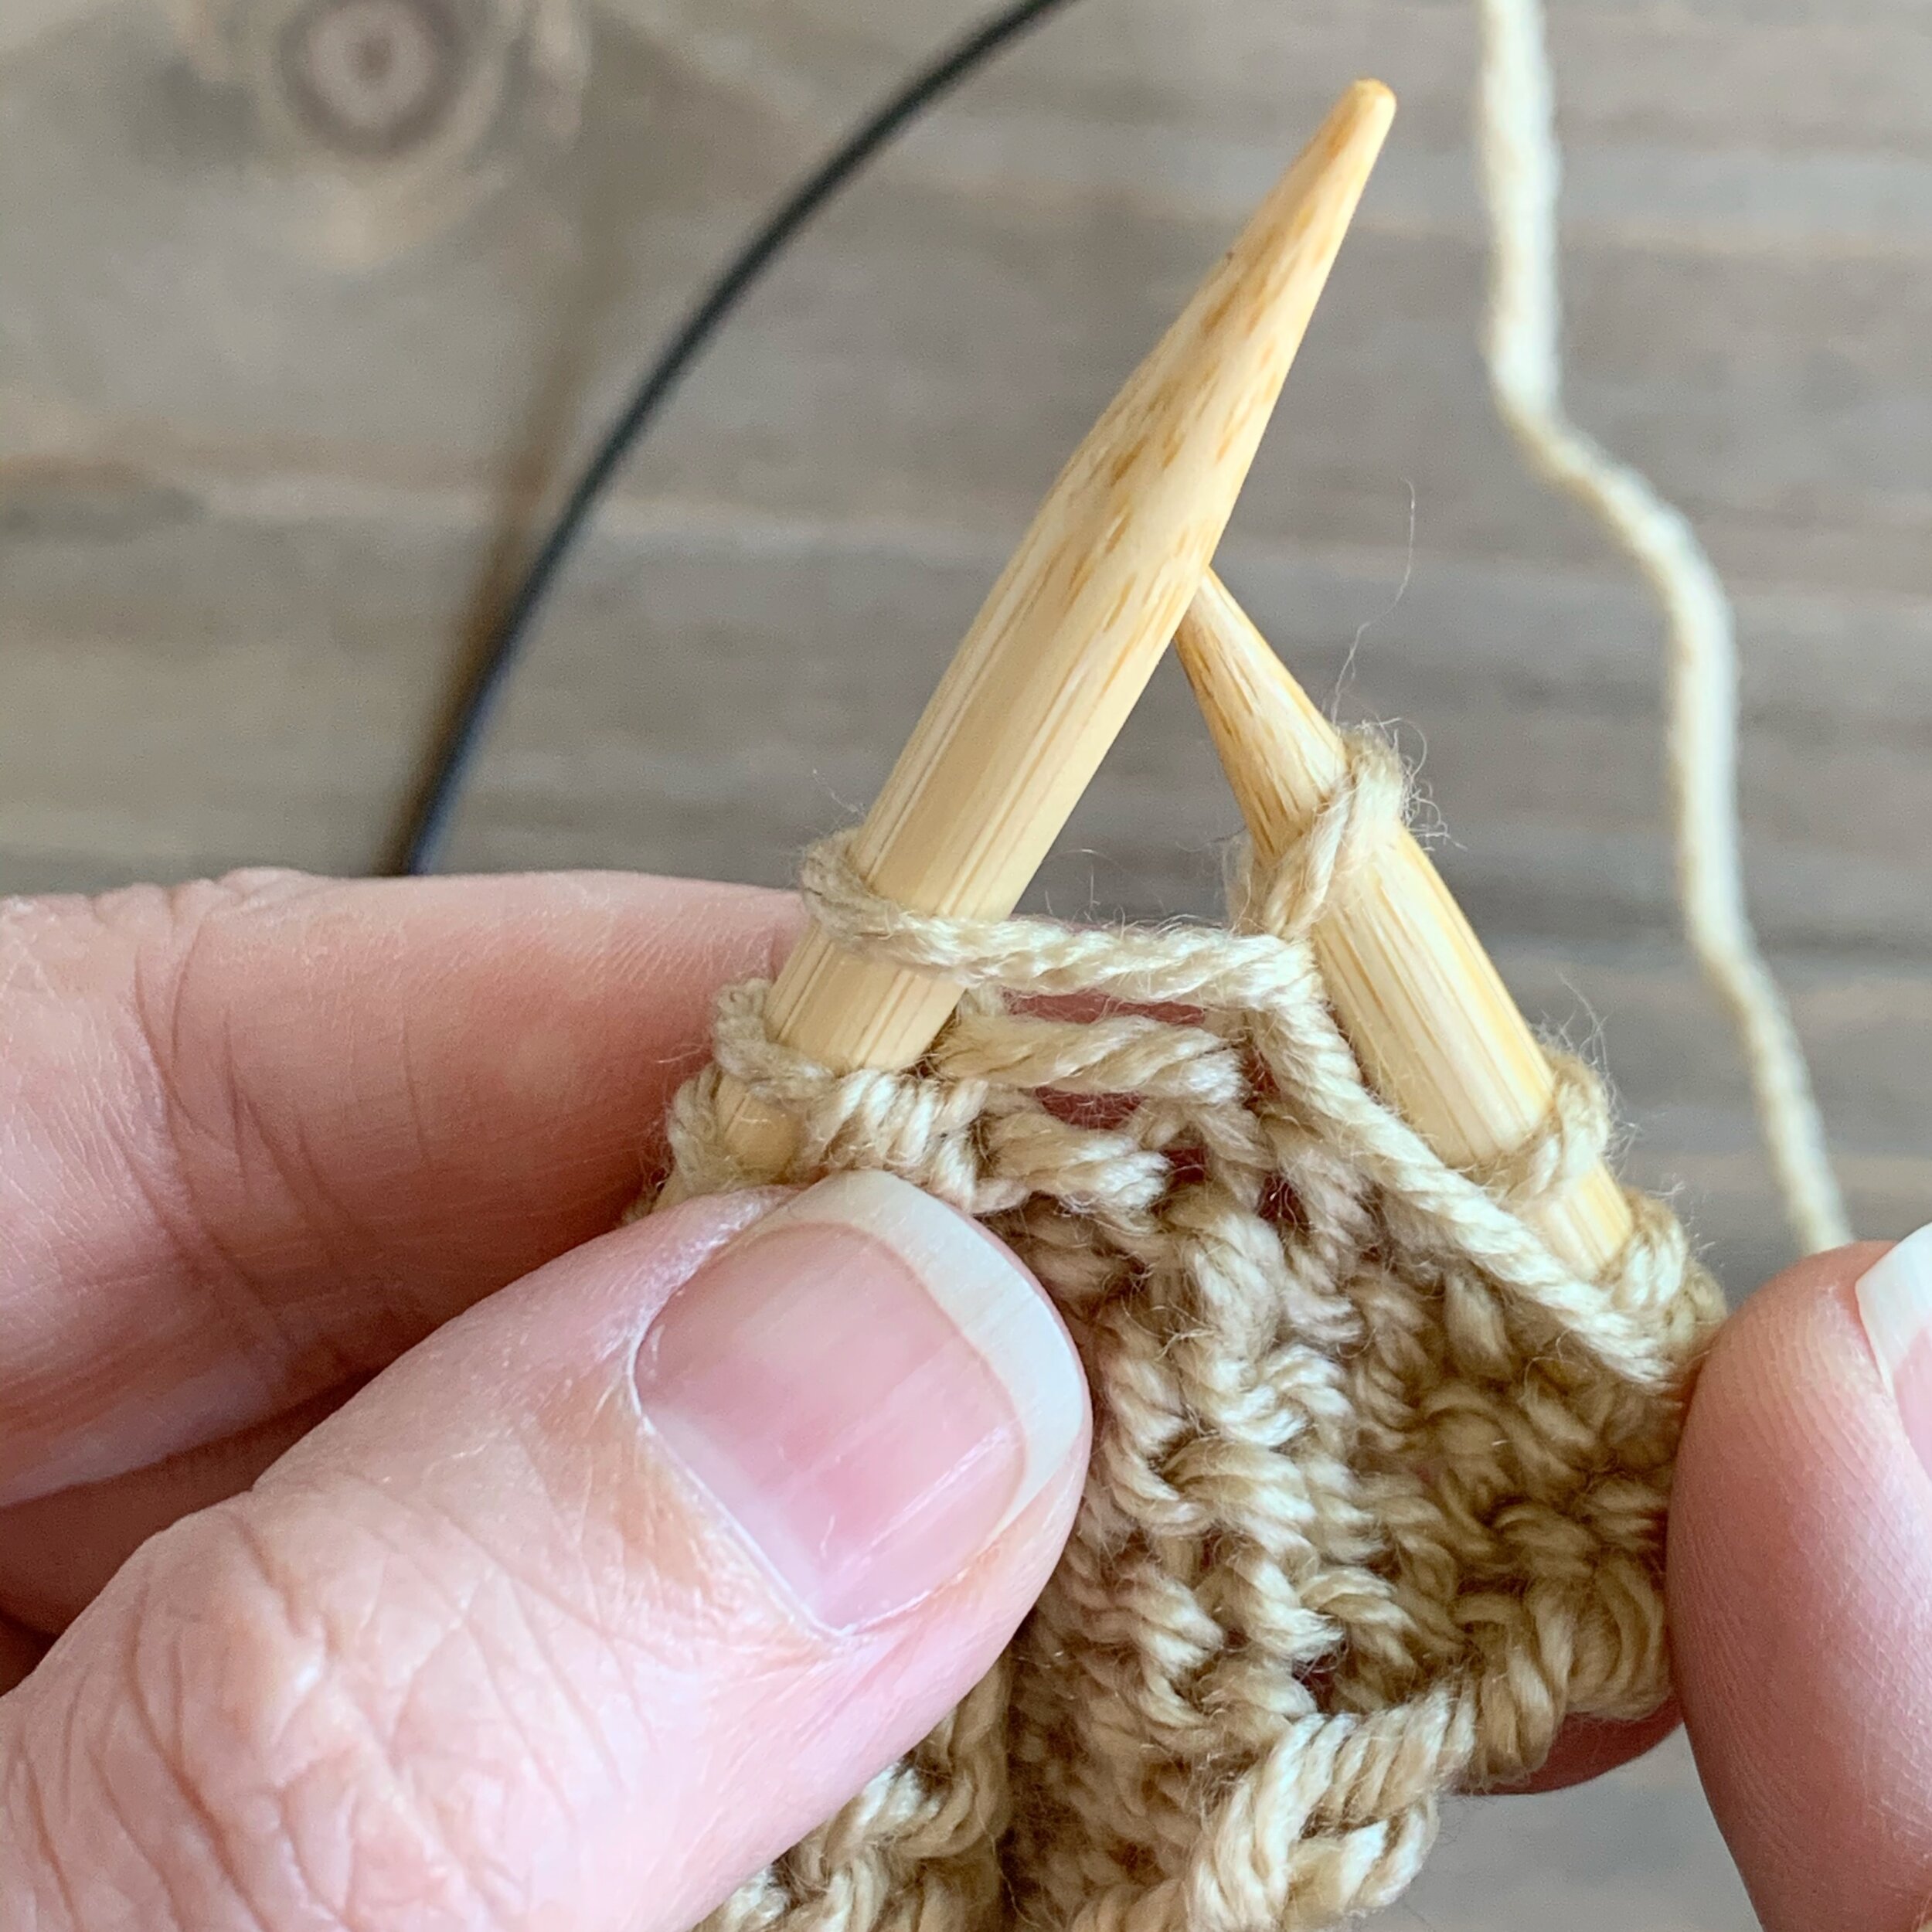
Casting On
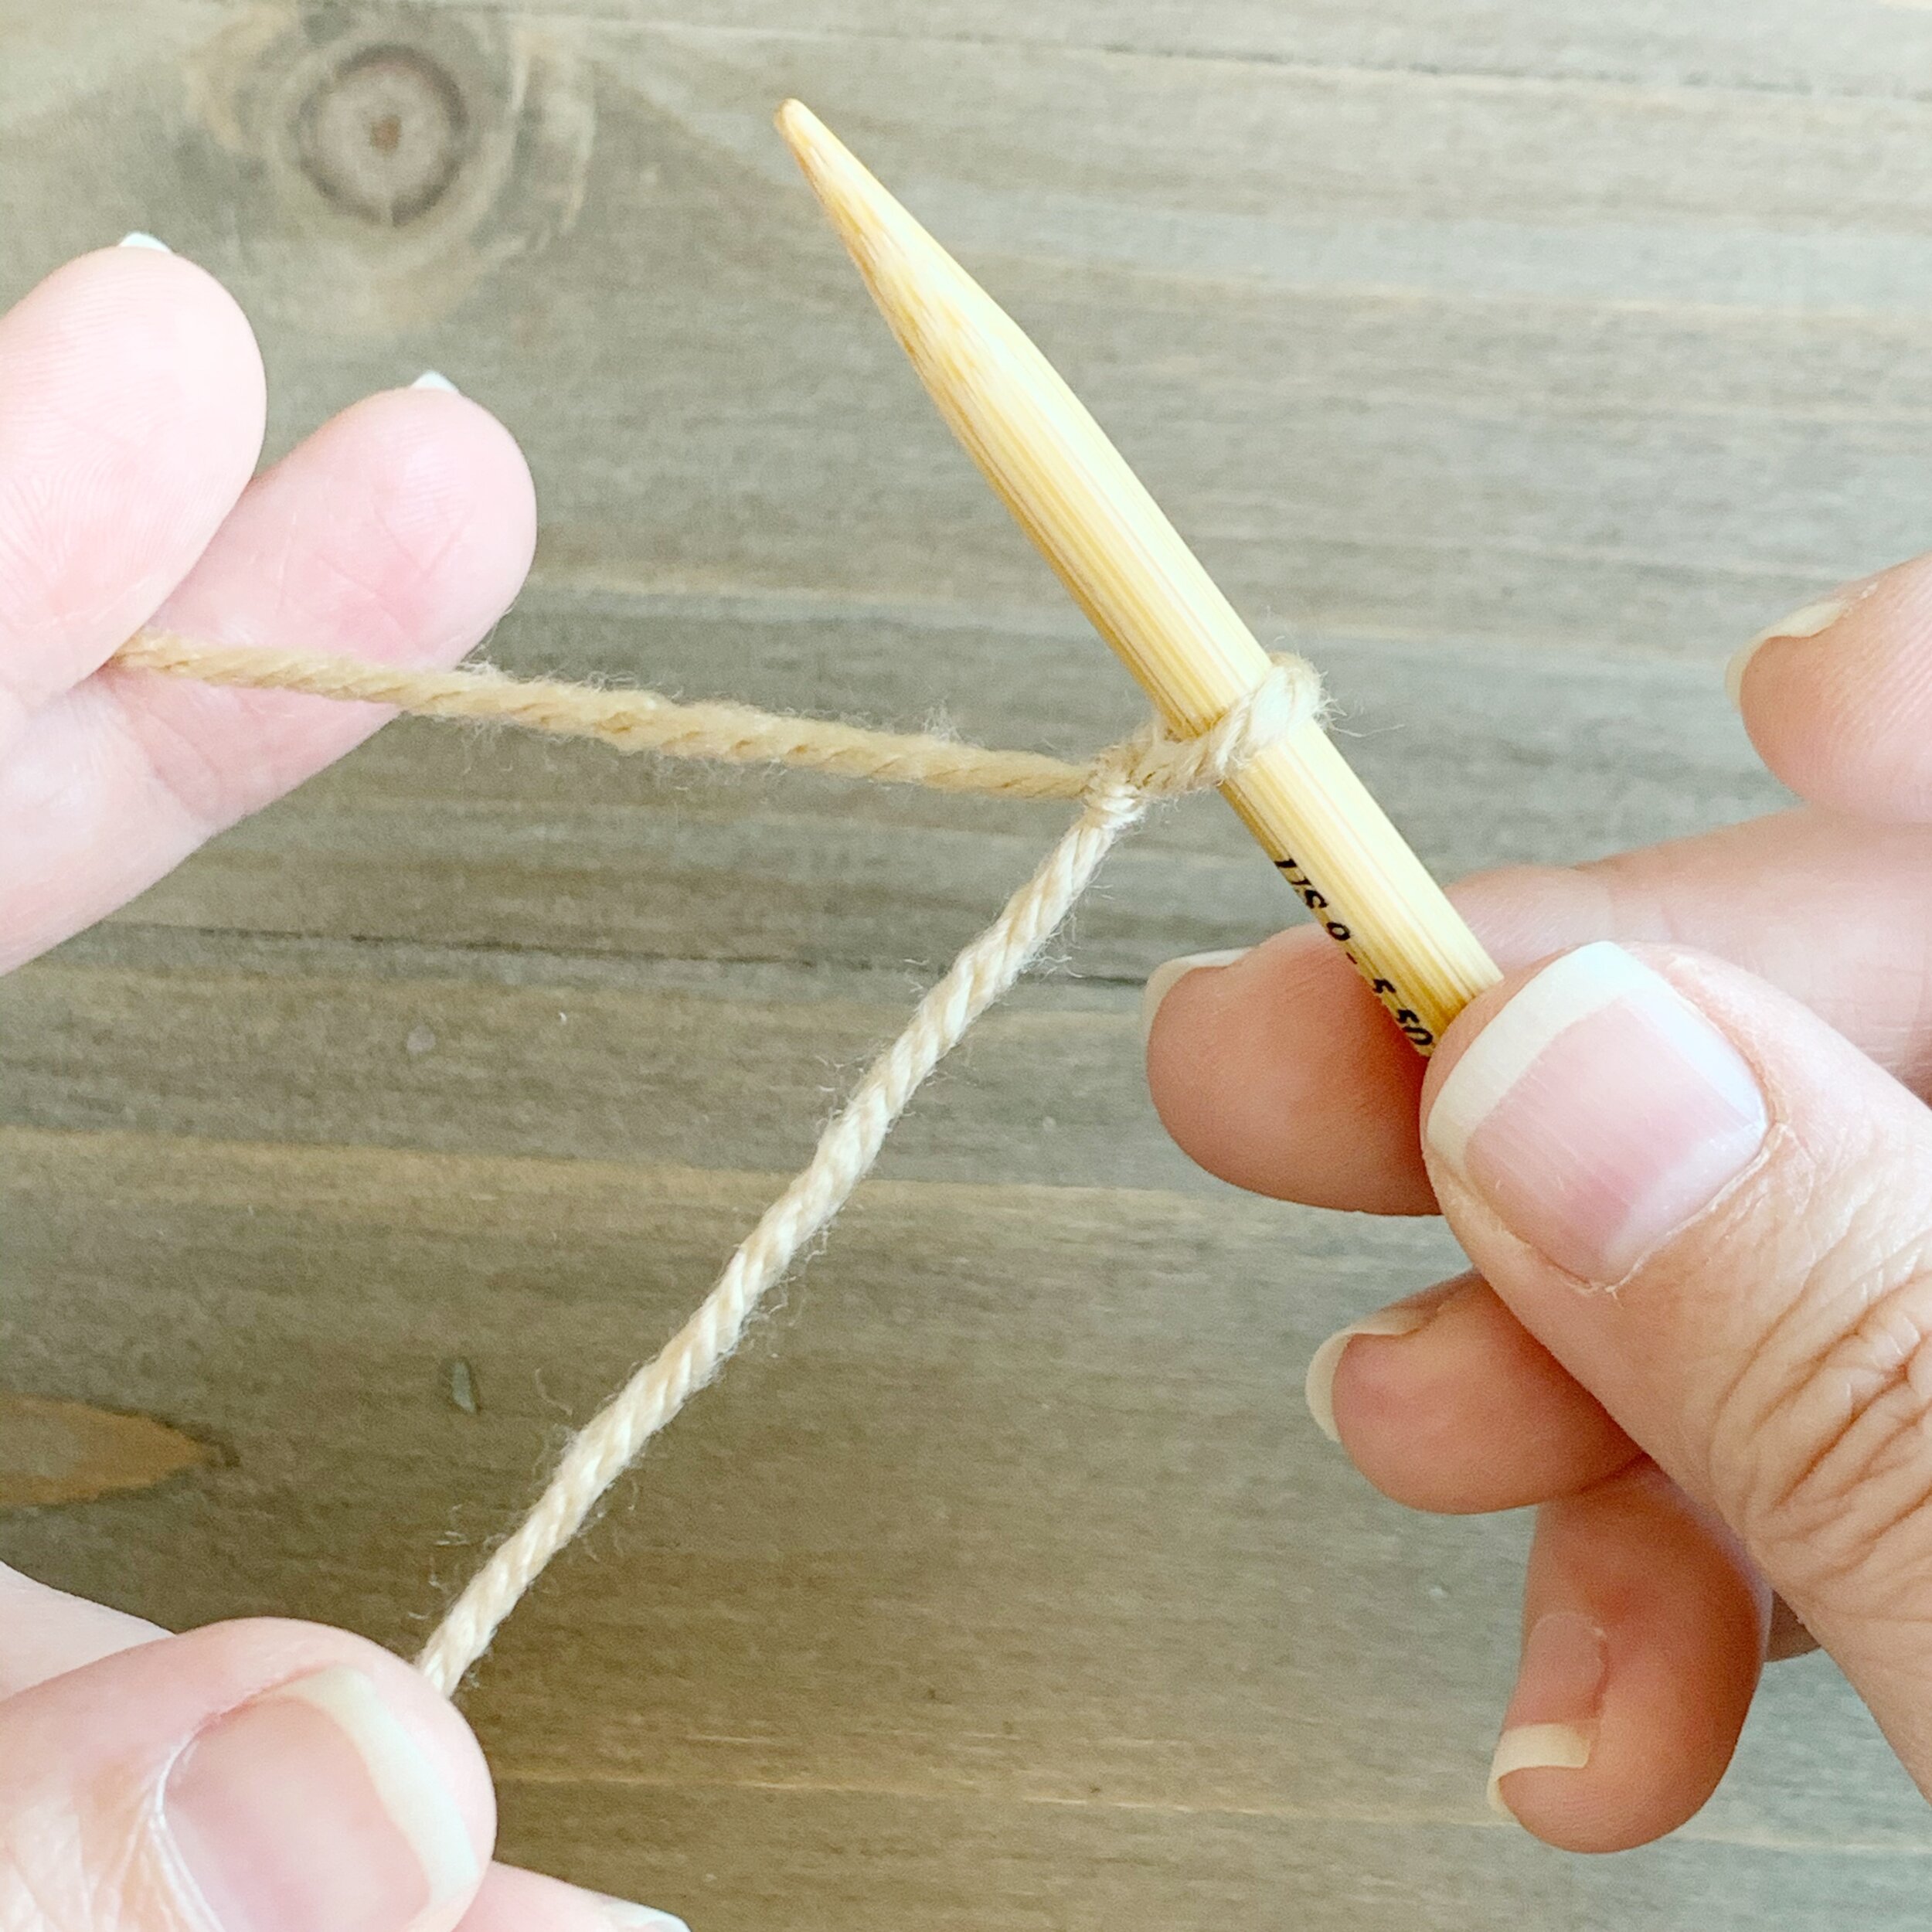
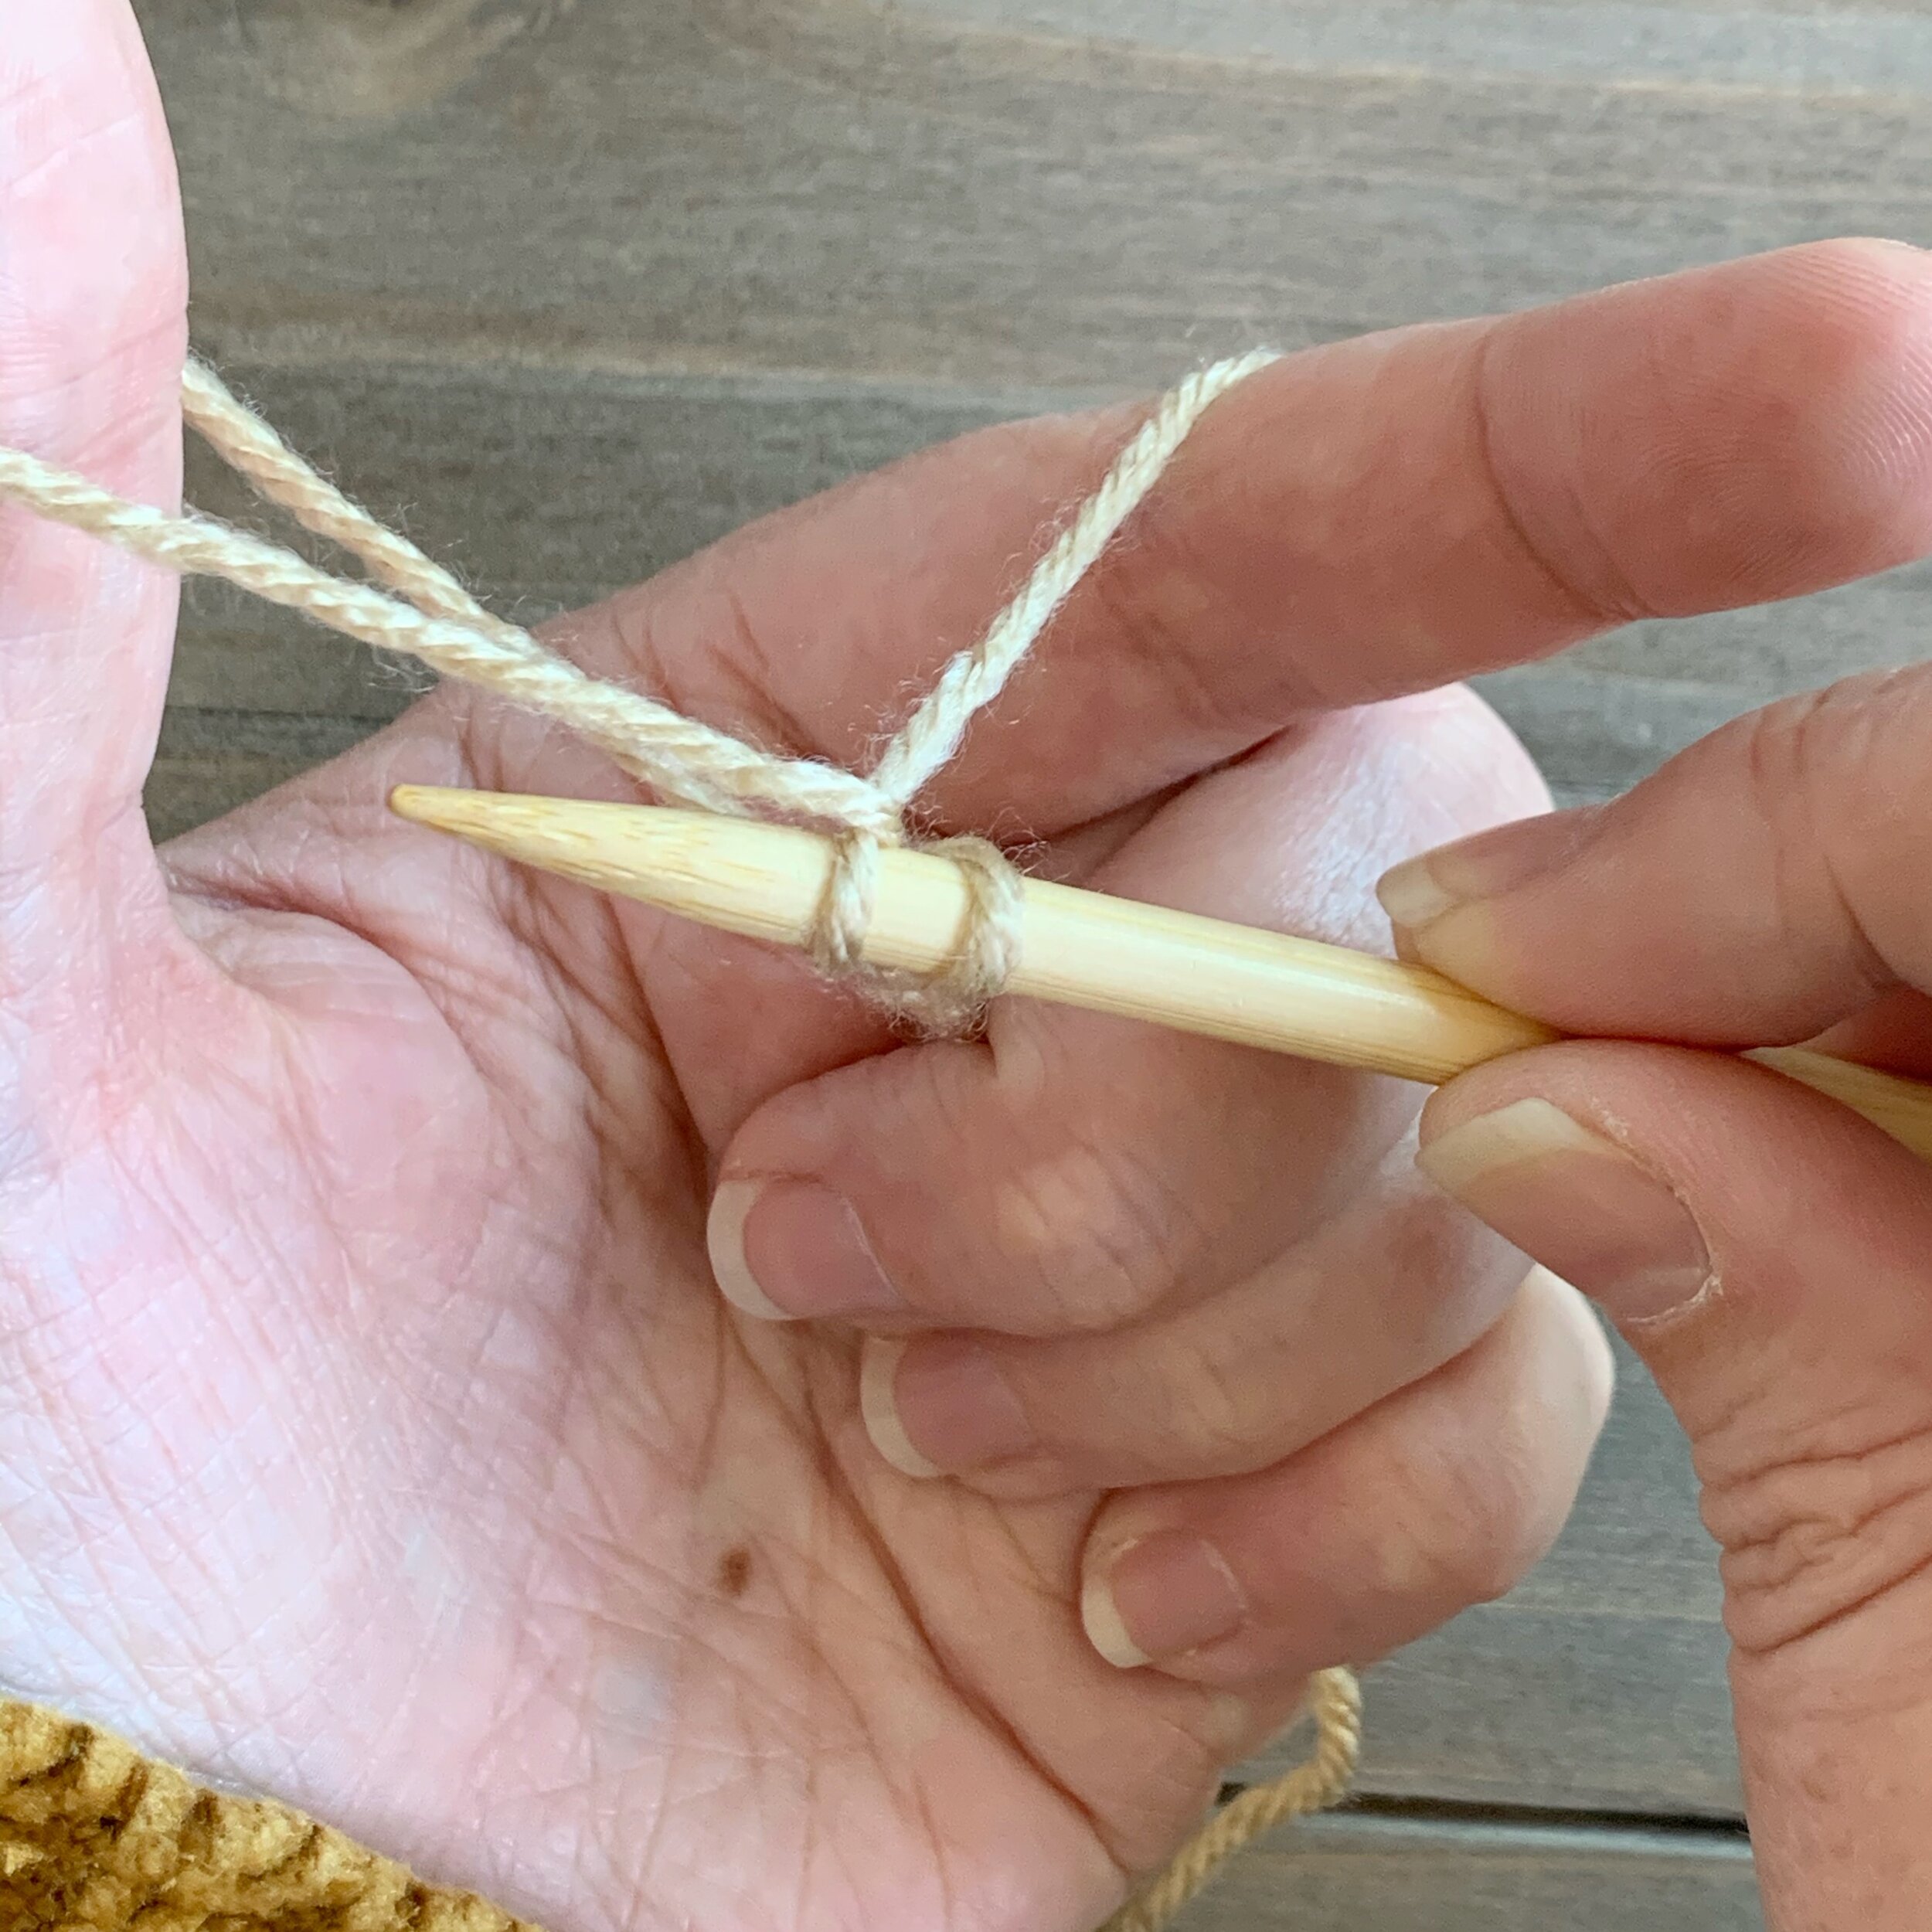
The first thing you’ll need to do when starting any knit project is cast on (CO) your stitches. There are many different cast on methods but my favorite is the Long Tail Cast On. It can take a bit of practice to master so I recommend watching the video a few times until it feels comfortable.
Long tail cast on gets it’s name because you will need to start with a long tail of yarn. It will take a bit of practice to figure out exactly how much of a tail you should leave for larger projects, but for this sample a foot or two of yarn should be more than enough.
Make a slip knot in the yarn and then slide it onto the right needle. Make sure your long tail is in front and the working yarn is in the back. Using your left hand, insert your thumb and pointer in-between the tail and working yarn. Then grab hold of the working yarn and the tail end with the other three fingers in your left hand. Then spread your thumb and pointer apart.
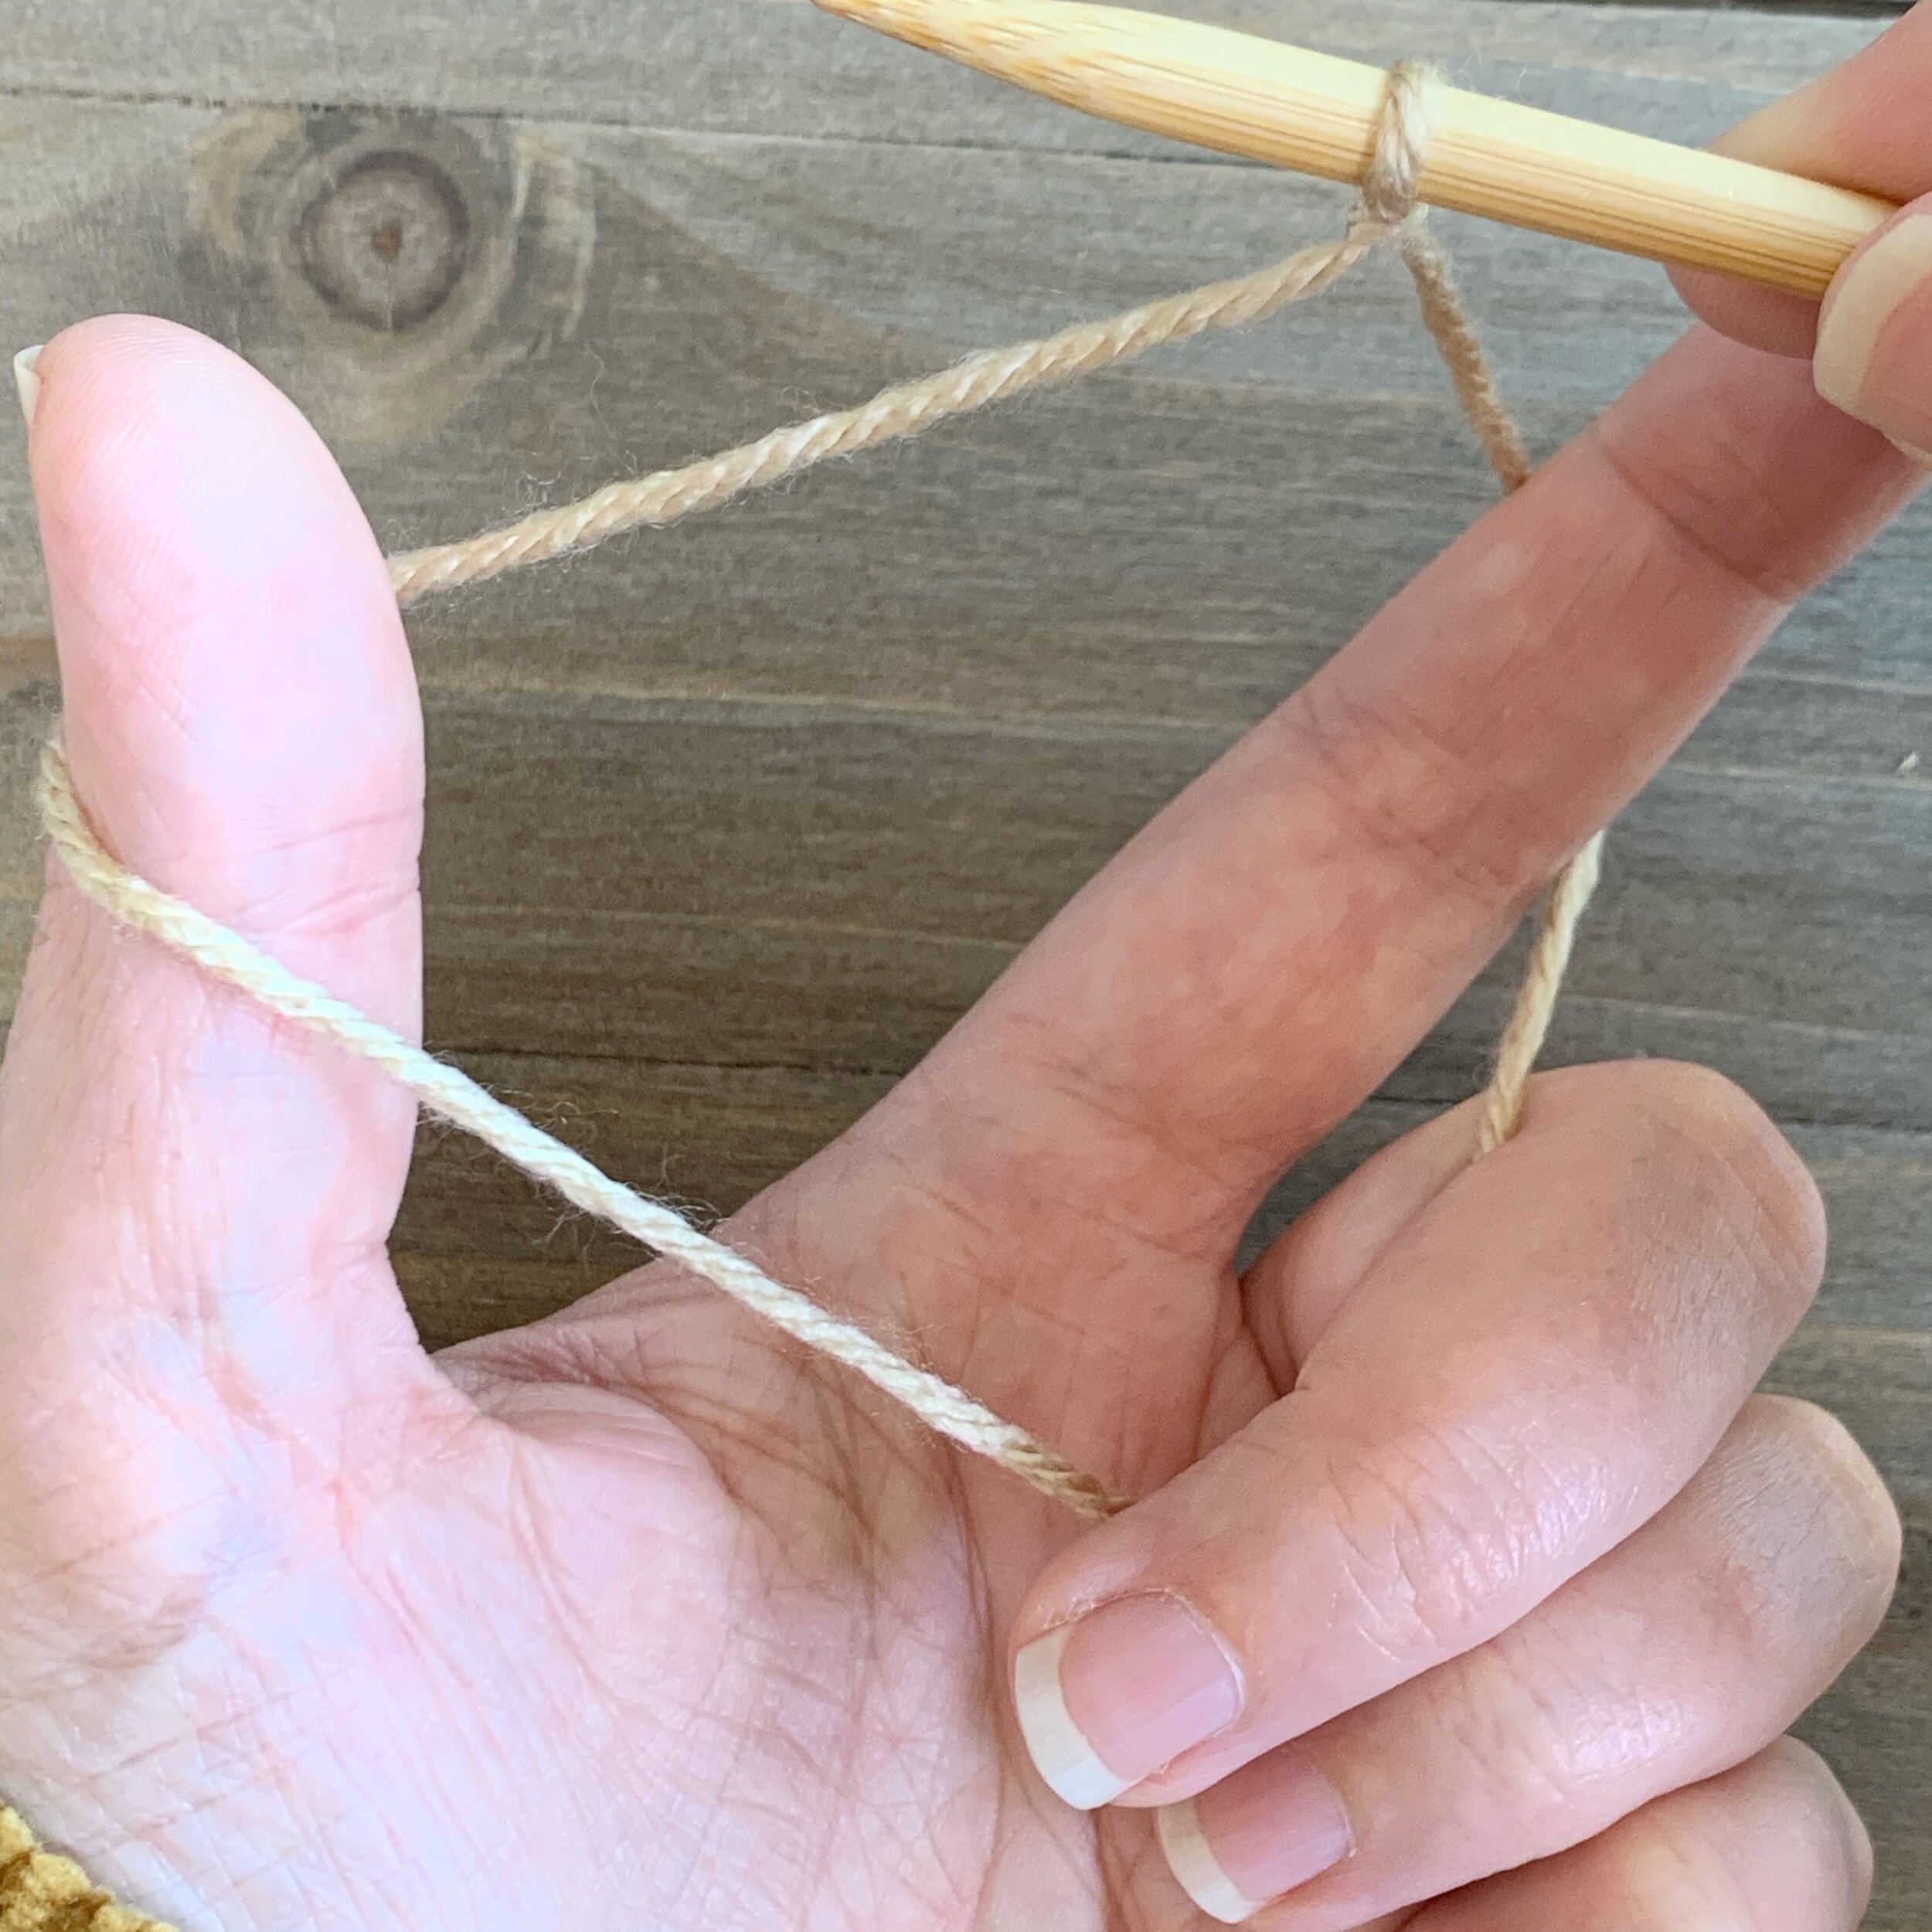
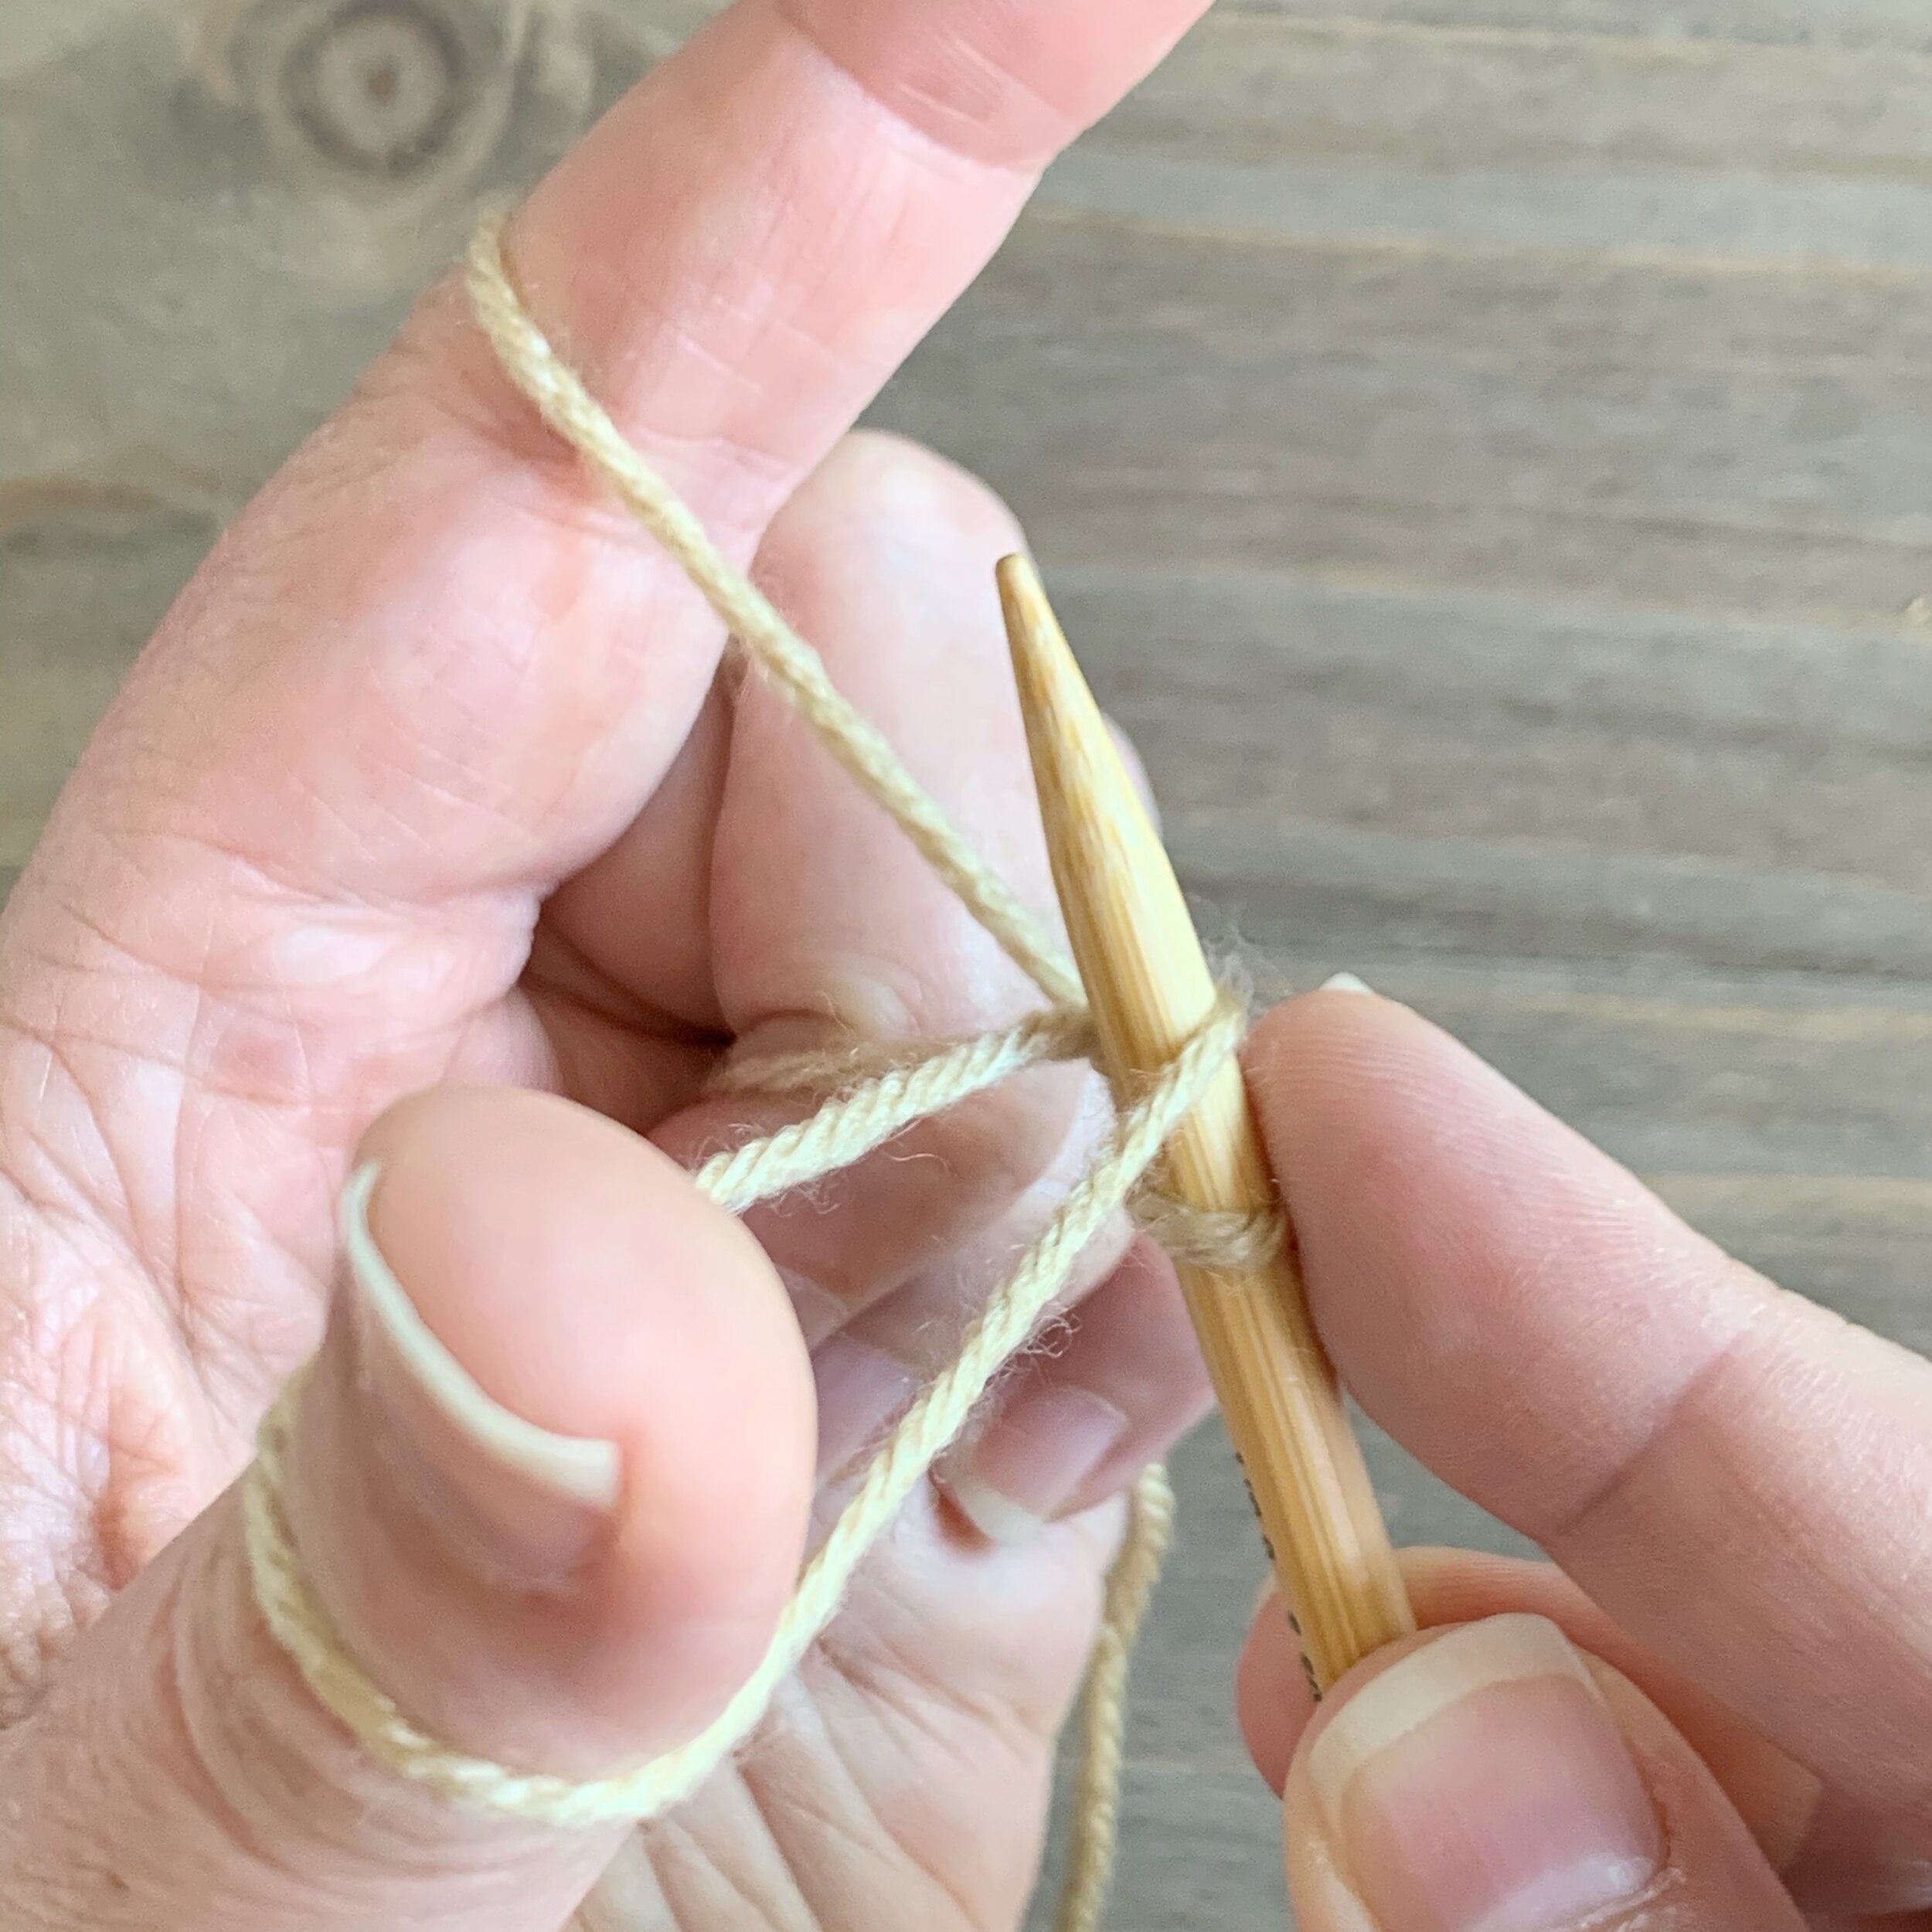
Then bring your right needle down and slip it under the first strand that is around your thumb. Turn your left hand a bit and then insert the right needle under the strand that is around your pointer finger. Then bring the needle back through the loop on your thumb. Pull the ends of the yarn and let the loops drop off your thumb and pointer and the stitch will slide up onto your needle. Repeat this process until you have the desired number of stitches cast on to your right needle.


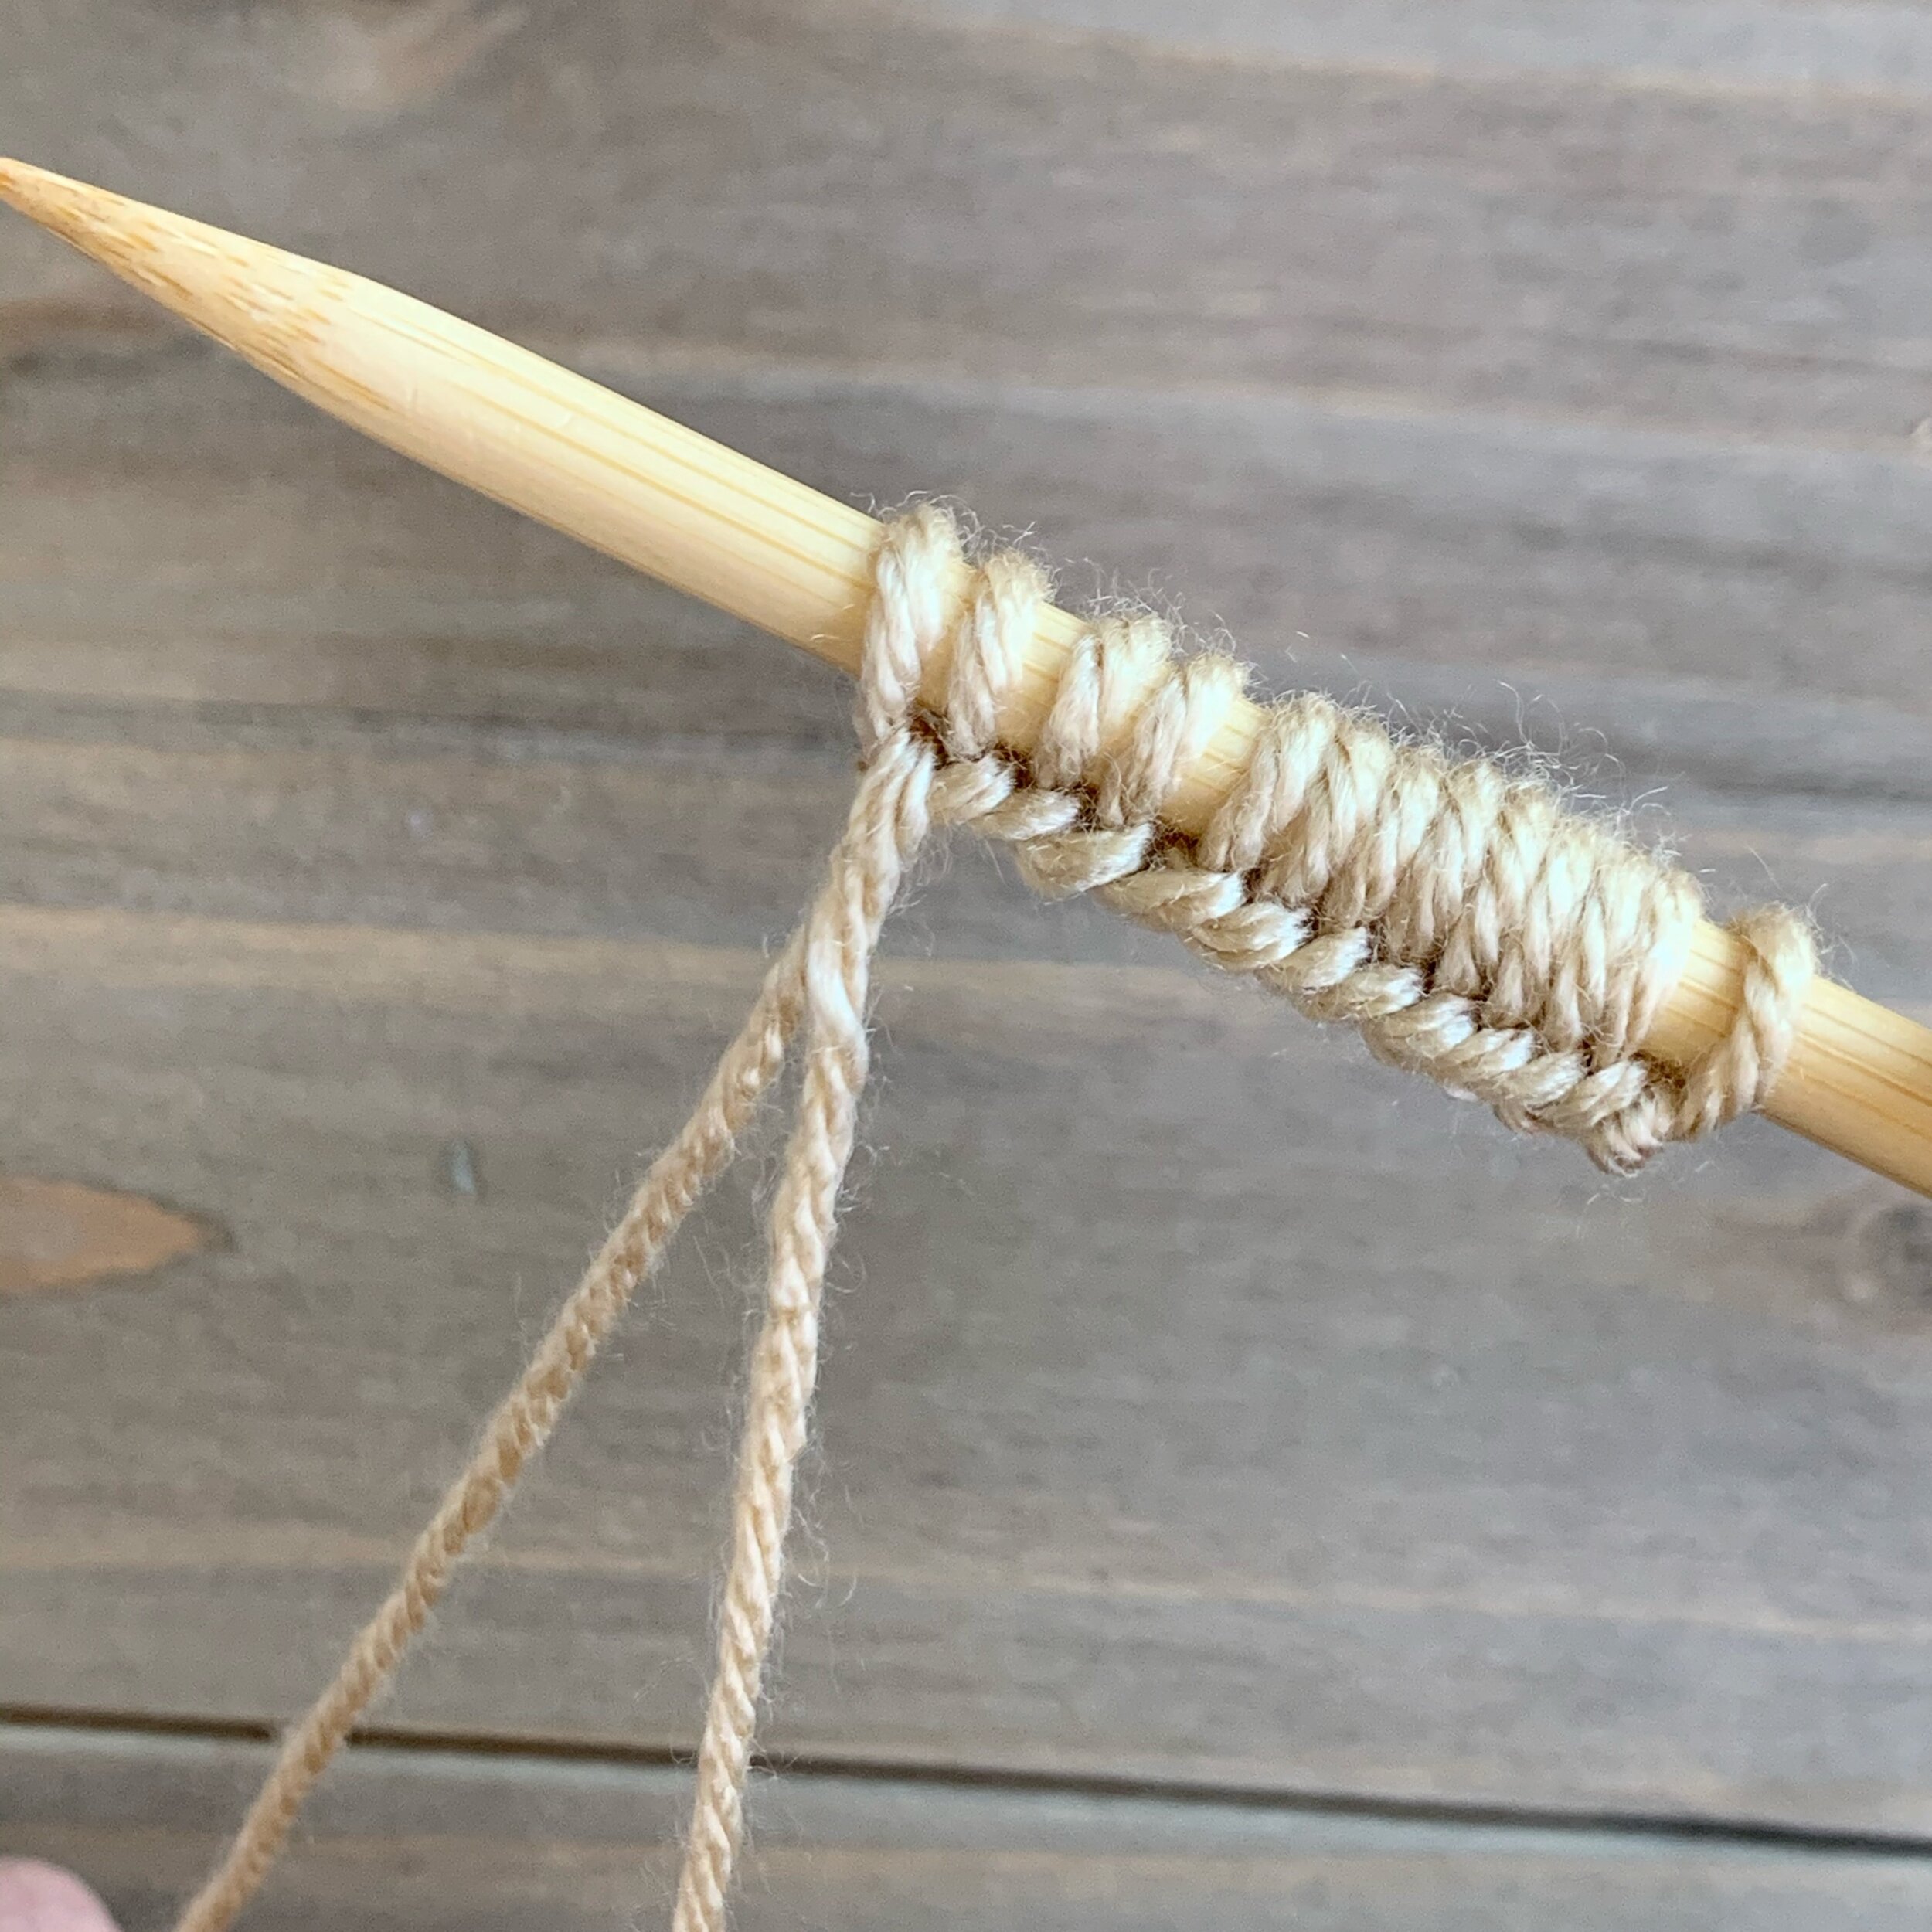
Once you have the desired number of stitches cast on to your needle, turn it over so the point is facing right and you can begin to knit.
Knitting
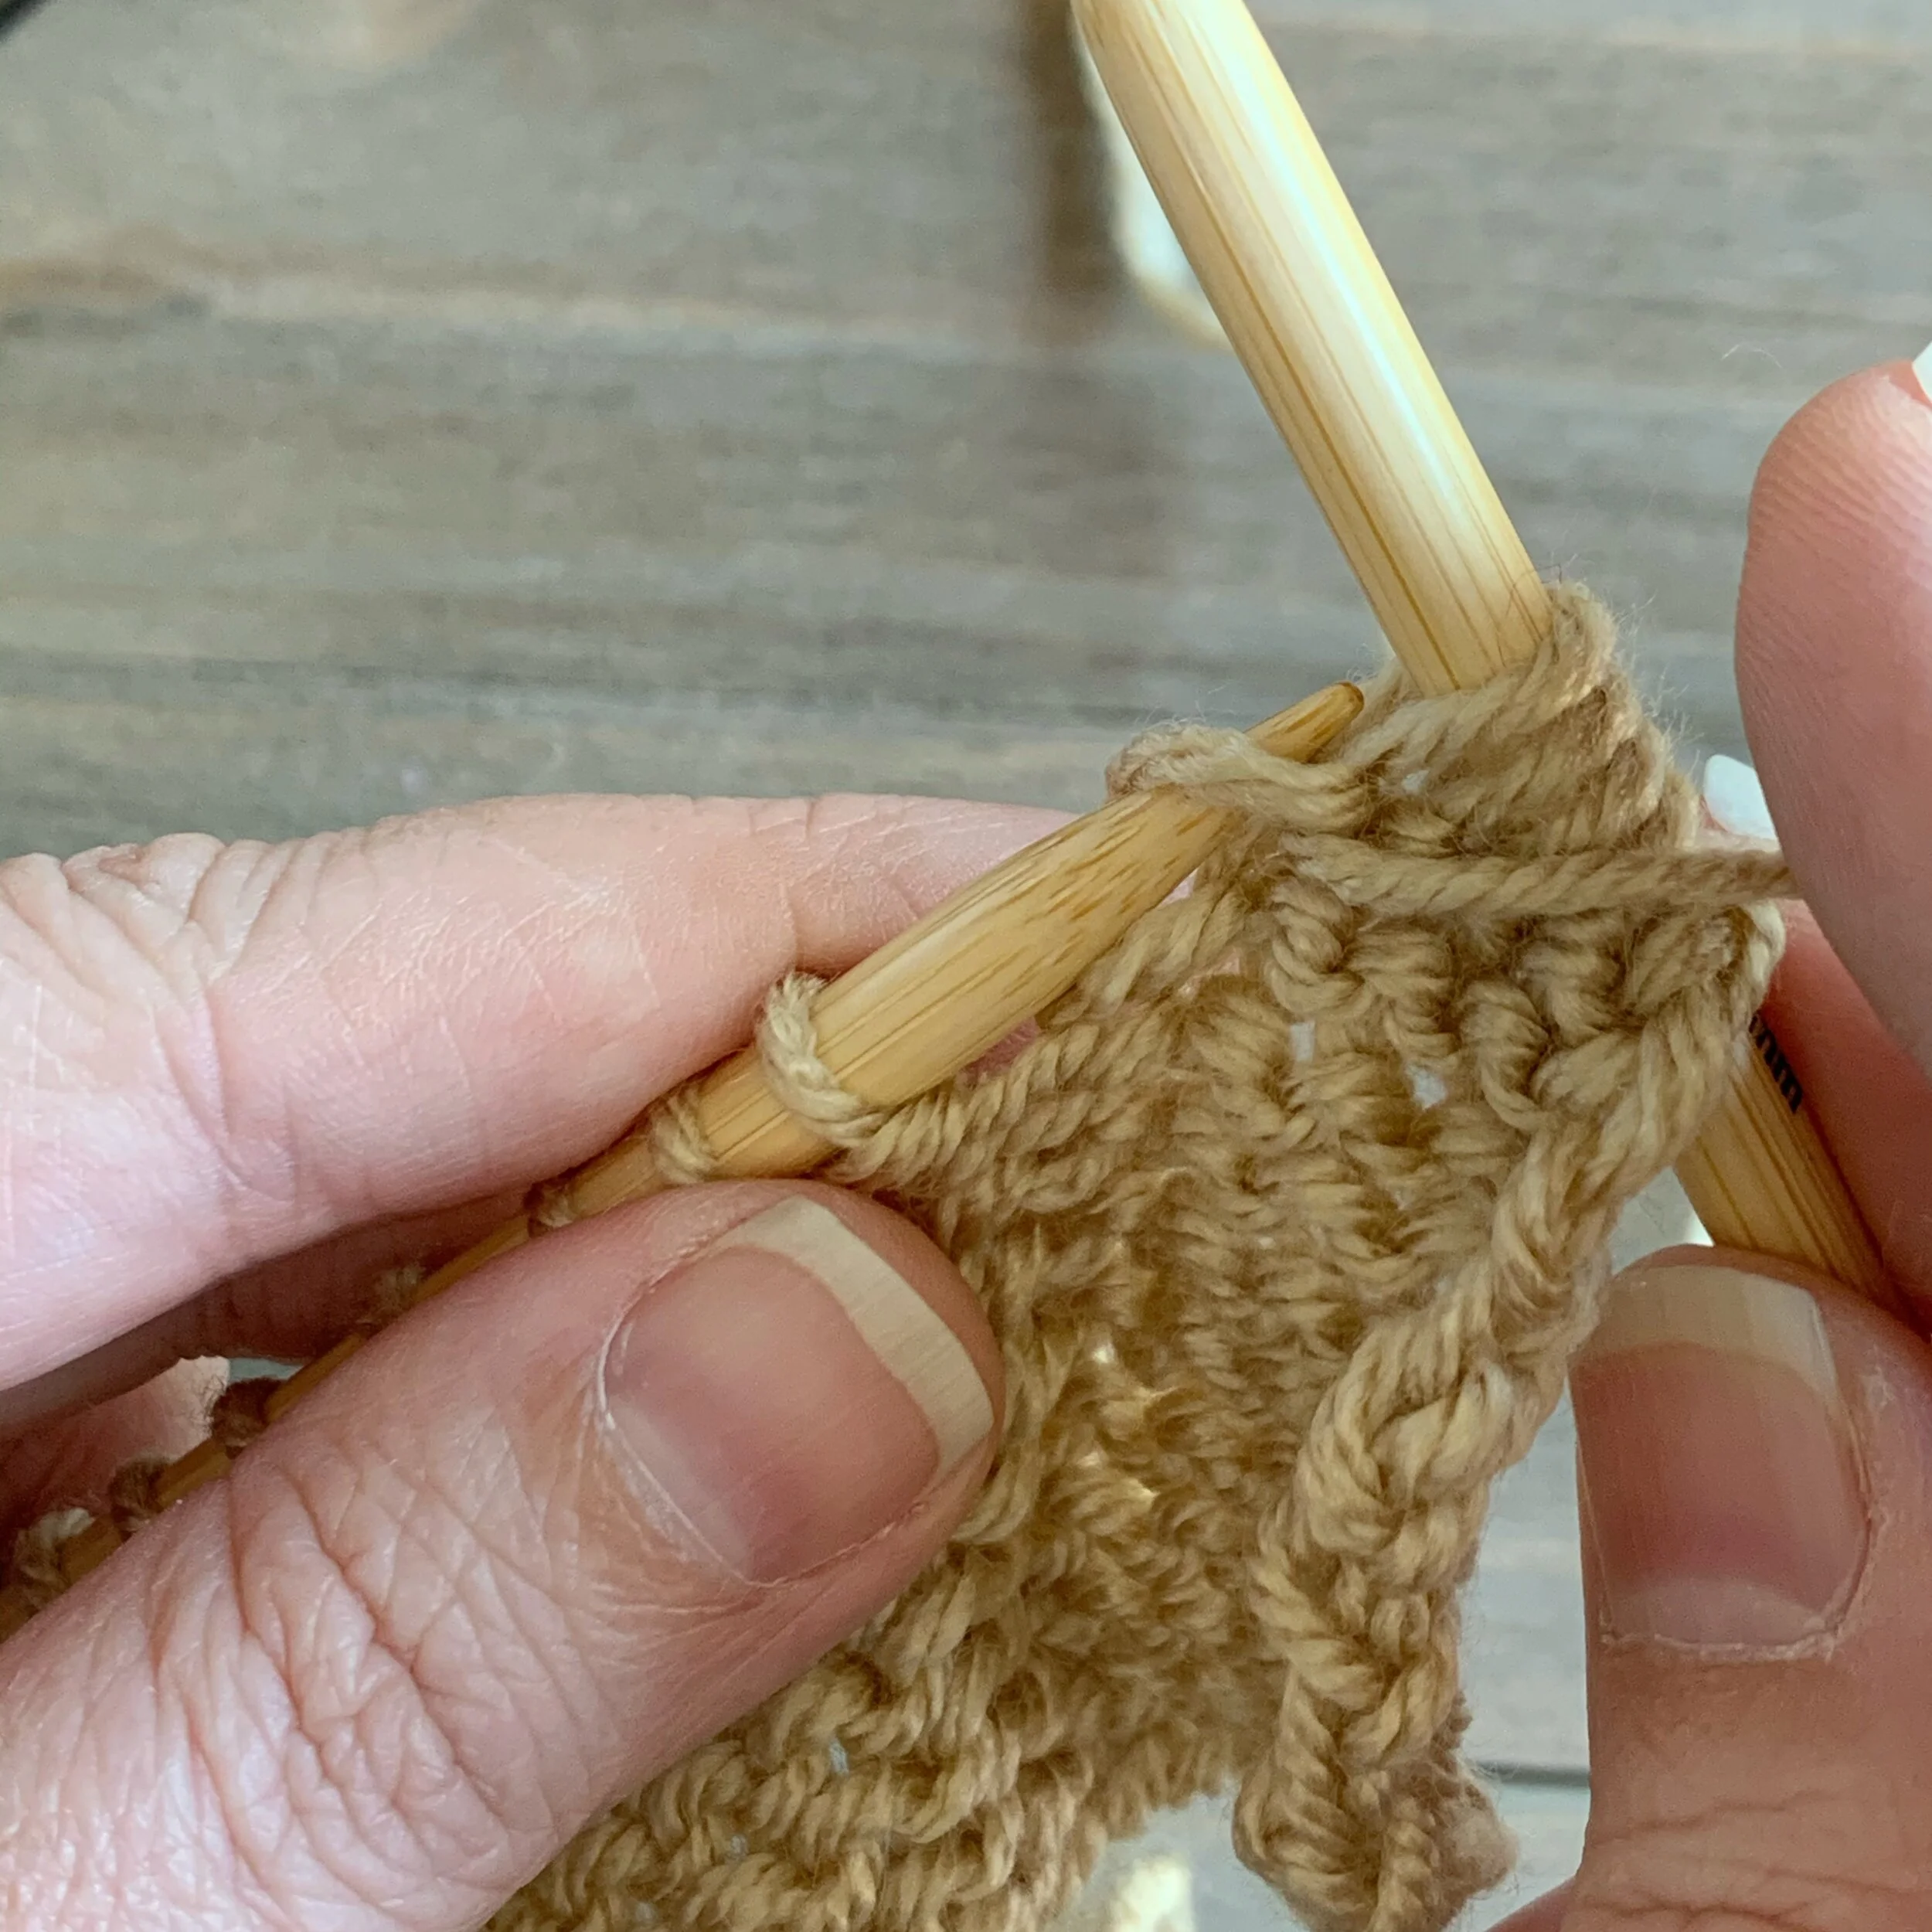
There are two basic stitches in knitting, the knit stitch (k) and the purl (p) stitch.
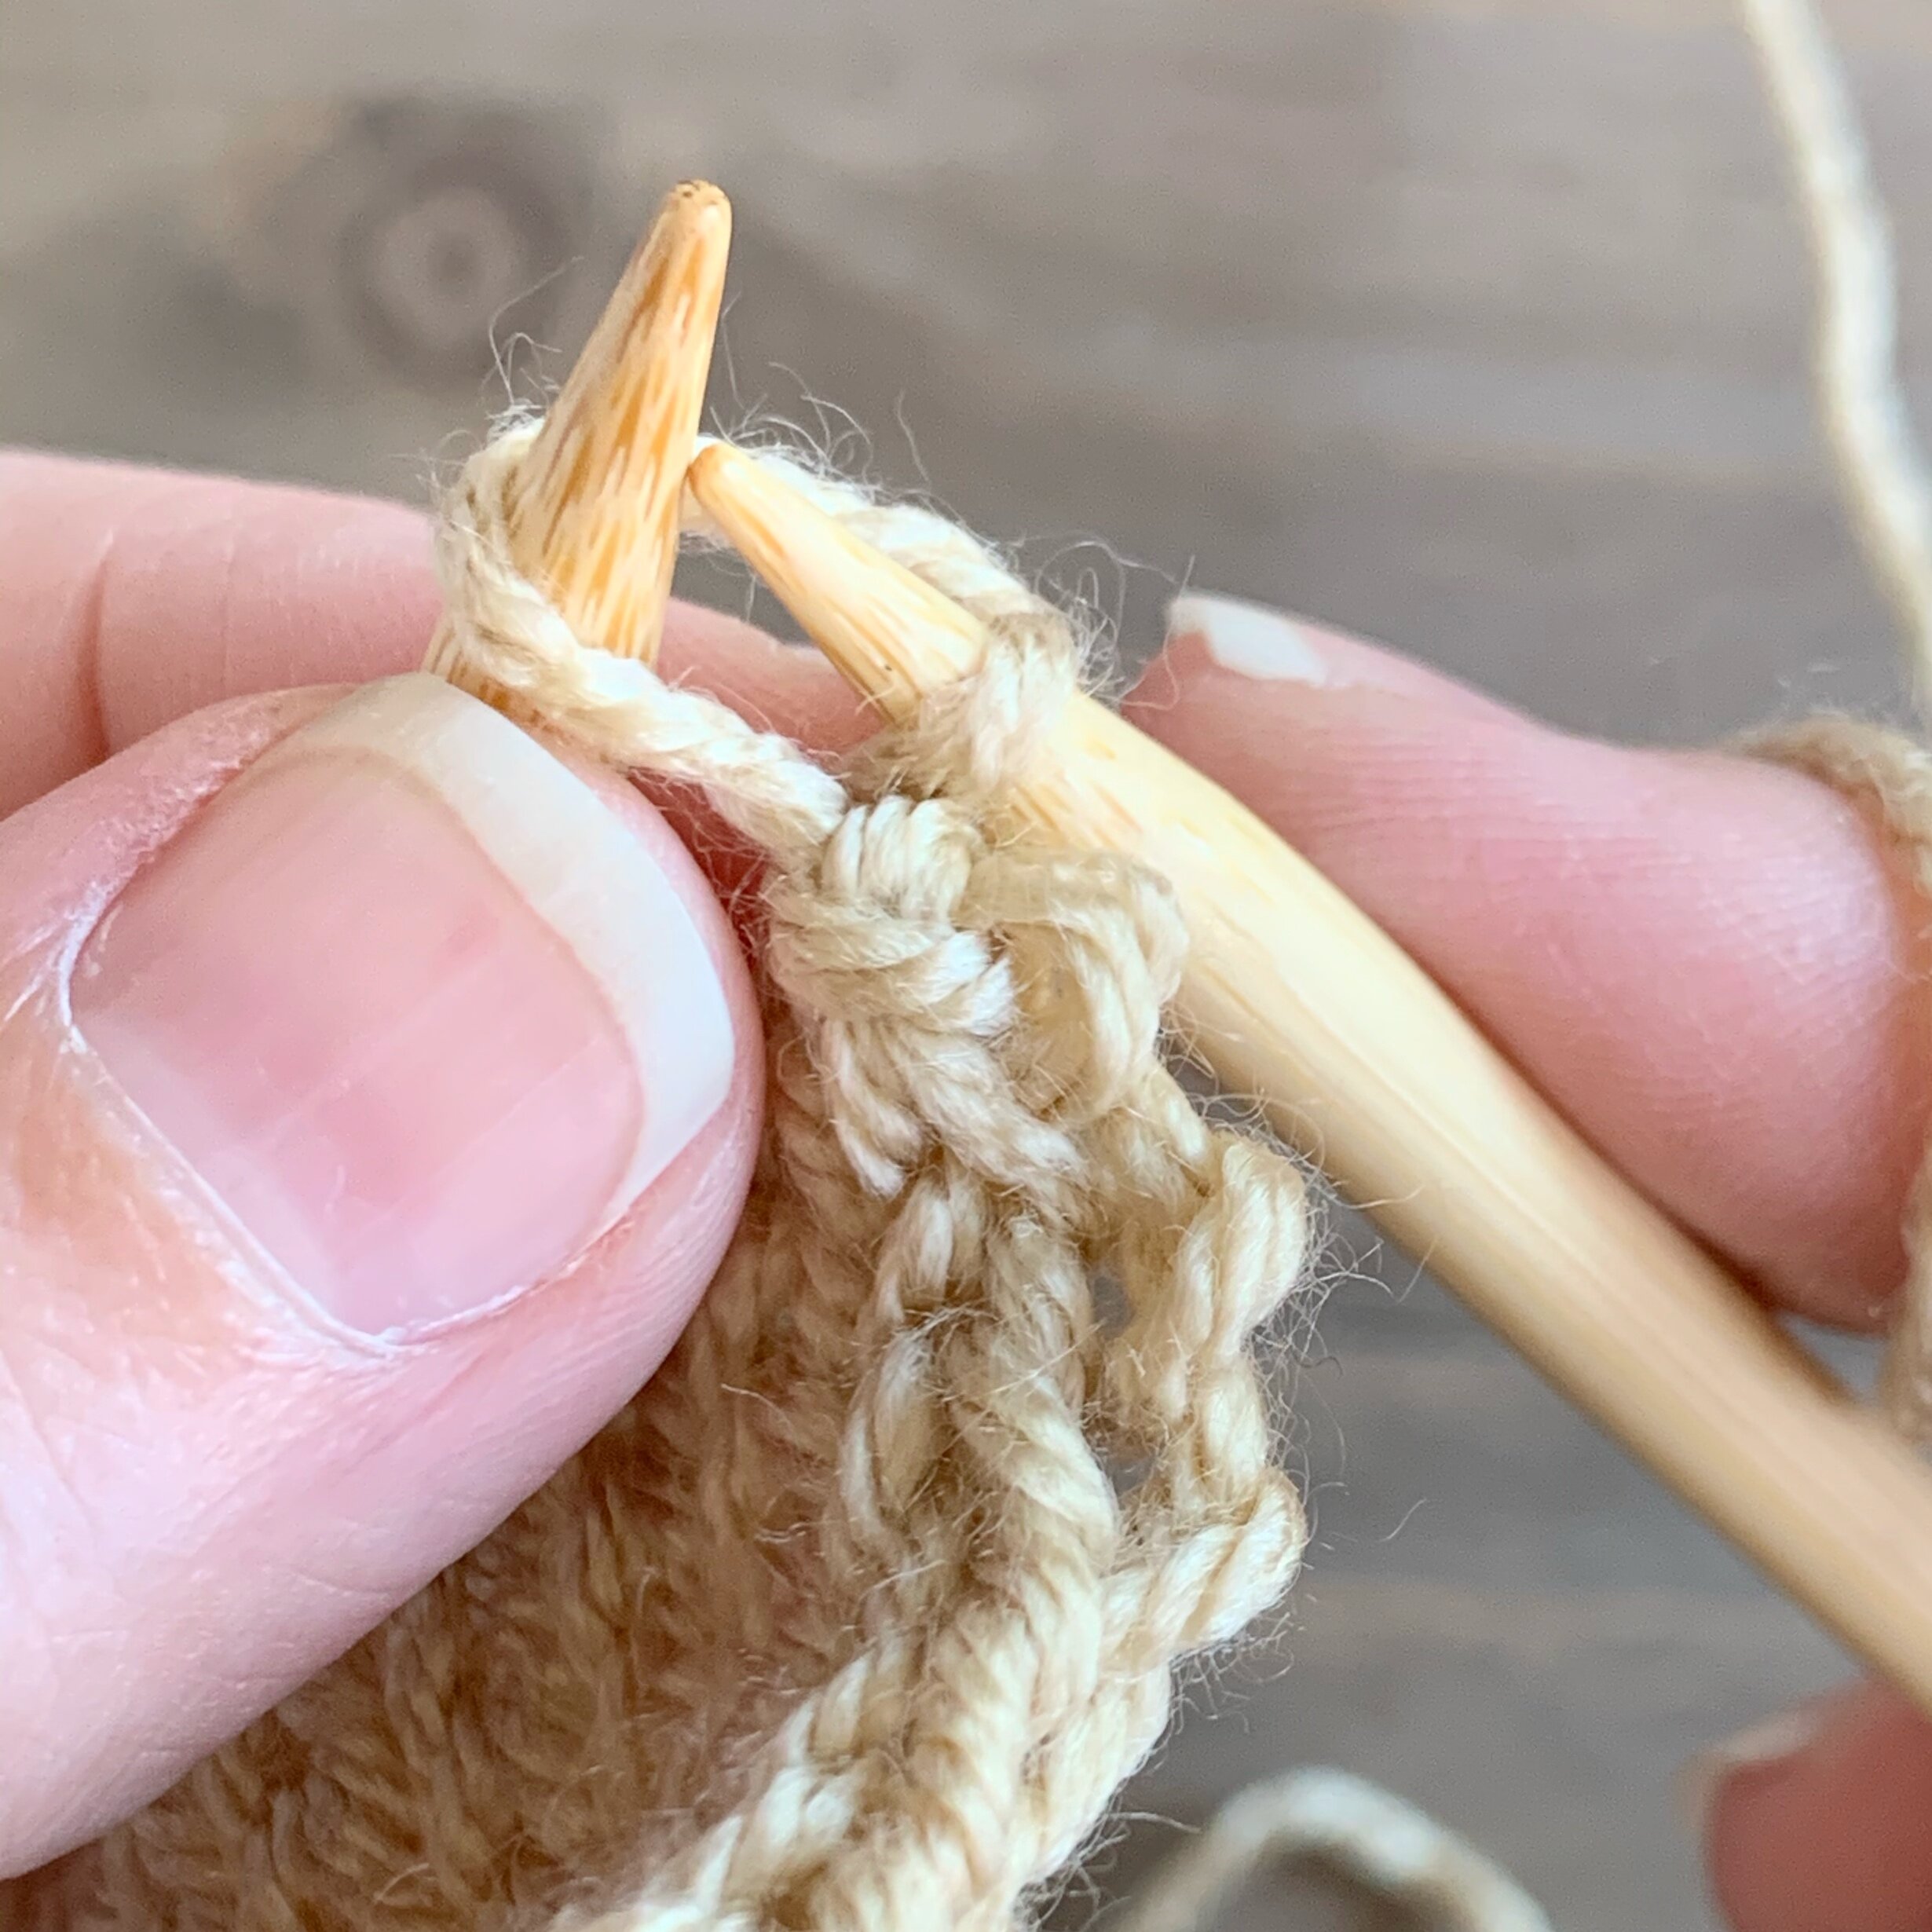
For knit stitches you’ll want to make sure your working yarn is always sitting towards the back of your work. Then take your right needle and insert it from left to right (also called knit wise) through the next stitch on your left needle. Wrap the working yarn around the needle from back to front (also called yarning over, yo) and then pull the wrapped yarn through the stitch, then slide that stitch off the left needle.


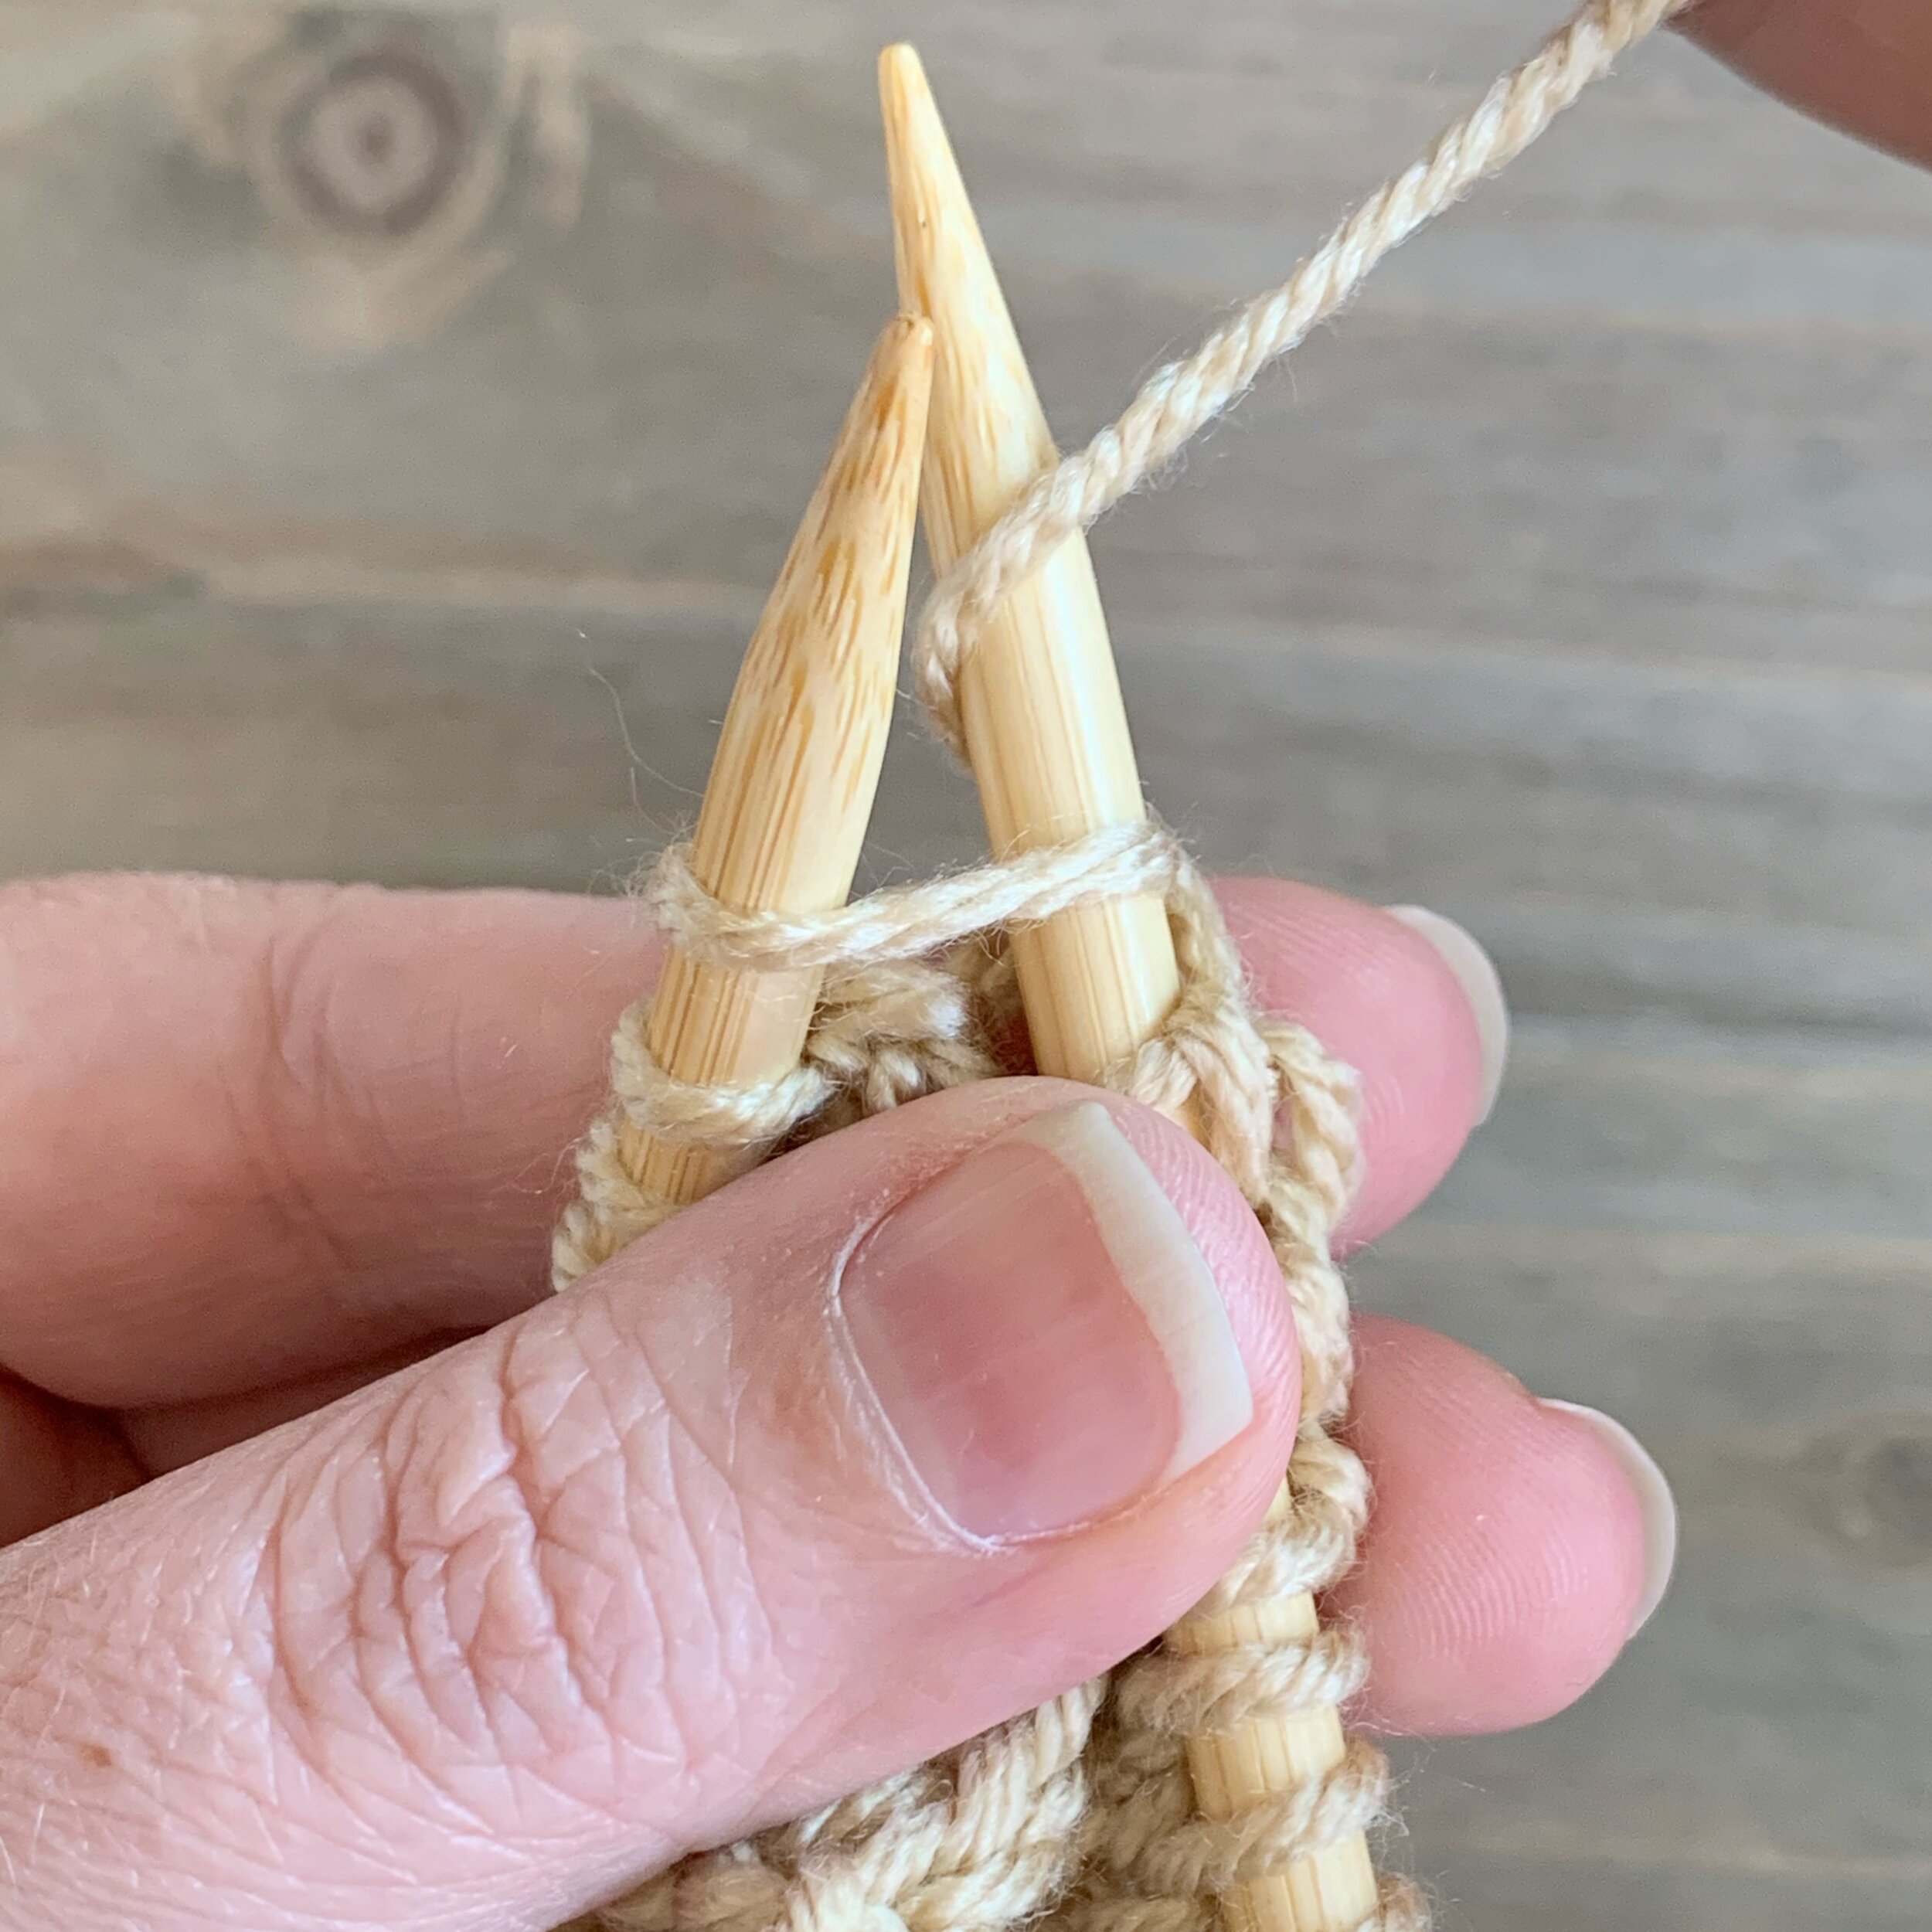


Repeat this process for each stitch on the left needle, until all stitches are then on your right needle, then turn your work and you’re ready for the next row.
If you continue to work in only knit stitches you’ll end up with what is called garter stitch and it looks like the swatch on the right in the photo below.

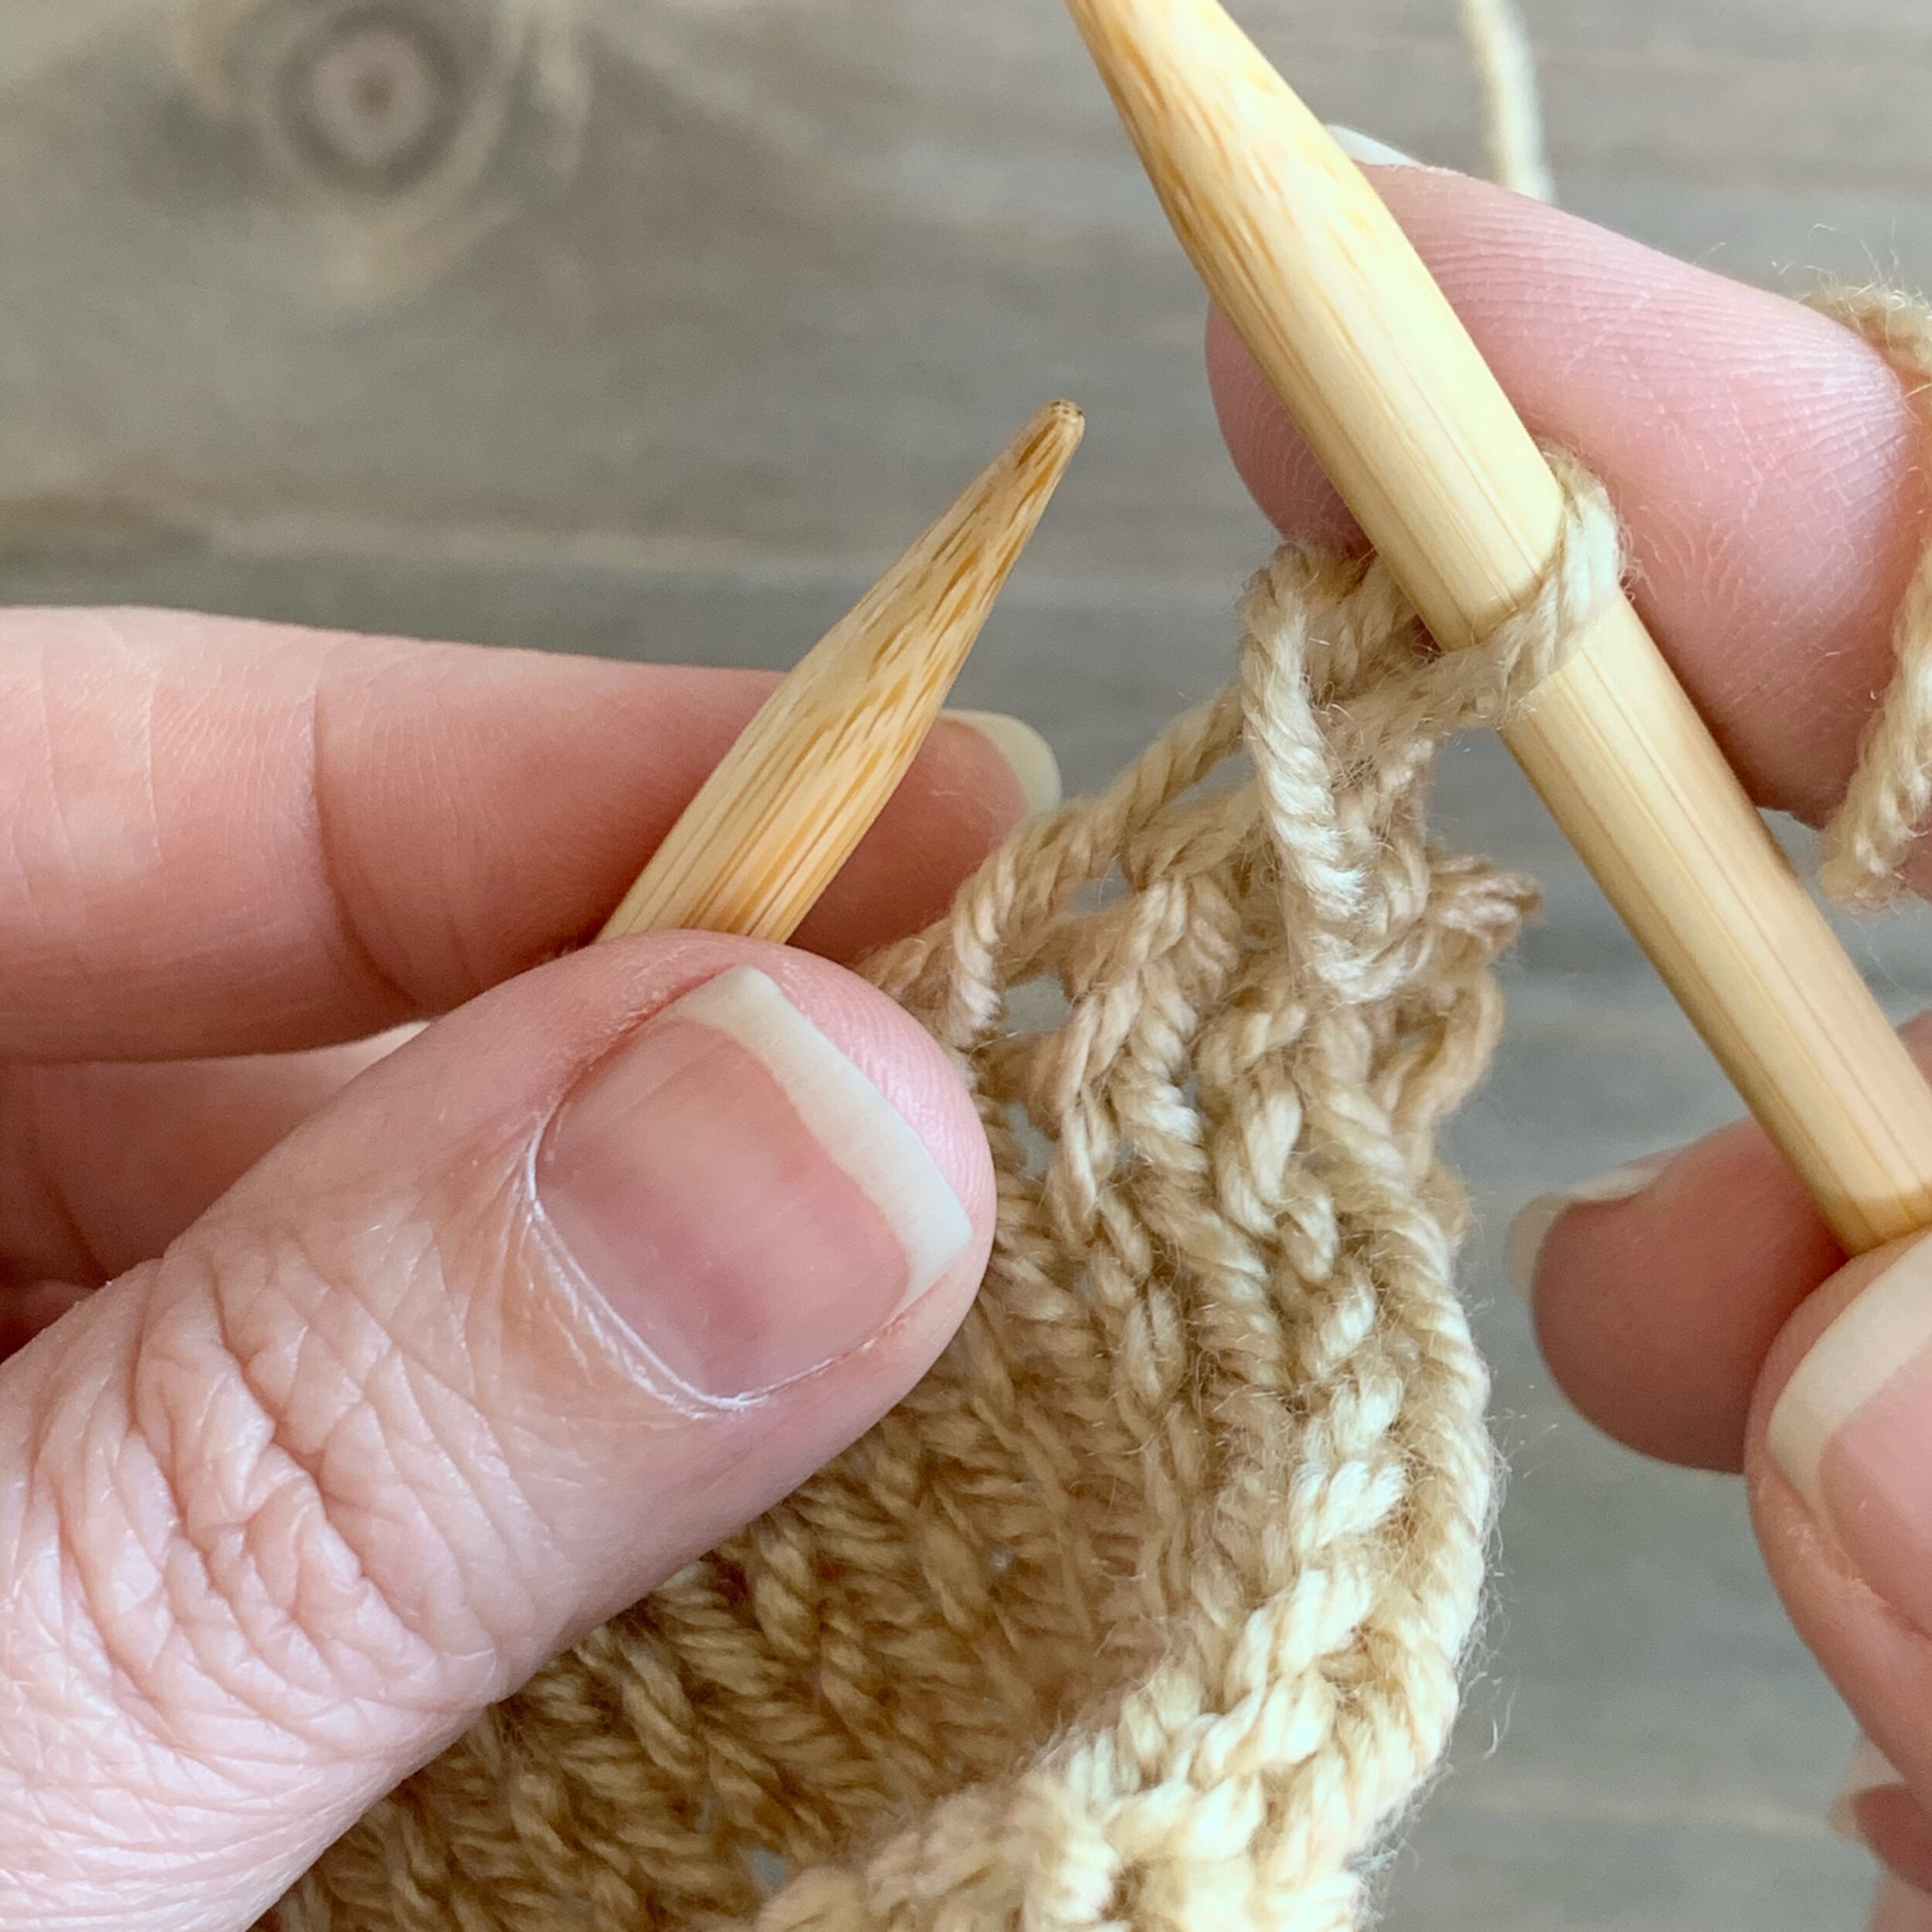
The second basic stitch in knitting is called the purl stitch. When doing the purl stitch you will want to have your working yarn in the front of your work. Then insert the right needle from right to left (also called purl wise) through the stitch on the left needle. Wrap the working yarn around the right needle from back to front, and then pull that yarn through the stitch. Slide the stitch off the left needle and you’ll have one purl stitch complete.
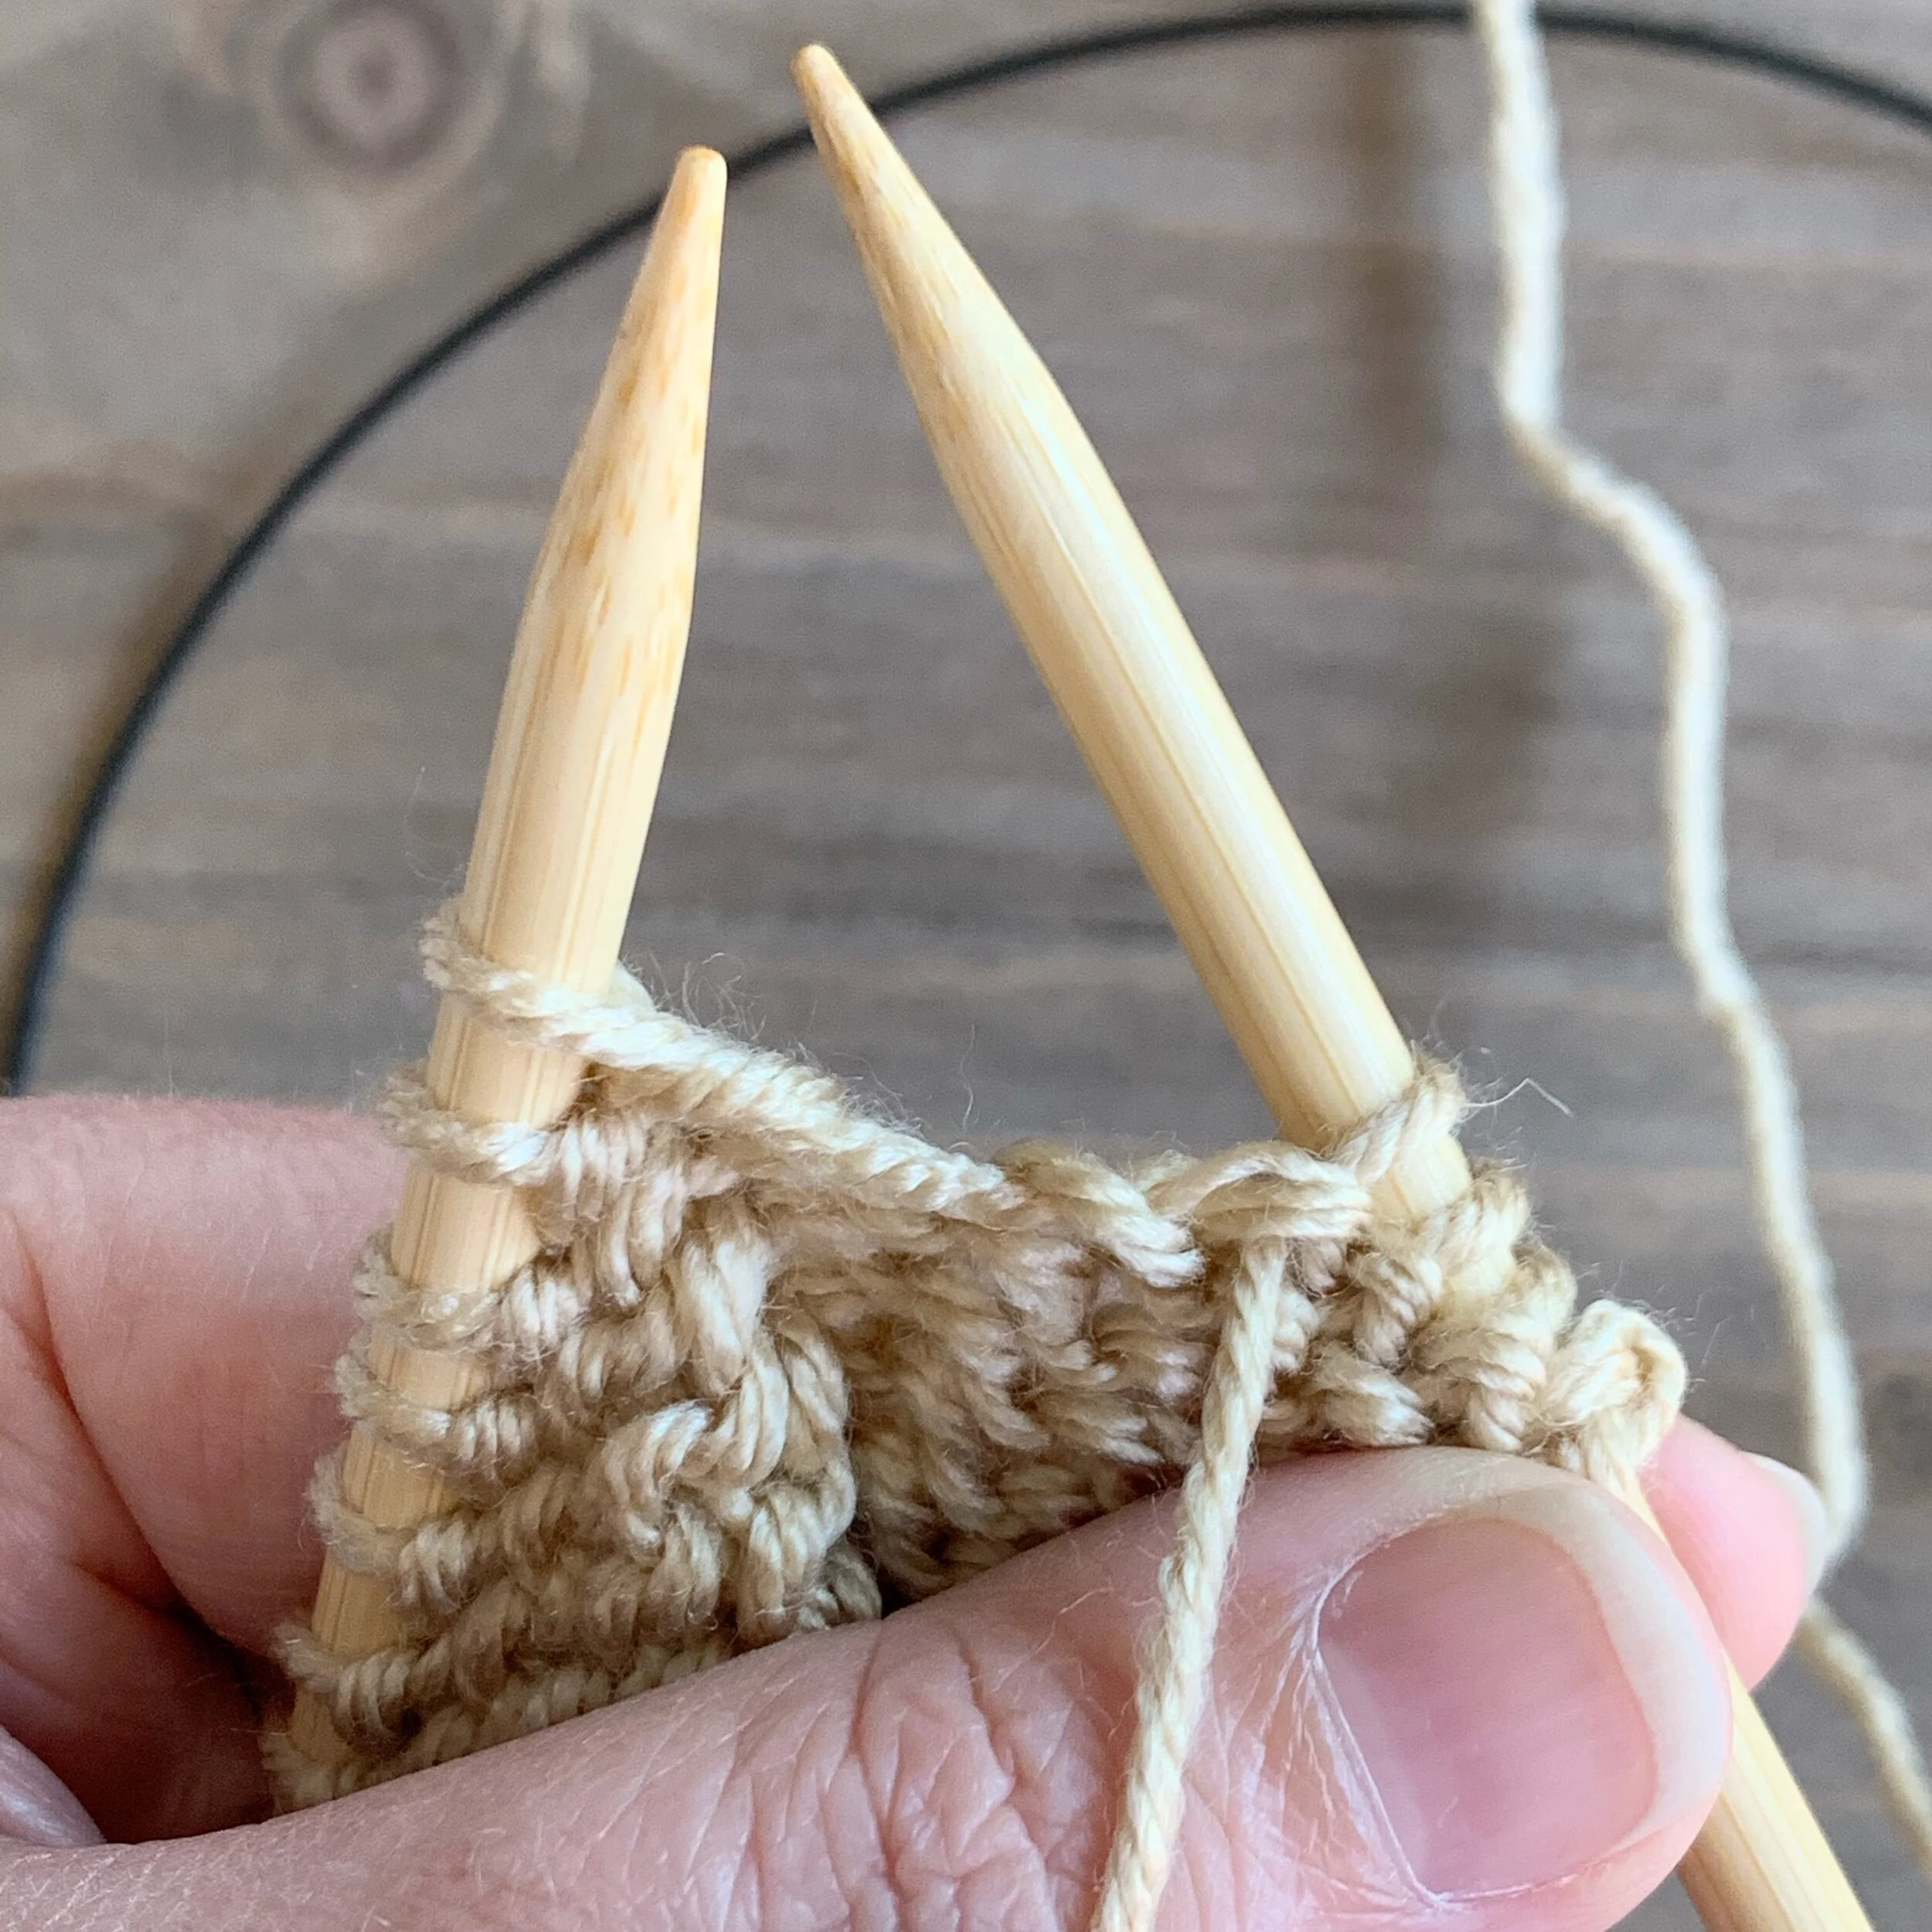


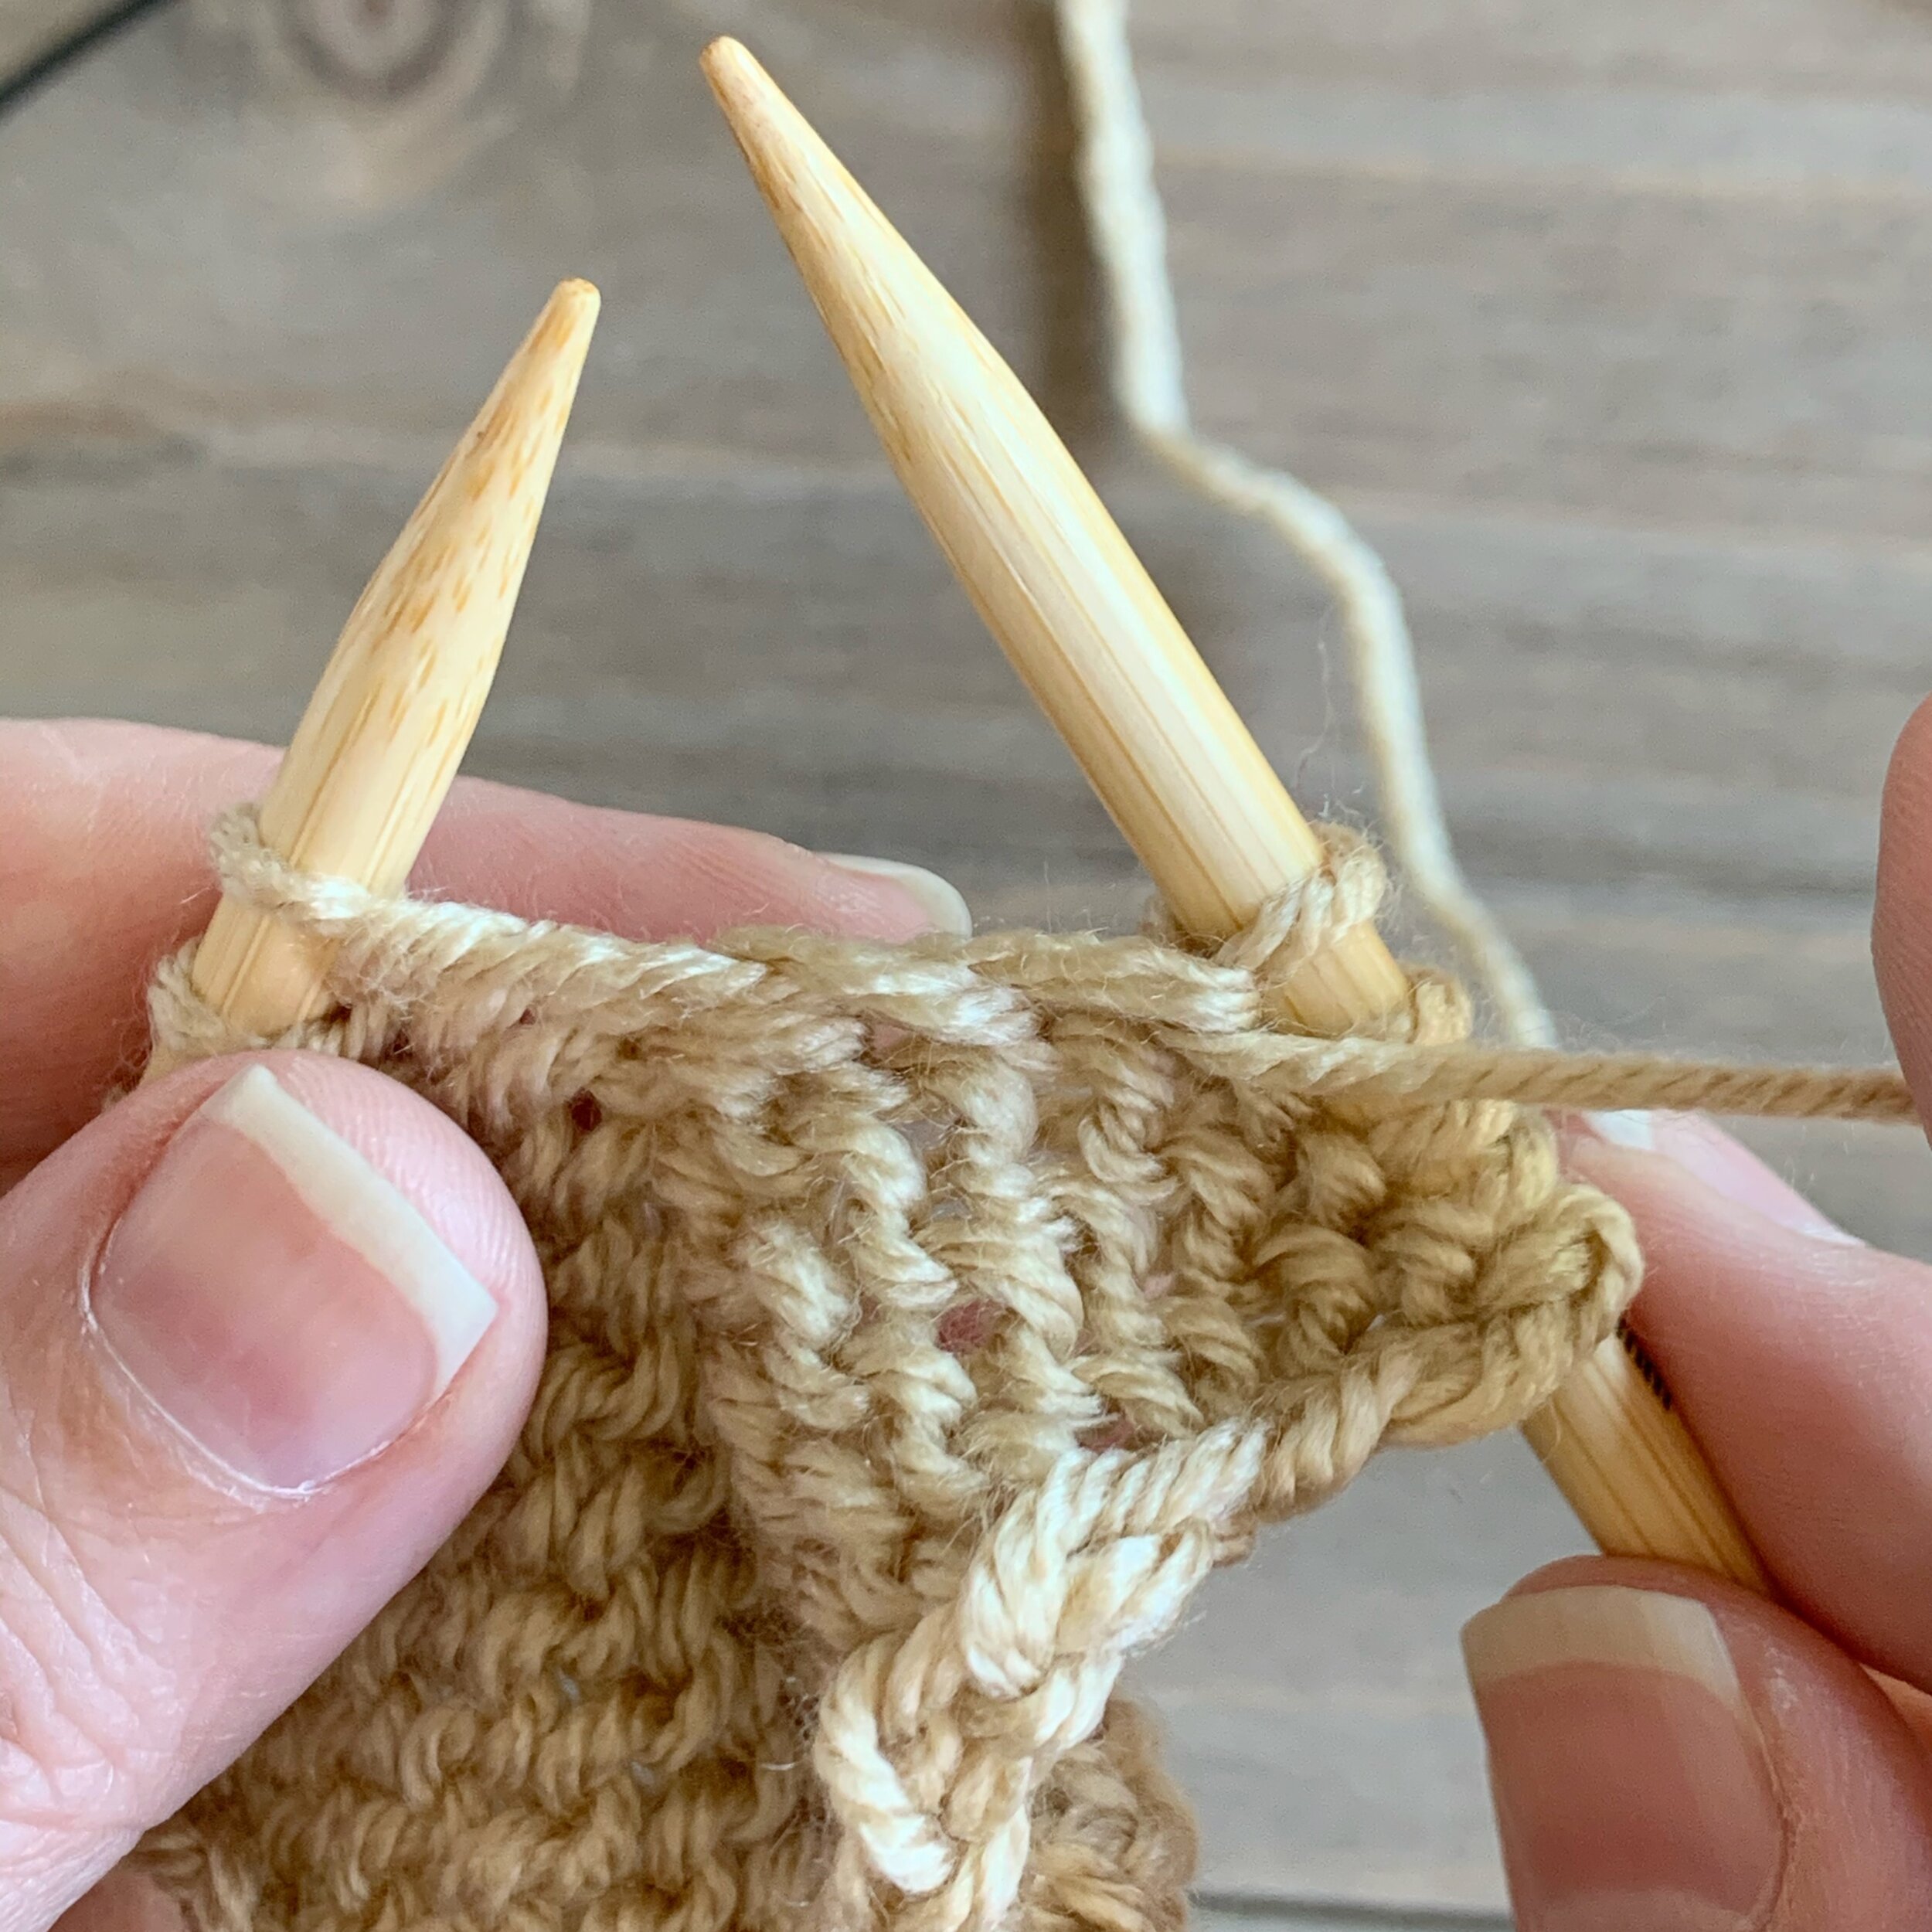
Repeating one row of knit stitches and one row of purl stitches over and over will result in stockinette stitch or reverse stockinette stitch depending on which side is the right side. Stockinette stitch will look like traditional knit stitches and will be made up of little “v”s. Reverse stockinette is the other side and will look like little dashed lines.
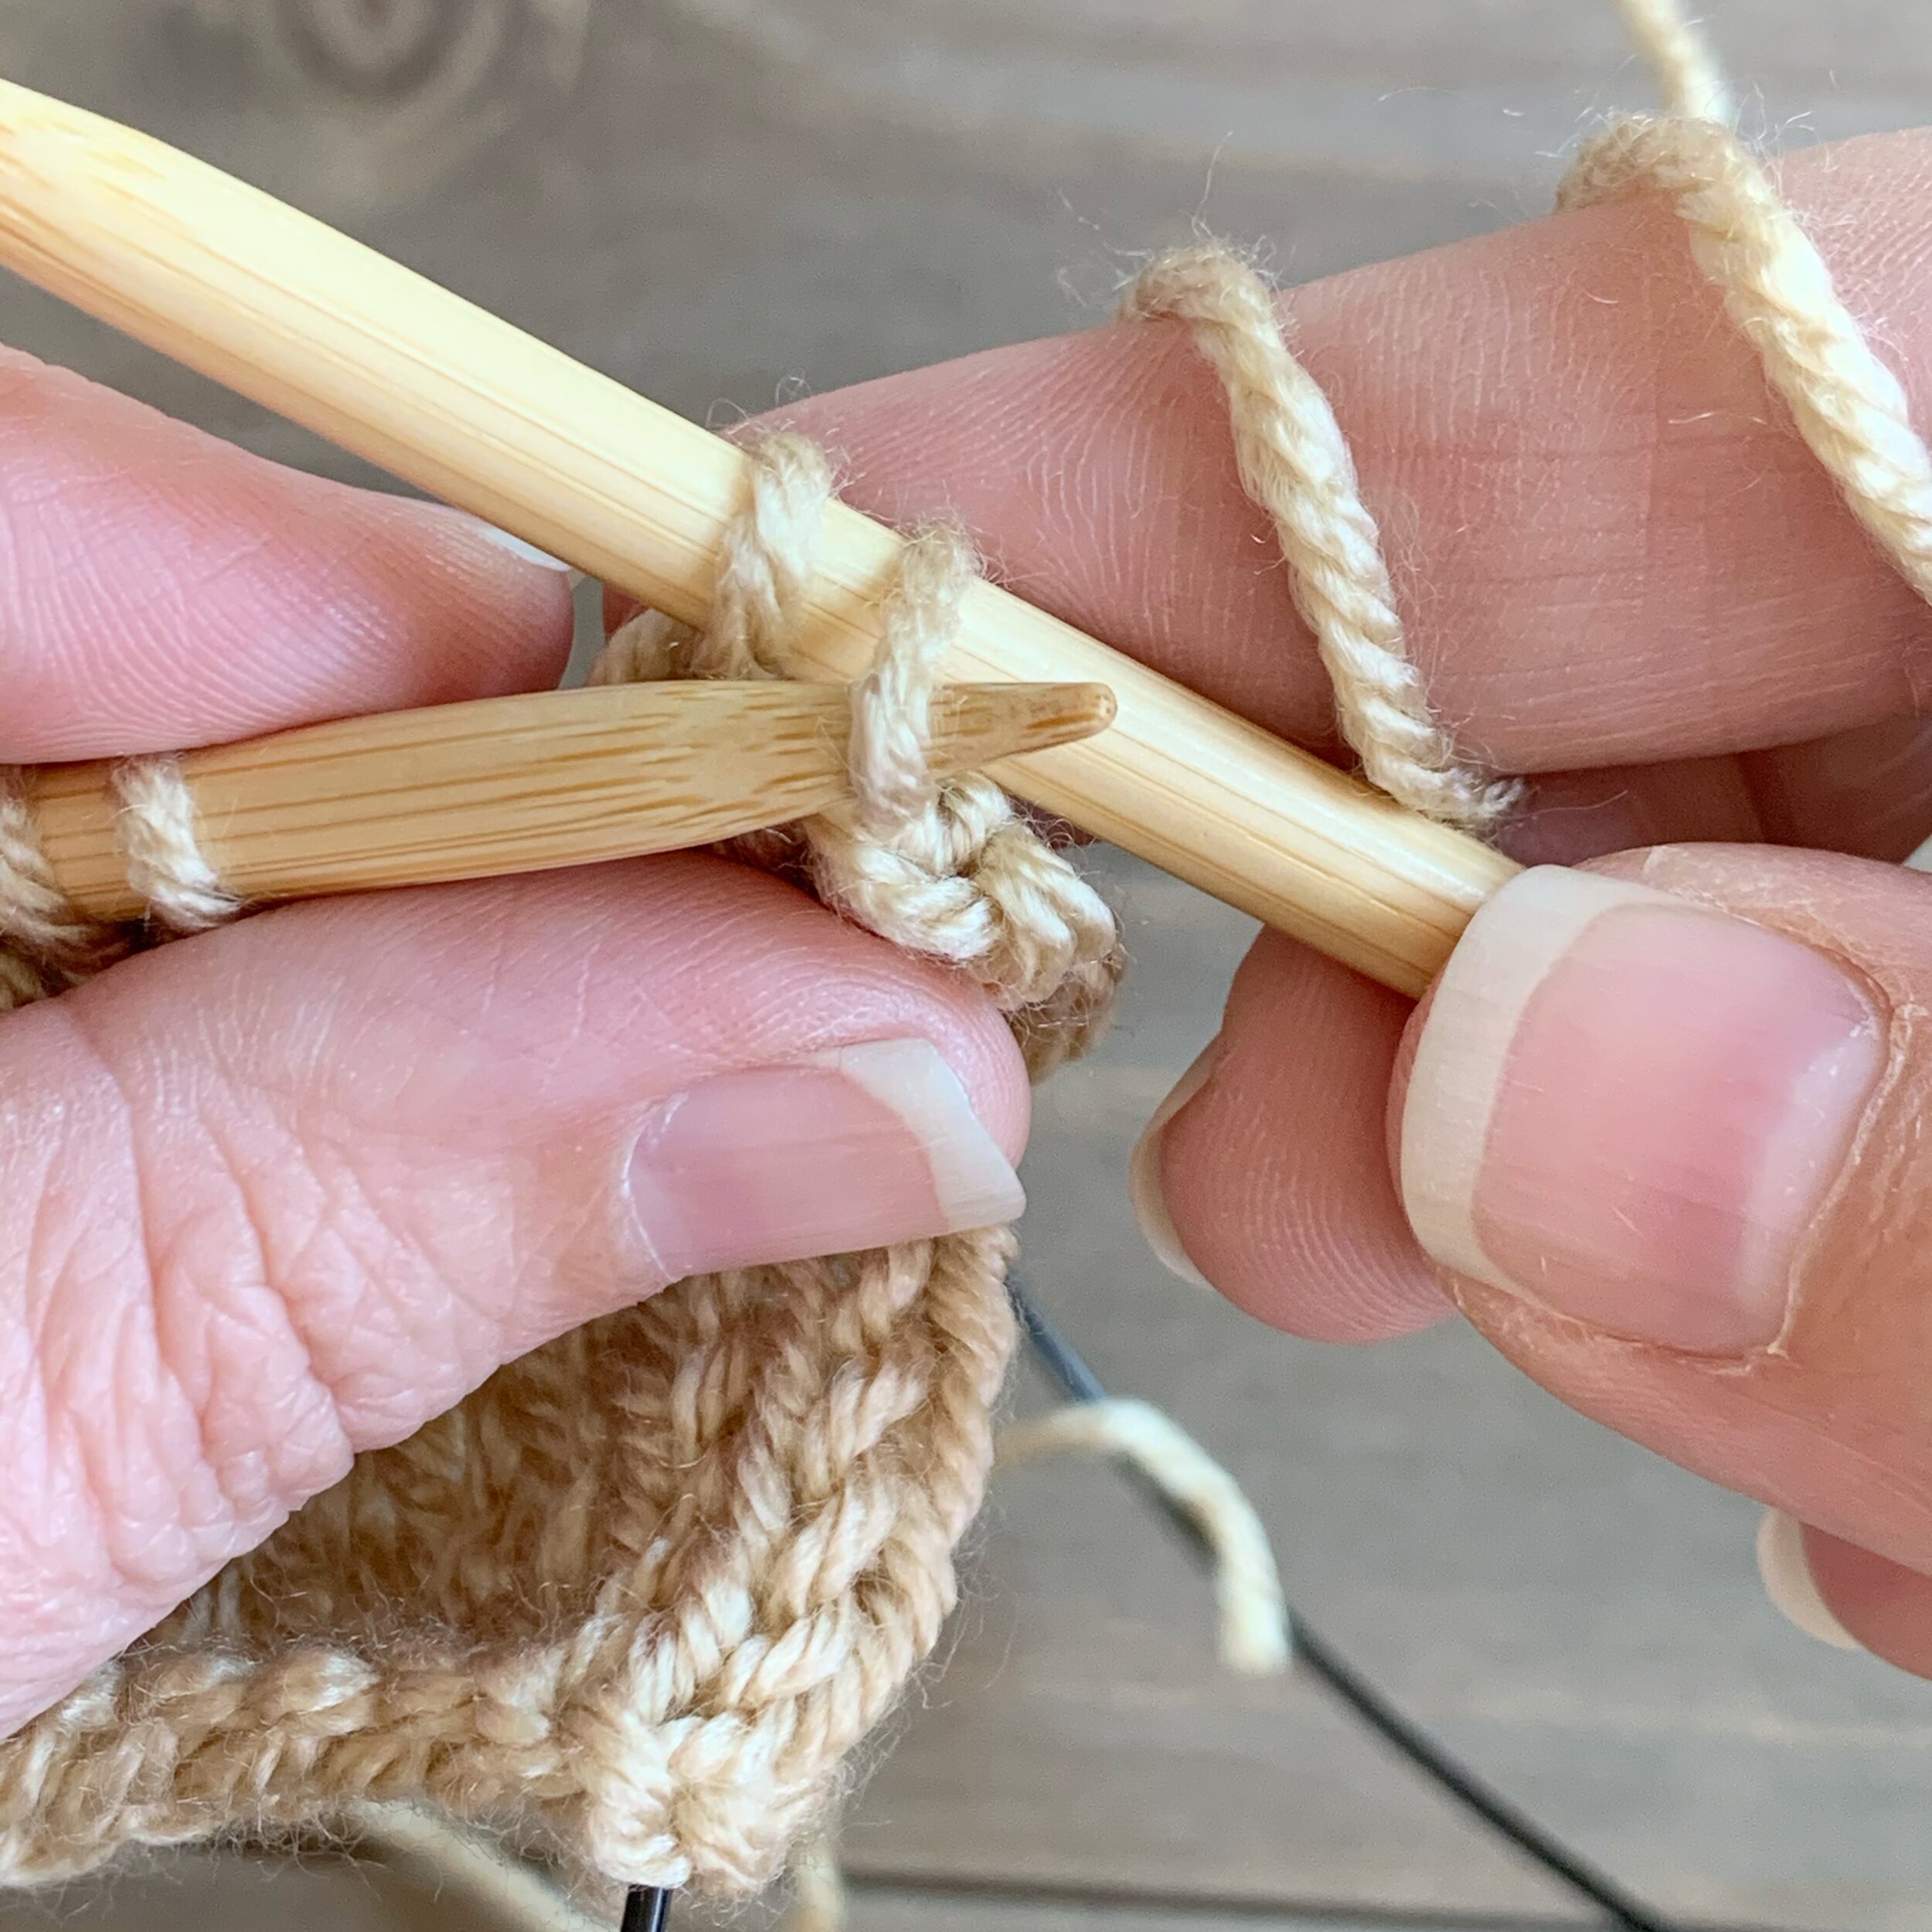
Binding Off
Once your work is complete you will need to remove the piece from the needles. This is called binding off. It is a rather simple process and is usually done on the knit side of your work.
Start by knitting the first two stitches. You’ll have two stitches on your right needle. Using your left needle you’ll just slip the first stitch over the second stitch. This is done by inserting the needle from the left to right into the first stitch and then carefully pulling the second stitch through the first stitch and dropping it. Then, knit another stitch from the left needle and repeat the bind off process. Continue to bind off stitches until only one stitch remains. Cut your yarn and pull it through to finish. You’ll see a nice row of “v”s laying across the top of your piece.


Now you know all the basics of knitting. I hope you found these tutorials helpful and you’ll feel confident starting out on your journey with knitting. Make sure to share your work with me over on social media. Just use #meghanmakesdo and tag me @meghanmakesdo so I can see.
Happy Knitting,
Meghan

