
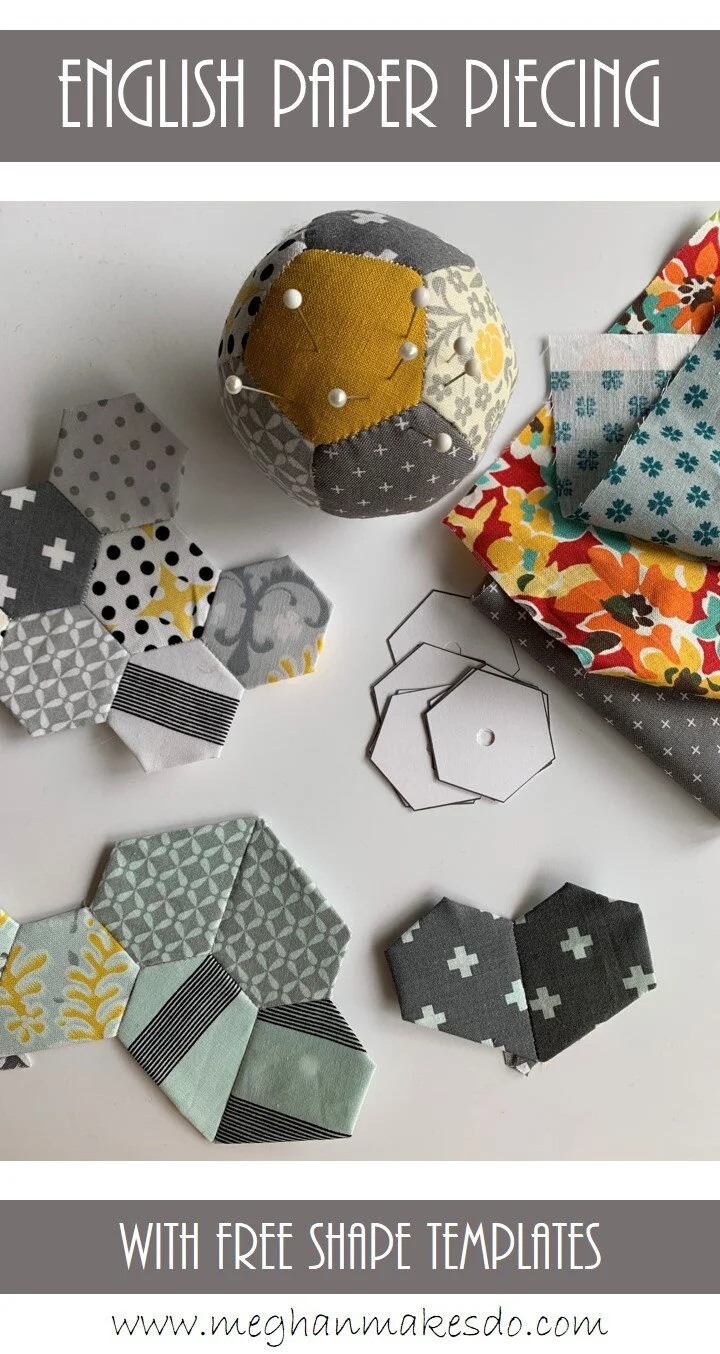
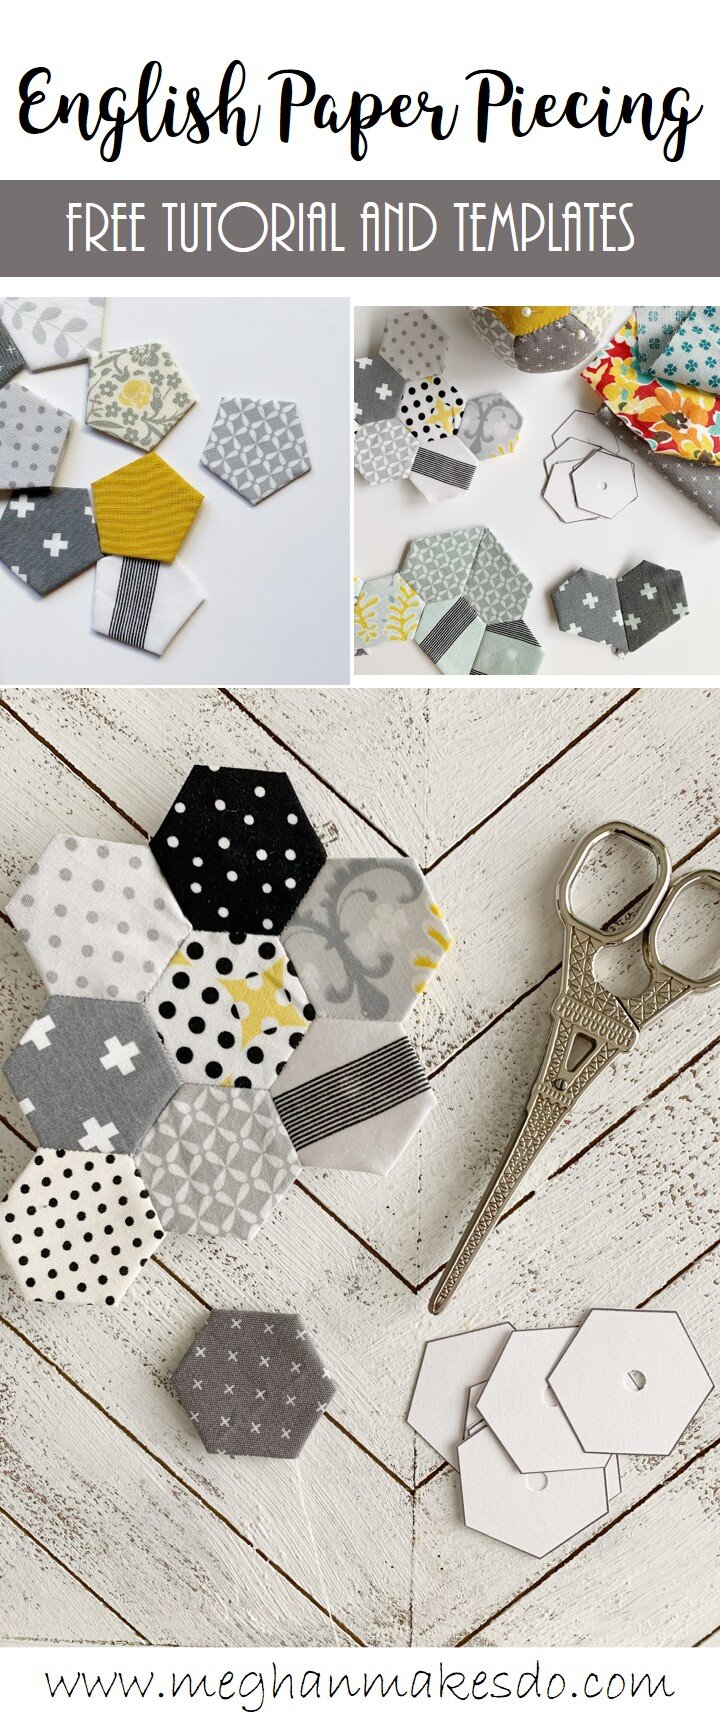
How To English Paper Piece
I may have a new obsession…English paper piecing! I have always wanted to try it out, but was always a bit intimidated by it. This year I decided I wasn’t going to be afraid to try new things so I went for it and I’m so glad I did. It’s way easier than I thought and is a perfect way to use up those little scrap pieces of fabric I always have leftover from other projects. Ready to try it for yourself? Scroll down for a photo and video tutorial on how to English Paper Piece (EPP).
Want to jump right in? Check out my free Pearl Pincushion pattern here.
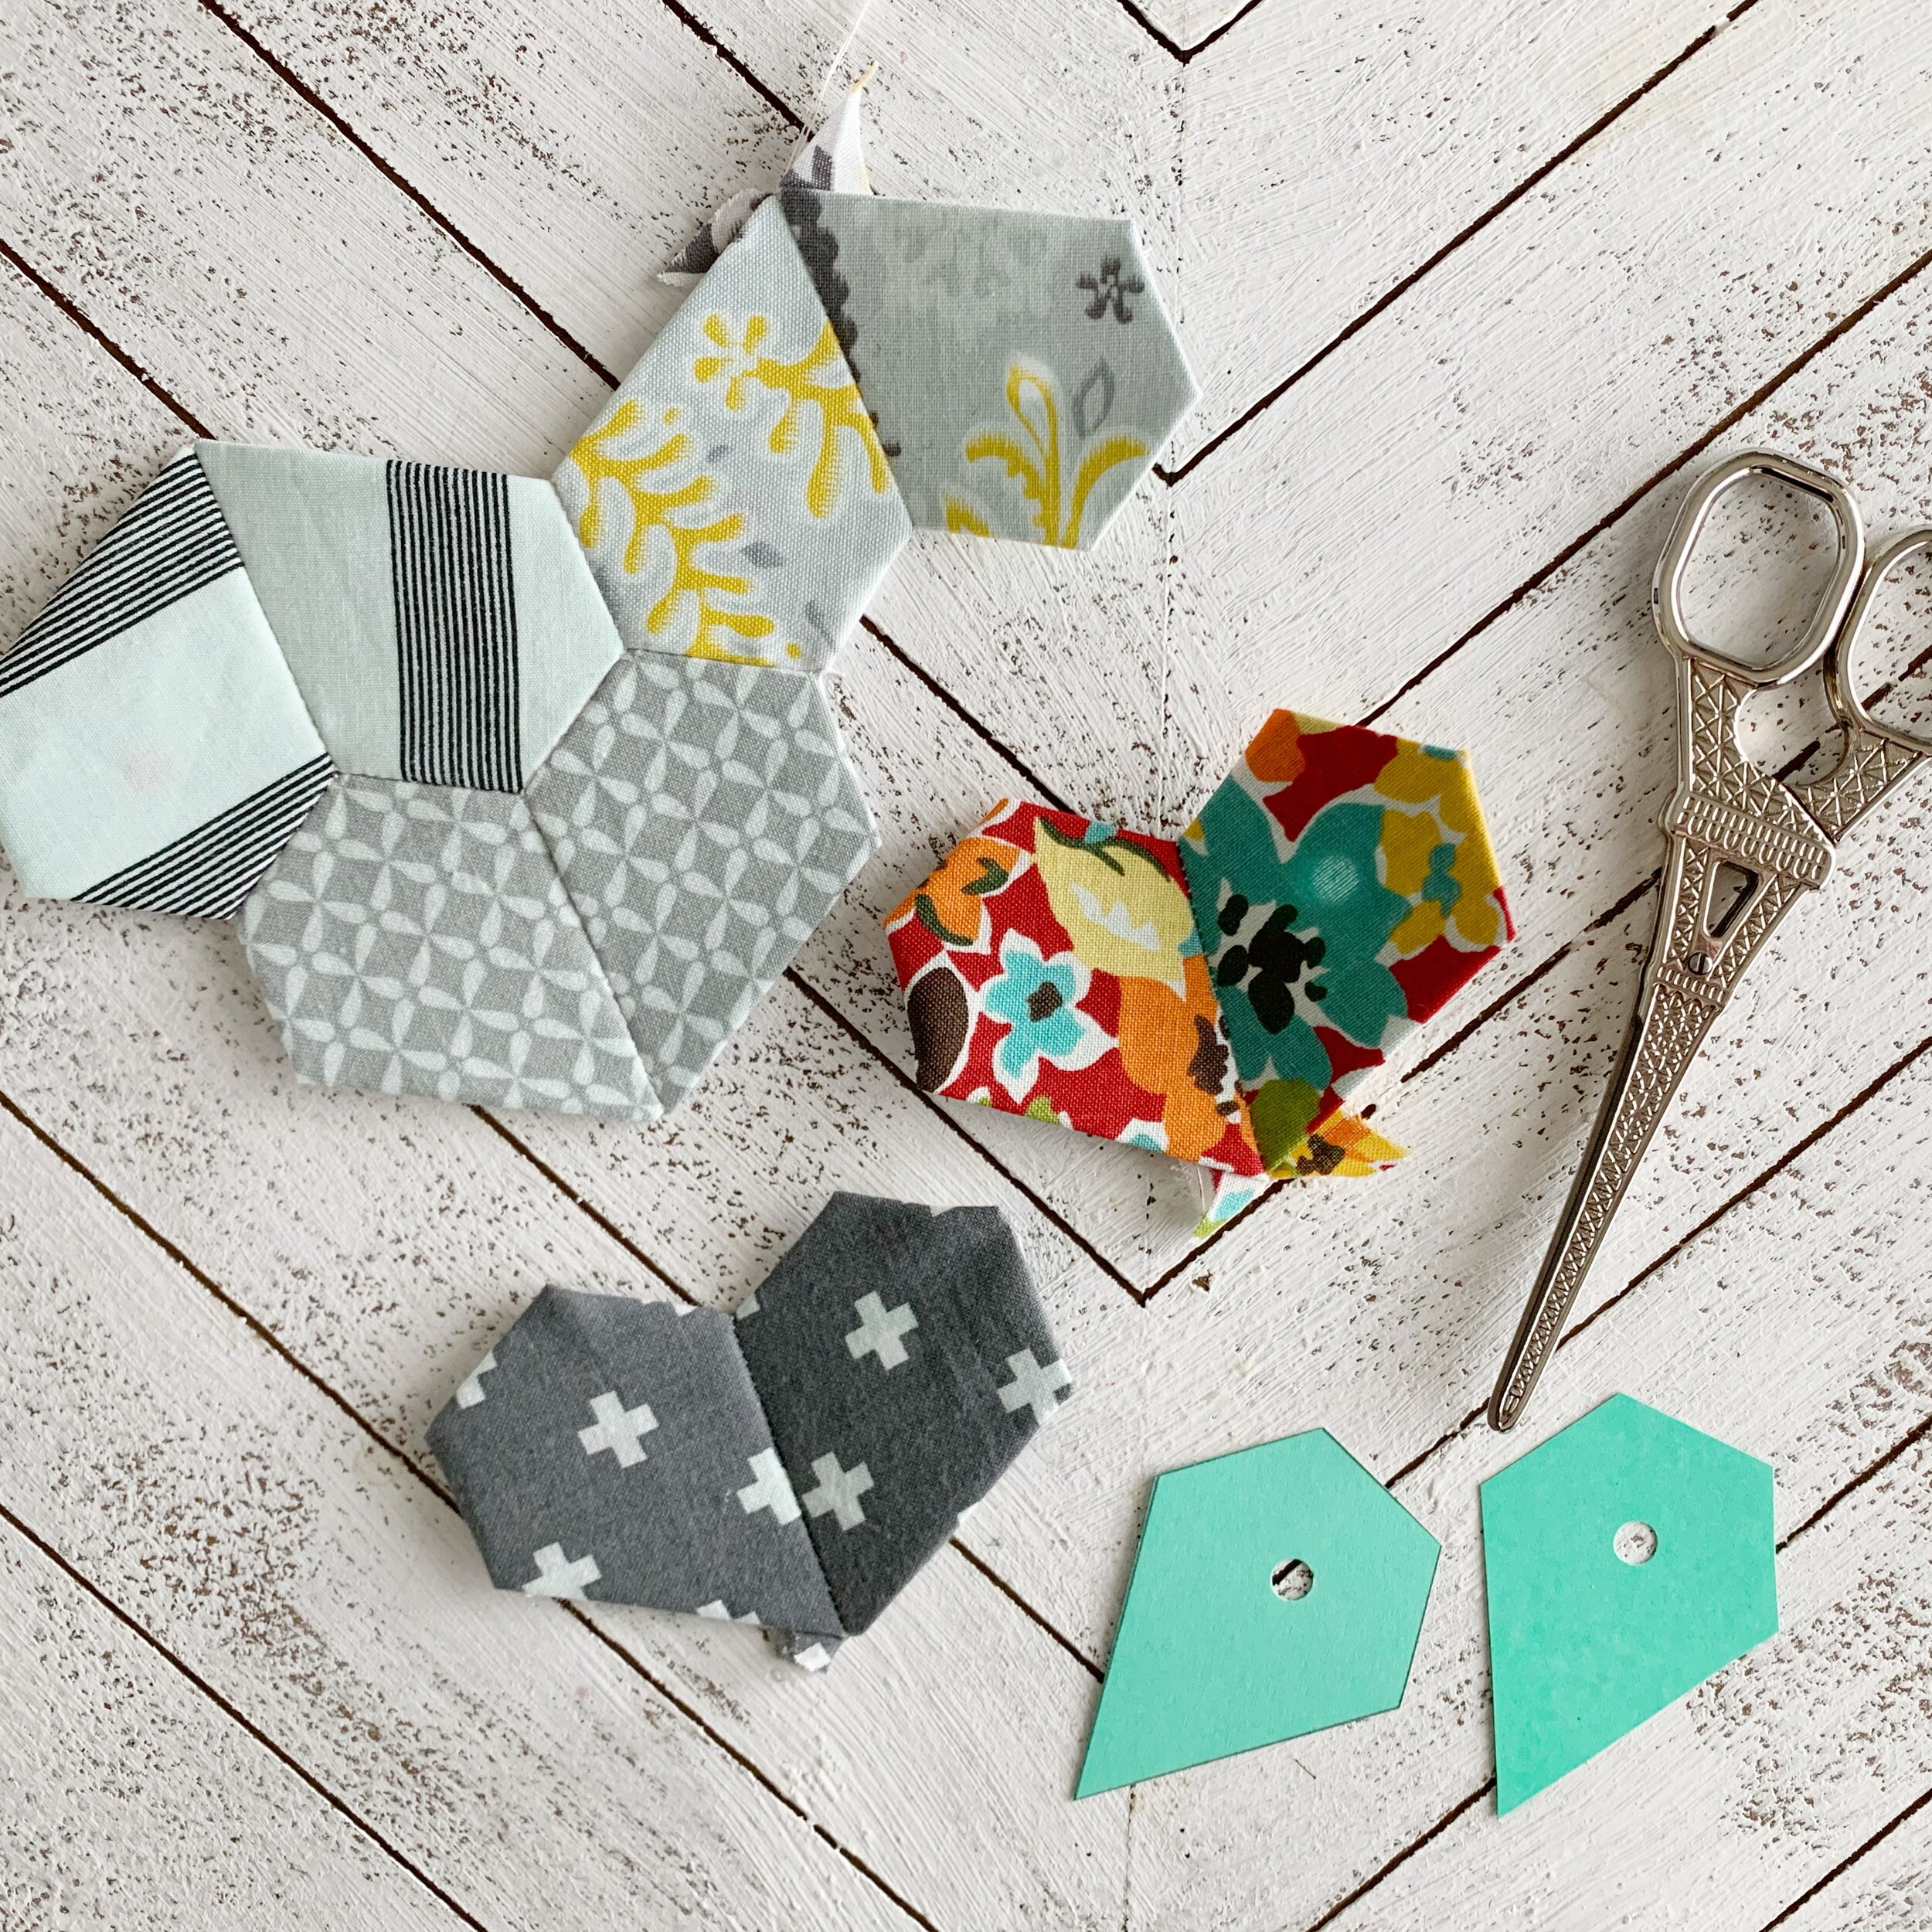
English Paper Piecing is a method of hand sewing fabric together using paper templates. You can use any shape you’d like and can buy precut paper pieces or create your own out of cardstock. I’m a major DIYer so I decided to create my own templates and just print them at home as I need them. I even made some fun templates just for you! Just click on the link below to download your FREE EPP templates.
Along with your paper templates you will also need fabric (I use quilting fabrics mostly), sewing needles, thread and scissors.
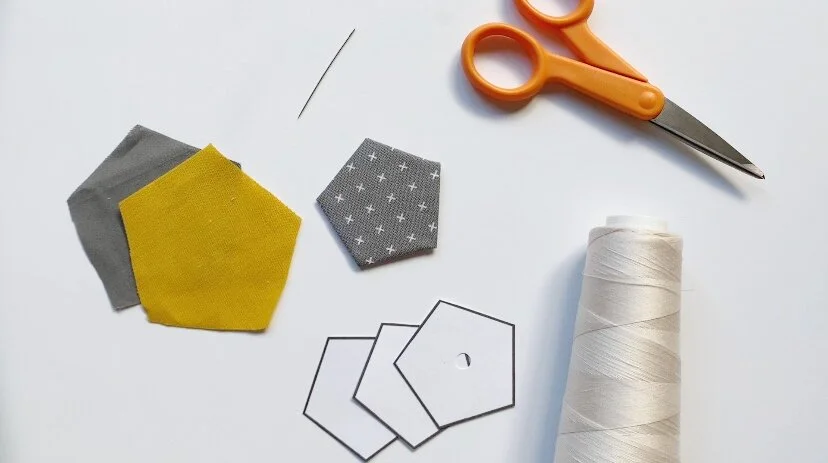
To start EPP you’ll need to cut out your templates. I like to punch a hole in the center of my templates too which will make it easier to remove later on.
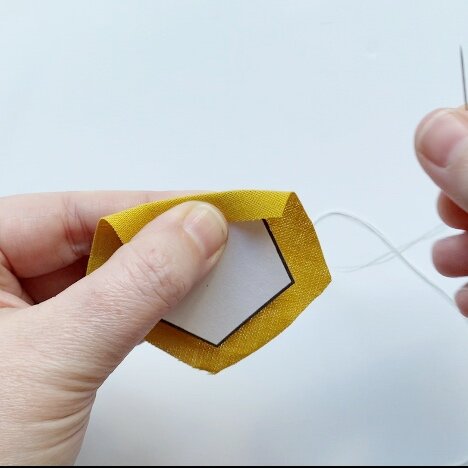
Then you will need to use your templates to cut your fabric. You can either trace around your template with a fabric marker or just hold it in place against a small piece of fabric. Make sure that you have about 1/2 inch of fabric around all sides of the template. I like to hold my template against the fabric and then just cut around free hand. Whichever way works best for you just make sure you have enough fabric around the template to fold over the edge.
Now that you have your fabric cut, it’s time to start basting the fabric around the template. I like to cut a long piece of thread and then fold it in half and thread the ends though the eye of the needle so my thread is doubled up.
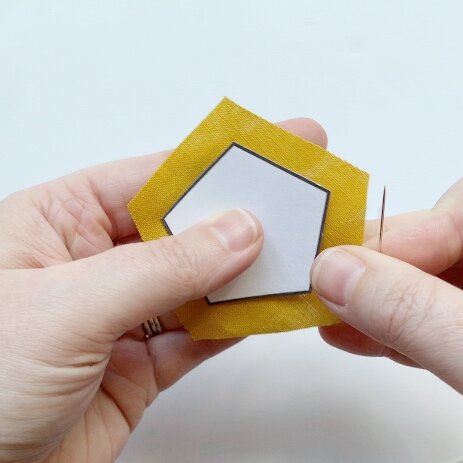
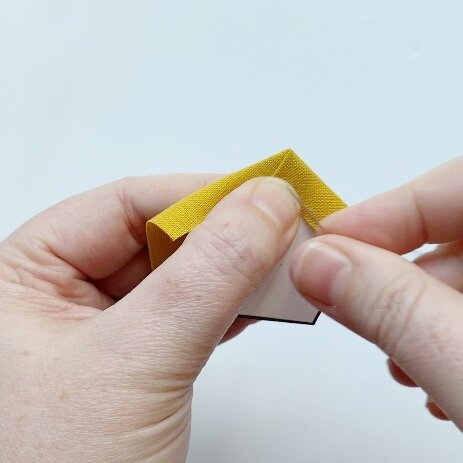
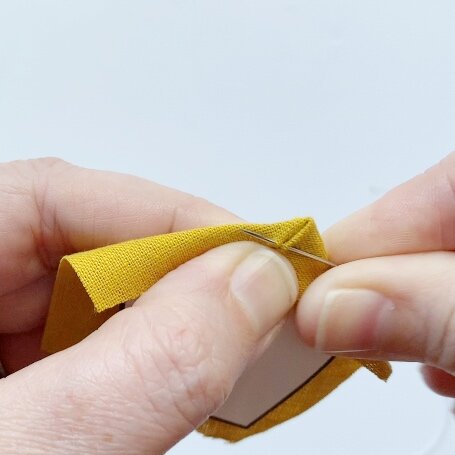
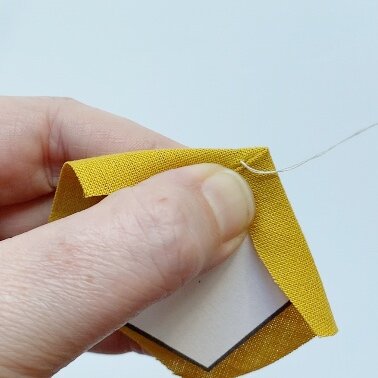
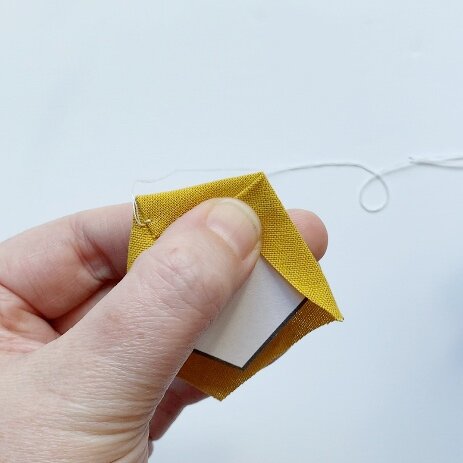
Fold one side of the fabric over the edge of the template and hold in place. Then carefully fold the next side over creating a little crease in the corner. Using your thread and needle make a stitch in the corner connecting the two sides of fabric. You’ll be going through the fold and the first side of fabric. I like to pull my thread through and then insert my needle through the loop at the end to secure.
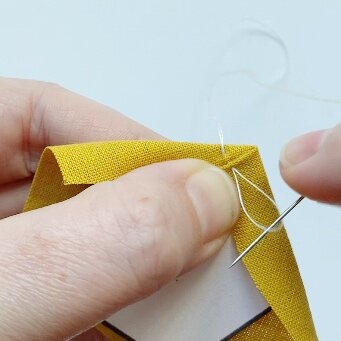
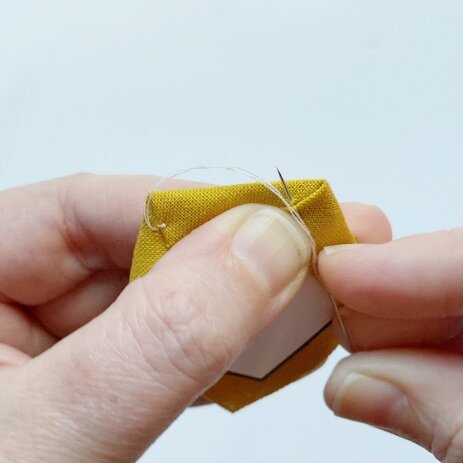
Make one more stitch in that corner and then fold the next side down just as you did before. Stitch the next corner with a few stitches and then repeat the process until all sides have been folded down and stitched in place.
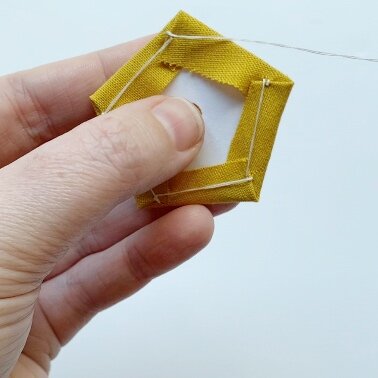
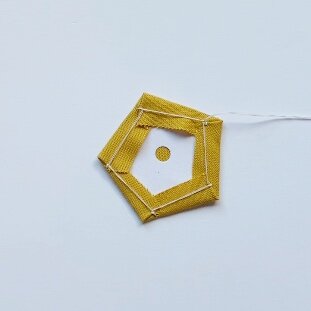
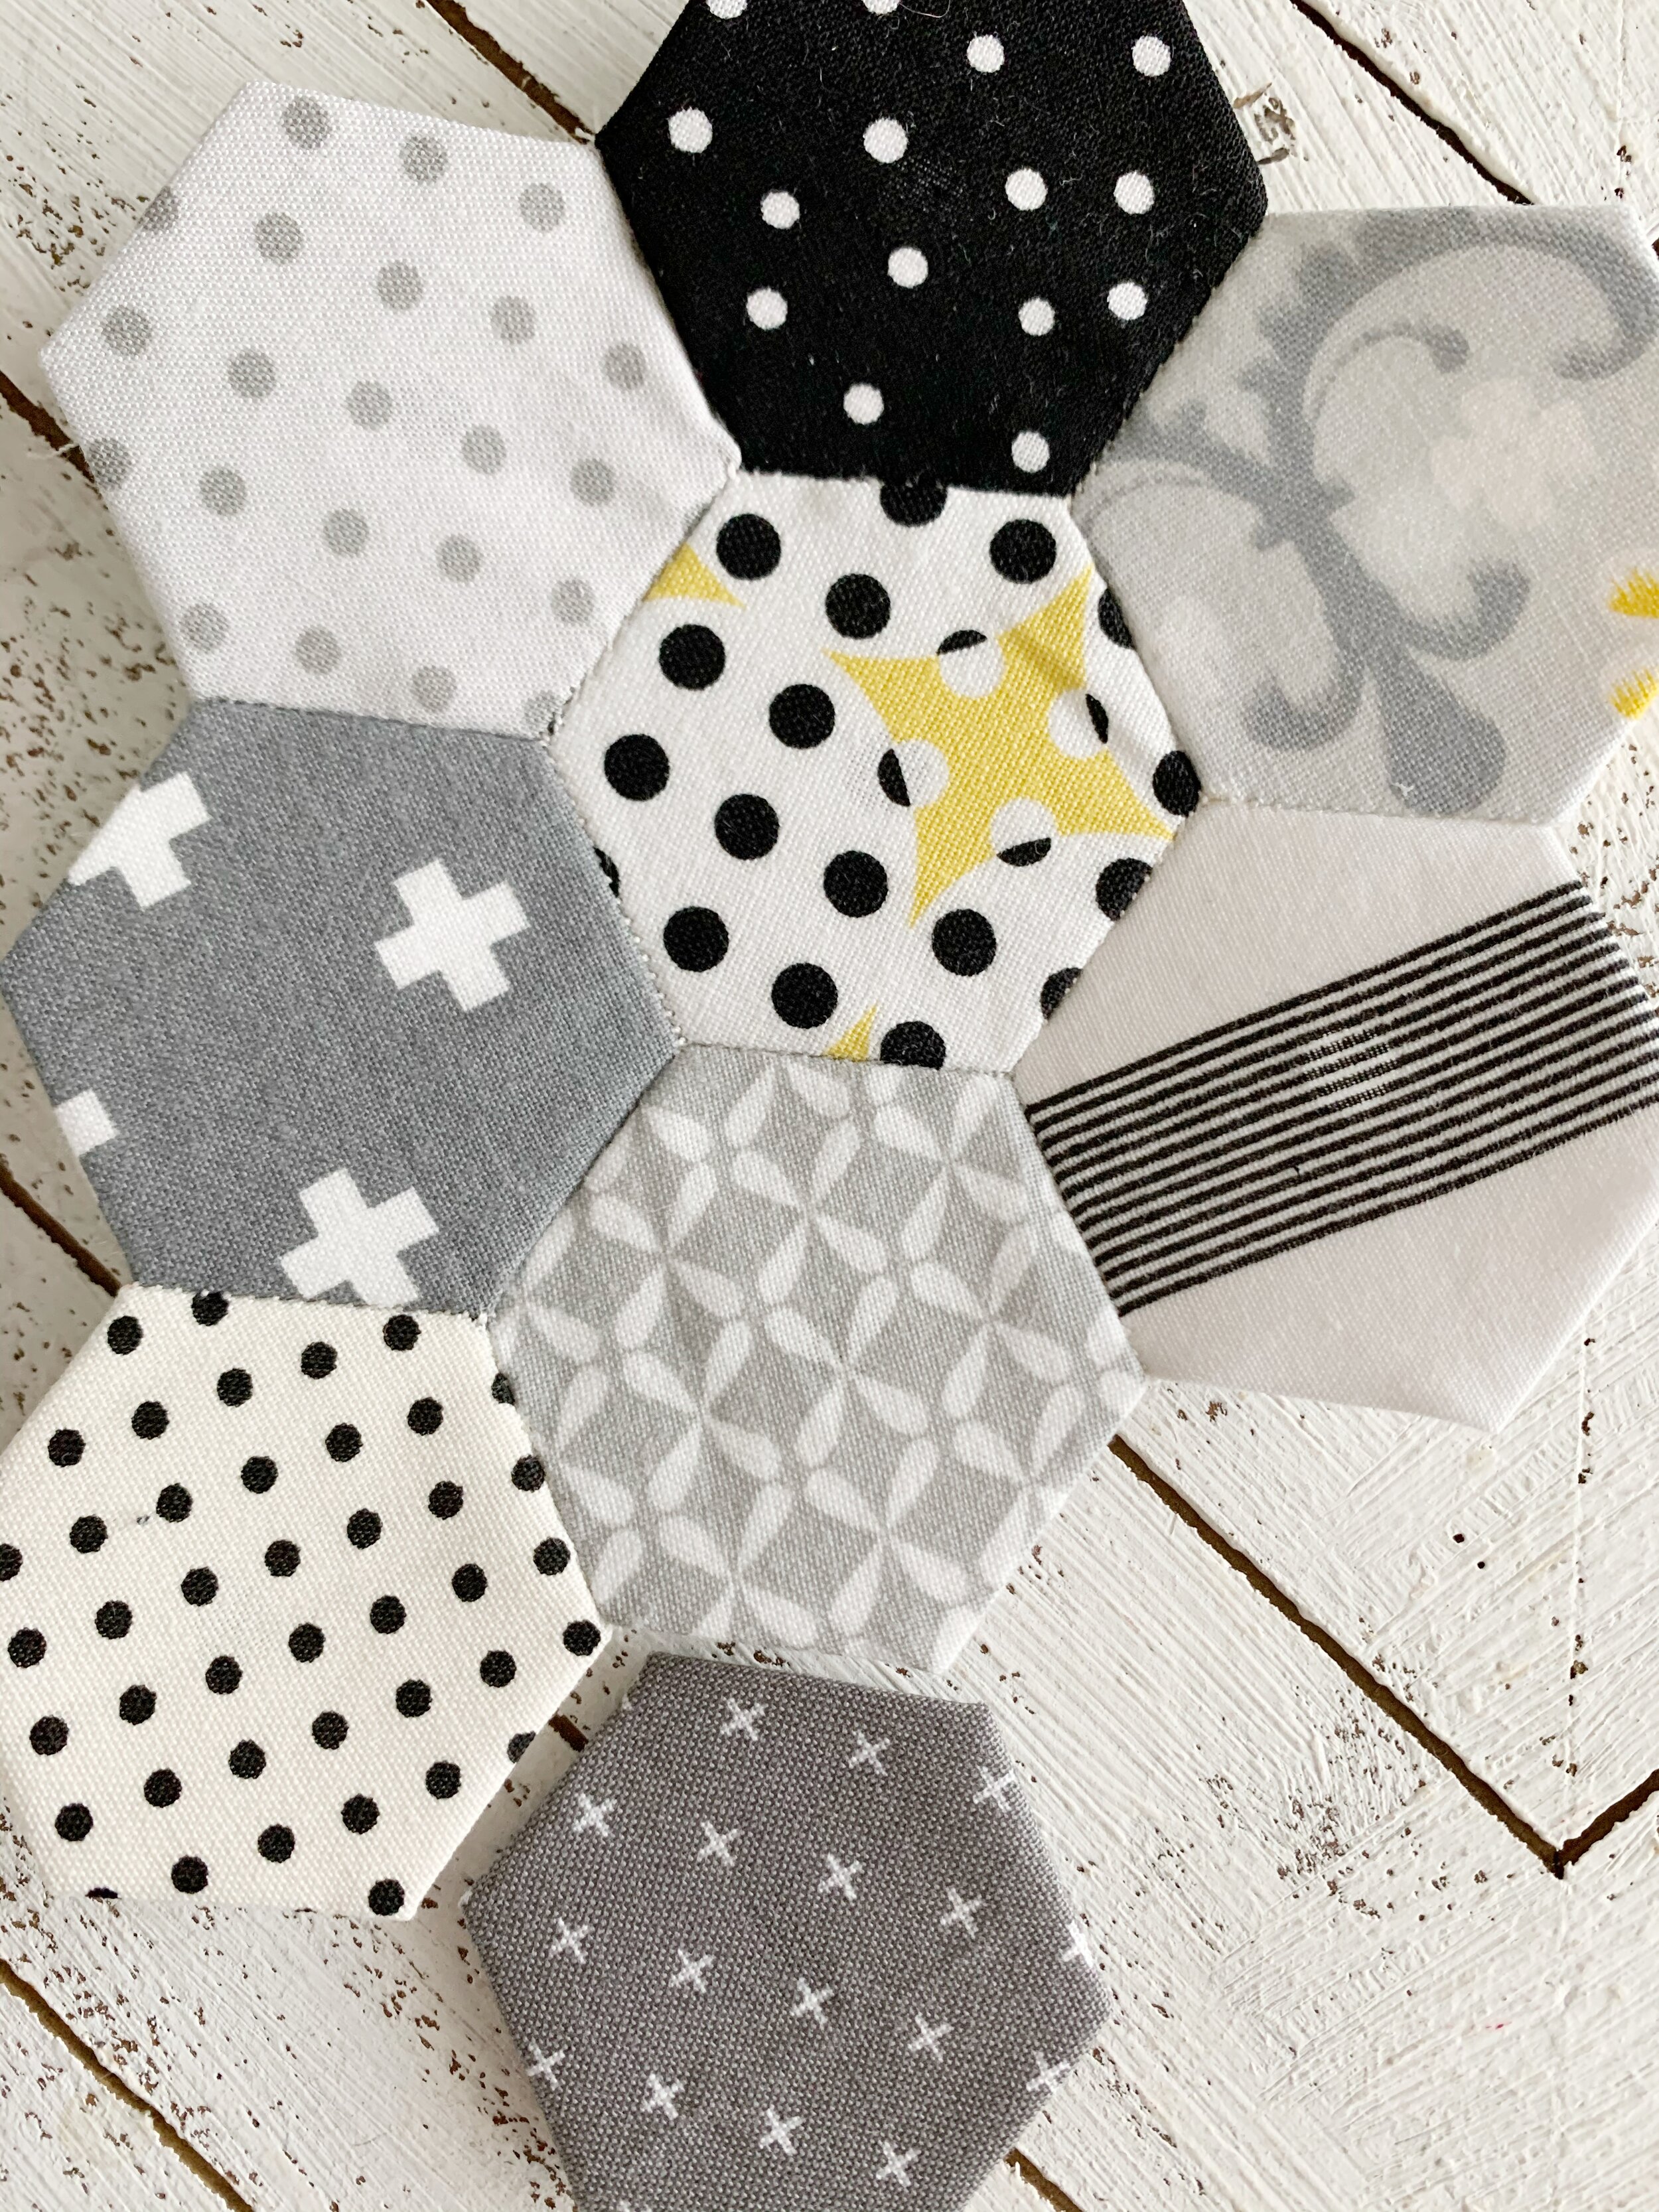
Continue to baste your fabric around your paper templates until you have enough to start attaching them together. The front and back of your pieces will look like this.
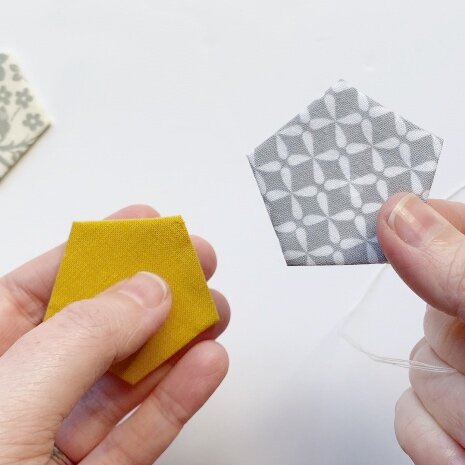
To attach your paper pieces together, hold two of them with right sides together, lining up the edges. Then using needle and thread, whipstitch the ends together.

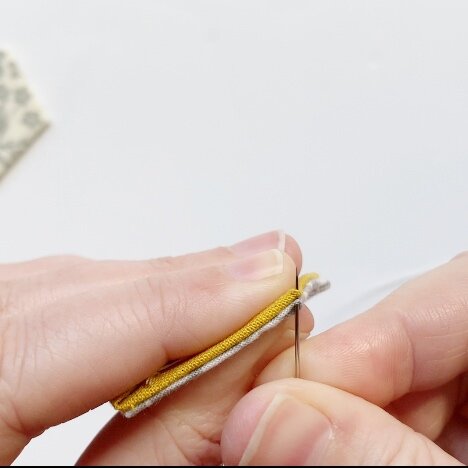
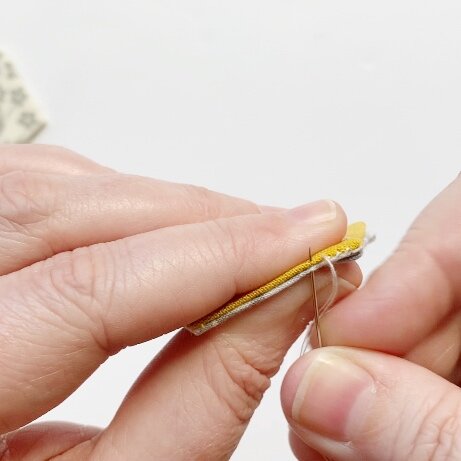
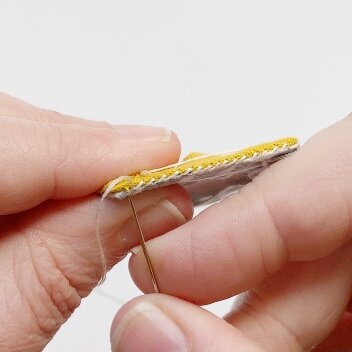
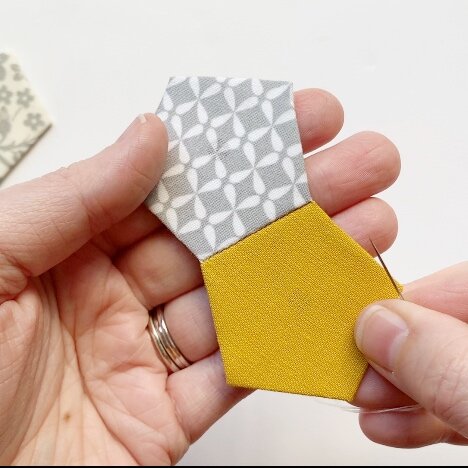
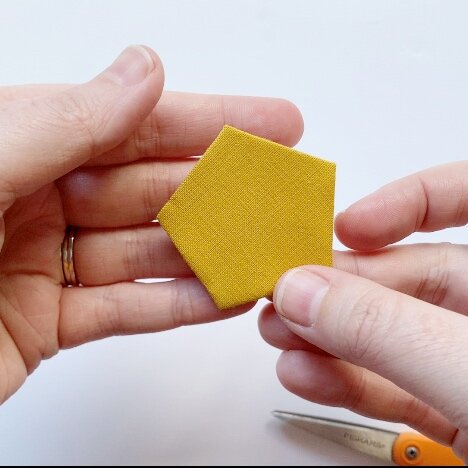
You can see once you’ve attached them there is a nice invisible seam created. Continue to sew your shapes together, always with right sides together.
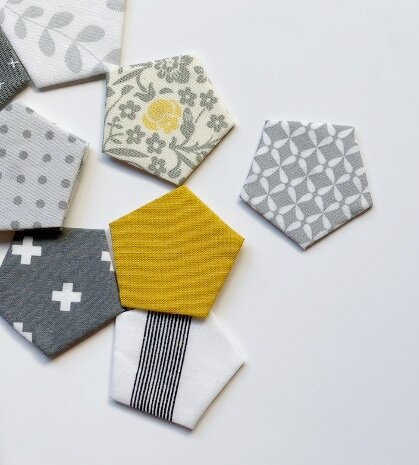
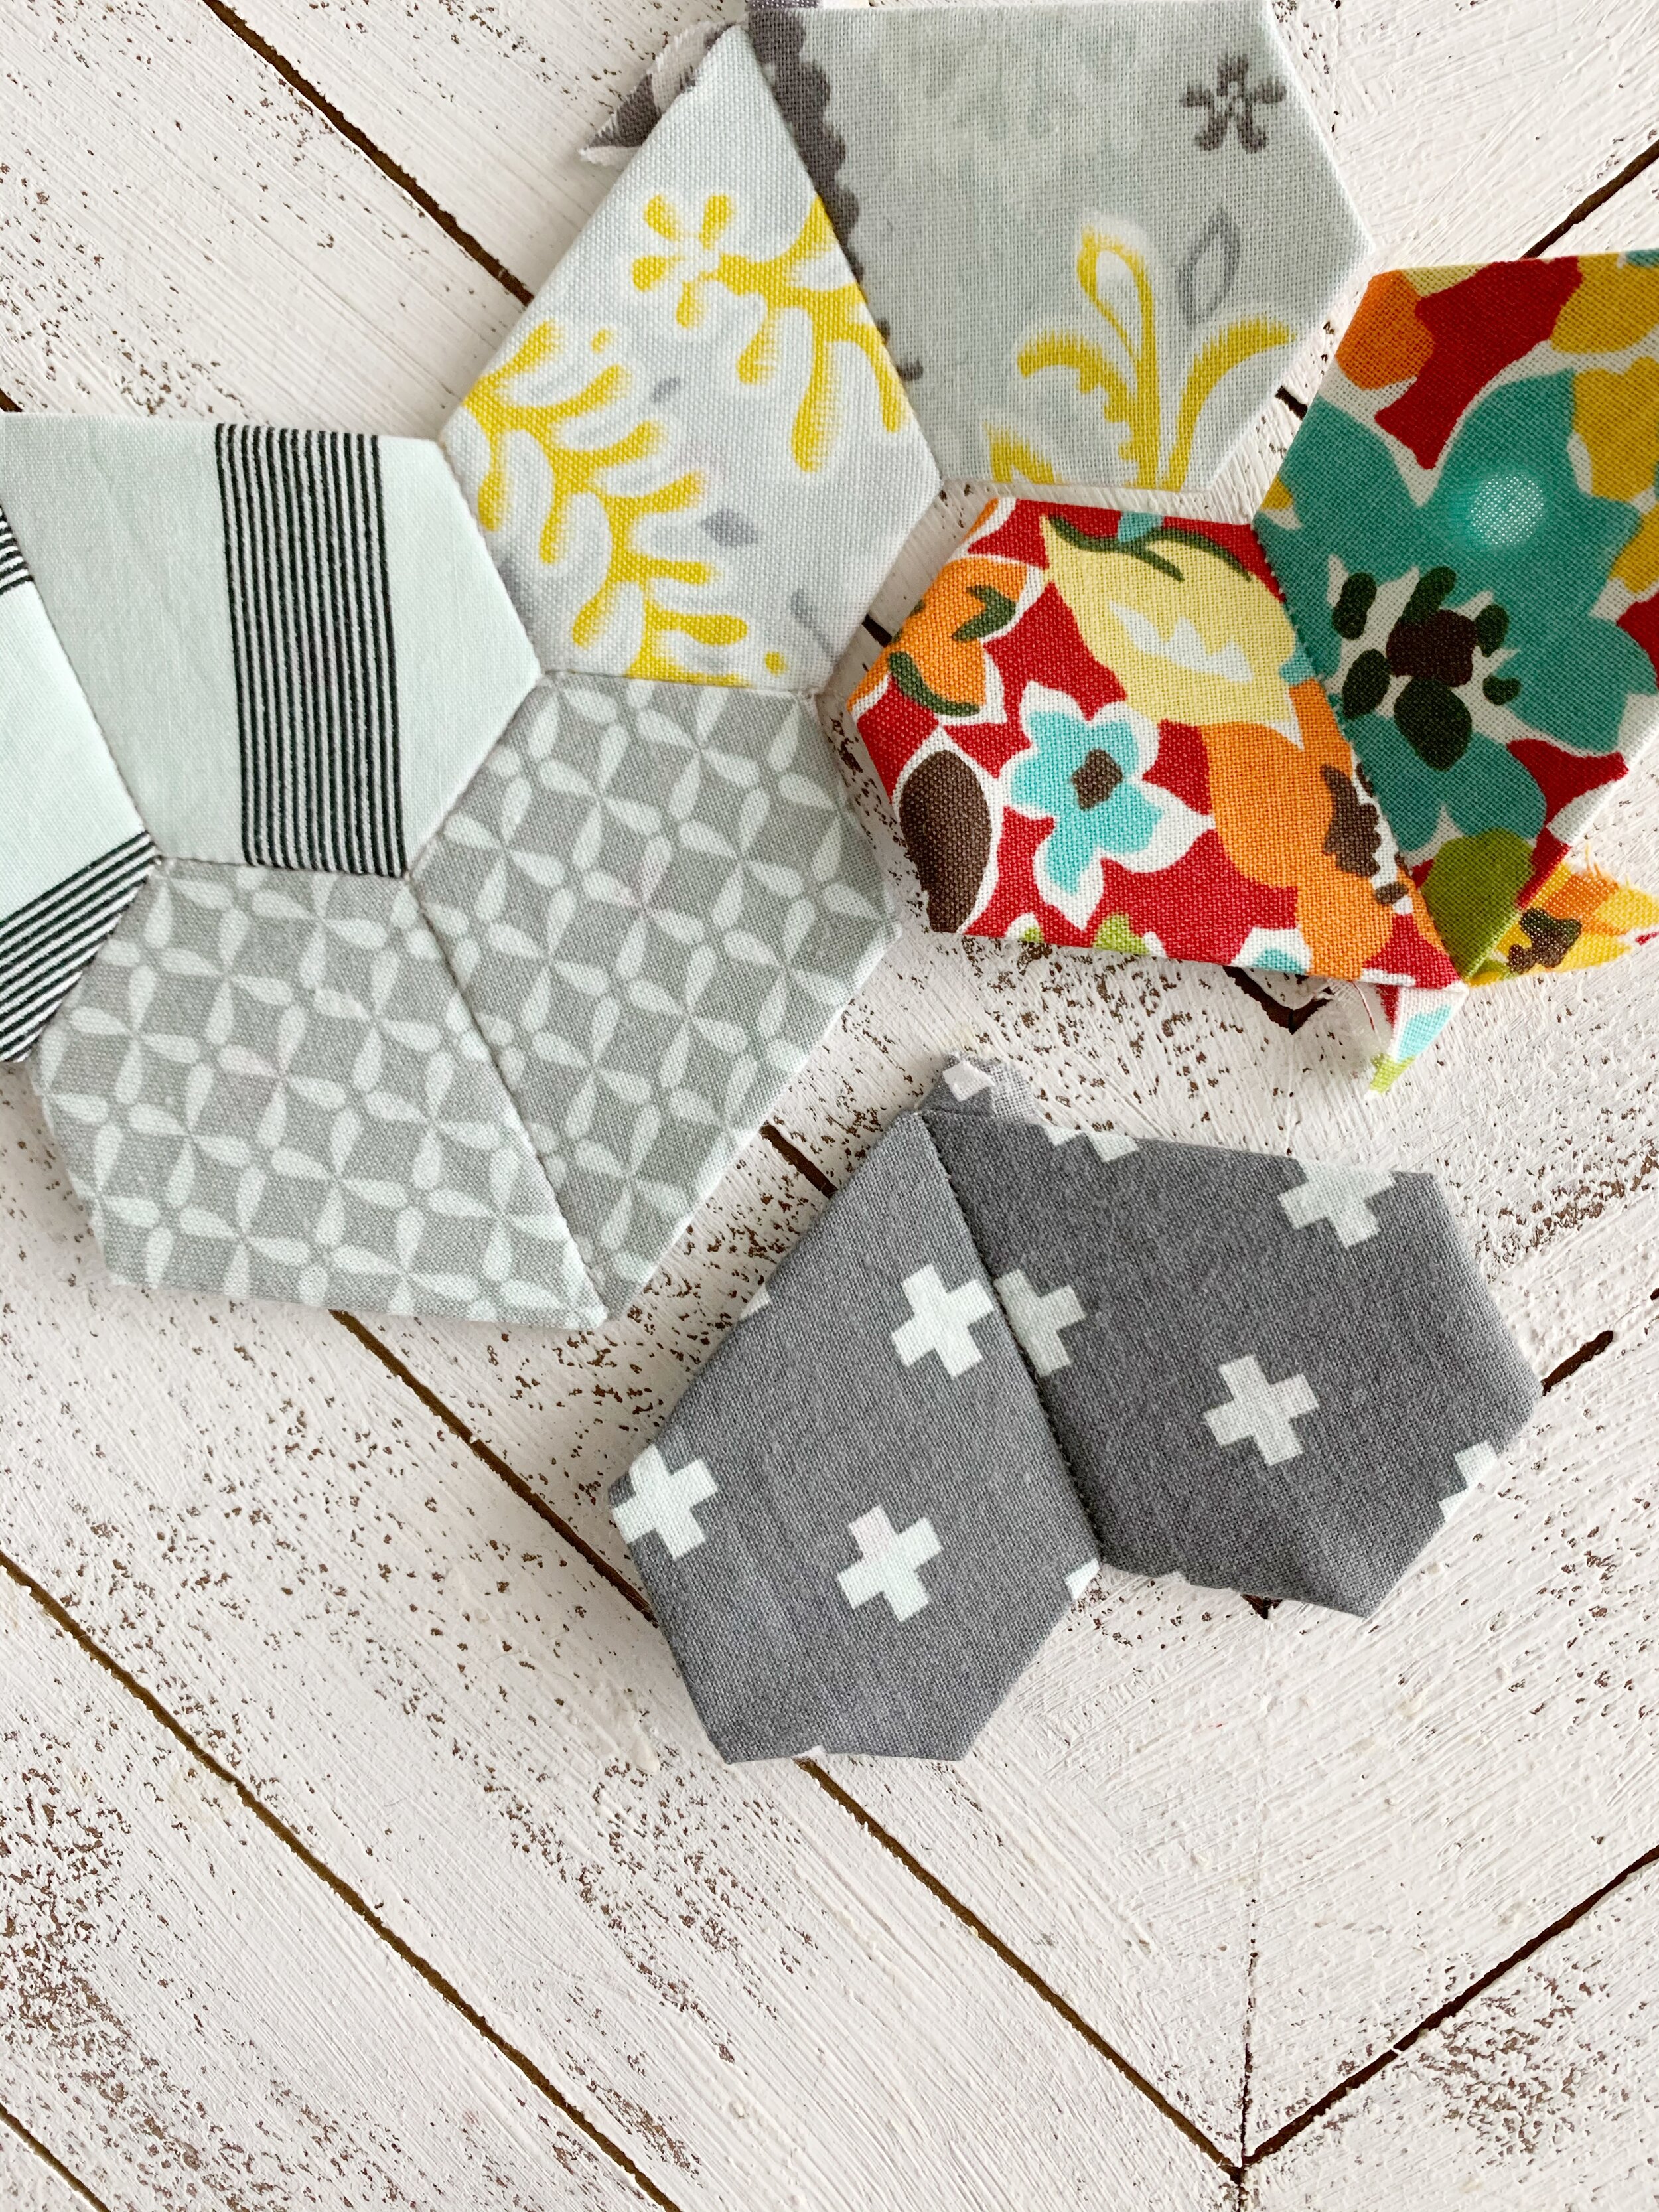
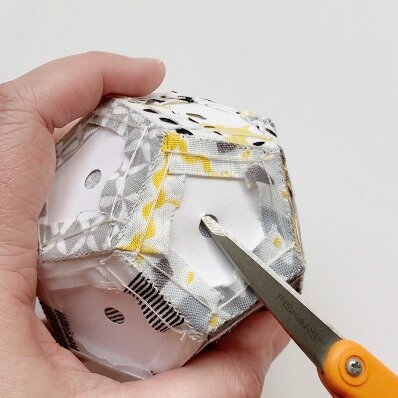
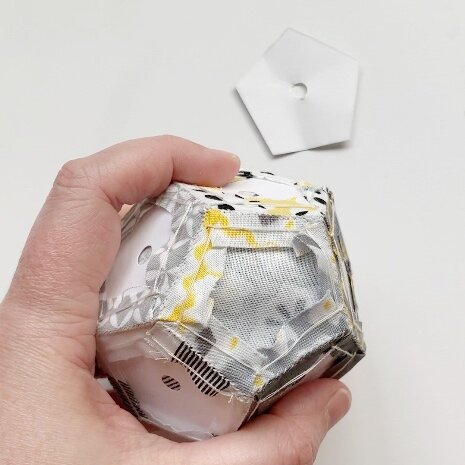
Note that I’m using the pentagon shape in the photos which when sewn together create a 3-D shape like my Pearl Pincushion pattern. When using other shapes such as hexagons or jewels you can see that all pieces will lay flat. Those shapes are great for creating quilts and other accessories.
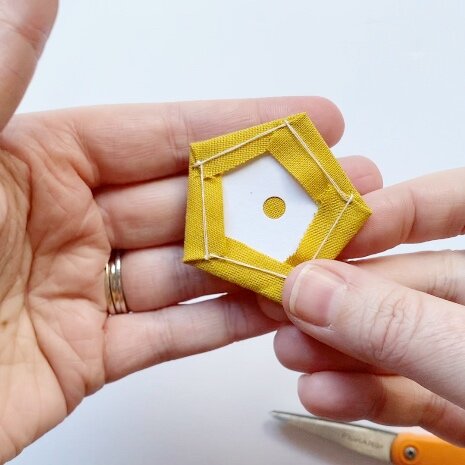
Once you have finished sewing all your pieces together you’ll need to remove the paper from each shape. I do this by inserting the tip of my scissors into the hole I punched in the paper and giving a little tug. The paper should easily pop out.
Now you can use your new fabric for whatever projects you’d like. Once you get the hang of EPP you can play around with using multiple different shapes to create any designs you can imagine.
For me, the whole process is so rewarding and a bit addictive. I just love that I can use up all my extra scraps and its a nice and relaxing project that doesn’t take up much space. Perfect for crafting on the go.
I hope you enjoyed this tutorial! If you’re ready to try a quick EPP project make sure to check out my free Pearl Pincushion pattern.
Happy Sewing!
Meghan

