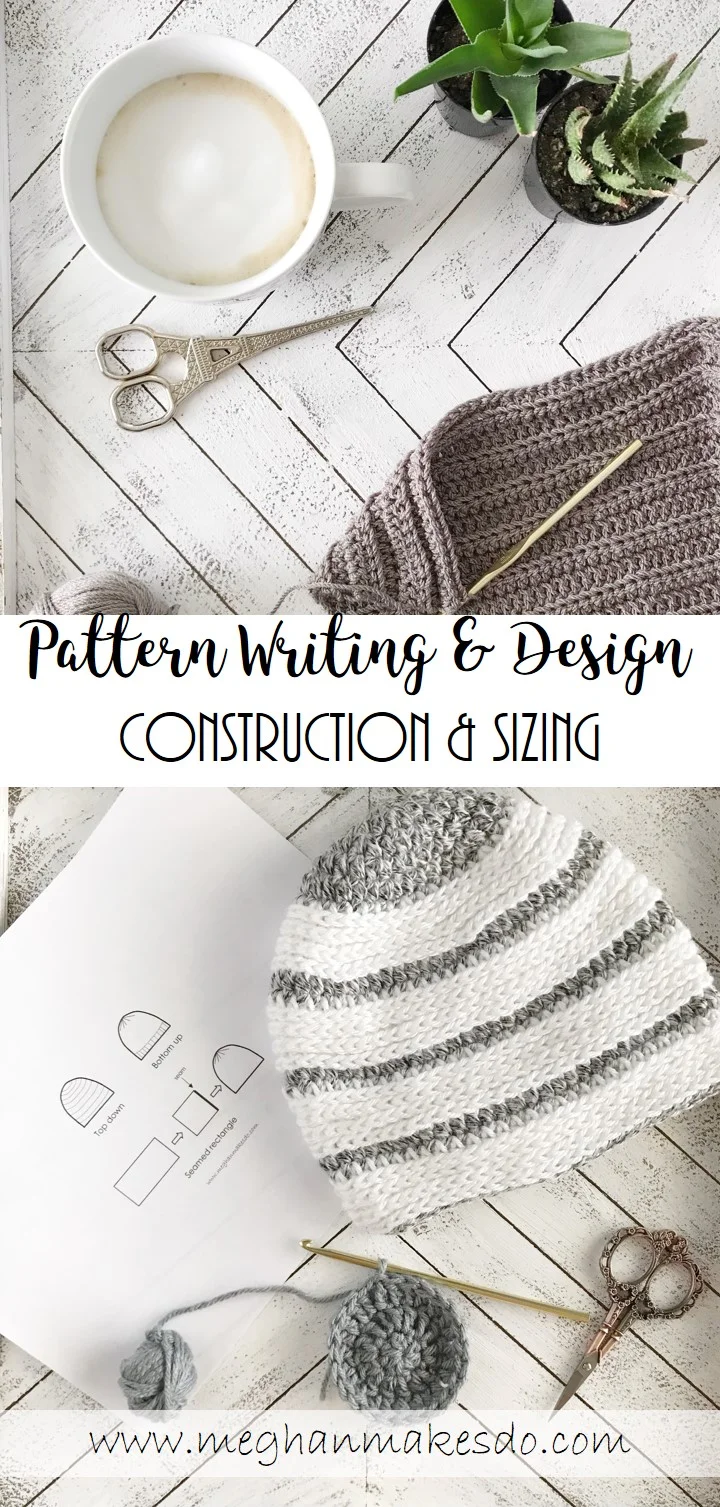
Pattern Design Series-Construction and Sizing
One of the biggest stumbling blocks for new designers is figuring out construction and sizing for their patterns. It can seem like a mystery when you first start out, and I’m hoping with this post I can shed some light on this topic for you.
What is Construction?
Construction of a crochet or knitting pattern is how an item fits together to form a 3-D piece. There are multiple ways to construct an item and no one way is the right way. As you learn more about designing you will find that certain construction techniques work better than others depending on what you want the finished item to look like. Today I want to share with you some of the basic construction techniques for the most popular crochet and knit items.
Hats
Top Down: hat is worked in the round starting with a small circle and increasing until the desired width is reached. Then more rounds are added until the desired height is reached.
Brim Up: For knit, the hat can be worked from the brim up in one piece. For crochet, the brim is usually worked first as a band in rows, then seamed together and the main body of the hat is worked directly into the brim and then up. The hat can decrease at the top a bit and then is usually cinched shut.
Seamed Rectangle: Crochet or knit a rectangle in rows so that it is the correct width to fit around your head and the correct height. Then seam the short ends together and cinch the top closed.

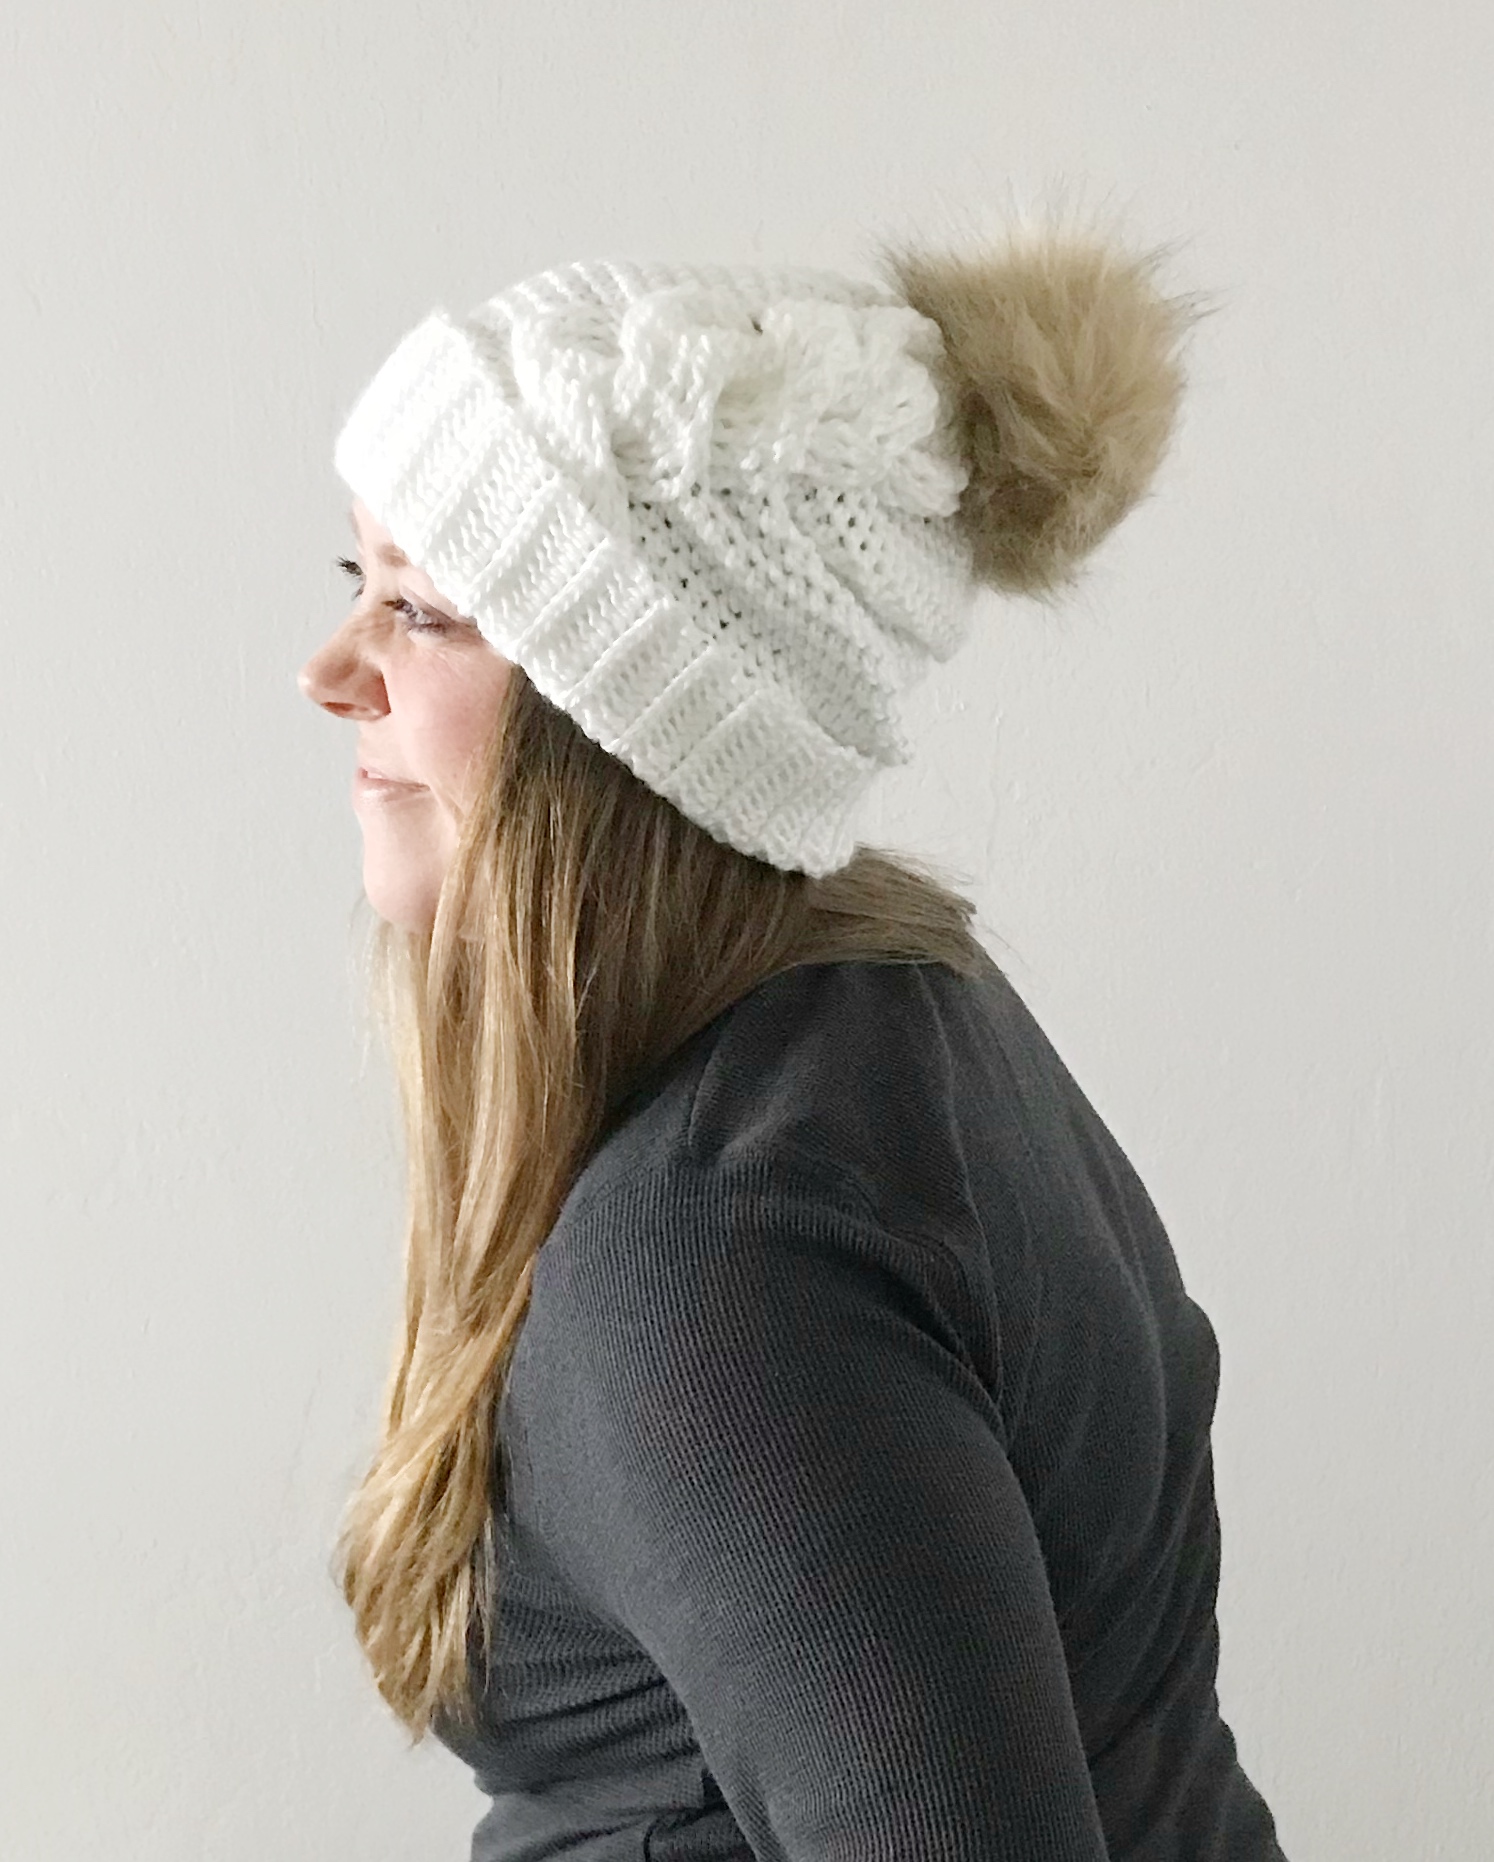
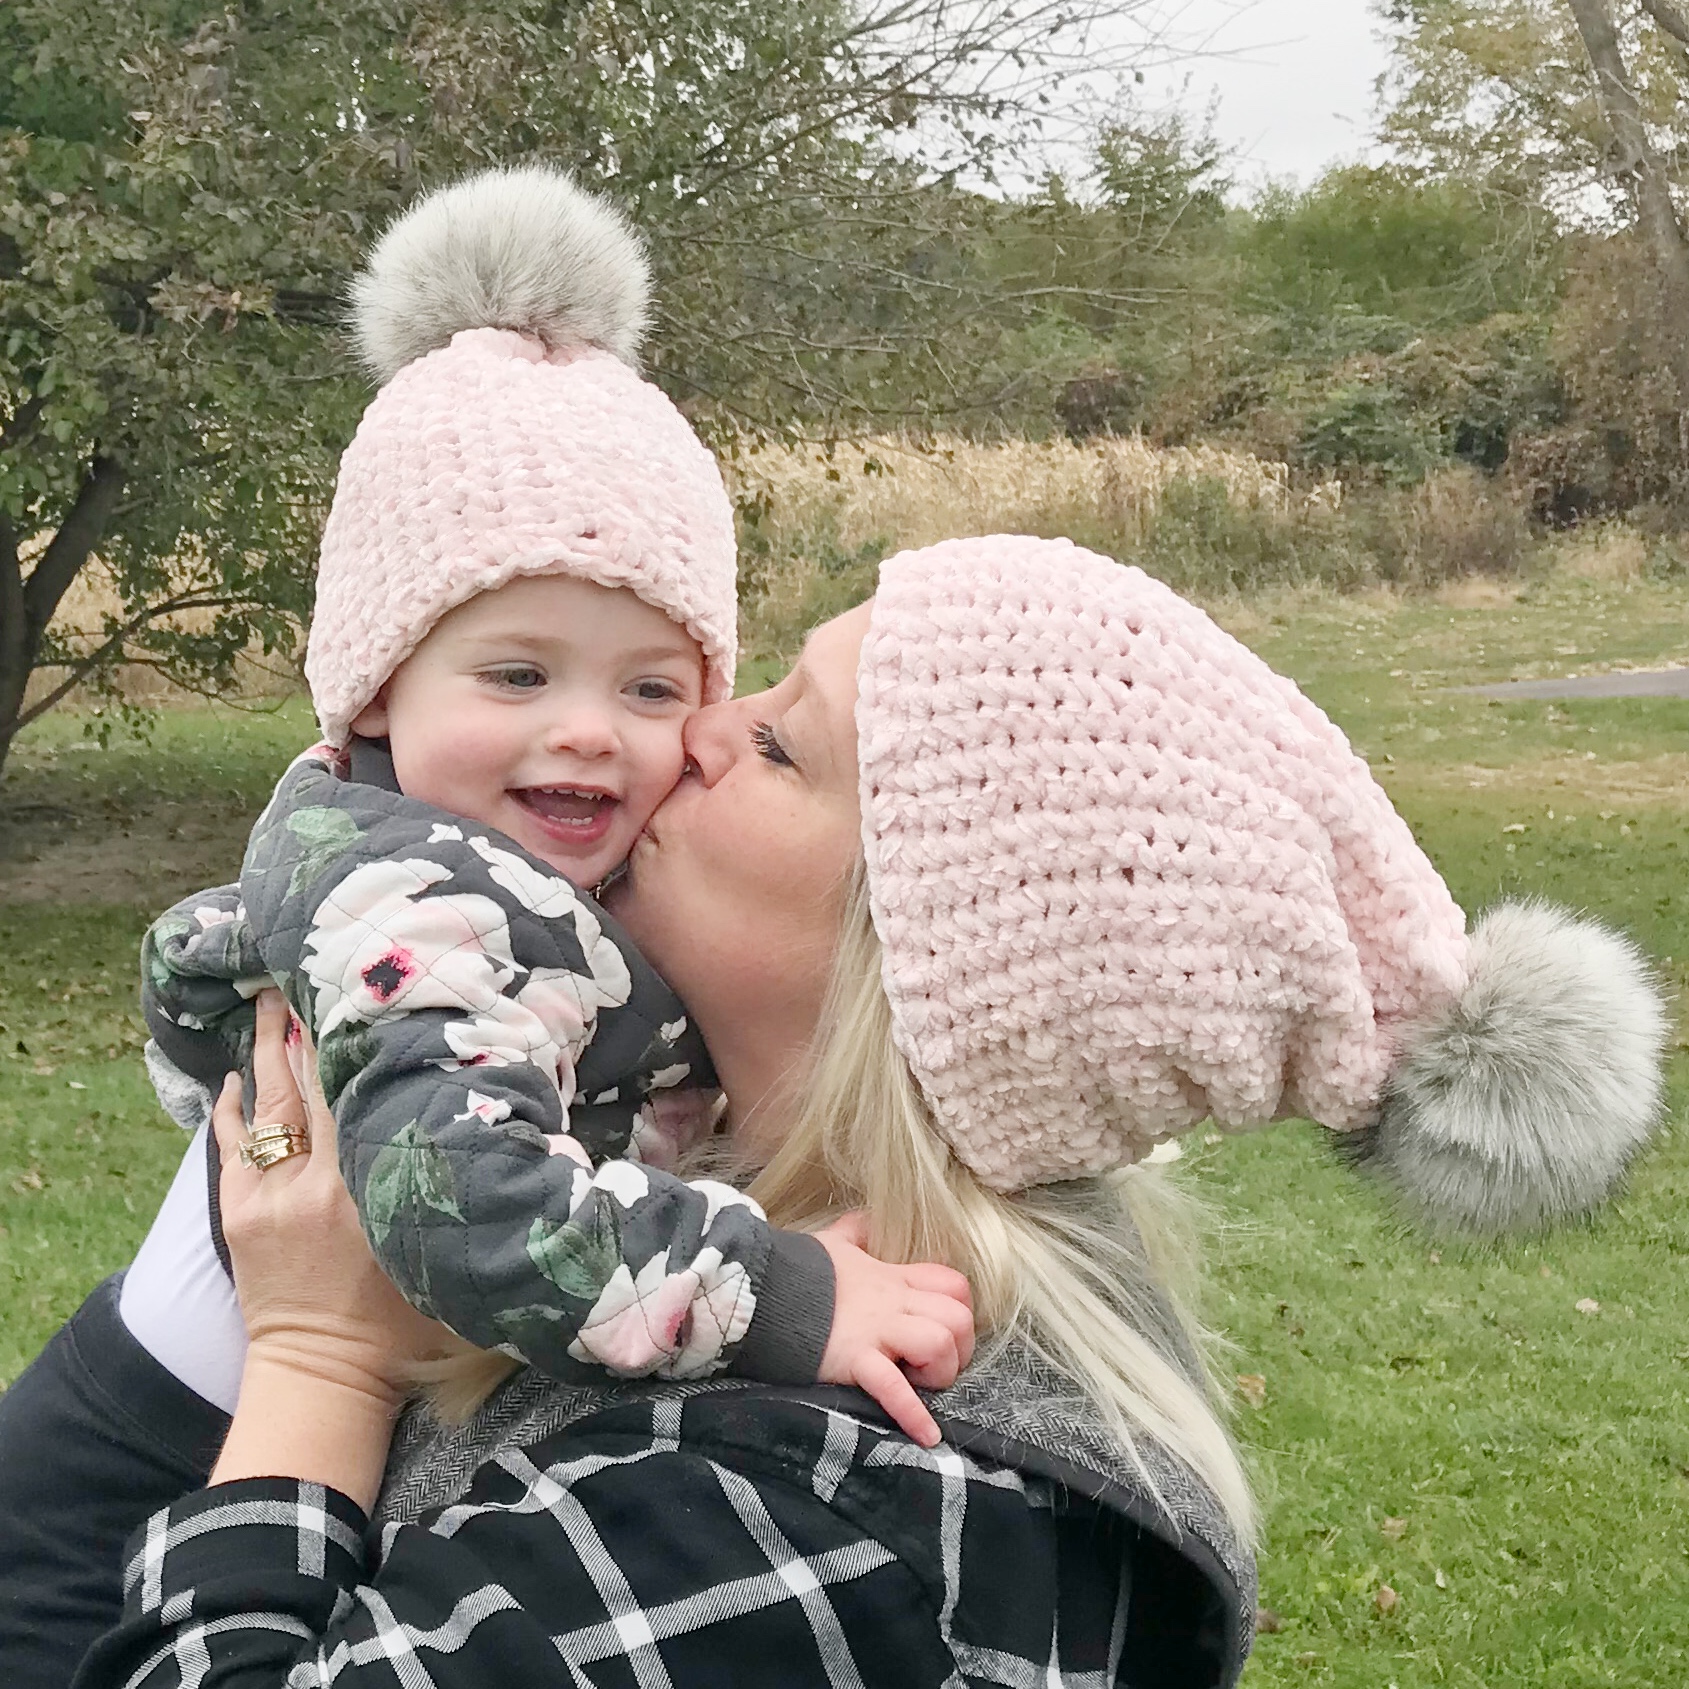
The Lucy Beanie (seamed rectangle hat) / 2. The Briar Beanie (brim up hat)
Scarves and Cowls
Traditional Scarf: Create one long rectangle in rows either from the short end up or long end and across.
Loop or Infinity Scarf: work the same as a traditional scarf and then seam the ends together.
Cowls: cowls can be made in the round or as a rectangle with the short sides seamed up. You can also add buttons and button holes to create a button up cowl or scarf.

Cardigans and Sweaters
Most cardigans and sweaters are made in a few different pieces or panels. You can start with basic rectangles for each piece and add neck and arm hole shaping for a more fitted look.

Cardigans can be made in one piece either by making the back and front together and seaming the shoulders or making the back and the front together and seaming the sides.

A Dolman or drop shoulder sweater is created when the body and a part or all of the sleeves are made in one piece. It gives the sweater a more over sized look especially under the arms.

Raglan style can be made top down or in pieces.

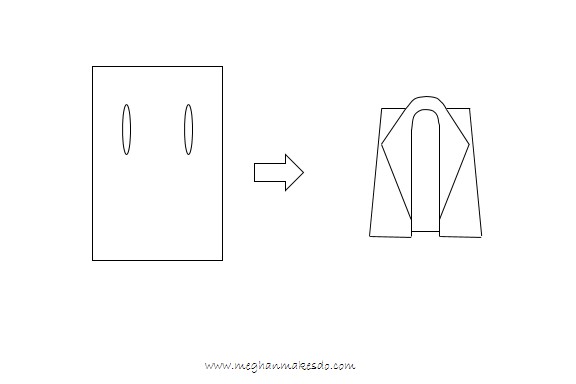
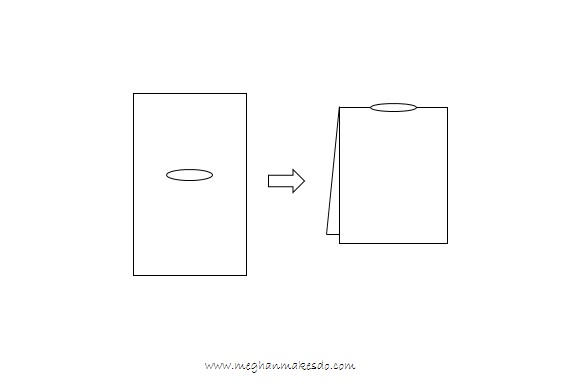
For poncho or cape you can simply create a large rectangle and leave a hole for the neck (poncho) or the arms (cape).
Now that you know a few of the basic ways to construct a garment, let’s talk about sizing. As a disclaimer, I must say that this is something I am still learning about. I find that with each new garment pattern I make I learn something new about sizing. Unfortunately there is not one simple answer to how to size or grade your patterns. It takes a lot of math and some trial and error.
The very basics are you will need to adjust the width and height for each size, which means your stitches across and your row counts will change accordingly. You can calculate this based off of your gauge measurements and the standard measurements for average body sizes found on the Craft Yarn Council website.
The more complicated the stitch pattern or design the longer it will take to calculate sizes. Joy of Motion has an amazing set of sizing calculators available on her blog which can help take some of the guess work out of sizing. The calculators can help you quickly figure out about how many stitches you will need for each size, but you will still have to figure out the pattern yourself.
The sizing calculators can also be helpful for when you need to make adjustments on other patterns in order to get the best fit for your body.
Sizing can seem overwhelming and complicated so I suggest starting with something simple like a two panel top and then once you get a feel for how the pattern will change for each size try creating more shaping to your item next time. It just takes a bit of practice and a lot of patience.
I hope you found this information helpful. If you have any other helpful tips or tricks when it comes to pattern construction and sizing I would love to hear. Leave a comment below or contact me at meghan@meghanmakesdo.com.
For more information about how to design crochet or knit patterns make sure to check out the other blog posts from this series:
Inspiration, Imitation, Copyright and Staying Orignial
The Process of Design- From Idea to Publication
The Building Blocks of A Great Pattern
The Great Debate- Free vs Paid Patterns
Happy Designing!
Meghan