The Lucy Beanie-Free Crochet Pattern
This post may contain affiliate links. If you make a purchase through that link I may earn a small commission. It’s a great way to show your support and doesn’t cost you anything extra!
***The Lucy Beanie is now available as an Ad-Free PDF in my shop, Etsy or on Ravelry. PDF includes 5 full color pages with step by step instructions for making your own Lucy Beanie.***
Have you jumped on the Velvet Yarn bandwagon yet? I started seeing this new velvet yarn everywhere on Instagram a few months ago and at first I didn’t think I would like it. I’m usually not a fan of those trendy yarns, but then one night on a solo trip to Joann’s I stopped to feel the velvet and it was love at first touch! Seriously, I have never felt a yarn this soft before. I grabbed a skein and couldn’t wait to design something new with it.
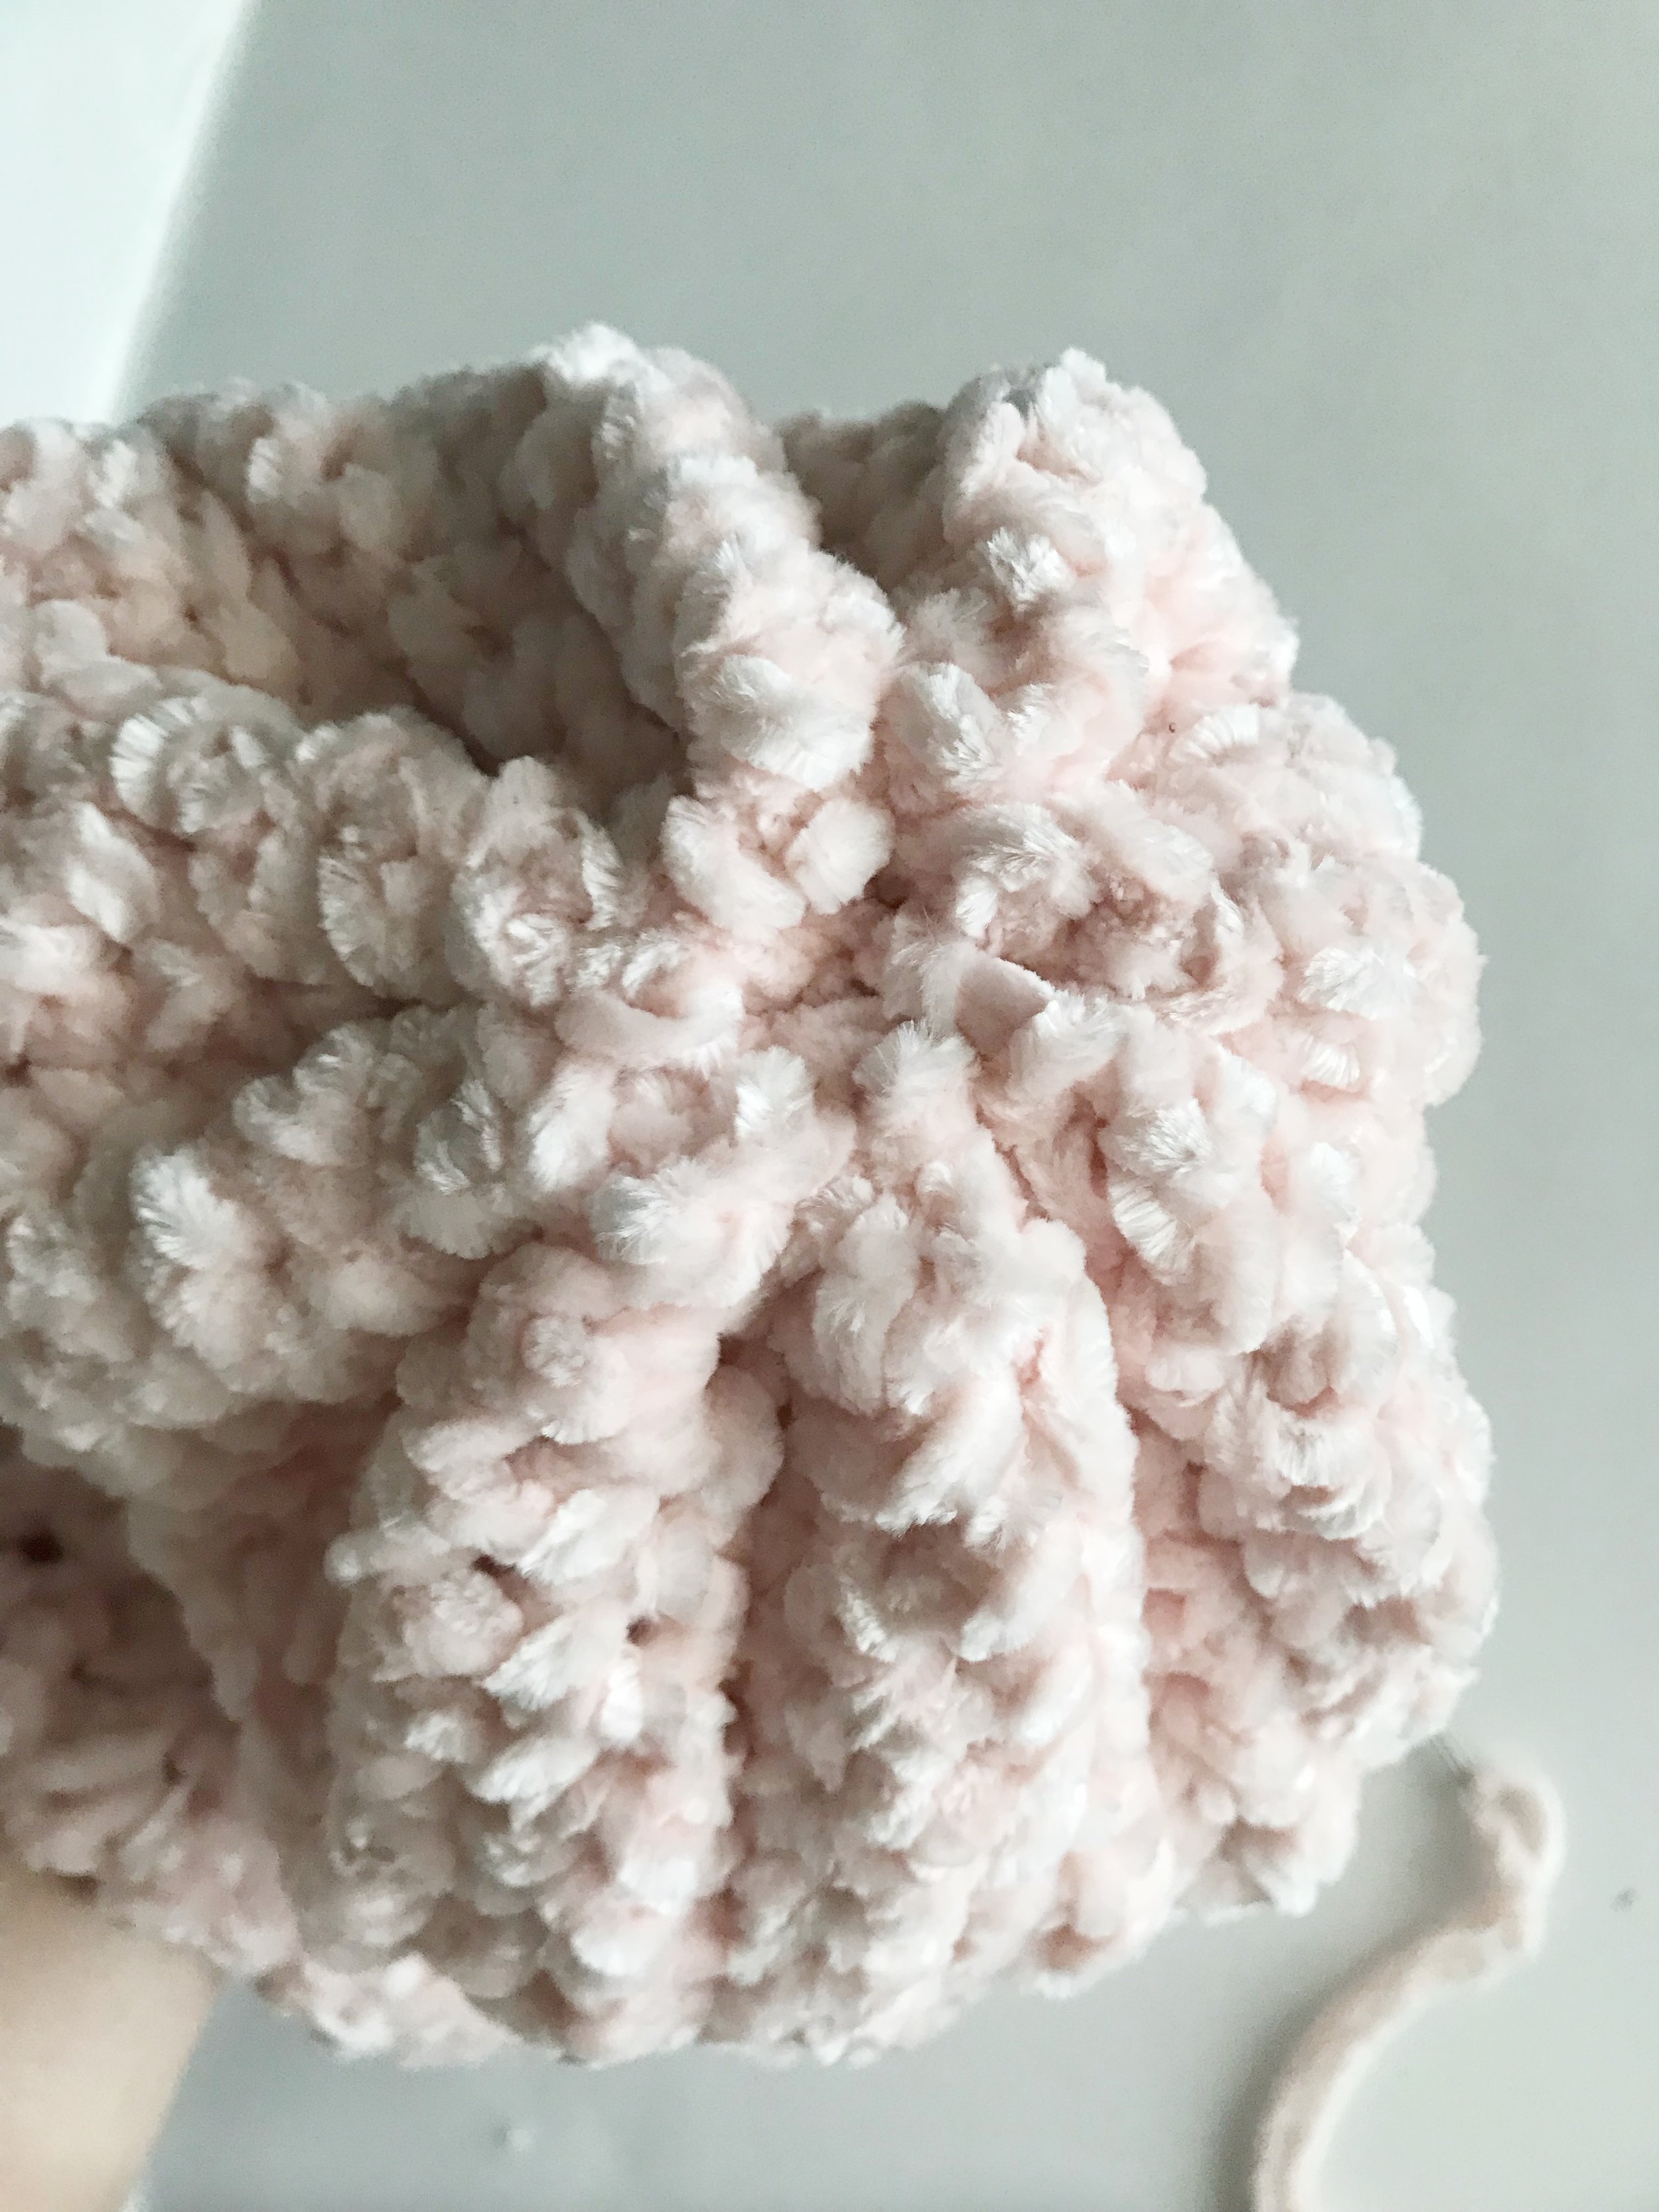
The yarn is so incredibly soft that I kept imagining having it wrapped around my head while outside in the snow. I knew I wanted to try to create a cozy hat with it, but when I started playing around with stitches I realized it was so soft and shiny that any kind of fancy stitch got lost in the lux of the velvet. I even tried to knit with it hoping maybe I would like it better, but it still didn’t look how I imagined. Finally I decided just to keep it simple with single crochet. It was the simple stitches that made the velvet yarn really pop!
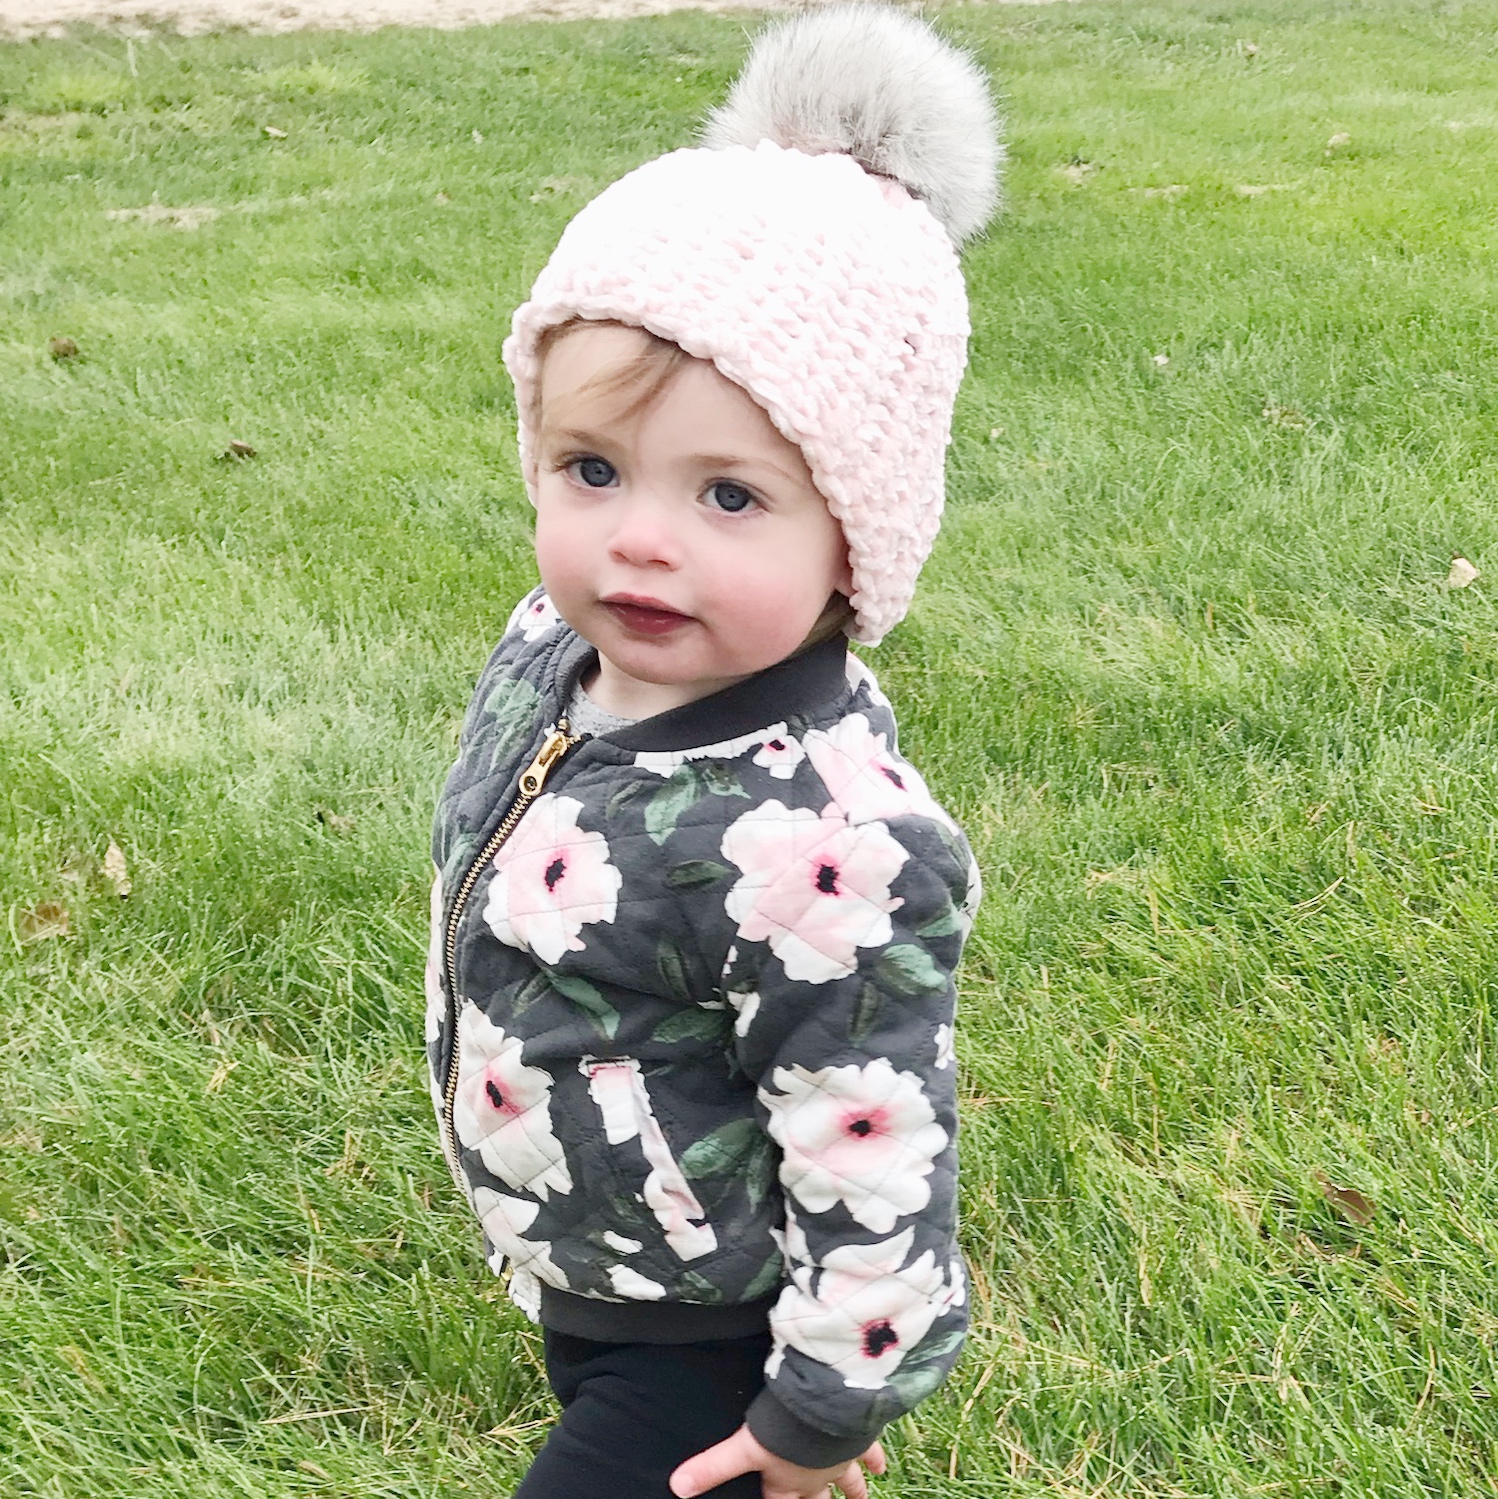
The Lucy Beanie was named after this little cutie, my niece!
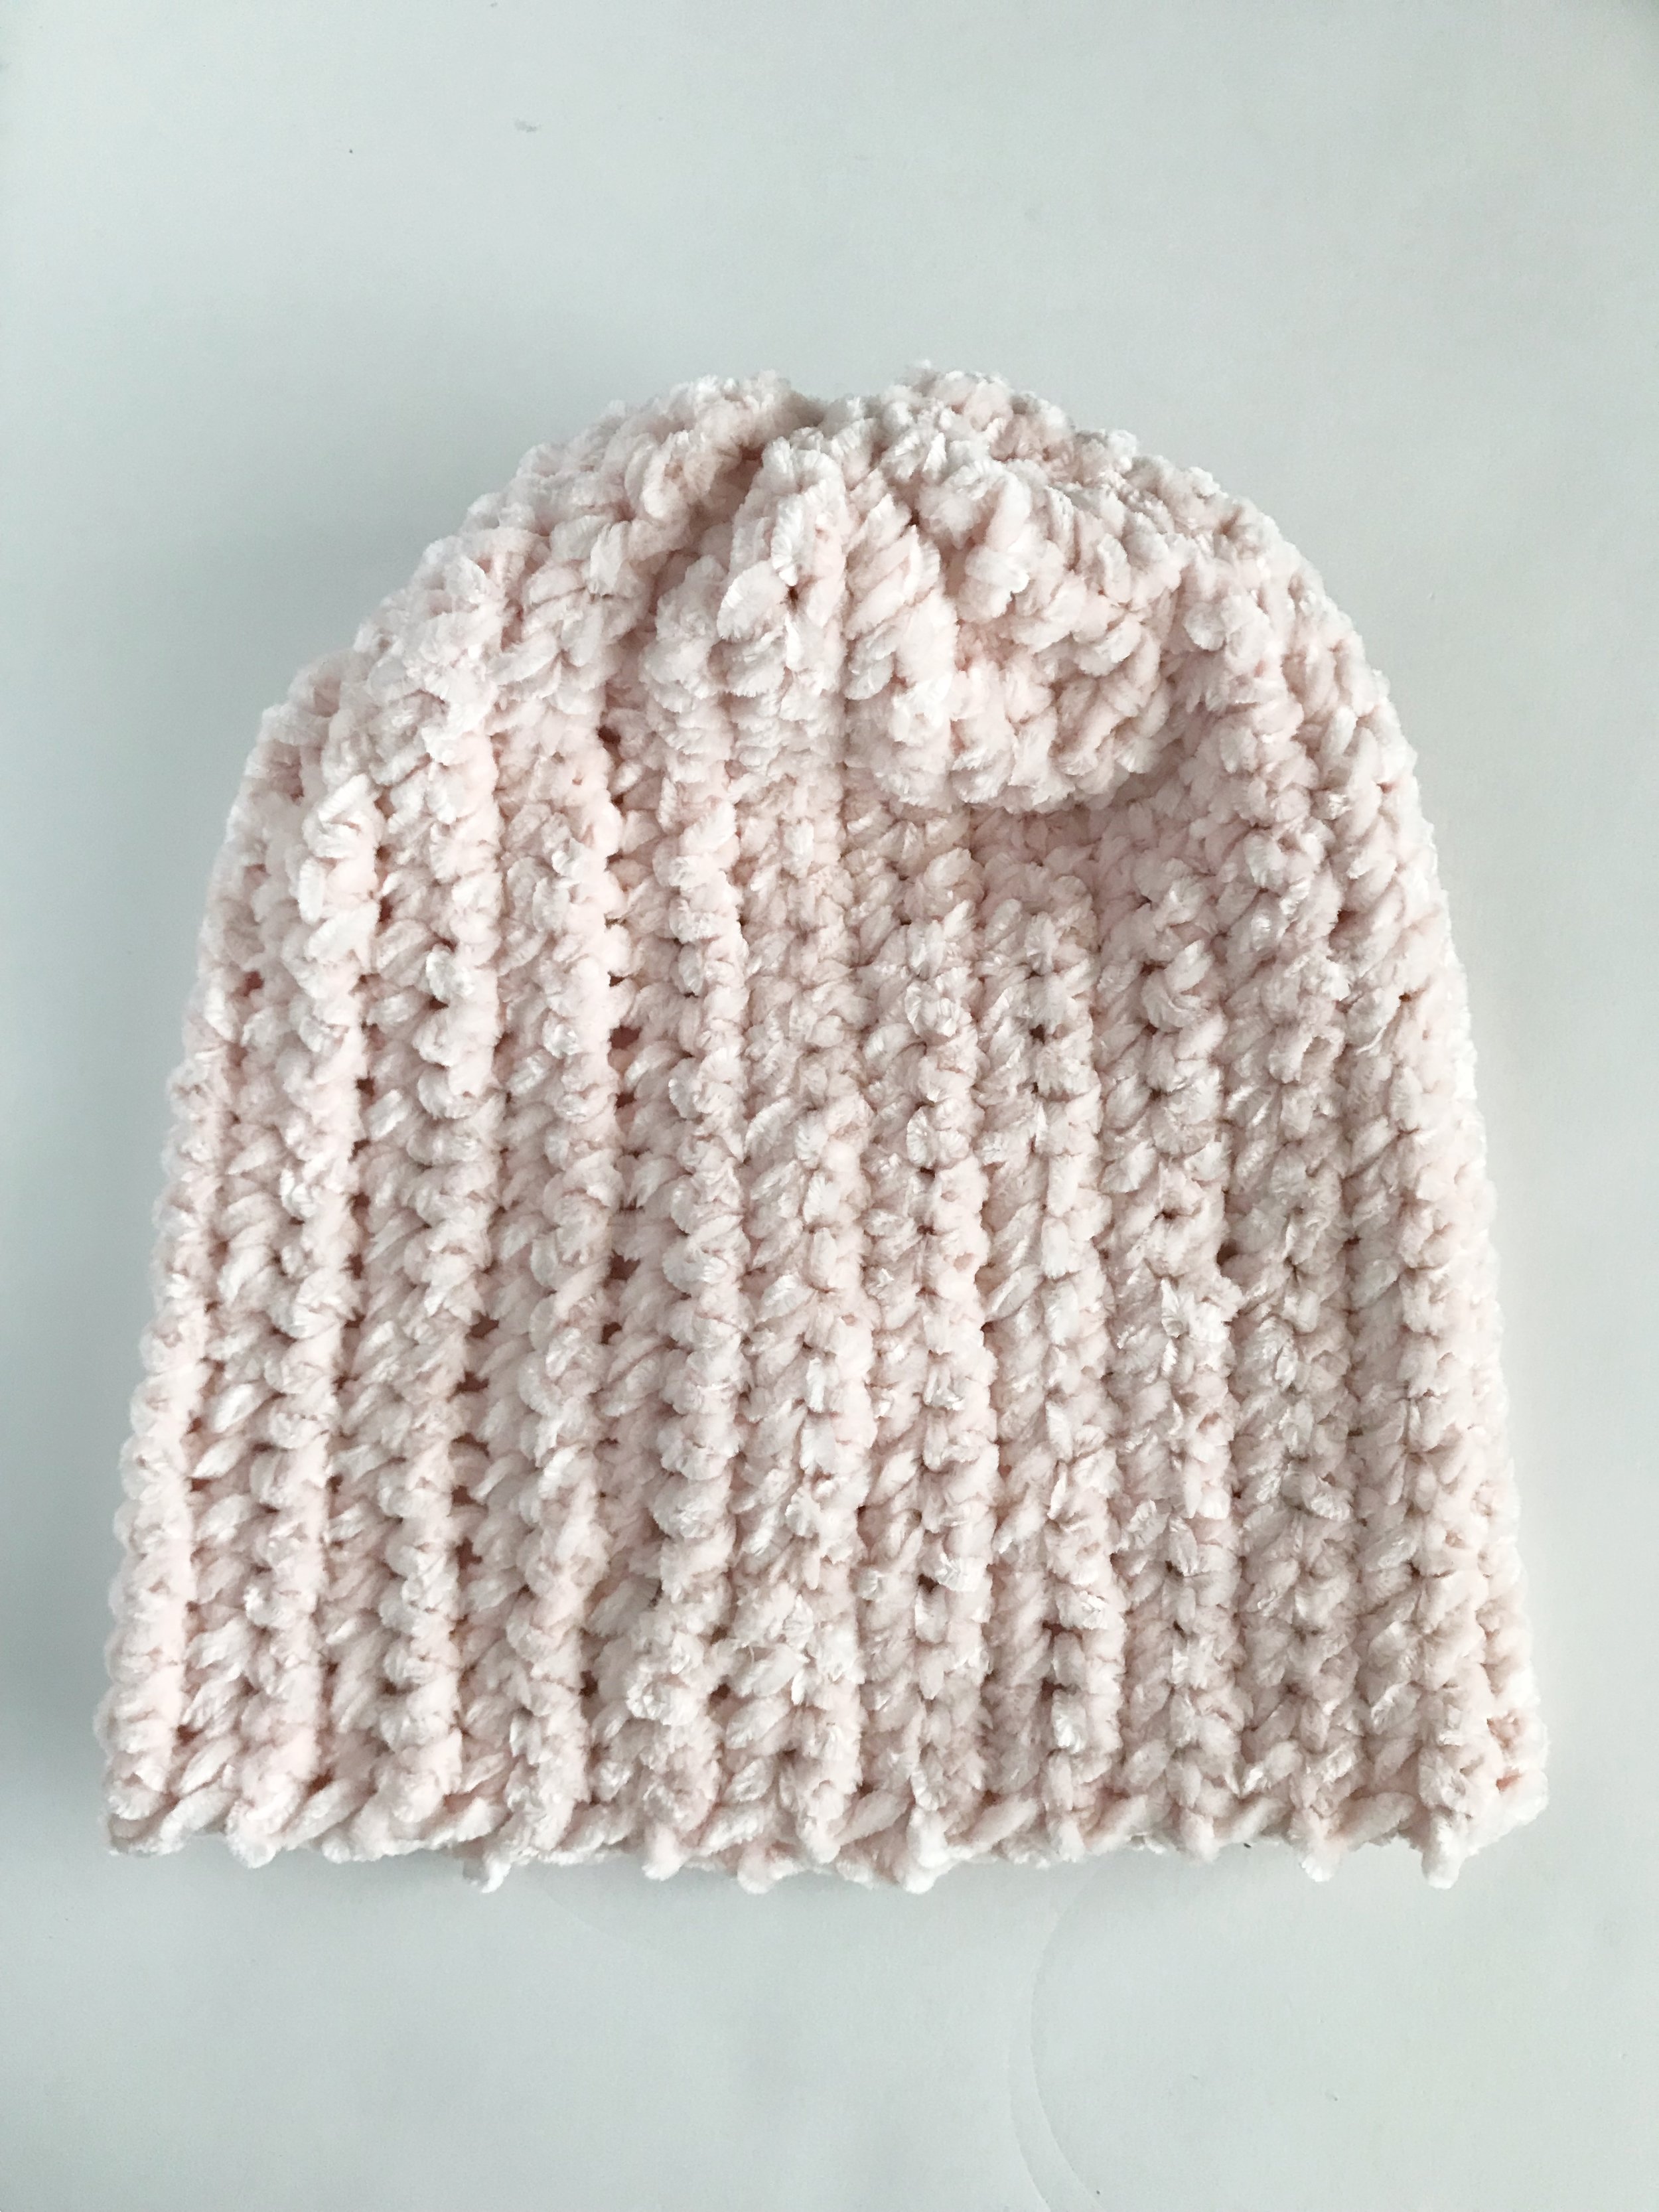
So say hello to the Lucy Beanie! This is the easiest hat to make ever and is perfect for beginners wanting to hop on the velvet bandwagon. They work up quick too so this would be a great last minute gift this holiday season. Here’s what you’ll need to make your own Lucy Beanie:
Materials:
1 skein of Yarnspirations Bernat Velvet Yarn
Size H (5.00mm) crochet hook
Tapestry needle
Measuring tape
Faux fur pom (optional)
Gauge:
13 stitches X 11 rows = 4” square
Sizes:
Adult (Child, Toddler)
Abbreviations:
ch- chain
sc-single crochet
sl st- slip stitch
Notes:
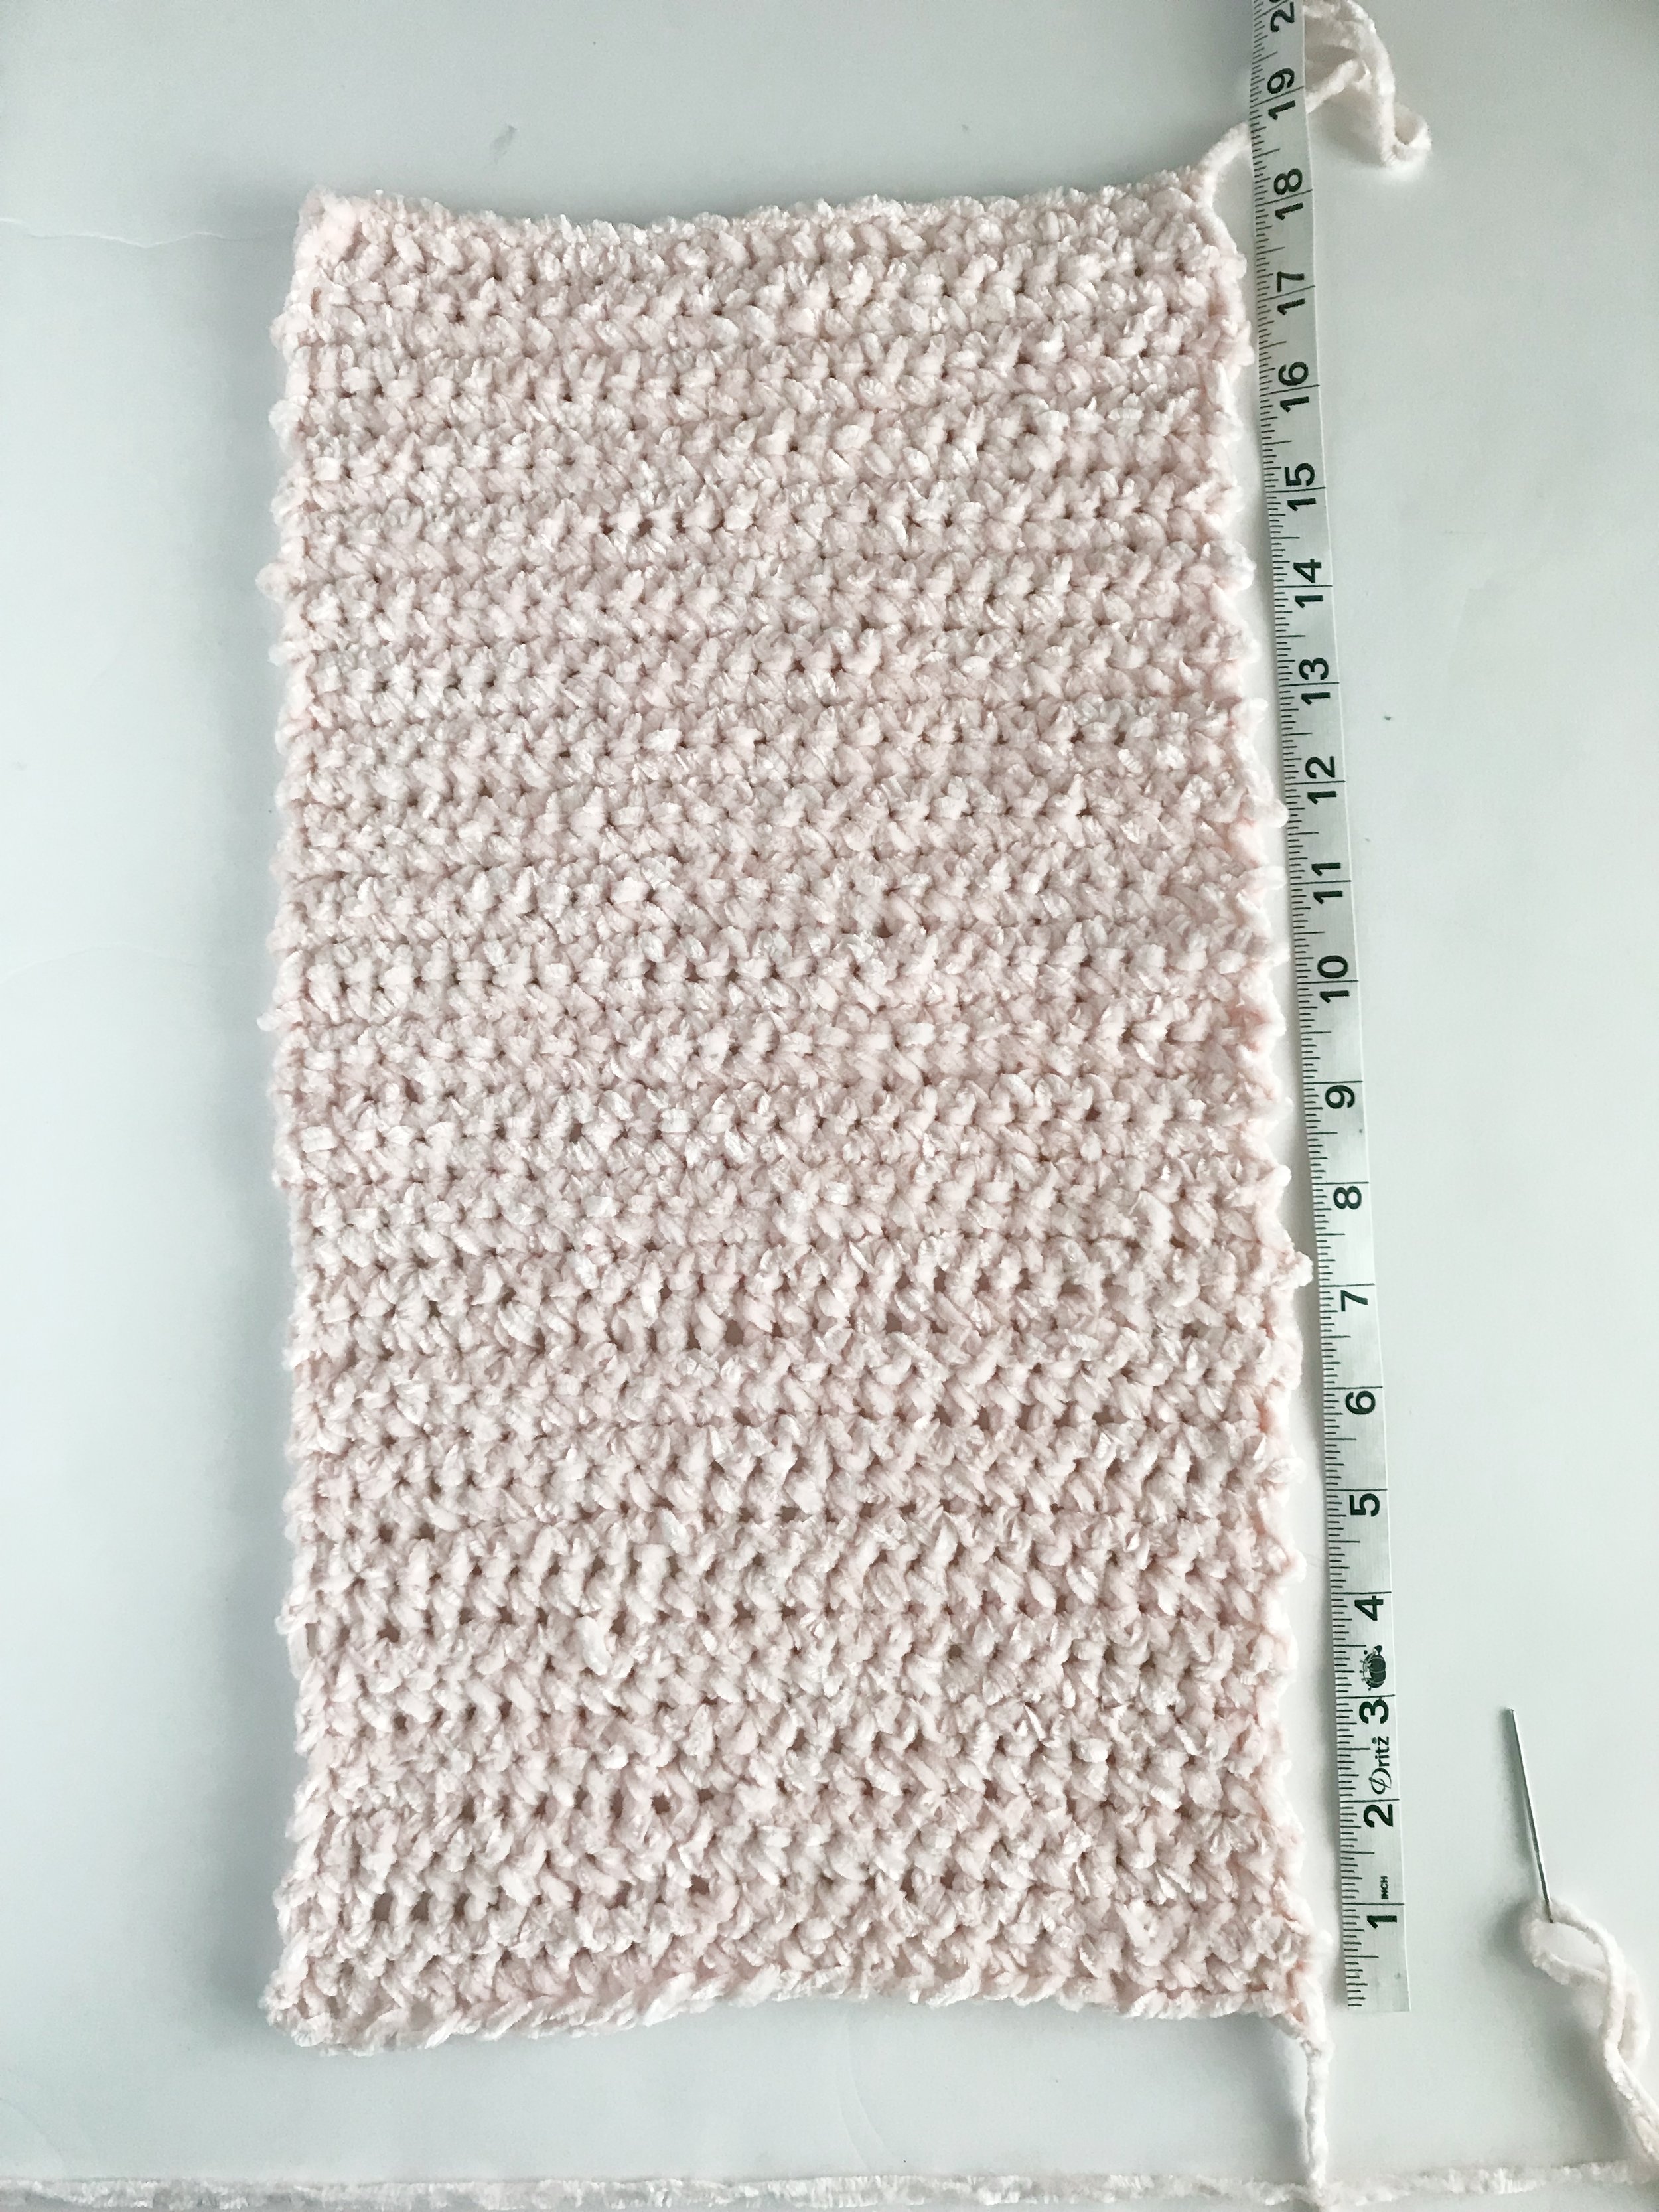
Hat is worked in all single crochets in rows making a long rectangle.
You can adjust the height of the hat by increasing or decreasing the beginning chains.
You can adjust the circumference of the hat by increasing or decreasing the number of rows.
Pattern is written for adult size with child and toddler sizes in parenthesis.
Pattern:
Ch. 31 (28, 26)
Row 1: sc in 2nd ch from hook and in each ch across, ch 1, turn. (30, 27, 25)
Row 2: sc in each stitch across, ch 1, turn. (30, 27, 25)
Repeat row 2 until rectangle measures 17.5” (16.5”, 15.5”) tall.
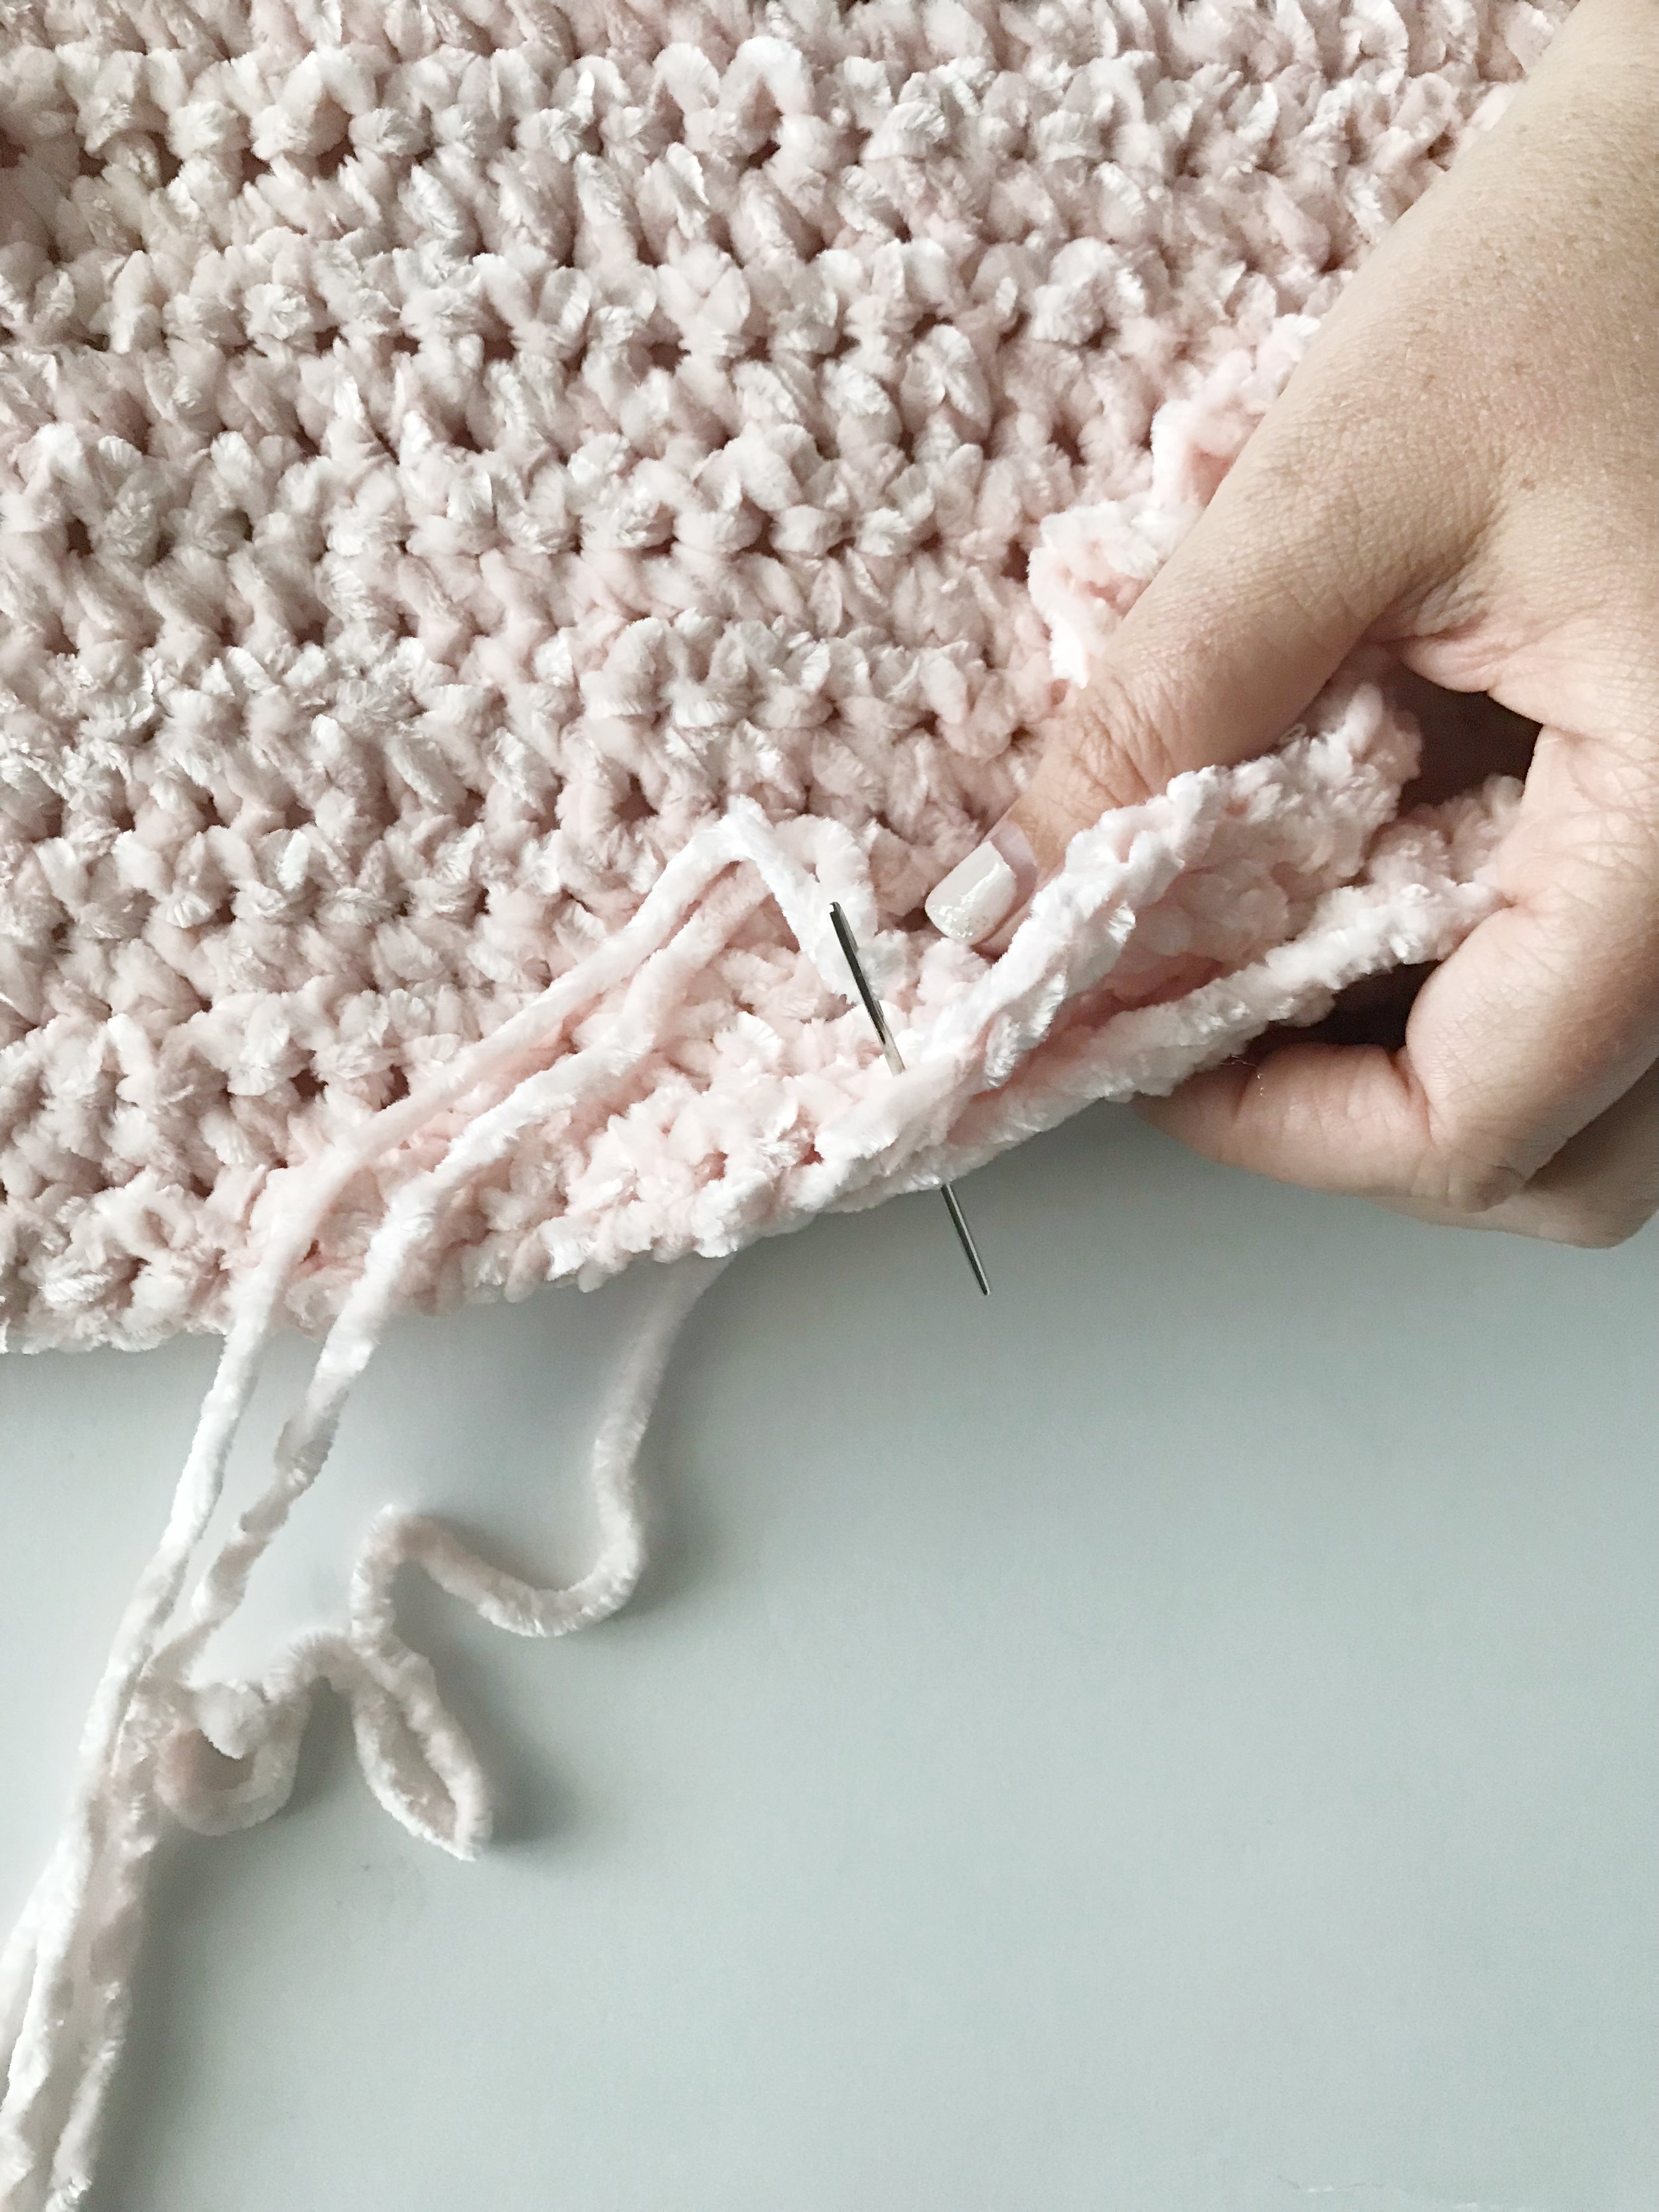
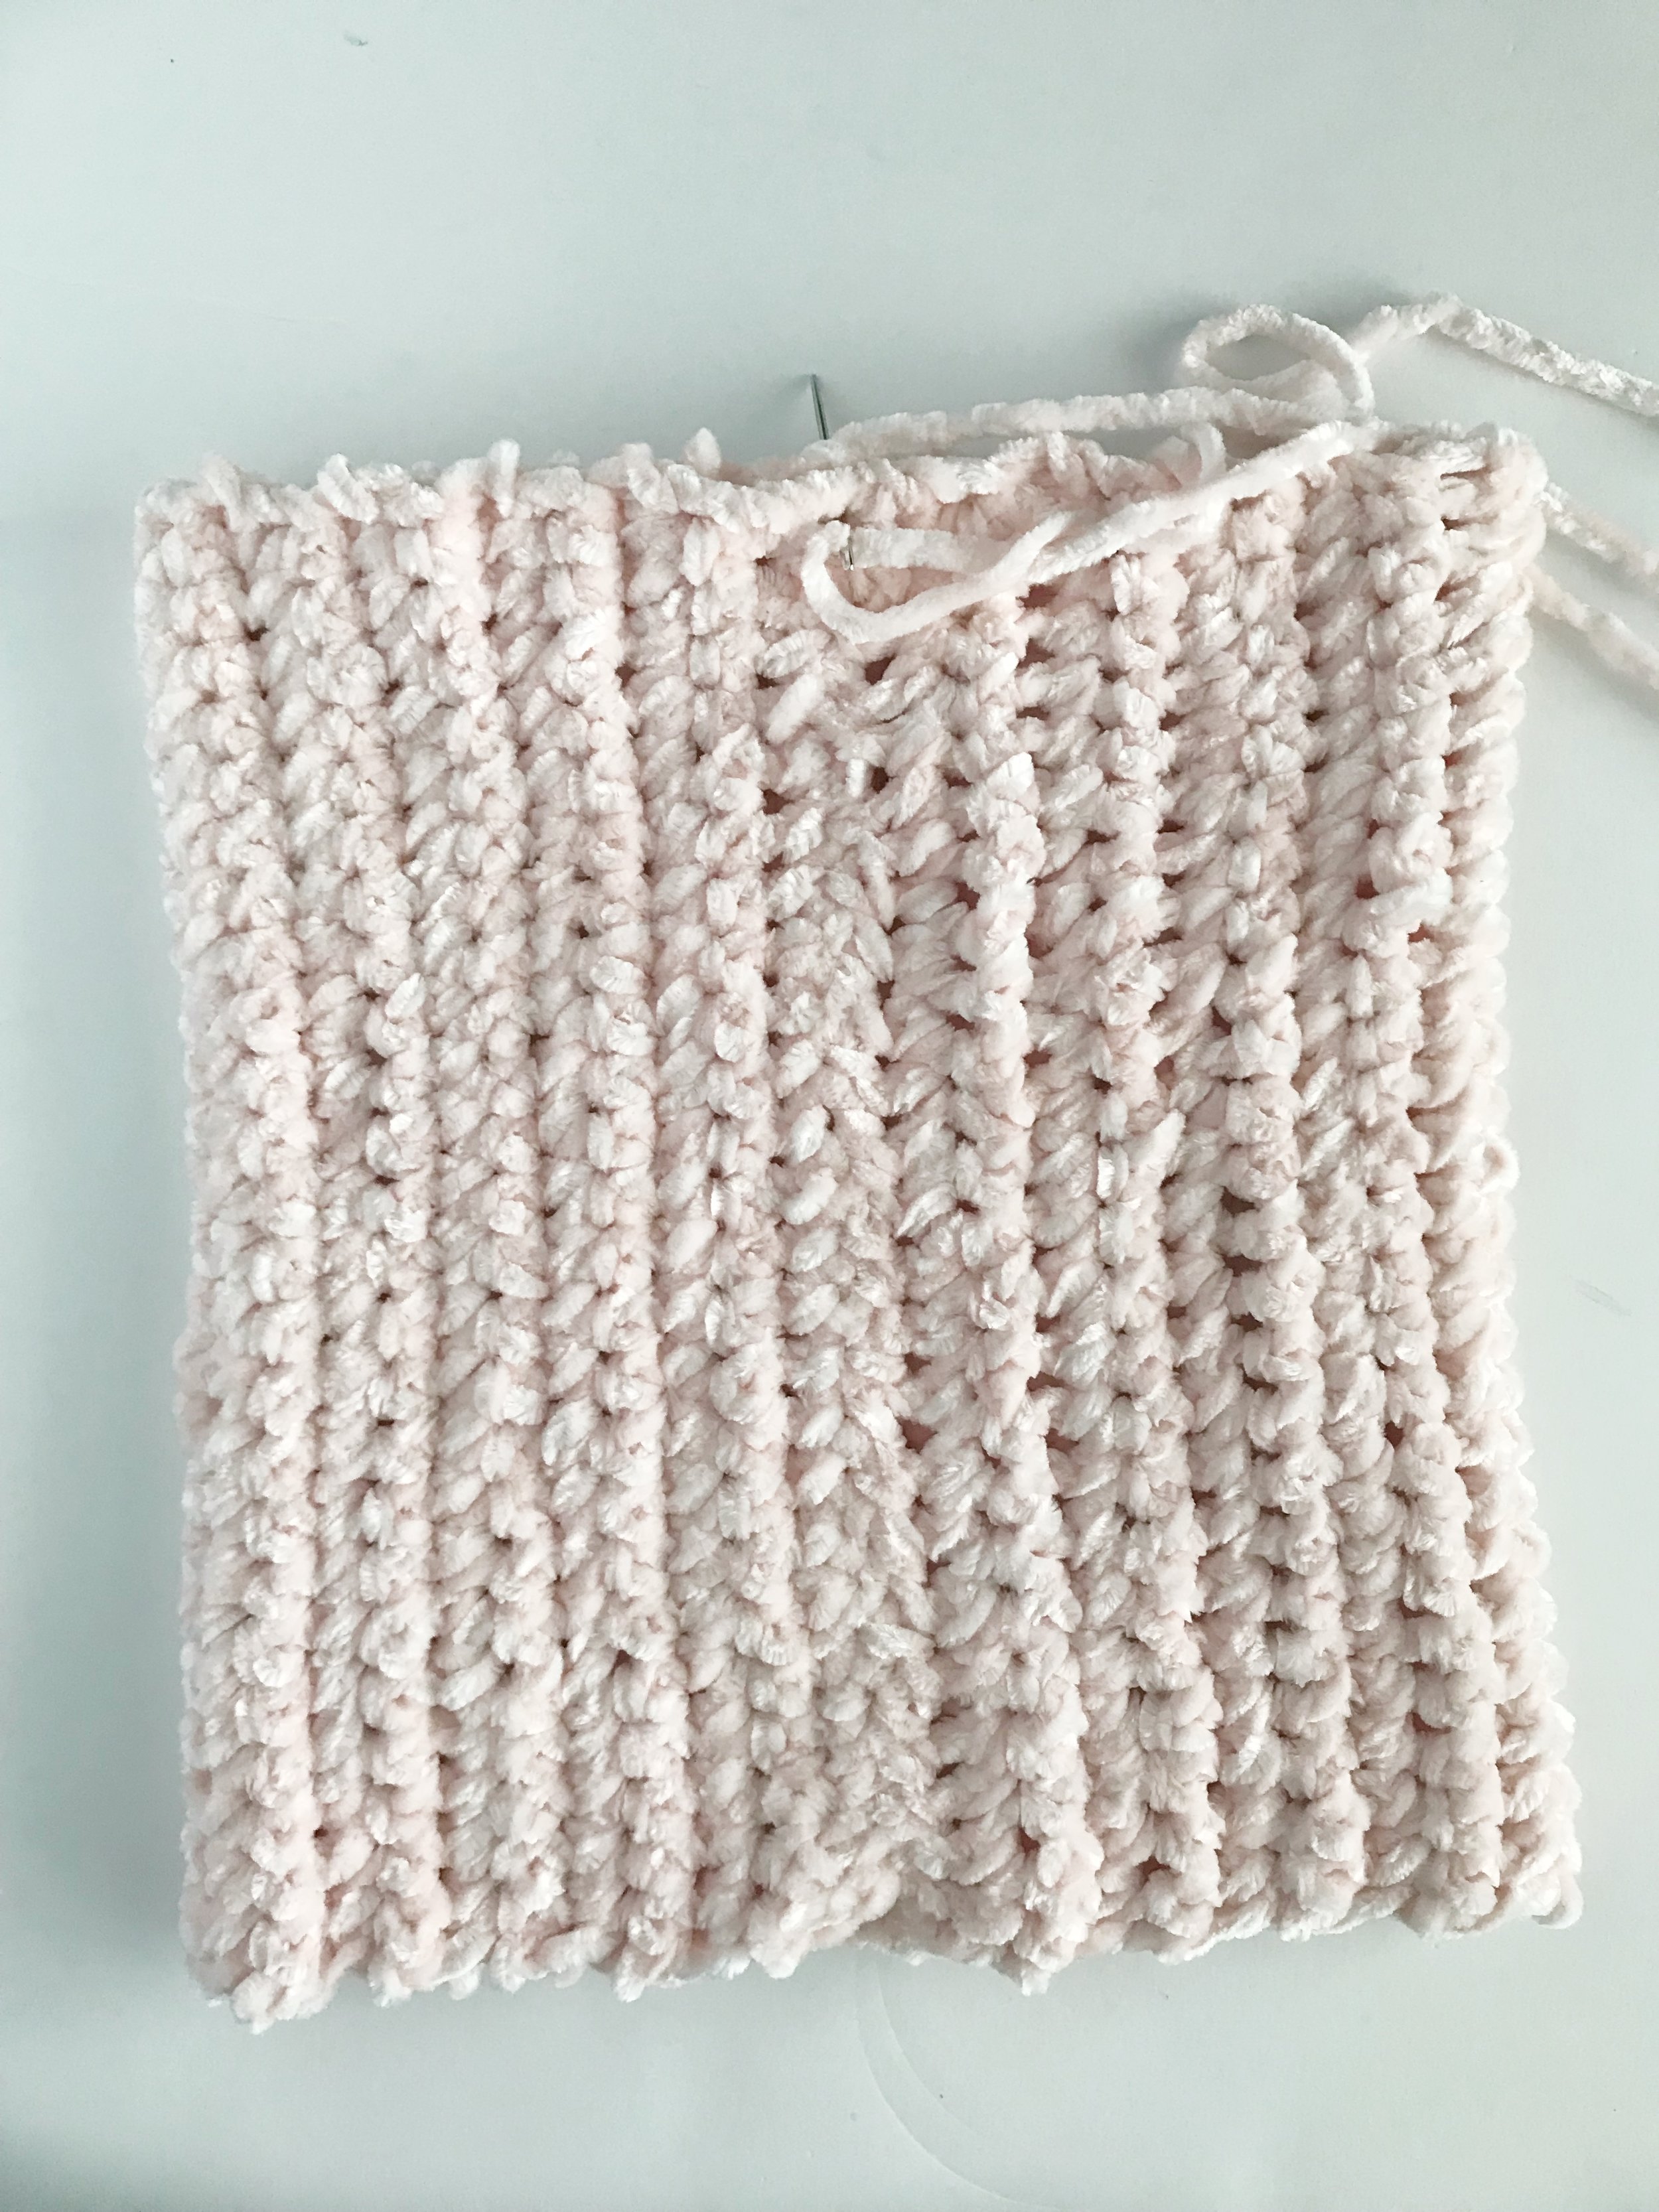
Fold rectangle in half and sl st ends together or using a tapestry needle, whip stitch both ends together.
Fasten off leaving a long tail for sewing.
Weave in beginning tail and turn the hat right side out.
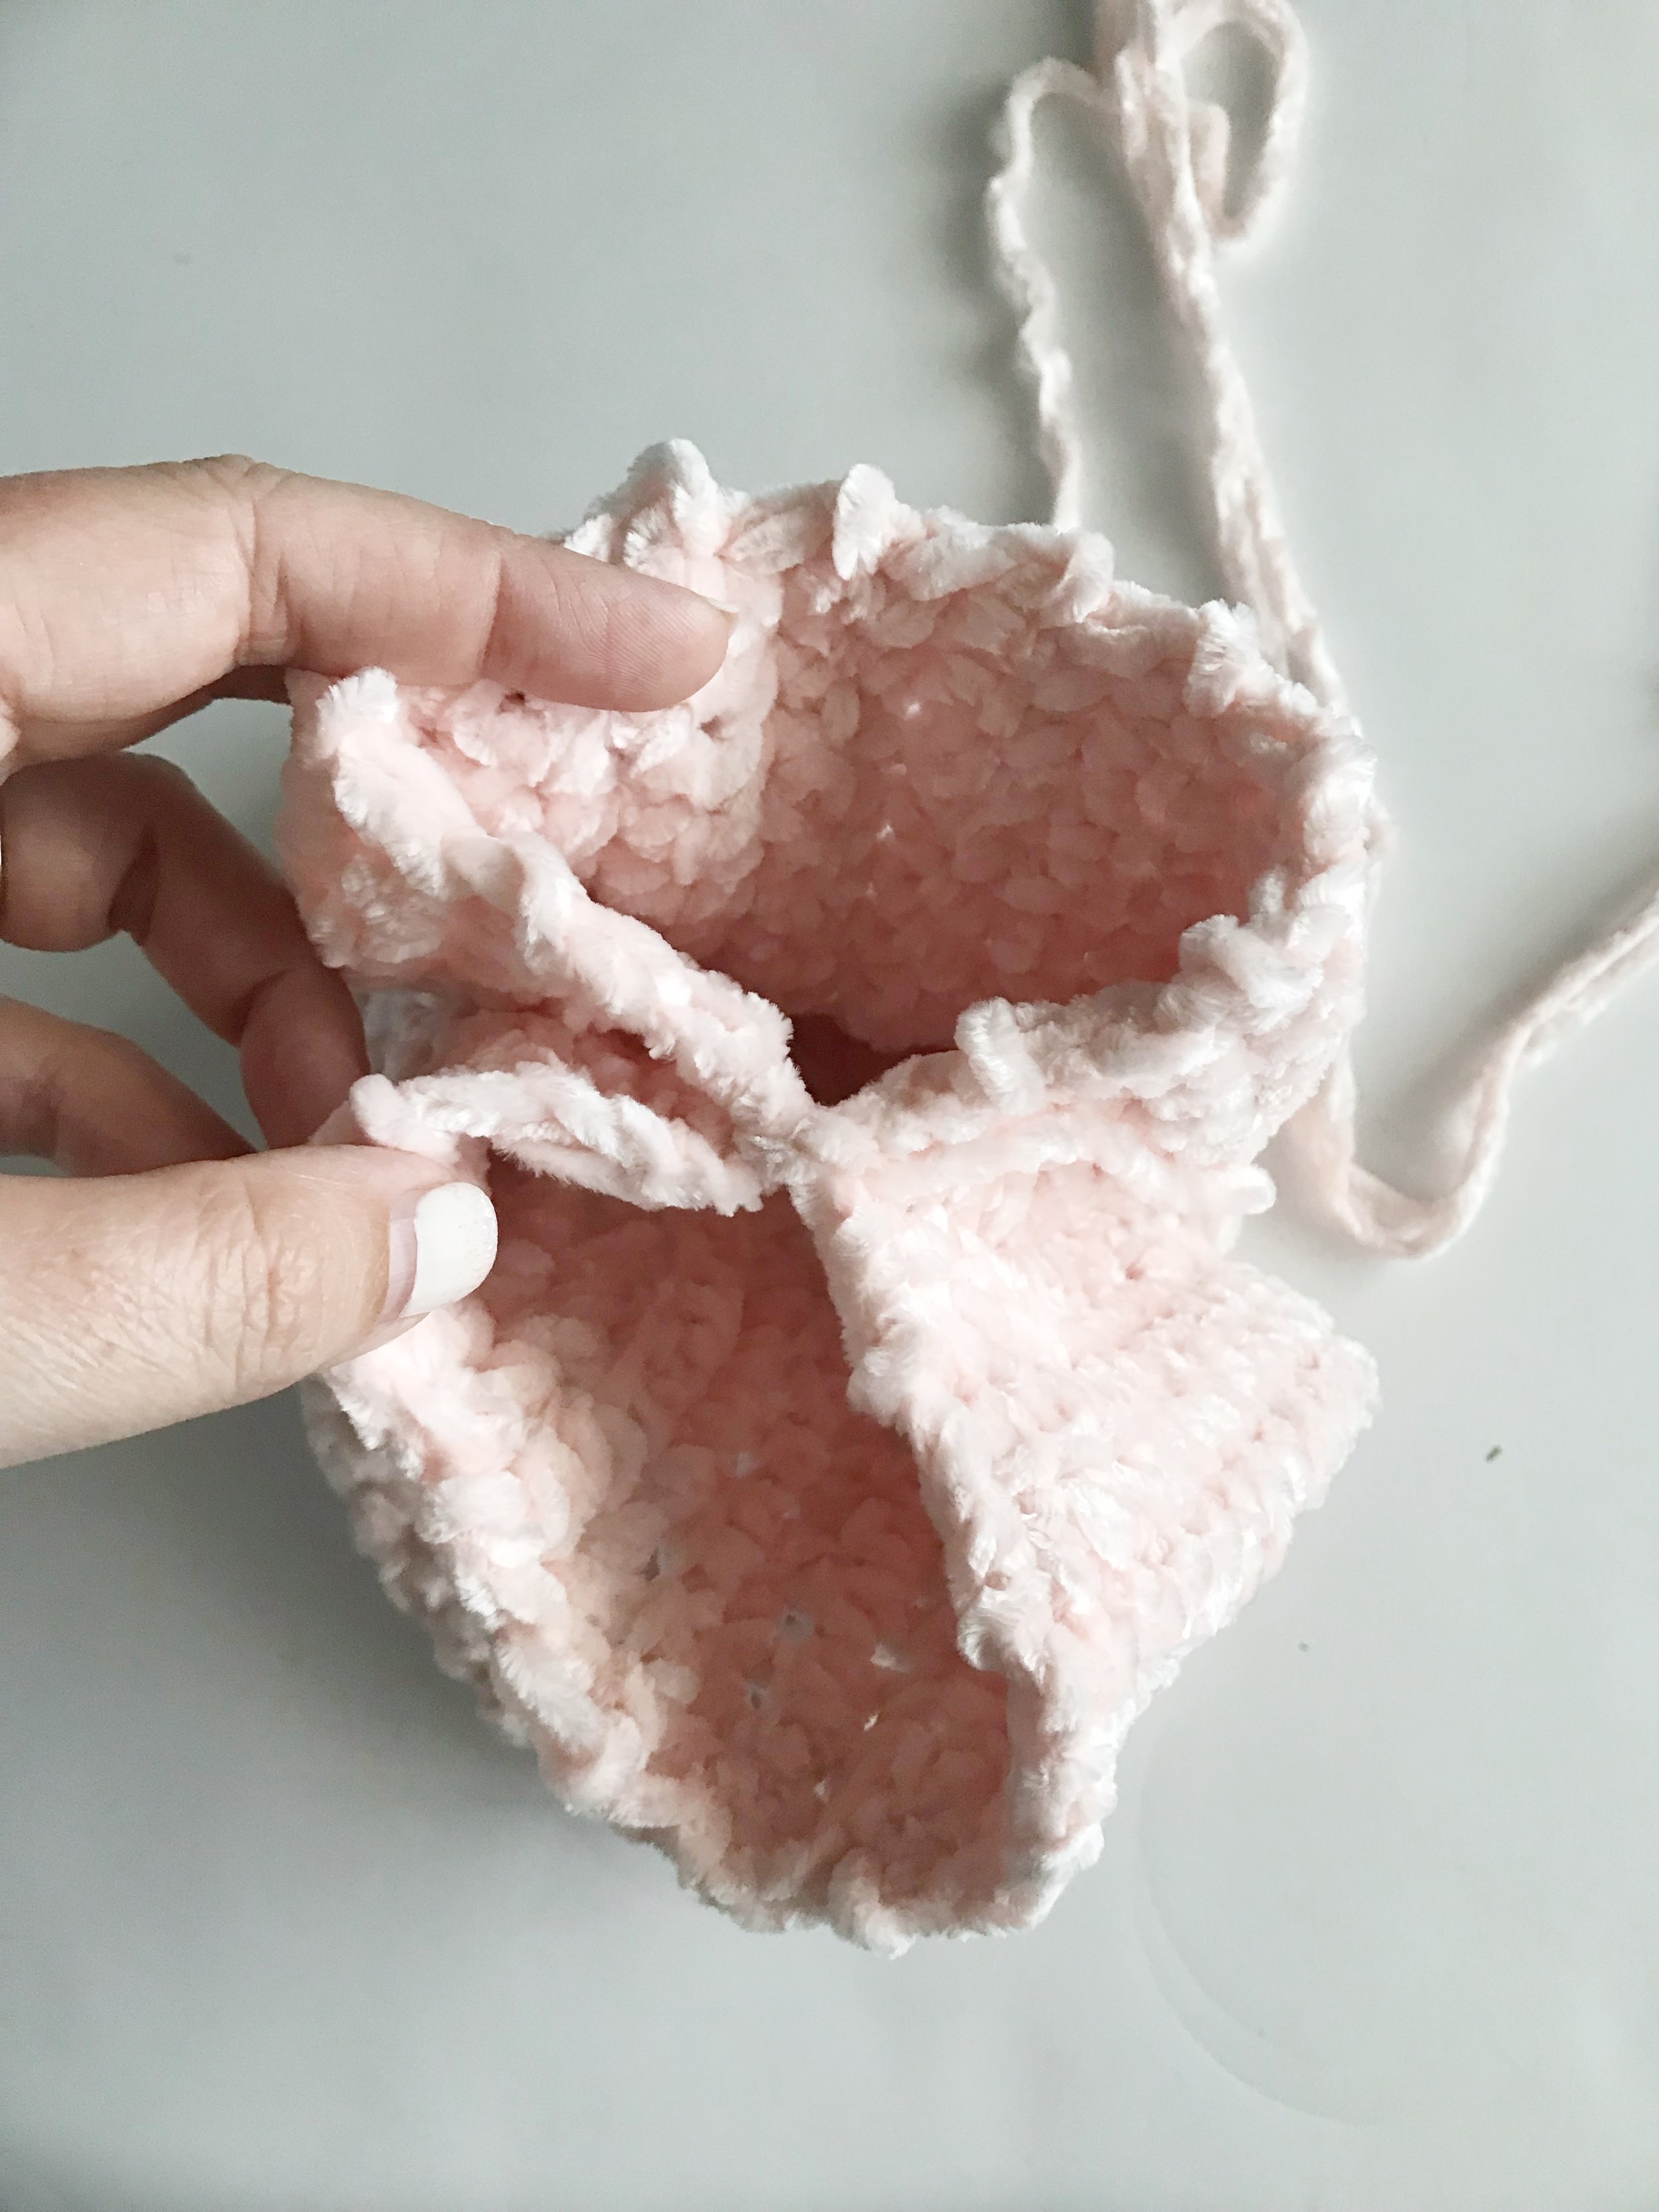
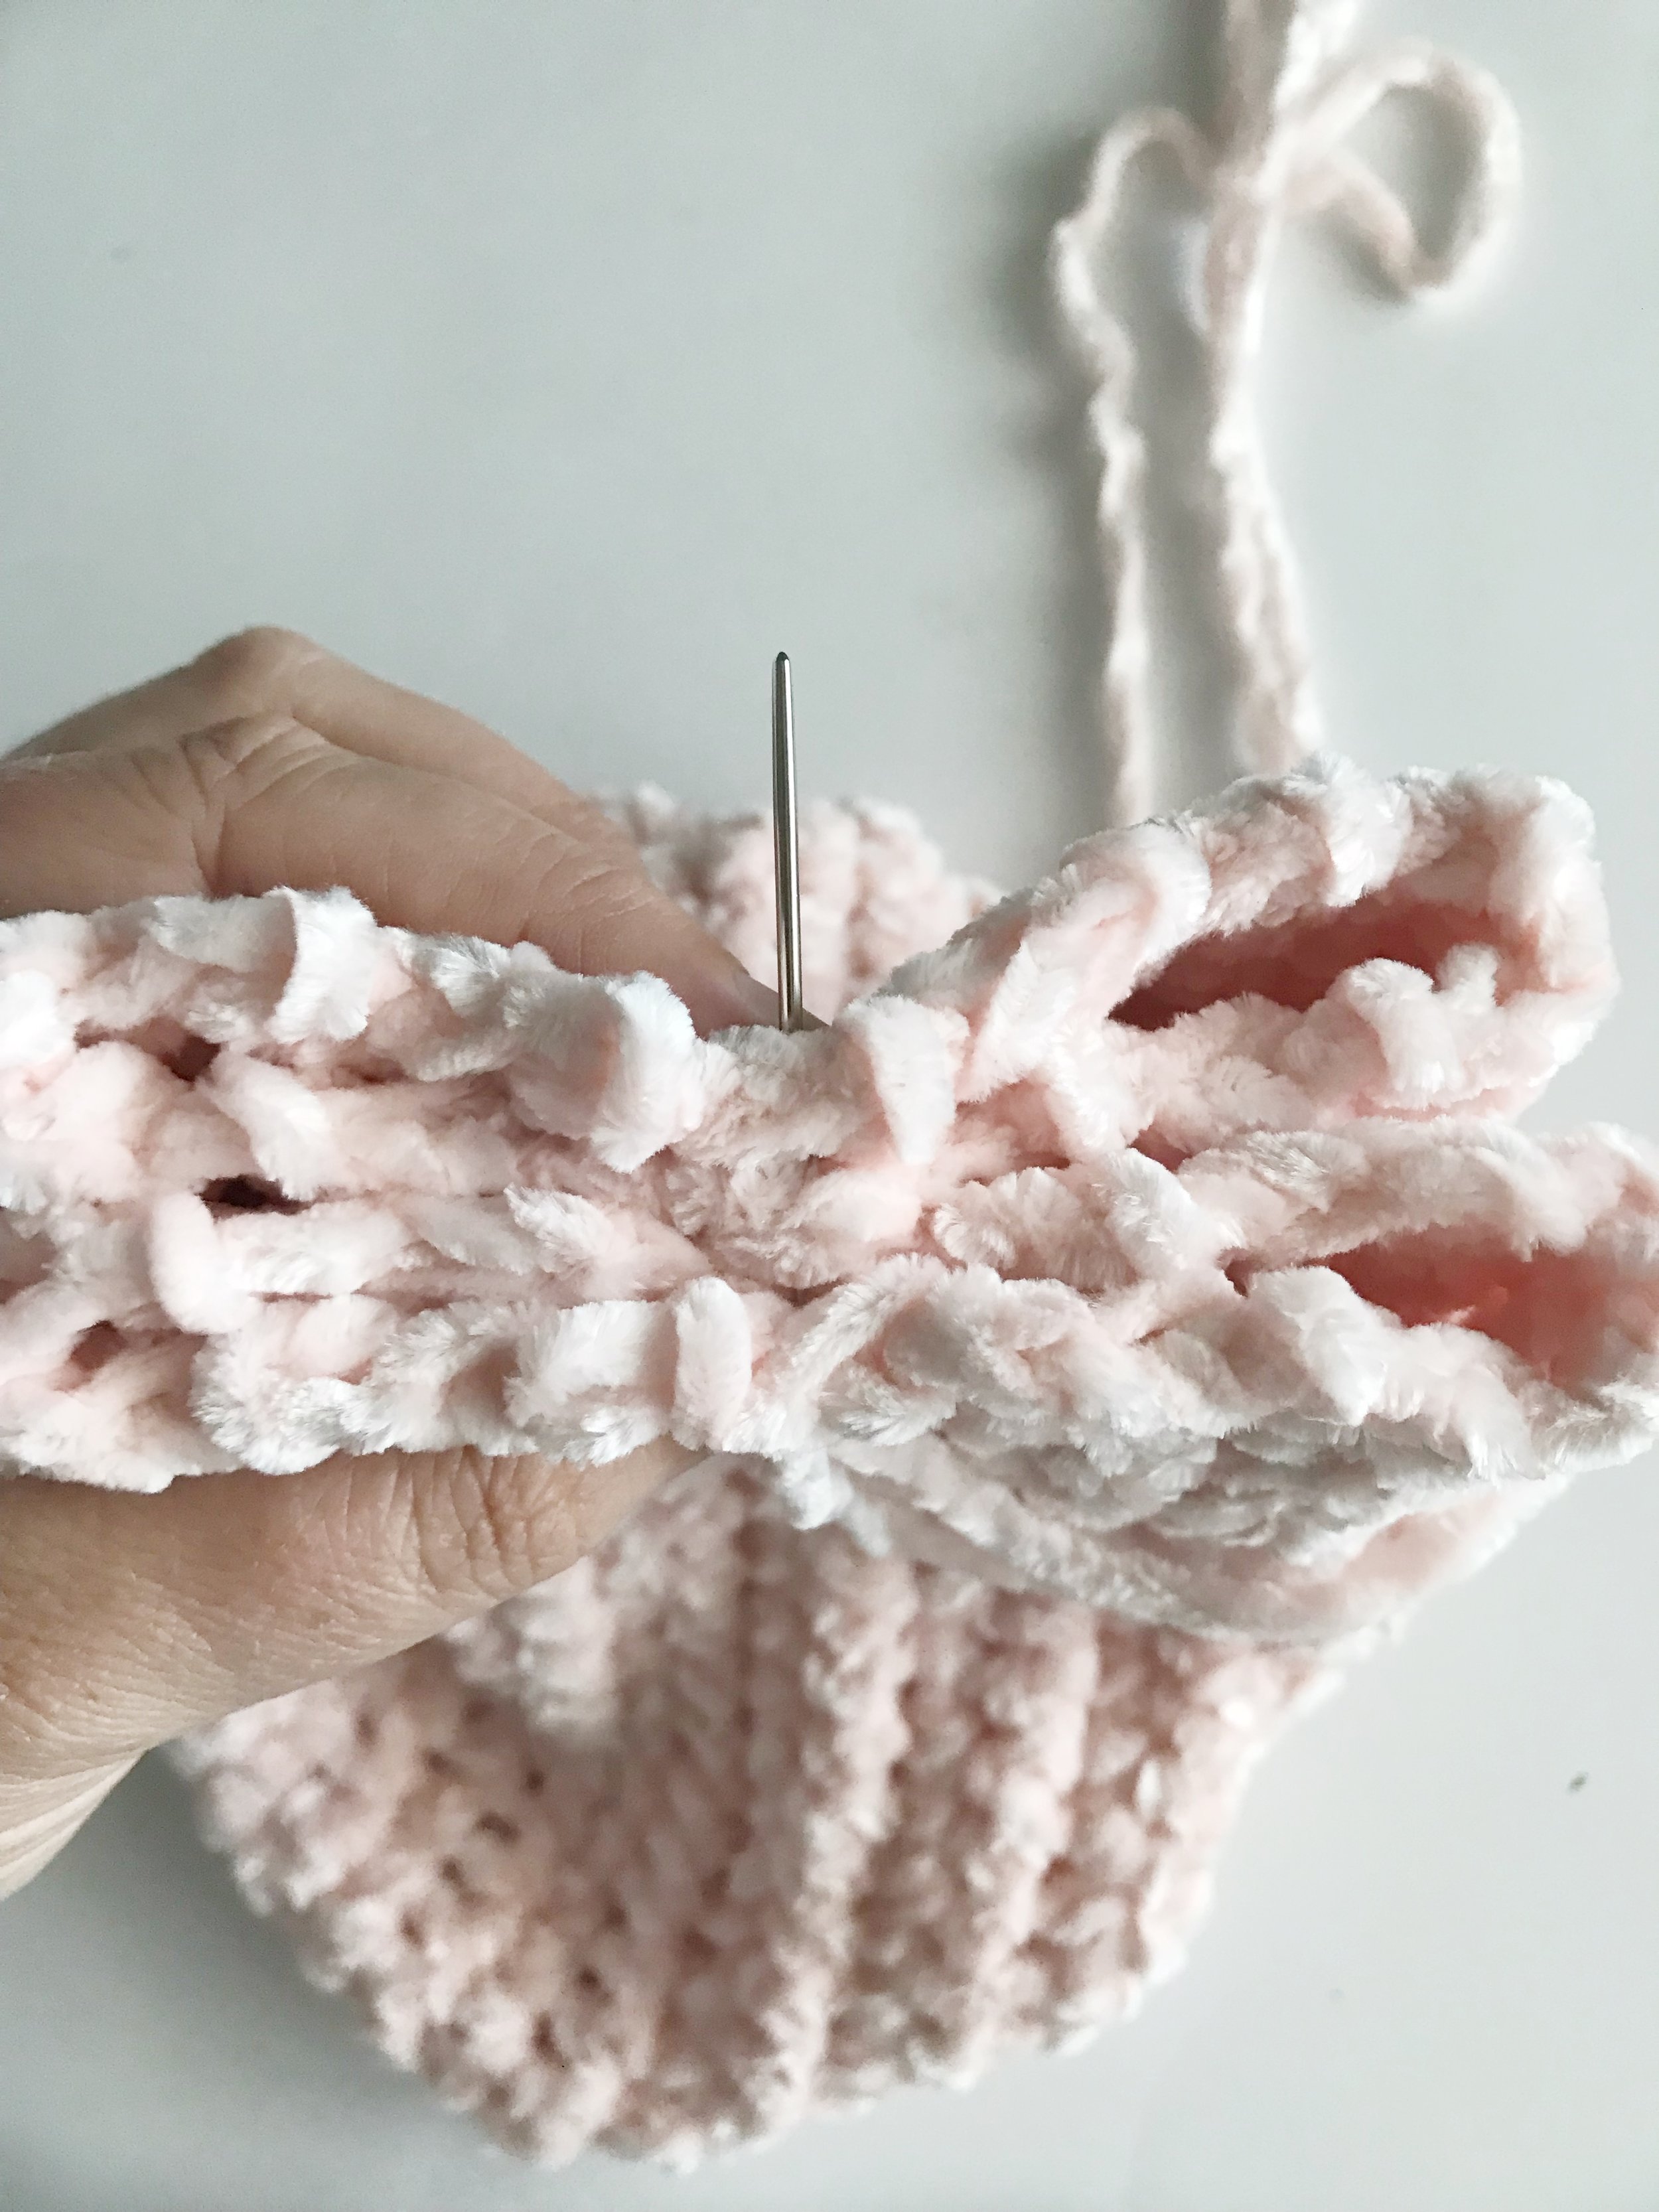
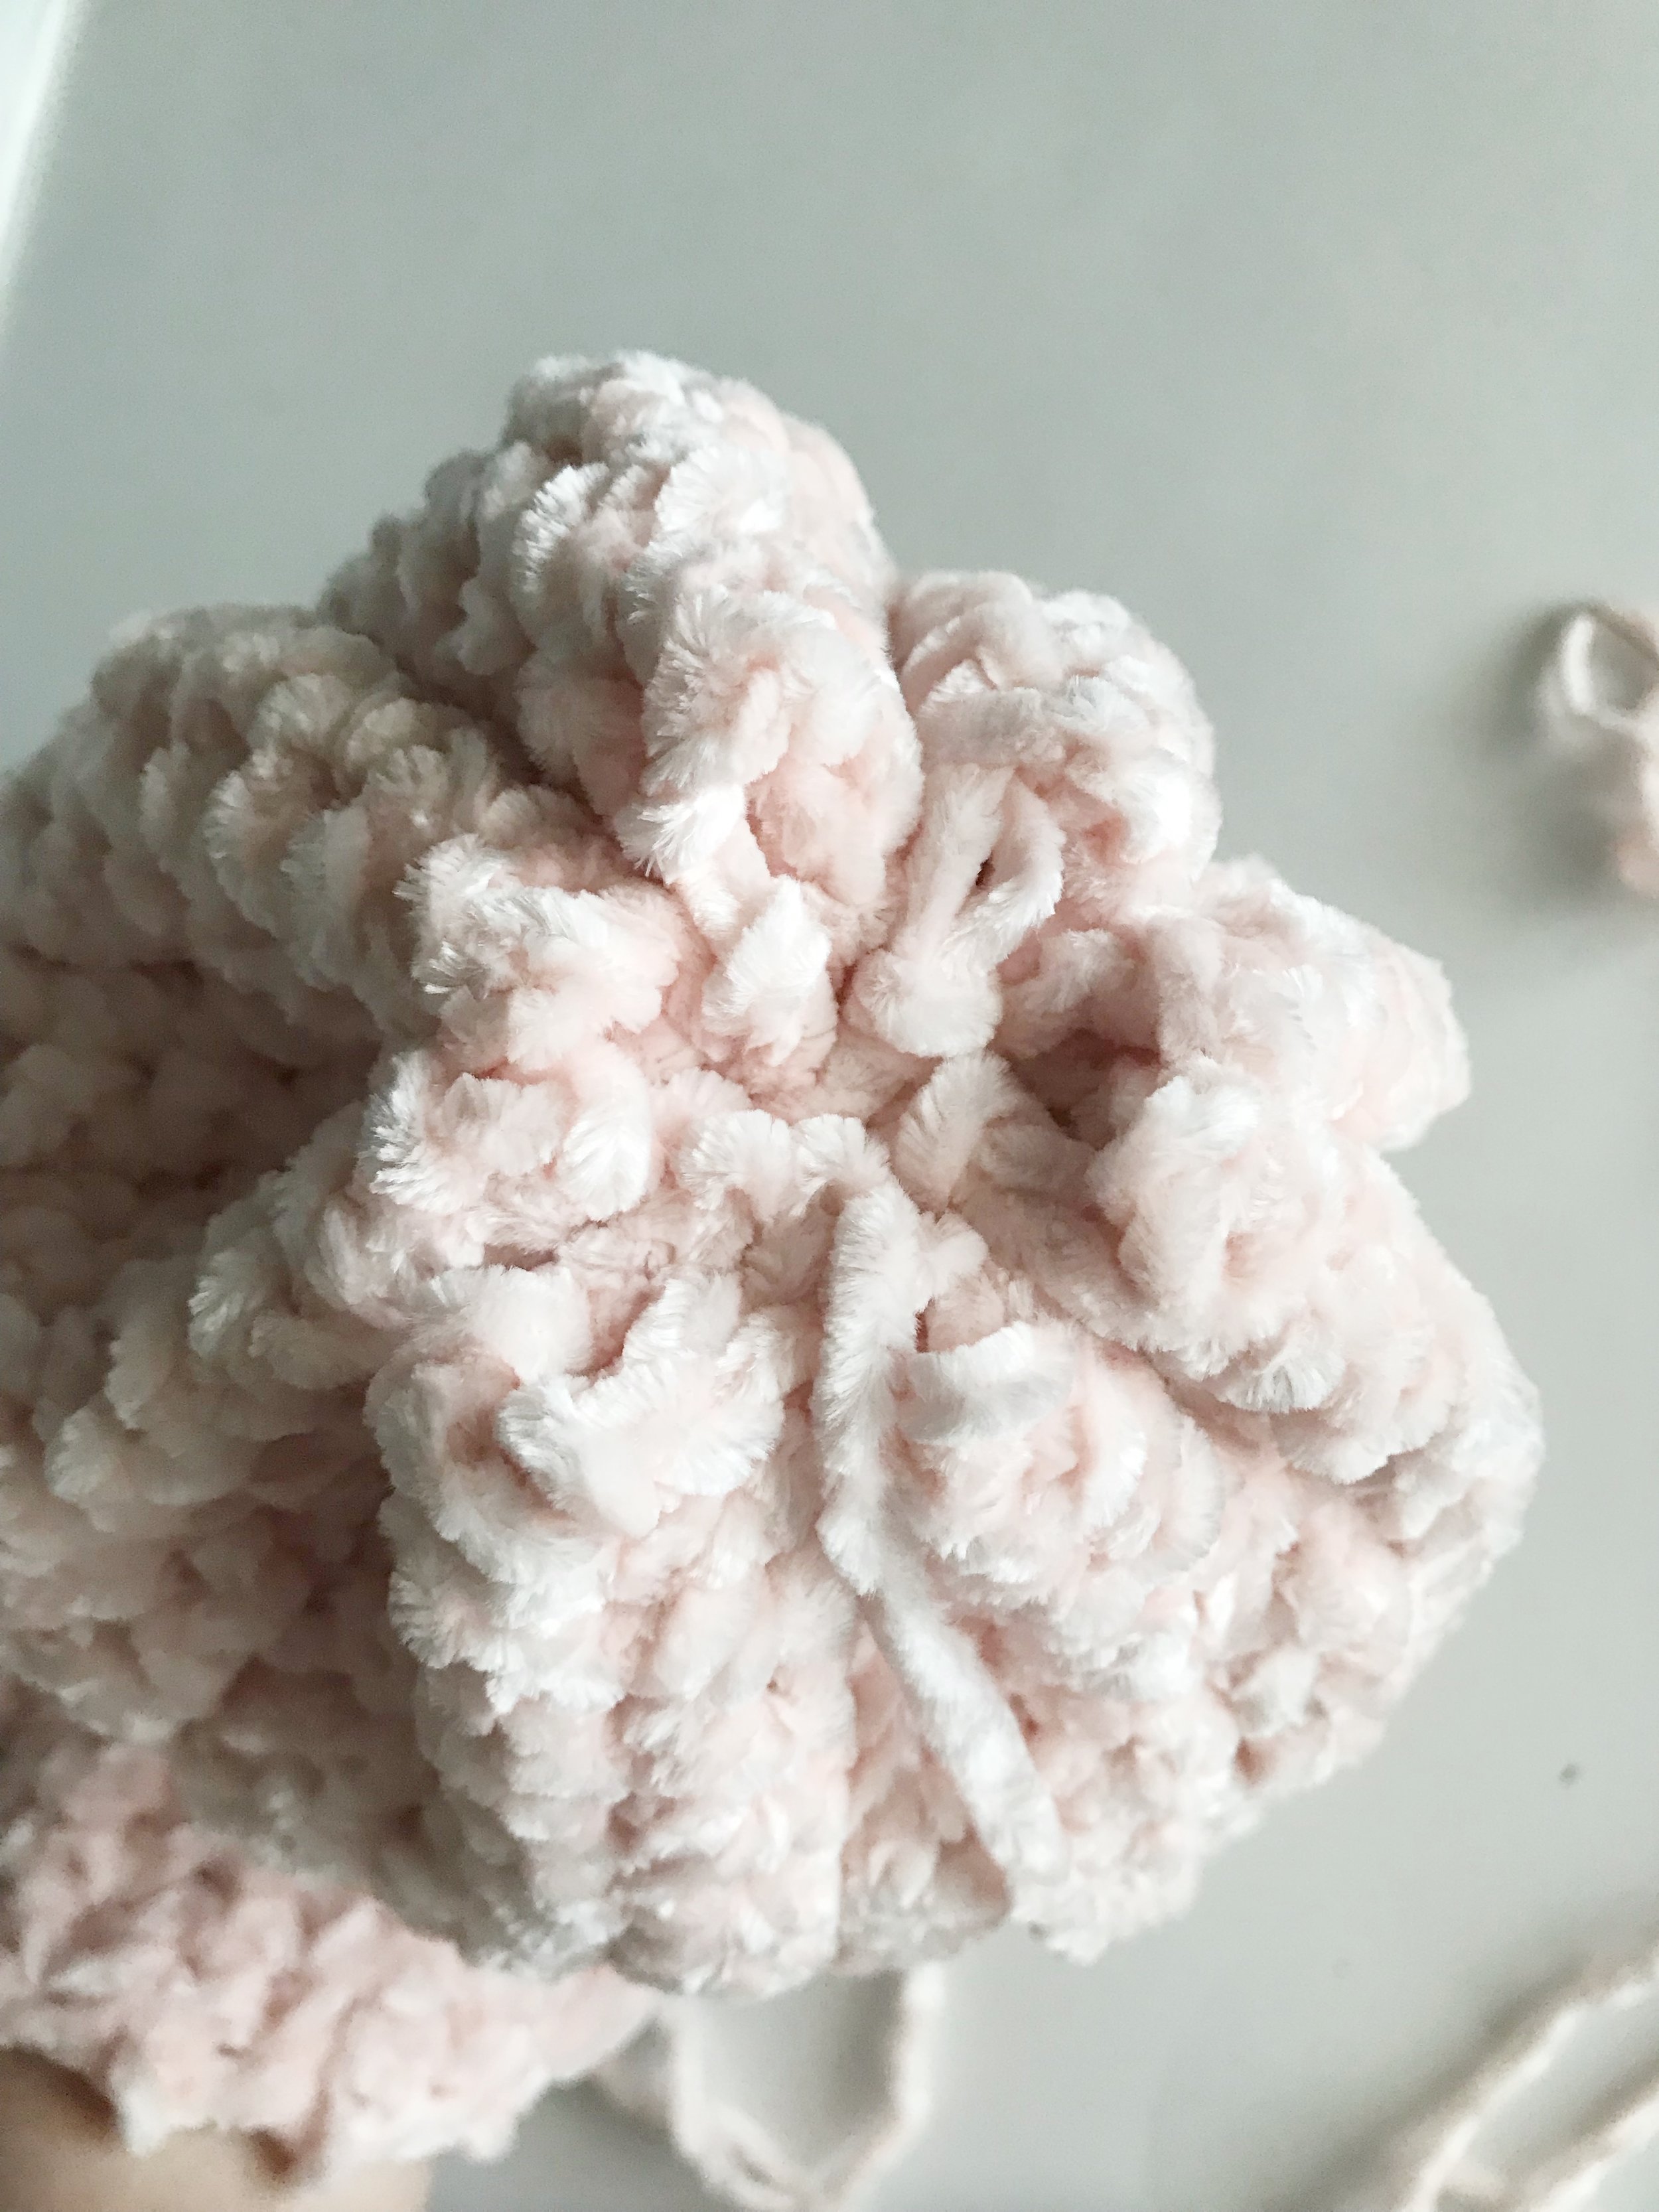
Sew the top of the hat closed by folding it in half and stitching in the center. You will have created two loops.
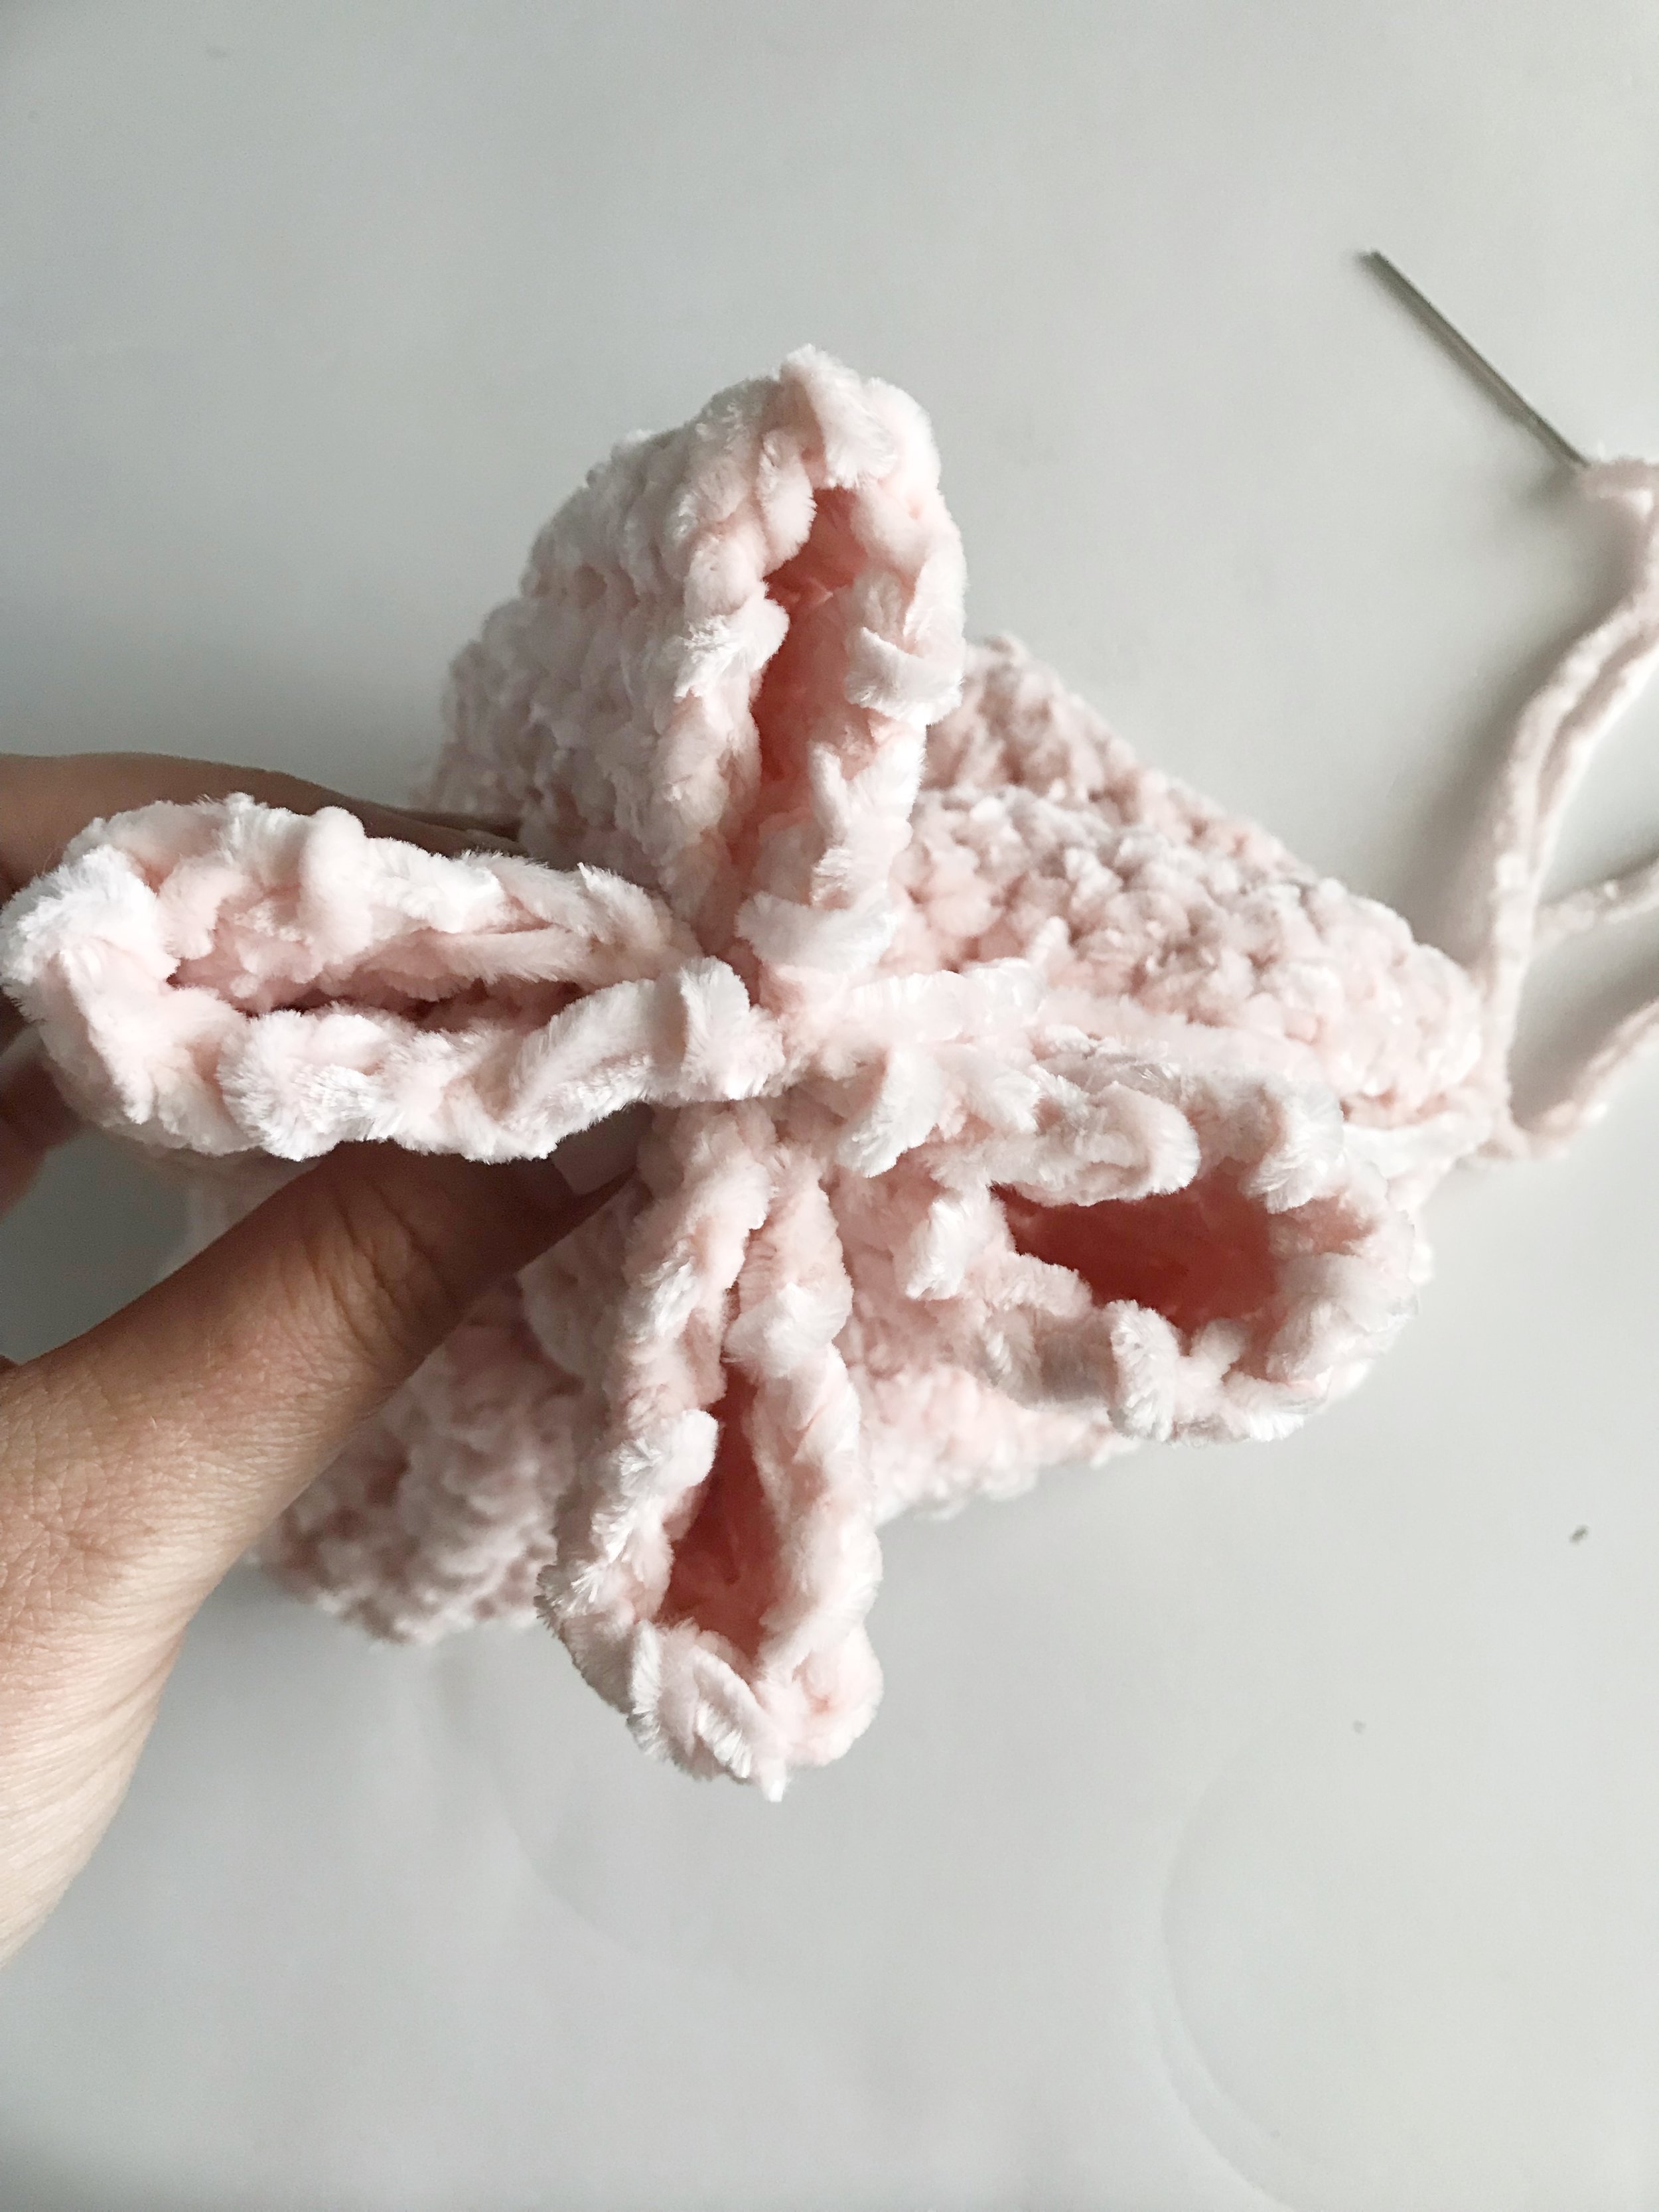
Now bring the center of each of those loops in and stitch through the center. You will now have four loops.
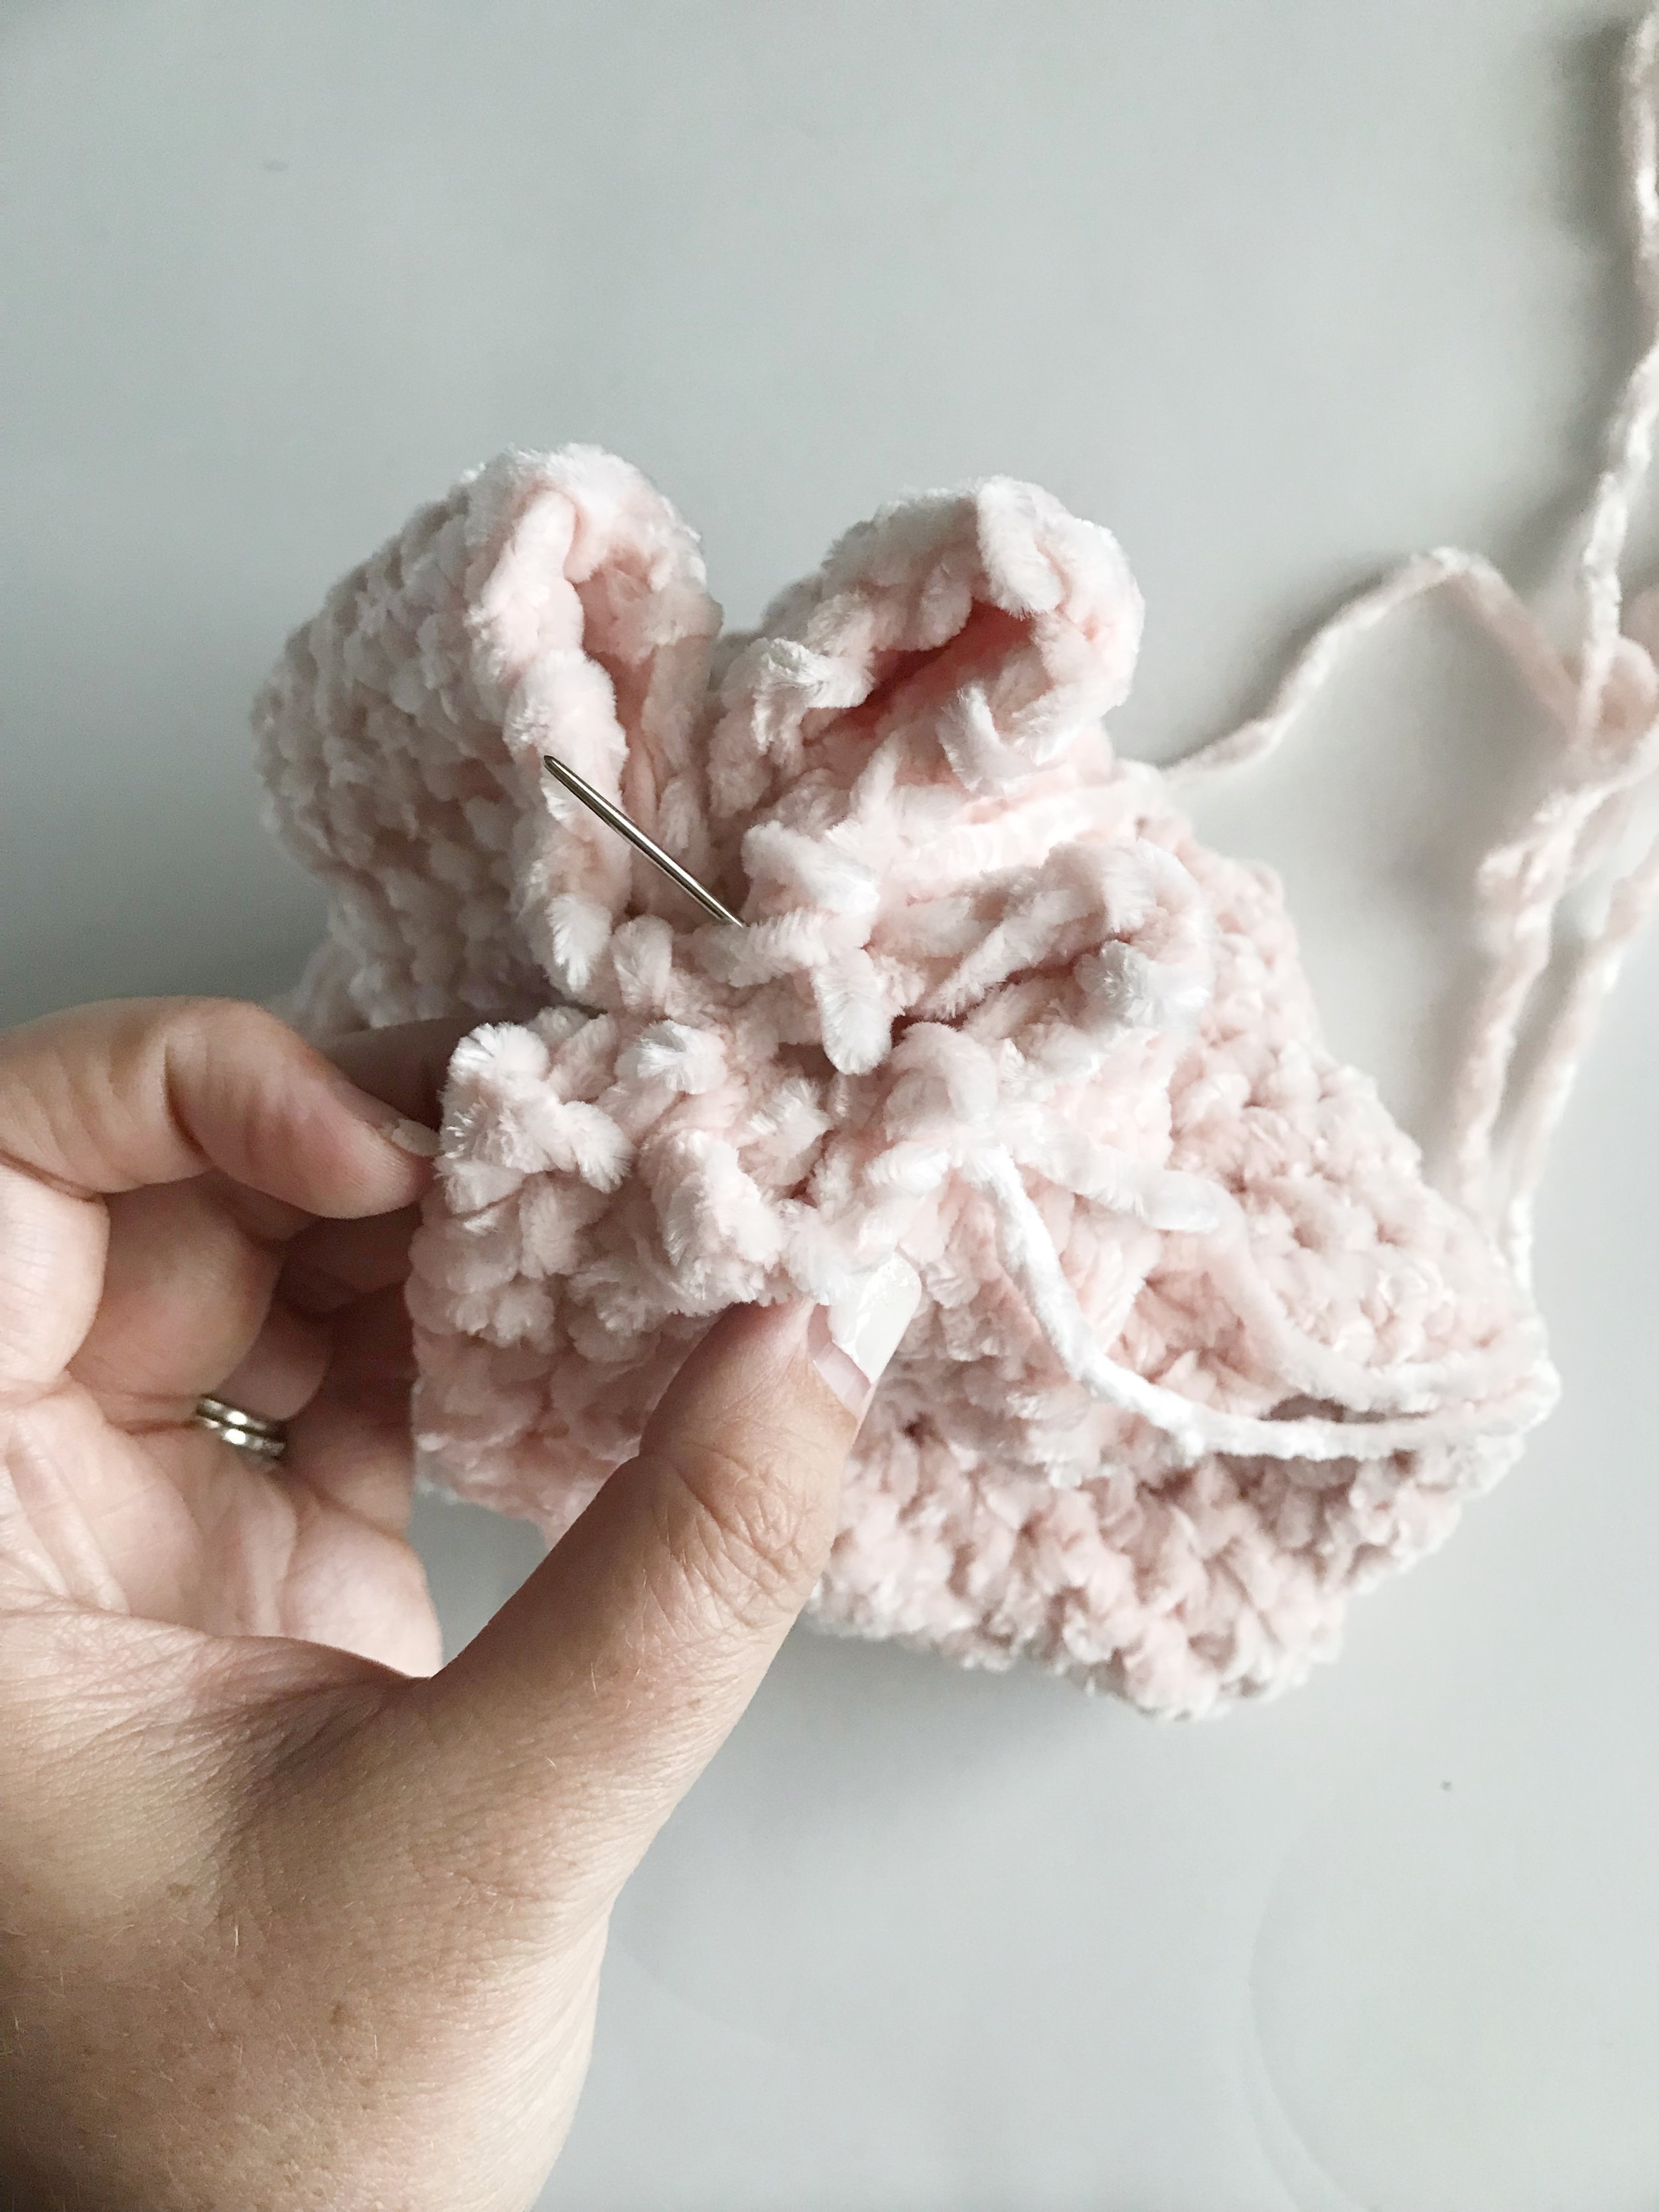
Stitch the center of each loop to the center of the hat to create 8 little loops.
Bring the center of each of those loops (one at a time) into the center and stitch closed.
Bring the yarn into the wrong side of the hat and weave in end.
Finishing:
To create a more polished look to your hat, attach yarn to the bottom edge of the hat, ch 1 and sc in the end of each row around. Sl st to first sc. Fasten off and weave in ends. Attach a faux fur pom if desired.
Now throw on your new velvet hat and stay warm this winter!
I hope you enjoyed this free pattern! If you make a Lucy Beanie be sure to share it on social media and give me a tag or use the hashtag #thelucybeanie so I can see.
Happy Crocheting!
Meghan


