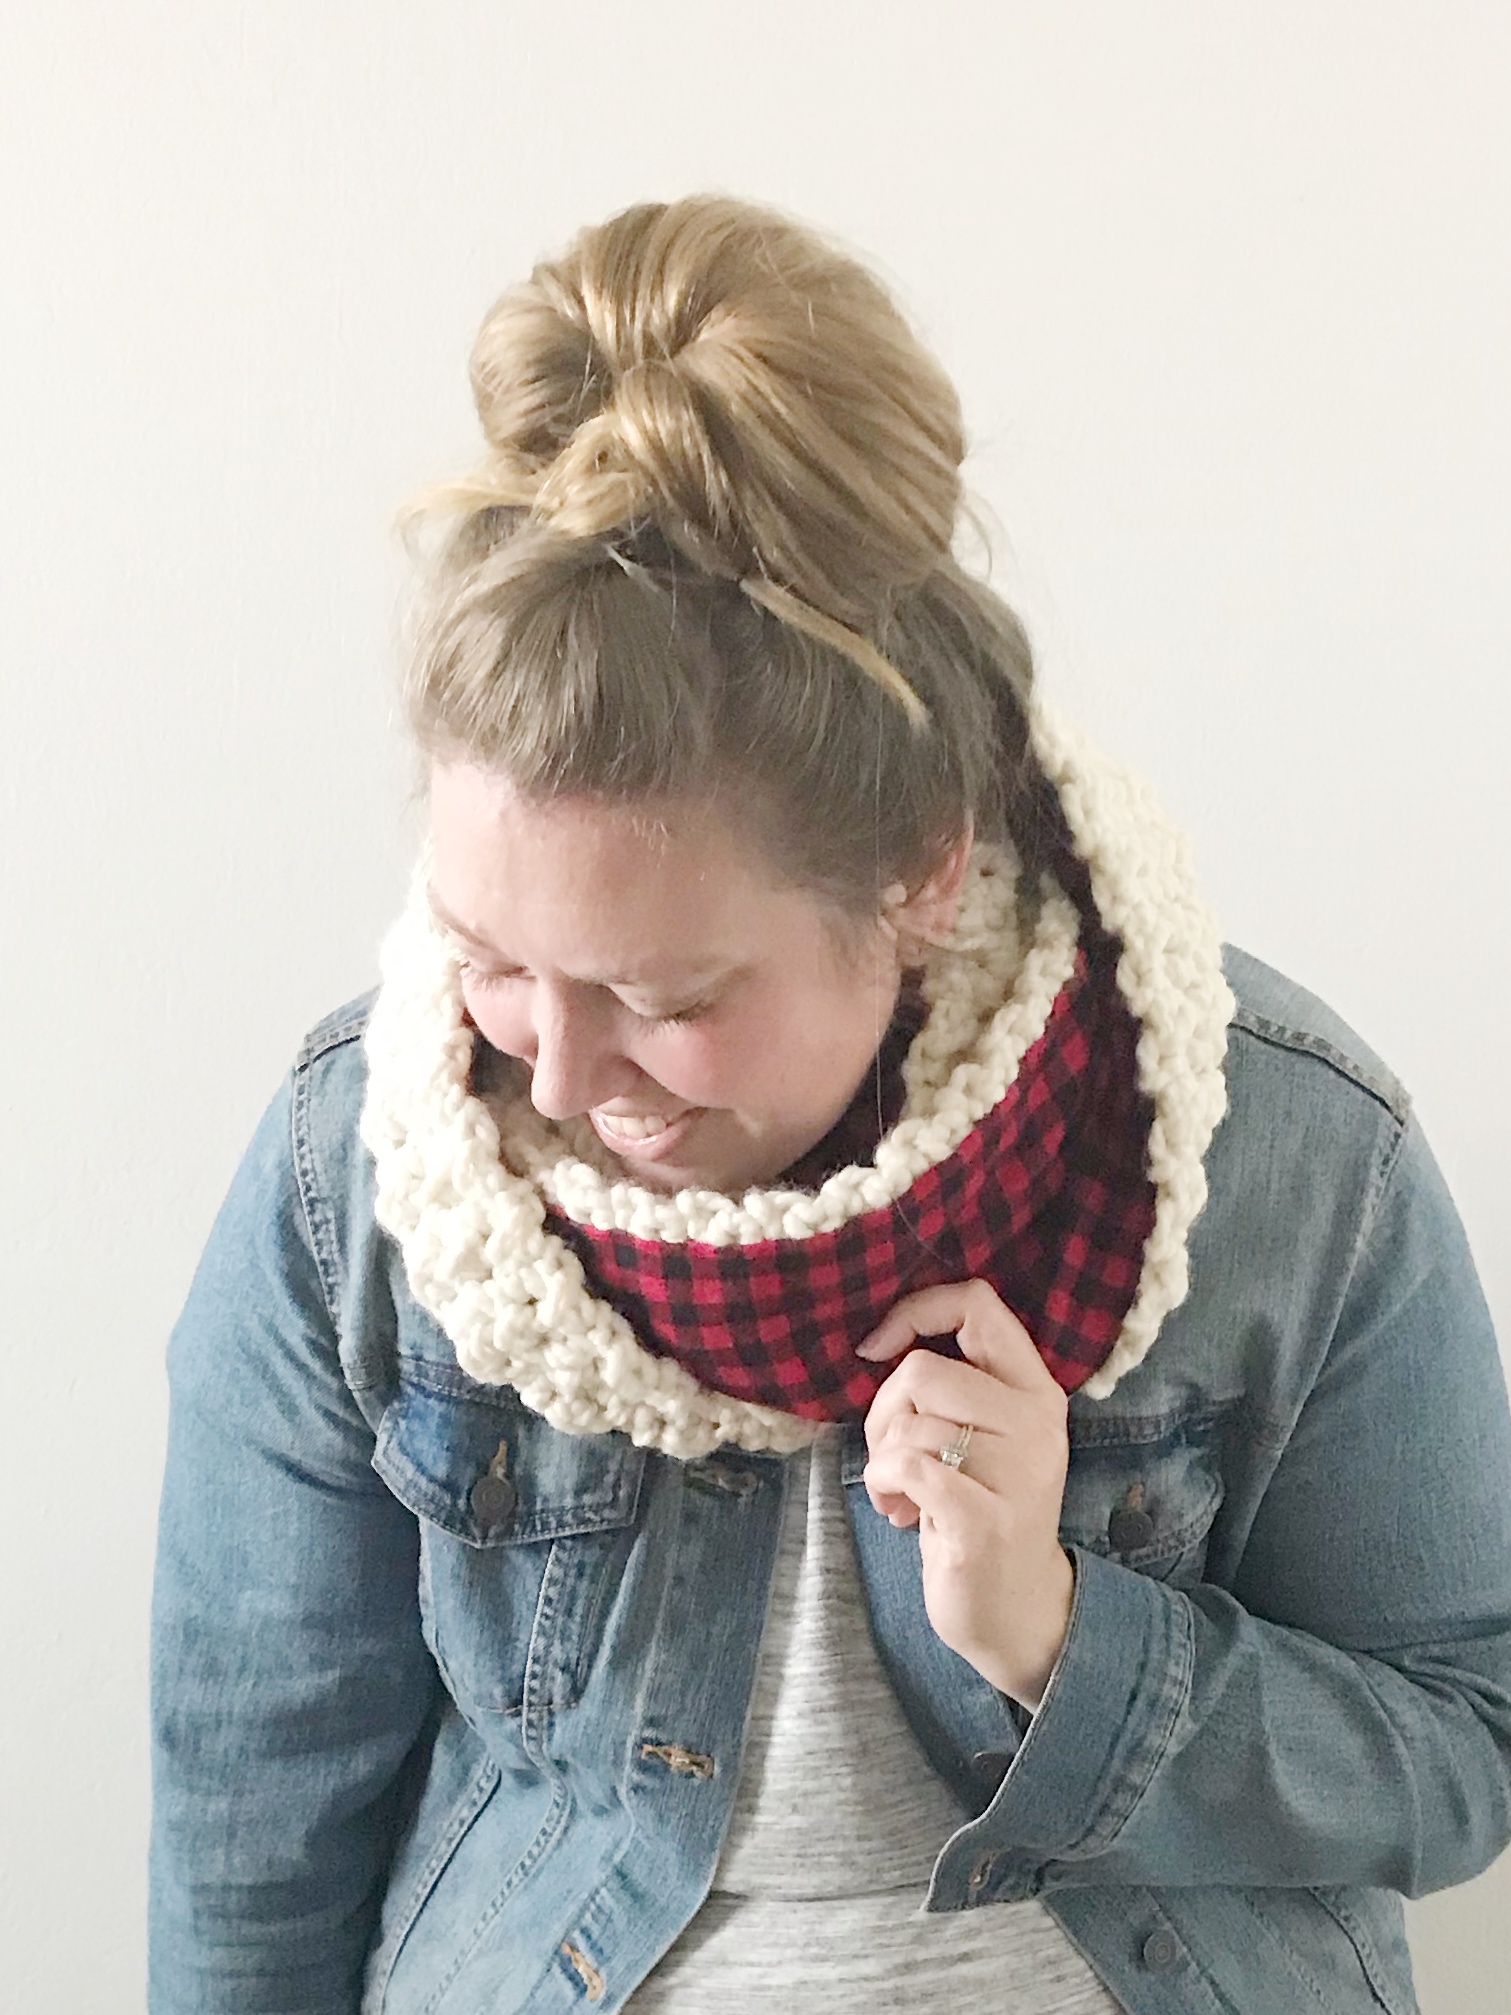
The Rowan Scarf-Free Crochet & Sewing Pattern
This post may contain affiliate links. If you purchase something thru one of those links I may earn a small commission. It’s an easy way to support this blog and help me to create more great content.
The new year is upon us, but I just had to squeeze in one last pattern before 2018 came to an end. I had this scarf idea last year, but it was a bit late in the season to publish so I put the idea on the shelf and then almost forgot about it until I found the skein of yarn that had inspired it all.
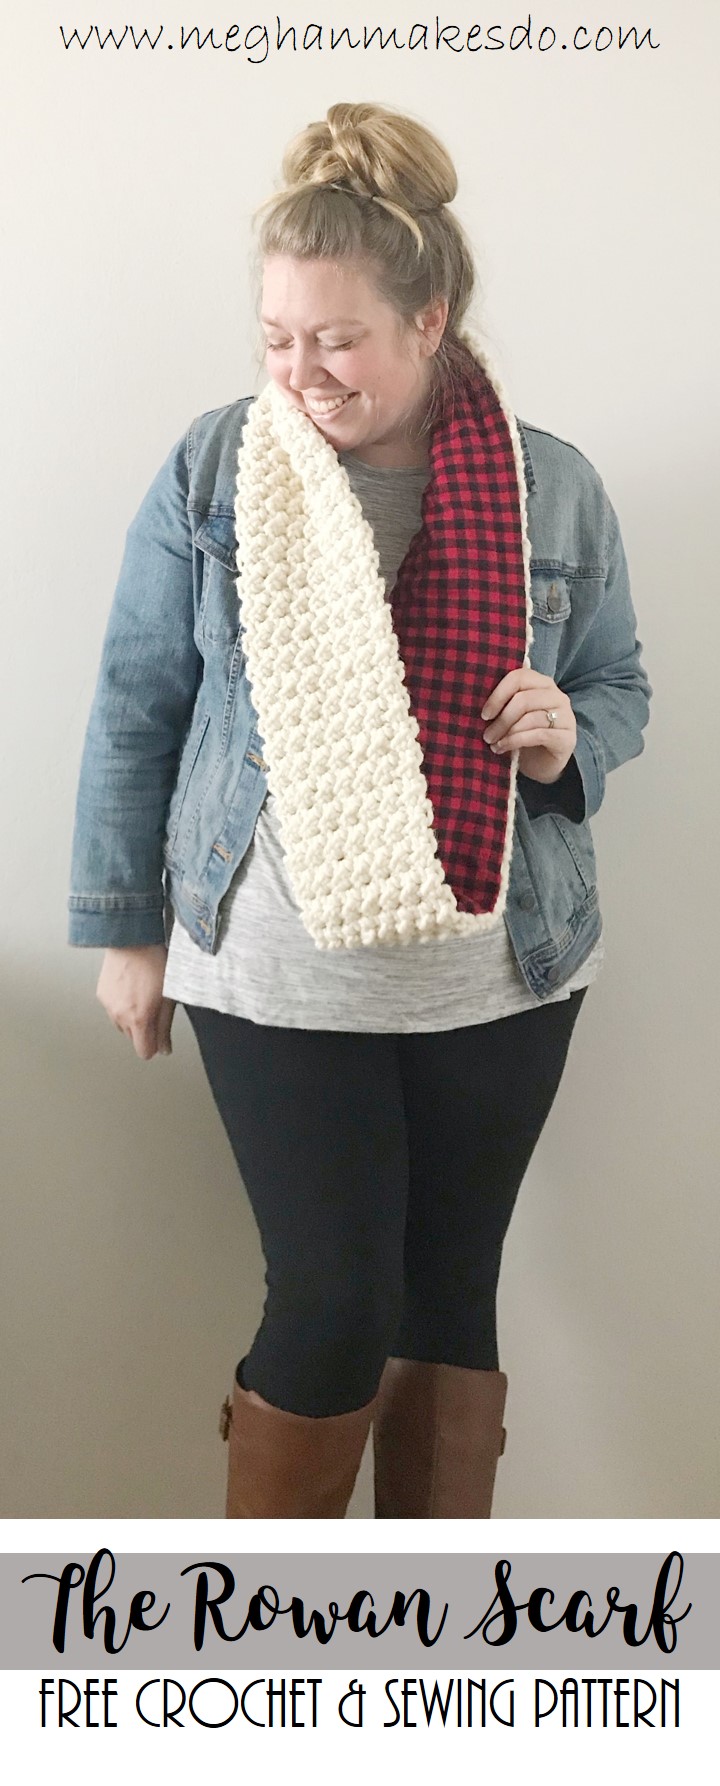
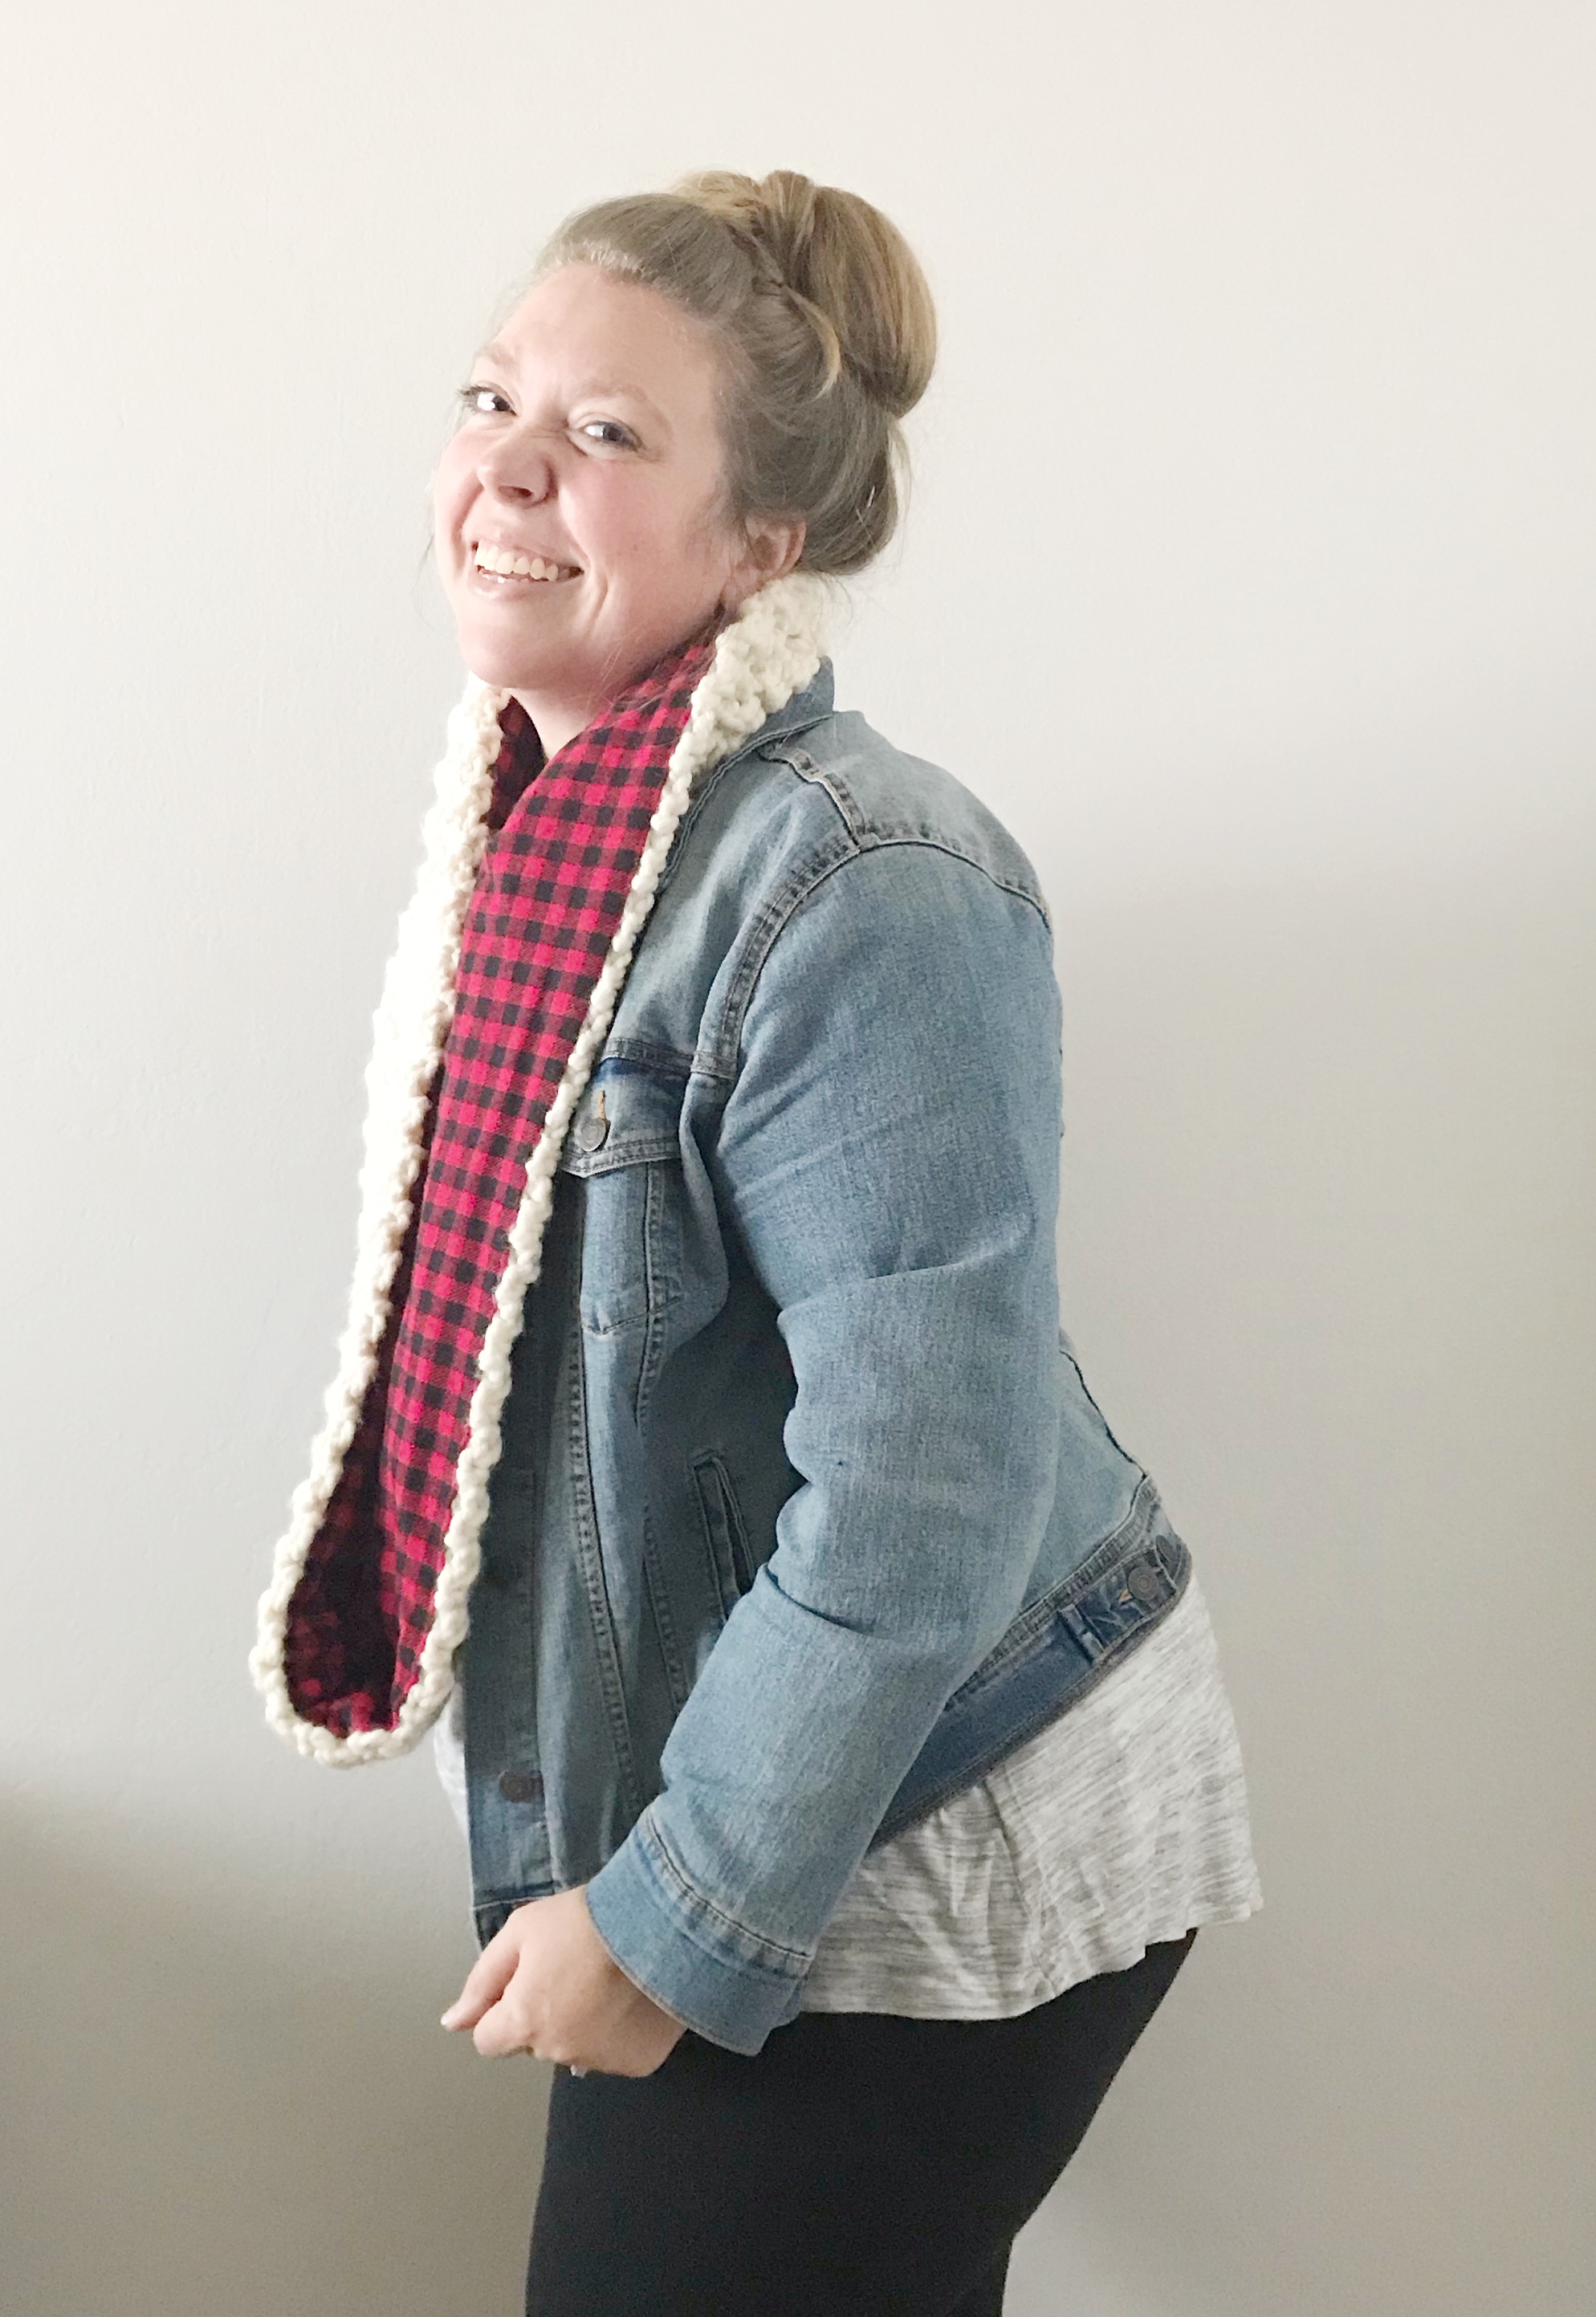
The Rowan Scarf combines two of my favorite things, crochet and sewing. It uses bulky weight yarn so it’s a quick project that can be whipped up in a day. Use the classic colors of cream yarn and red buffalo plaid or switch it up with whatever fabric and yarn combo makes you smile. The possibilities are endless!
***You can find an inexpensive ad-free PDF of The Rowan Scarf in my shop, Etsy or Ravelry. This six page full color PDF includes step by step photos and a stitch tutorial.***
Here’s what you’ll need to make your own Rowan Scarf:
Materials:
212 yards (2 skeins) of Lion Brand Wool Ease Thick and Quick in Fisherman or similar bulky weight (6) yarn.
Crochet hook size N (10.00mm)
Tapestry needle
Tape measure
½ yard of red buffalo plaid fabric or similar flannel fabric
Sewing needle
Thread
Ruler, cutting mat, rotary cutter and tailor’s chalk
Gauge:
10 stitches X 7 rows = 4” square in moss stitch
Abbreviations:
ch- chain
st- stitch
sl st- slip stitch
hdc-half double crochet
Notes:
Scarf is made using the Even Moss Stitch. For a more detailed look at how to do the even moss stitch check out this photo tutorial.
Each row will start with a sl st and end with a hdc.
Scarf is worked in rows and then attached at the ends to form a continuous loop.
Fabric is hand sewn inside the loop.
To make adjustments to the length of your scarf you will need to add or reduce the number of crocheted rows. For the lining measure the length of your finished scarf and add two inches to find the proper fabric dimensions.
Pattern:
Ch. 15
Row 1: sl st into 2nd ch from hook, hdc in next st, *sl st, hdc, repeat from * across, ch 1, turn. (14)
Row 2: sl st in first st, hdc in next, *sl st, hdc, repeat from * across, ch 1, turn. (14)
Repeat row 2 until scarf measures 58.”
Fasten off leaving a long tail for sewing.
Fold scarf in half and sl st ends together or using a tapestry needle, whip stitch both ends together.
Weave in all ends.
You will now have one continuous loop. Your scarf should be approximately 6.5” wide and 58” long.
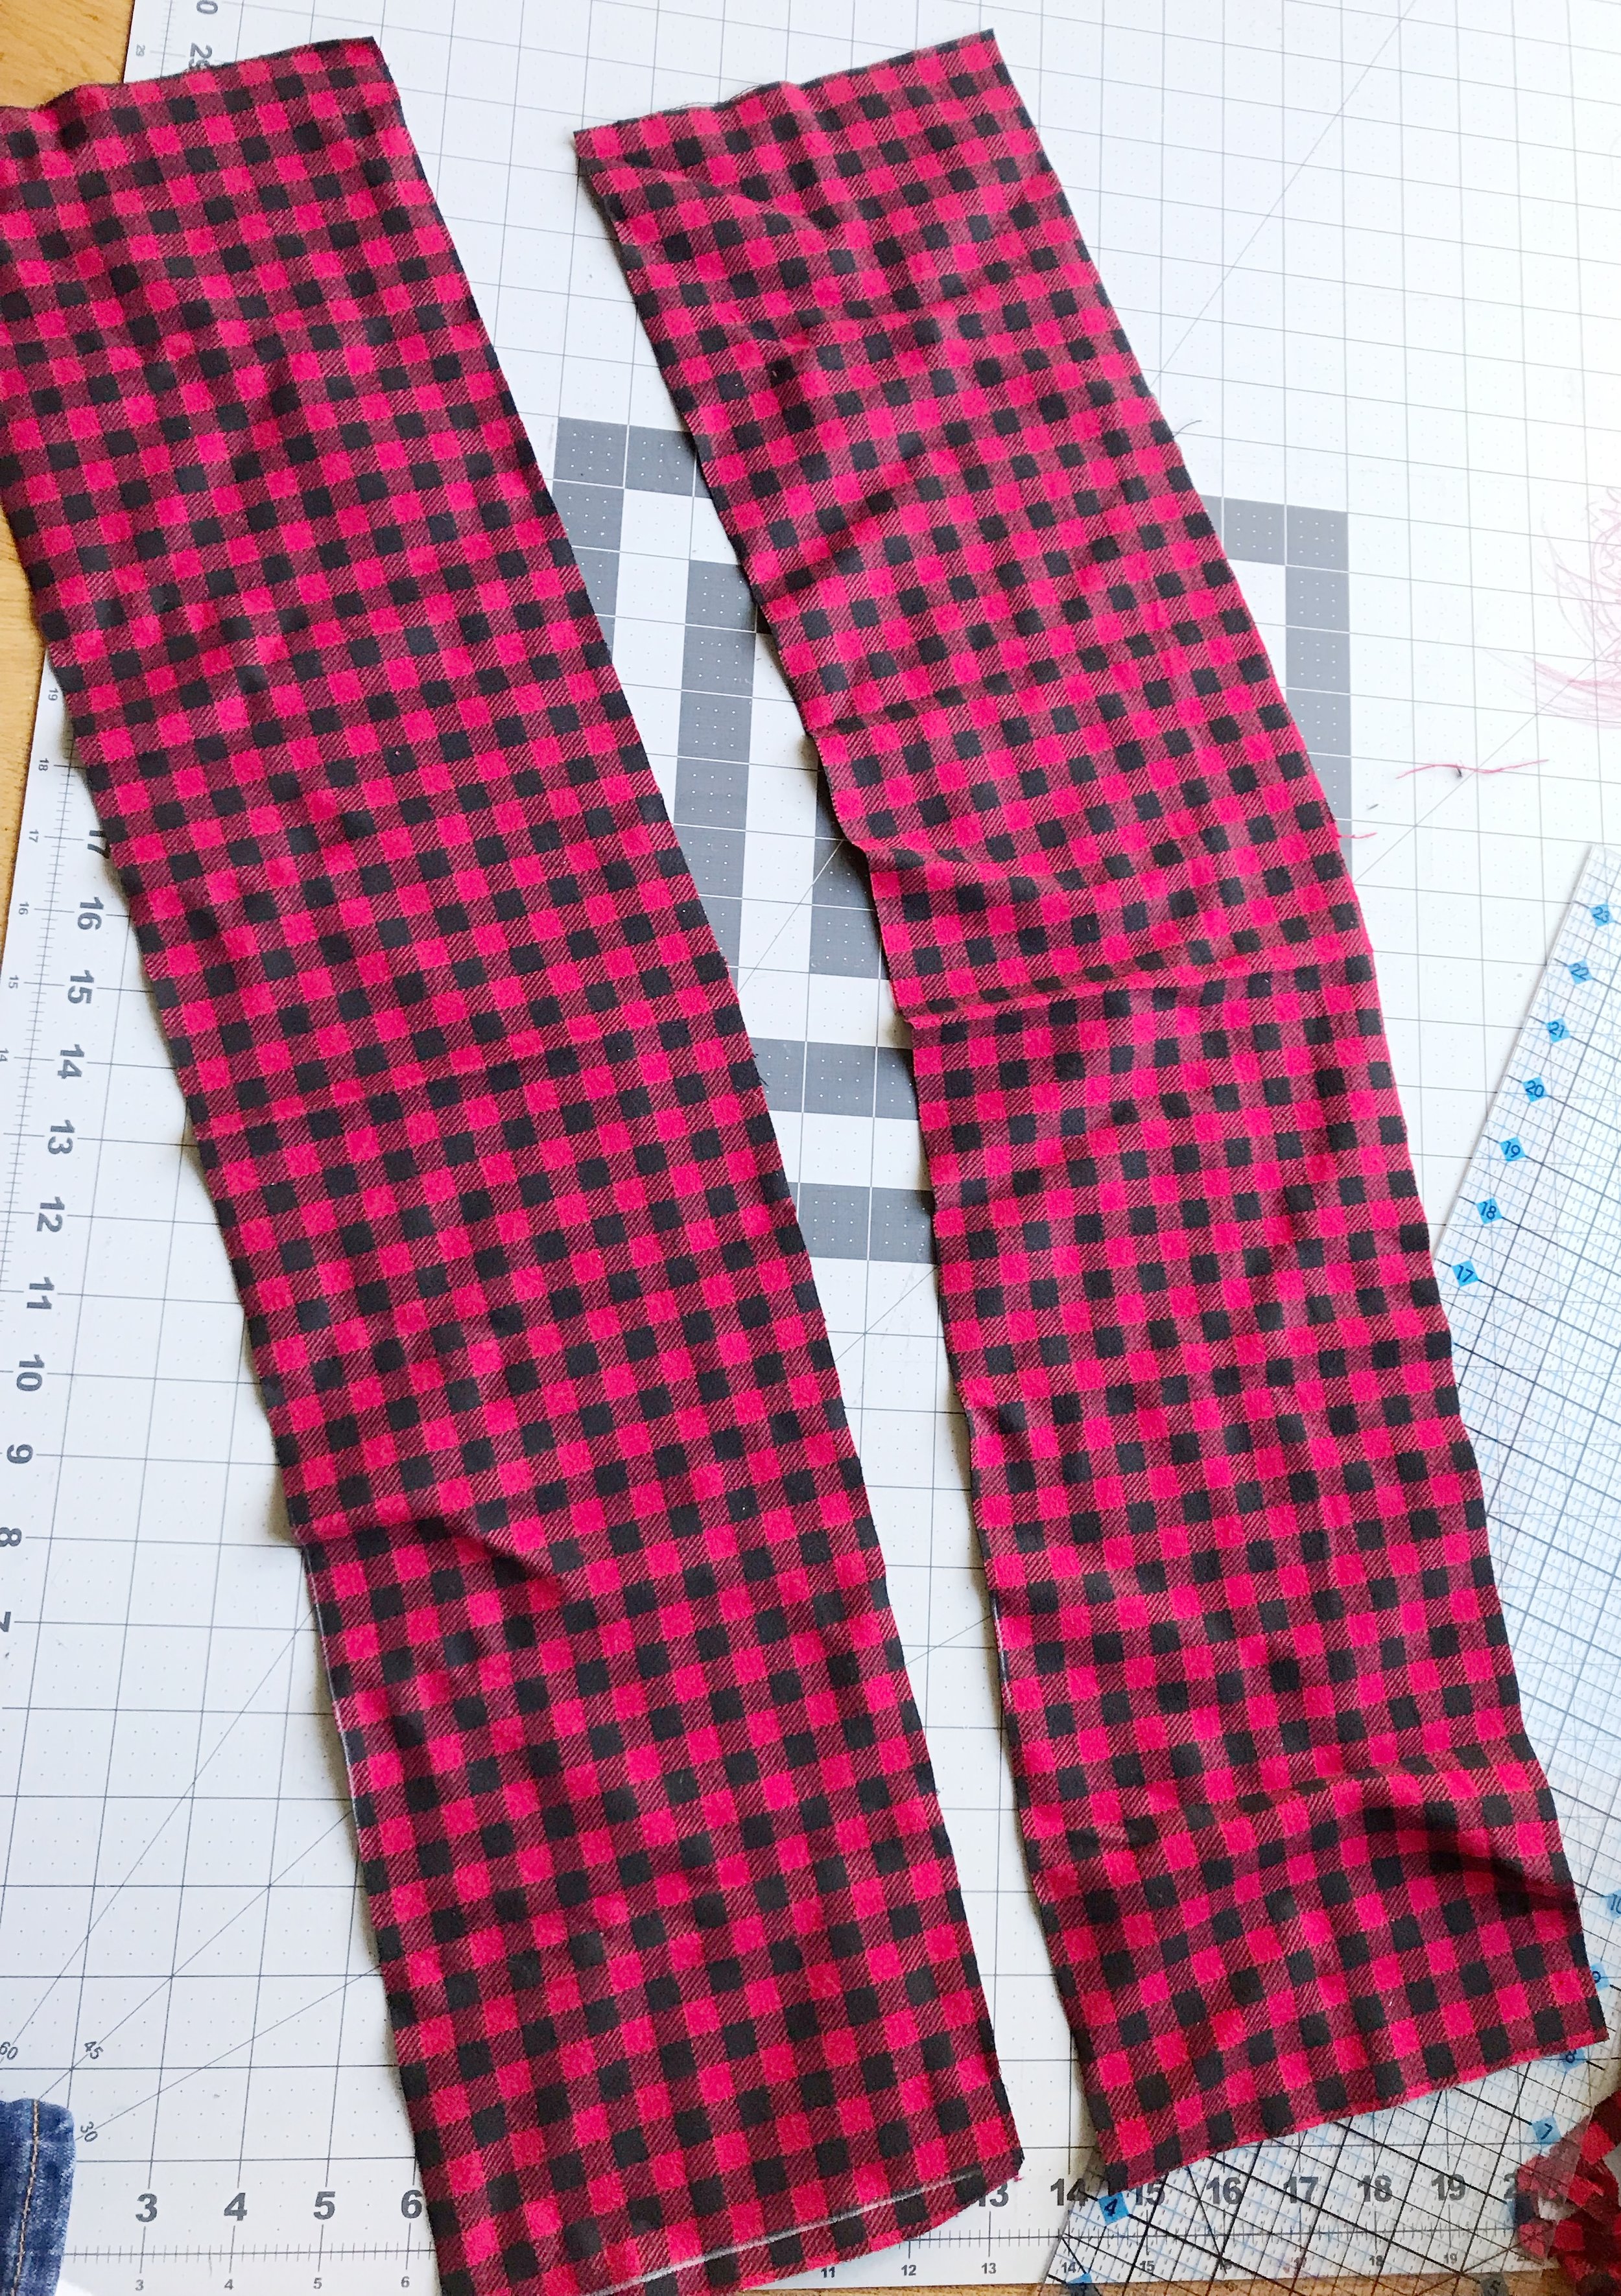
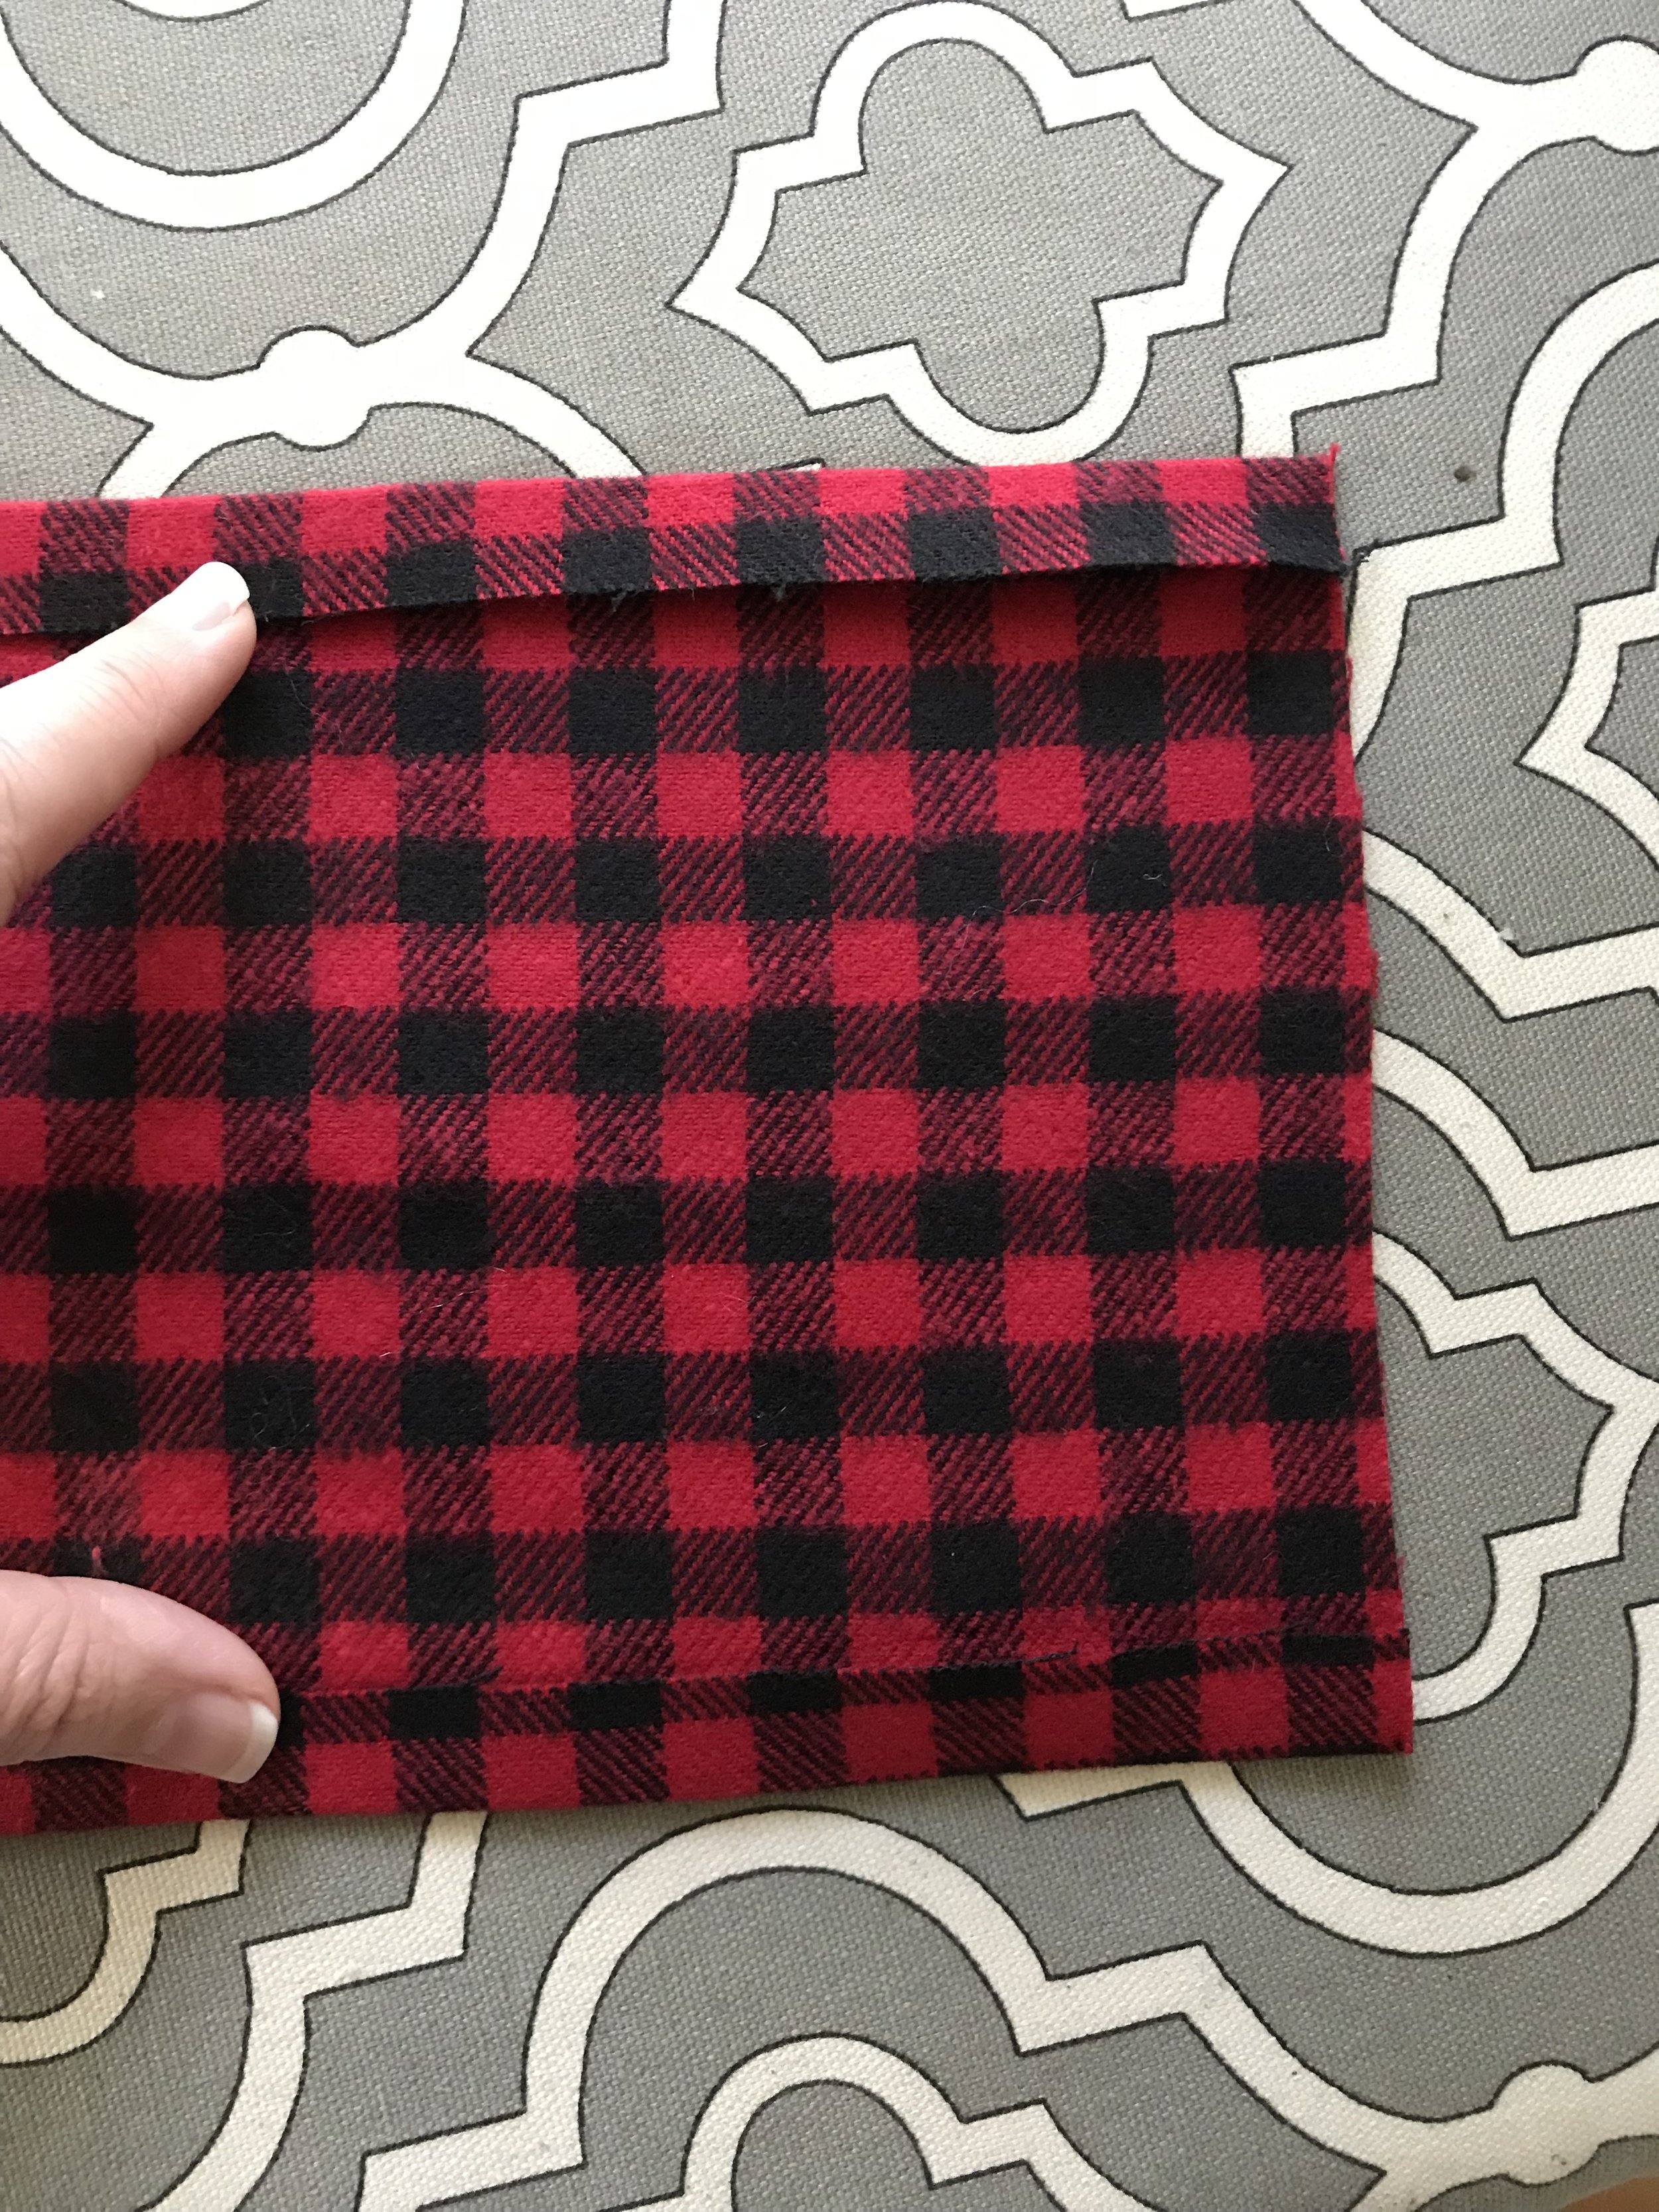
To add the flannel lining you will first cut two pieces of fabric 7” X 30.”
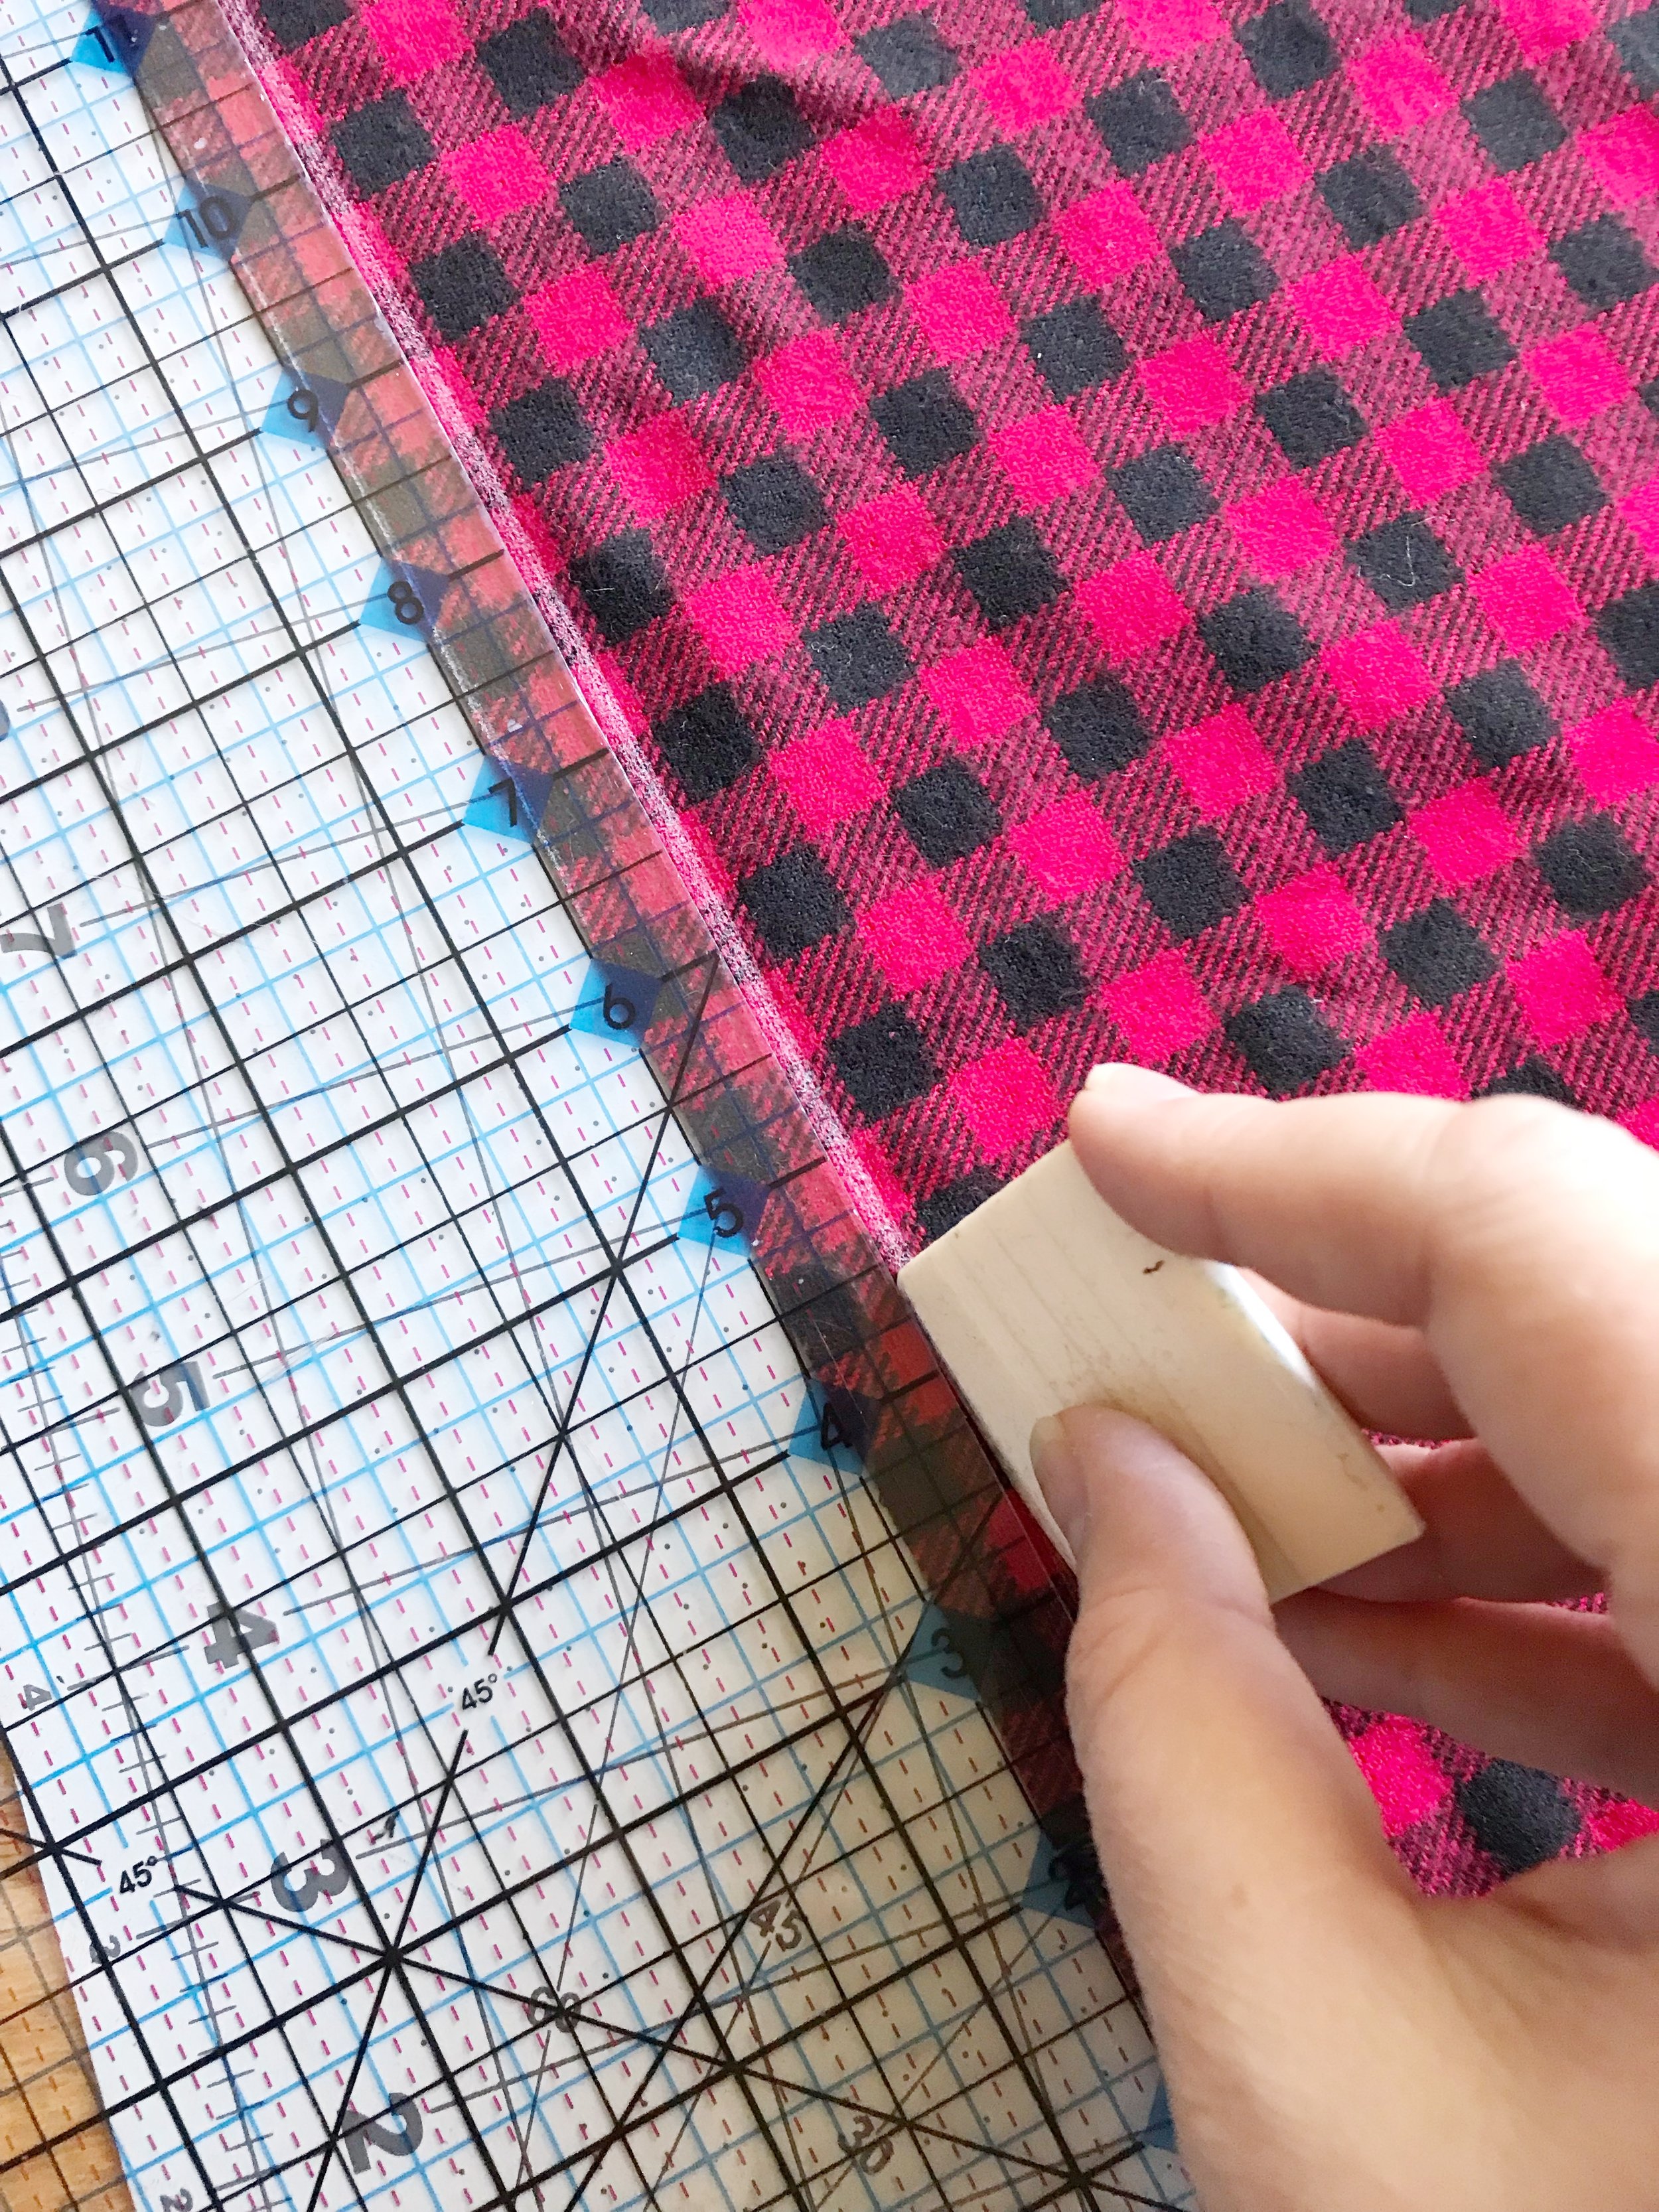
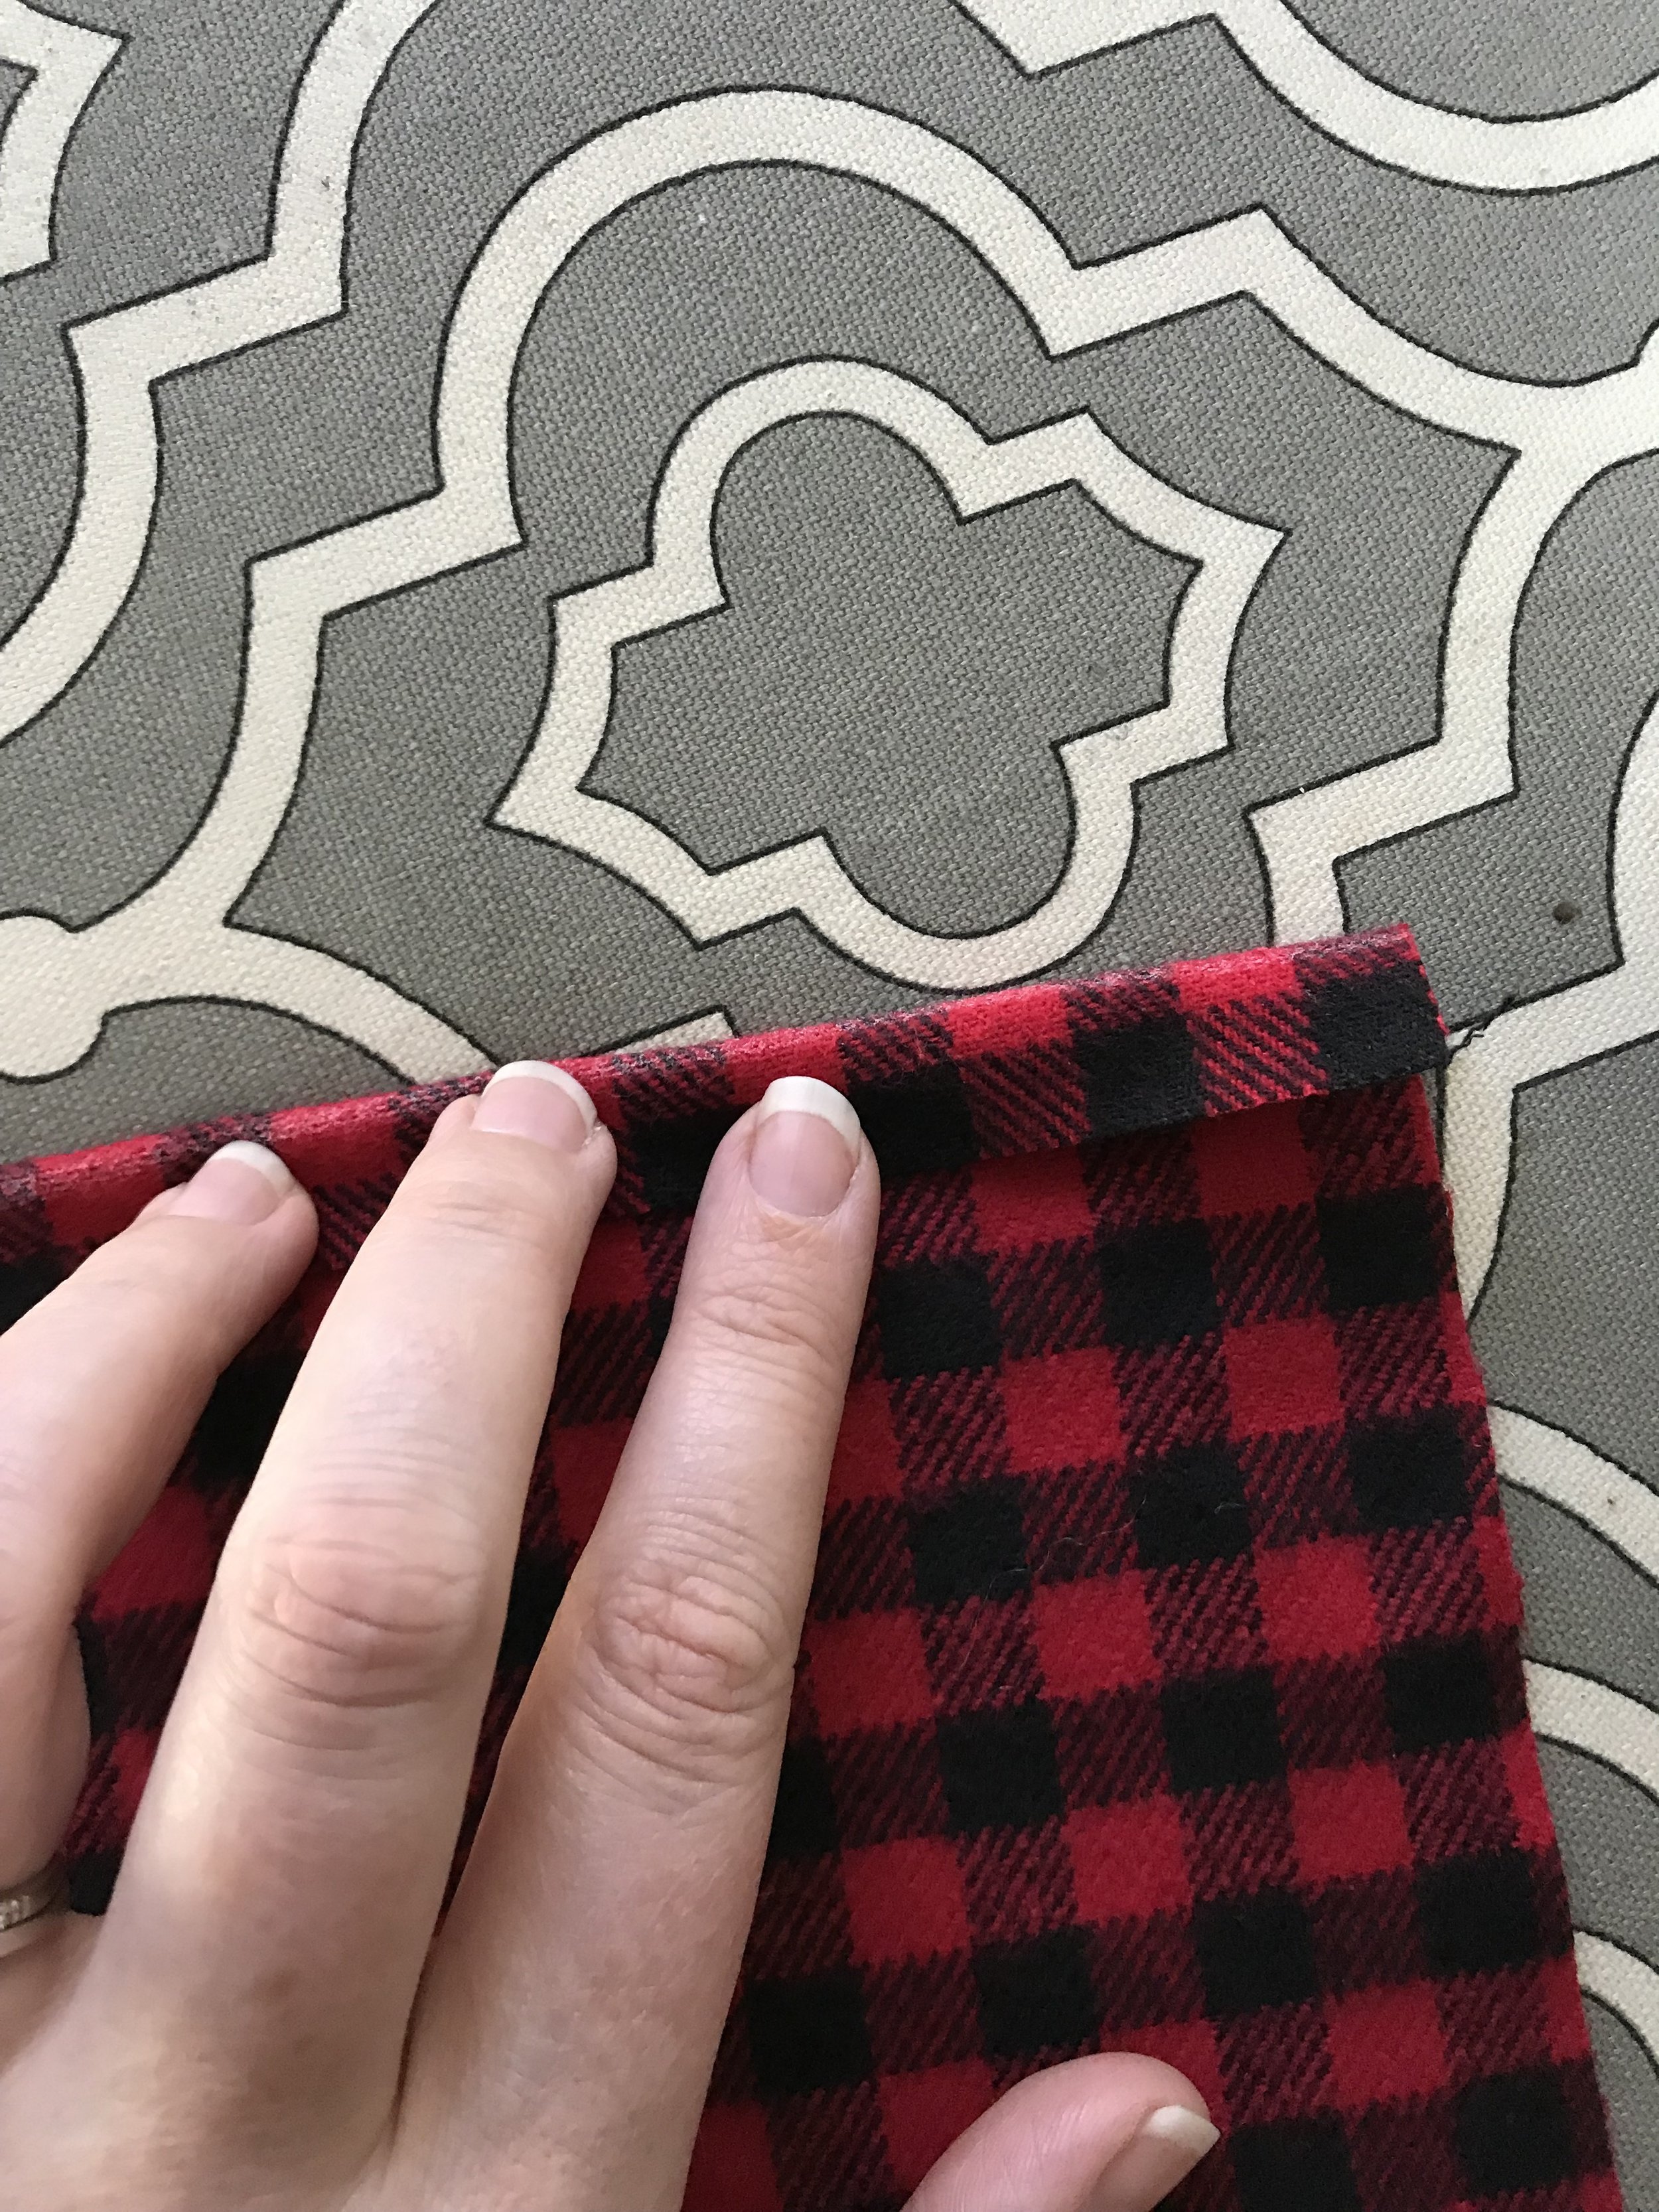
Mark each long edge 1/2” in from the edge. This will be your fold lines. Fold down each long edge 1/2” and press with an iron.
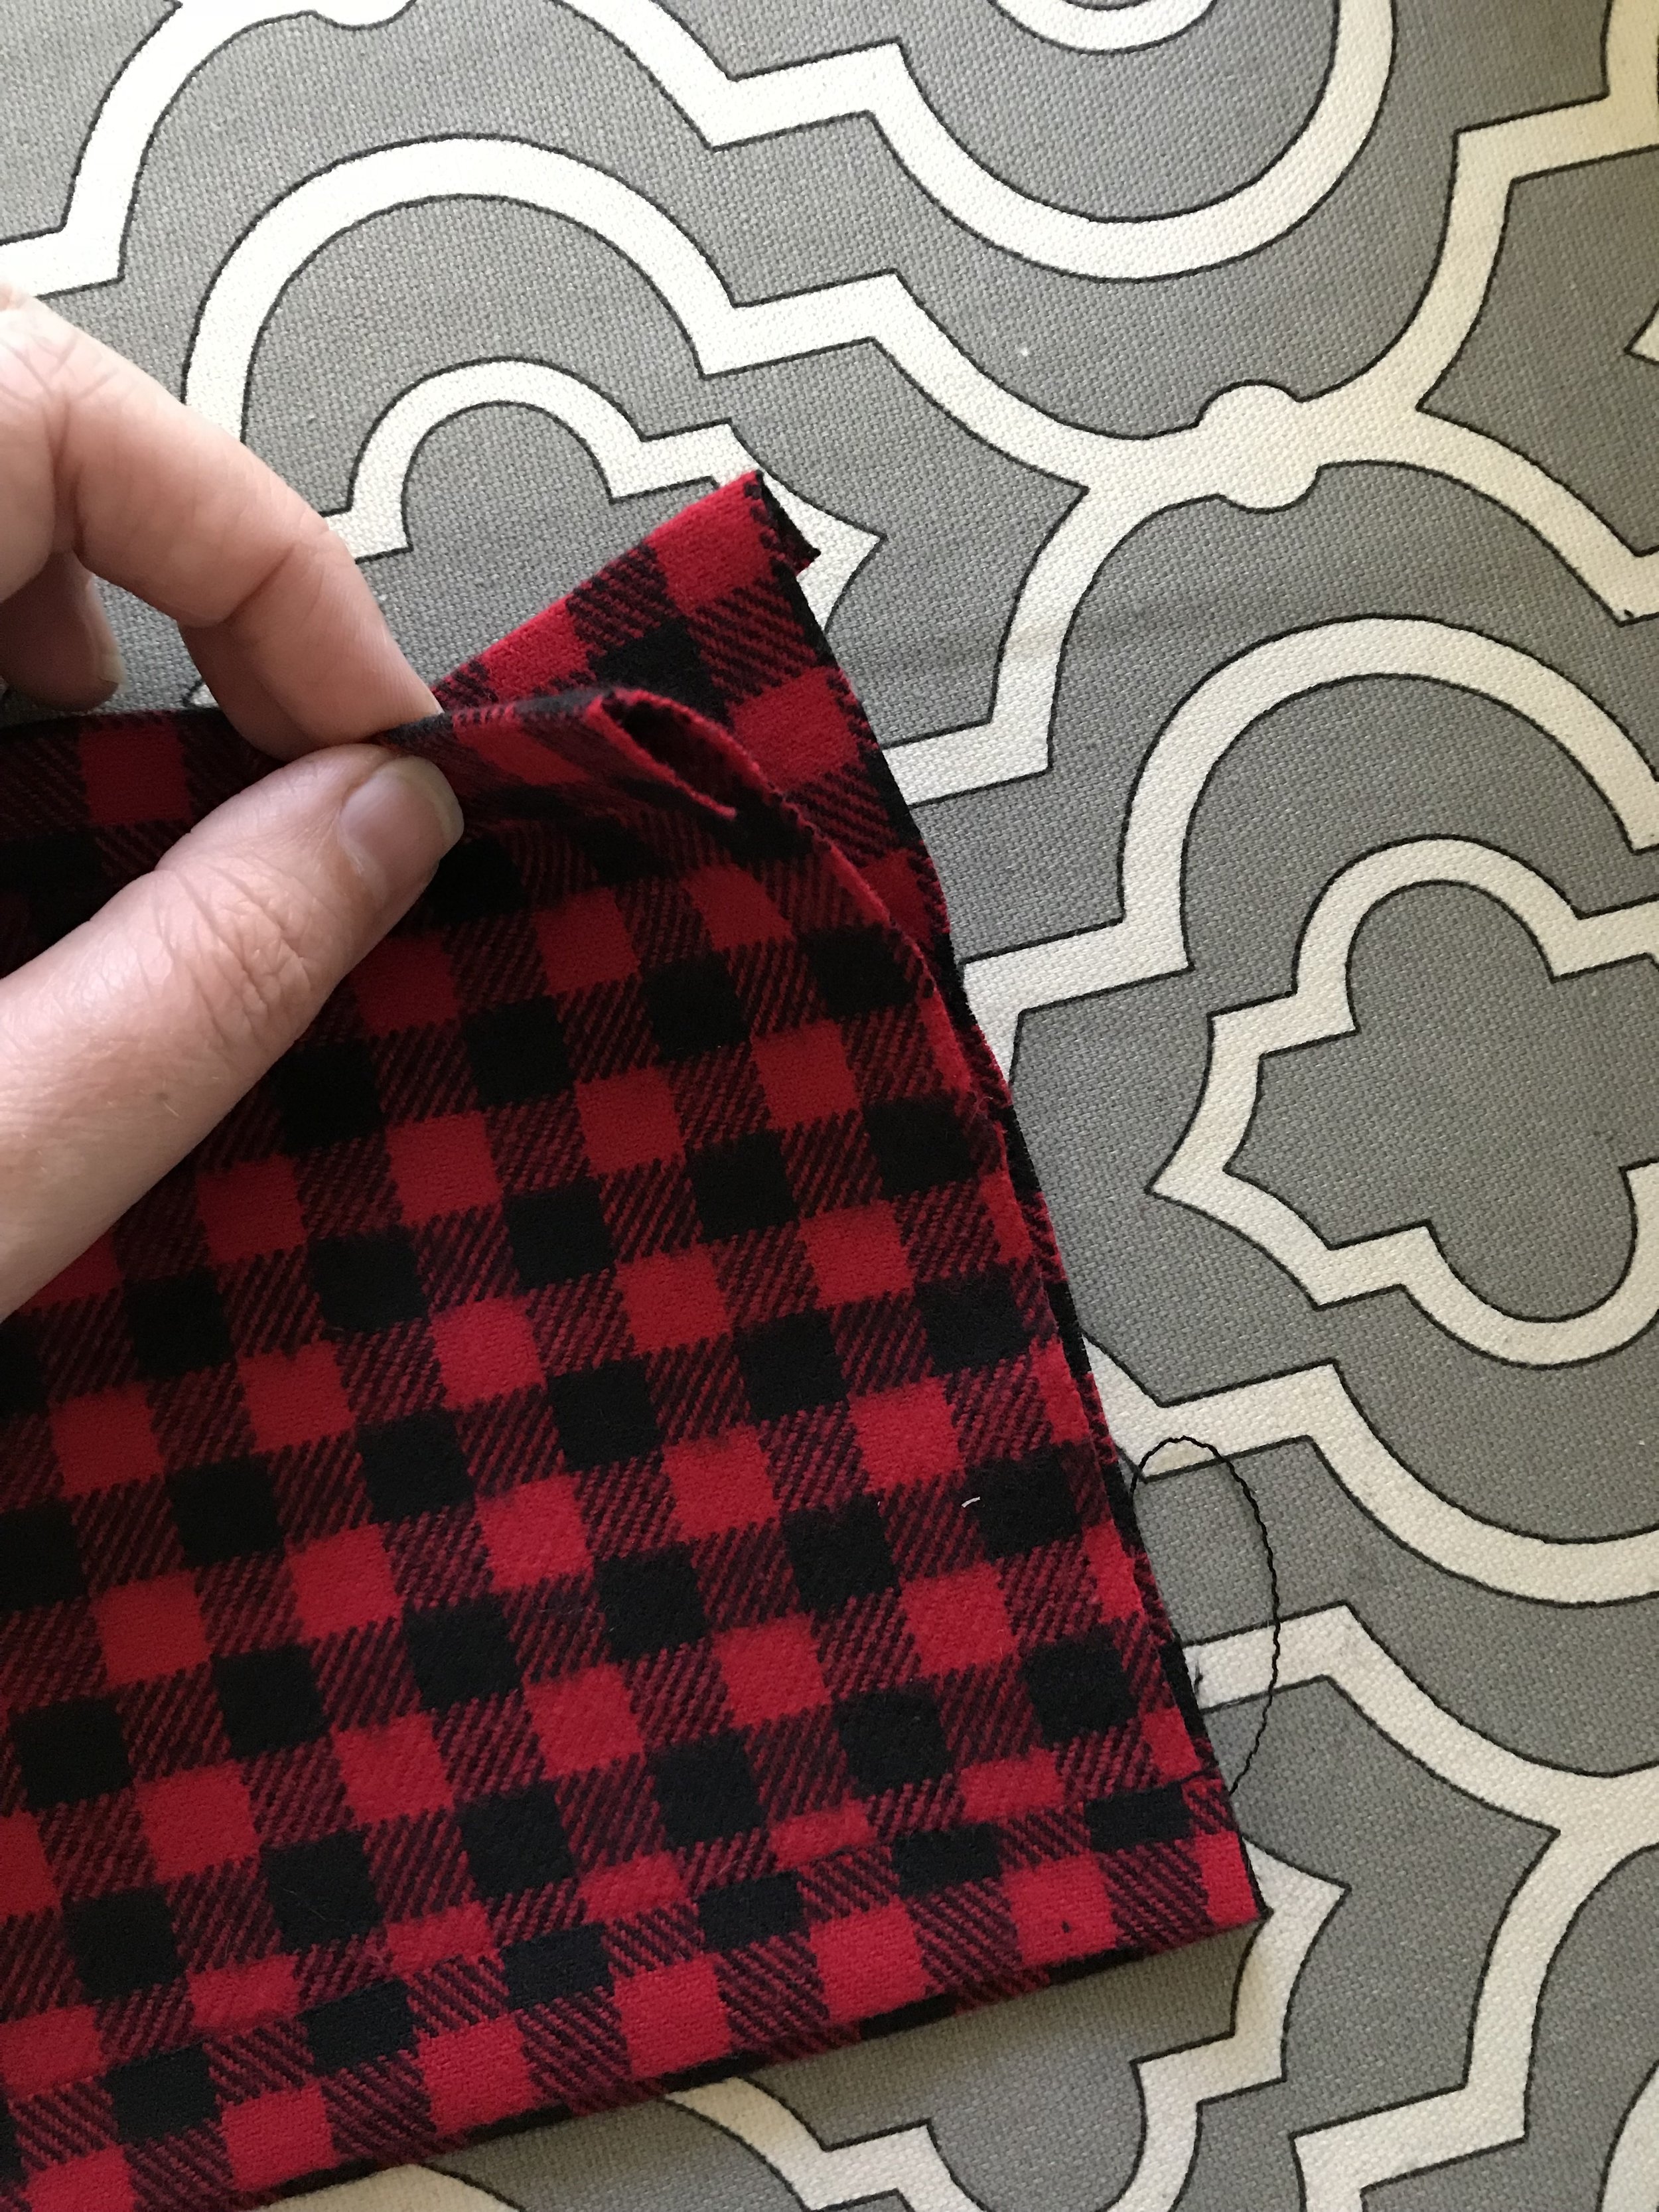
With right sides together sew both strips of fabric together along the short ends using a ½” seam allowance making one loop.
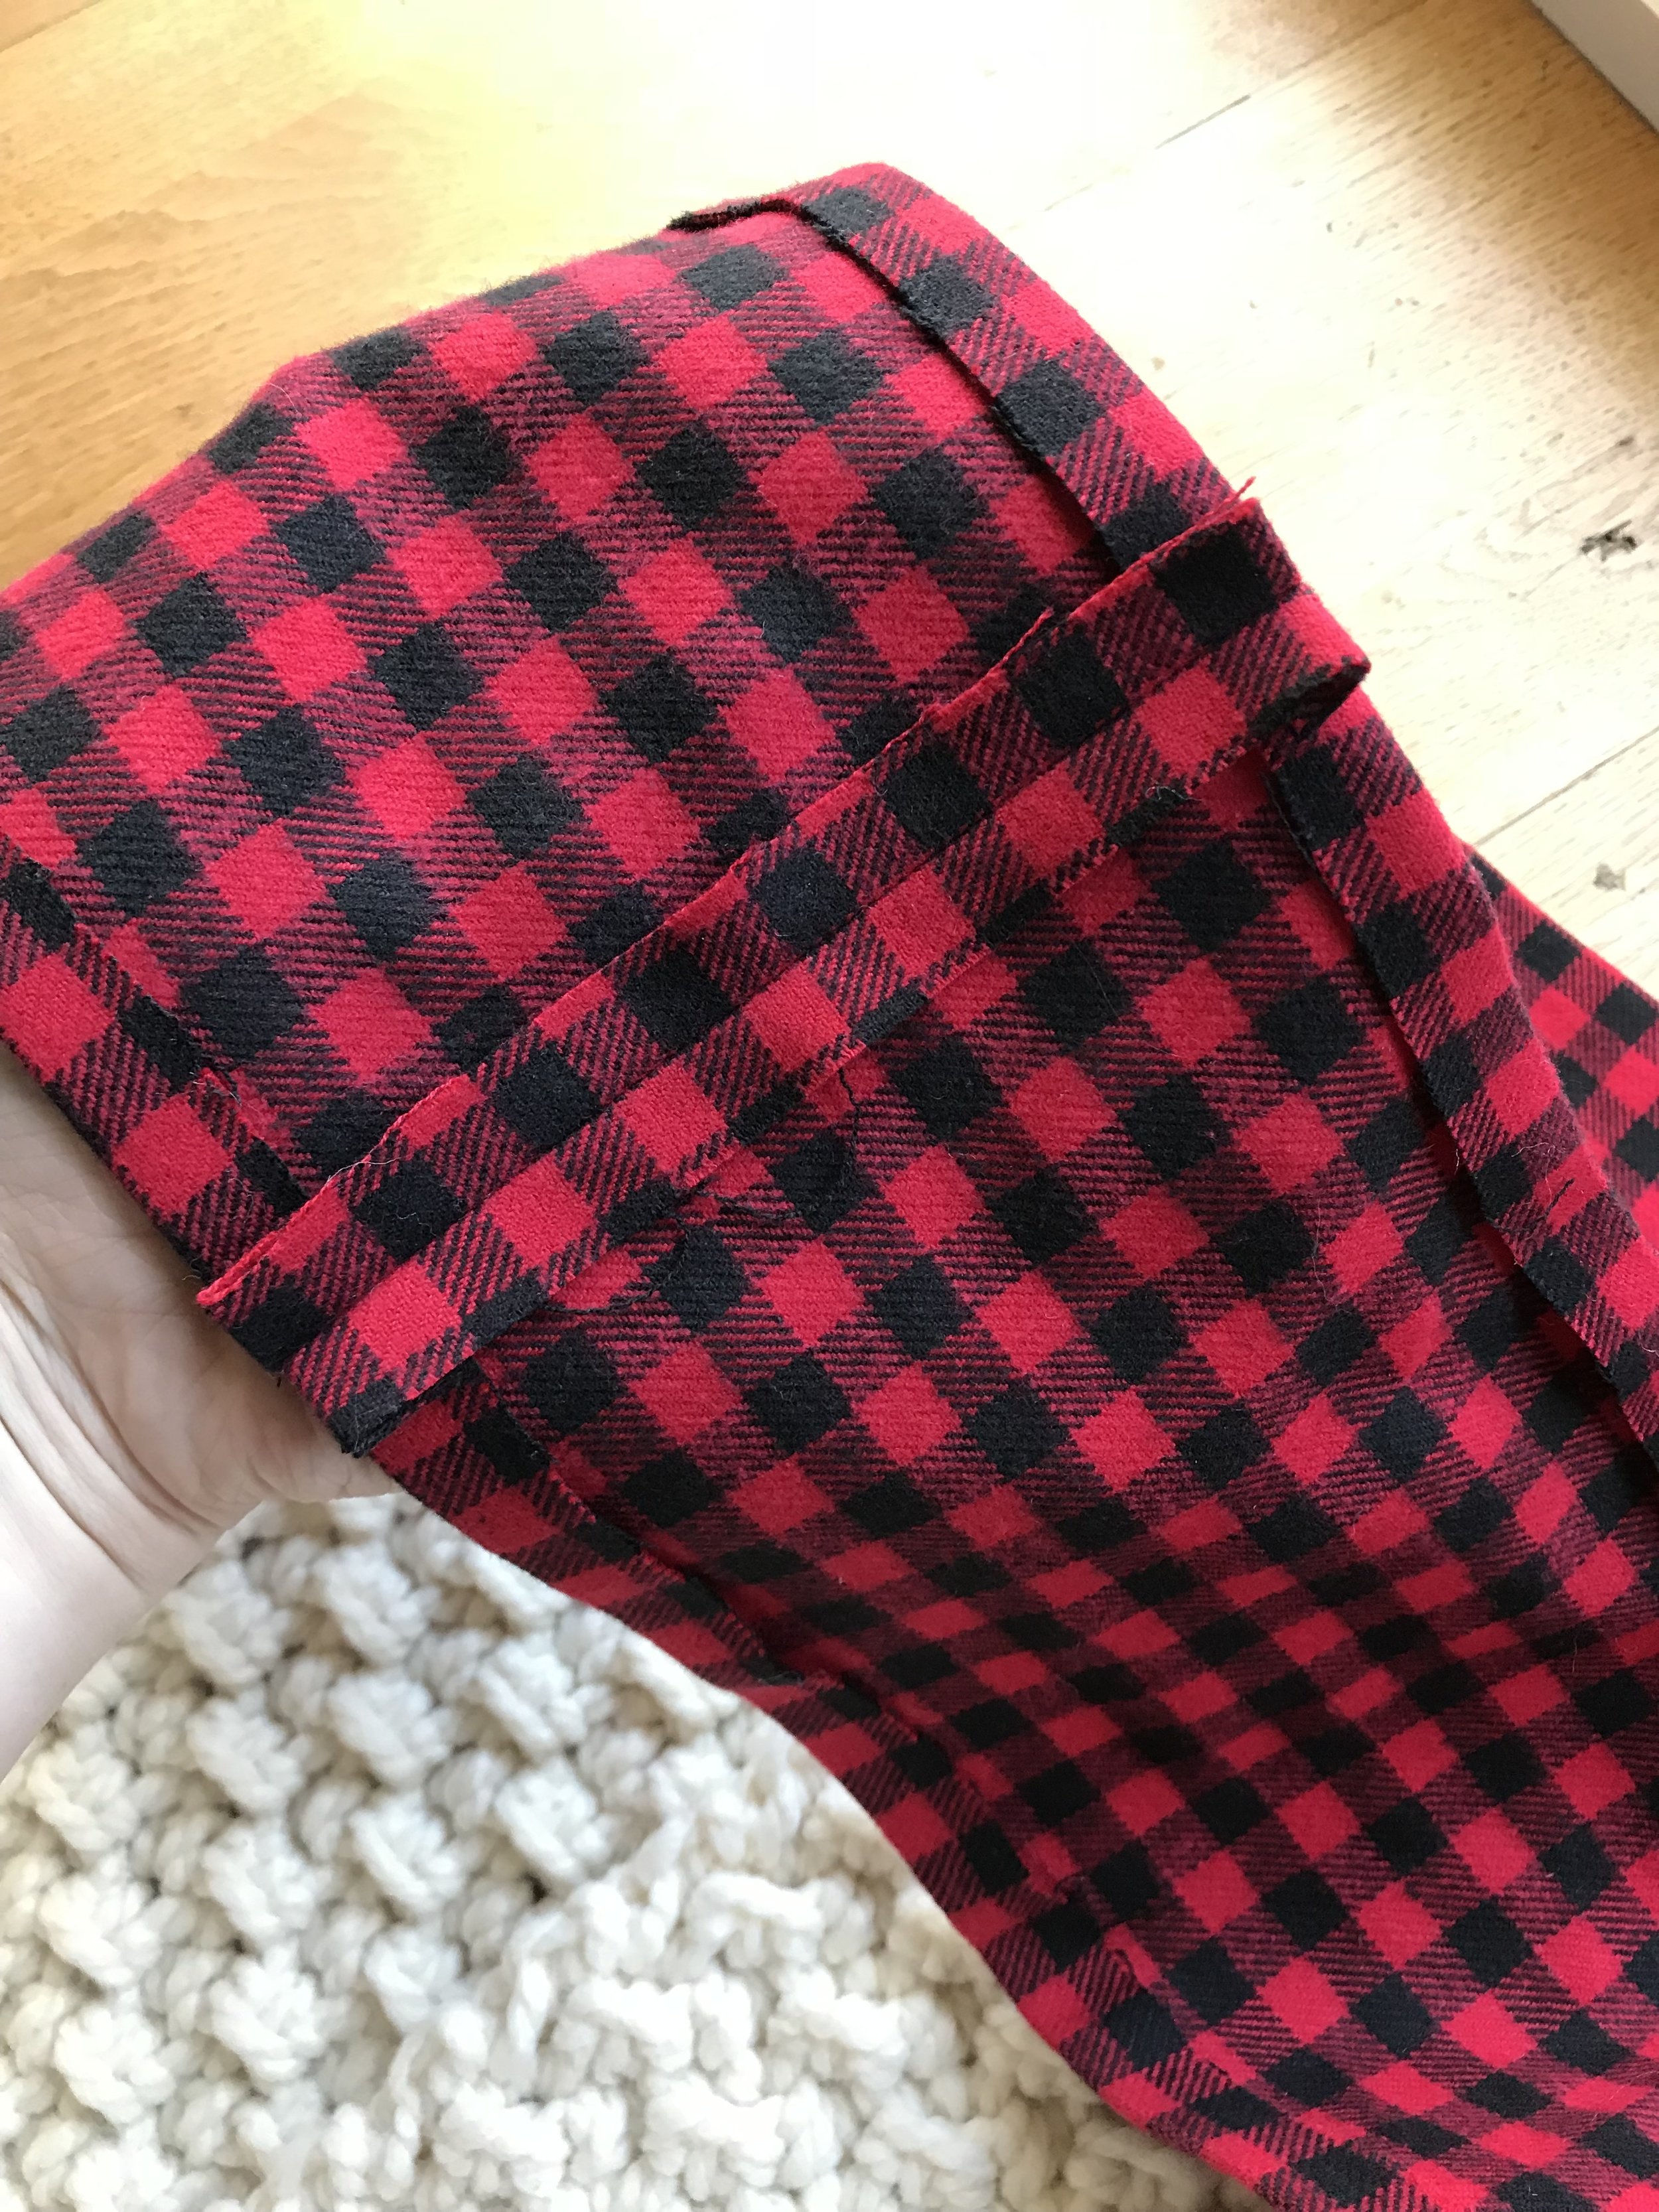
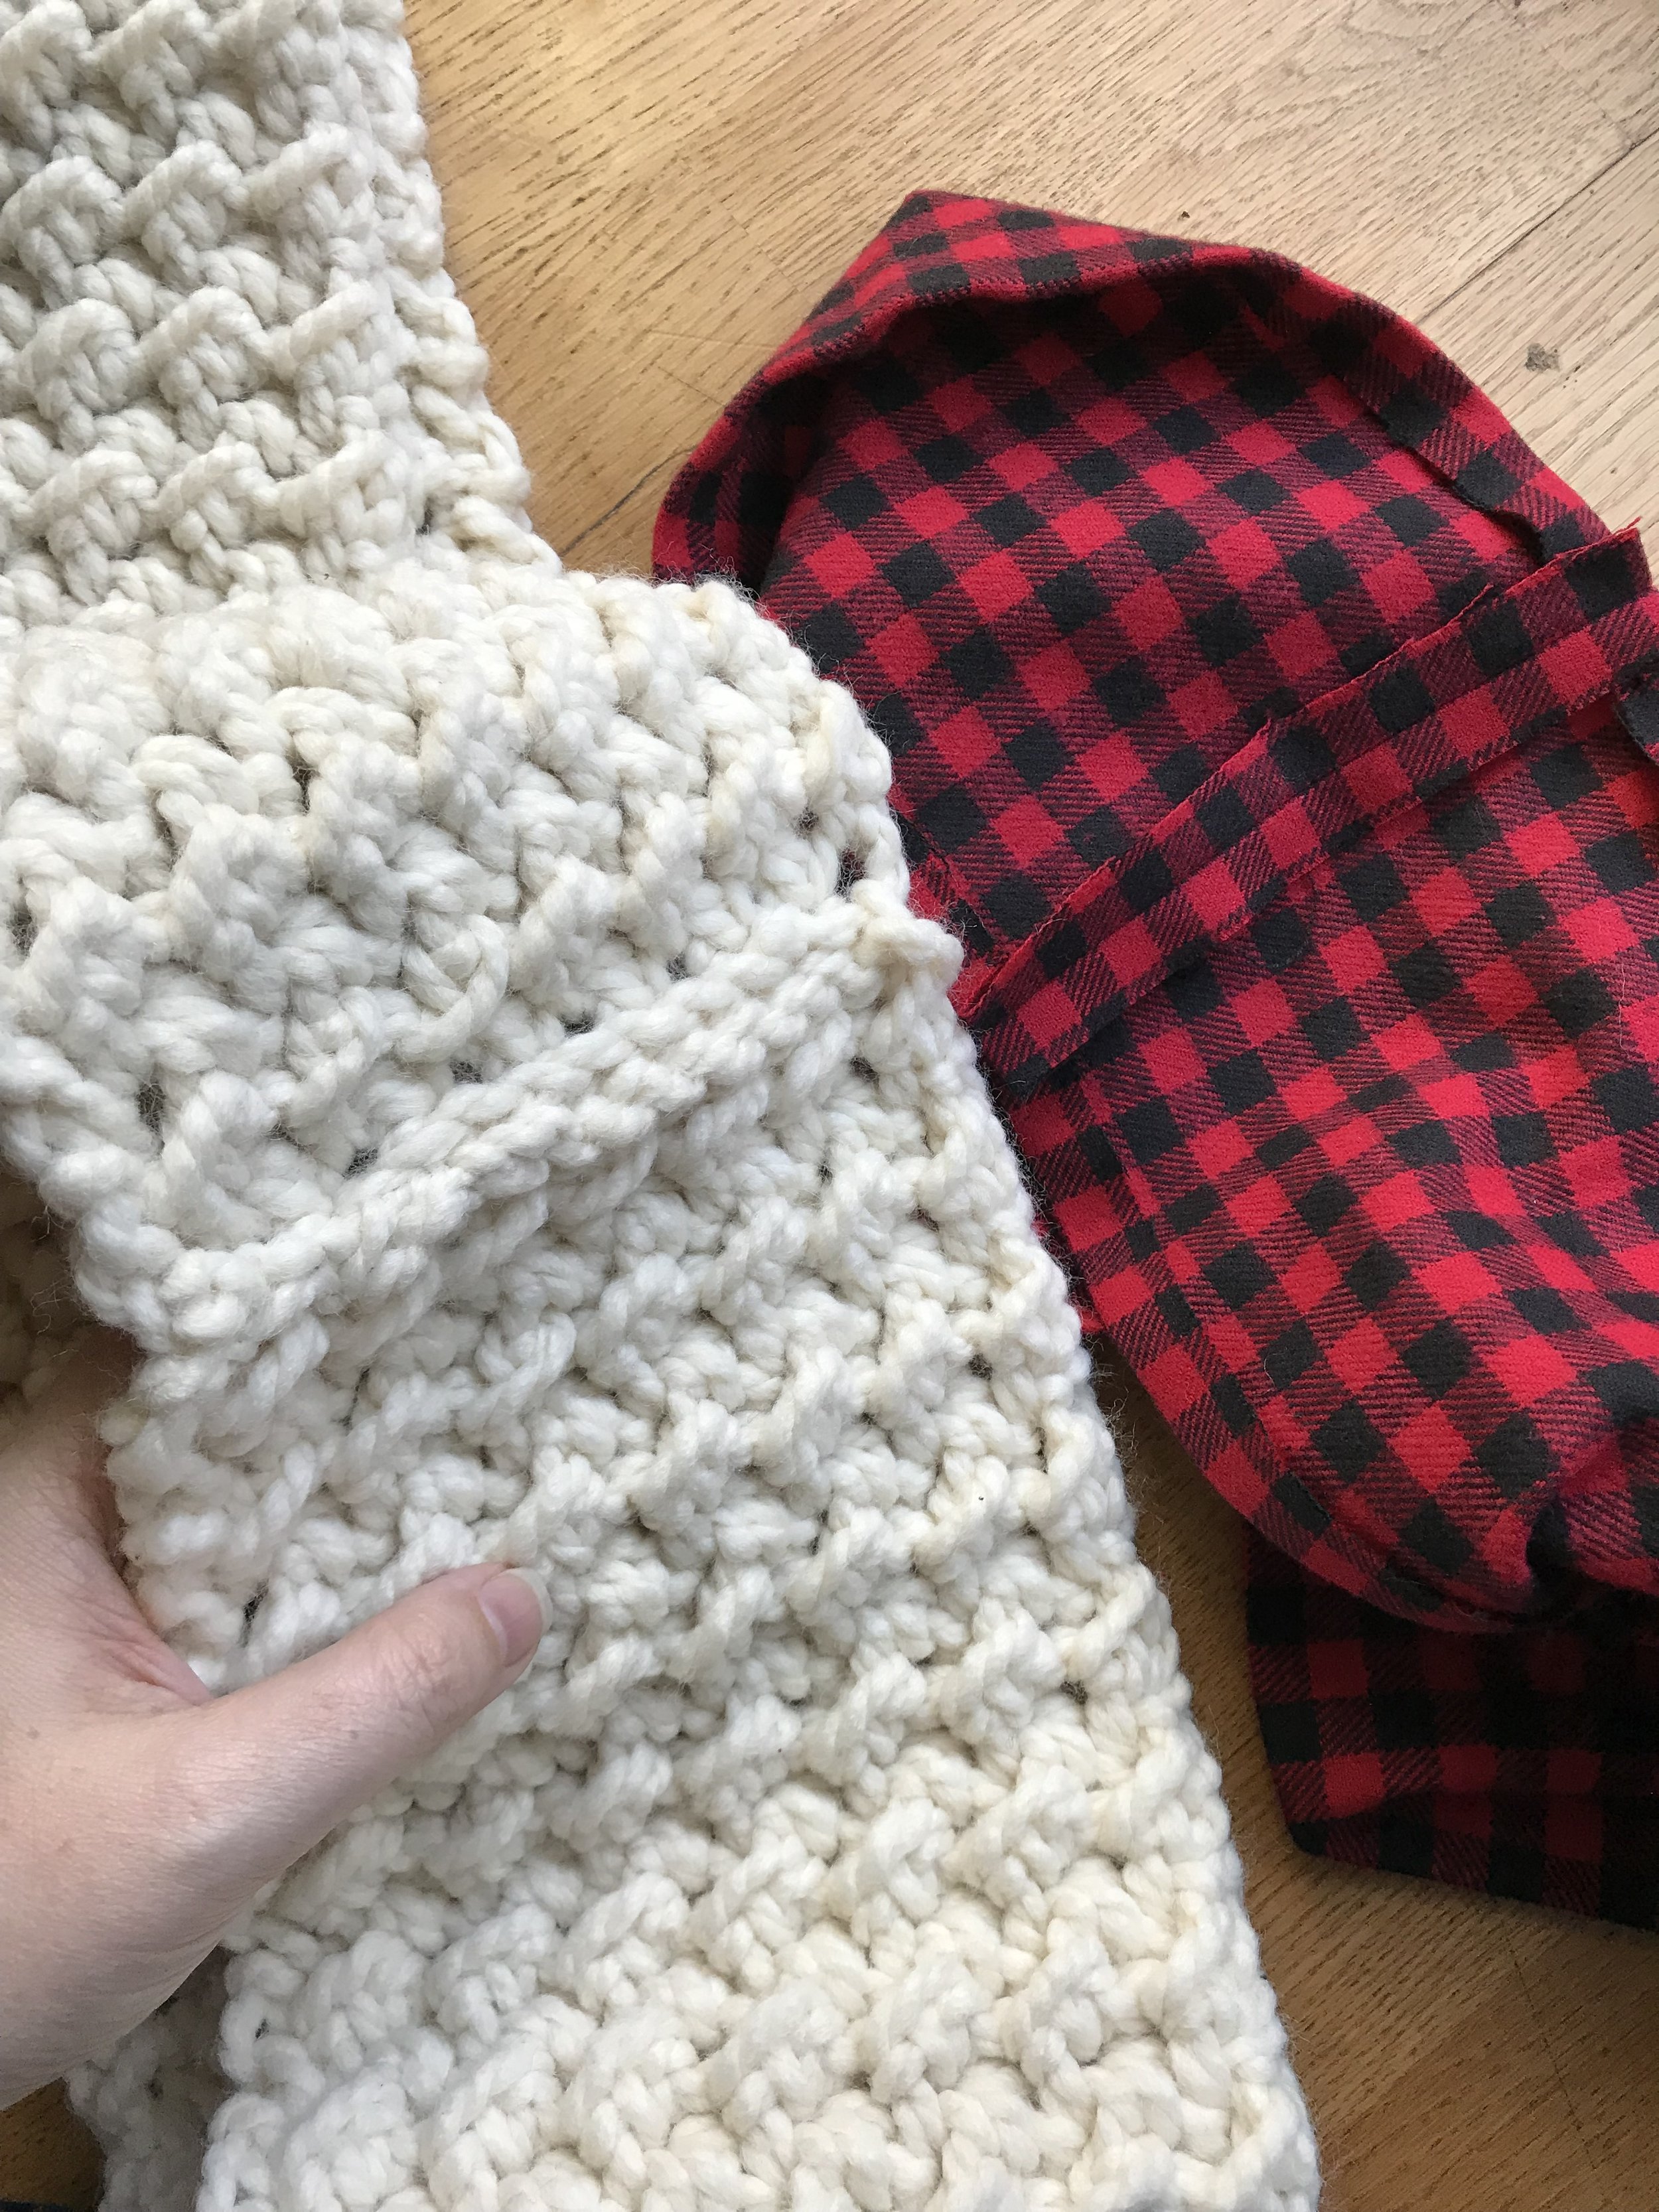
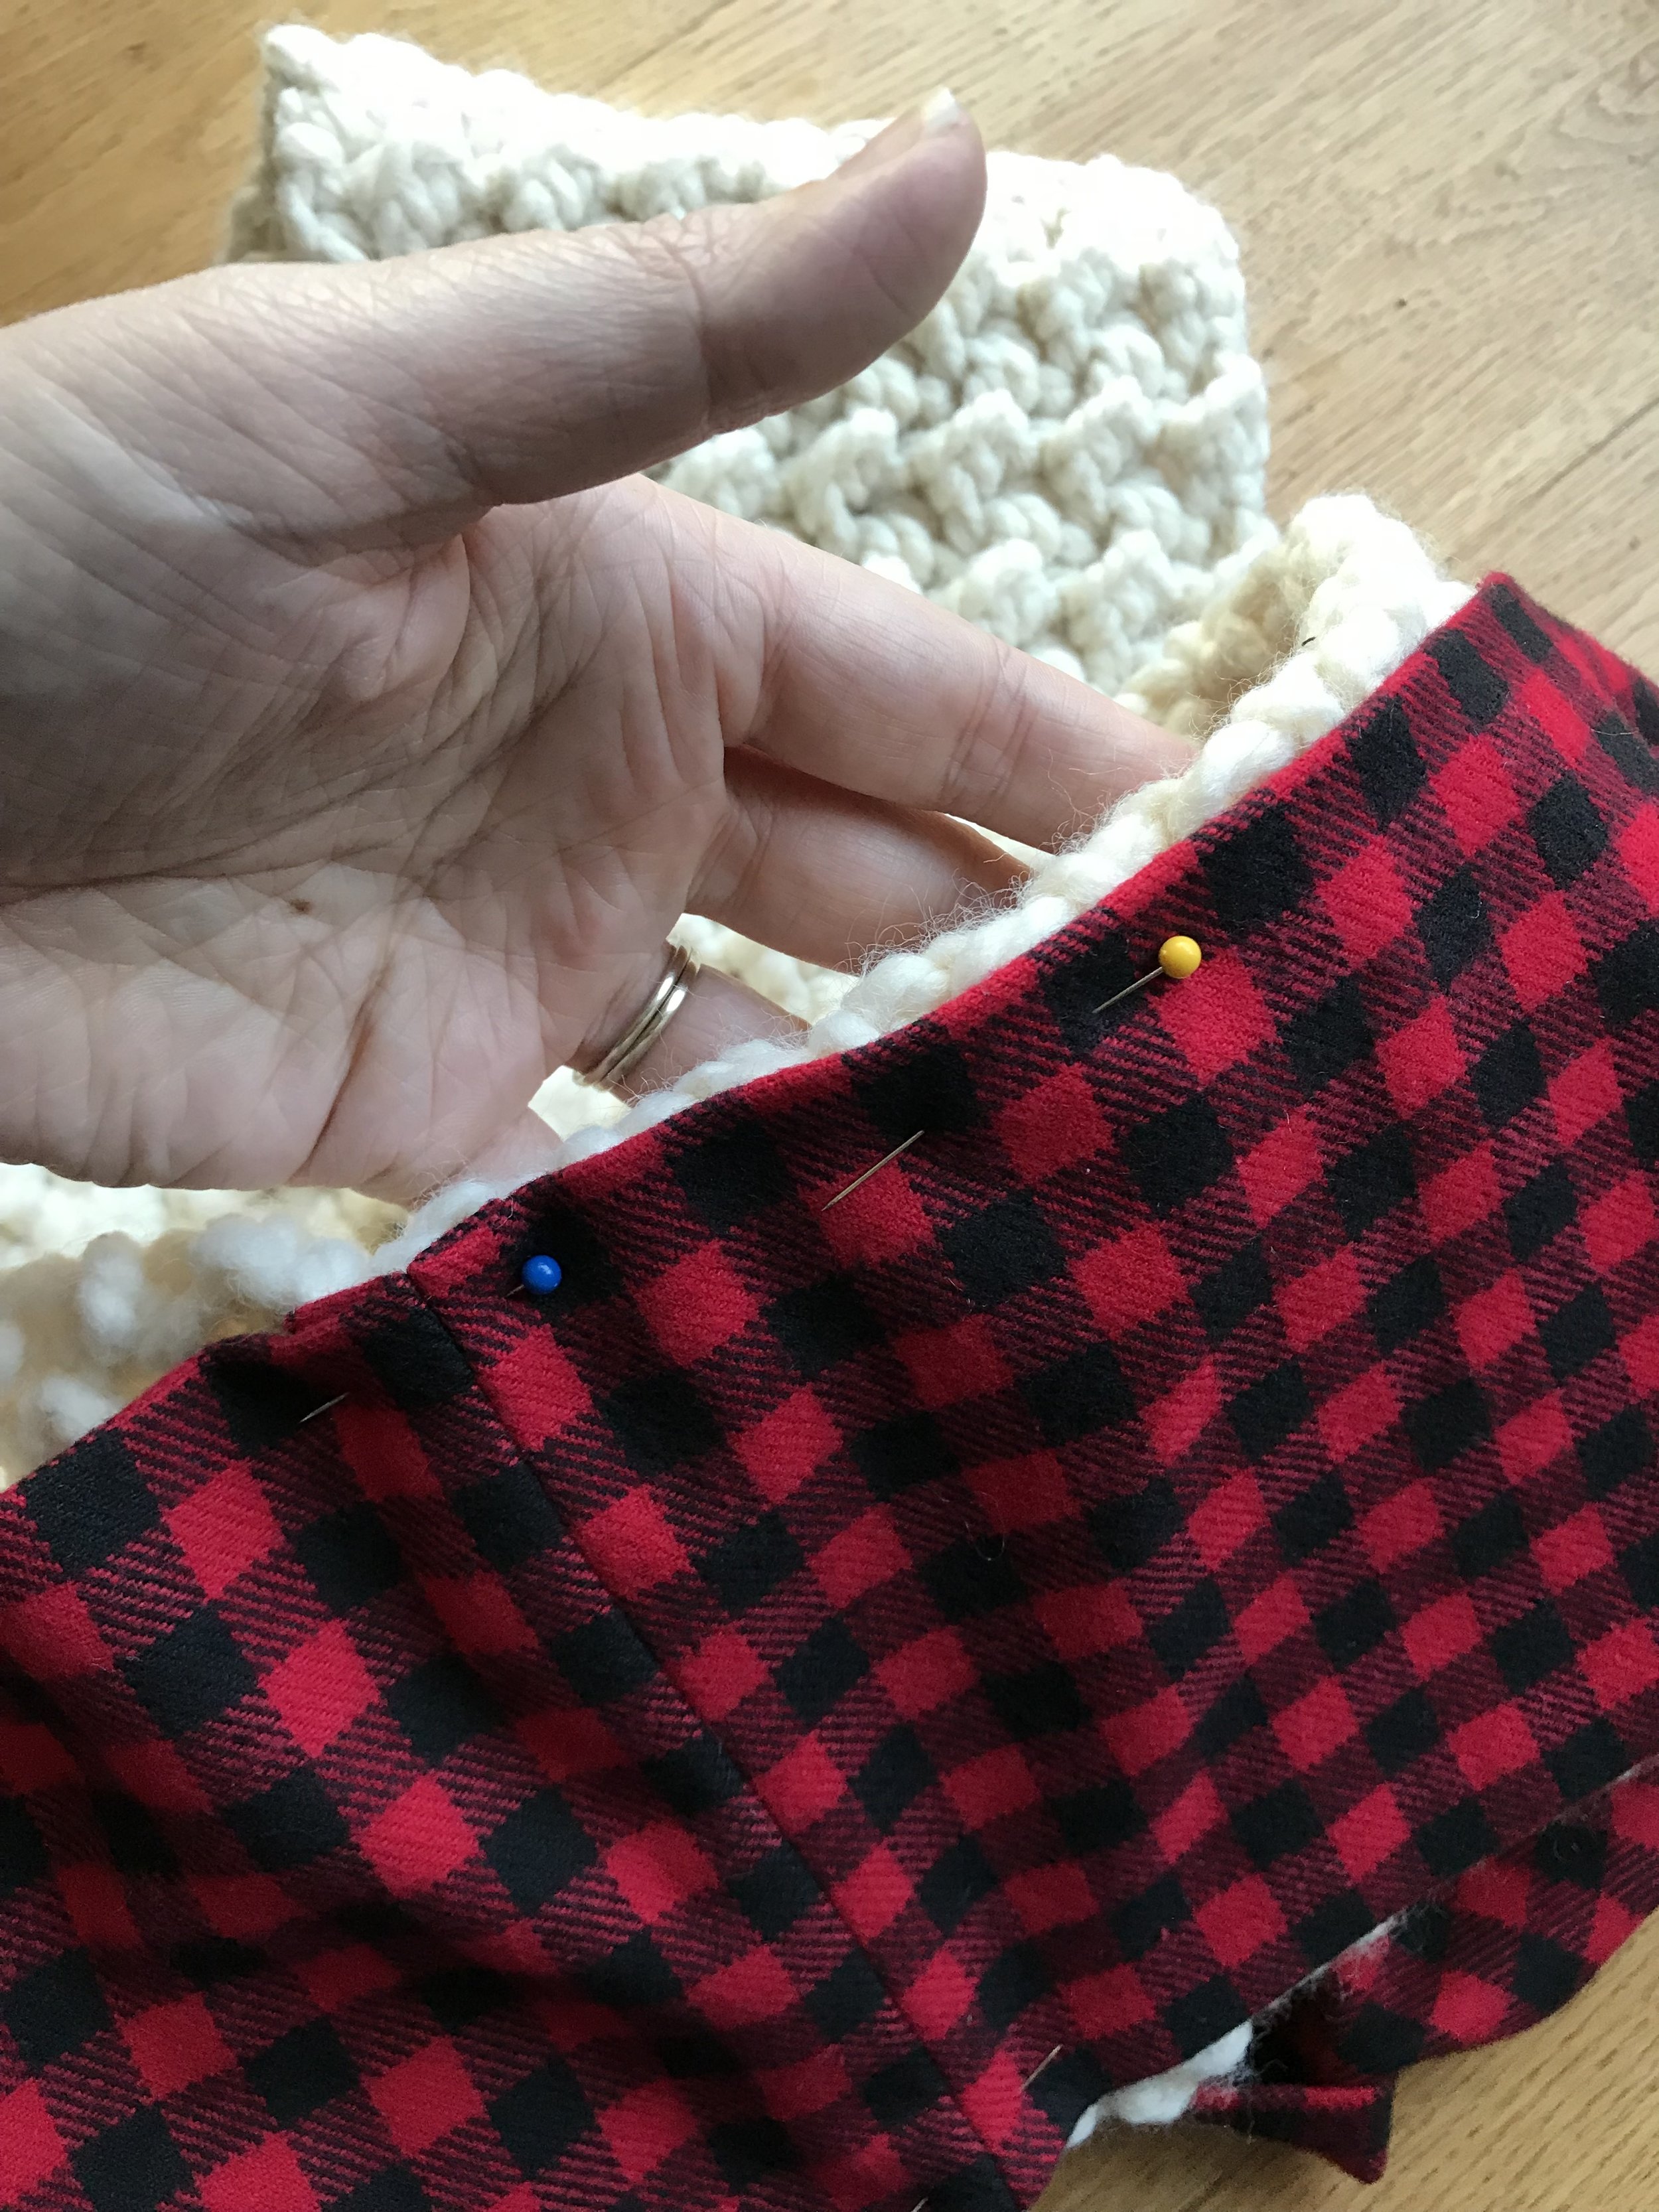
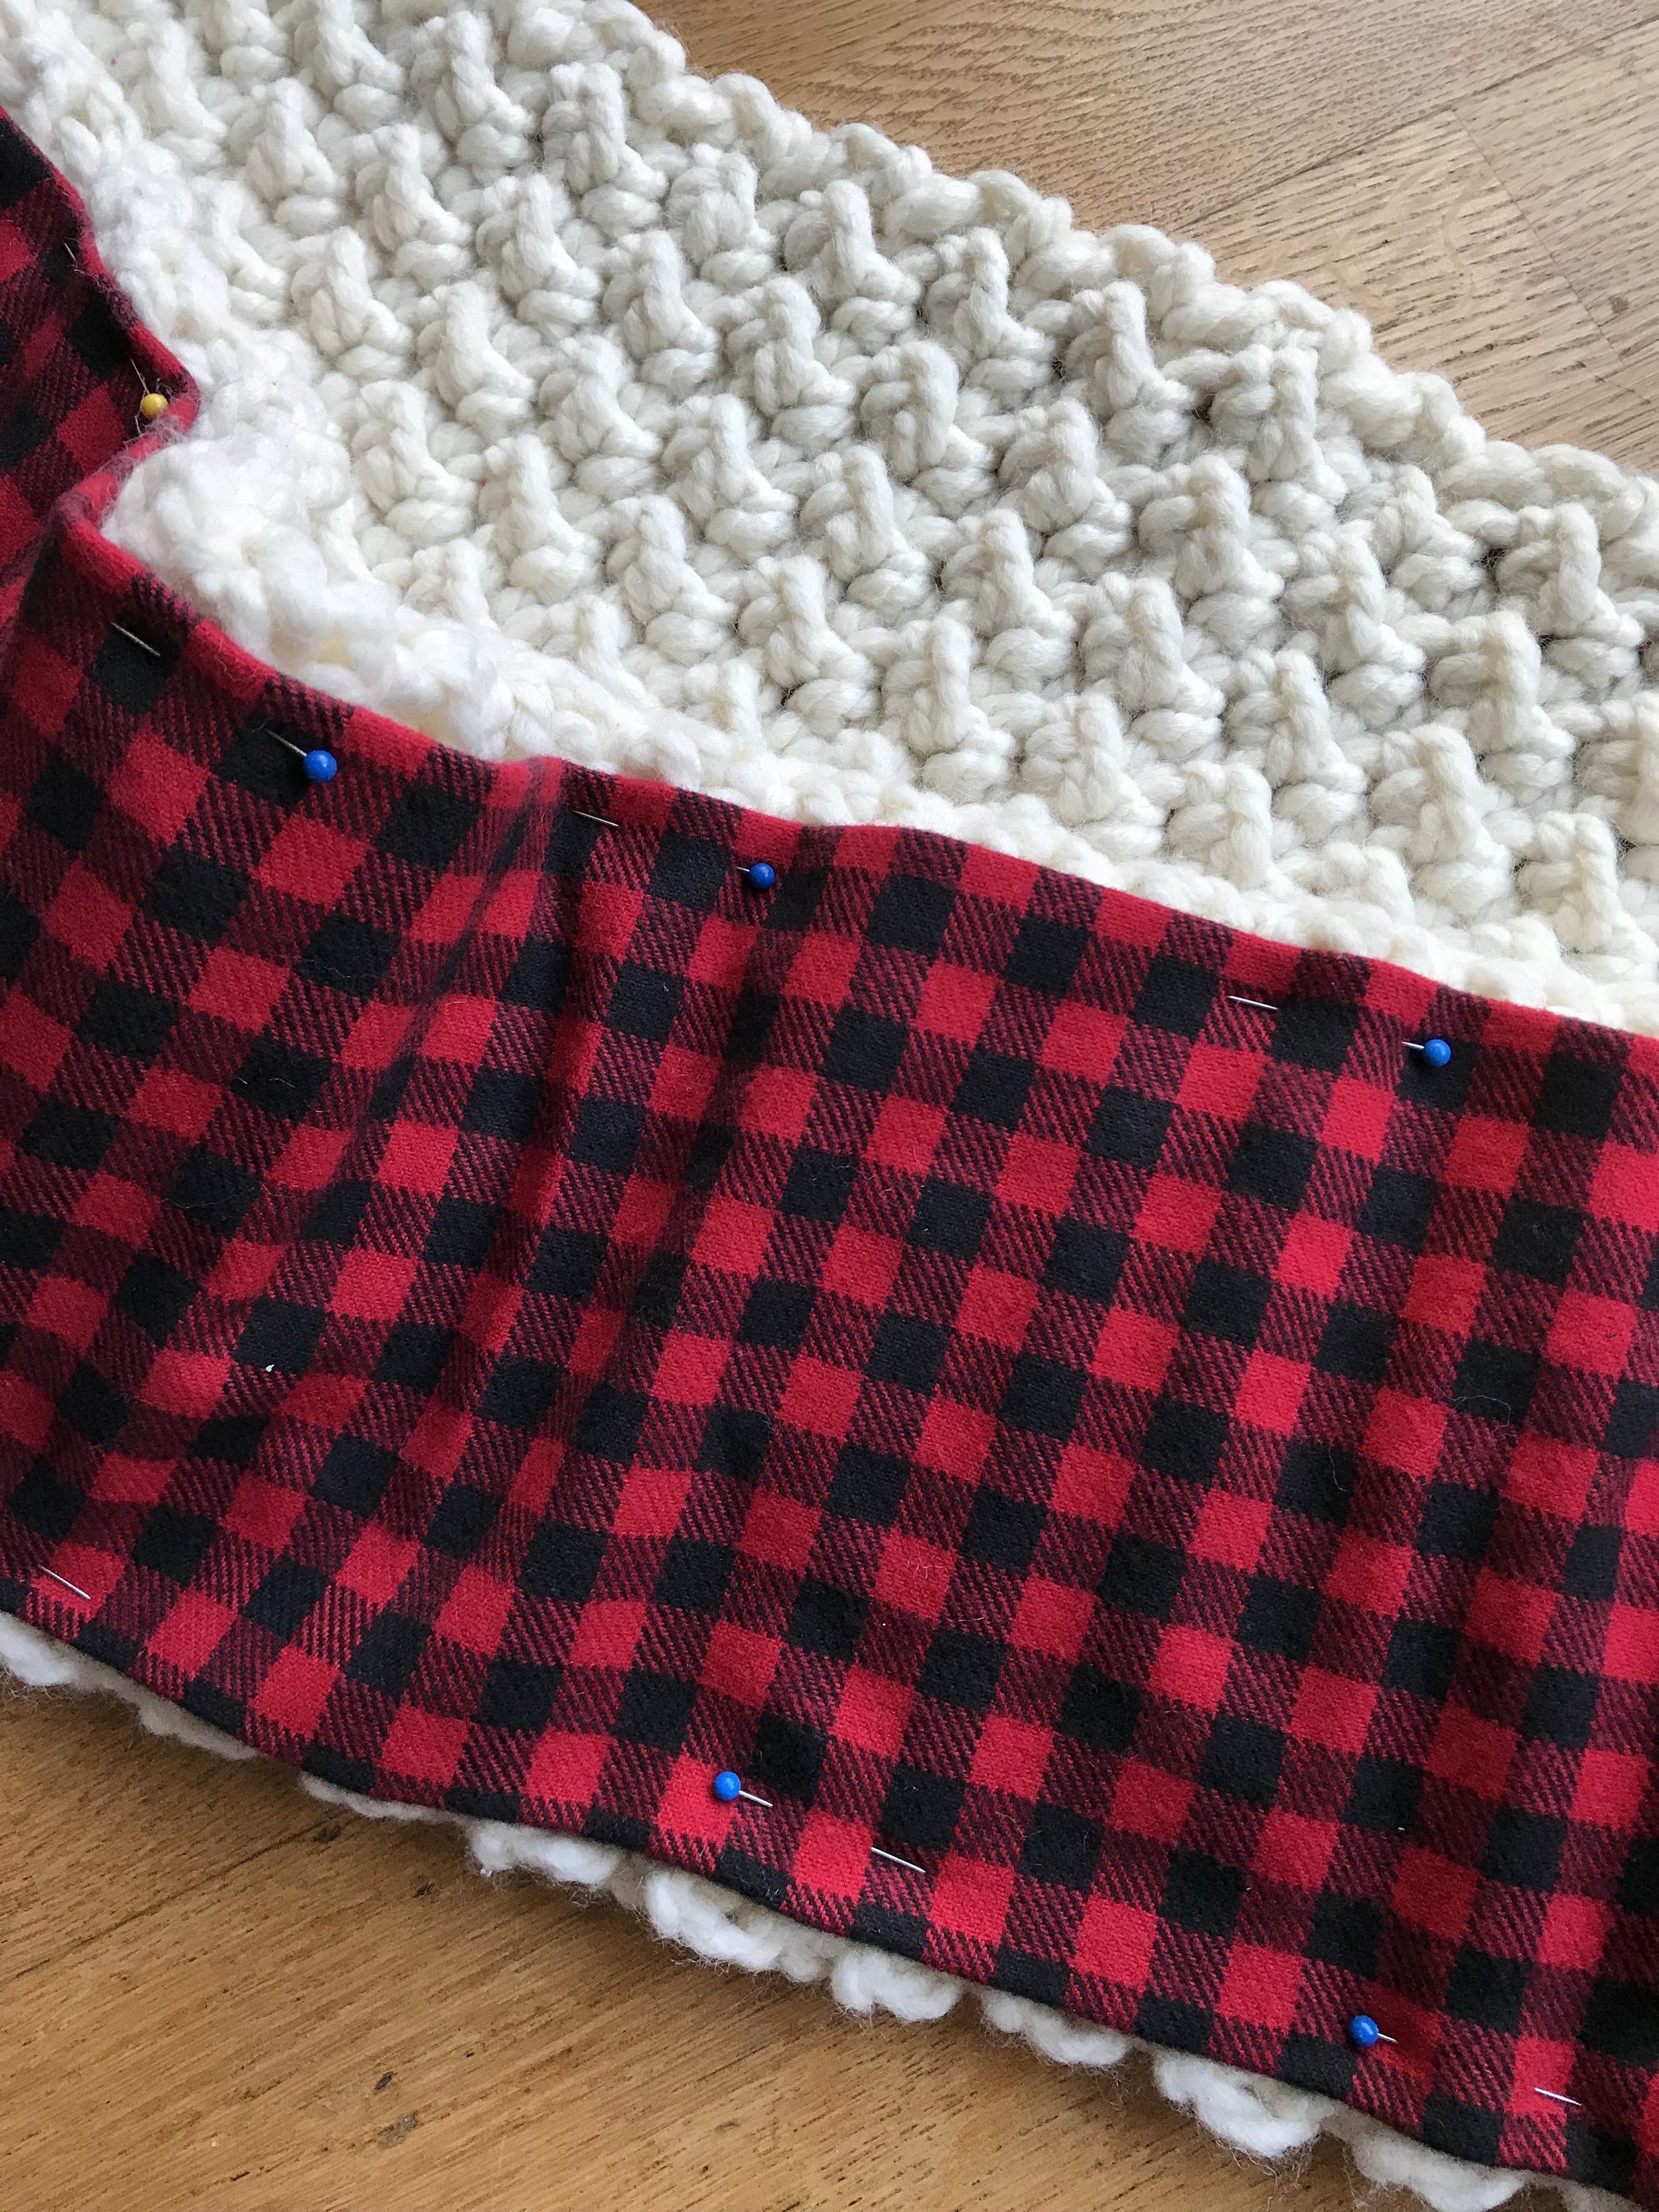
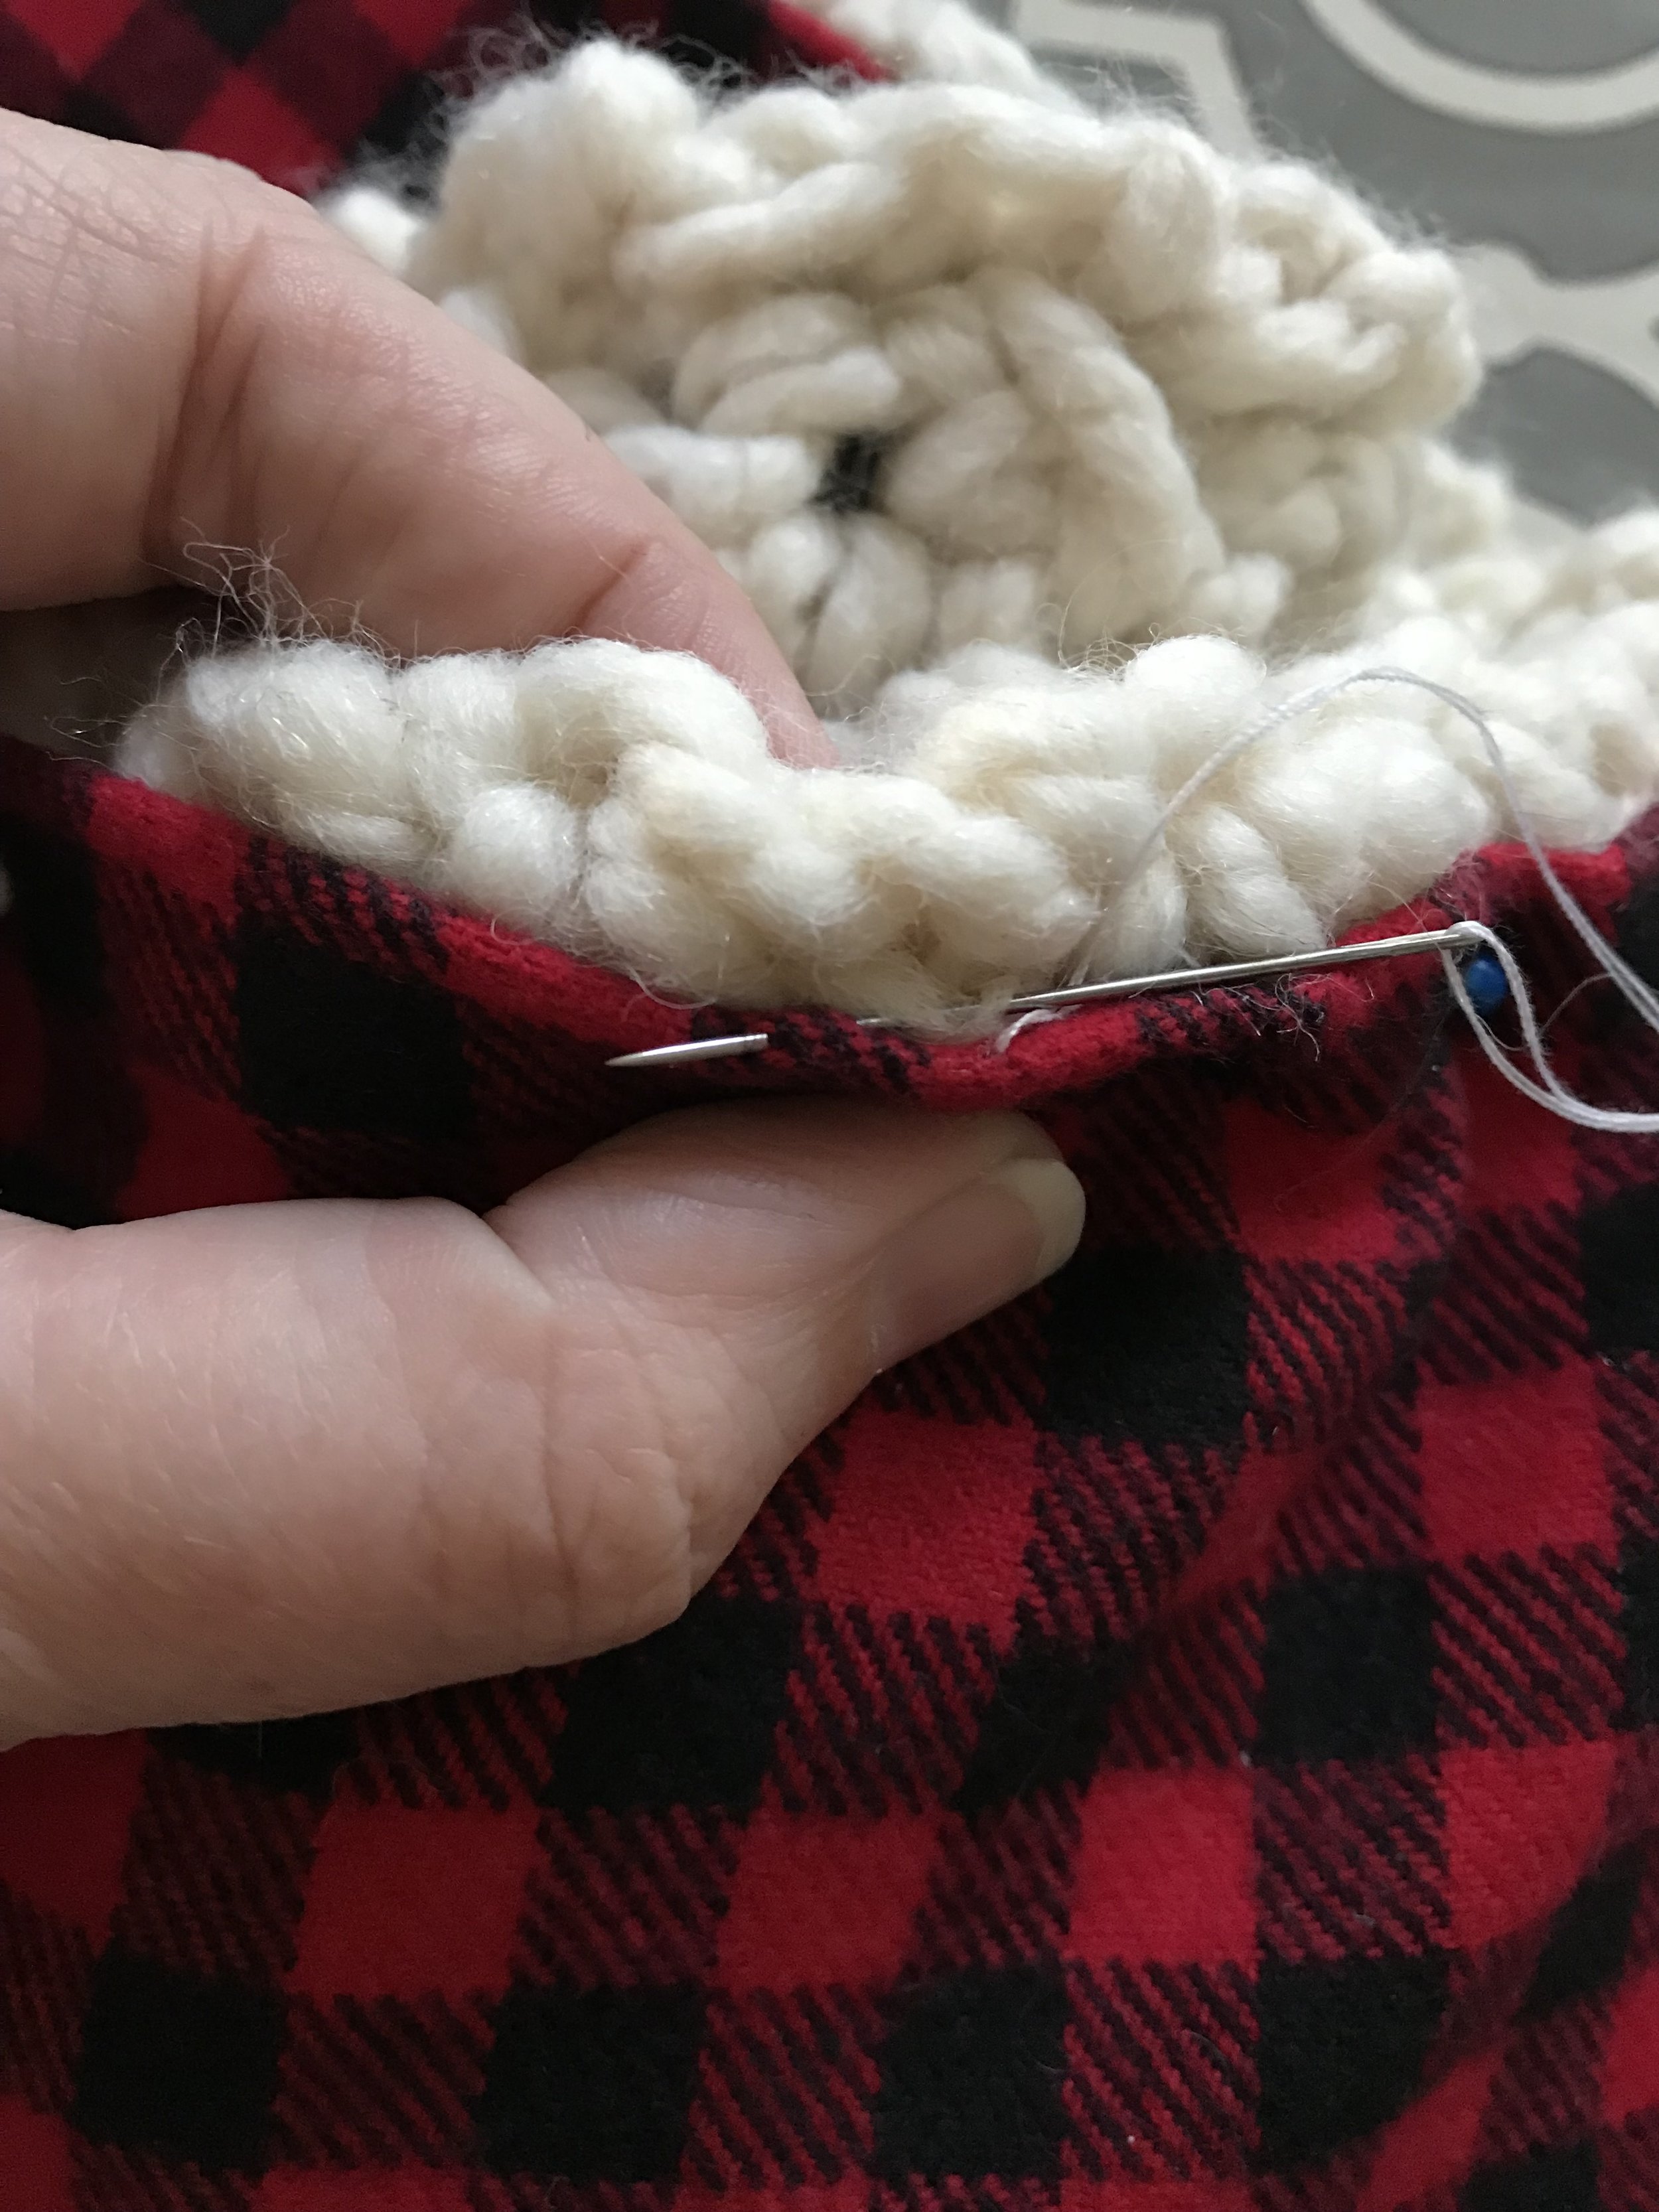
Pin the fabric loop wrong side down to the inside of the crocheted loop. Using a needle and matching thread, hand stitch the fabric to the scarf. To hide the stitches only go through the folded over edge of the fabric.
Once you have sewn the fabric down along both edges you are done! You can wear your Rowan scarf as one long loop or doubled up for extra warmth.
I hope you enjoyed this free pattern. I can’t wait to see your Rowan Scarves! Make sure to share your photos on social media and tag me @meghanmakesdo or use hashtag #meghanmakesdo so I can see.
Happy Making!
Meghan


