The Waverly Hooded Cardigan-Free Crochet Pattern
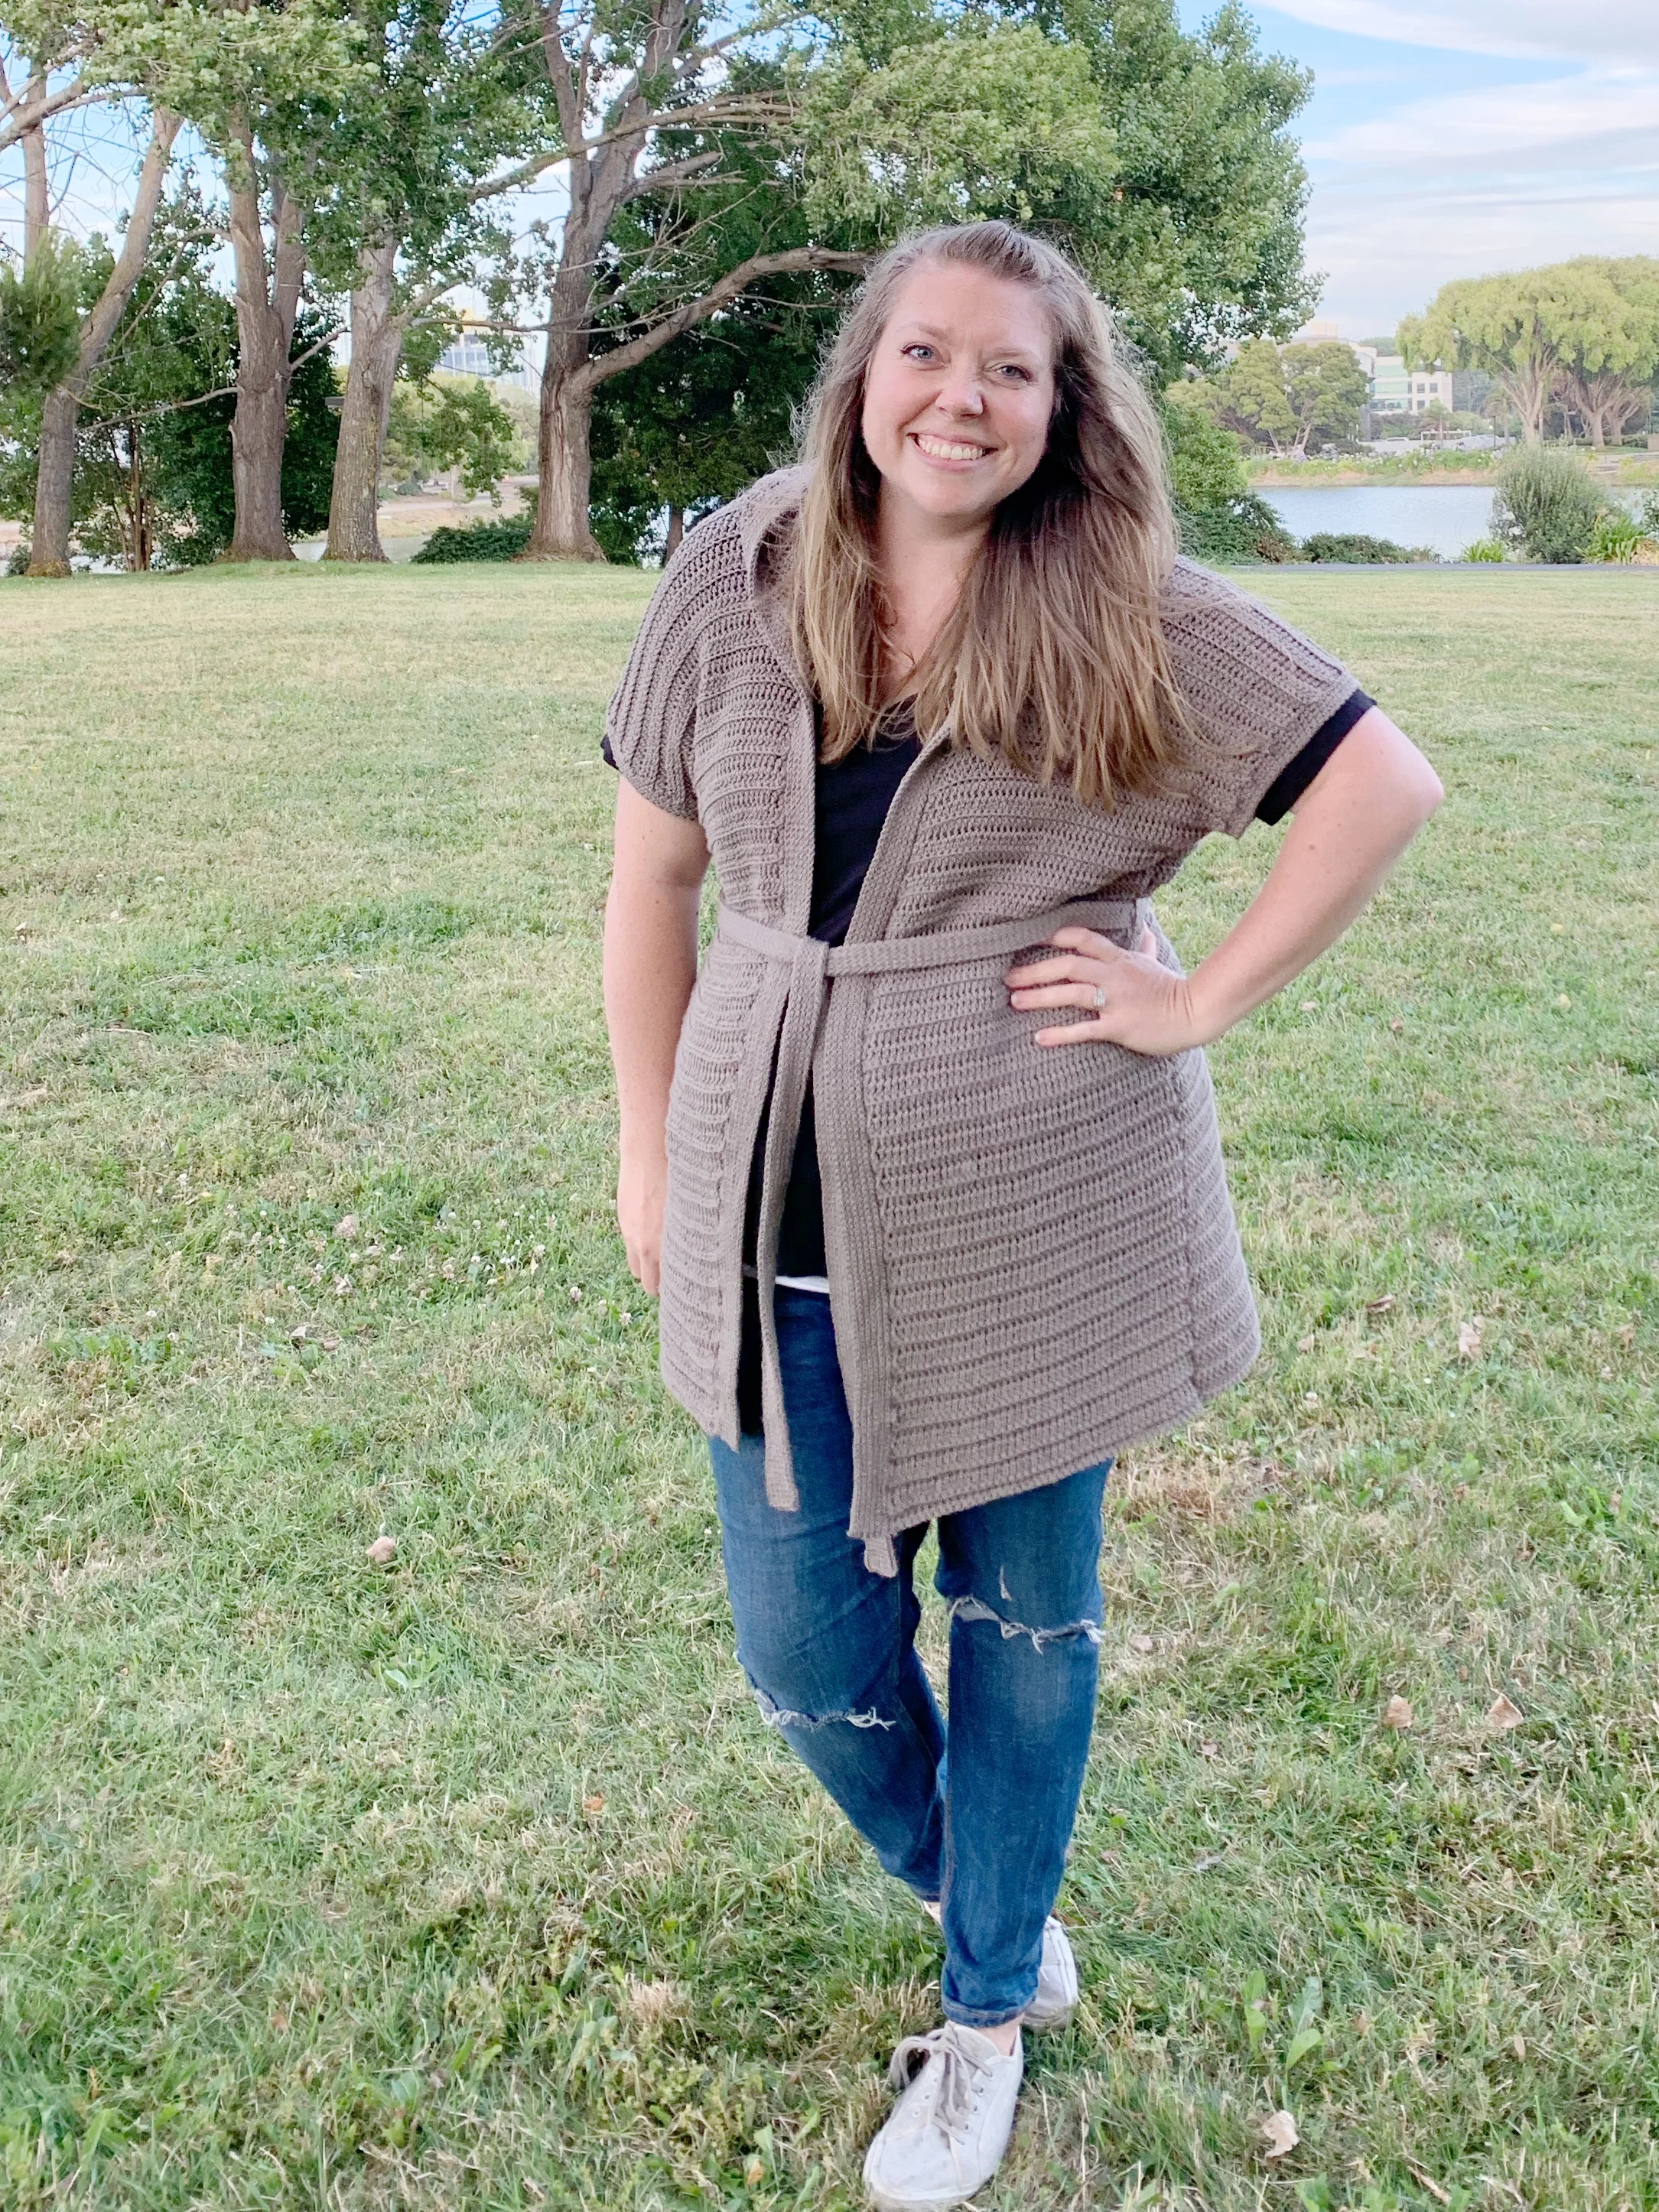
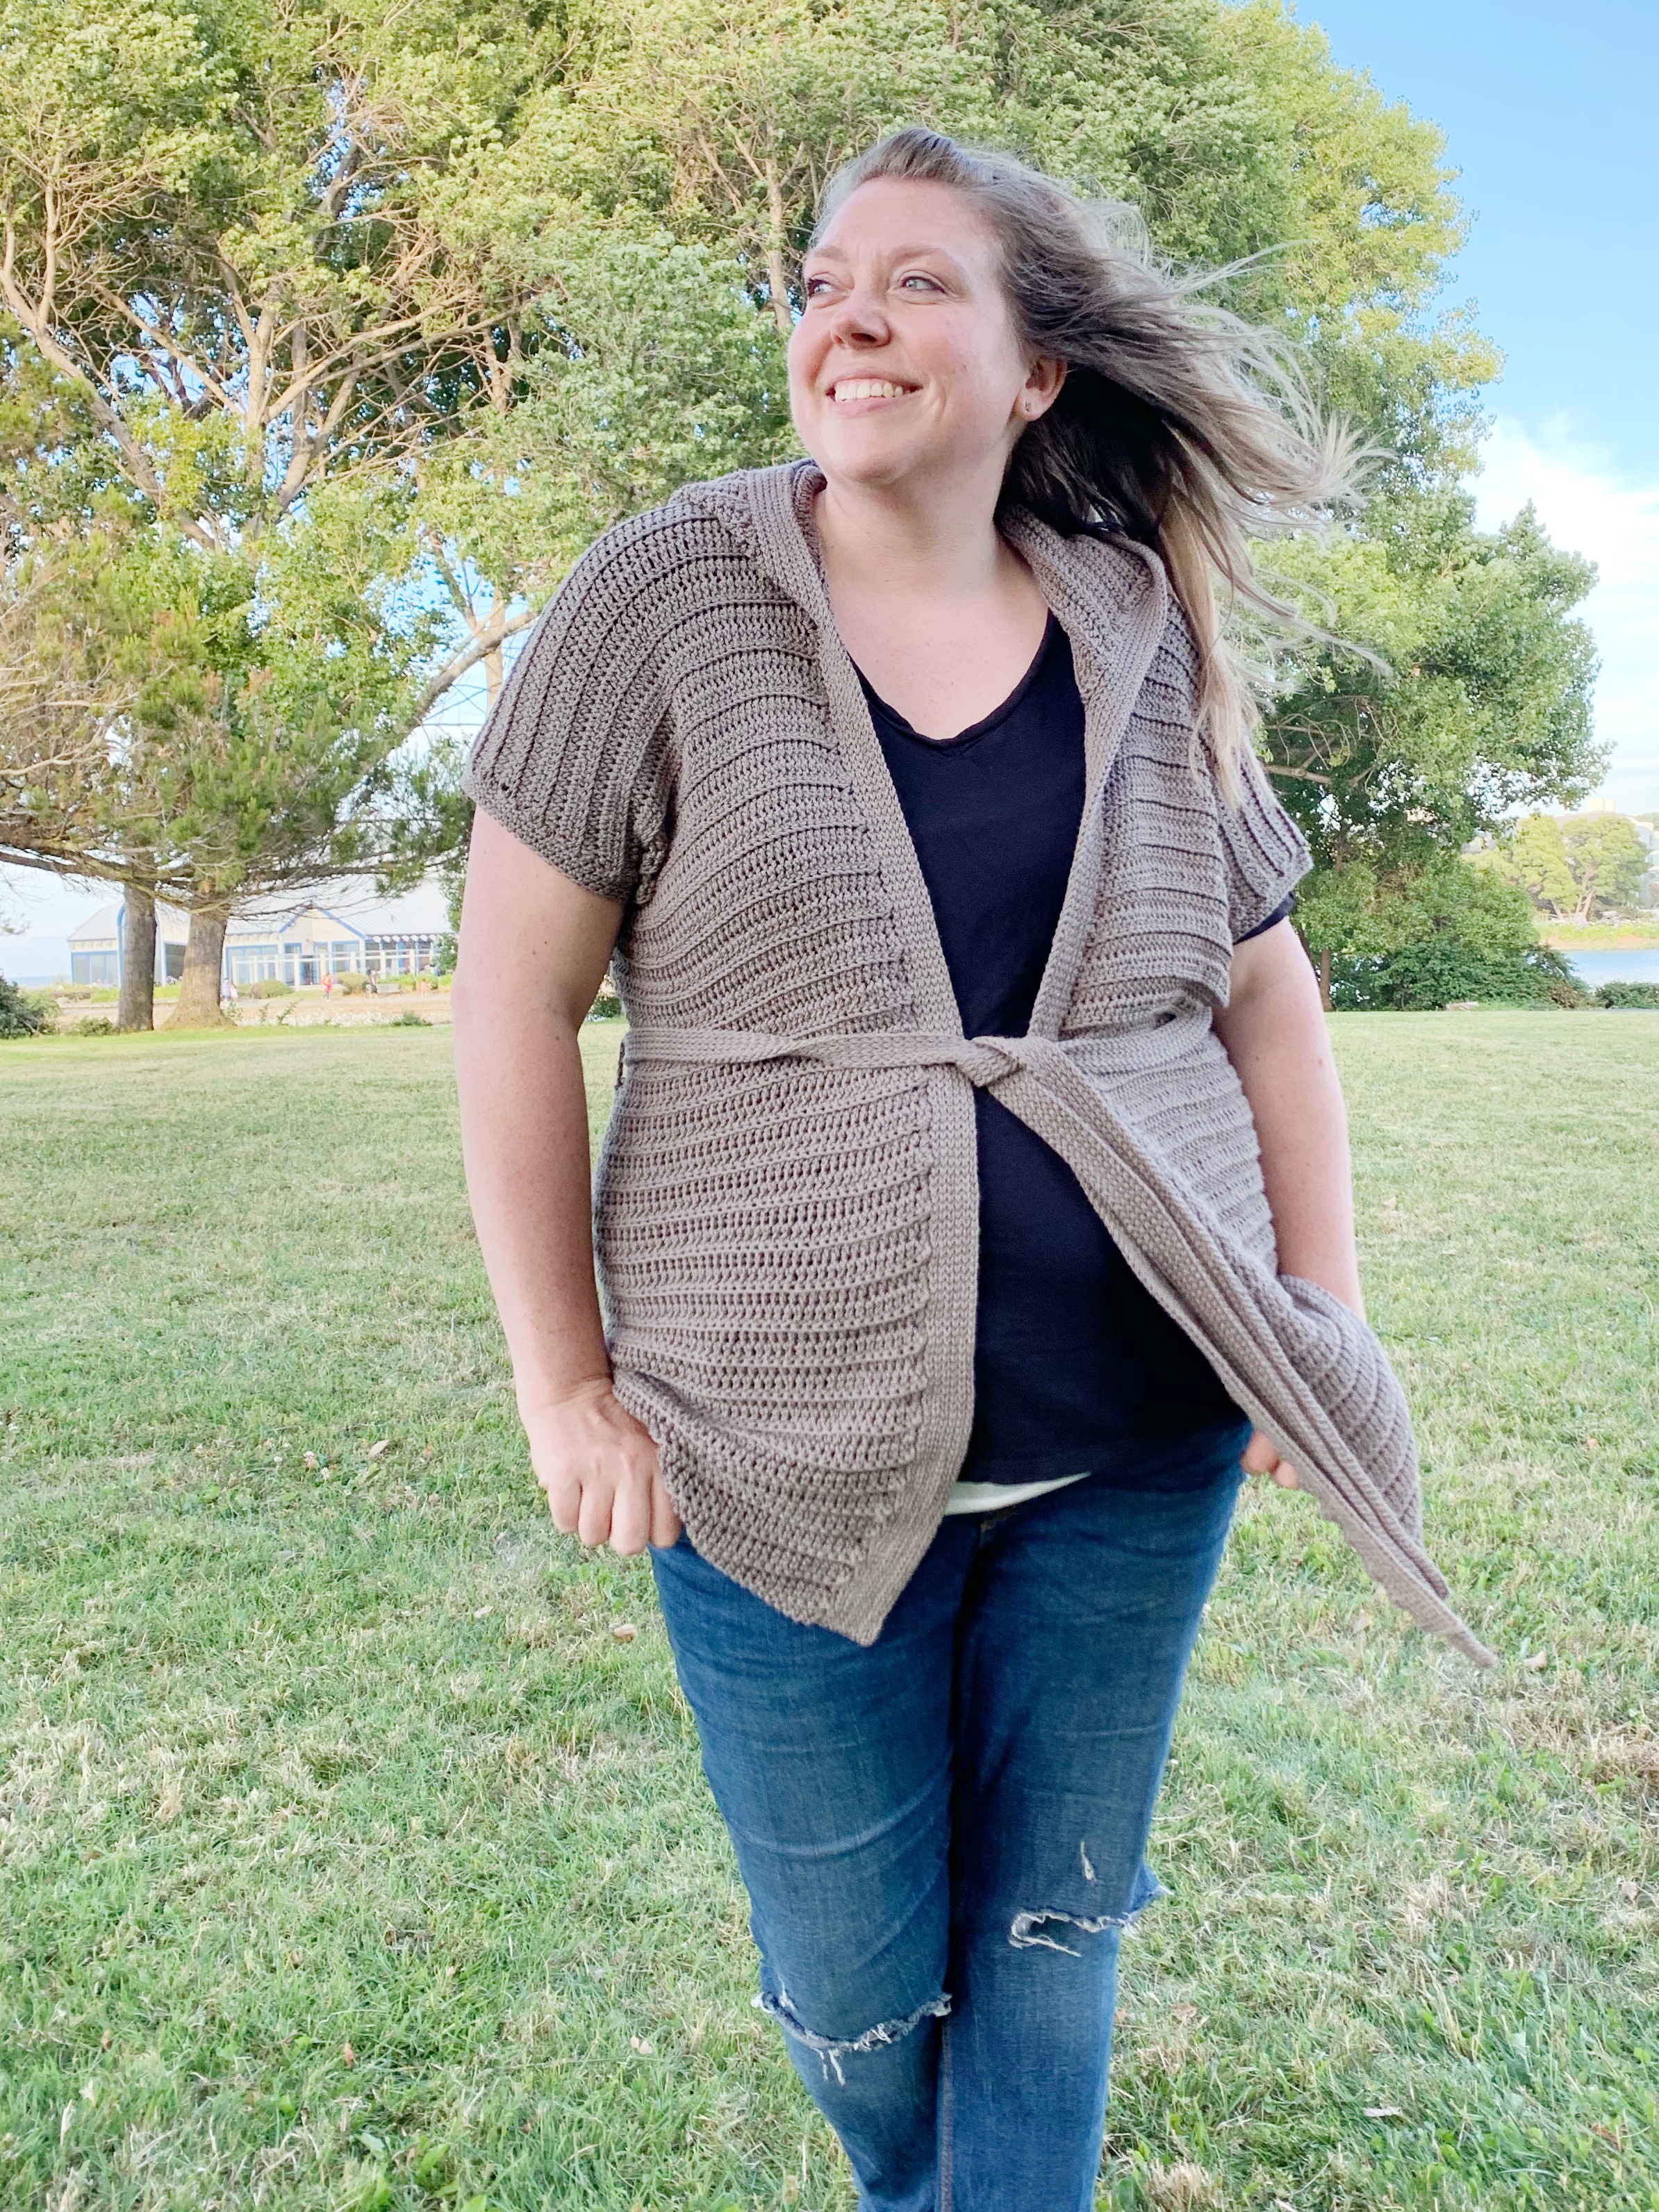
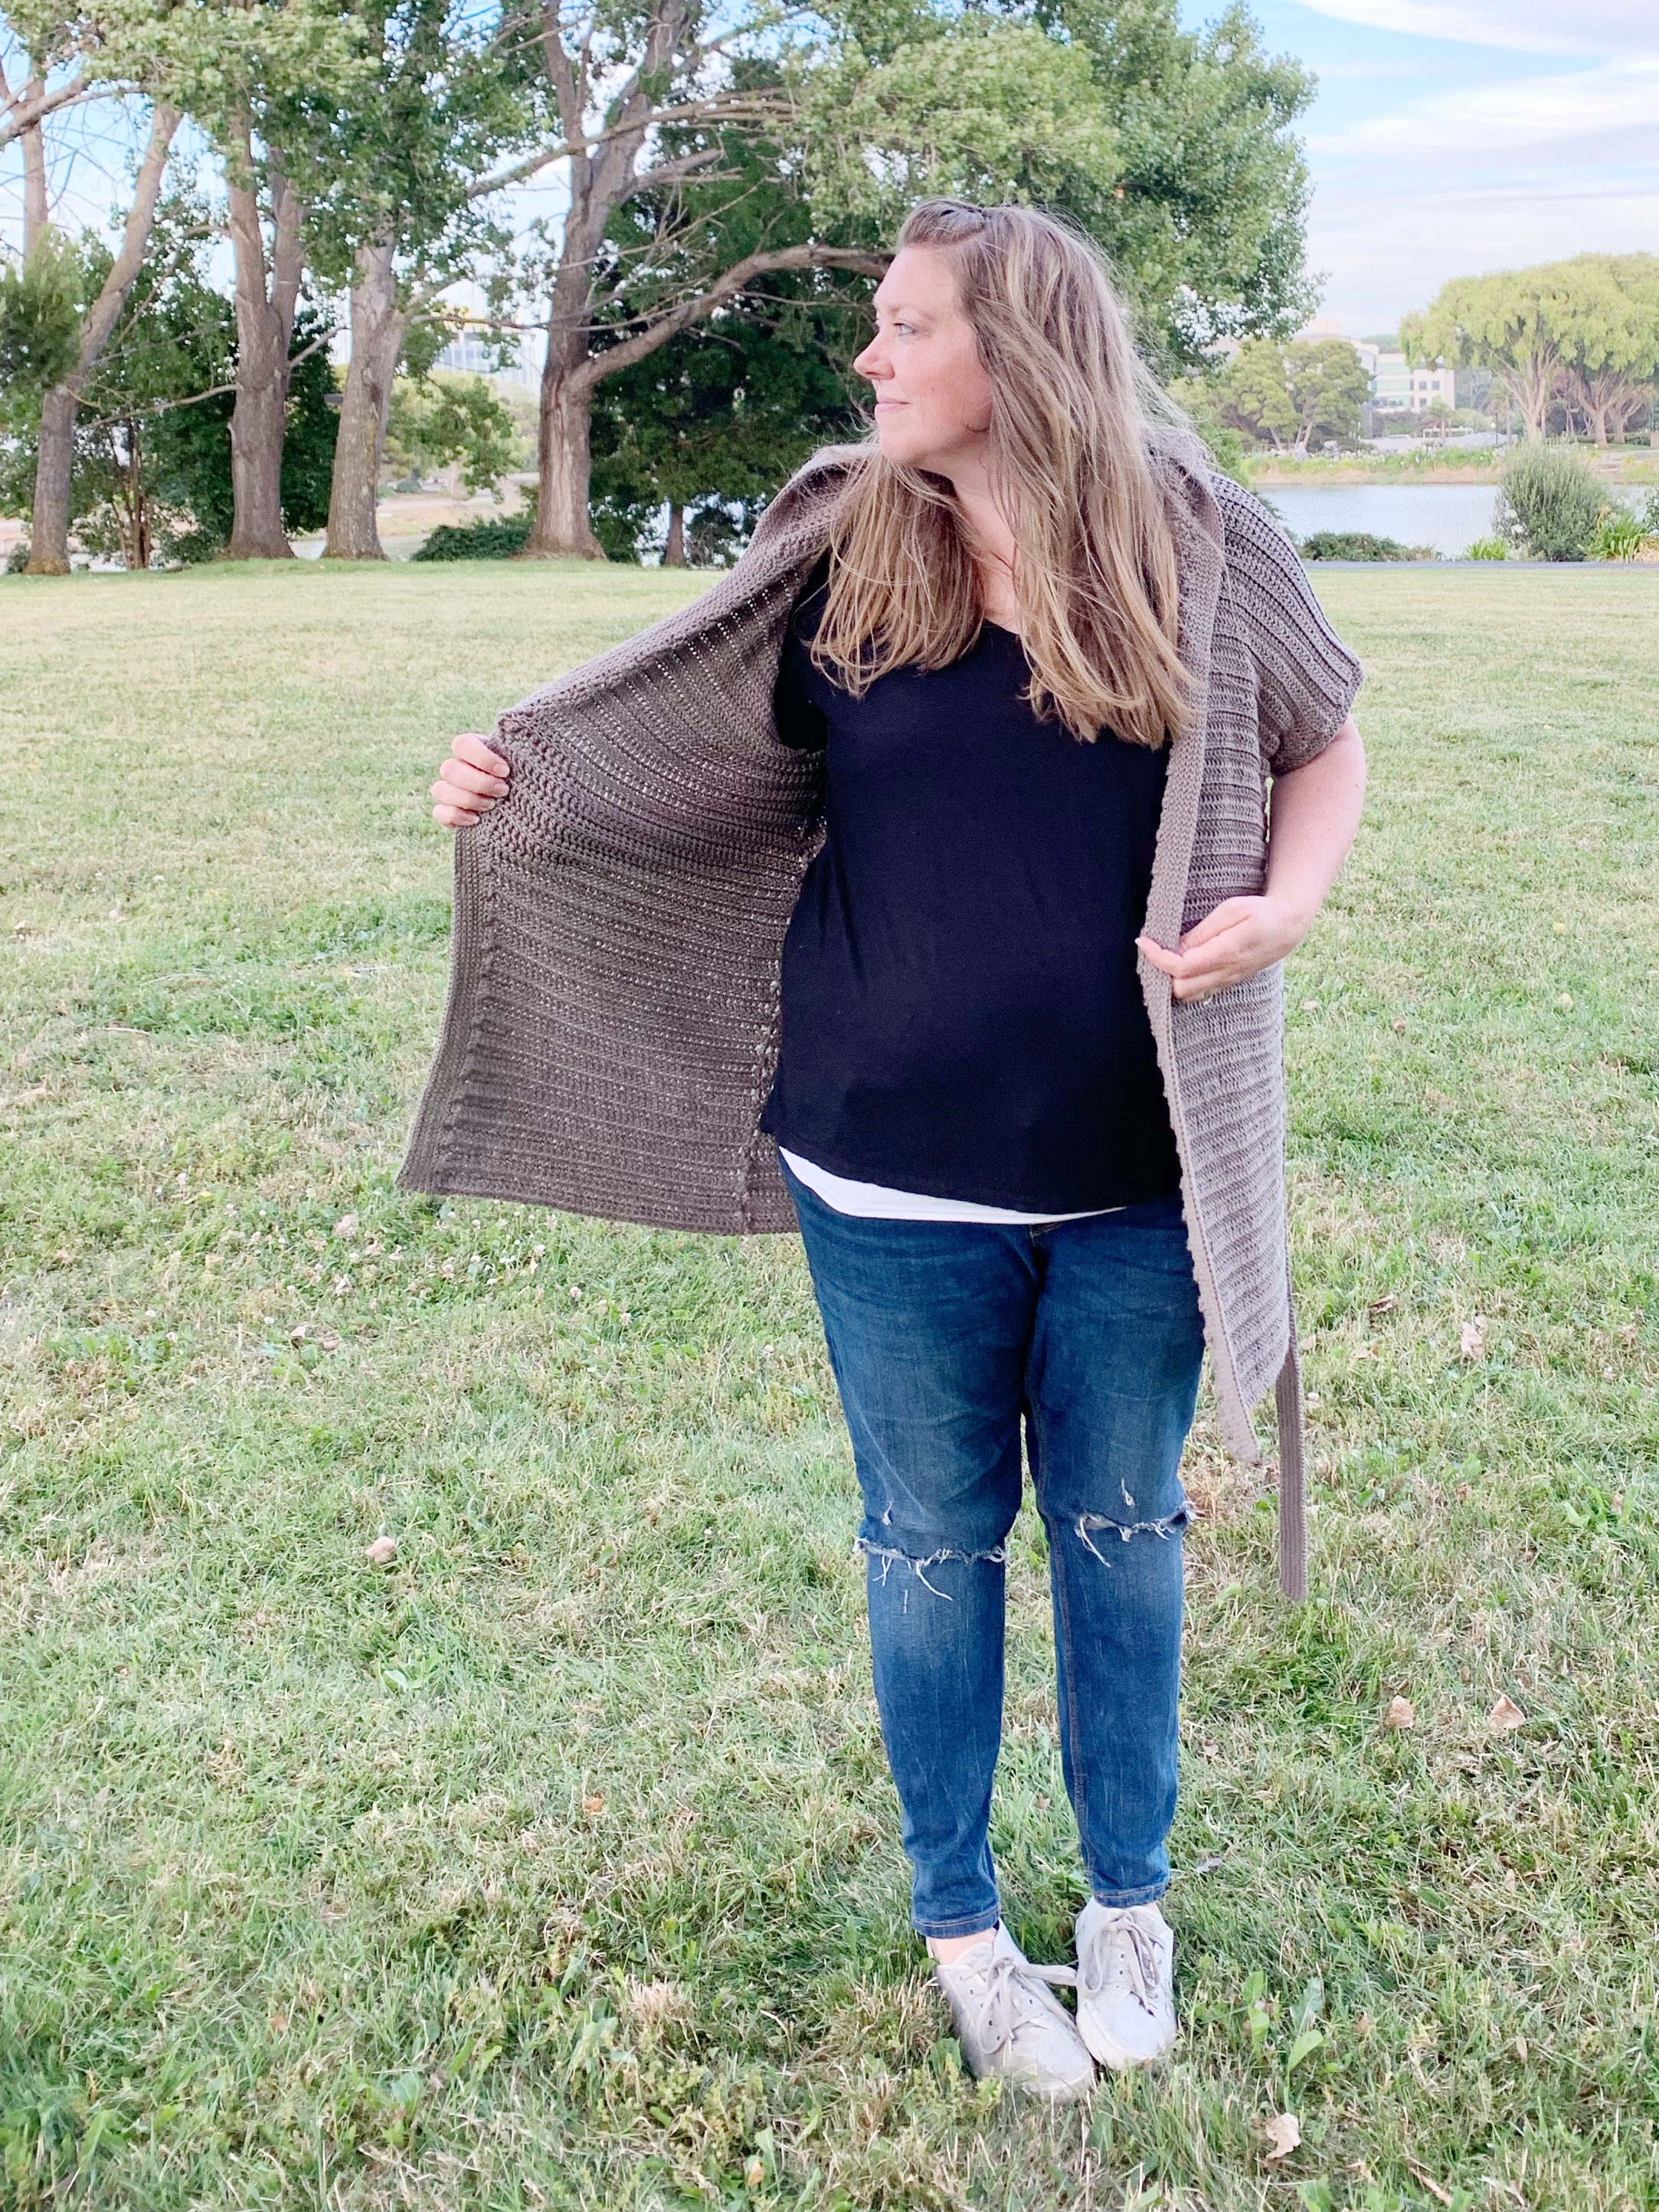
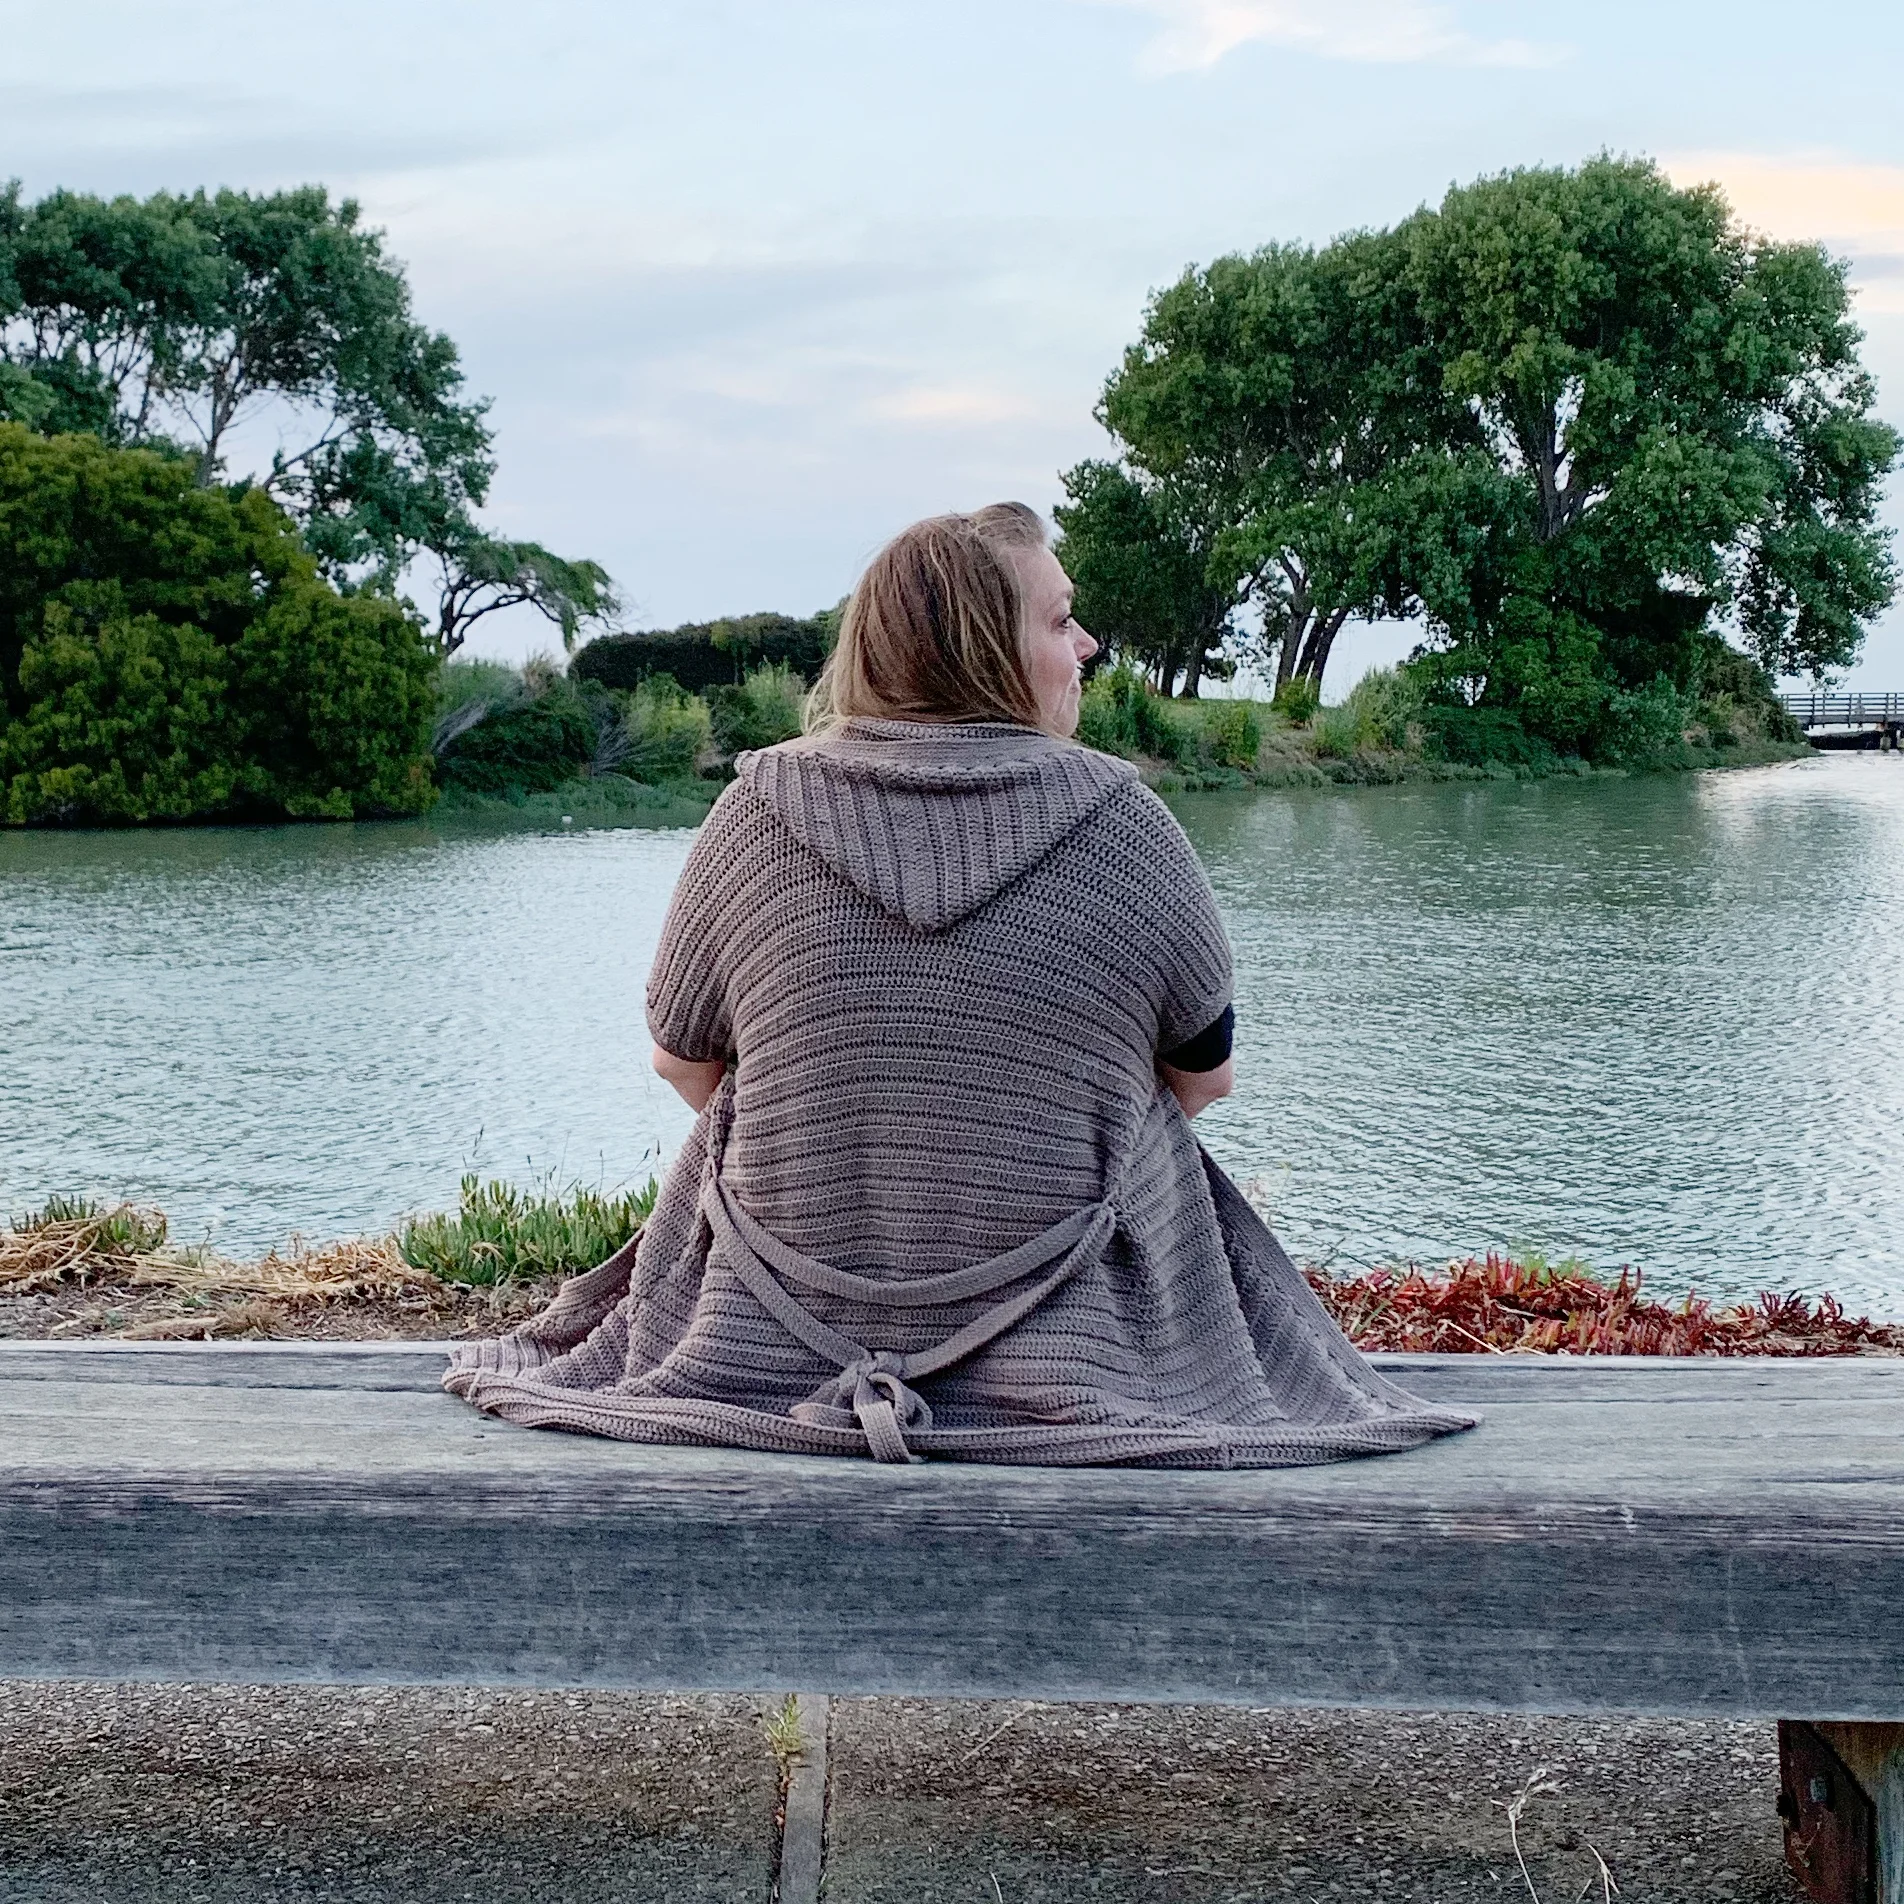
Let’s kick off this summer right with a brand new free crochet pattern! The Waverly Hooded Cardigan is perfect for those cool summer nights or trips to the beach. The classic look of the Waverly will quickly become a wardrobe staple.
You can find the free version below or head to my shop, Etsy, or Ravelry for an ad-free PDF. The 10 page PDF includes detailed instructions, photo tutorials and special stitch details.The pattern is written for sizes XS-5XL. Grab a downloadable copy for only $3.00.

I’m so excited to be bringing you The Waverly Hooded Cardigan Free Crochet Pattern today! It’s release is part of a fun Blogger Block Party going on this week with 5 of your other favorite designers. Hop on over to the links below to find all the amazing free patterns!
The Jane Cushion by Hooked Hazel
The Sunset Clutch by Life and Yarn
The Pretty Pineapple Purse by Hooked Up Crochet


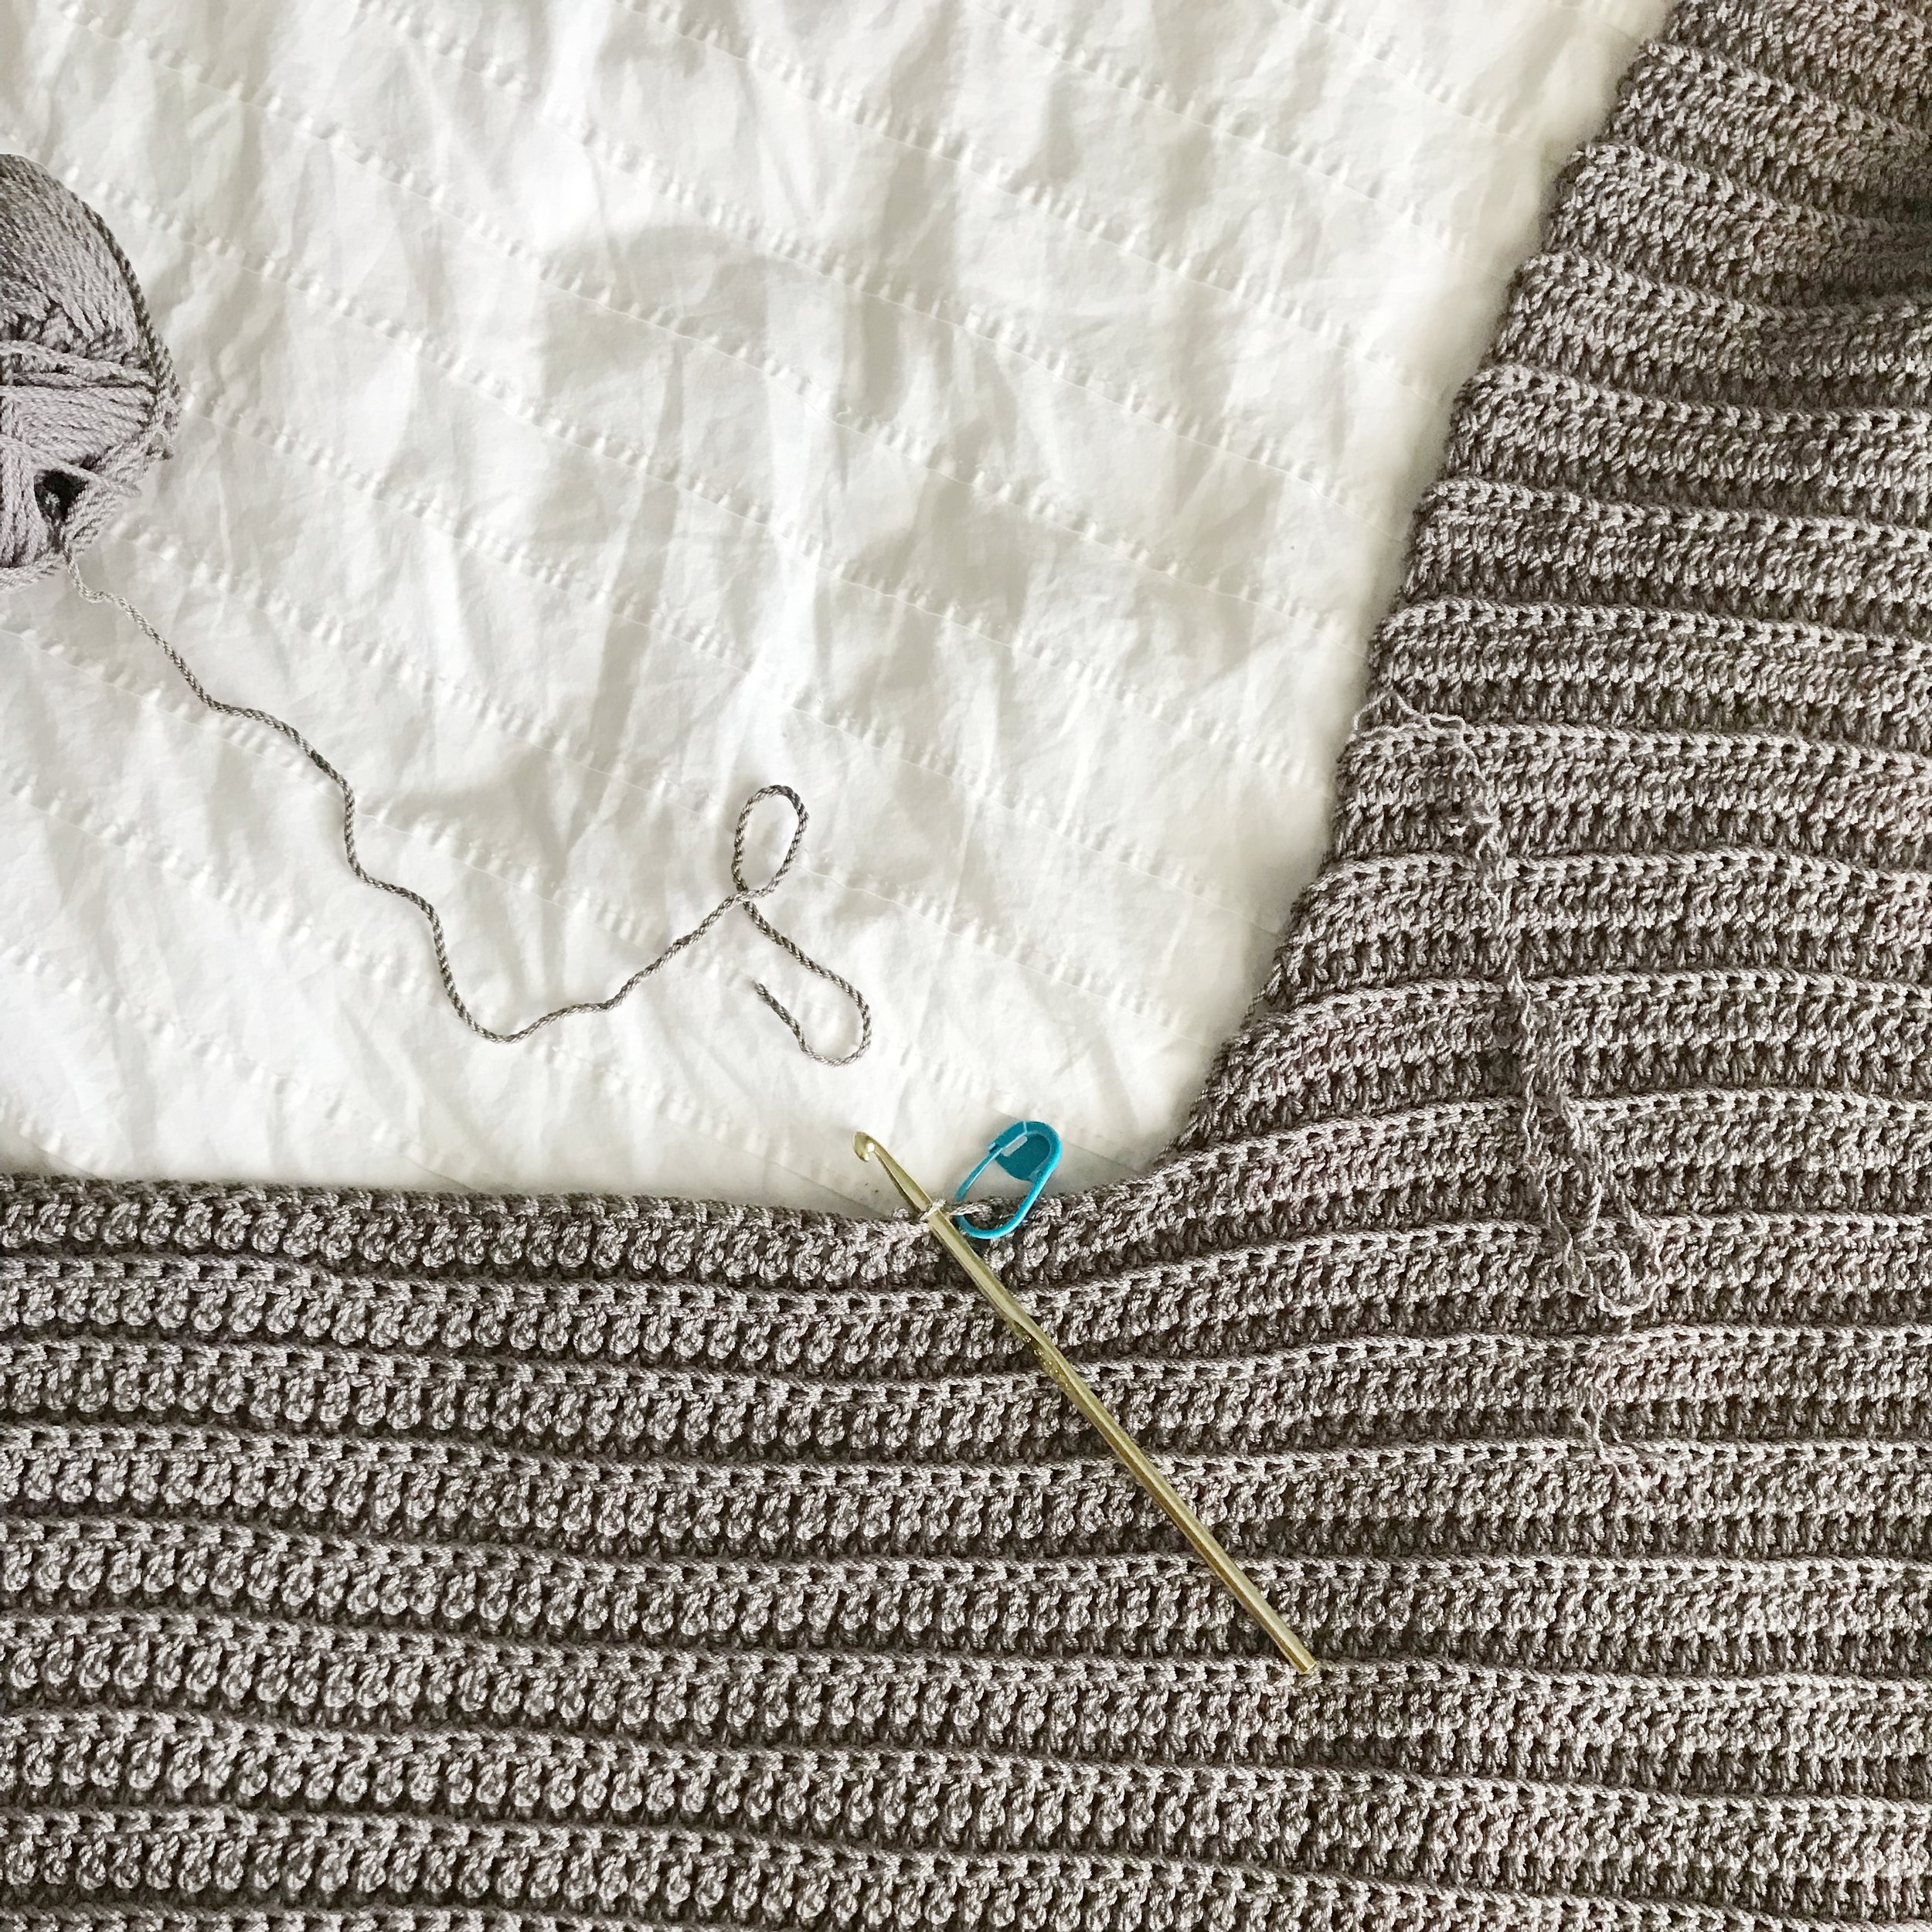
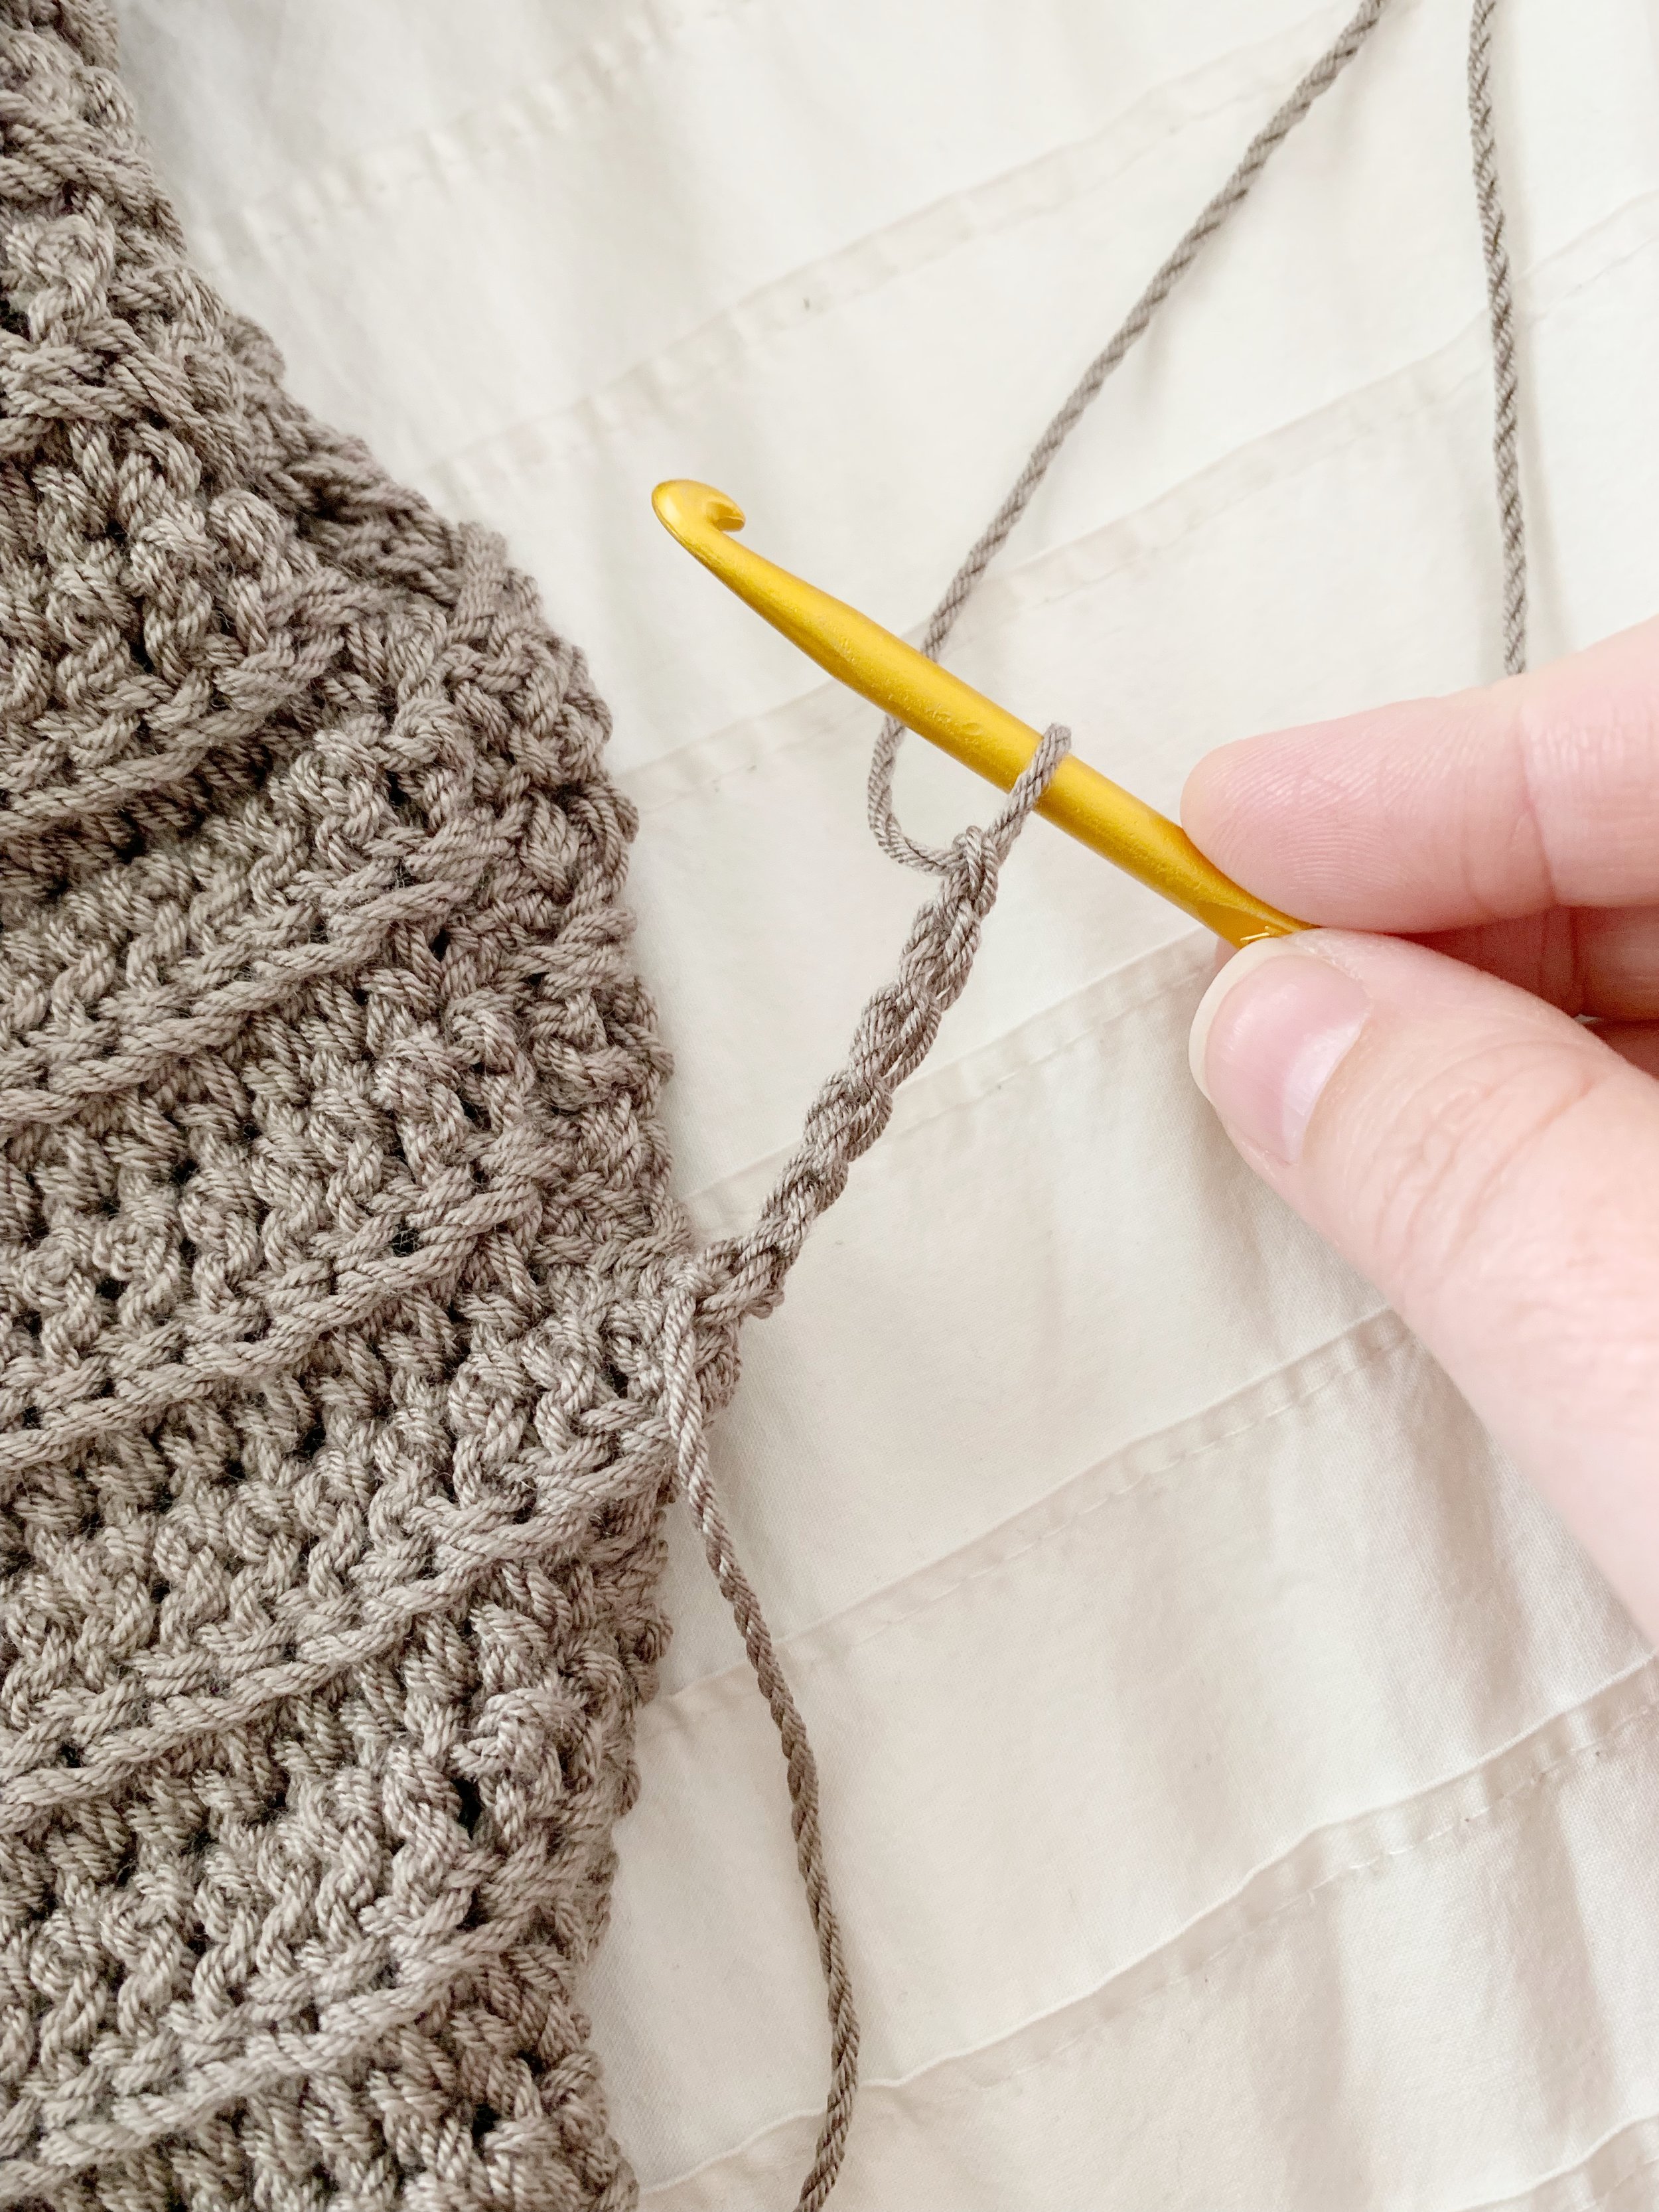
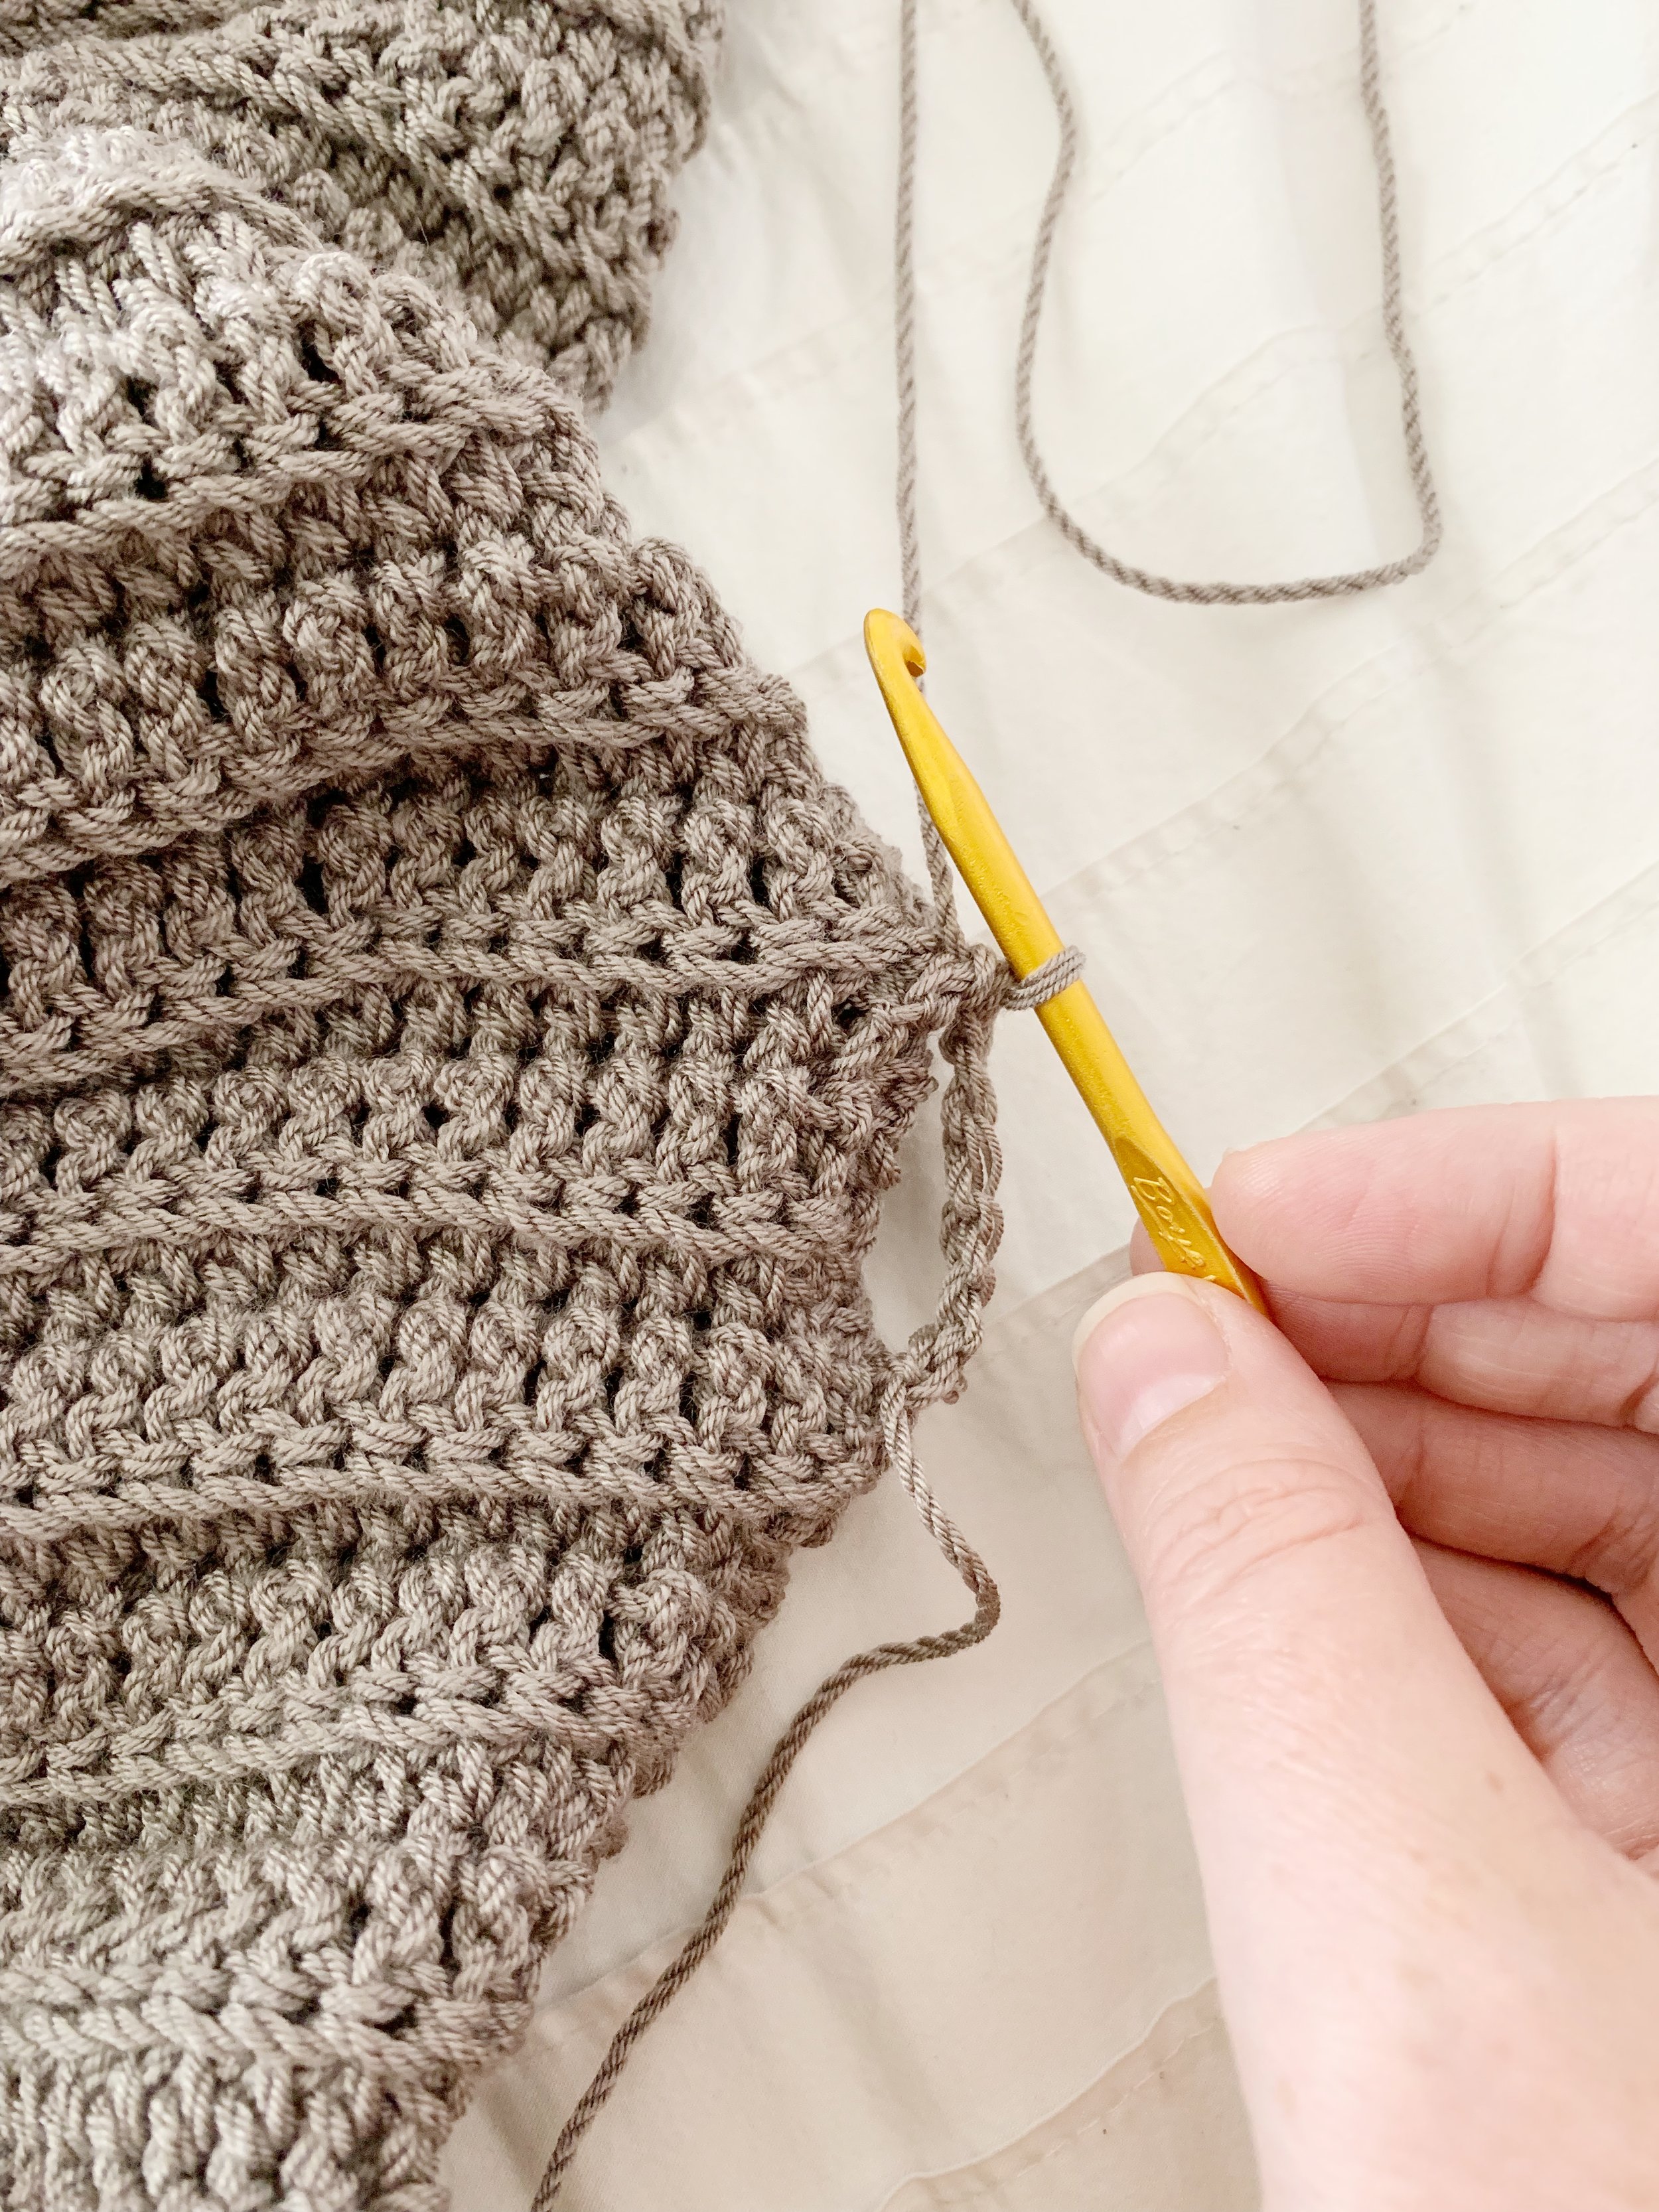
Late last year I picked up a few skeins of Lionbrand’s ZZ Twist while out with my sip and stitch group. I had been curious about this z twist yarn for a while and couldn’t wait to try it out. After experimenting with swatches a few times I finally decided on a combination of two basic stitches that would give me a ribbed look when done in the back loops only. The Waverly was created to be a beginner friendly pattern that uses basic stitches to create a classic looking cardigan.
Materials:
• 1373-2412 yards of Lion Brand ZZ Twist in Taupe (see sizing for specific yardage for each size)
•Tapestry needle
•Tape measure or ruler
•Scissors
Abbreviations:
Ch- chain
St(s)- stitch(es)
Sk- skip
Sl st- slip stitch
Sc- single crochet
Hdc- half double crochet
Dc- double crochet
Dc2tog- double crochet 2 sts together
Hdc2tog- half double crochet 2 sts together
BLO- work stitches in back loop only
Notes:
1. Pattern is written for size XS with all other sizes in parenthesis. Ex: XS(S, M, L, XL, 2X, 3X, 4X, 5X)
2. Chains at the beginning of rows do not count as stitches, unless otherwise indicated.
3. Cardigan is worked bottom up starting with the back panel. Front panels are worked top down directly into the top of the back panel.
4. The right side of the cardigan is facing you when you are working a hdc row.
5. All stitches are worked in BLO unless otherwise indicated.
6. Yardage amounts are specific to ZZ Twist, if substituting with a different yarn you may need more.
Sizes:
XS- approx: 17” across fits 28”-30” chest (approx. 1373 yards)
S-approx: 19” across fits 32”-34” chest (approx. 1473 yards)
M- approx: 21” across fits 36”-38” chest (approx. 1574 yards)
L- approx: 23” across fits 40”-42” chest (approx. 1720 yards)
XL-approx: 25” across fits 44”-46” chest (approx. 1829 yards)
2XL-approx: 27” across fits 48”-50” chest (approx. 1977 yards)
3XL-approx: 29” across fits 52”-54” chest (approx. 2110 yards)
4XL-approx: 31” across fits 56”-58” chest (approx. 2275 yards)
5XL-approx: 33” across fits 60”-62” chest (approx. 2412 yards)
Gauge:
17 stitches X 8 rows = 4” square in rows of BLO dc and BLO hdc.
Pattern:
Back Panel
Ch 73(81, 89, 99, 107, 115, 123, 131, 141)
Row 1: sc in 2nd ch from hook and in each ch across, ch 2, turn. (72, 80, 88, 98, 106, 114, 122, 130, 140)
*Work in BLO from here on out for back and front panels*
Row 2: (RS) hdc in each st across, ch 3, turn. (72, 80, 88, 98, 106, 114, 122, 130, 140)
Row 3: dc in each st across, ch 2, turn. (72, 80, 88, 98, 106, 114, 122, 130, 140)
XS-M:
Row 4-61 : repeat rows 2 and 3 alternately. (72, 80, 88)
L&XL:
Row 4-63: repeat rows 2 and 3 alternately. (98, 106)
2XL&3XL:
Row 4-65 : repeat rows 2 and 3 alternately. (114, 122)
4XL&5XL:
Row 4-67: repeat rows 2-3 alternately. (130, 140)
DO NOT FASTEN OFF
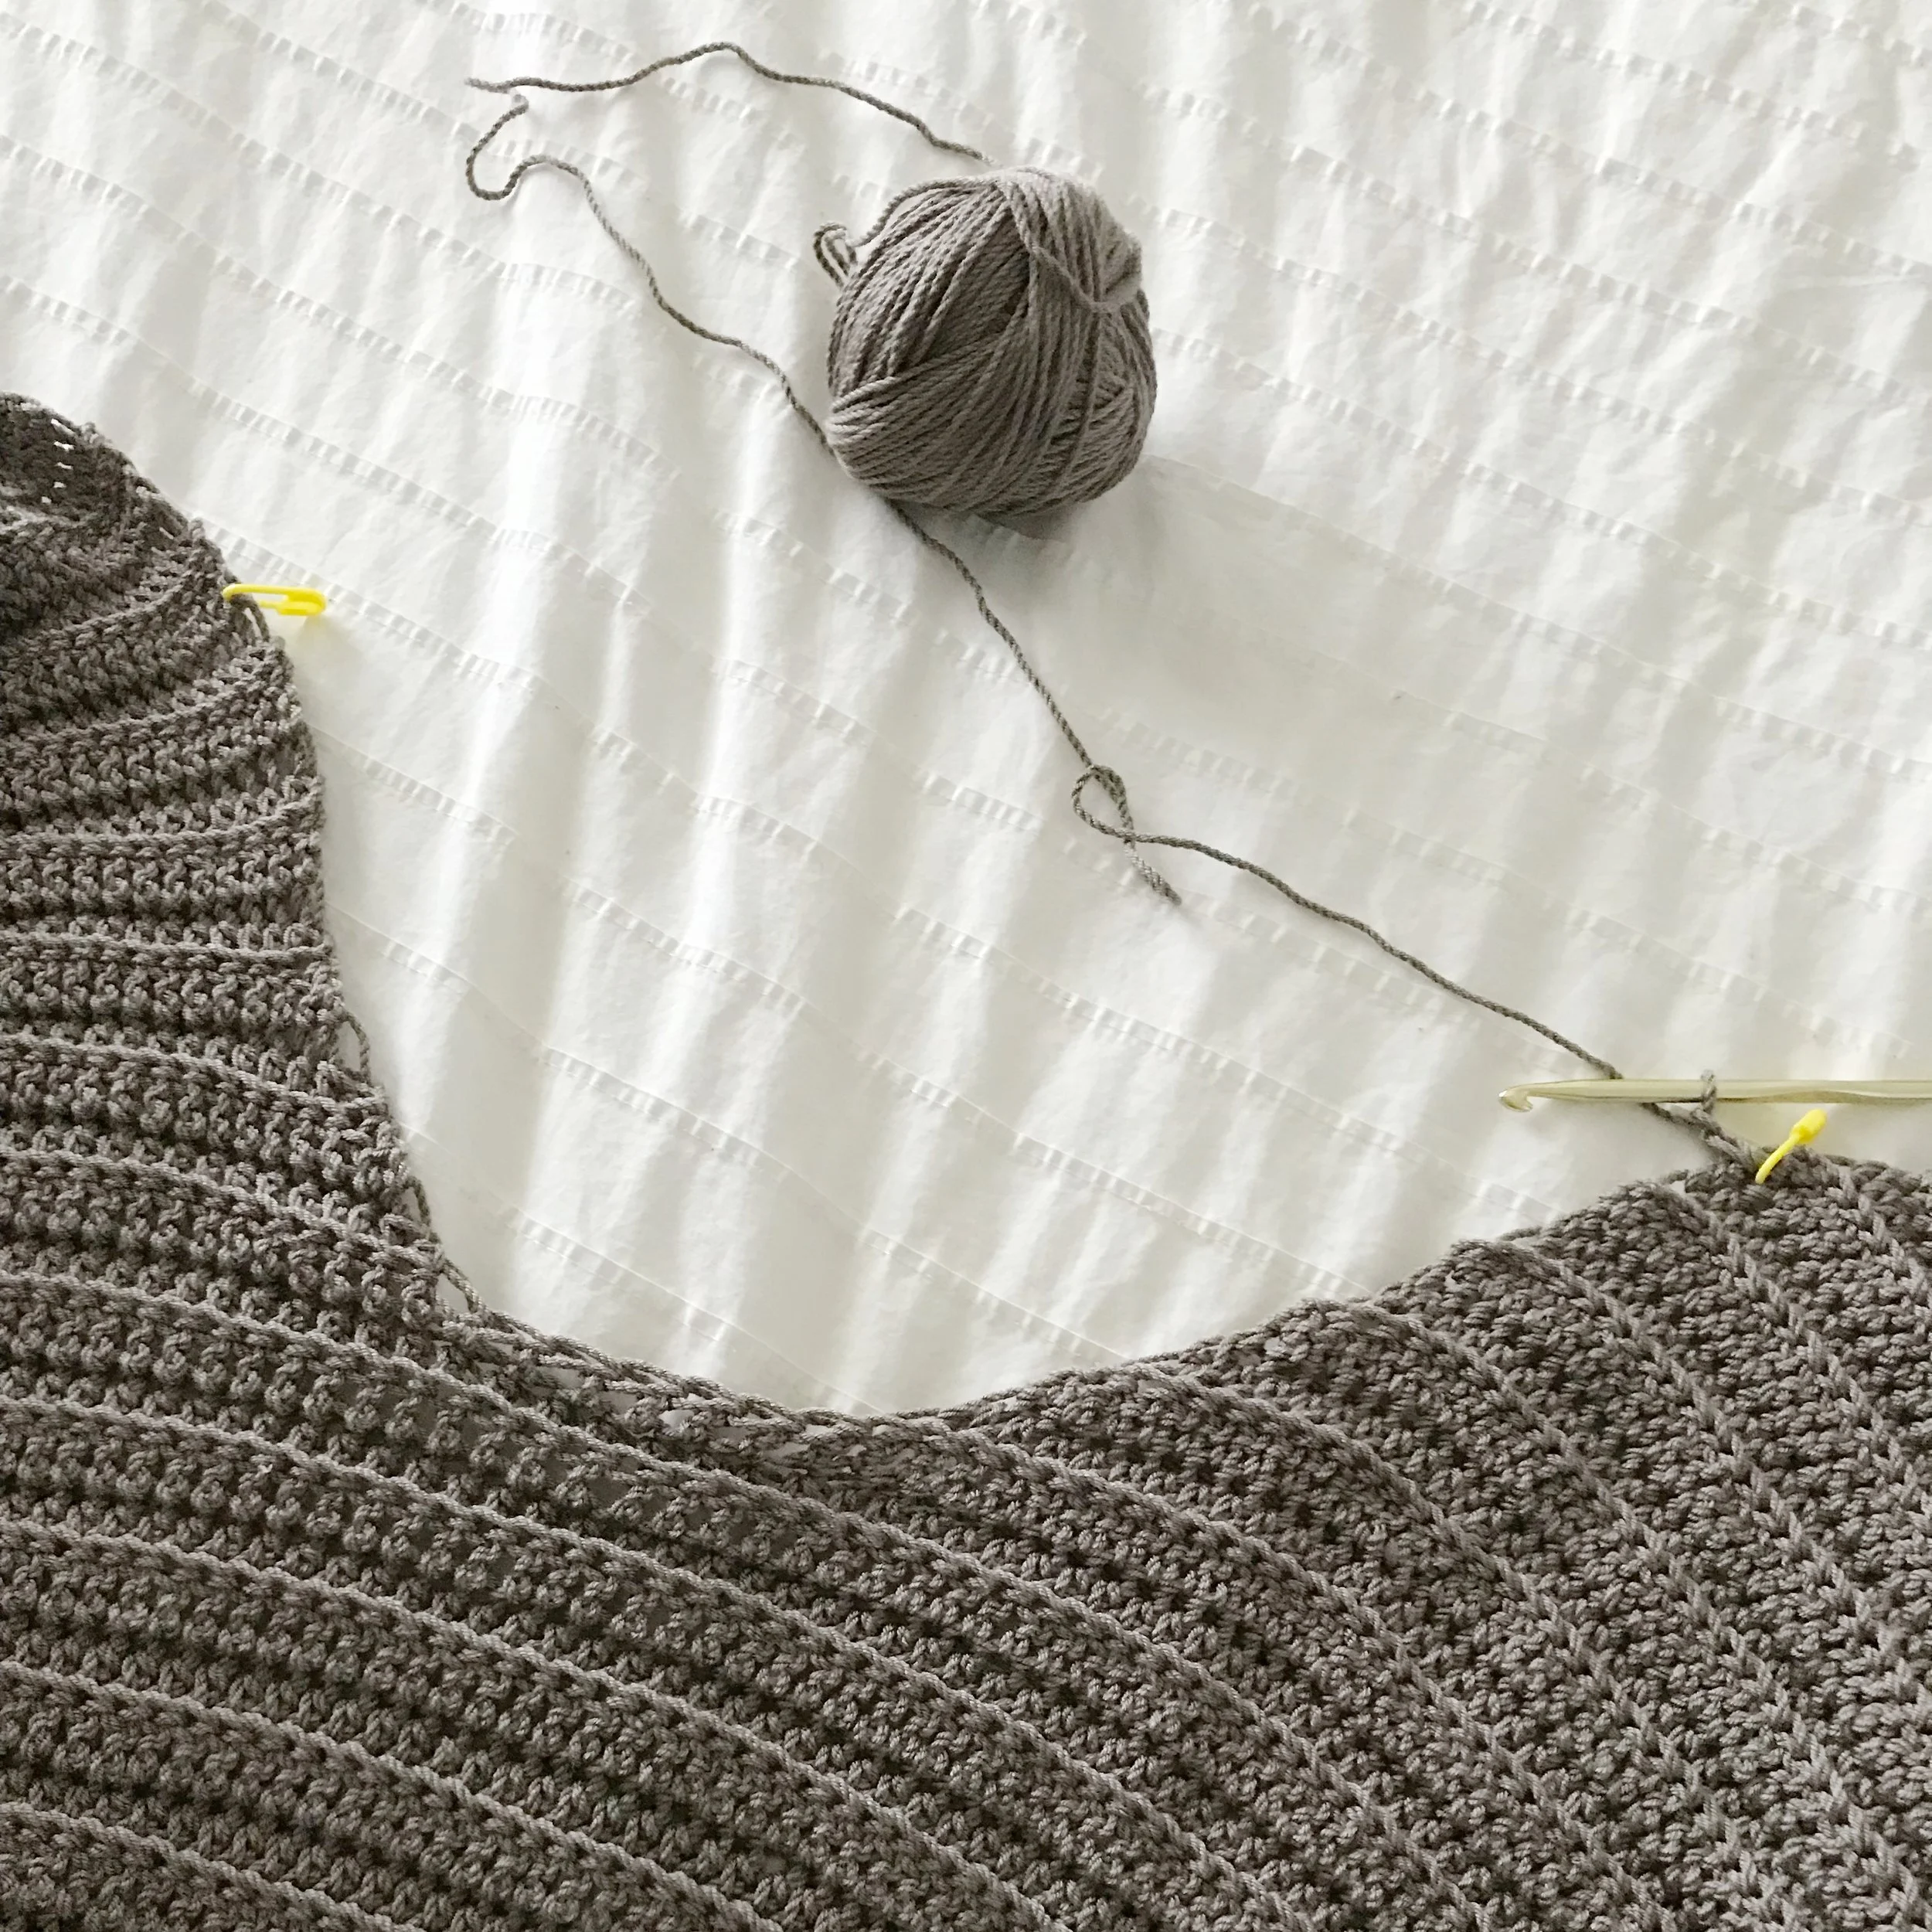
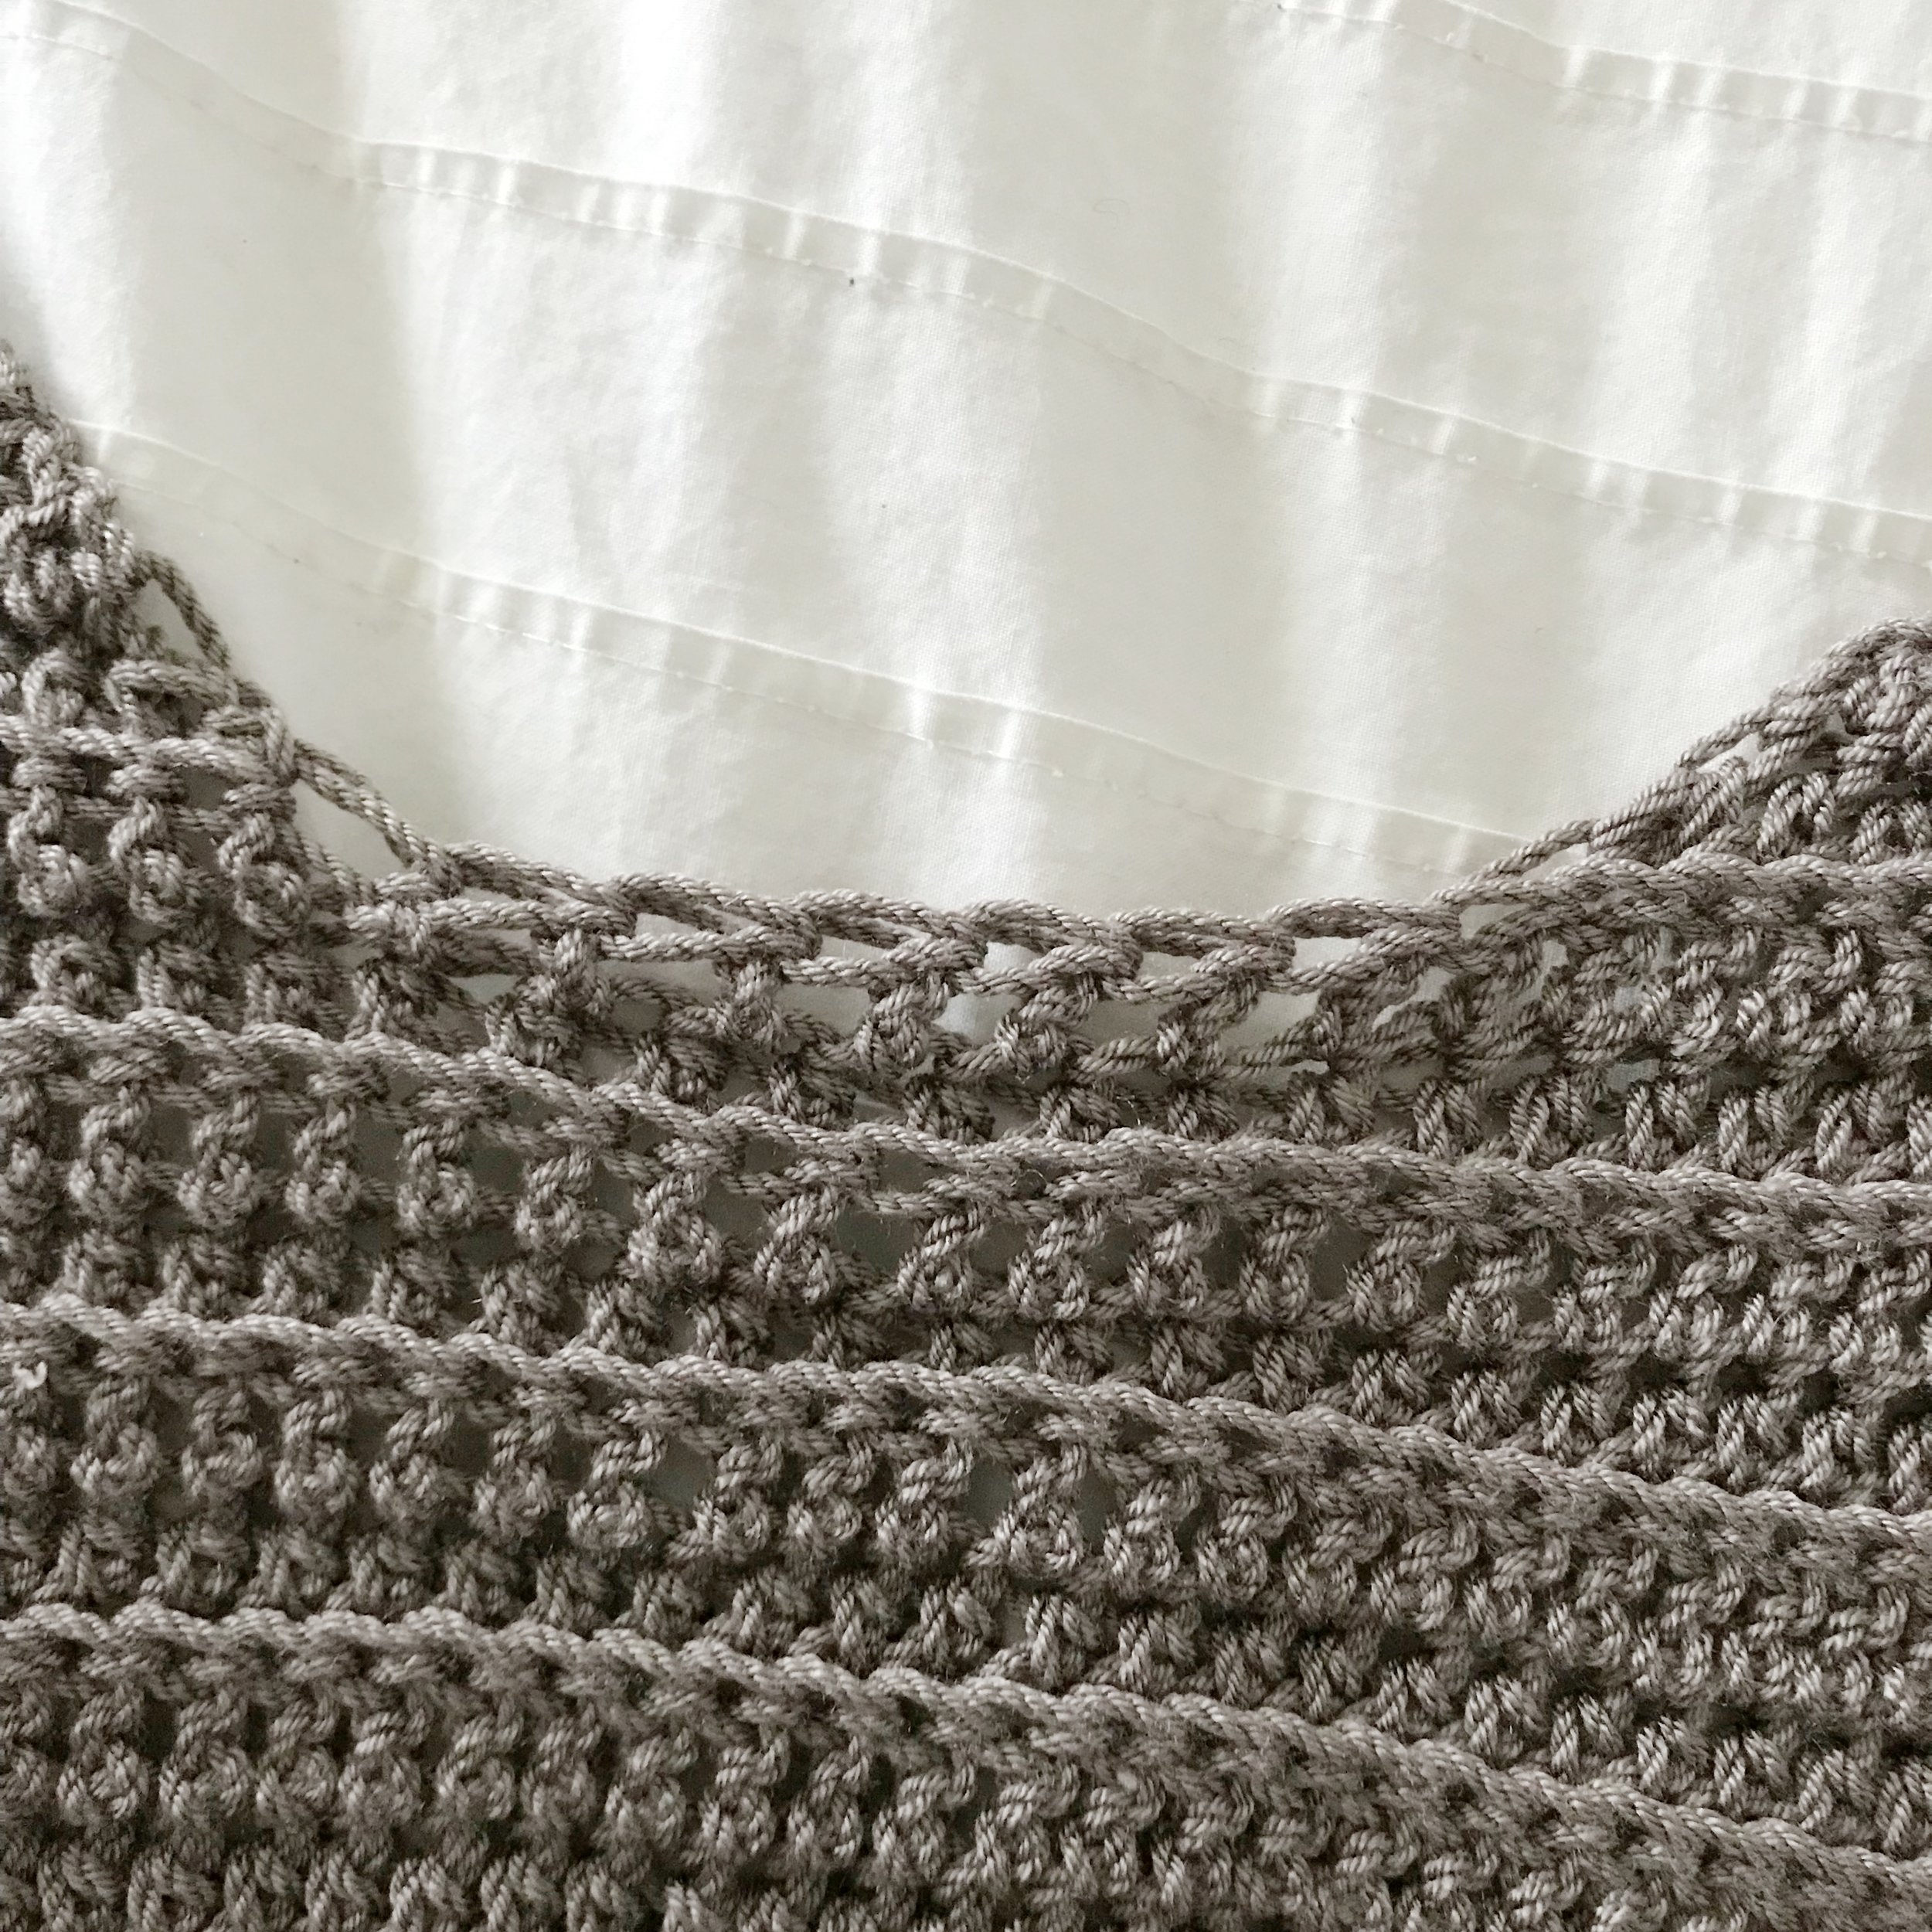
You will now begin working the front panels by working directly into the top of the back panel. Working from the outside to the center and back for the right side. Then reattaching and working the left side from the center out and back.
Right Side- work all stitches in BLO
Row 1: hdc 31(35, 39, 44, 48, 52, 56, 60, 65), hdc2tog, ch 3, turn. (32, 36, 40, 45, 49, 53, 57, 61, 66)
Row 2: dc2tog, dc 30(34, 38, 43, 47, 51, 55, 59, 64), ch 2, turn. (31, 35, 39, 44, 48, 52, 56, 60, 65)
Row 3: hdc 29(33, 37, 42, 46, 50, 54, 58, 63), hdc2tog, ch 3, turn. (30, 34, 38, 43, 47, 51, 55, 59, 64)
Row 4: dc2tog, dc 28(32, 36, 41, 45, 49, 53, 57, 62), ch 2, turn. (29, 33, 37, 42, 46, 50, 54, 58, 63)
Row 5: hdc in each st across, ch 3, turn. (29, 33, 37, 42, 46, 50, 54, 58, 63)
Row 6: dc in each stitch across, ch 2, turn. (29, 33, 37, 42, 46, 50, 54, 58, 63)
XS-M:
Row 7-59: repeat rows 5 & 6 alternately, ending with a ch 1 on row 59. (29, 33, 37)
Row 60: sc in each st across. Fasten off leaving a long tail for sewing.
L&XL:
Row 7-61: repeat rows 5 & 6 alternately, ending with a ch 1 on row 61. (42, 46)
Row 62: sc in each st across. Fasten off leaving a long tail for sewing.
2X&3X:
Row 7-63: repeat rows 5 & 6 alternately, ending with a ch 1 on row 63. (50, 54)
Row 64: sc in each st across. Fasten off leaving a long tail for sewing.
4X&5X:
Row 7-65: repeat rows 5 & 6 alternately, ending with a ch 1 on row 65. (58, 63)
Row 66: sc in each st across. Fasten off leaving a long tail for sewing.
Left Side
With RS of cardigan facing you, attach yarn in the 7th stitch from where you started the right side panel, ch 2.
Work all stitches in BLO.
Row 1: working into the same st as ch 2 and next st, hdc2tog, hdc 31(35, 39, 44, 48, 52, 56, 60, 65), ch 3, turn. (32, 36, 40, 45, 49, 53, 57, 61, 66)
Row 2: dc 30(34, 38, 43, 47, 51, 55, 59, 64), dc2tog, ch 2, turn. (31, 35, 39, 44, 48, 52, 56, 60, 65)
Row 3: hdc2tog, hdc 29(33, 37, 42, 46, 50, 54, 58, 63), ch 3, turn. (30, 34, 38, 43, 47, 51, 55, 59, 64)
Row 4: dc 28(32, 36, 41, 45, 49, 53, 57, 62), dc2tog, ch 2, turn. (29, 33, 37, 42, 46, 50, 54, 58, 63)
Row 5: hdc in each st across, ch 3, turn. (29, 33, 37, 42, 46, 50, 54, 58, 63)
Row 6: dc in each stitch across, ch 2, turn. (29, 33, 37, 42, 46, 50, 54, 58, 63)
XS-M:
Row 7-59: repeat rows 5 & 6 alternately, ending with a ch 1 on row 59. (29, 33, 37)
Row 60: sc in each st across. Fasten off leaving a long tail for sewing.
L&XL:
Row 7-61: repeat rows 5 & 6 alternately, ending with a ch 1 on row 61. (42, 46)
Row 62: sc in each st across. Fasten off leaving a long tail for sewing.
2X&3X:
Row 7-63: repeat rows 5 & 6 alternately, ending with a ch 1 on row 63. (50, 54)
Row 64: sc in each st across. Fasten off leaving a long tail for sewing.
4X&5X:
Row 7-65: repeat rows 5 & 6 alternately, ending with a ch 1 on row 65. (58, 63)
Row 66: sc in each st across. Fasten off.
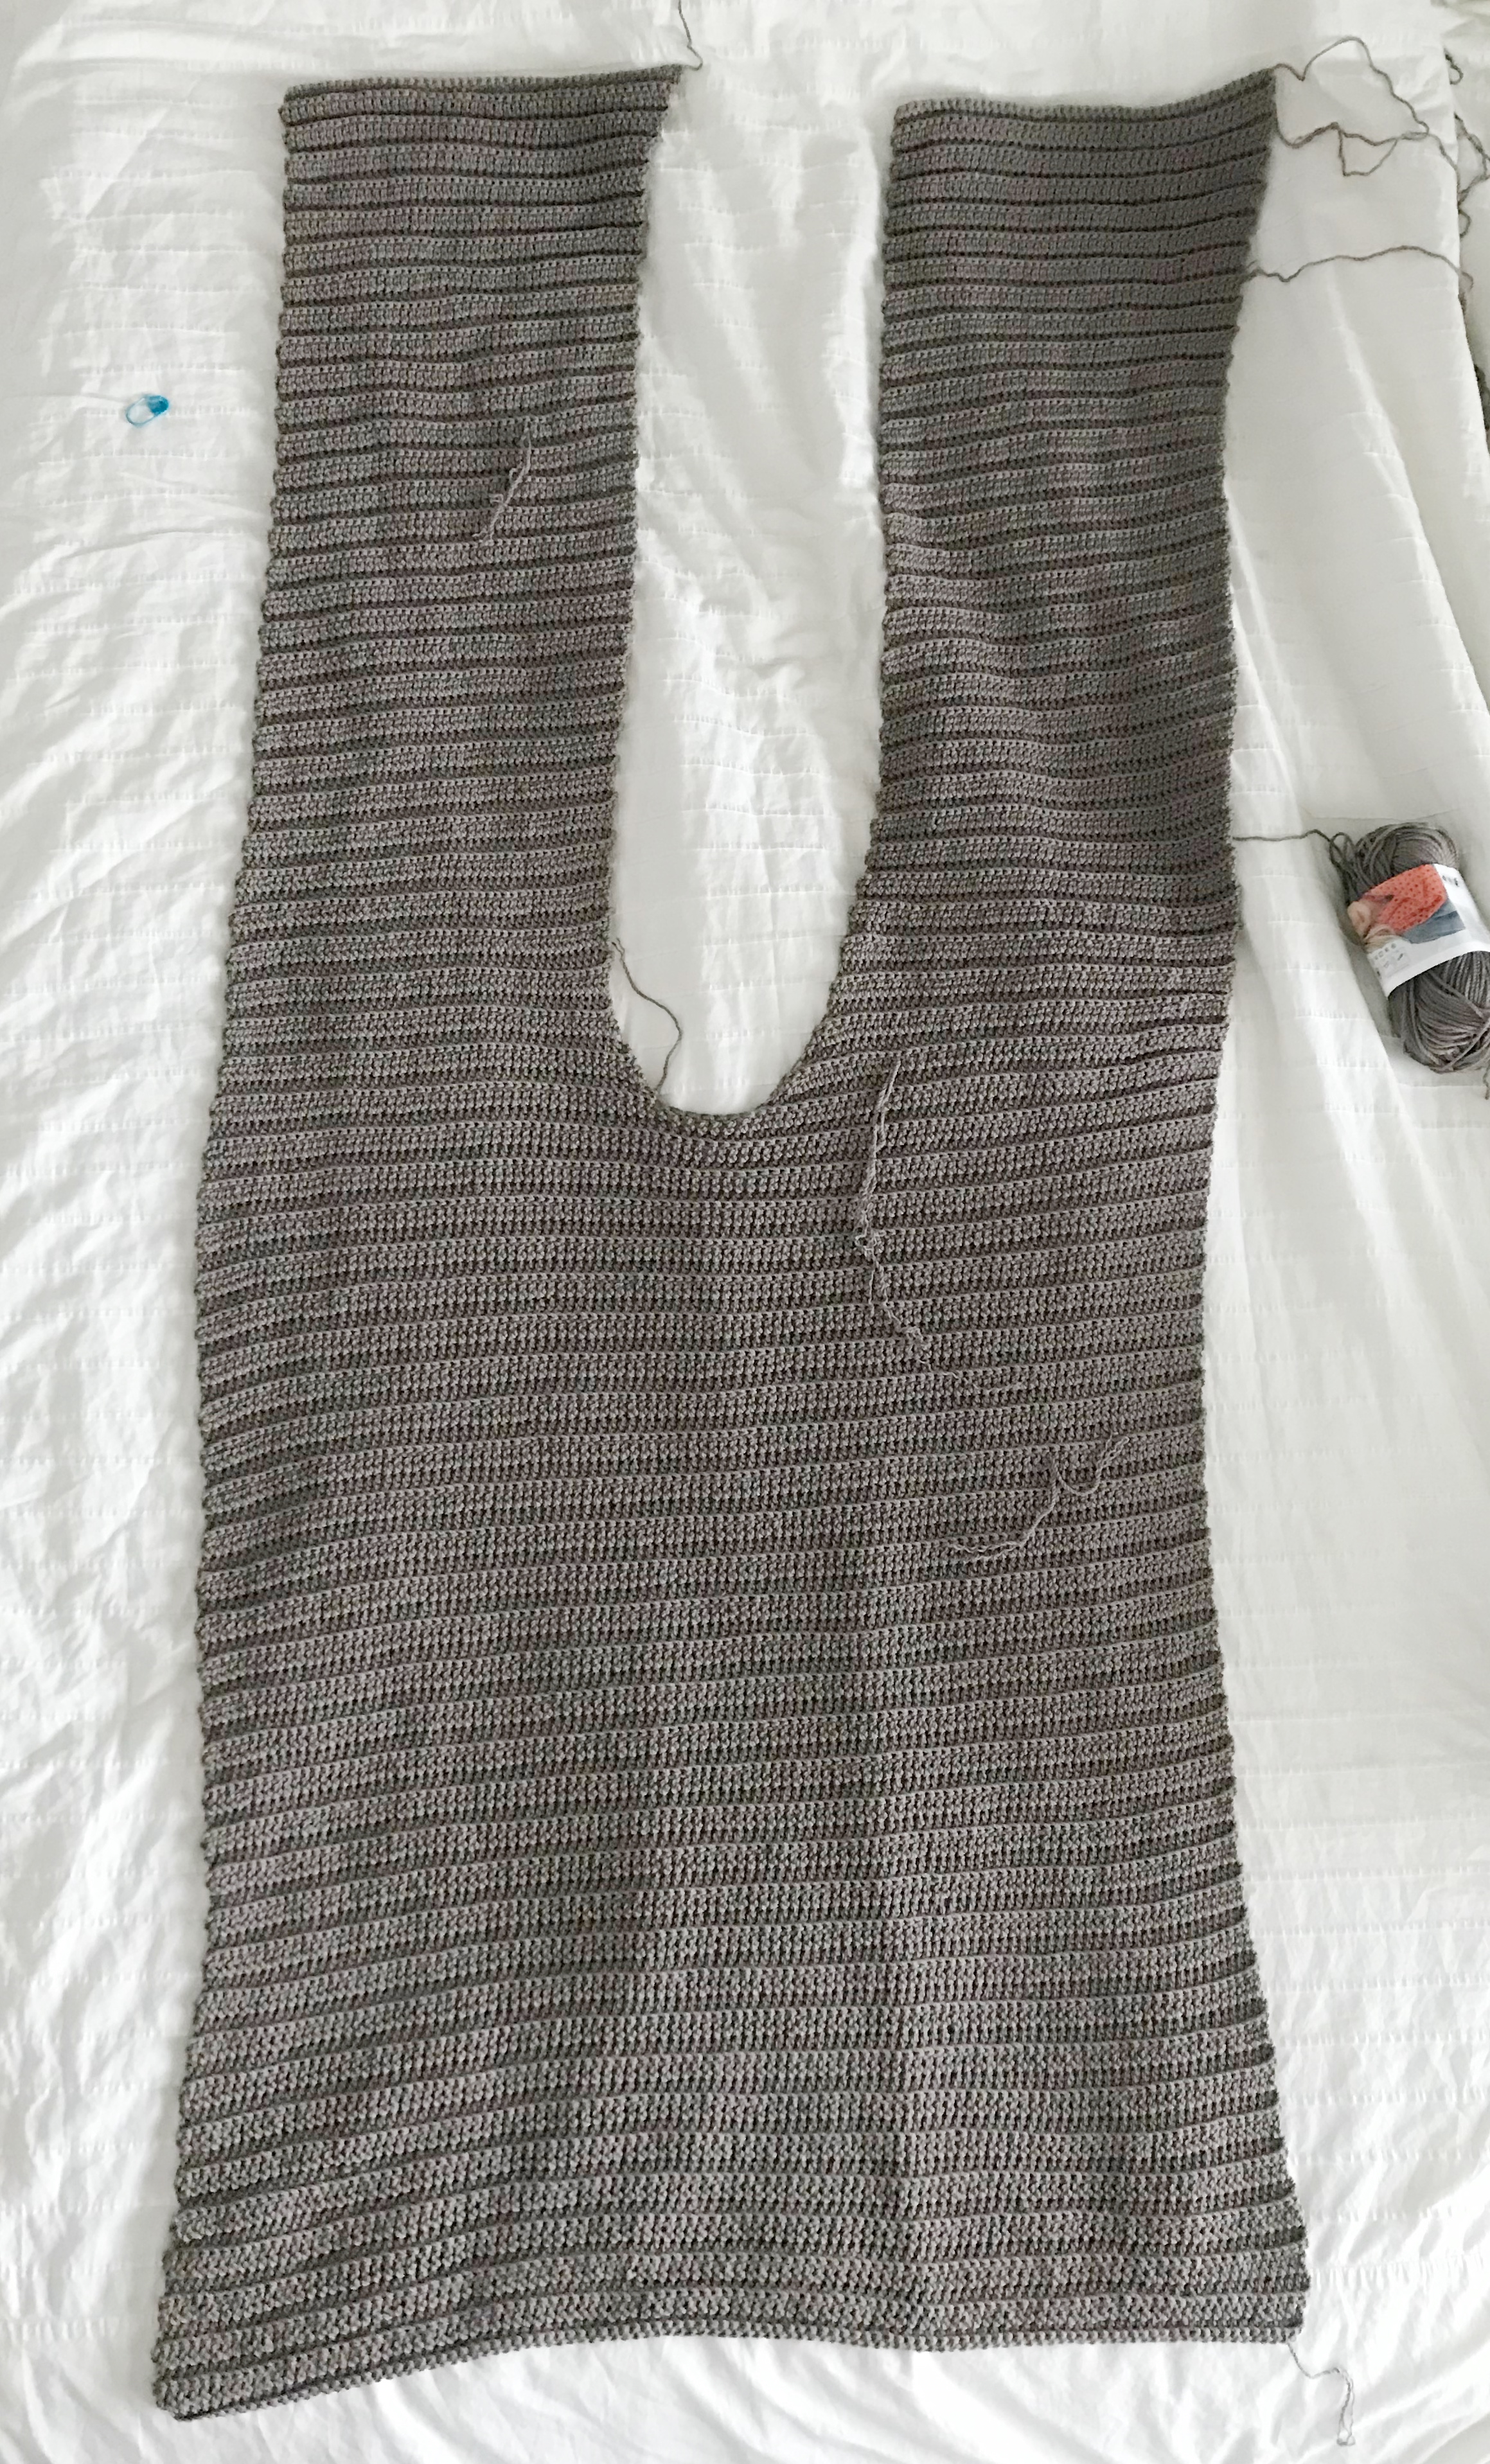
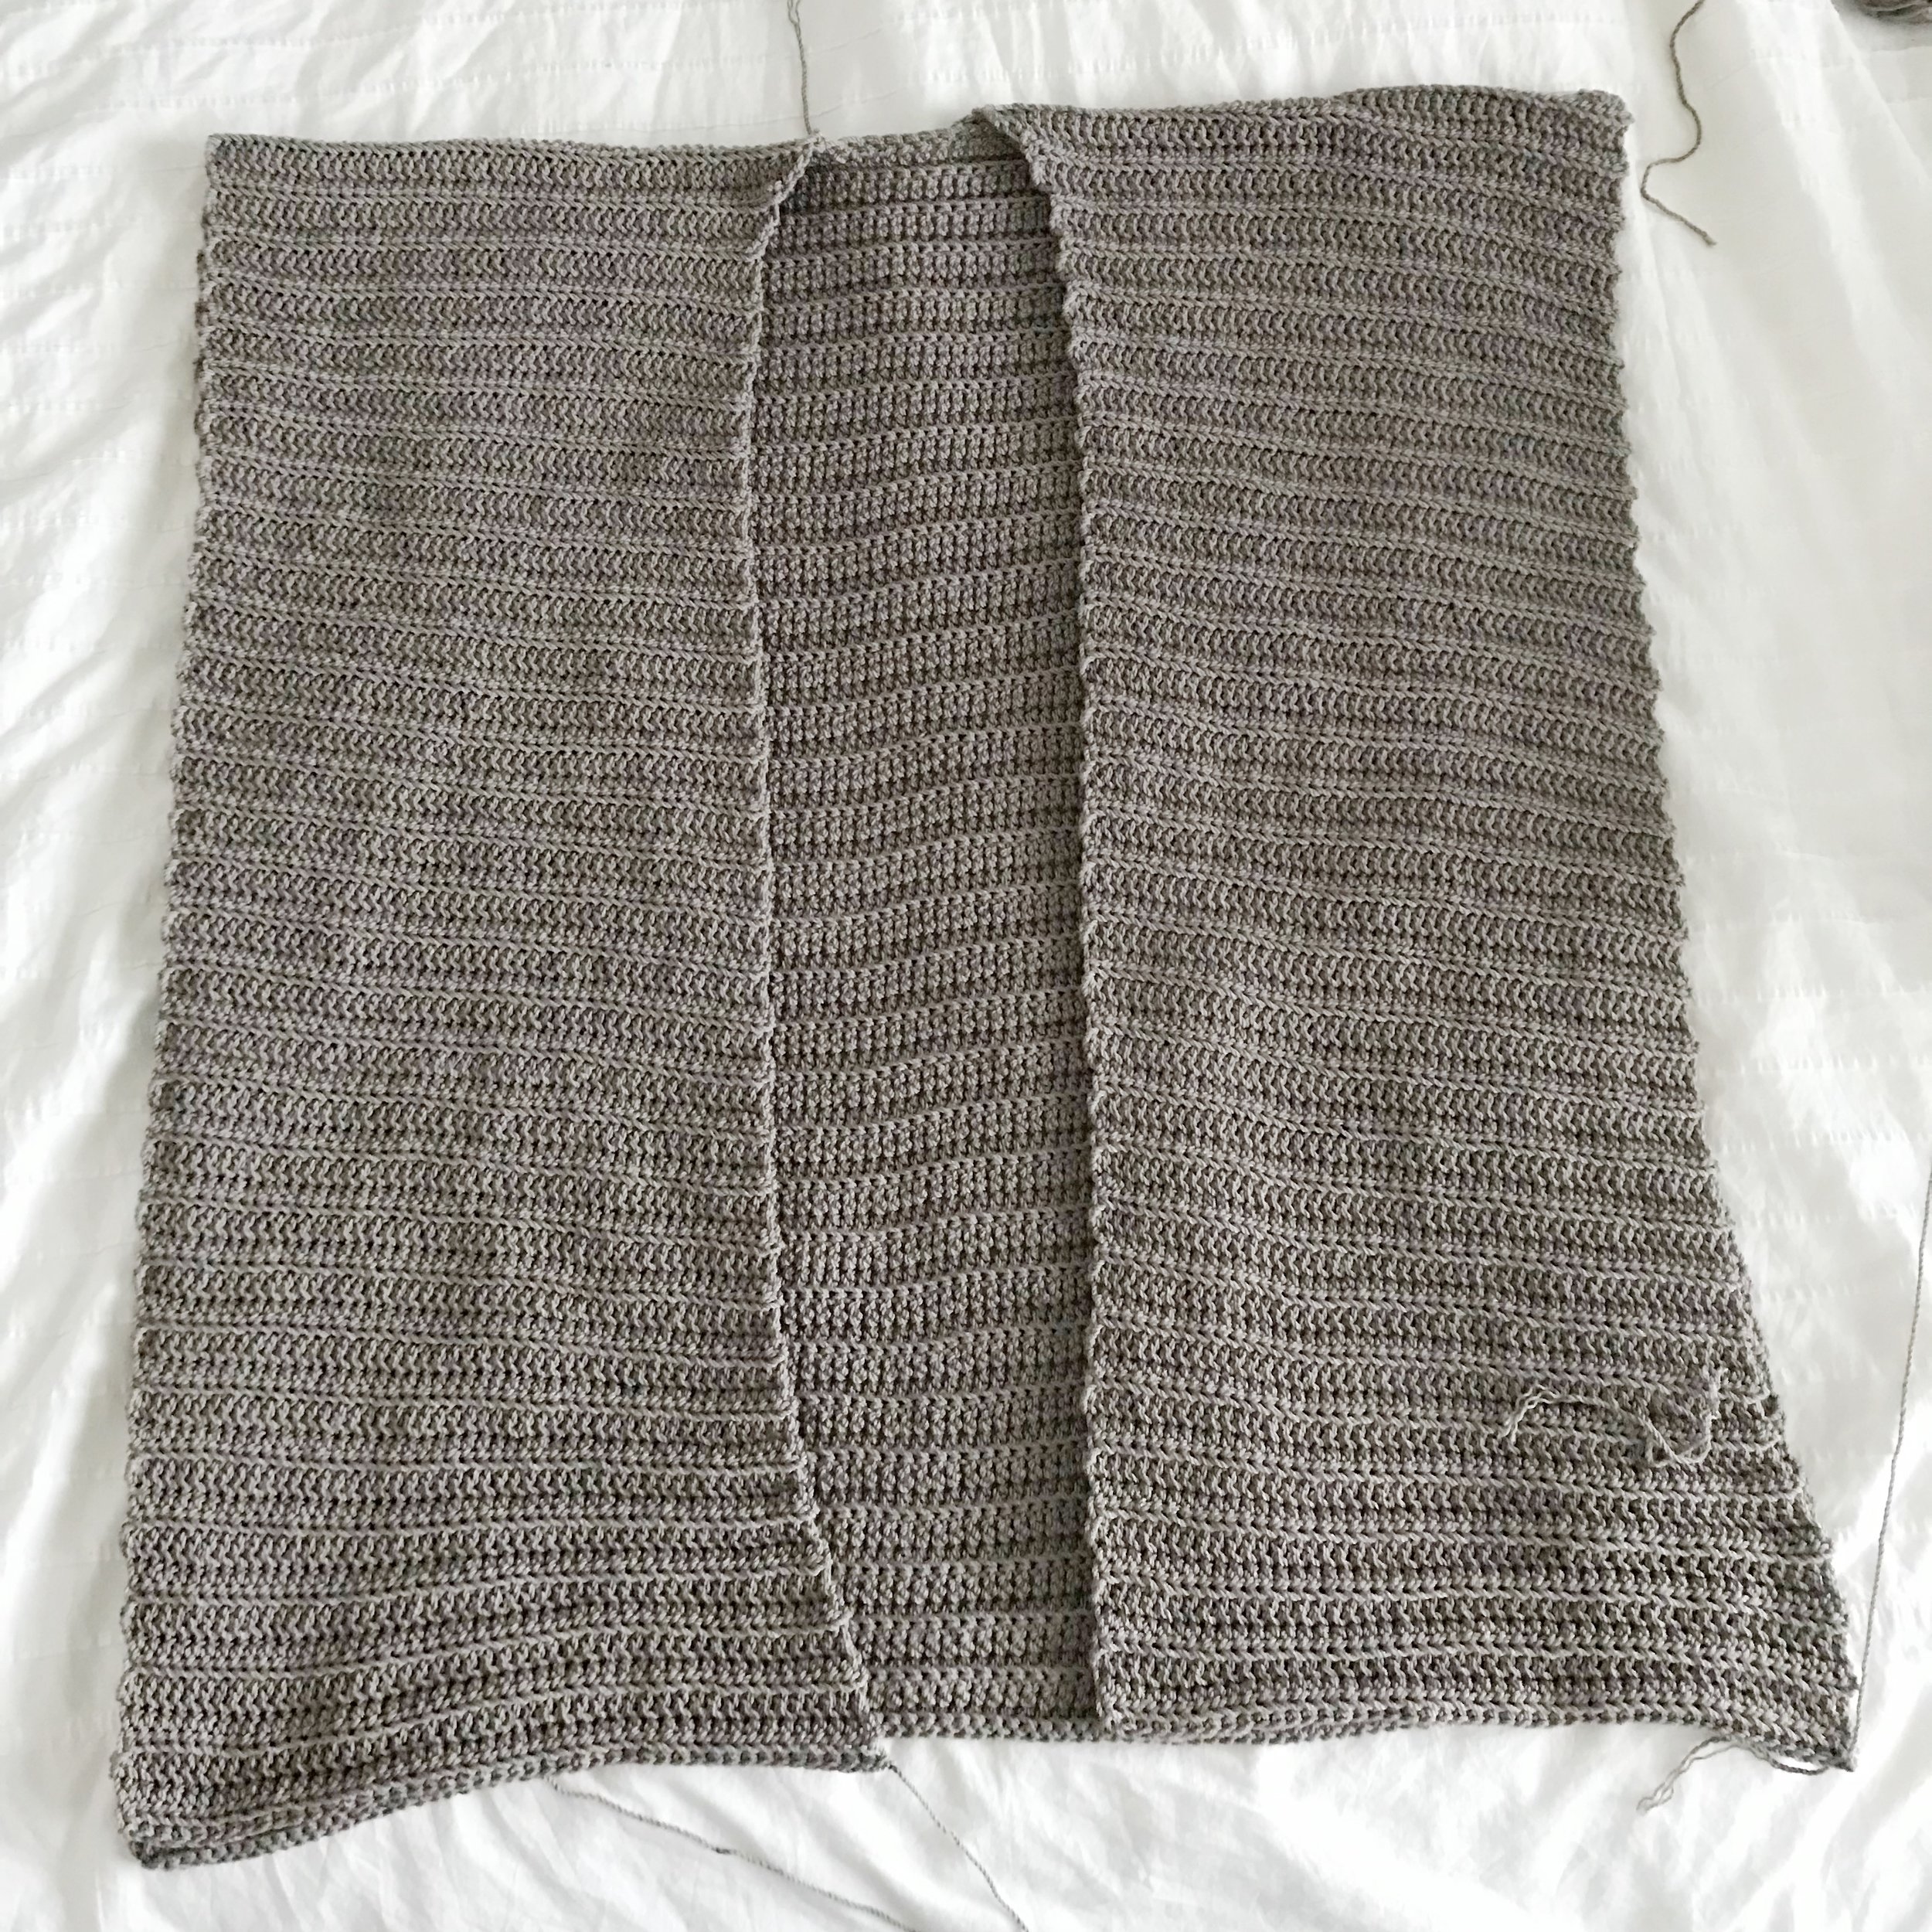
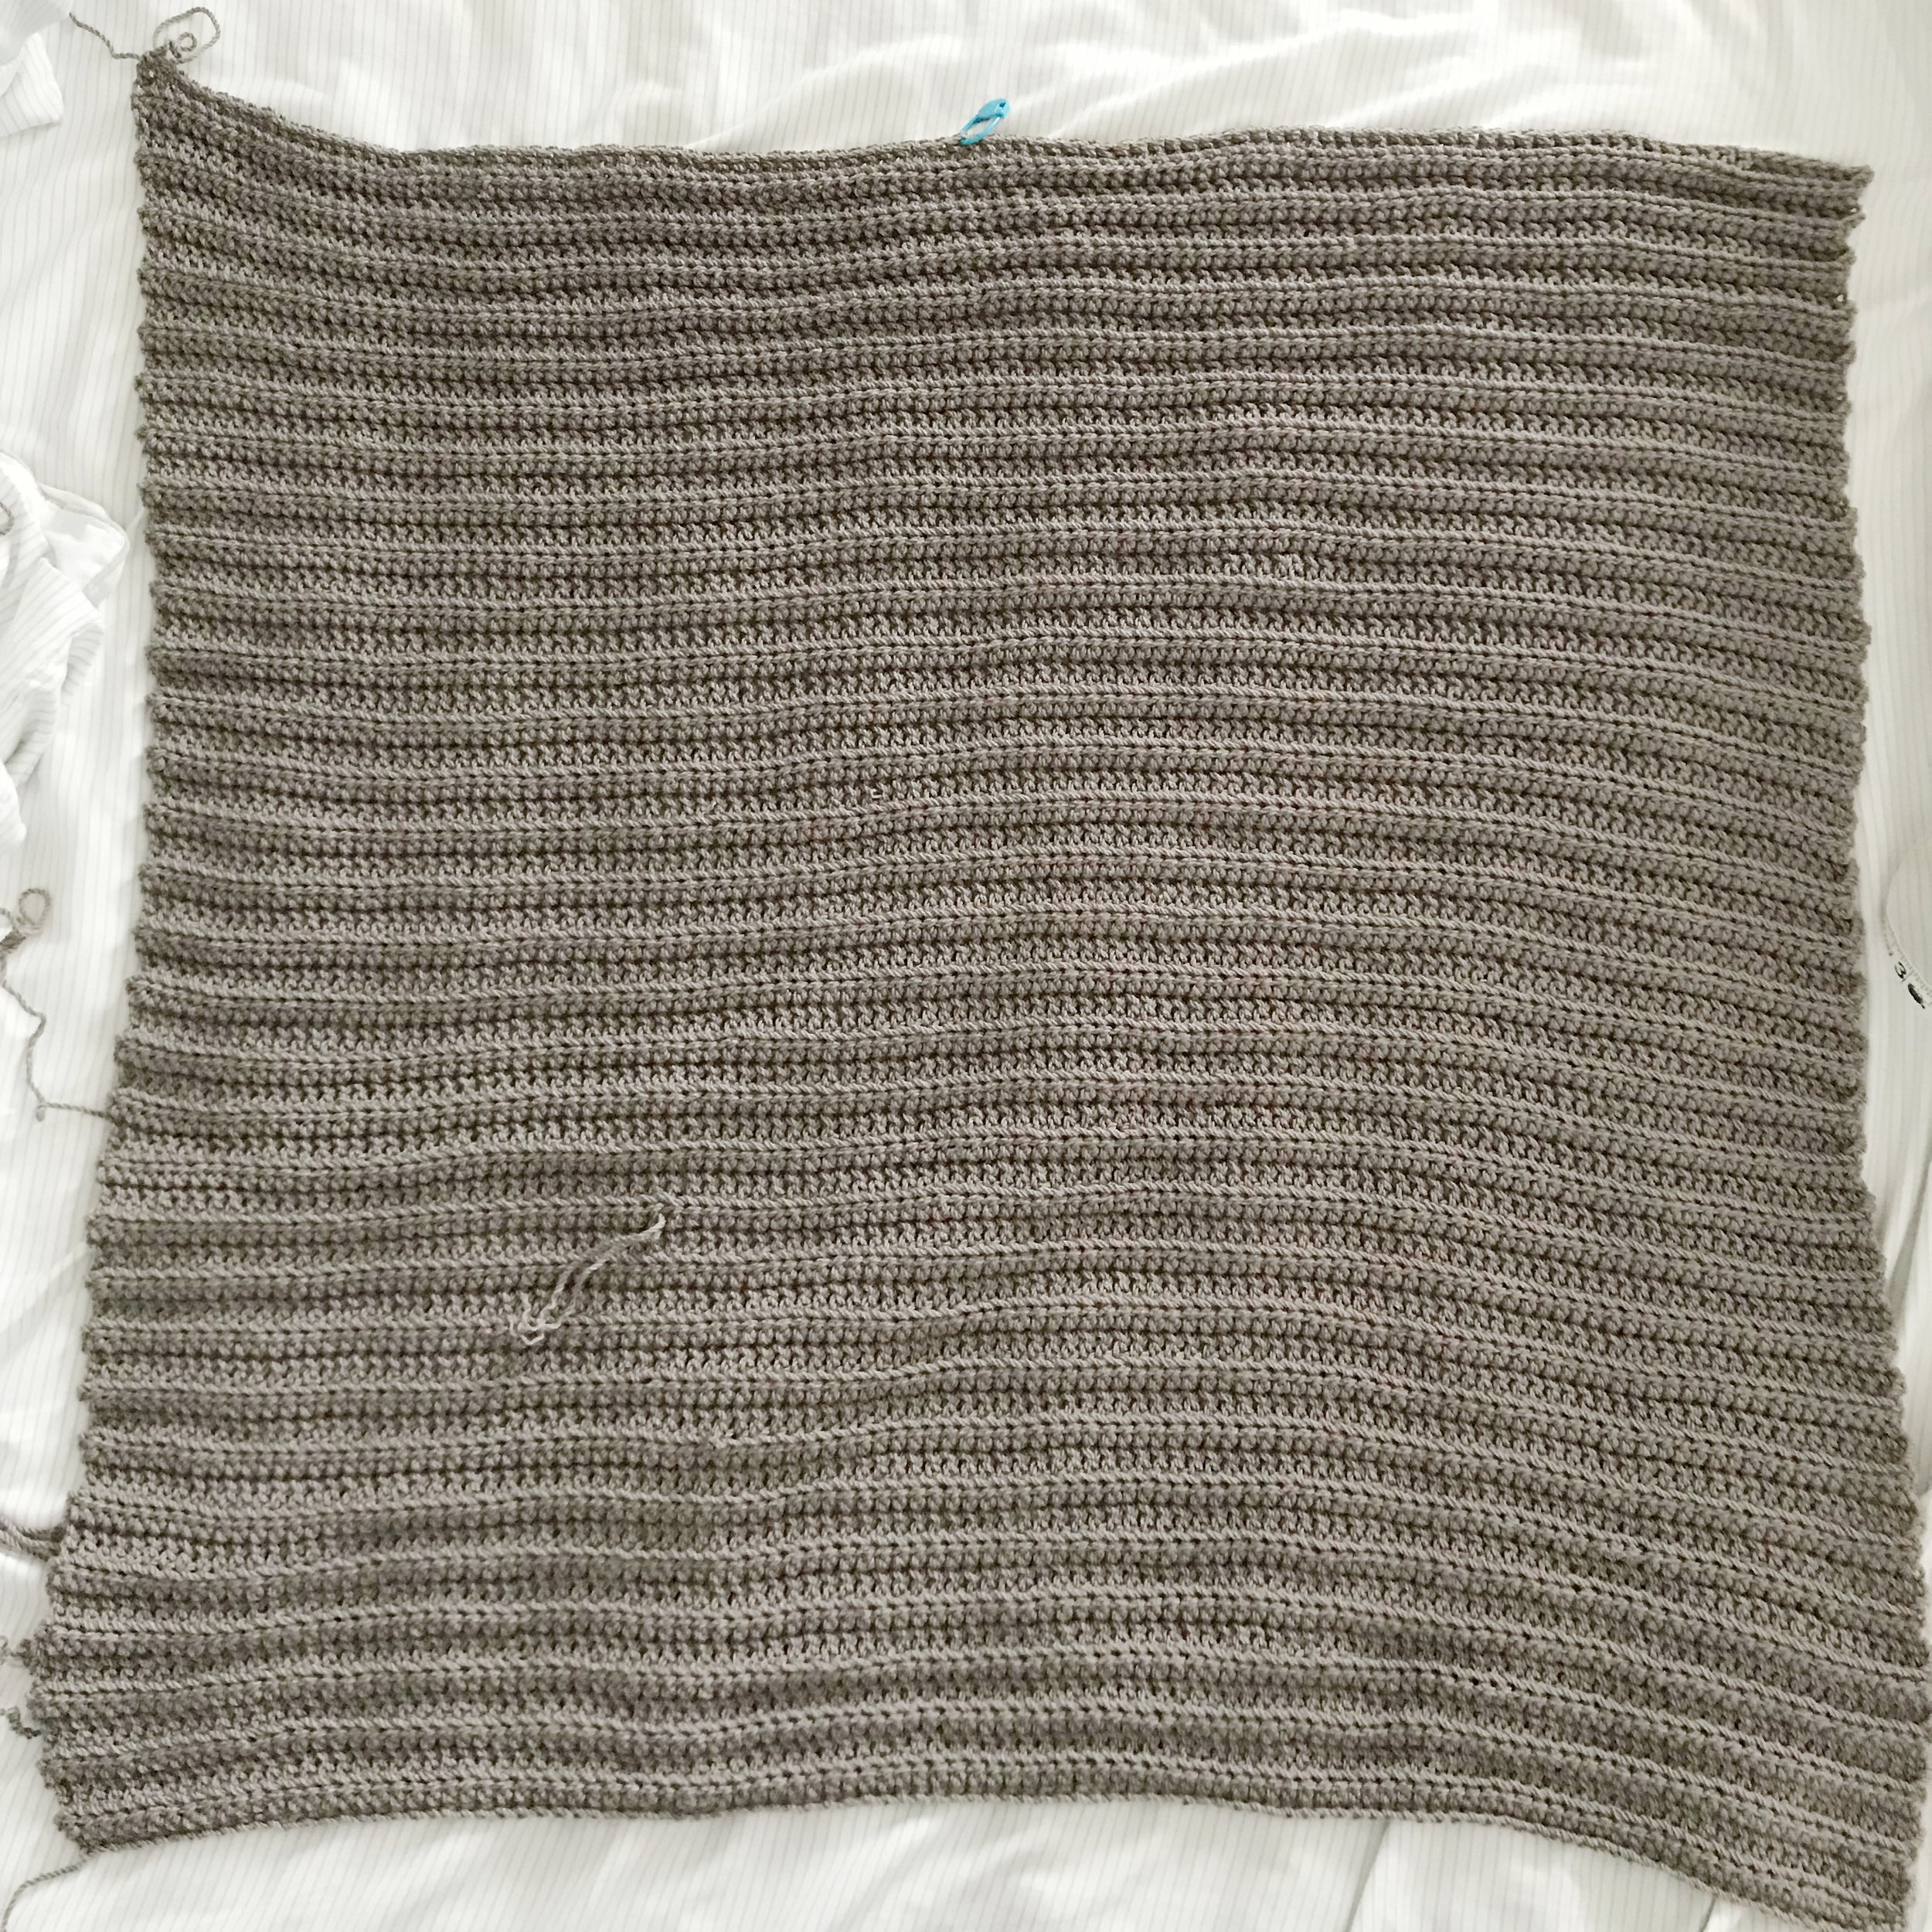
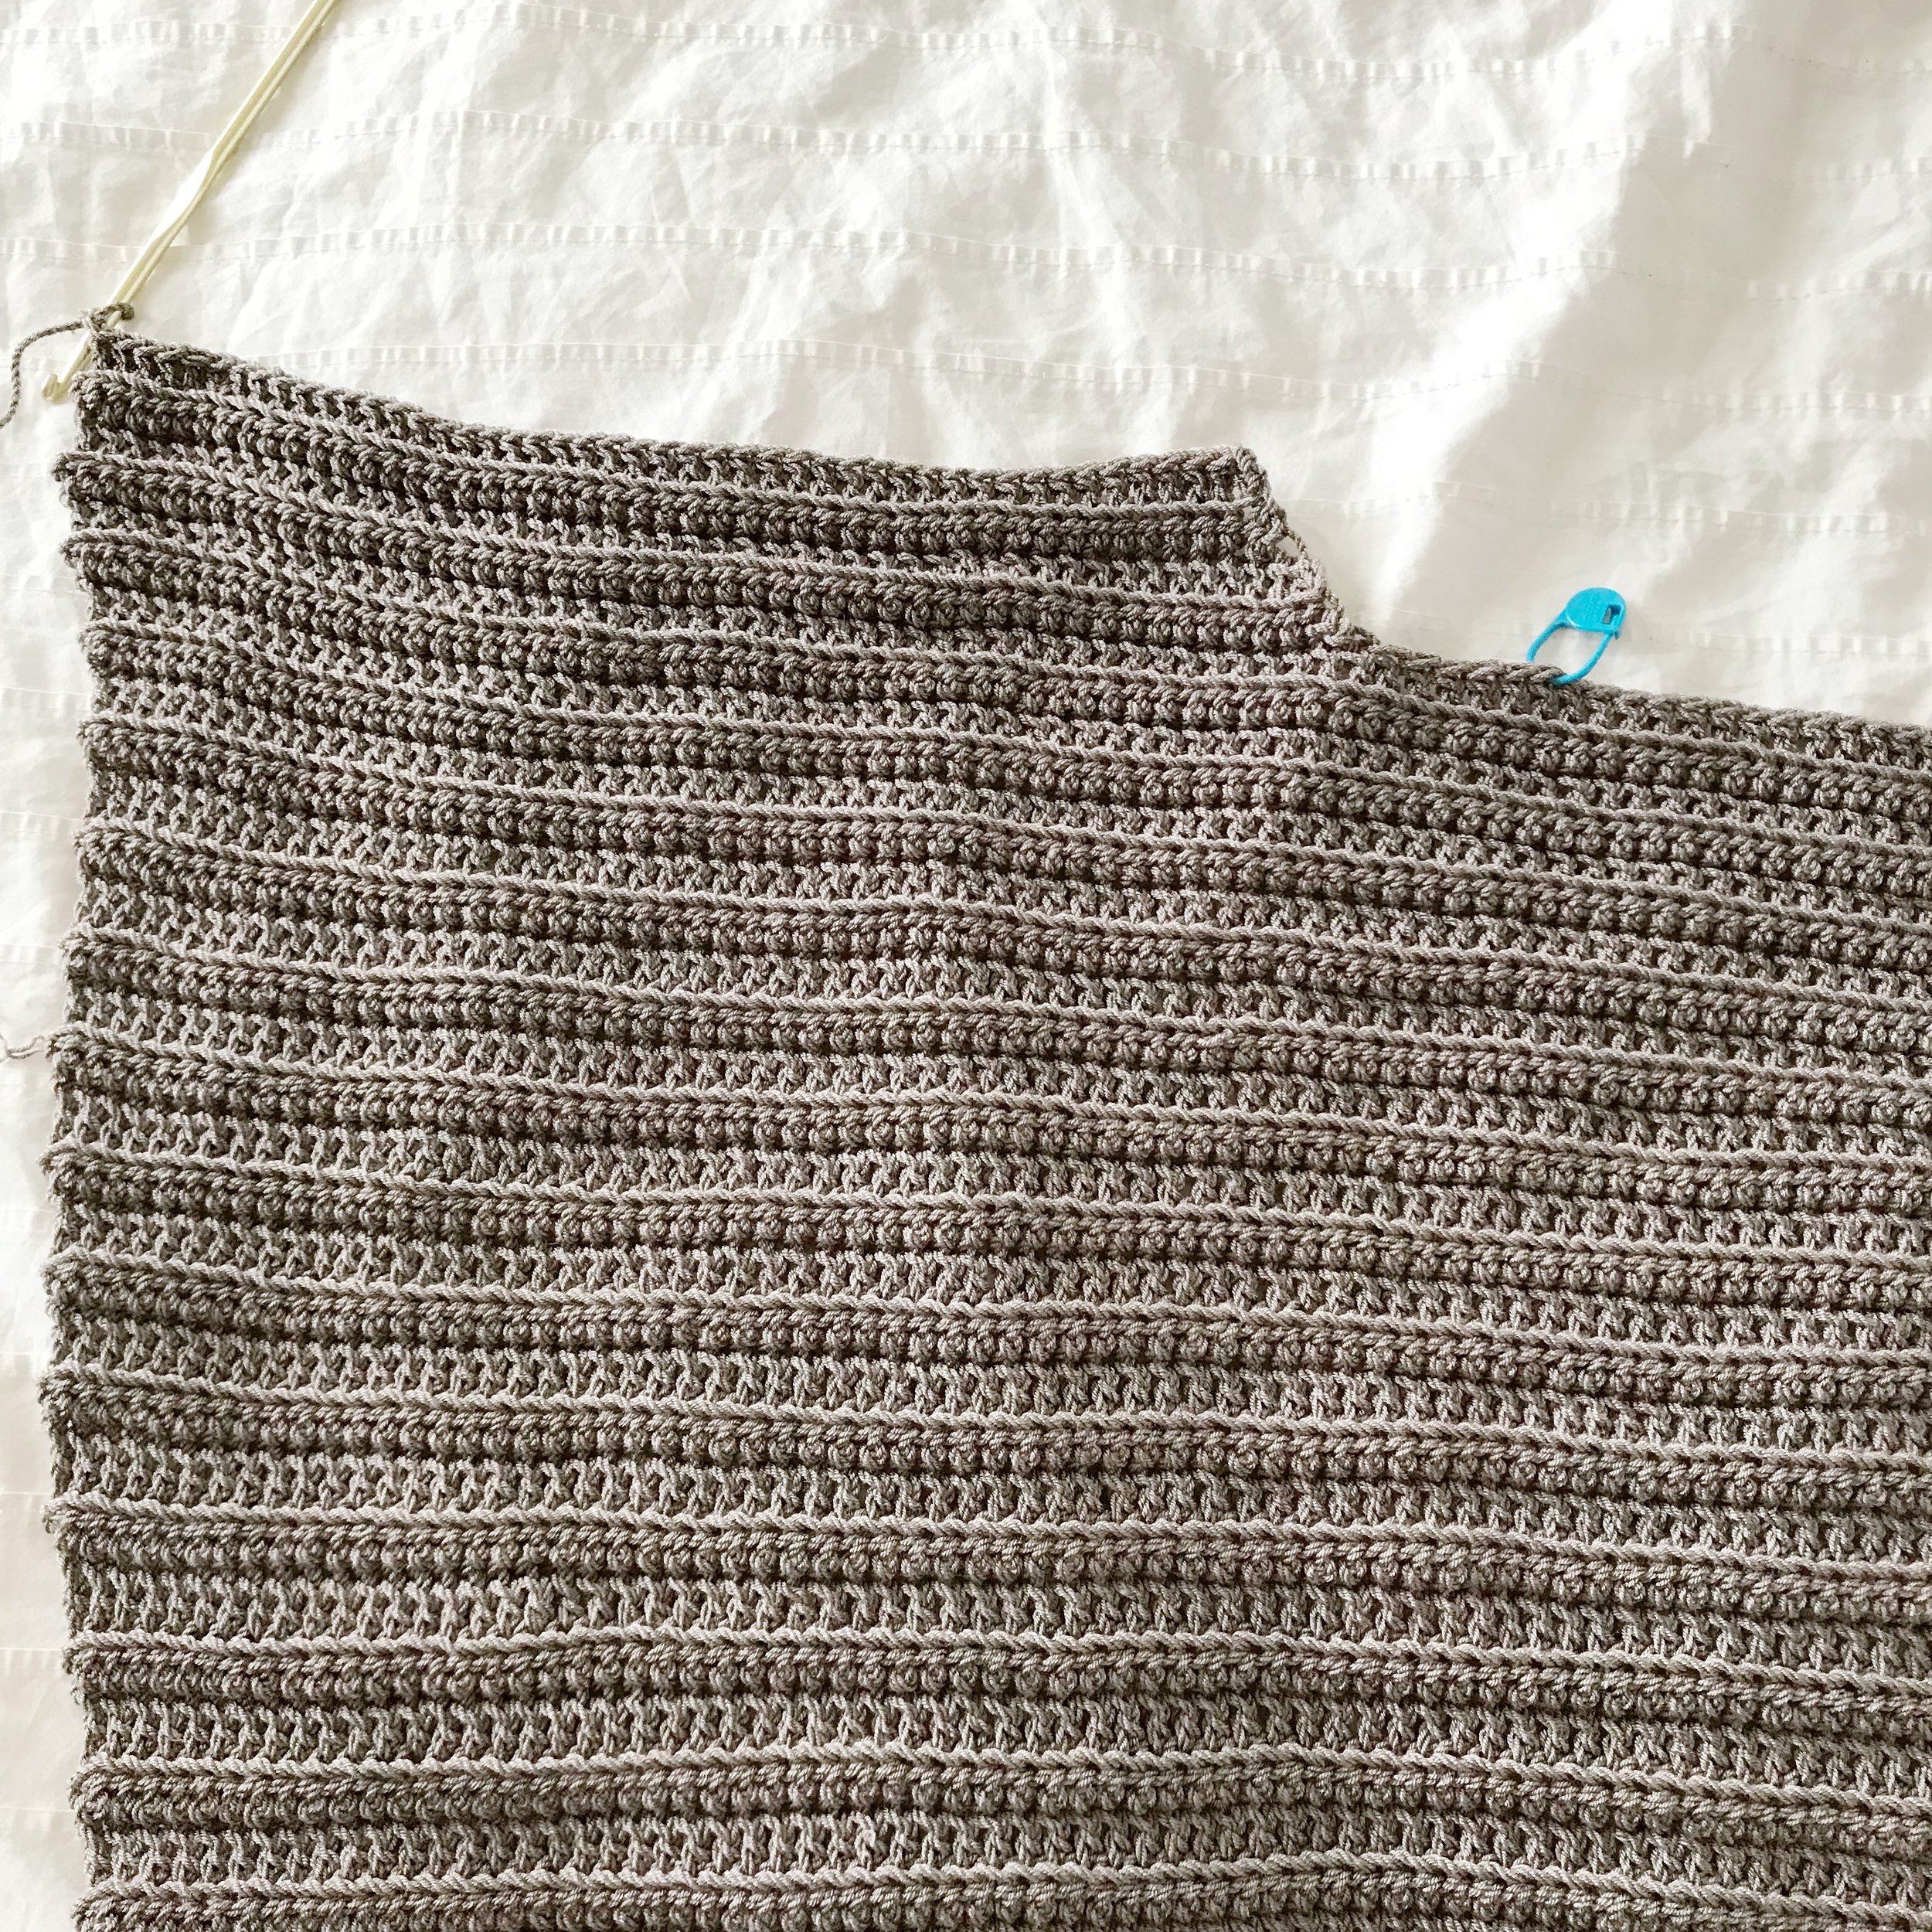
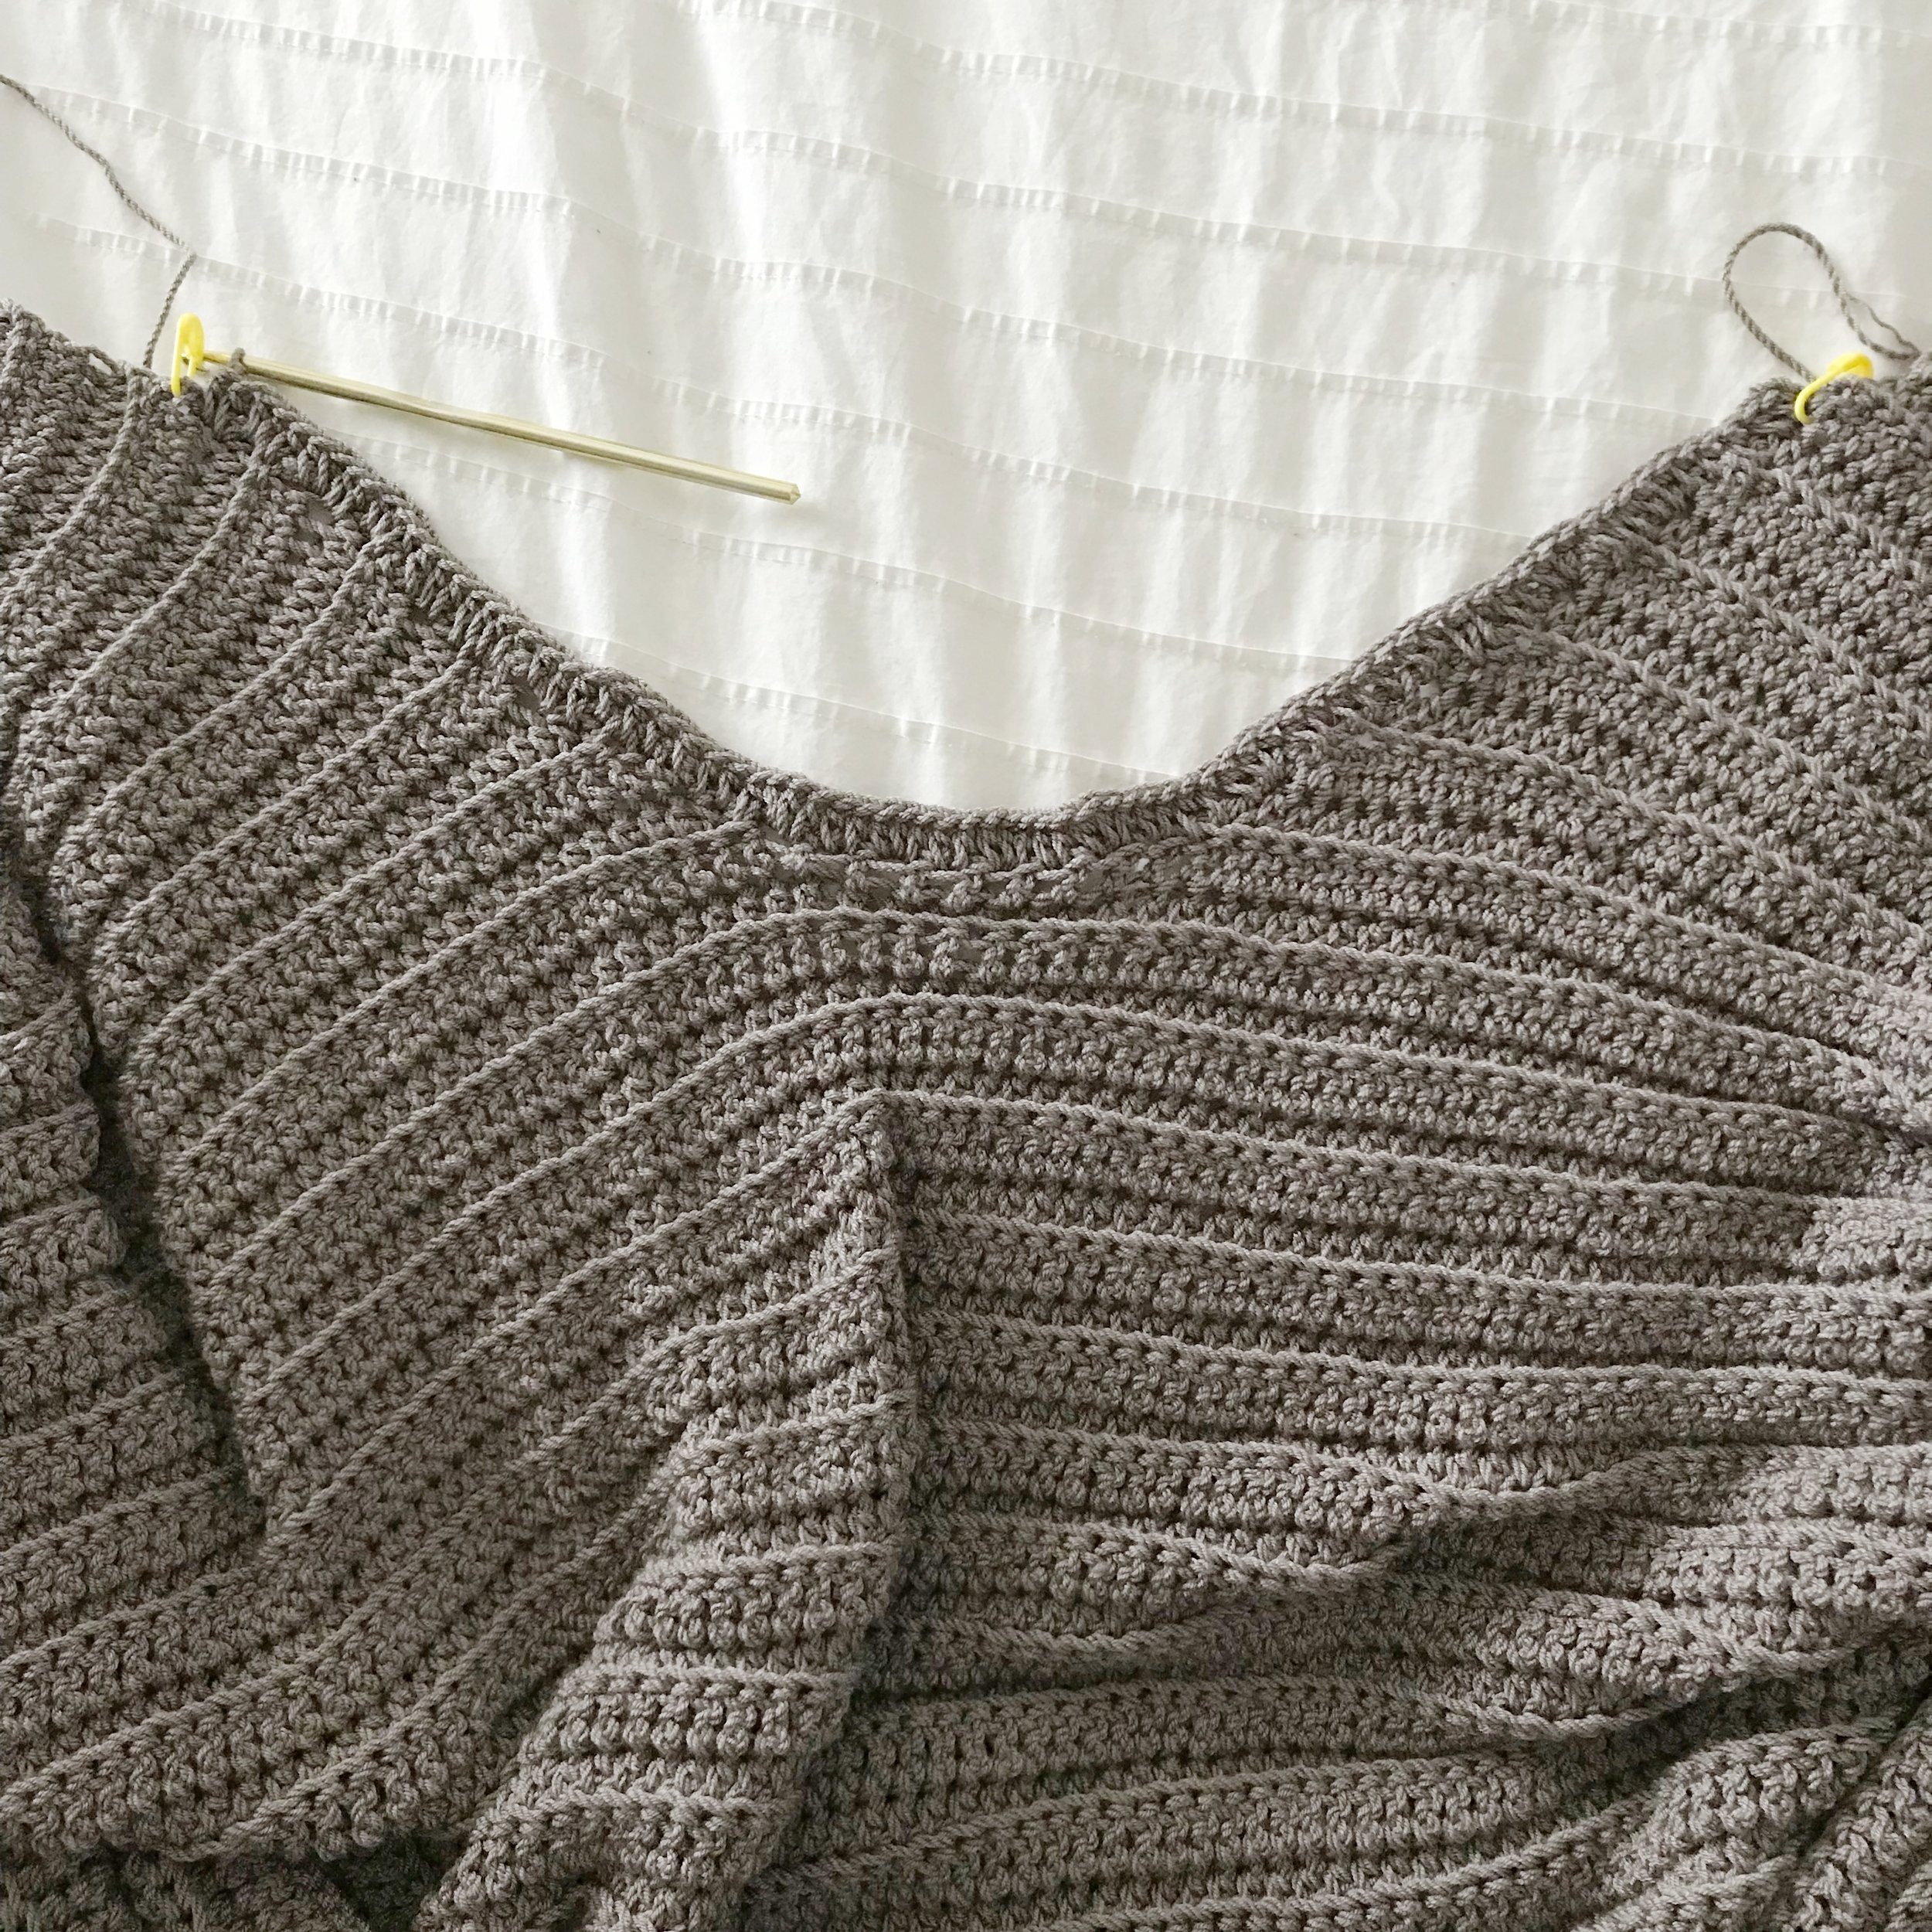
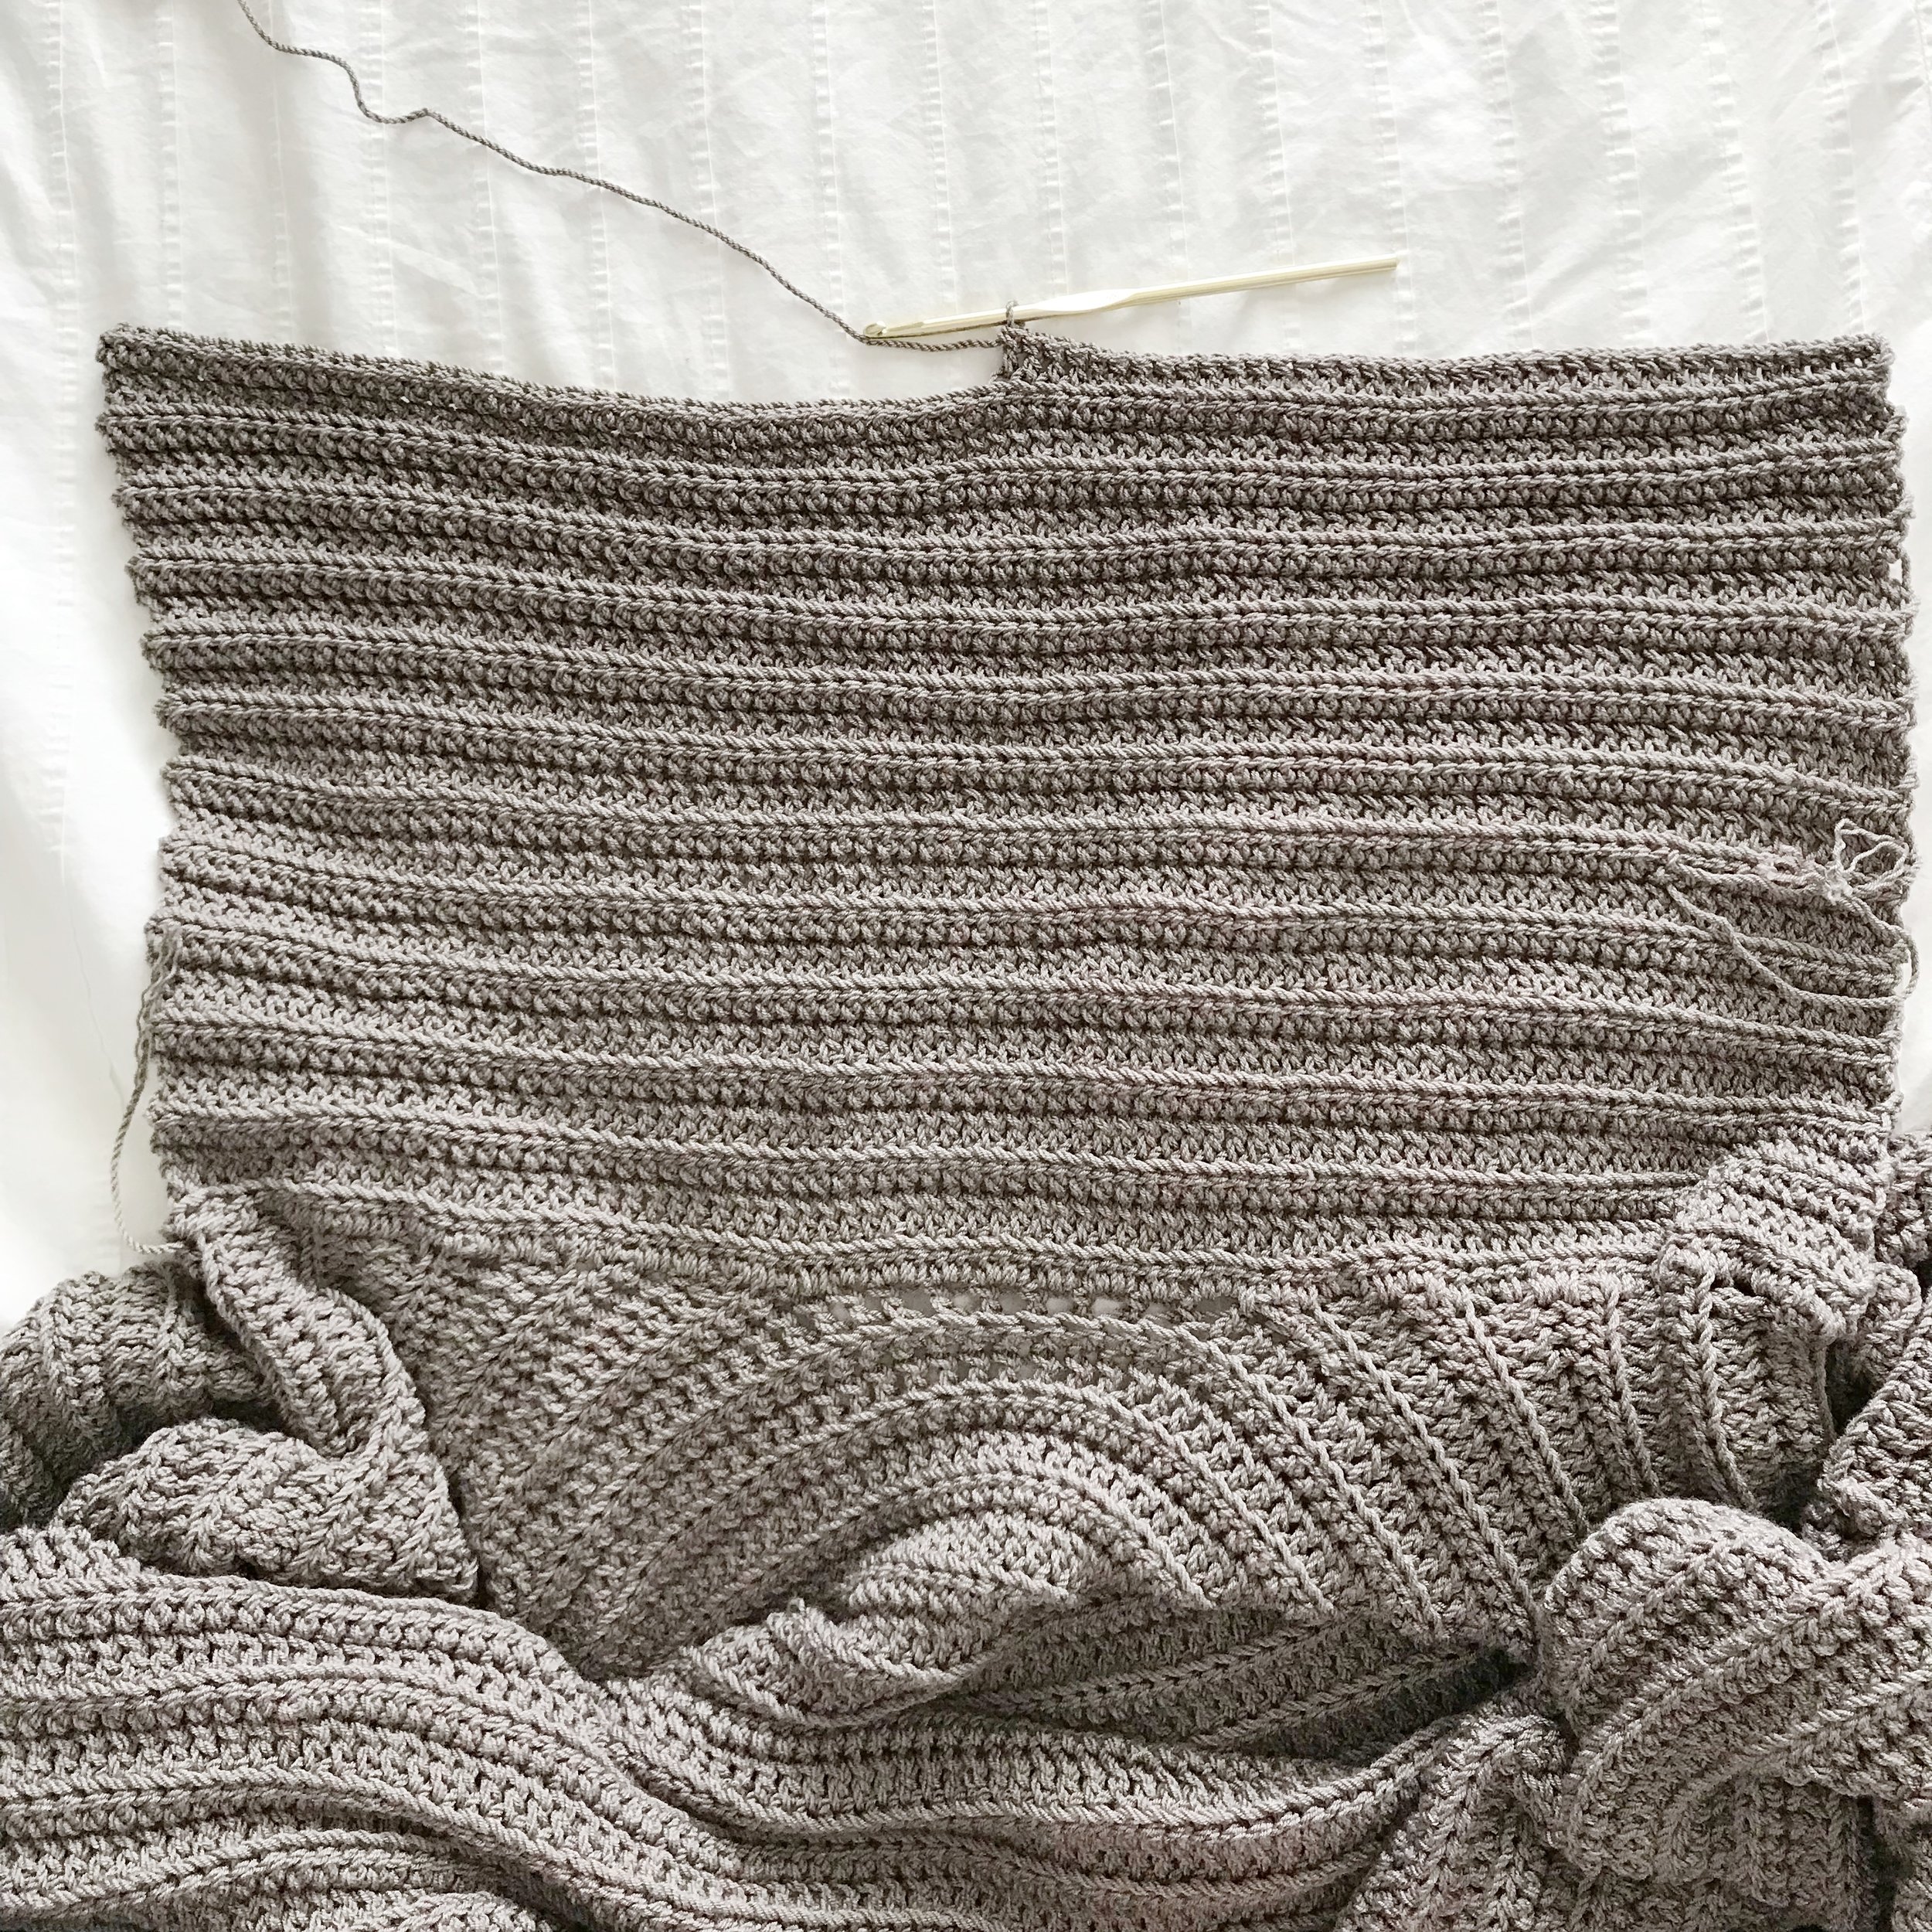
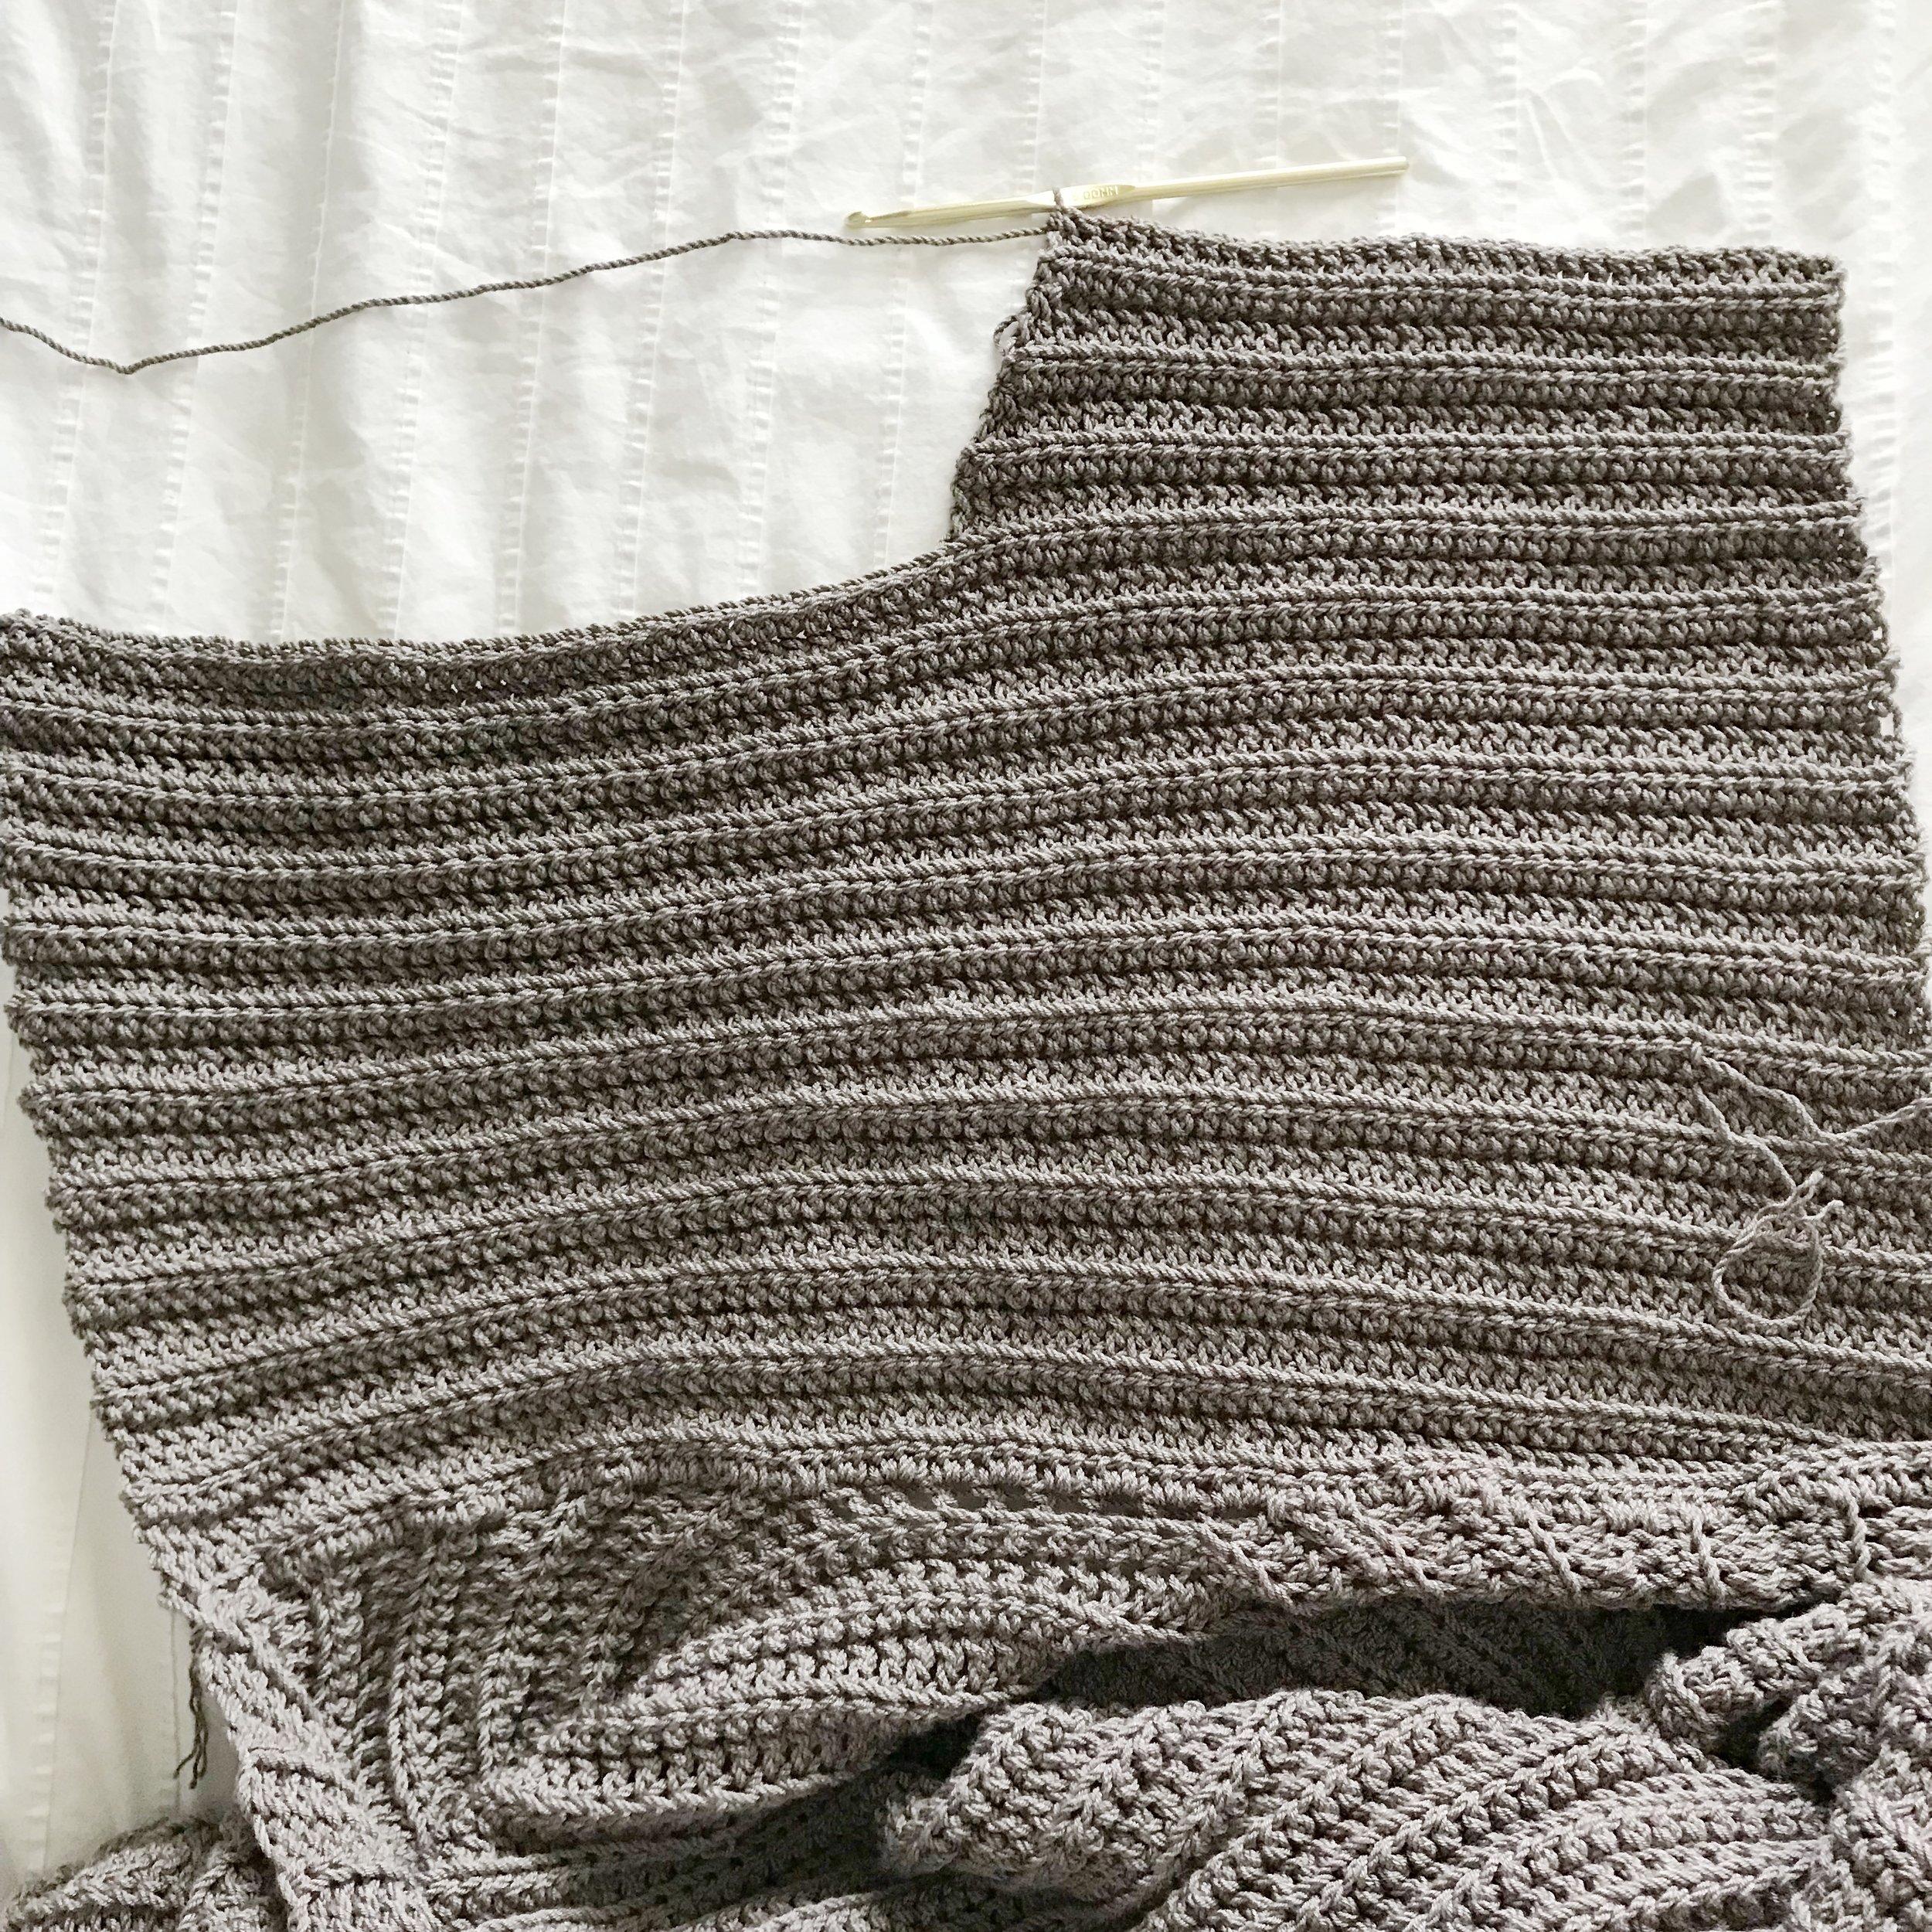
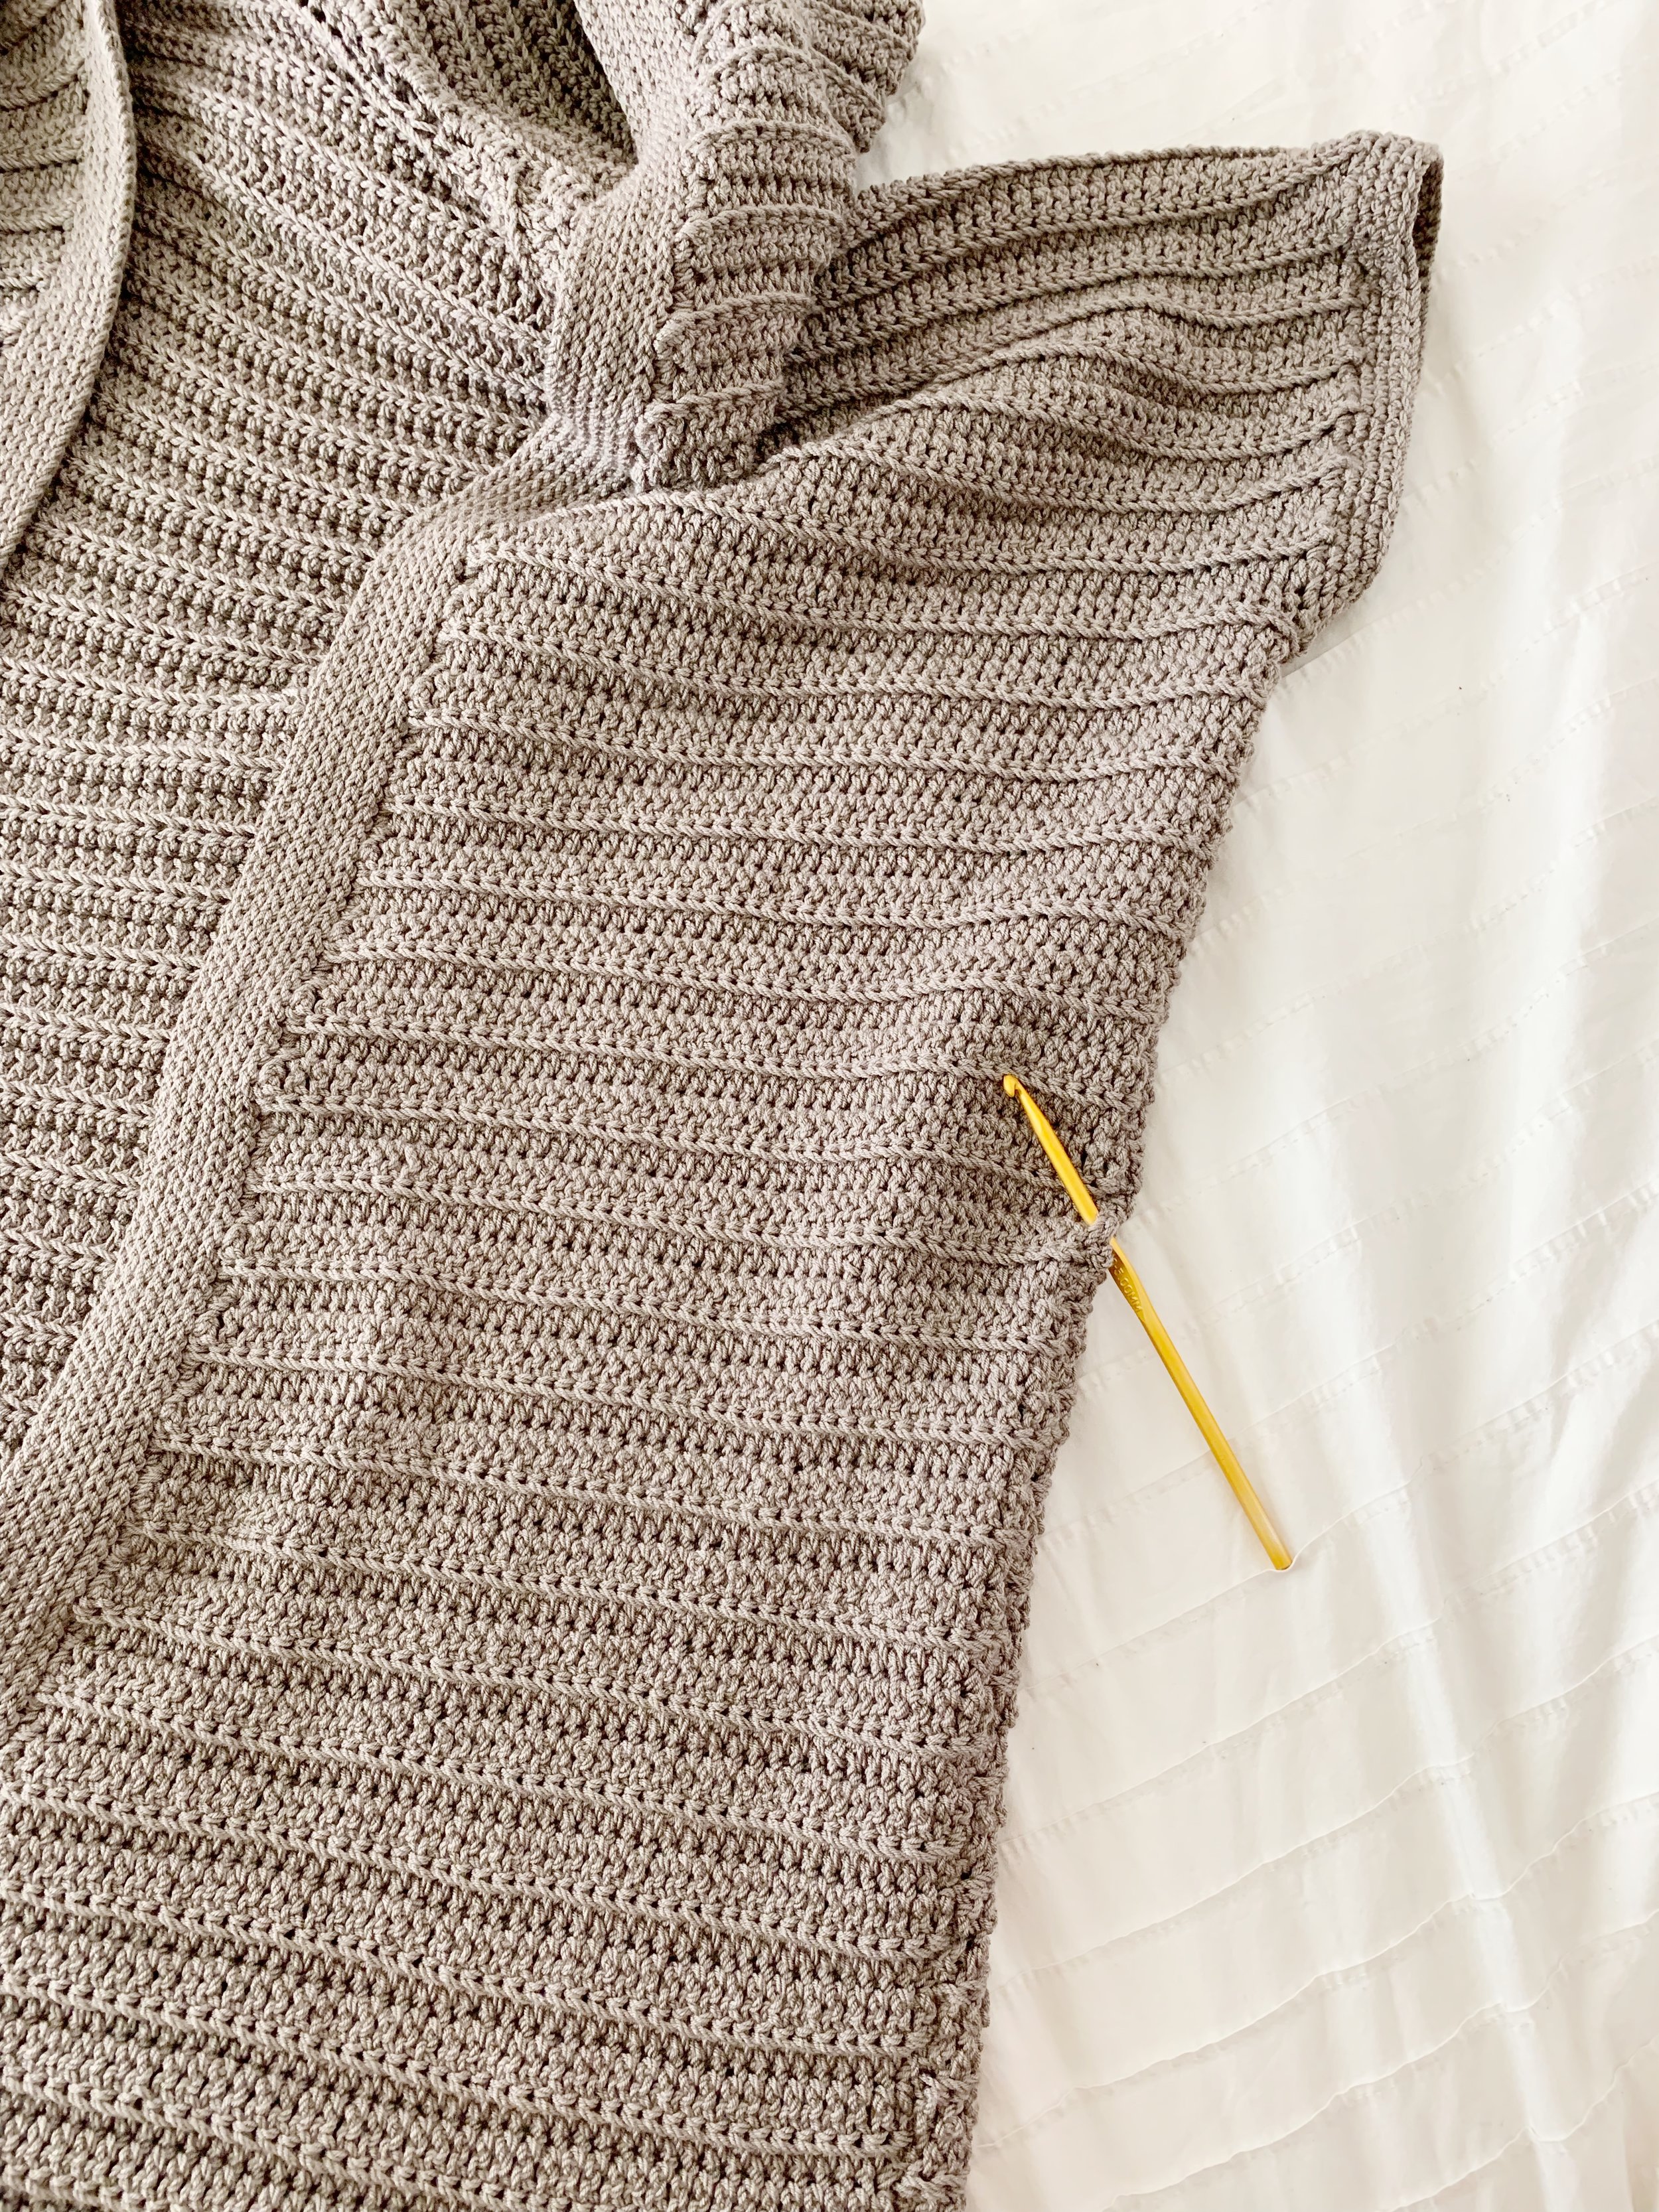
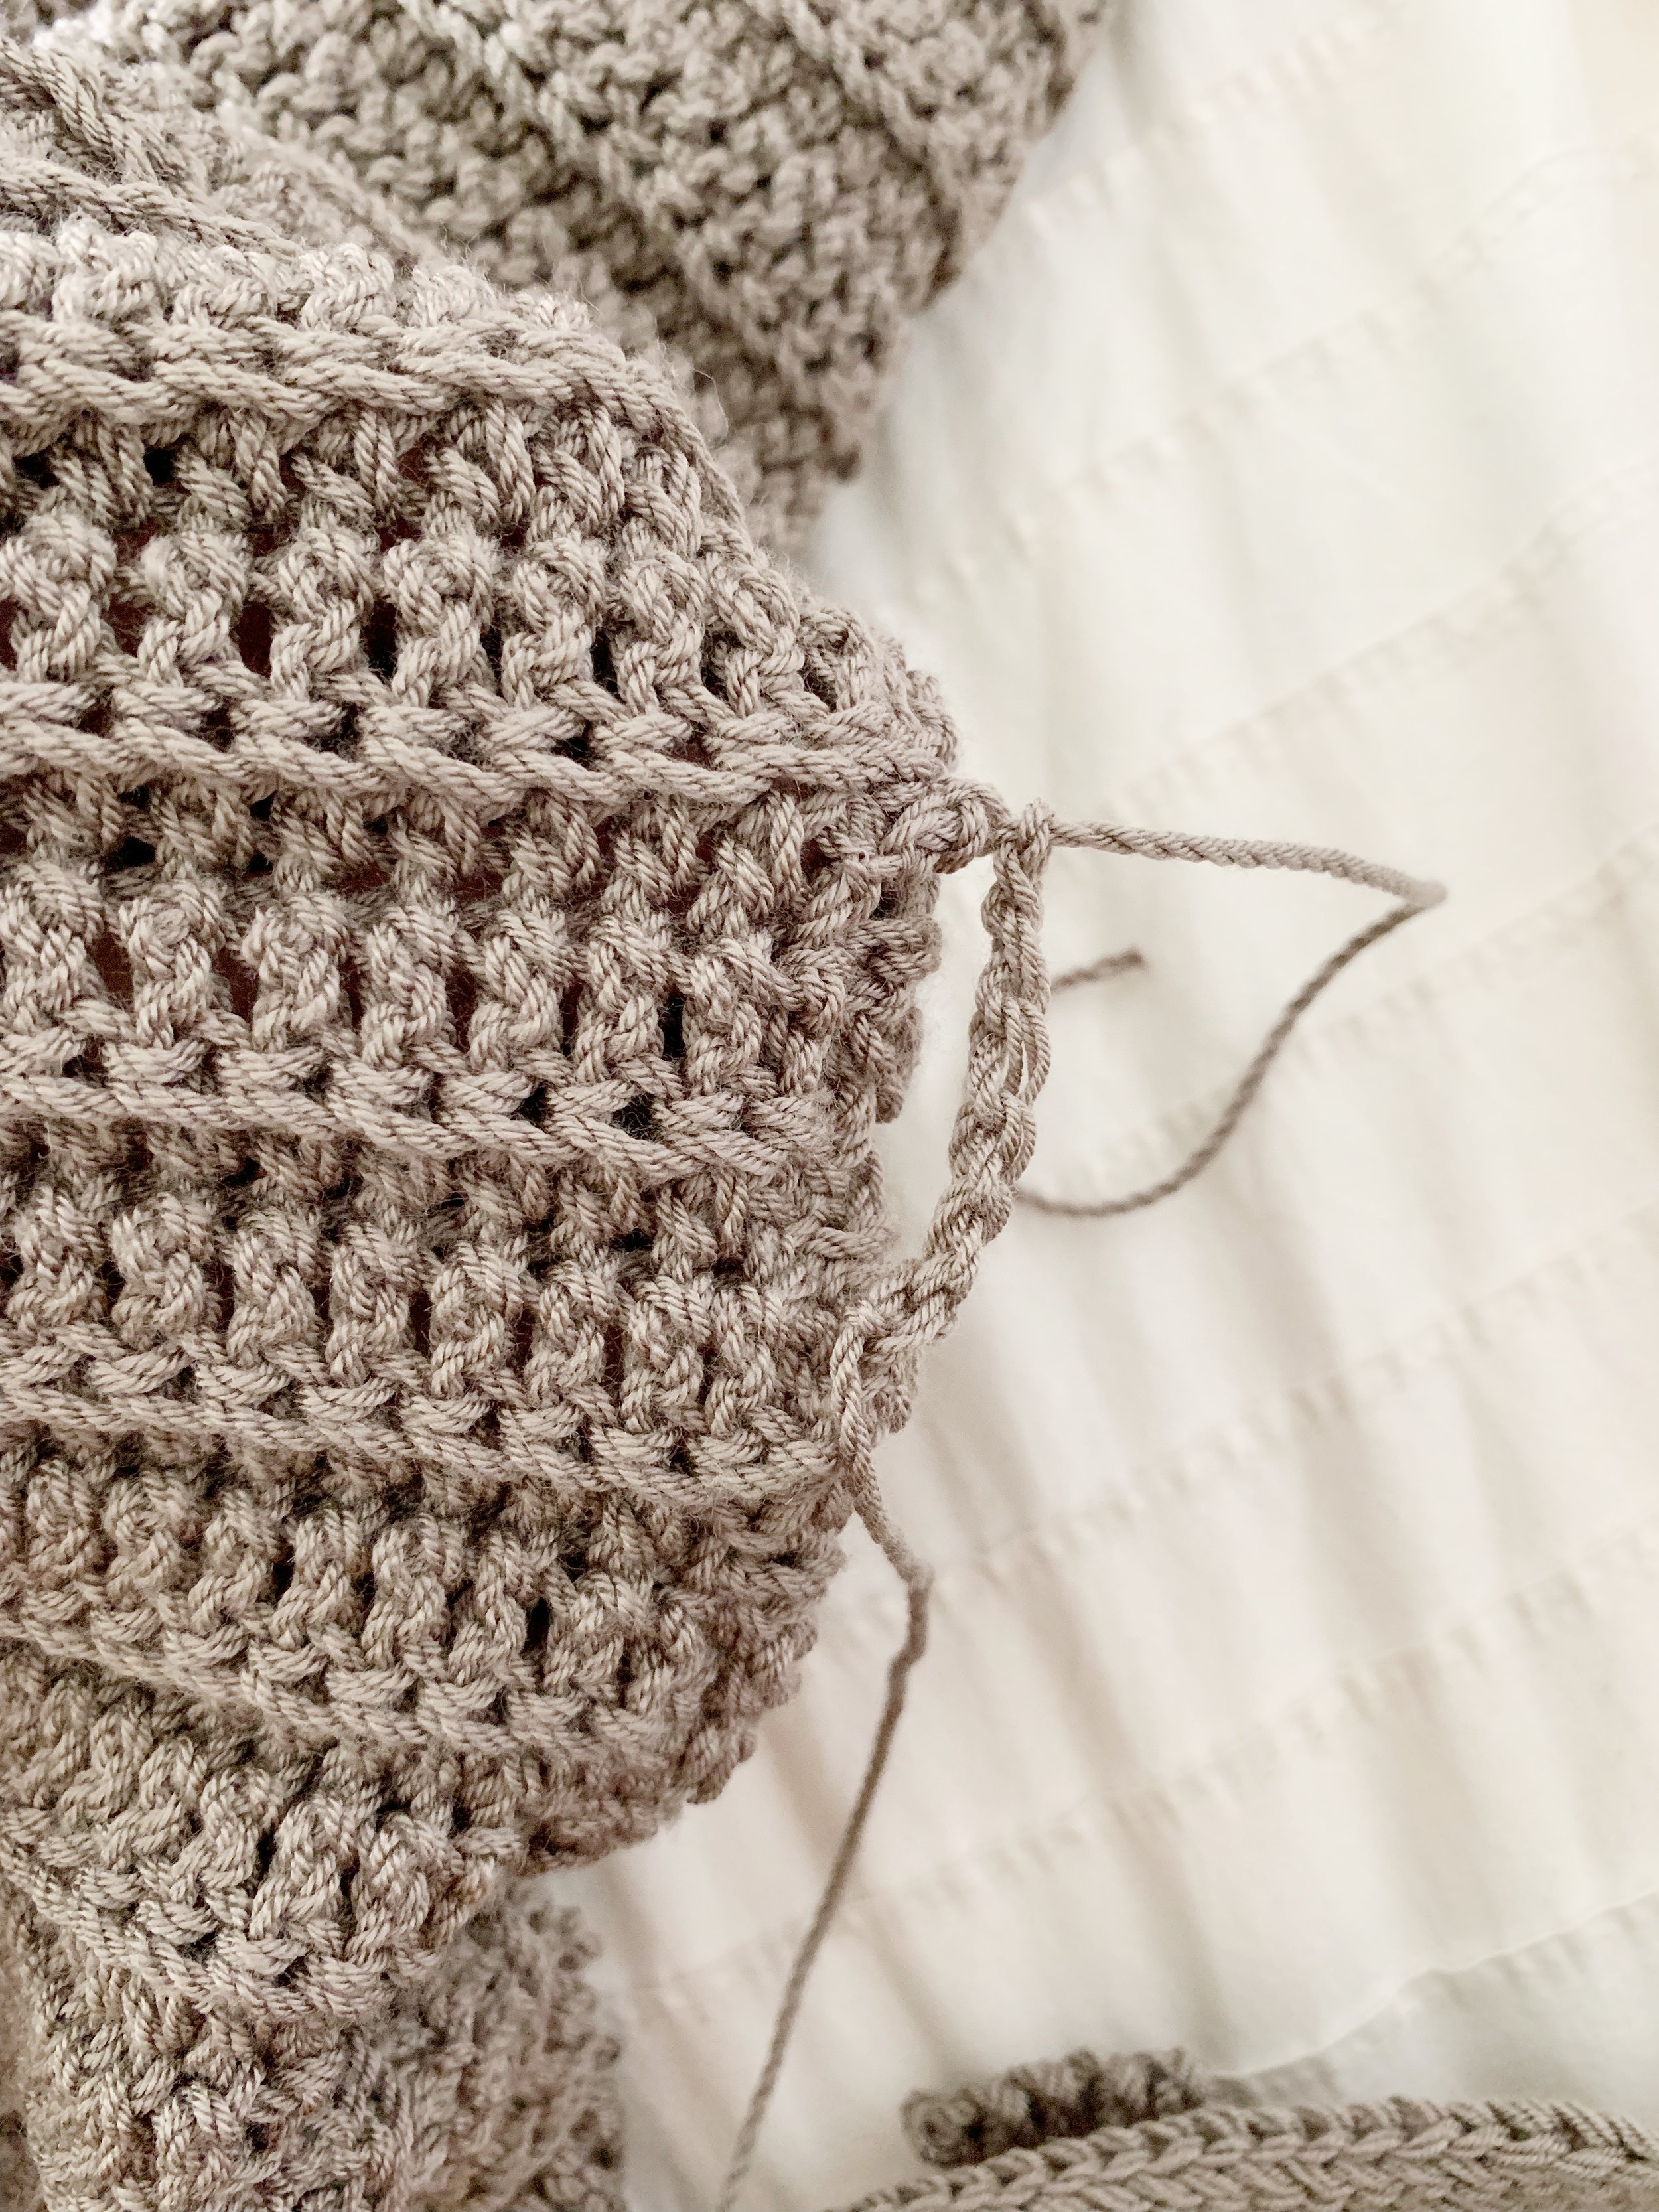
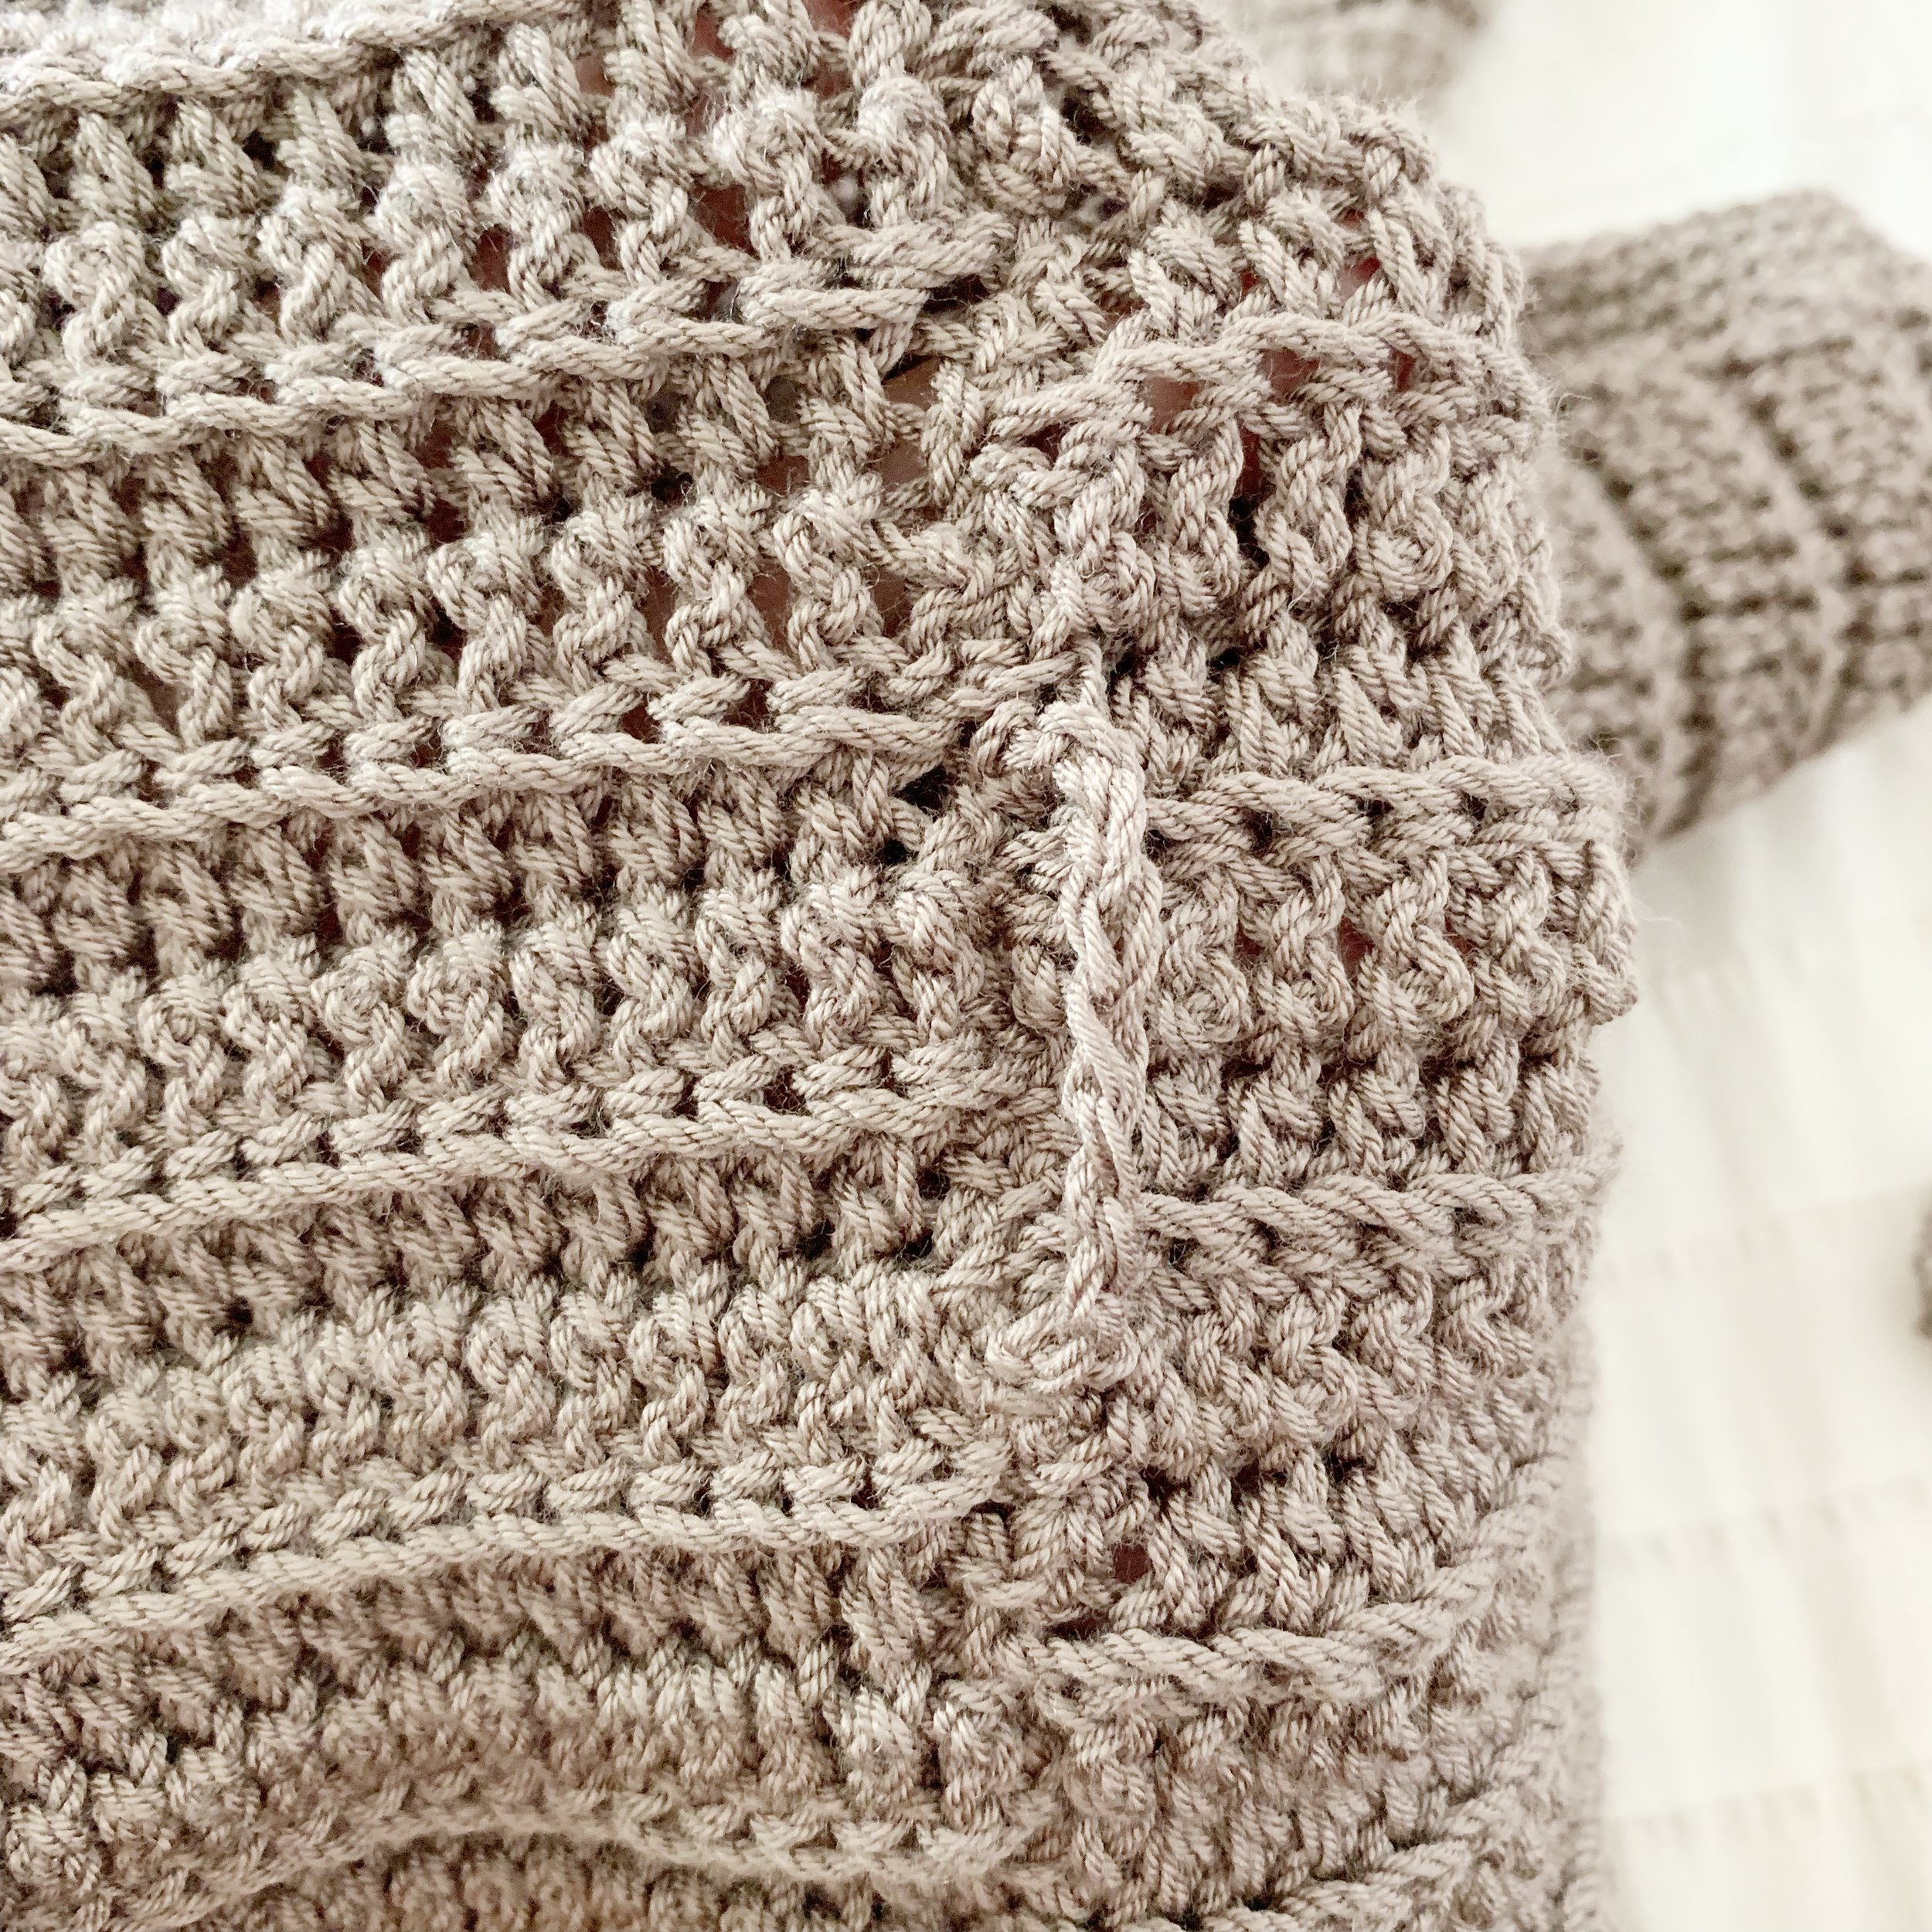
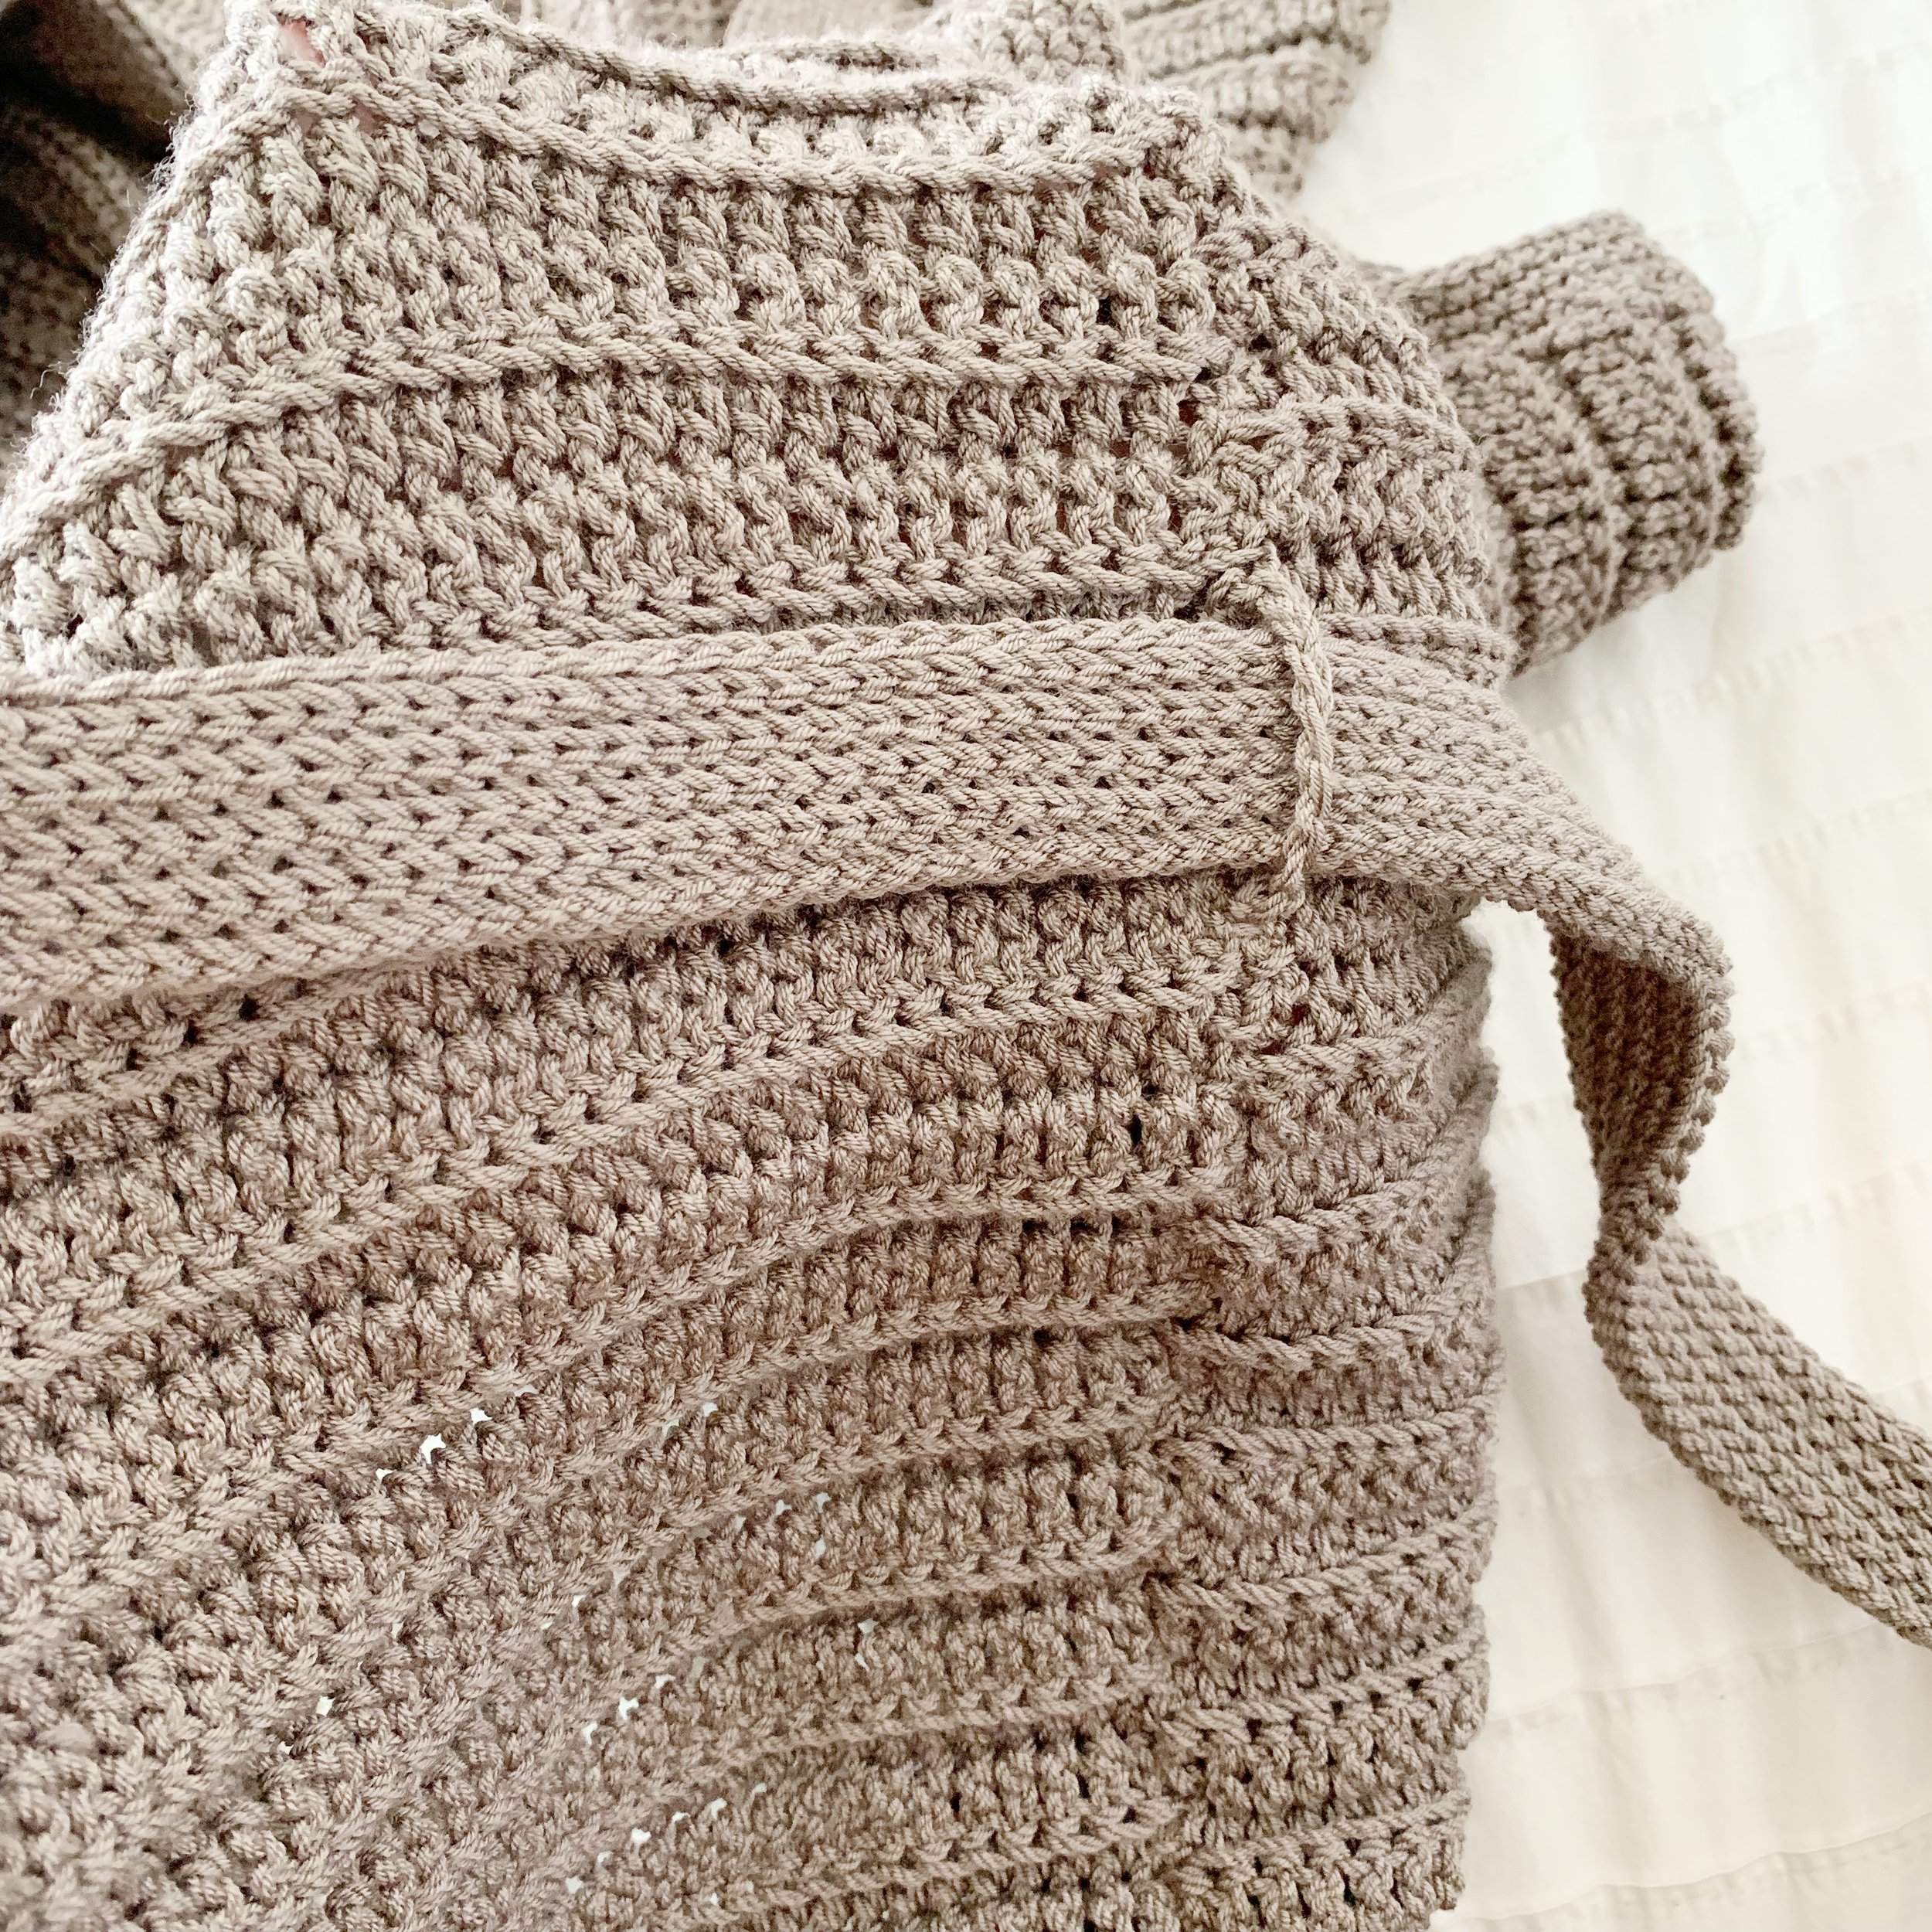
The picture on the left shows what the cardigan will look like once you have finished the back and front two sections. Fold the front panels down so the right sides are facing. Then starting from the bottom and working up, seam the sides using the method of your choice making sure the hdc and dc are lined up.
Leave an opening for the arm, on either side, that is:
XS-M: 7” tall from shoulder to seam
L-2X: 7.5” tall from shoulder to seam
3X-5X: 8” tall from shoulder to seam
Adjust the arm opening to fit as needed.
Sleeves:
You will now have an opening for the arms on either side of the cardigan. With the cardi right side out, attach yarn at the seam and ch 1.
Row 1: sc evenly around the arm opening, sl st to top of first st to join.
*work through both loops
Row 2: Ch 1, sc into same st as join and in each st around, sl st to top of first st to join.
Row 3 & 4: Ch 1, sc into same st and join and in each st around, sl st to top of first st to join.
Fasten off and weave in ends.
Repeat on other side for second sleeve.

Approximate stitch counts for sleeves:
XS-M: 58
L-2X: 62
3X-5X: 66
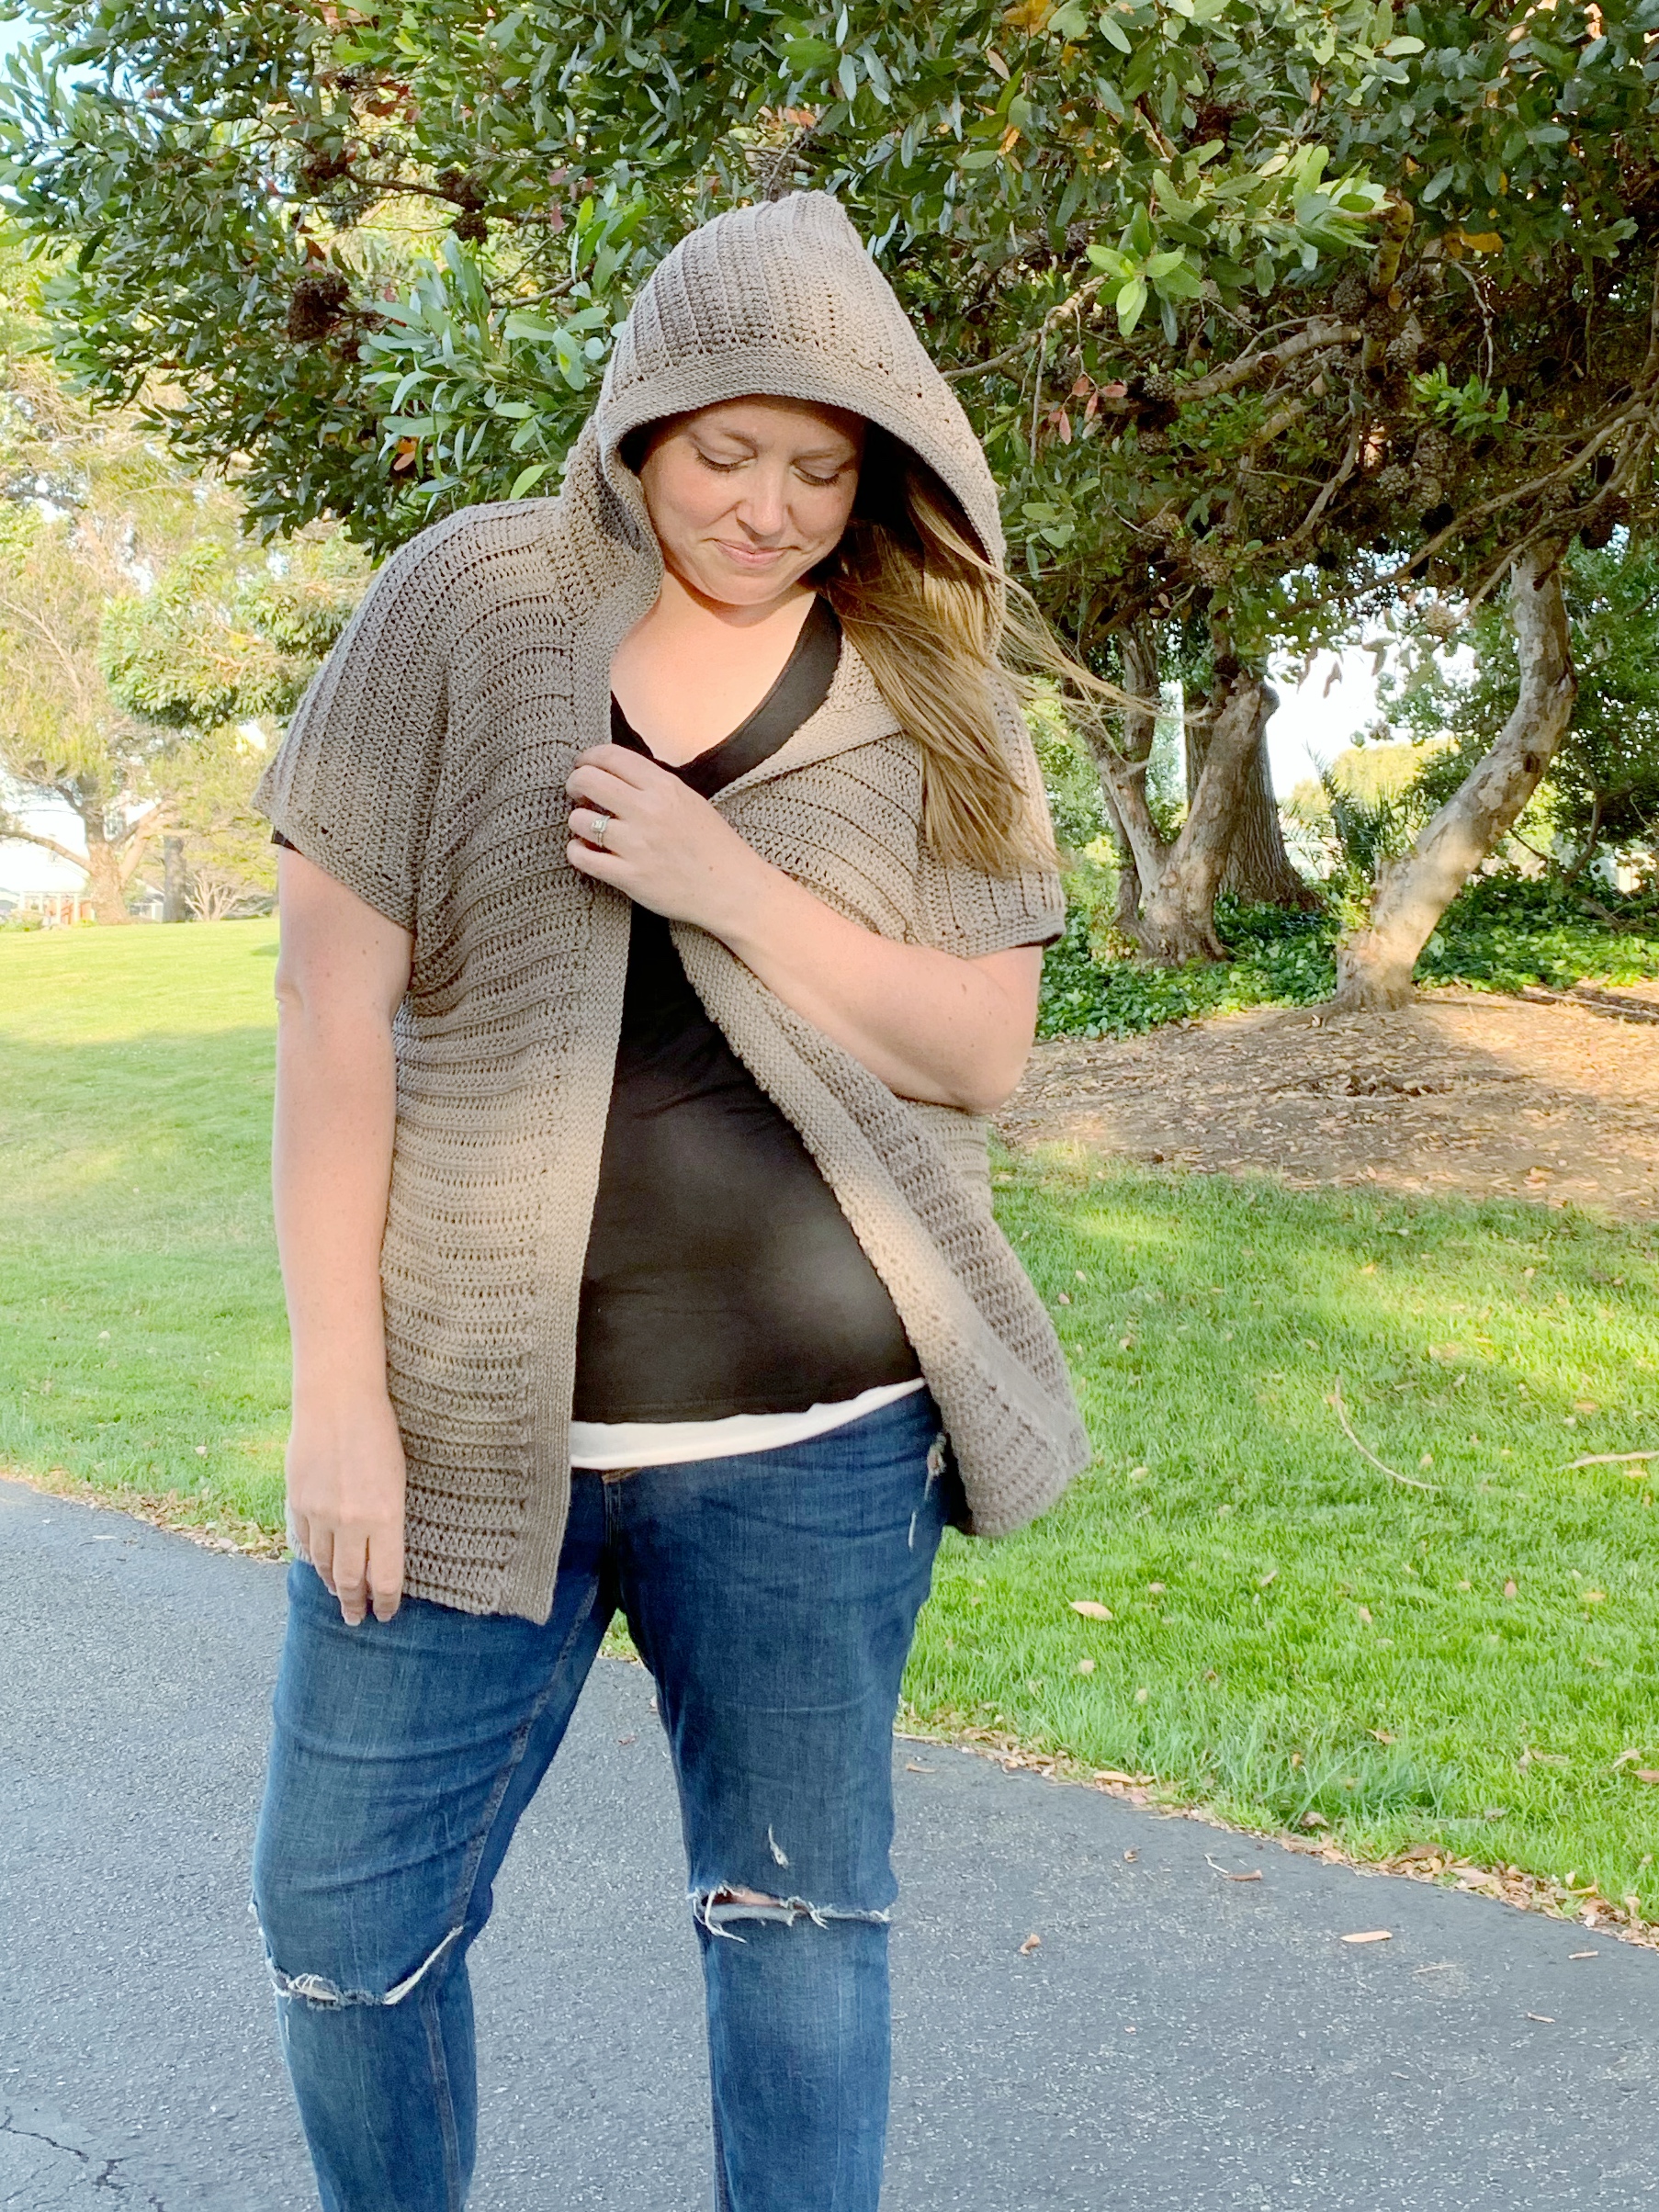
Hood:
Hood is written as one size fits most. Adjustments can easily be made to create a smaller or larger hood depending on preference.
Lay cardigan down flat with front panels facing up. Place a st marker on either side of the front panels 9 rows down from the back panel.
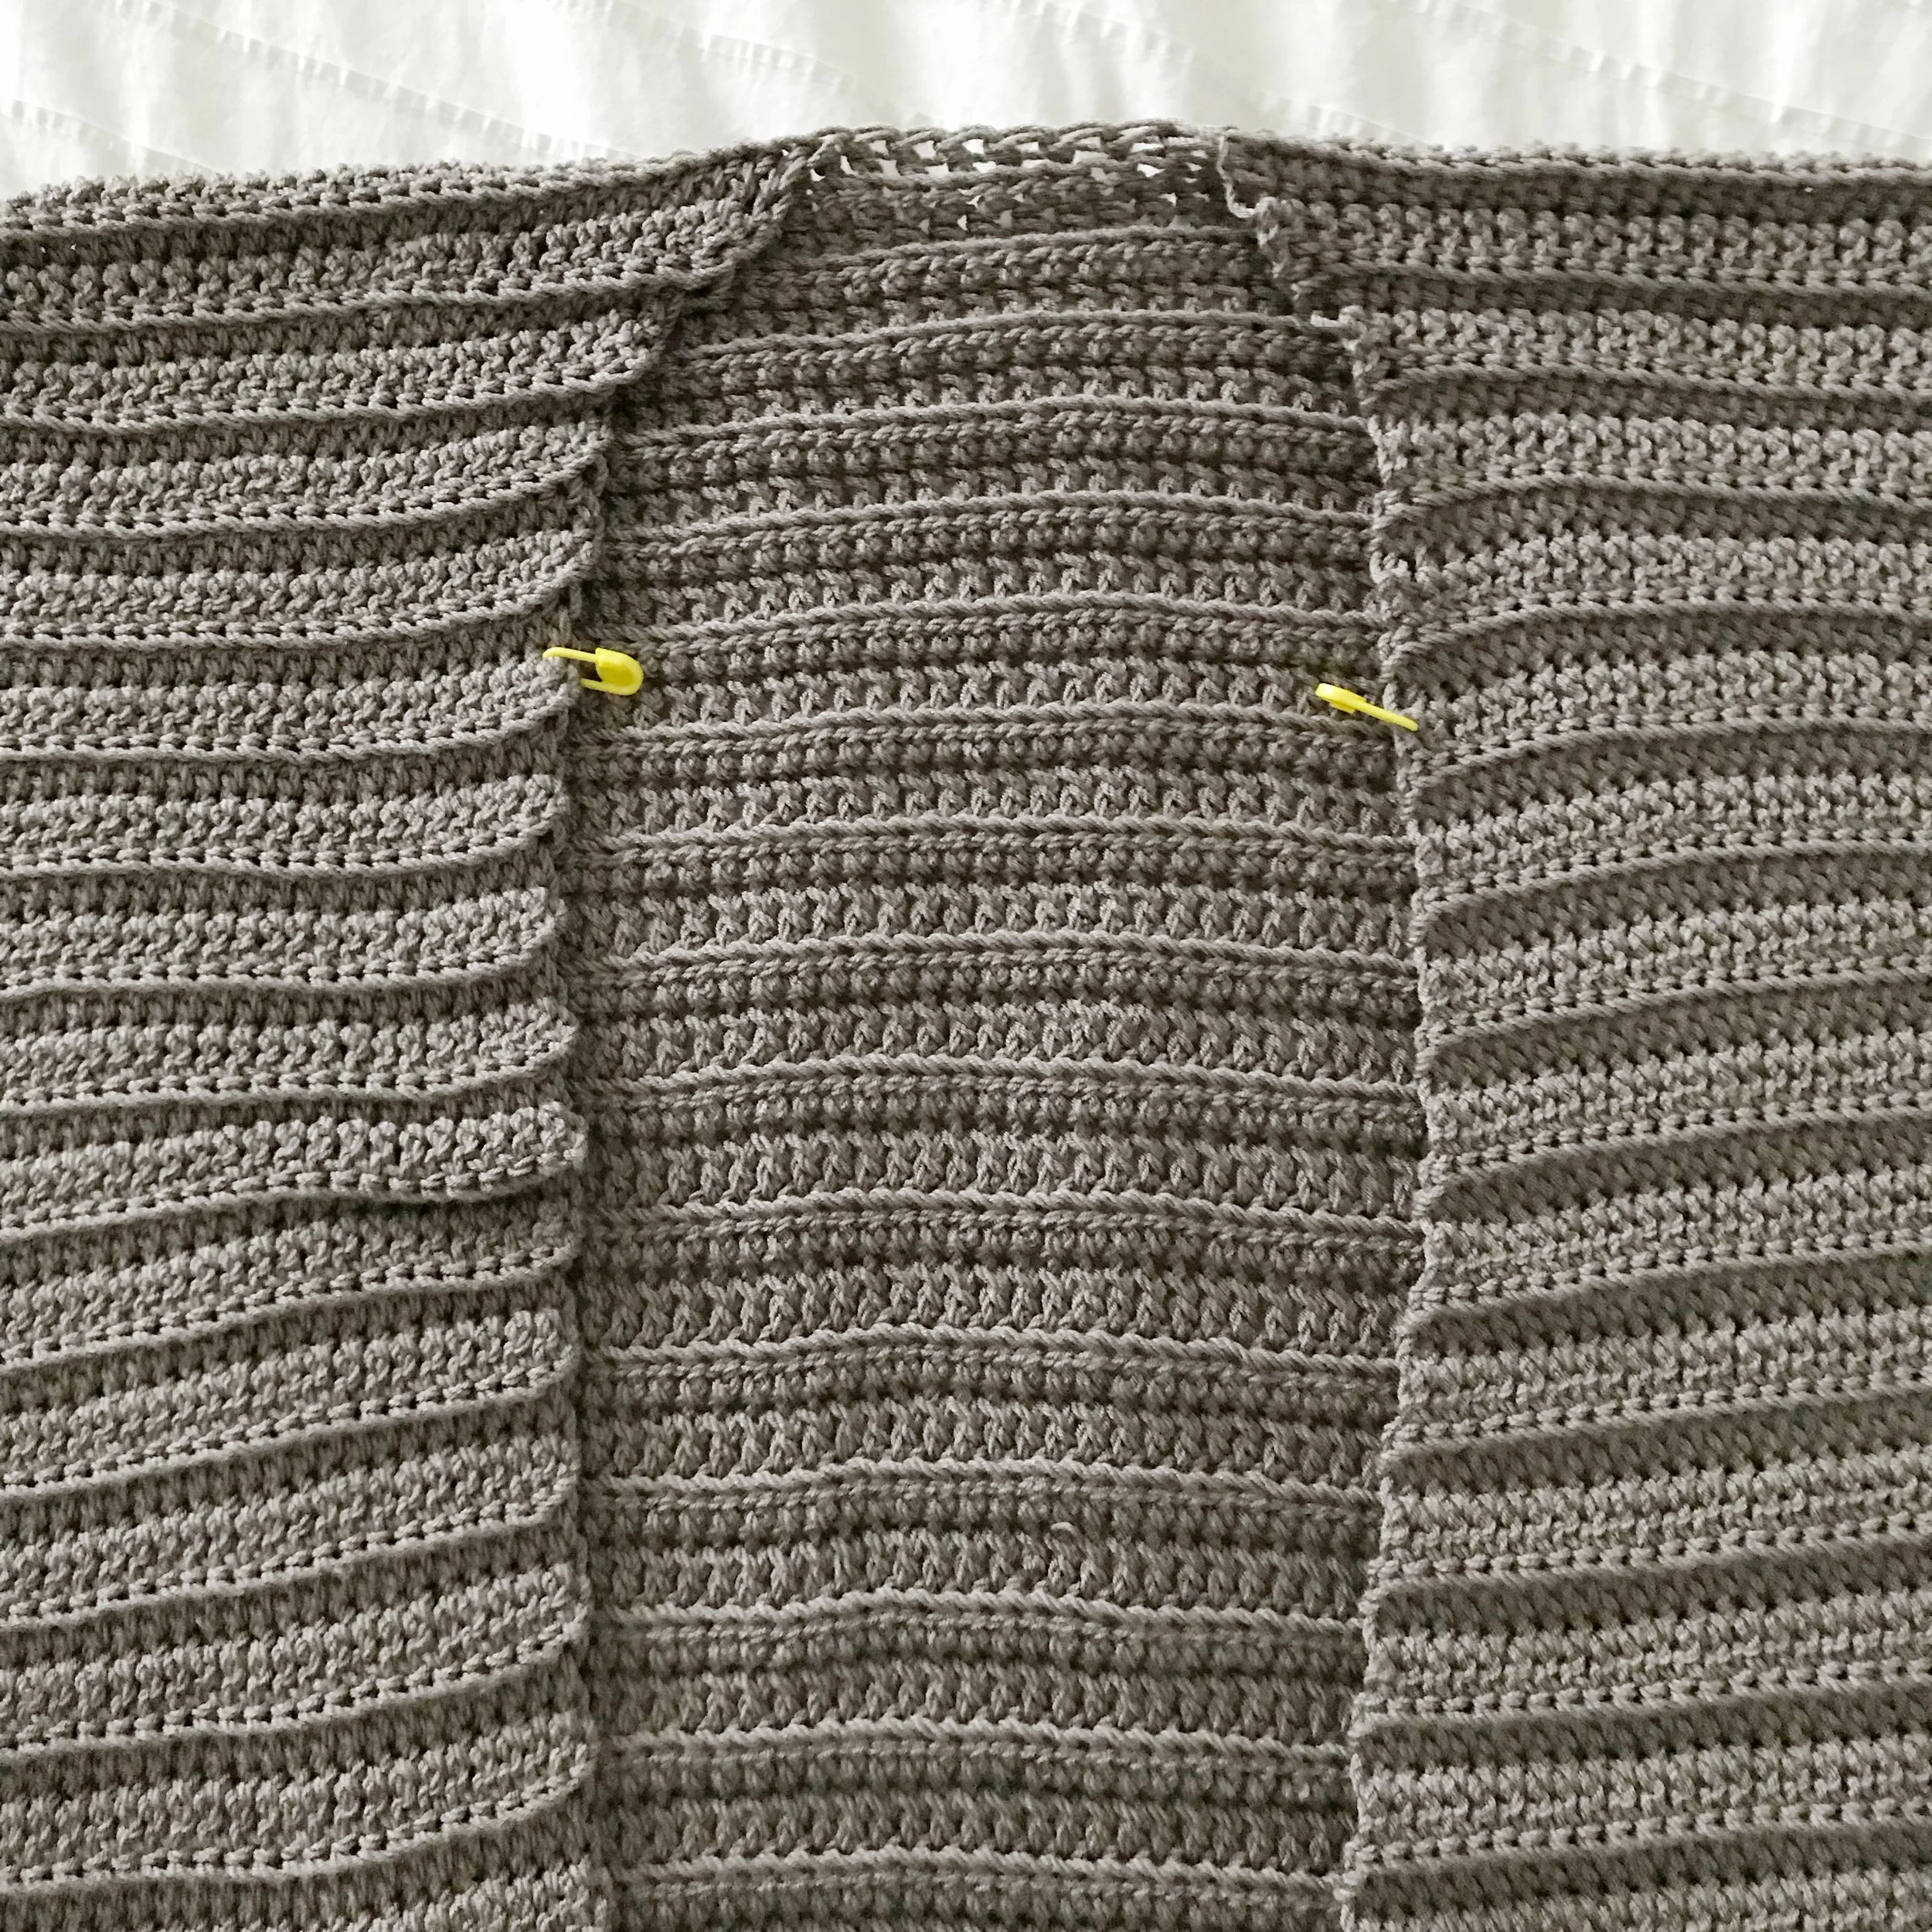
*to adjust the size move the stitch markers up or down a row so that where they hit is just below the shoulder.
Attach yarn to the right side of the cardigan at the stitch marker with right side facing you.
Ch 2
Row 1: hdc 28 evenly across edge to back panel, work 22 hdc across back panel stitches, hdc 28 evenly across left edge until you hit the second stitch marker. Ch 3, turn. (78)
*Work in BLO from here on out for hood.*
Row 2: dc in each st across, ch 2, turn. (78)
Row 3: hdc in each st across, ch 3, turn. (78)
Row 4-23: repeat rows 2-3 alternately.
*hood should come up to the top of your head at this point. Make adjustments to the amount of rows as needed to fit your head.*
You will work the rest of the hood in two sections, starting on the right side and then attaching yarn in the center and working the left side, much like the body of the cardigan.
Right Side:
Row 1: dc in next 38 sts, ch 2, turn. (38)
Row 2: sk first st, hdc in each remaining st, ch 3, turn. (37)
Row 3: dc in each st across until 2 sts remain, dc2tog, ch 2, turn. (36)
Row 4-7: repeat rows 2-3.
Fasten off.
Left Side:
Attach yarn in the 3rd st from the right side row 1.
Ch 3 (does not count as st)
Row 1: dc in same st as ch 3, and in each st across, ch 2, turn. (38)
Row 2: hdc across until 2 sts remain, hdc2tog, ch 3, turn. (37)
Row 3: sk 1st st, dc in each st across, ch 2, turn. (36)
Row 4-7: repeat rows 2-3.
Fasten off leaving a long tail for sewing.
Fold hood in half with right sides together. Seam along the top edge and down the side until you reach the center. Fasten off and weave in ends.
Turn cardigan and hood right side out.
Edging:
Starting on the right side front edge and with right side of cardigan facing you, attach yarn in the bottom sc row.
Working from the bottom up, around the hood and back down the left side. This is not a perfect science so make sure you have the same number of stitches on the left sides and you do the right.
Row 1: ch 1, sc evenly around making sure to work 2sc in each hdc row and 3sc in each dc row, turn.
*the first row will be a bit wavy looking, that is okay, it will tighten up as you go. Work your sl sts loosely to make it easier.
Row 2-12: ch 1, sl st in BLO across, turn.
Approximate Stitch Counts for Edging:
XS-M: right side 126, right hood 74, left hood 74, left side 126
L-XL: right side 132, right hood, 74, left hood 74, left side 132
2X-3X: right side 136, right hood 74, left hood 74, left side 136
4X-5X: right side 142, right hood 74, left hood 74, left side 142
Fasten off and weave in all ends.
Belt and Loops (optional)
Belt: XS-M (L-XL, 2X-3X, 4X-5X)
Ch 366 (376, 386, 396)
Row 1: sl st in BLO in second ch from hook and in each ch across, ch 1, turn. (365, 375, 385, 395)
Row 2-10: sl st BLO in each st across, ch 1, turn. (365, 375, 385, 395)
Fasten off and weave in ends.
Loops:
To make your belt loops, try on your cardigan and mark where you want the belt to sit on one or both sides at the seam.
Then make a slip knot on your hook leaving a long tail at the end. Insert your hook into the spot you marked and work a slip stitch to attach,
Ch 6 and slip stitch into seam three rows above where you first attached the yarn.
Fasten off. Pull both ends through to the inside of the cardigan and weave them in. Repeat on other side of cardigan making sure to place the belt loop on the same rows as first side.
Slide belt through loops.