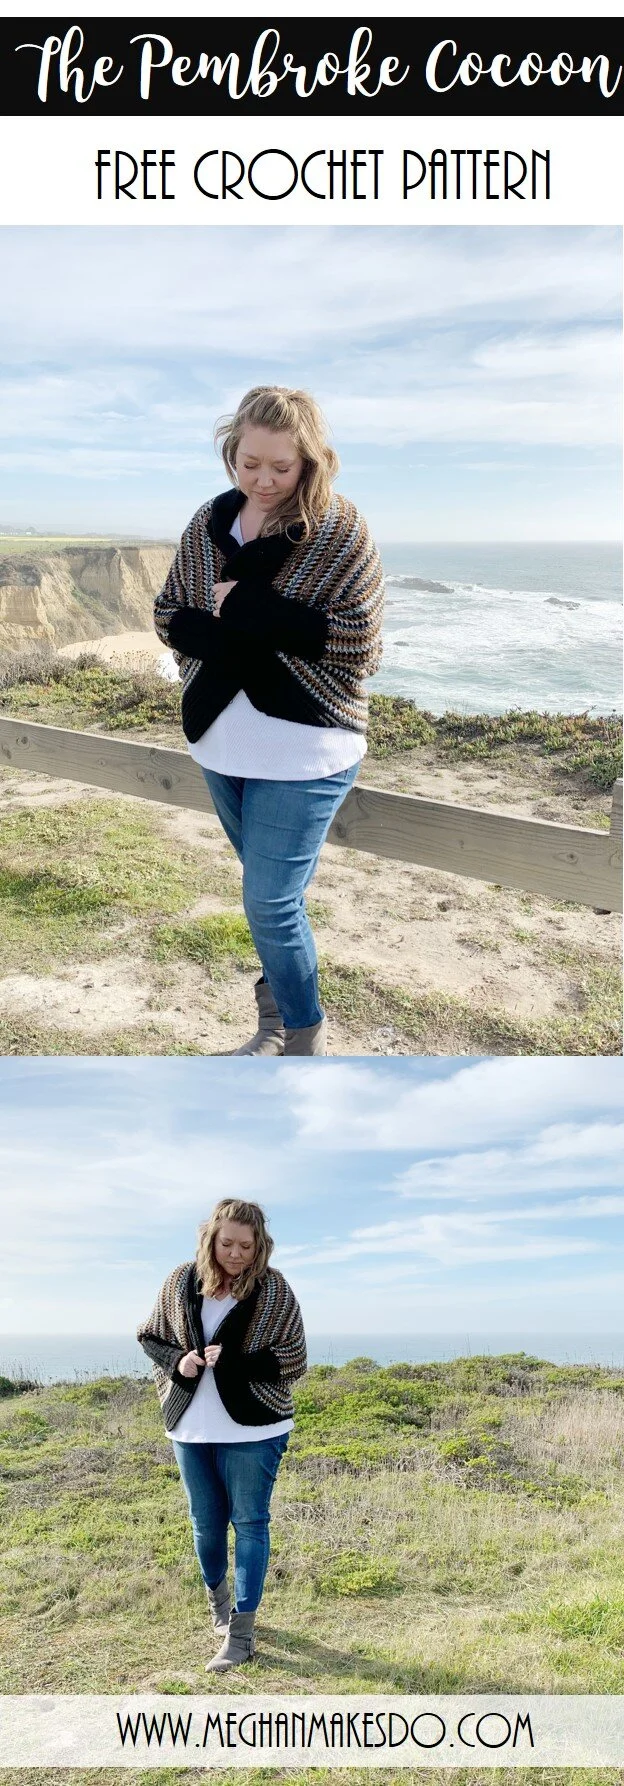
The Pembroke Cocoon-Free Crochet Pattern
This post contains affiliate links. If you make a purchase through one of those links I may receive a small commission. It’s an easy way to support this blog at no additional cost to you.
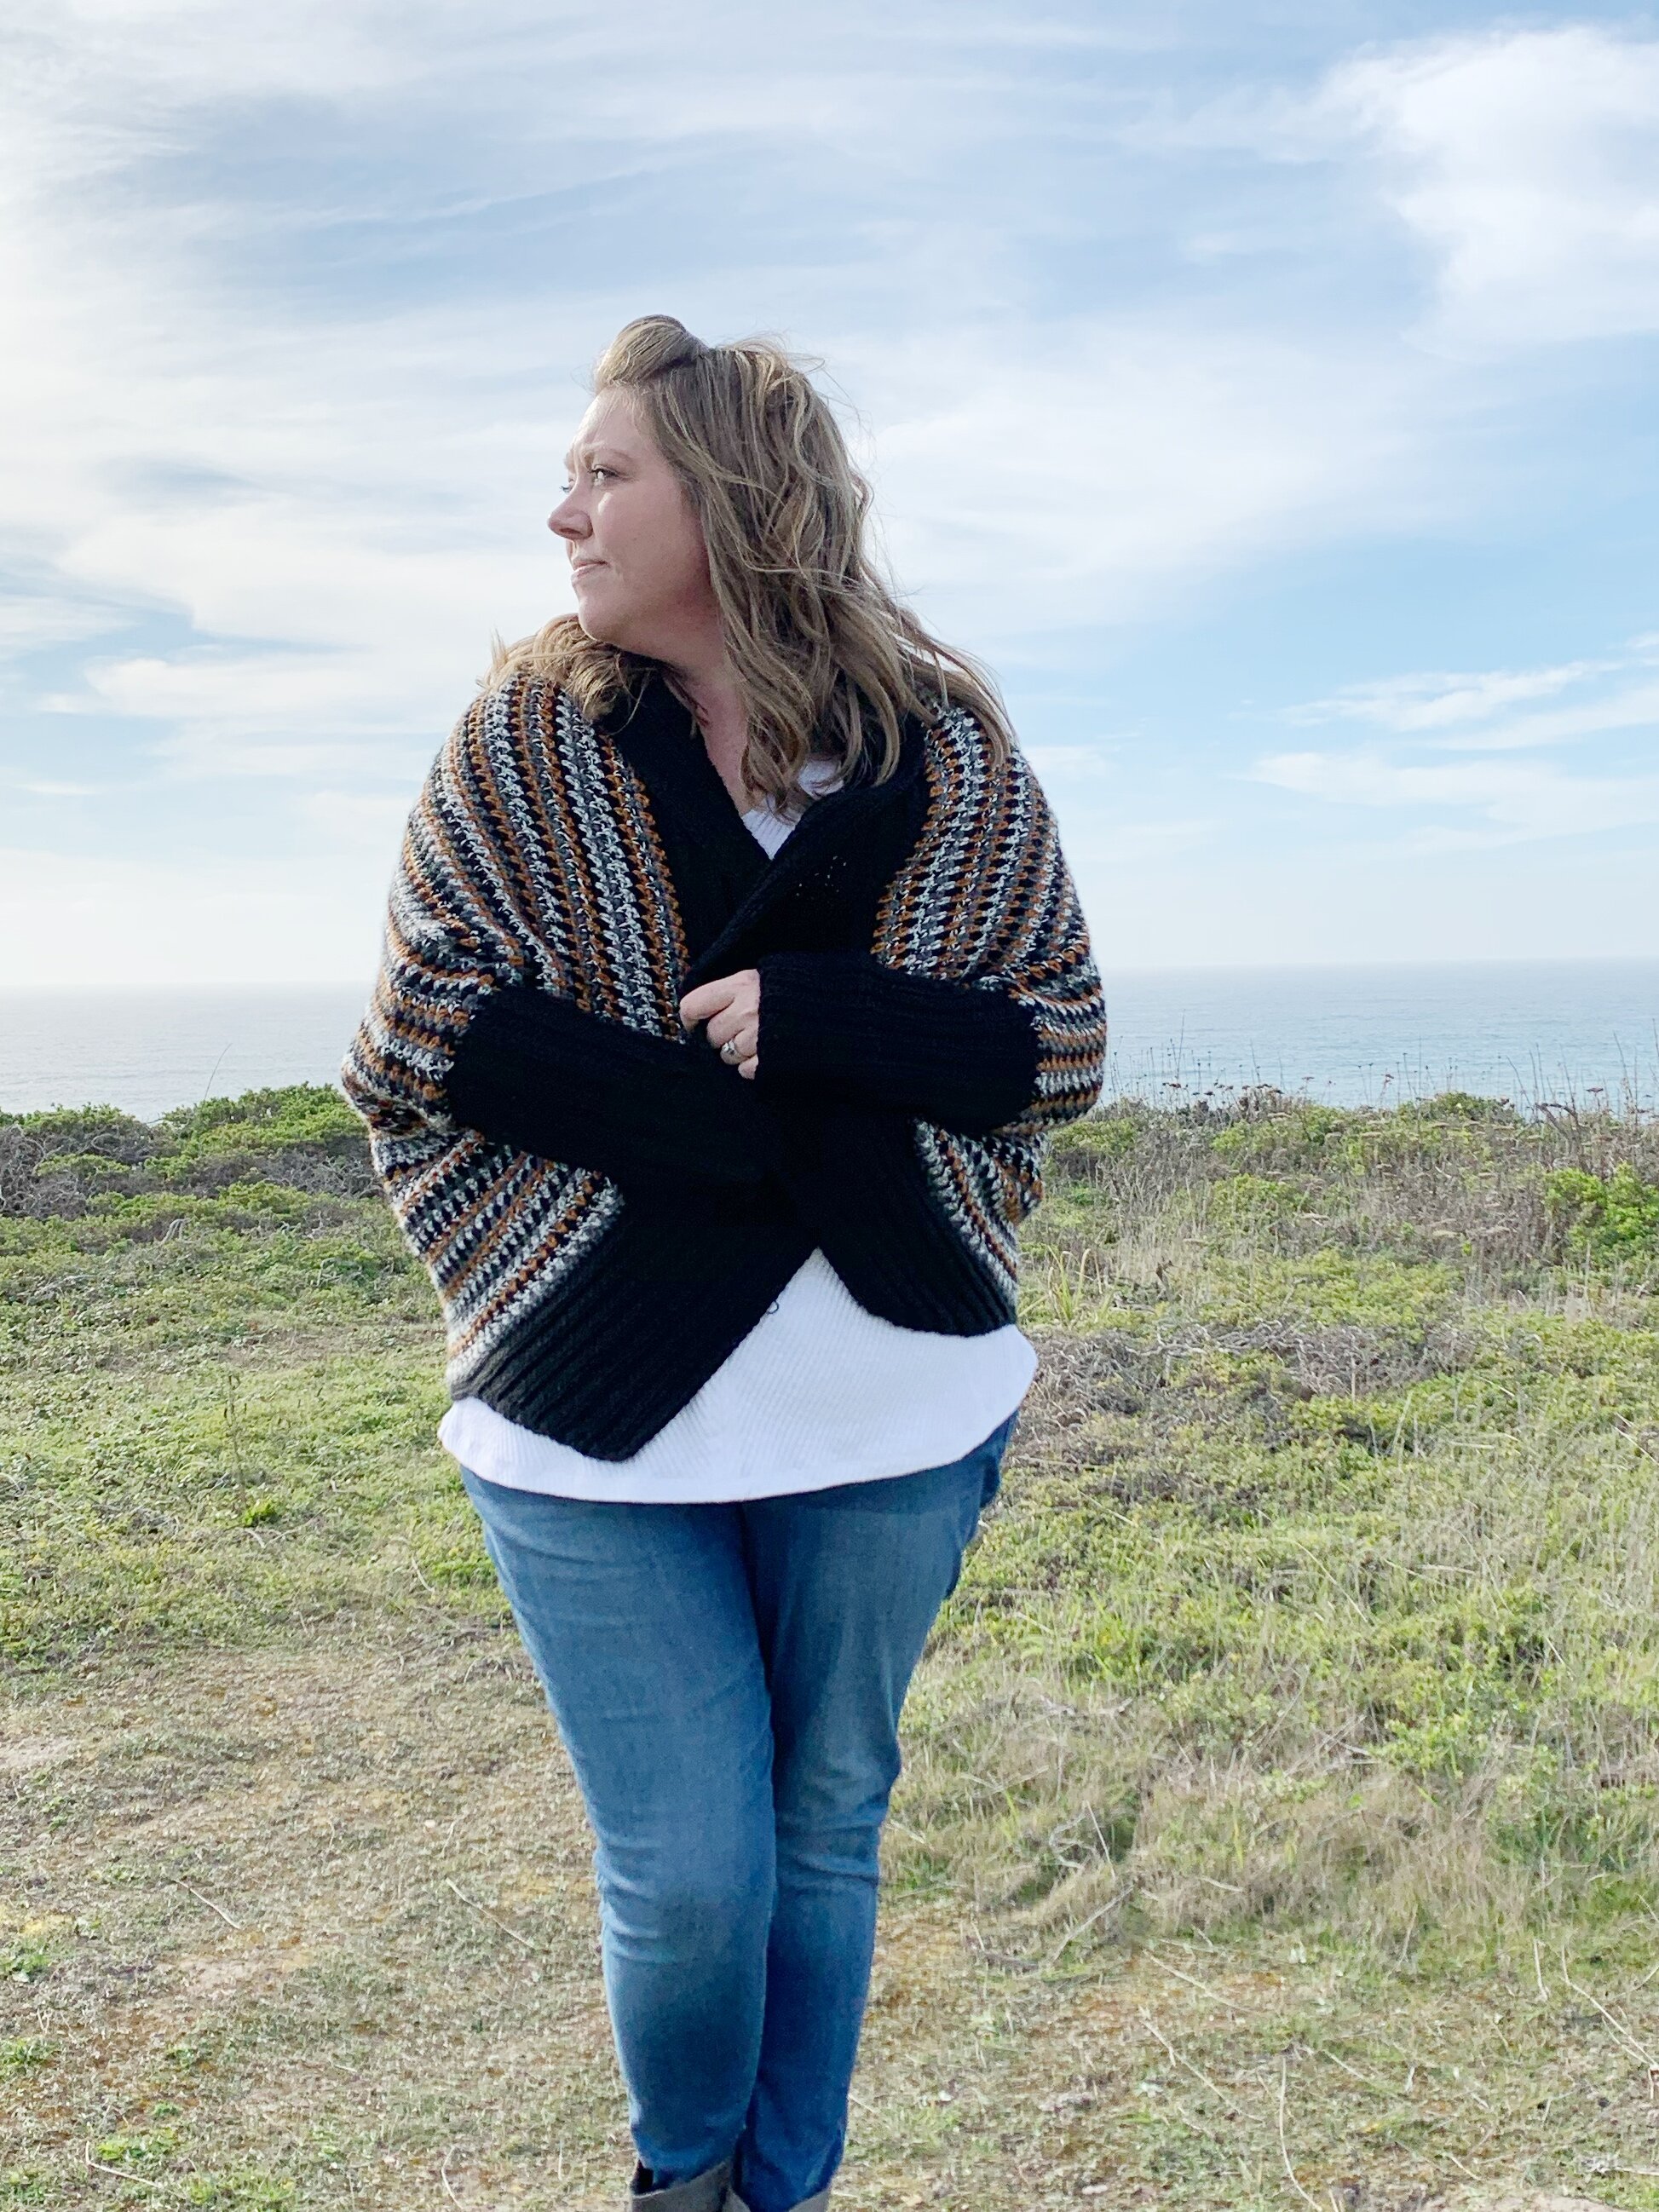
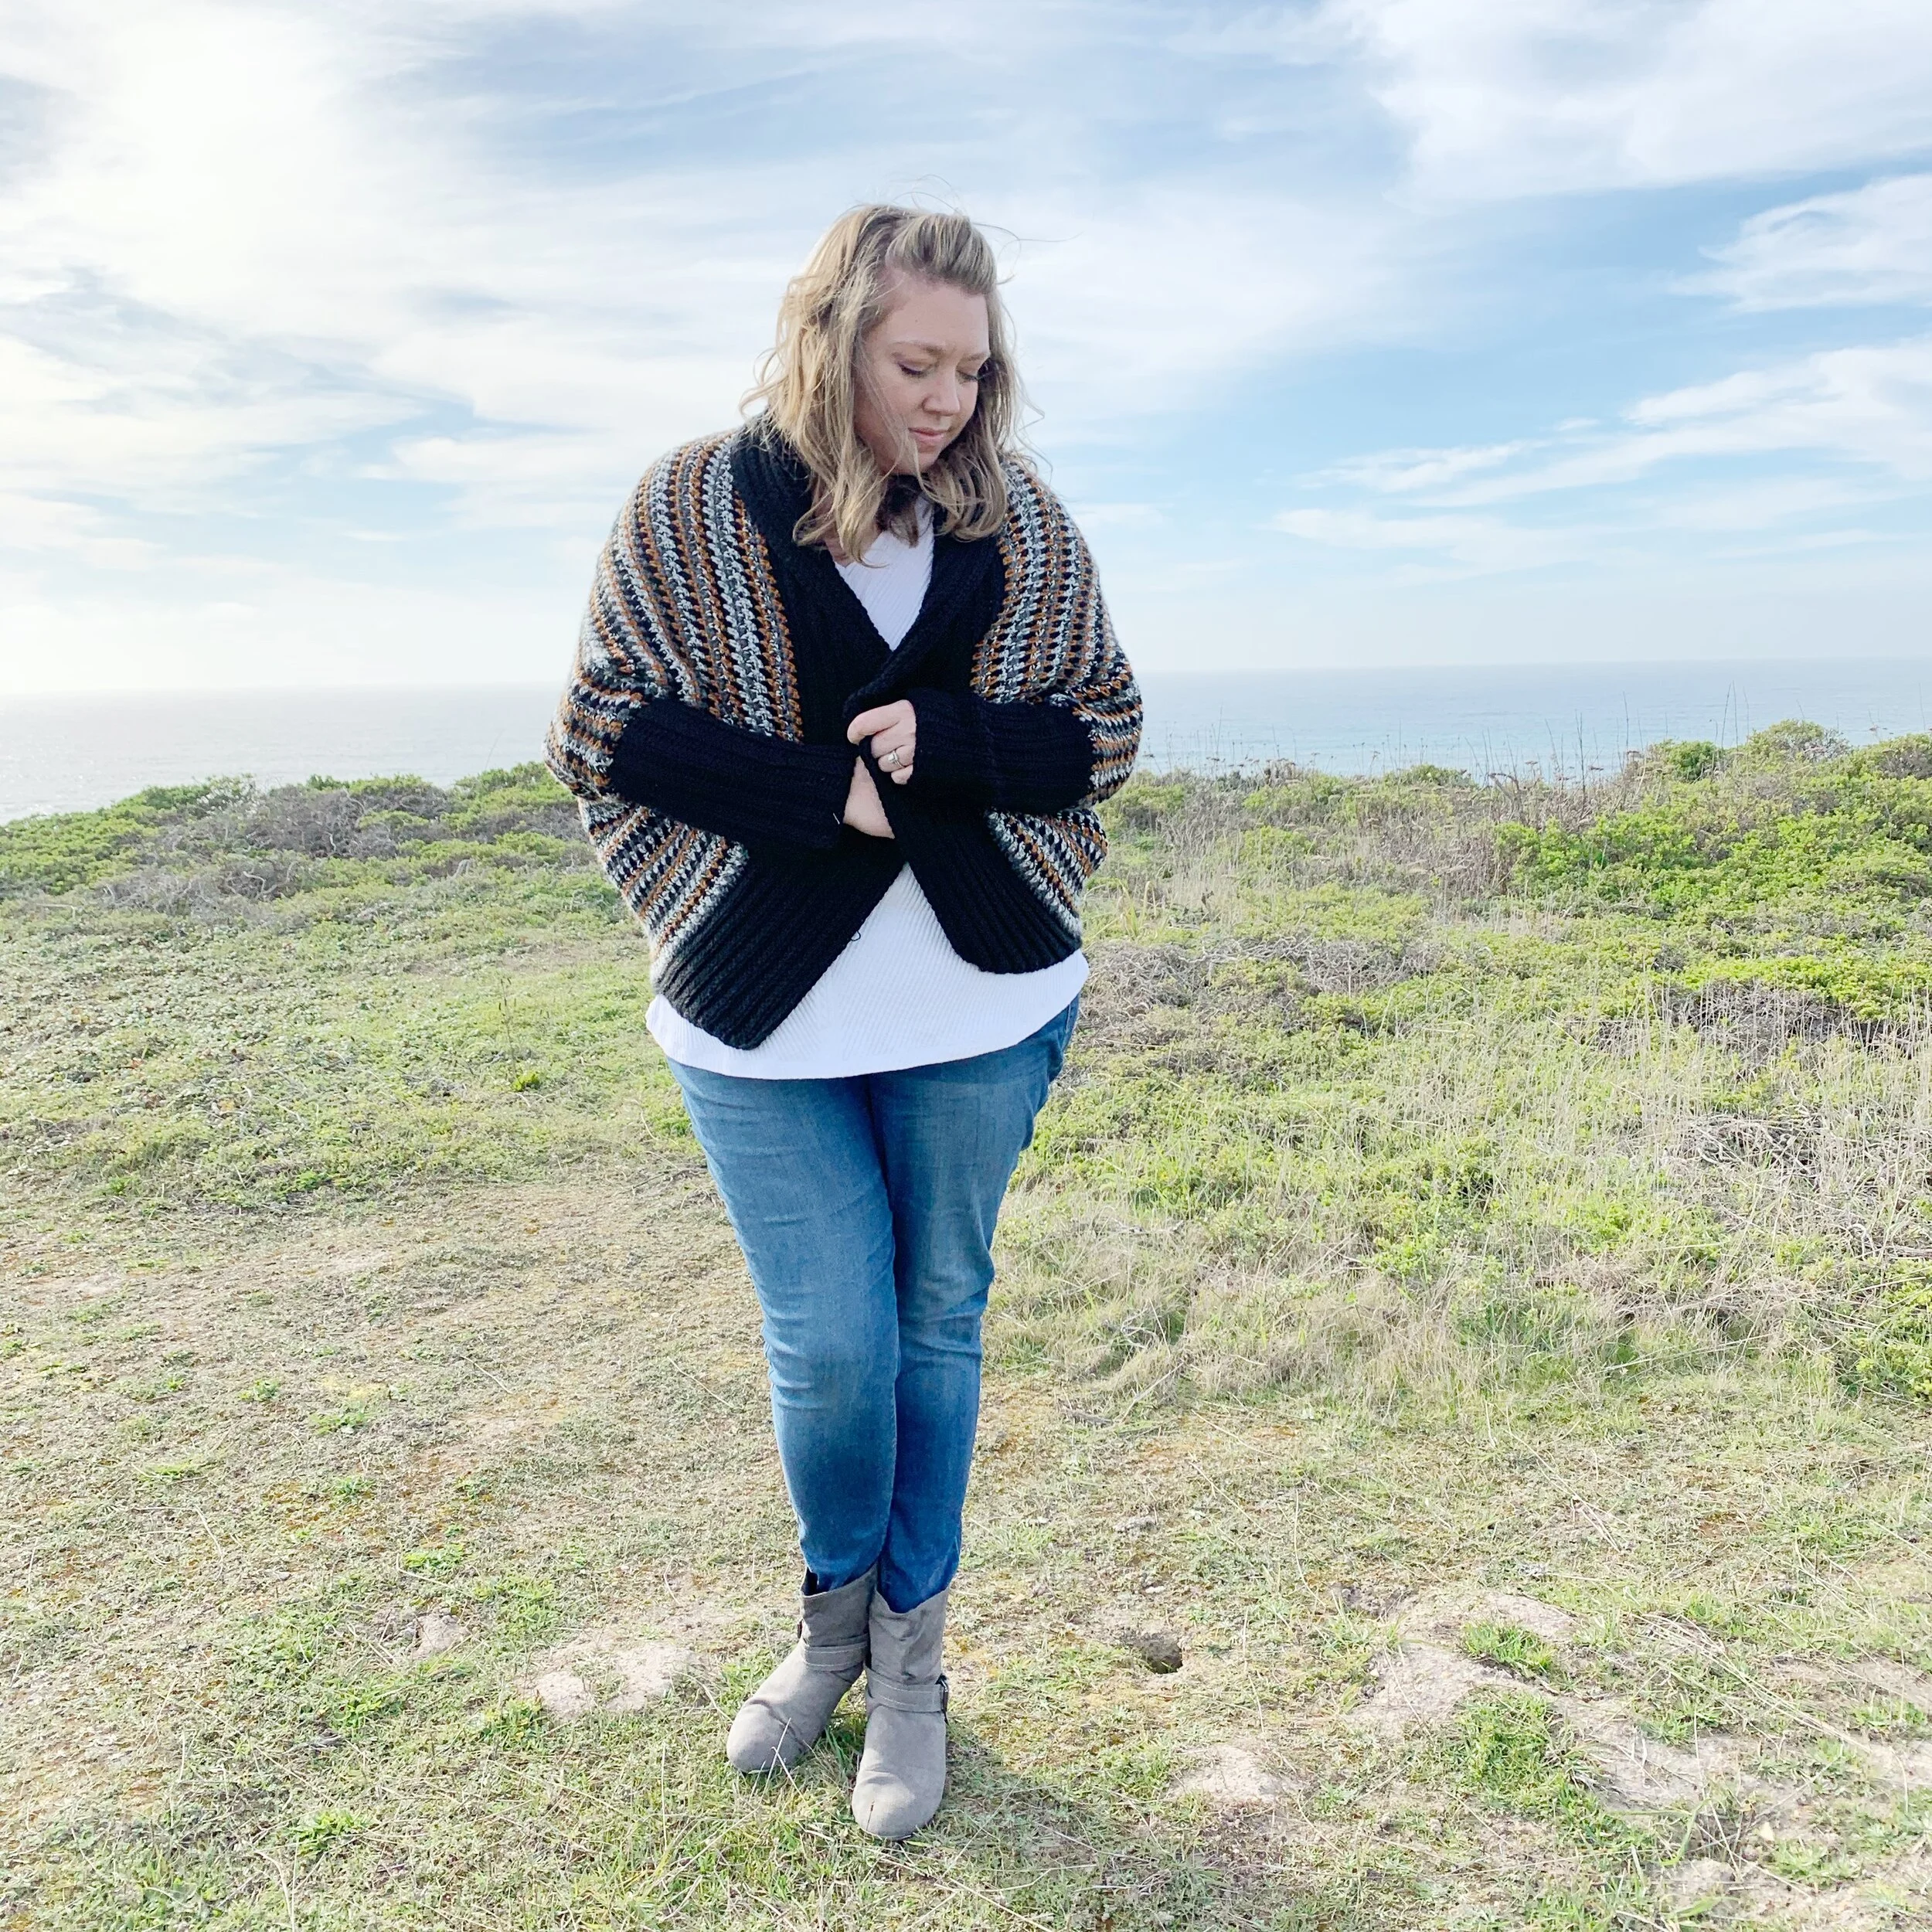
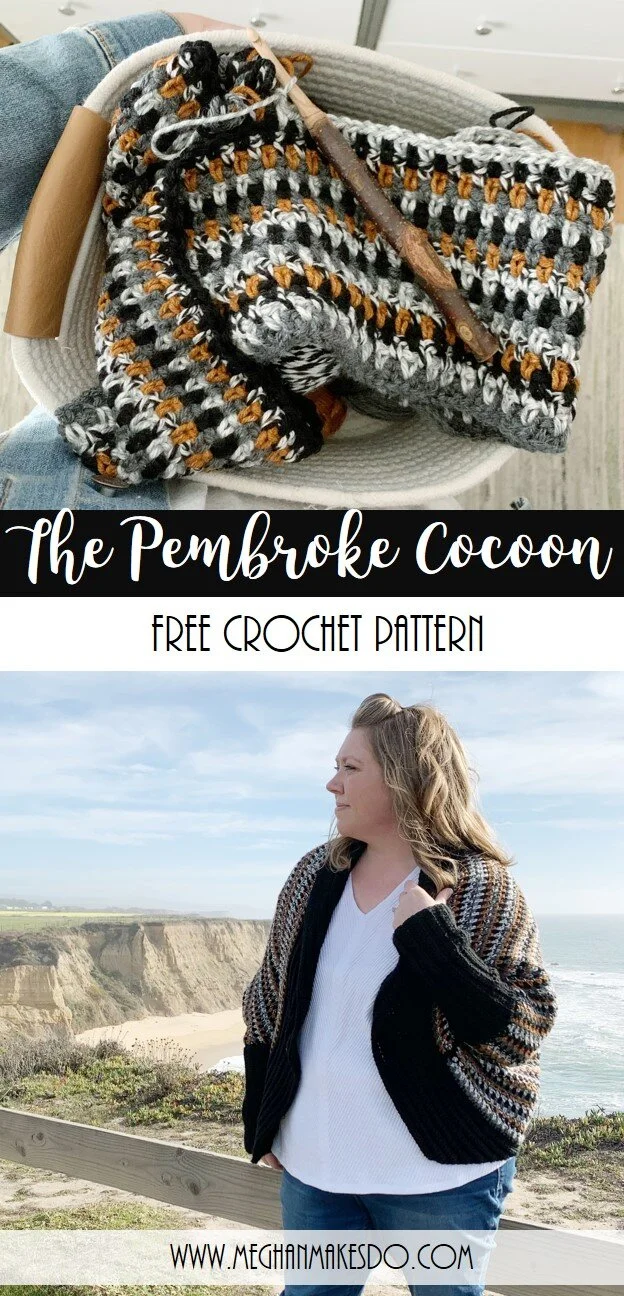
Looking for a quick and easy crochet cardigan pattern? The Pembroke Cocoon Cardi is the perfect stash busting project for any beginner garment maker. The simple stitches and construction will have you cuddled up in your new cardi in no time. Scroll down for the free pattern or grab a PDF copy in my shop.
I don’t know about you all, but after the week I’ve had I’m in desperate need of a simple project to keep my anxious hands busy. My new Pembroke Cocoon is just the thing to keep your mind off of current events. It’s also the perfect way to use up some of that extra yarn you may have laying around.
Made with five different colors of yarn, it has the perfect cozy look. It’s simple construction makes it work up quick with minimal seaming. This cocoon is great for those crocheters that are just beginning to try garments or for advanced crocheters that need a mindless project.
Lion Brand Yarn was generous enough to provide the yarn for this project. Their Basic Stitch Anti-Pilling yarn was just the think I needed to whip up this cocoon cardi.
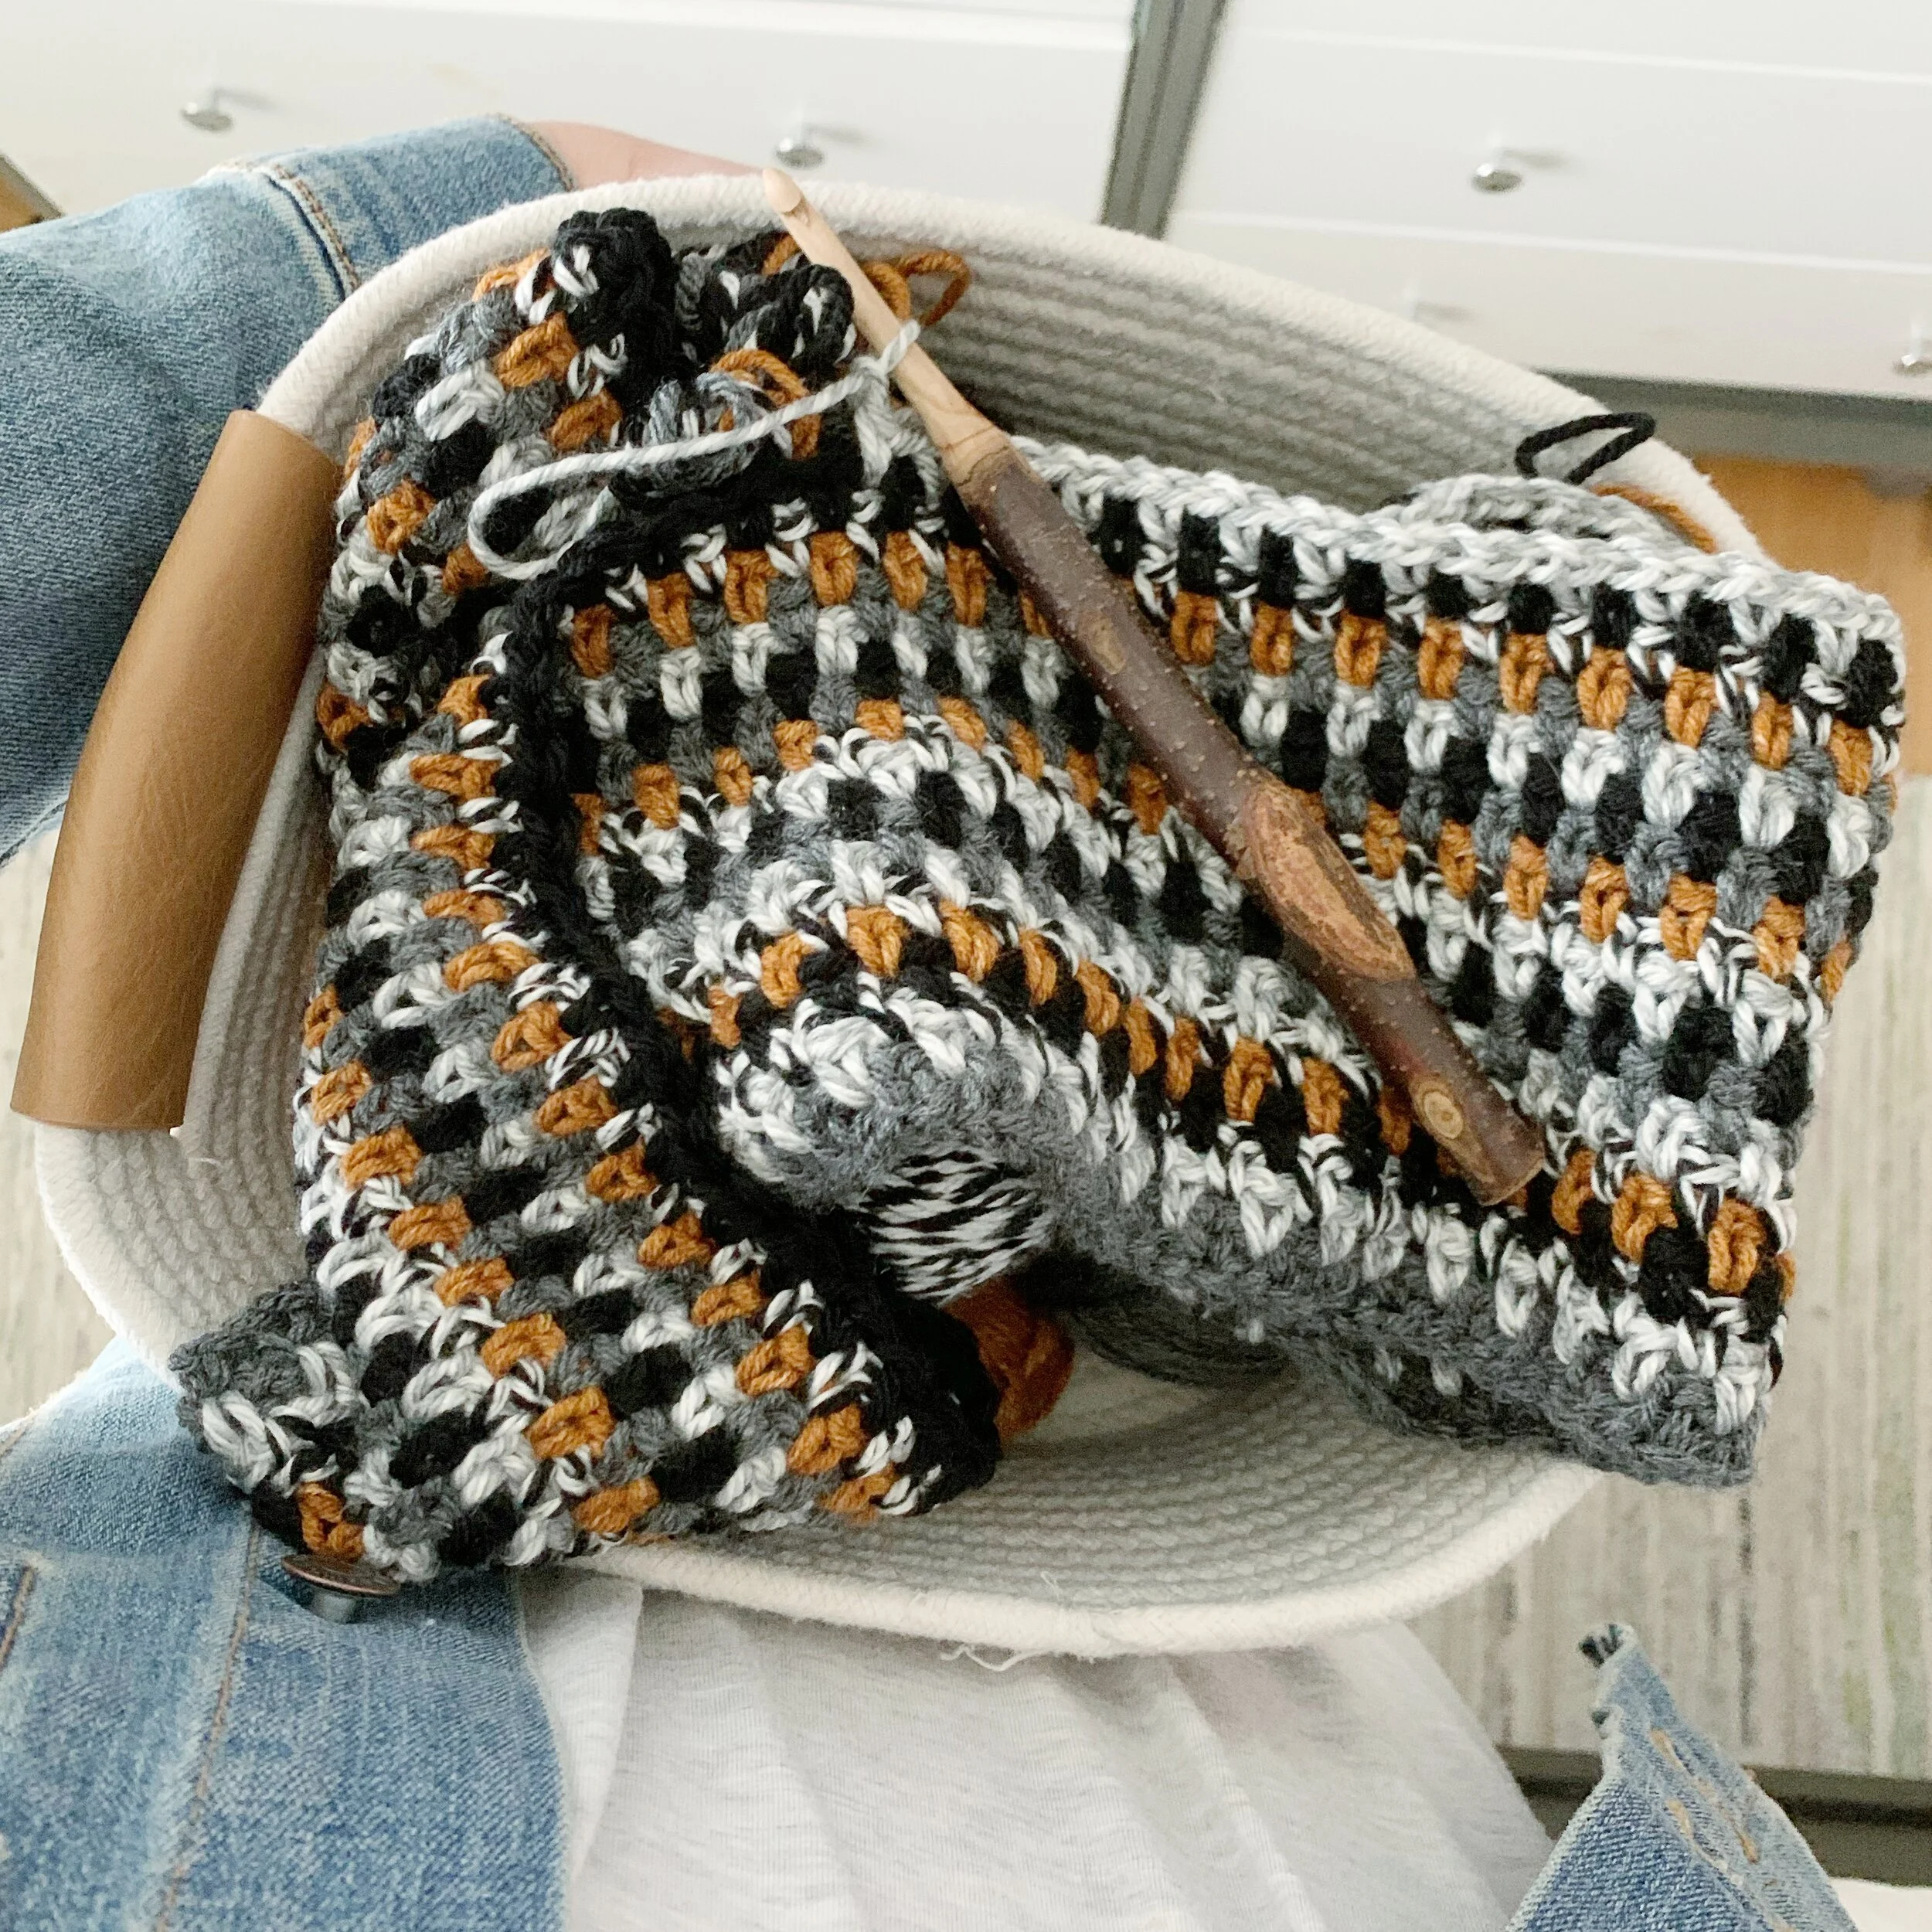
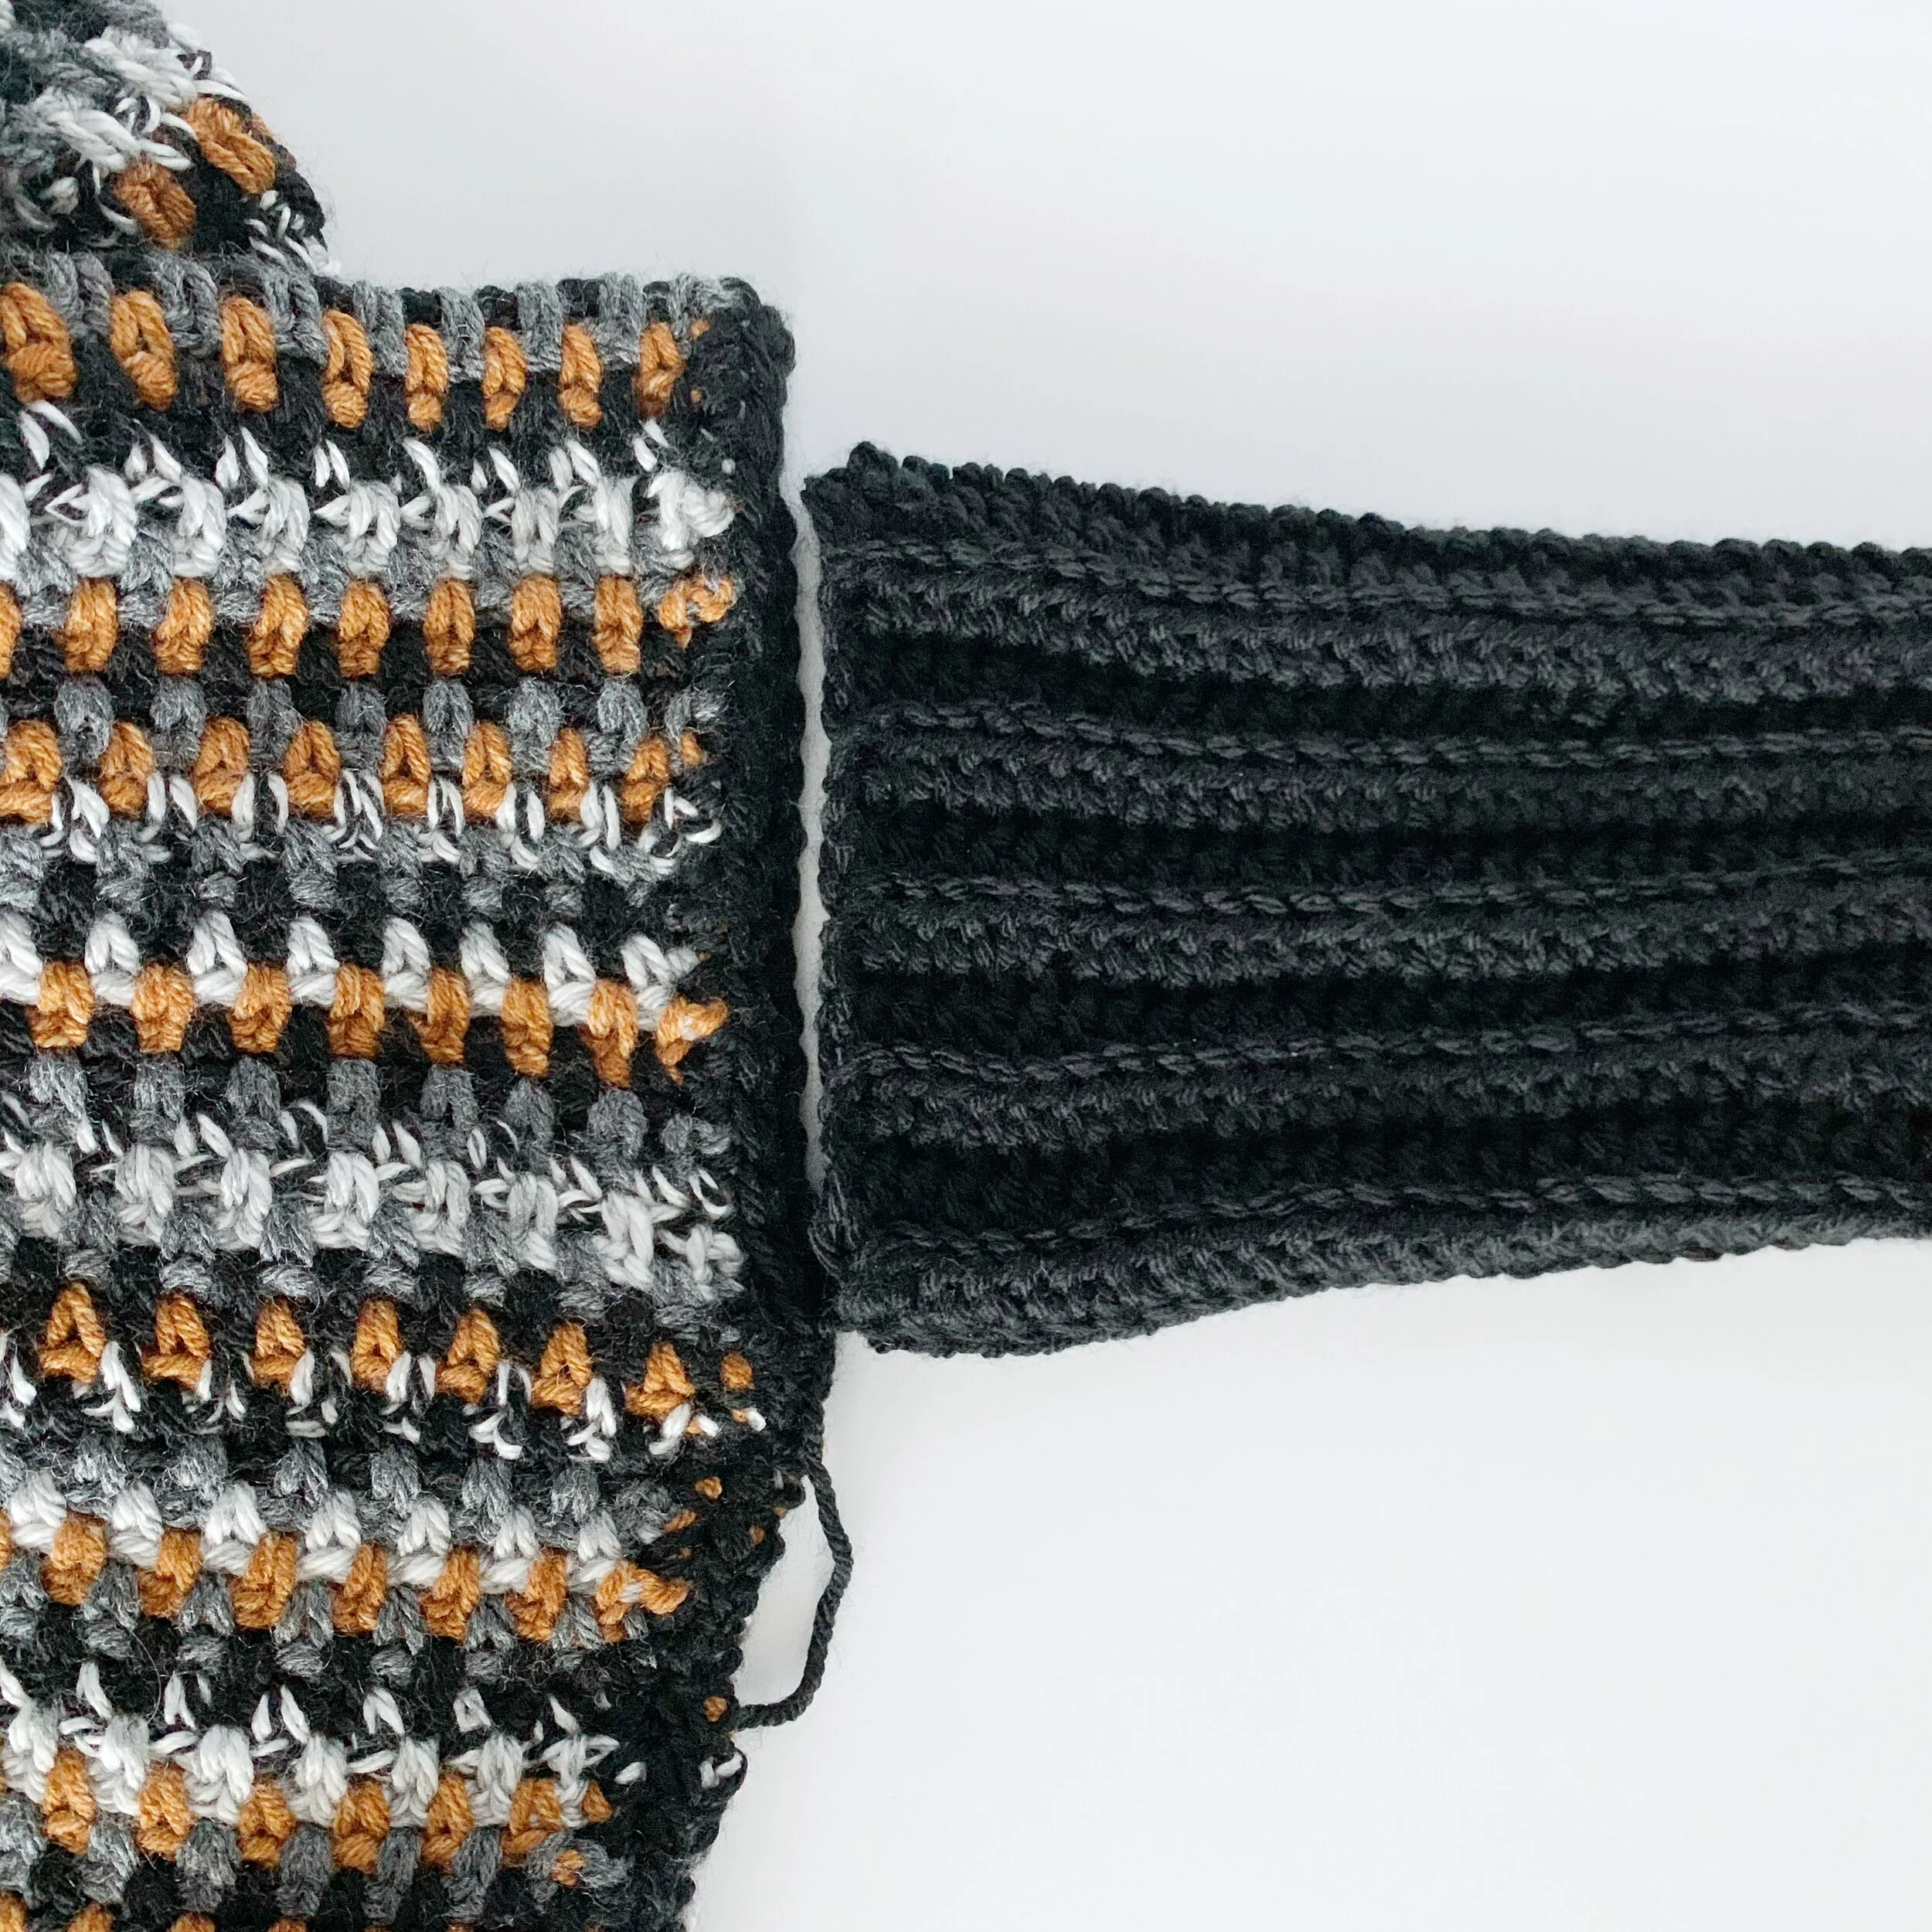
Can you believe these colors together too? Something about the mix of neutrals and double stranded yarns makes my heart sing. Mixed with the gorgeous granite stitch it is pure perfection if you ask me.
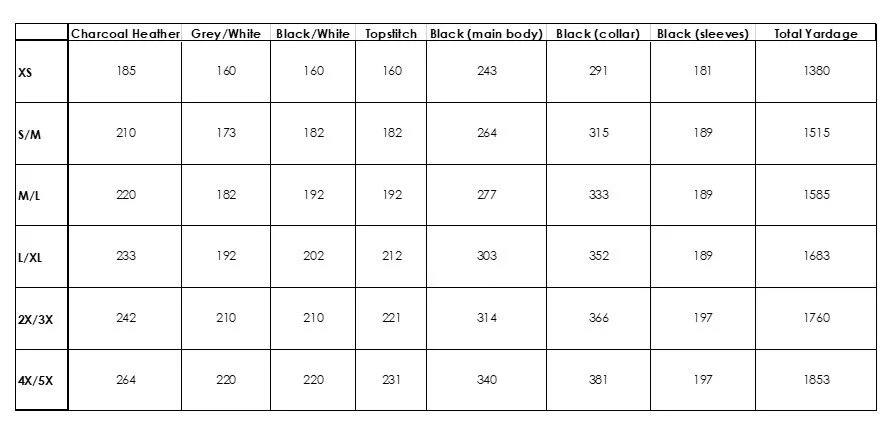
Don’t let the use of so many colors deter you because the best part is…you won’t have to fasten off your yarn! Simple float your yarn along the short edge of your rectangle as you go and pick up the colors when you need them! If you want to follow the exact pattern that I used for my colors I’ve included a detailed chart in the PDF version which you can find in my shop, on Etsy or Ravelry. Or you can mix up the colors how ever you’d like. One of my testers even made a solid colored Pembroke and it is gorgeous!
The Pembroke Cocoon Crochet Pattern
Materials:
Approx. 1378-1849 yards of Lion Brand Yarn Basic Stitch & Jeans yarn. (see chart for specific yardages for each size and color)
Tapestry needle
Scissors
Stitch marker(s)
Abbreviations:
ch- chain
RS- right side
st(s)- stitch(es)
WS- wrong side
sl st- slip stitch
BLO- back loop only
sc- single crochet
hdc- half double crochet
dc- double crochet
Hdc2tog- half double crochet 2 together. (yo, insert hook into first st, yo draw up a loop, insert hook in next st, yo draw up a loop, yo and draw through all four loops on hook.)
Size:
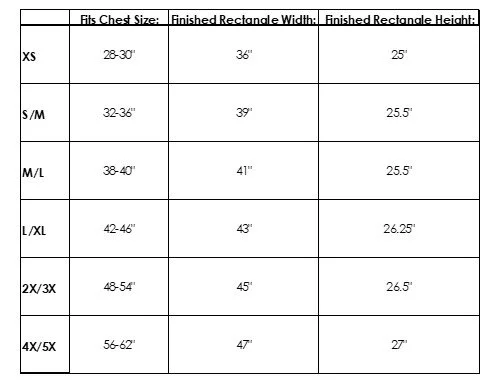
XS(S/M, M/L, L/XL, 2X/3X, 4X/5X) see size chart for more details.
Gauge:
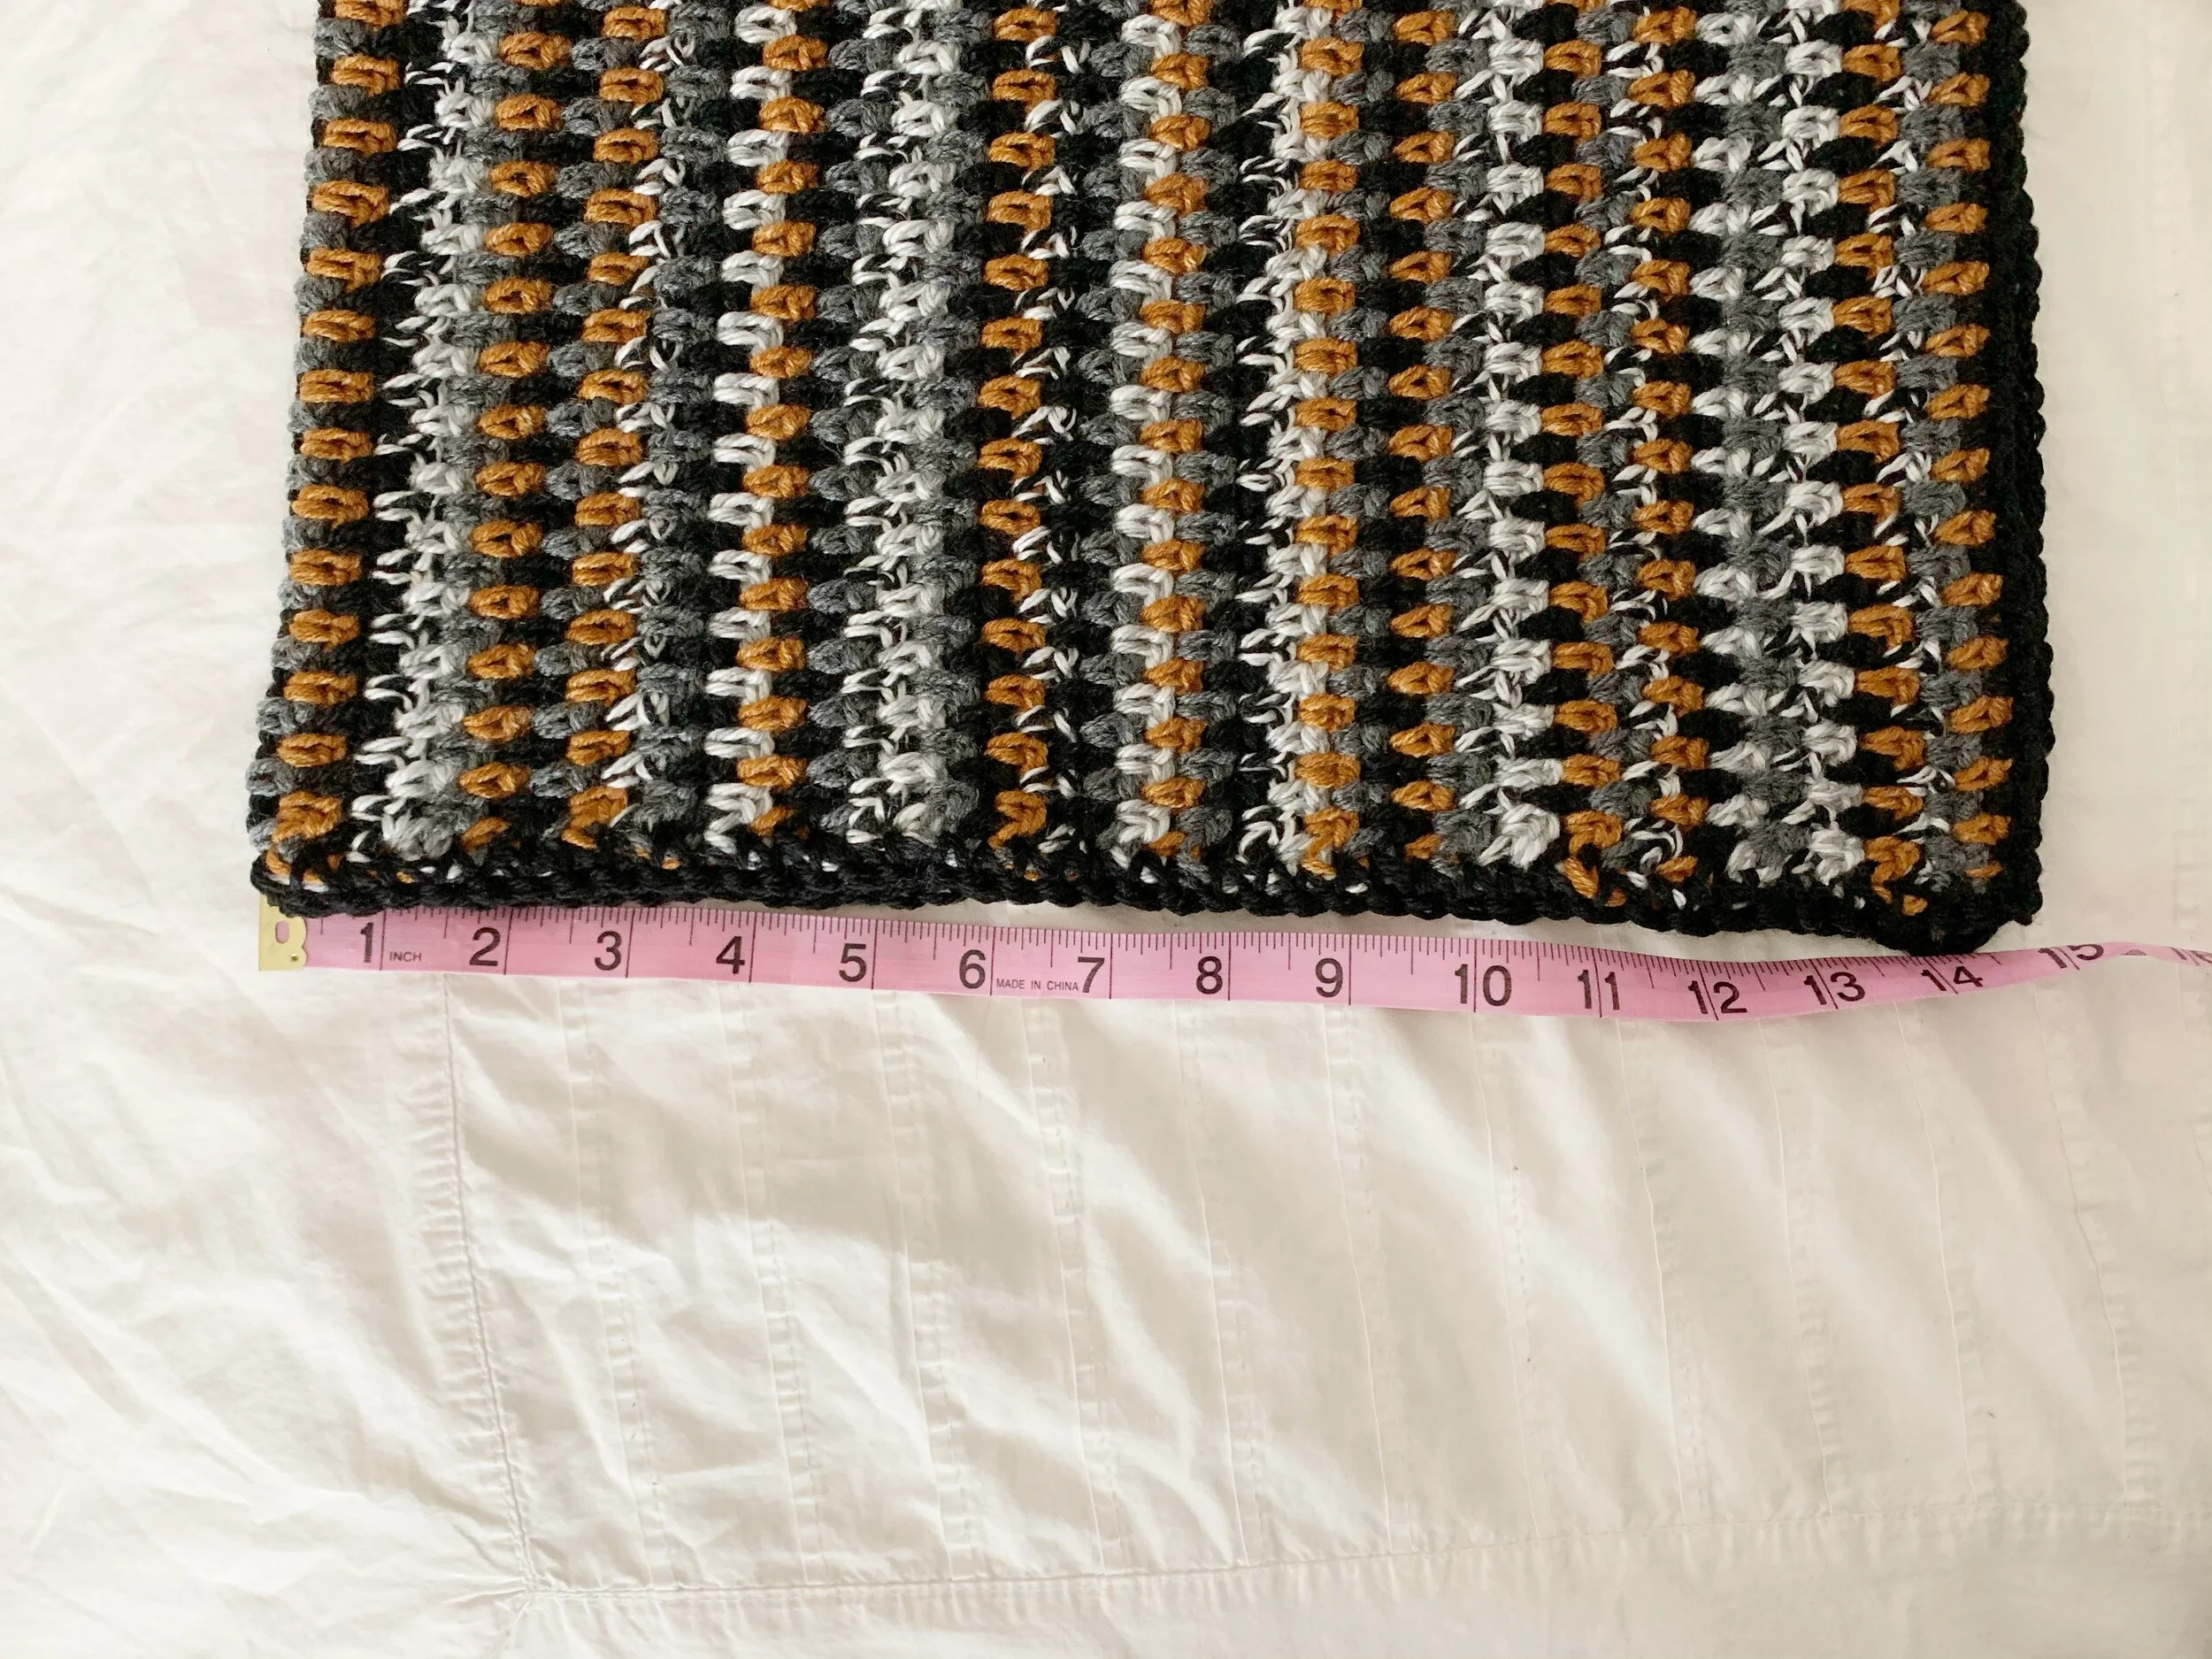
16 stitches X 16 rows = 4” square in main body pattern. (granite stitch)
Notes:
1.The main body is worked as one large rectangle. The short ends are then seamed together leaving holes for the arms. Collar is worked directly onto the seamed rectangle. Sleeves are made separately and then seamed into the arm holes.
2.Chs at beginning of rows do not count as a stitch unless otherwise stated.
3.Main body is worked using multiple colors. There is no need to fasten off between each color. Just float colors along short sides of rectangle as you go.
Pattern:
Main Body: Using I hook.
This section is made using five different colors. Please refer to the color chart if you wish to have yours look like the original. There is no need to fasten off after each color change. Simply float the strands of yarn along the short sides of the rectangle. Switch colors at the end of each row.
*make sure to keep floats somewhat loose so your piece does not start to bunch.
Ch 146(158, 166, 174, 182, 190)
Row 1: sc in 2nd ch from hook, *ch 1, sk 1, sc in next ch, repeat from * across, switch to next color, ch 1, turn. (145, 157, 165, 173, 181, 189)
Row 2: sc in 1st st and next ch-1 sp, *ch1, sk 1, sc in next ch-1 sp, repeat from * across until 1 st remains, sc in last st, switch to next color, ch 1, turn. (145, 157, 165, 173, 181, 189)
Row 3: sc in 1st st, *ch 1, sk 1, sc in next ch-1 sp, repeat from * across, switch to next color, ch 1,
turn. (145, 157, 165, 173, 181, 189)
Repeat rows 2&3 until you have 101(104, 104, 106, 107, 109) rows.
*add more rows here if you desire a longer length
Attach black yarn at the end of the last row.
Ch 1 and then evenly sc down the short side of the rectangle. Work 1 sc in the end of each row, skipping every fourth row. Make sure to work around the floats. You should have approximately 76(78, 78, 80, 81, 82) sts.
Ch 1 and sc in each st along the bottom long edge of the rectangle until you reach the other short side. Ch 1 and again evenly sc up the other short side of the rectangle. Work 1 sc in the end of each row, skipping every fourth row. You should have approximately 76(78, 78, 80, 81, 82) sts.
Fasten off leaving a long tail for seaming and then weave in all other ends.
Main Body Assembly:
Fold rectangle in half lengthwise. Sew the short ends together from the long edge towards the fold until 4.75”(5”, 5”, 5.5”, 6”, 6”) remain. These will become the arm holes.
Then open cardigan so seams are in the center and arm holes come to a point on either side.
Collar: Using H hook.
Place stitch markers on both sides of the cardigan 25(27, 29, 31, 32, 33) sts down from the seams. These are the points where the collar will start and stop.
*You can also try on the cardigan at this time and place your stitch markers where you would like the collar to start and stop. Note that more or less yarn may be required.
With the RS of the cardigan facing you, attach black yarn into the st marker on the right side of the cardigan.
Setup Round: ch 1, sc in same st as join and in each st around cardigan opening, sl st to the top of the 1st st to join.
*you will now start working in rows going between the stitch markers to create the collar.
Work all stitches in BLO.
Row 1: ch 2 (does not count as st here and throughout), hdc2tog, hdc around until 2 sts before next st marker, hdc2tog, ch 2, turn.
Row 2: hdc2tog, hdc in each st across until 2 sts remain, hdc2tog, ch 2, turn.
Row 3-15: Repeat row 2. On Row 15 do not ch or turn.
Row 16: ch 1, do not turn, working down the edge of the collar, sc evenly across, then sl st in each st along the bottom of the cardigan, sc evenly up the other edge of the collar, sl st to the top st of the collar, then fasten off and weave in ends.
Sleeves: (make 2) Using H Hook.
Work all stitches in BLO.
With black yarn, ch 42
Row 1: sc in 2nd ch from hook and in next 11 chs, hdc in next 15 chs, dc in next 14 chs, turn. (41)
Row 2: ch 2 (counts as st here and throughout), hdc in next 28 sts, sc in last 12 sts, turn. (41)
Row 3-20(21, 21, 21, 22, 22): ch 2, hdc in each st across, working last st into the top of the ch 2 from previous row, turn. (41)
XS, 2X/3X, 4X/5X
Row 21(23, 23): ch 1, sc in next 12 sts, hdc in next 29 sts working the last st into the top of the ch 2 from previous row, turn. (41)
Row 22(24, 24): ch 3, dc in next 13 sts, hdc in next 15, sc in last 12 sts working the last st into the top of the ch 2 from previous row. (41)
S/M, M/L, L/XL
Row 22: ch 2, hdc in next 28 sts, sc in next 12 sts, working the last st into the top of the ch 2 from the previous row, turn. (41)
Row 23: ch 1, sc in next 12 sts, hdc in next 15 sts, dc in next 14 sts, working the last st into the top of the ch 2 from the previous row. (41)
Bring long sides together and sl st through the back loop of the current row and the beginning chains all the way across.
XS, 2X/3X, 4X/5X
Fasten off leaving a long tail for sewing.
S/M, M/L, L/XL
Fasten off and weave in ends. Cut a long piece of yarn for sewing.
Line up the arm holes WS out and the sleeves WS out. Use stitch markers to keep seam in line. You may need to stretch the sleeve into place a bit. Then using the mattress stitch, join sleeves to arm holes.
Fasten off and weave in ends. Turn cardigan and sleeves RS out.
Now go enjoy your brand new Pembroke Cocoon Cardigan!
I’d love to see your cocoons so make sure to use #thepembrokecocoon and tag me @meghanmakesdo on social media so I can see.
Don’t forget if you’d prefer a PDF copy with detailed color chart you can find it in my shop, on Etsy and Ravelry.
Happy Crocheting!
Meghan


