The Toivo Tote-Free Sewing Pattern
This post contains affiliate links. If you make a purchase through one of those links I may receive a small commission. It’s an easy way to support this blog at no additional cost to you.
This quick tote bag pattern is the perfect weekend project. Using just a few pieces of fabric and some basic sewing supplies you’ll have it worked up in no time. Find the free pattern and tutorial below or grab a printable PDF in my shop!

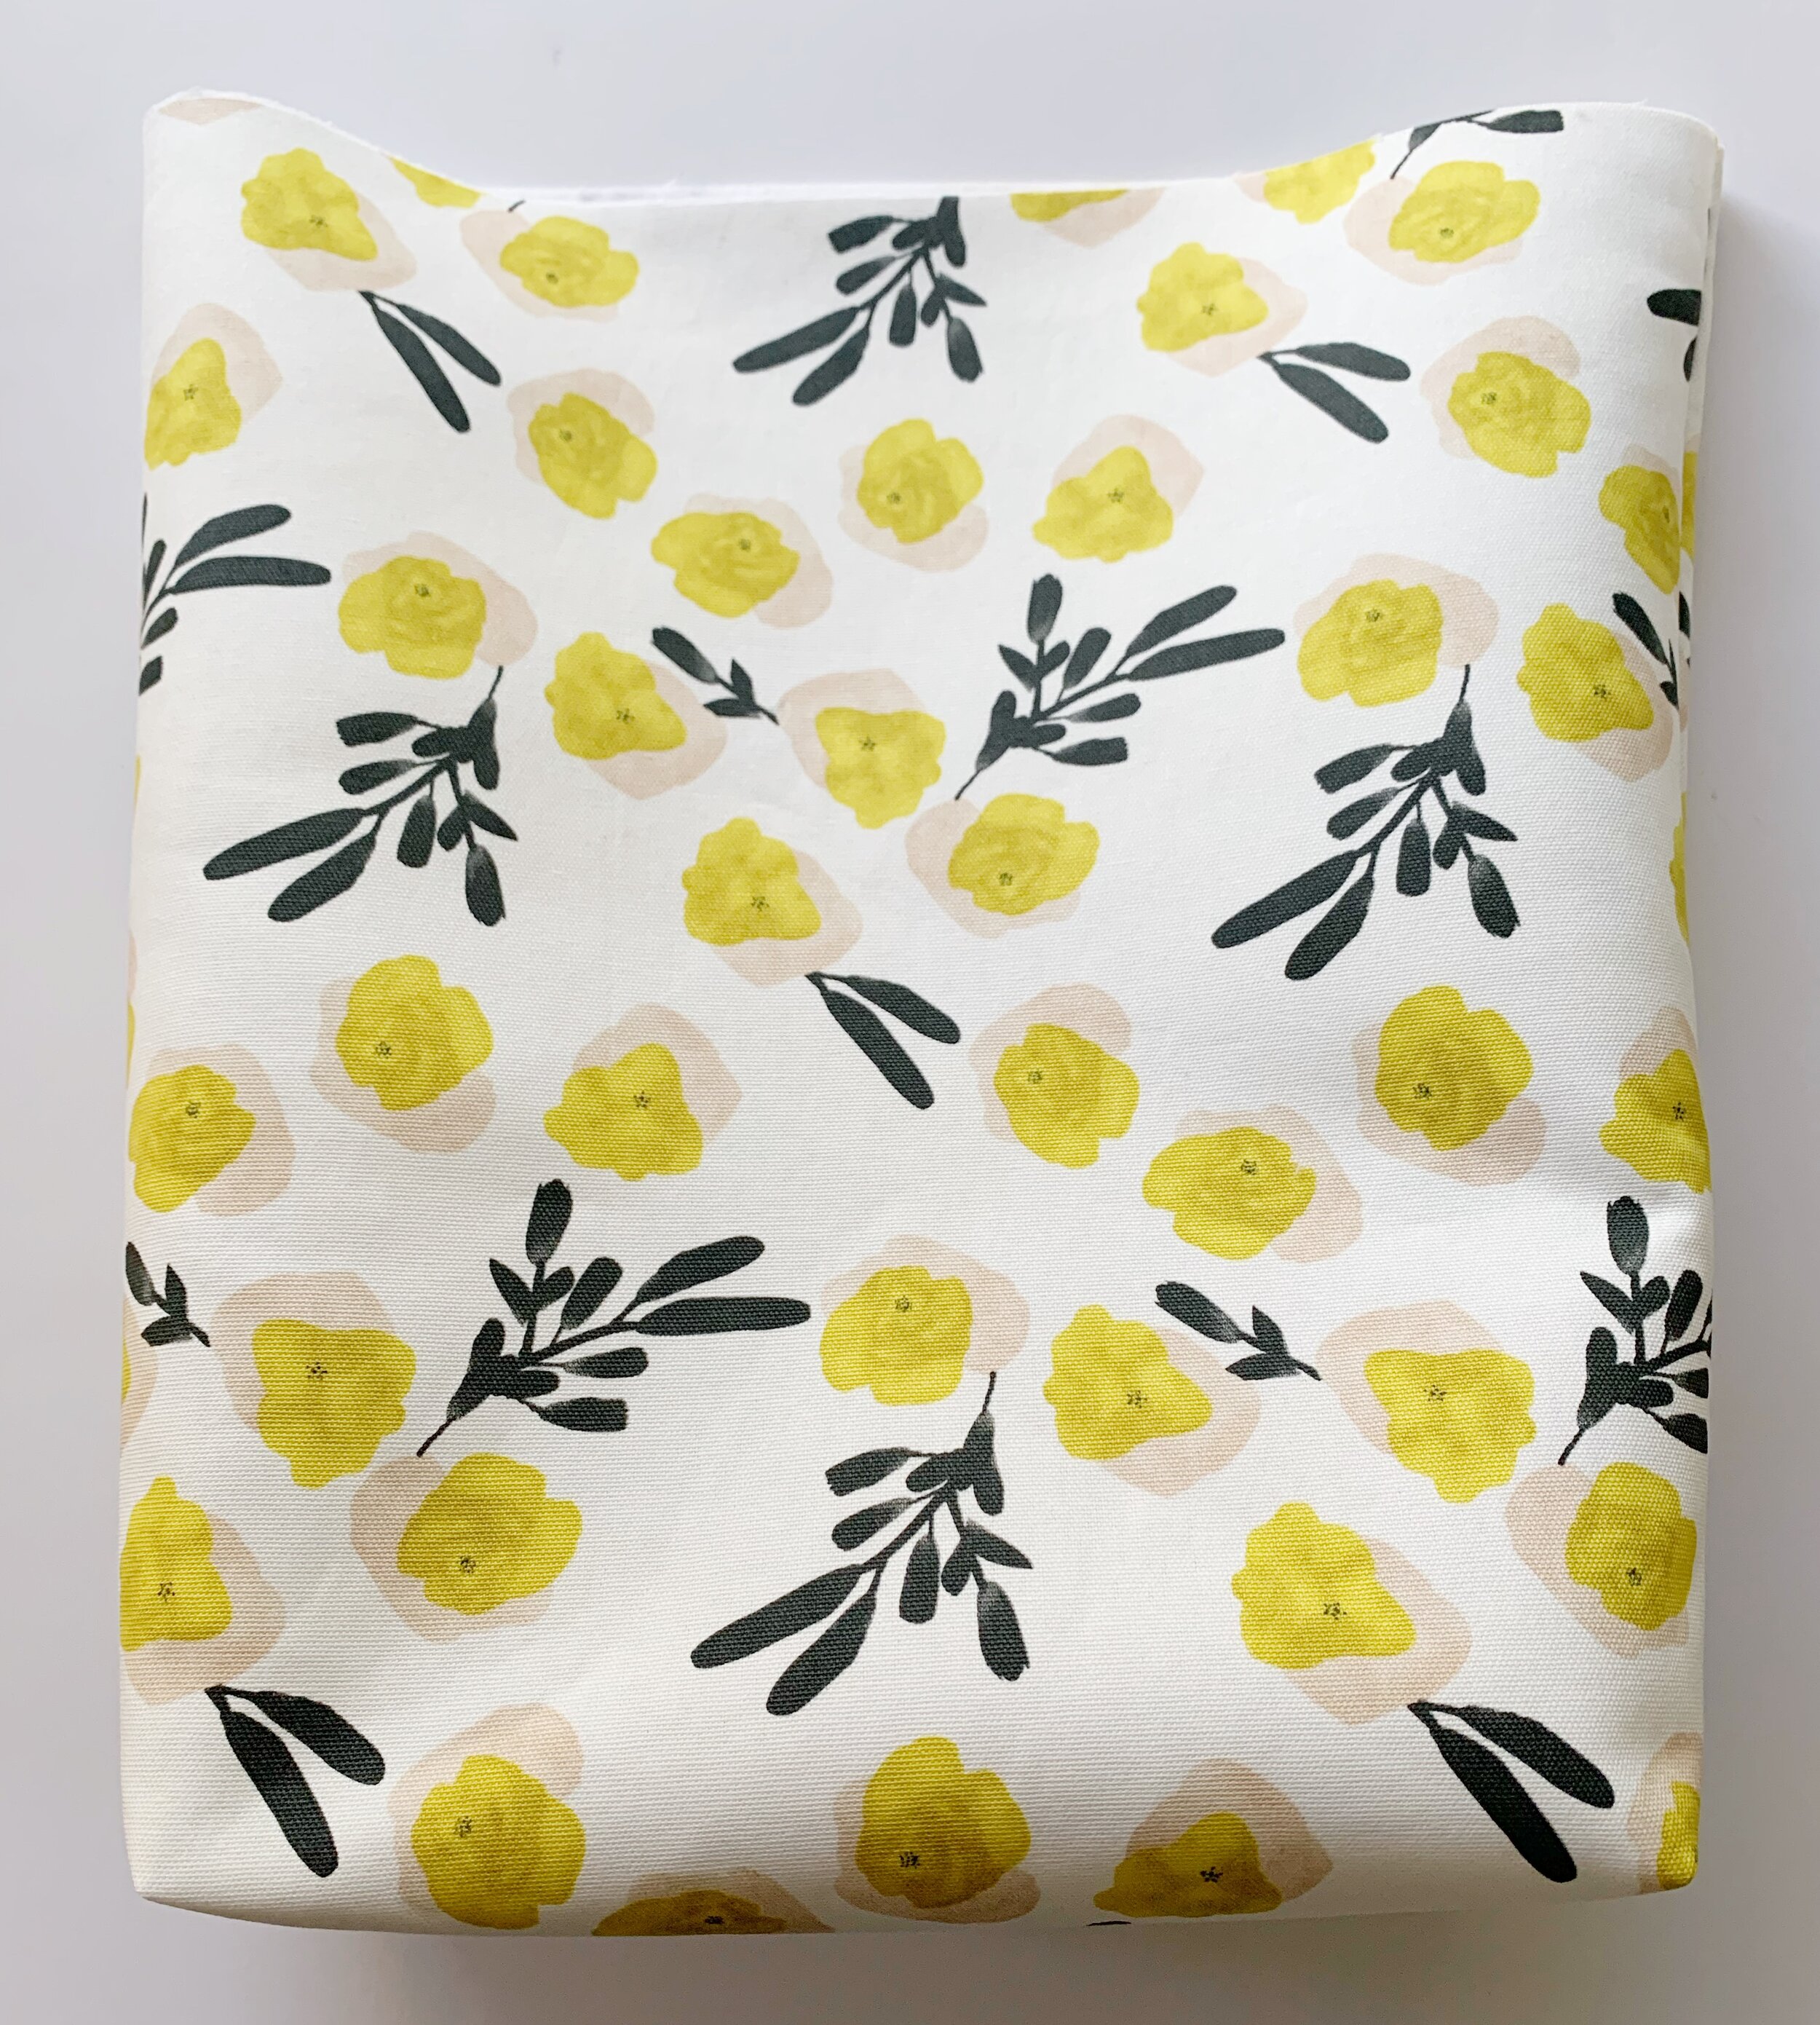
I found this gorgeous floral print fabric a few months ago and knew it would make the perfect little tote bag. I don’t know about you, but I can never have too many totes. I use them for everything from trips to the library, shopping or as project bags.
What I hadn’t expected was to be creating this pretty Spring tote during a world wide pandemic. We are currently safe at home under a shelter-in-place order for who knows how long. Luckily I had just about everything I needed already.
The main body of the tote worked up quickly and then it was just a matter of waiting on my brand new screw on rivets to arrive. If you are new to rivets I definitely recommend the screw on kind to get started with. They install very easily and aren’t as intimidating as the regular hammer in kind.

I decided to name this pretty tote The Toivo Tote because Toivo means hope. I think right now a lot of us could use a little bit of hope. So grab your materials and let’s make a Toivo tote today!
The Toivo Tote Sewing Pattern
Materials:
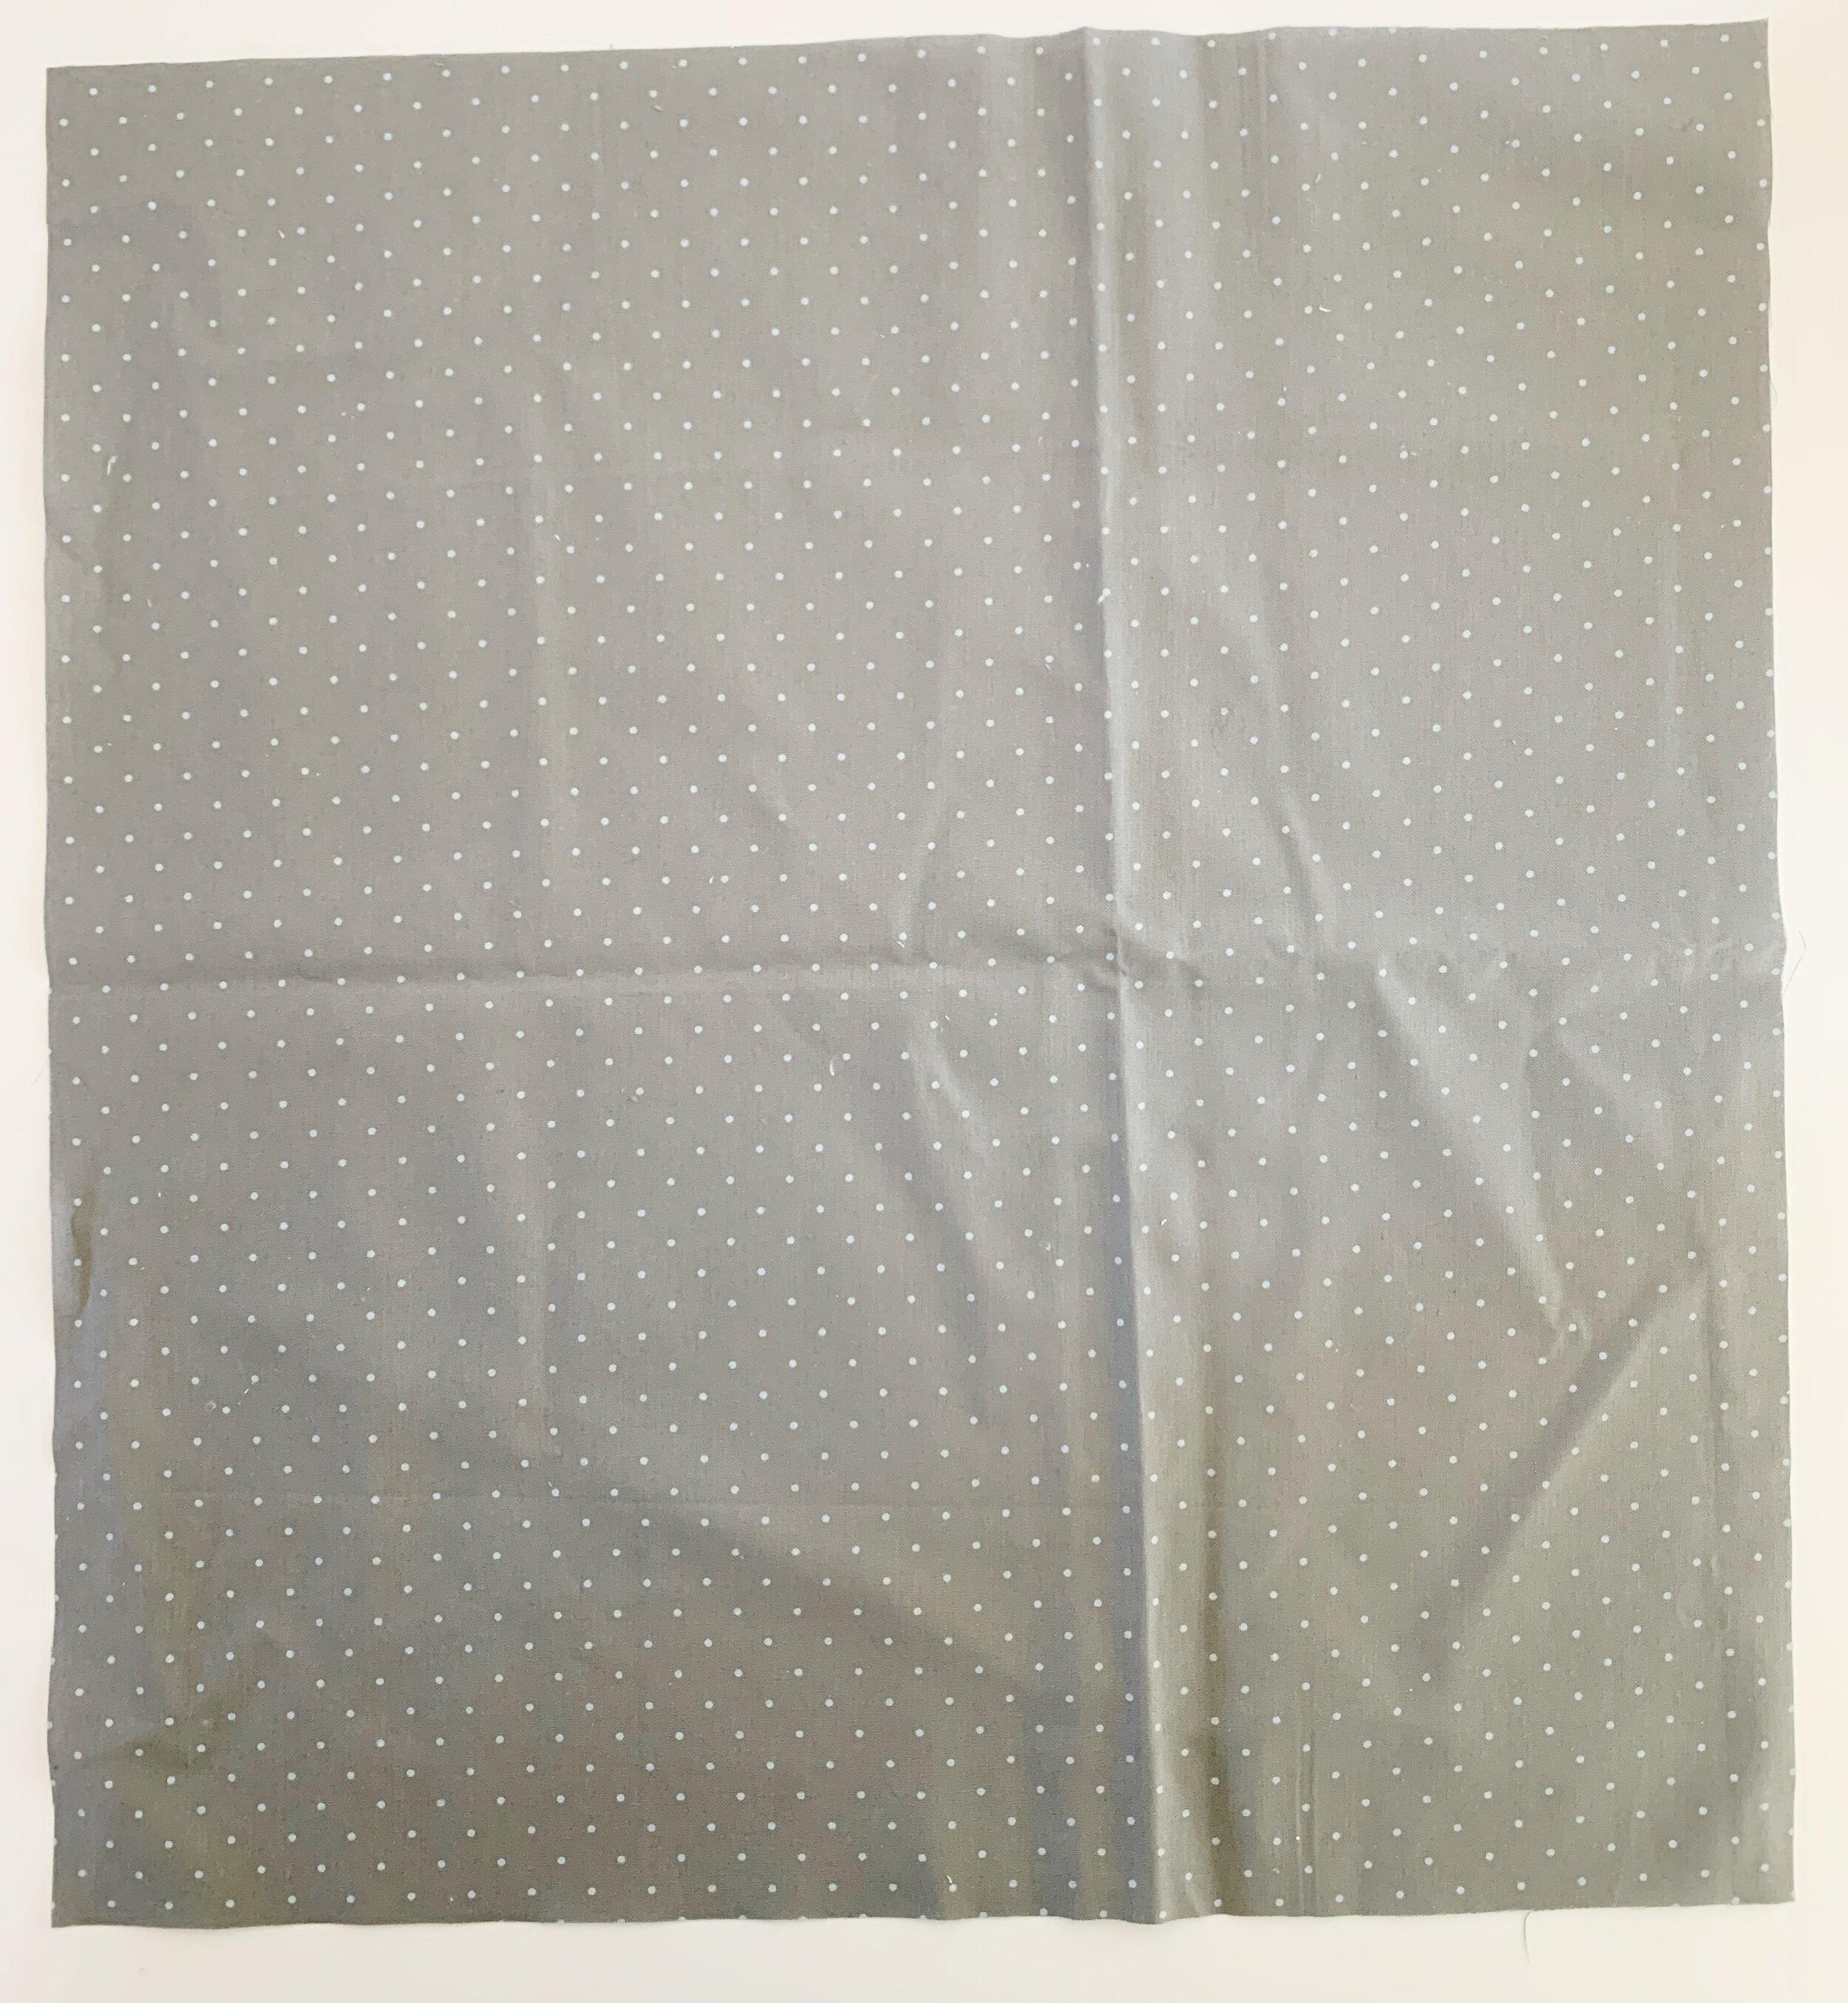
½ yard of 45” home decor fabric for exterior
½ yard of 45” quilting cotton or 2-fat quarters for lining
1/3 yard of quilting cotton for pocket
8” zipper
1- 64”X 1” leather purse strap
Leather punch
Ruler, rotary cutter, zipper foot, tailor’s chalk and other basic sewing supplies
Size:
Finished size is approx. 14” X 15” X 5”
Notes:
1.Use ½” seam allowance through out.
2.Interior zippered pocket is optional
3.Regular hammer in rivets can be used in place of screw in rivets.
Pattern:
Cut:
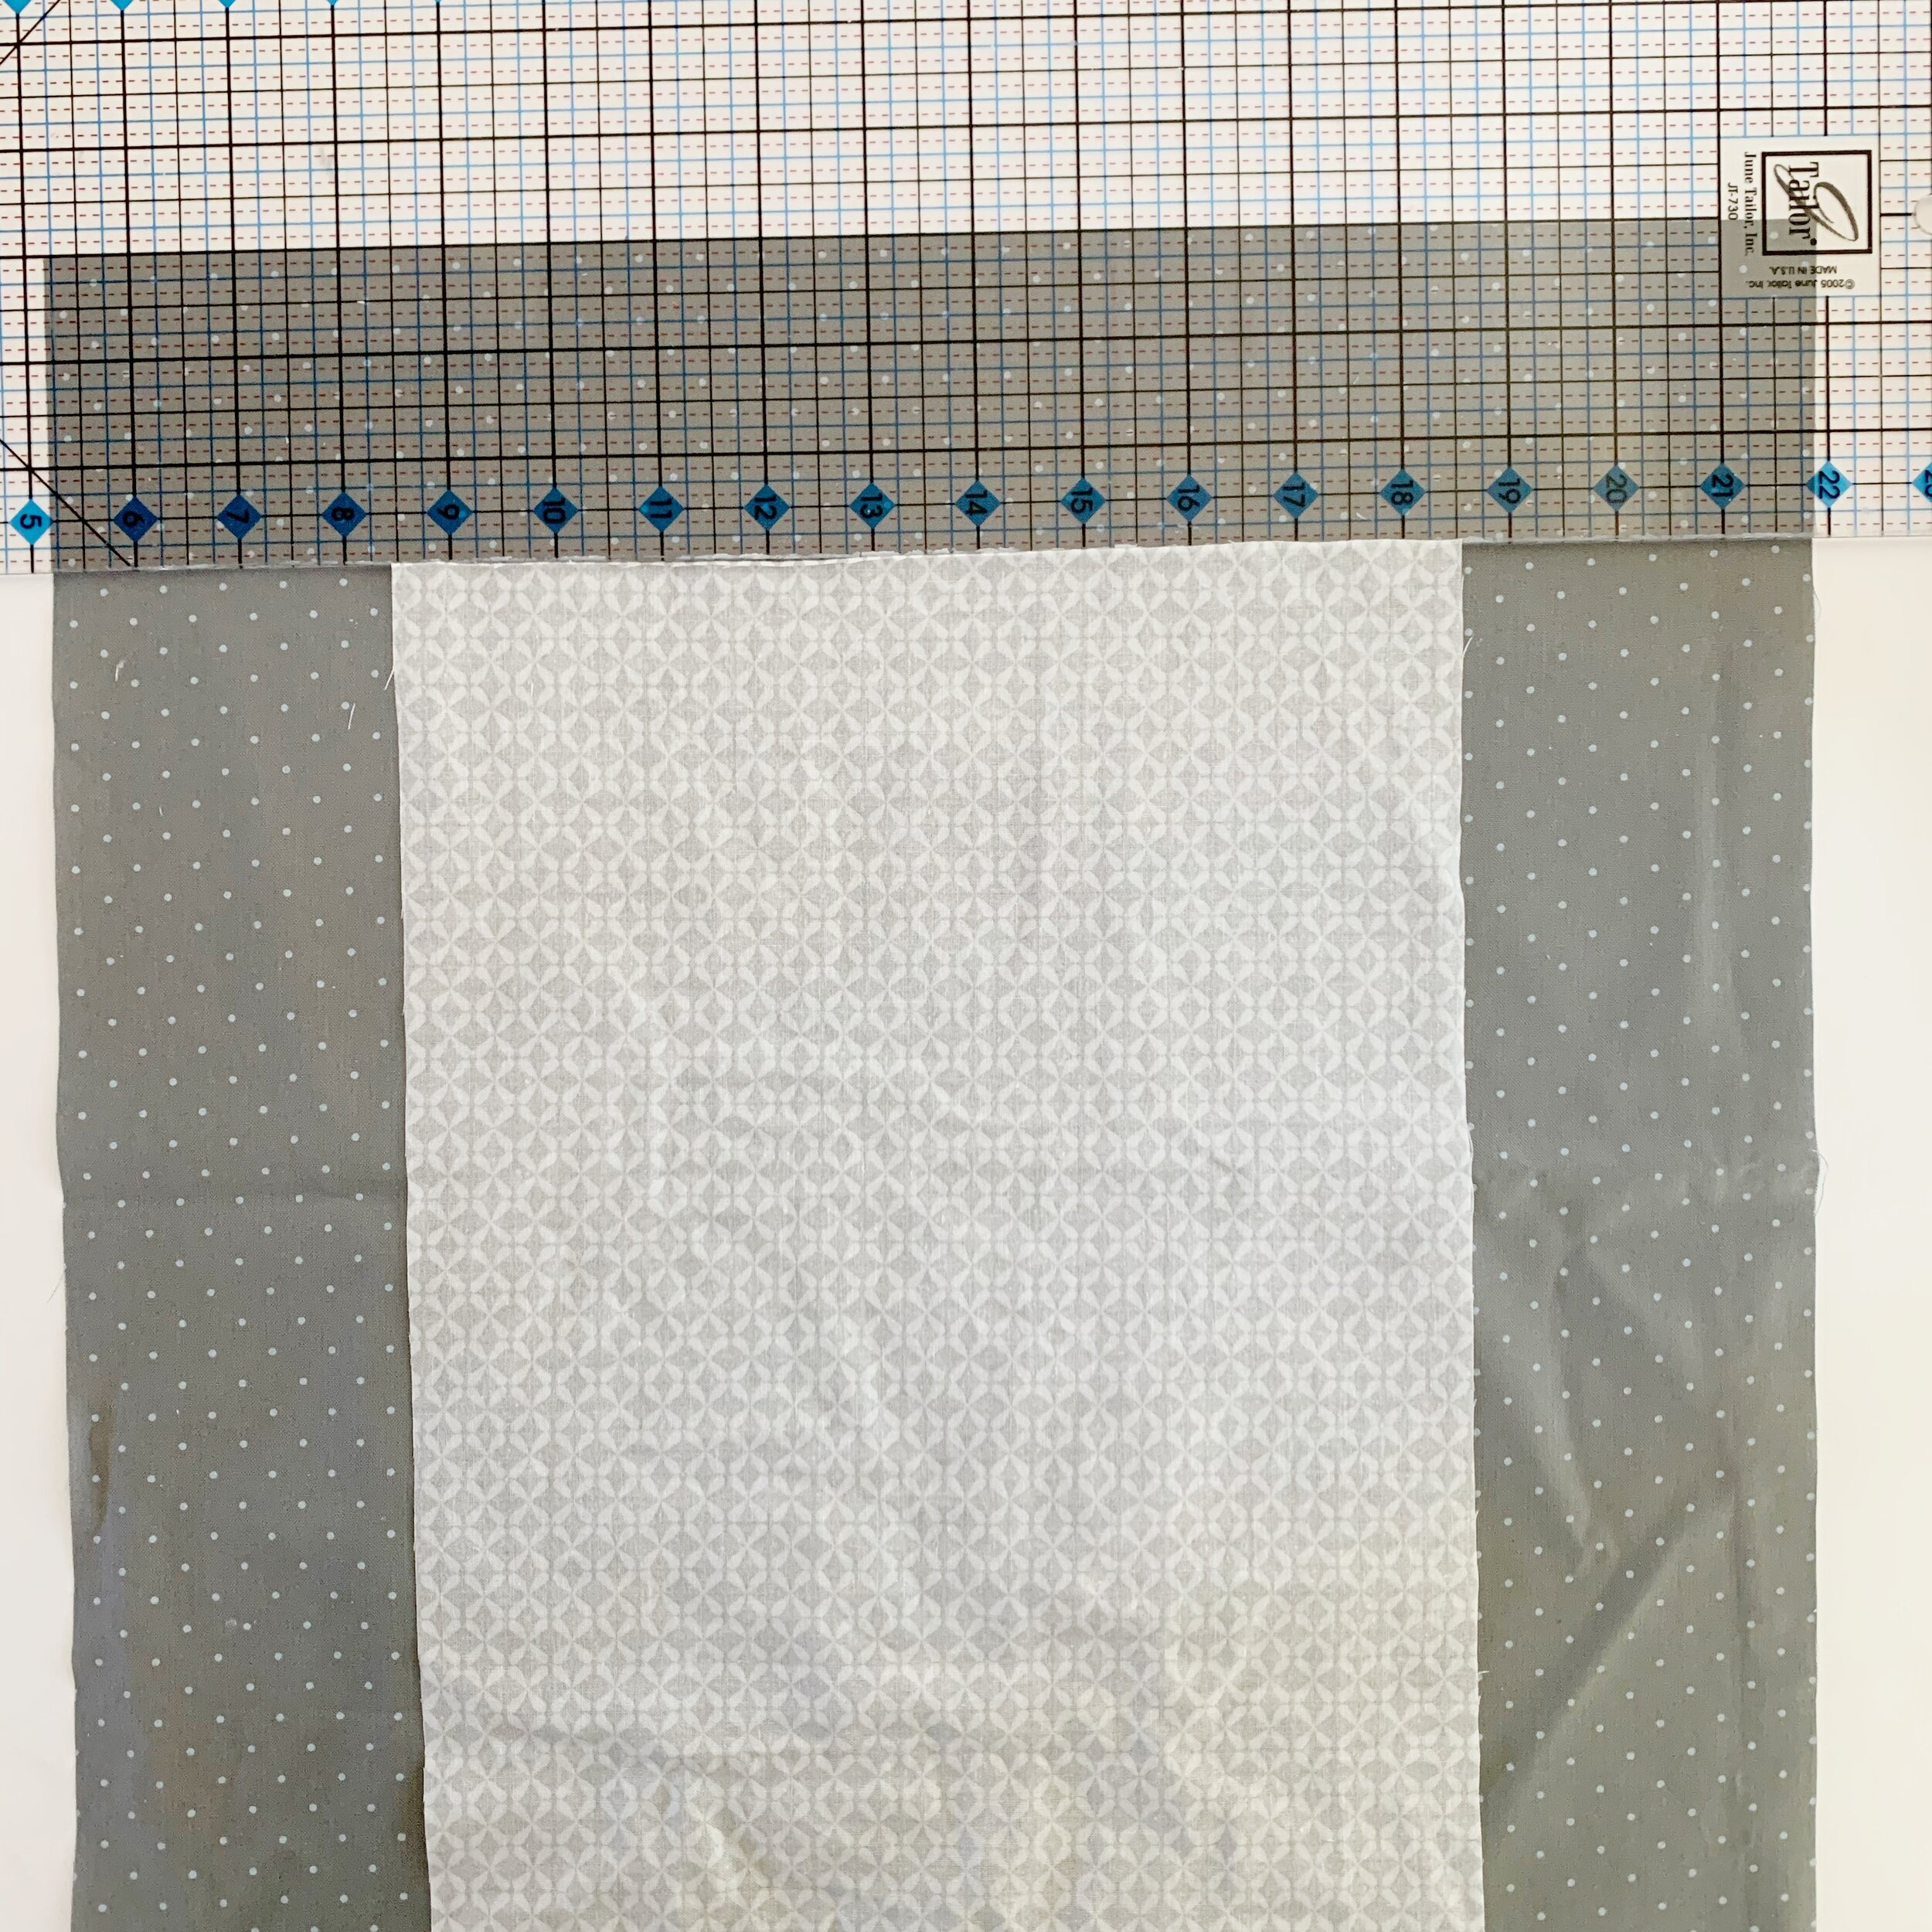
(2)-16.5” X 18” pieces from exterior fabric, lining fabric and fusible fleece.
(1)-10” X 18” piece from quilting cotton for pocket.

Exterior:
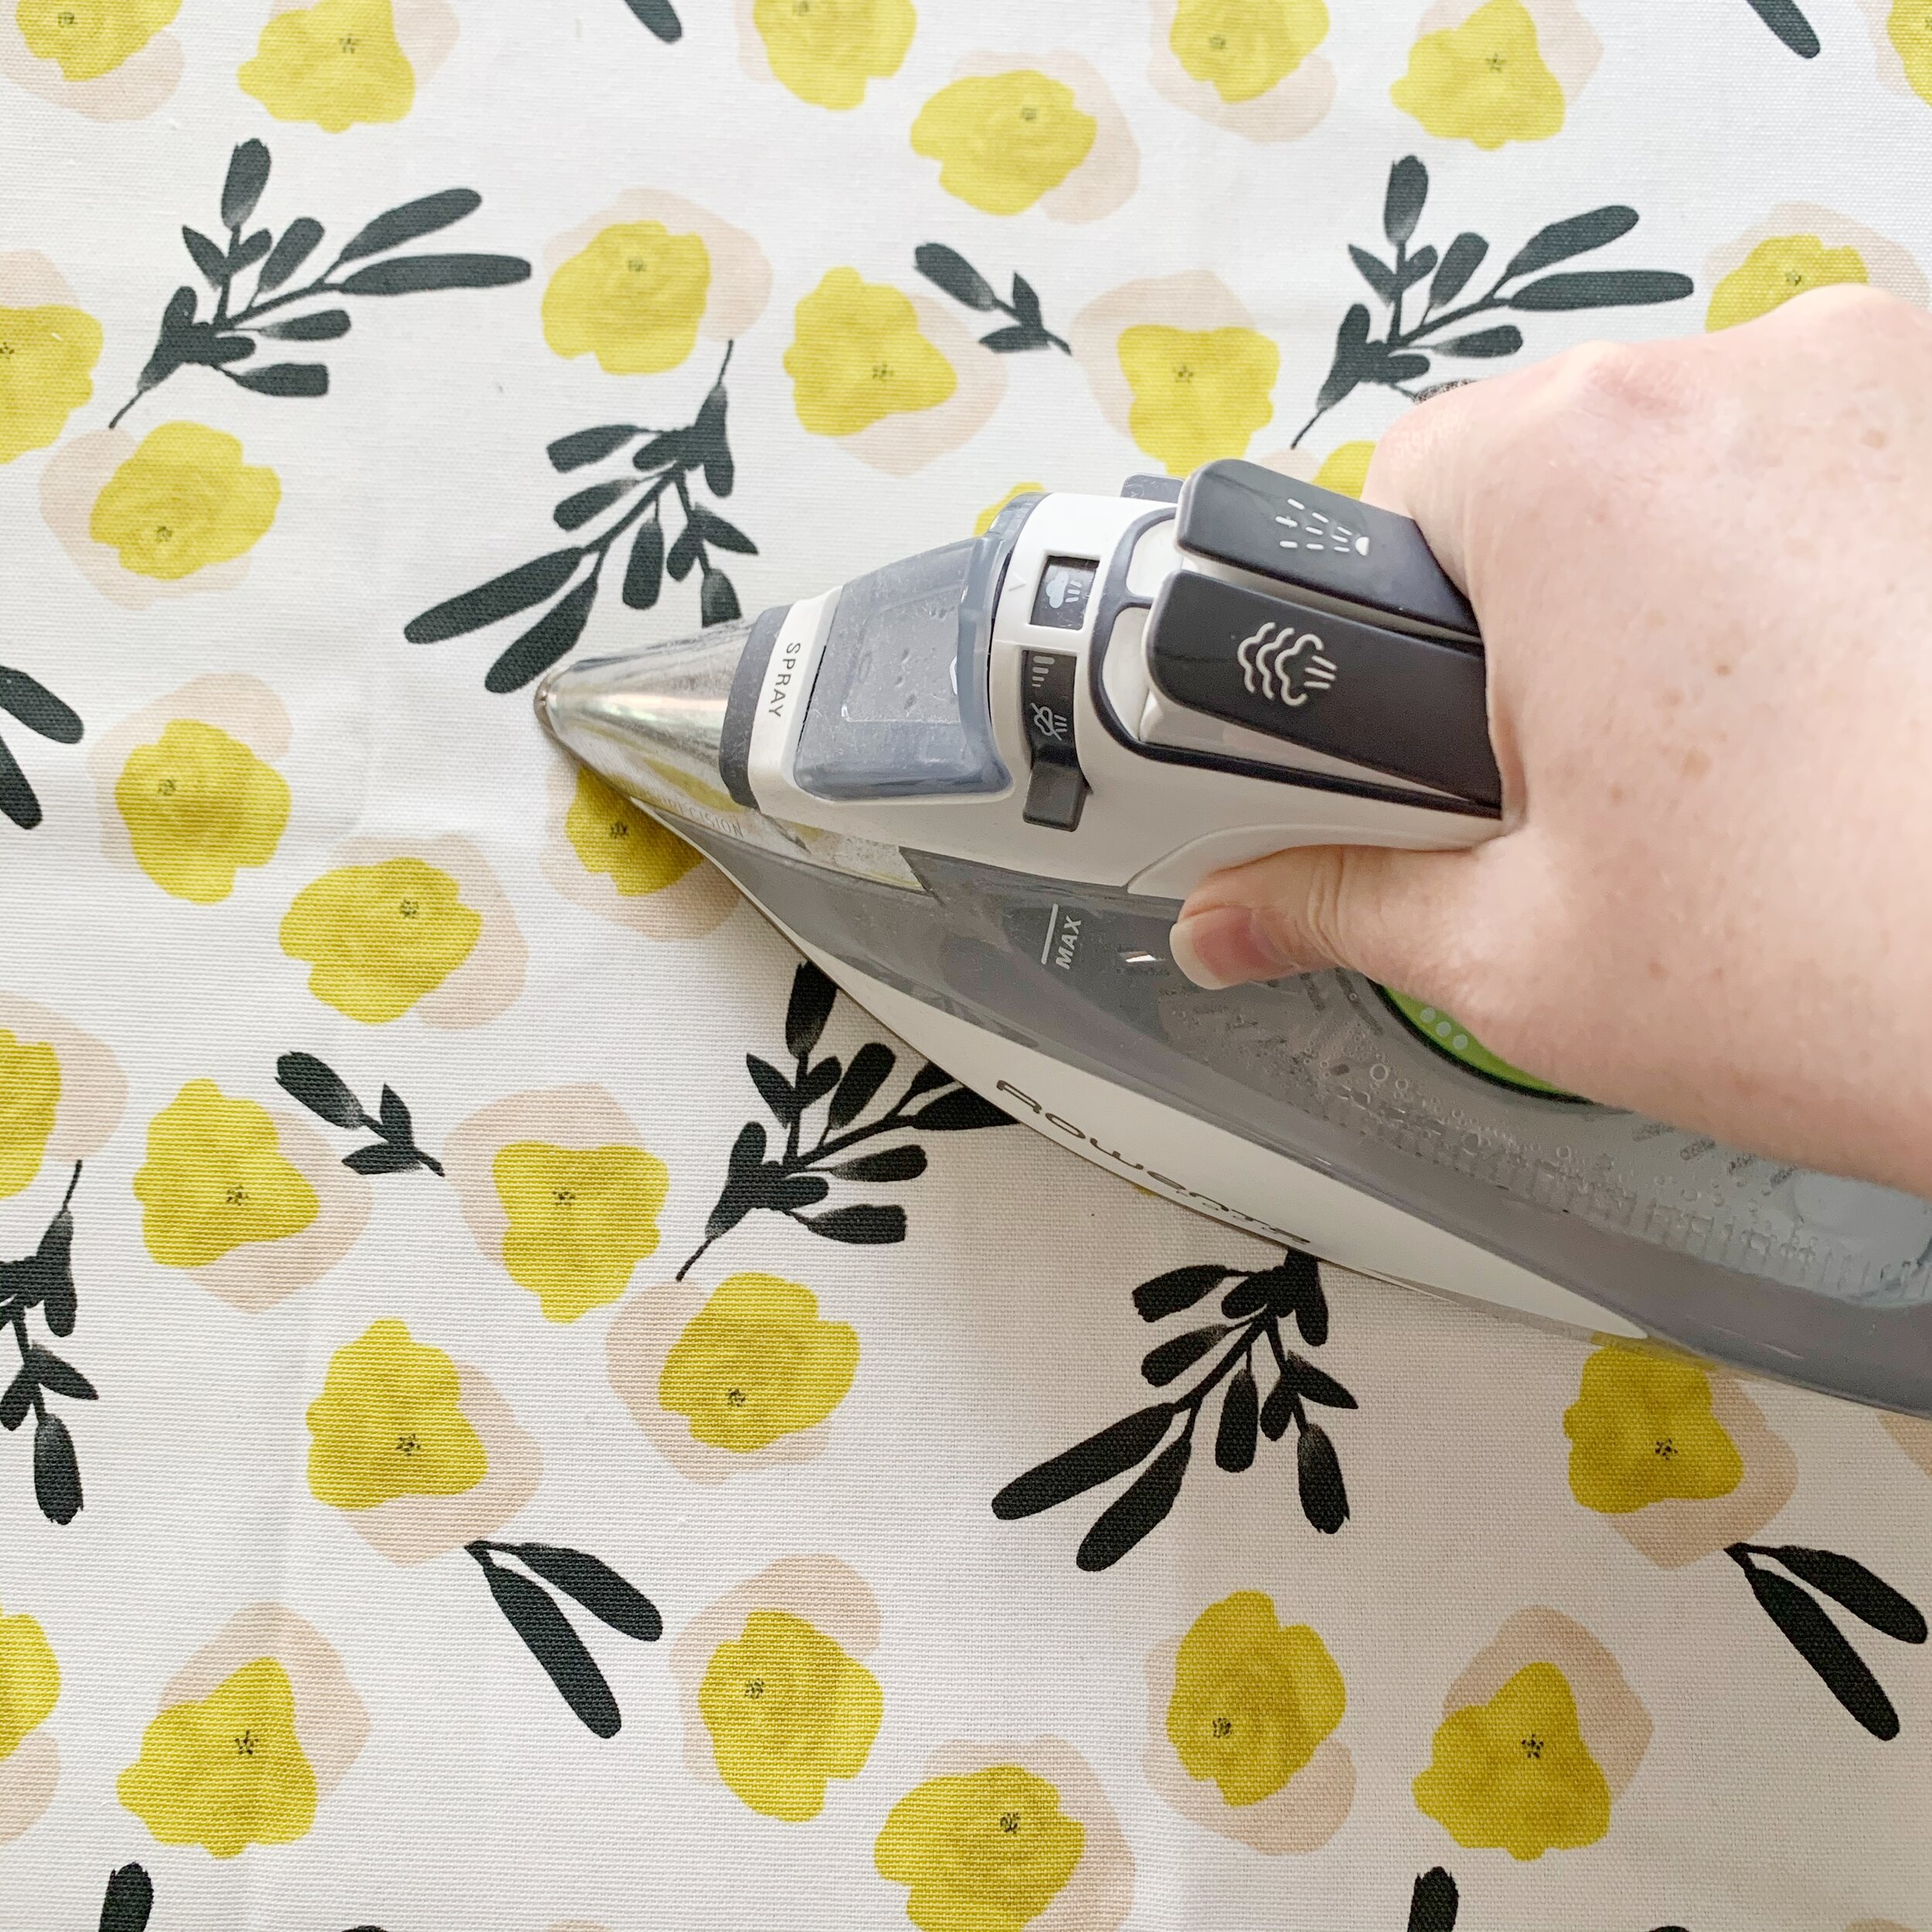
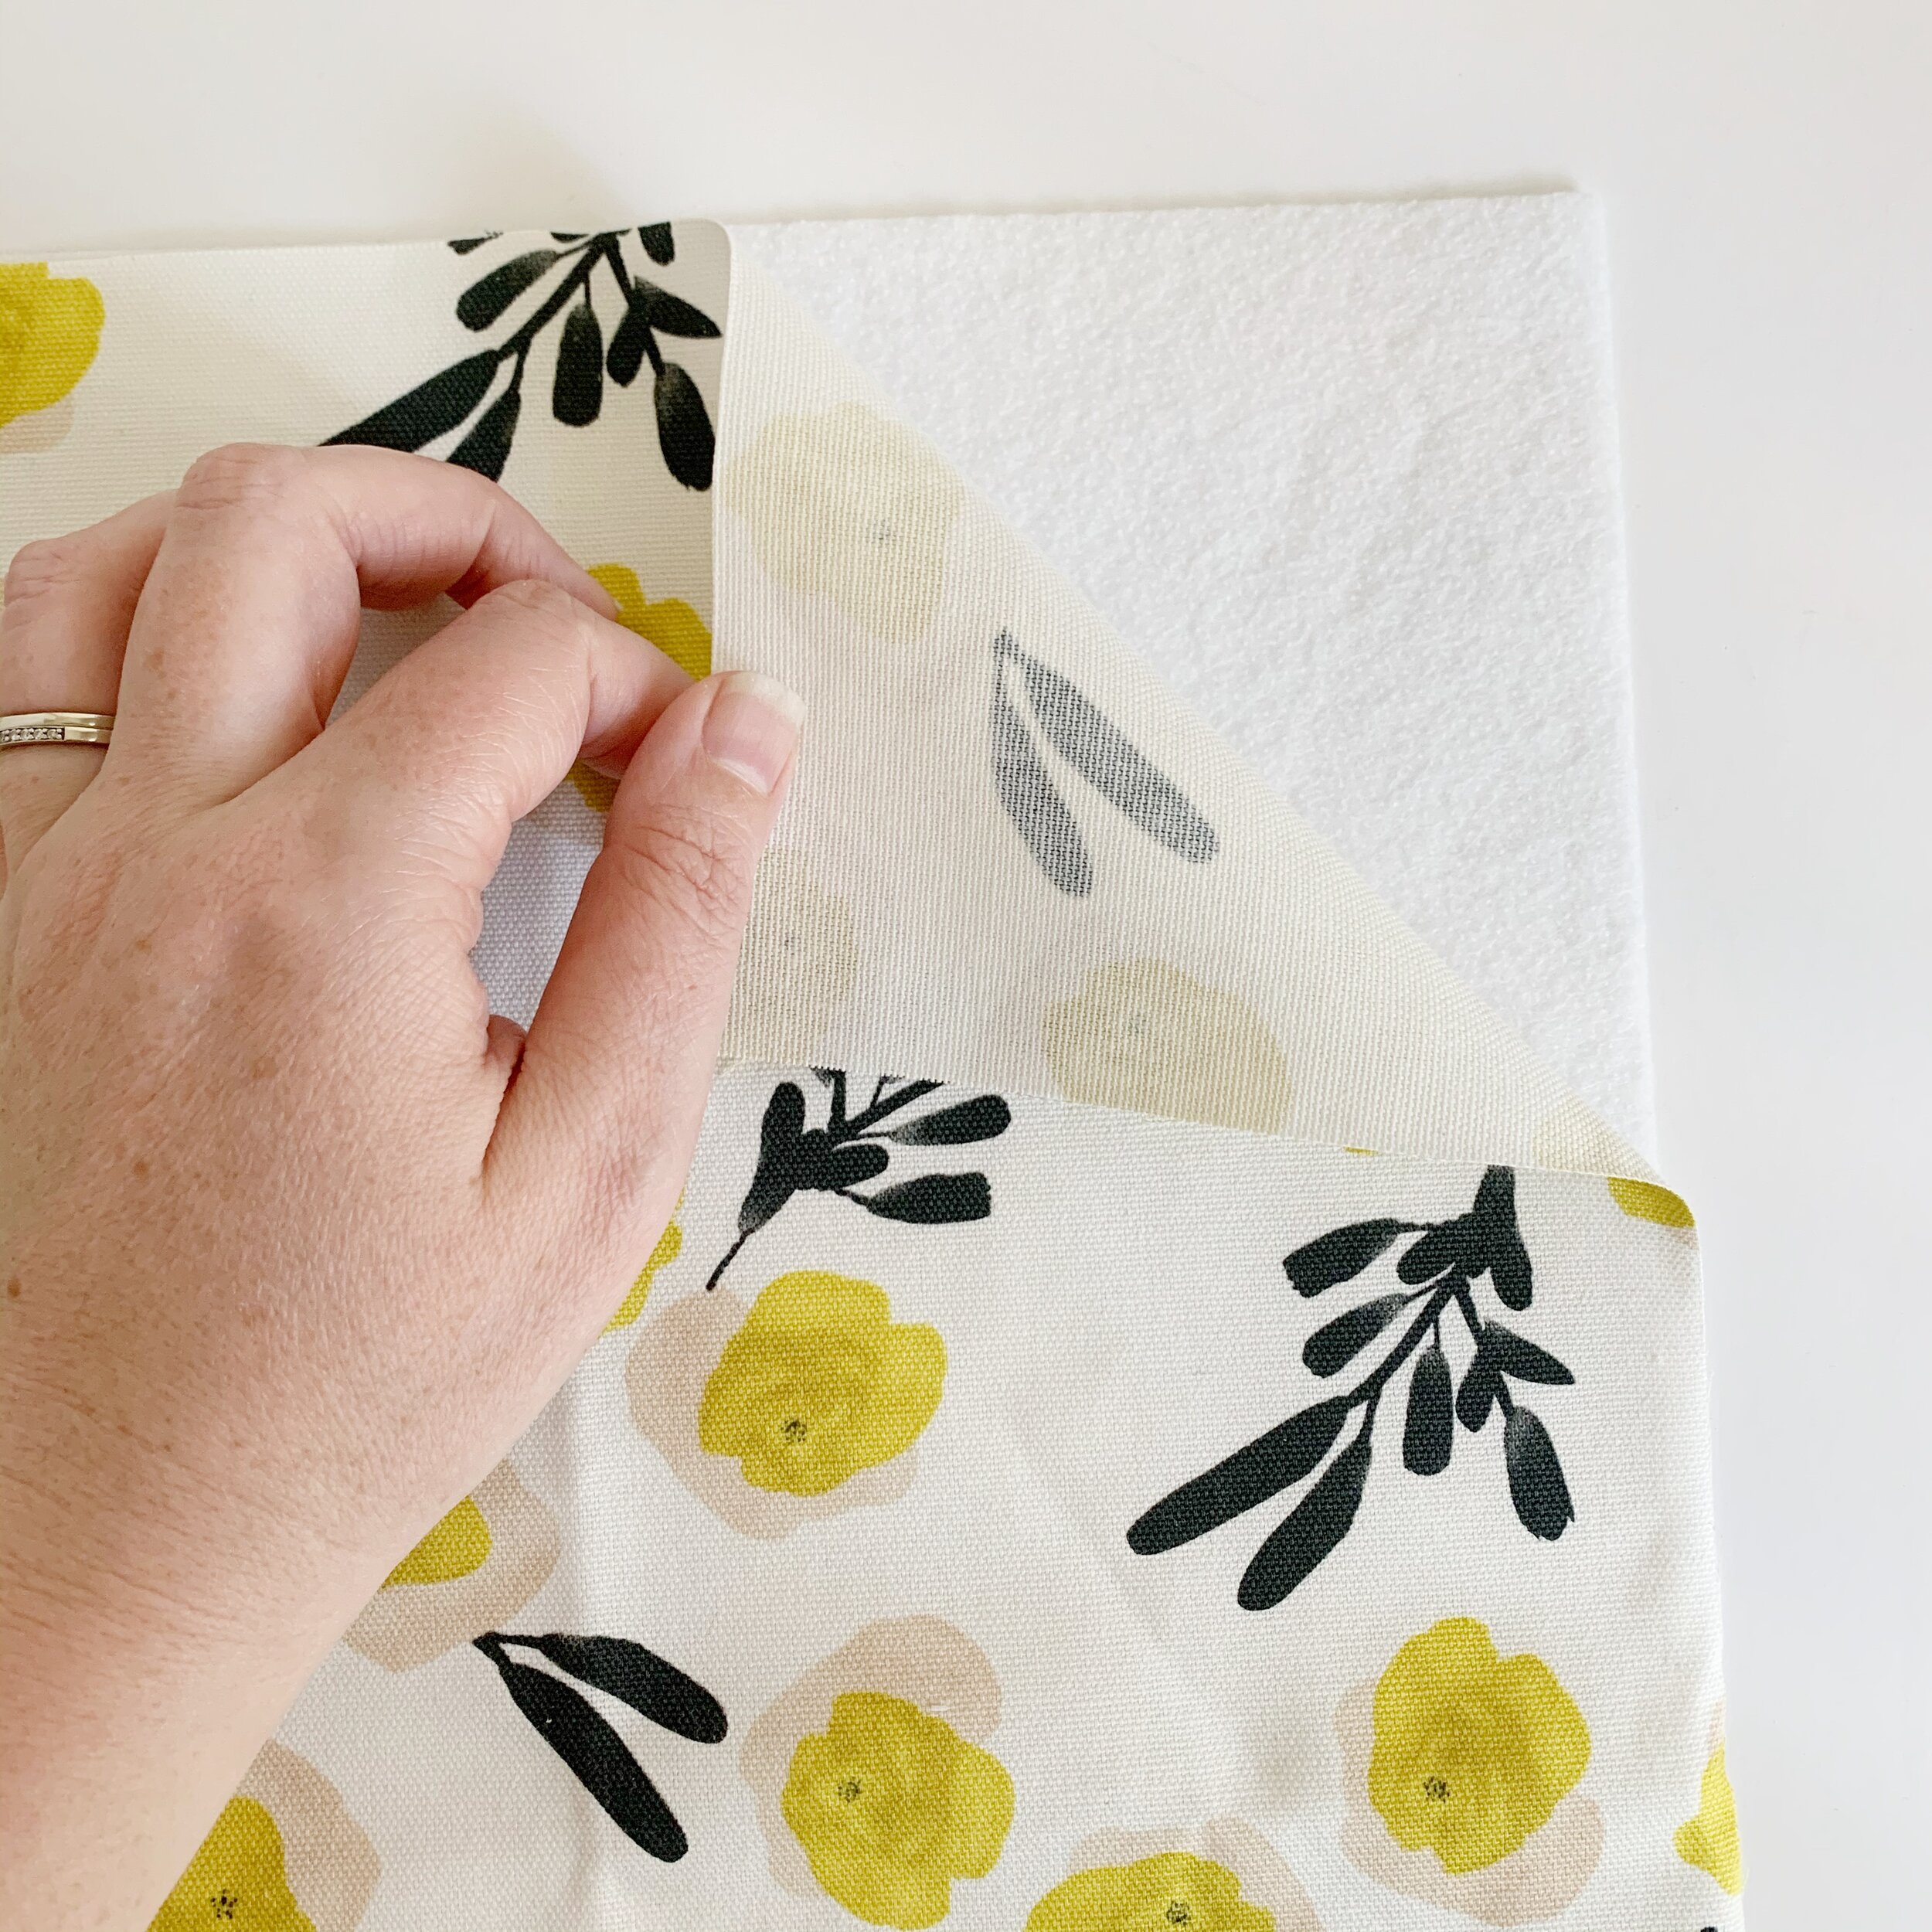
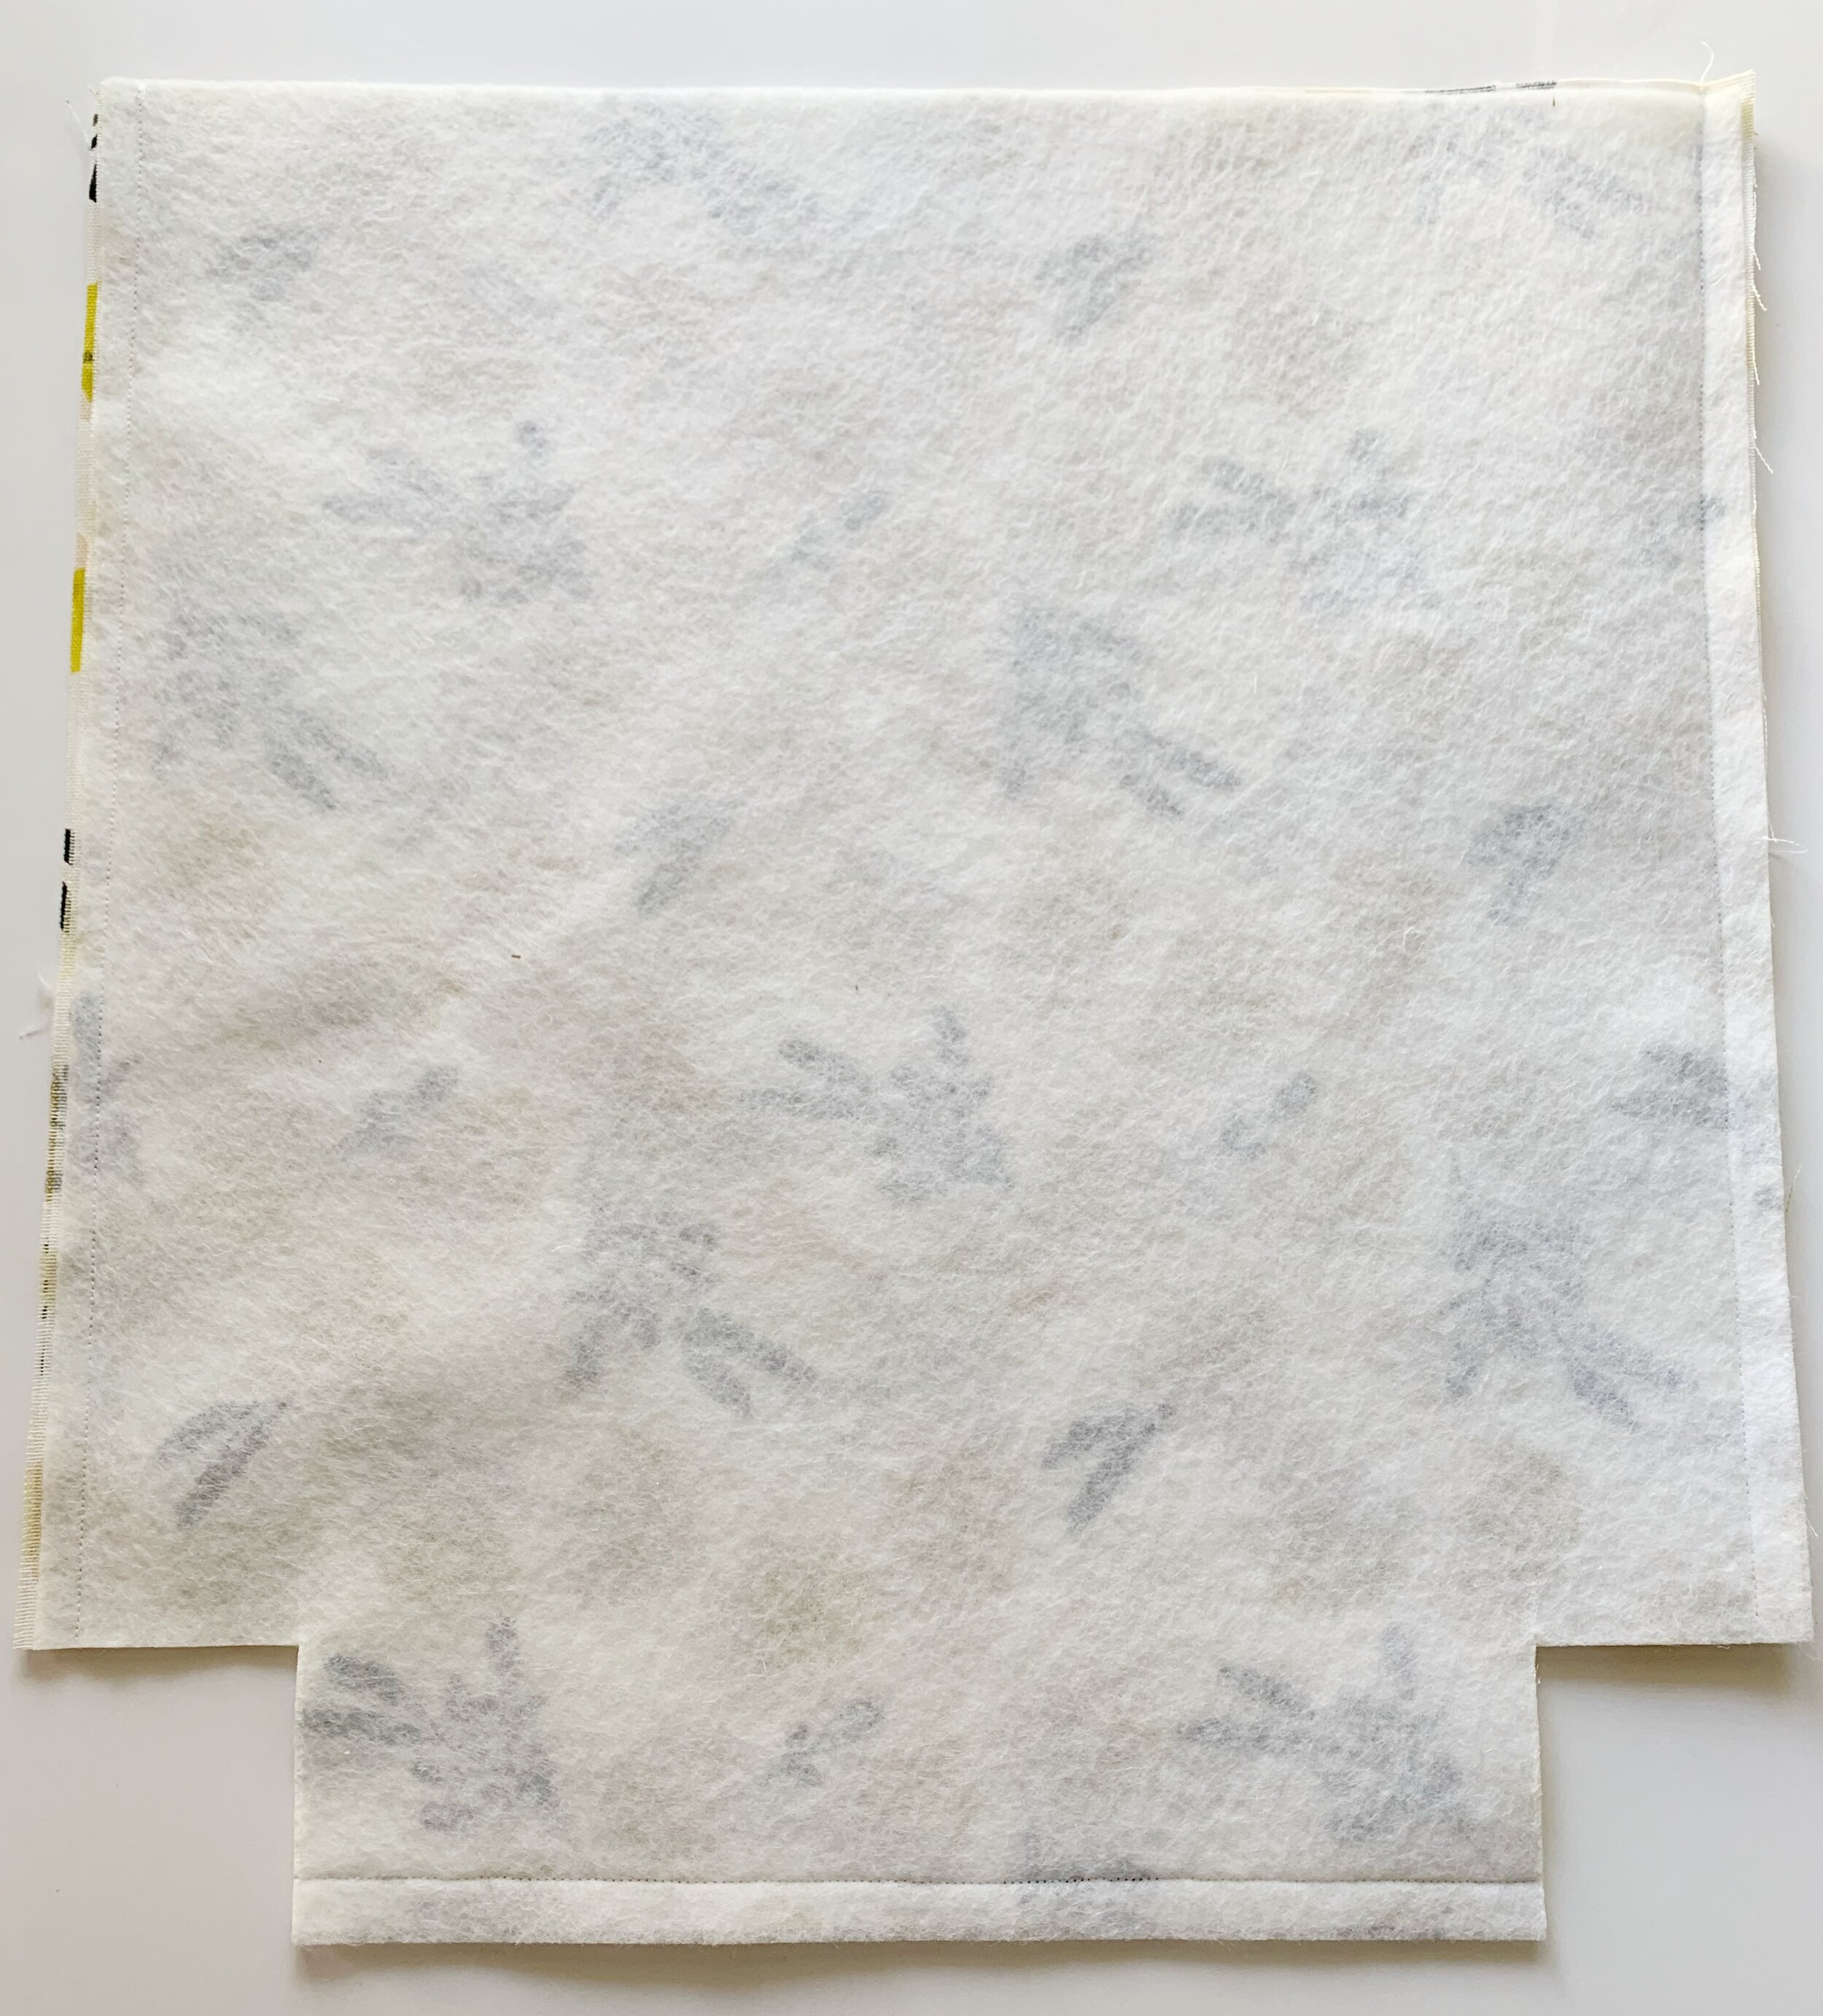
Iron the fusible fleece to the back of the exterior pieces. The fusible fleece will have a rough side, lay the wrong side of the fabric on the rough side of the fusible fleece, then iron in place.
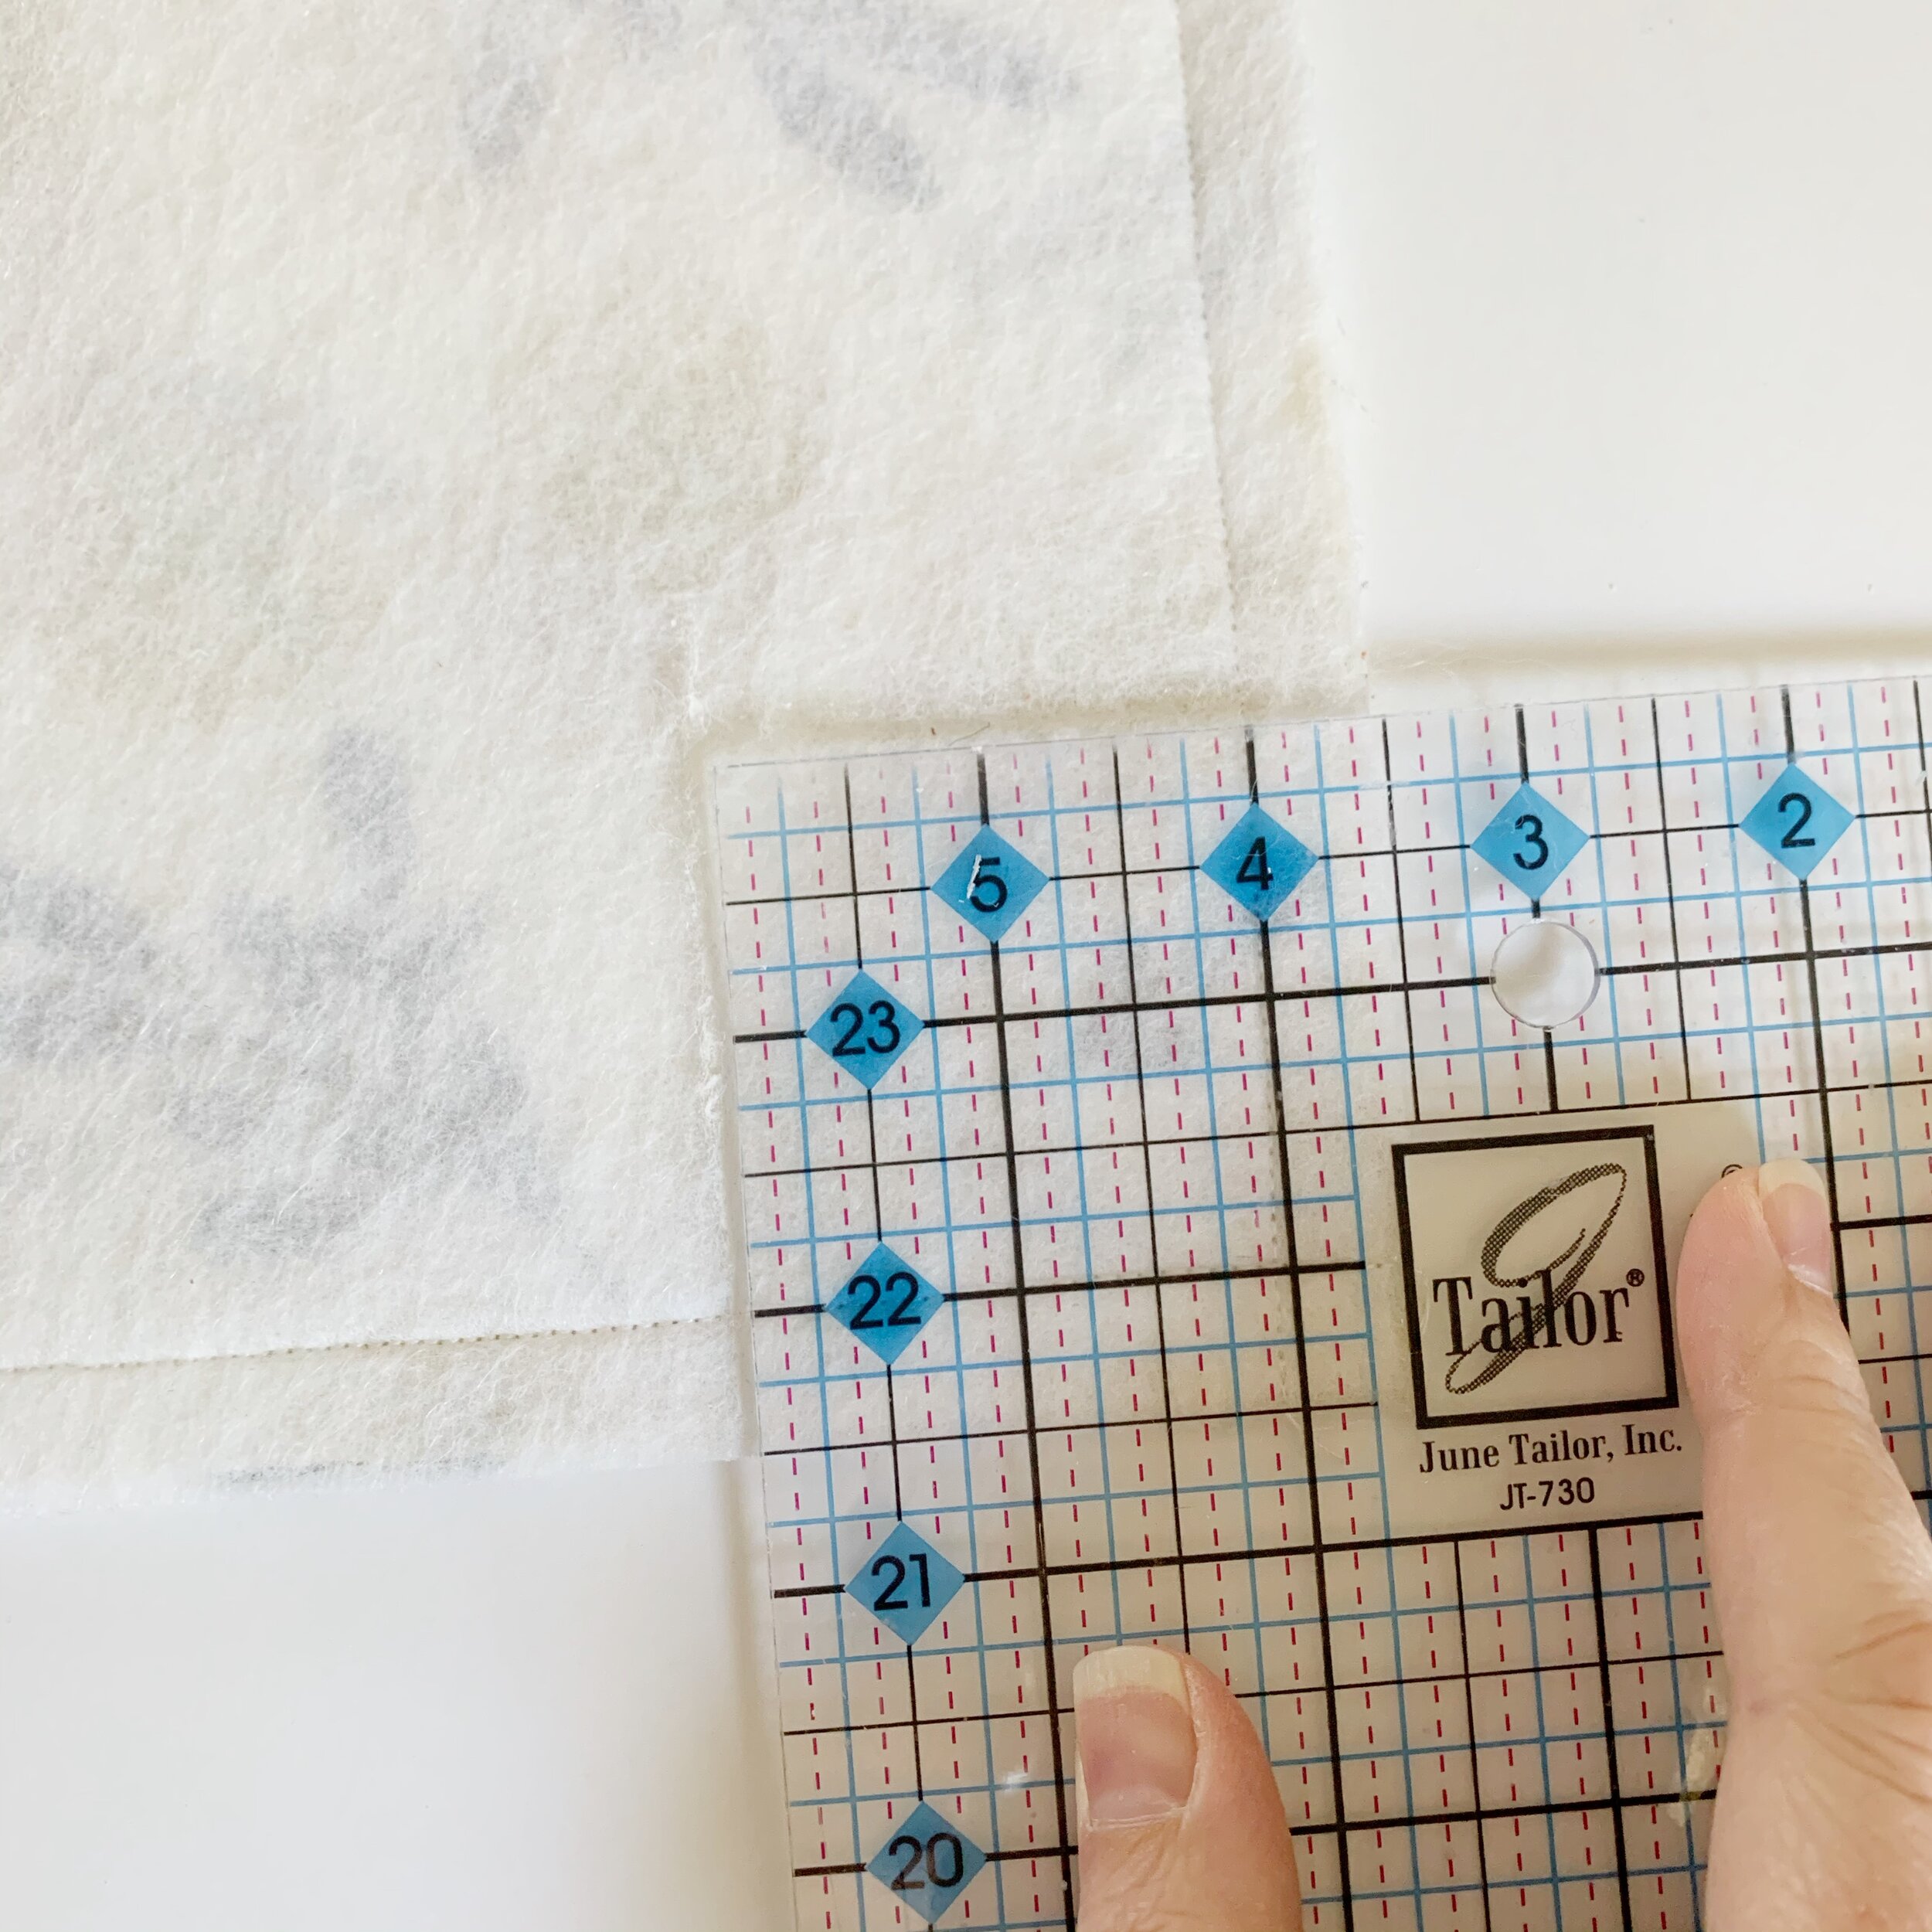
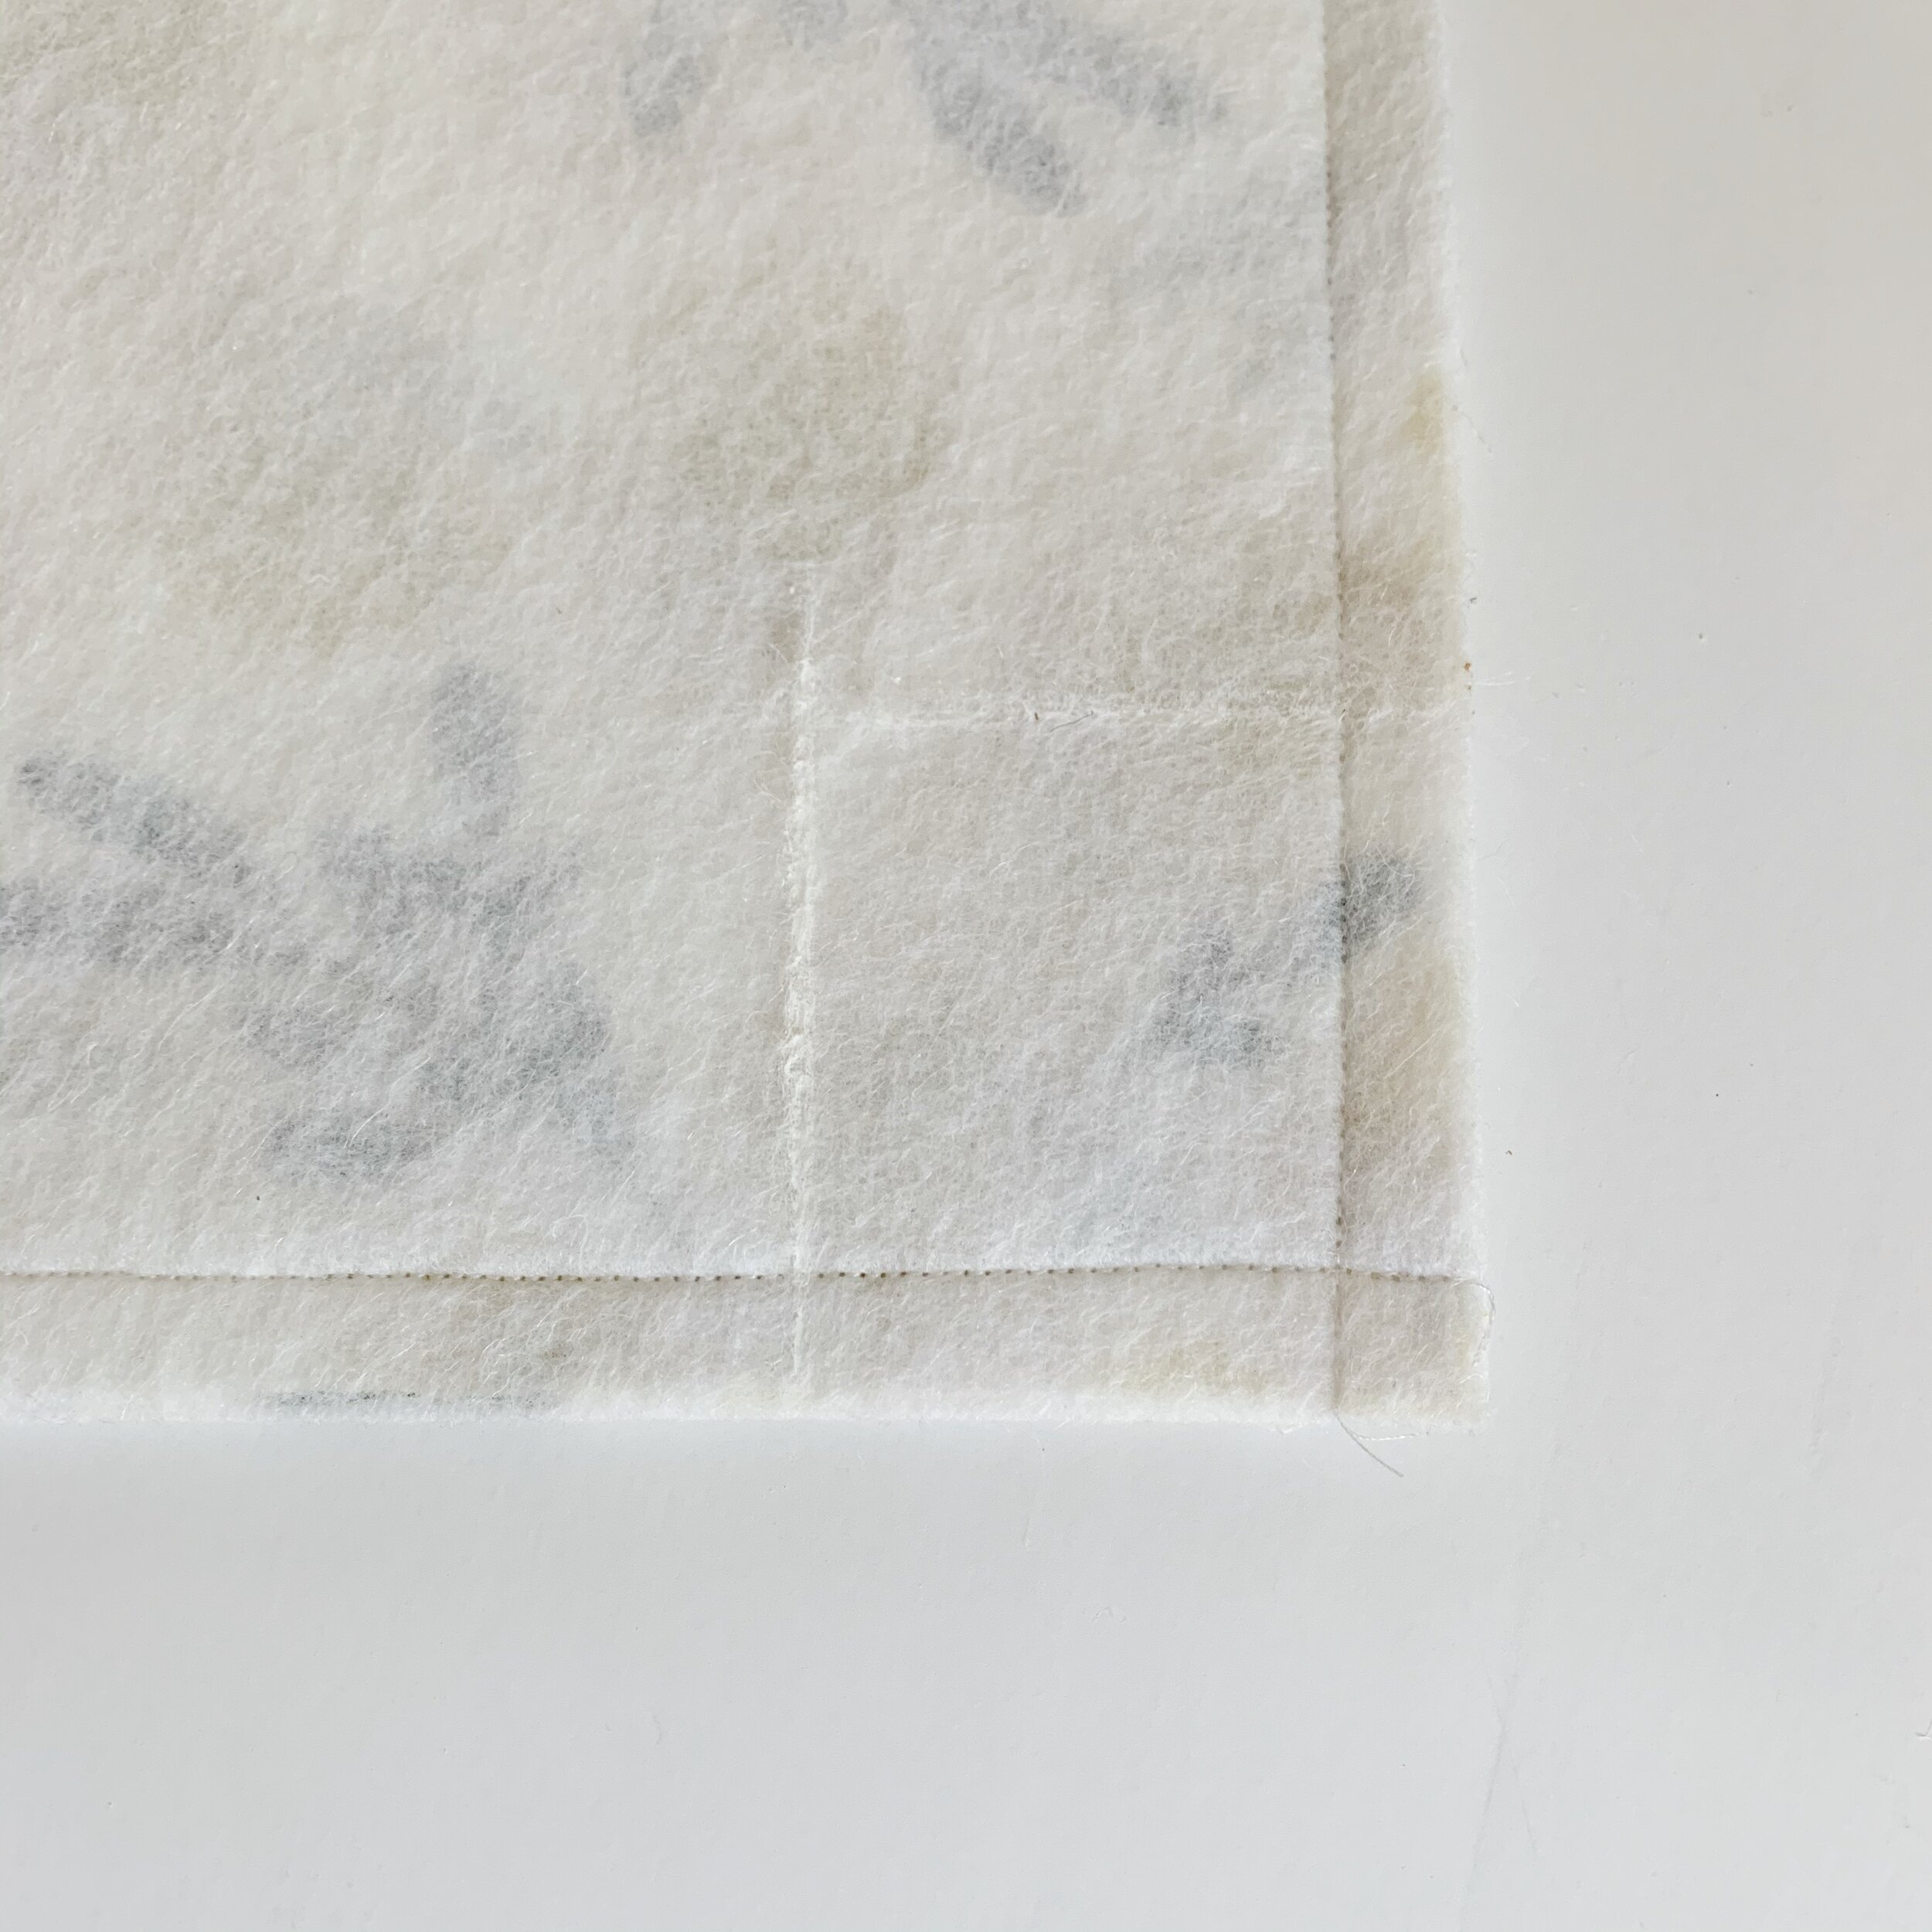
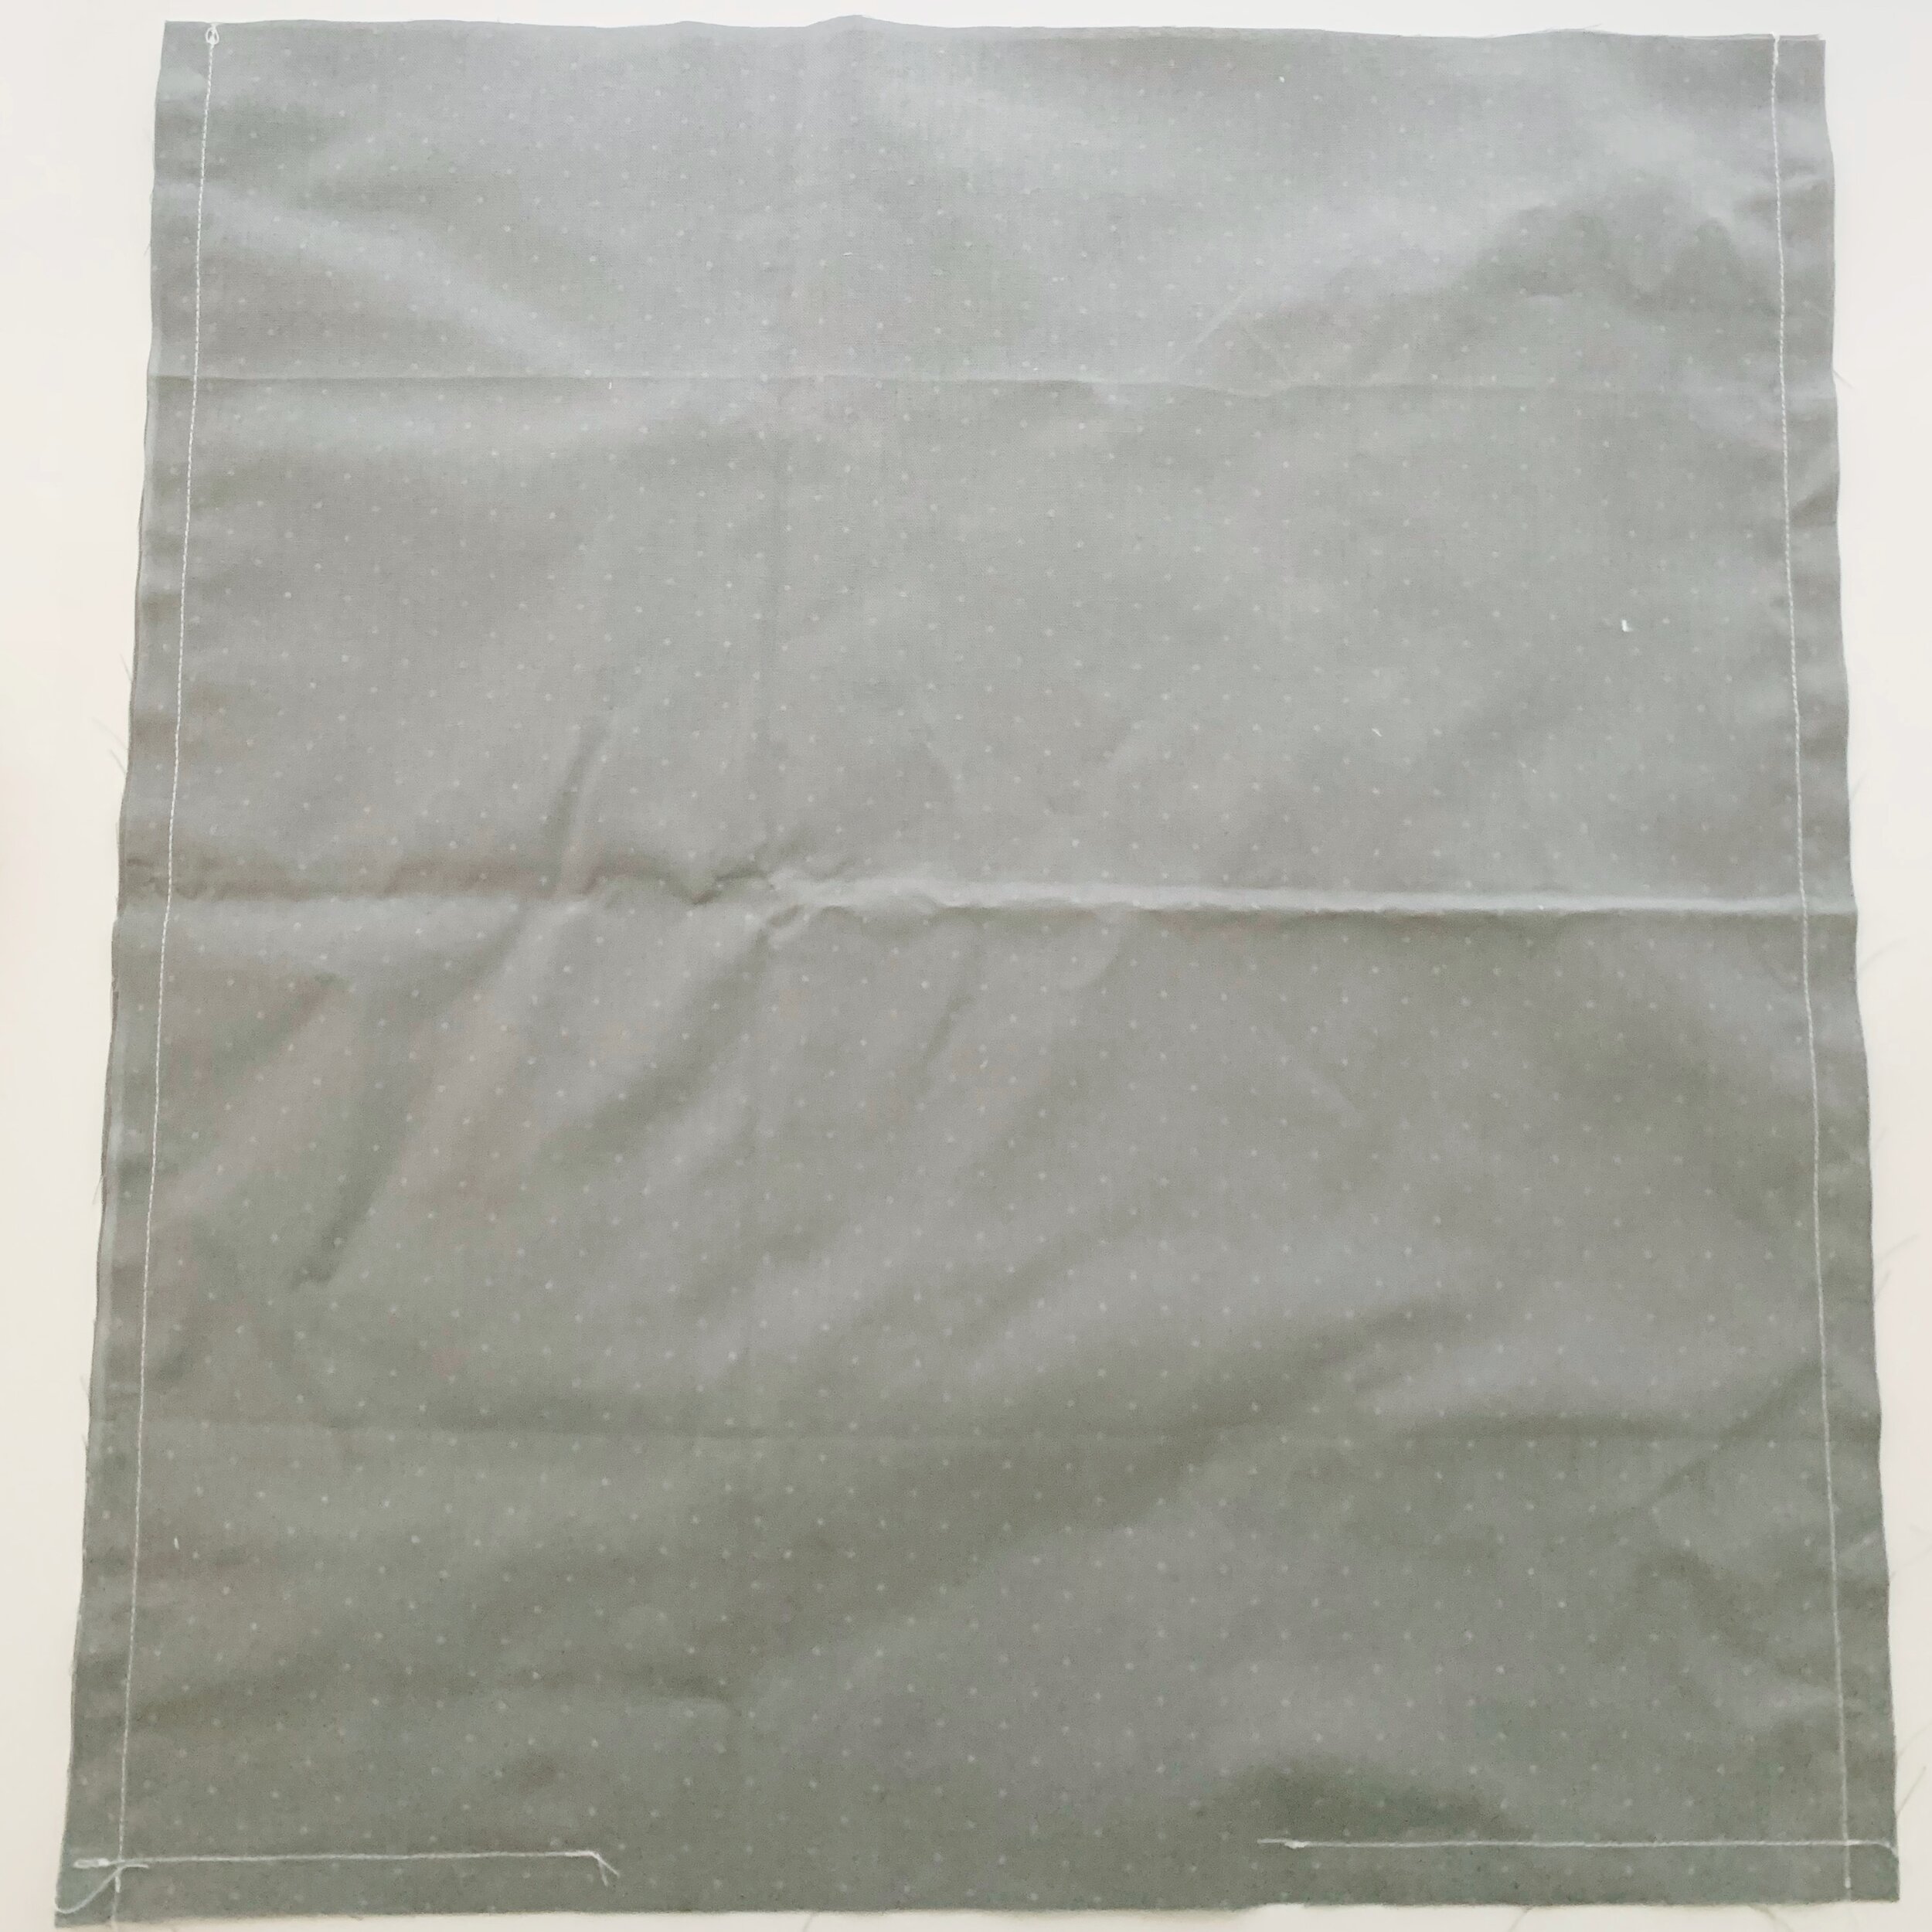
Lay exterior pieces together with right sides facing. Sew along both sides and the bottom edge using a ½” seam allowance. (blue lines)

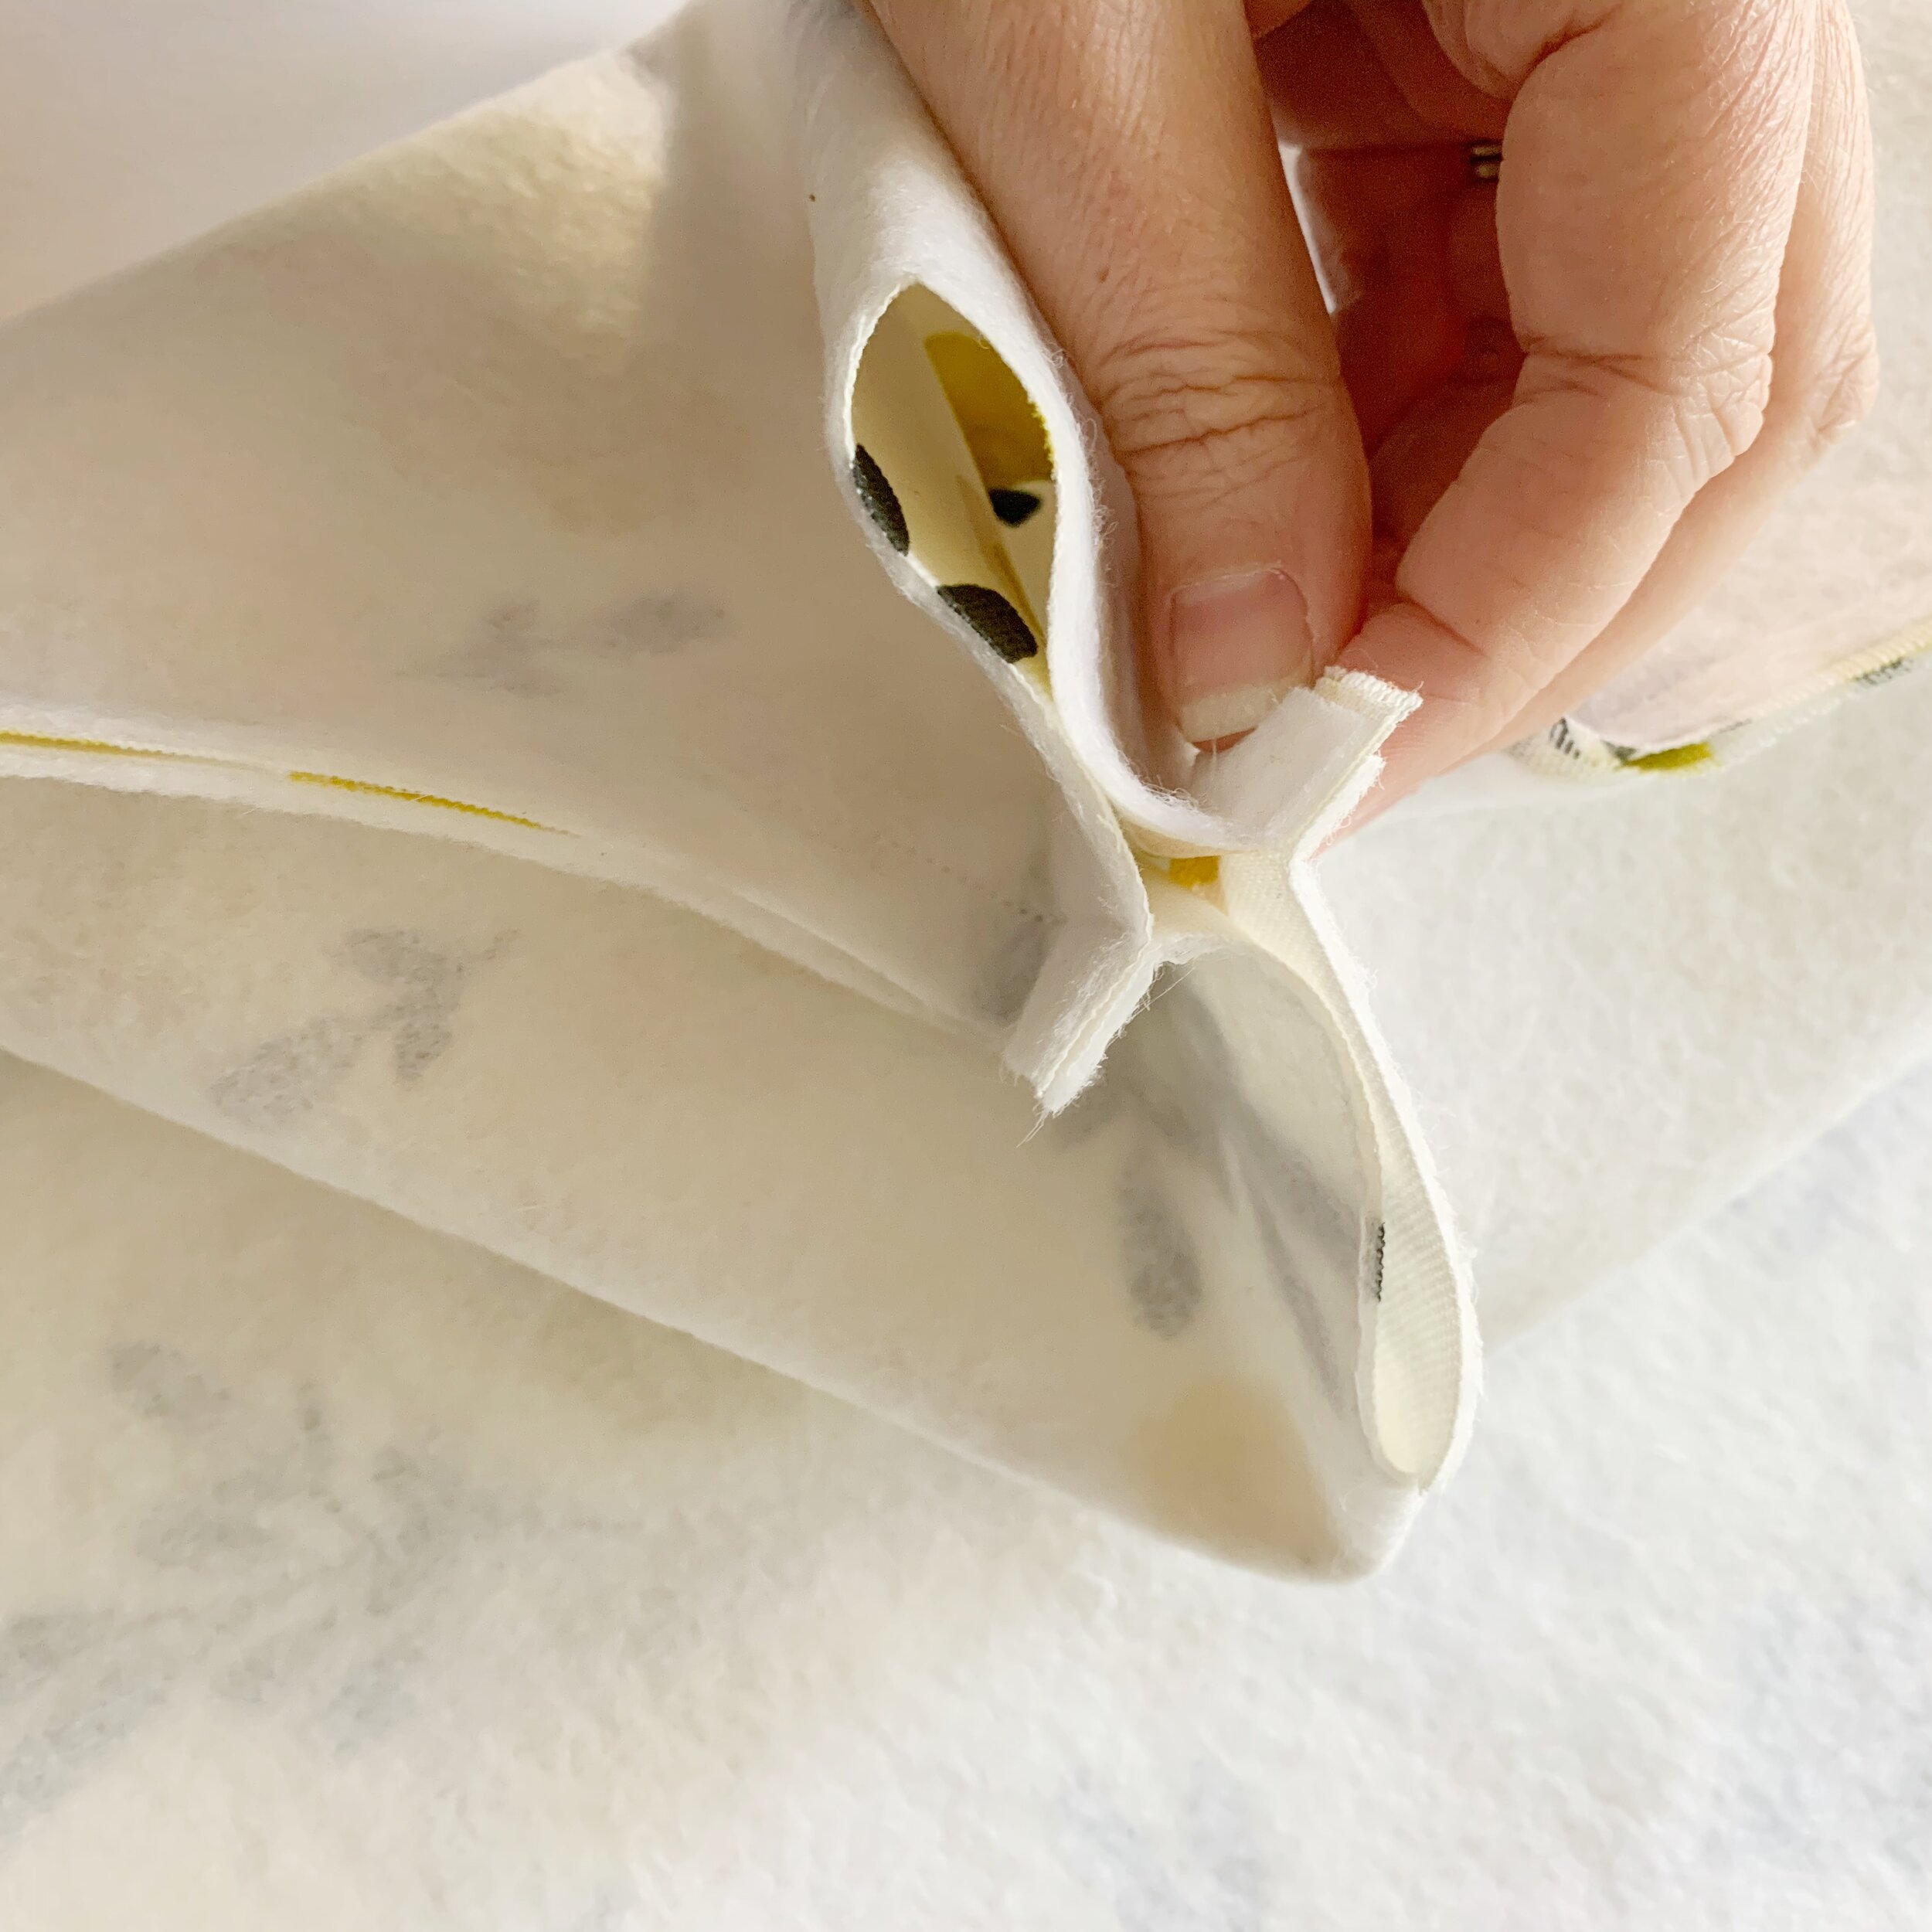
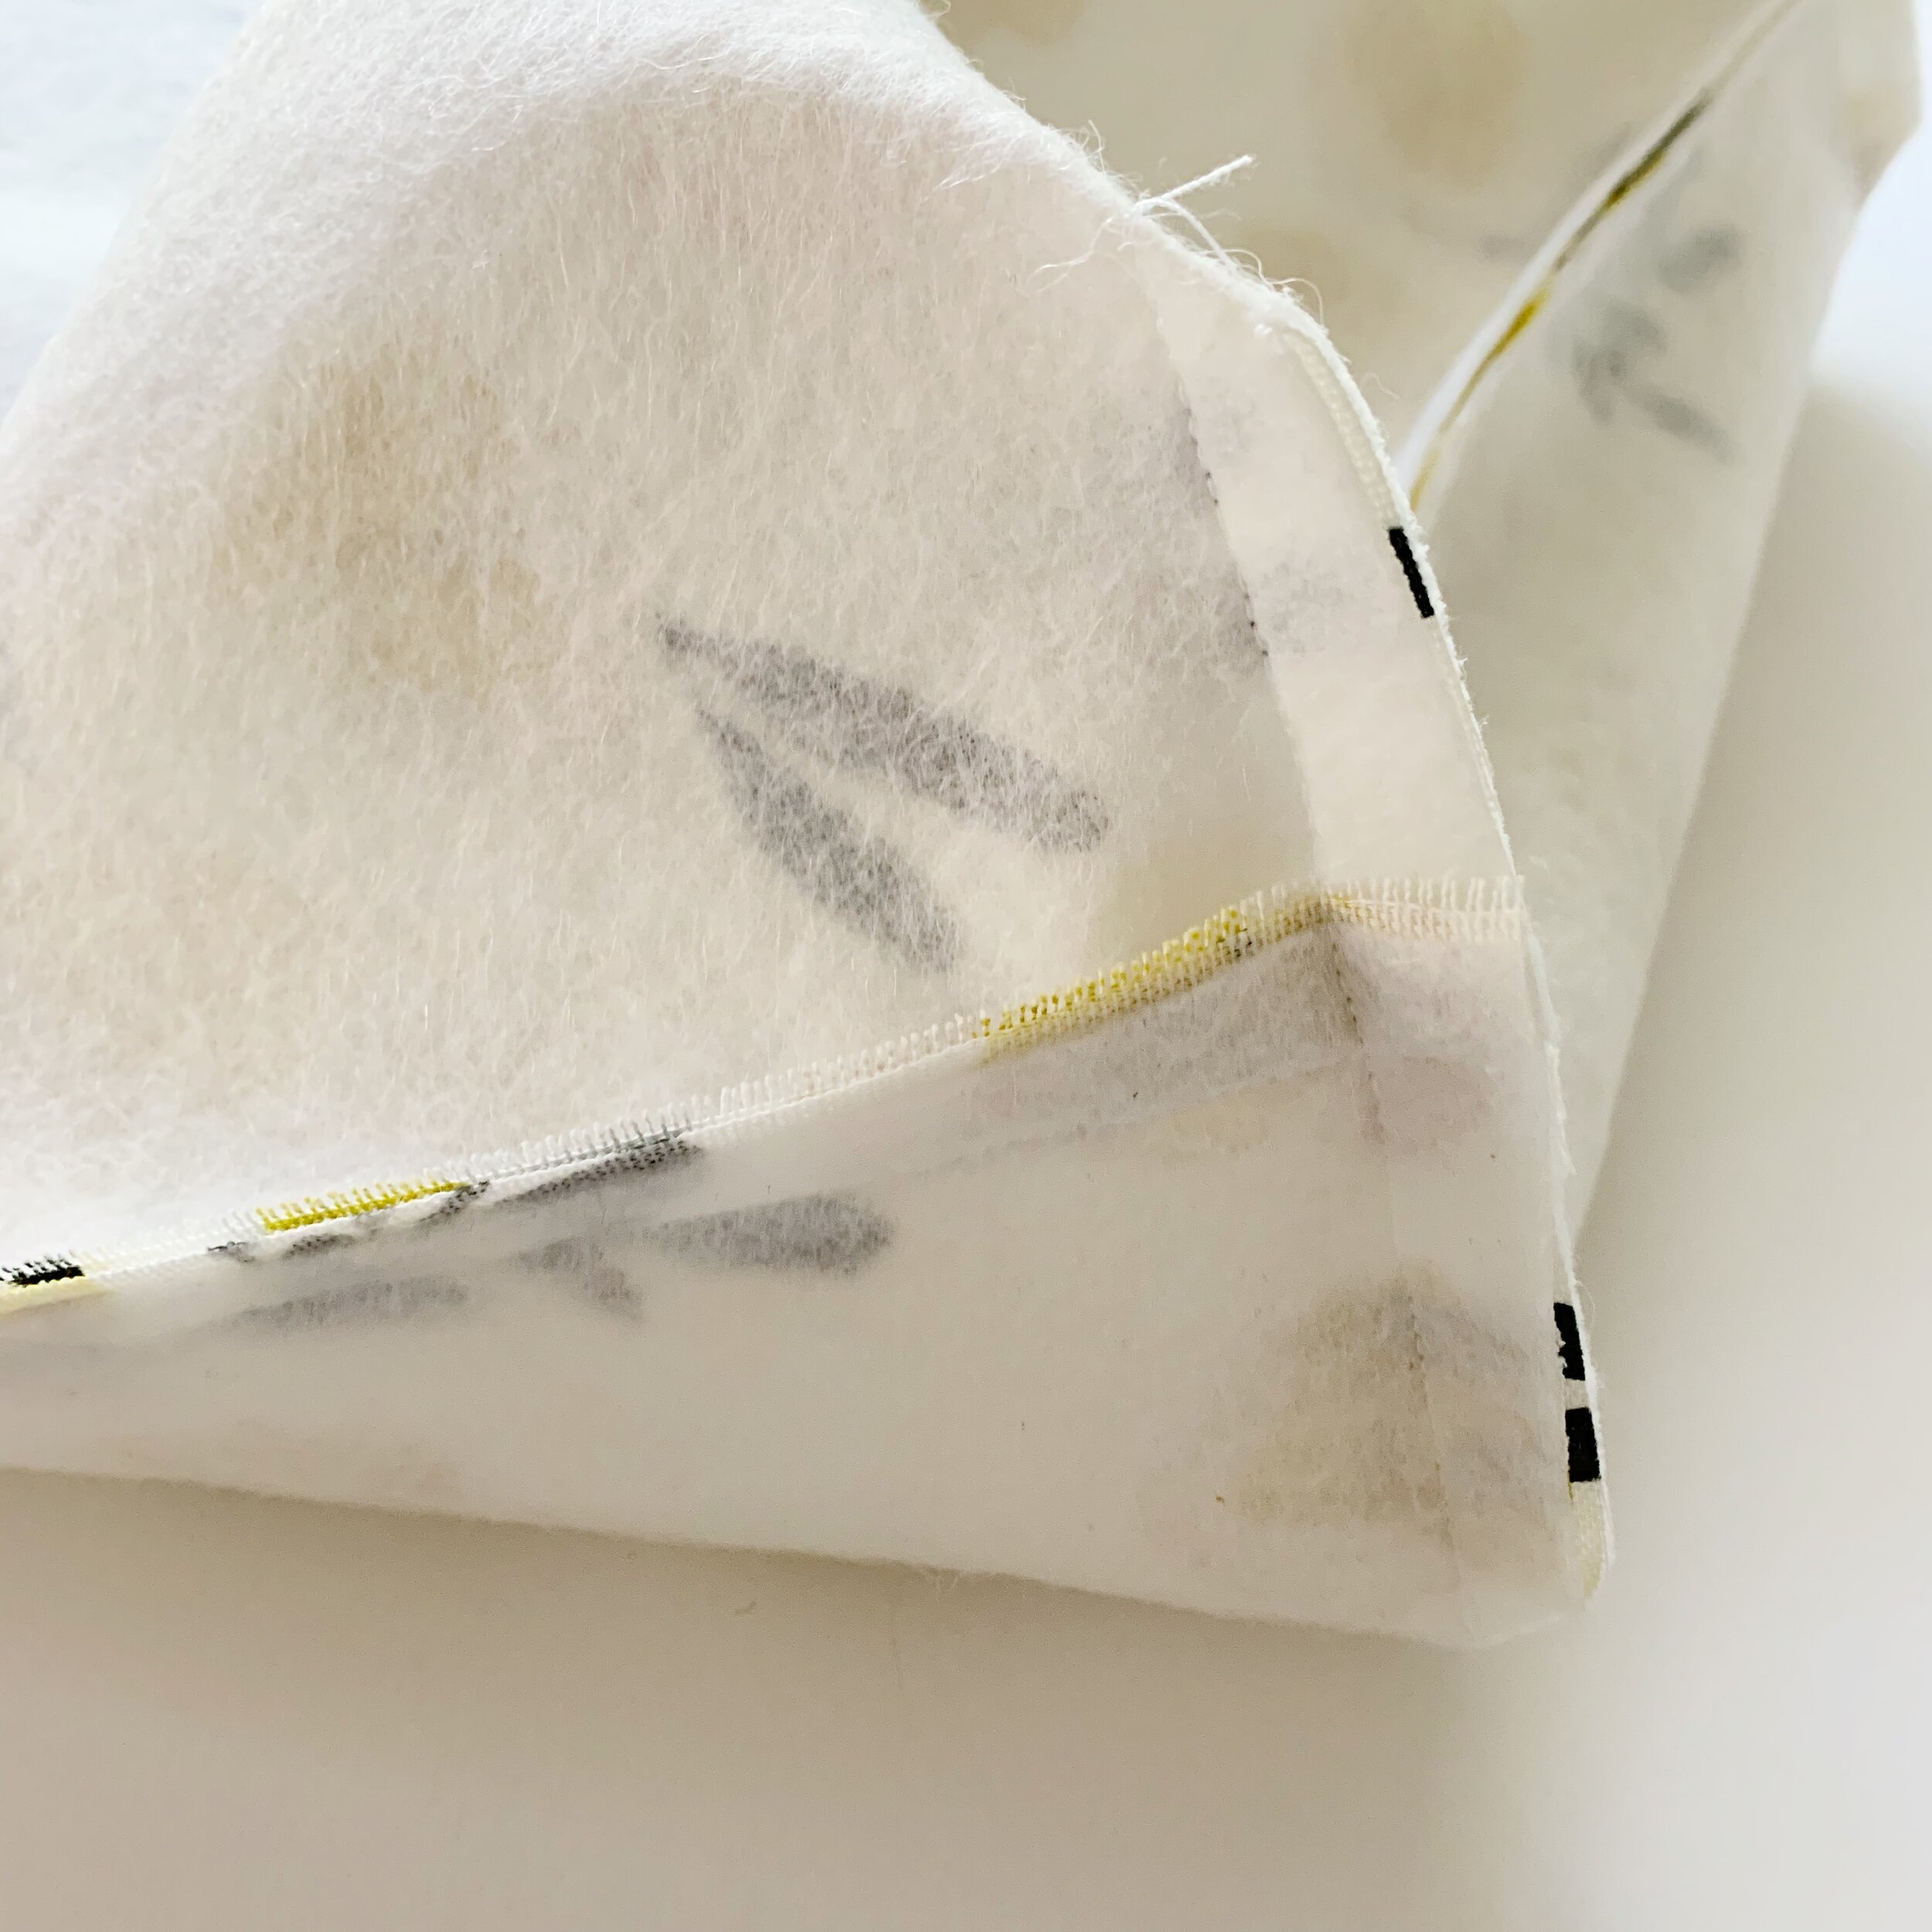
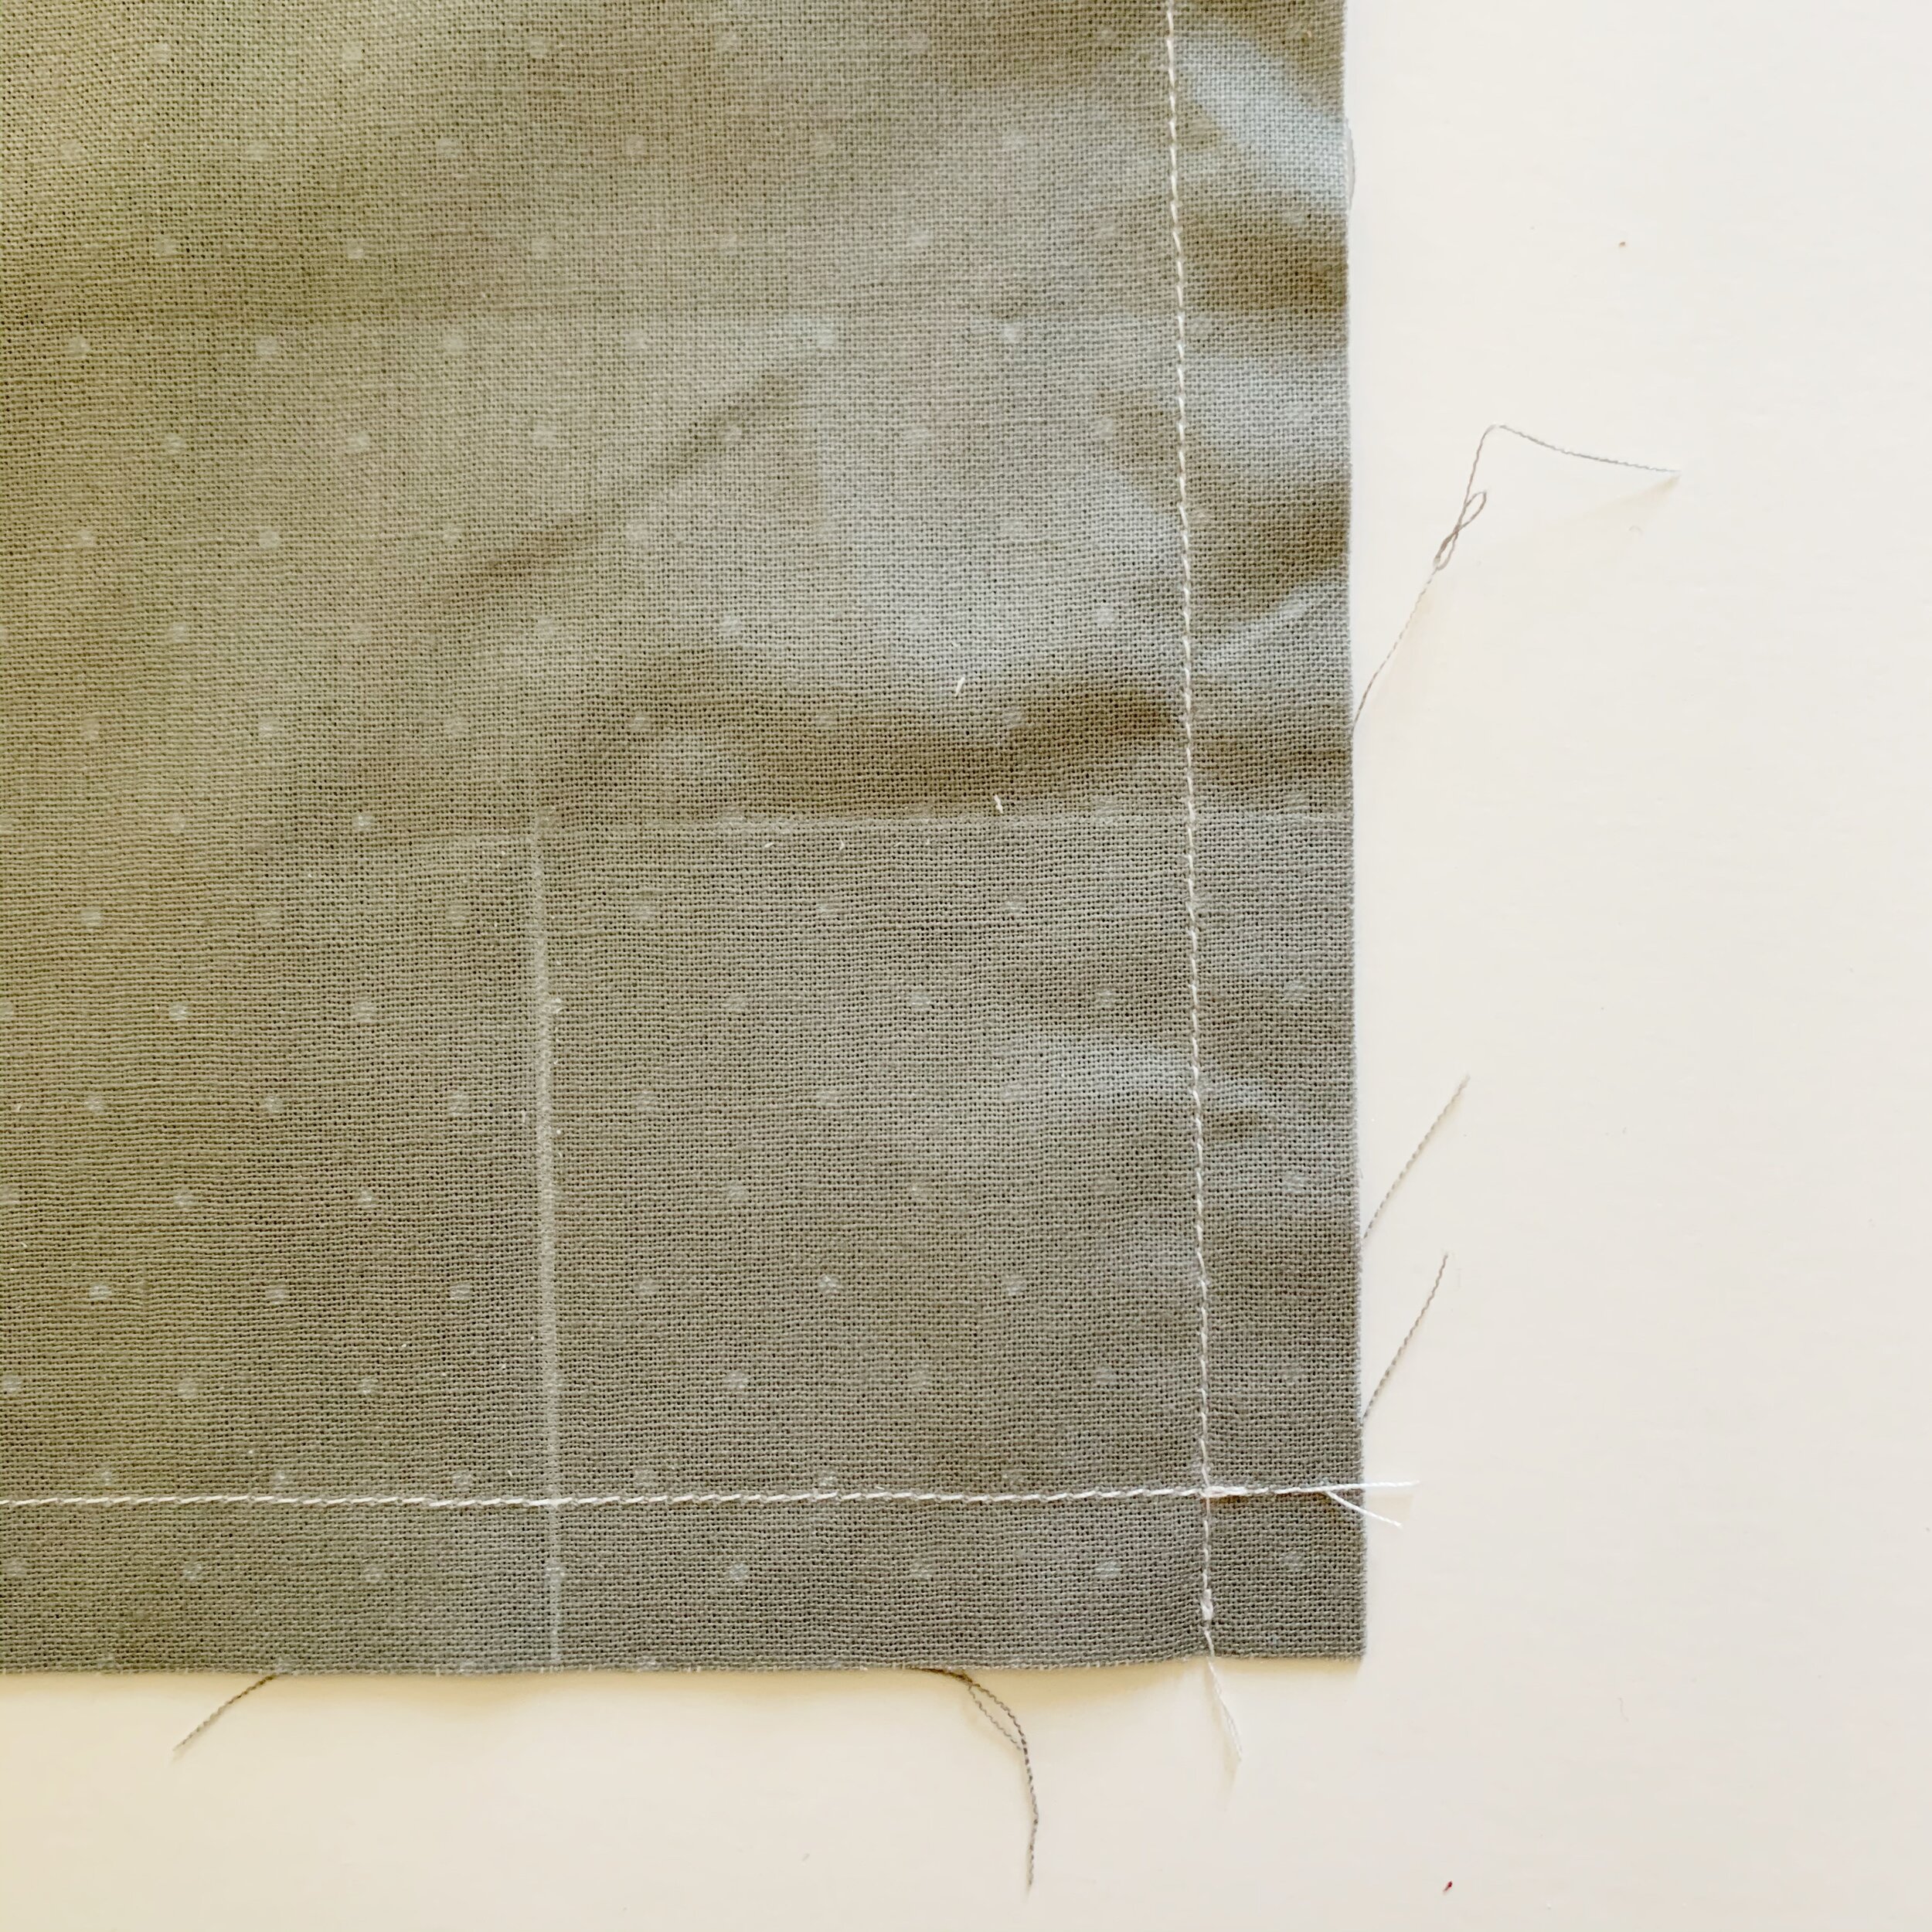
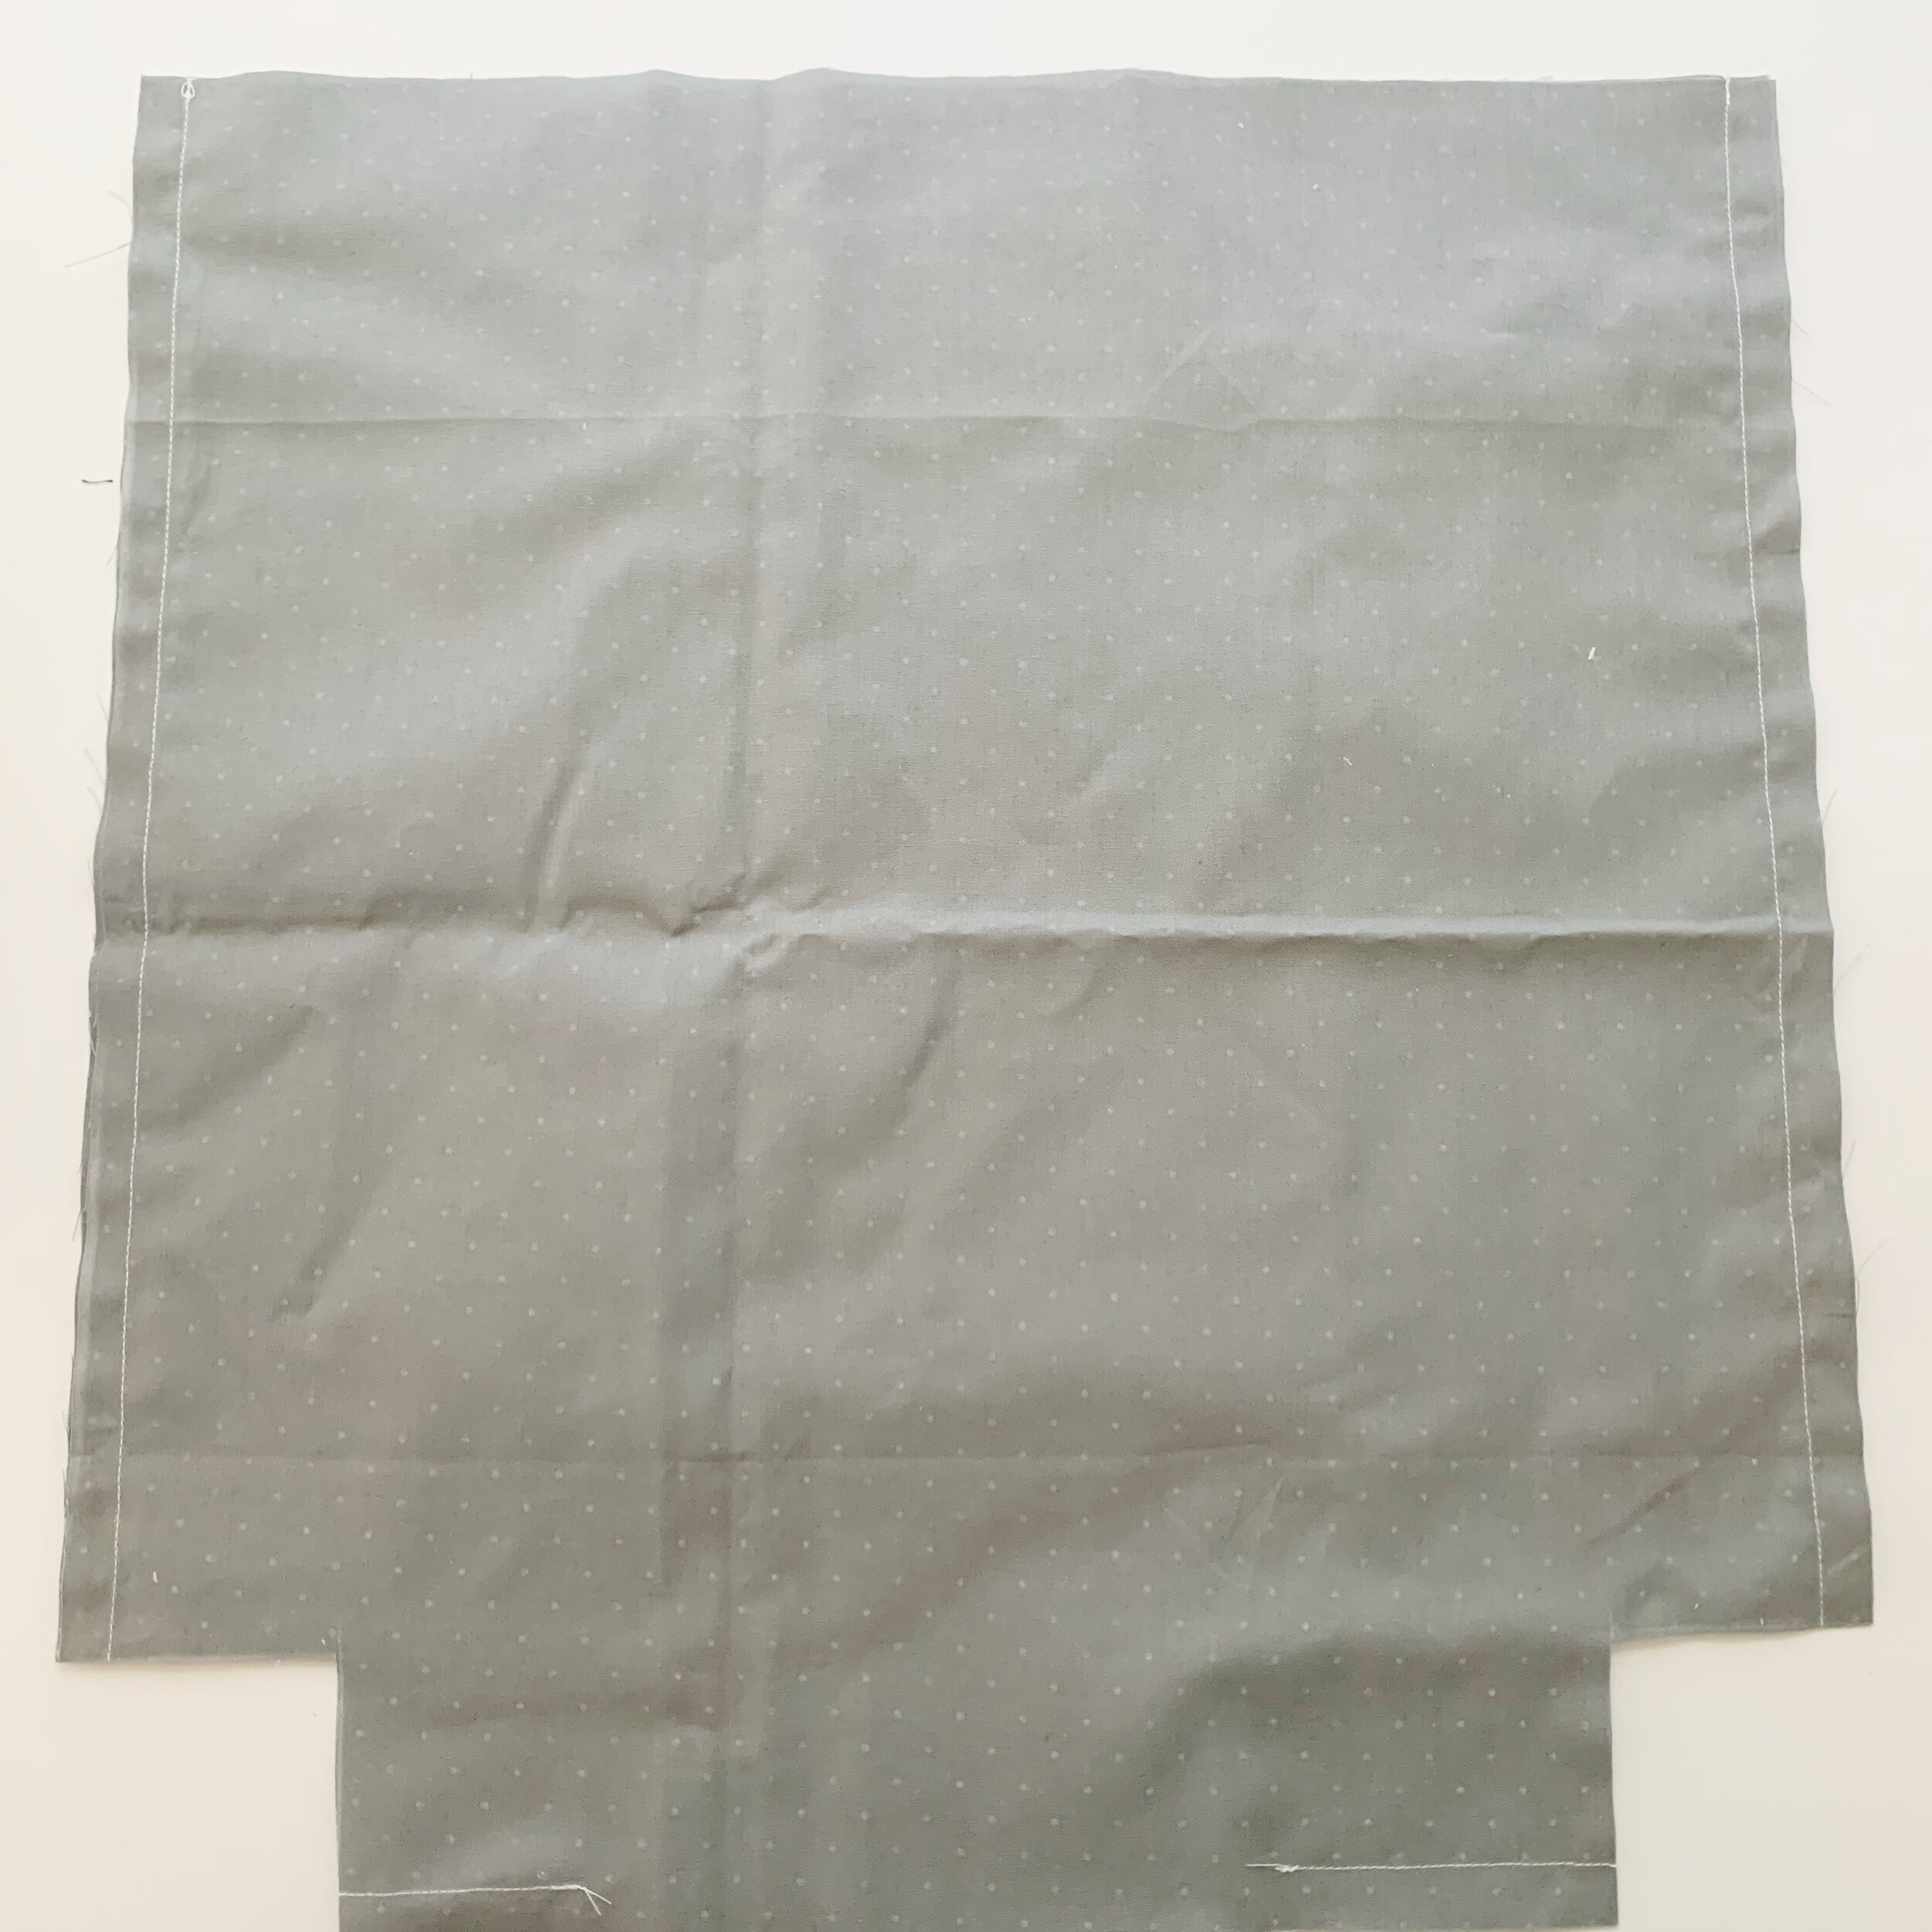
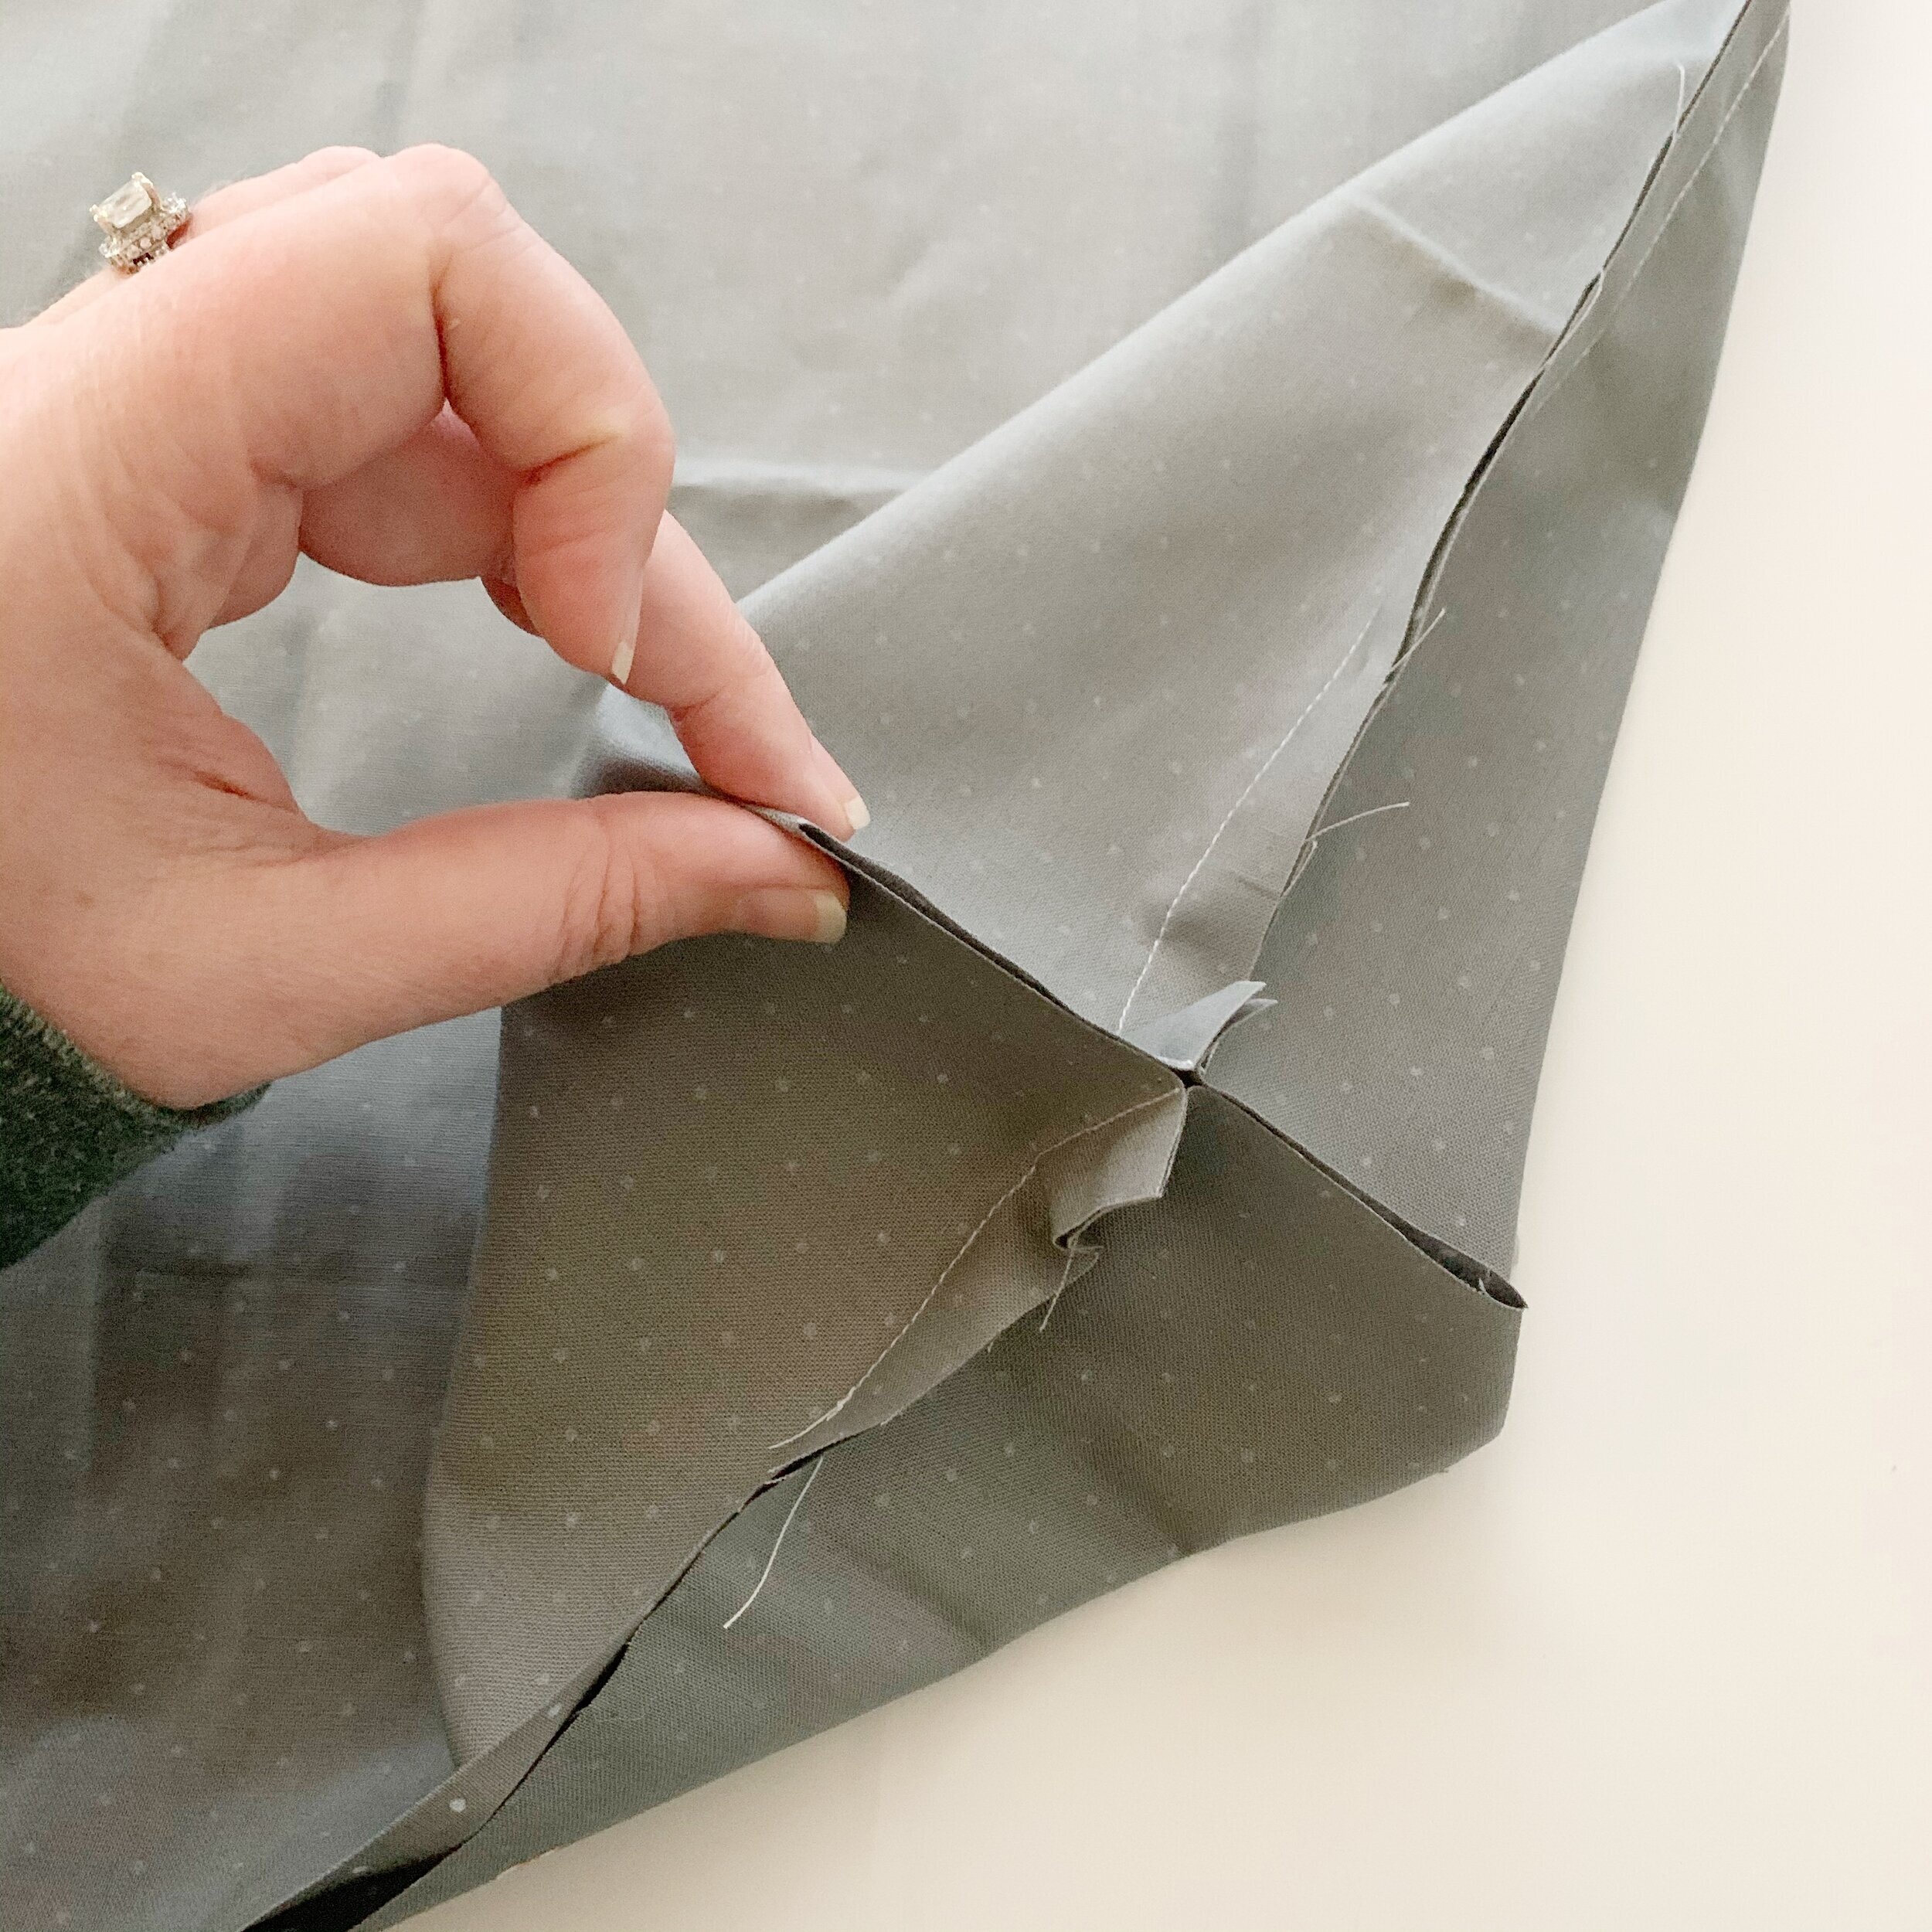
Using a clear ruler and tailors chalk, mark a 2” square from the seams in each corner. Cut out each square. Open up each corner and then bring seams together. Sew corners together using a ½” seam allowance.

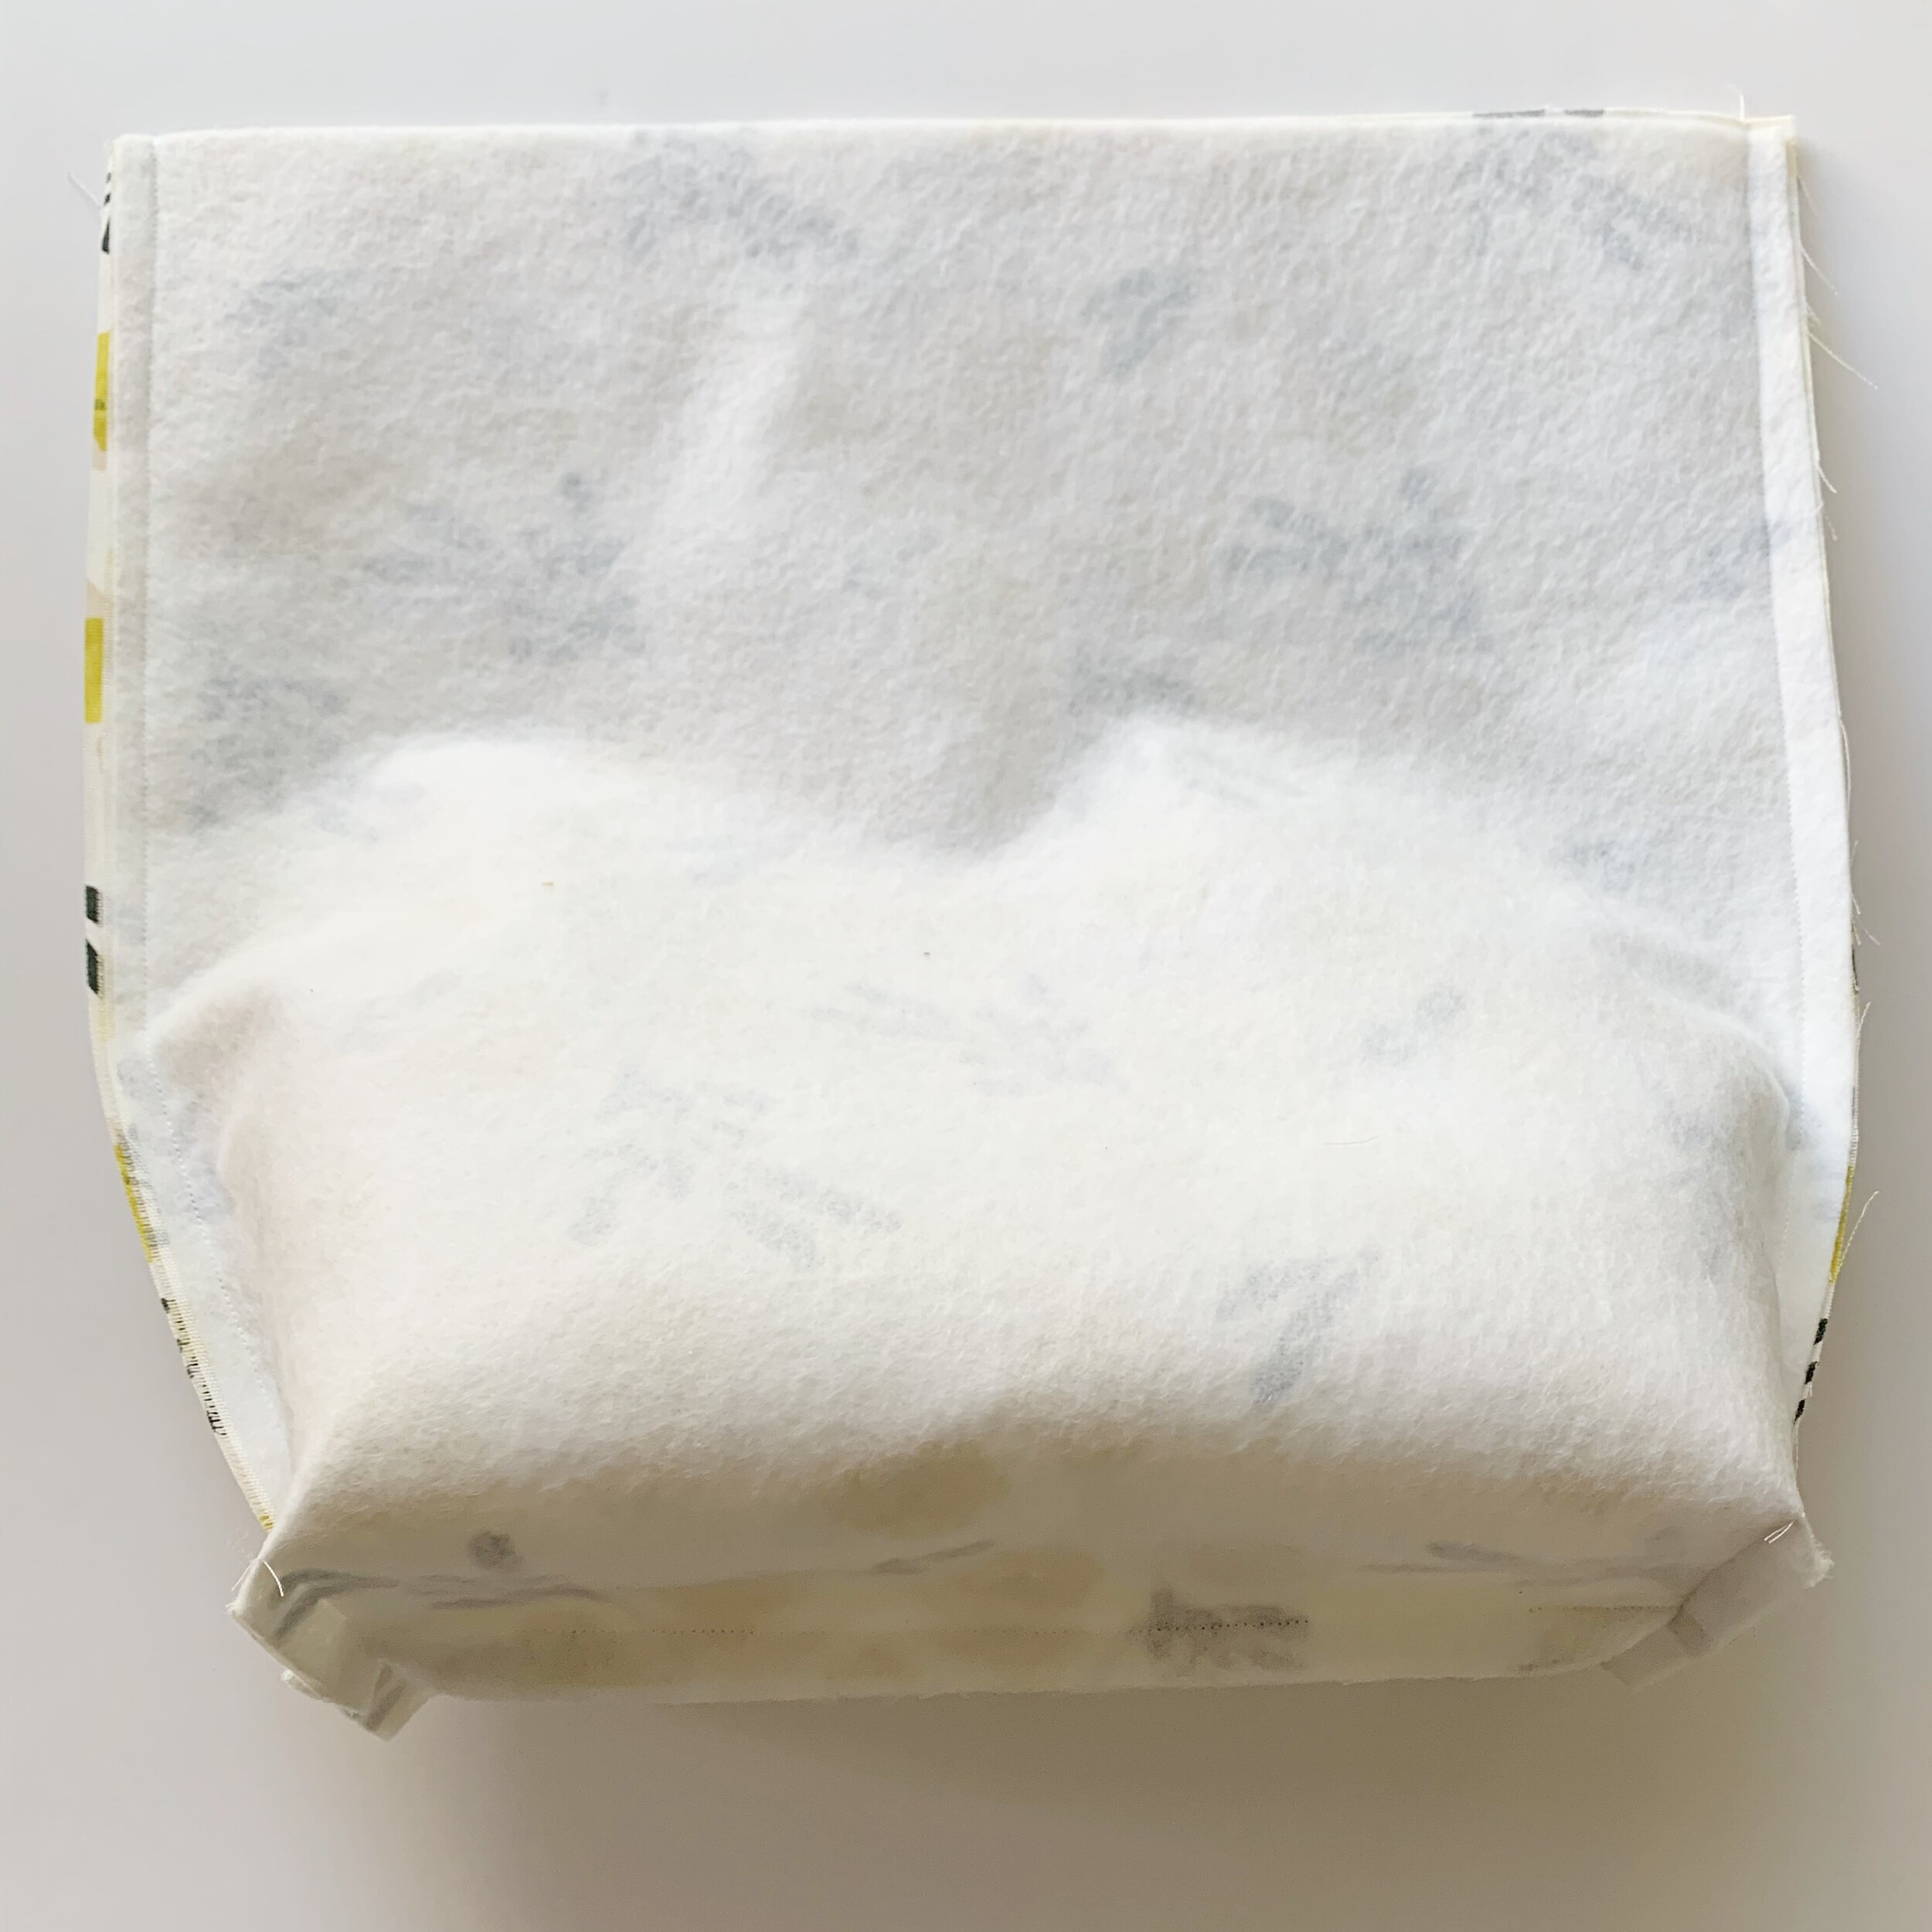
Turn exterior piece right side out and set aside.
Interior Pocket: (optional)
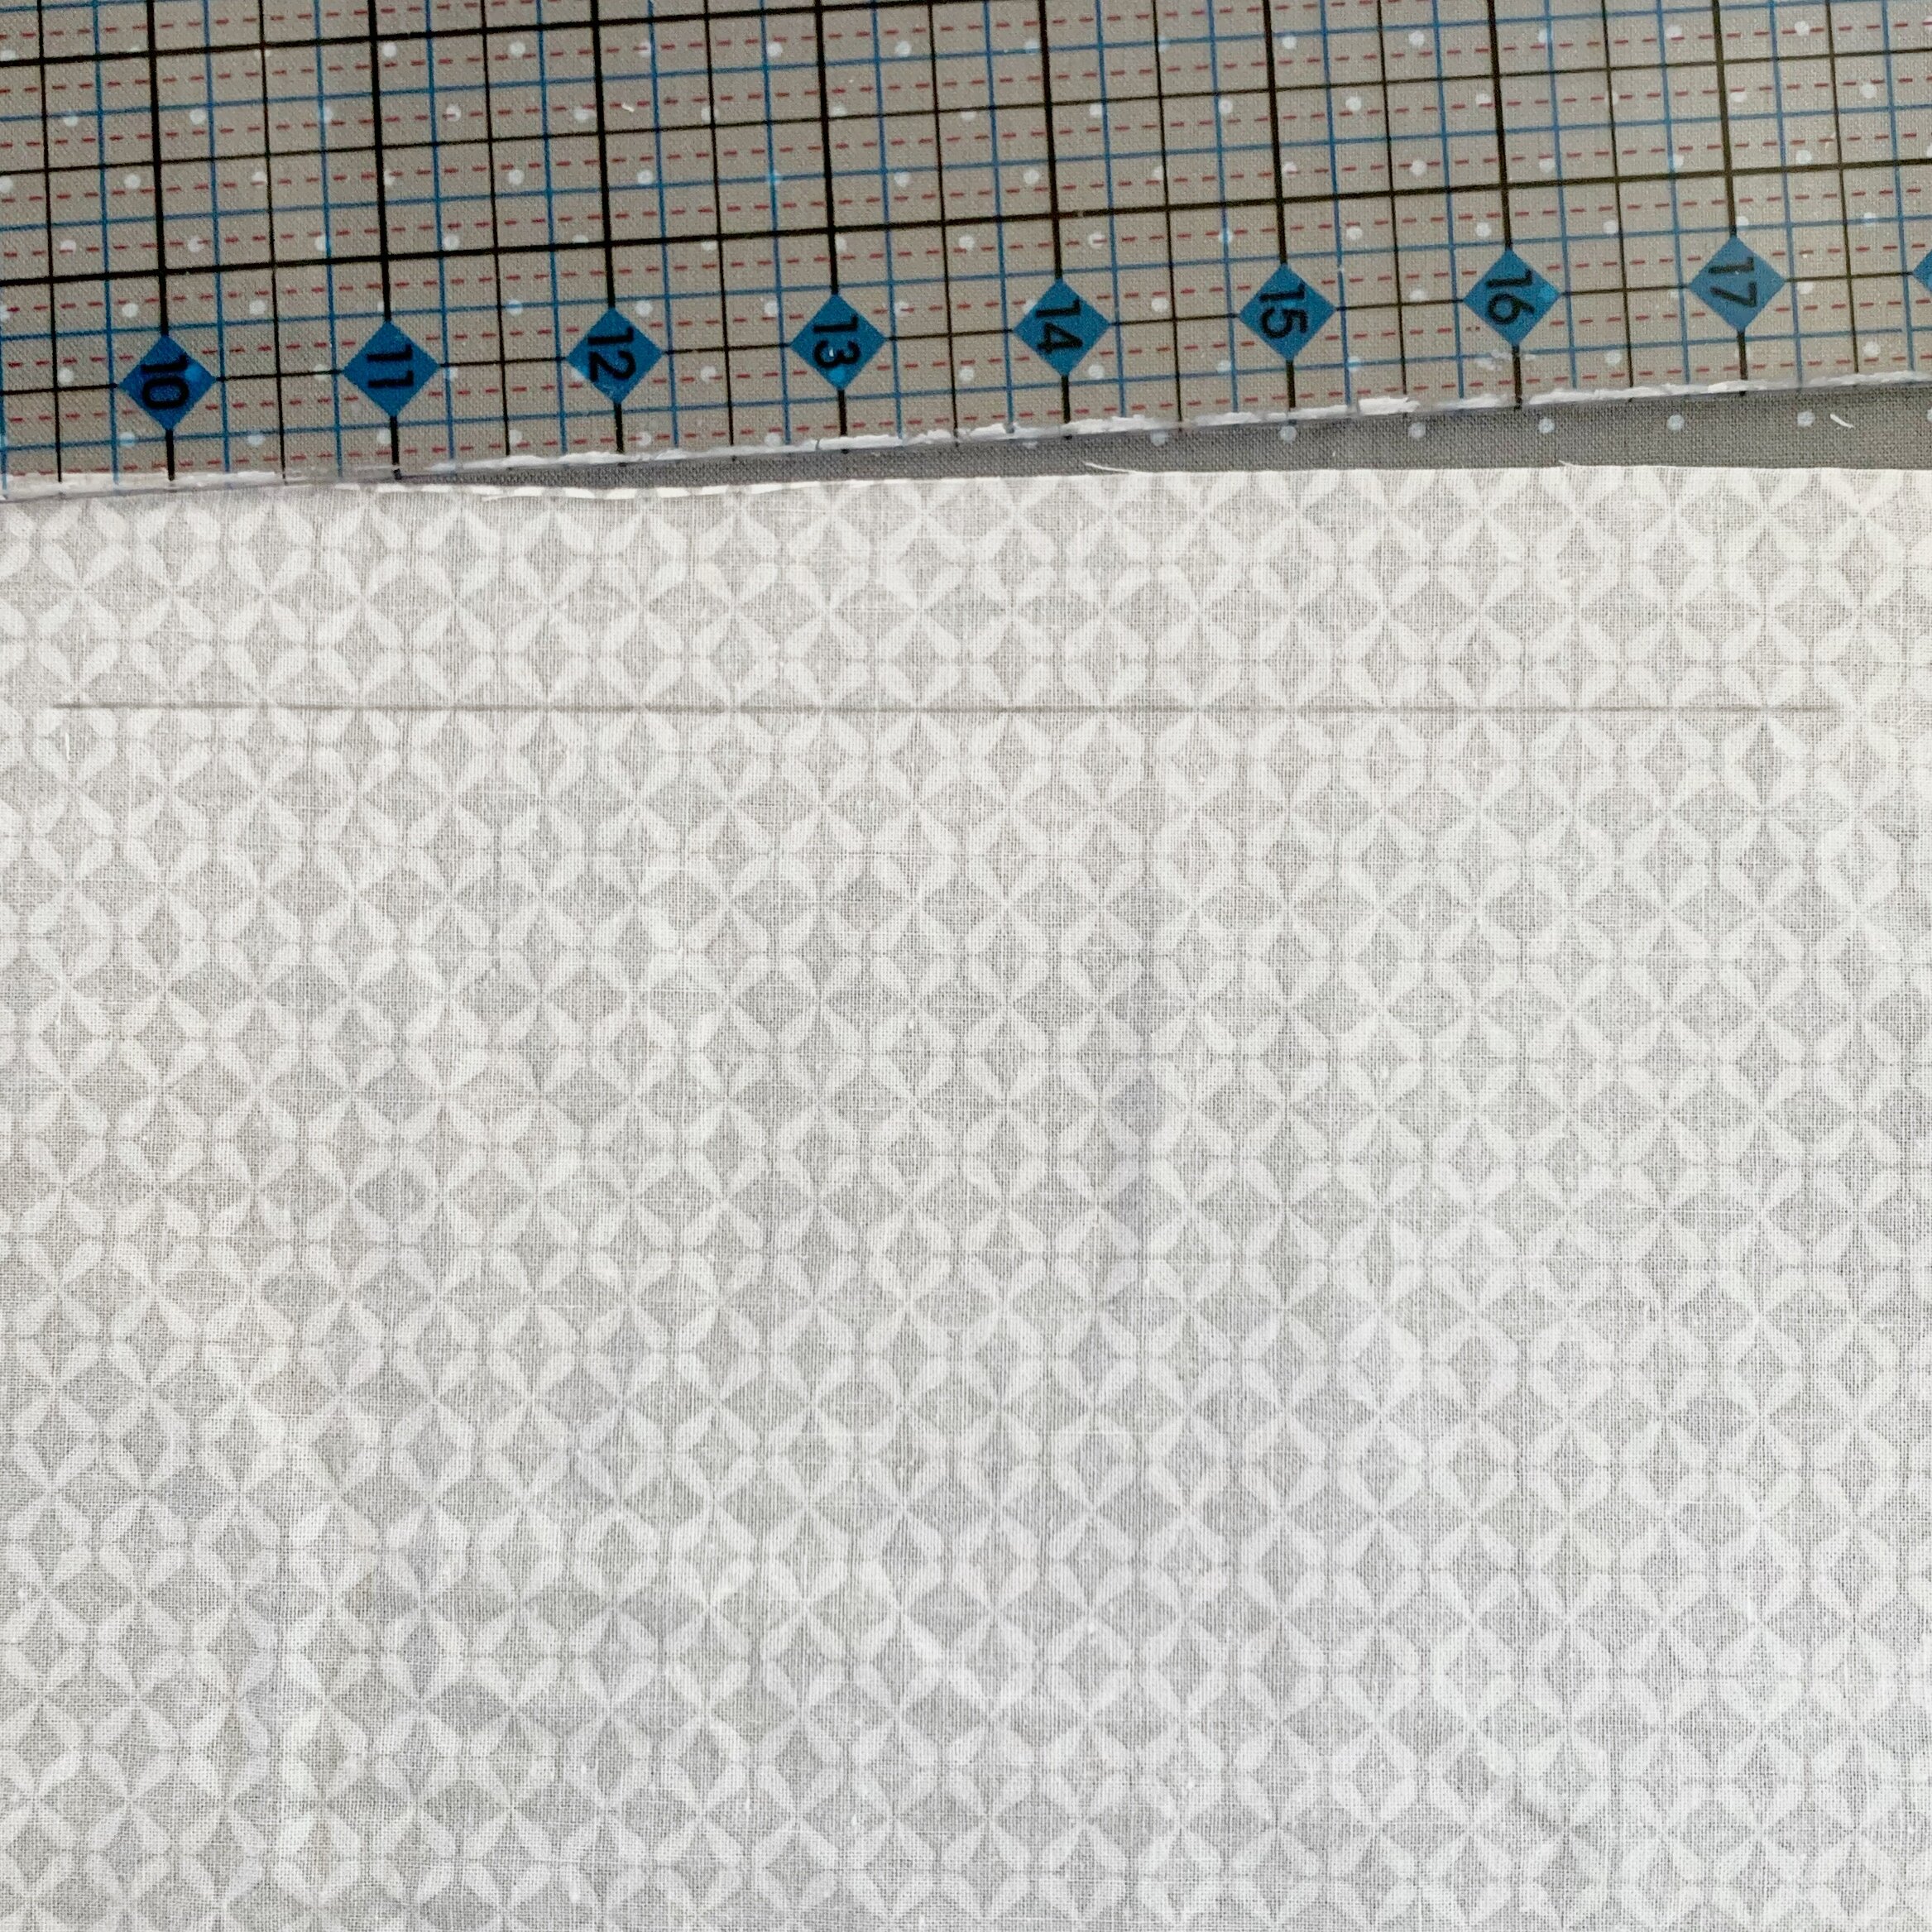
Lay one interior lining piece right side up. Lay your pocket piece right side down on top of your interior lining piece so that it’s short edge is 3” down from the top of the lining piece and about 3.5” from each side.
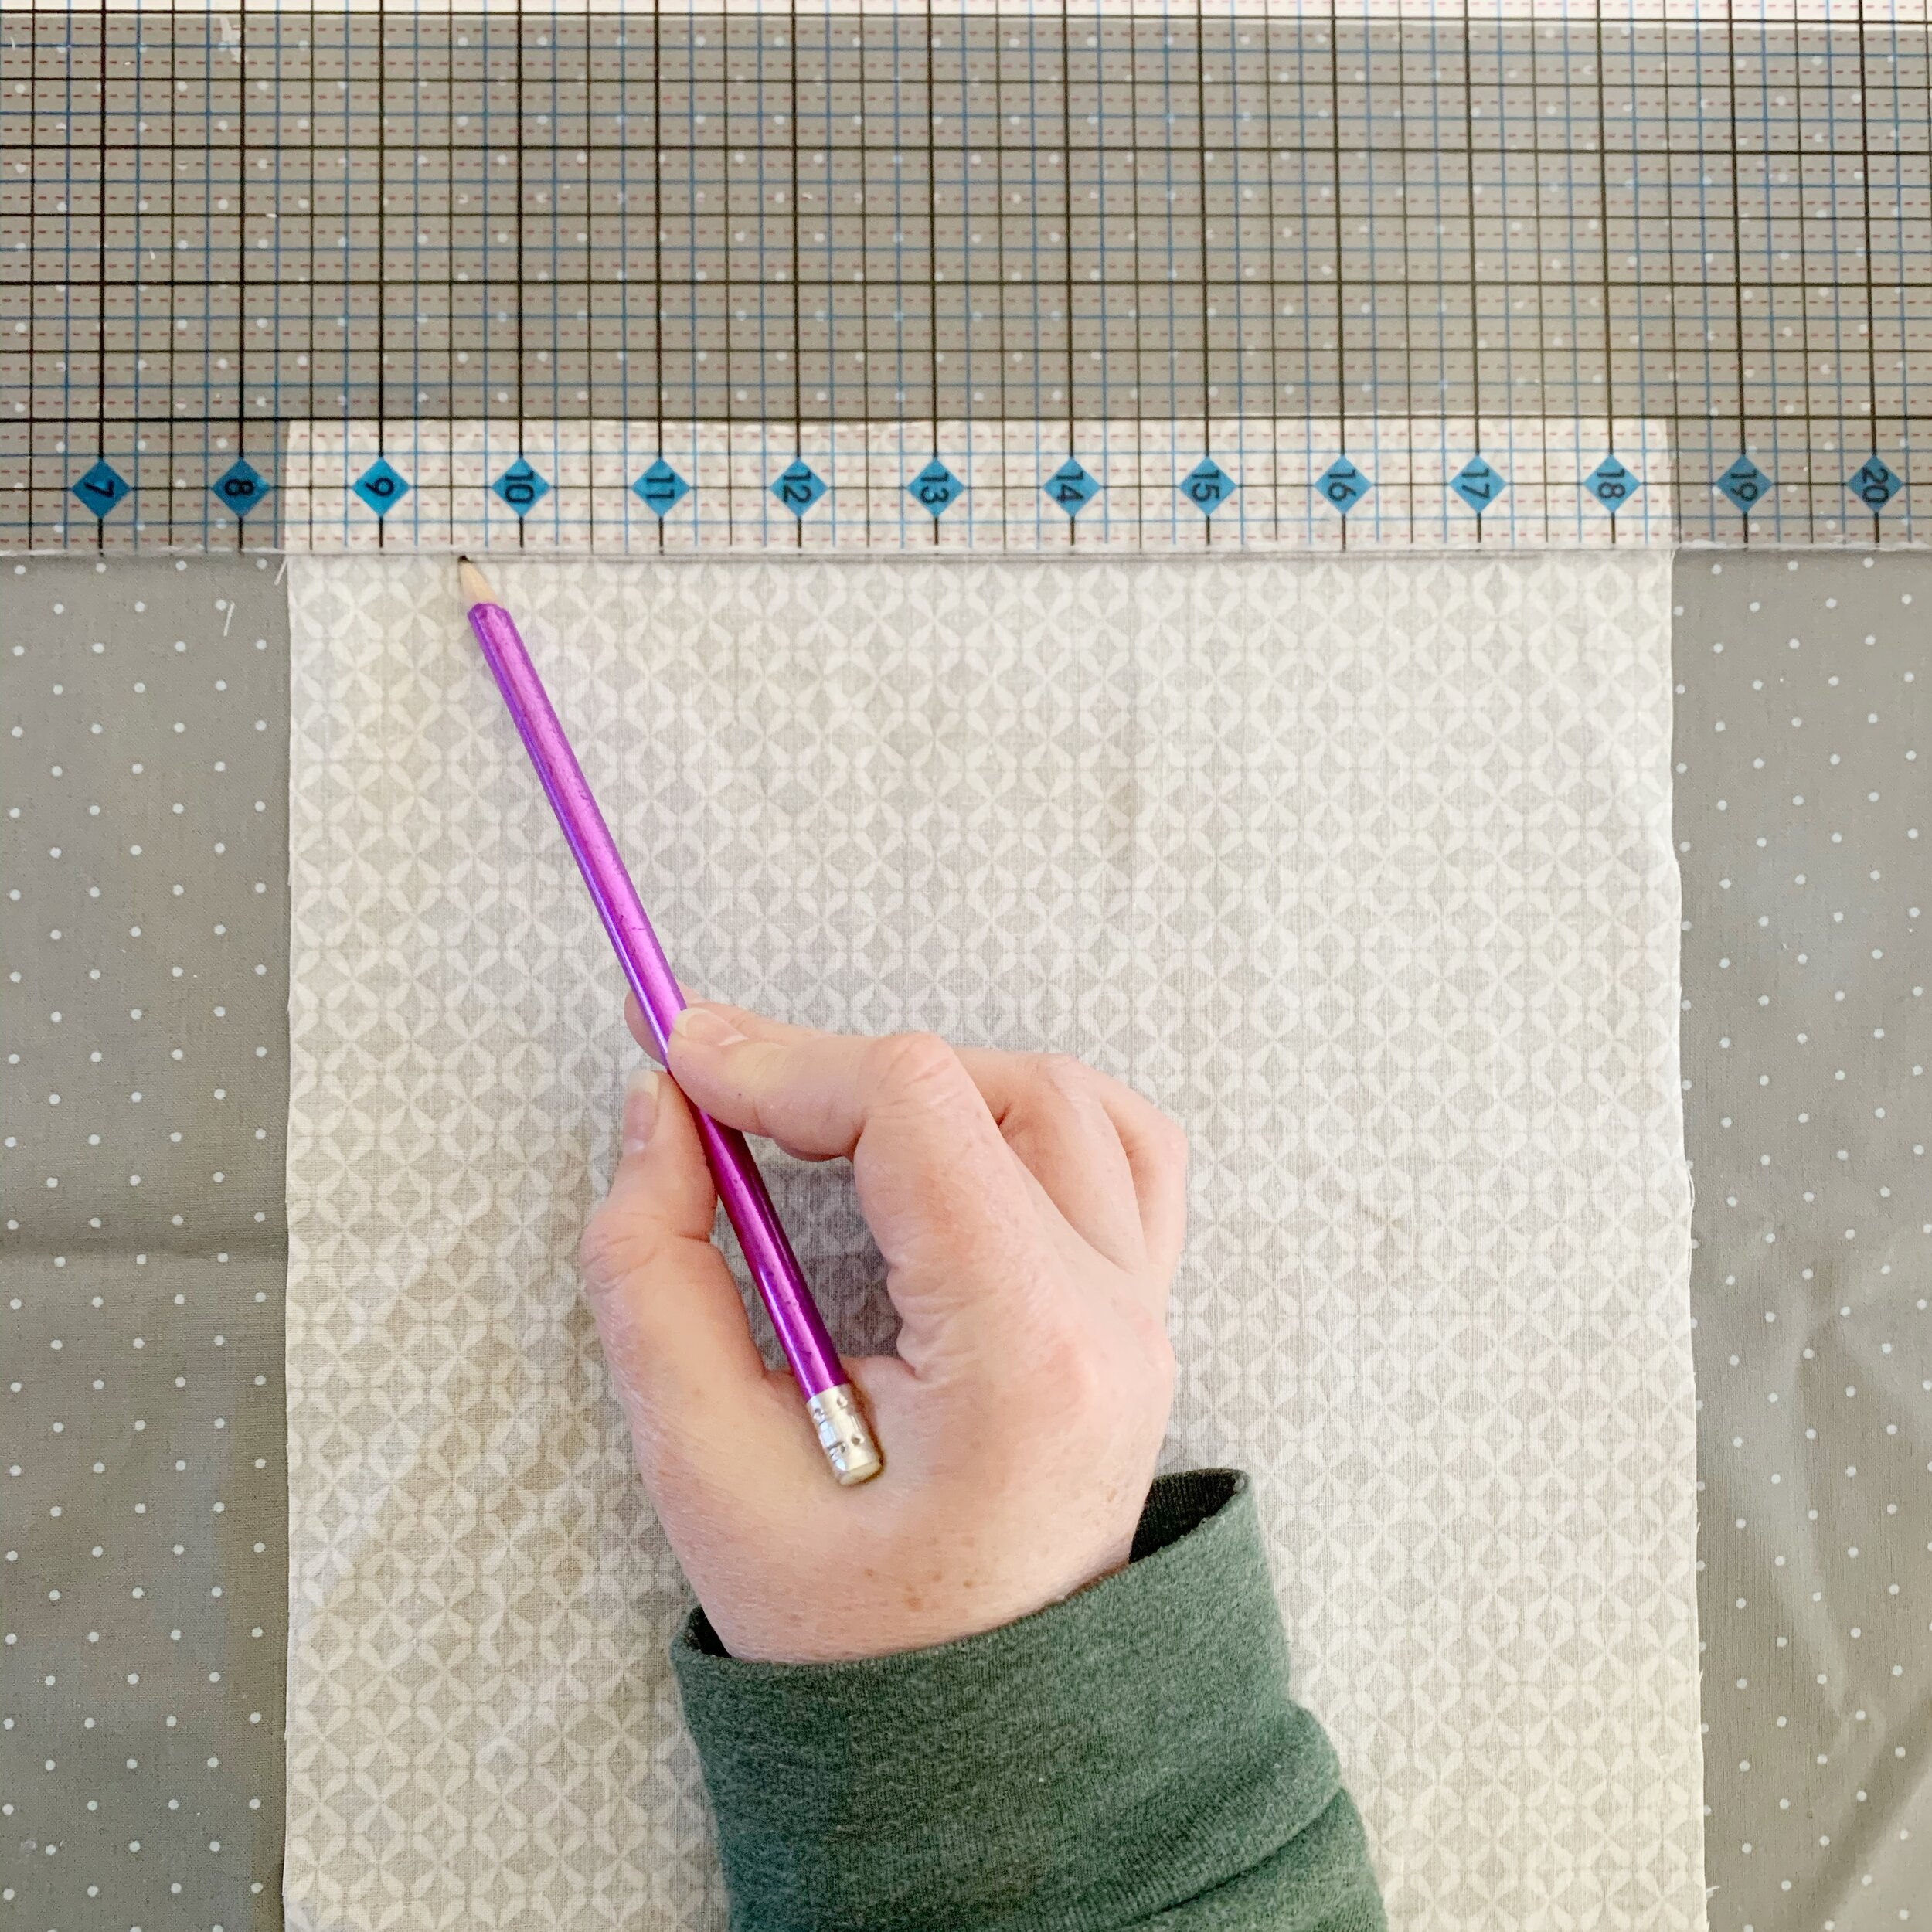
Then move your ruler so the edge is 1” below the pocket piece. Using a pencil, draw a line that is 7.5” long evenly spaced between the pocket piece. I started marking mine about 1.25” from the edge.
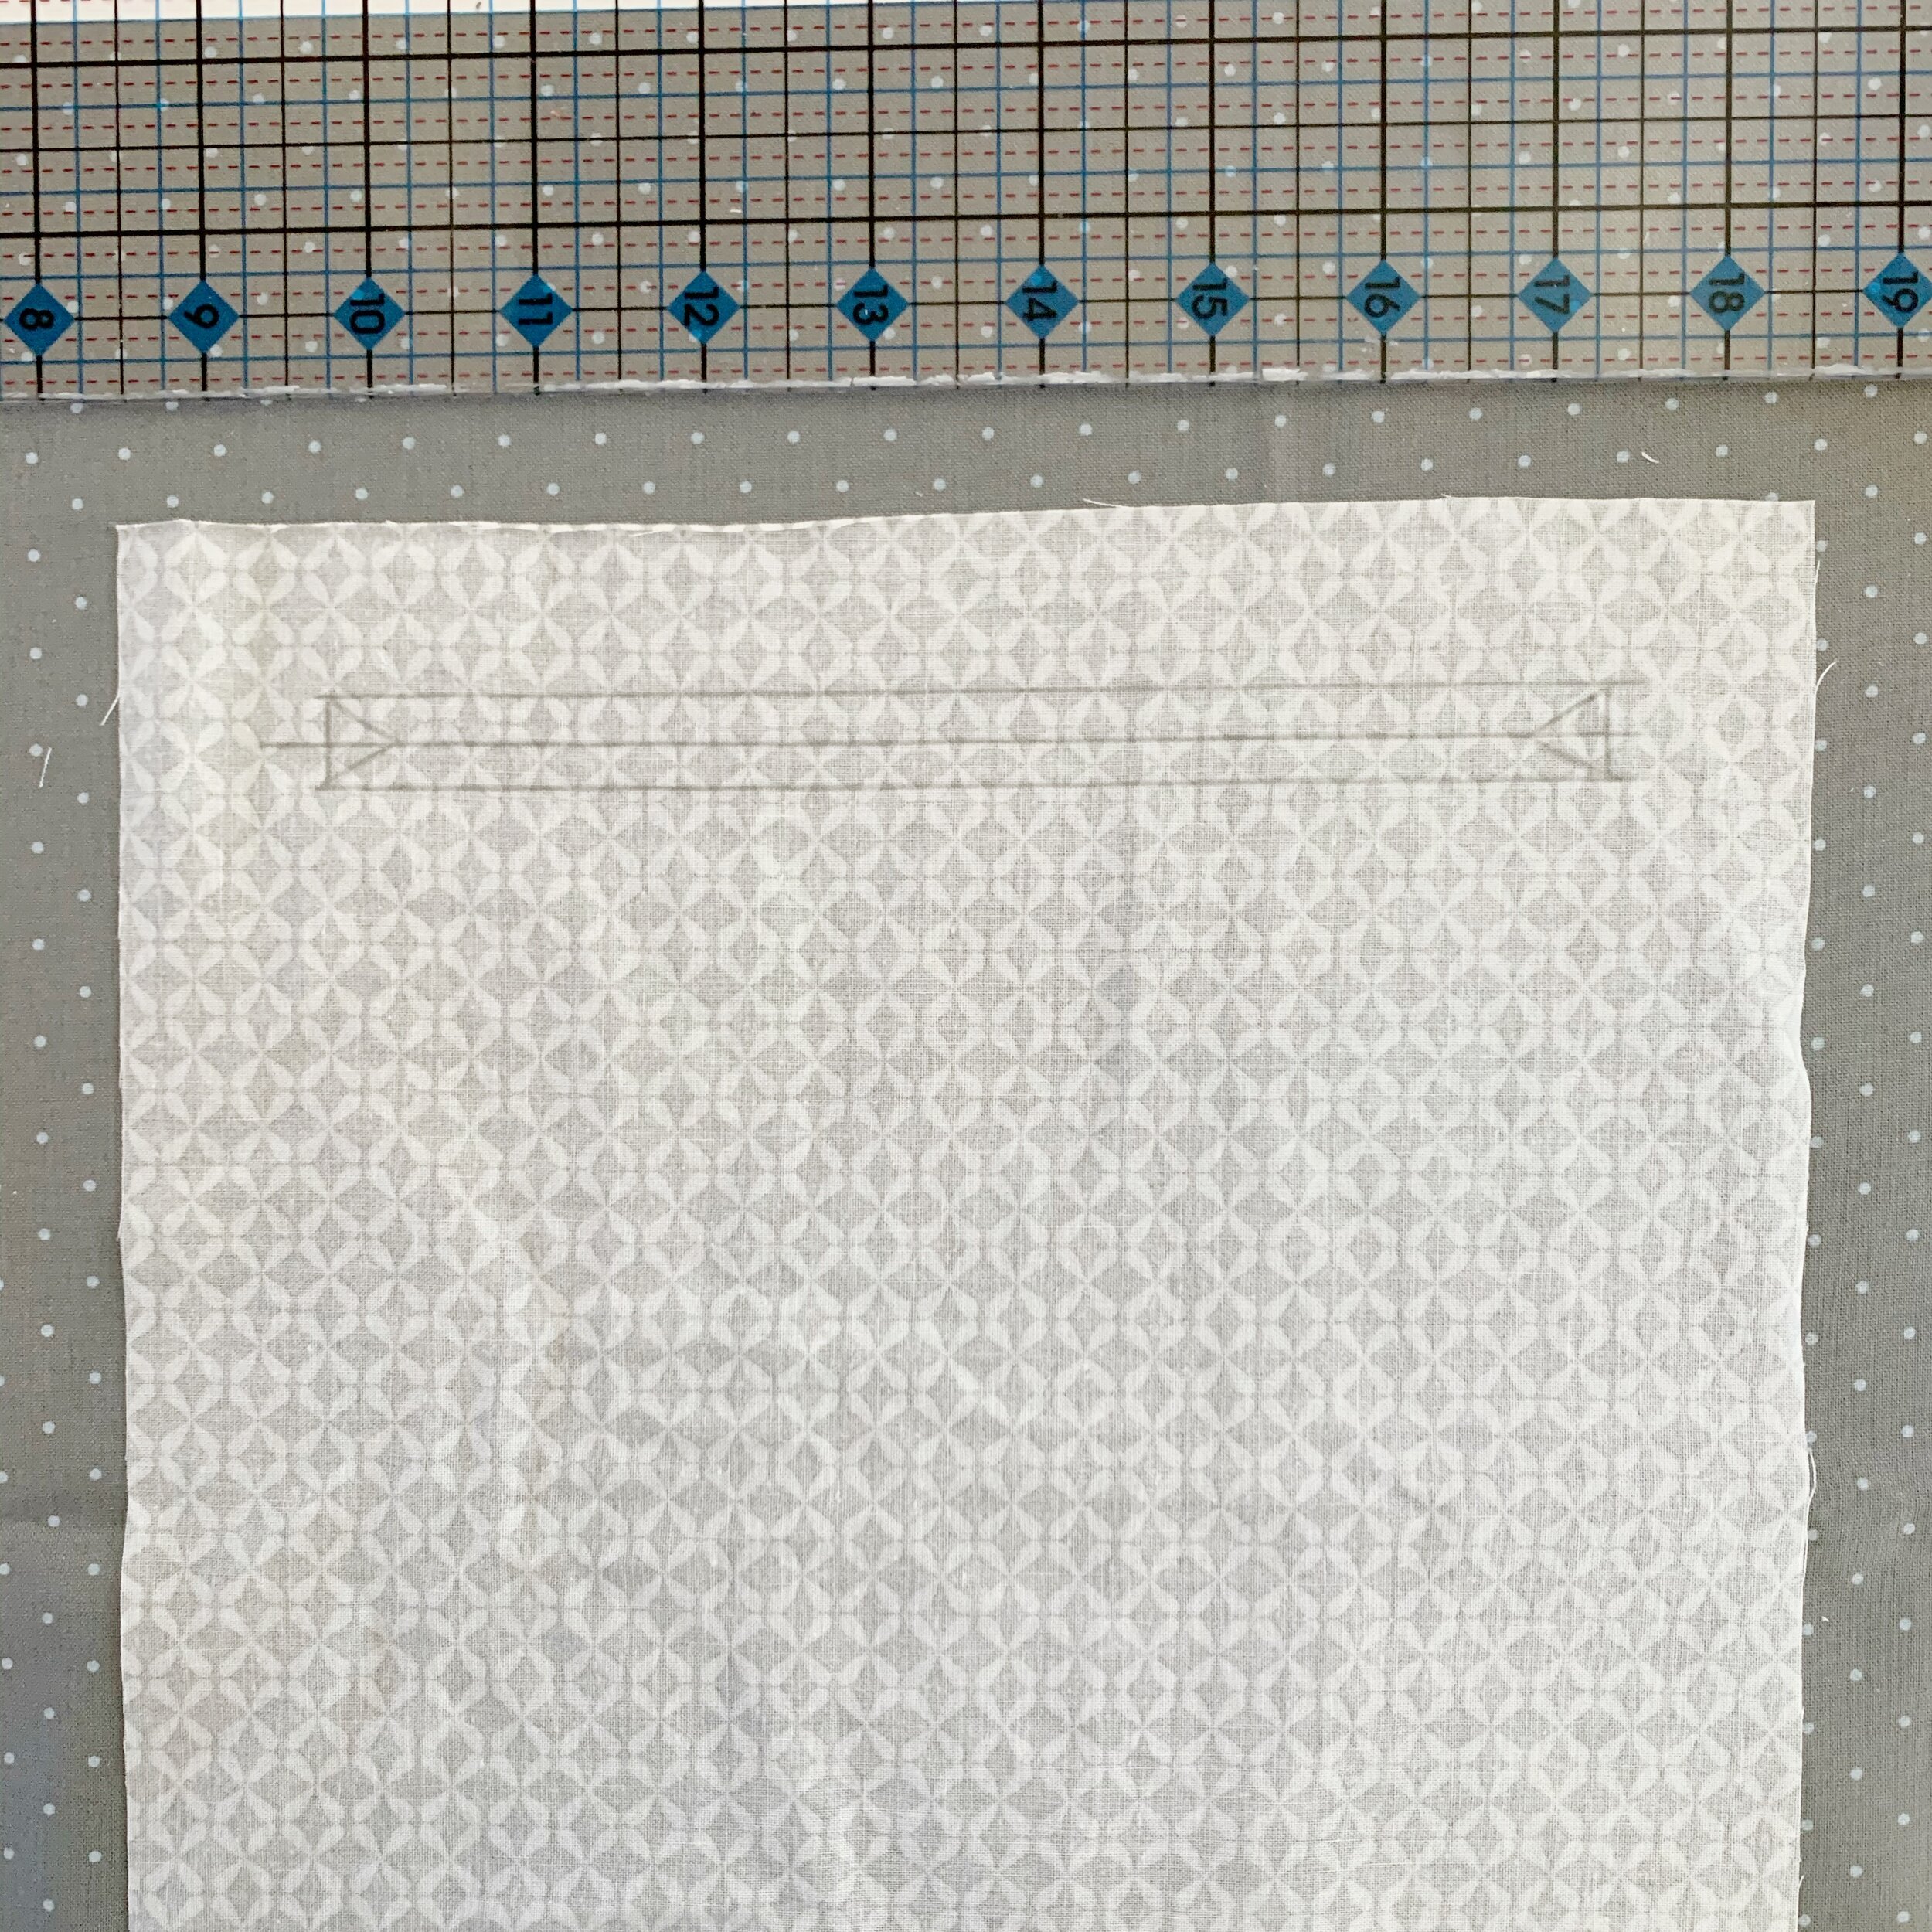
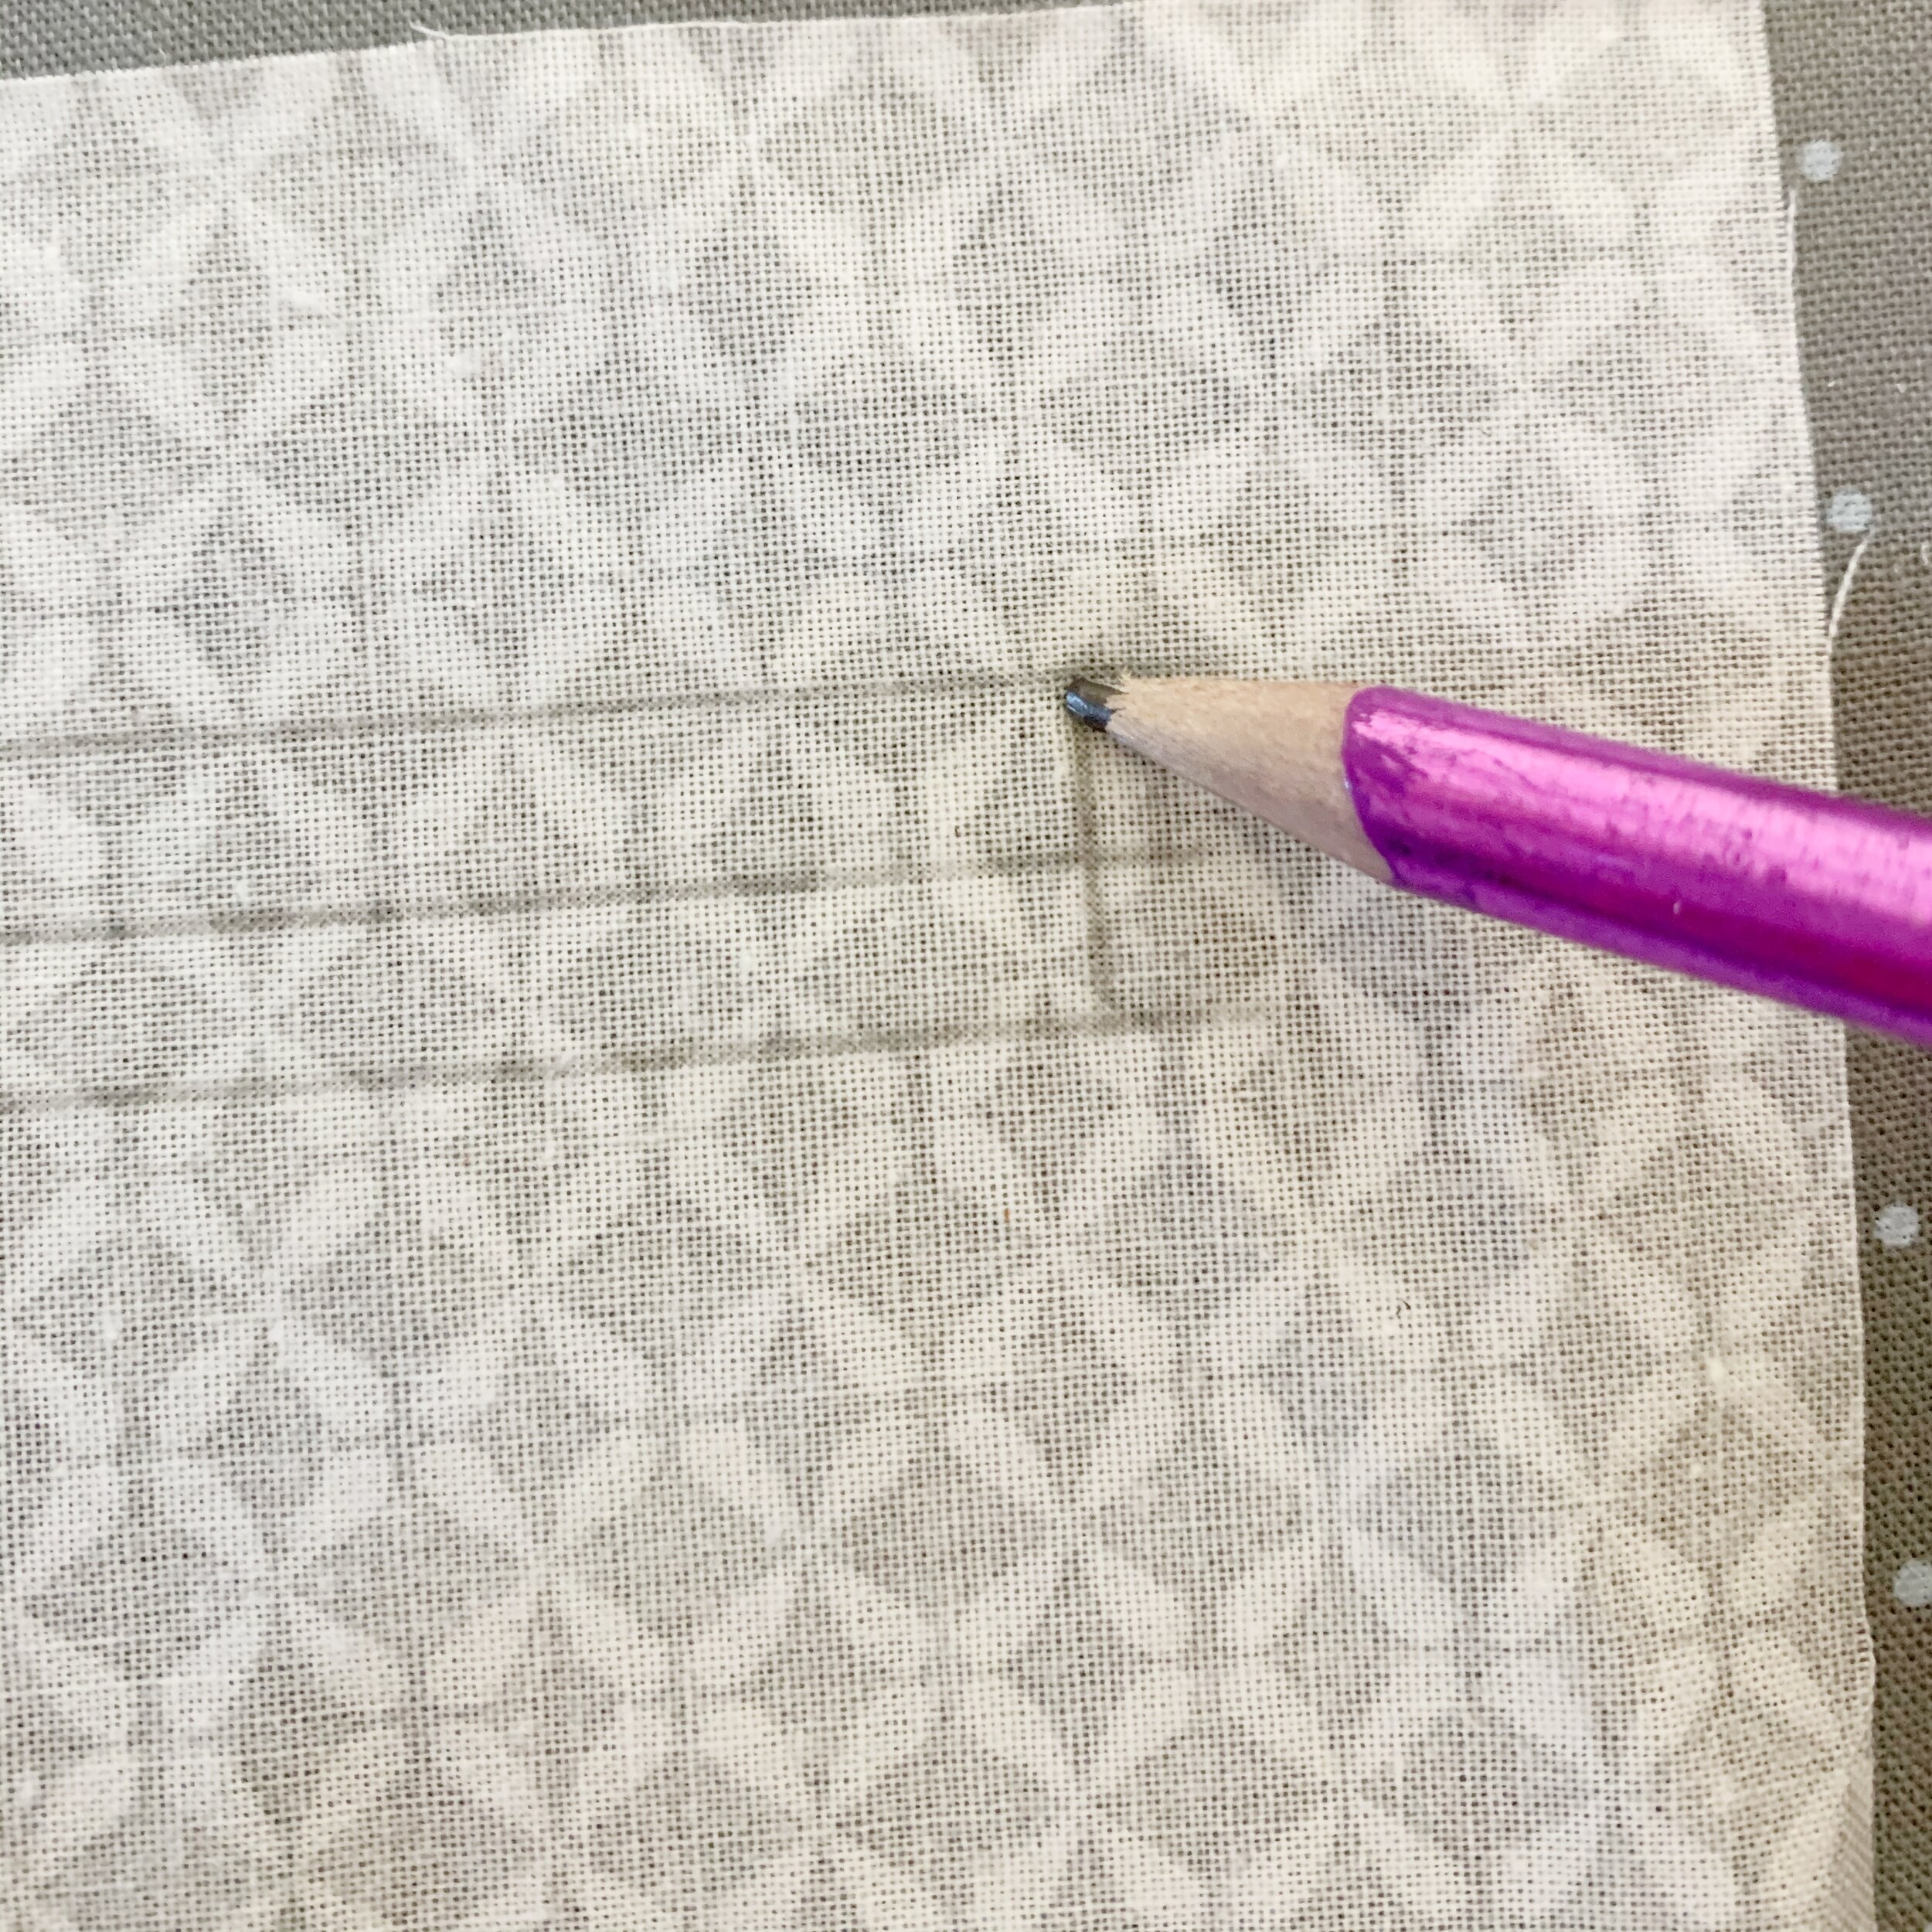
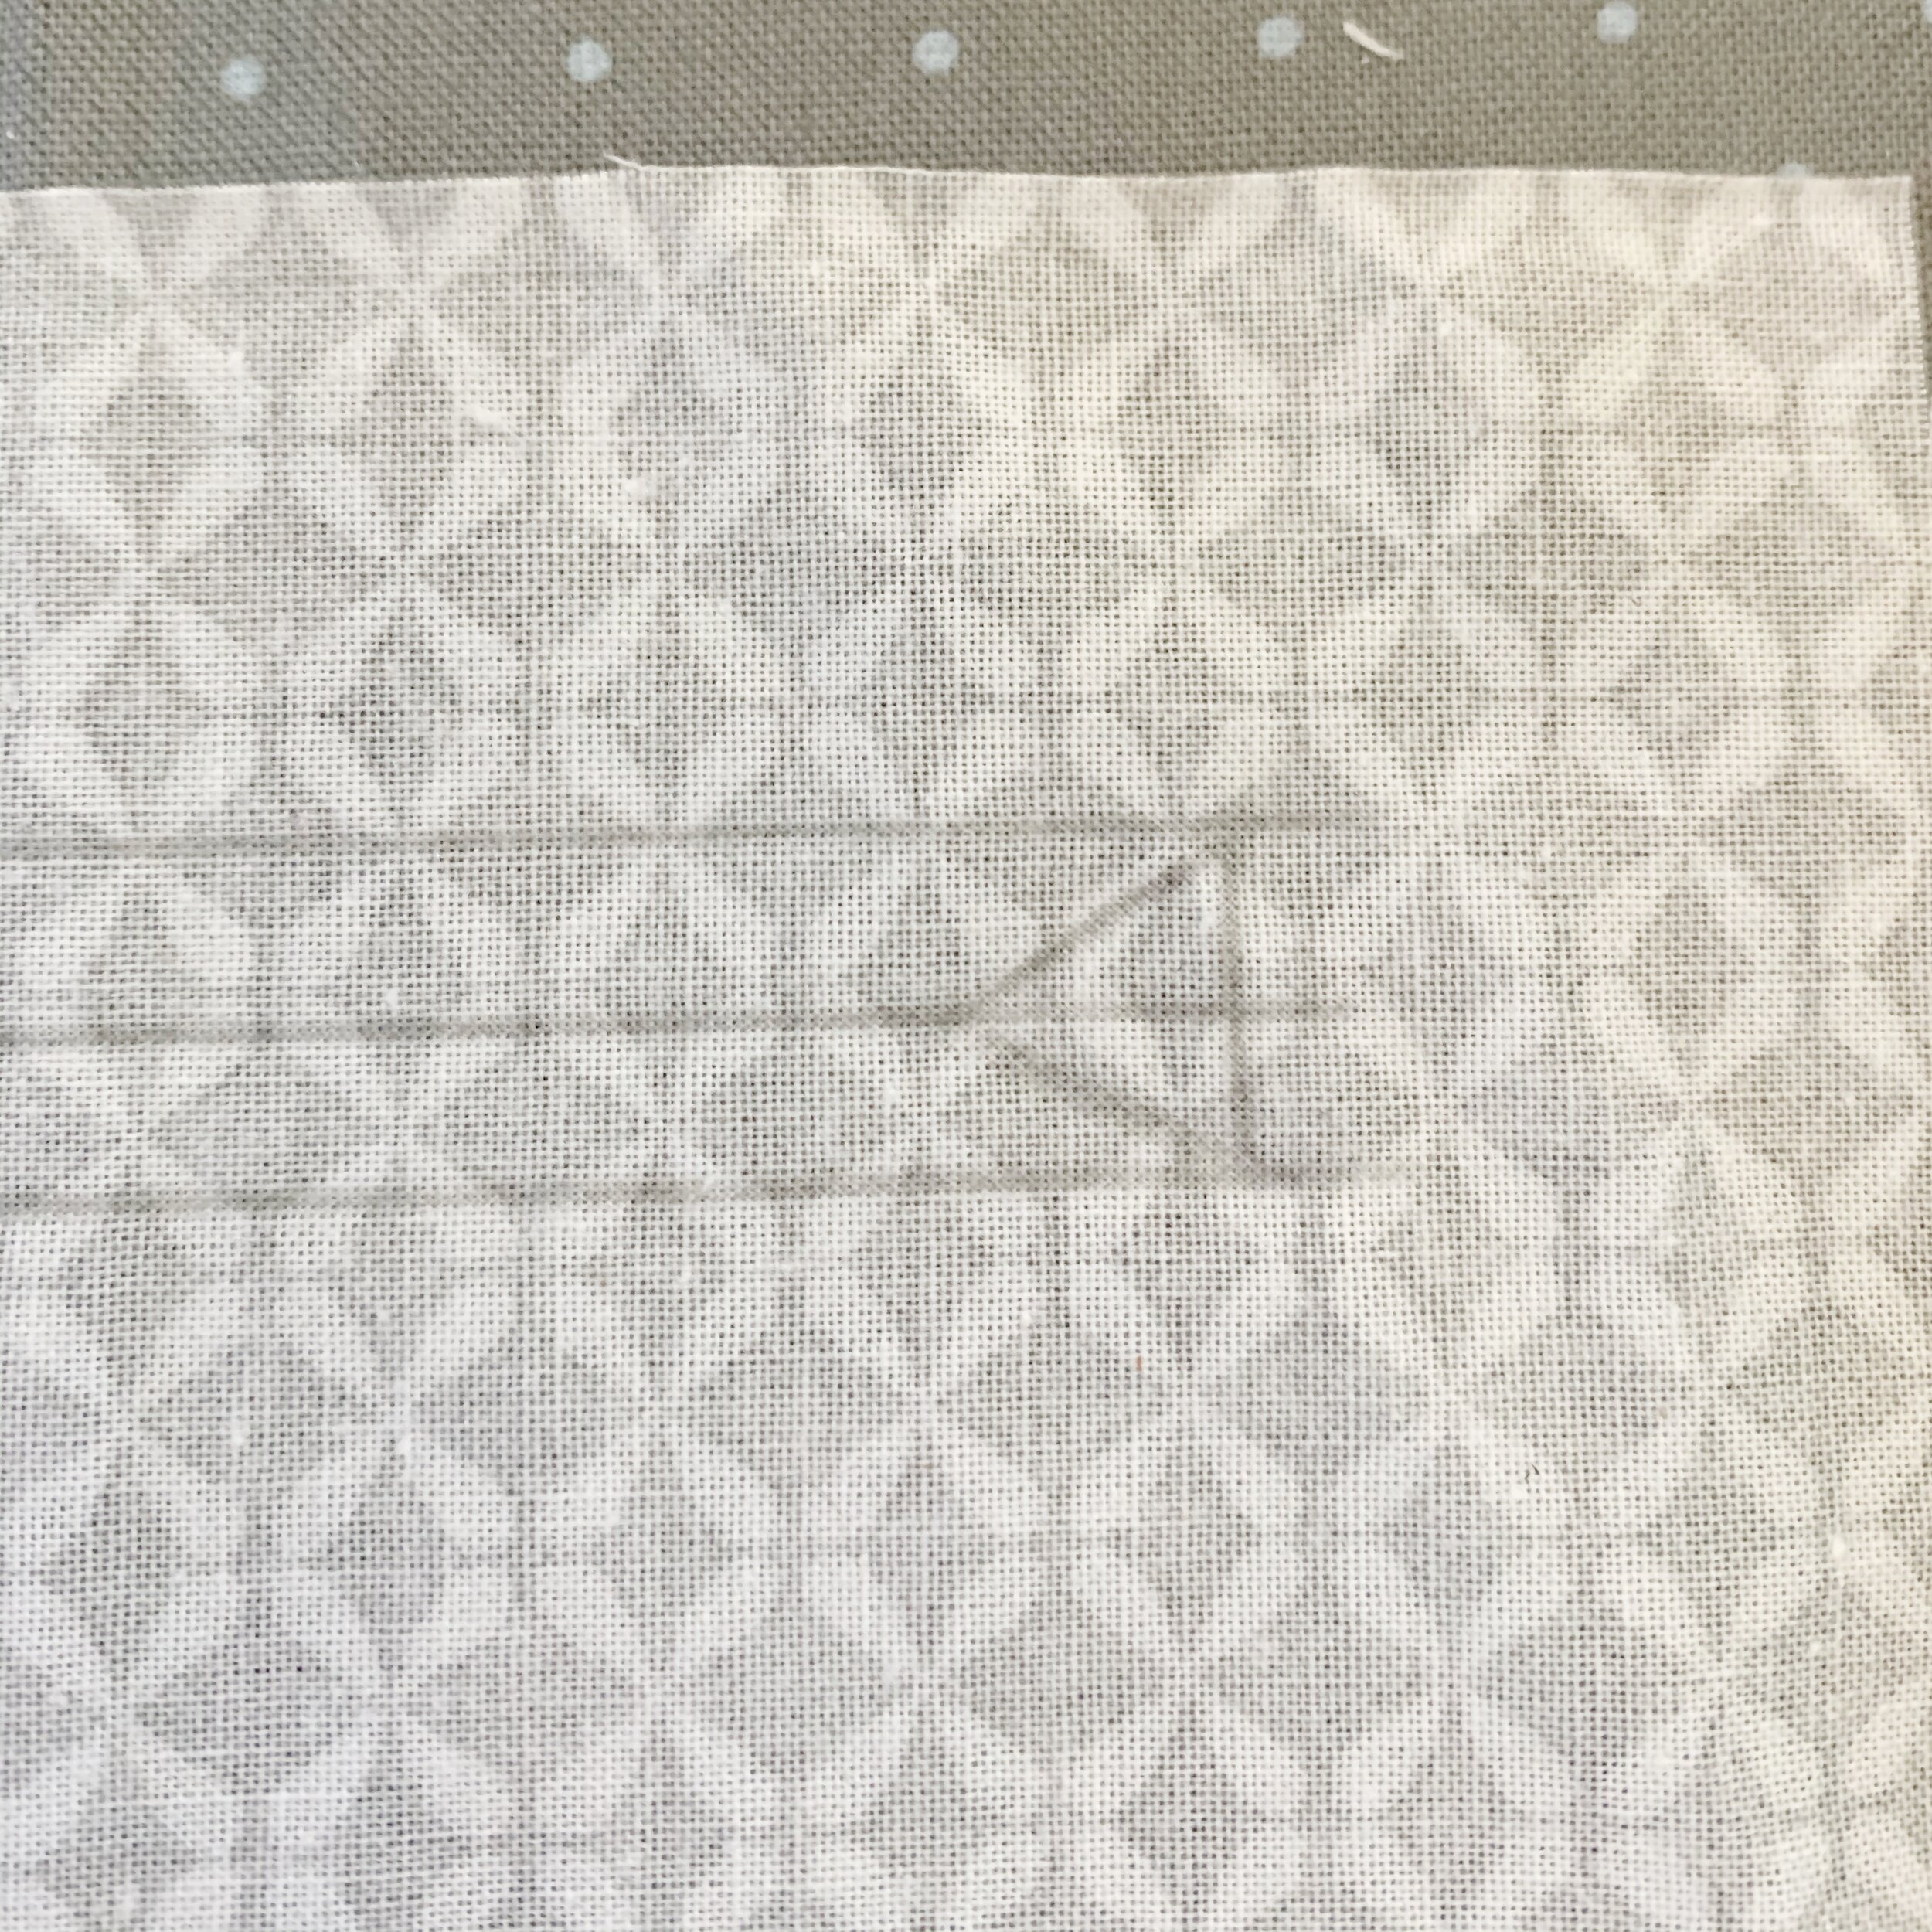
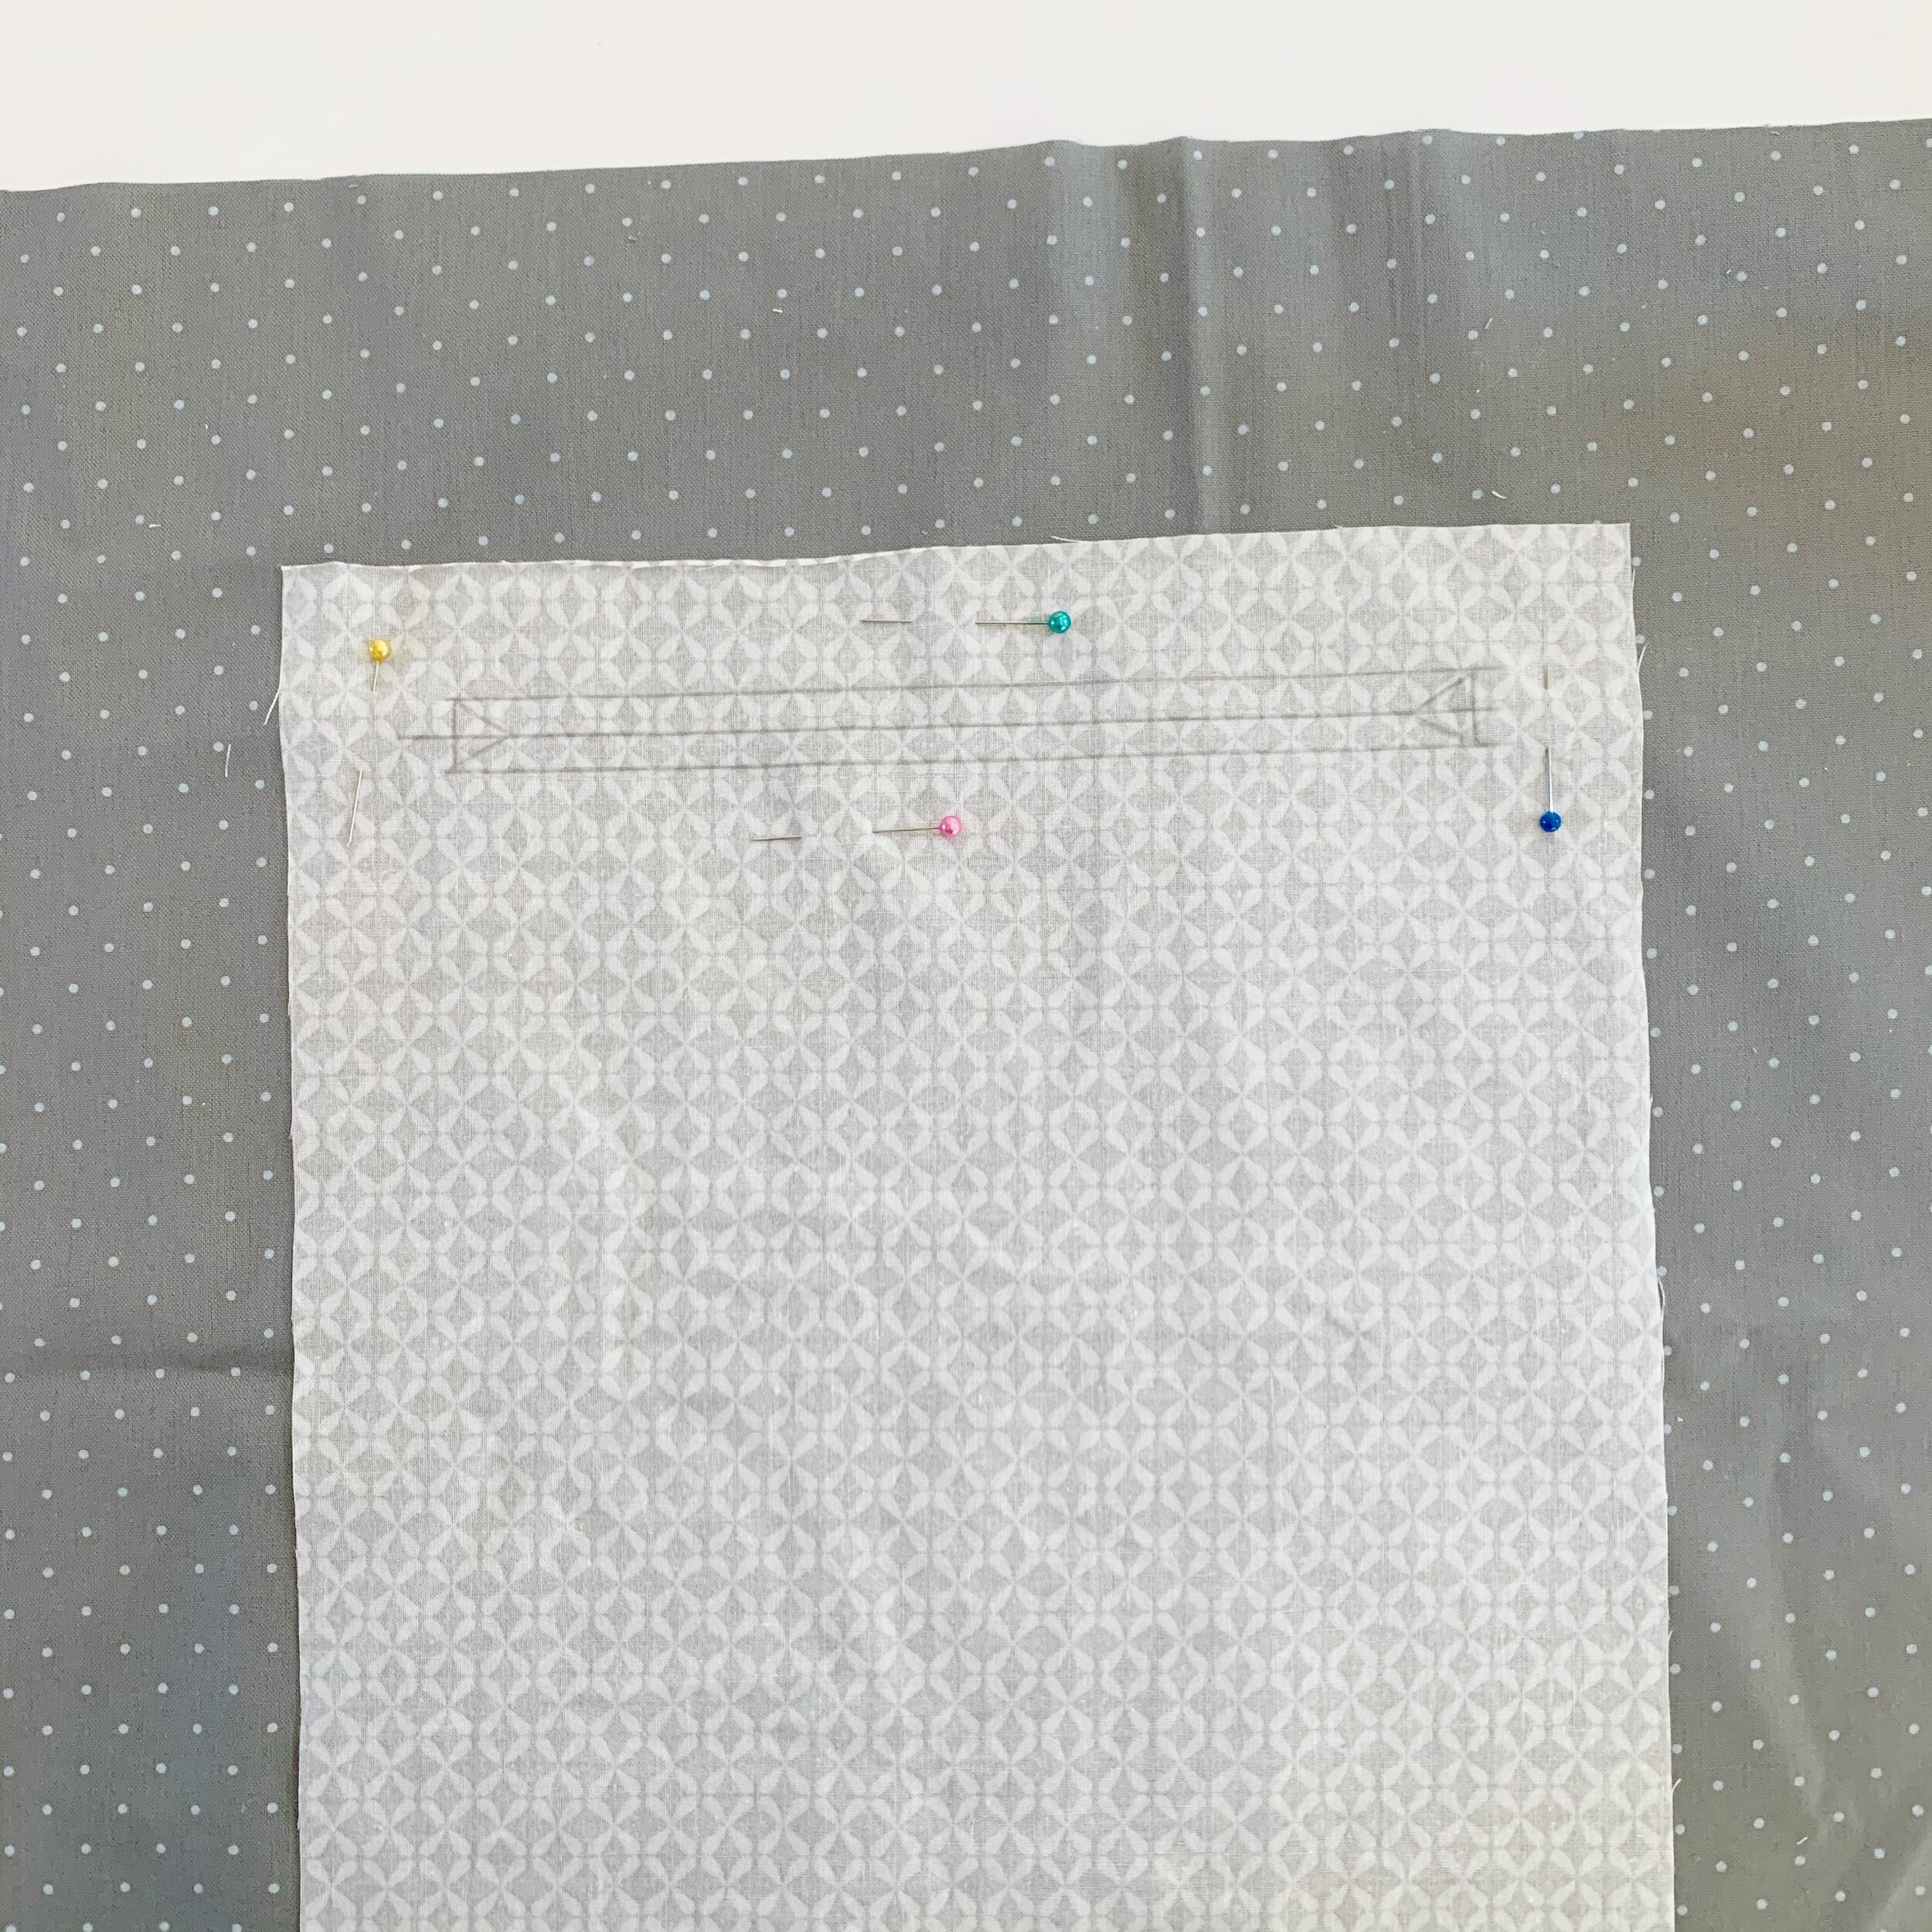
Mark two more lines, one ¼” down from the first line, the other ¼” down from the second. Then connect all three lines on the sides to create a rectangle with a line in the center. Draw diagonal lines from the corners to the center line on each side. Pin the pocket piece to the lining piece to hold in place and then sew along the outside edge of the rectangle.
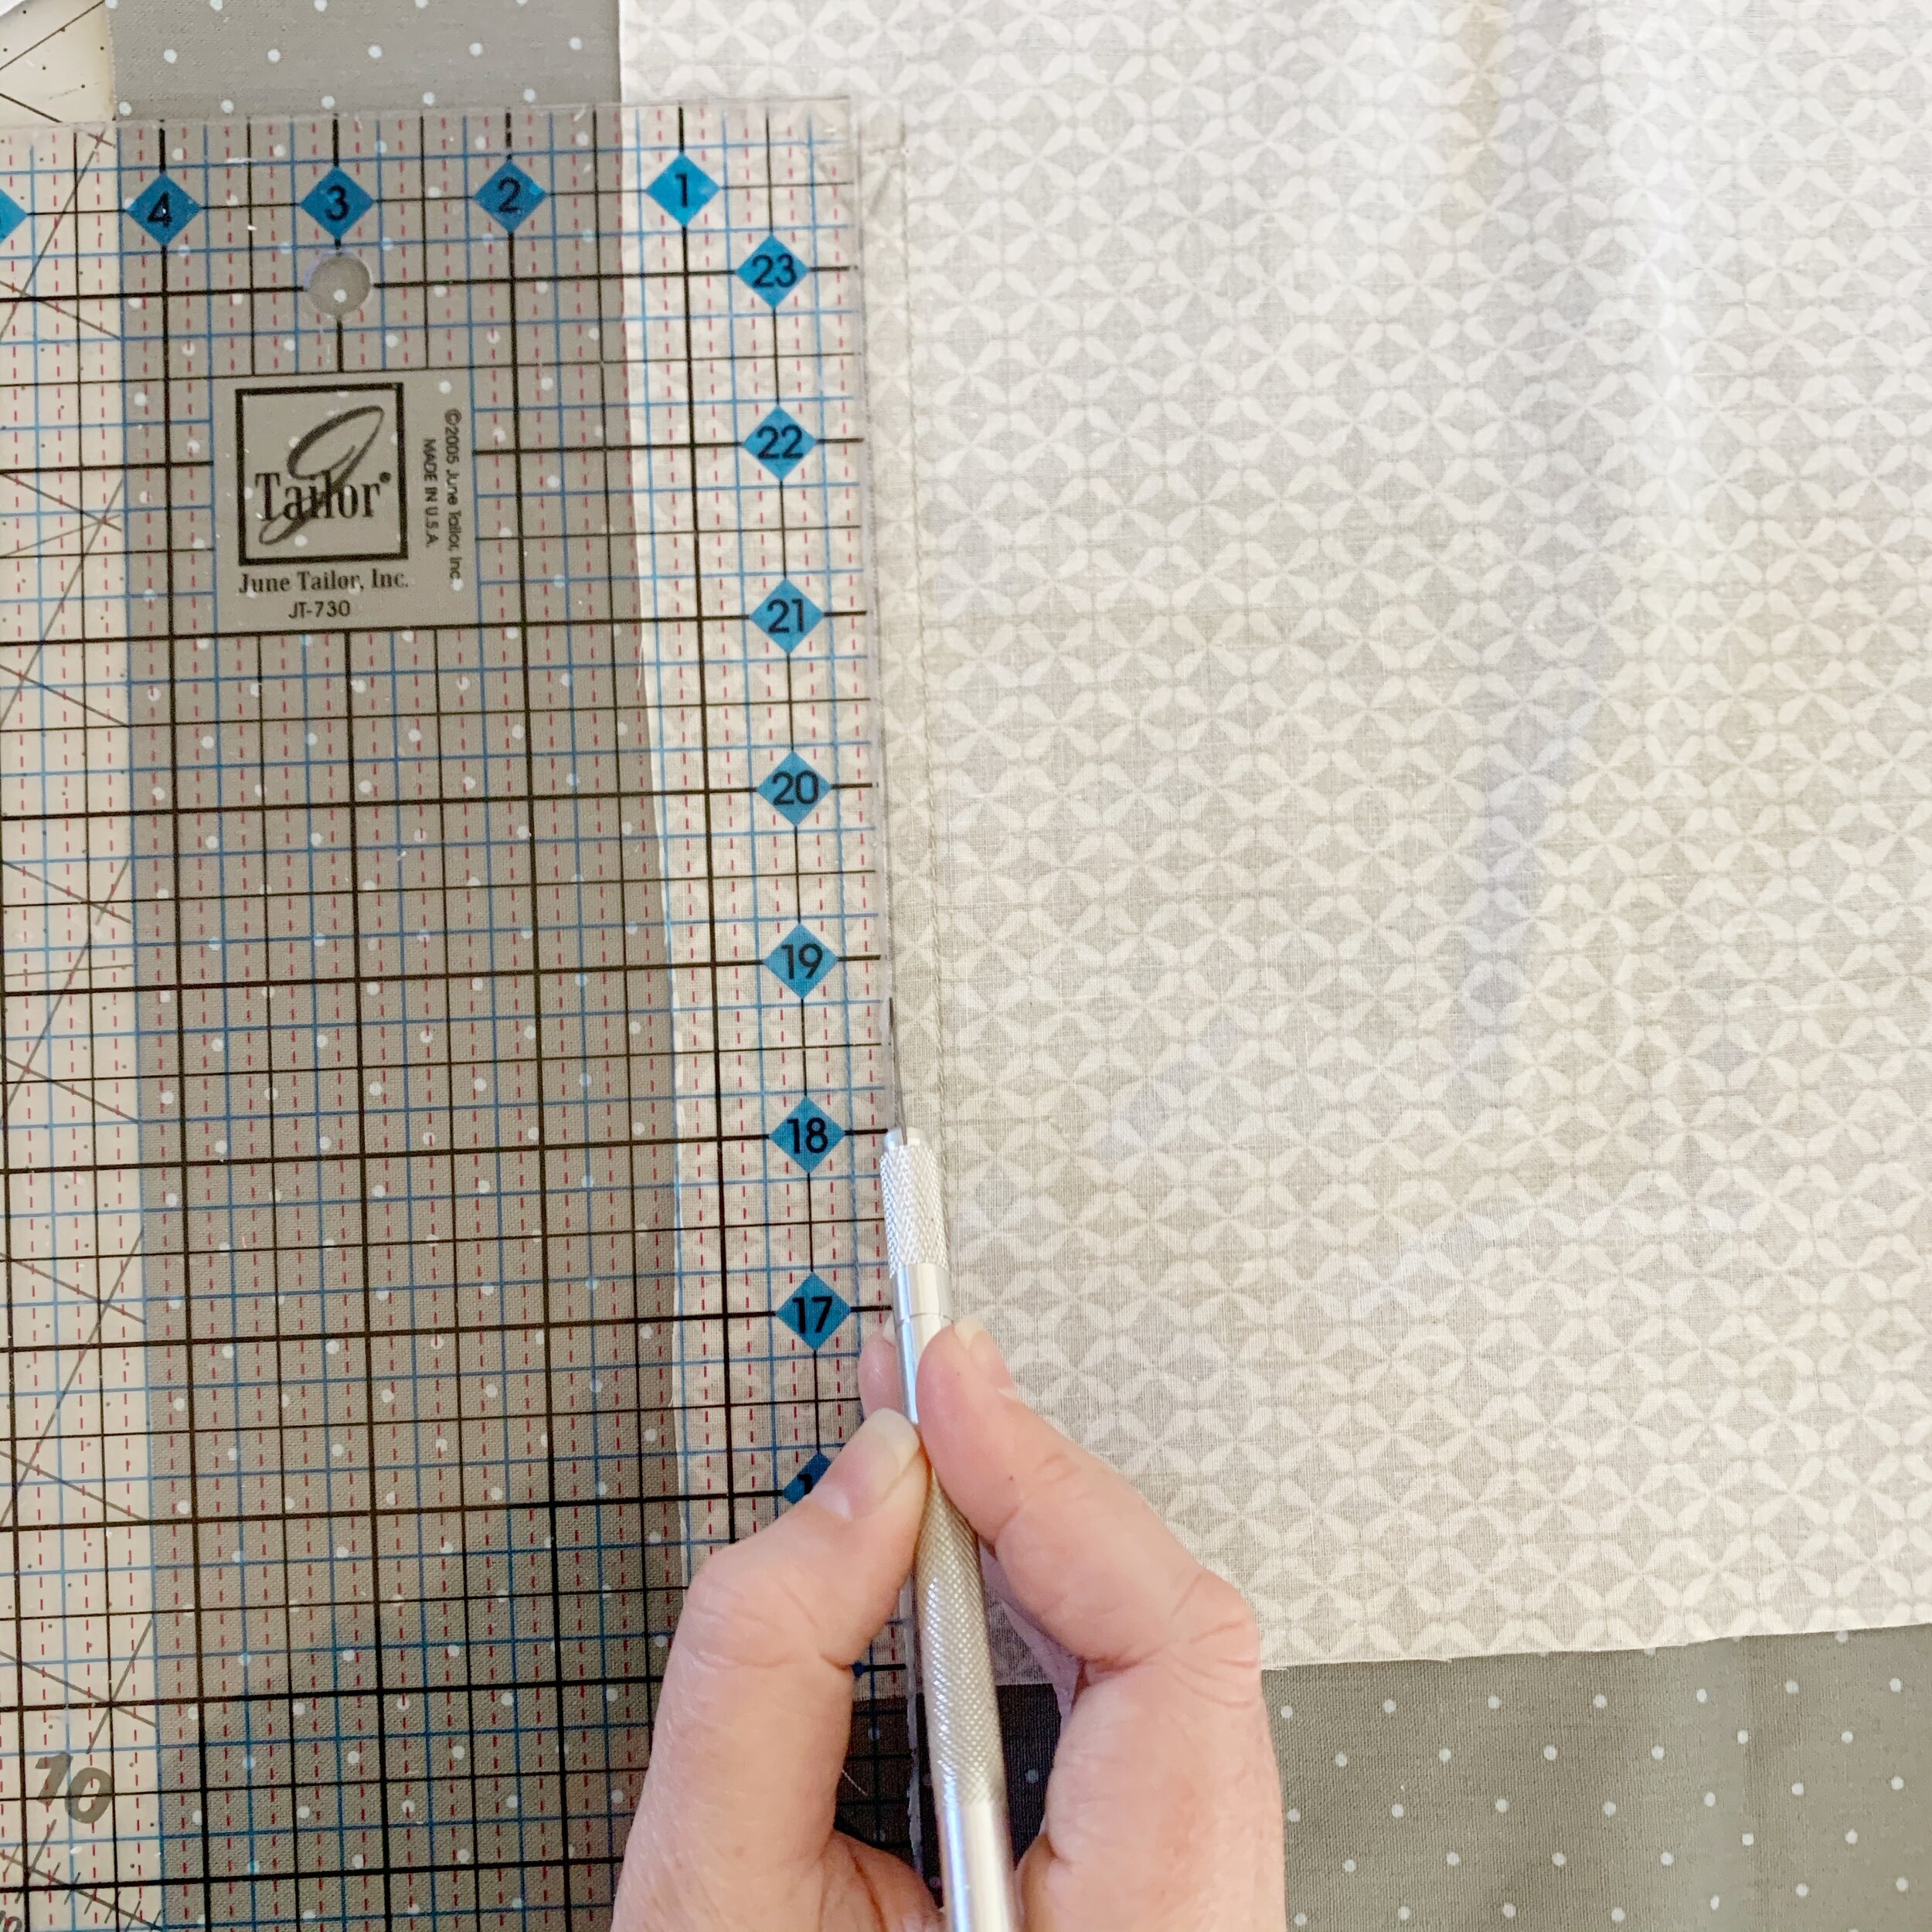
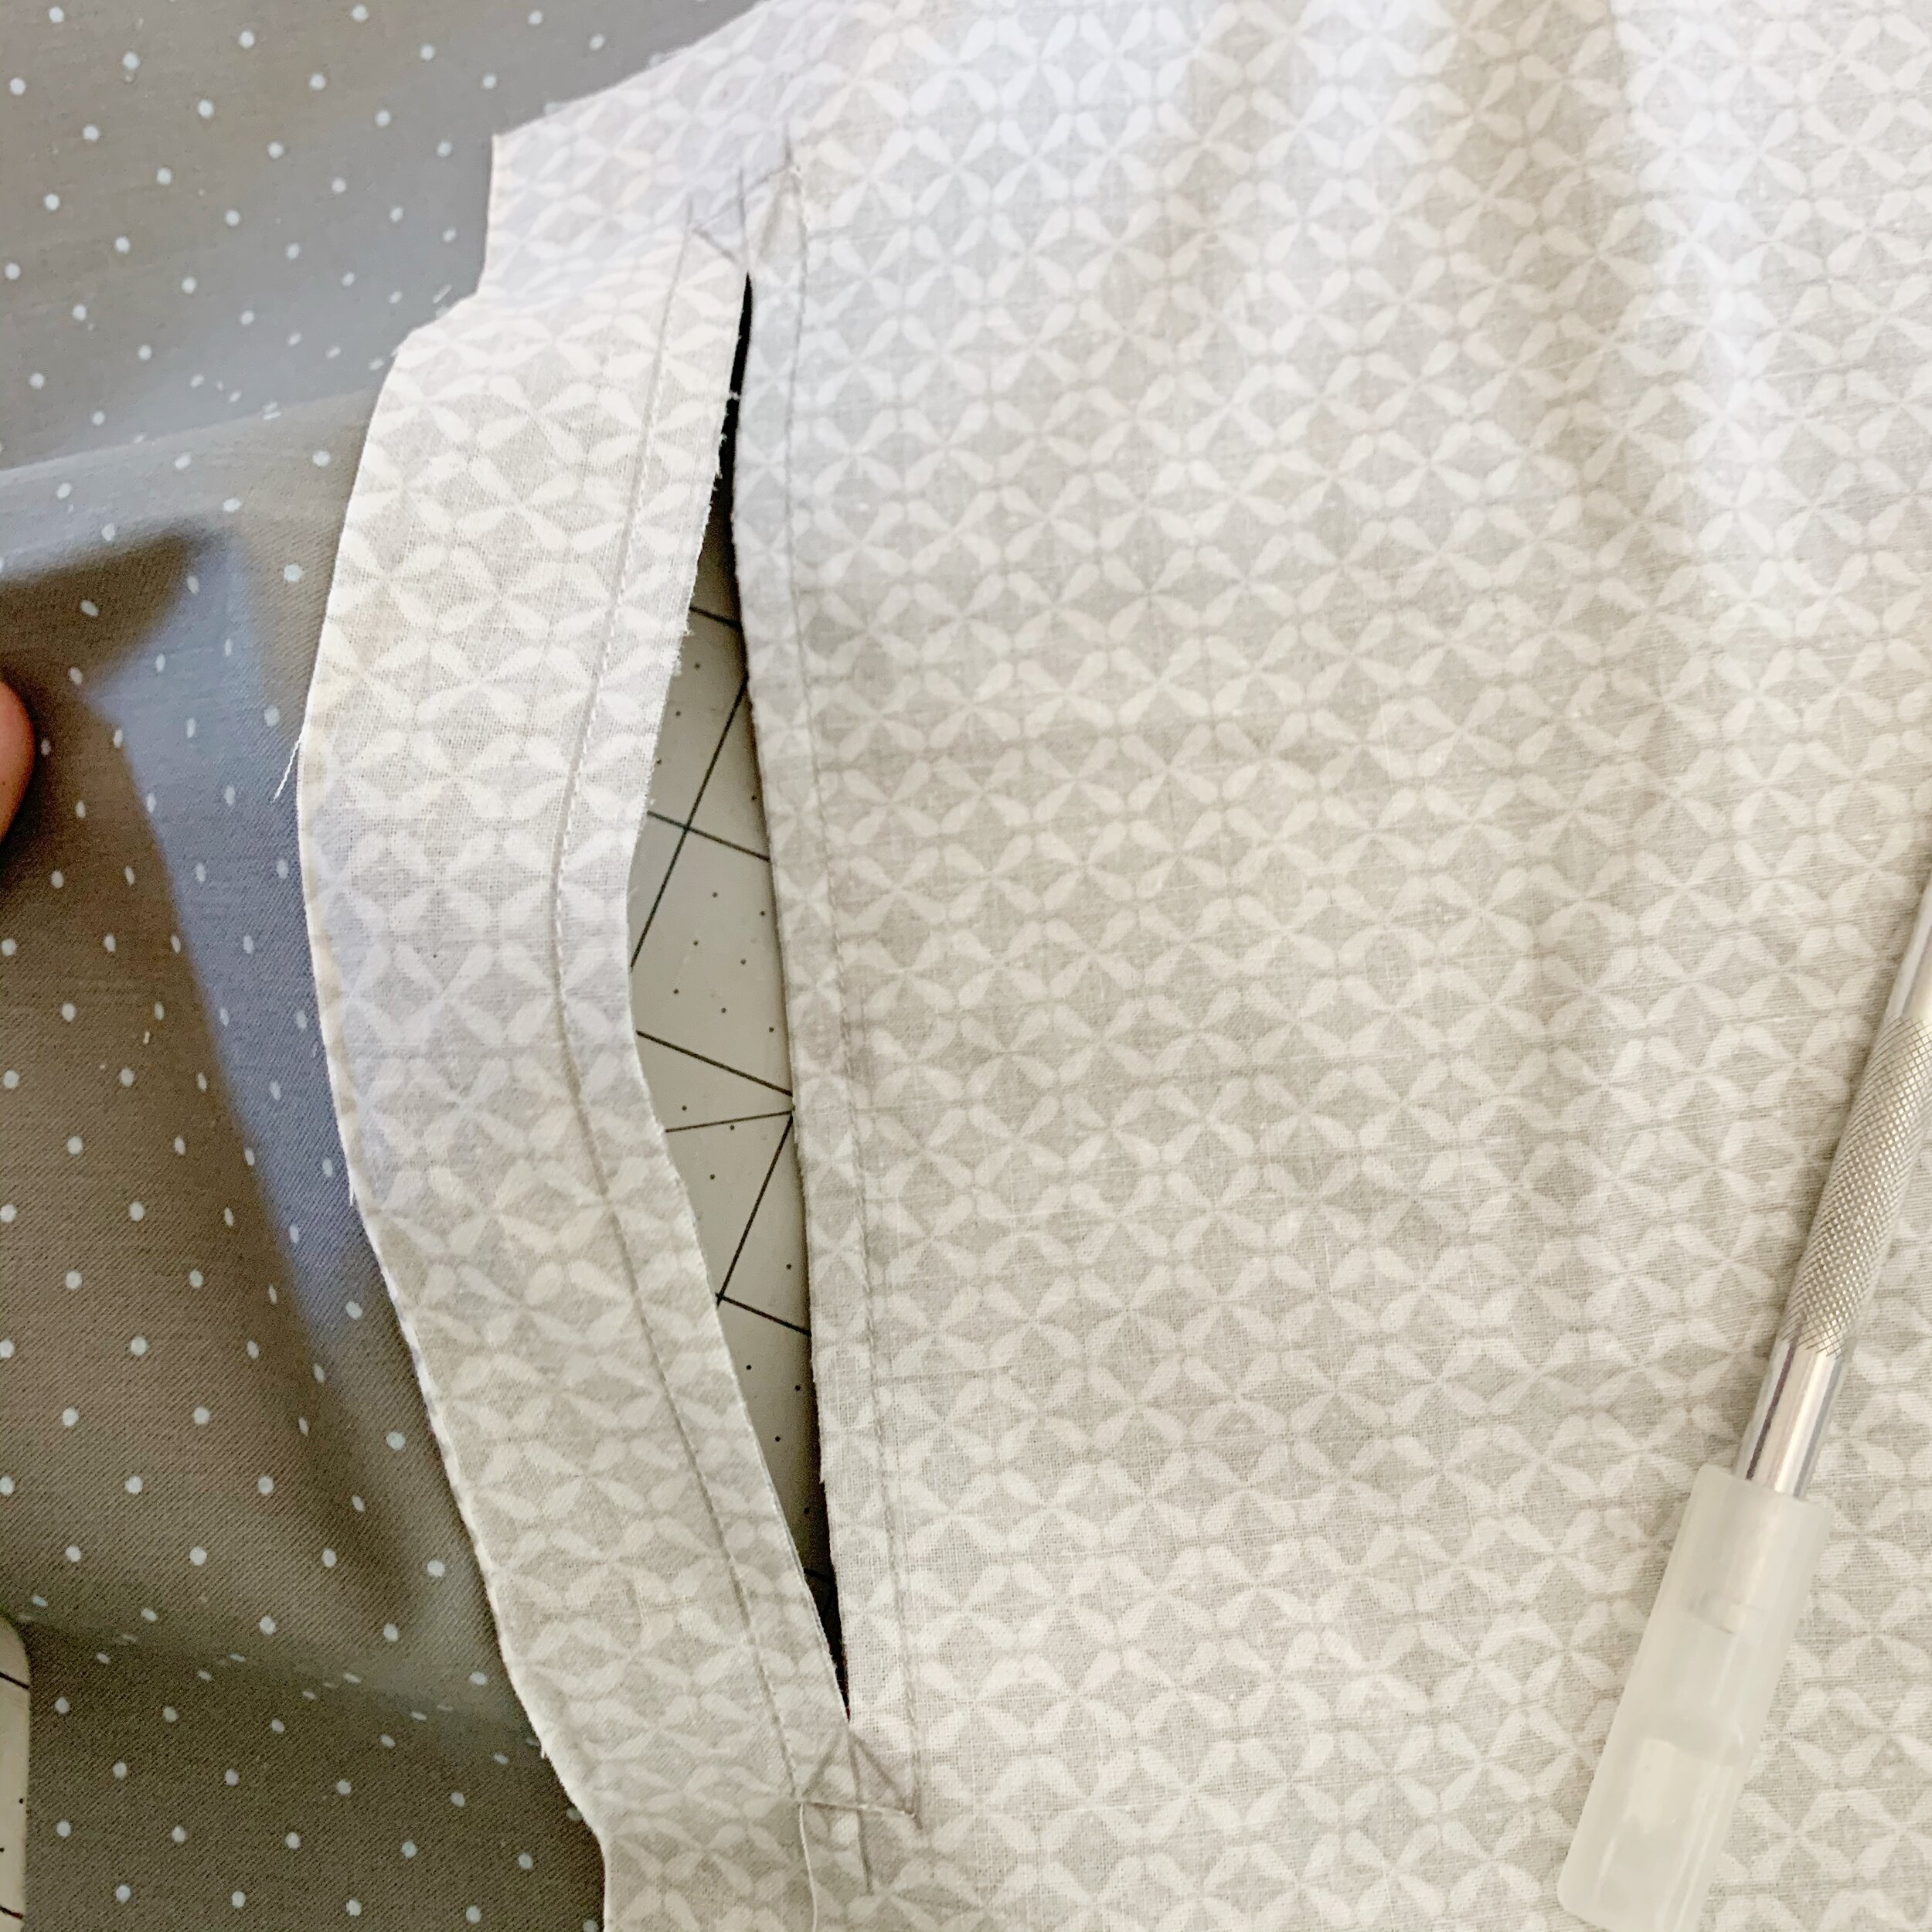
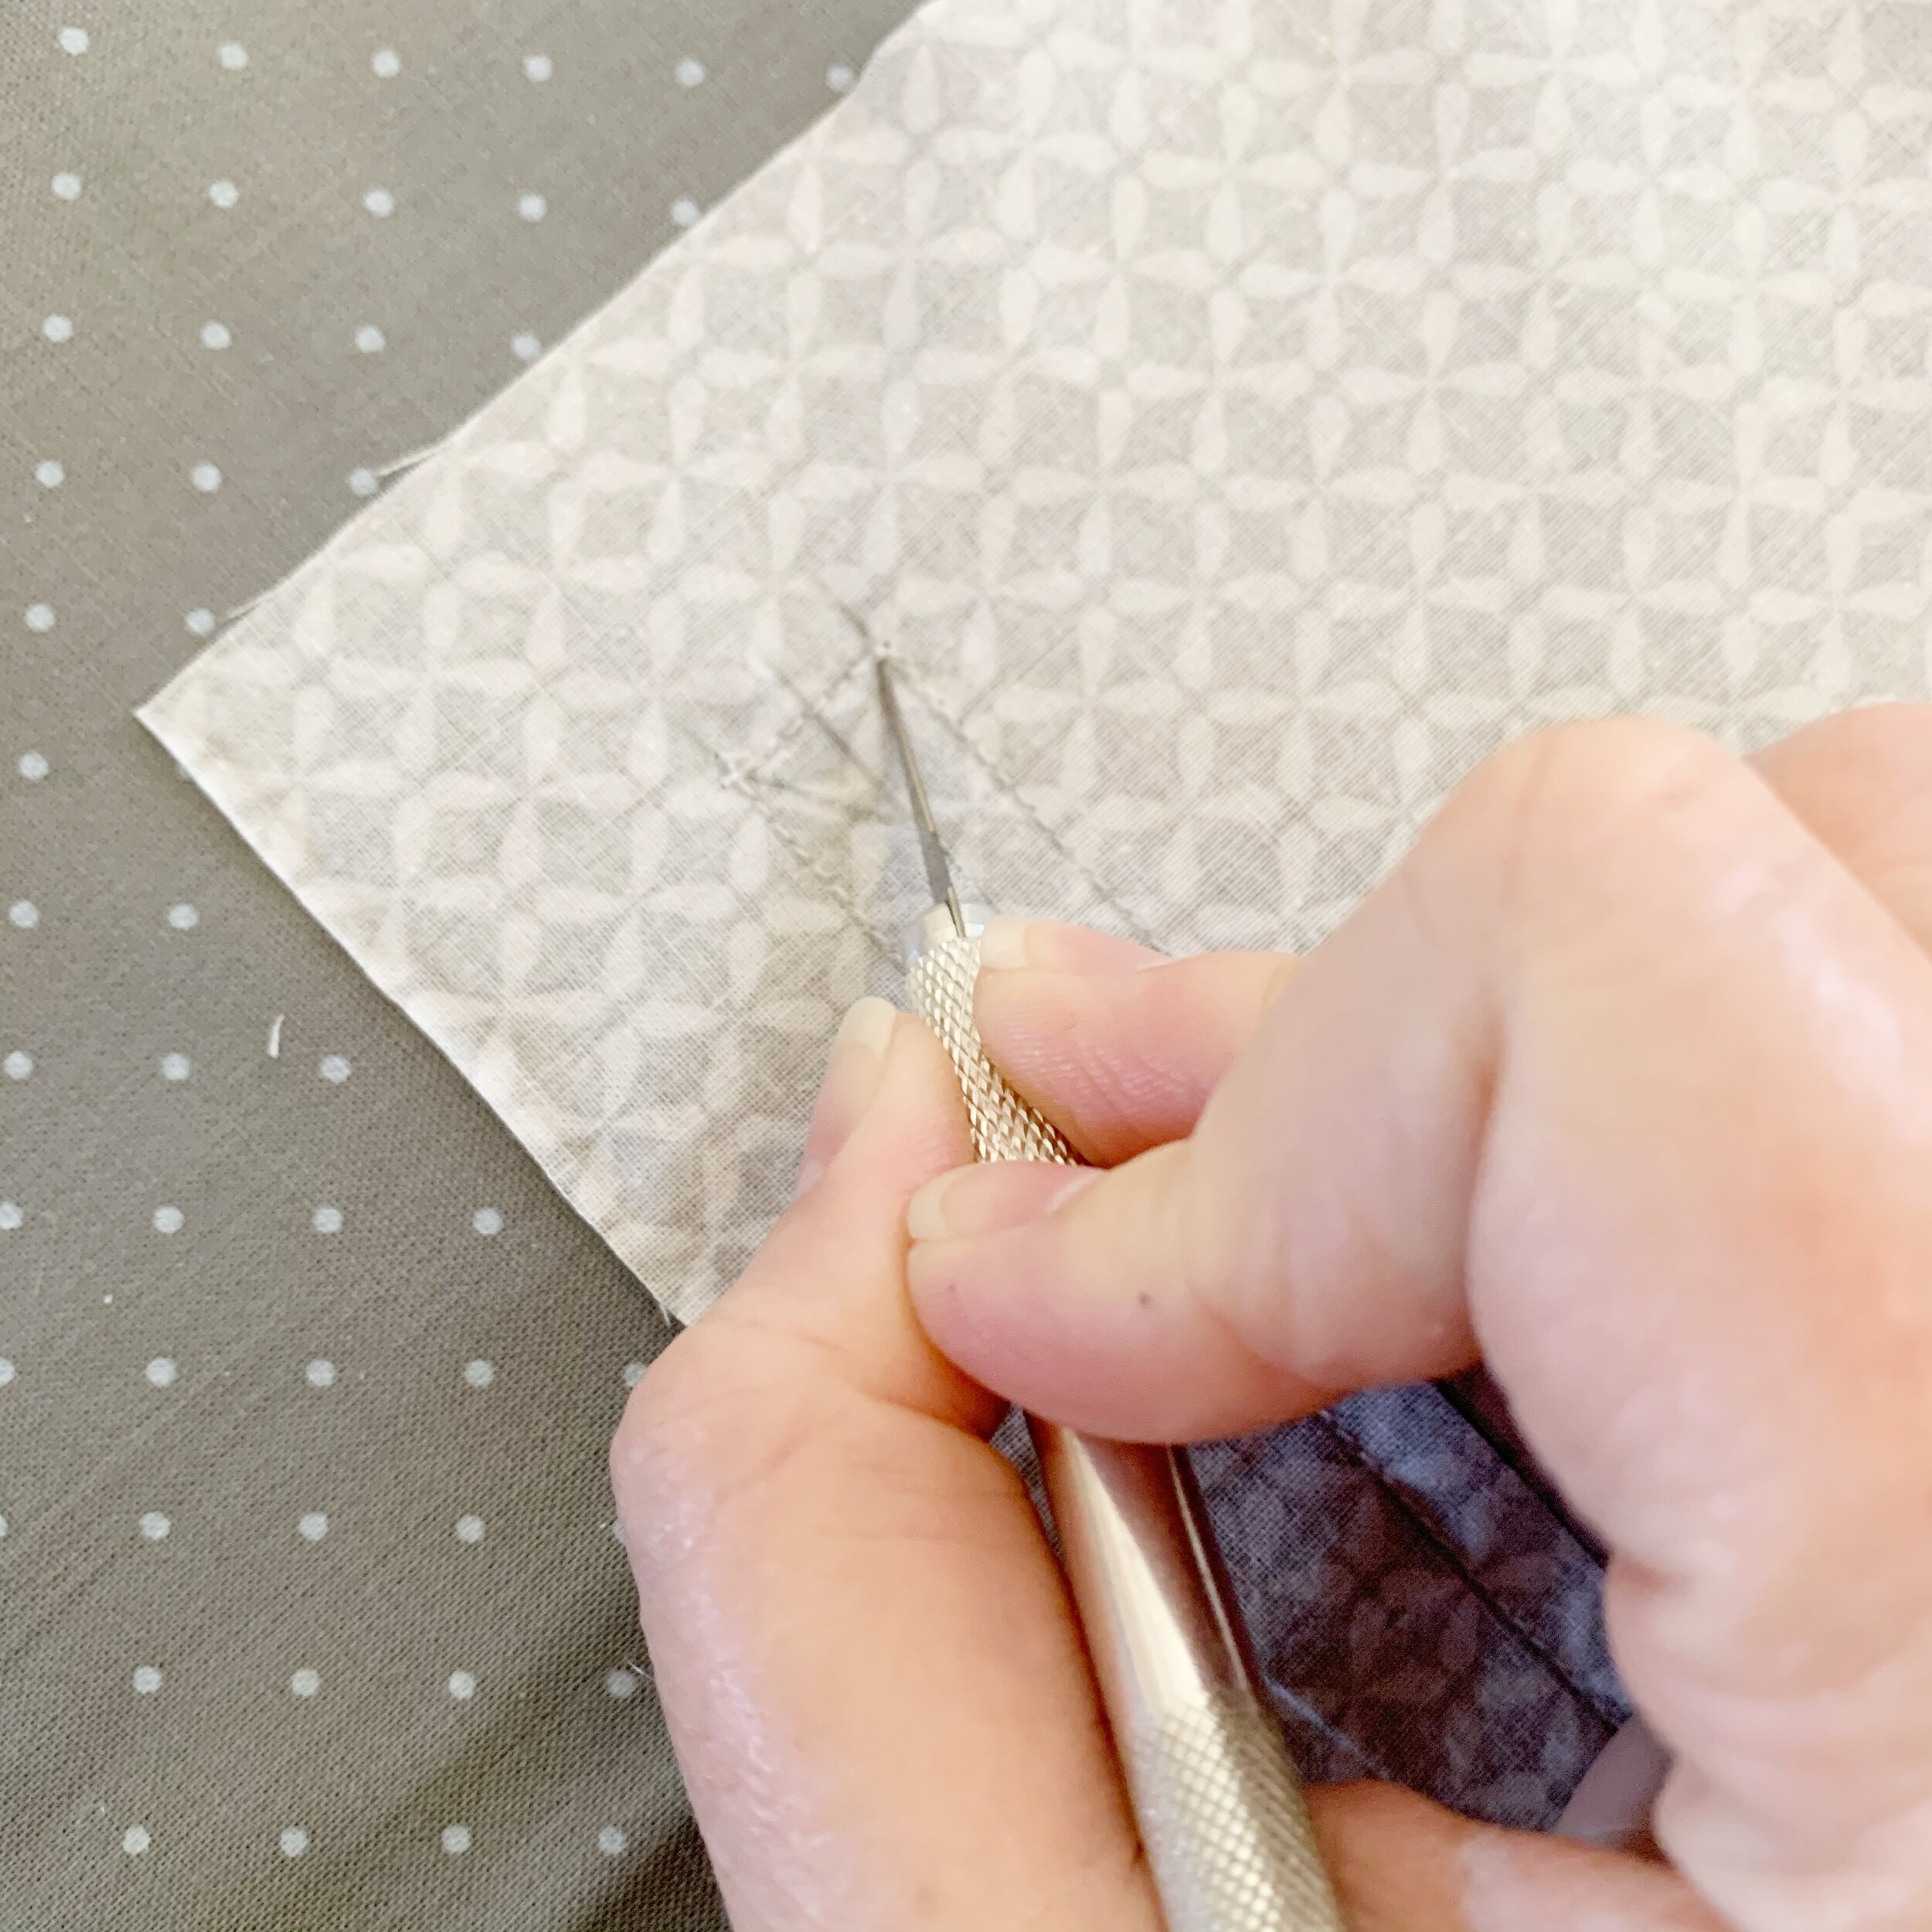
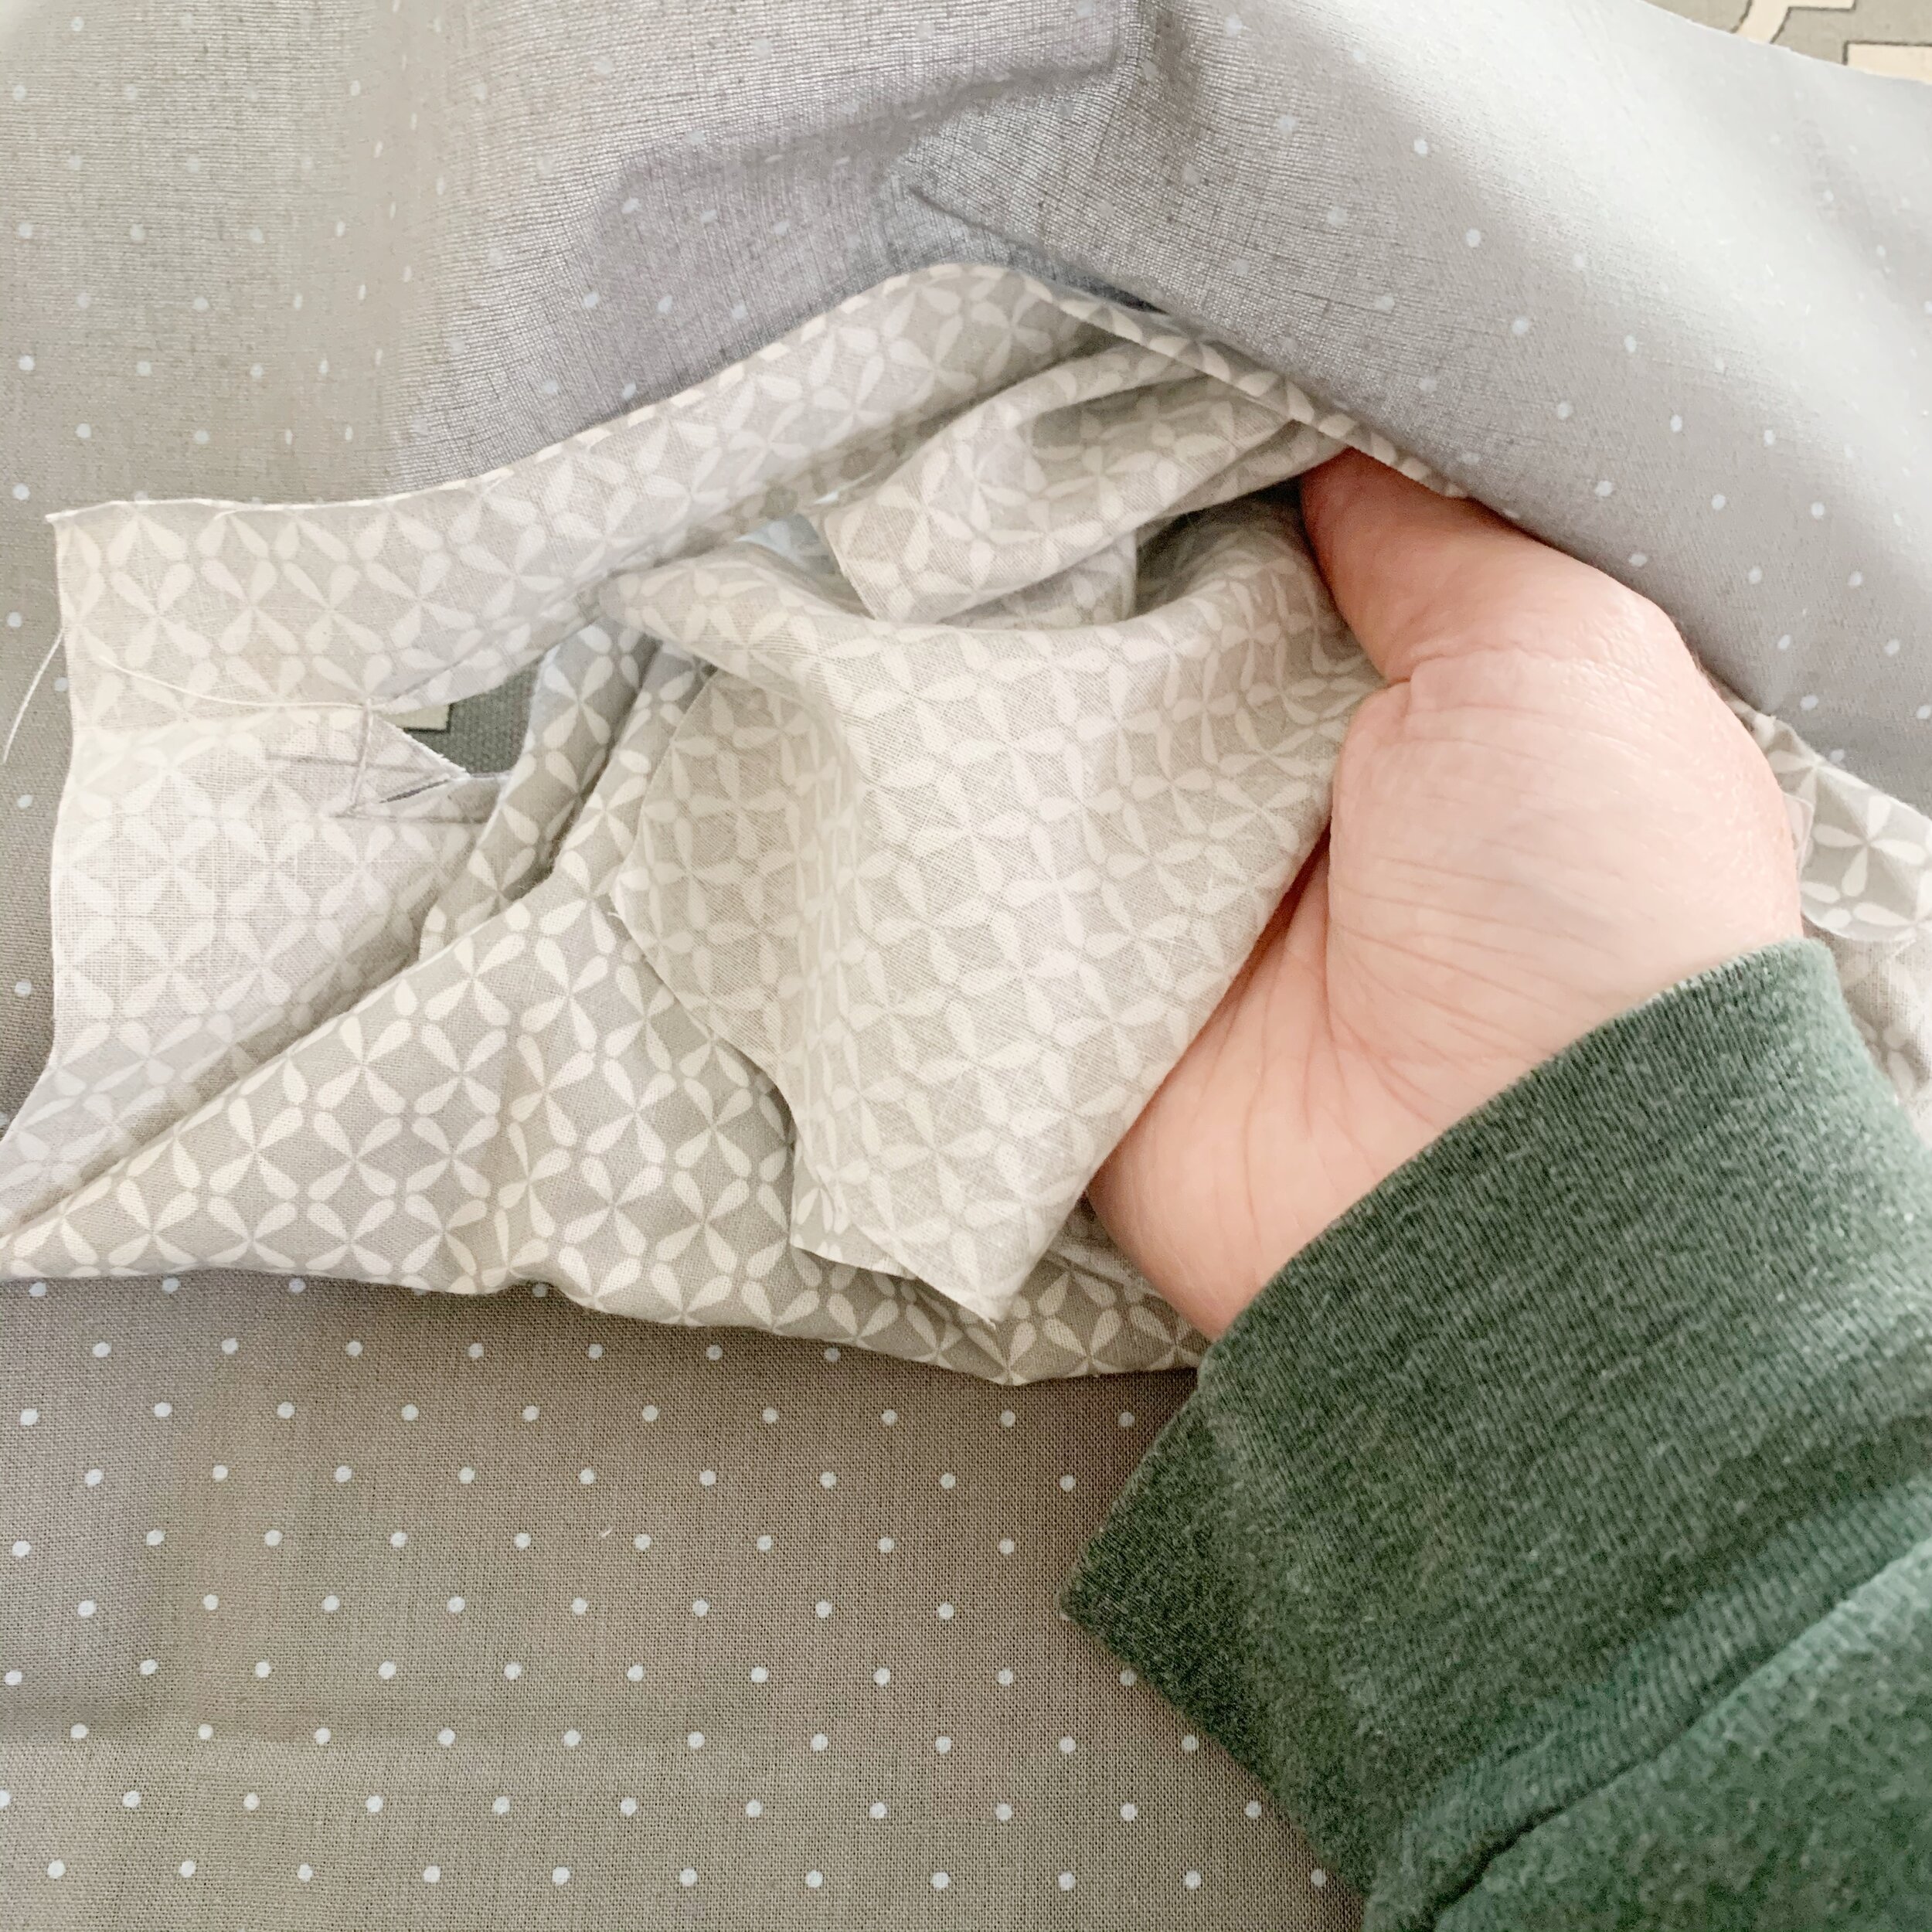
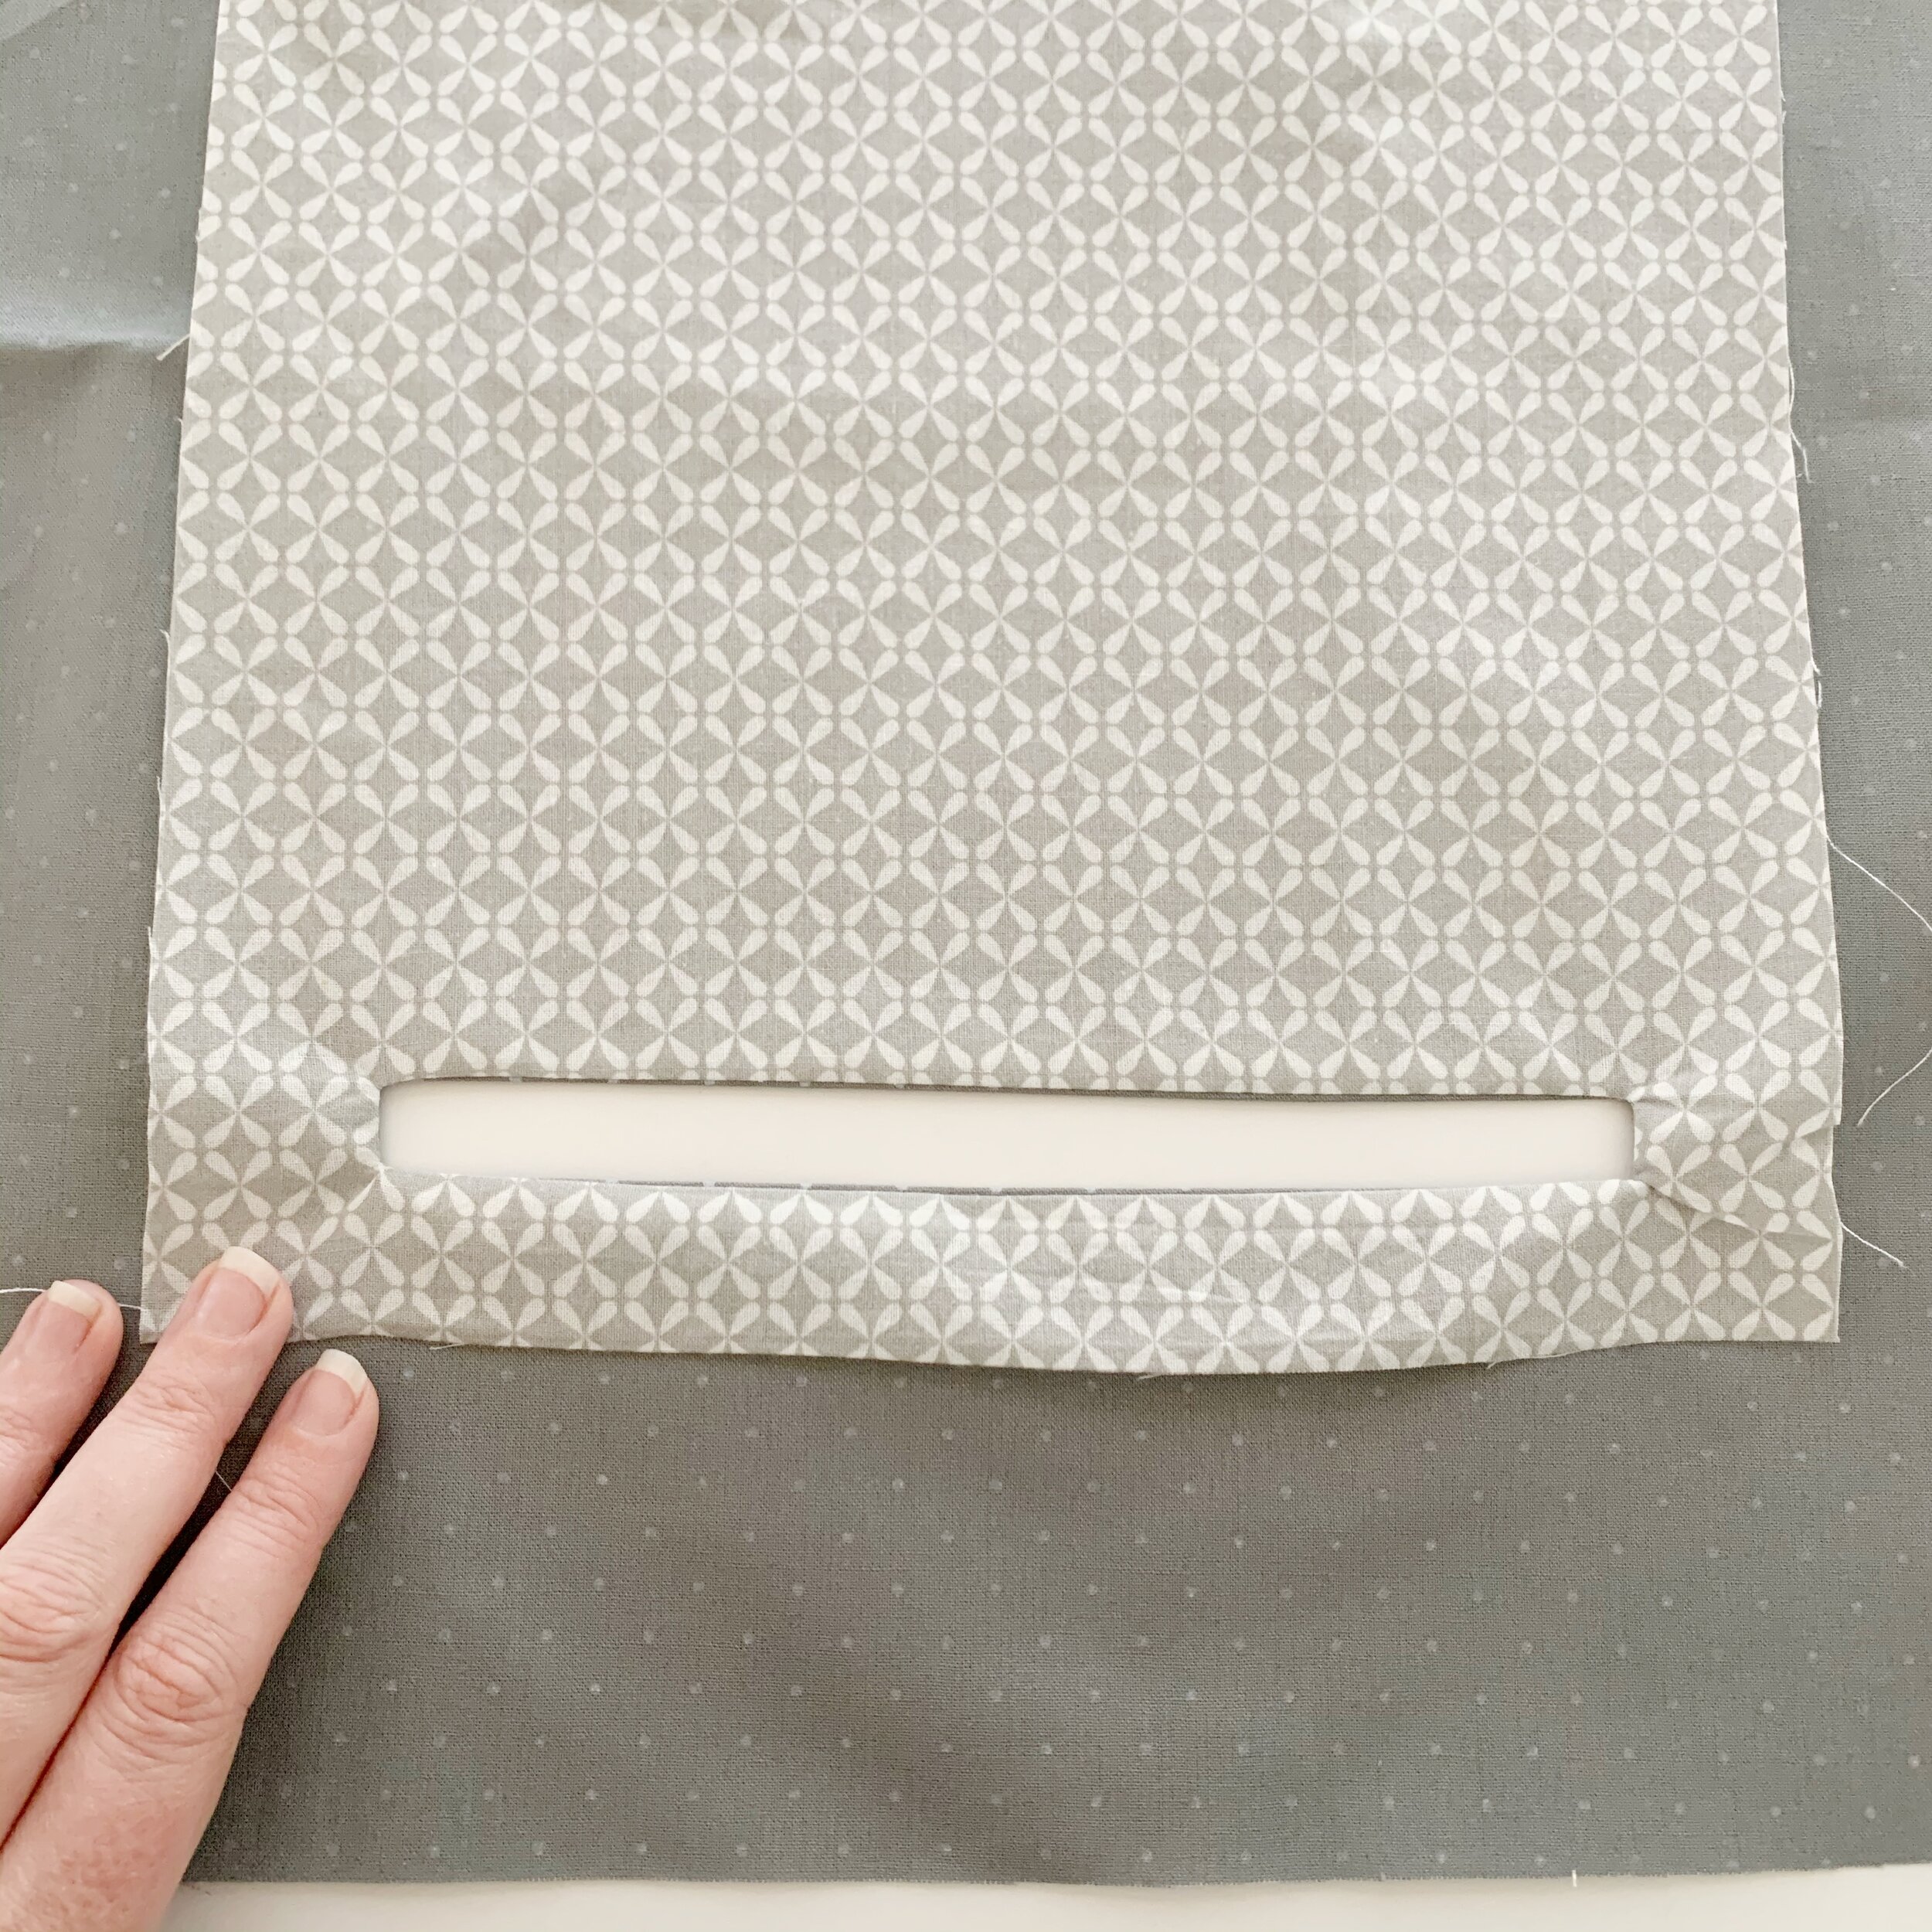
Using a ruler and exacto knife, cut the center line (through both layers) from the point of each triangle made from the diagonal lines. Then carefully cut along the diagonal lines to the center line you just cut. Push pocket piece through the cuts you just made so that the right side of the pocket is now showing on the wrong side of the interior lining piece. Iron edges of zipper opening so that it lays flat.
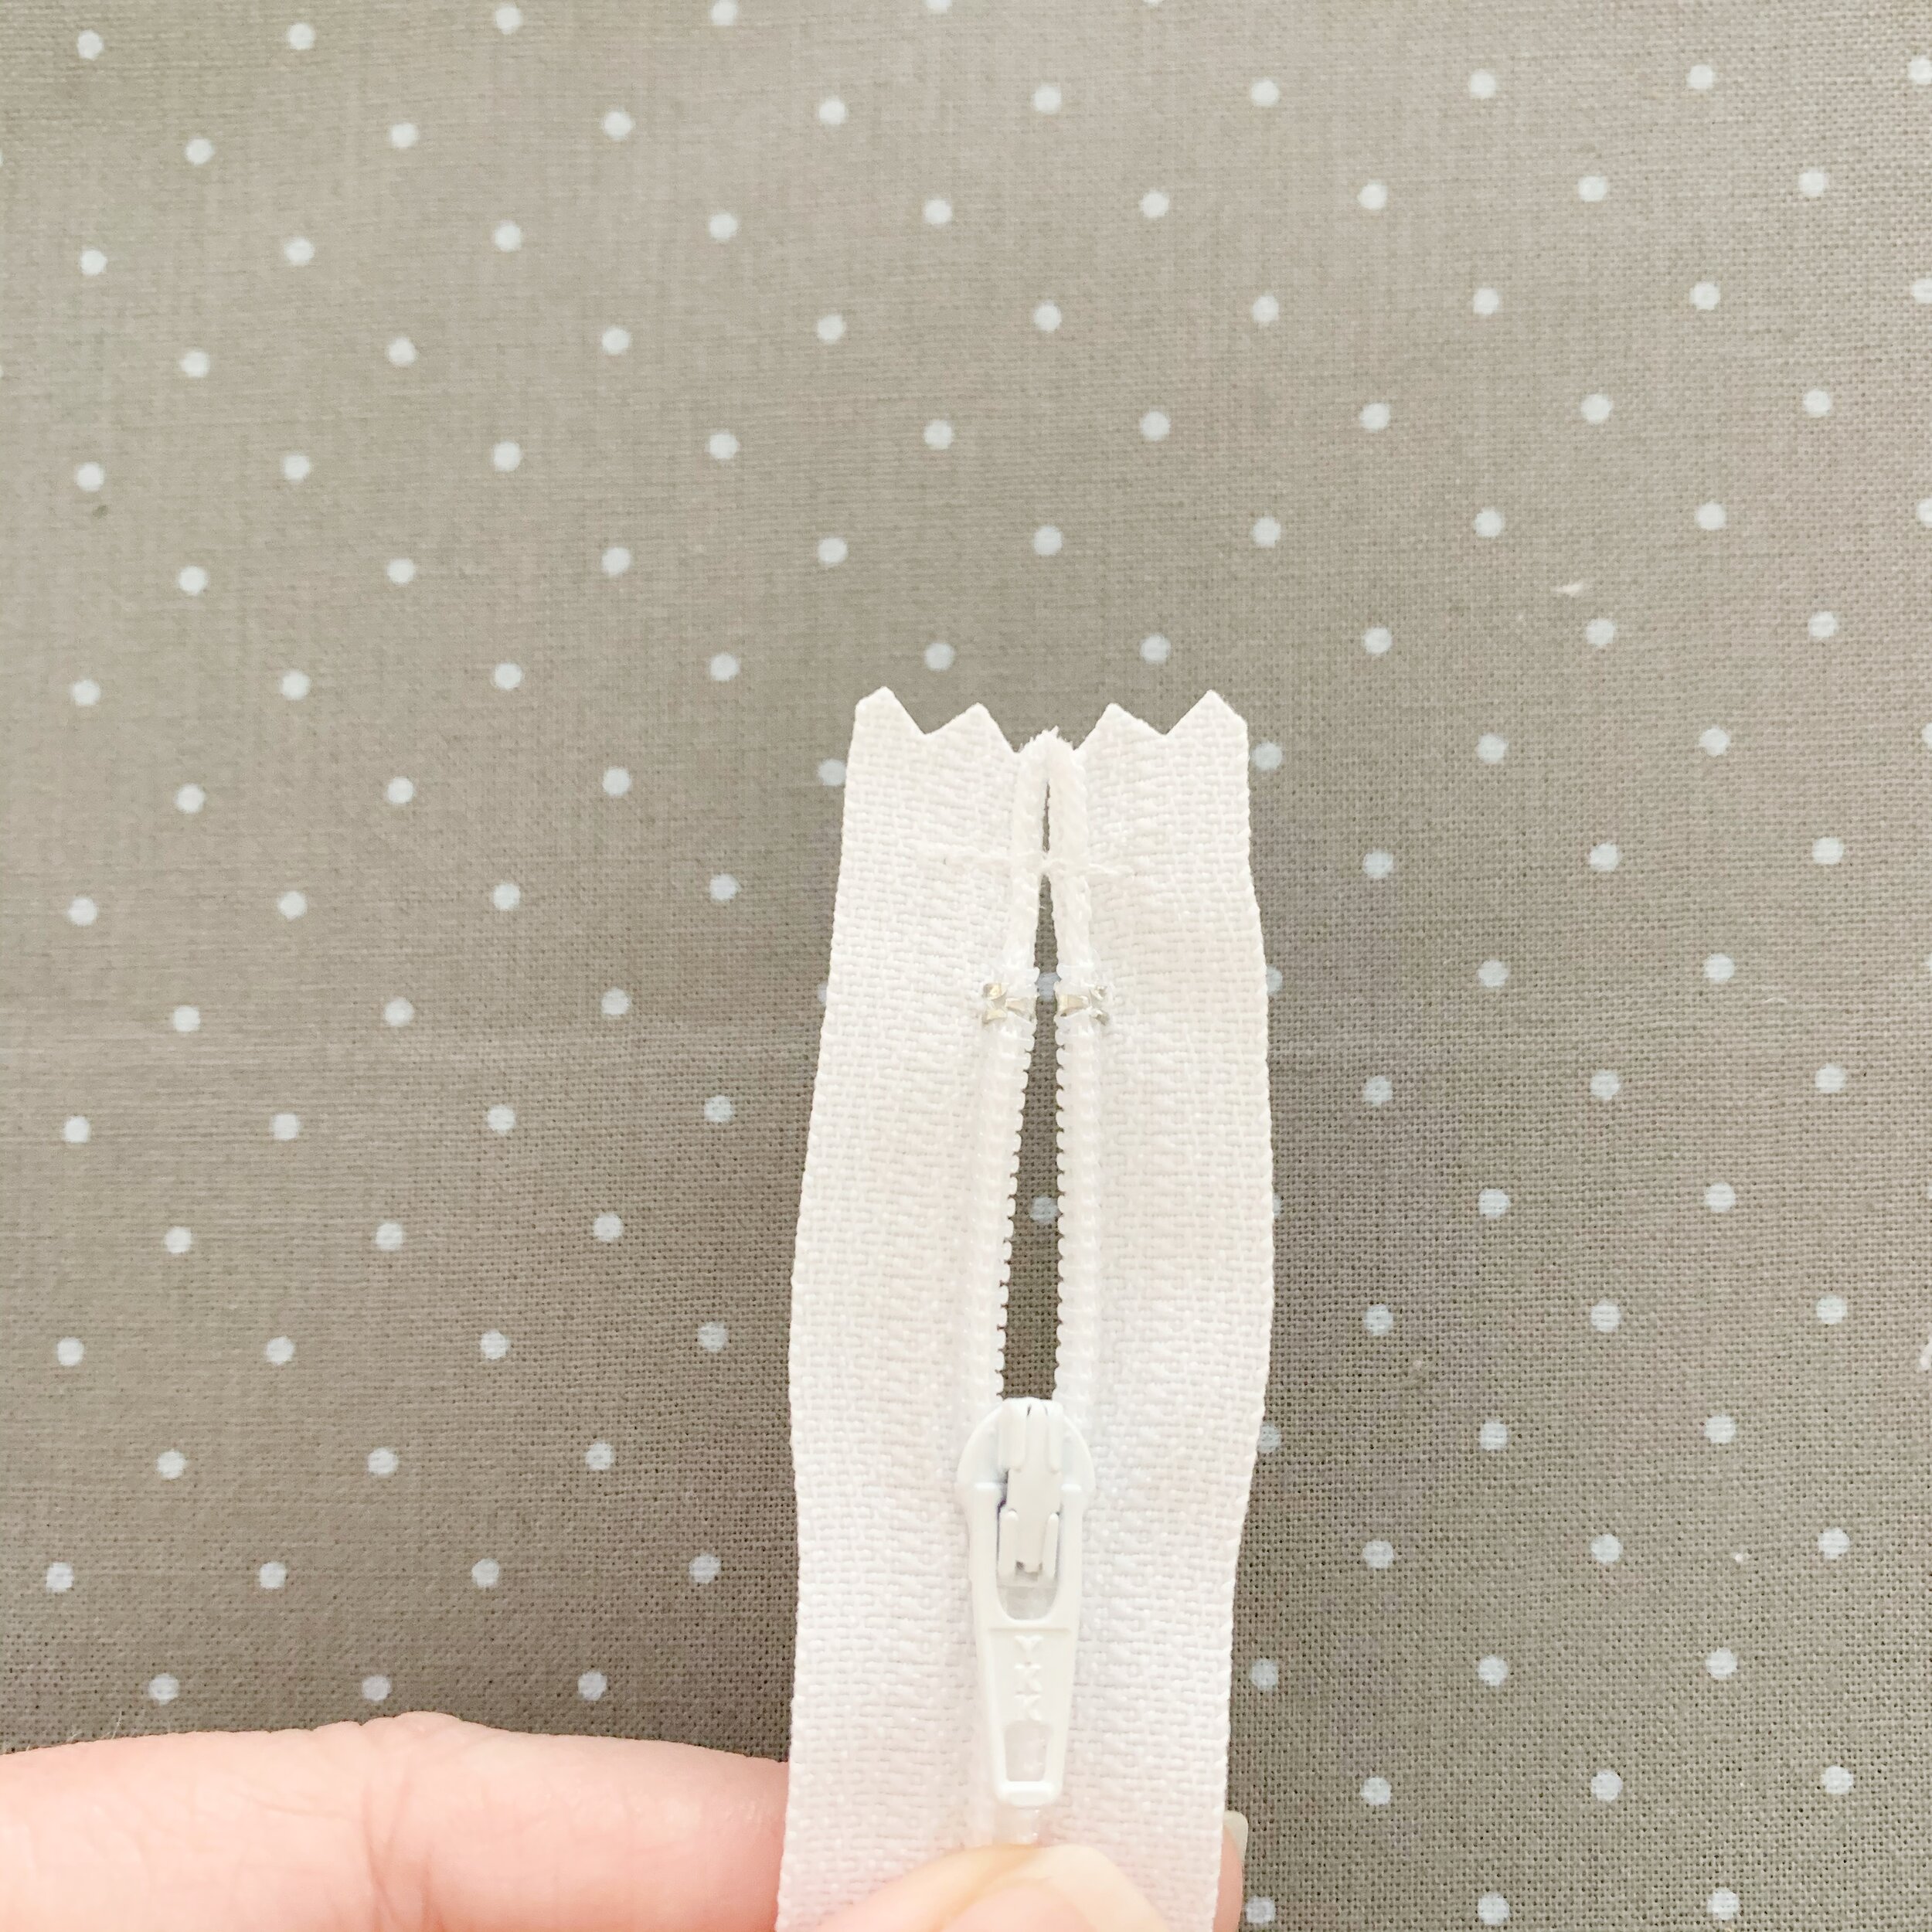
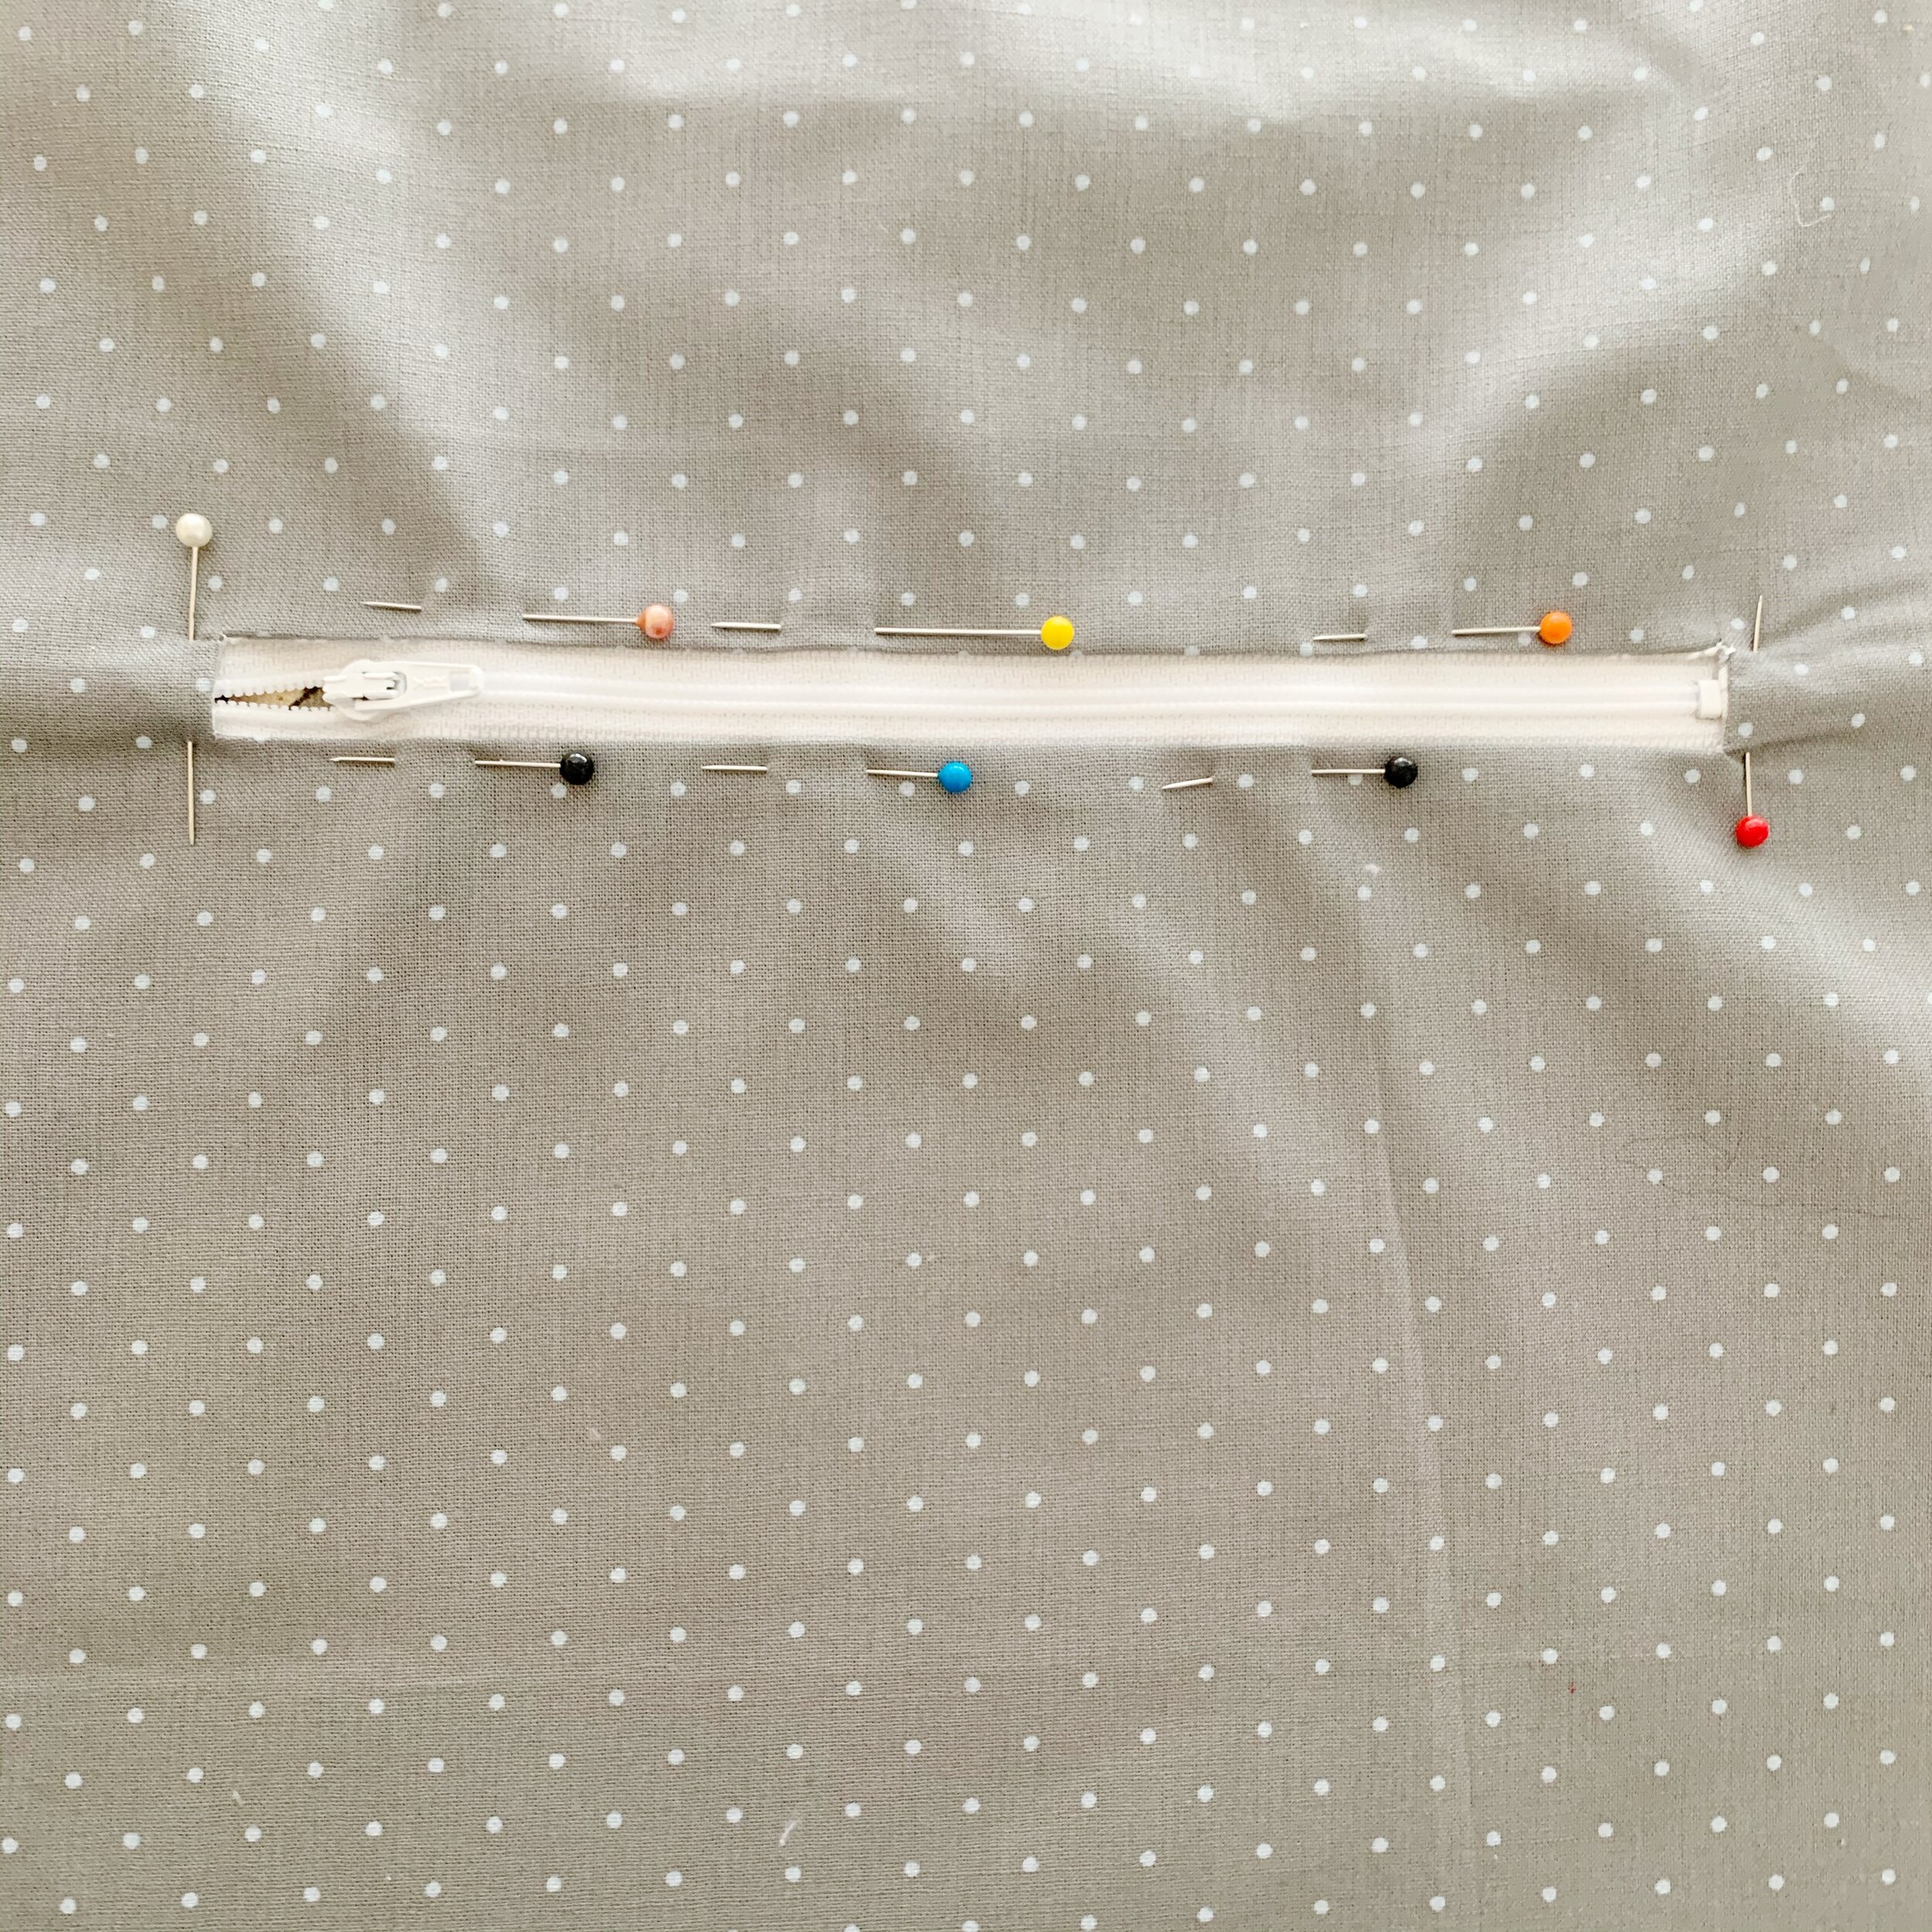
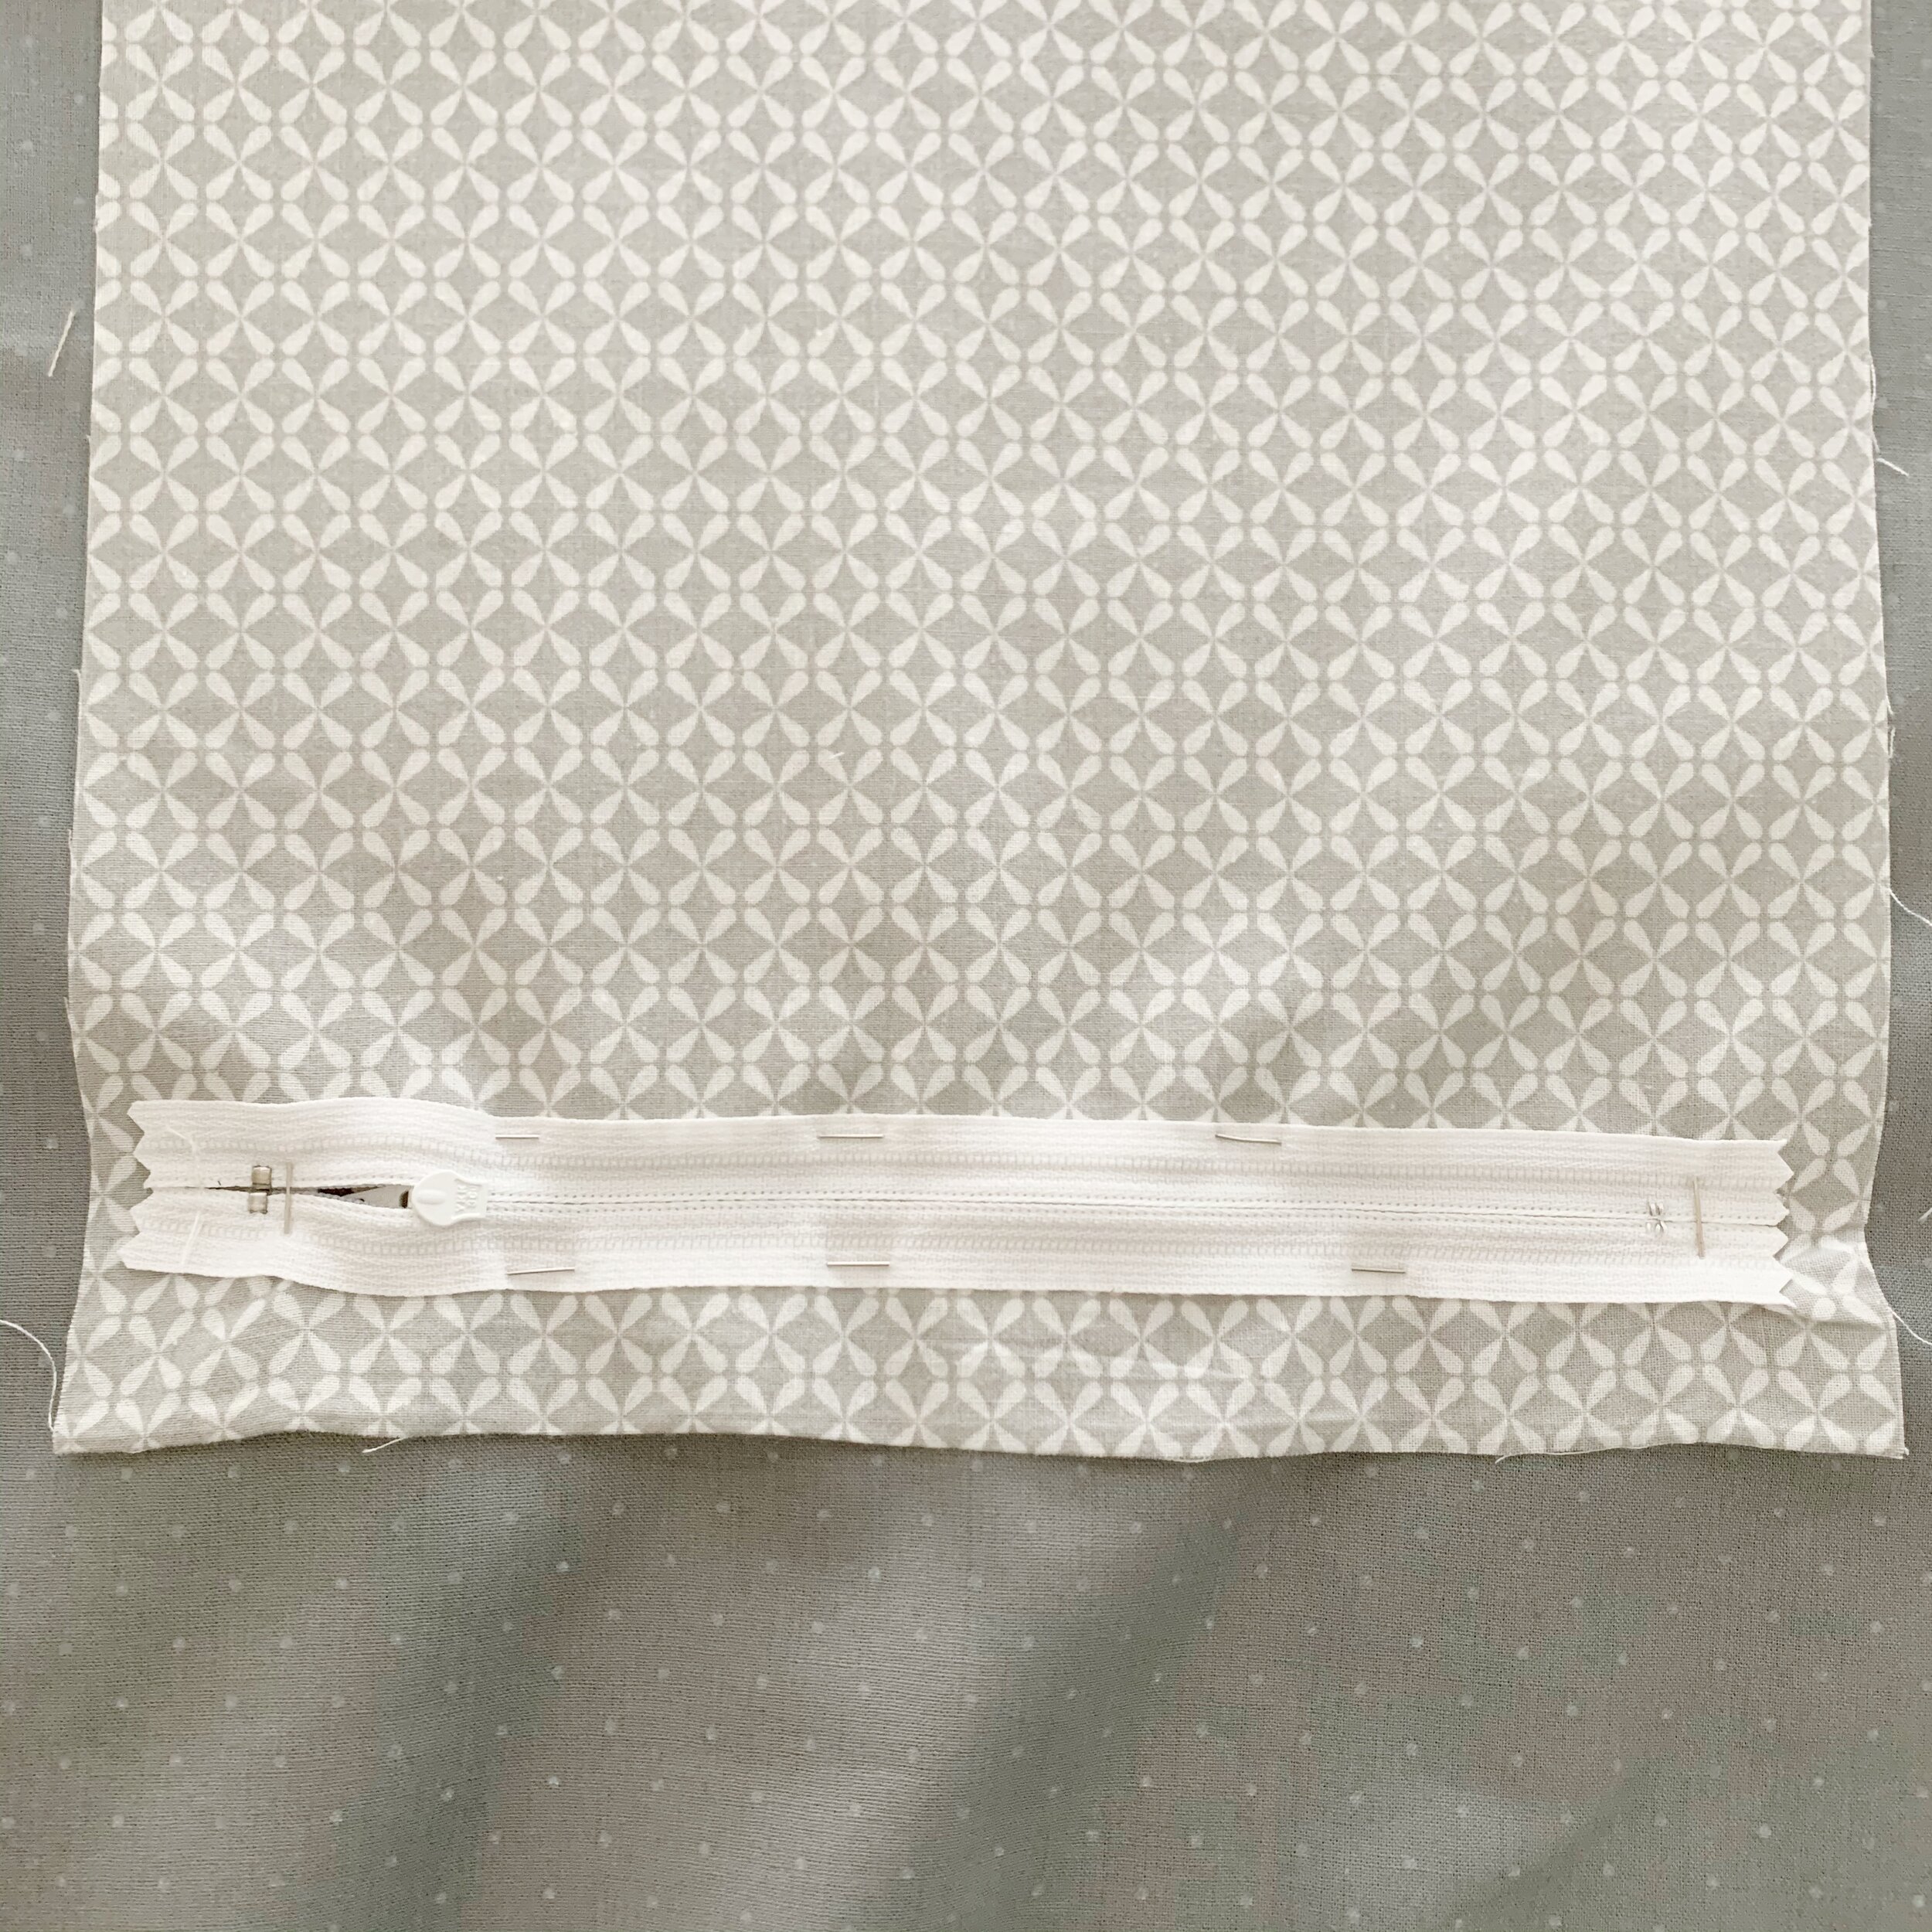
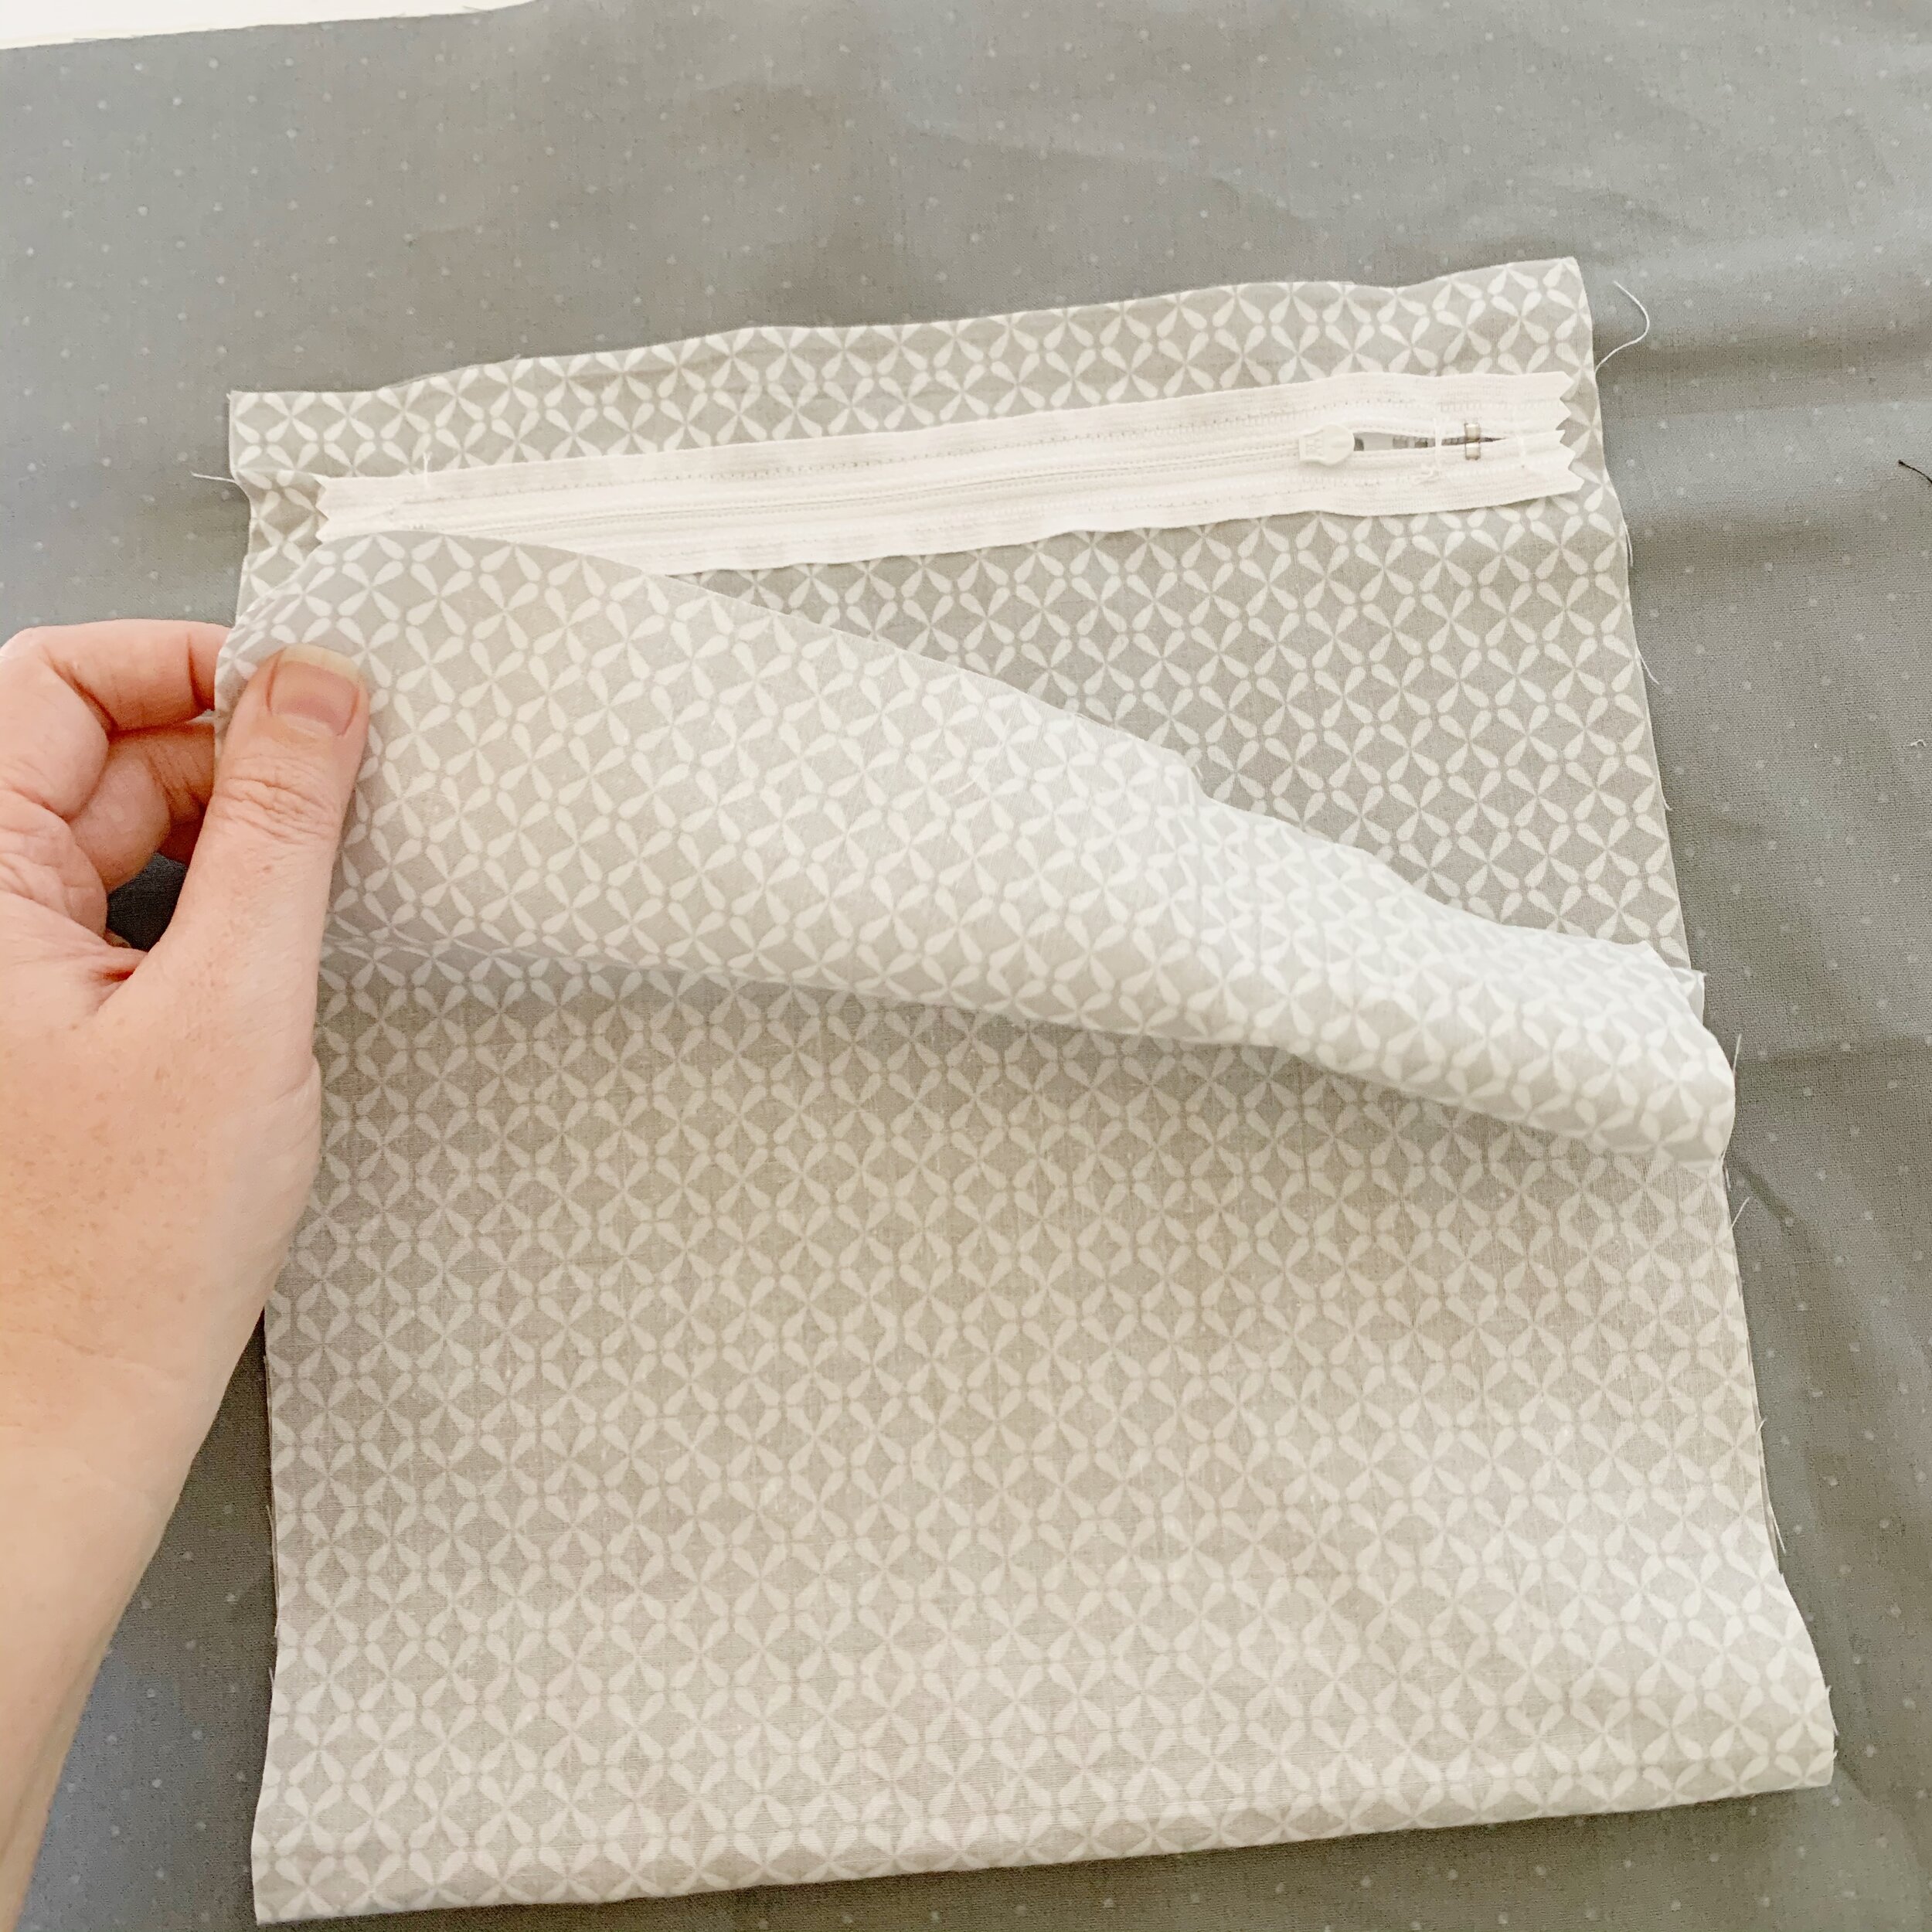
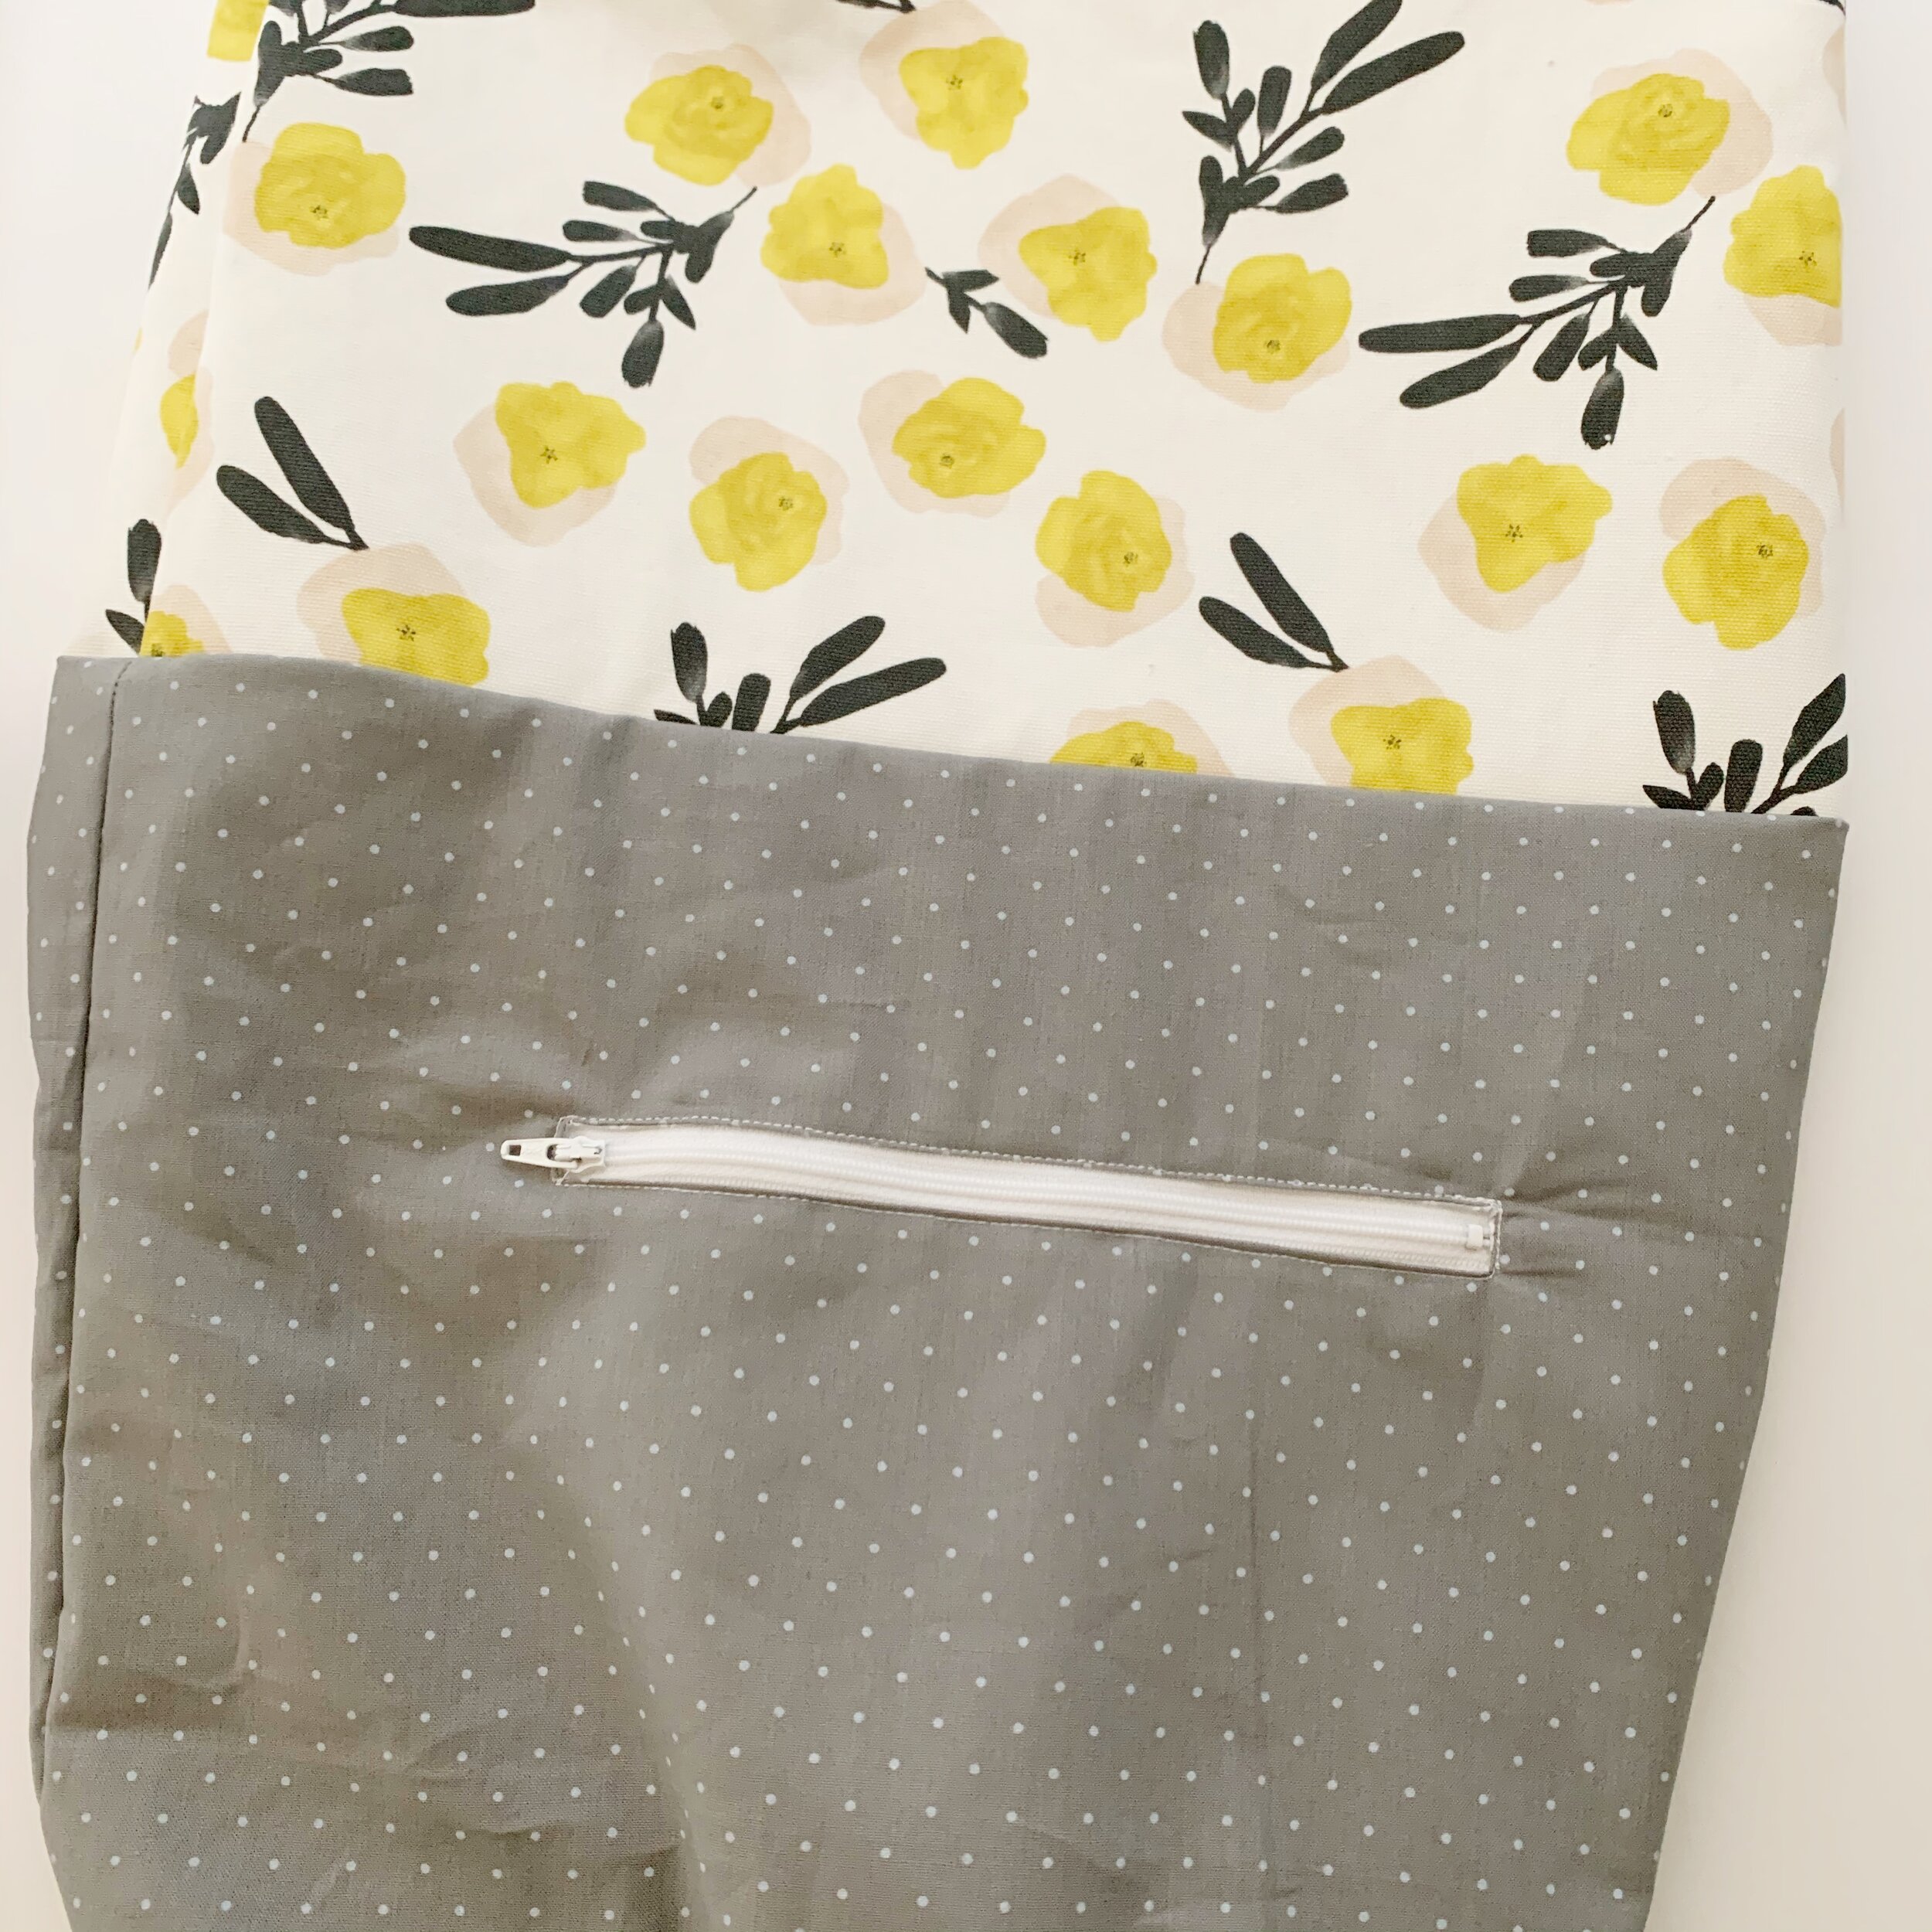
Then sew the open end of zipper closed. Lay interior lining/pocket piece down so that the lining side is up. Place closed zipper underneath in line with the zipper opening you just created. Pin zipper in place making sure to go through both the lining piece and the pocket piece.
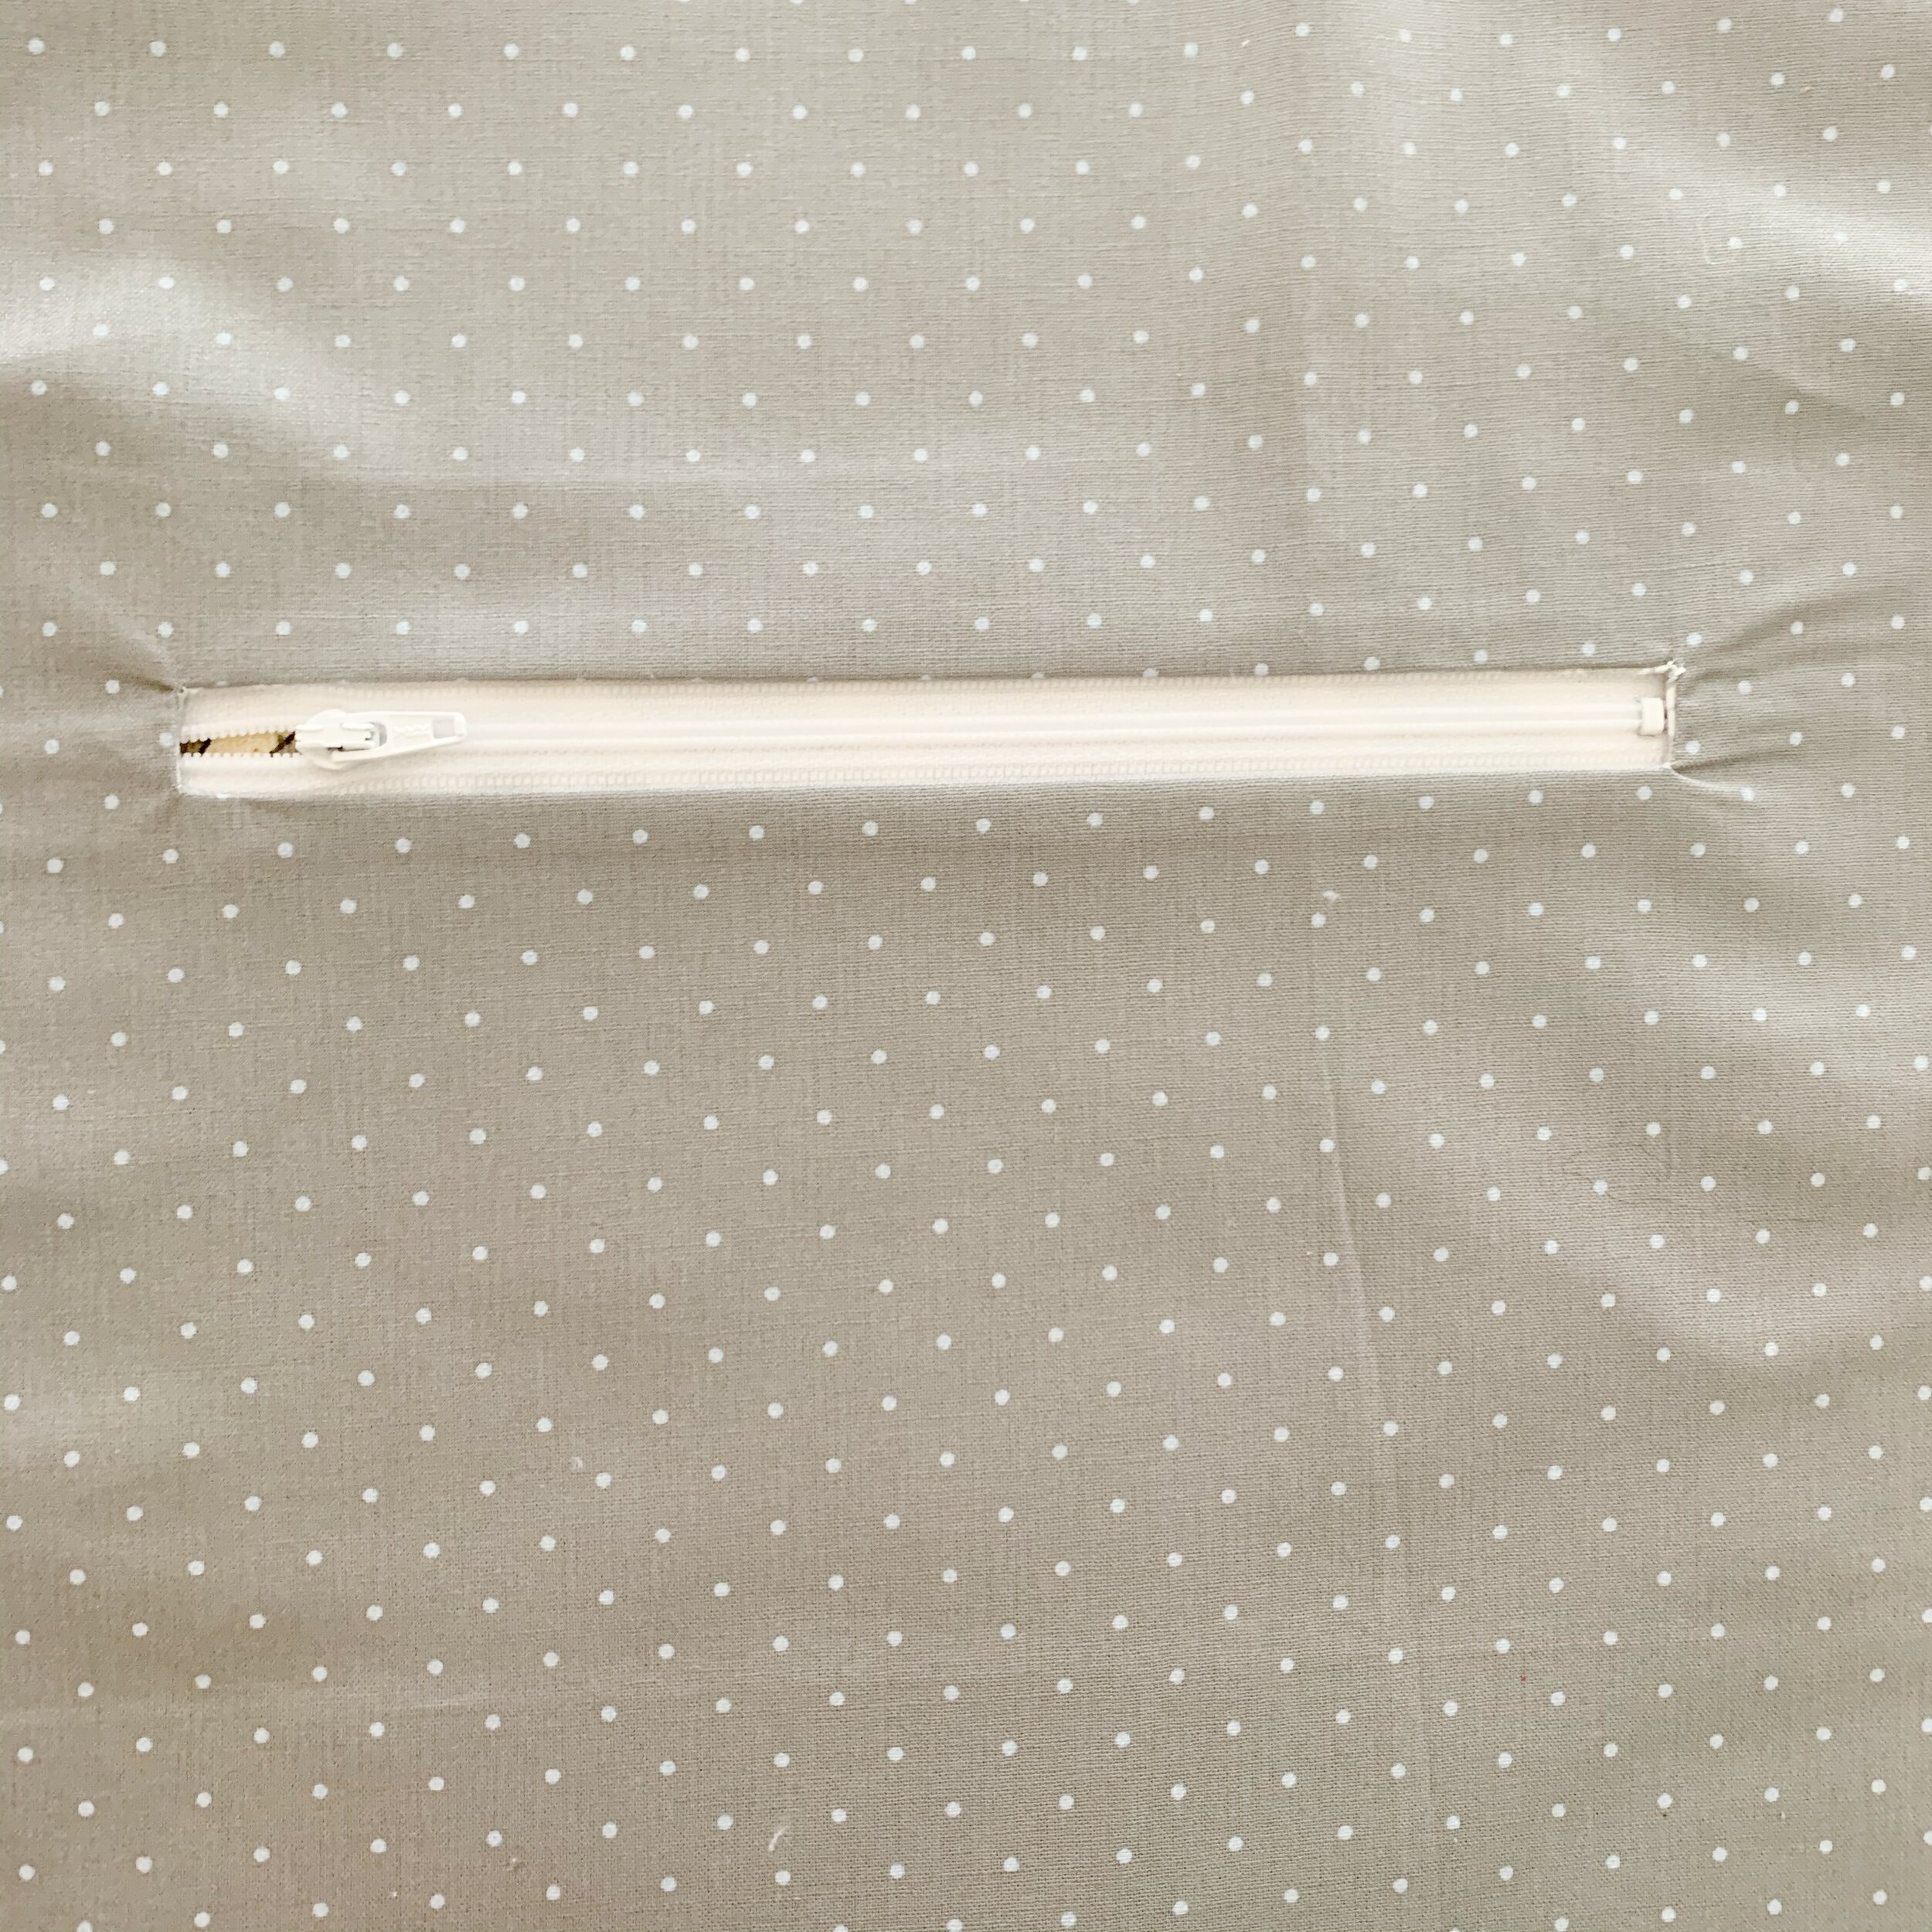
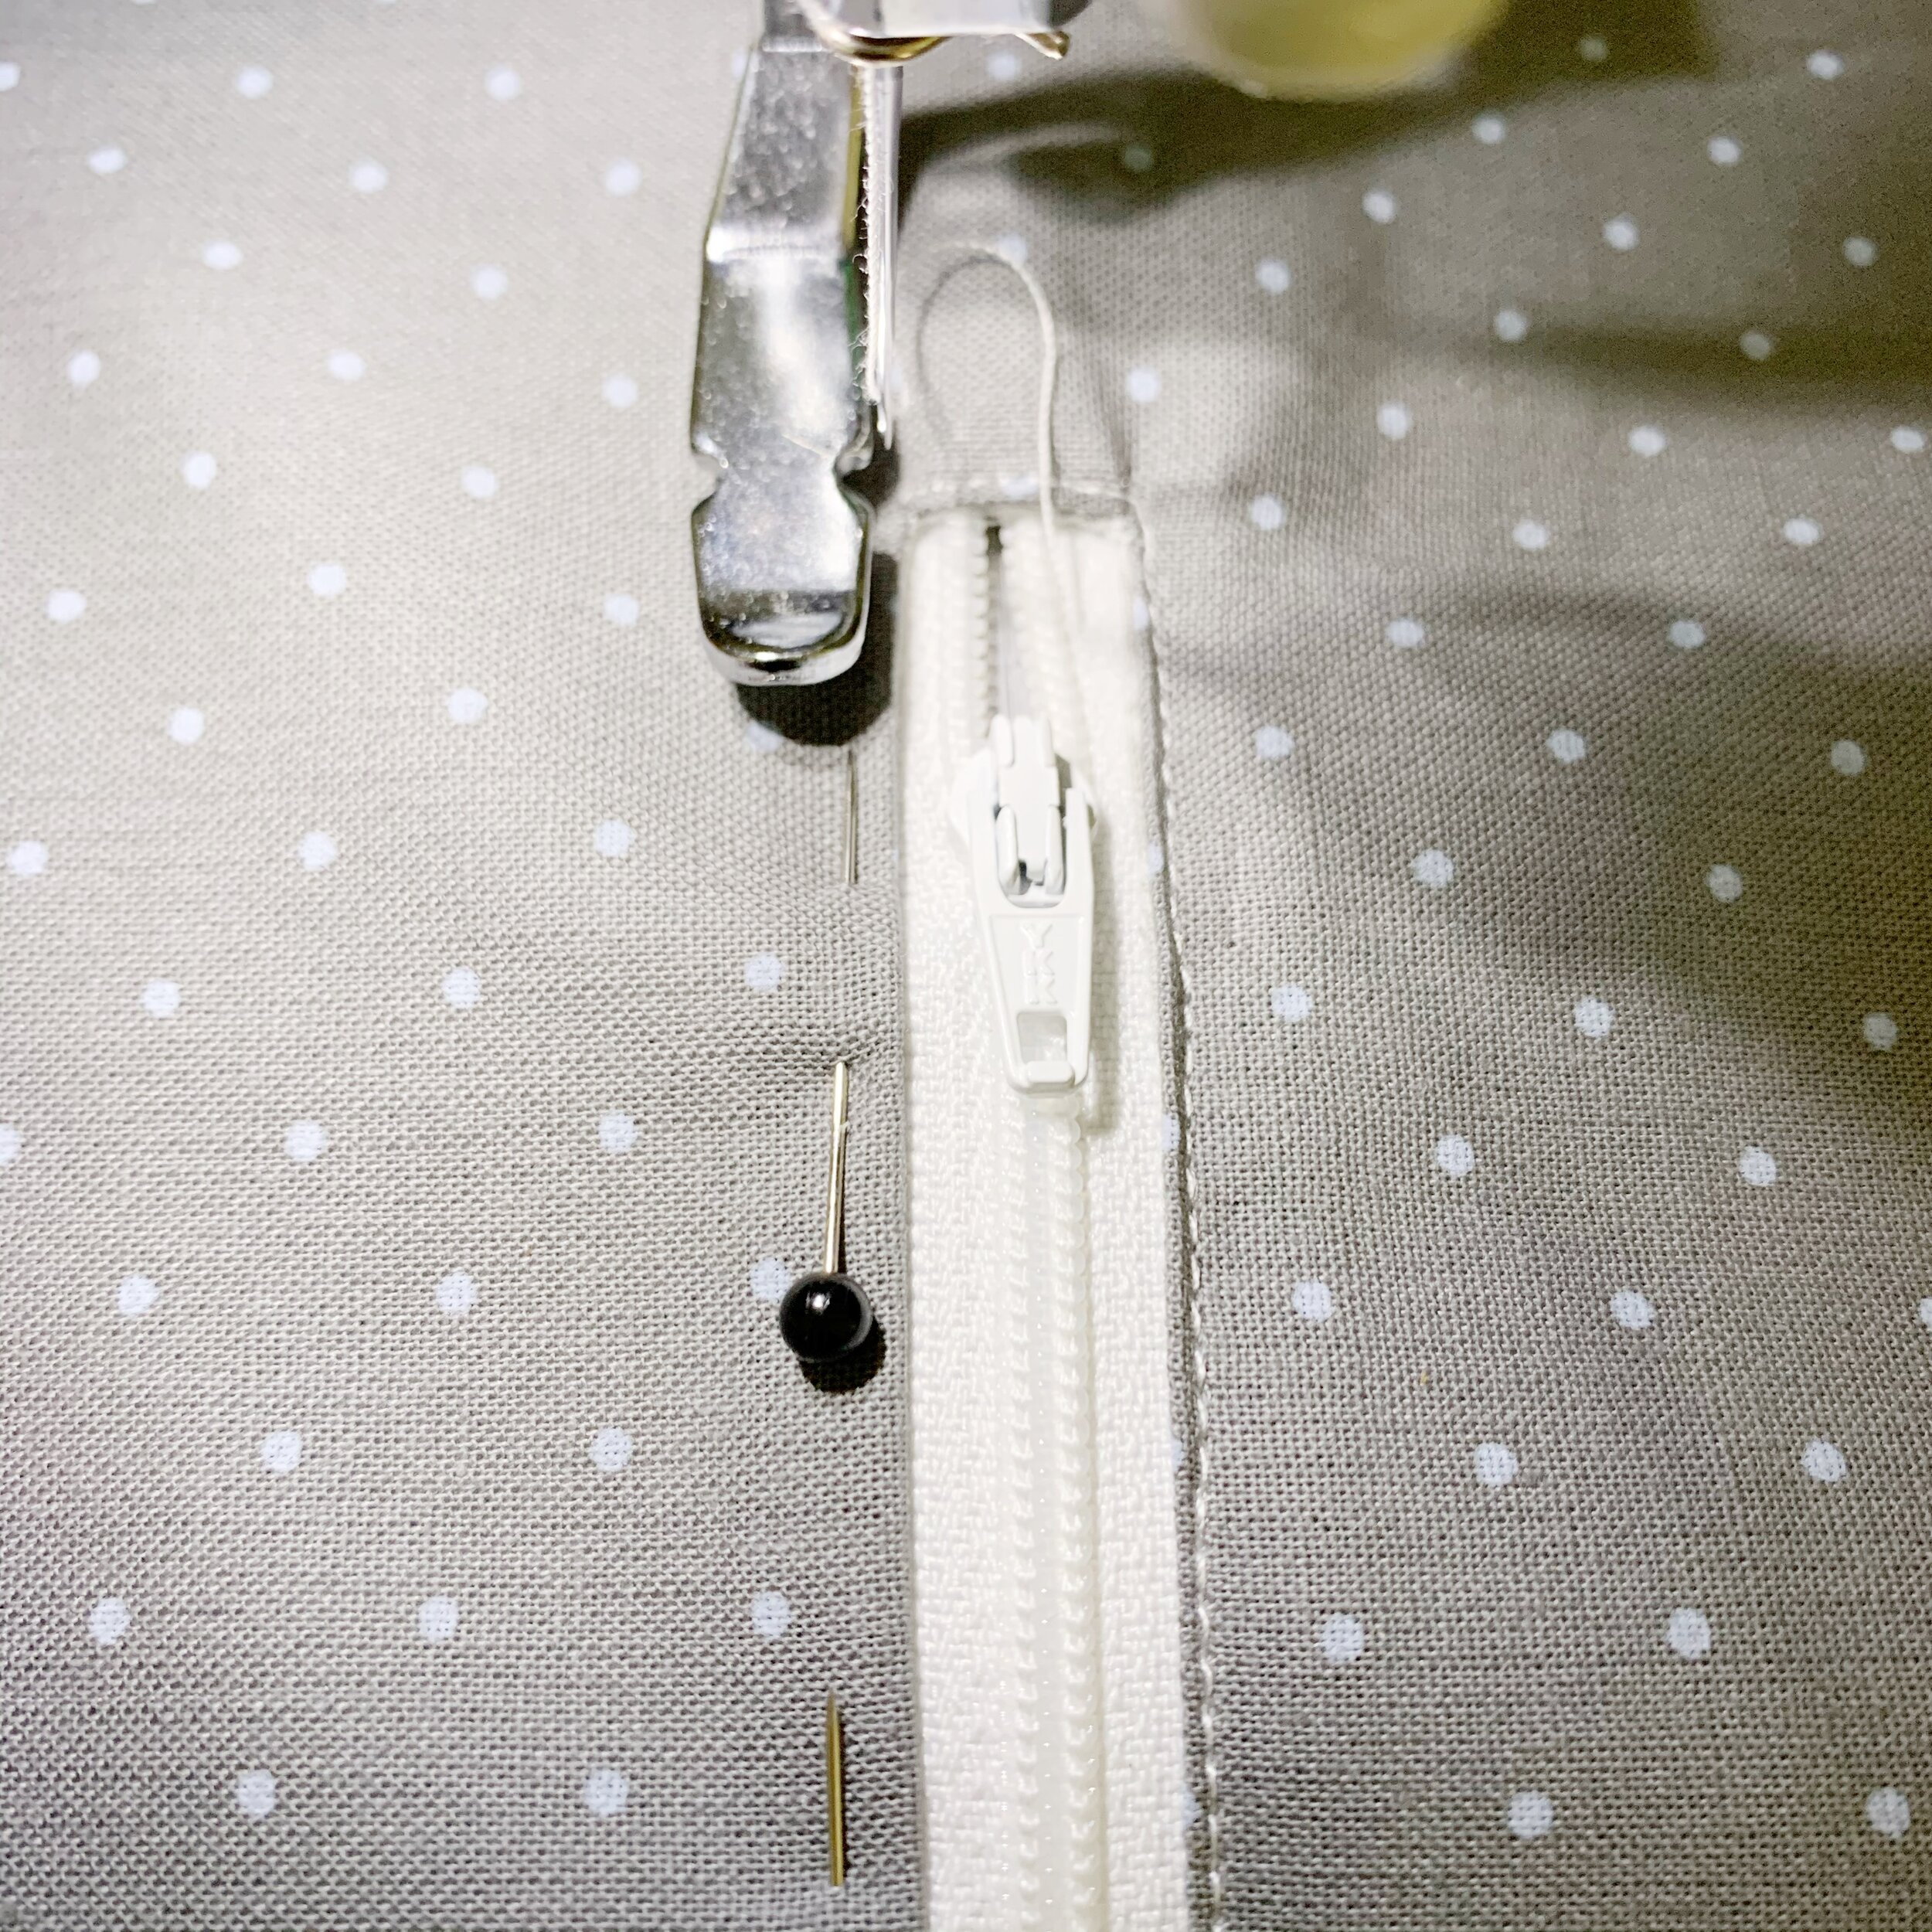
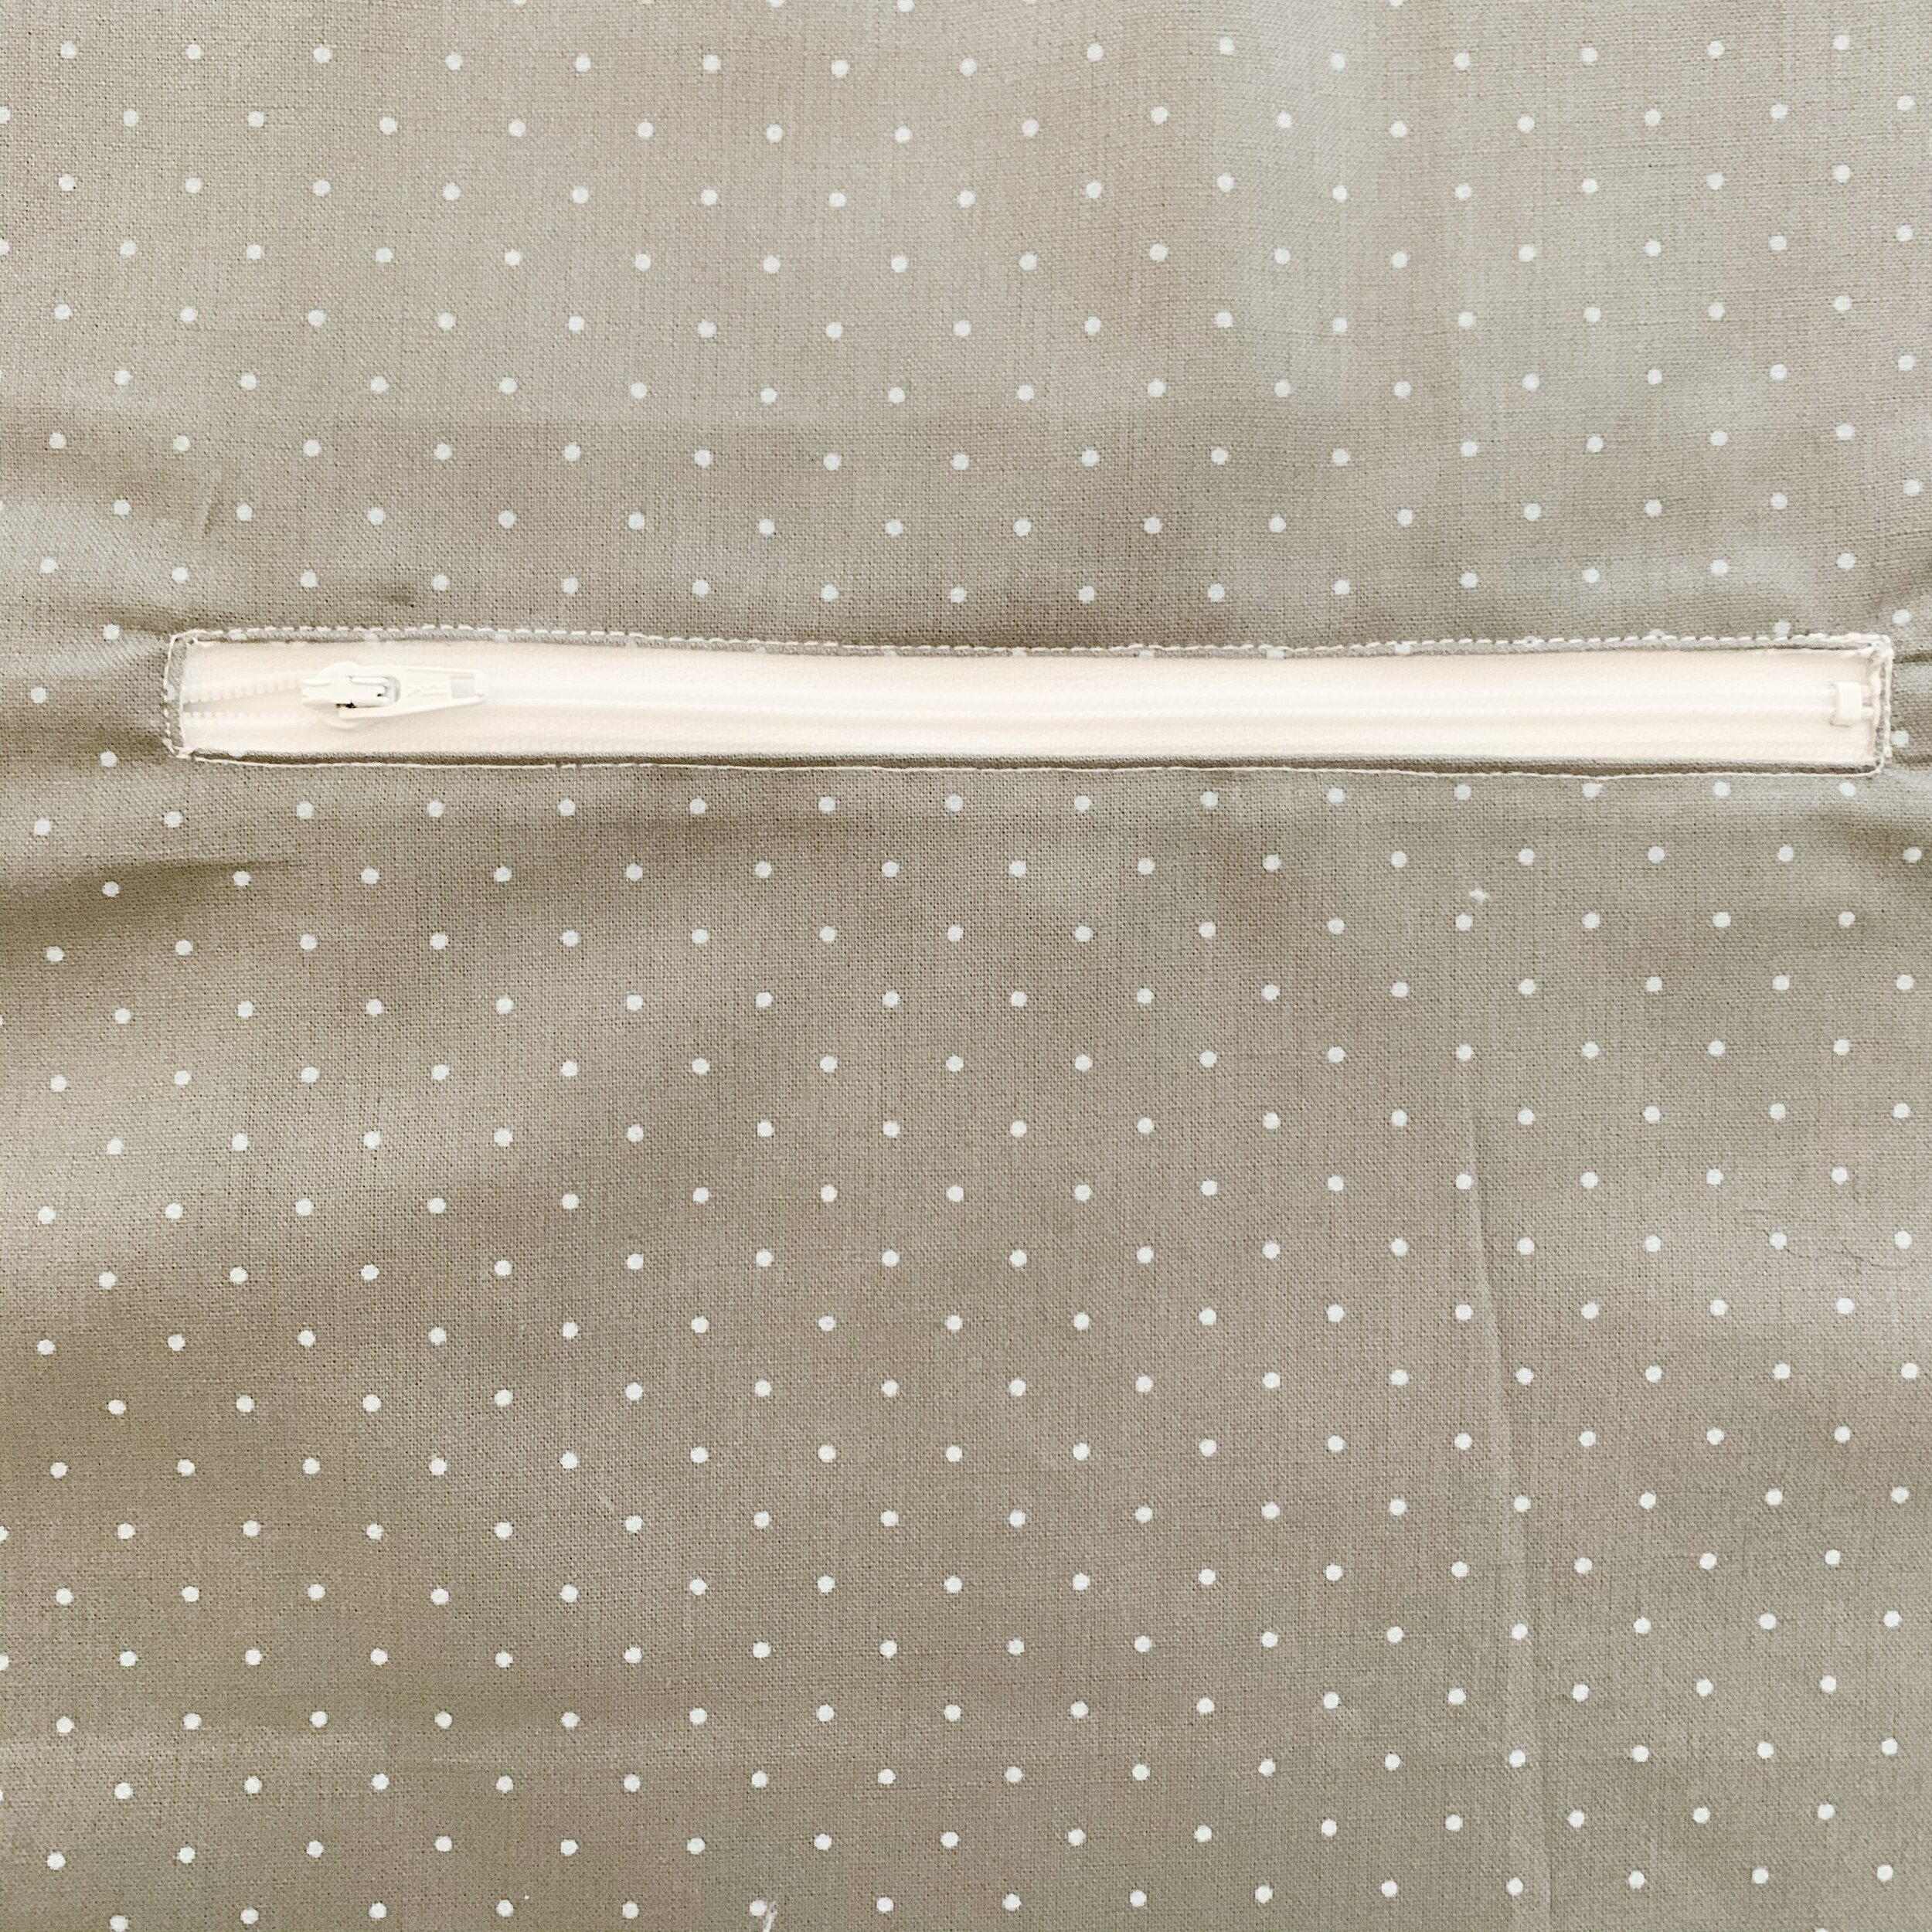
Using a zipper foot, carefully sew along the edge of the zipper opening, securing the zipper in place. It may help to first sew one short side and long side and then move your zipper foot over and sew the second long side and short side. This will prevent your zipper opening from puckering. Your zipper will now be secure in the zipper opening.

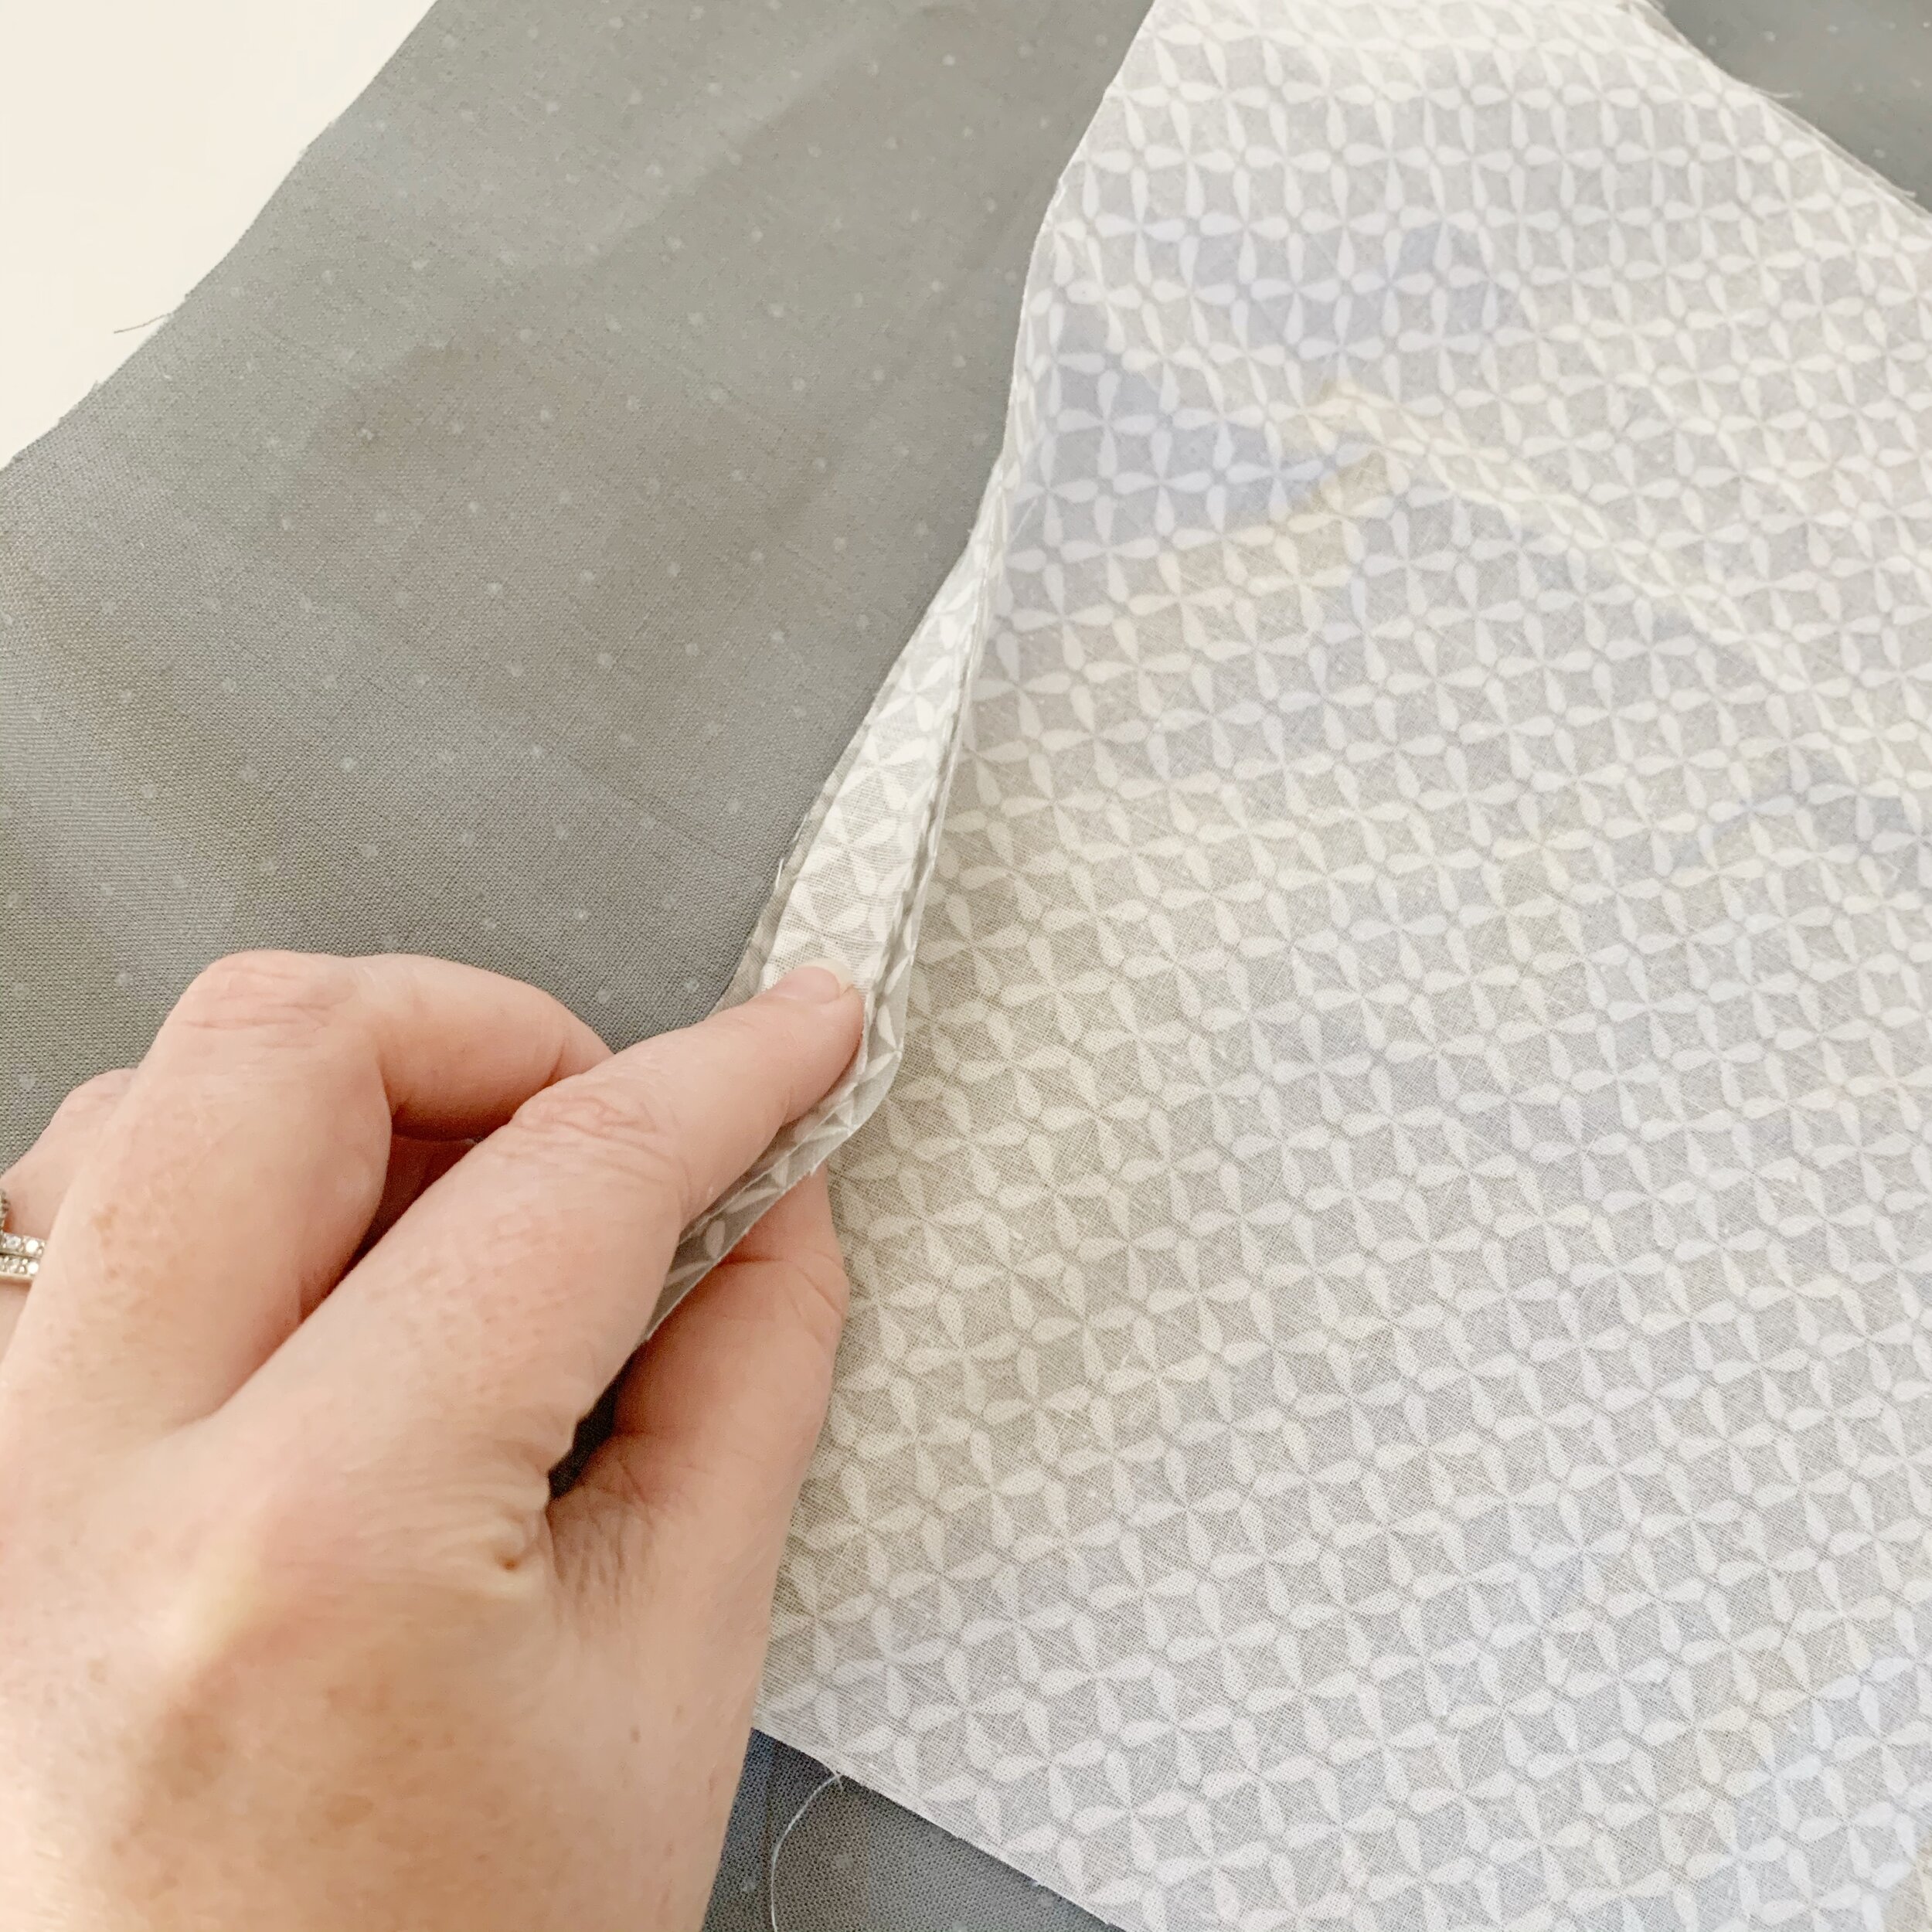
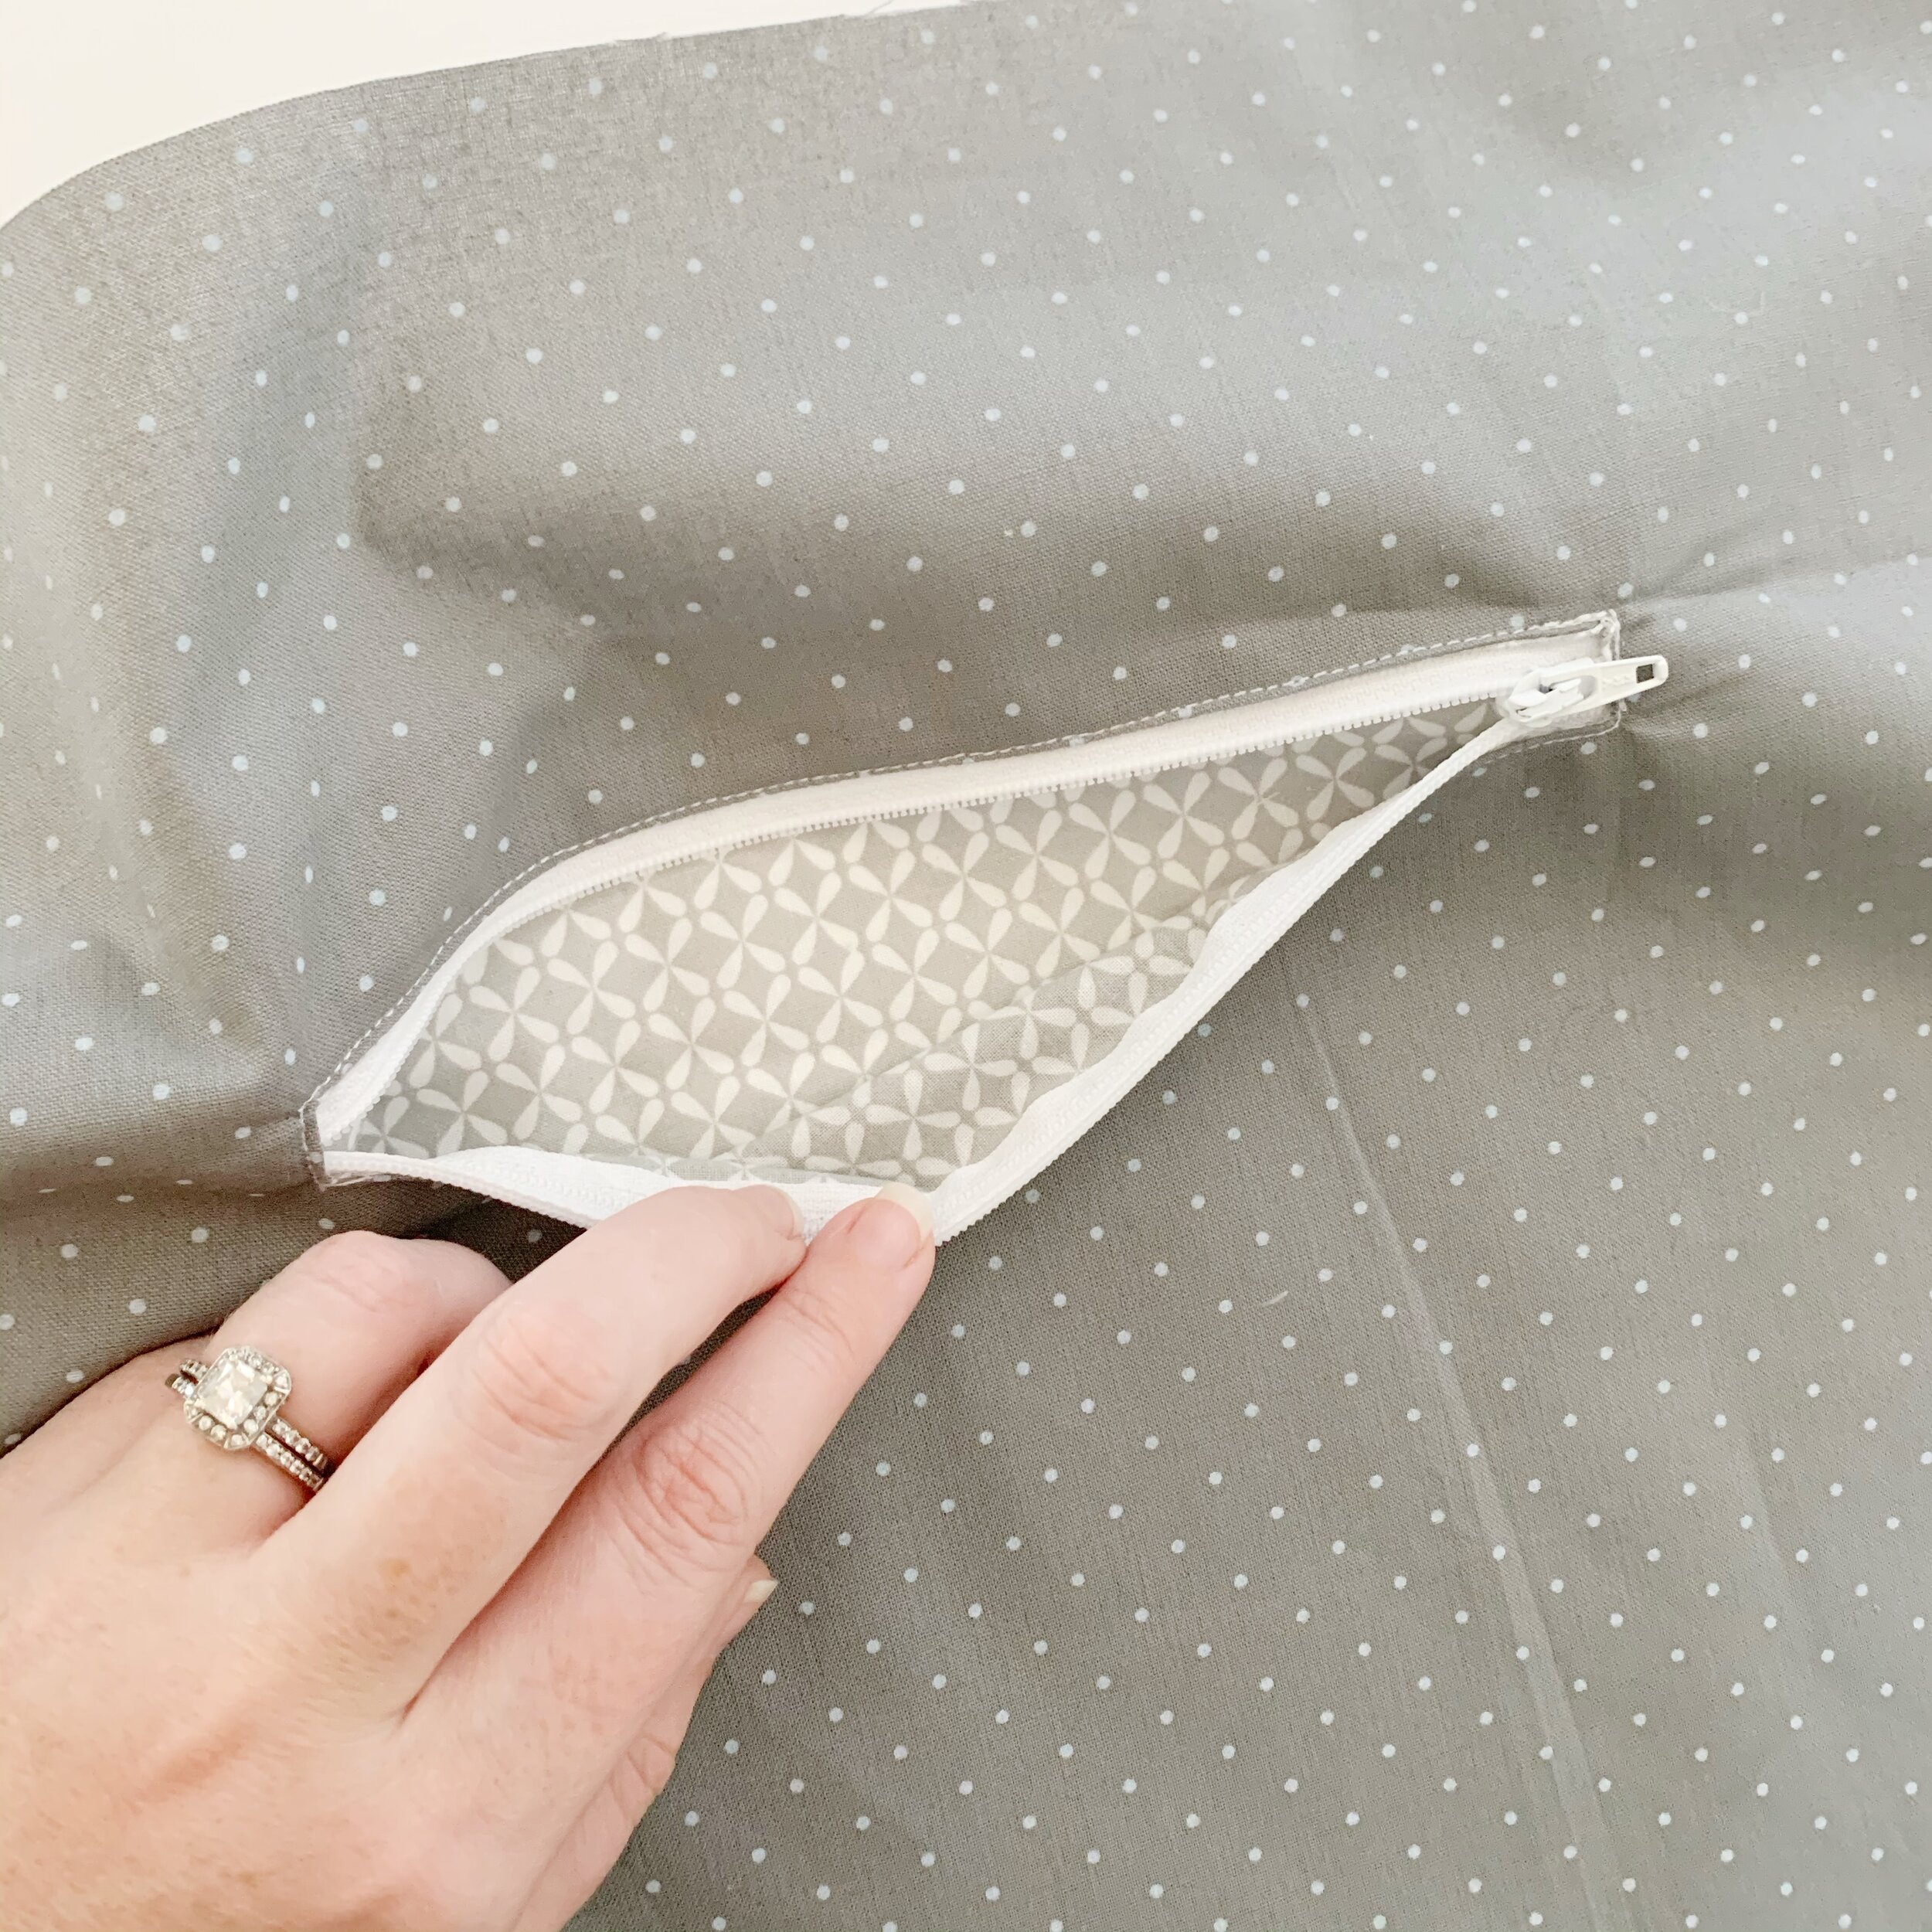
Flip your interior lining piece over. Bring the bottom of the pocket up to the top, covering the zipper. Then sew the three pocket sides together.
Interior:
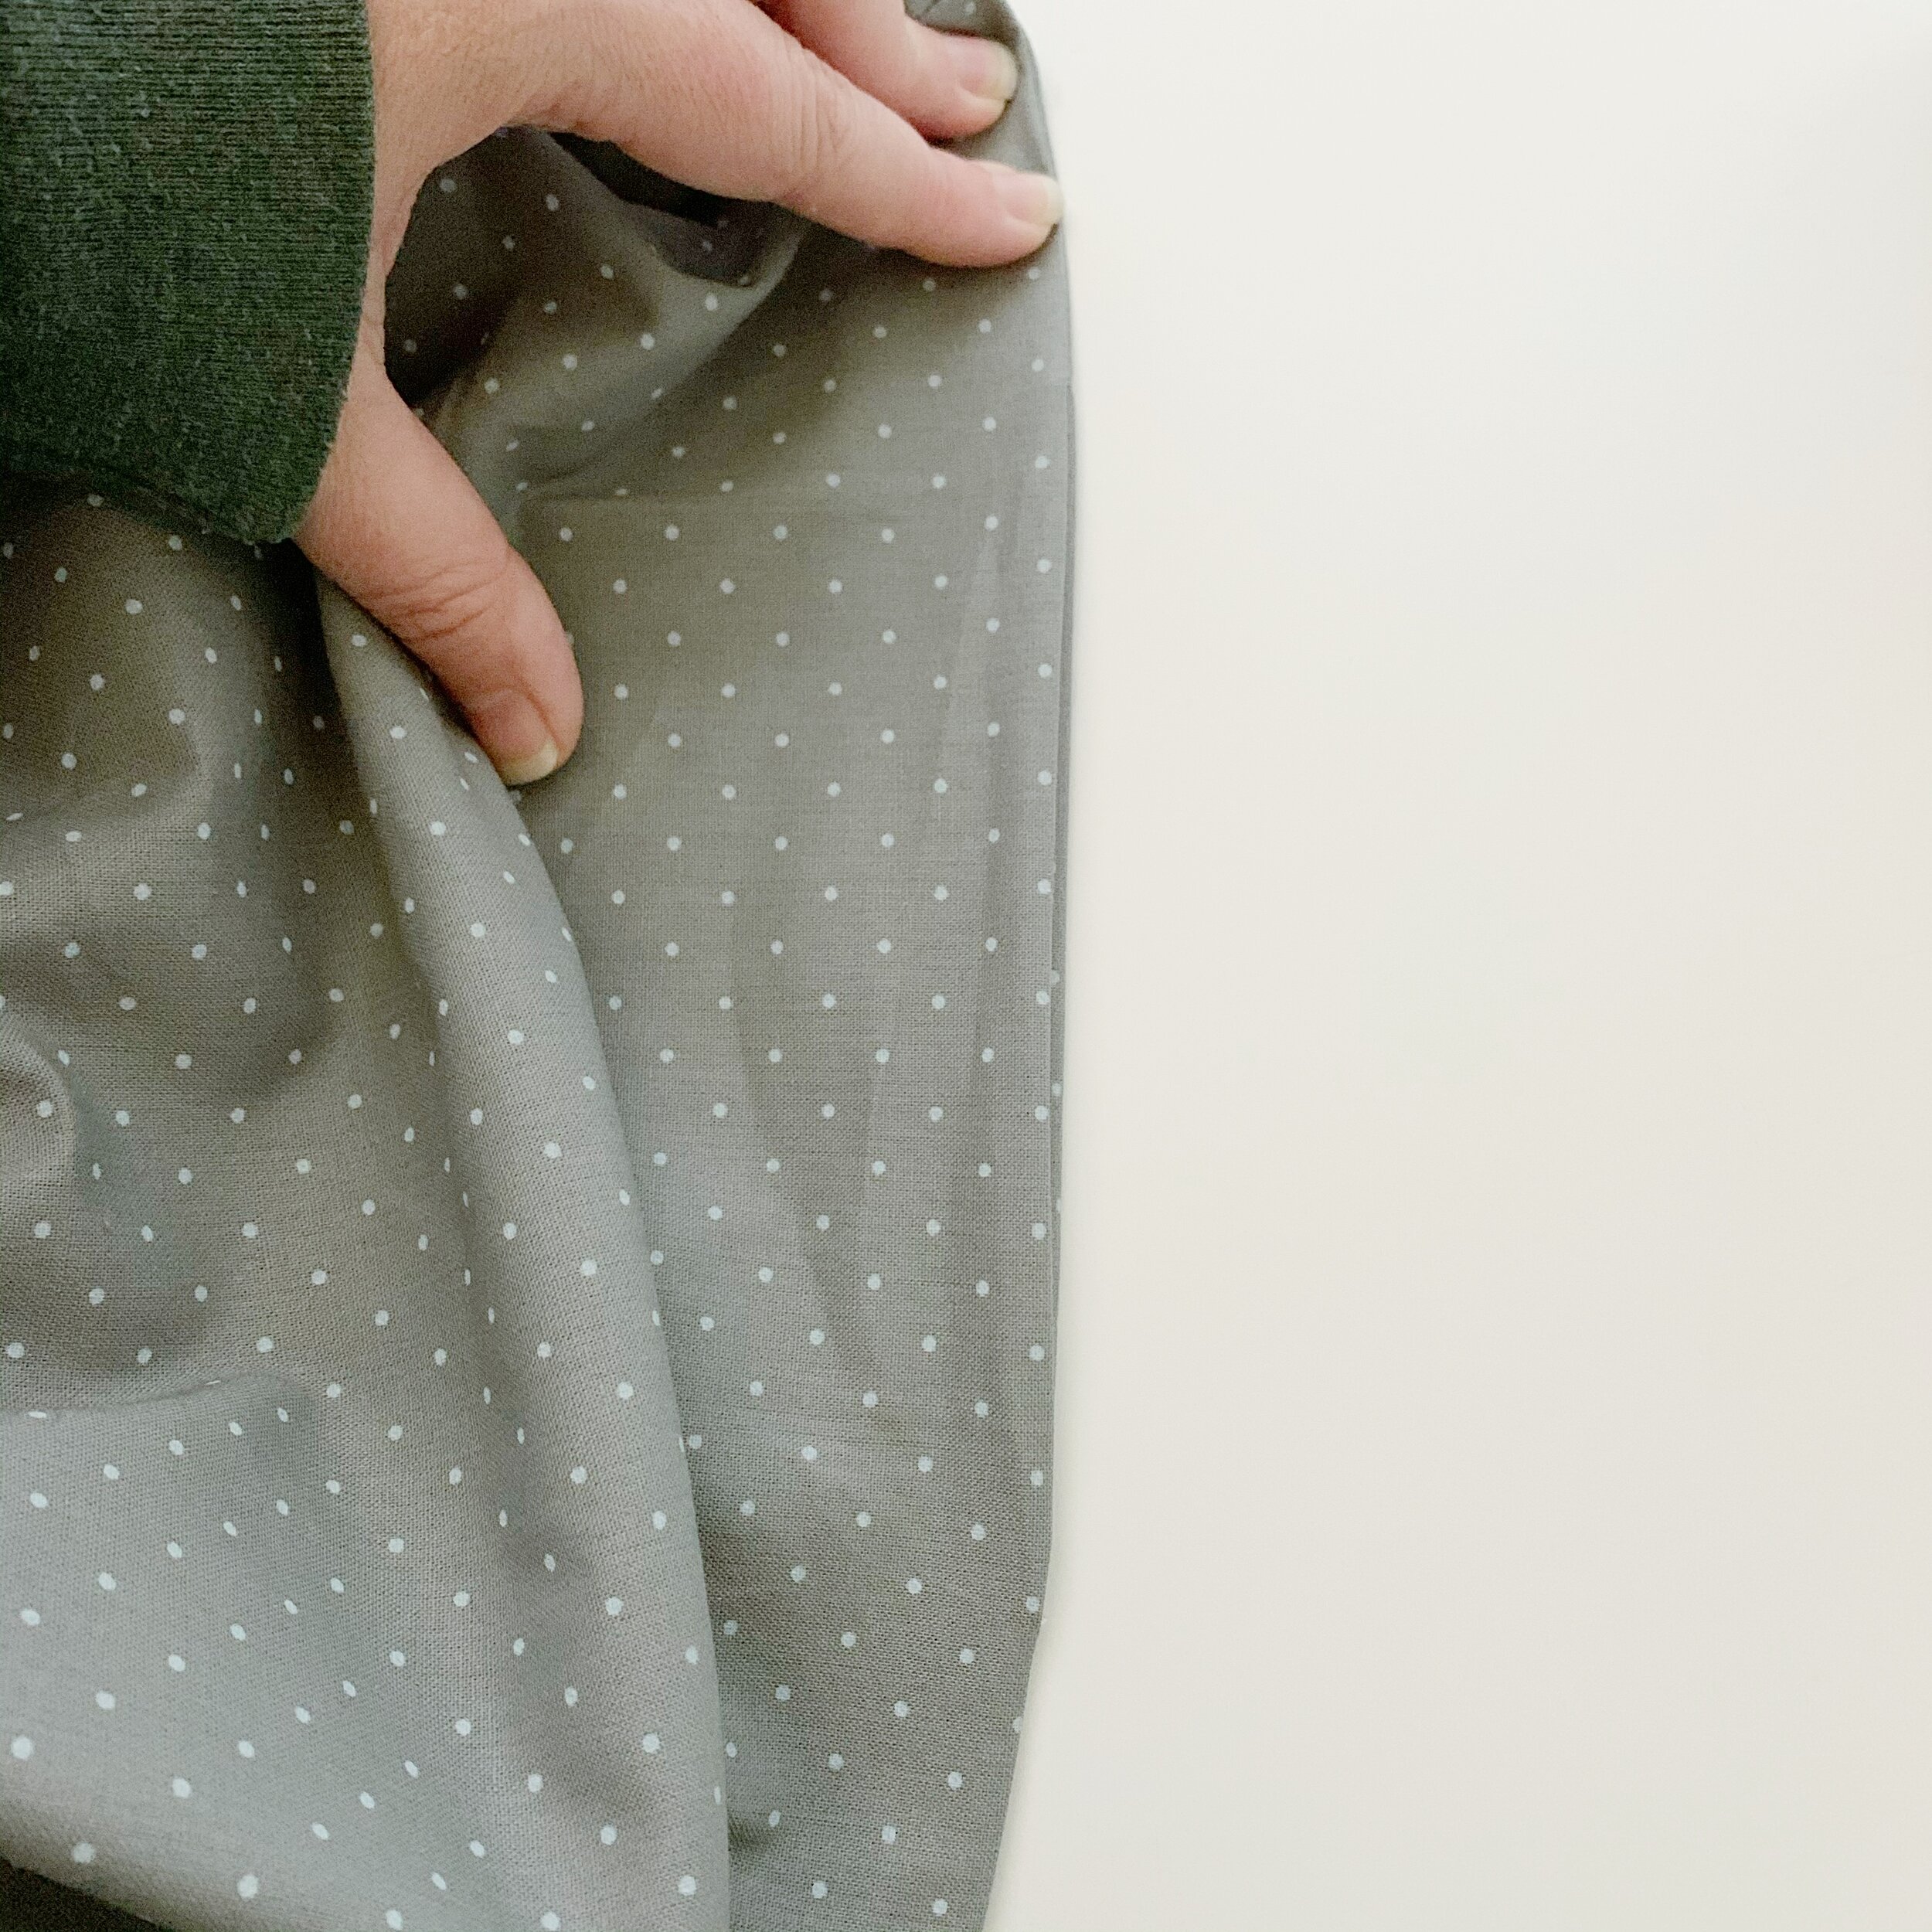
Lay your interior lining pieces down right sides together. Then sew along both sides using a ½” seam allowance. Sew the bottom edge leaving a large opening in the center.
Mark your corners just as you did with the exterior pieces, 2” from each side and bottom edge. Then cut your corners out. Sew both corners together making sure to line up the side and bottom seams. Do not turn right side out.
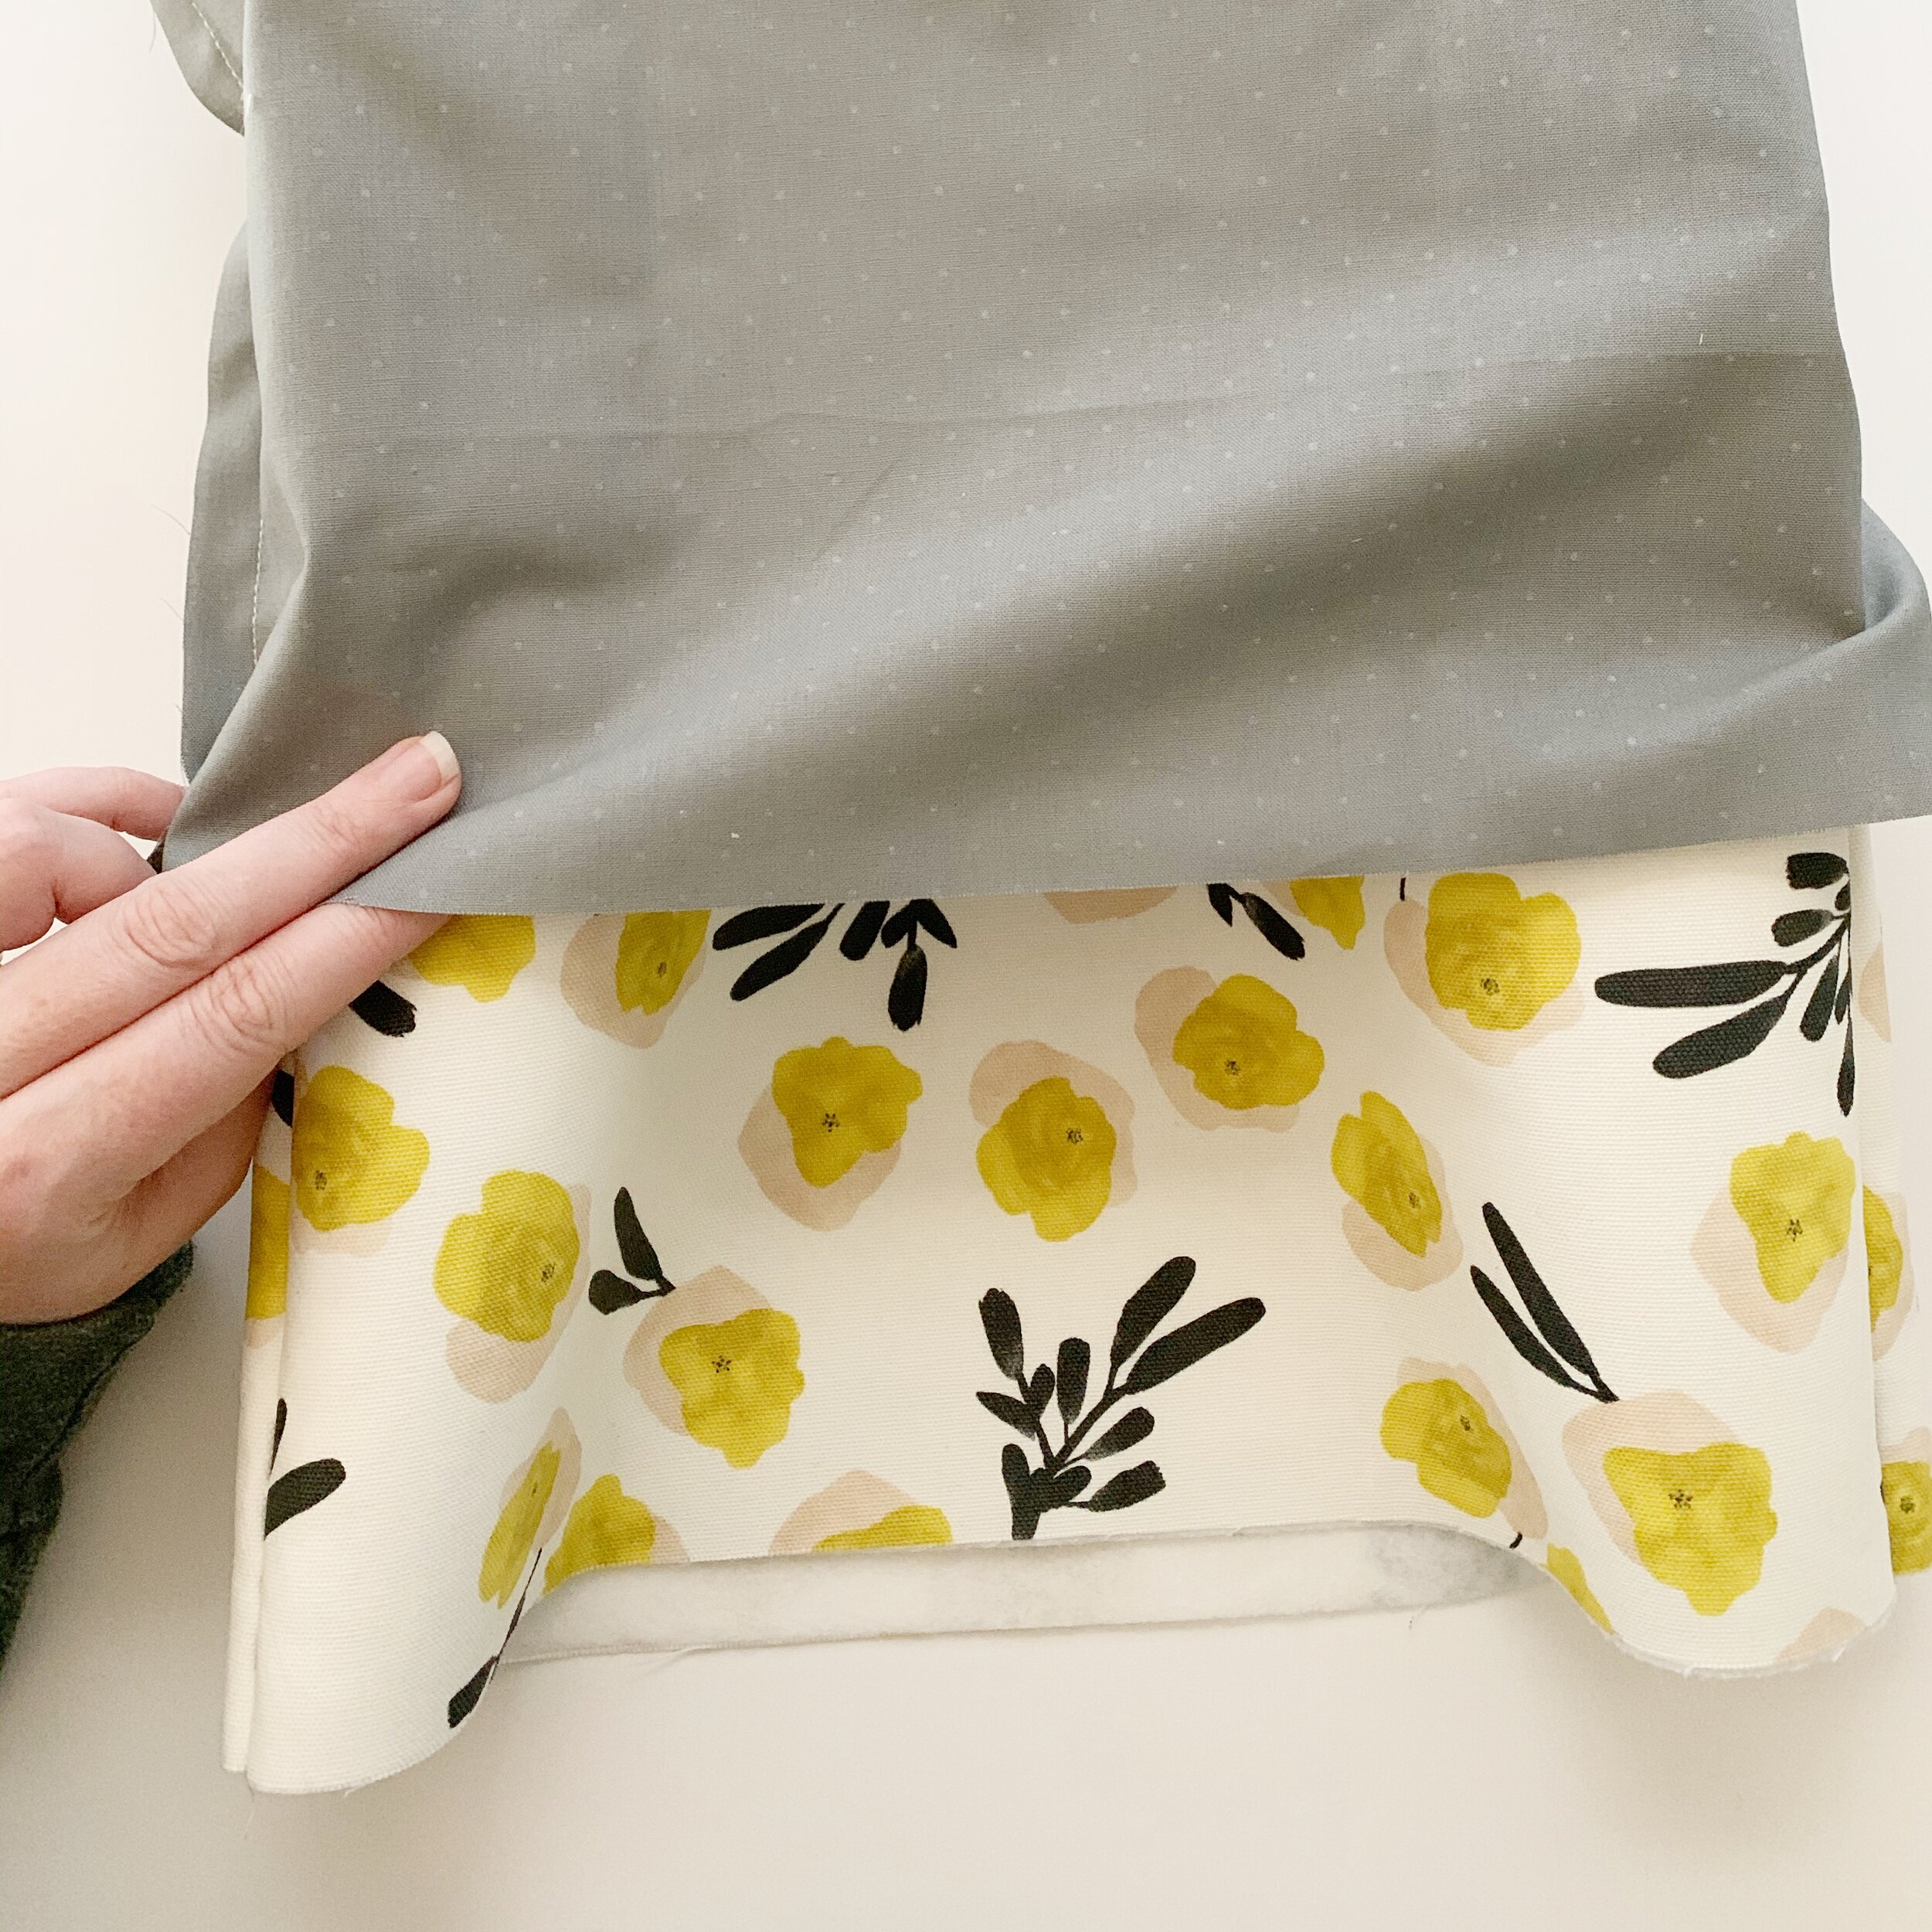
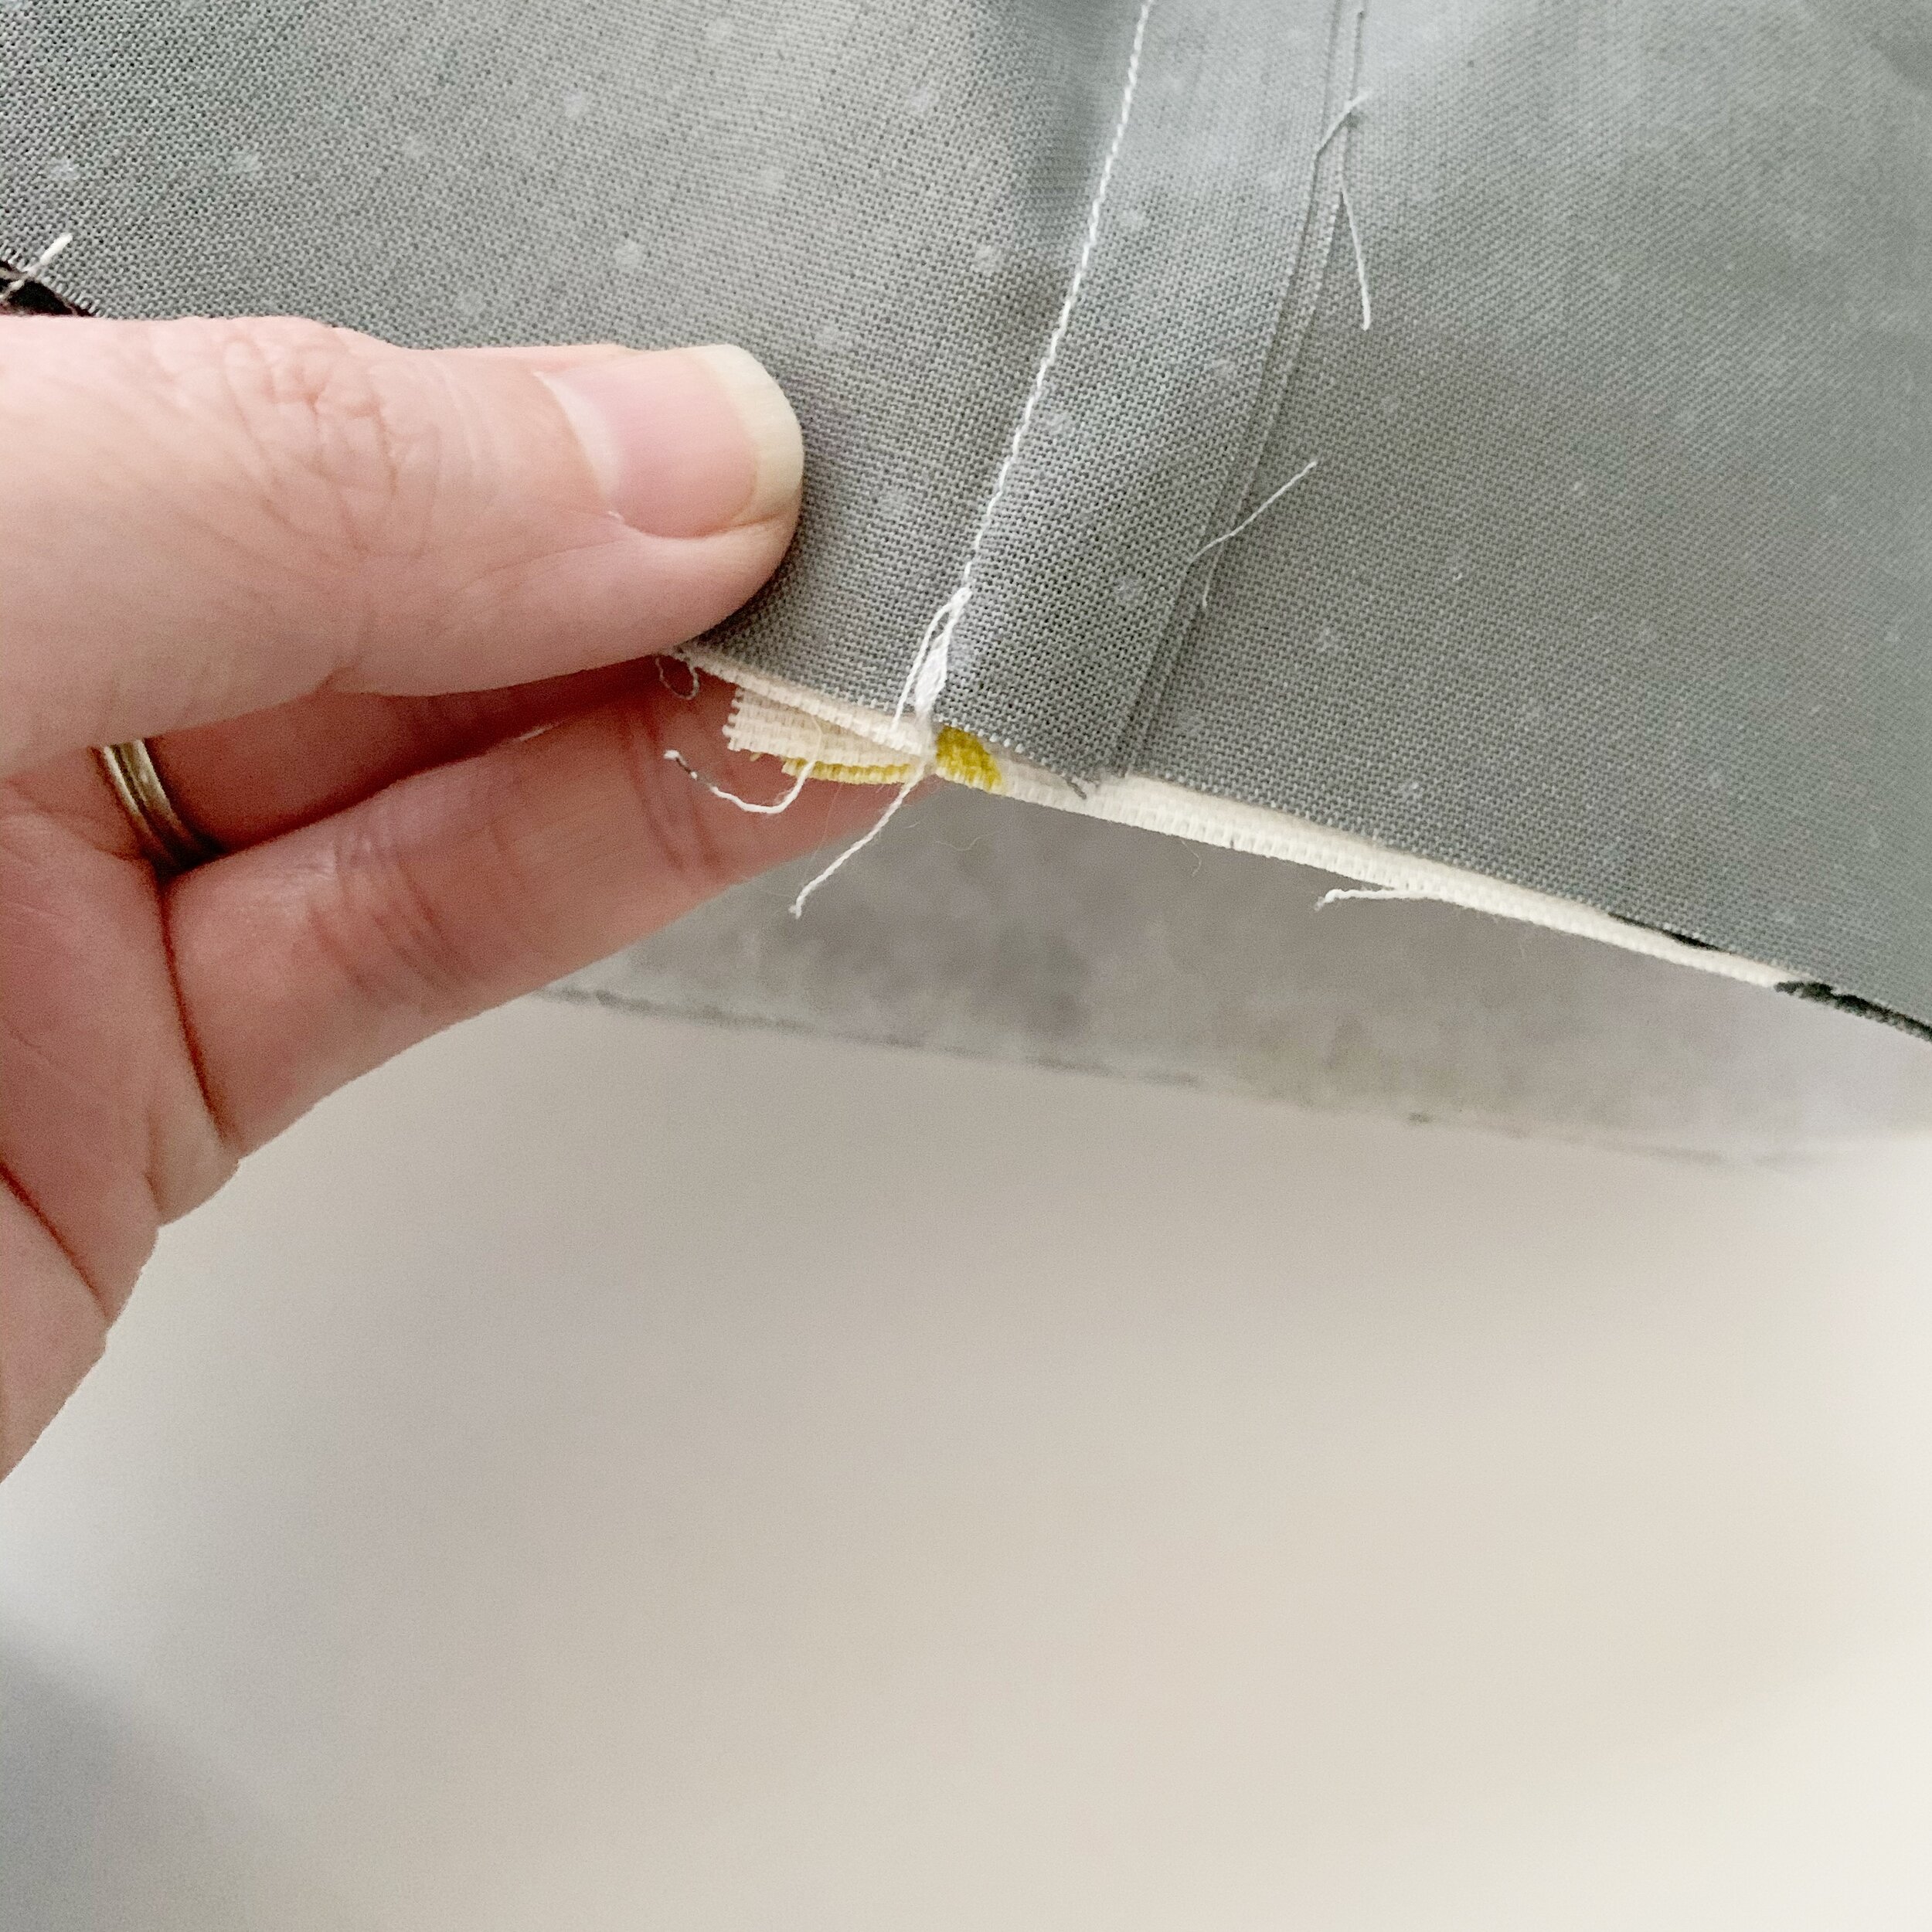
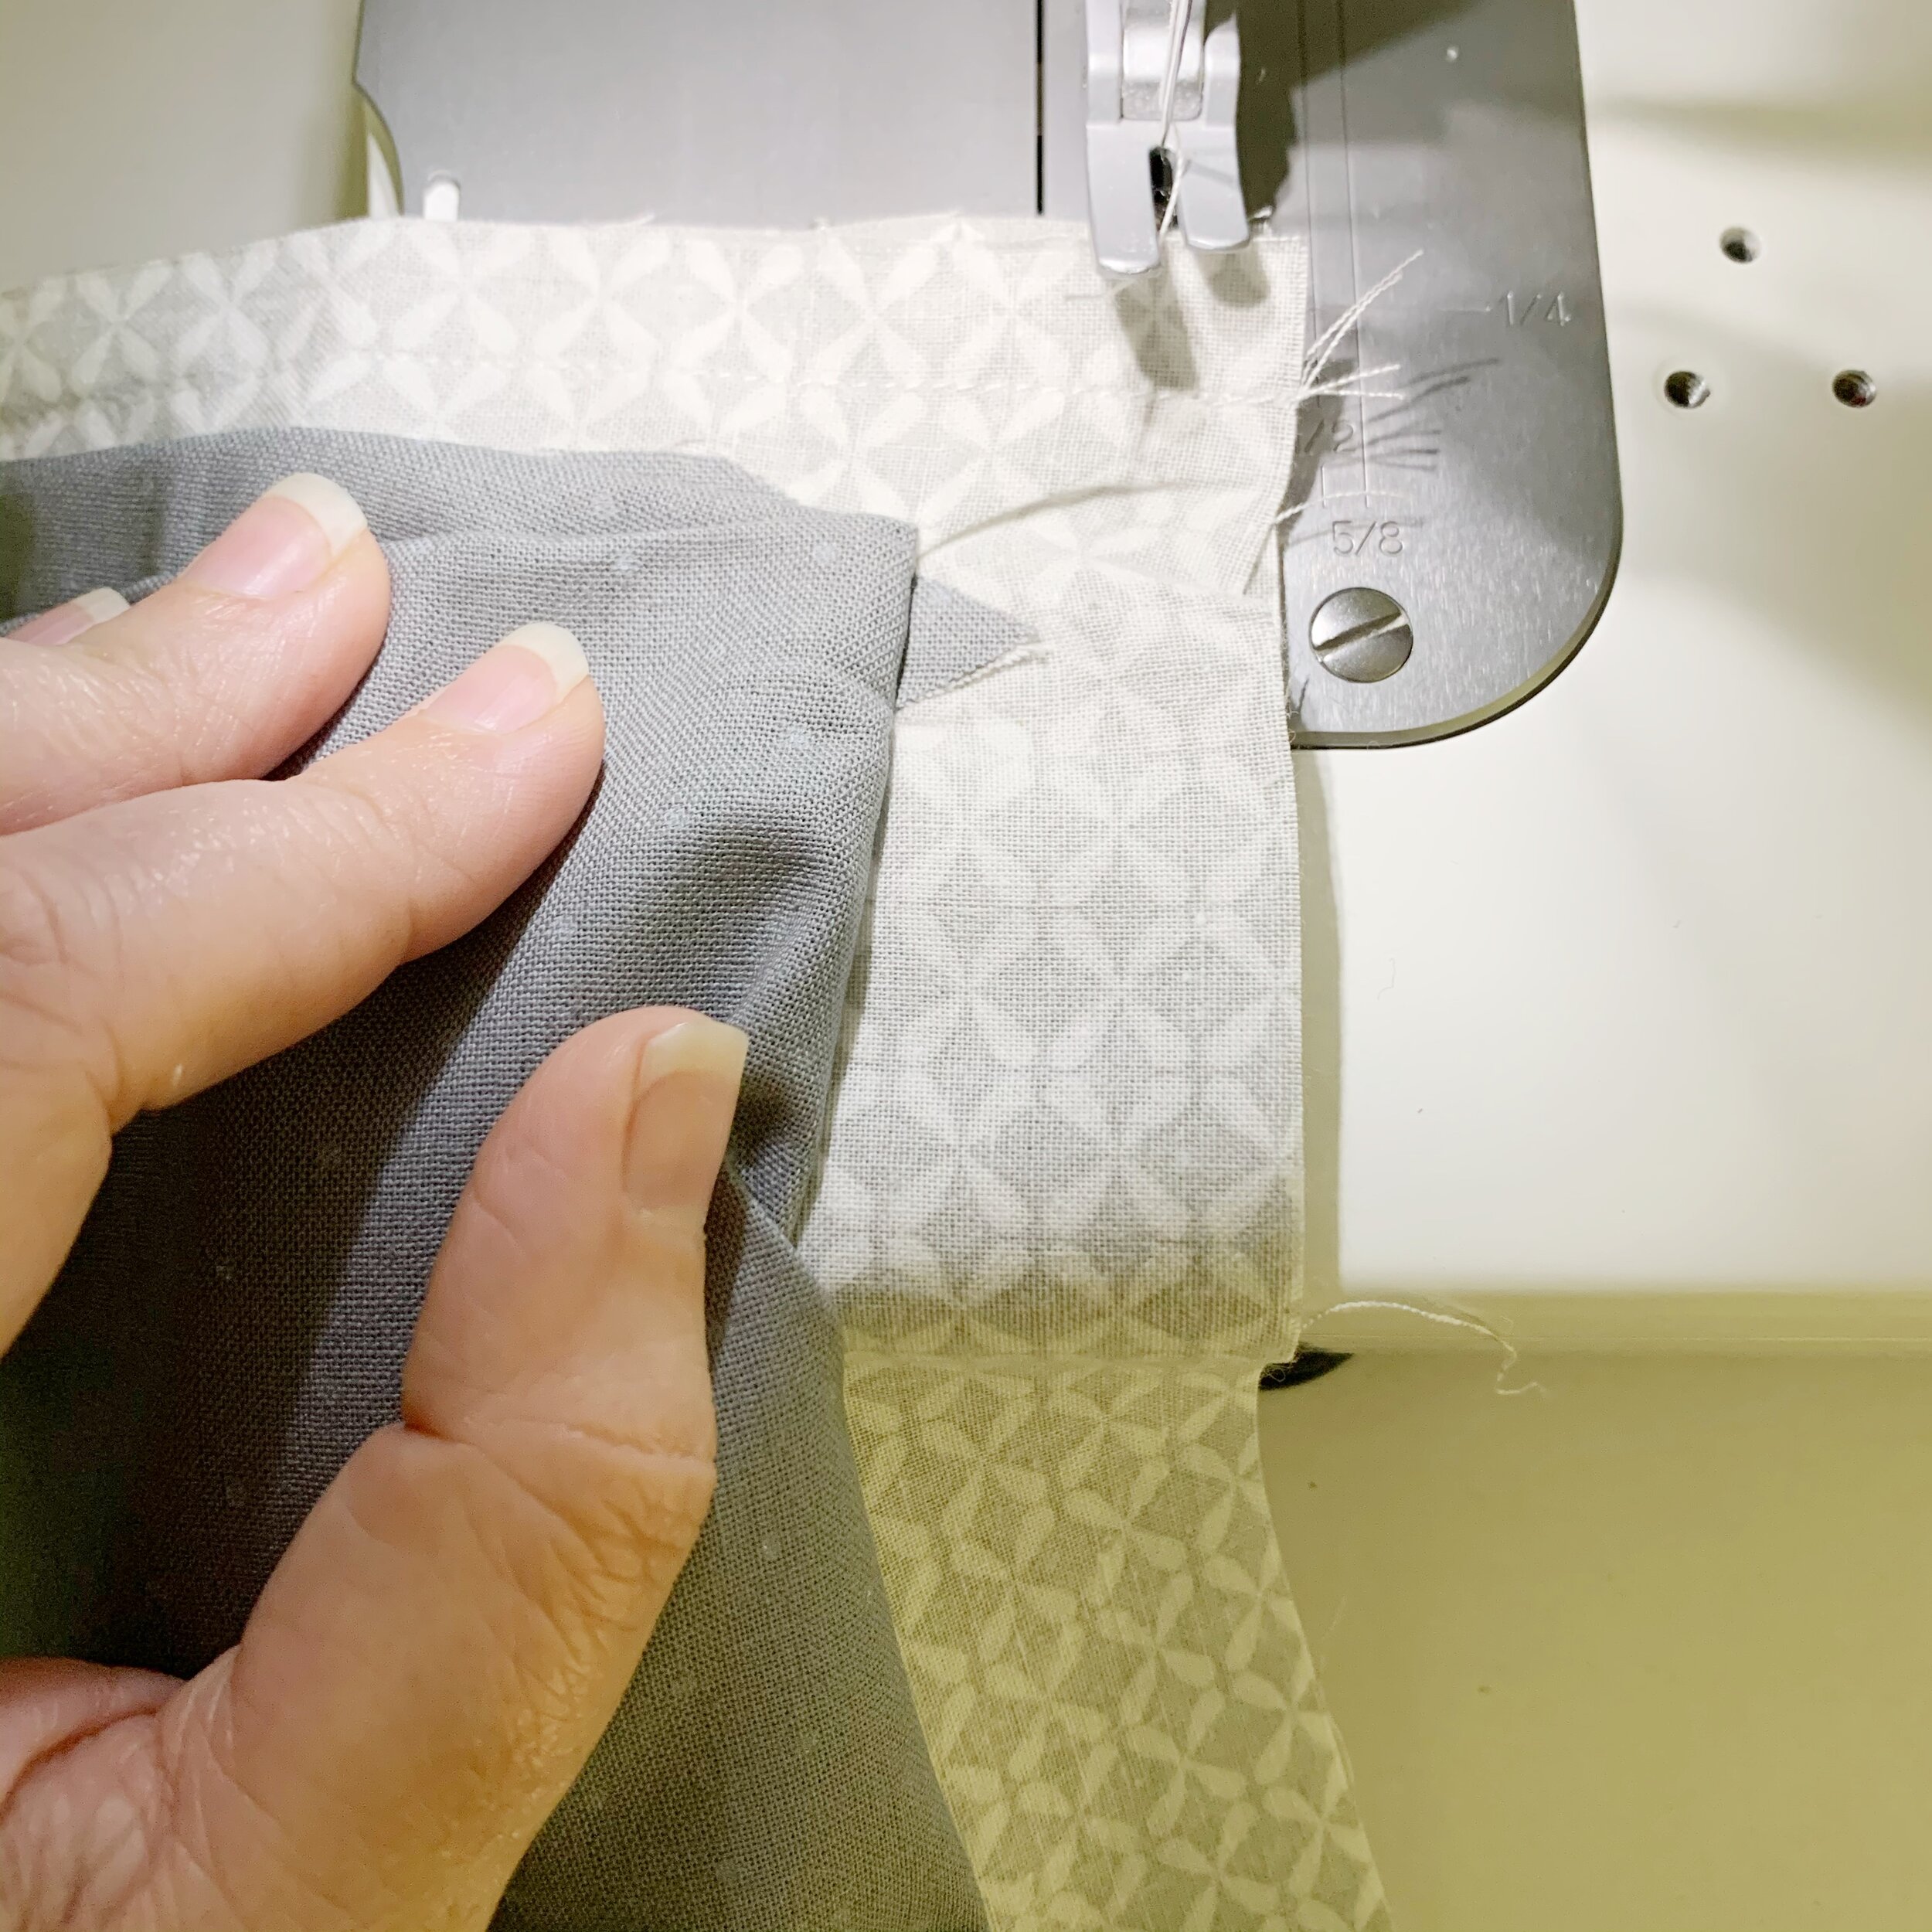
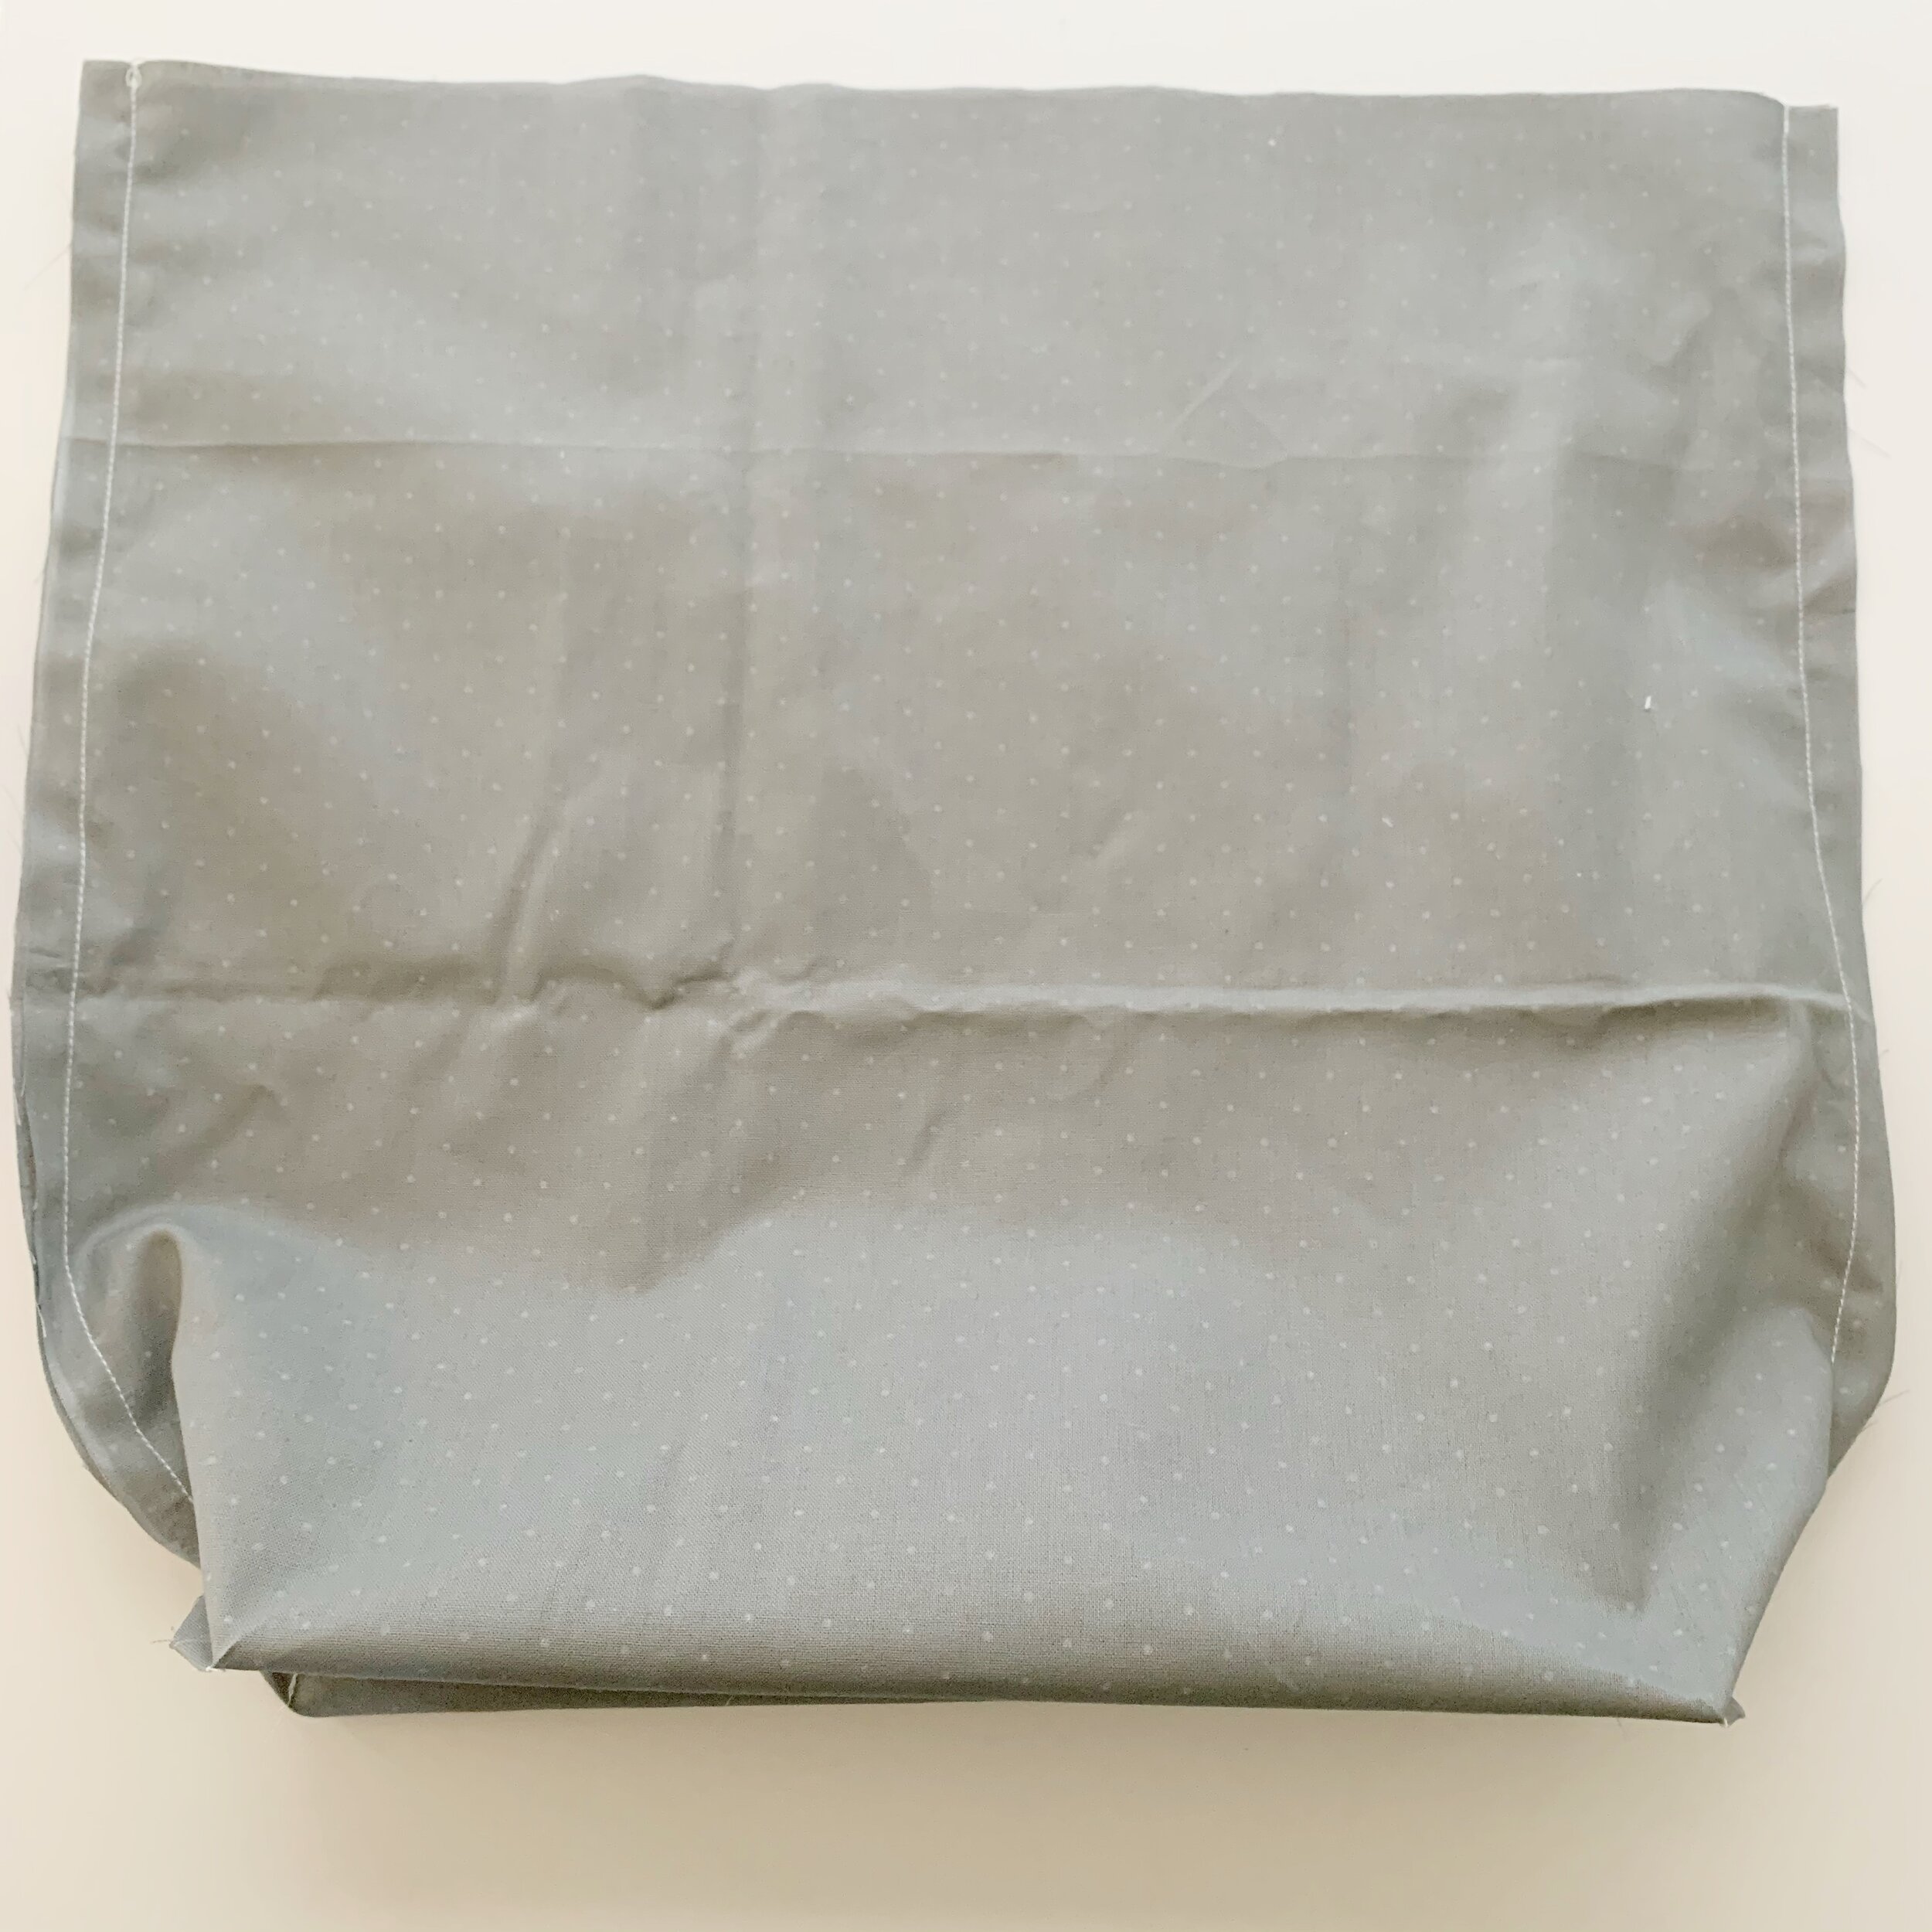
Insert exterior piece into interior piece so right sides are together. Line up side seams and pin in place if needed. Then using a ½” seam allowance sew the pieces together around the top edge.
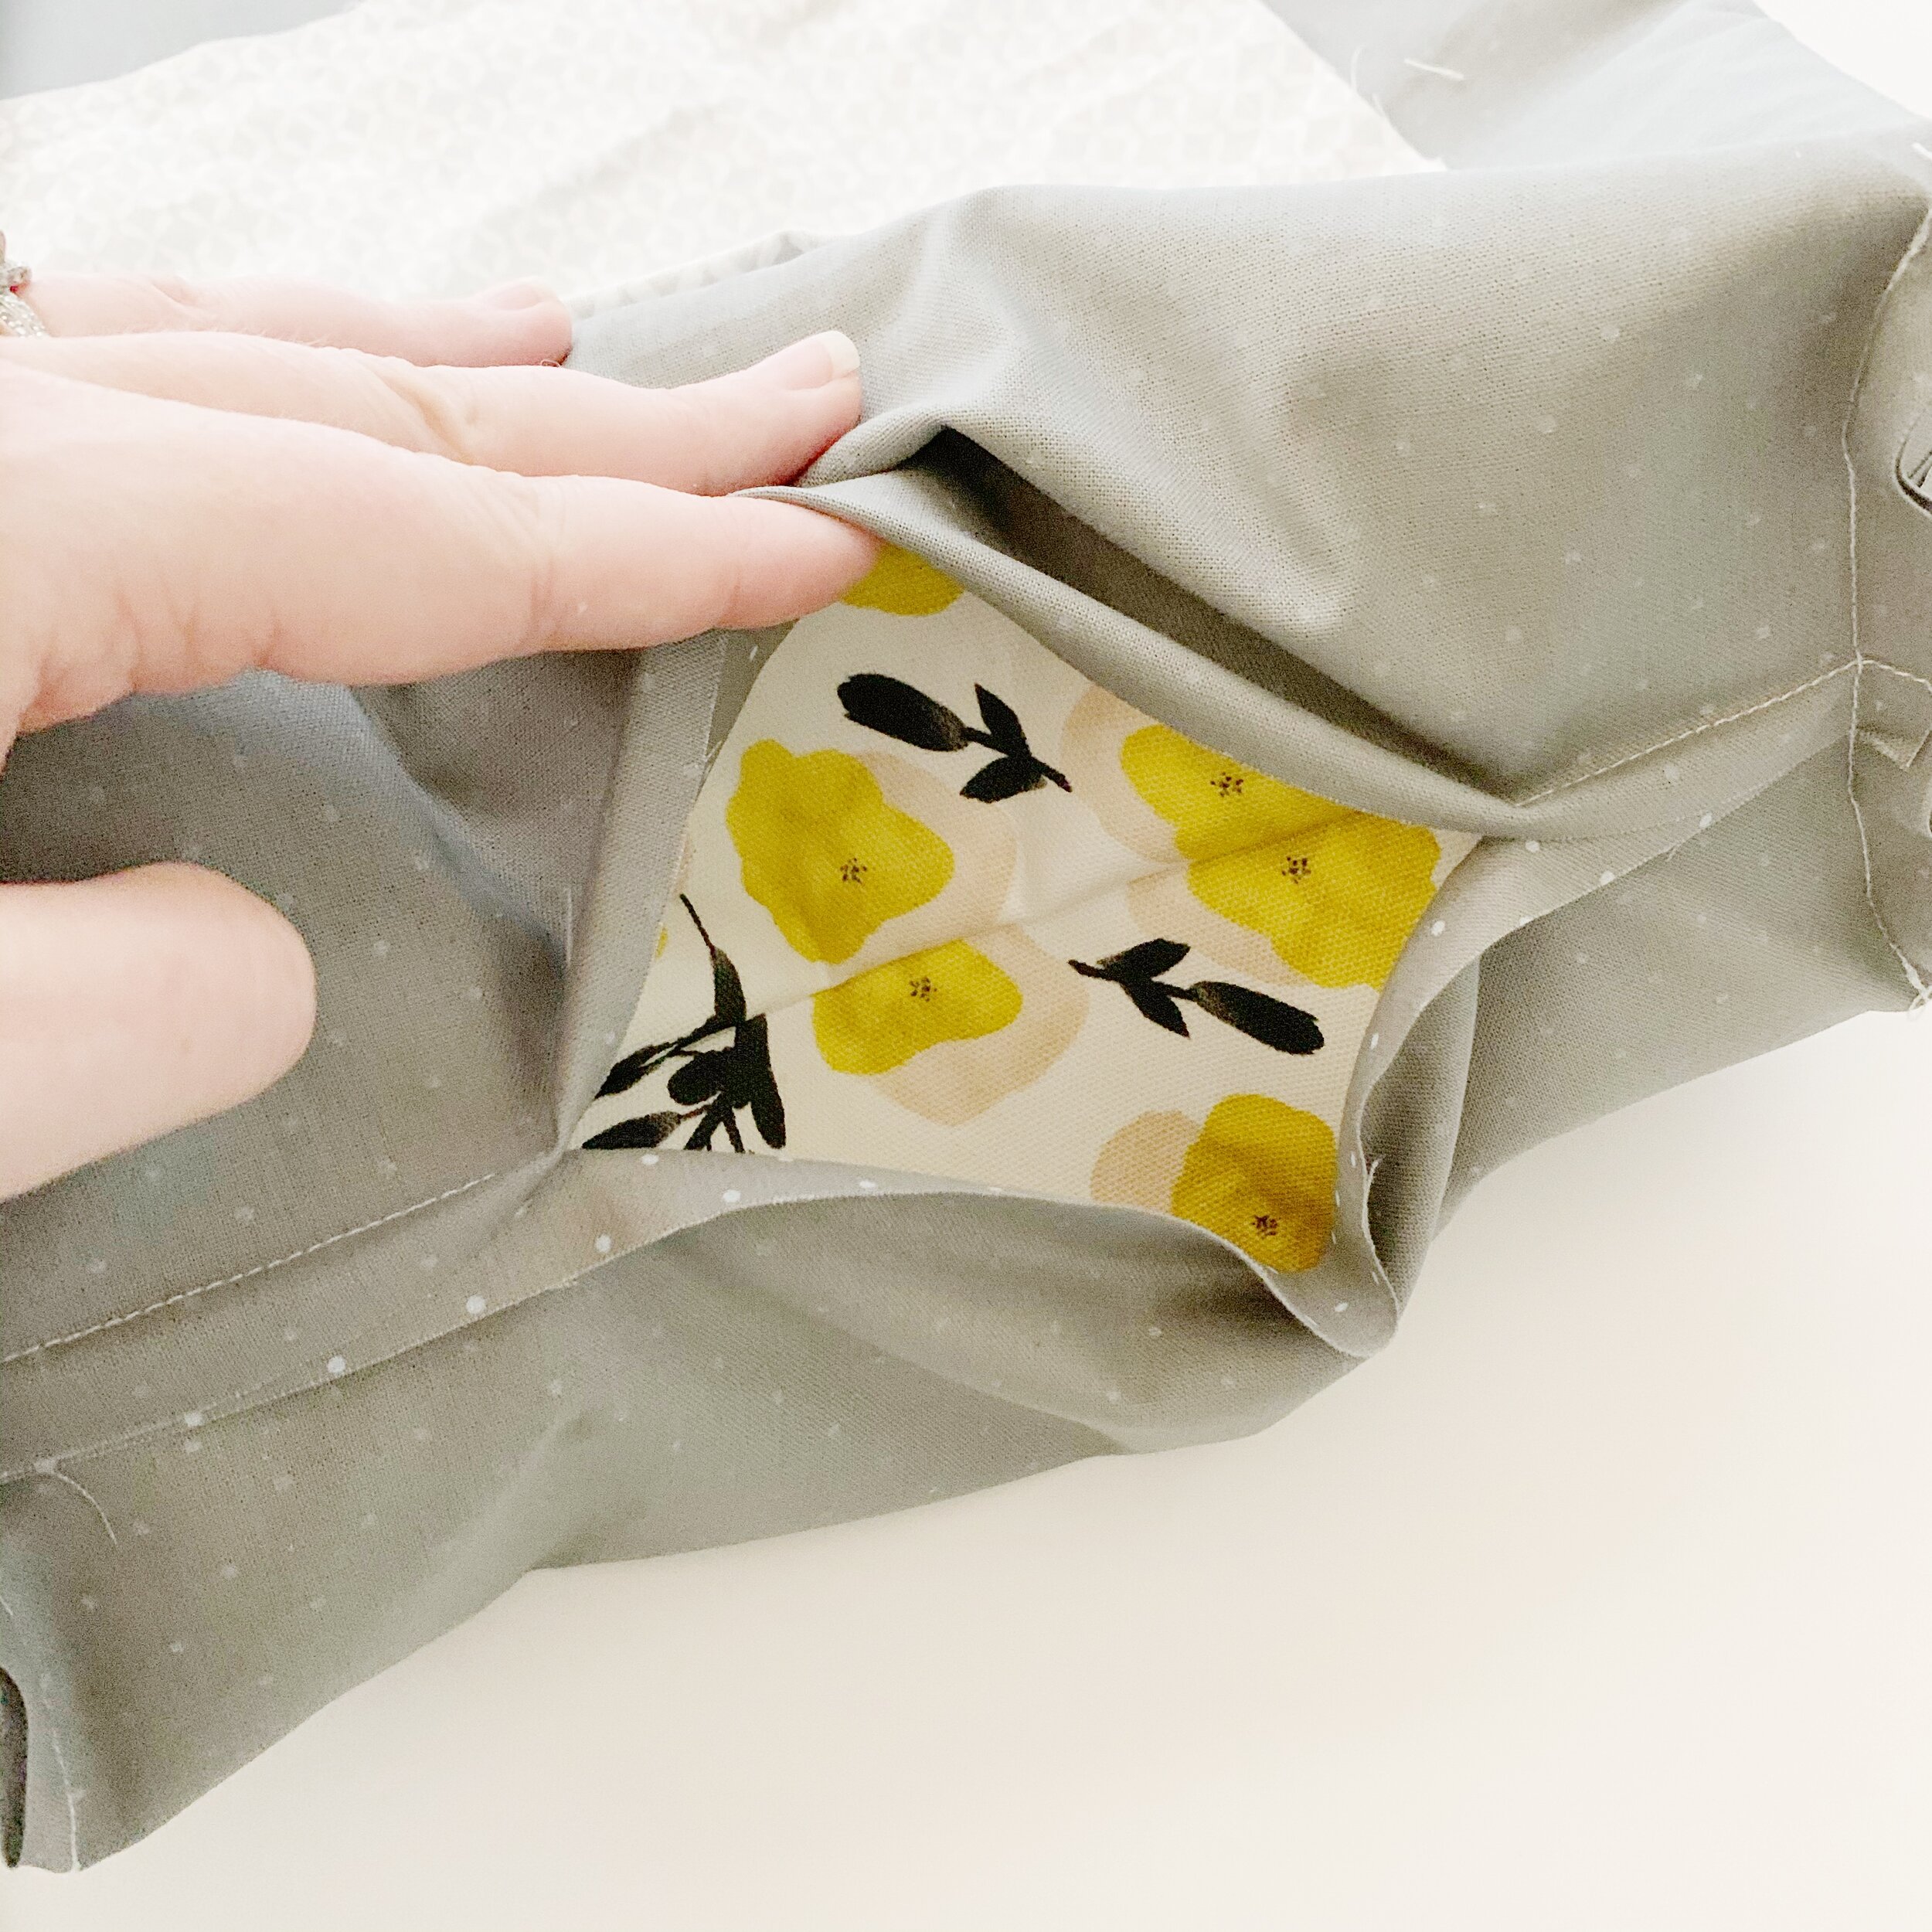
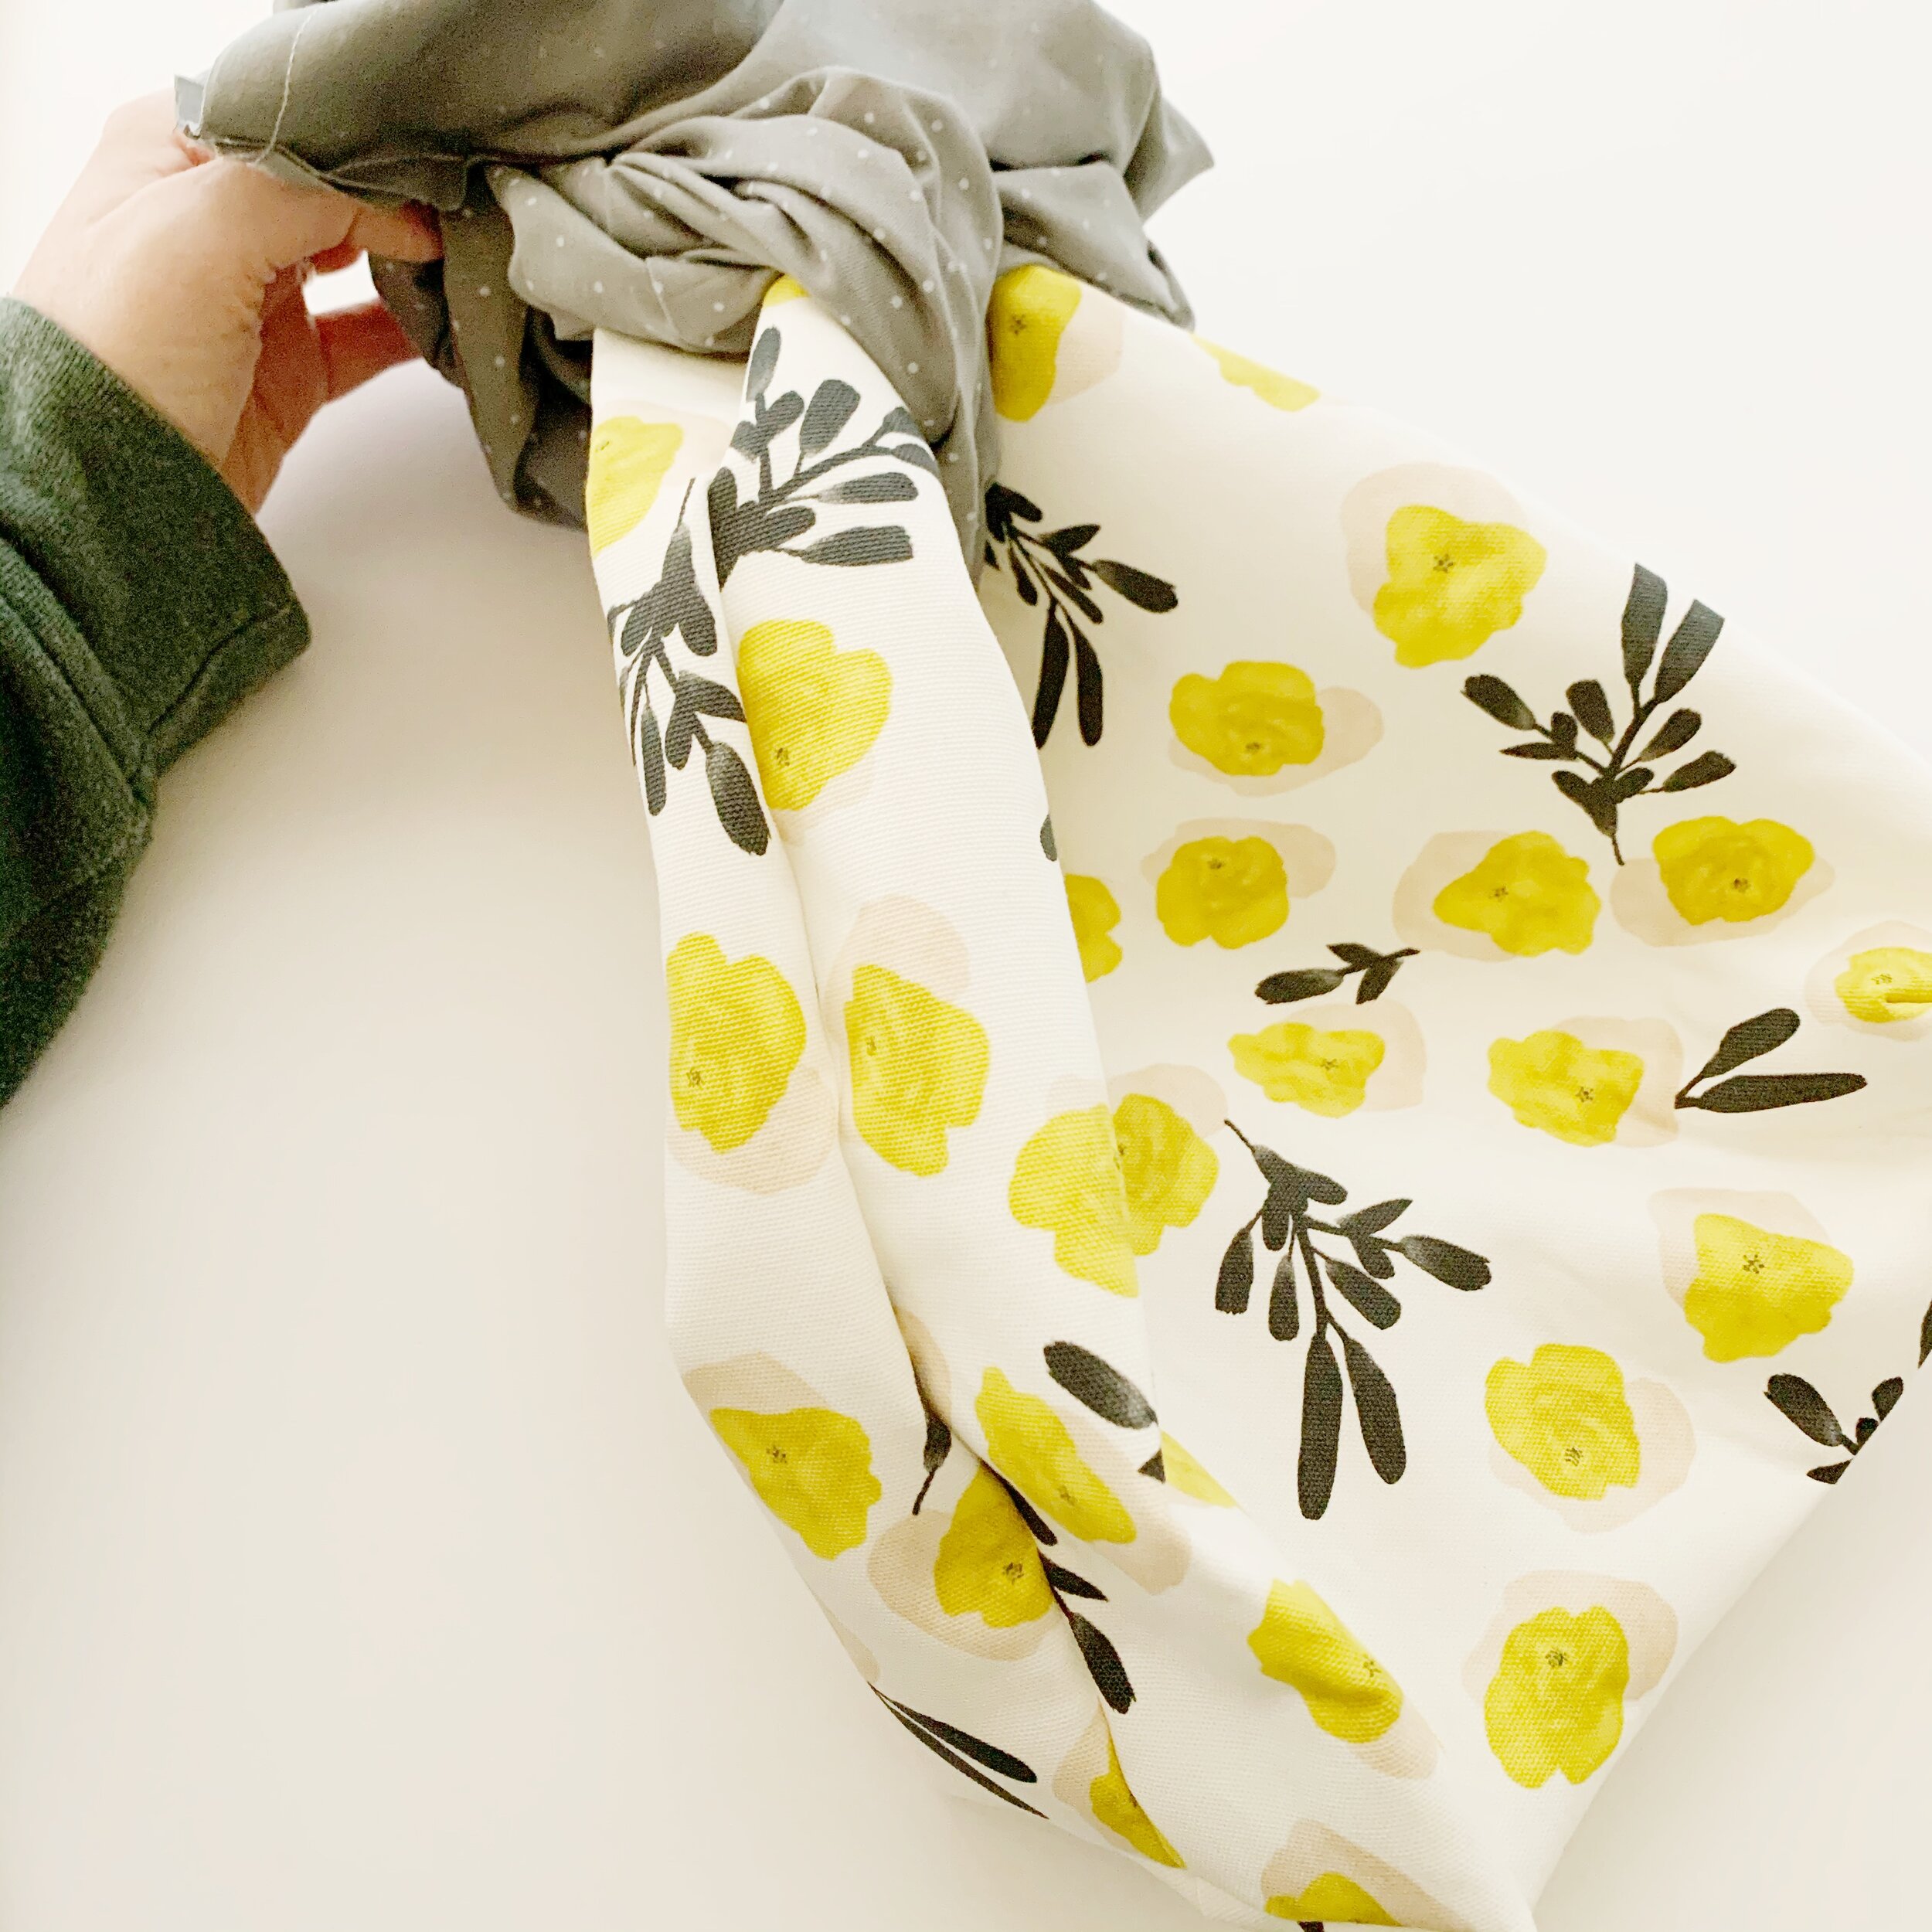
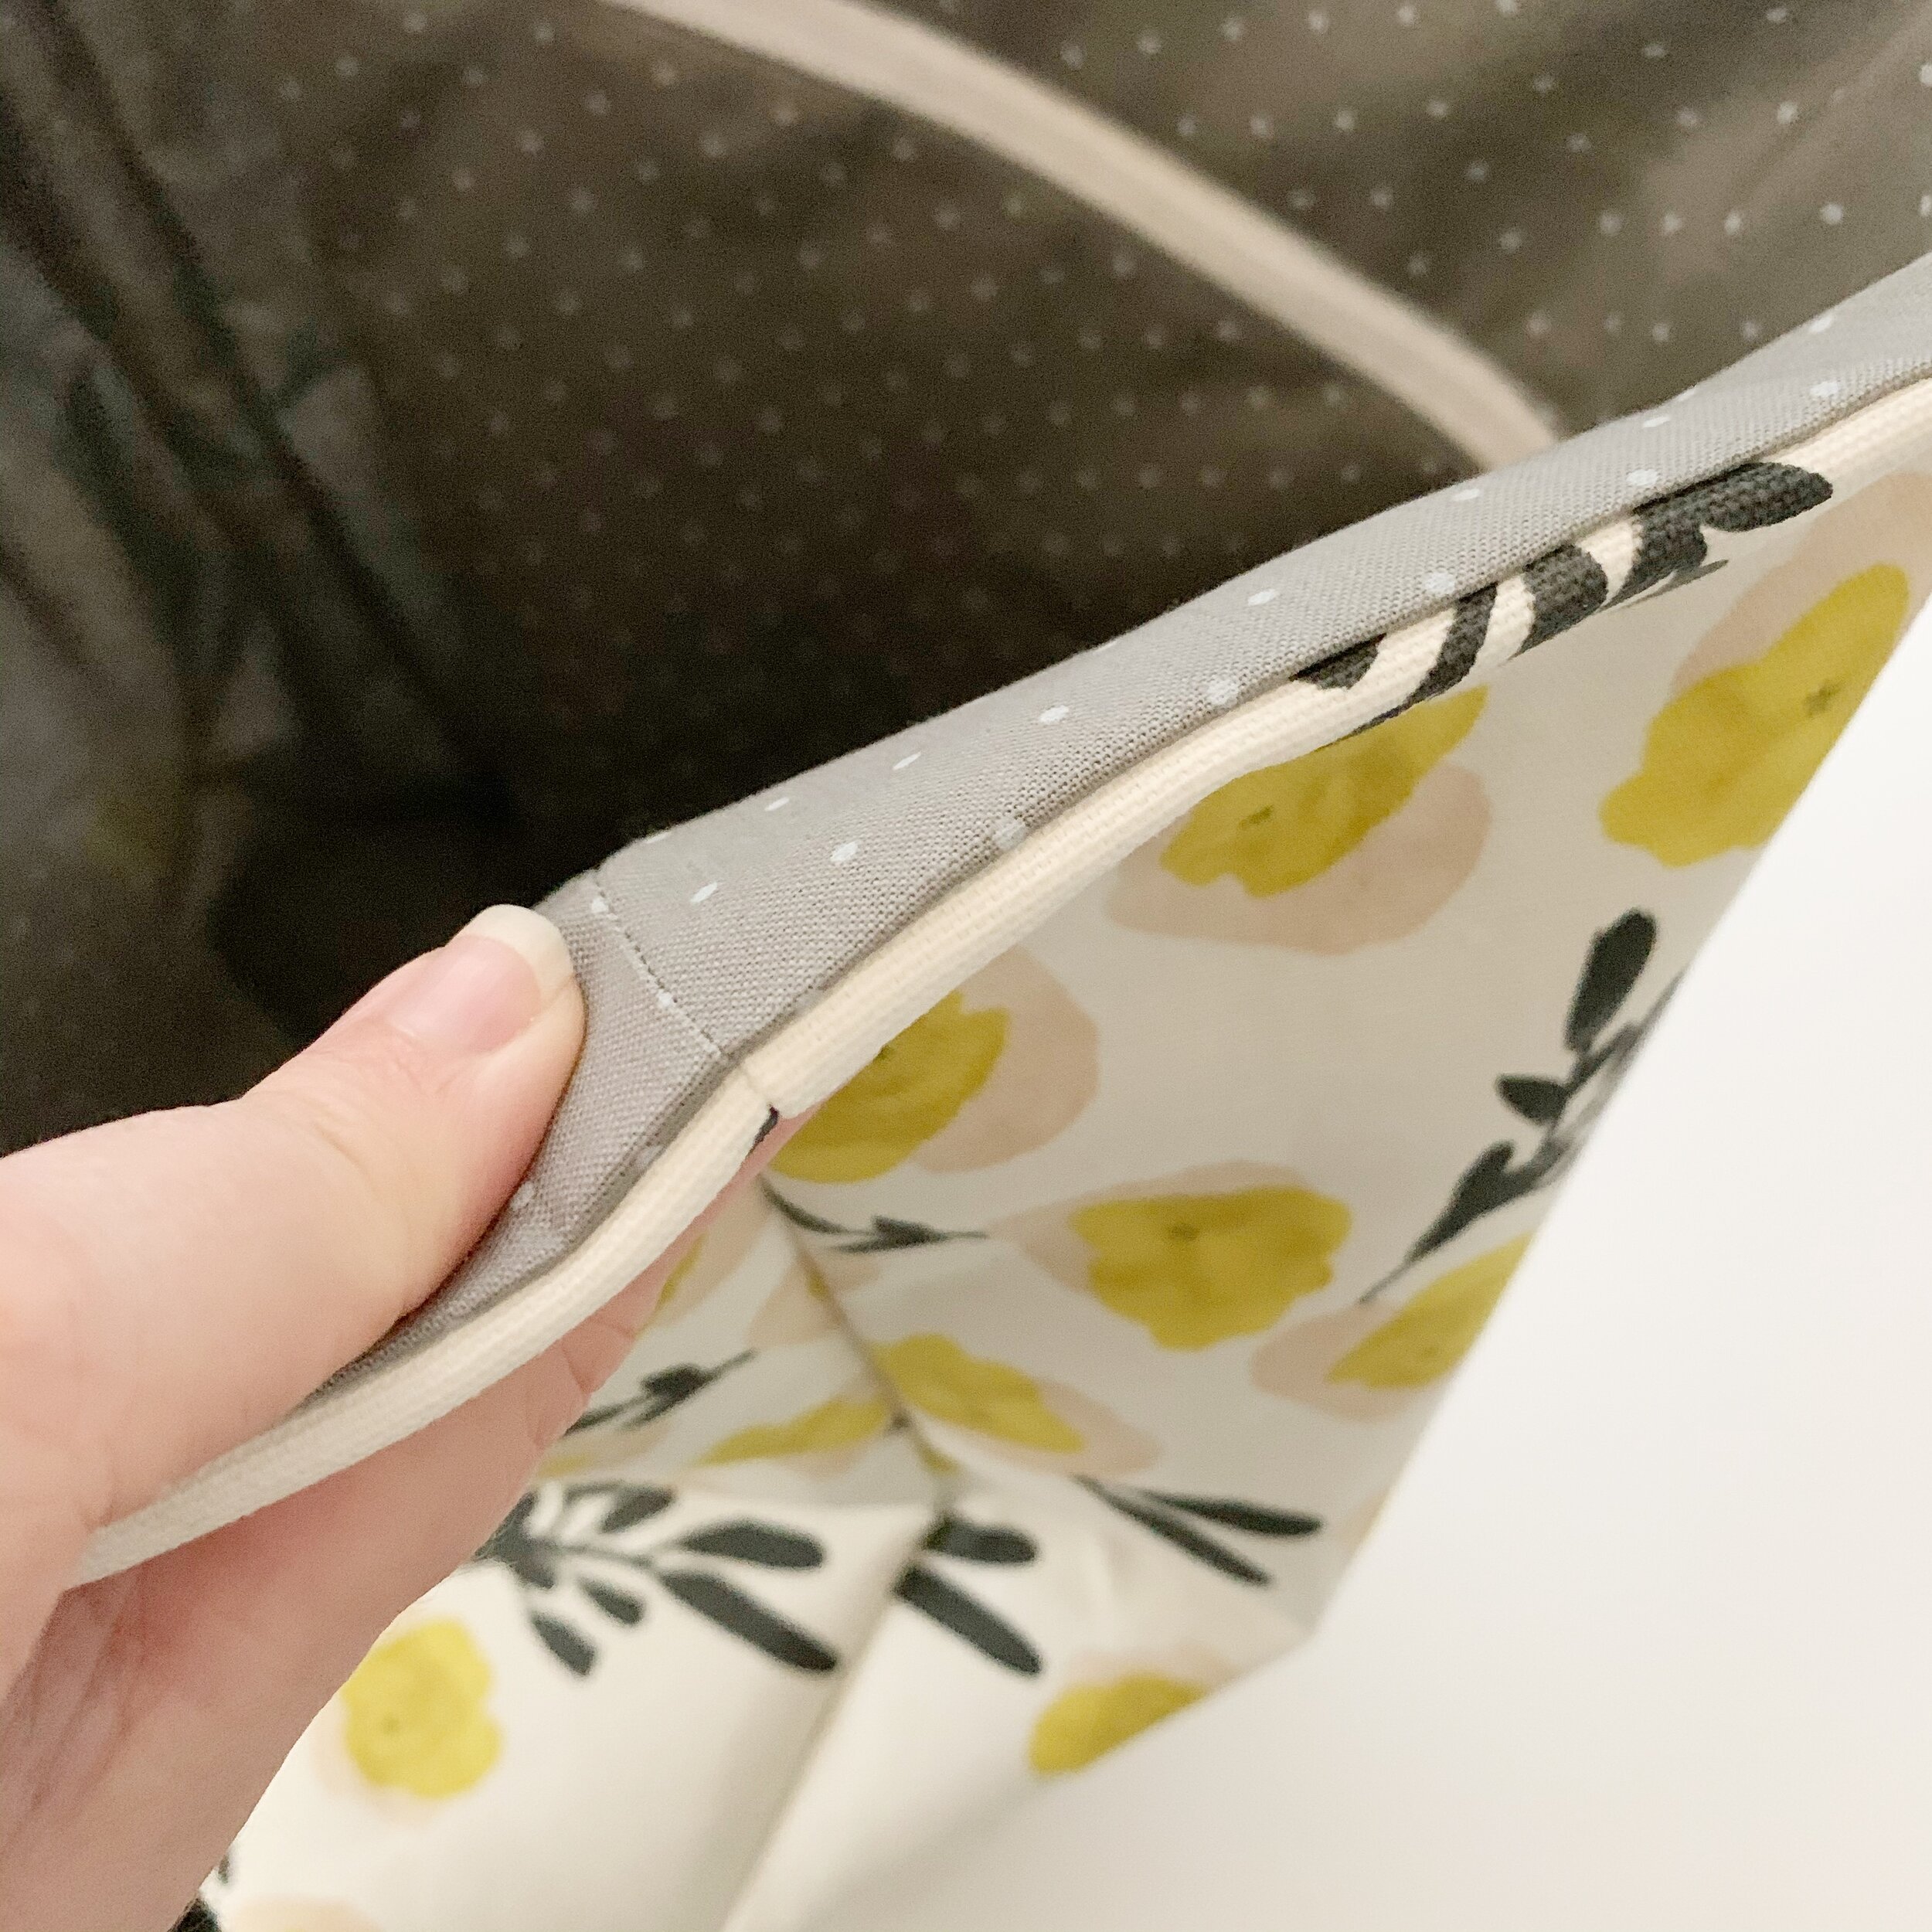
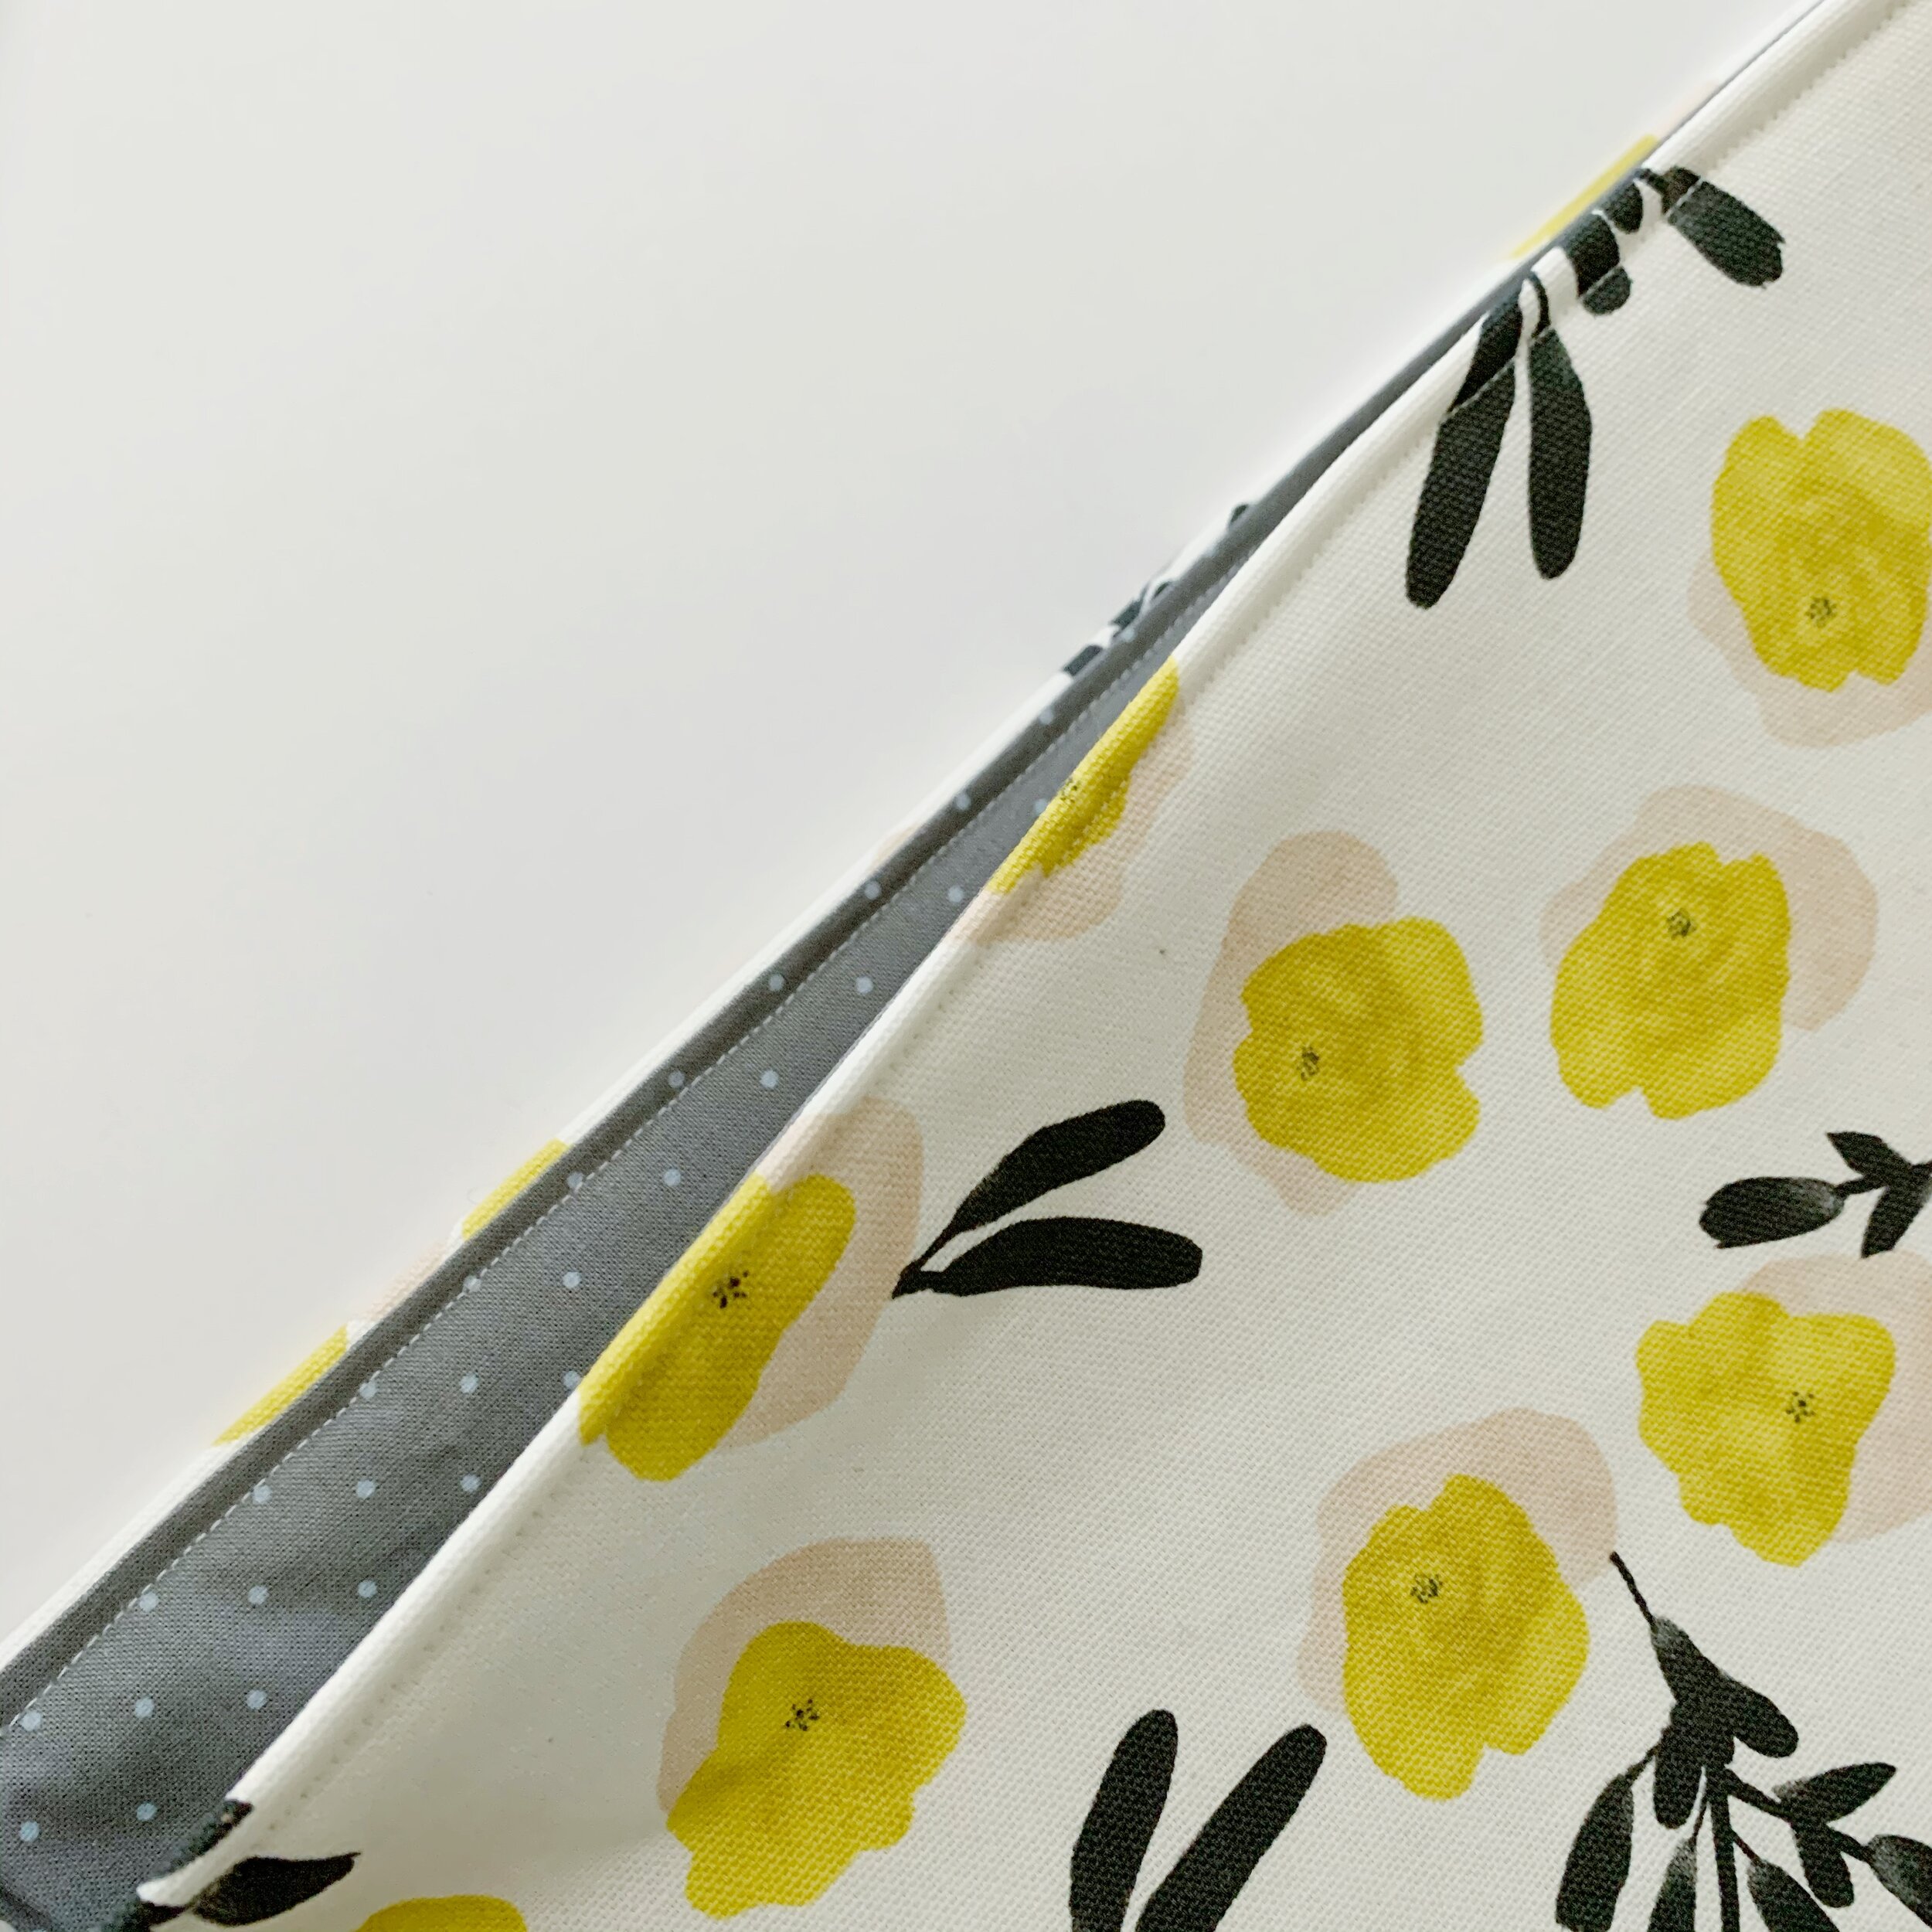
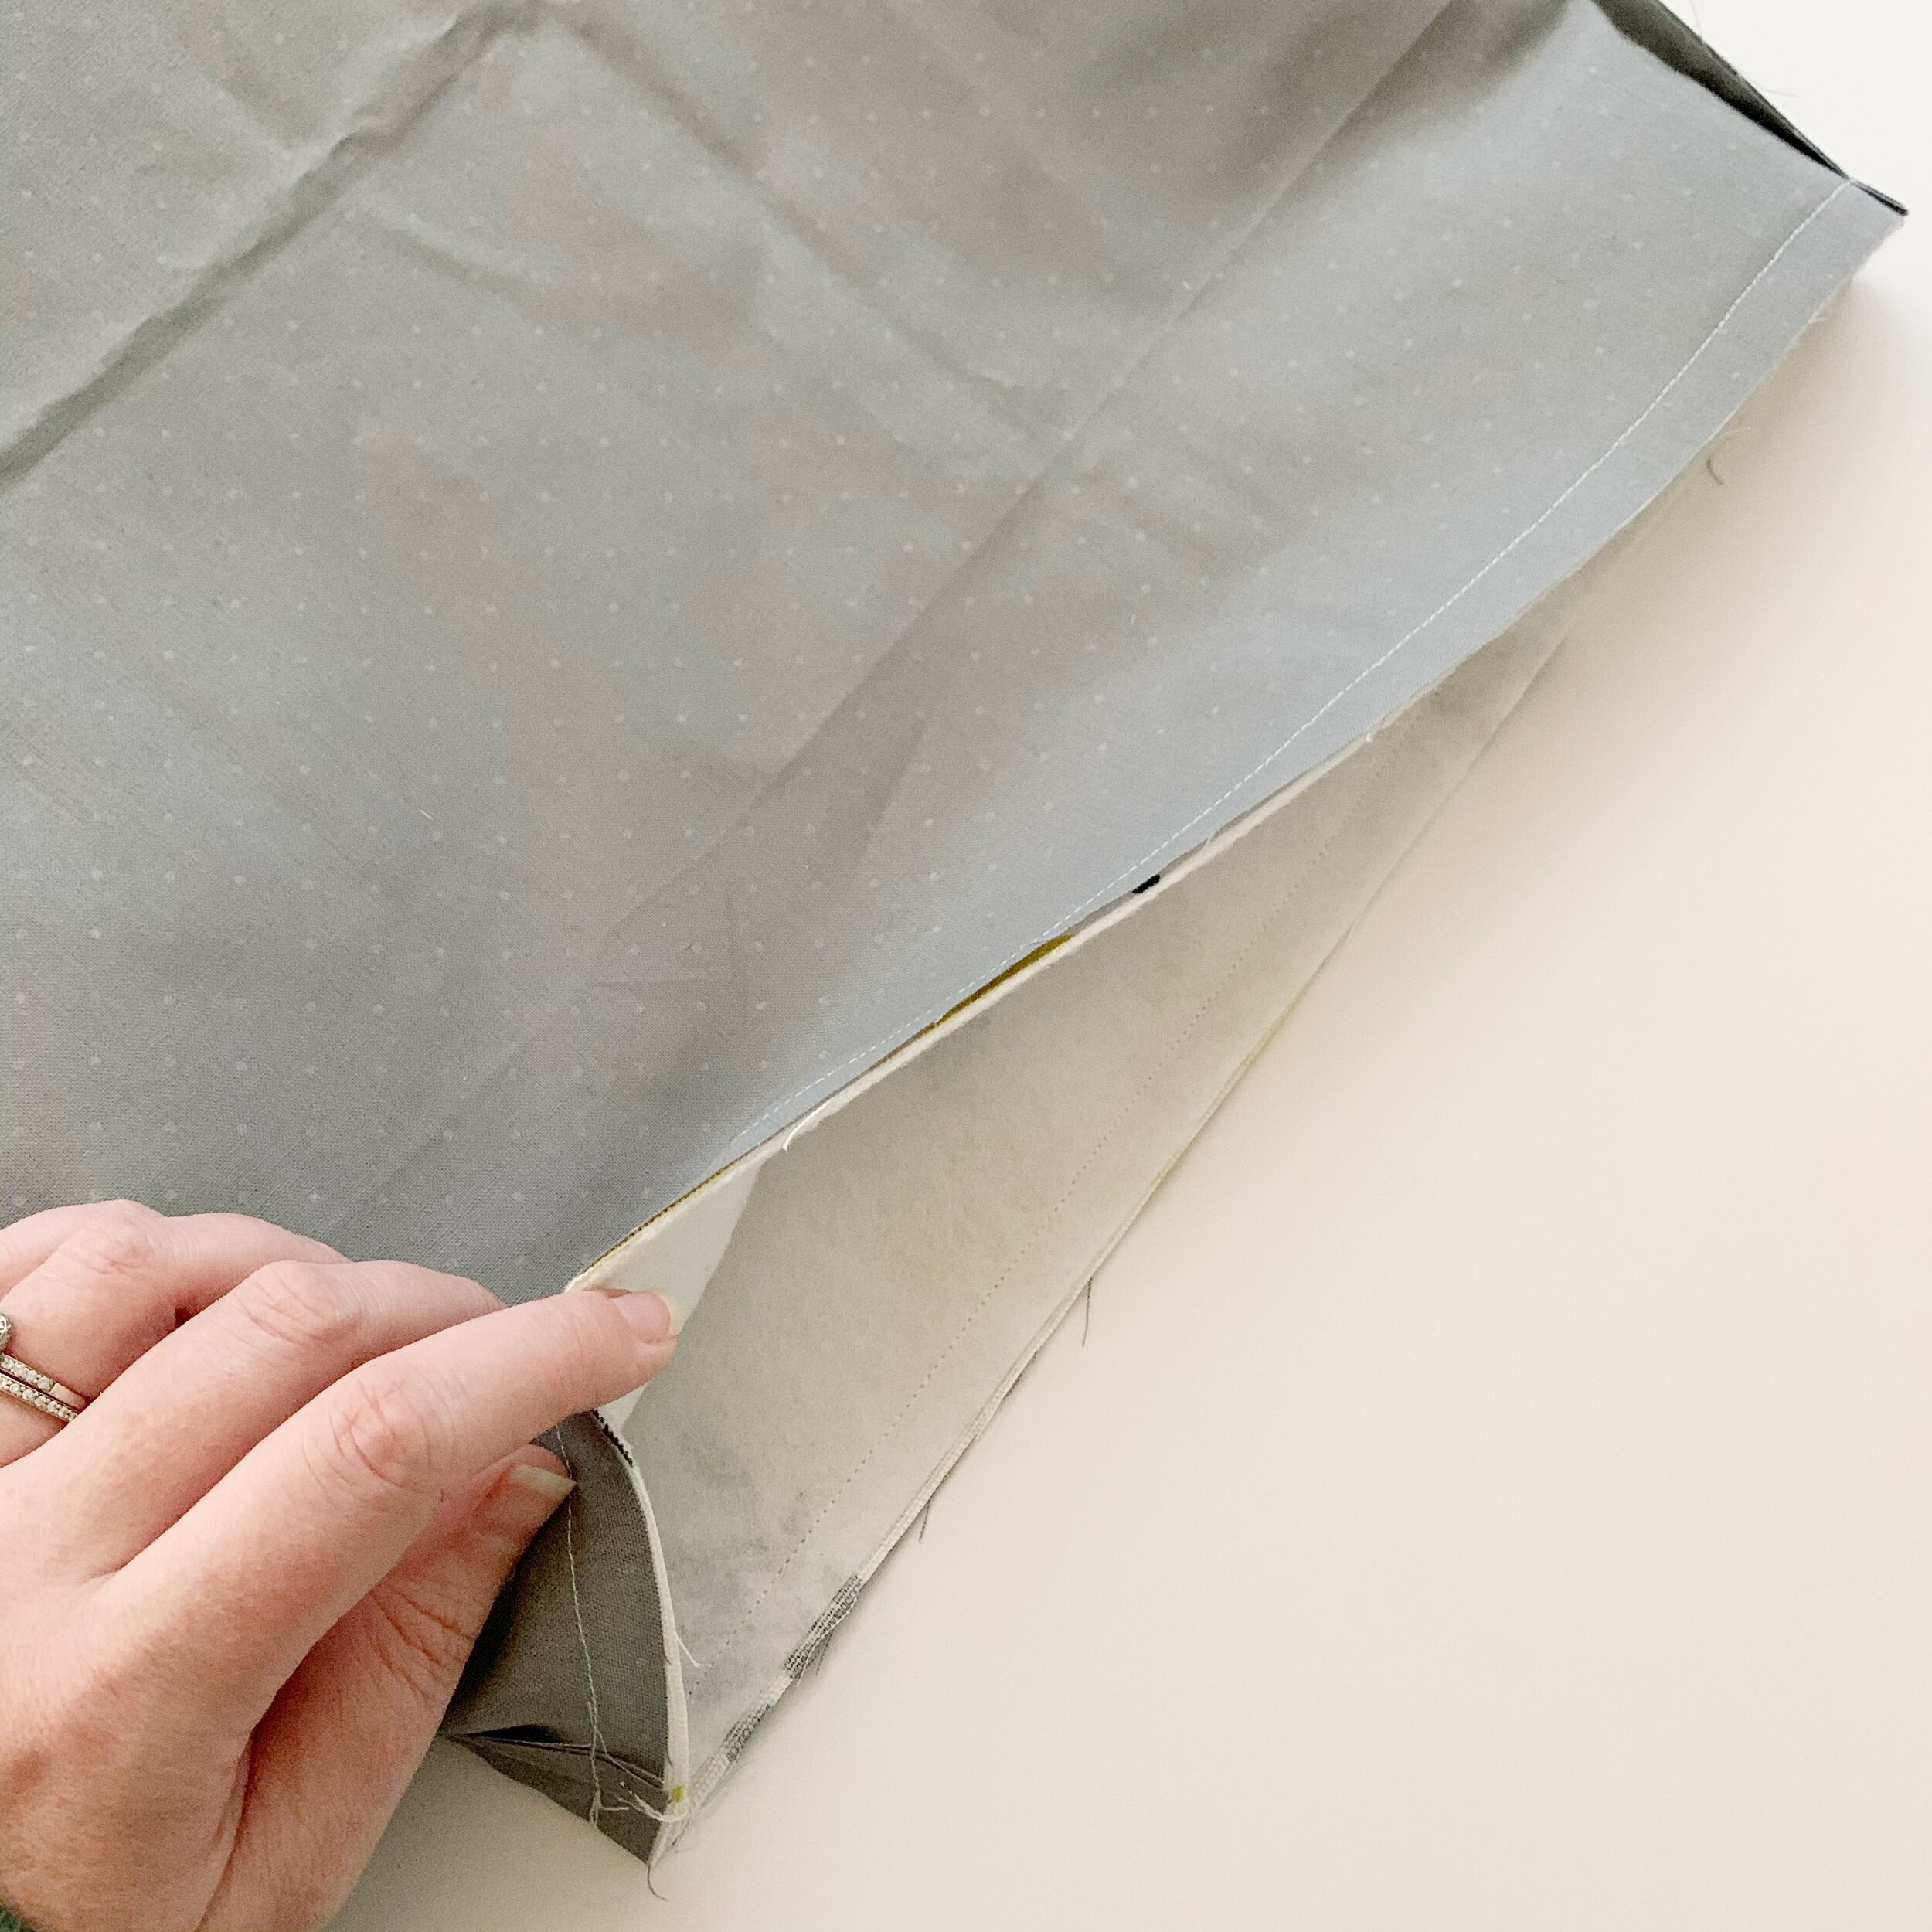
Pull the exterior piece through the opening left in the bottom of the interior piece. Push the interior lining to the inside of the tote. Then top stitch around the top about ¼” from the top. Pull lining out and sew the opening closed.
Adding Straps:
*Feel free to use fabric straps if you don’t feel comfortable working with leather or you do not have leather straps available. Then you can either attach them with rivets as shown below or just sew into place.
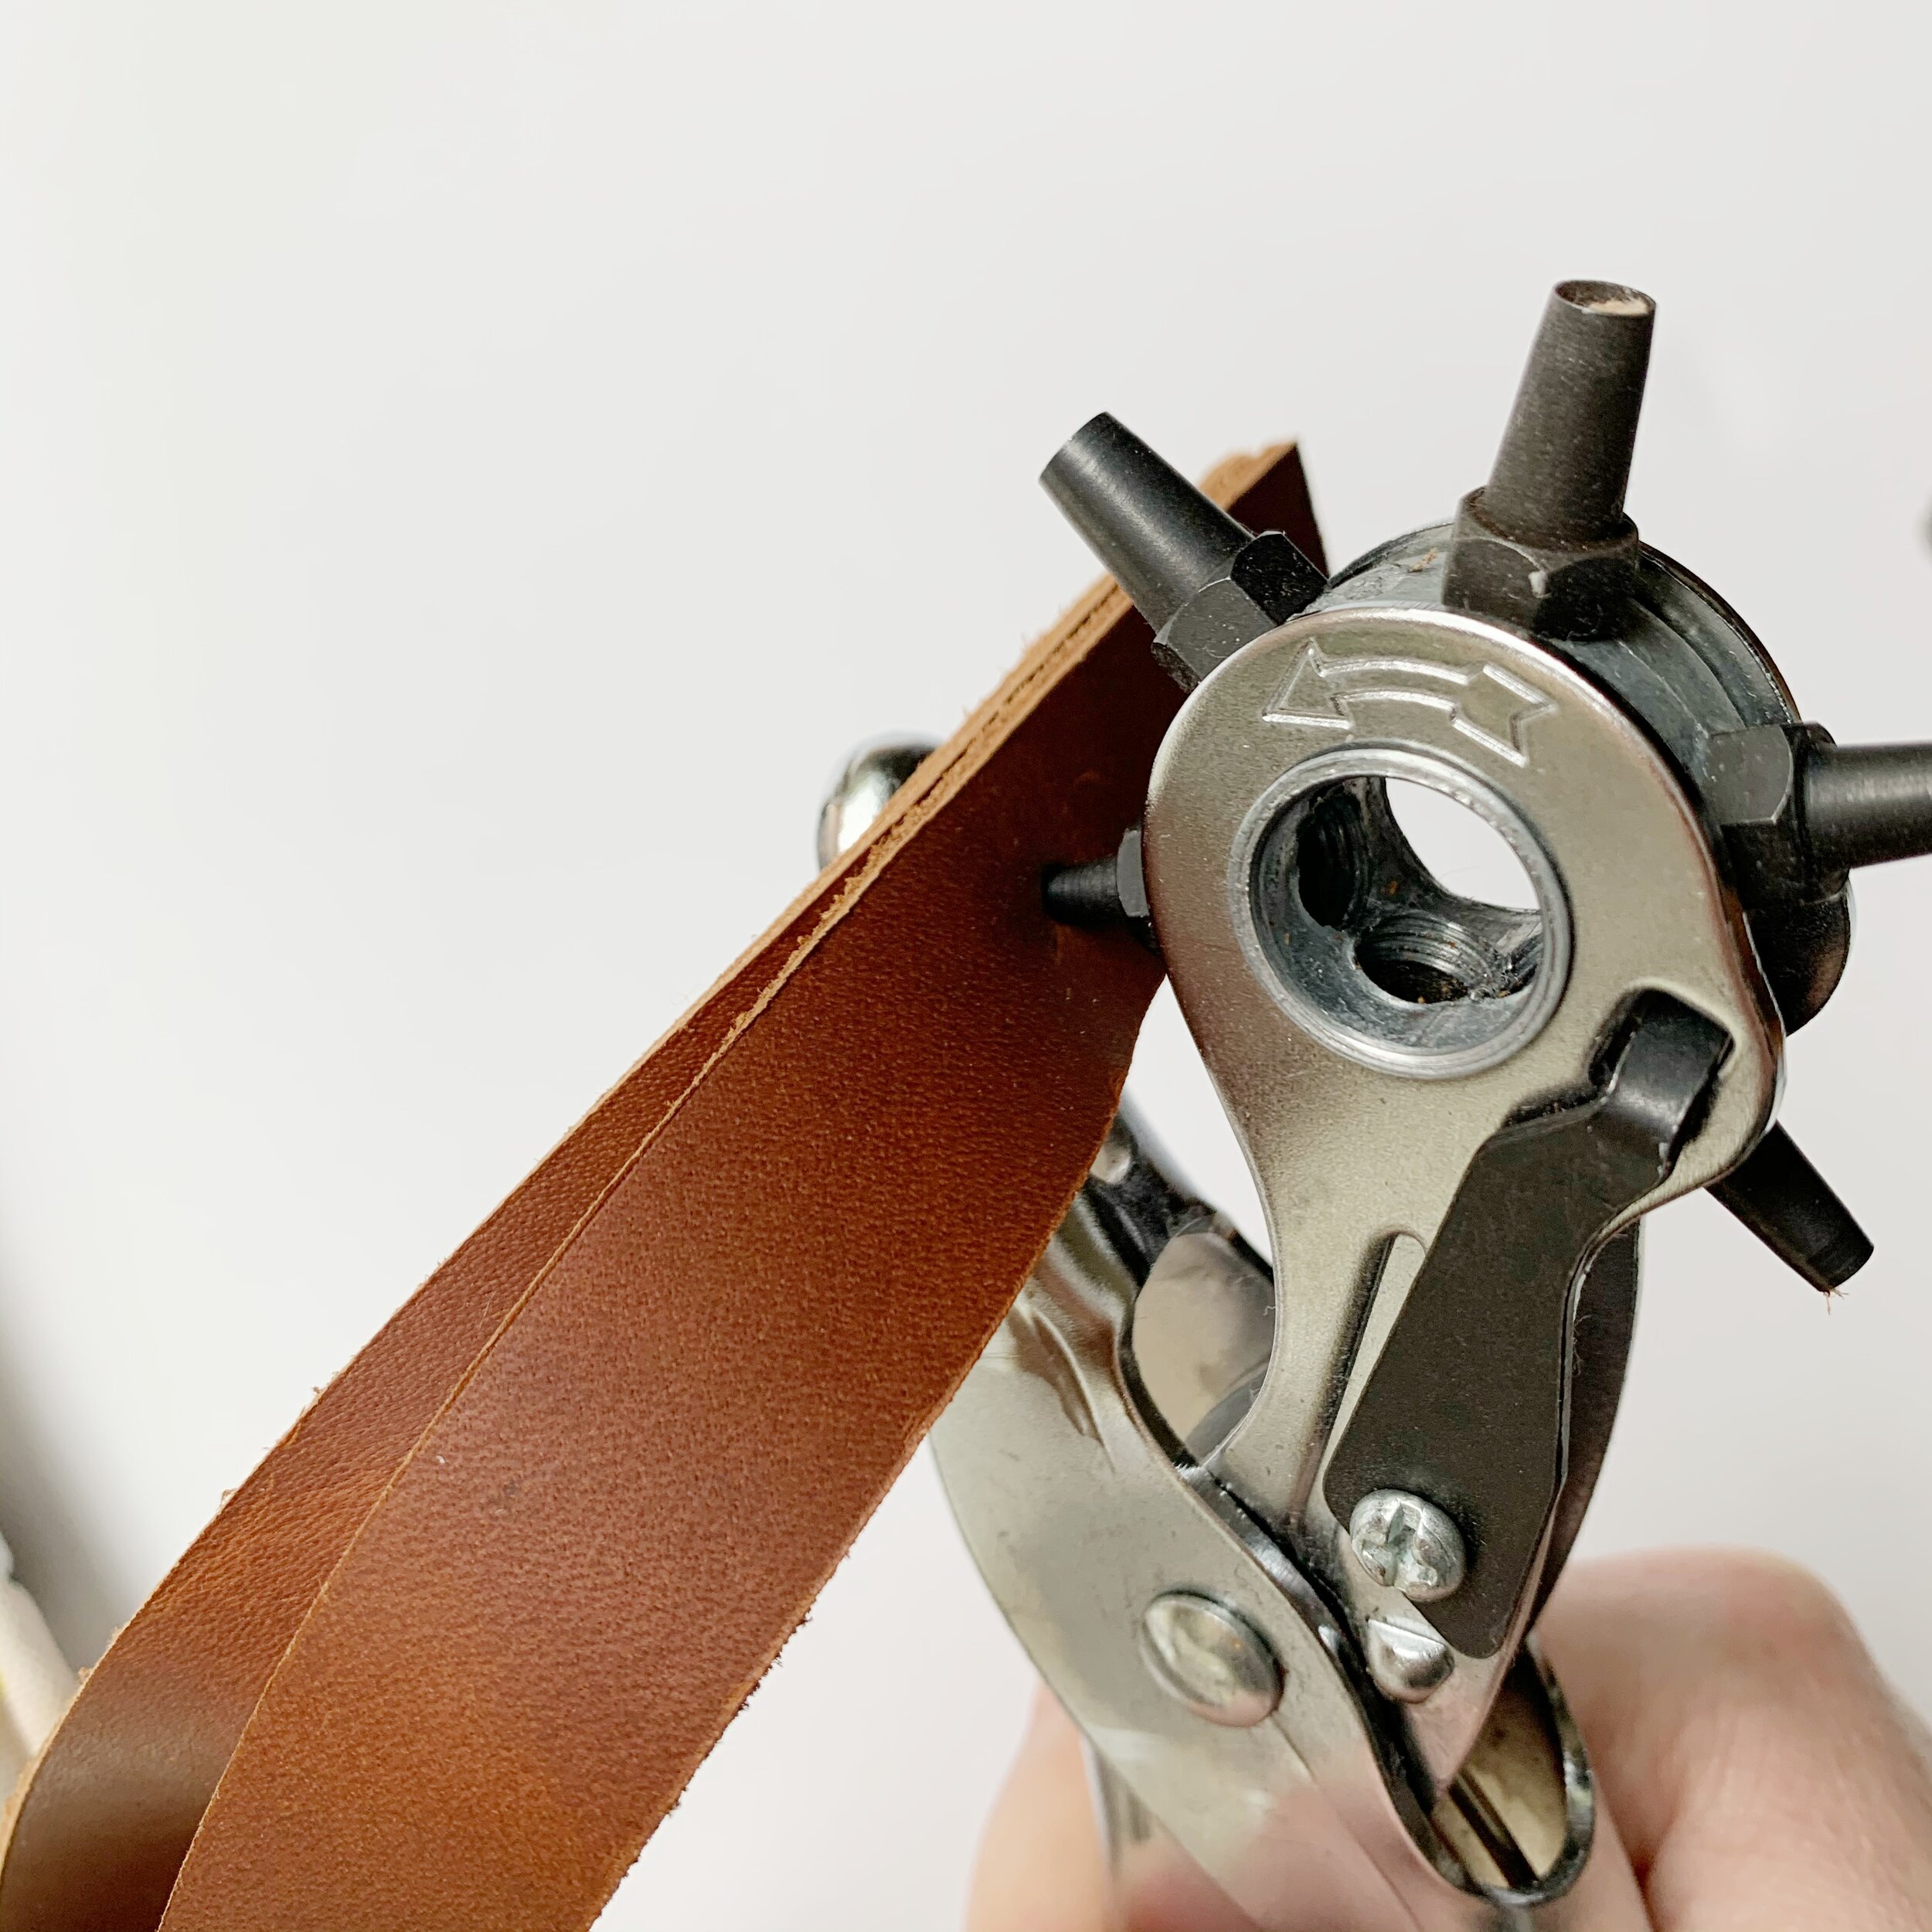
To add straps to your tote, first cut your leather strap in half so you have (2) 32” pieces. Then using a leather punch, punch 2 holes in the ends of each strap approximately ¼” from the edges and 1” apart.
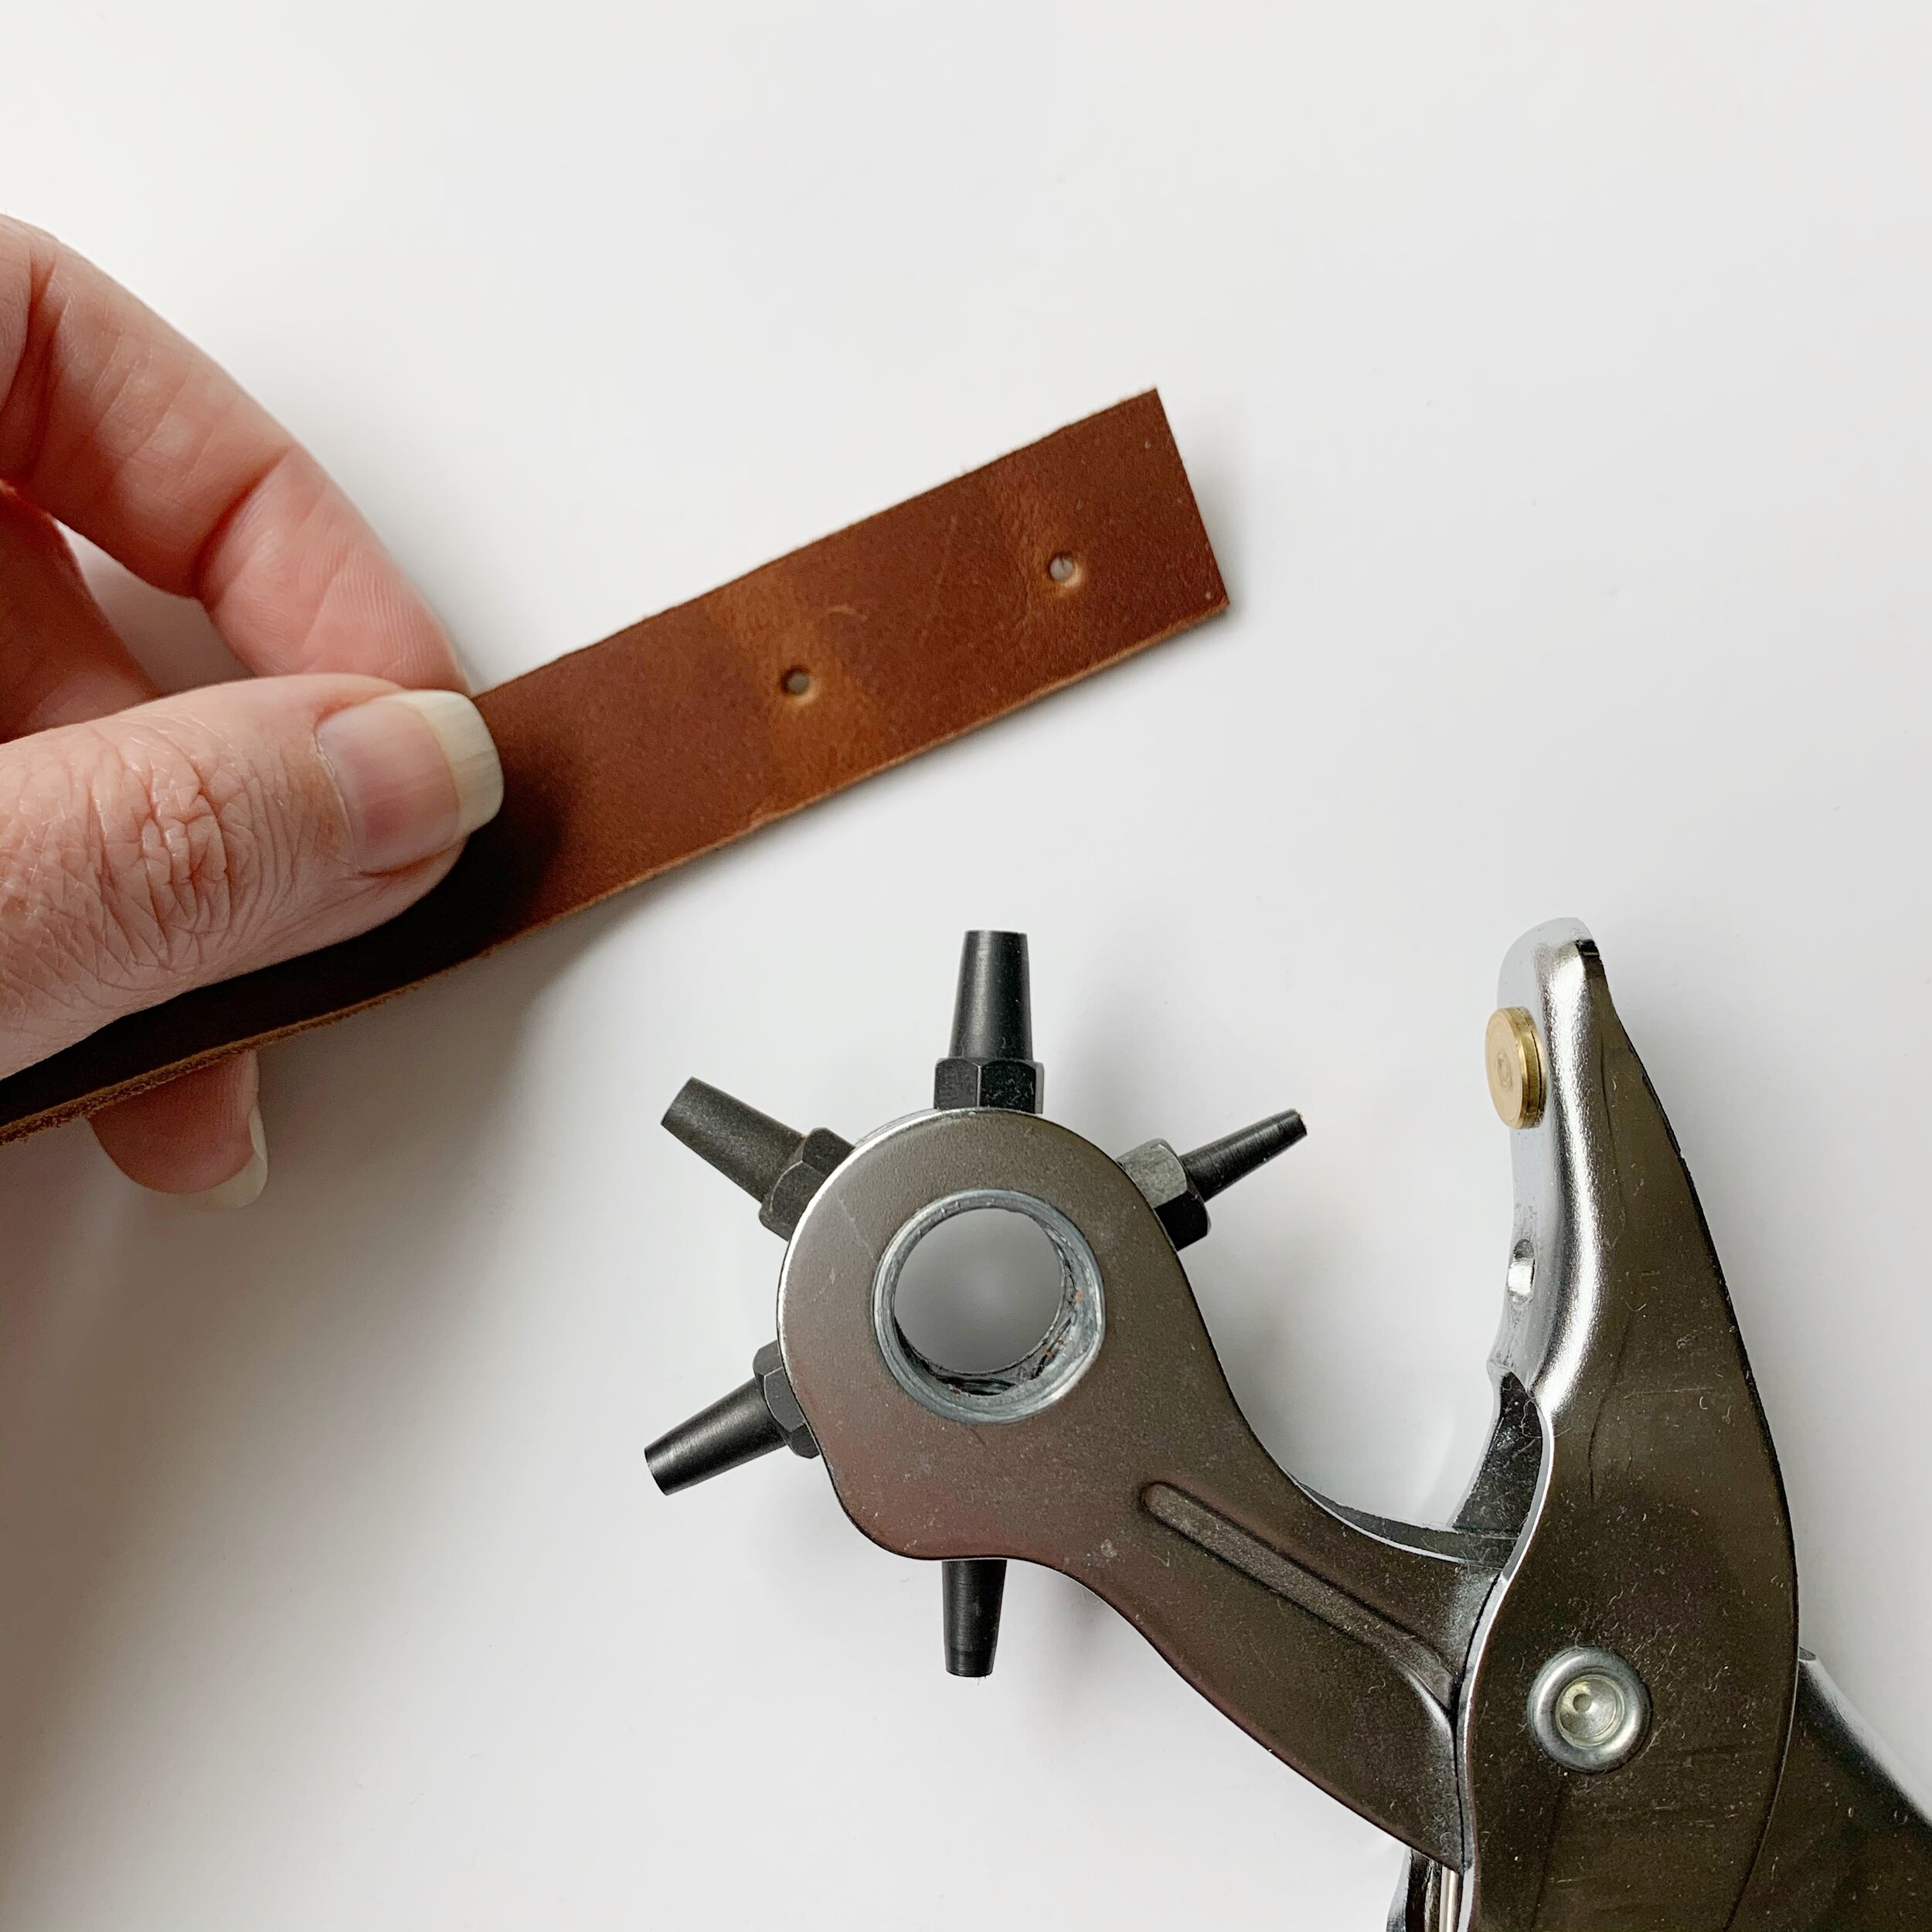
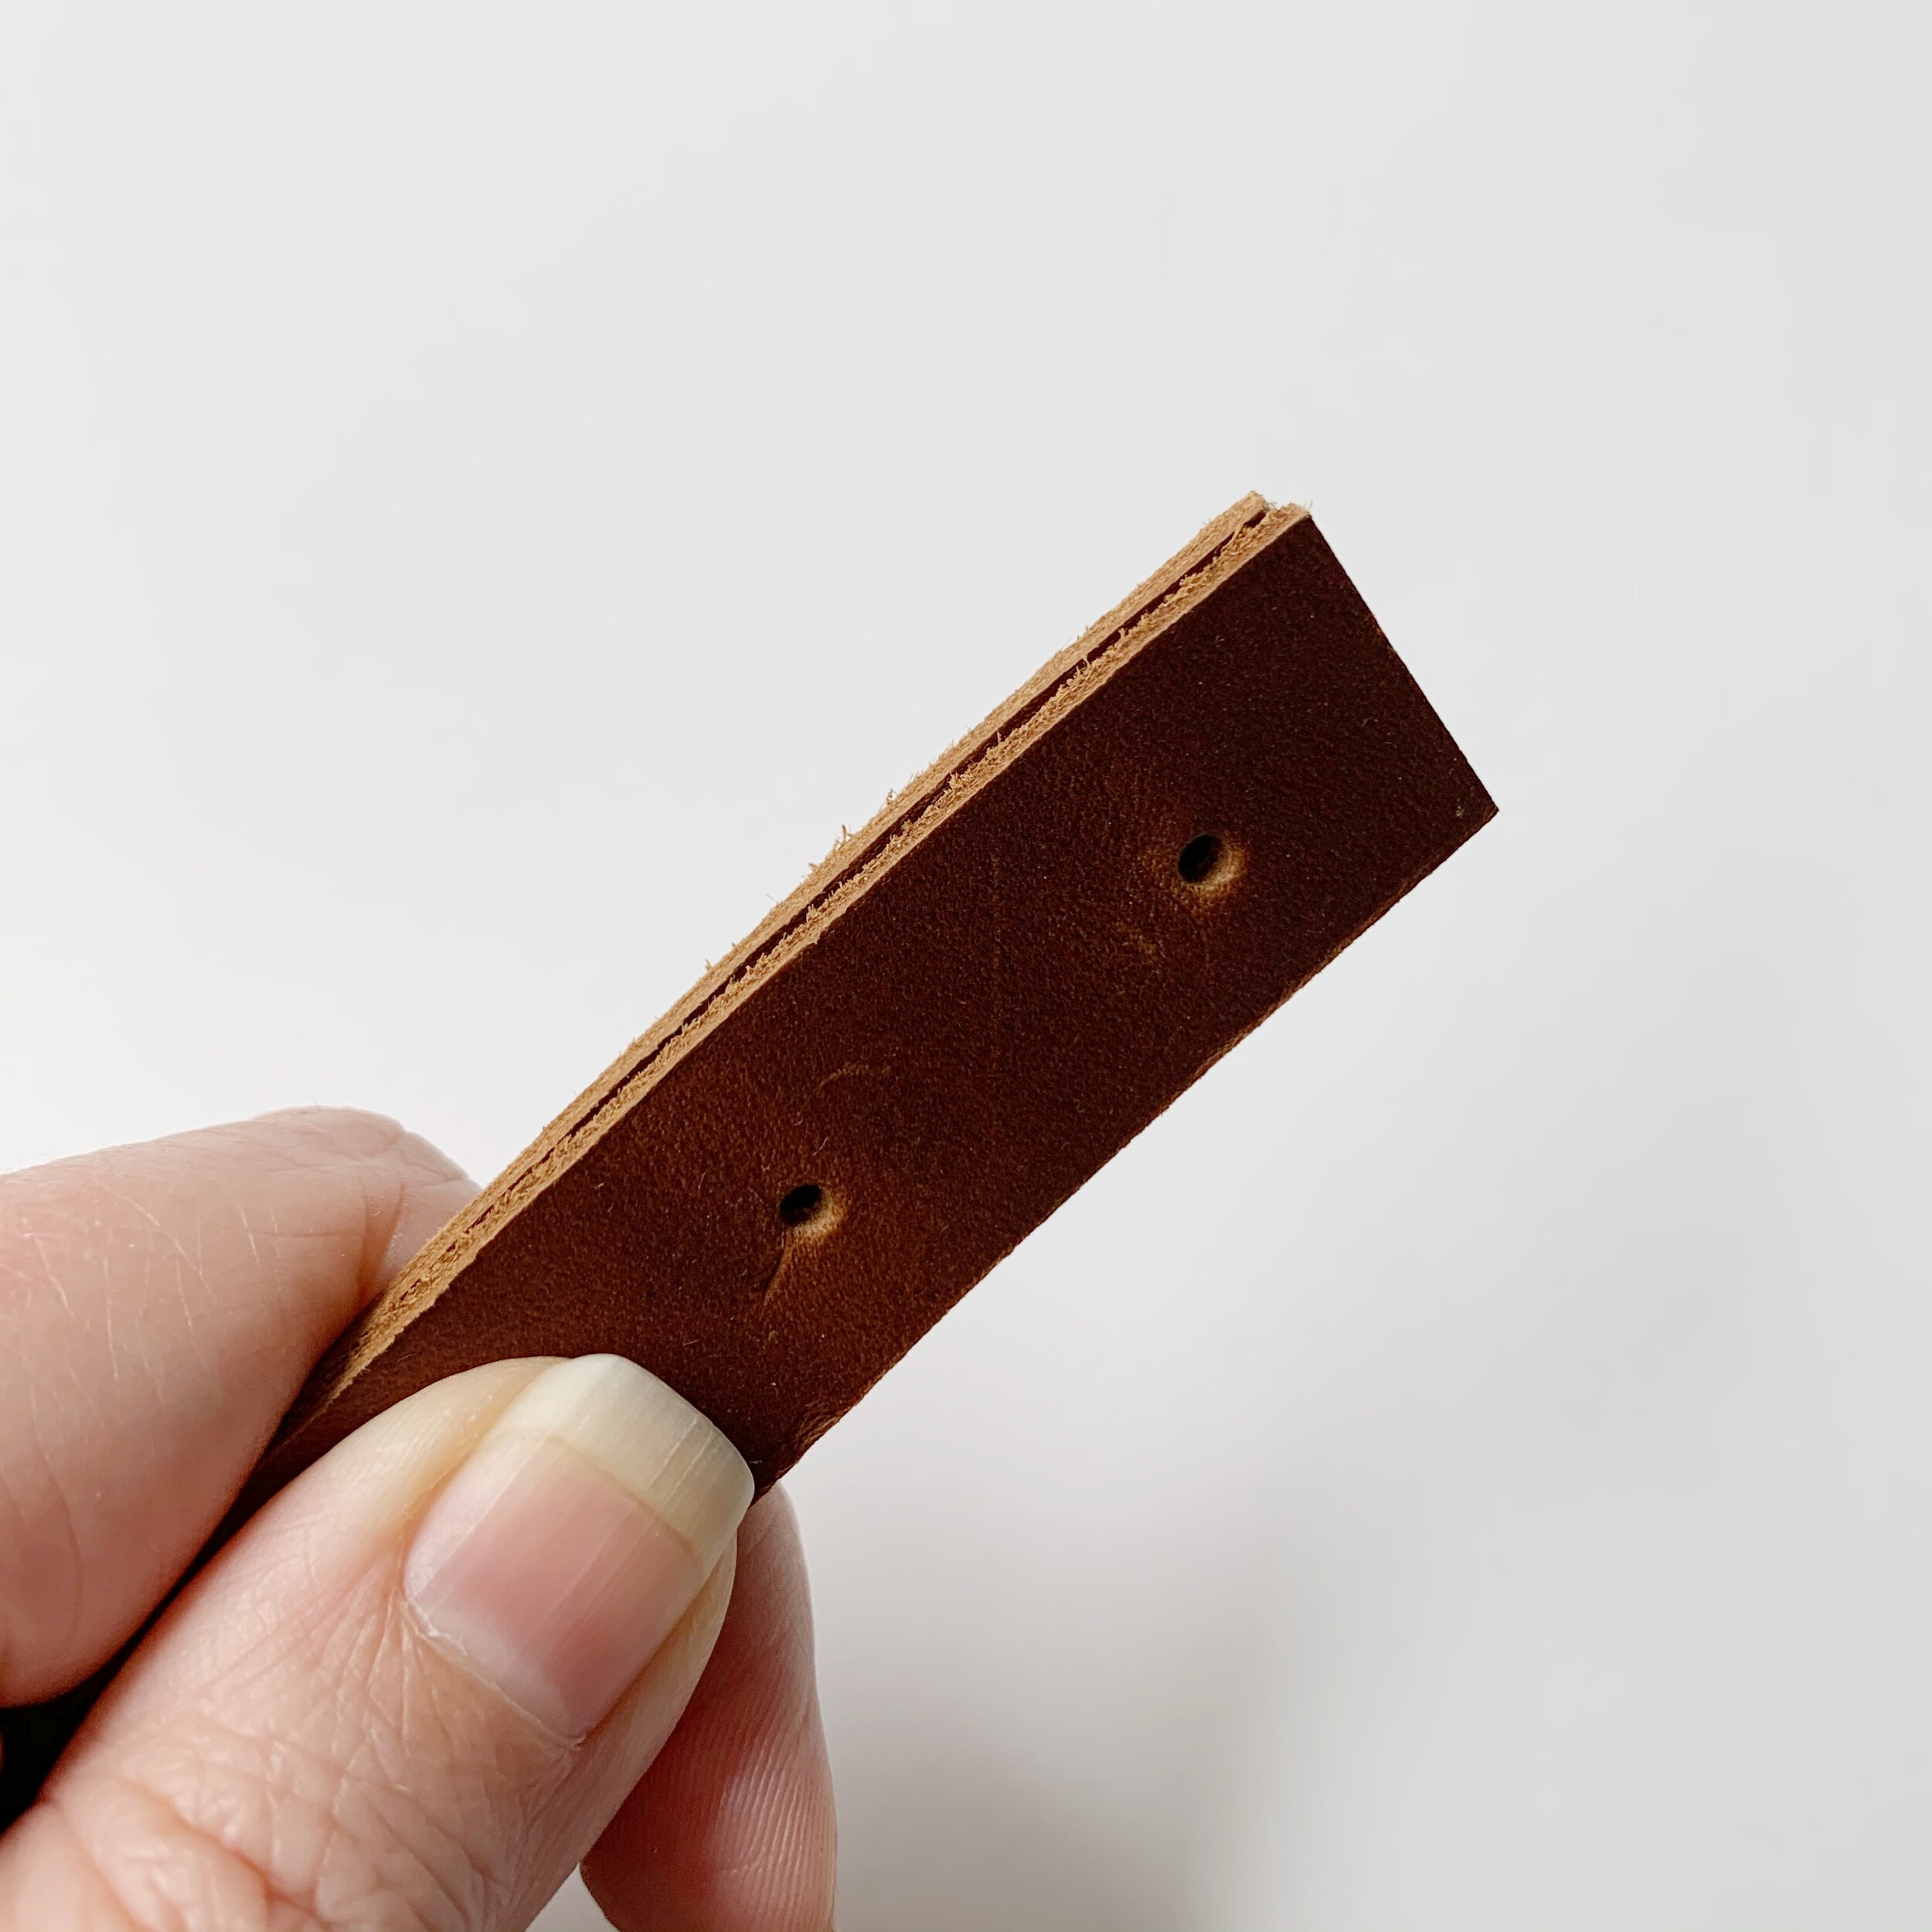
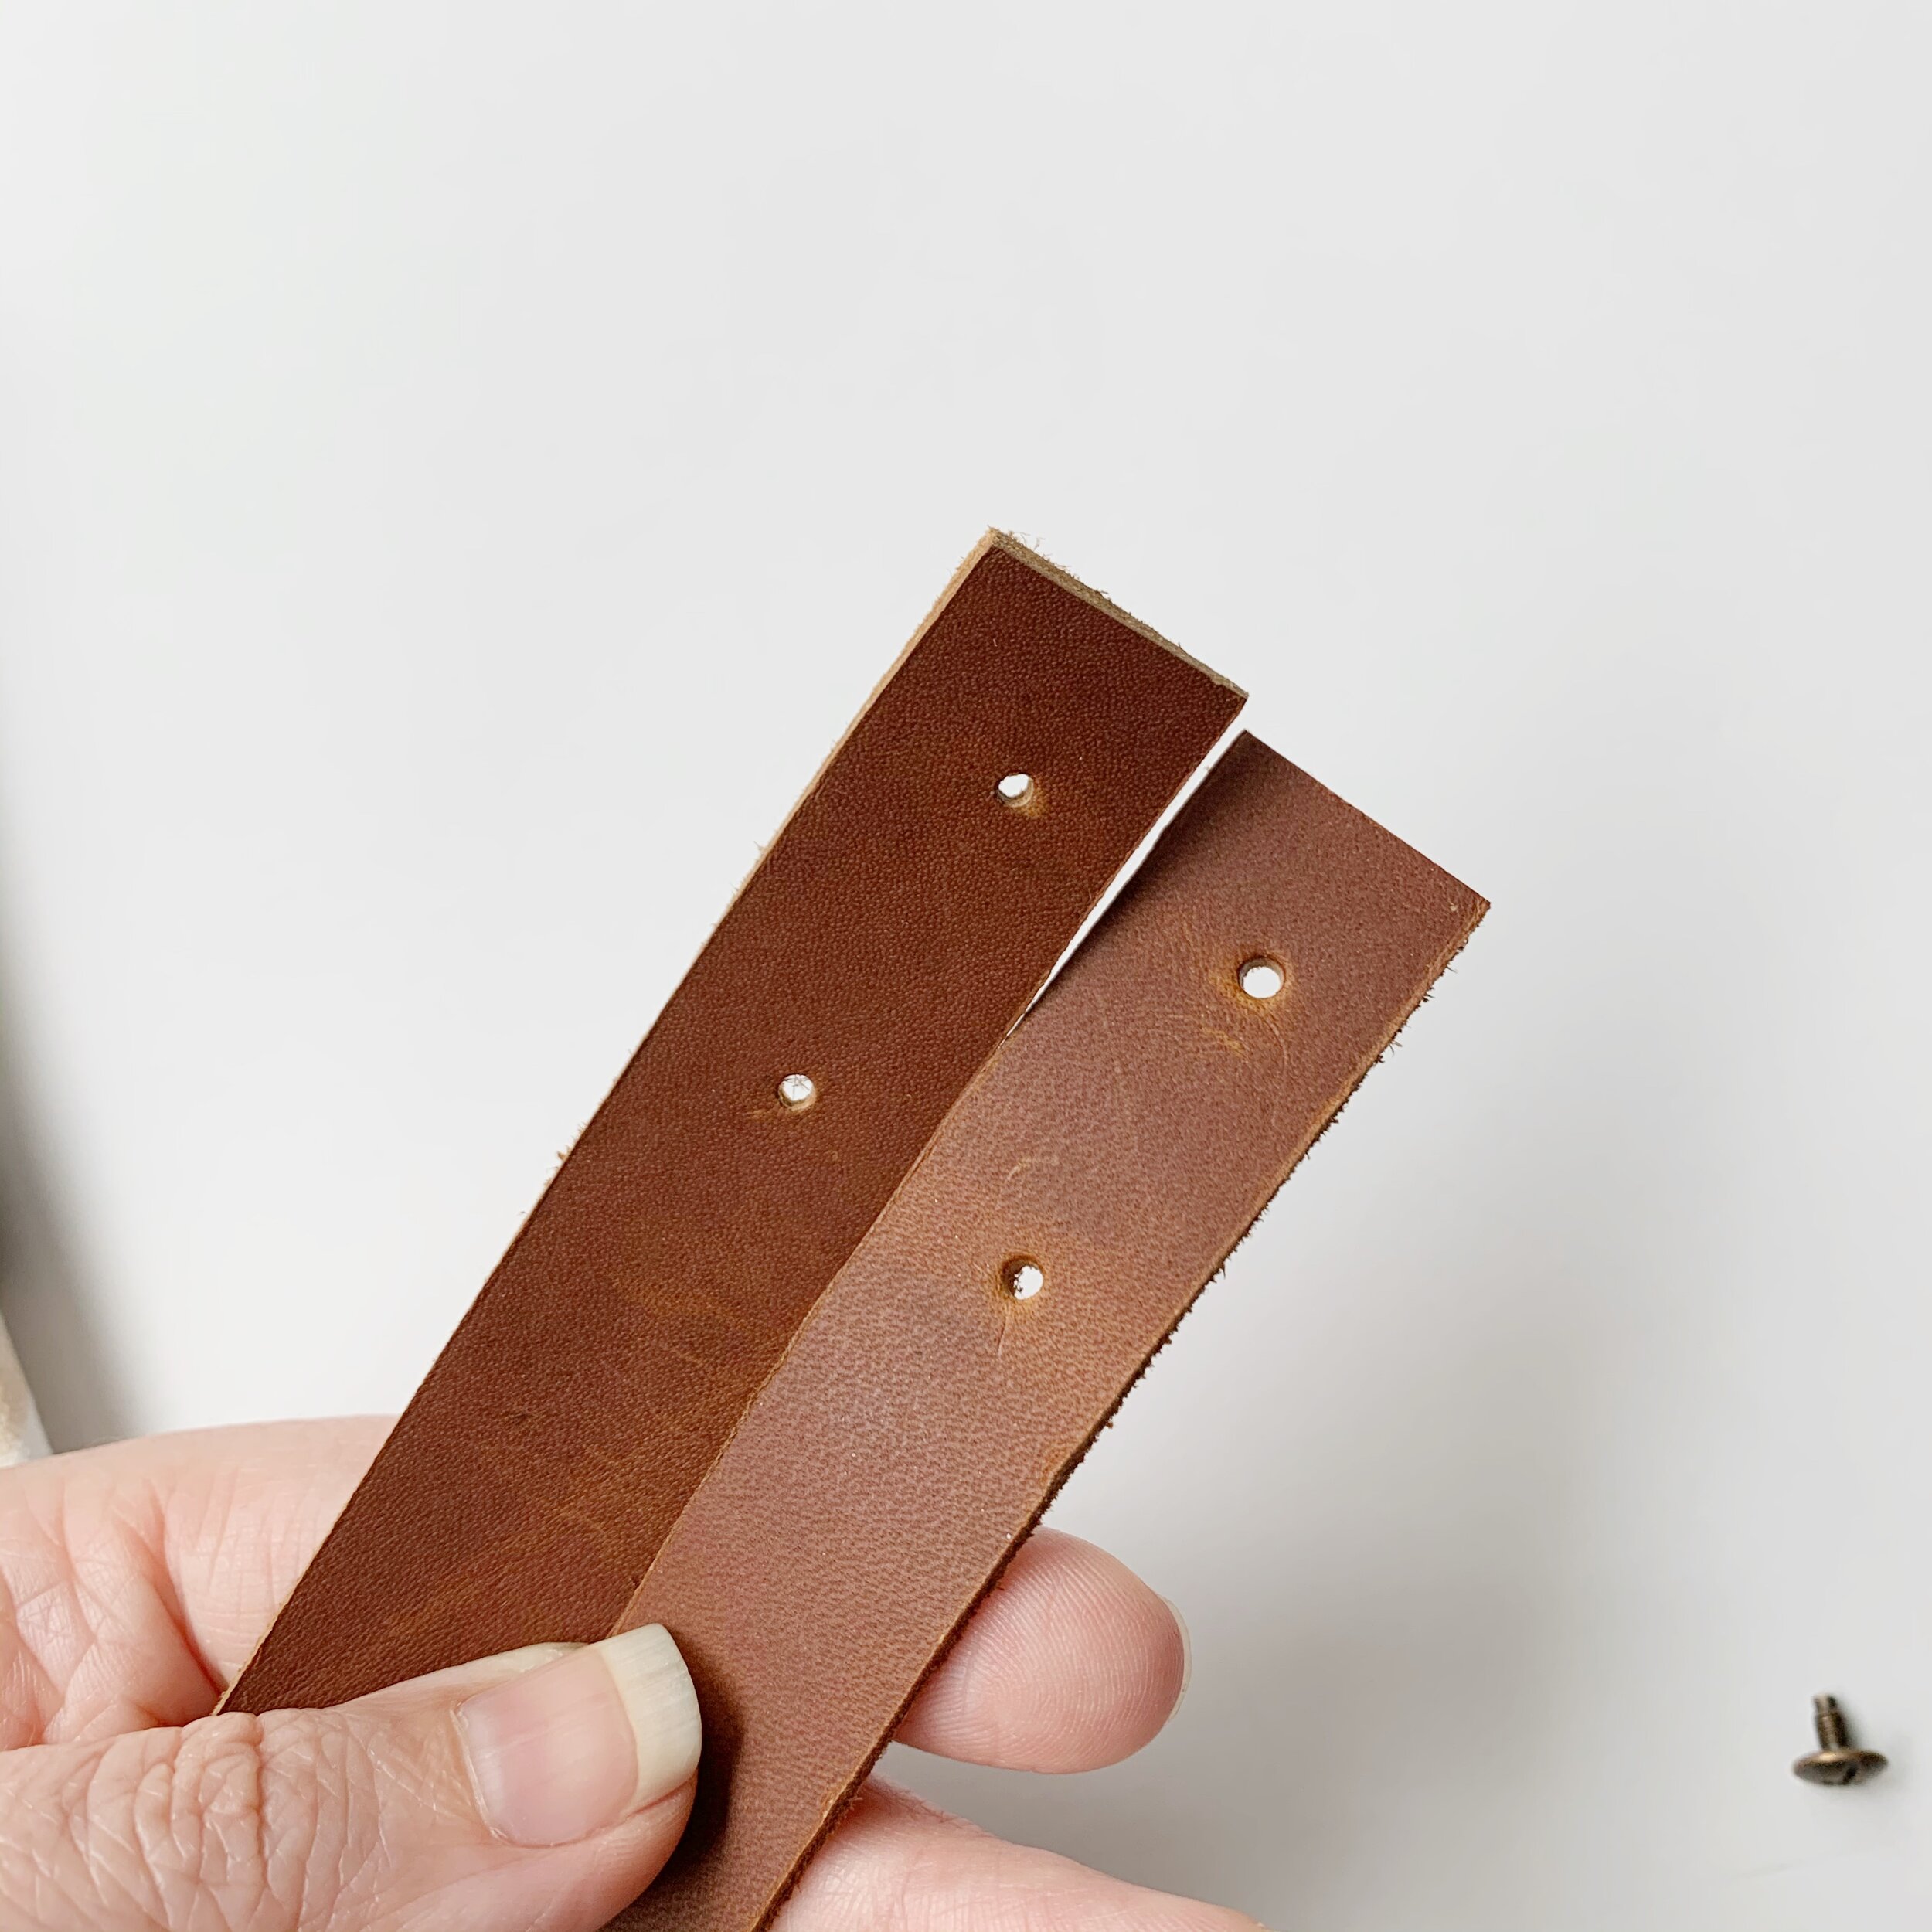
To ensure all straps are the same, punch holes in one strap end and then place the next strap behind the first one and punch holes again. Repeat with remaining strap ends.

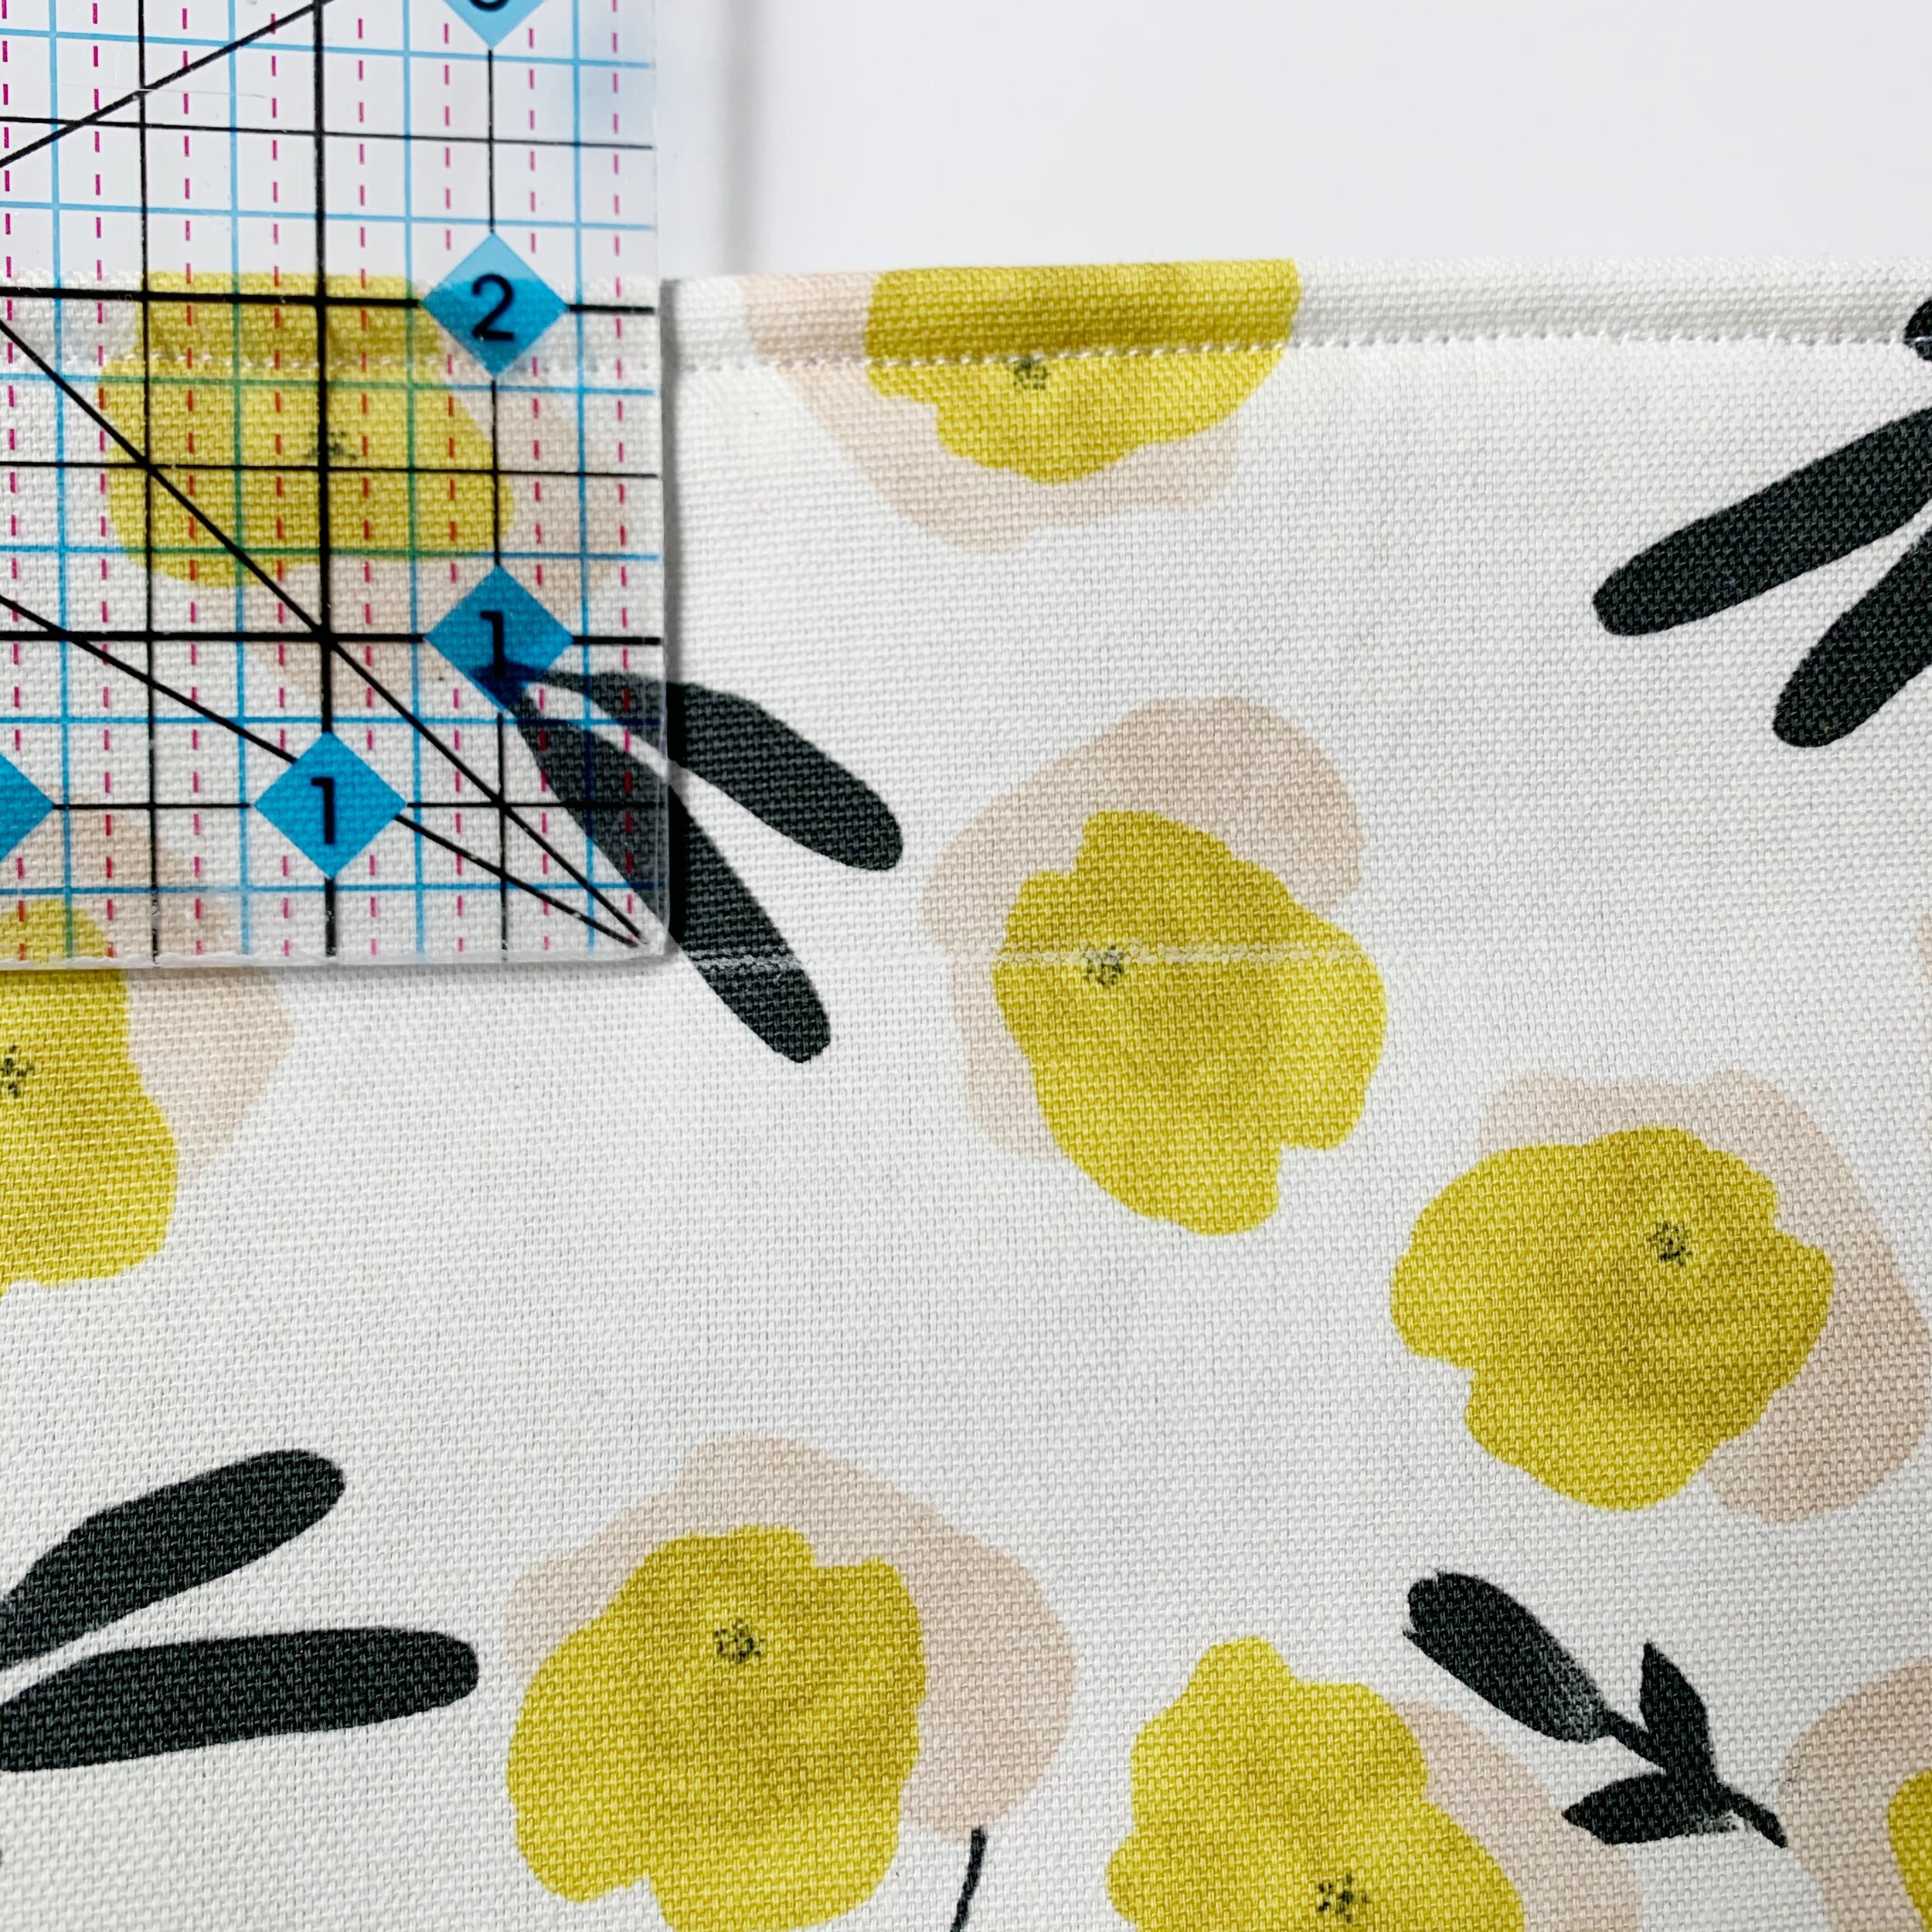
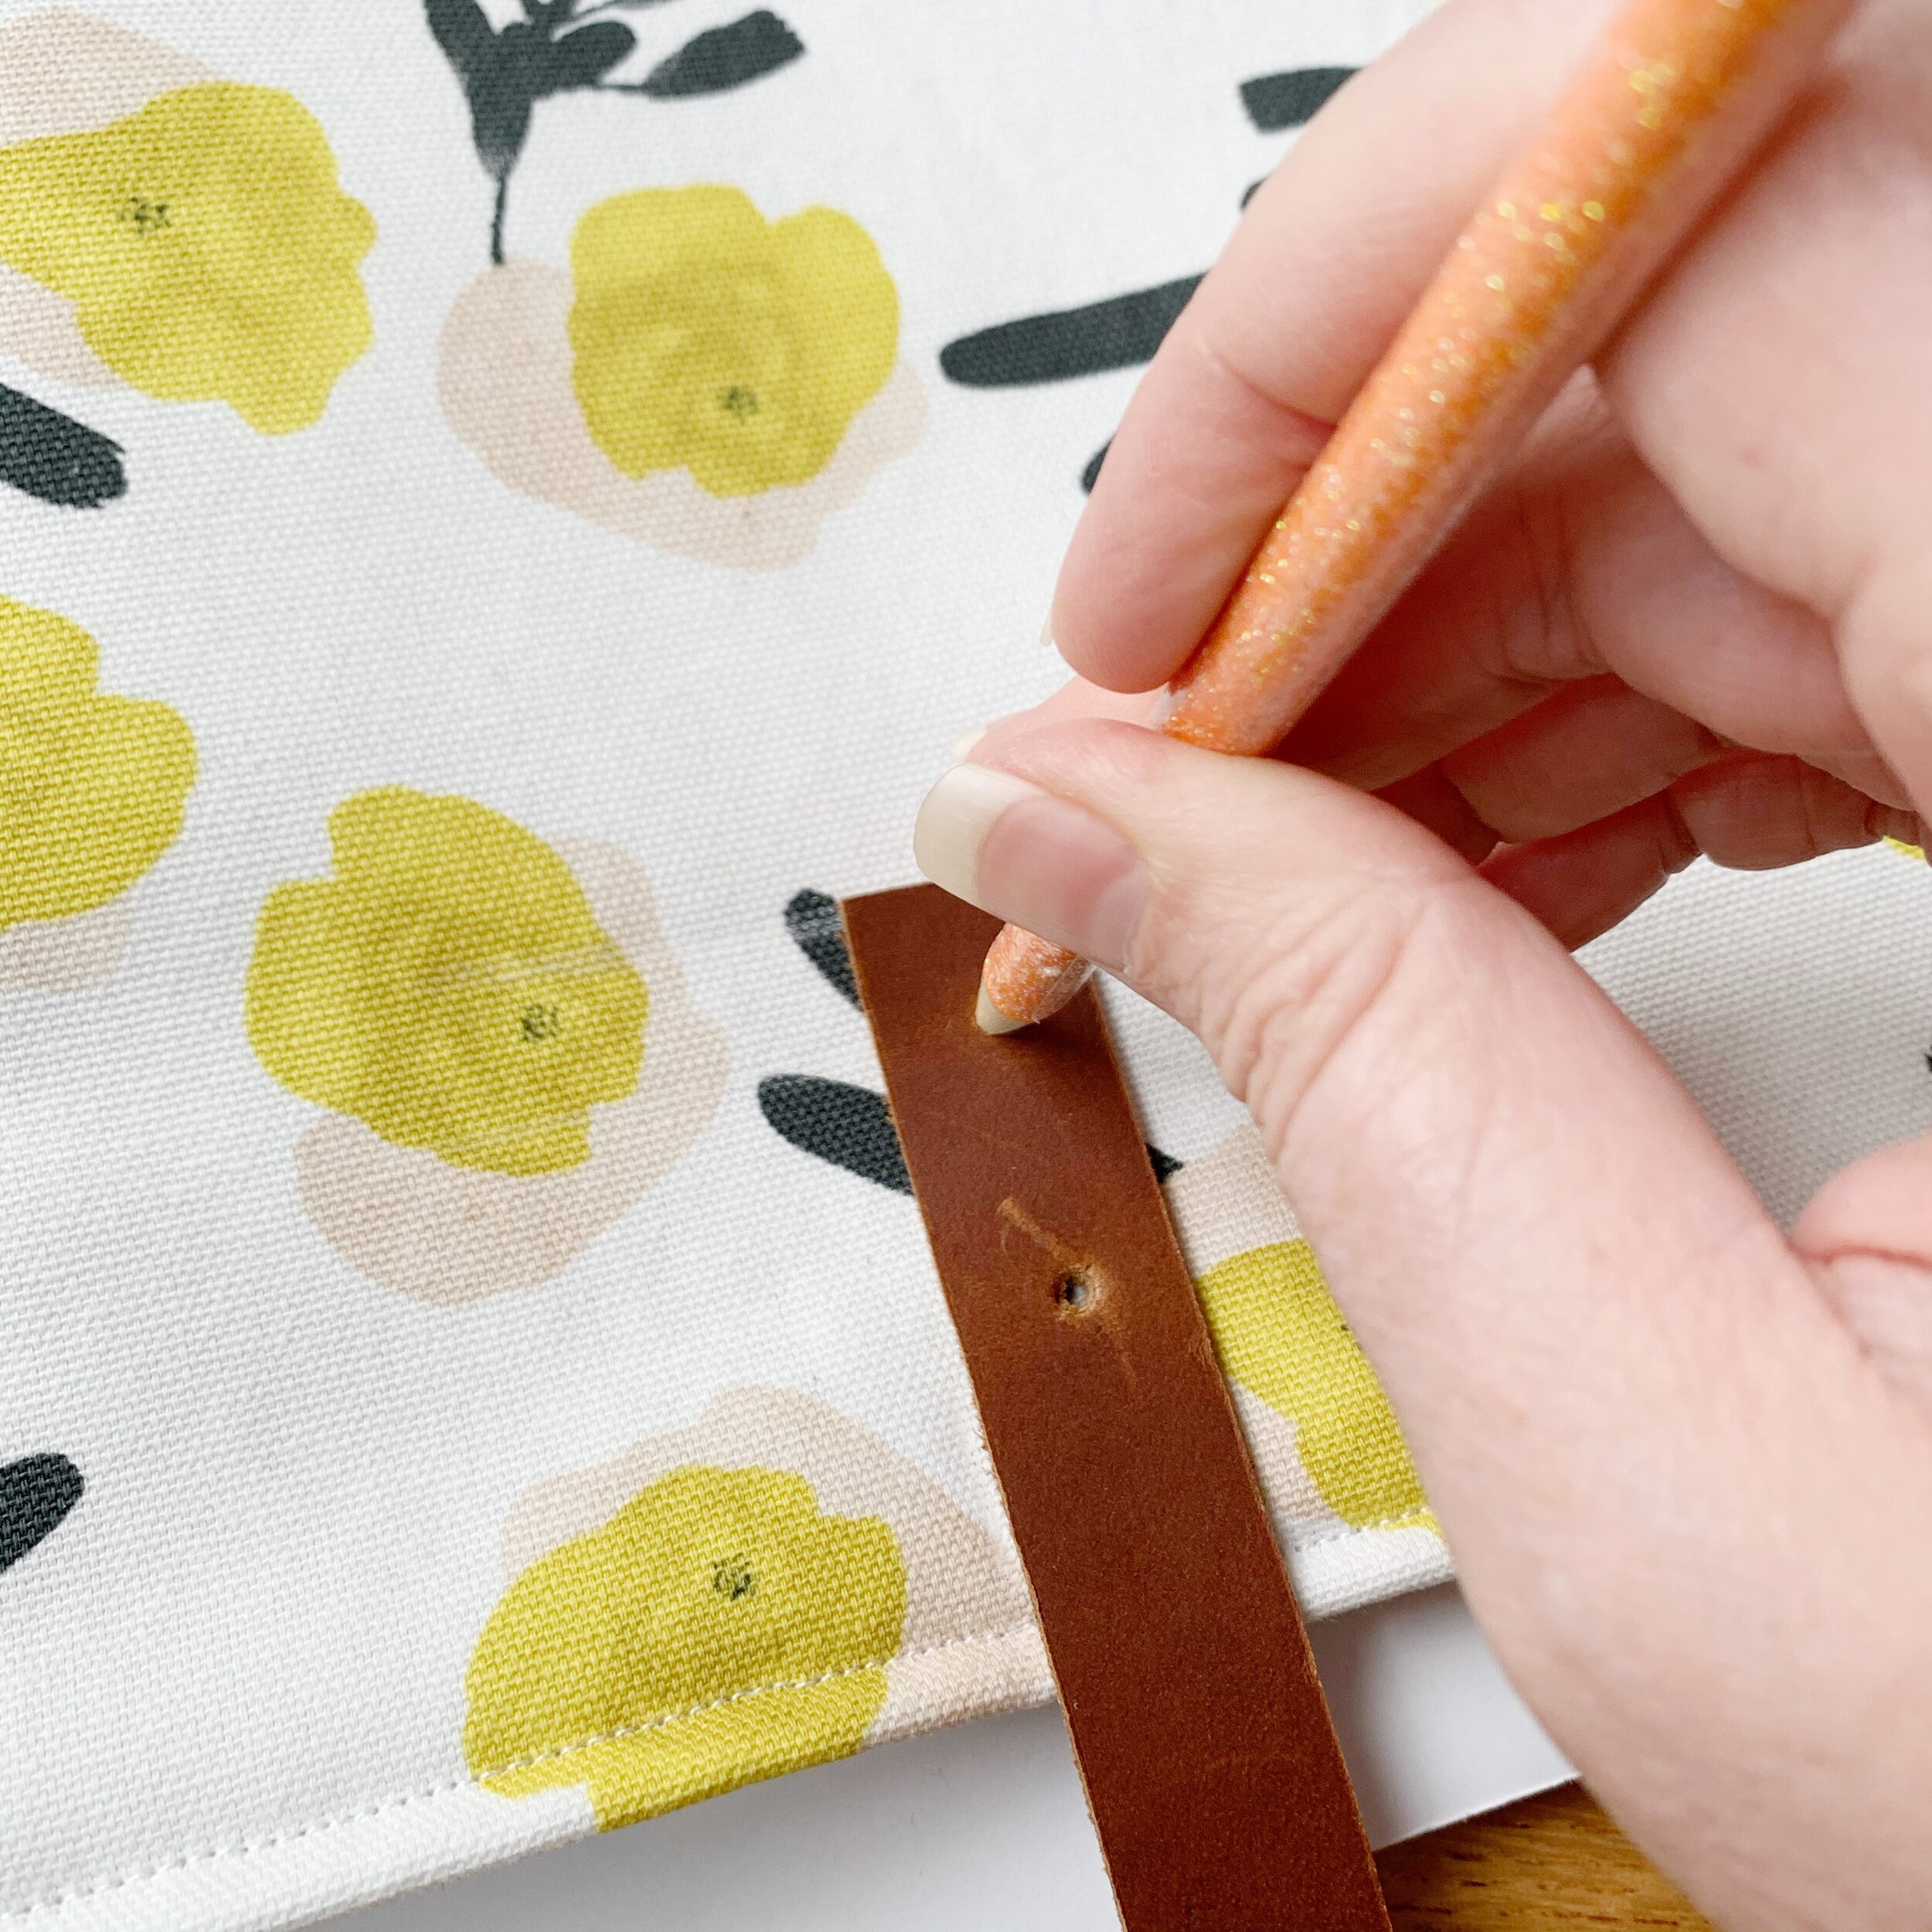
Next, mark the spots where your straps will be placed on the tote bag using tailor’s chalk. Straps should be approximately 3.5” in from the sides and 2-2.5” down from the top.
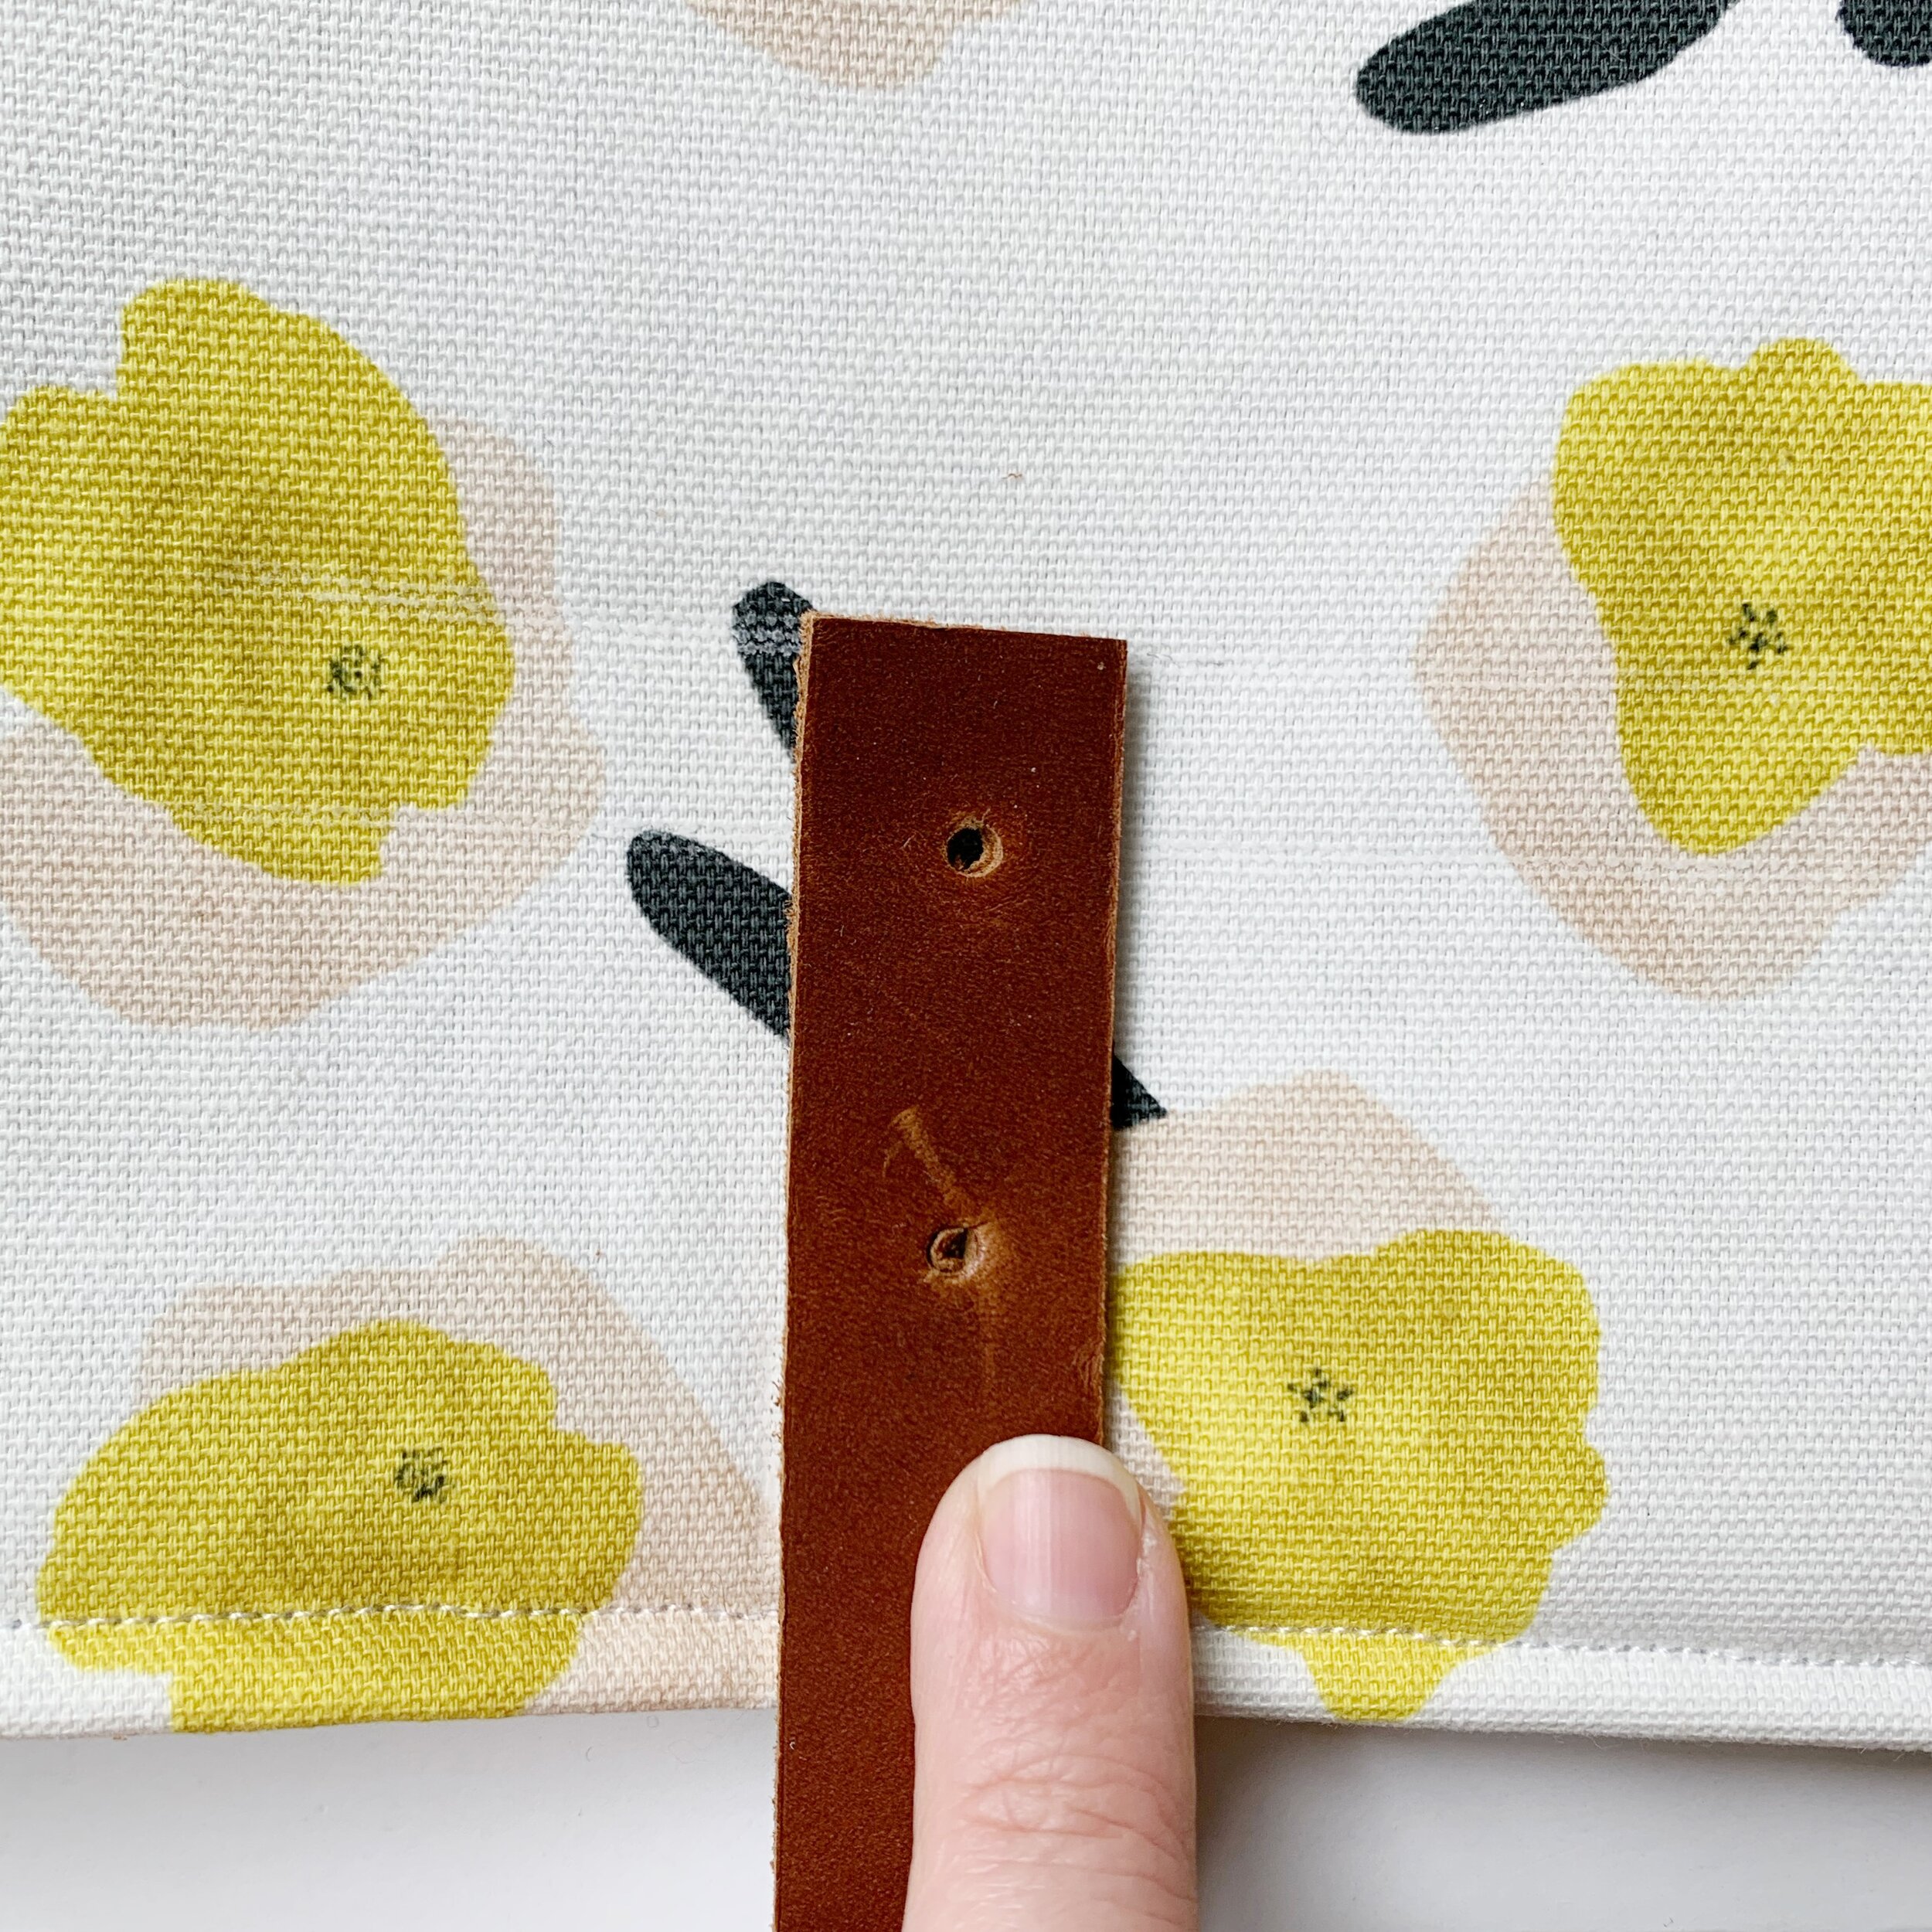
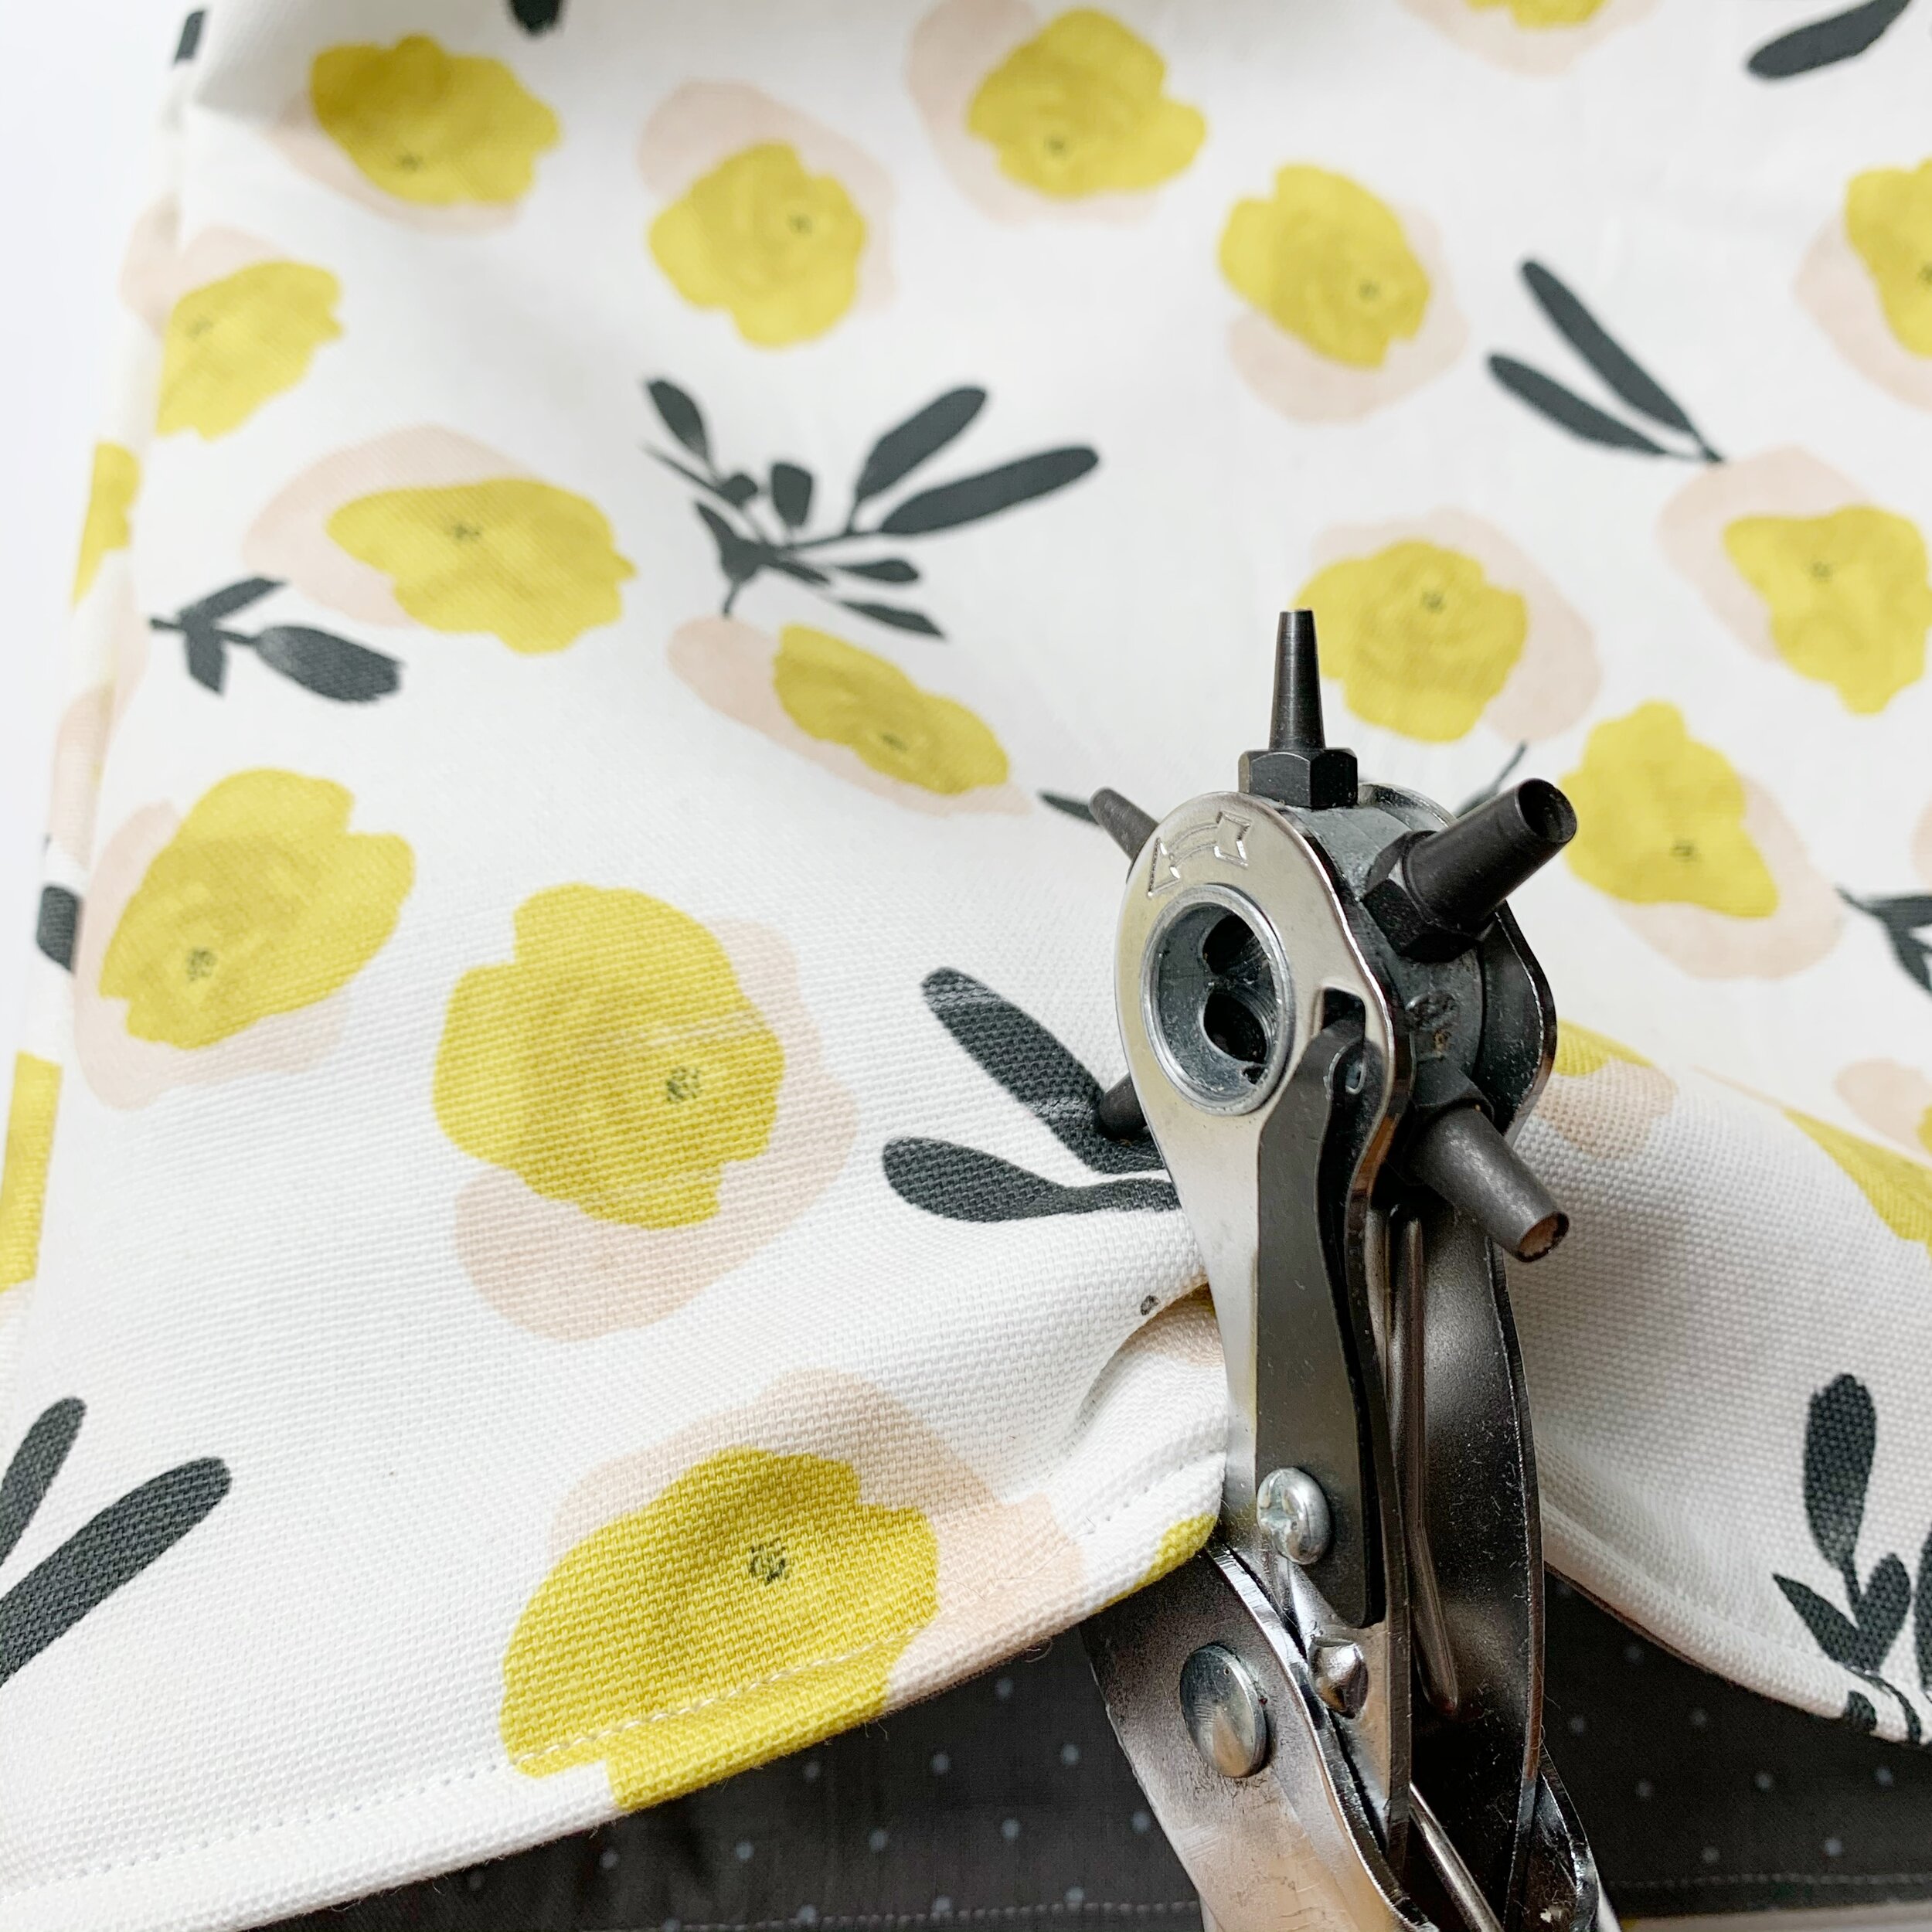
Line up your straps on the spots you just marked and use a pencil to mark where your holes will need to be punched on the tote. Then using your leather punch, punch holes through all layers of the top where marked.
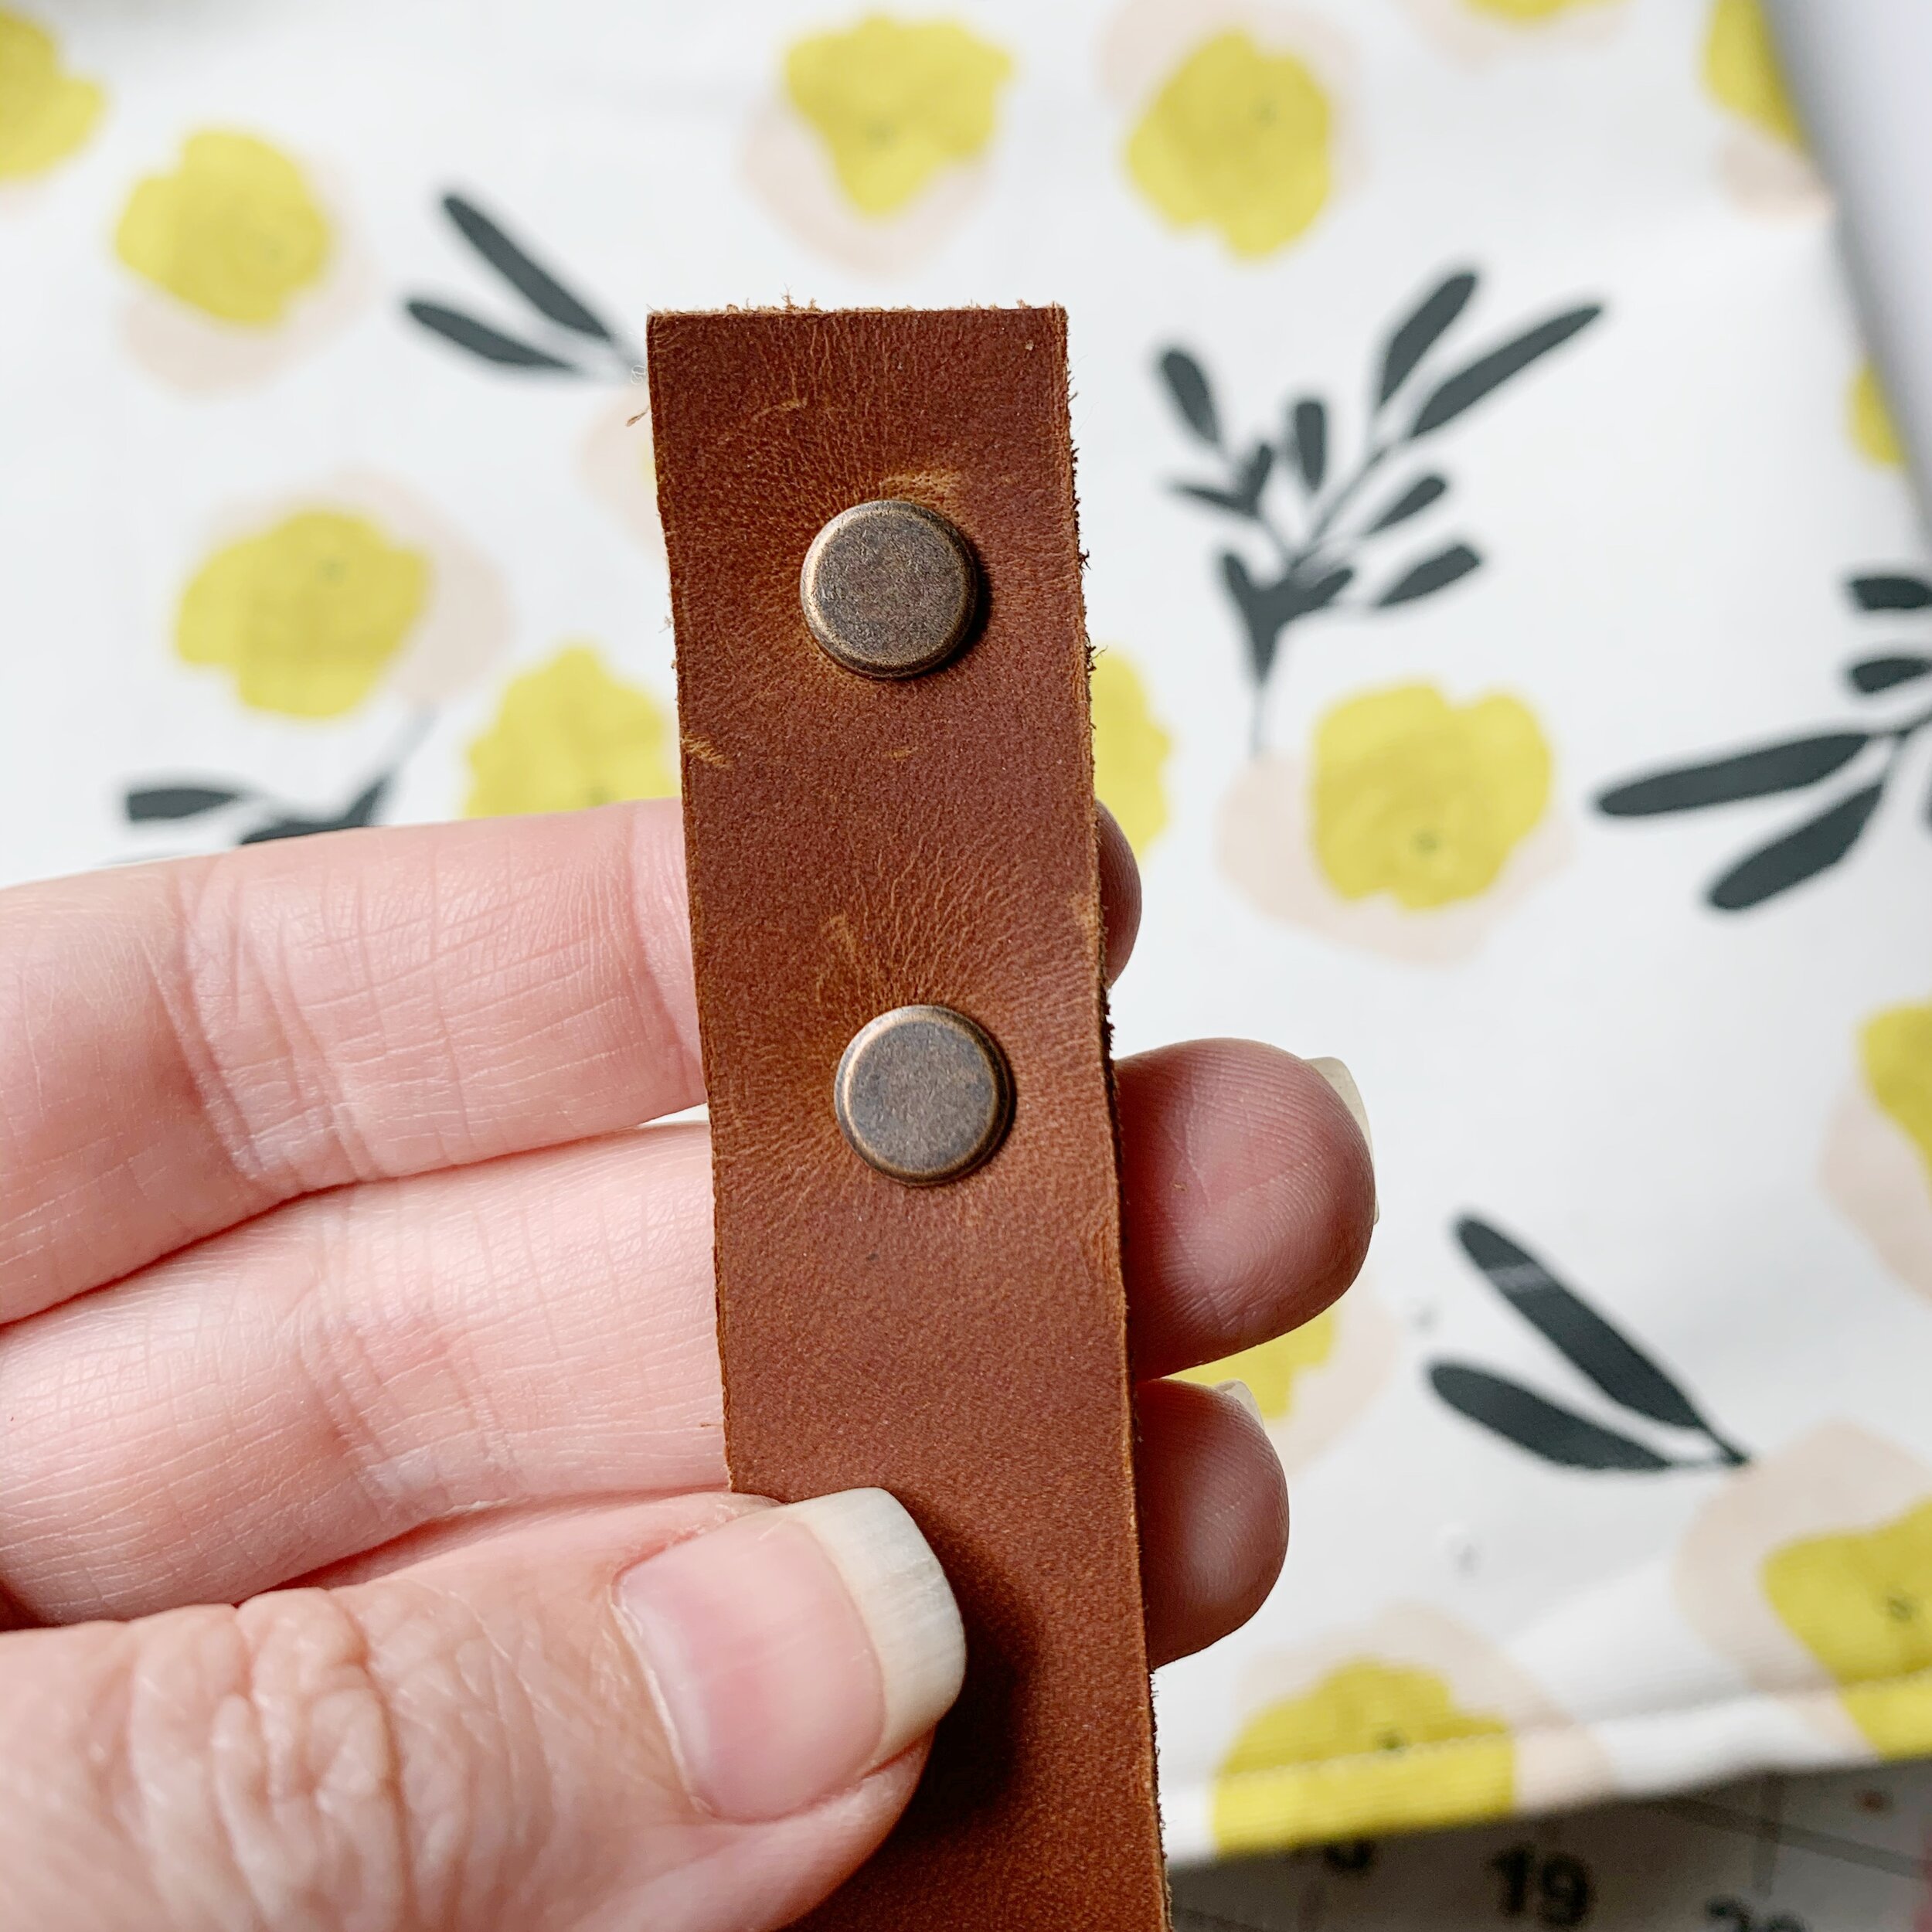
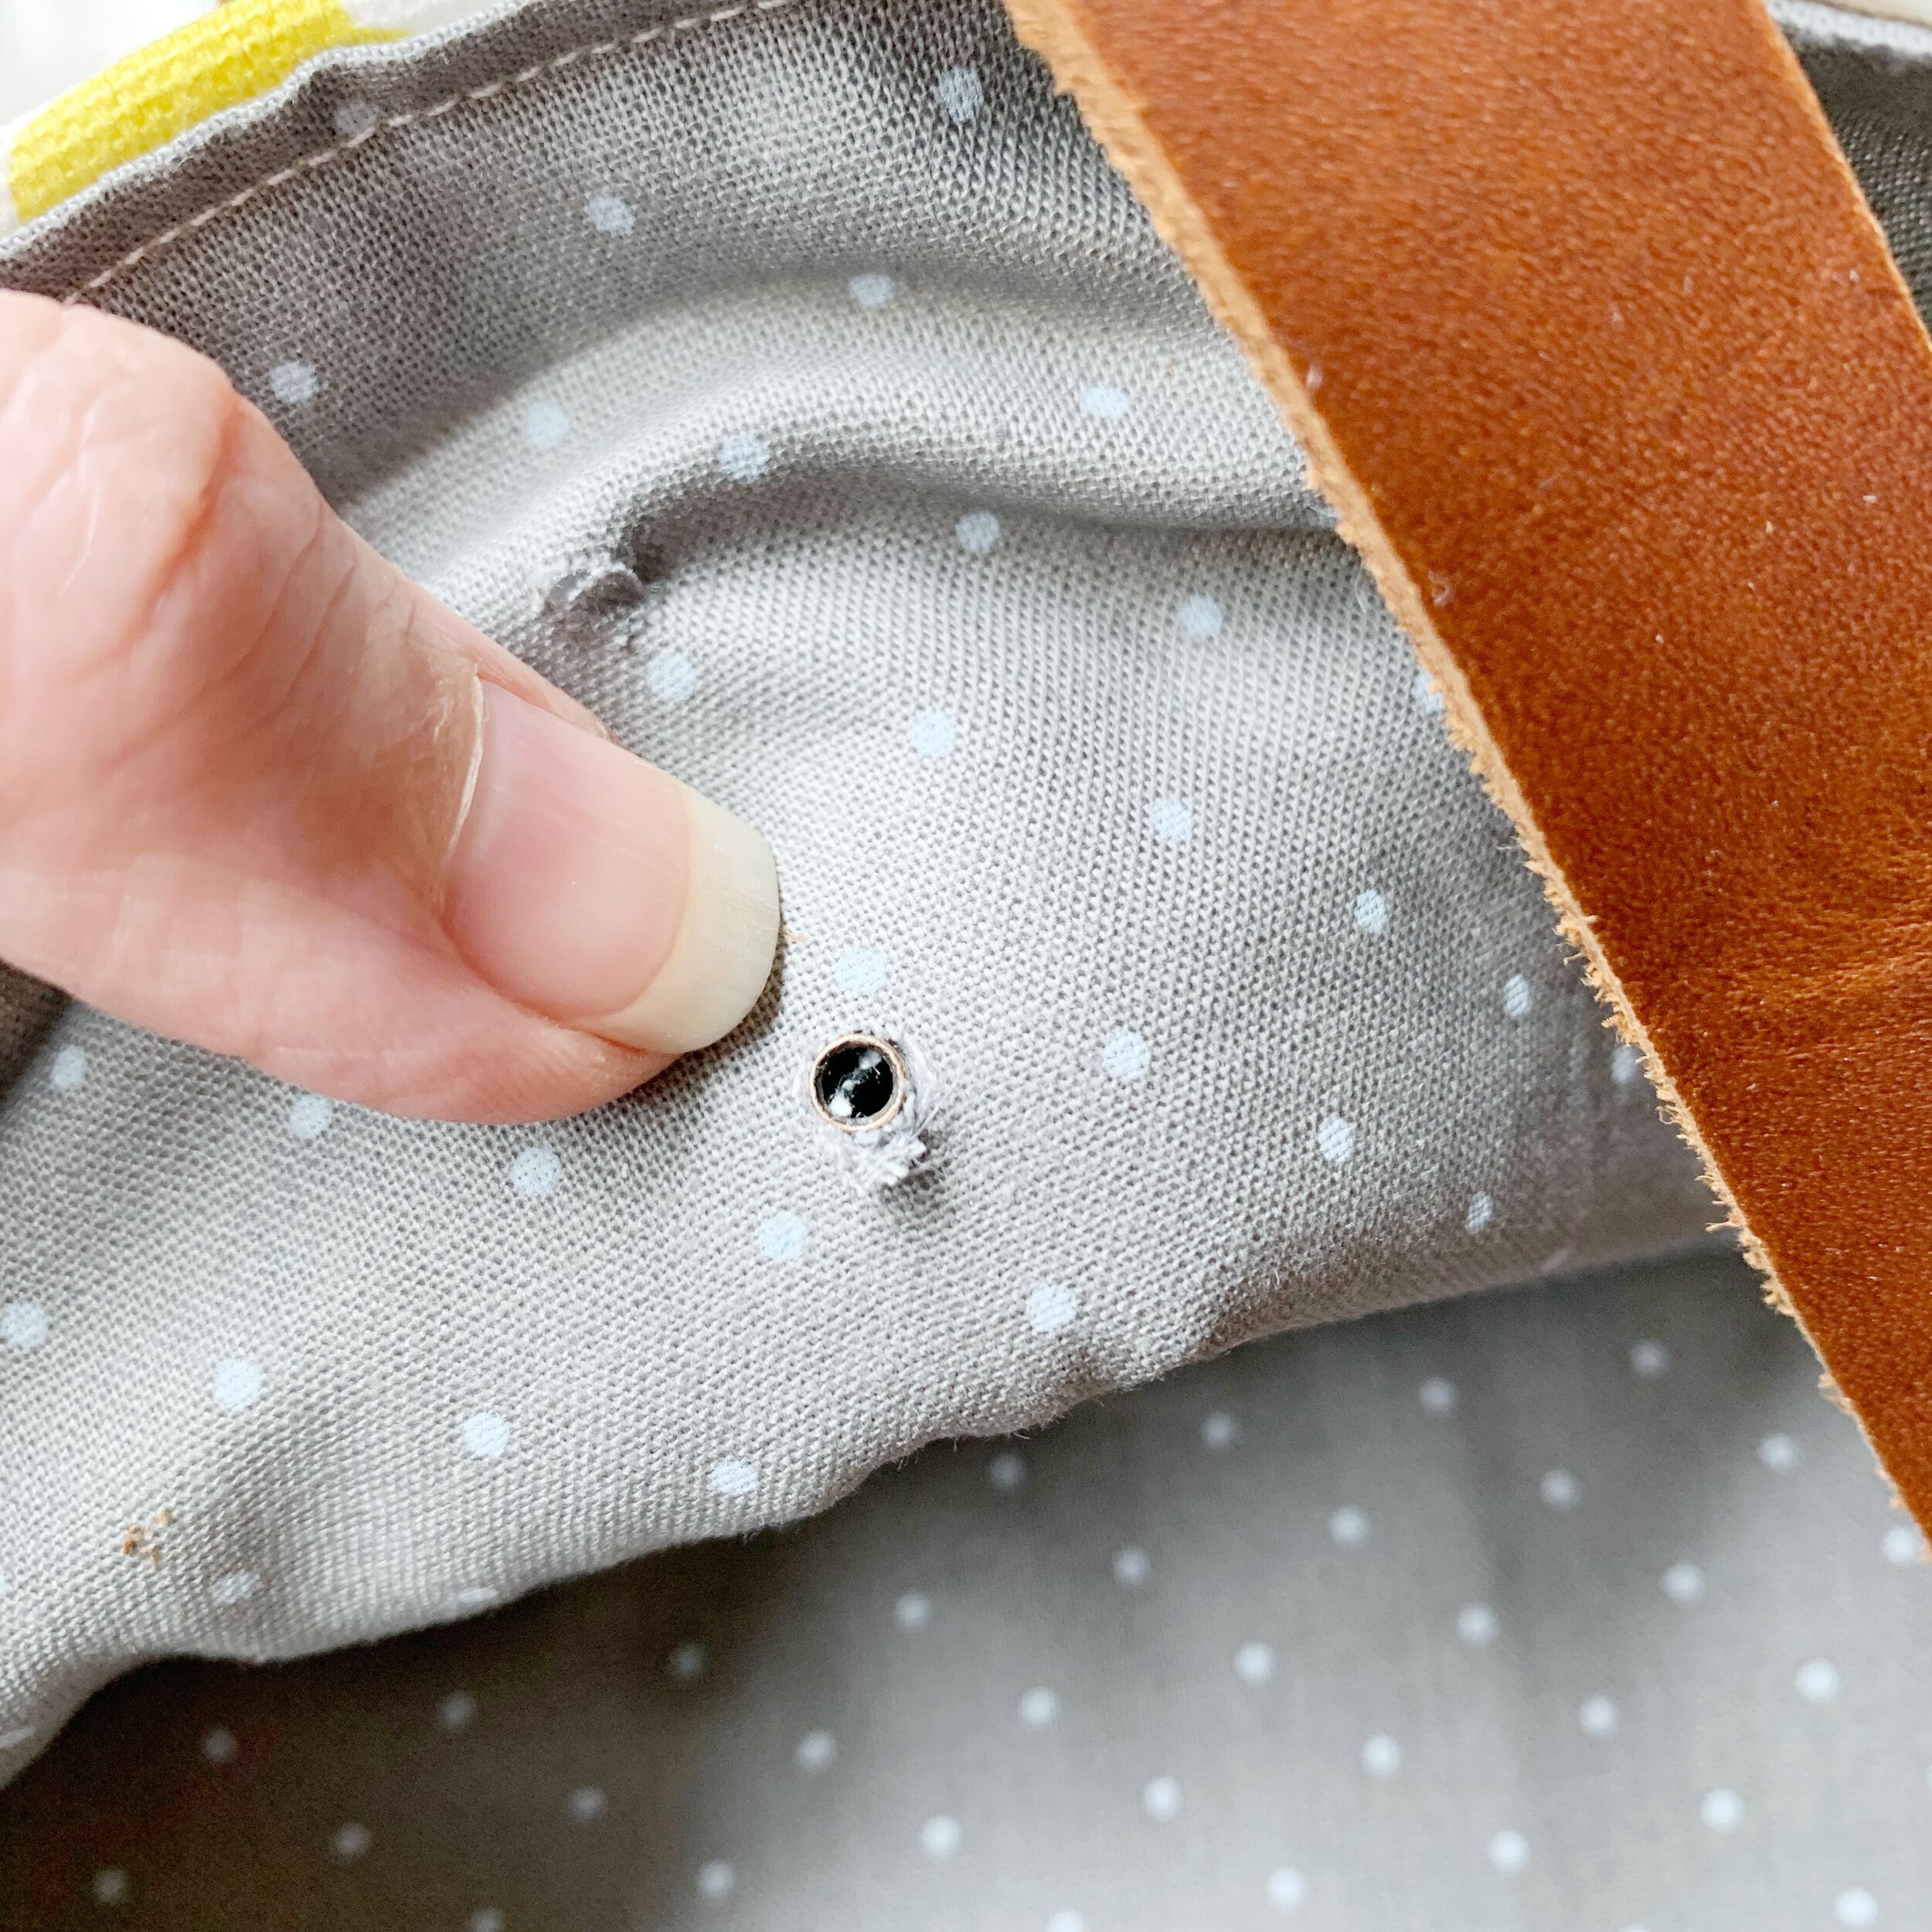

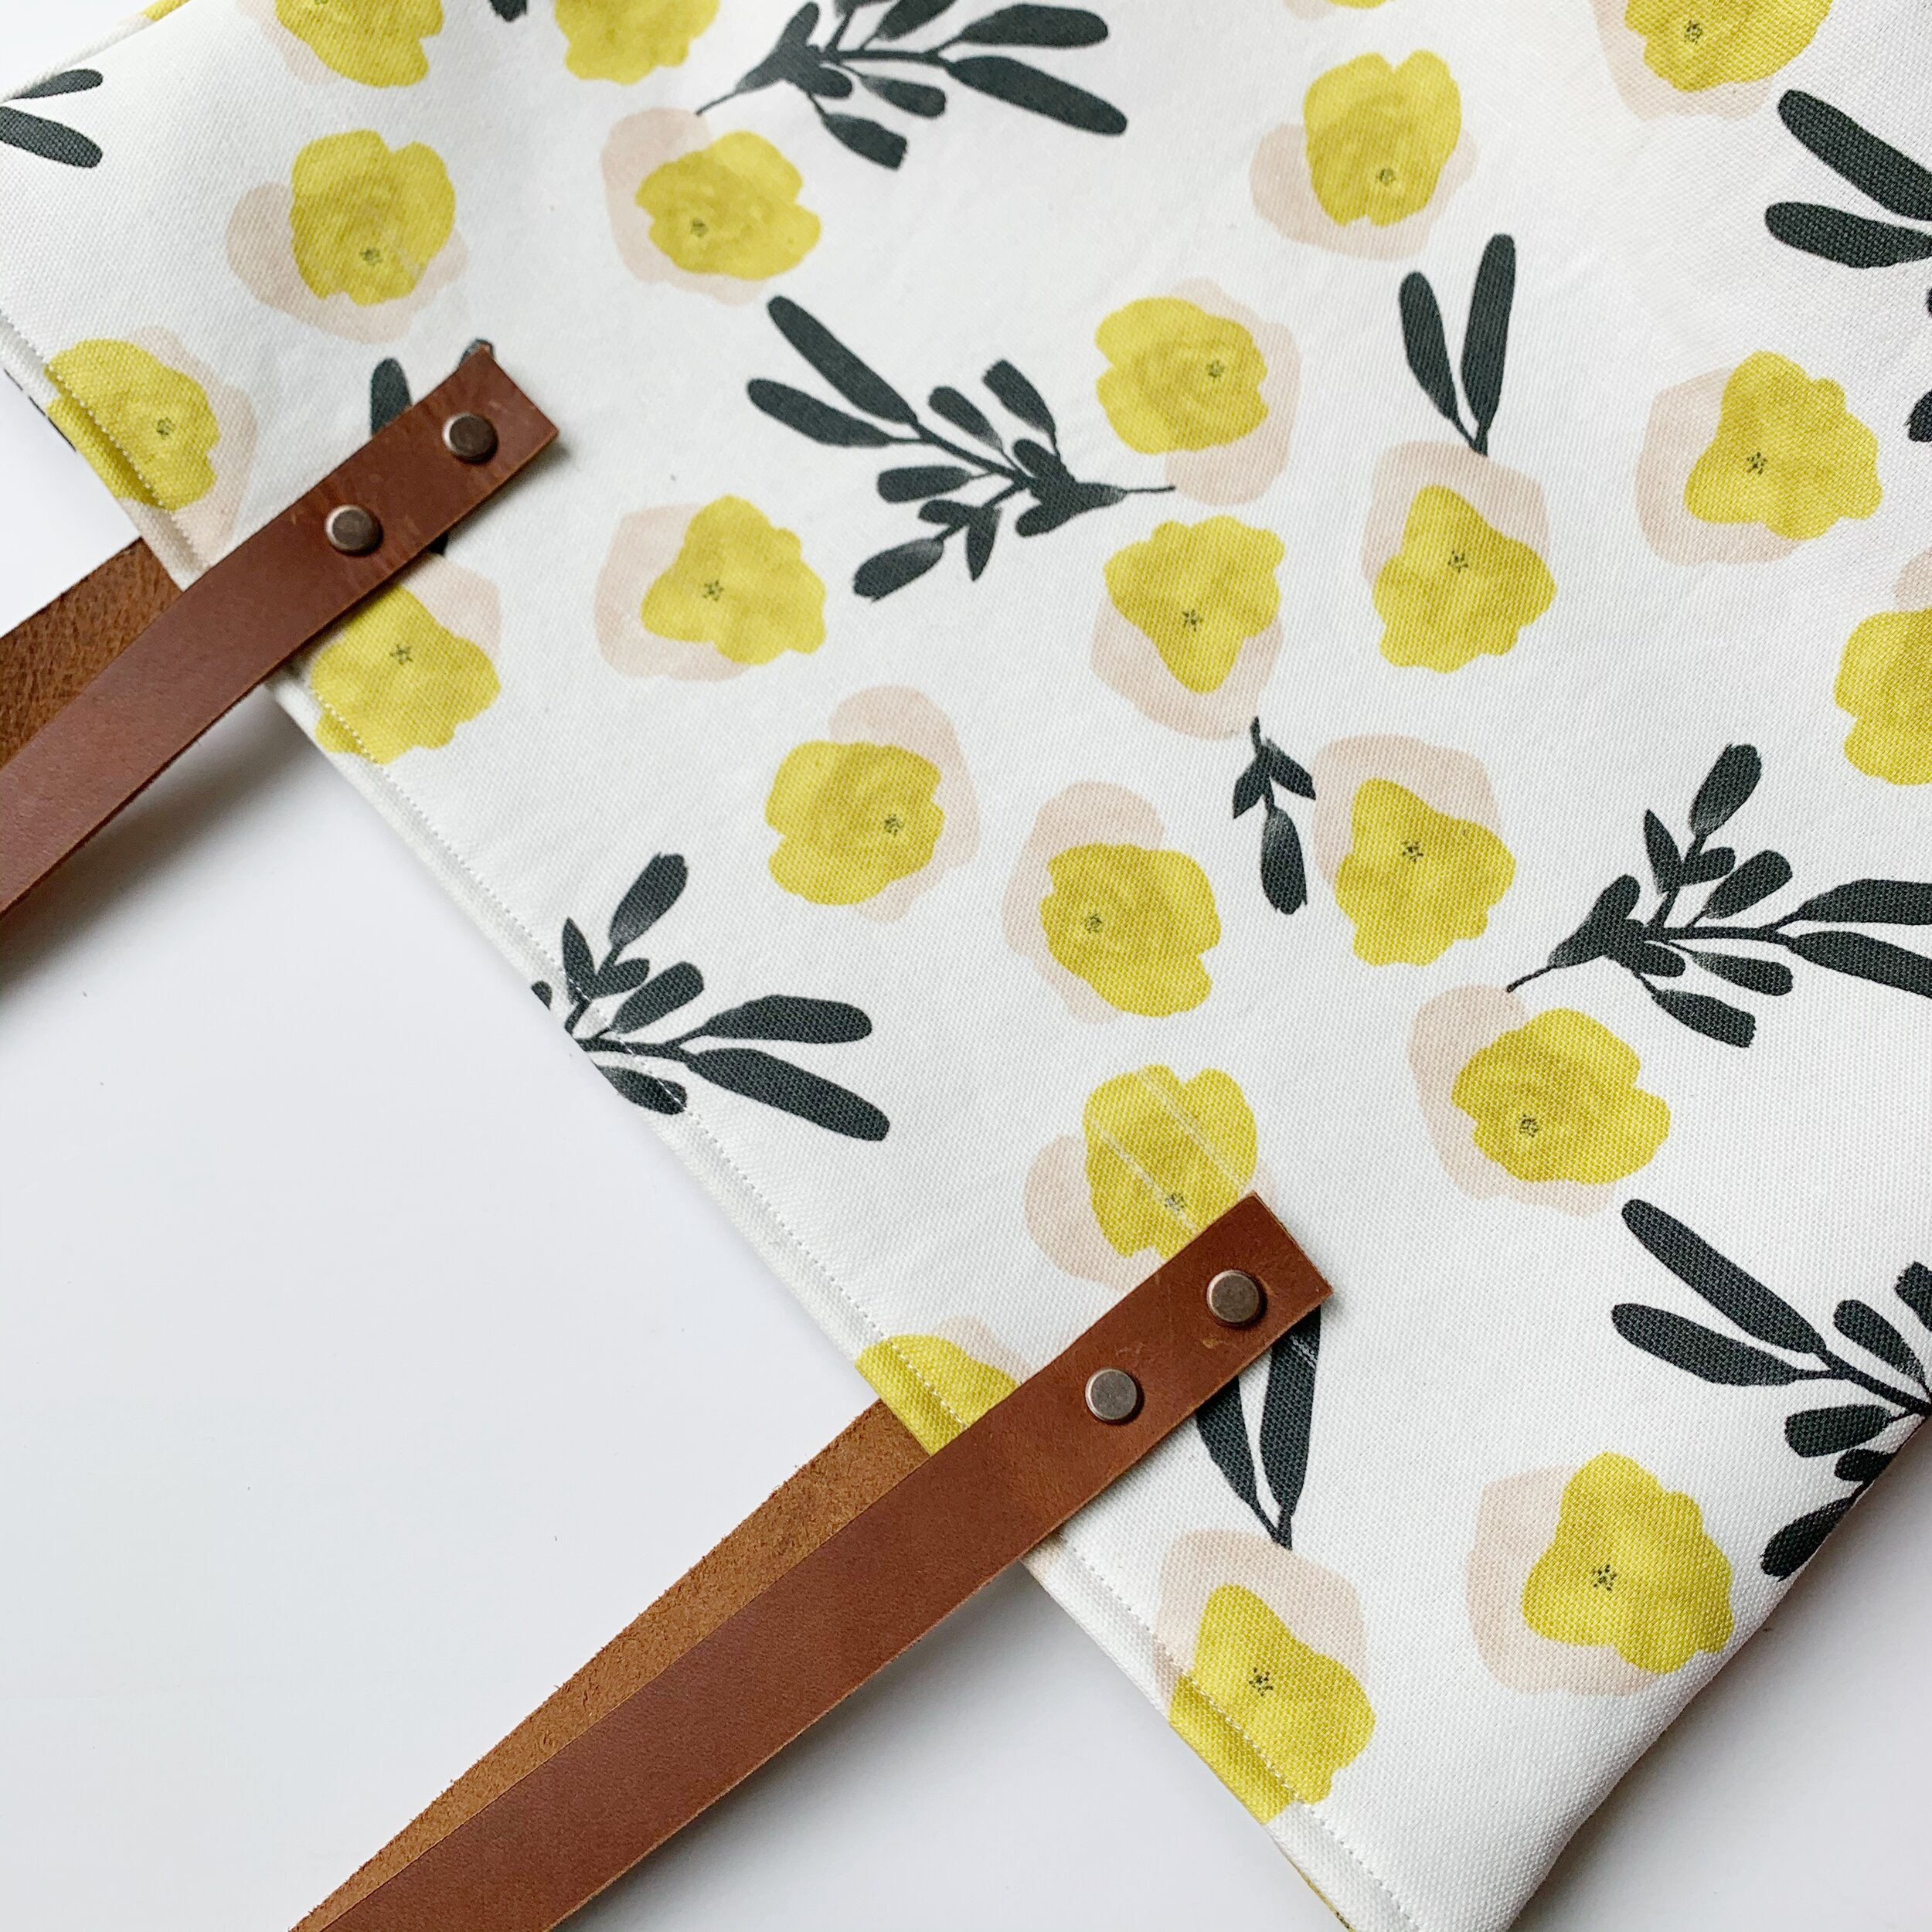
Now push the rivets through the leather strap holes, and then through the tote from front to back. Place the screw into the rivet and secure. Repeat for all straps and you’re done!

I hope you enjoyed this free sewing pattern and tutorial. I’d love to see your finished Toivo Totes! Make sure to use #meghanmakesdo and #toivotote on social media so I can see.
As always you can find a PDF version of this pattern in my shop or on Etsy. The PDF includes full written instructions with tons of pictures to help along the way.
Happy Sewing!
Meghan