The Mini Home Town Cardi-Free Crochet Pattern
This post may contain affiliate links. If you make a purchase through one of those links I may receive a small commission.
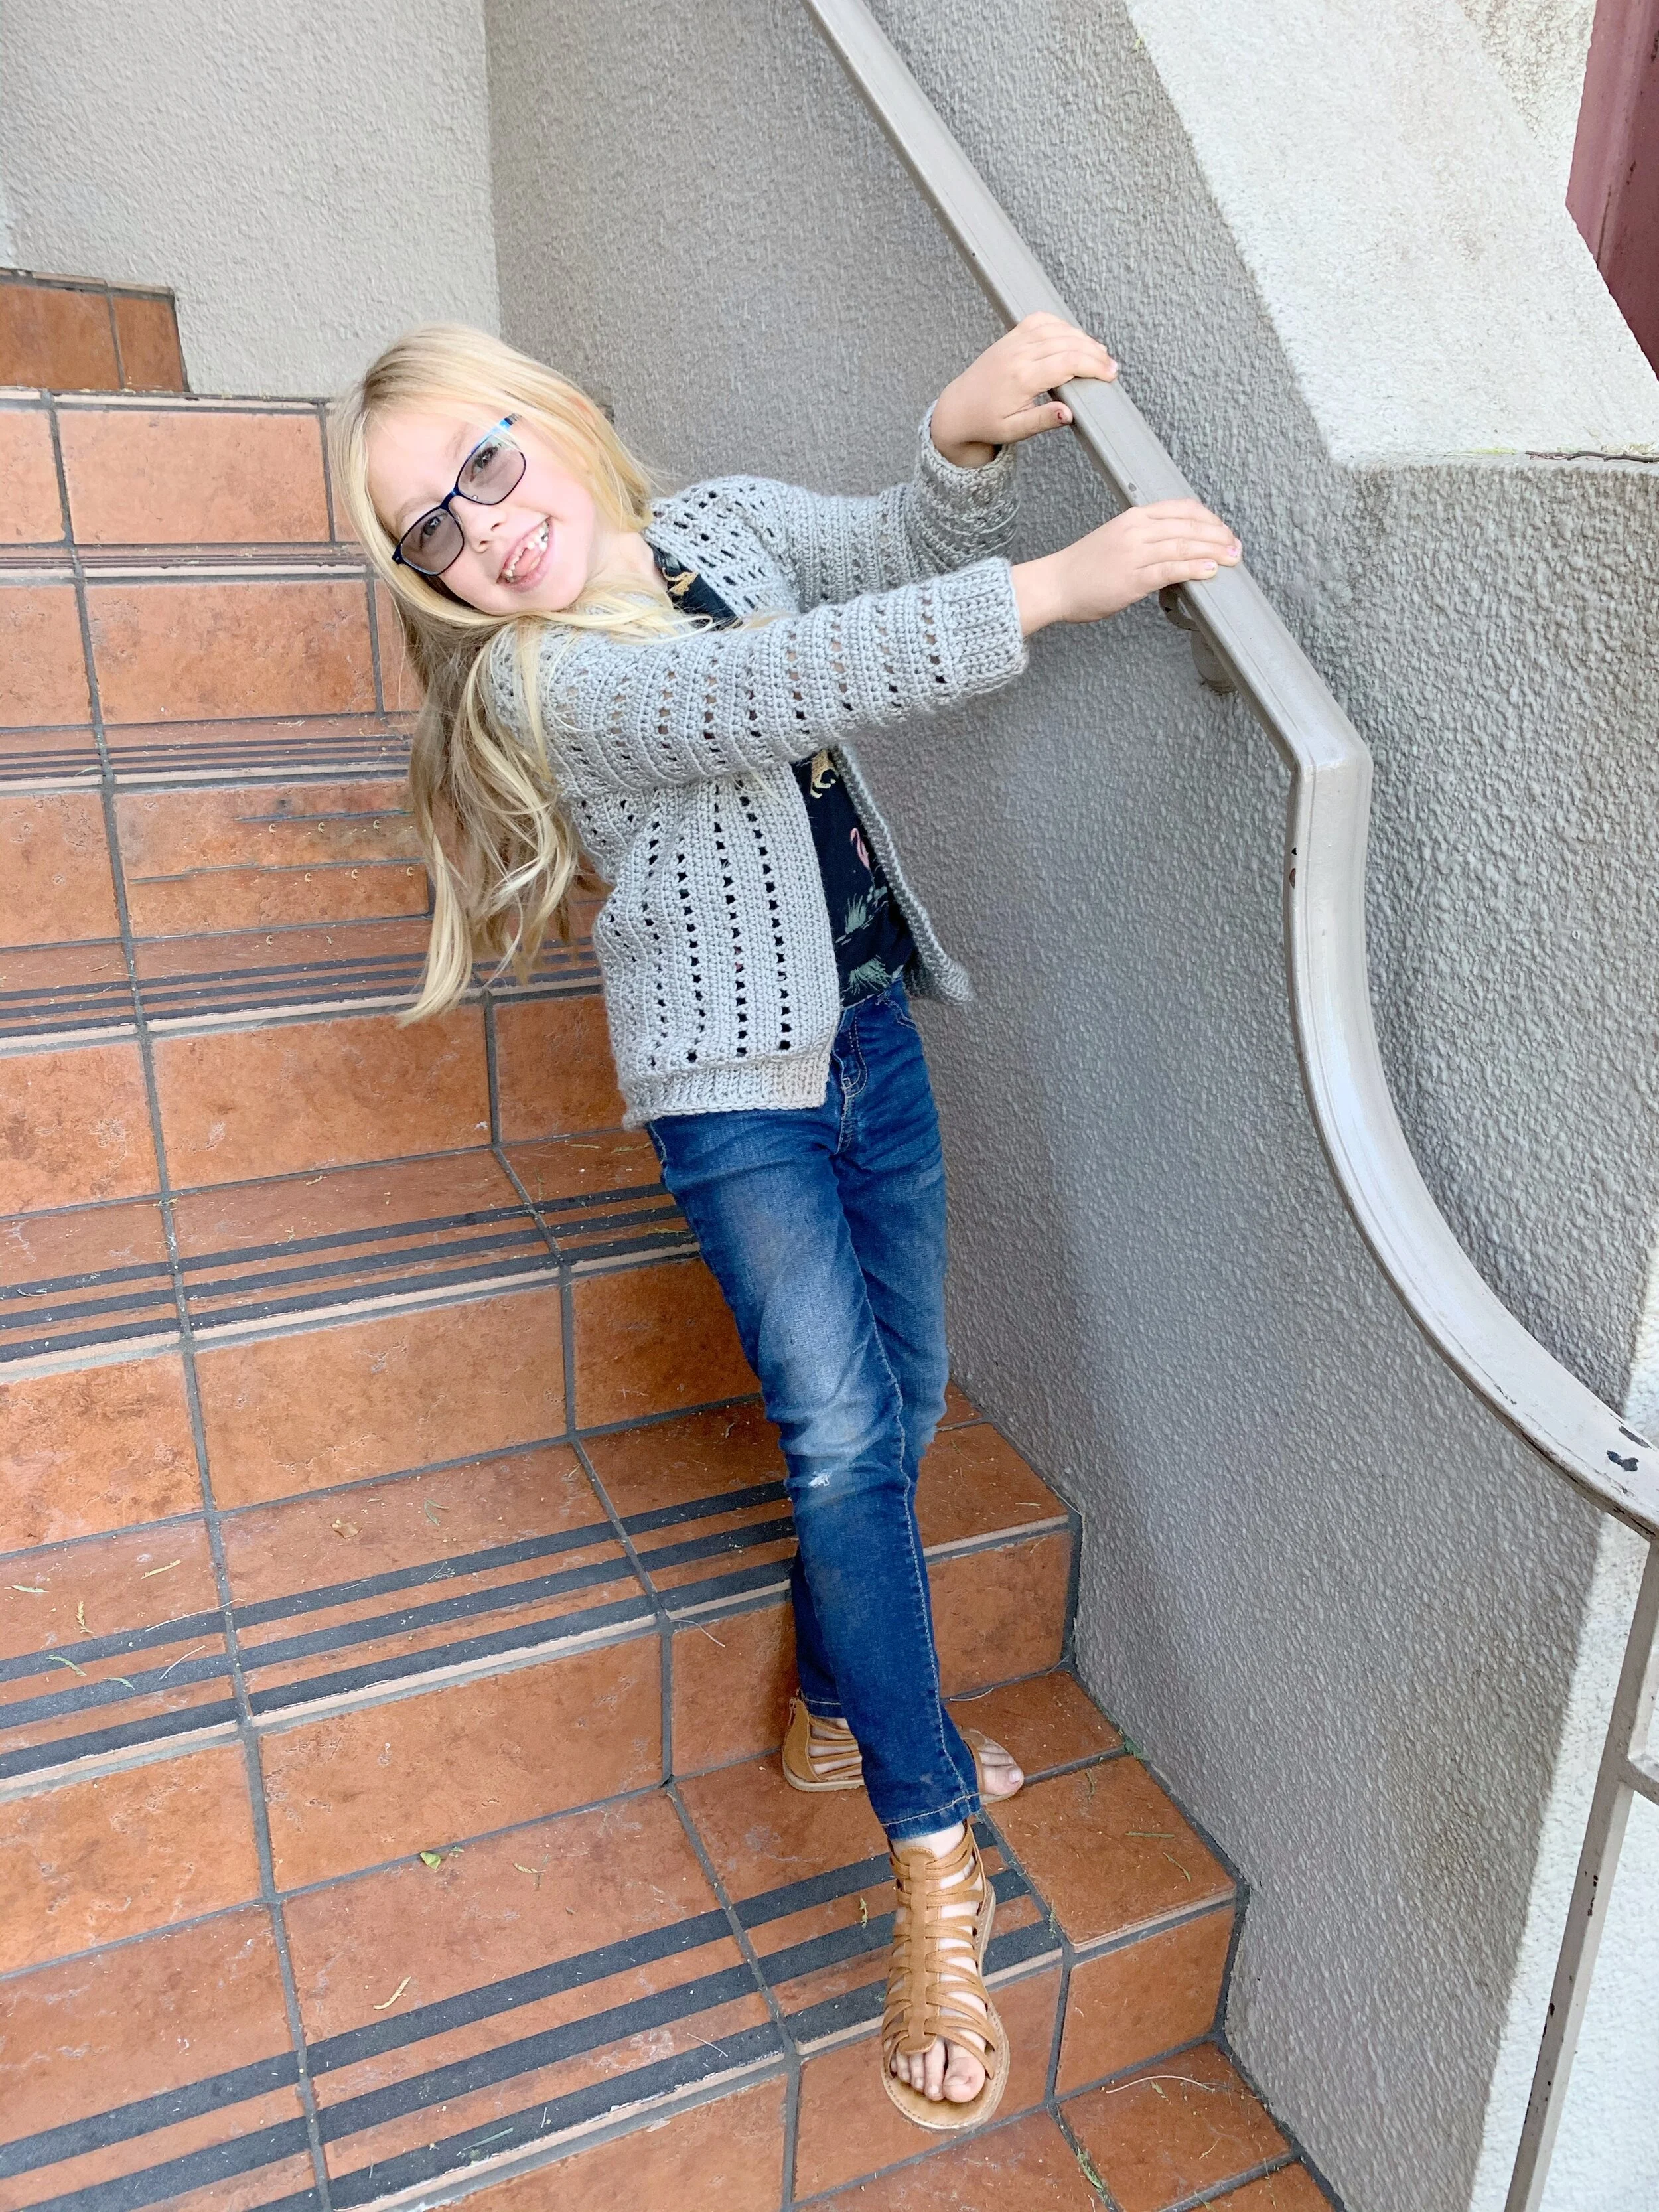
Keep your little one cozy this winter with this gorgeous cardigan. The Mini Home Town Cardi will have you ready for matching family photos in no time. Find the free pattern below or grab the downloadable PDF for $3.99 in my shop, Etsy or Ravelry.
Ever since I made the original Home Town Cardi, I’ve been dying to make a mini version for my daughter. I’m thrilled to finally be able to bring you The Mini Home Town Cardi crochet pattern. The mini is just like the original and made with the same lightweight cotton bamboo. It works up quick and will have your little one getting cozy in no time.
I took advantage of working up a mini version to record a full video tutorial which you can view below. I go over all the special stitches used and walk you through step by step on how to create the cardigan no matter what size you are making. It’s the perfect companion to the full written version.
My daughter loves her Mini Home Town Cardi and couldn’t wait to wear it once I finished. Being able to make something special for her, that she actually wants to wear, is so rewarding. You can find the original Home Town Cardi in women’s sizes XS-5XL here. Or keep reading for the Mini version in child sizes 2-16.
Here’s what you’ll need to make your little one their very own Mini Home Town Cardi:
Materials:
495-1080 yards of Caron Pantone Bamboo in Ghost Grey or similar worsted weight yarn (see size for exact amounts)
Tapestry needle
Scissors
Abbreviations:
Ch- chain
St(s)- stitch(es)
Sk- skip
Sl st- slip stitch
sc- single crochet
hdc- half double crochet
Hdc2tog- half double crochet two together (yo, insert hook in 1st st, yo draw up a loop, insert hook in next st, yo draw up a loop, yo and draw through all four loops on hook.
dc- double crochet
WS- wrong side
RS- right side
Notes:
1.Pattern is worked in sections starting with a large rectangle for the lower front and back. The upper front and back are worked directly into the top of the large rectangle and shoulders are then seamed. Sleeves are worked directly into arm holes and ribbing is added at the end.
2.Chains at beginning of rounds and rows count as a stitch unless otherwise noted.
3.You may need to use a larger hook for the ribbing if you are experiencing curling.
4.The RS of the garment will have a noticeable “stripe” in the hdc rows.
Size:
2: fits chest 21” (approx. 495 yards)
4: fits chest 23” (approx. 540 yards)
6: fits chest 25” (approx. 675 yards)
8: fits chest 26.5” (approx. 720 yards)
10: fits chest 28” (approx. 810 yards)
12: fits chest 30” (approx. 900 yards)
14: fits chest 31.5” (approx. 990 yards)
16: fits chest 32.5” (approx. 1080 yards)
Gauge:
16 sts and 19 rows in sc = 4” square
Special Stitches:
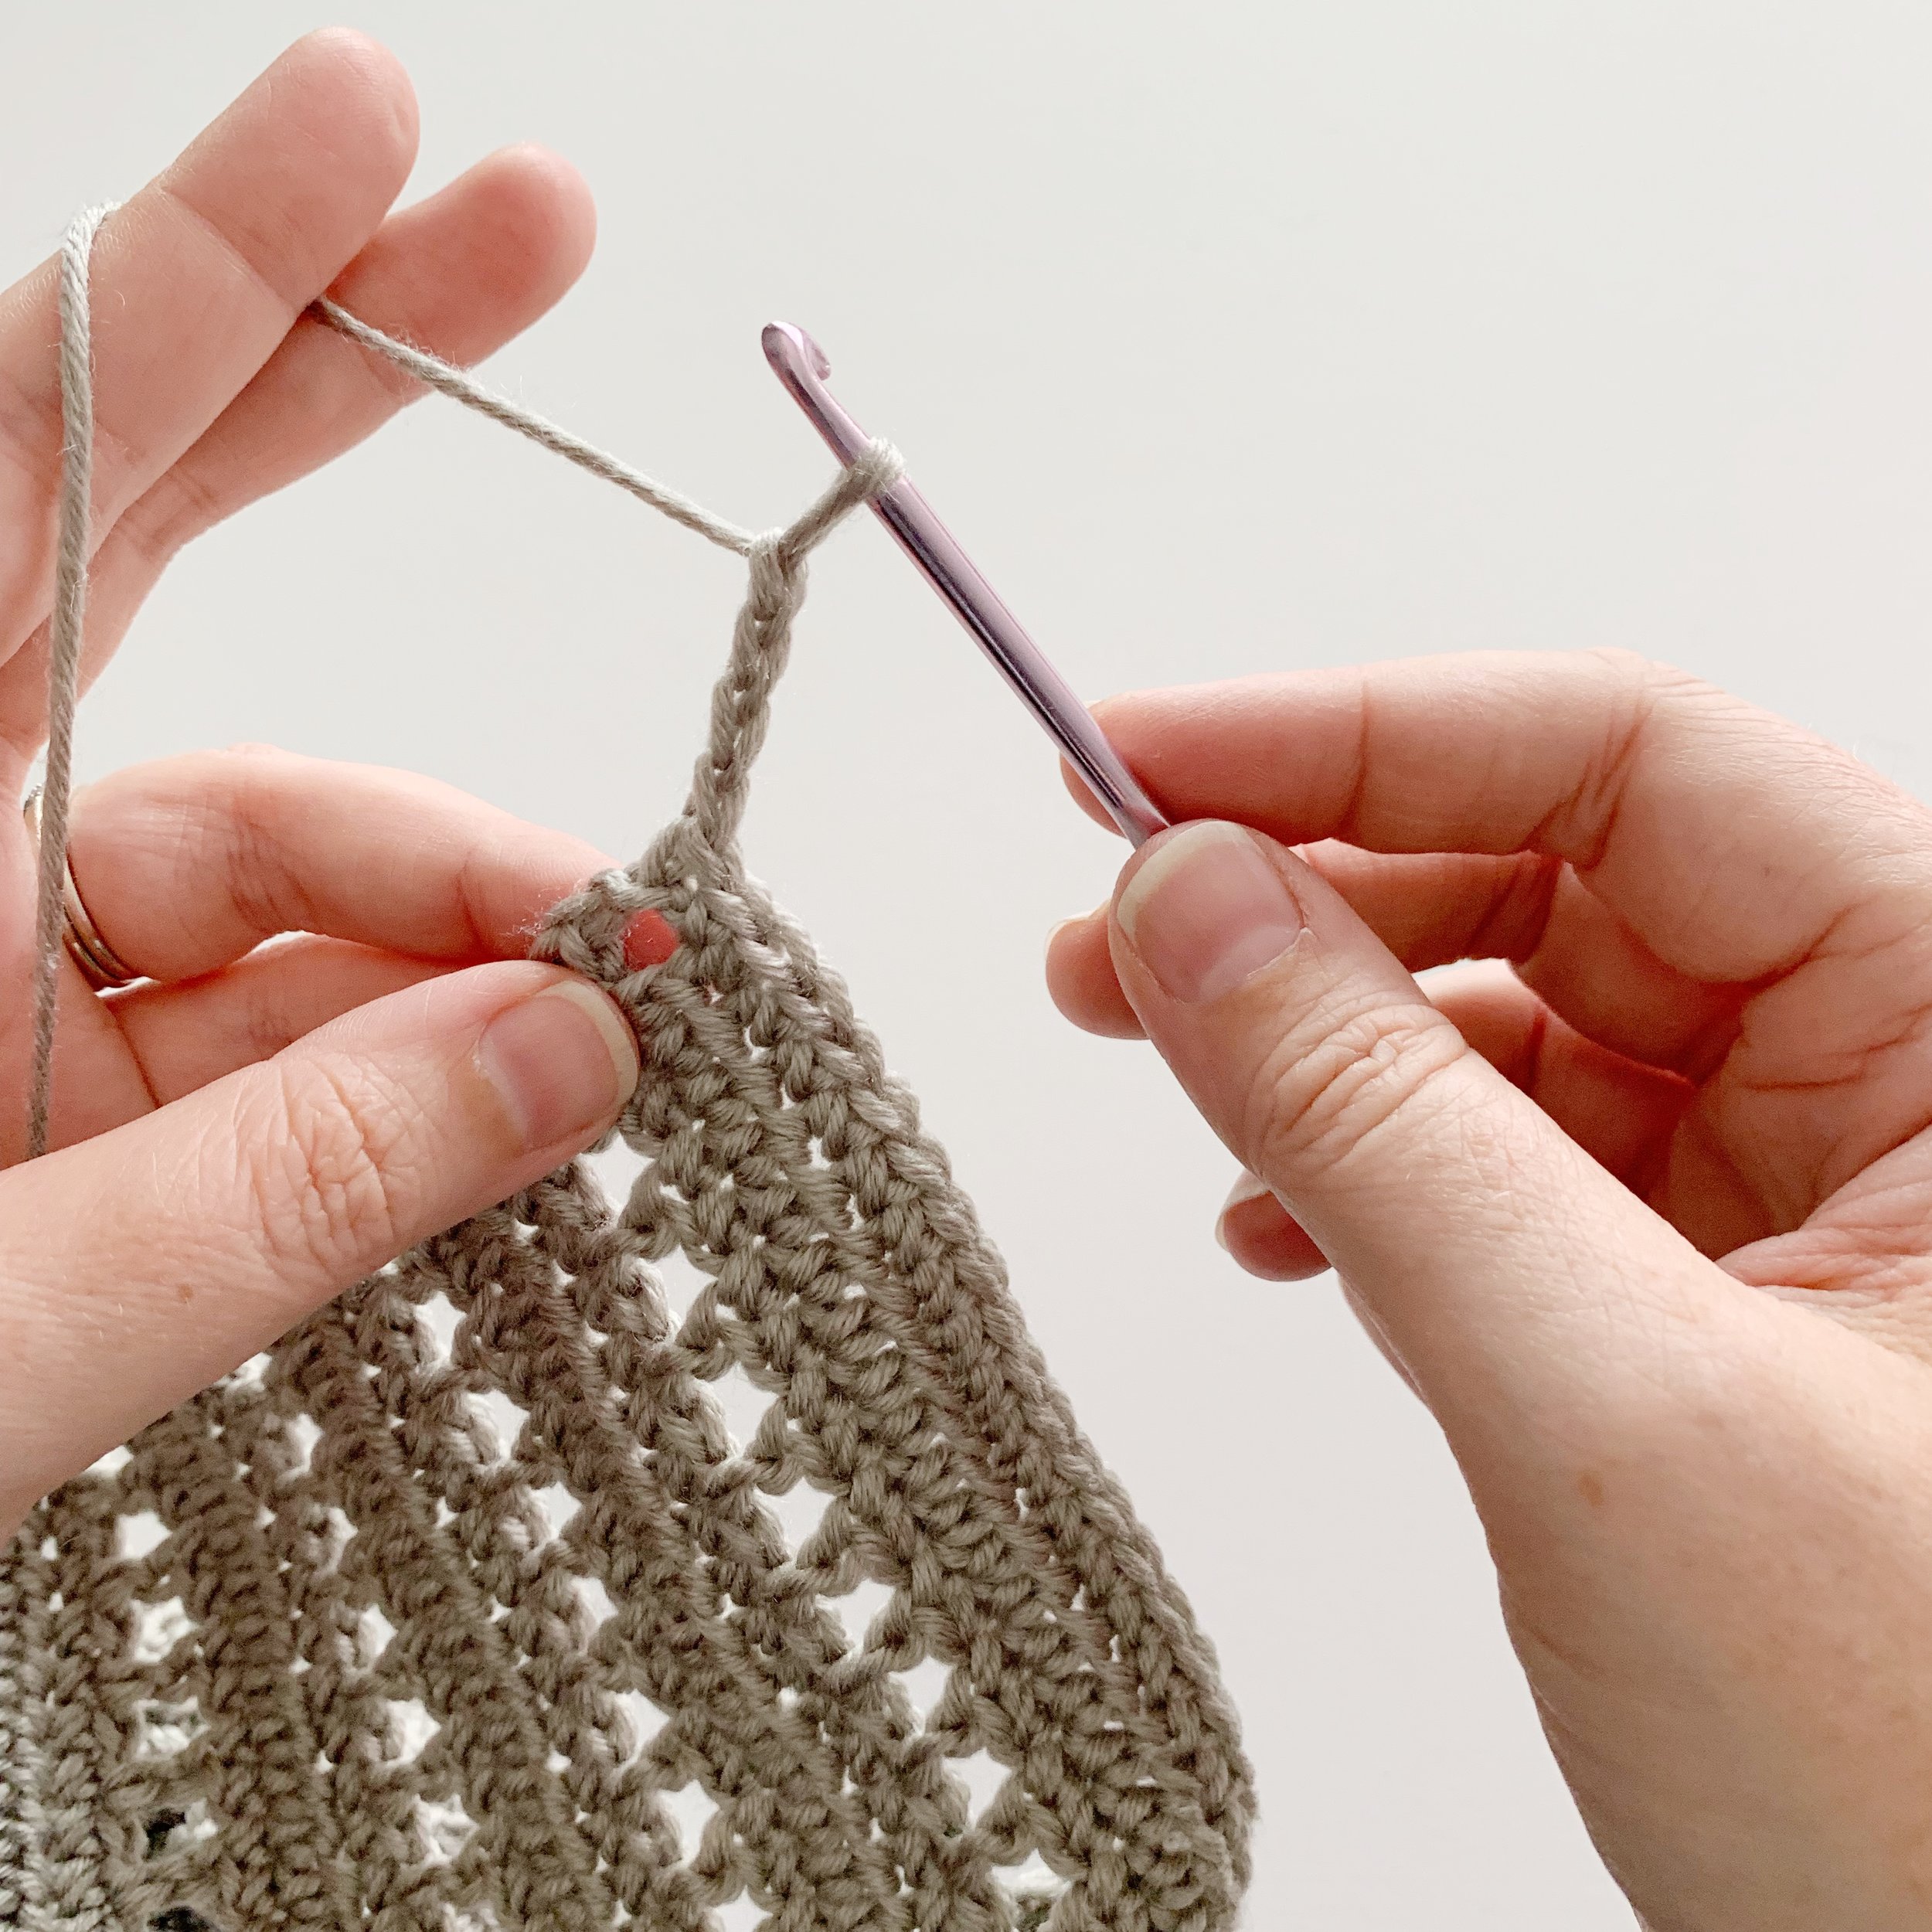
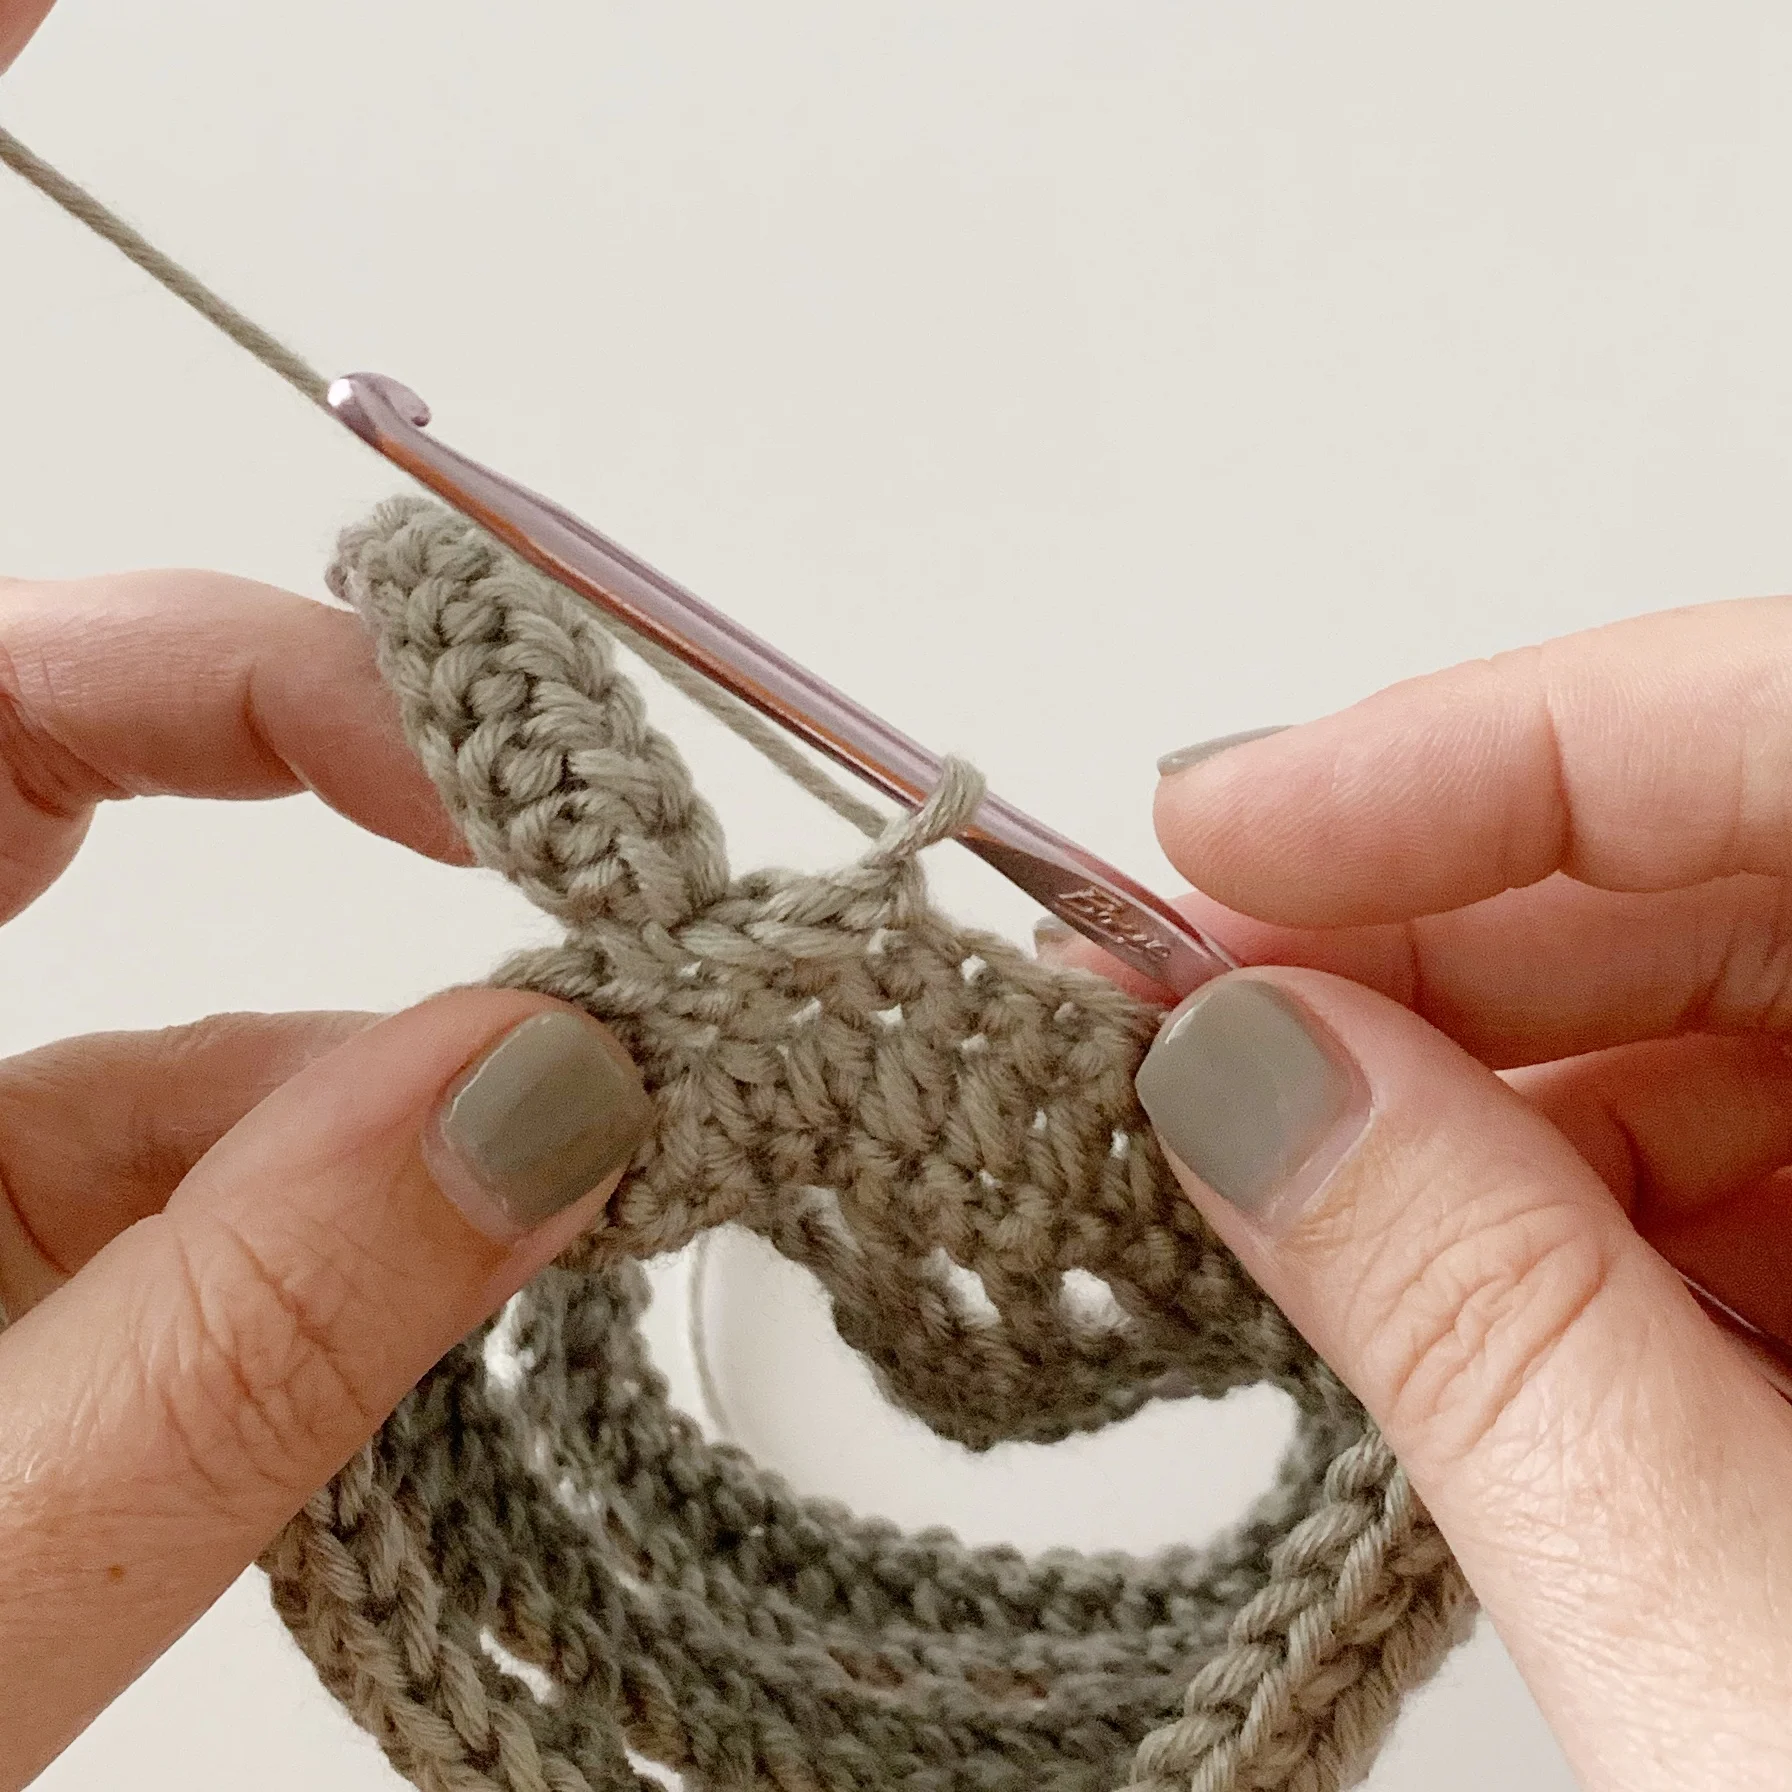
Working the dc rows:
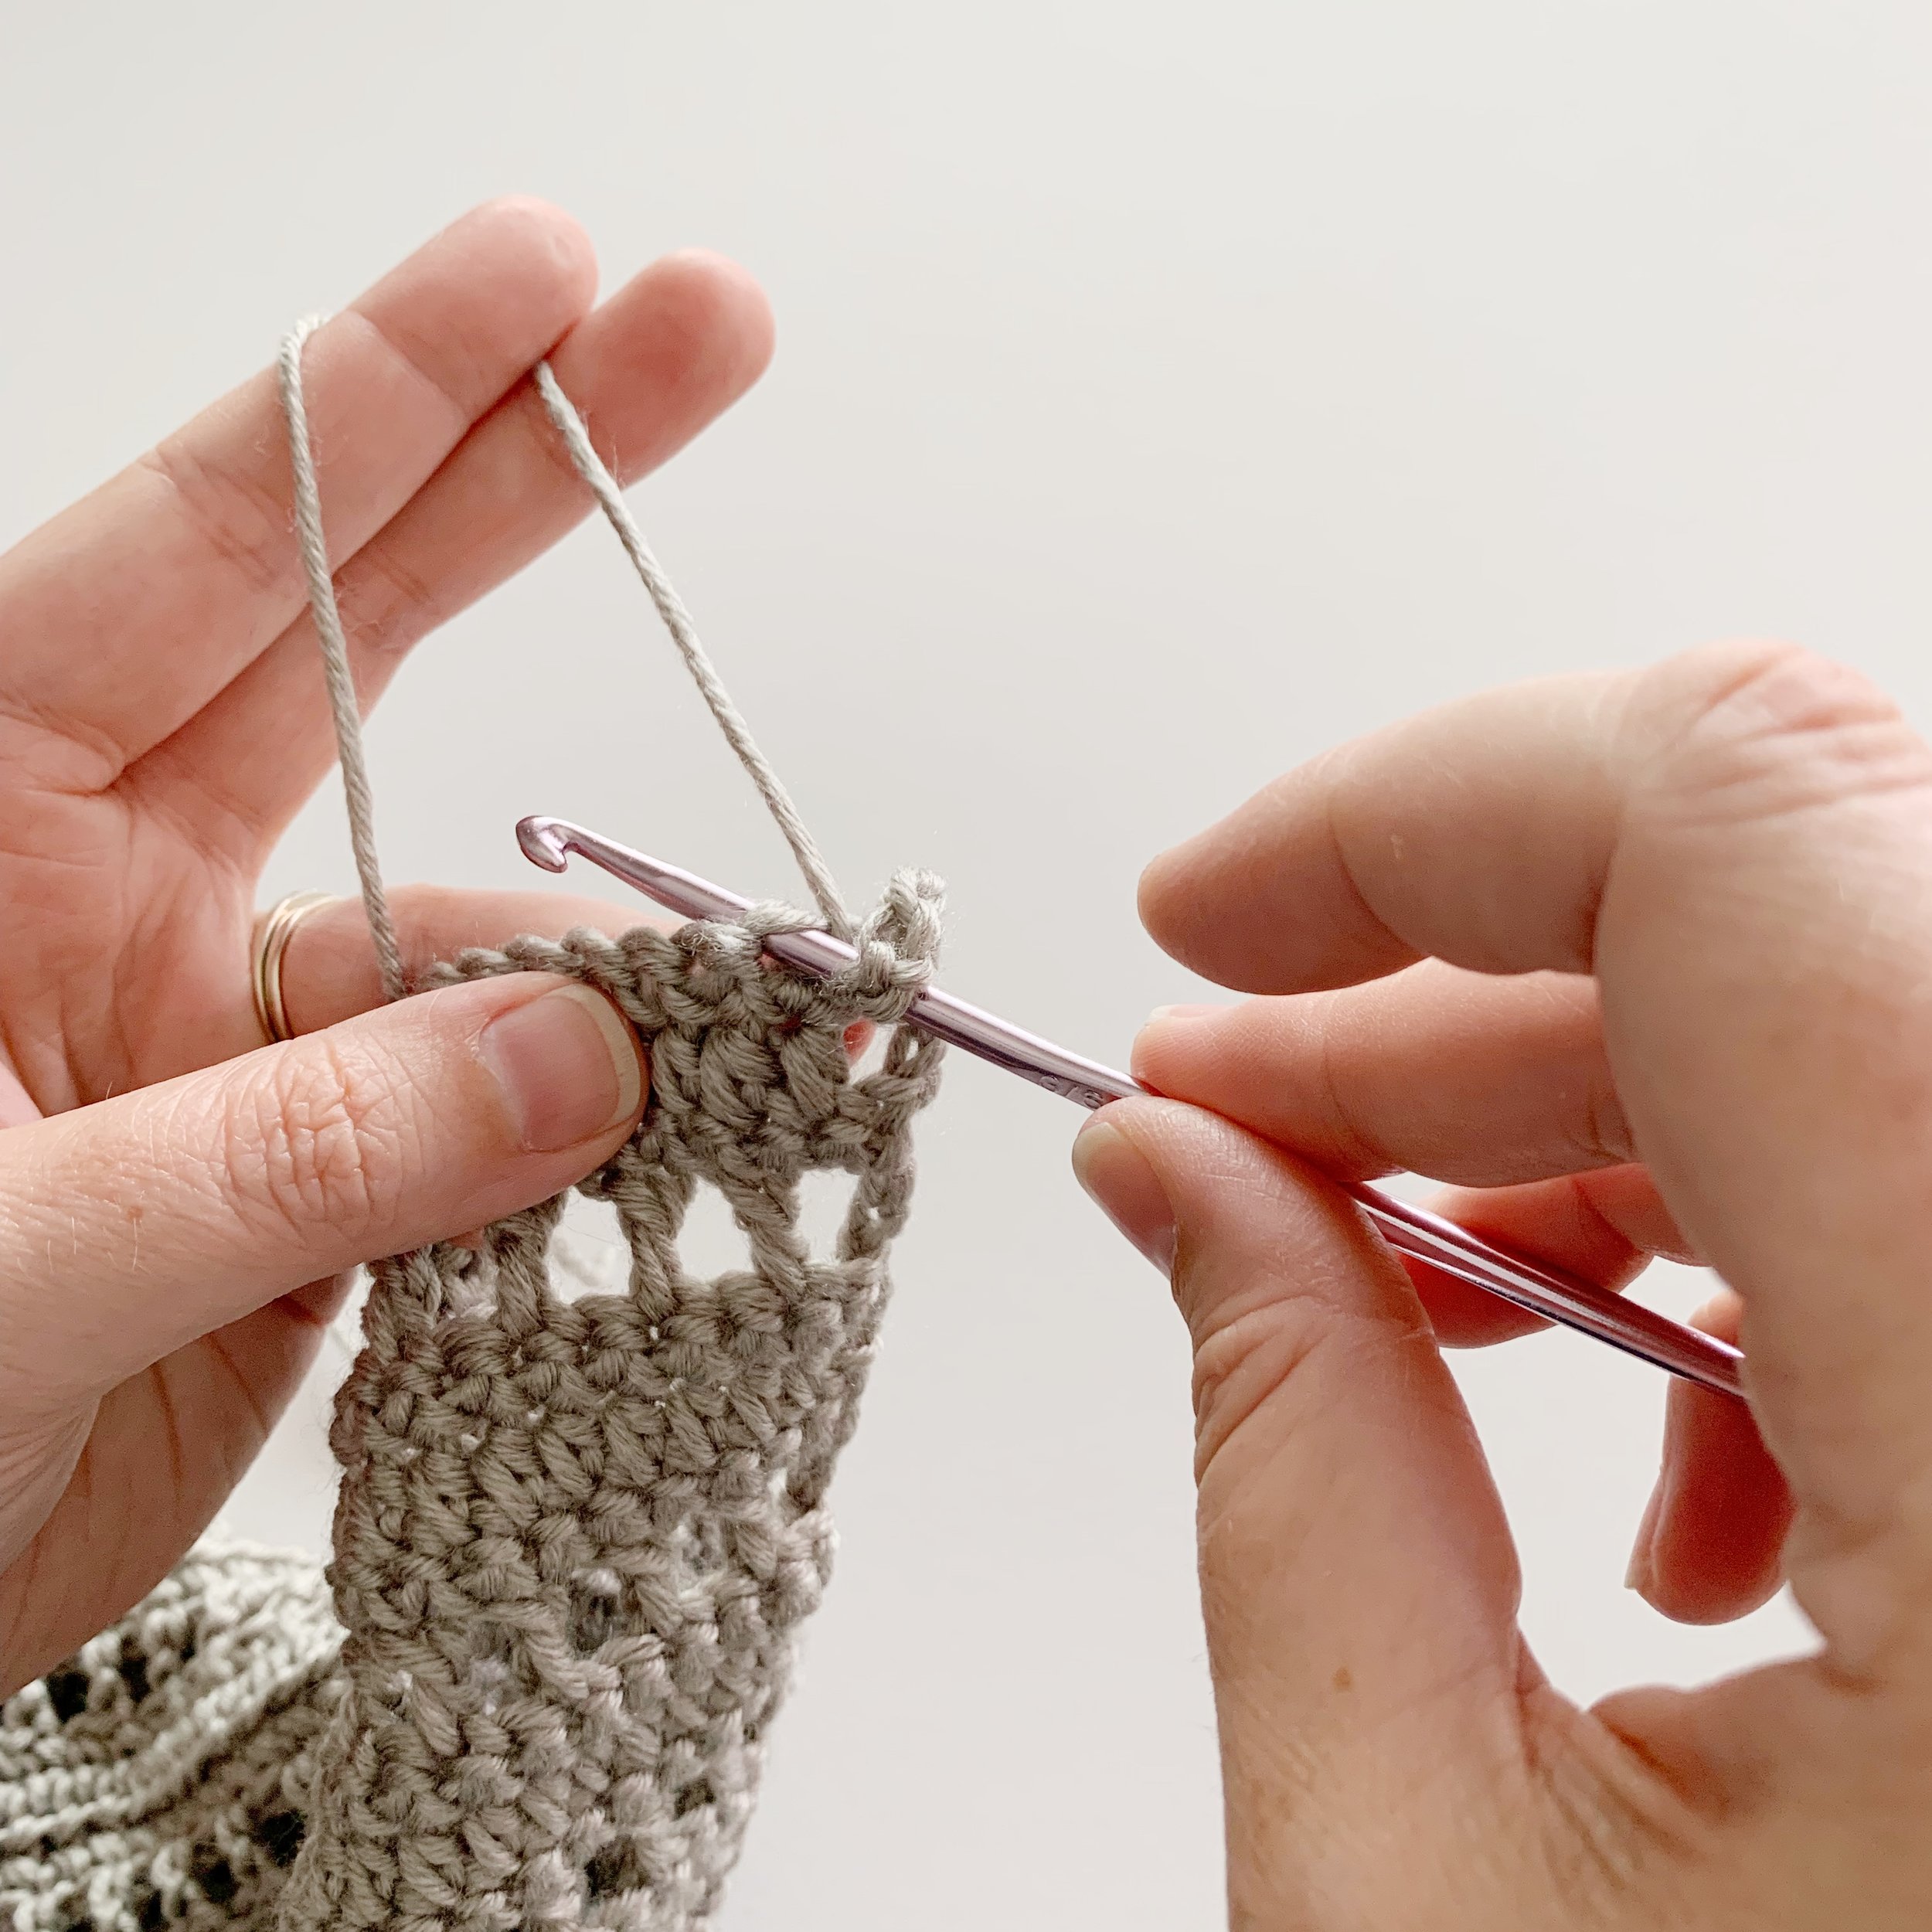
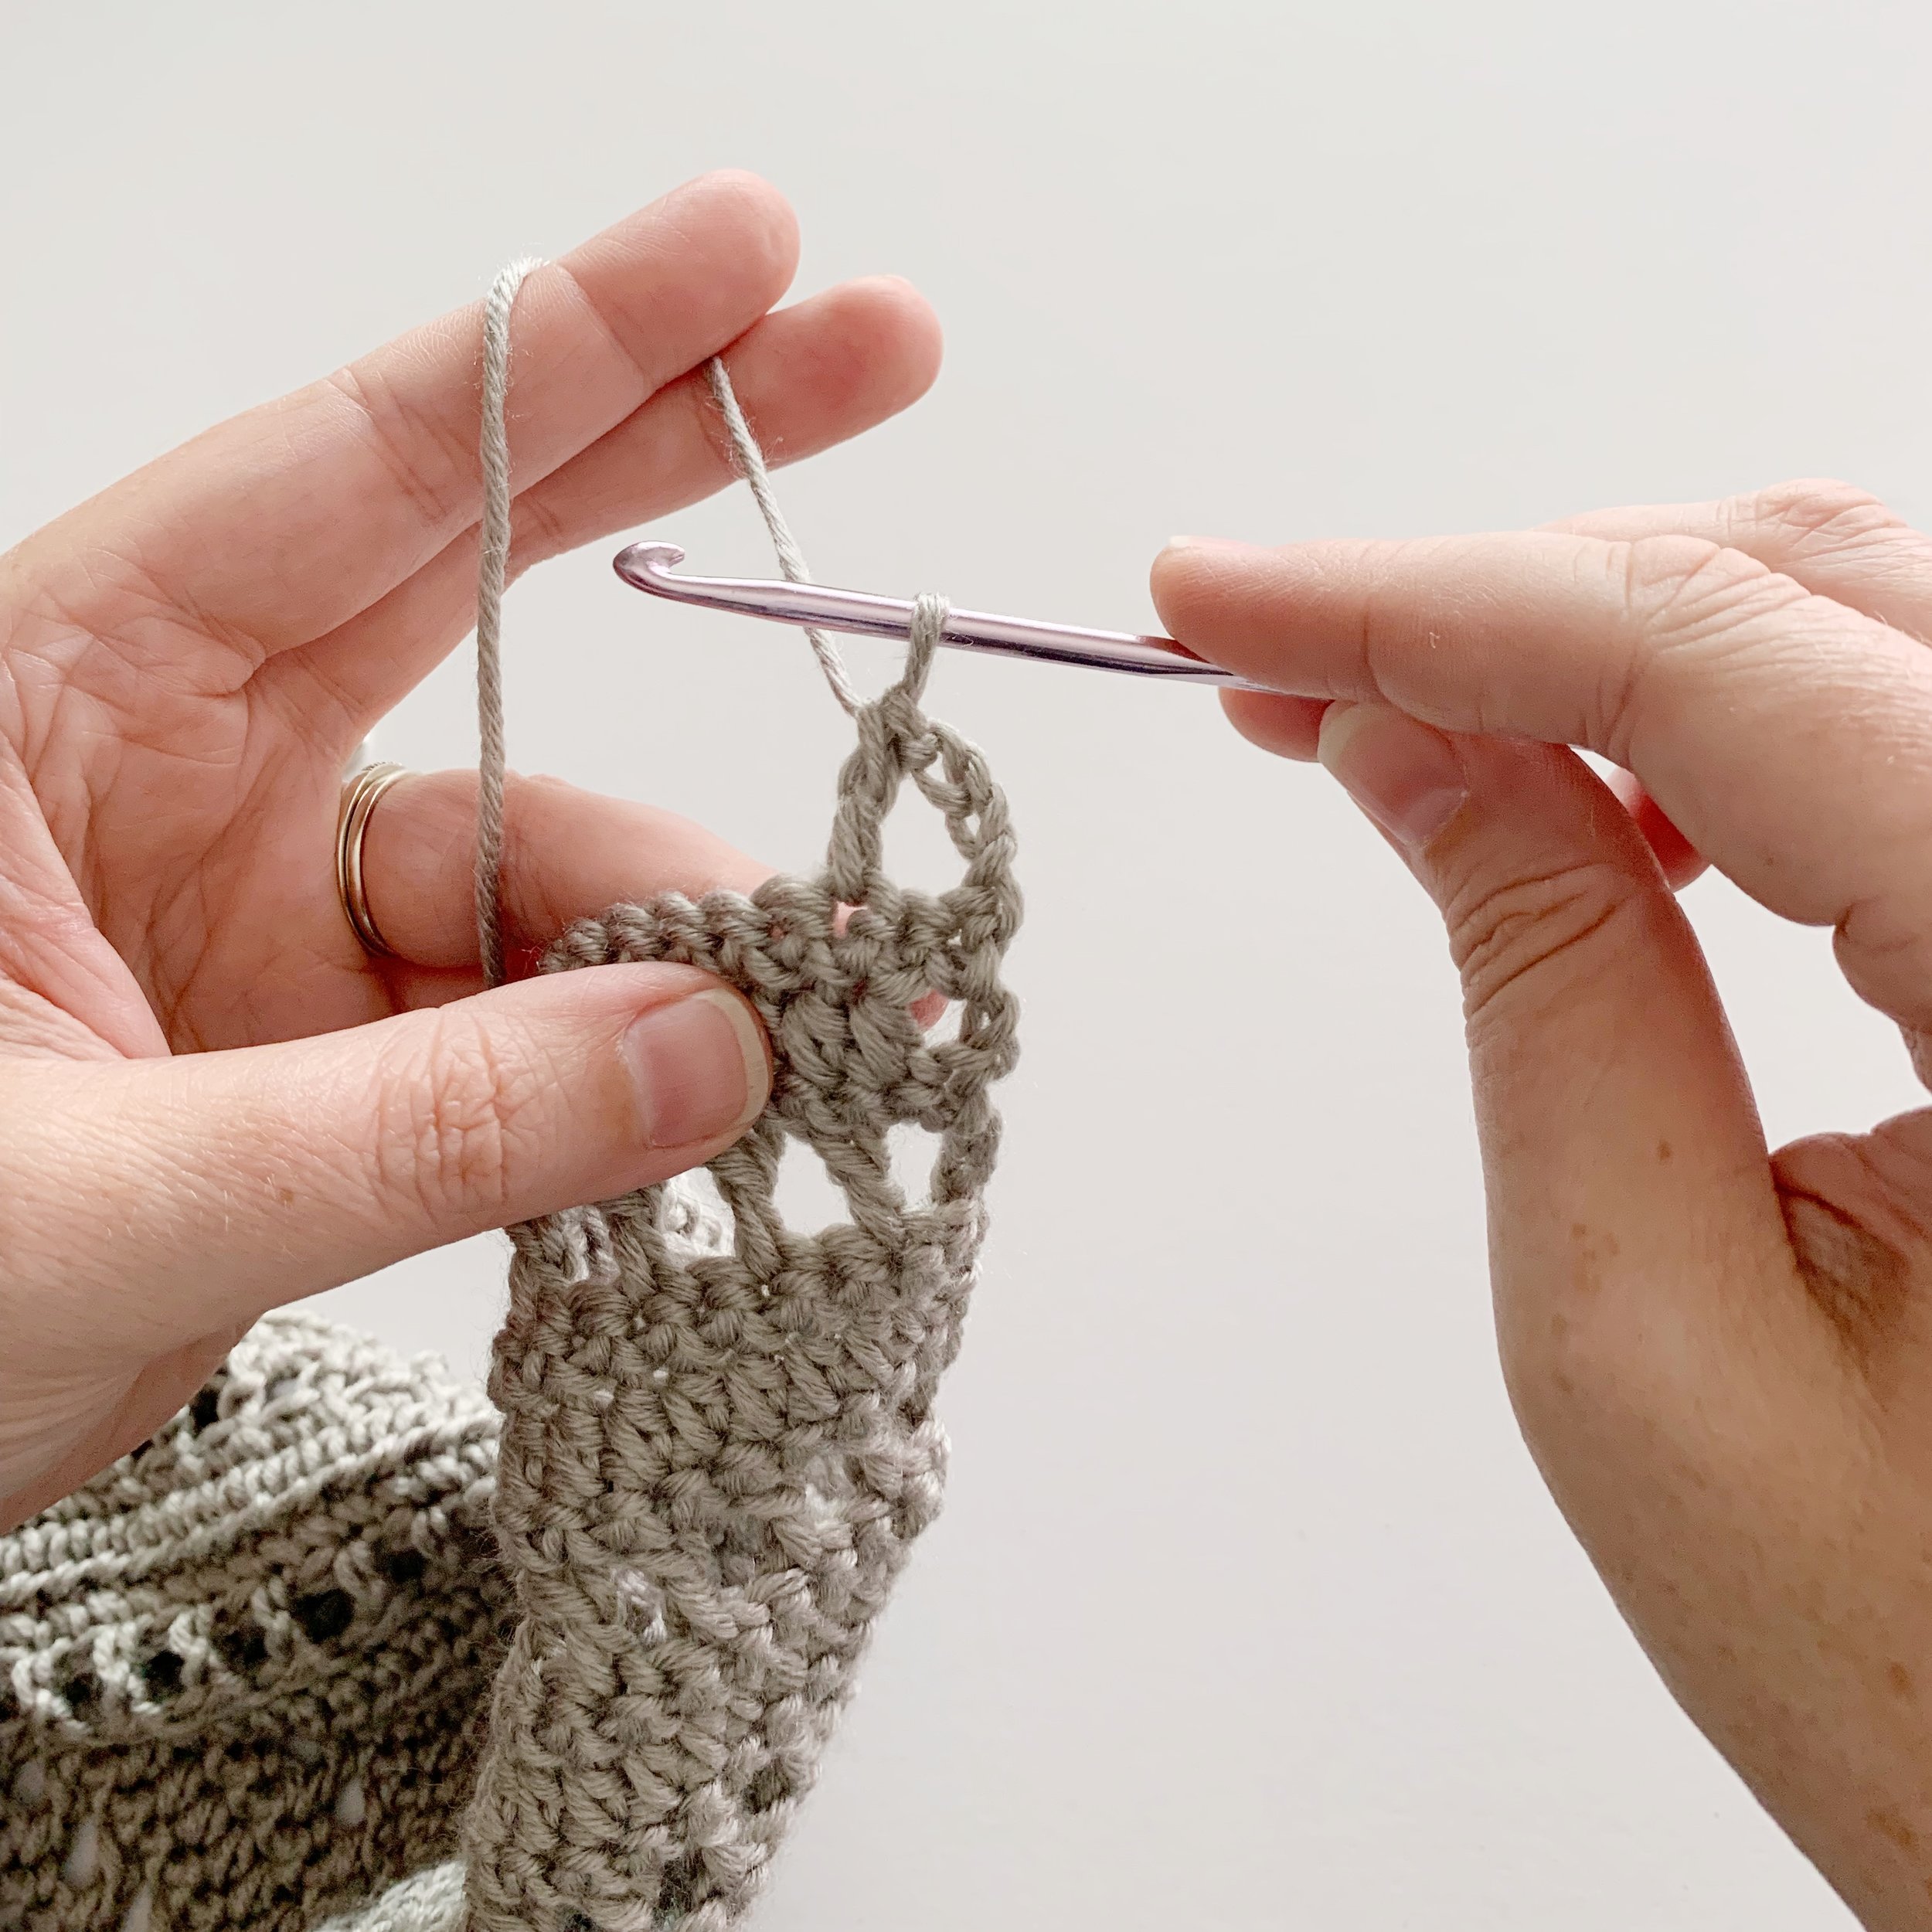
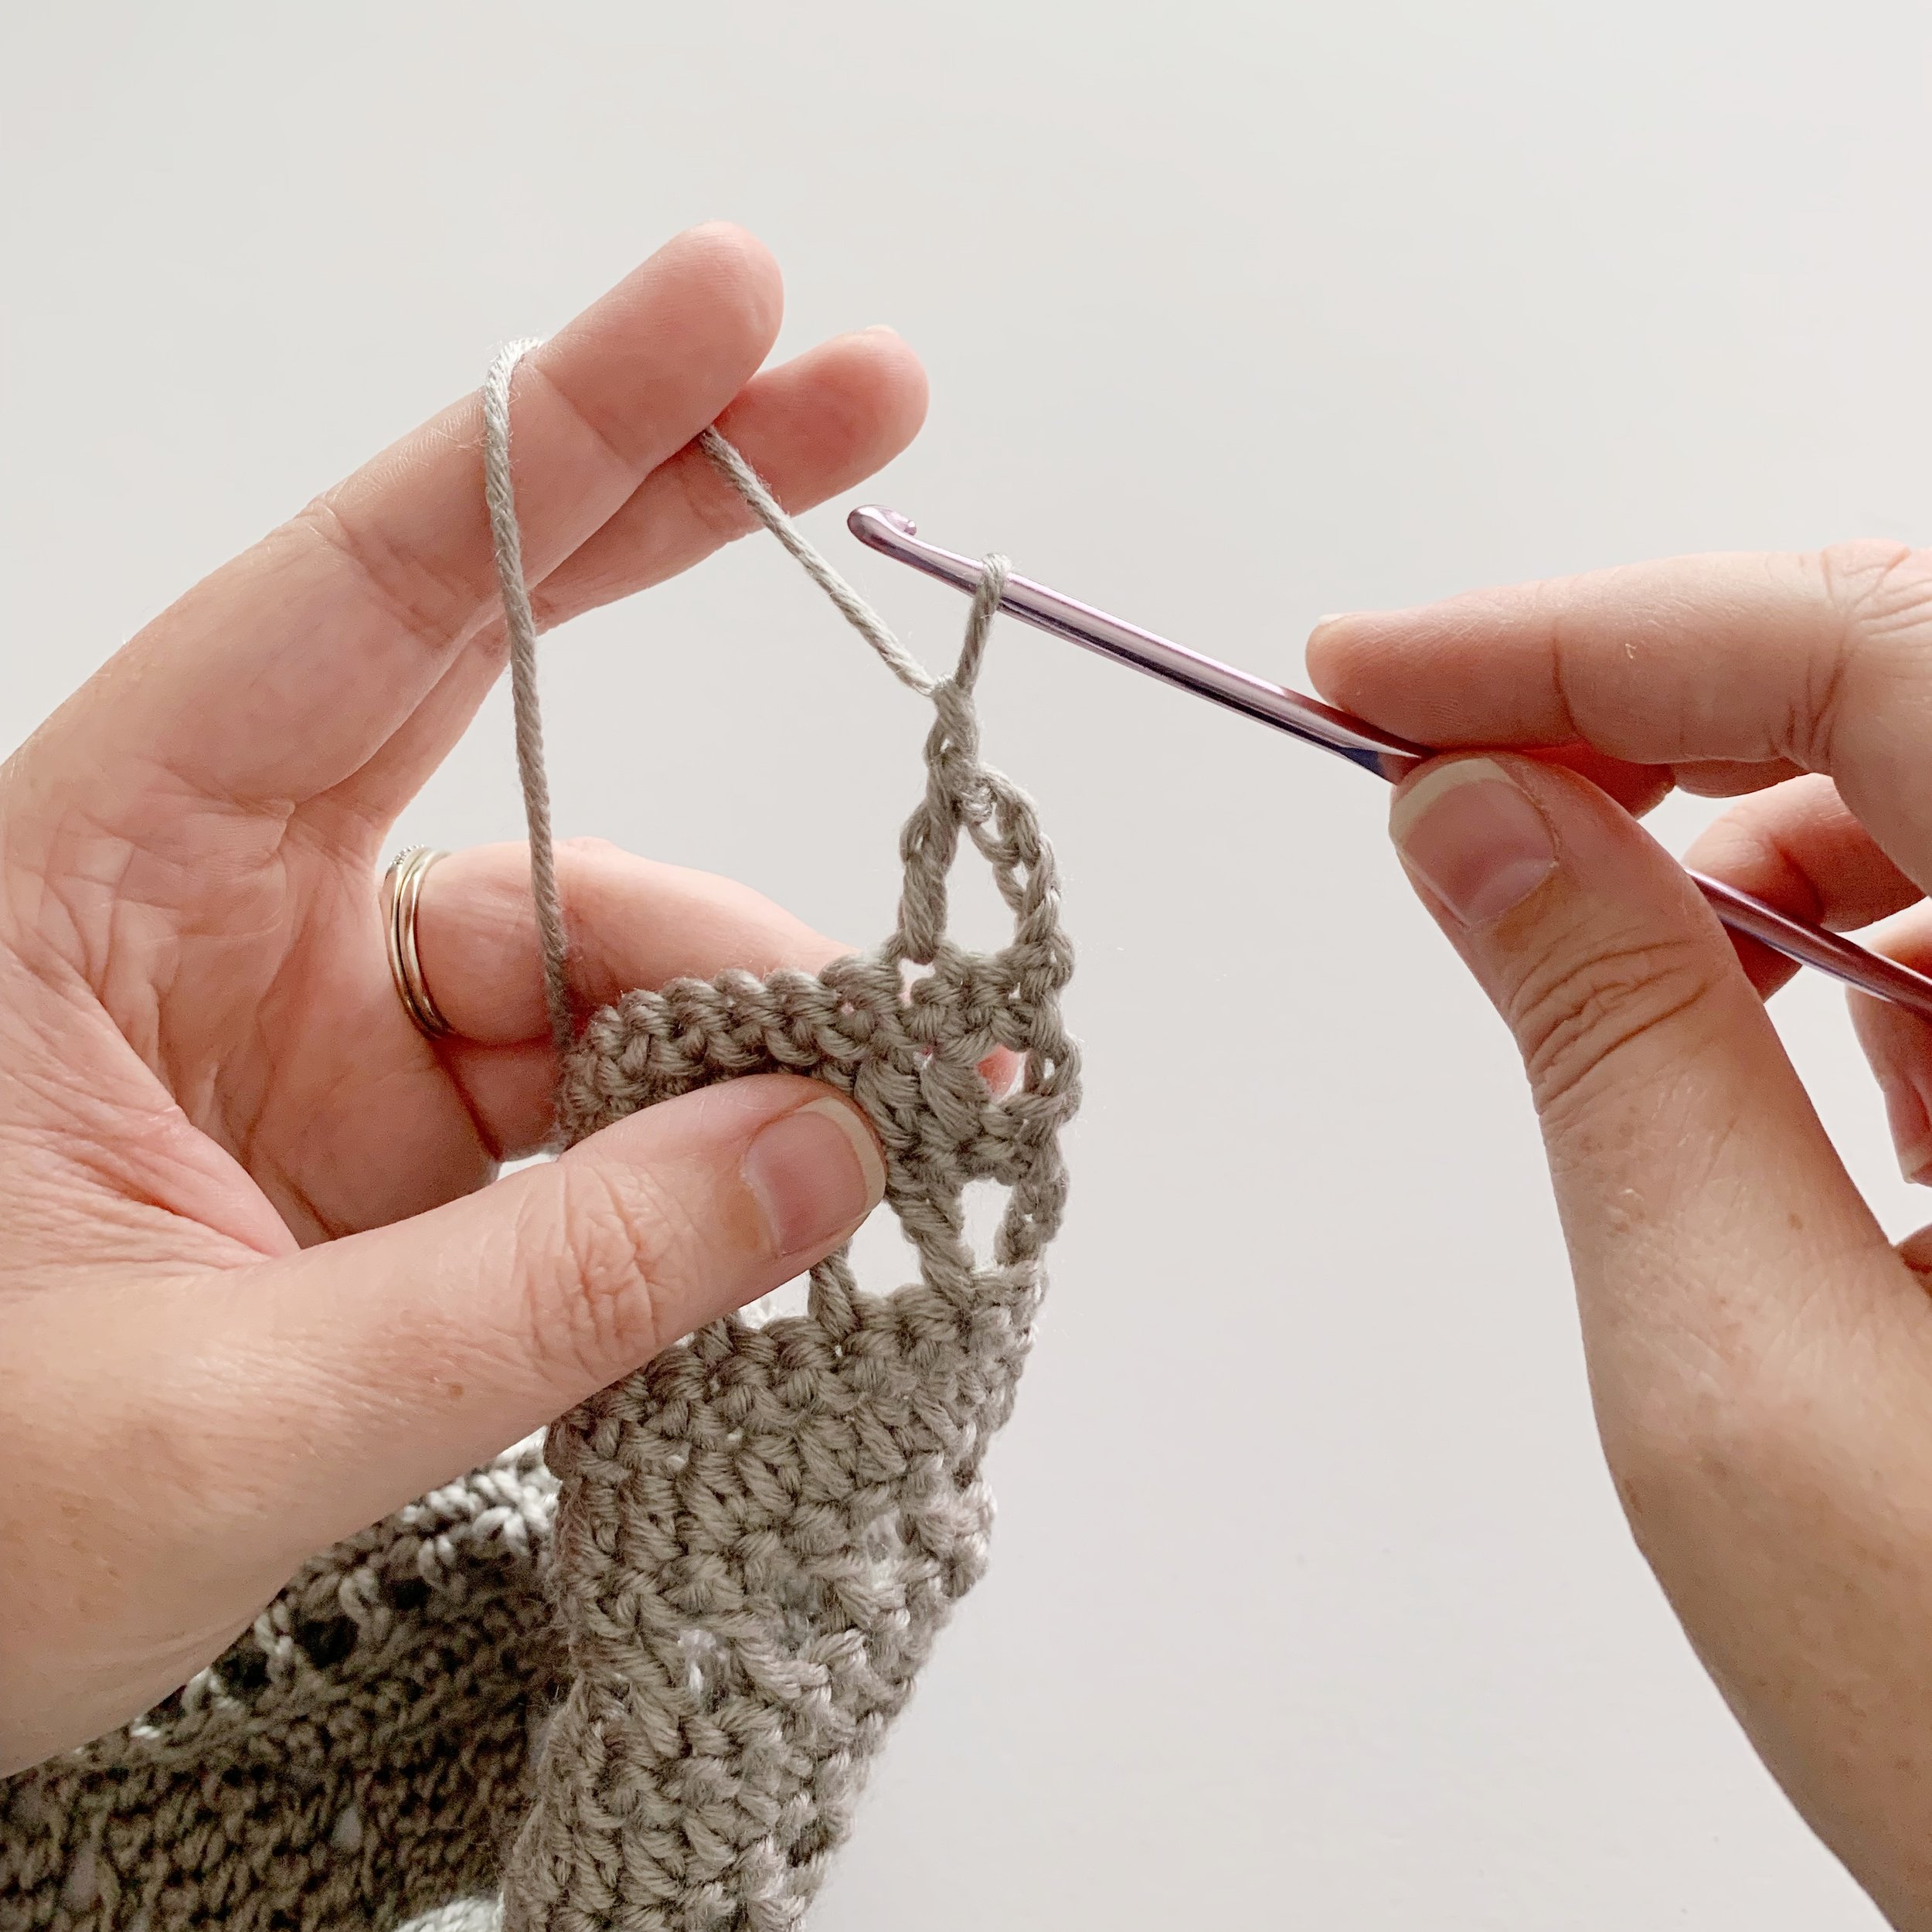
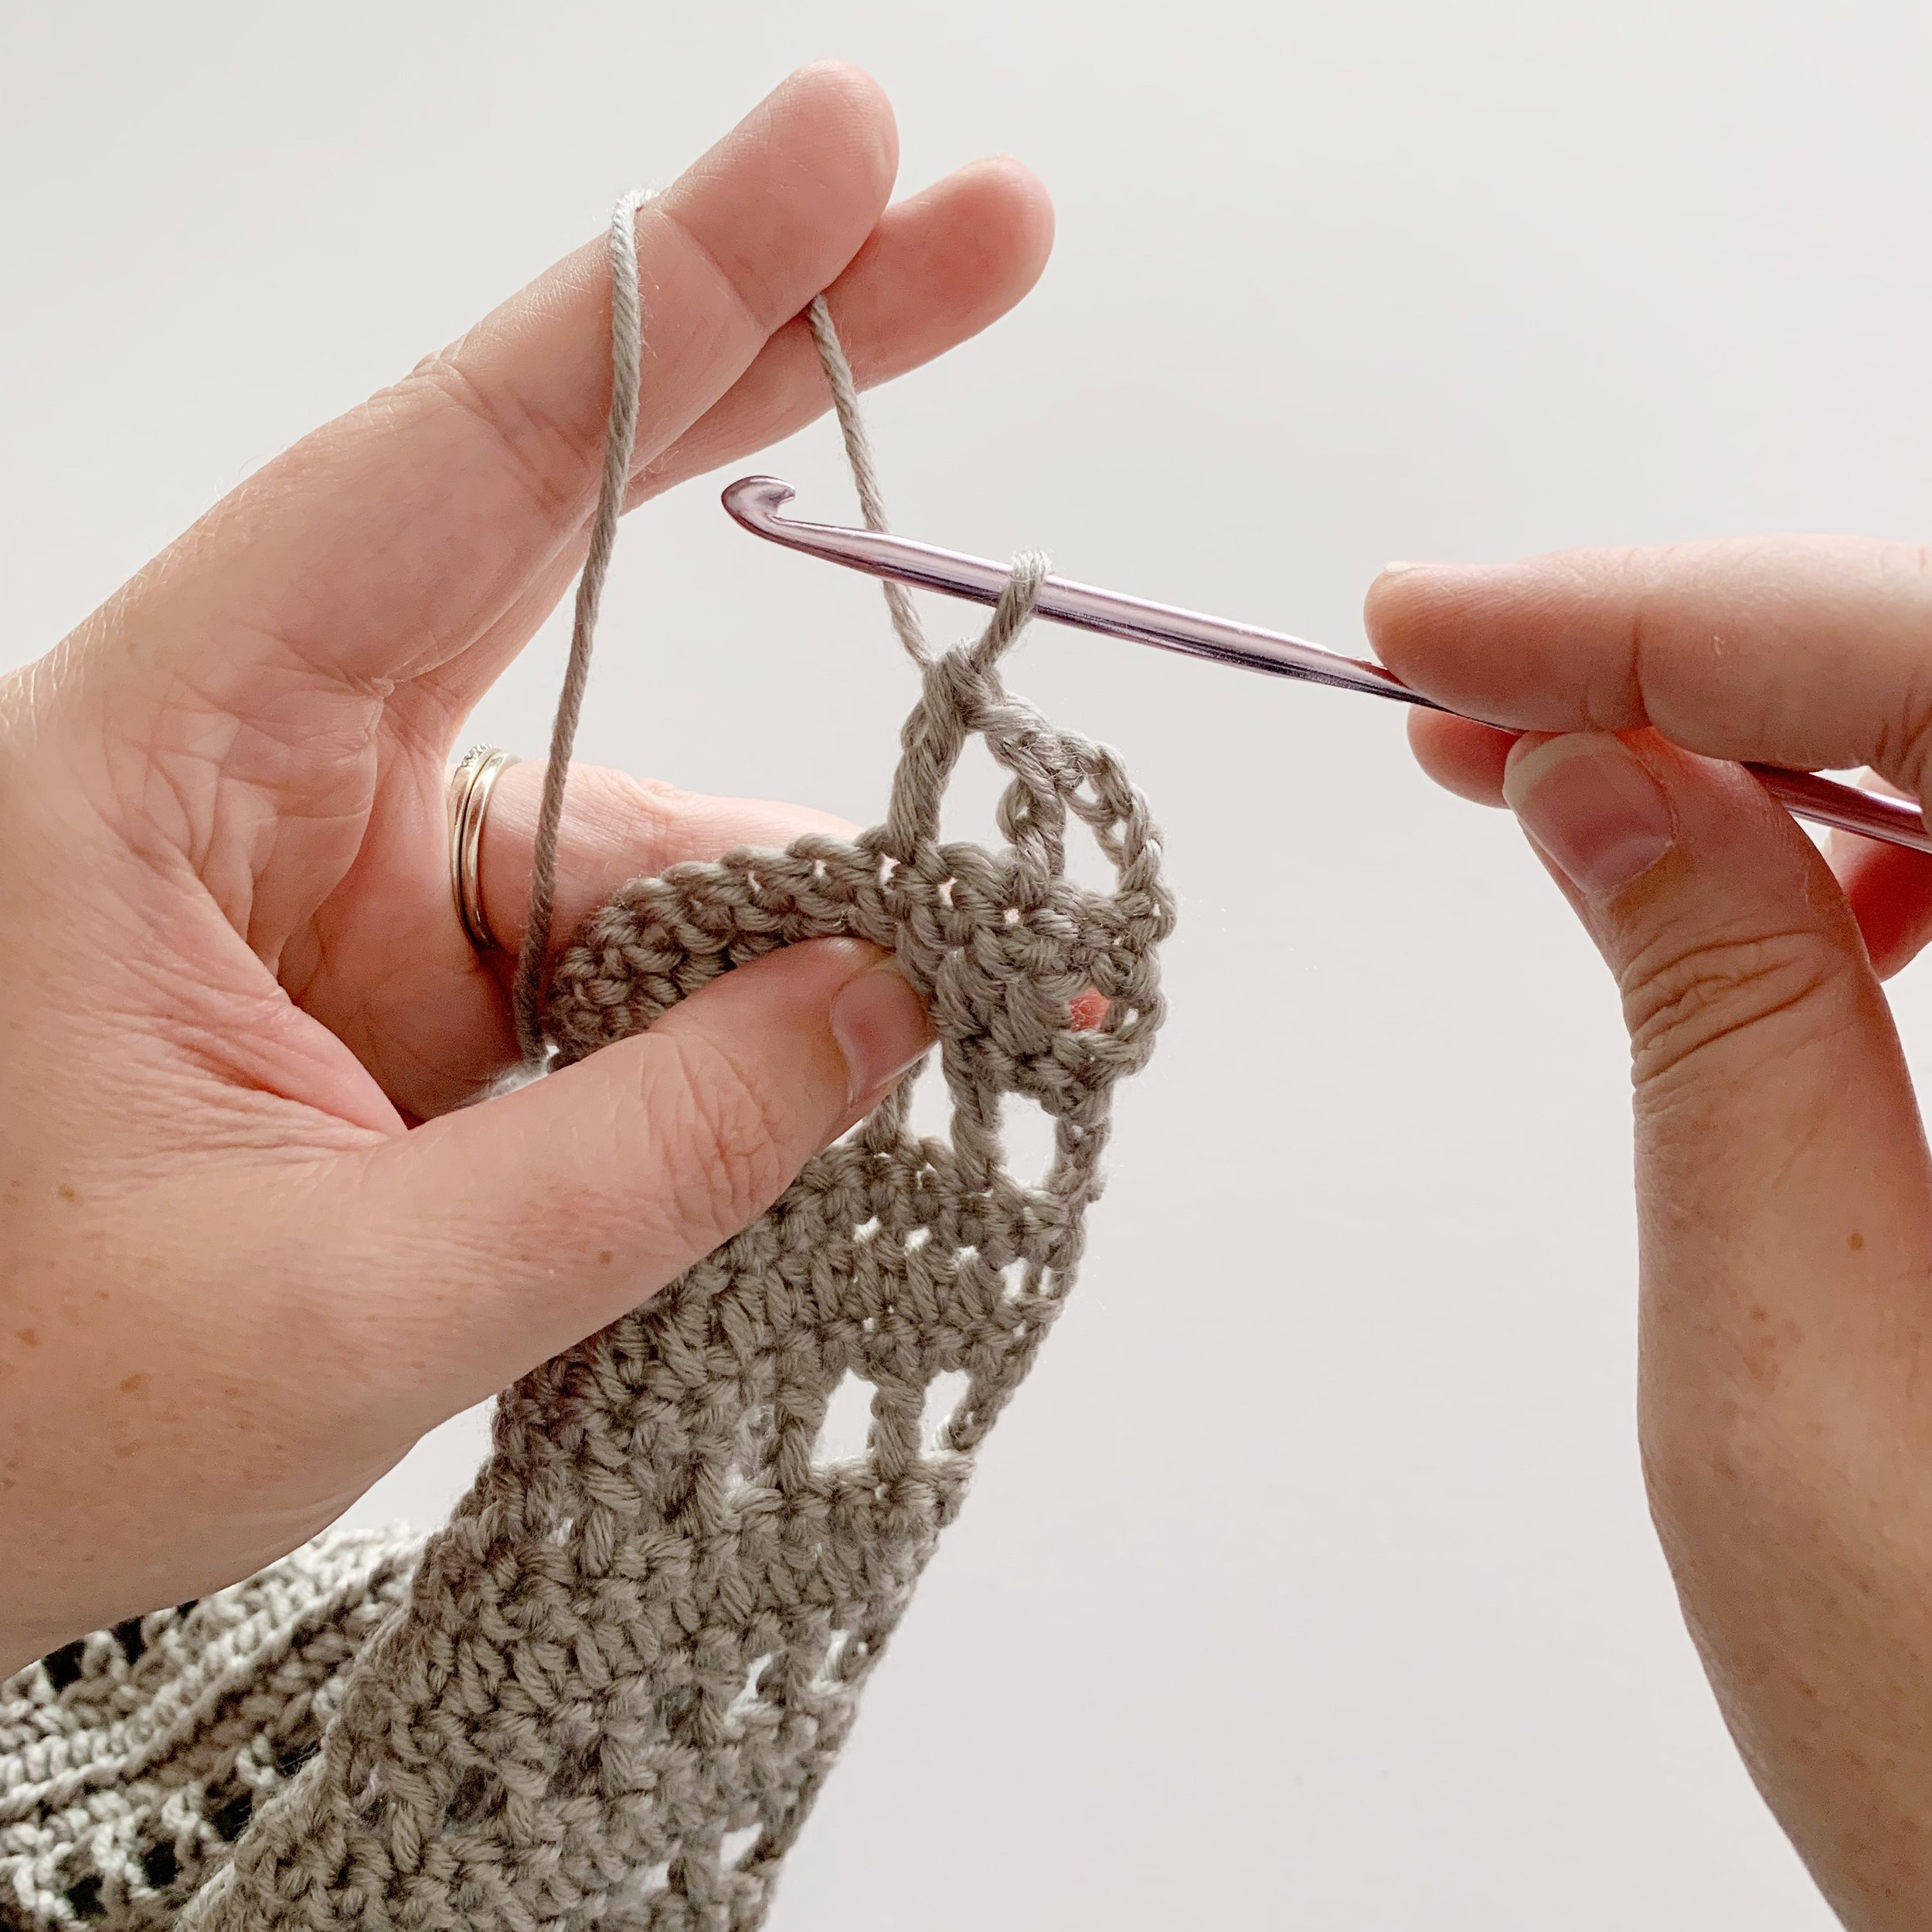
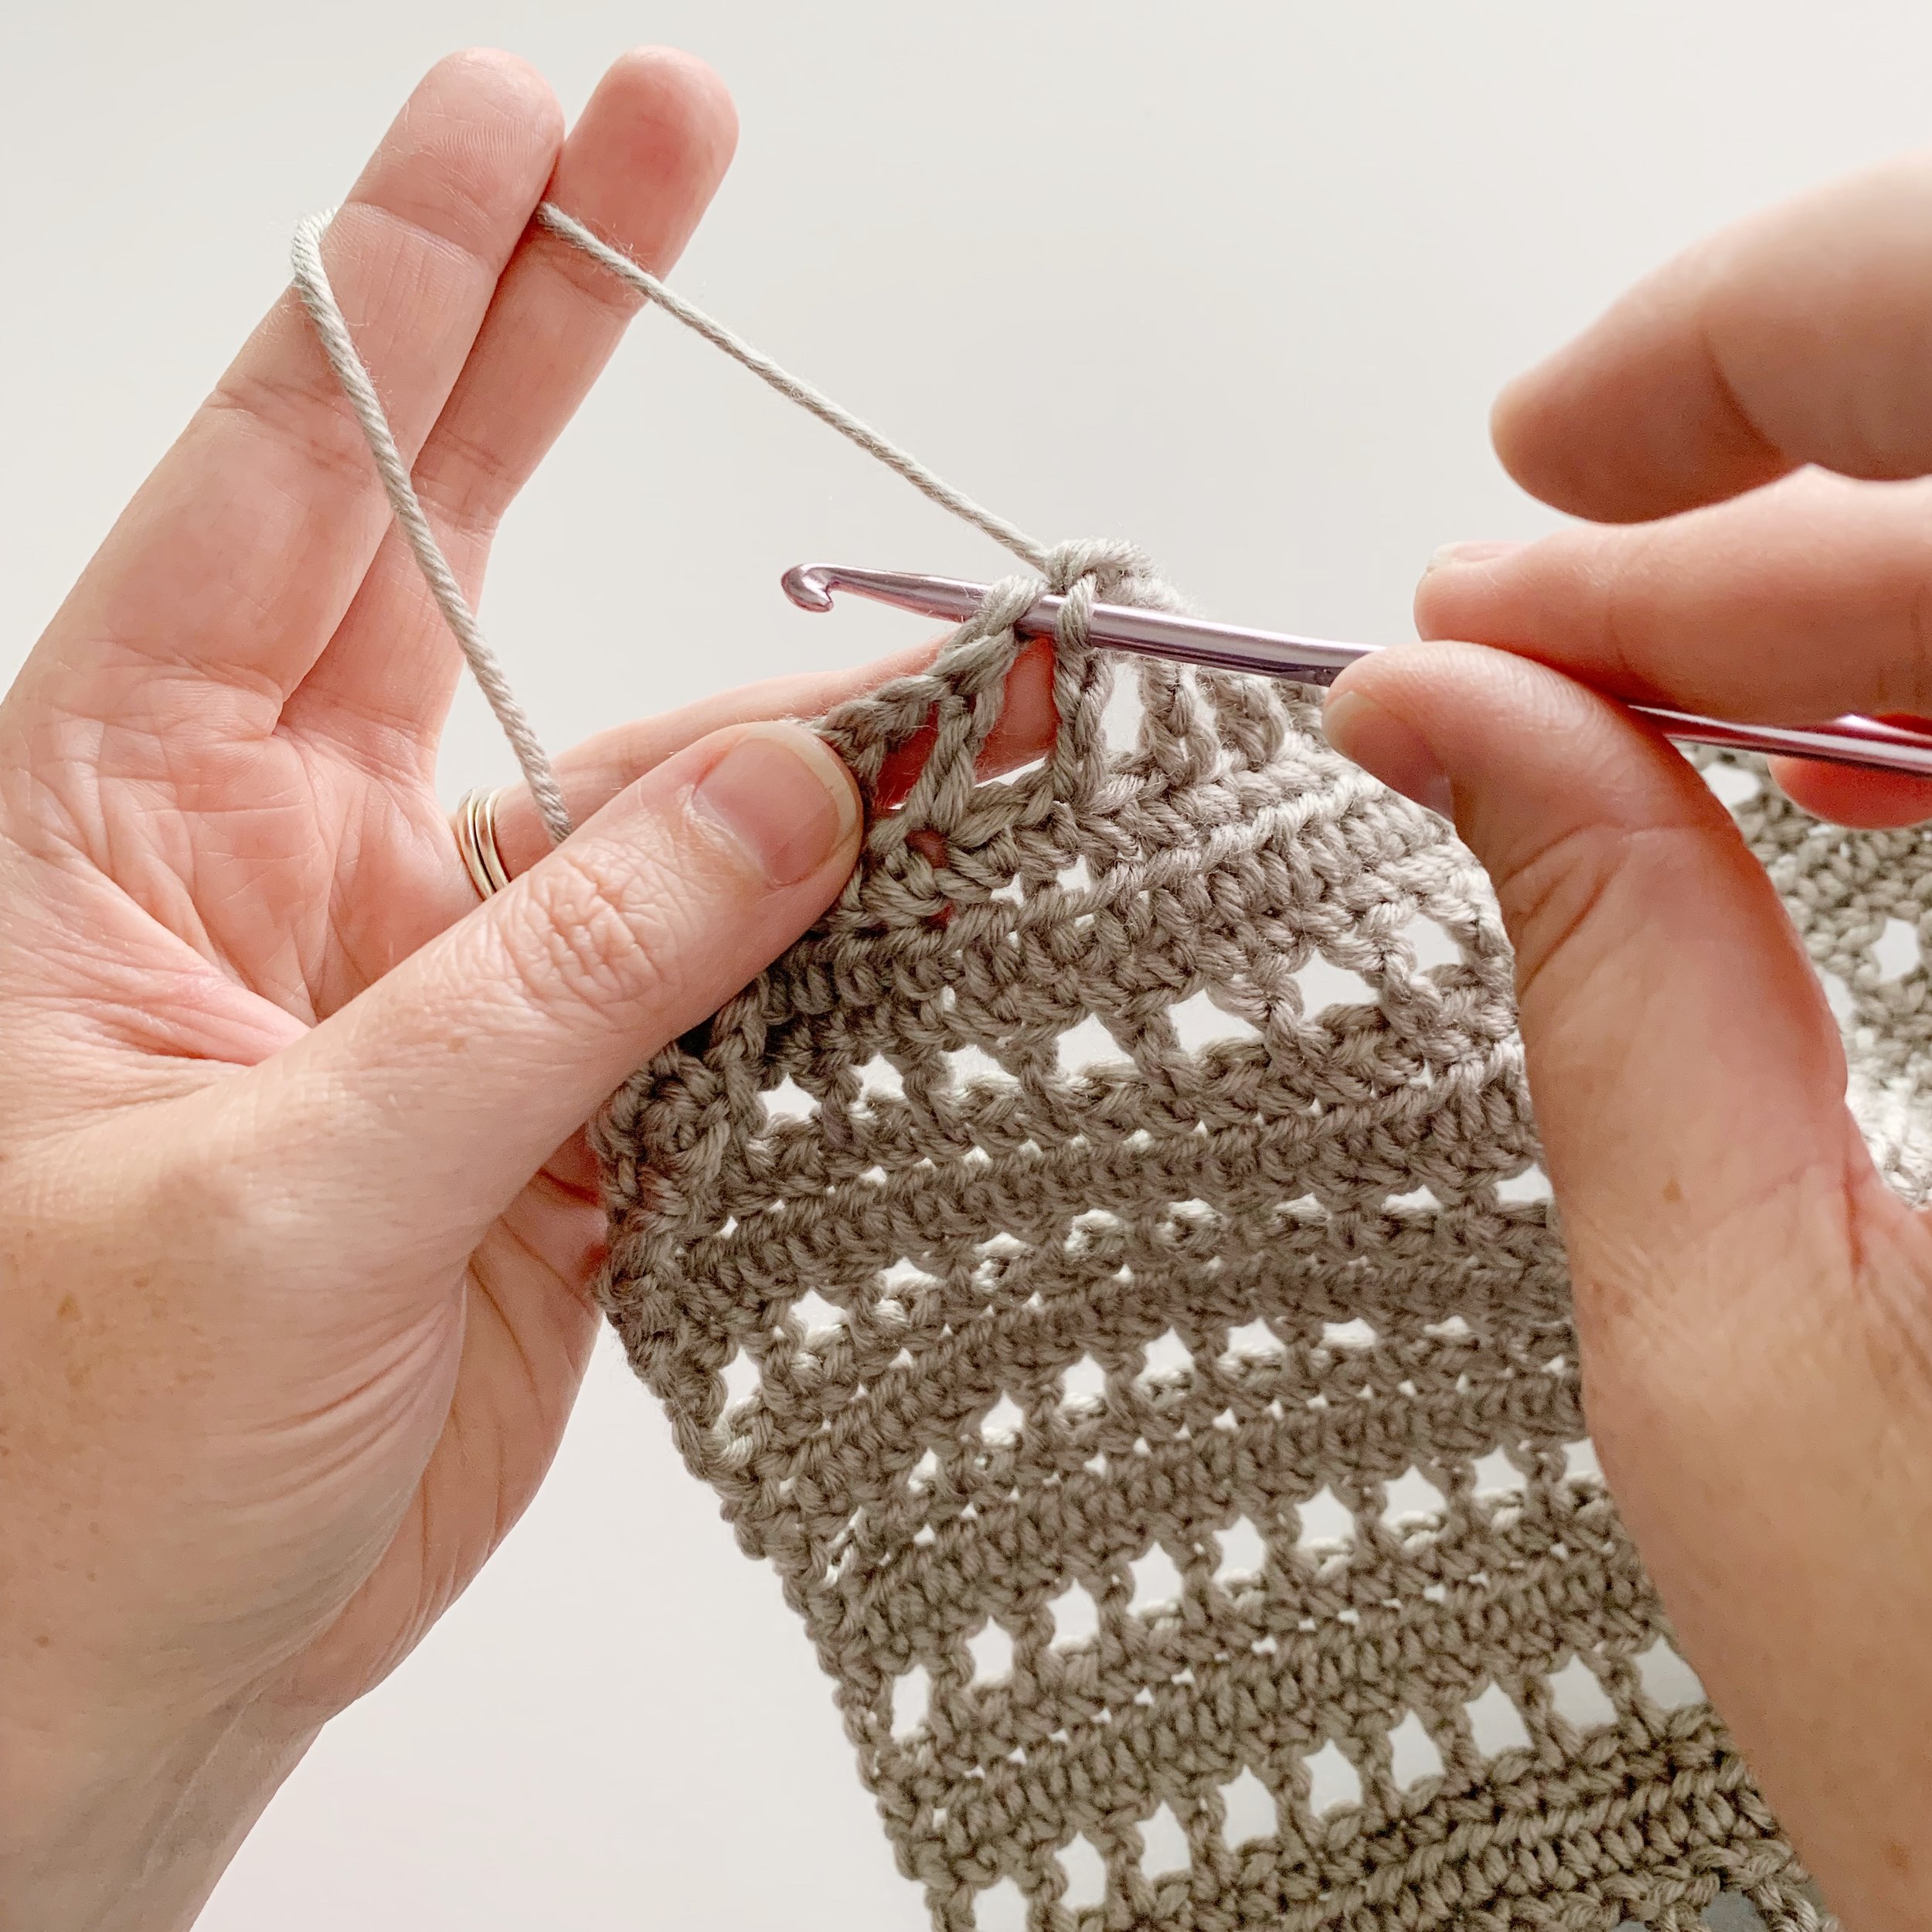
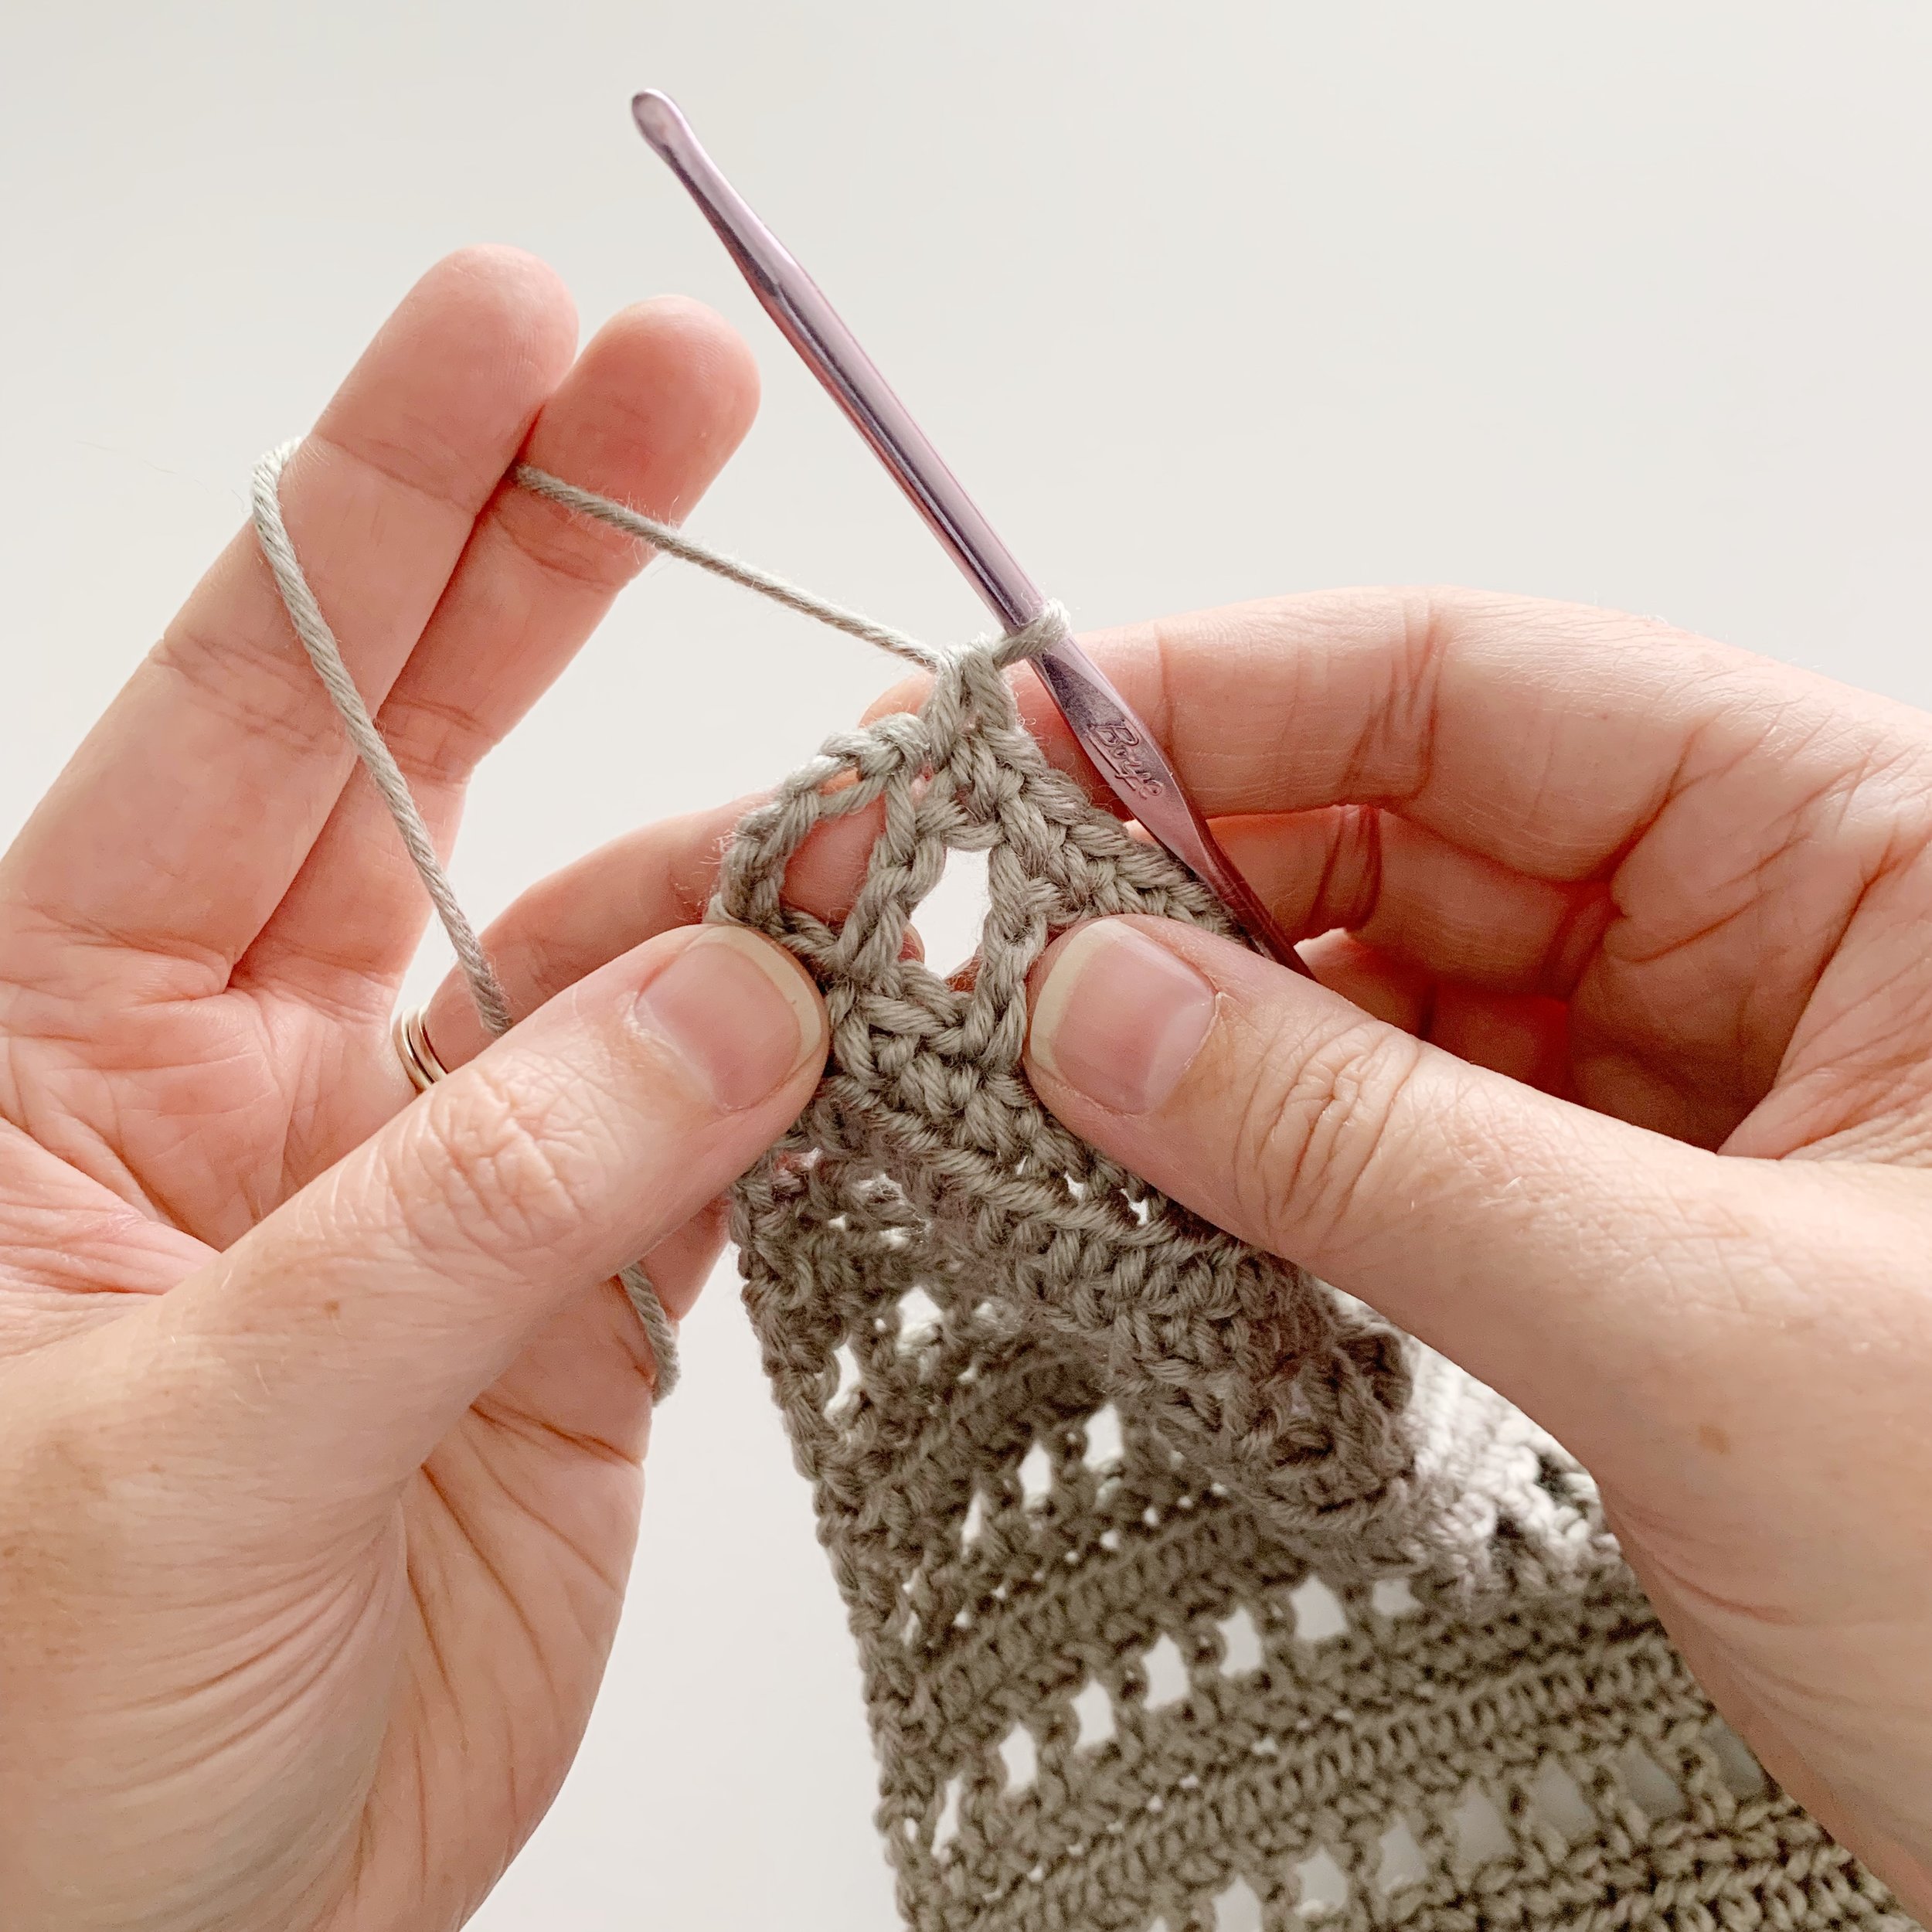
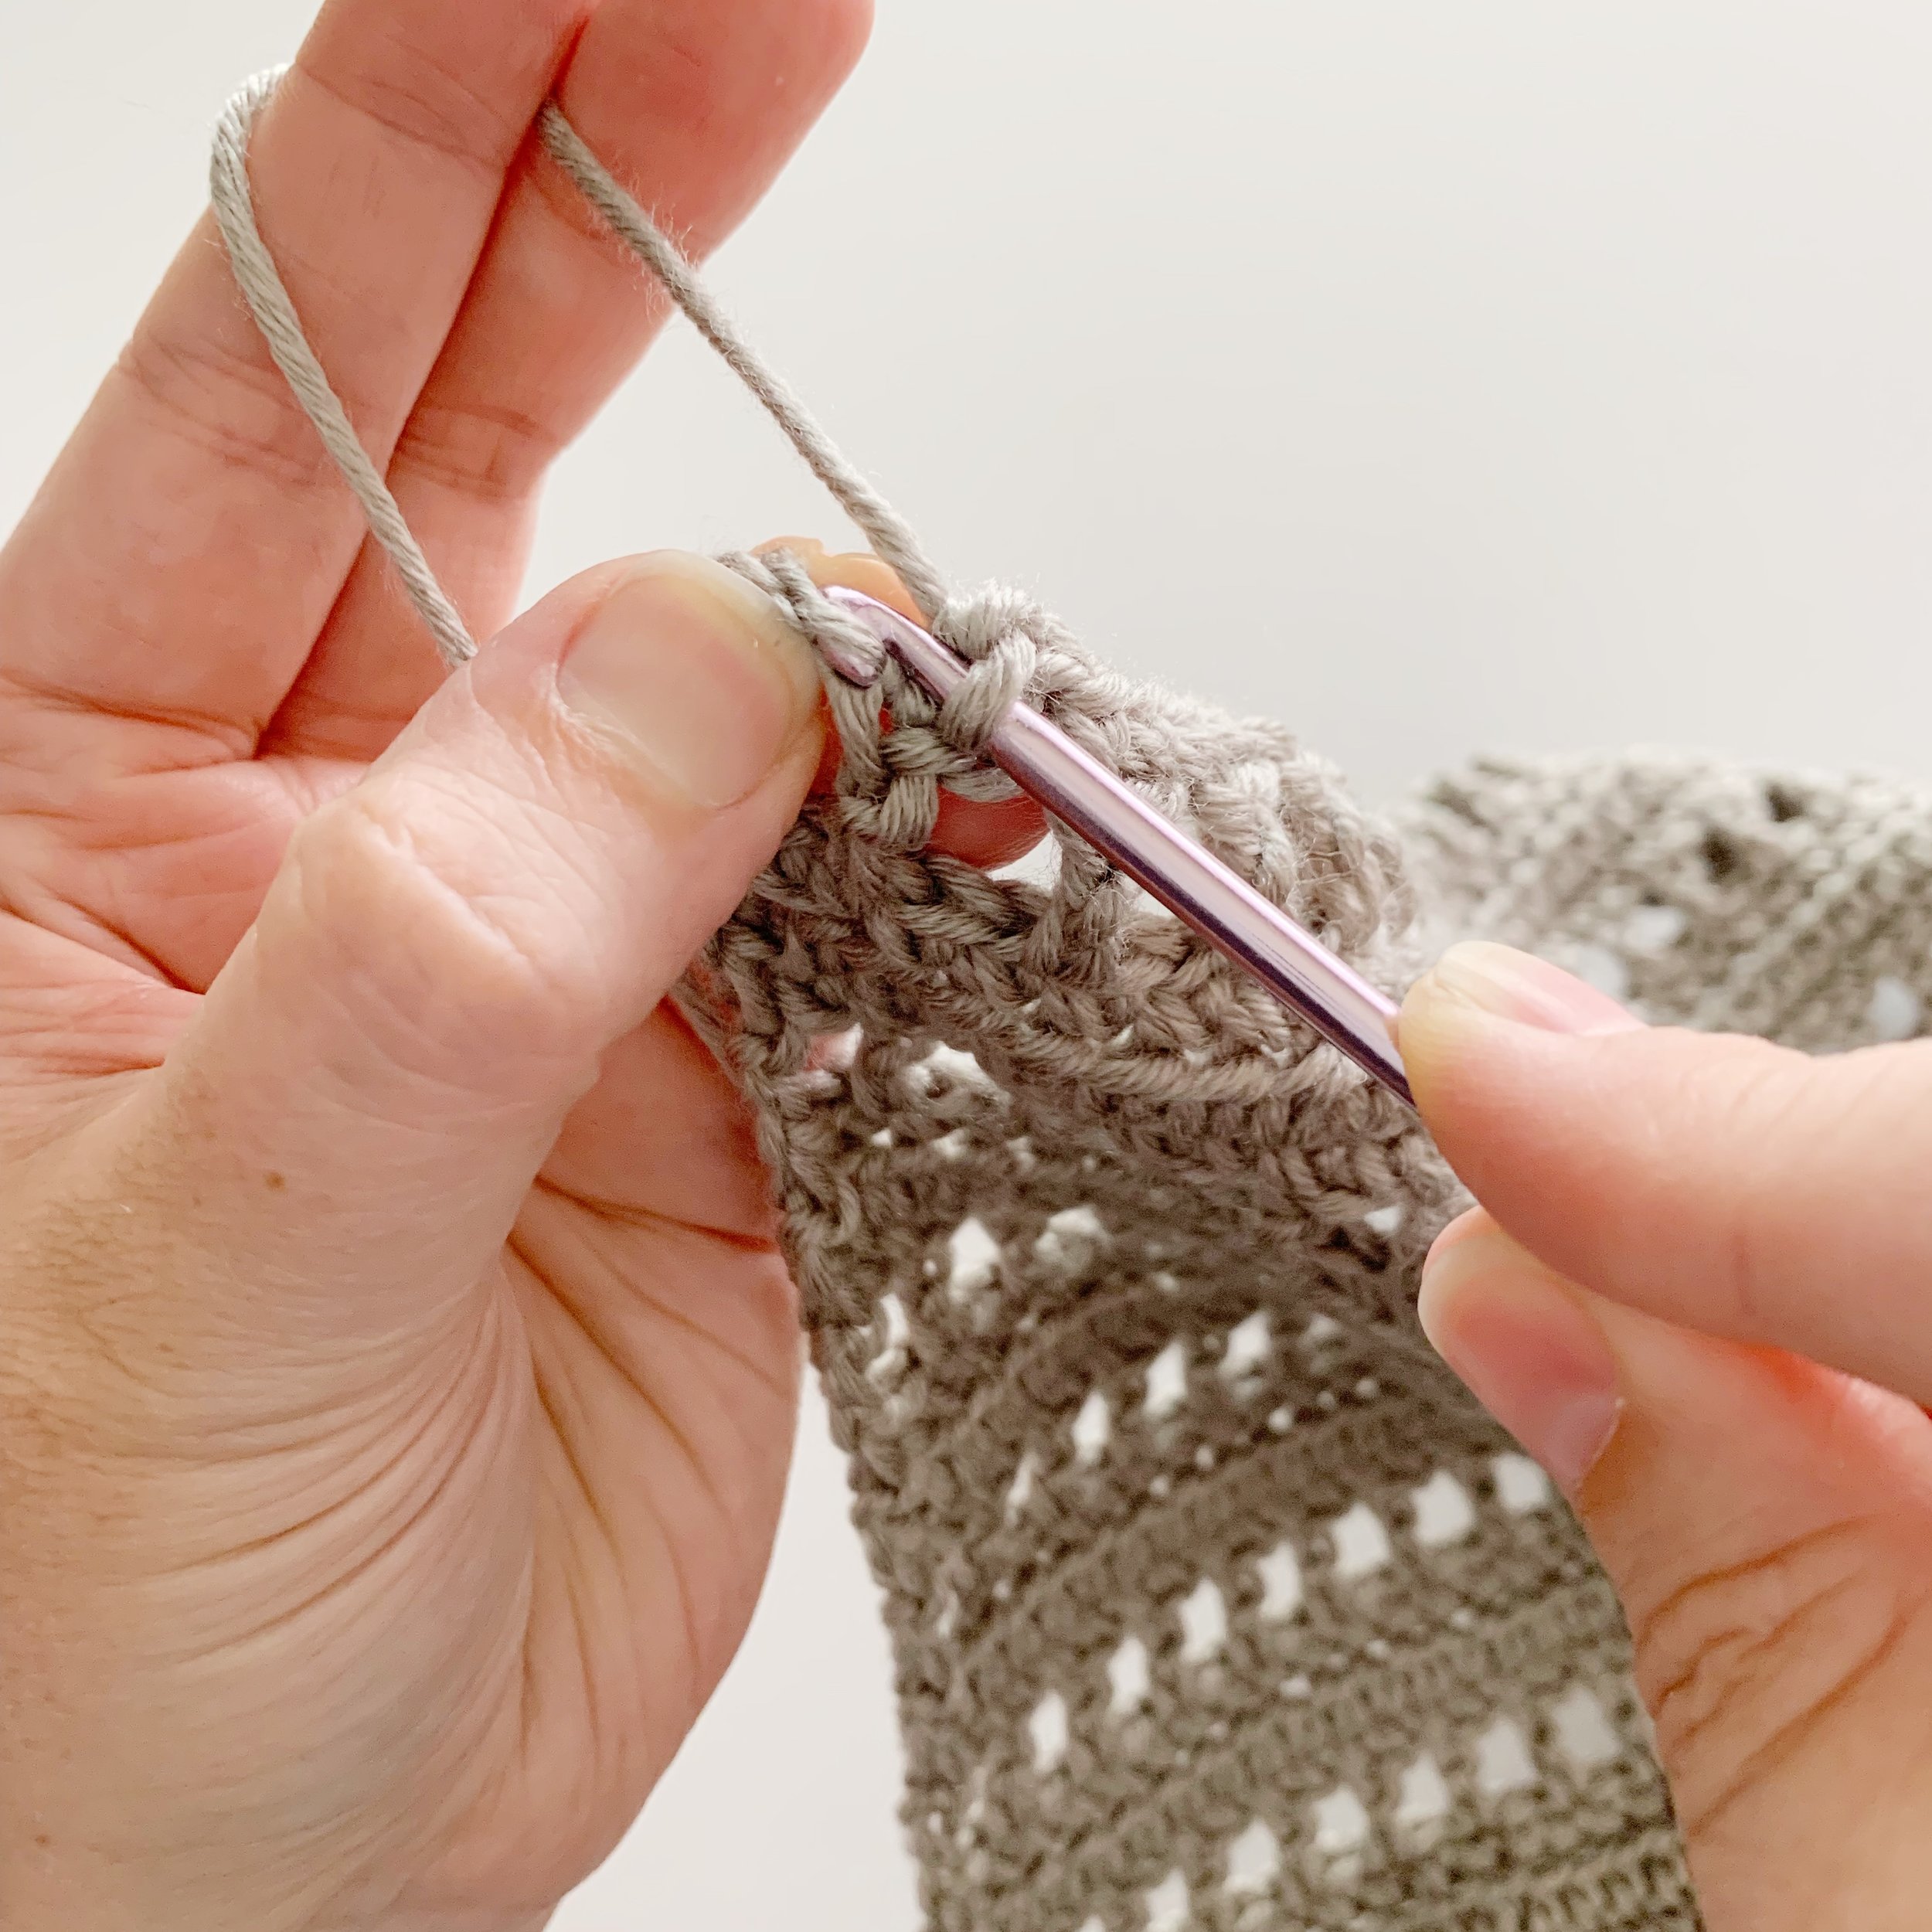
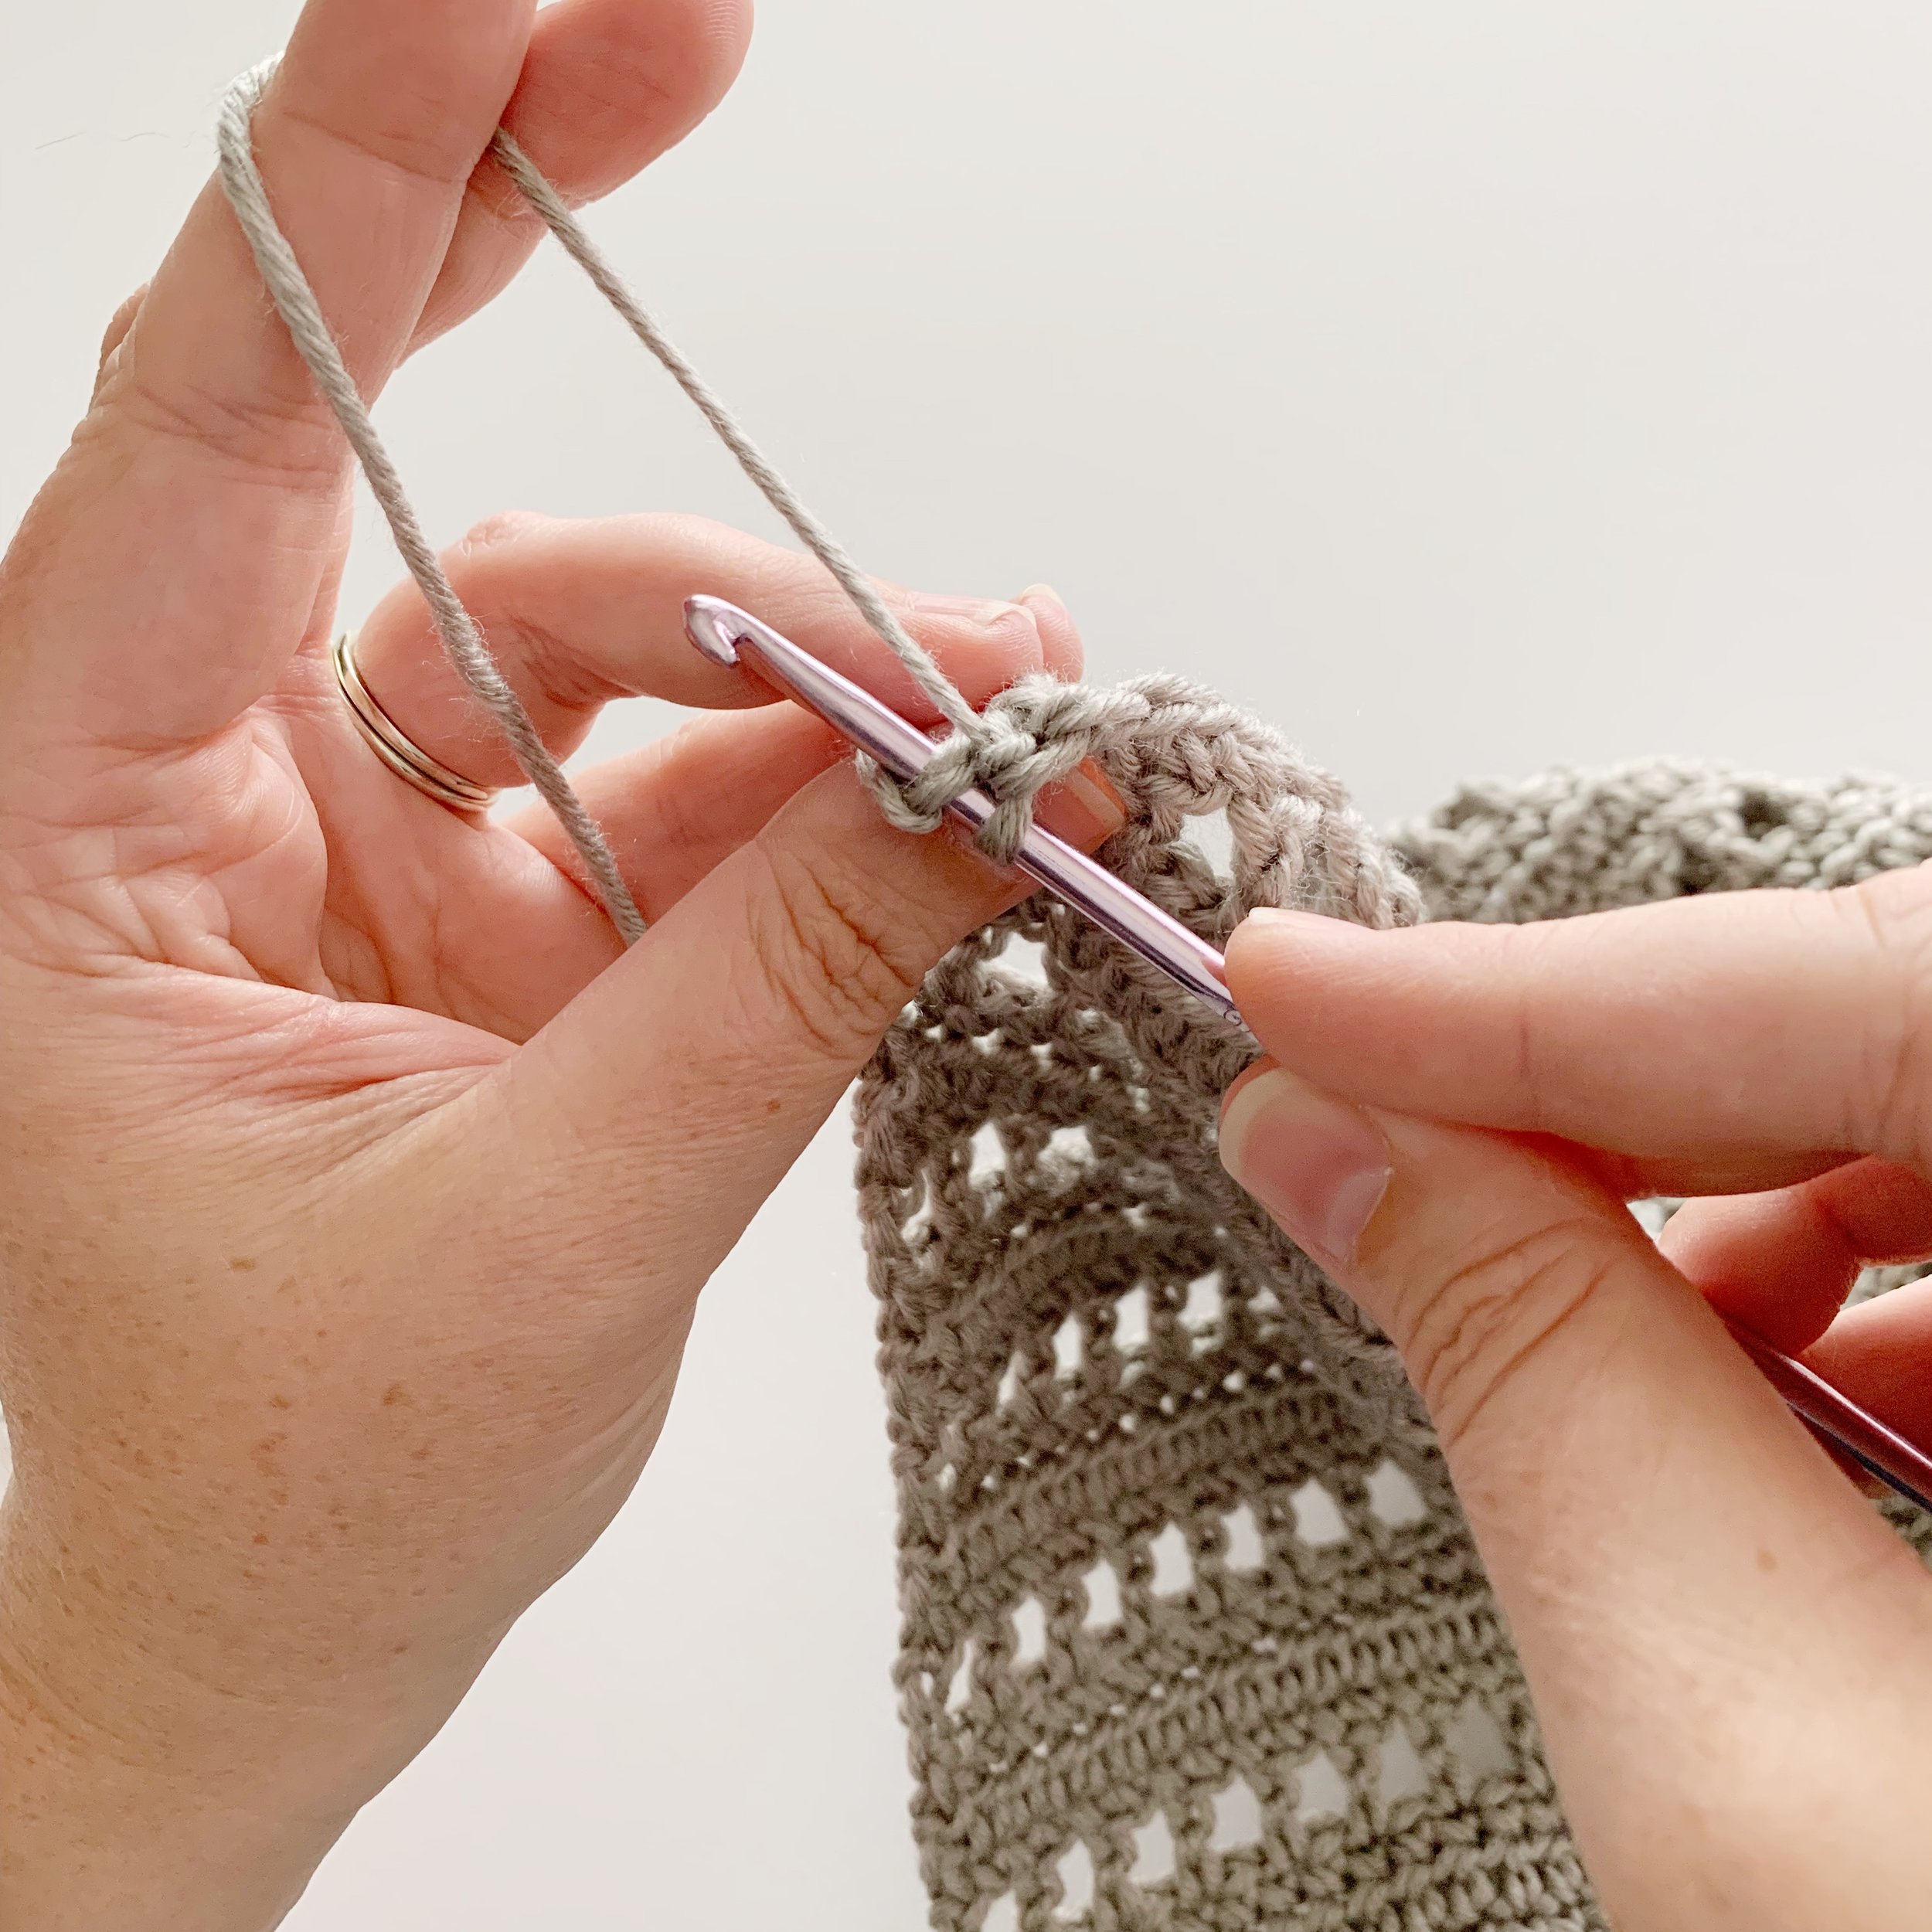
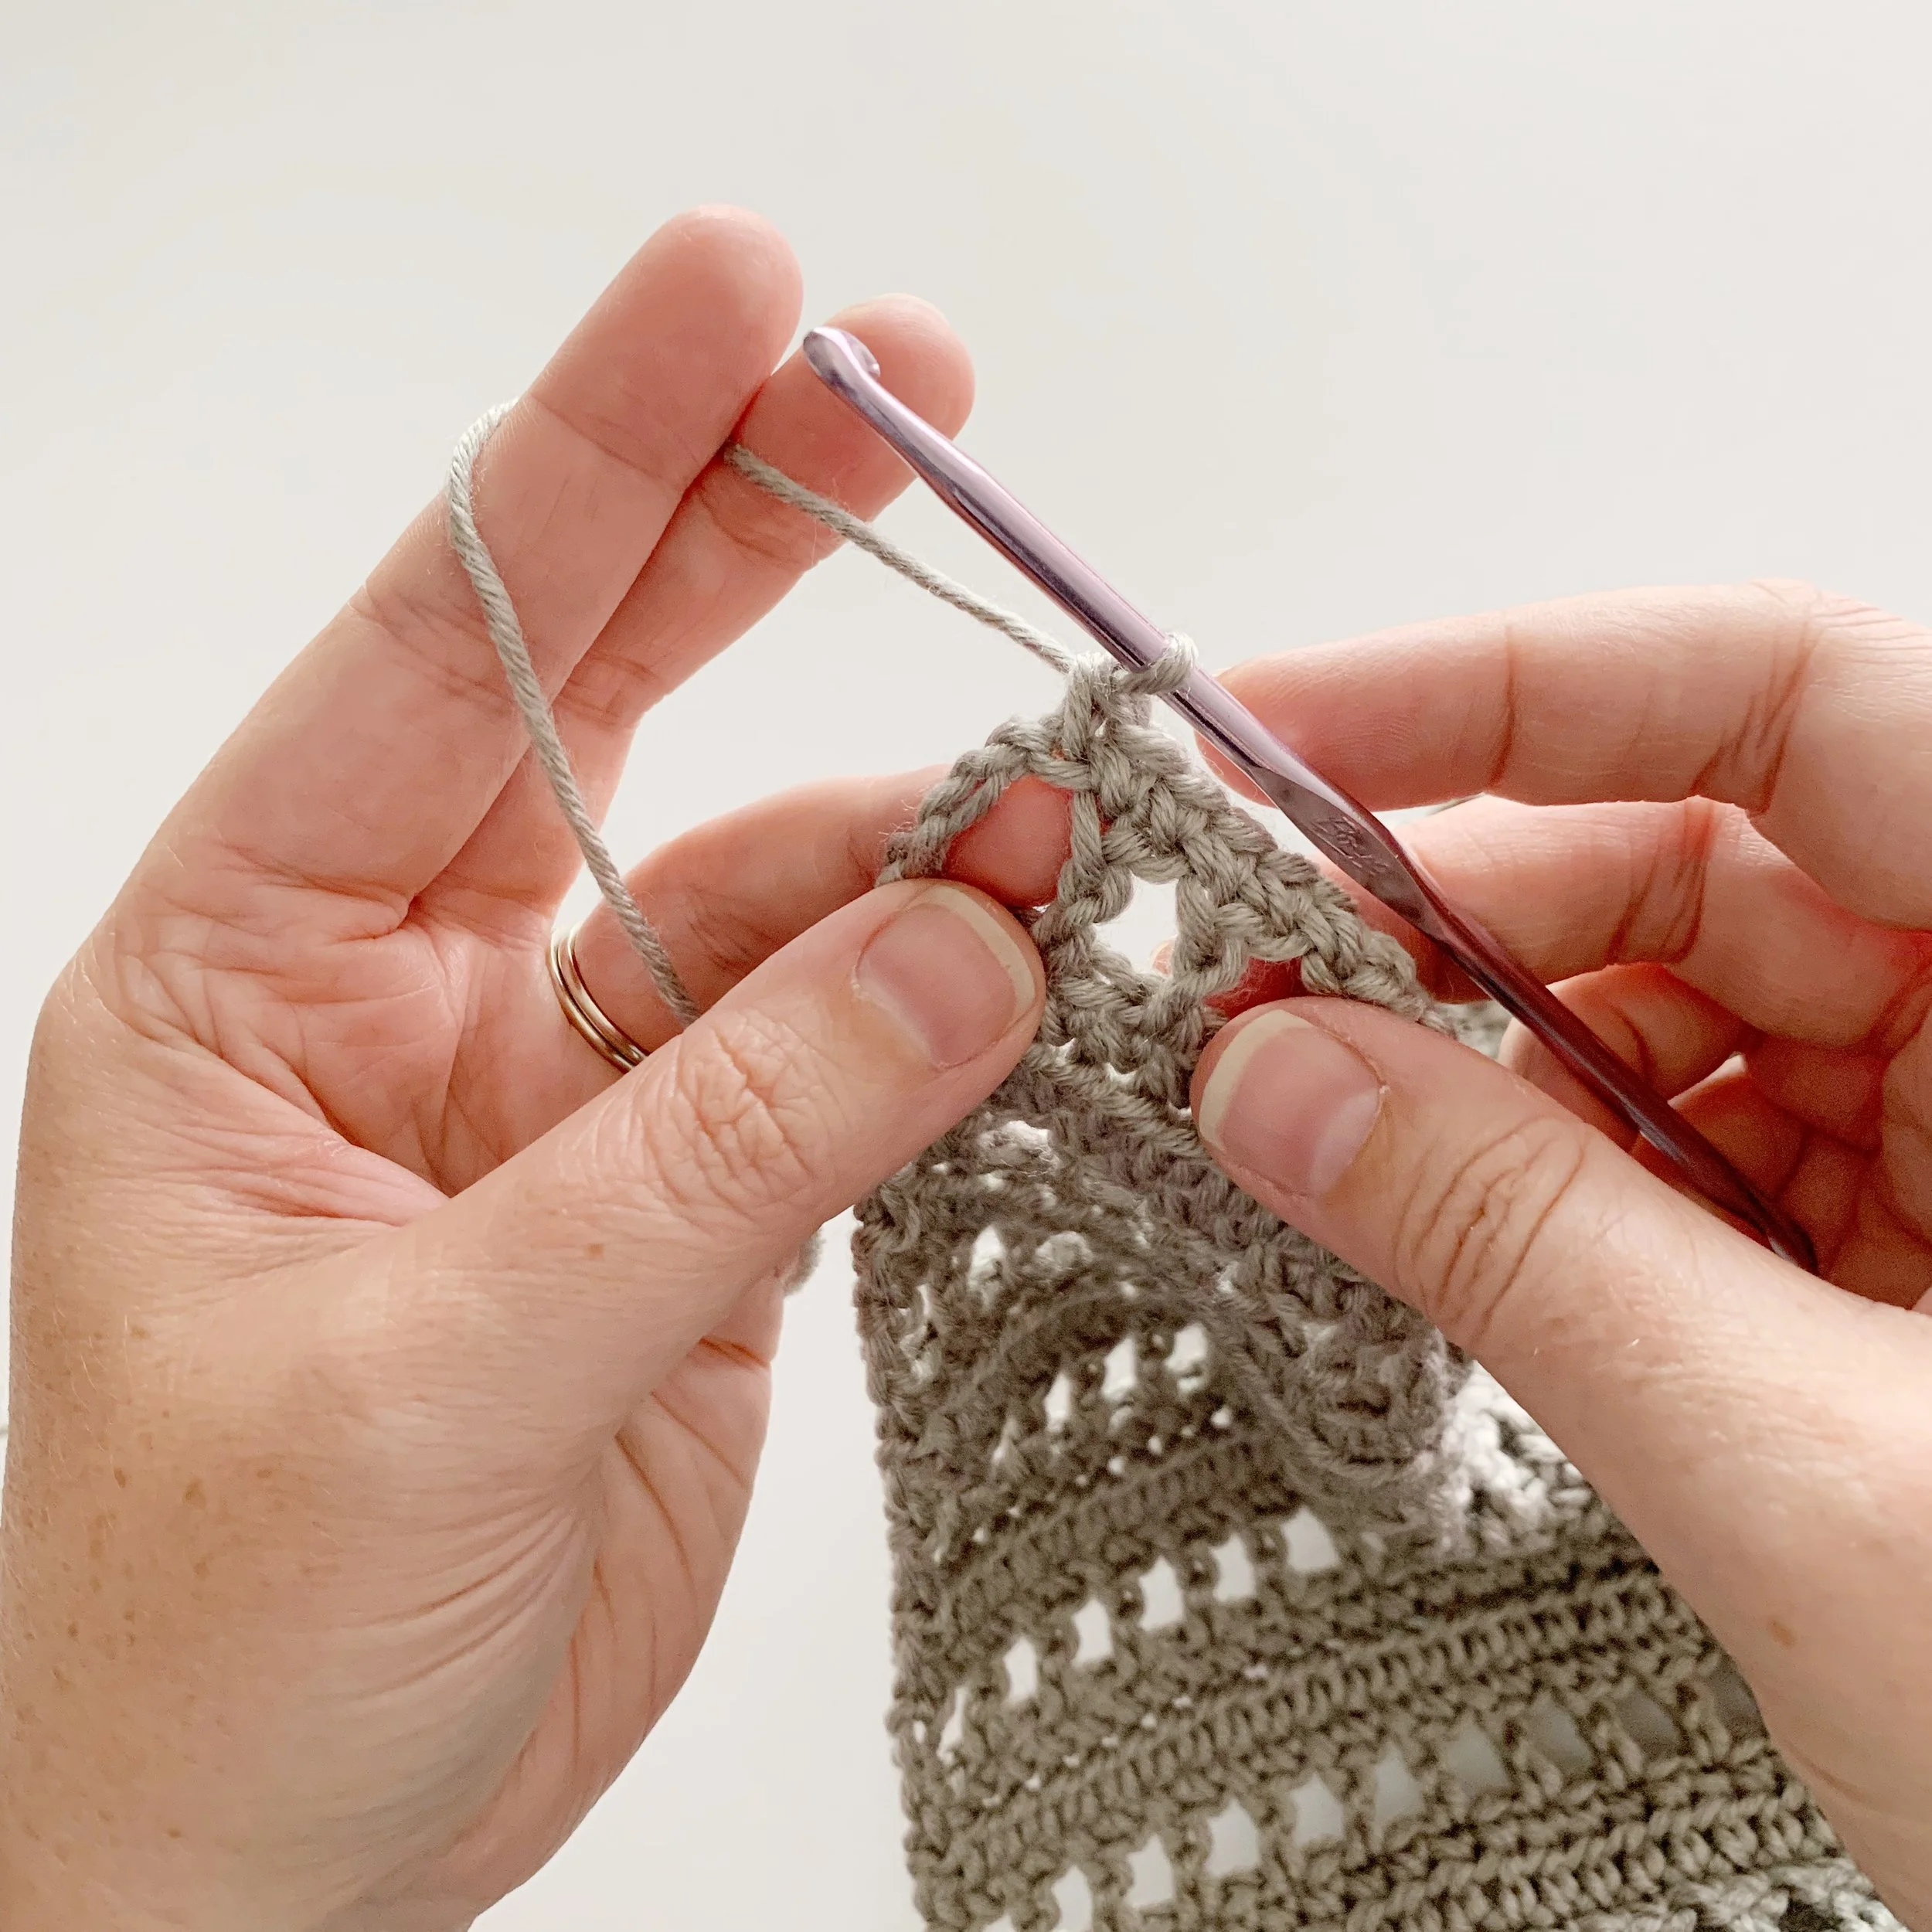
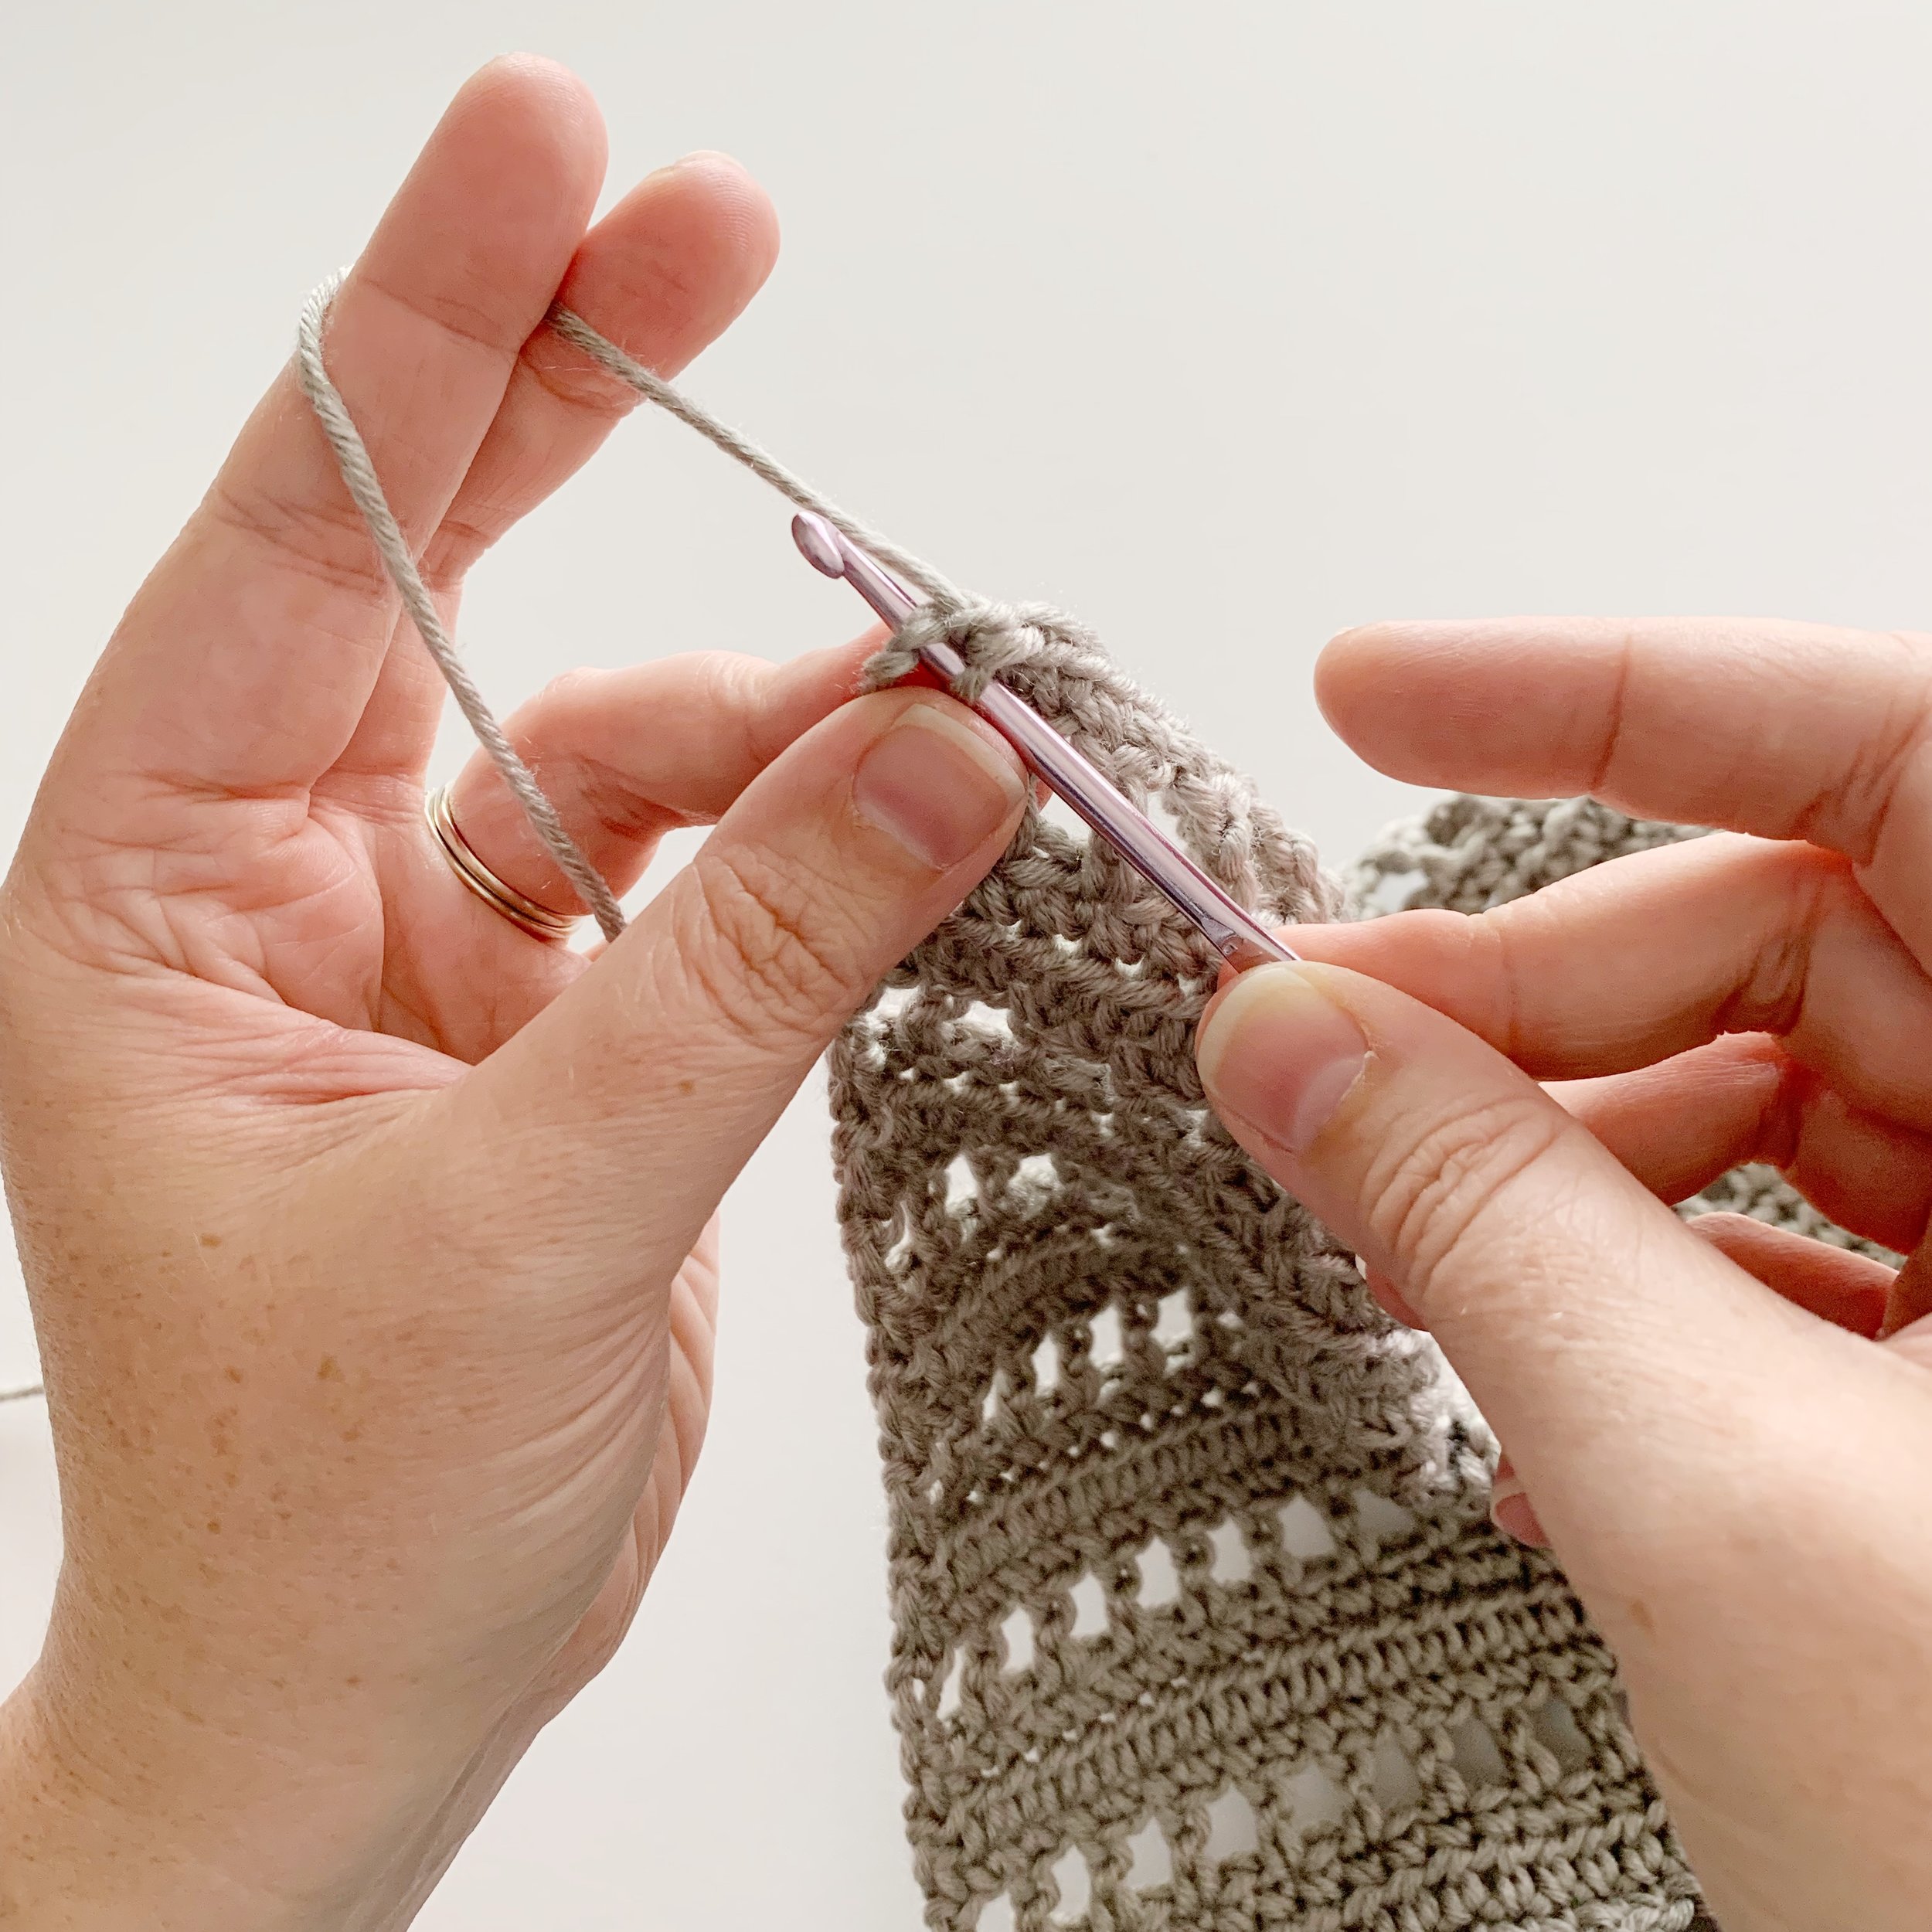
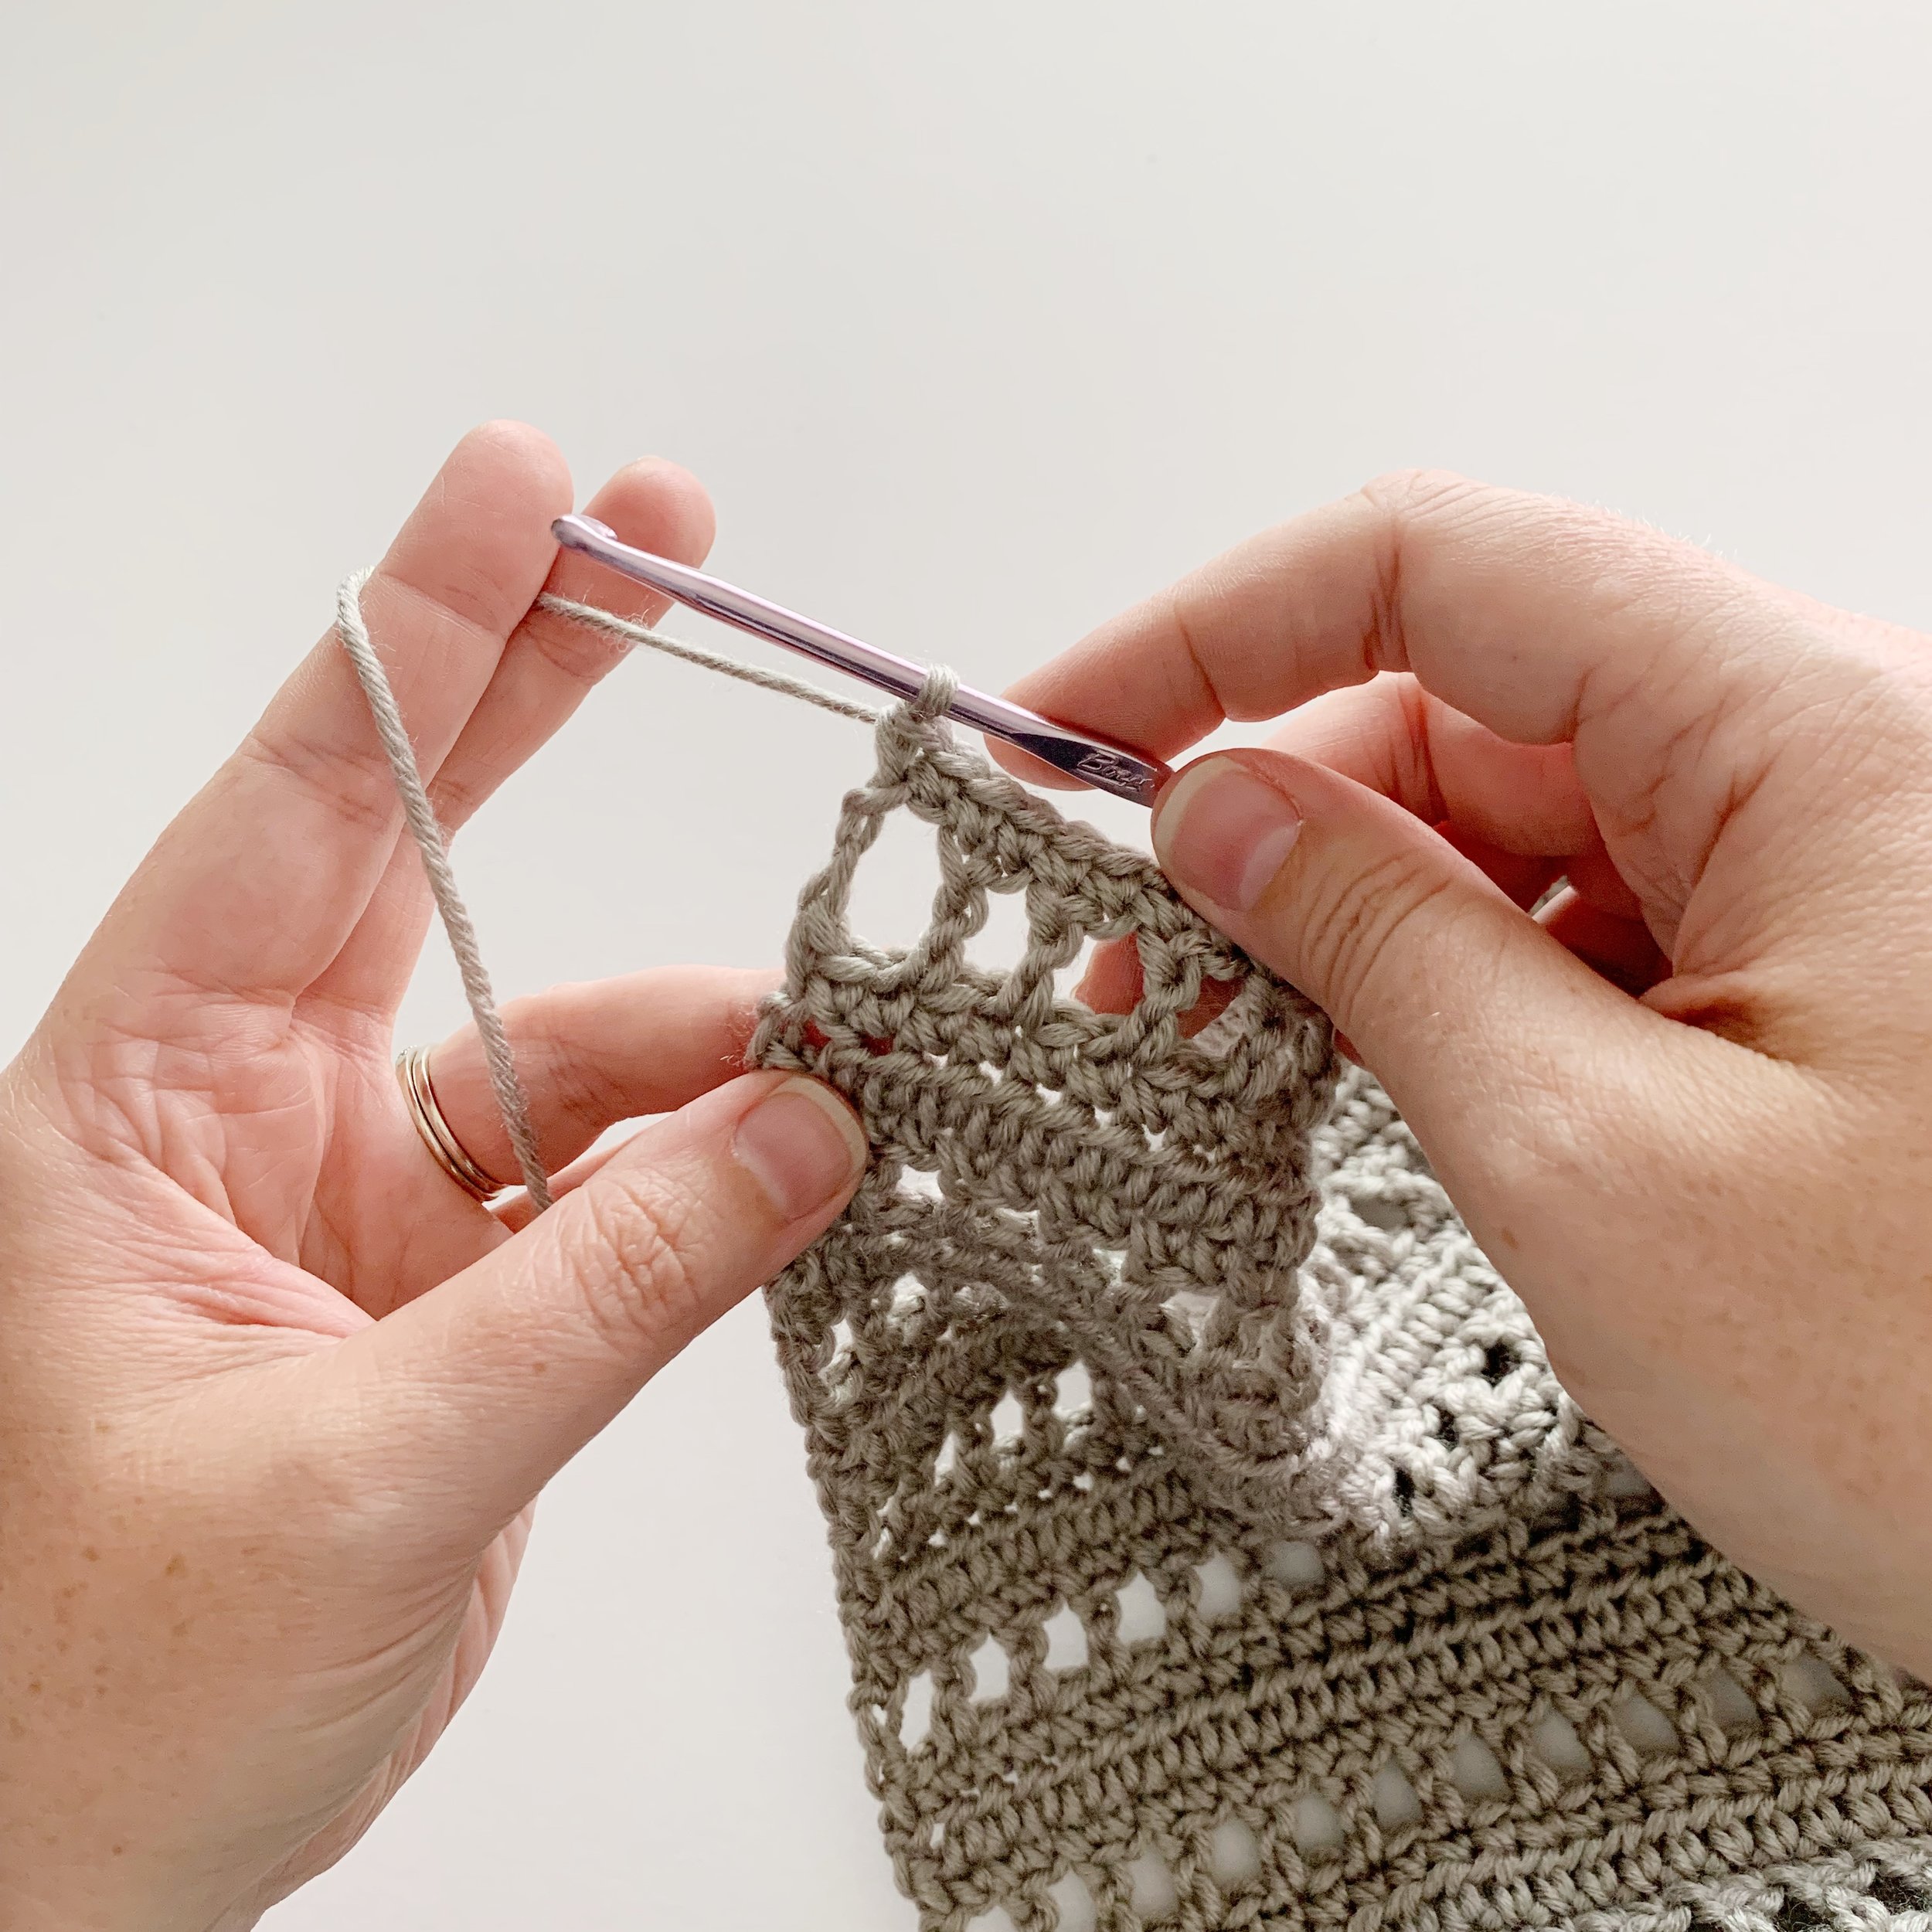
Ch 4 (counts as 1st st and ch 1), turn. Sk next st, dc in following st (3rd st from the end). Ch 1, sk 1, dc across.
Working the sc rows after the dc rows:
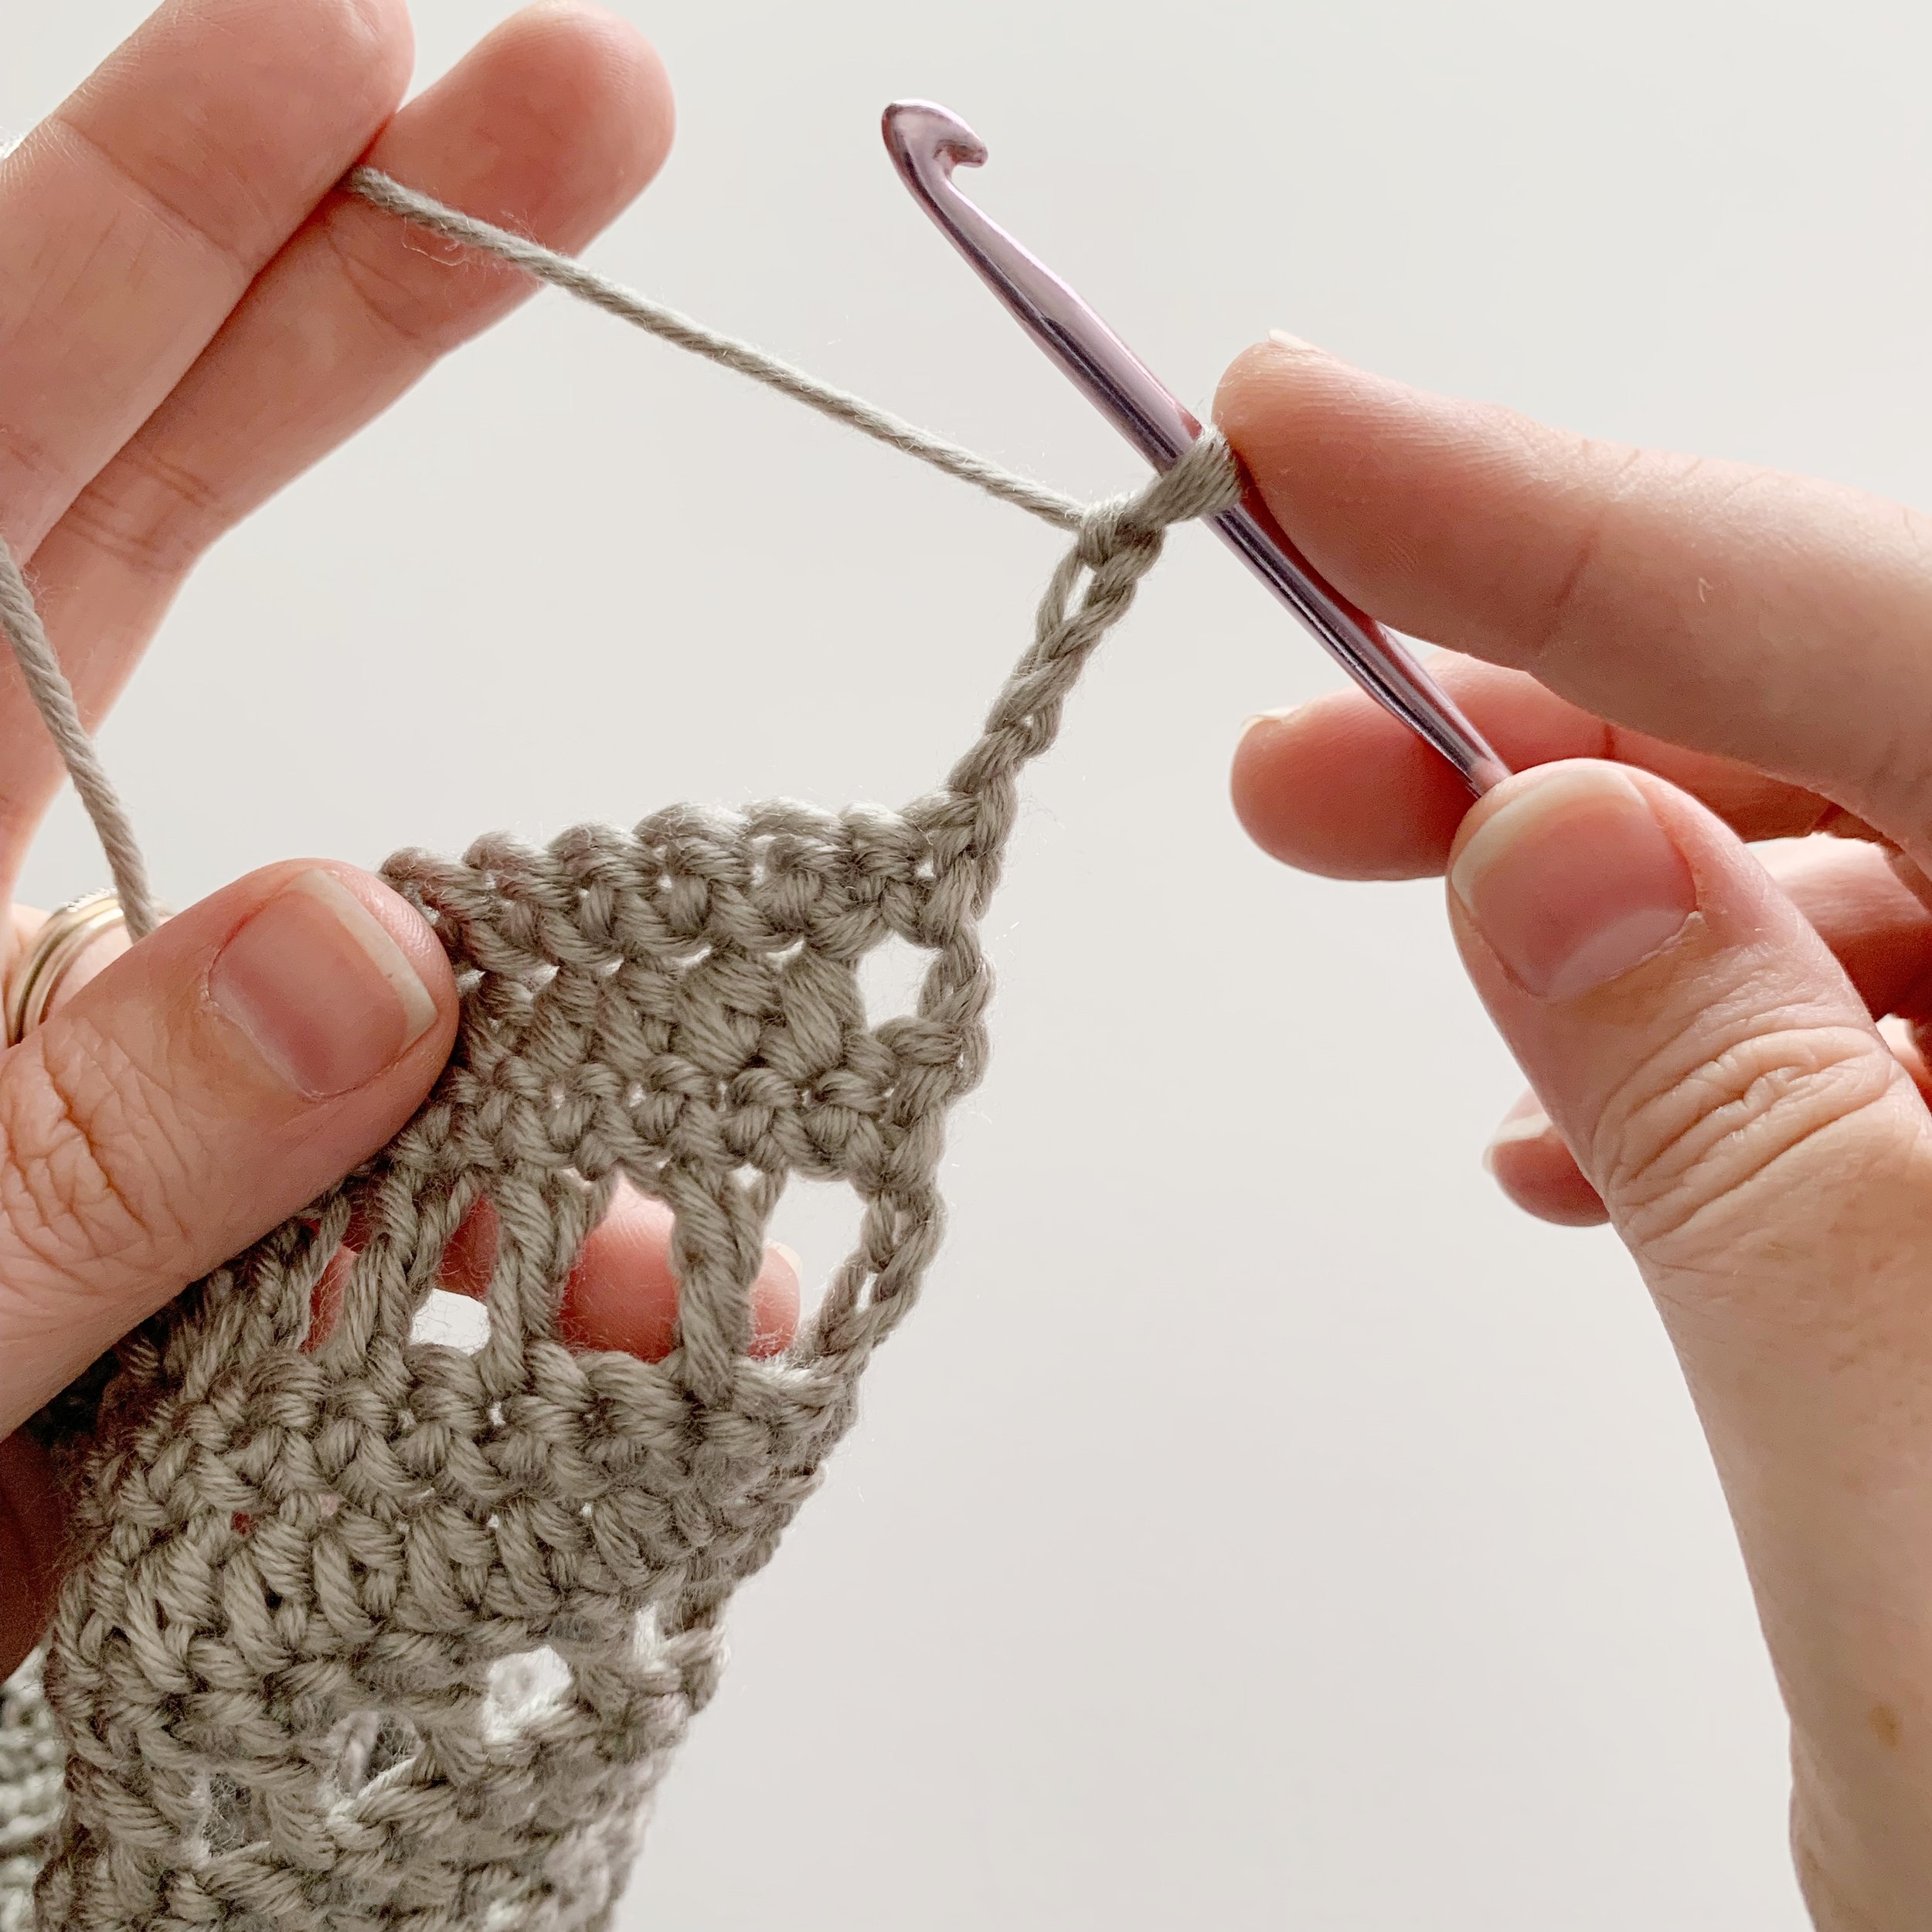
When working the sc rows after the dc rows make sure to sc into each dc st and ch st across. The last two stitches will be worked in the fourth and third ch. Make sure to go under both loops.
Pattern:
Lower Back and Front Section (worked as one piece):
Ch 36(40, 44, 48, 52, 56, 60, 64)
Row 1: RS sc in 2nd ch from hook and each ch across. (35, 39, 43, 47, 51, 55, 59, 63)
Row 2: ch 2 (counts as 1st st), turn, hdc in each st across. (35, 39, 43, 47, 51, 55, 59, 63)
Row 3: ch 1, turn, sc in each st across. (35, 39, 43, 47, 51, 55, 59, 63)
Row 4: ch 4, (counts as 1st st and ch 1), turn, sk 1, dc in next, *ch 1, sk 1, dc, repeat from * across. (35, 39, 43, 47, 51, 55, 59, 63)
Row 5: ch 1, turn, sc in each st and ch across, working last two sts in the 4th and 3rd turning chs. (35, 39, 43, 47, 51, 55, 59, 63)
Repeat Rows 2-5 15(17, 18, 19, 20, 21, 22, 23) more times for a total of 16(18, 19, 20, 21, 22, 23, 24) repeats.
Then Repeat Rows 2-3
Do not fasten off.
Total rows: 67(75, 79, 83, 87, 91, 95, 99)
Finished width is approximately: 21(23.5, 25, 26.5, 28, 29.5, 31, 32.5) inches.
Upper Back and Front Sections (worked directly into the side of the Lower Section and separately after Row 1)
Row 1: ch 1, rotate and sc across the top of the long edge of lower back and front section with RS facing you. Work 1 sc into each sc and hdc row and 2 sc into each dc row. 83(93, 99, 103, 109, 113, 119, 123)
*you may need to add an extra stitch in to get the correct count.
Upper Right Section:
8(12, 16):
Row 2: ch 3 (counts as 1st hdc and ch 1) turn, sk 1, hdc in next st, *ch 1, sk 1, hdc, repeat from * 10(11, 12) times, hdc in last st. (24, 26, 28)
Row 3: ch 1, turn, sc in each st and ch st across working last two sts in the 3rd and 2nd turning ch. (24, 26, 28)
Row 4: ch 4 (counts as 1st dc and ch 1) turn, sk 1, dc in next st, *ch 1, sk 1, dc, repeat from * 10(11, 12) times, hdc in last st. (24, 26, 28)
Row 5: ch 1, turn, sc in each st and ch st across working last two sts in the 3rd and 2nd turning chs. (24, 26, 28)
Repeat Rows 2-5 3(4, 4)more times.
then
Repeat Row 2 1(0, 1) times
Repeat Row 3 1(0, 1) times.
Fasten off leaving a long tail for sewing.
2(4, 6, 10, 14)
Row 2: ch 3 (counts as 1st hdc and ch 1) turn, sk 1, hdc in next st, *ch 1, sk 1, hdc, repeat from * 8(9, 10, 11, 12) times. (19, 21, 23, 25, 27)
Row 3: ch 1, turn, sc in each st and ch across working last two sts in the 3rd and 2nd turning ch. (19, 21, 23, 25, 27)
Row 4: ch 4 (counts as 1st dc and ch 1) turn, sk 1, dc in next st, *ch 1, sk 1, dc, repeat from * 8(9, 10, 11, 12) times. (19, 21, 23, 25, 27)
Row 5: ch 1, turn, sc in each st and ch across working last two sts in the 3rd and 2nd turning ch. (19, 21, 23, 25, 27)
Repeat Rows 2-5 2(2, 3, 3, 4) more times.
then
Repeat Row 2 1(1, 1, 1, 1) times.
Repeat Row 3 1(1, 0, 1, 0)times.
*Size 4 & 10 ONLY repeat Row 4 one time.
Fasten off leaving a long tail for sewing.
Total rows: 14(15, 17, 18, 19, 20, 21, 22)
With WS facing you, skip 1(2, 1, 1, 2, 2, 2, 2) sts along row 1 of upper section and attach yarn. This will be to the left of the previous section worked.
Upper Back:
2(4, 6, 8, 10, 12, 14, 16)
Row 2: ch 3 (counts as 1st hdc and ch 1), sk 1, hdc in next st, *ch 1, sk 1, hdc, repeat from * 20(22, 24, 25, 26, 27, 29, 30) times. (43, 47, 51, 53, 55, 57, 61, 63)
Row 3: ch 1, turn, sc in each st across. (43, 47, 51, 53, 55, 57, 61, 63)
Row 4: ch 4 (counts as 1st dc and ch 1) turn, sk 1, dc in next st, *ch 1, sk 1, dc, repeat from * 20(22, 24, 25, 26, 27, 29, 30) times. (43, 47, 51, 53, 55, 57, 61, 63)
Row 5: ch 1, turn, sc in each st across. (43, 47, 51, 53, 55, 57, 61, 63)
Repeat Rows 2-5 2(2, 3, 3, 3, 4, 4, 4) more times.
then
Repeat Row 2 1(1, 1, 1, 1, 0, 1, 1) times.
Repeat Row 3 1(1, 0, 1, 1, 0, 0, 1) times.
*Size 4 & 10 ONLY repeat Row 4 one time.
Fasten off leaving a long tail for sewing.
Total rows: 14(15, 17, 18, 19, 20, 21, 22)
With WS facing you, skip 1(2, 1, 1, 2, 2, 2, 2) sts along row 1 of upper section and attach yarn. This will be to the left of the previous section worked.
Upper Left Section:
8(12, 16):
Row 2: ch 3 (counts as 1st hdc and ch 1) turn, sk 1, hdc in next st, *ch 1, sk 1, hdc, repeat from * 10(11, 12) times, hdc in last st. (24, 26, 28)
Row 3: ch 1, turn, sc in each st and ch st across working last two sts in the 3rd and 2nd turning ch. (24, 26, 28)
Row 4: ch 4 (counts as 1st dc and ch 1) turn, sk 1, dc in next st, *ch 1, sk 1, dc, repeat from * 10(11, 12) times, hdc in last st. (24, 26, 28)
Row 5: ch 1, turn, sc in each st and ch st across working last two sts in the 3rd and 2nd turning chs. (24, 26, 28)
Repeat Rows 2-5 3(4, 4)more times.
then
Repeat Row 2 1(0, 1) times
Repeat Row 3 1(0, 1) times.
Fasten off leaving a long tail for sewing.
2(4, 6, 10, 14)
Row 2: ch 3 (counts as 1st hdc and ch 1) turn, sk 1, hdc in next st, *ch 1, sk 1, hdc, repeat from * 8(9, 10, 11, 12) times. (19, 21, 23, 25, 27)
Row 3: ch 1, turn, sc in each st and ch across working last two sts in the 3rd and 2nd turning ch. (19, 21, 23, 25, 27)
Row 4: ch 4 (counts as 1st dc and ch 1) turn, sk 1, dc in next st, *ch 1, sk 1, dc, repeat from * 8(9, 10, 11, 12) times. (19, 21, 23, 25, 27)
Row 5: ch 1, turn, sc in each st and ch across working last two sts in the 3rd and 2nd turning ch. (19, 21, 23, 25, 27)
Repeat Rows 2-5 2(2, 3, 3, 4) more times.
then
Repeat Row 2 1(1, 1, 1, 1) times.
Repeat Row 3 1(1, 0, 1, 0)times.
*Size 4 & 10 ONLY repeat Row 4 one time.
Fasten off leaving a long tail for sewing.
Total rows: 14(15, 17, 18, 19, 20, 21, 22)
Seaming Shoulders:
Laying cardigan down RS up, fold over right and left sides so RSs are together.
Using a large tapestry needle sew Upper Right section to the top of Upper Back section using your preferred method of seaming at shoulder.
Then sew the Upper Left Section to the top of the Upper Back Section at shoulder leaving a gap of 5(5, 5, 5, 5, 5, 7, 7) sts in the center of the upper back section.
Sleeves:
Sleeves are worked directly into the arm hole of the sweater. They are worked in joined rounds, turning after each join.
With RS facing you attach yarn in center stitch or left of center stitch under arm.
Round 1: ch 1, sc in same st as join and evenly around (1 sc in each sc and hdc row and 2 sc in each dc row), sl st to top of 1st st to join. (35, 40, 43, 45, 50, 52, 54, 56)
Round 2: ch 2 (counts as 1st hdc) turn, hdc in each st around, sl st to top of ch 2 to join. (35, 40, 43, 45, 50, 52, 54, 56)
Round 3: ch 1, turn, sc in same st as join and in each st around, sl st to top of 1st st to join. (35, 40, 43, 45, 50, 52, 54, 56)
Row 4: ch 4 (counts as 1st dc and ch 1) turn, sk 1, dc in next st, *ch 1, sk 1, dc, repeat from * around, sl st to third ch to join. (35, 40, 43, 45, 50, 52, 54, 56)
* For sizes 4, 10, 12, 14 and 16 you will need to work an additional ch before joining.
Row 5: ch 1, turn, sc in same st as join and in each each st around, sl st to top of 1st st to join. (35, 40, 43, 45, 50, 52, 54, 56)
Round 6: ch 2 (counts as 1st hdc) turn, hdc2tog, hdc around until 2 sts remain, hdc2tog, sl st to top of ch 2 to join. (33, 38, 41, 43, 48, 50, 52, 54)
Round 7: ch 1, turn, sc in same st as join and in each st around, sl st to top of 1st st to join. (33, 38, 41, 43, 48, 50, 52, 54)
Round 8: ch 4 (counts as 1st dc and ch 1) turn, sk 1, dc in next st, *ch 1, sk 1, dc, repeat from * around, sl st to third ch to join. (33, 38, 41, 43, 48, 50, 52, 54)
* For sizes 4, 10, 12, 14 and 16 you will need to work an additional ch before joining.
Round 9: ch 1, turn, sc in same st as join and in each each st around, sl st to top of 1st st to join. (33, 38, 41, 43, 48, 50, 52, 54)
Repeat Rounds 2-9 until sleeve hits wrist bone, making sure to end on a sc round. Then move directly on to cuff instructions.
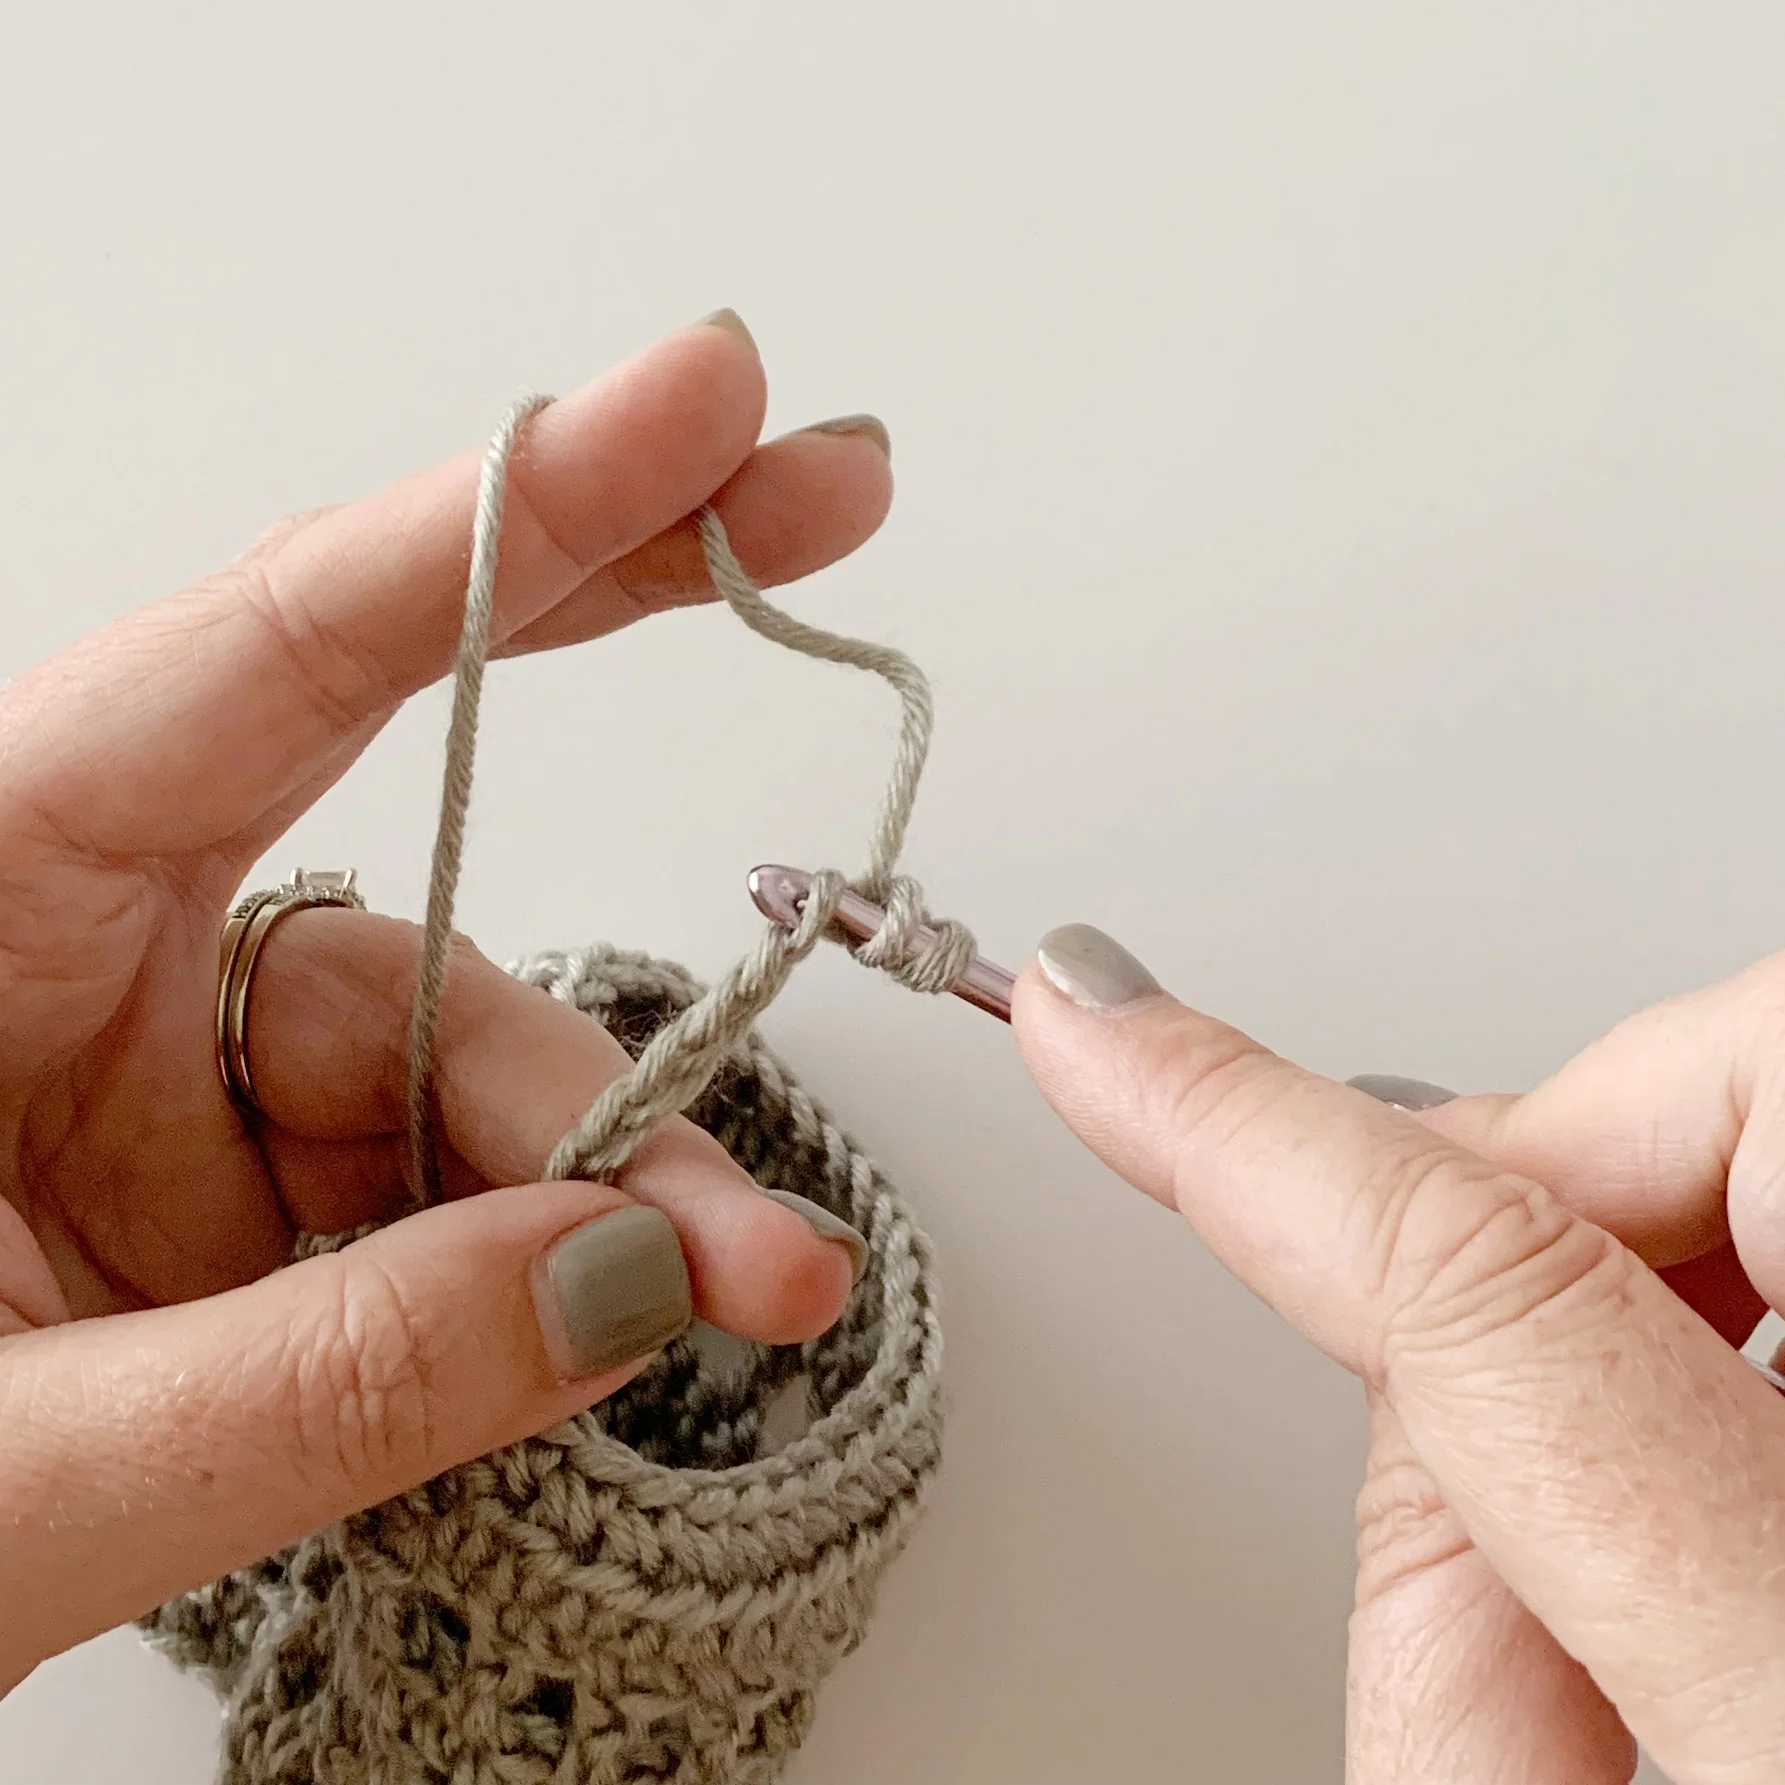
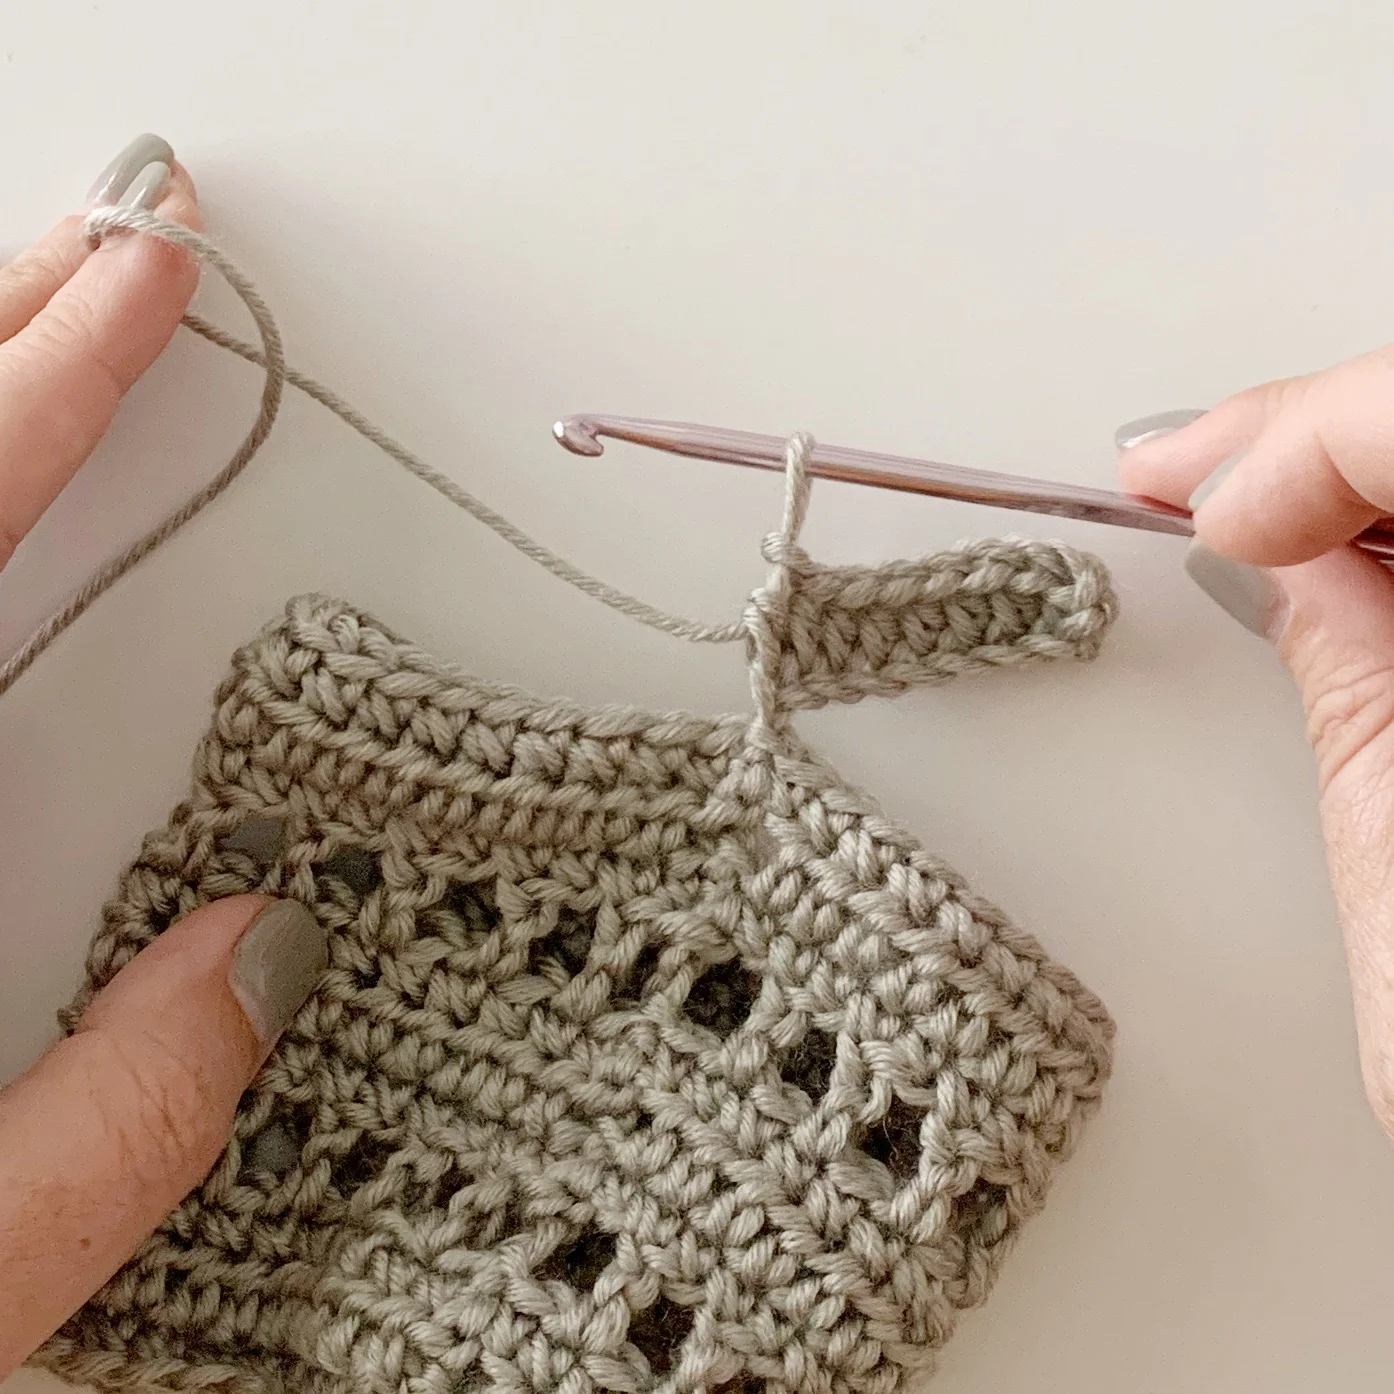
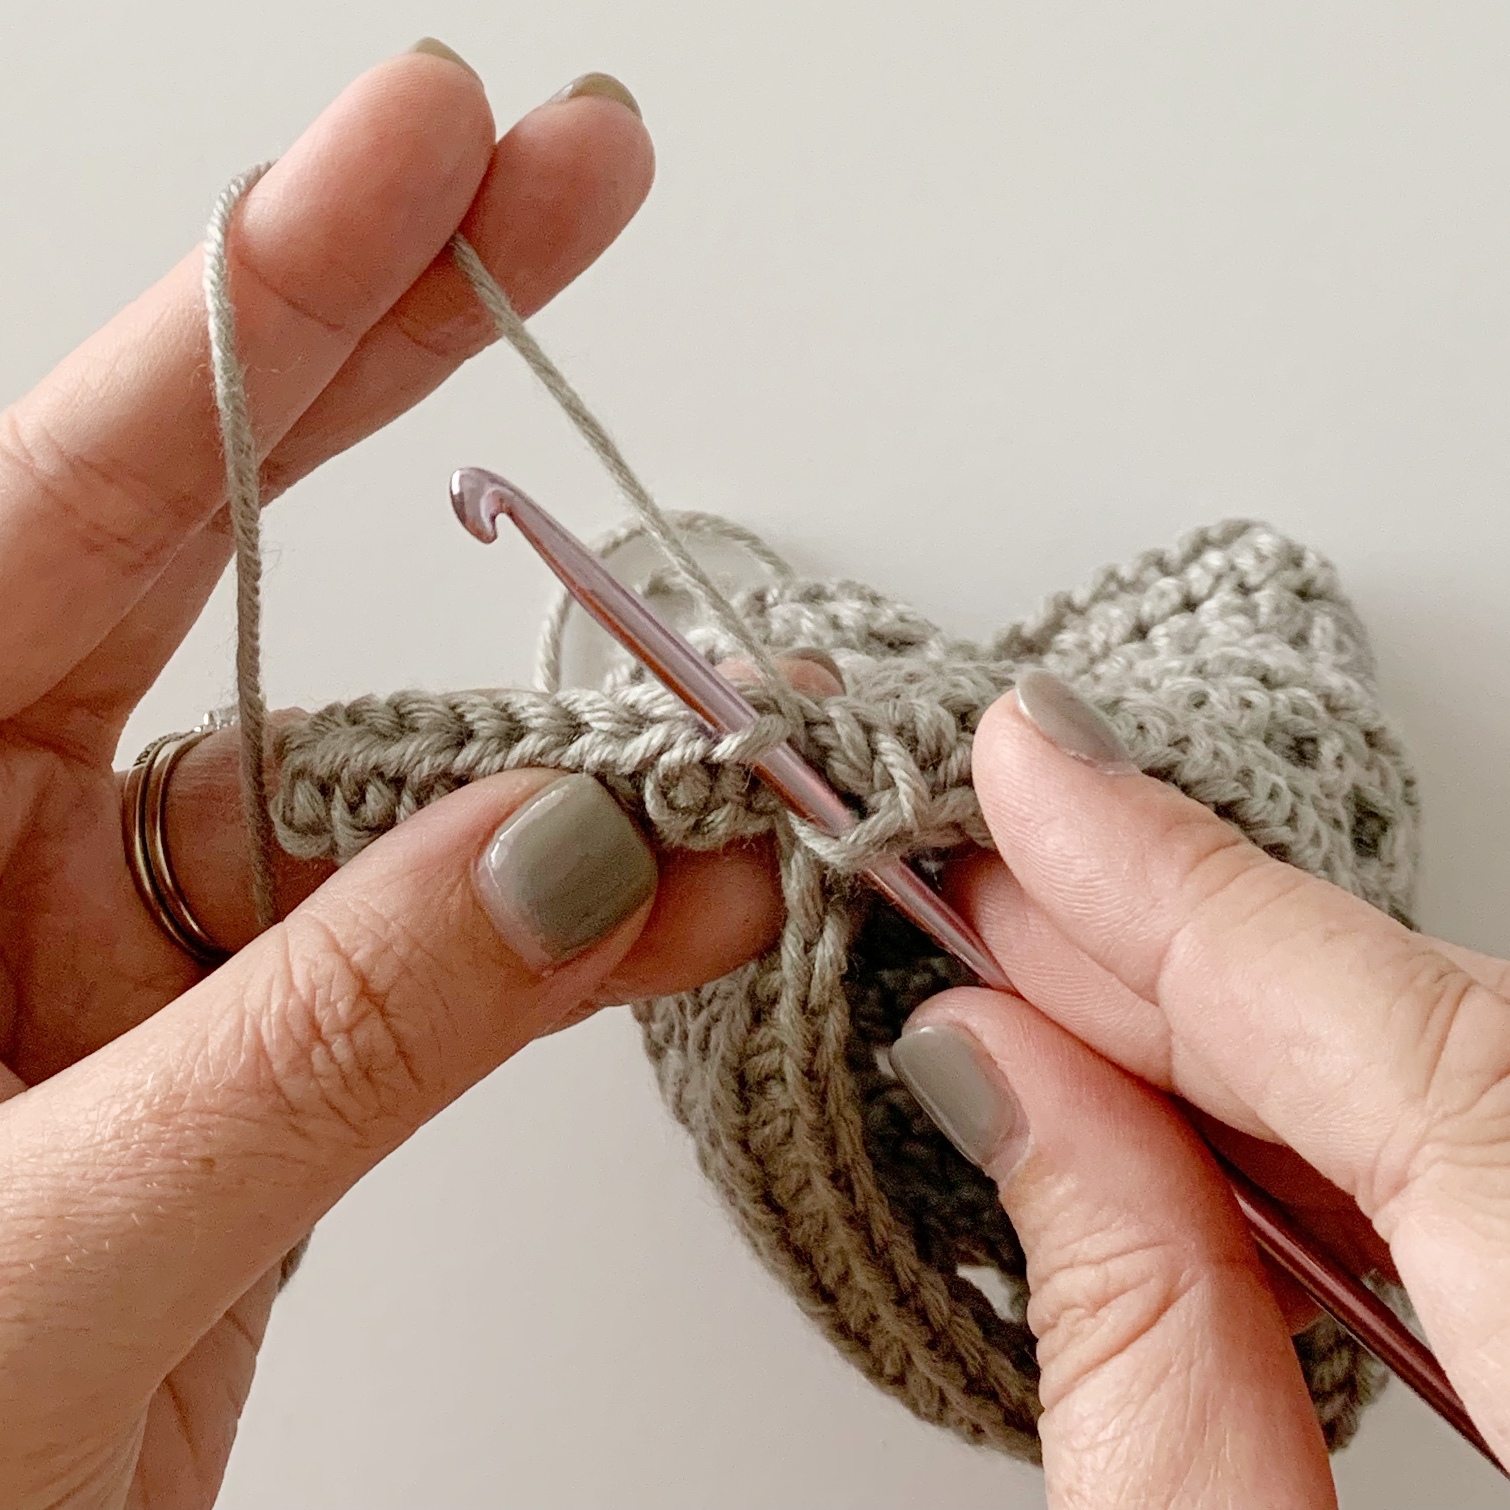
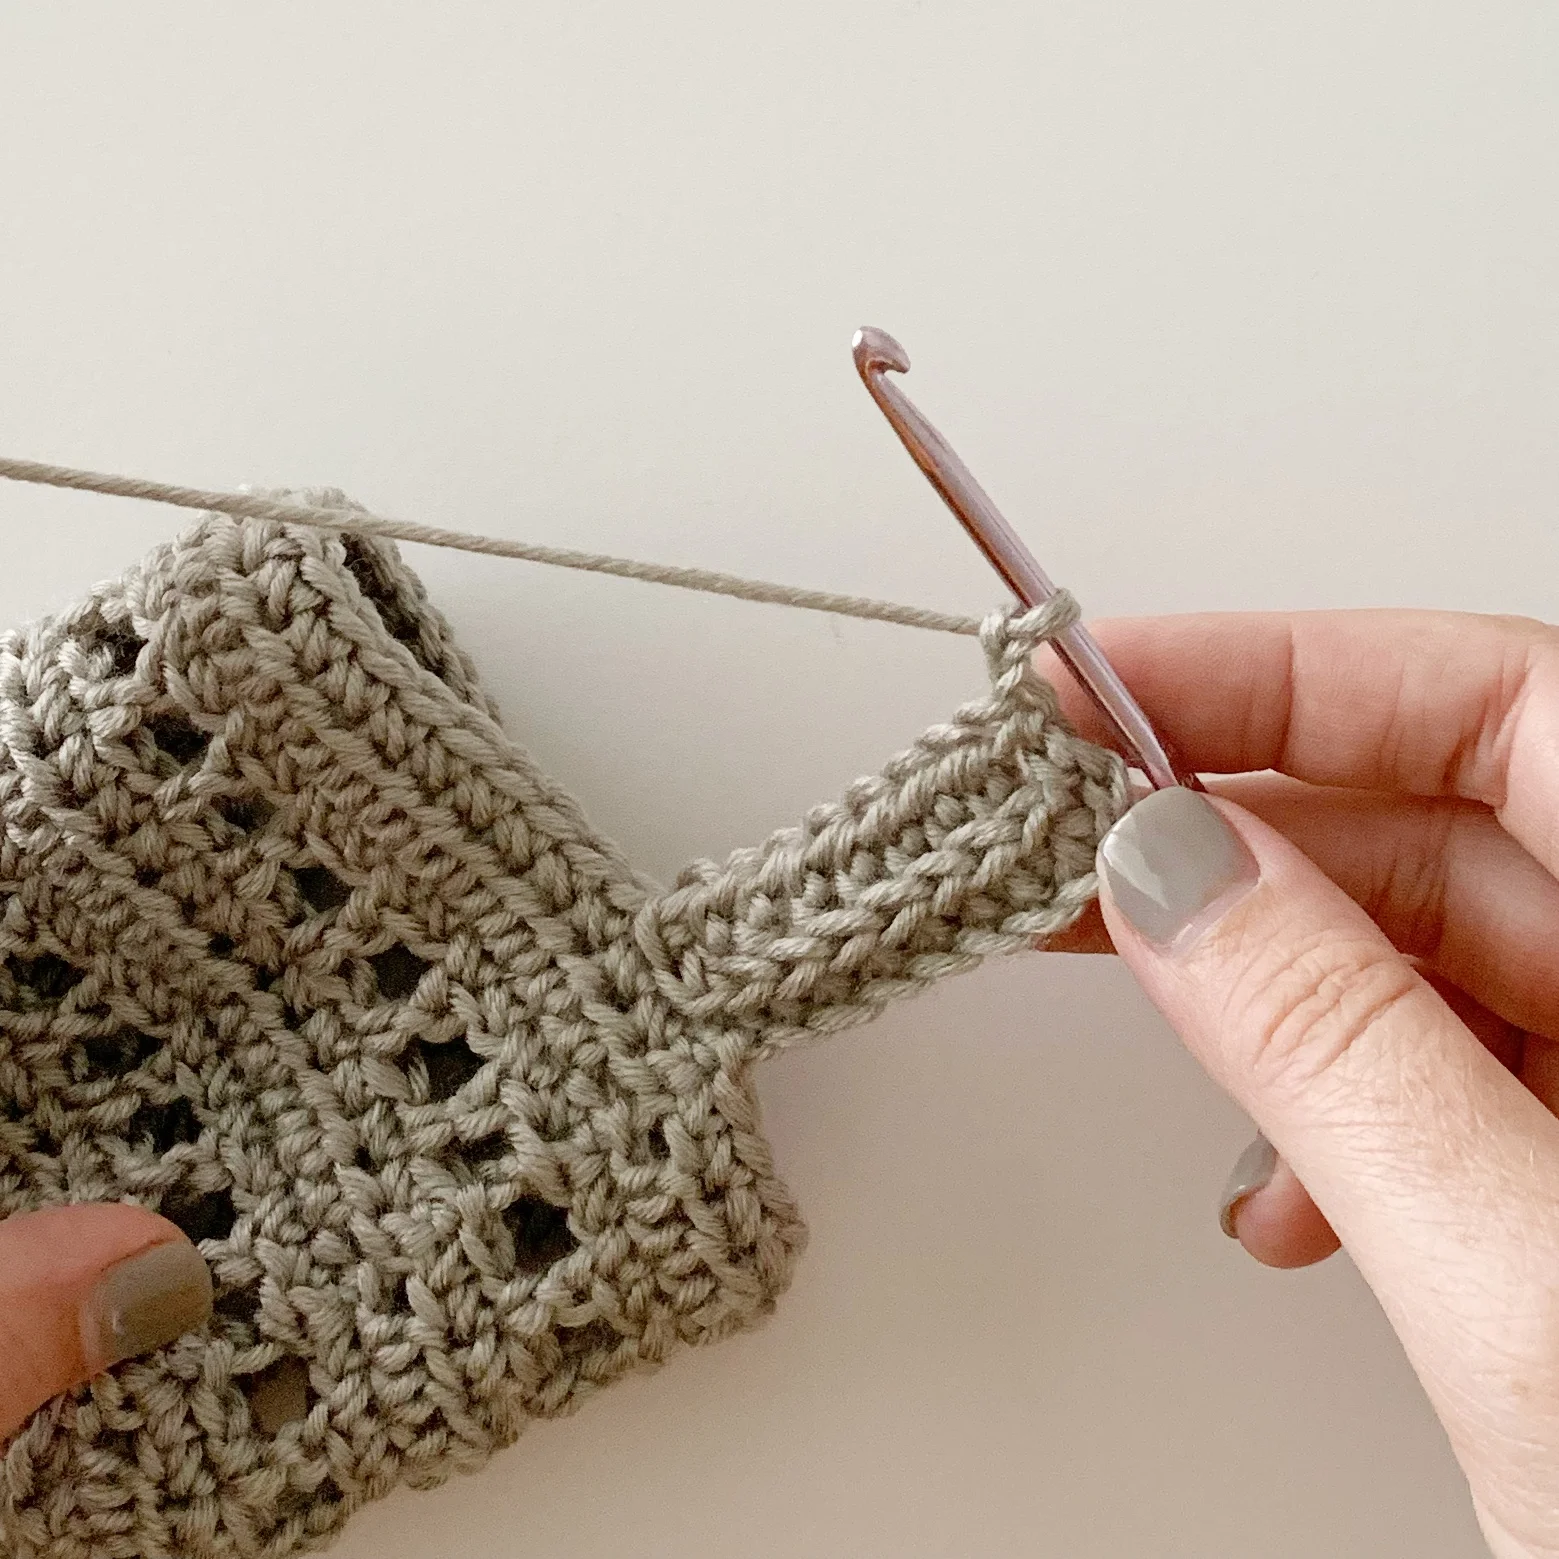
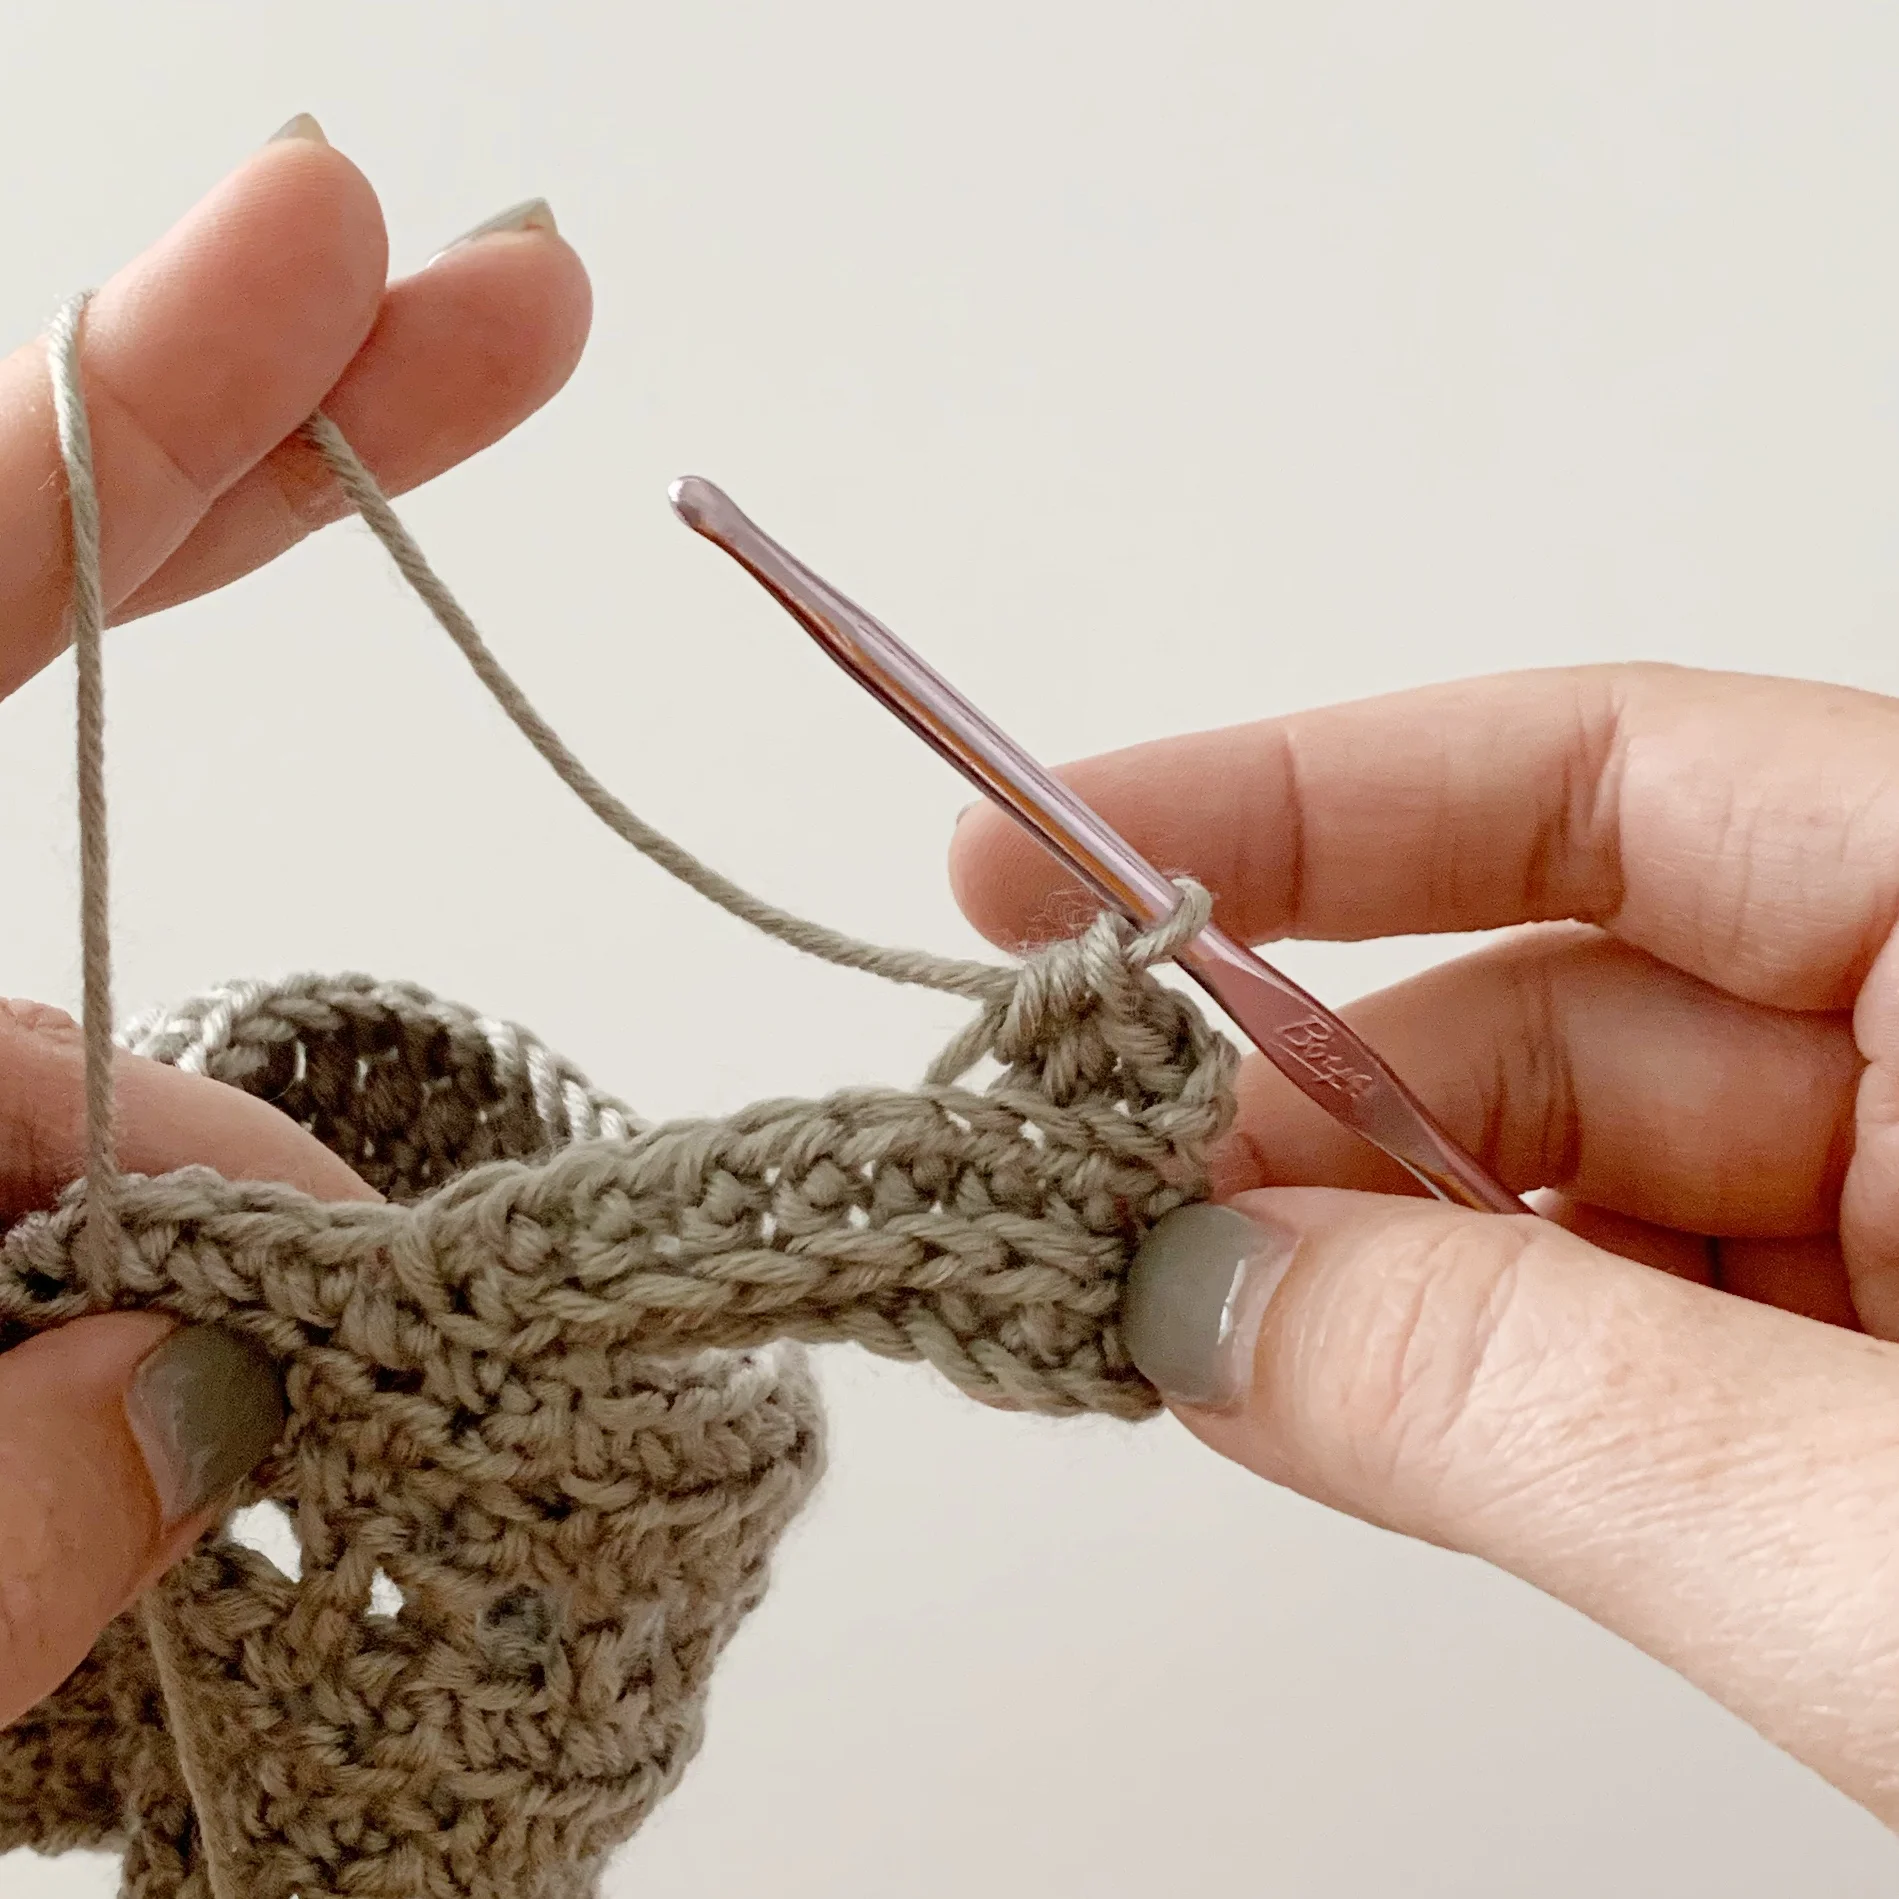
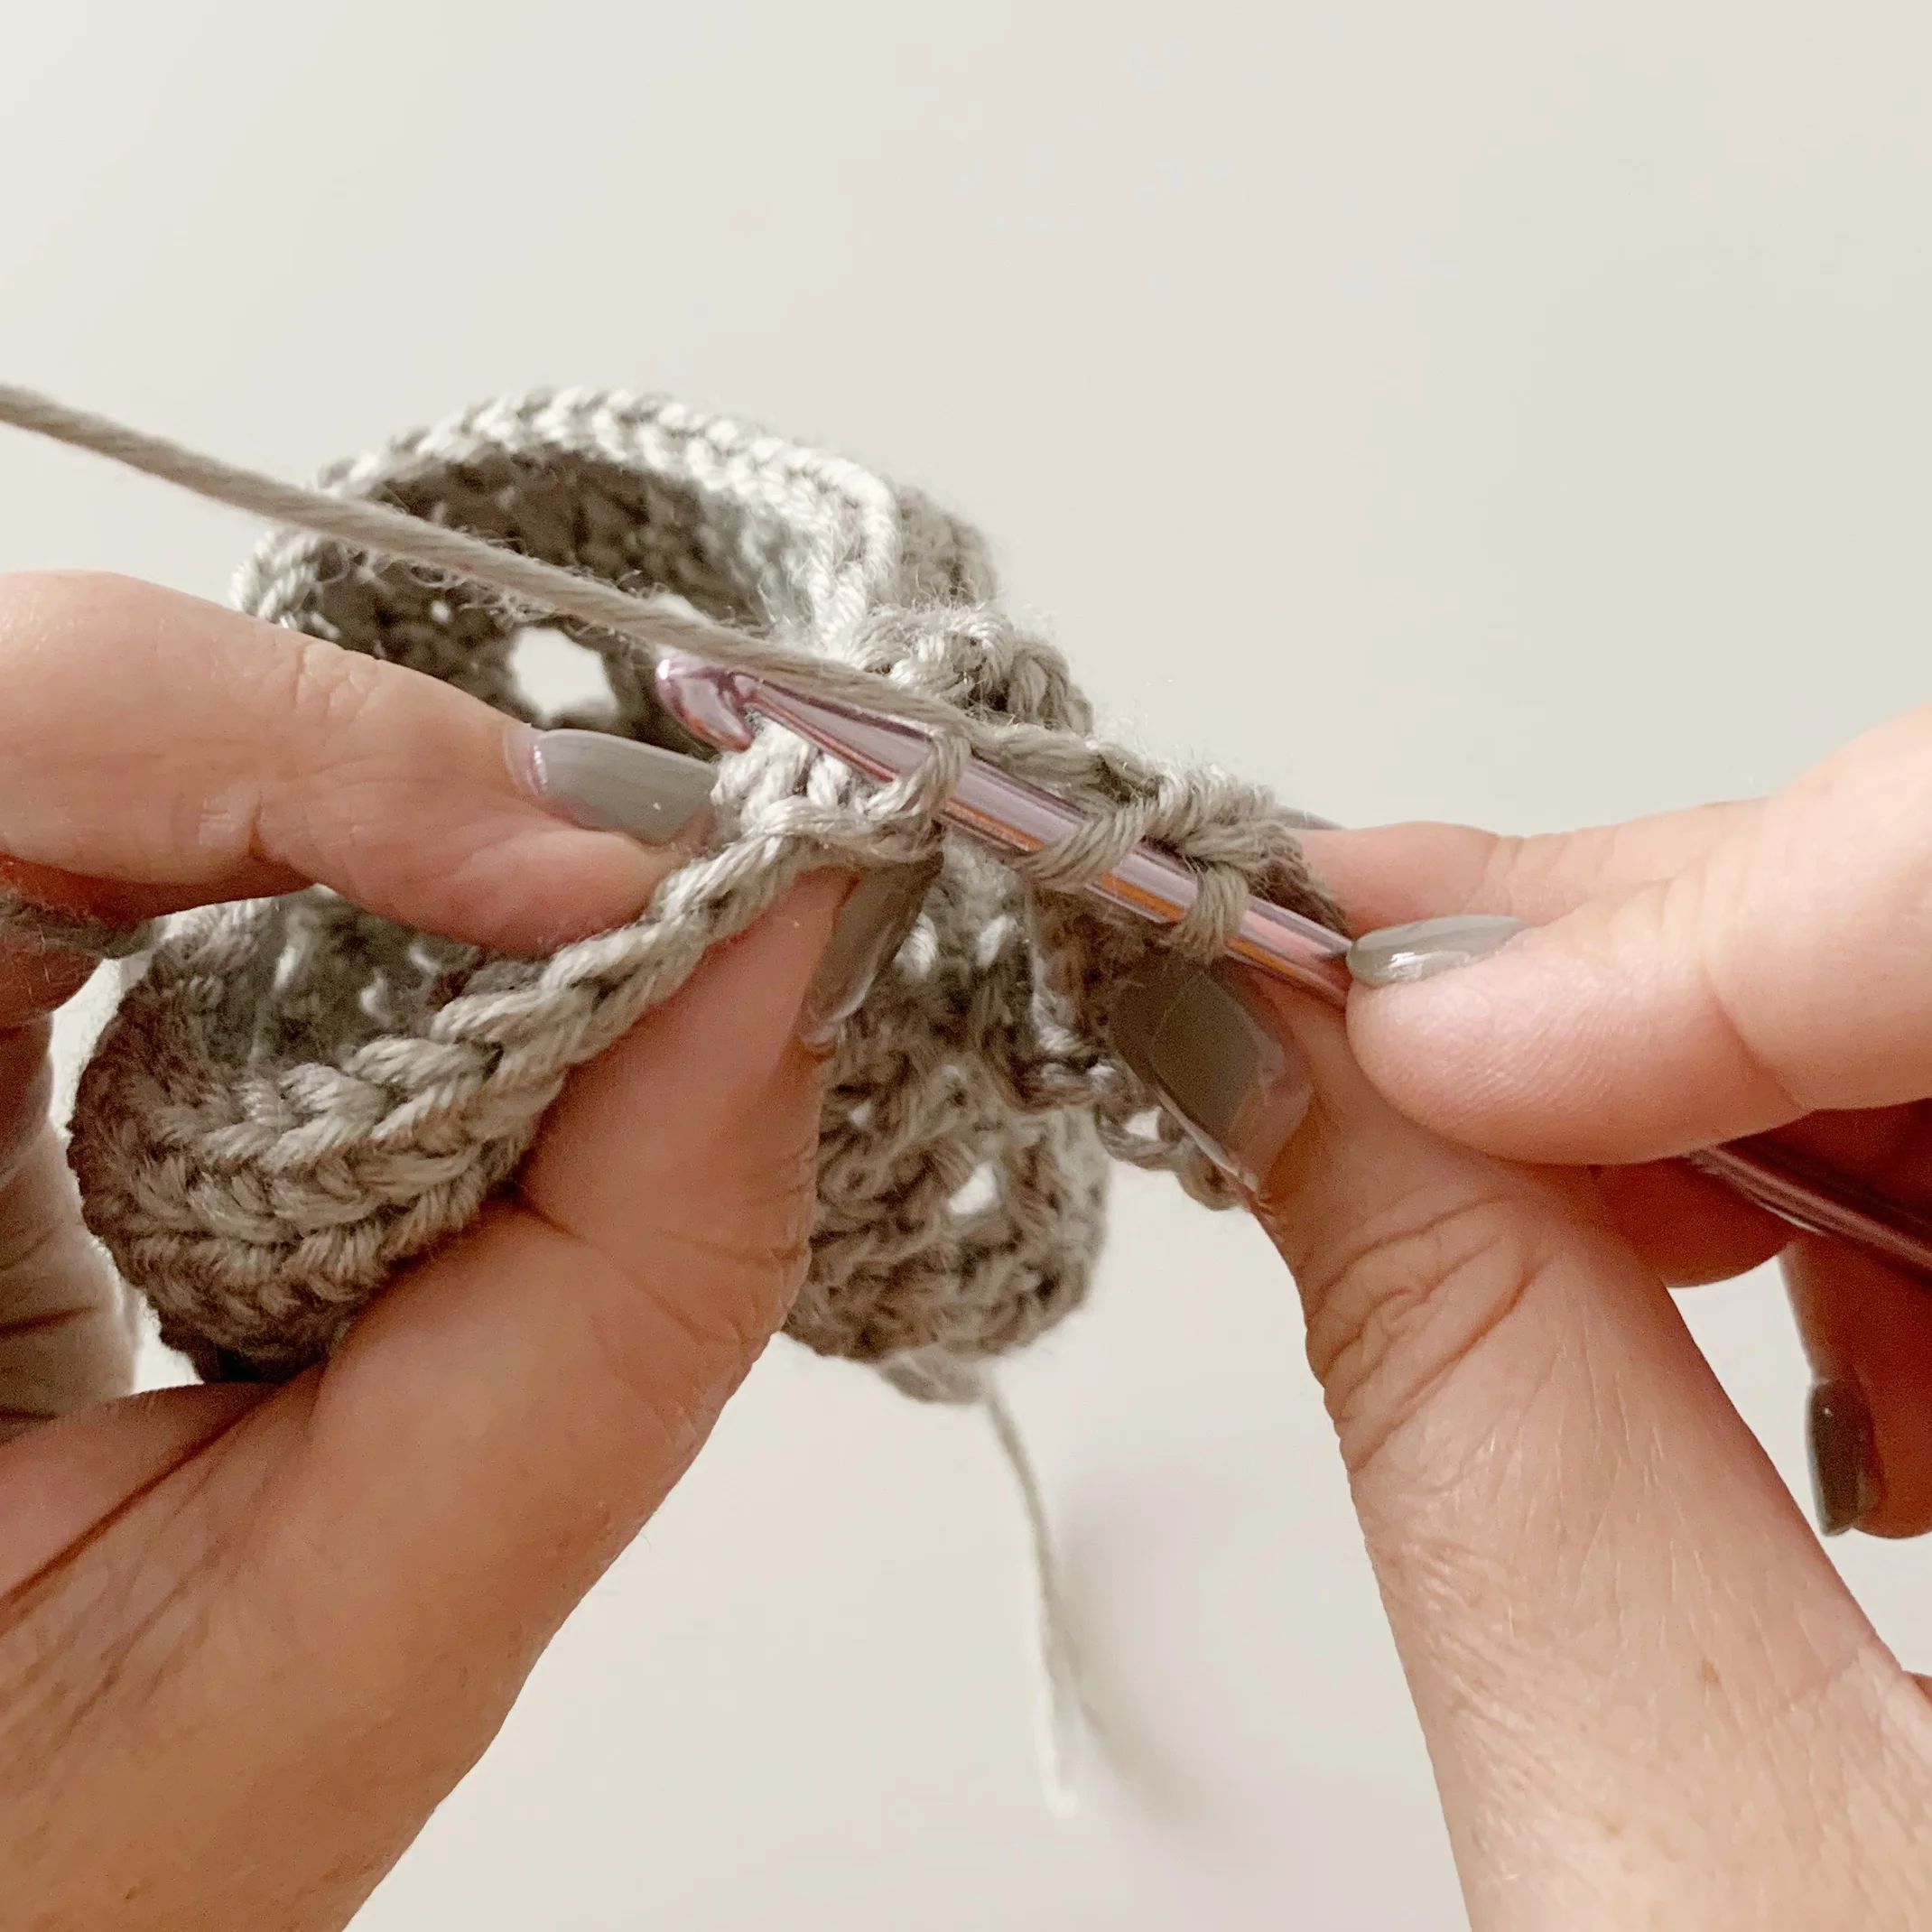
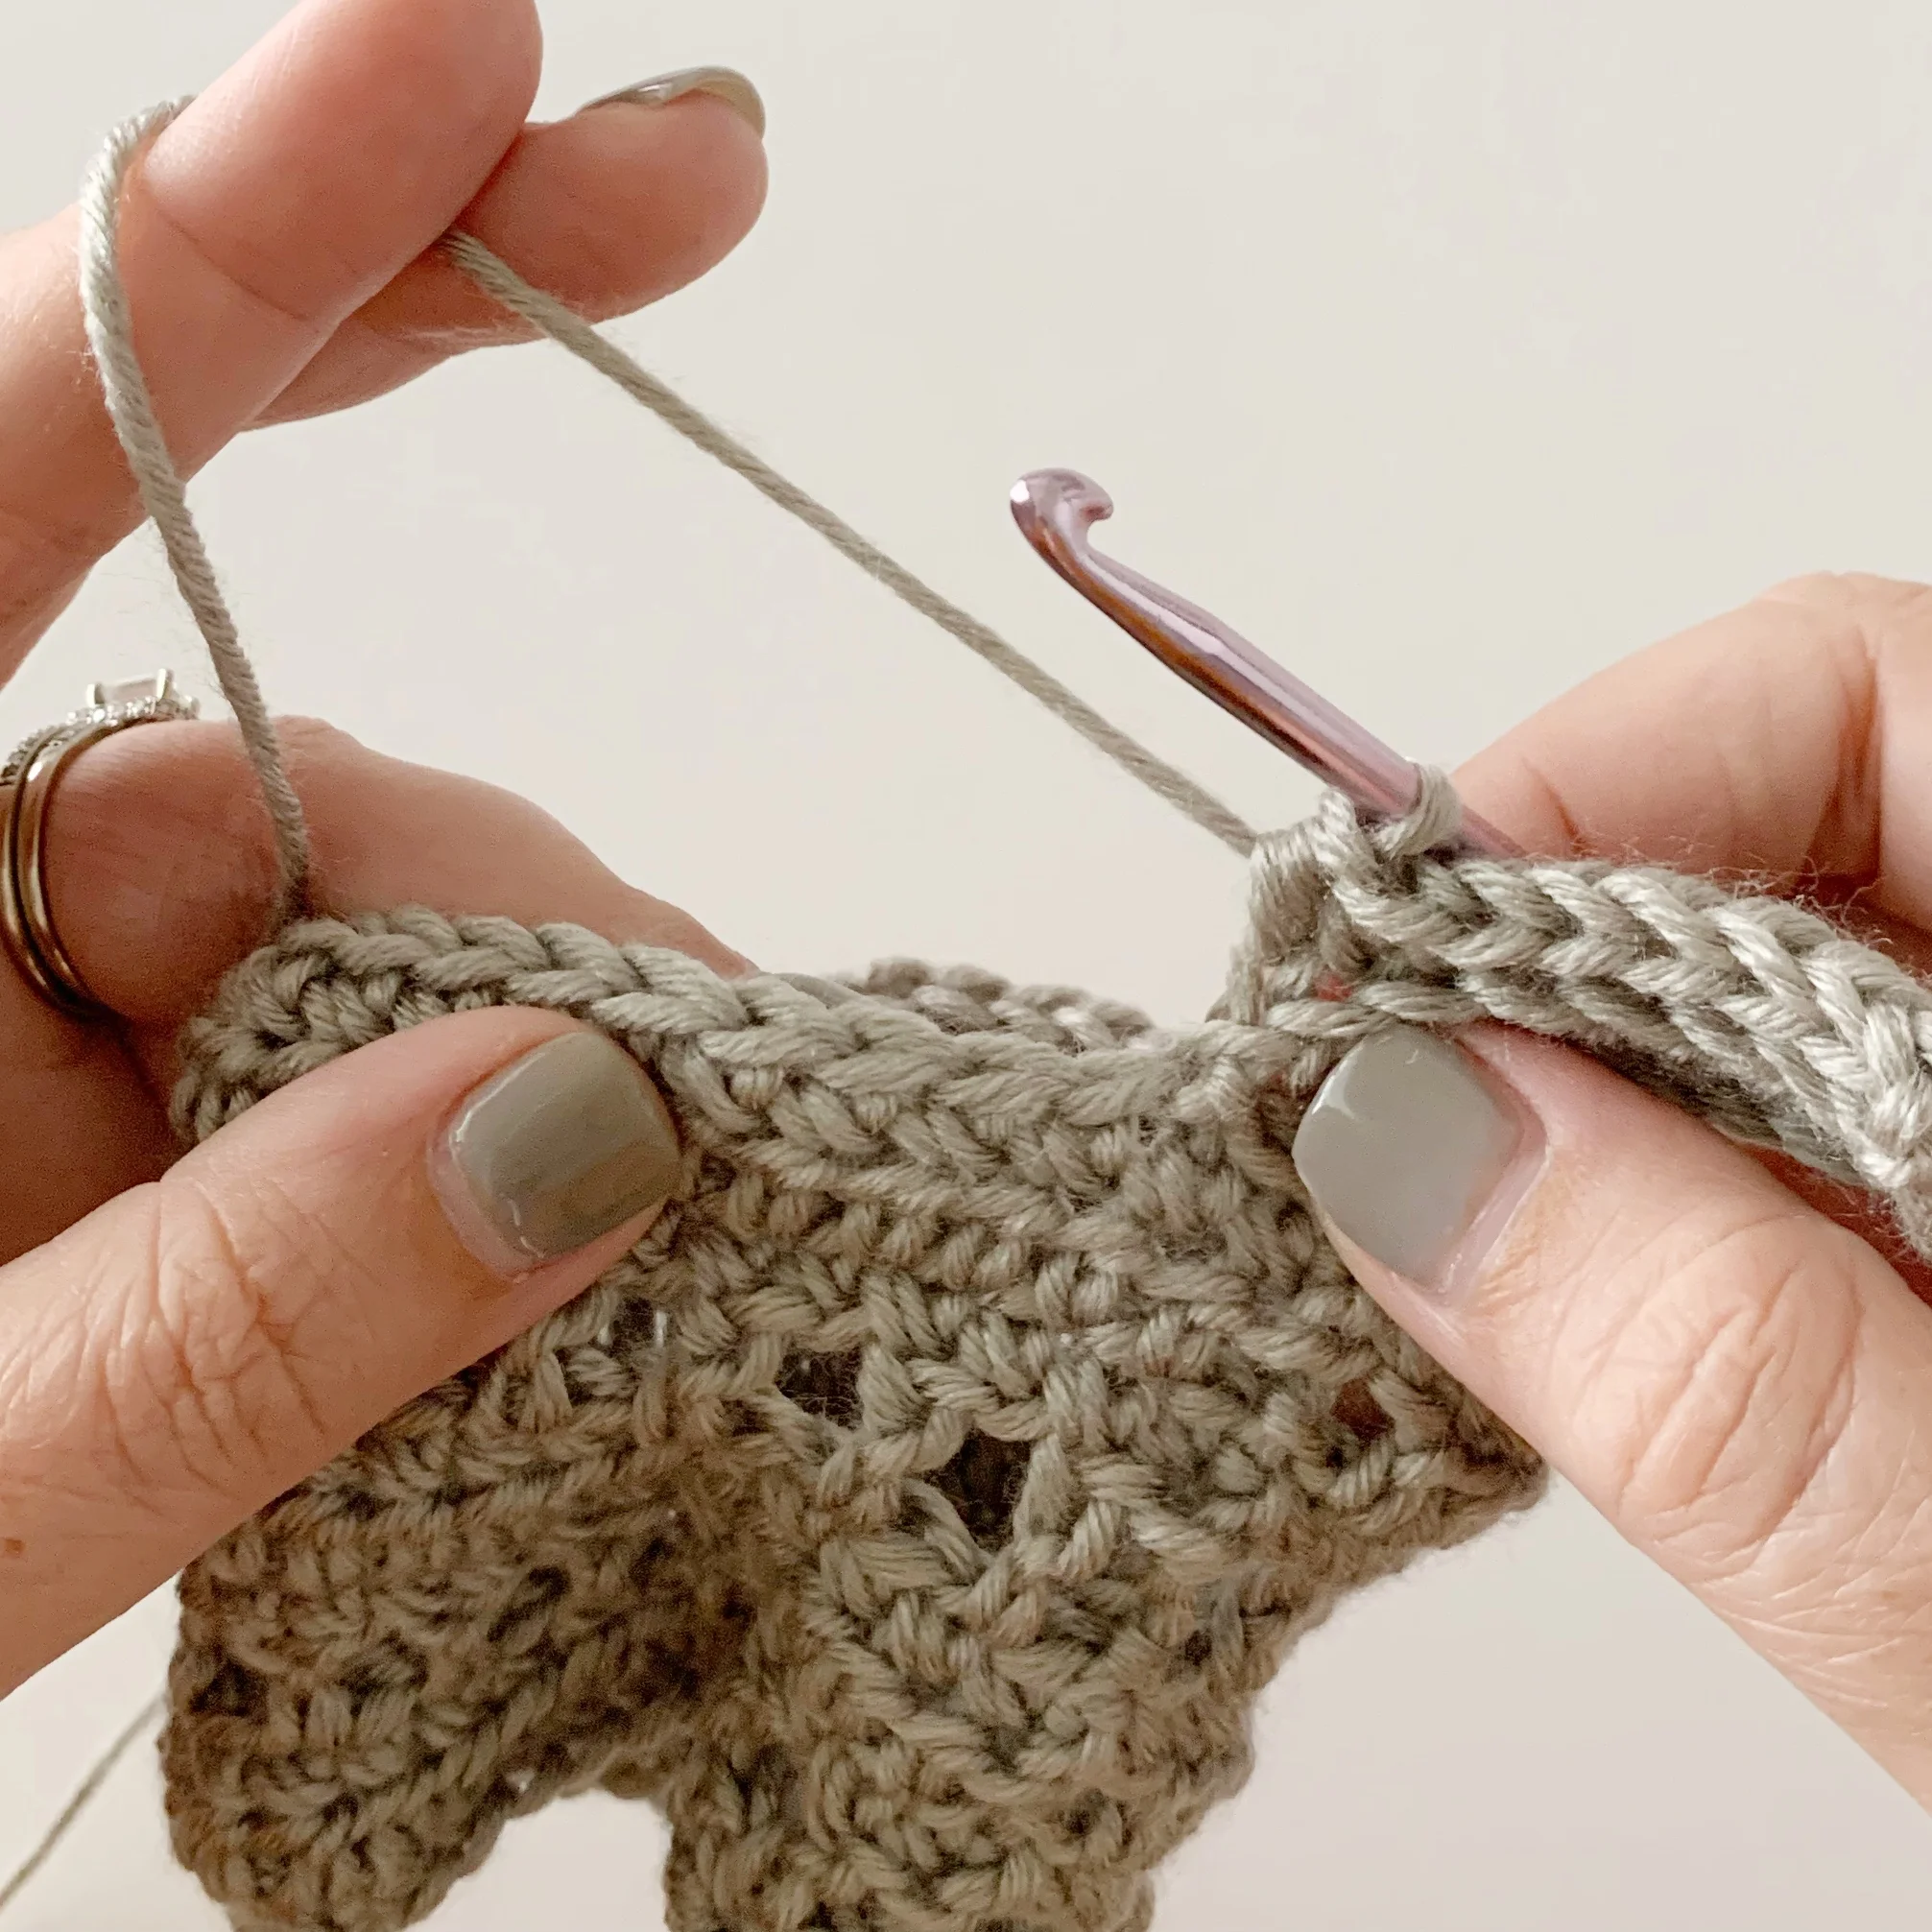
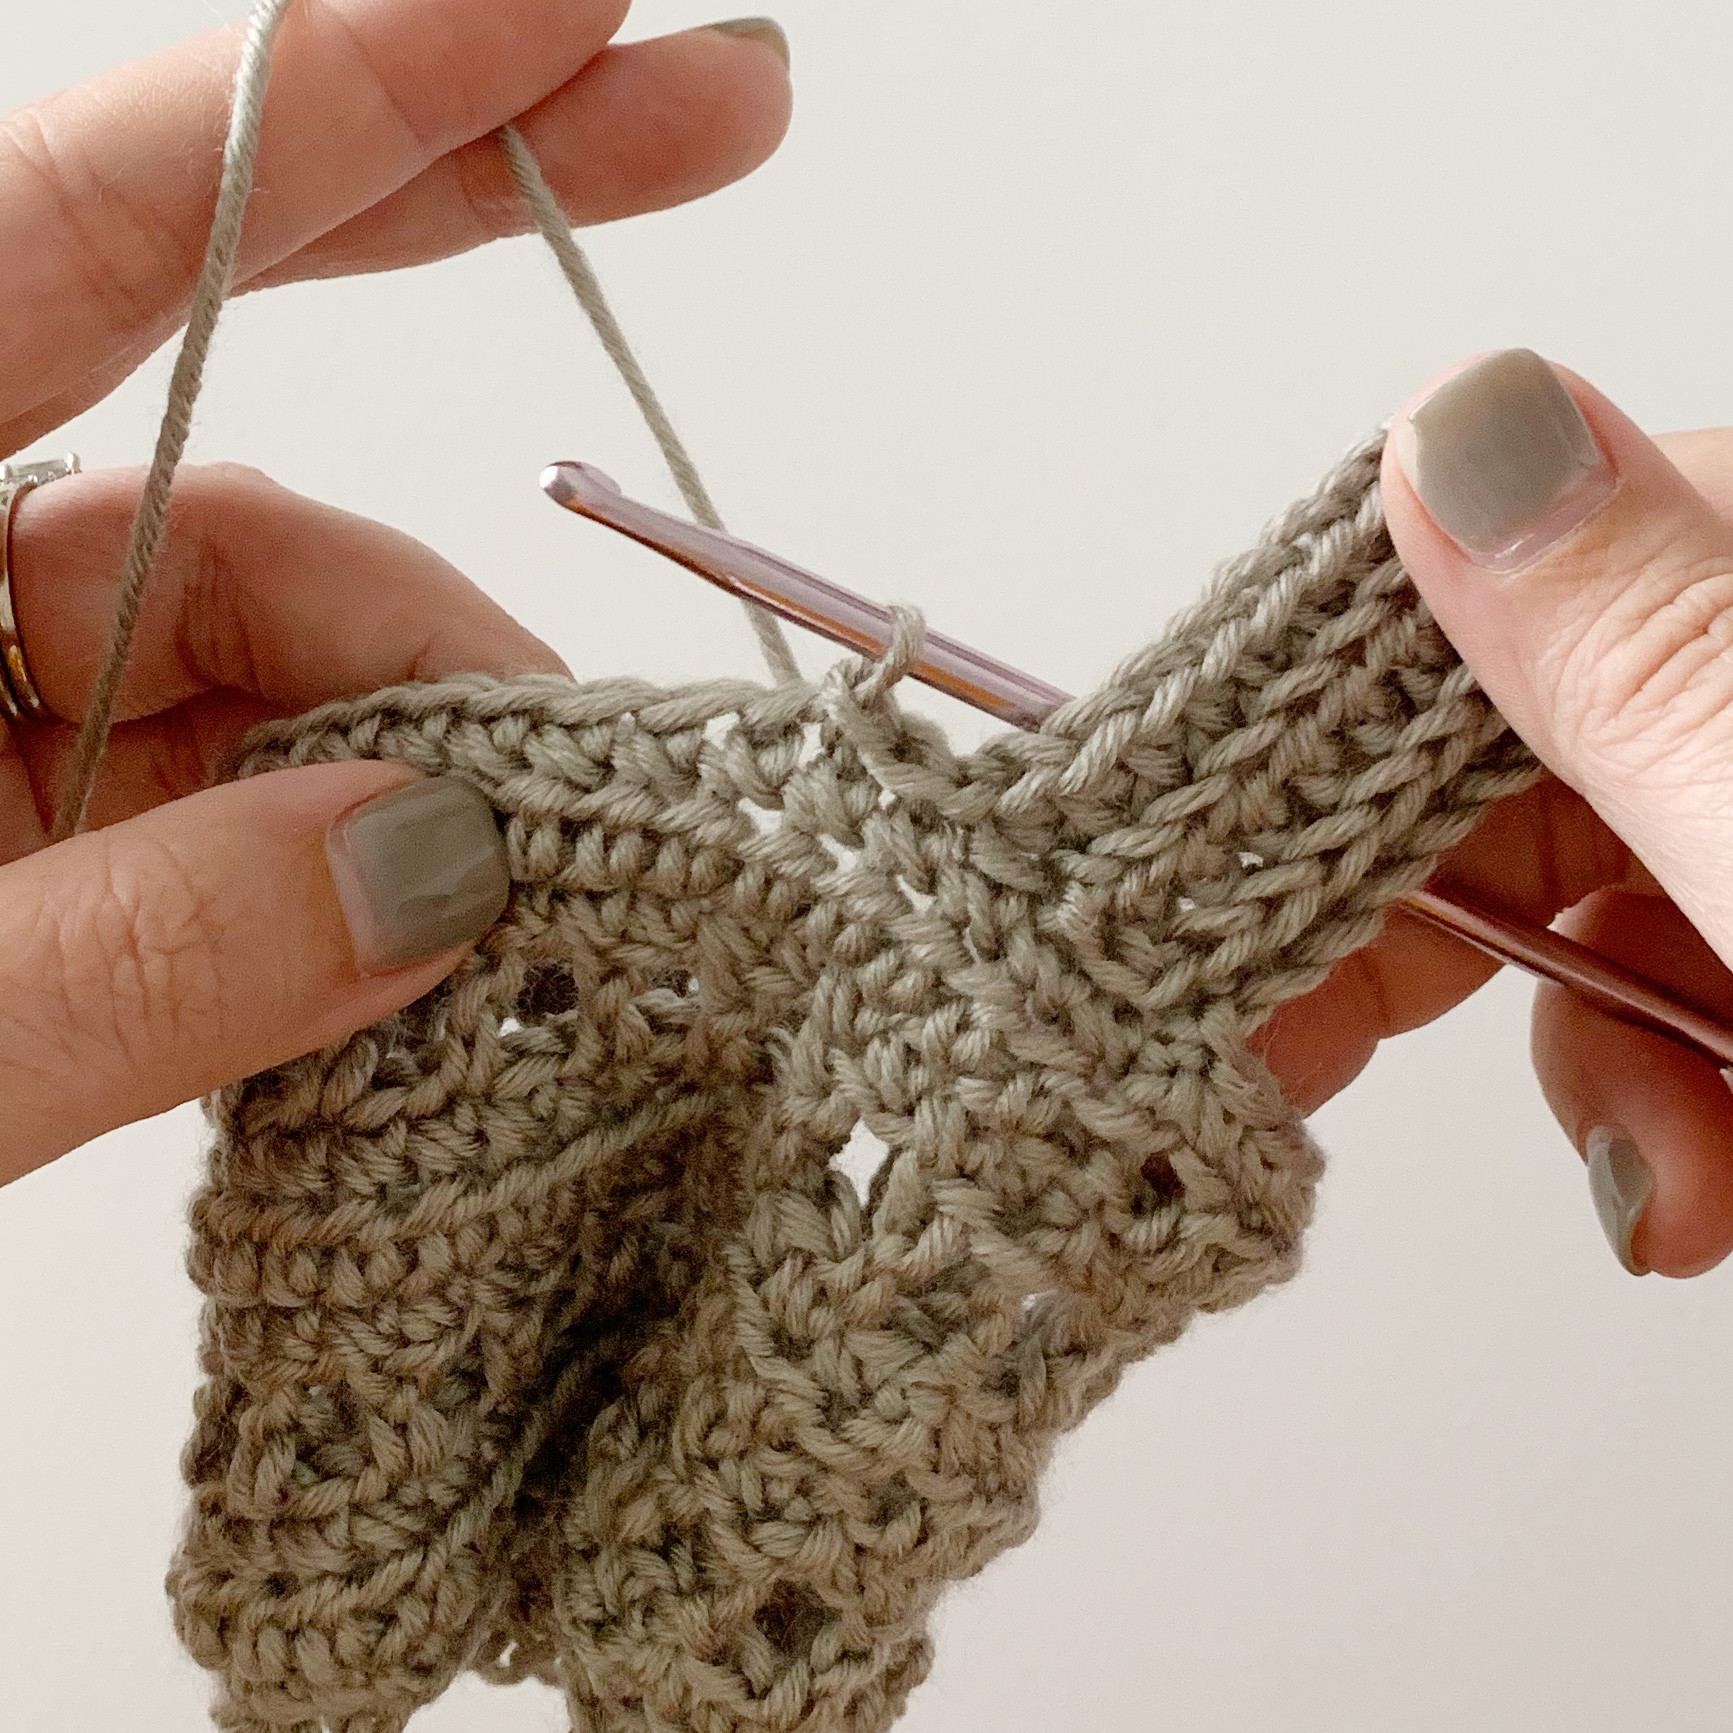
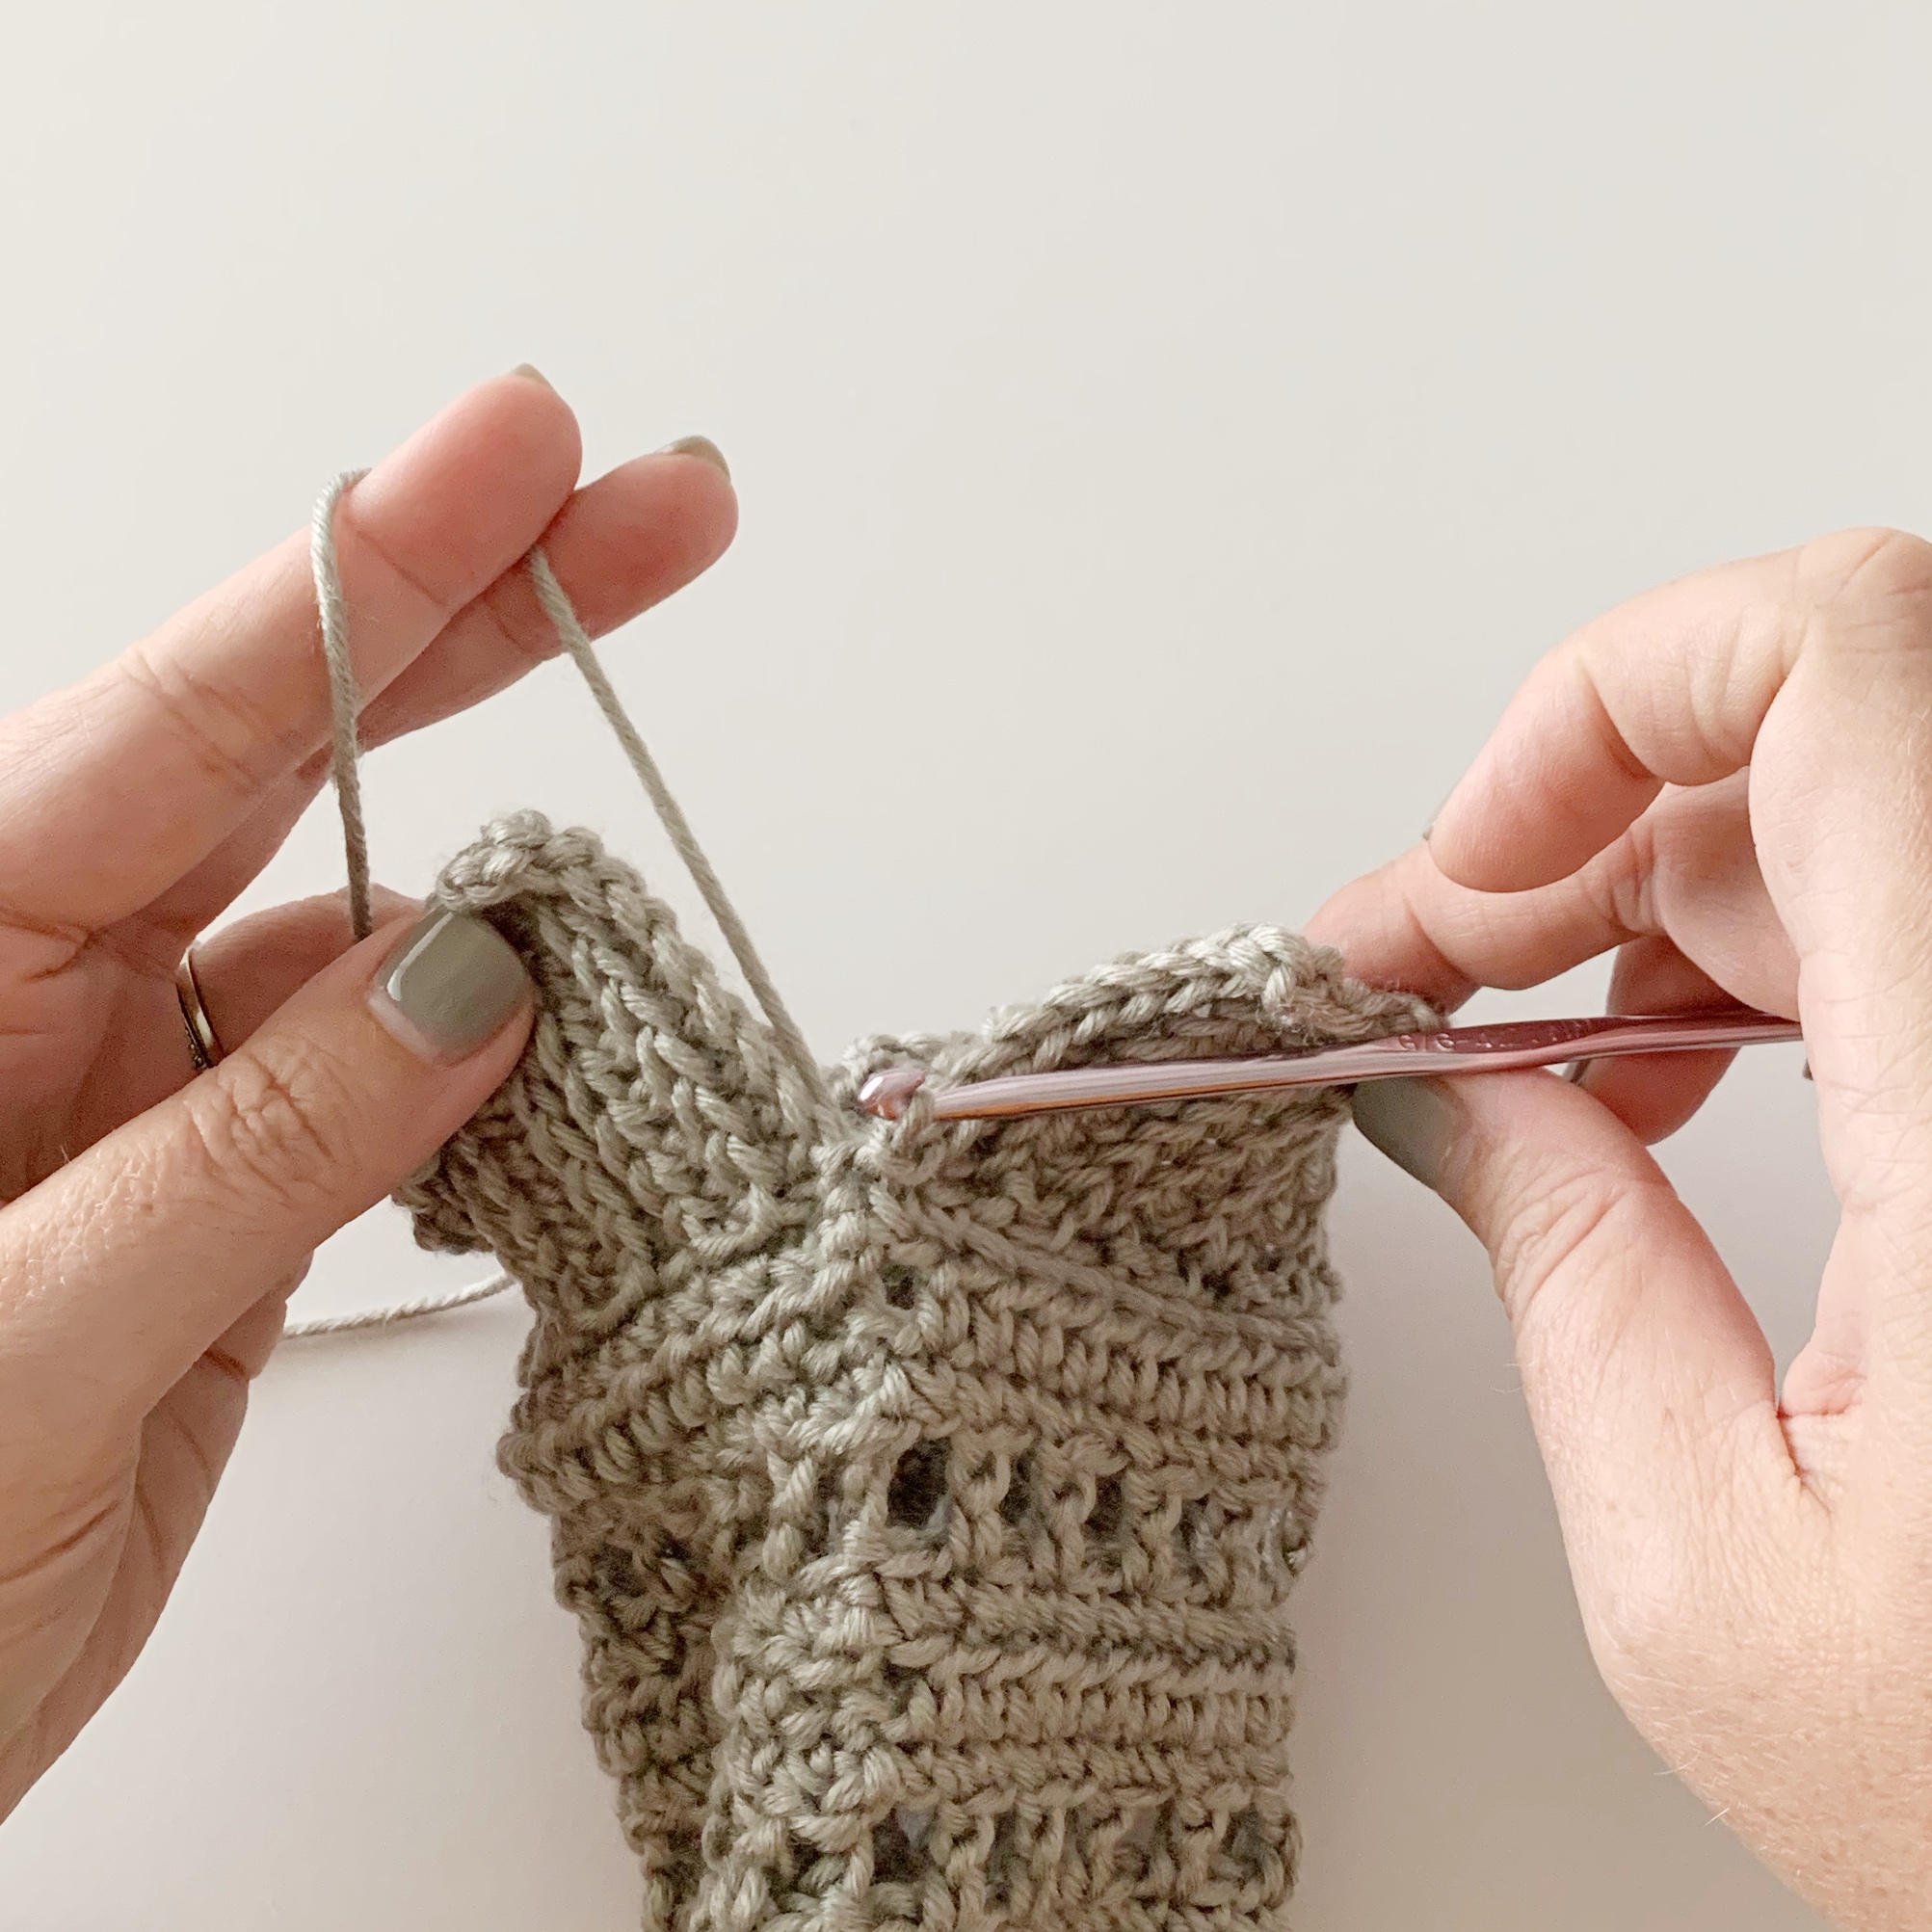
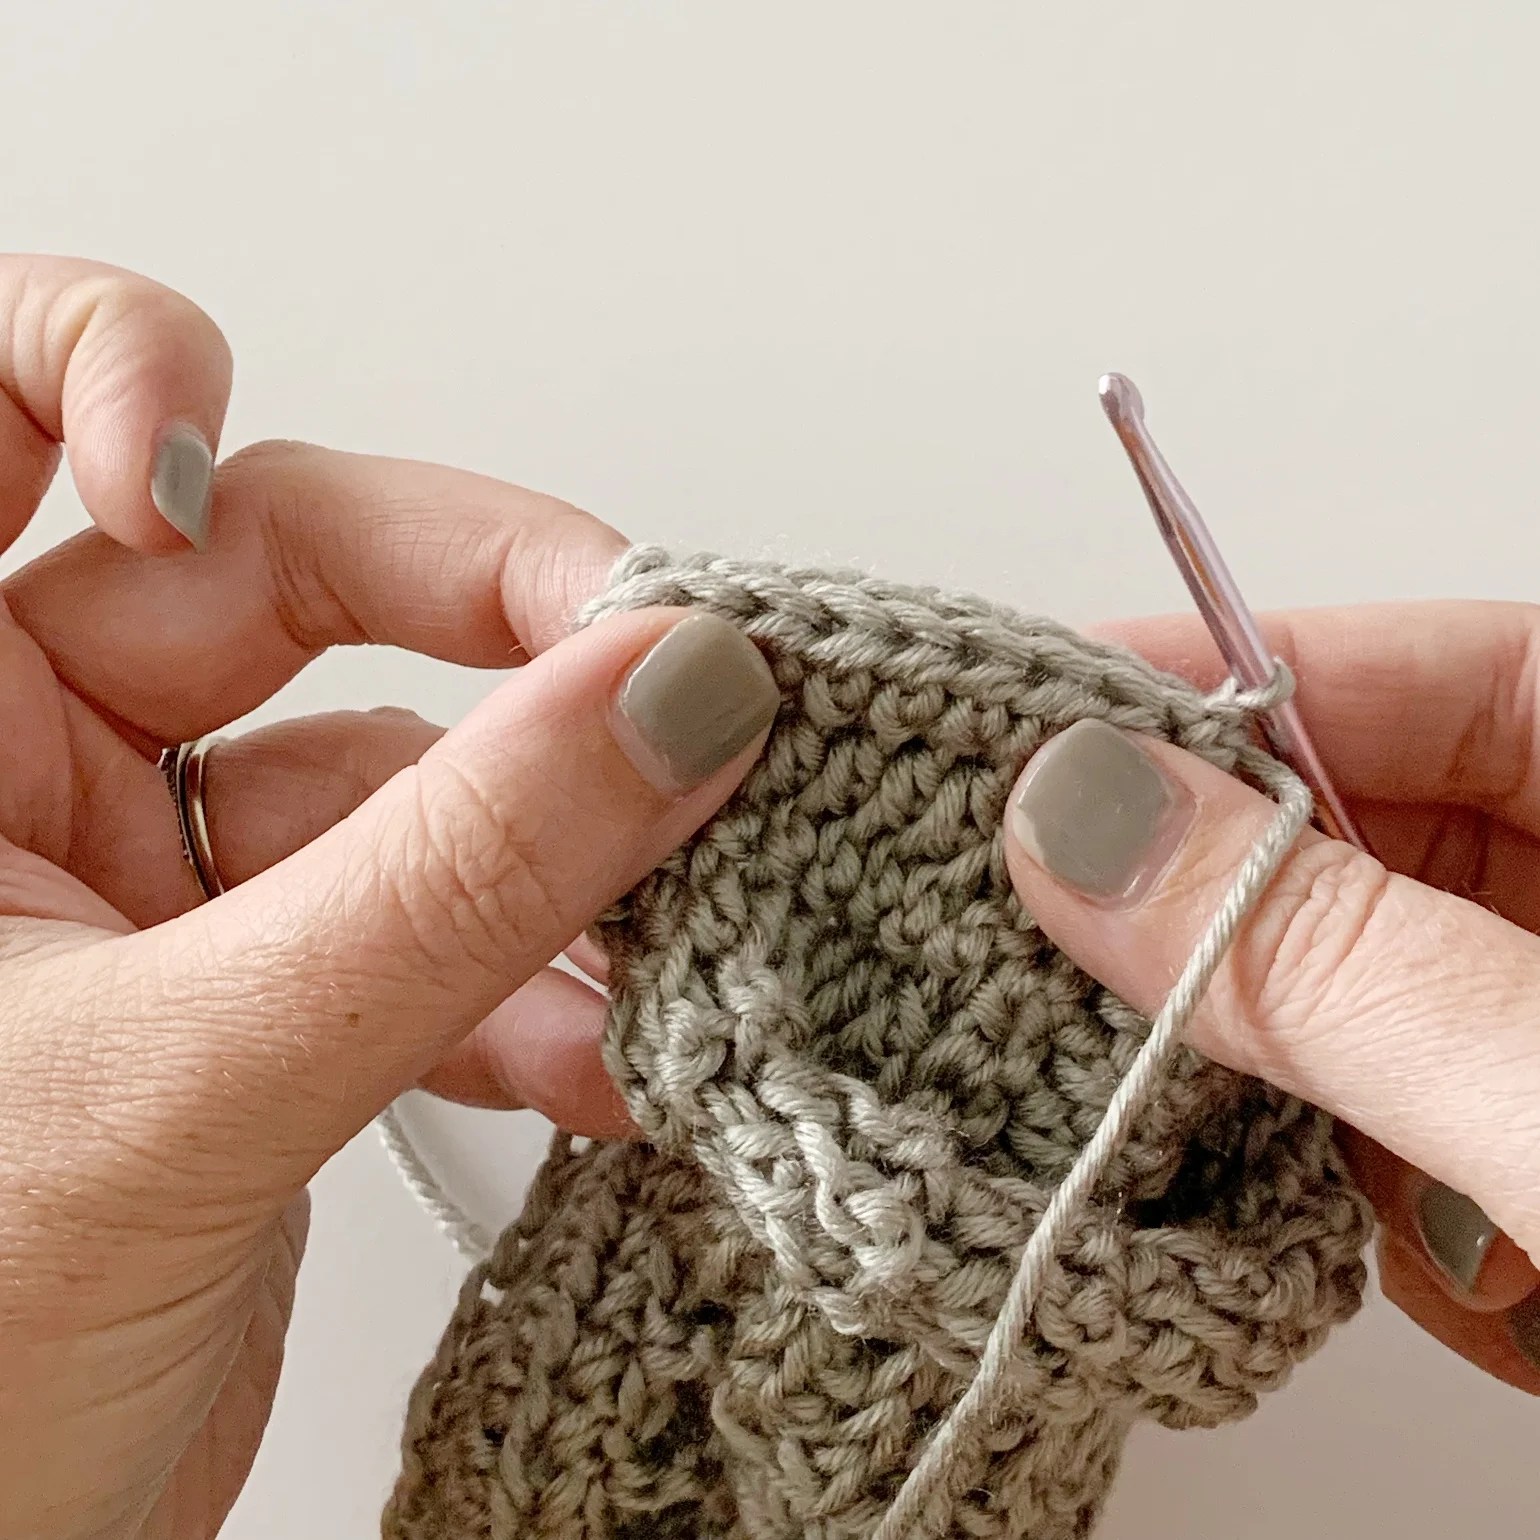
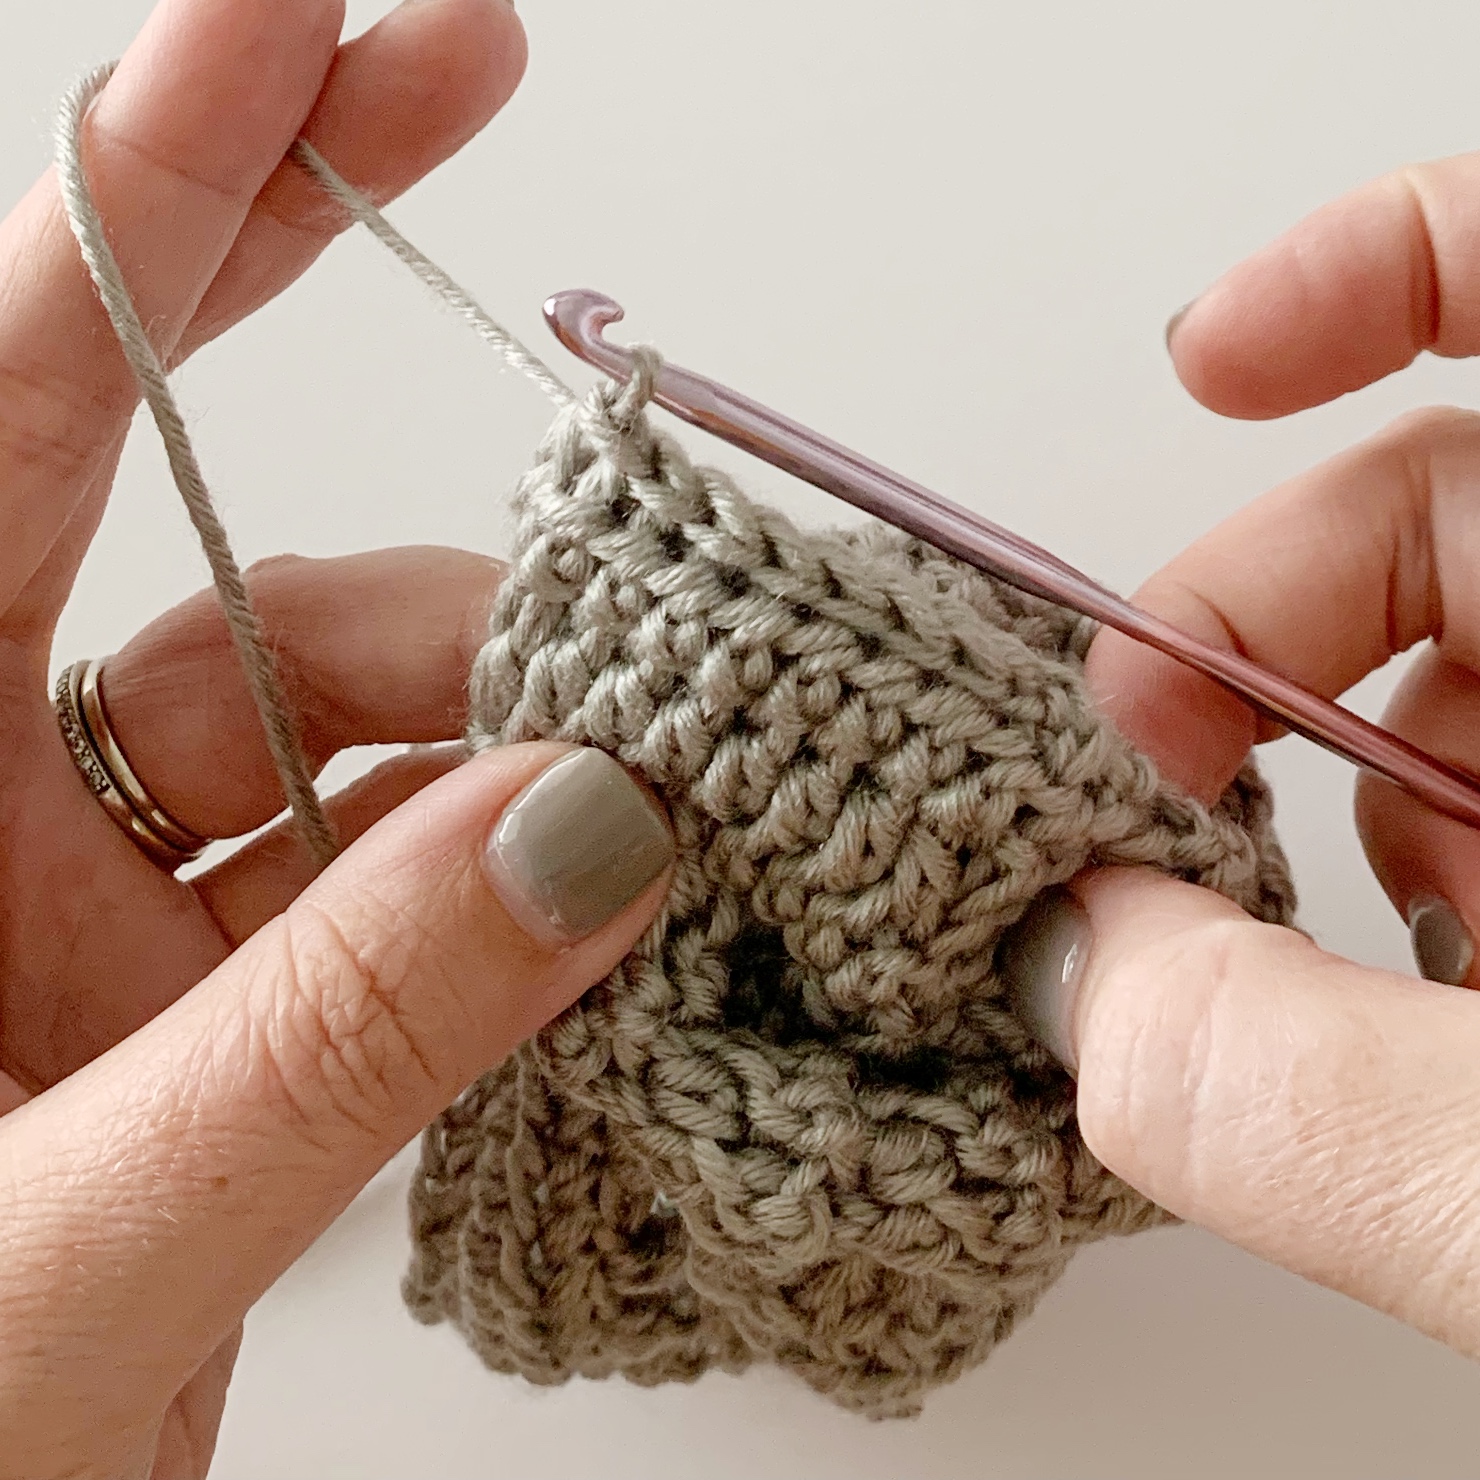
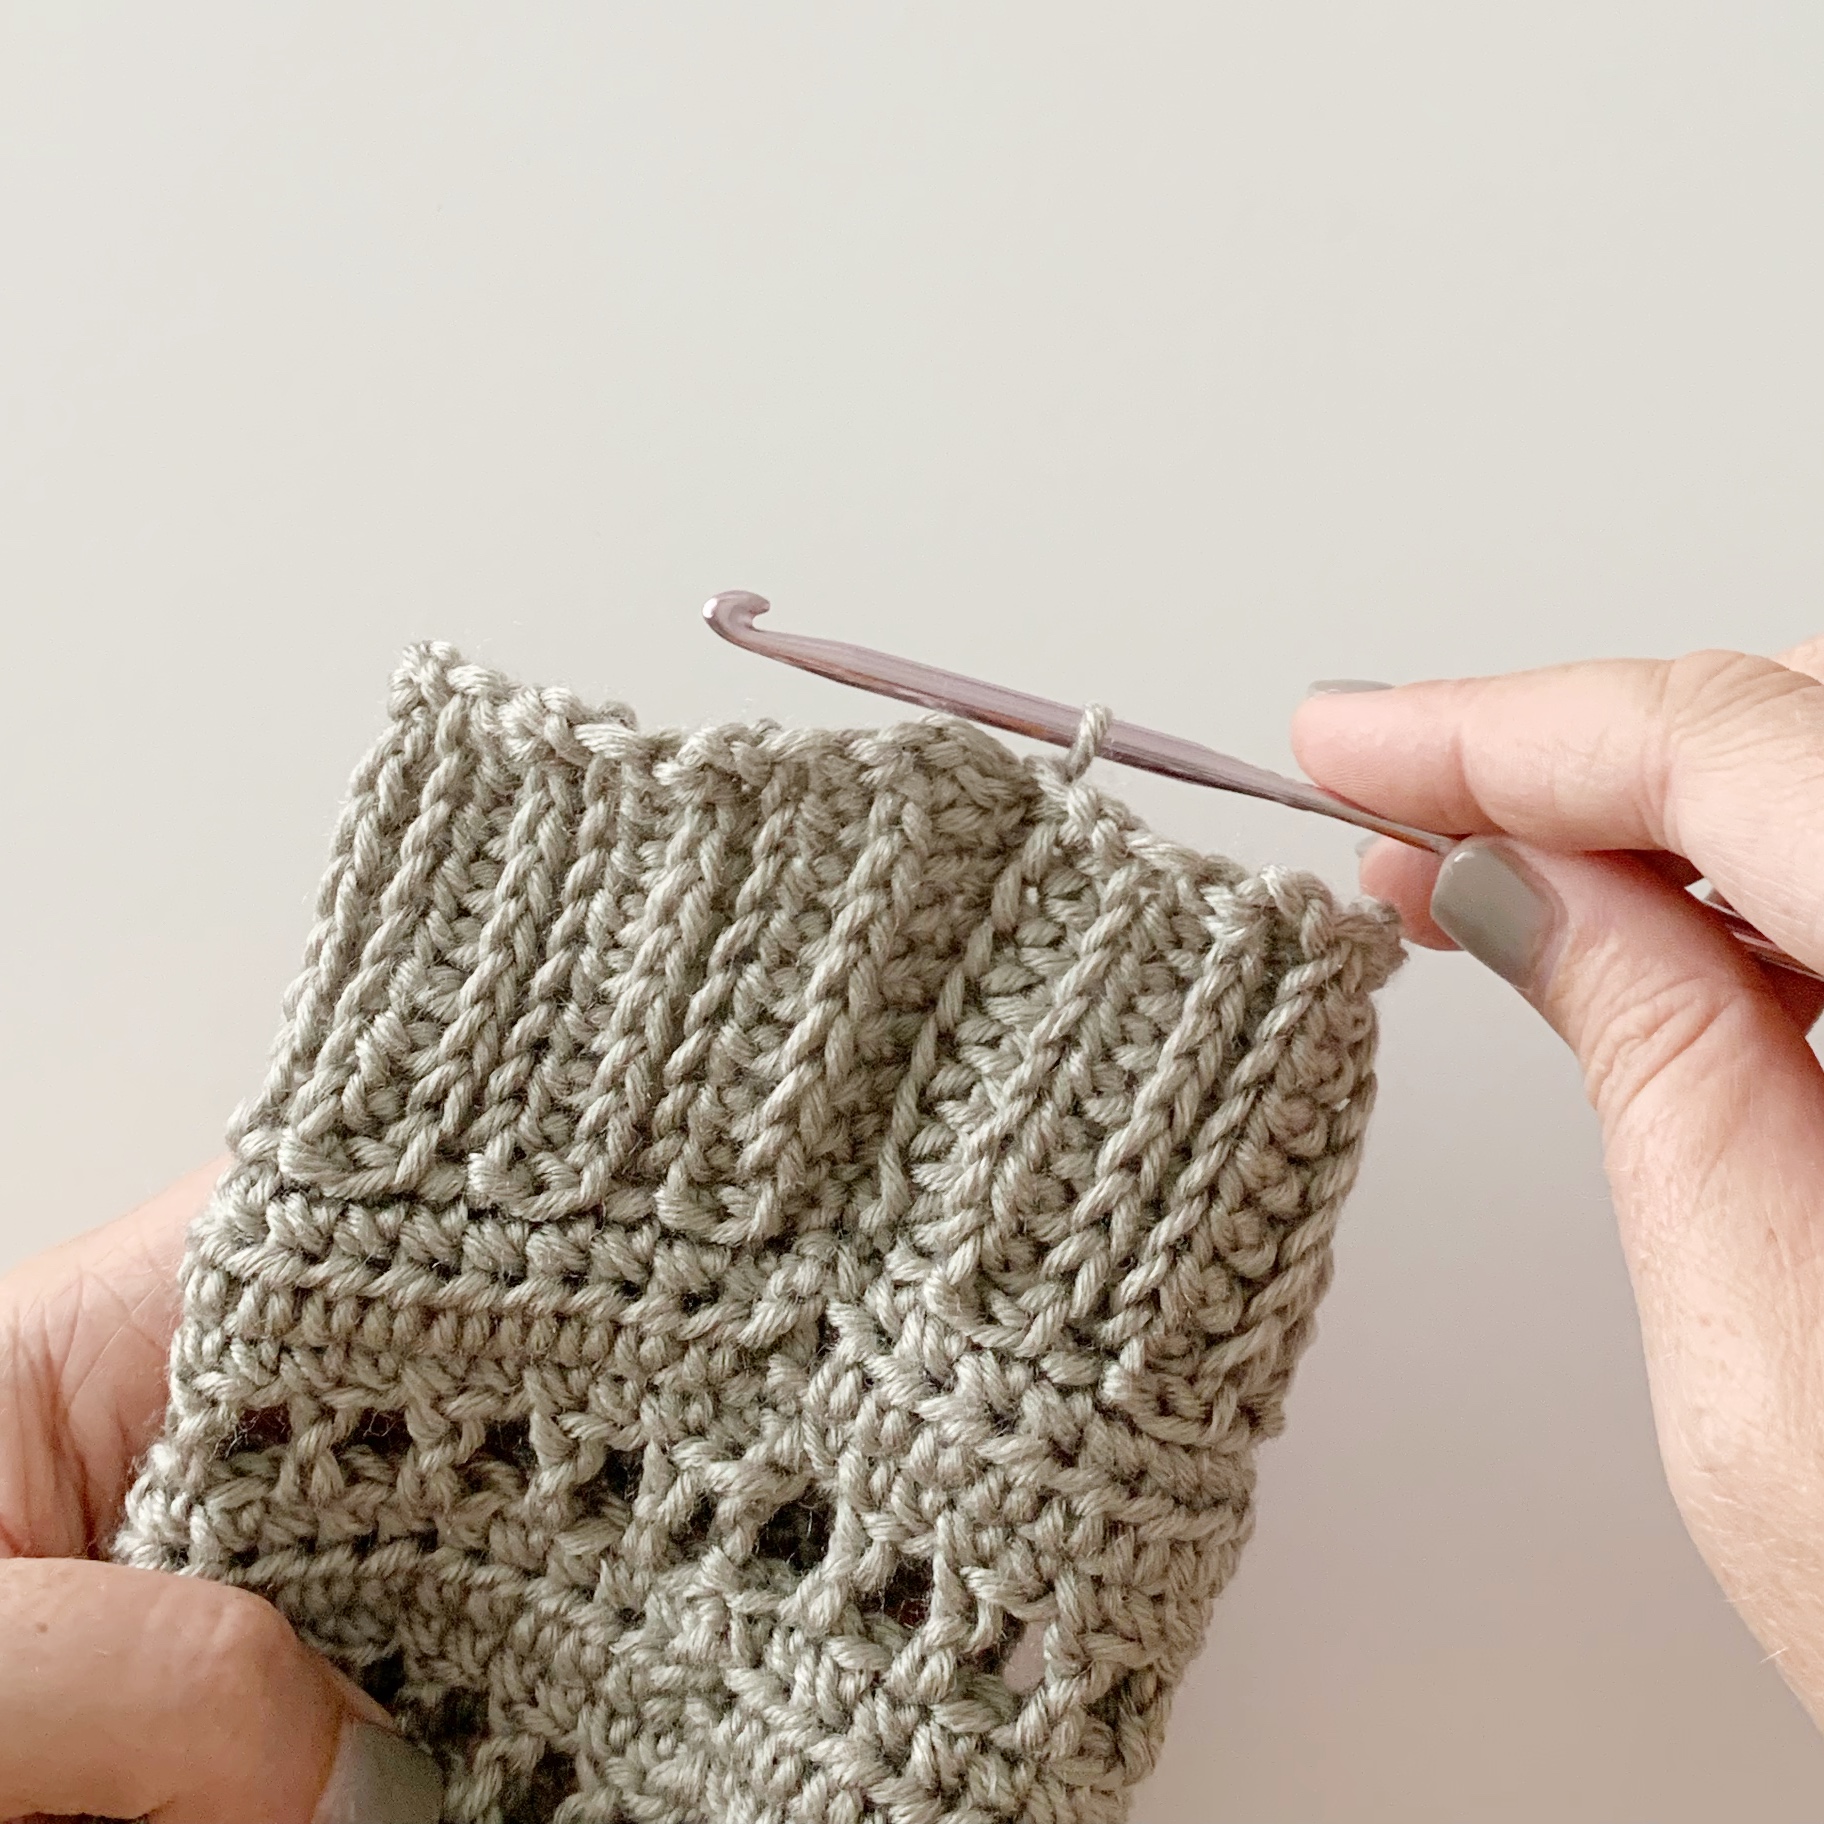
Cuffs are worked in rows and connected to the bottom of the sleeve using sl sts. Do not fasten off before starting cuff.
Cuffs:
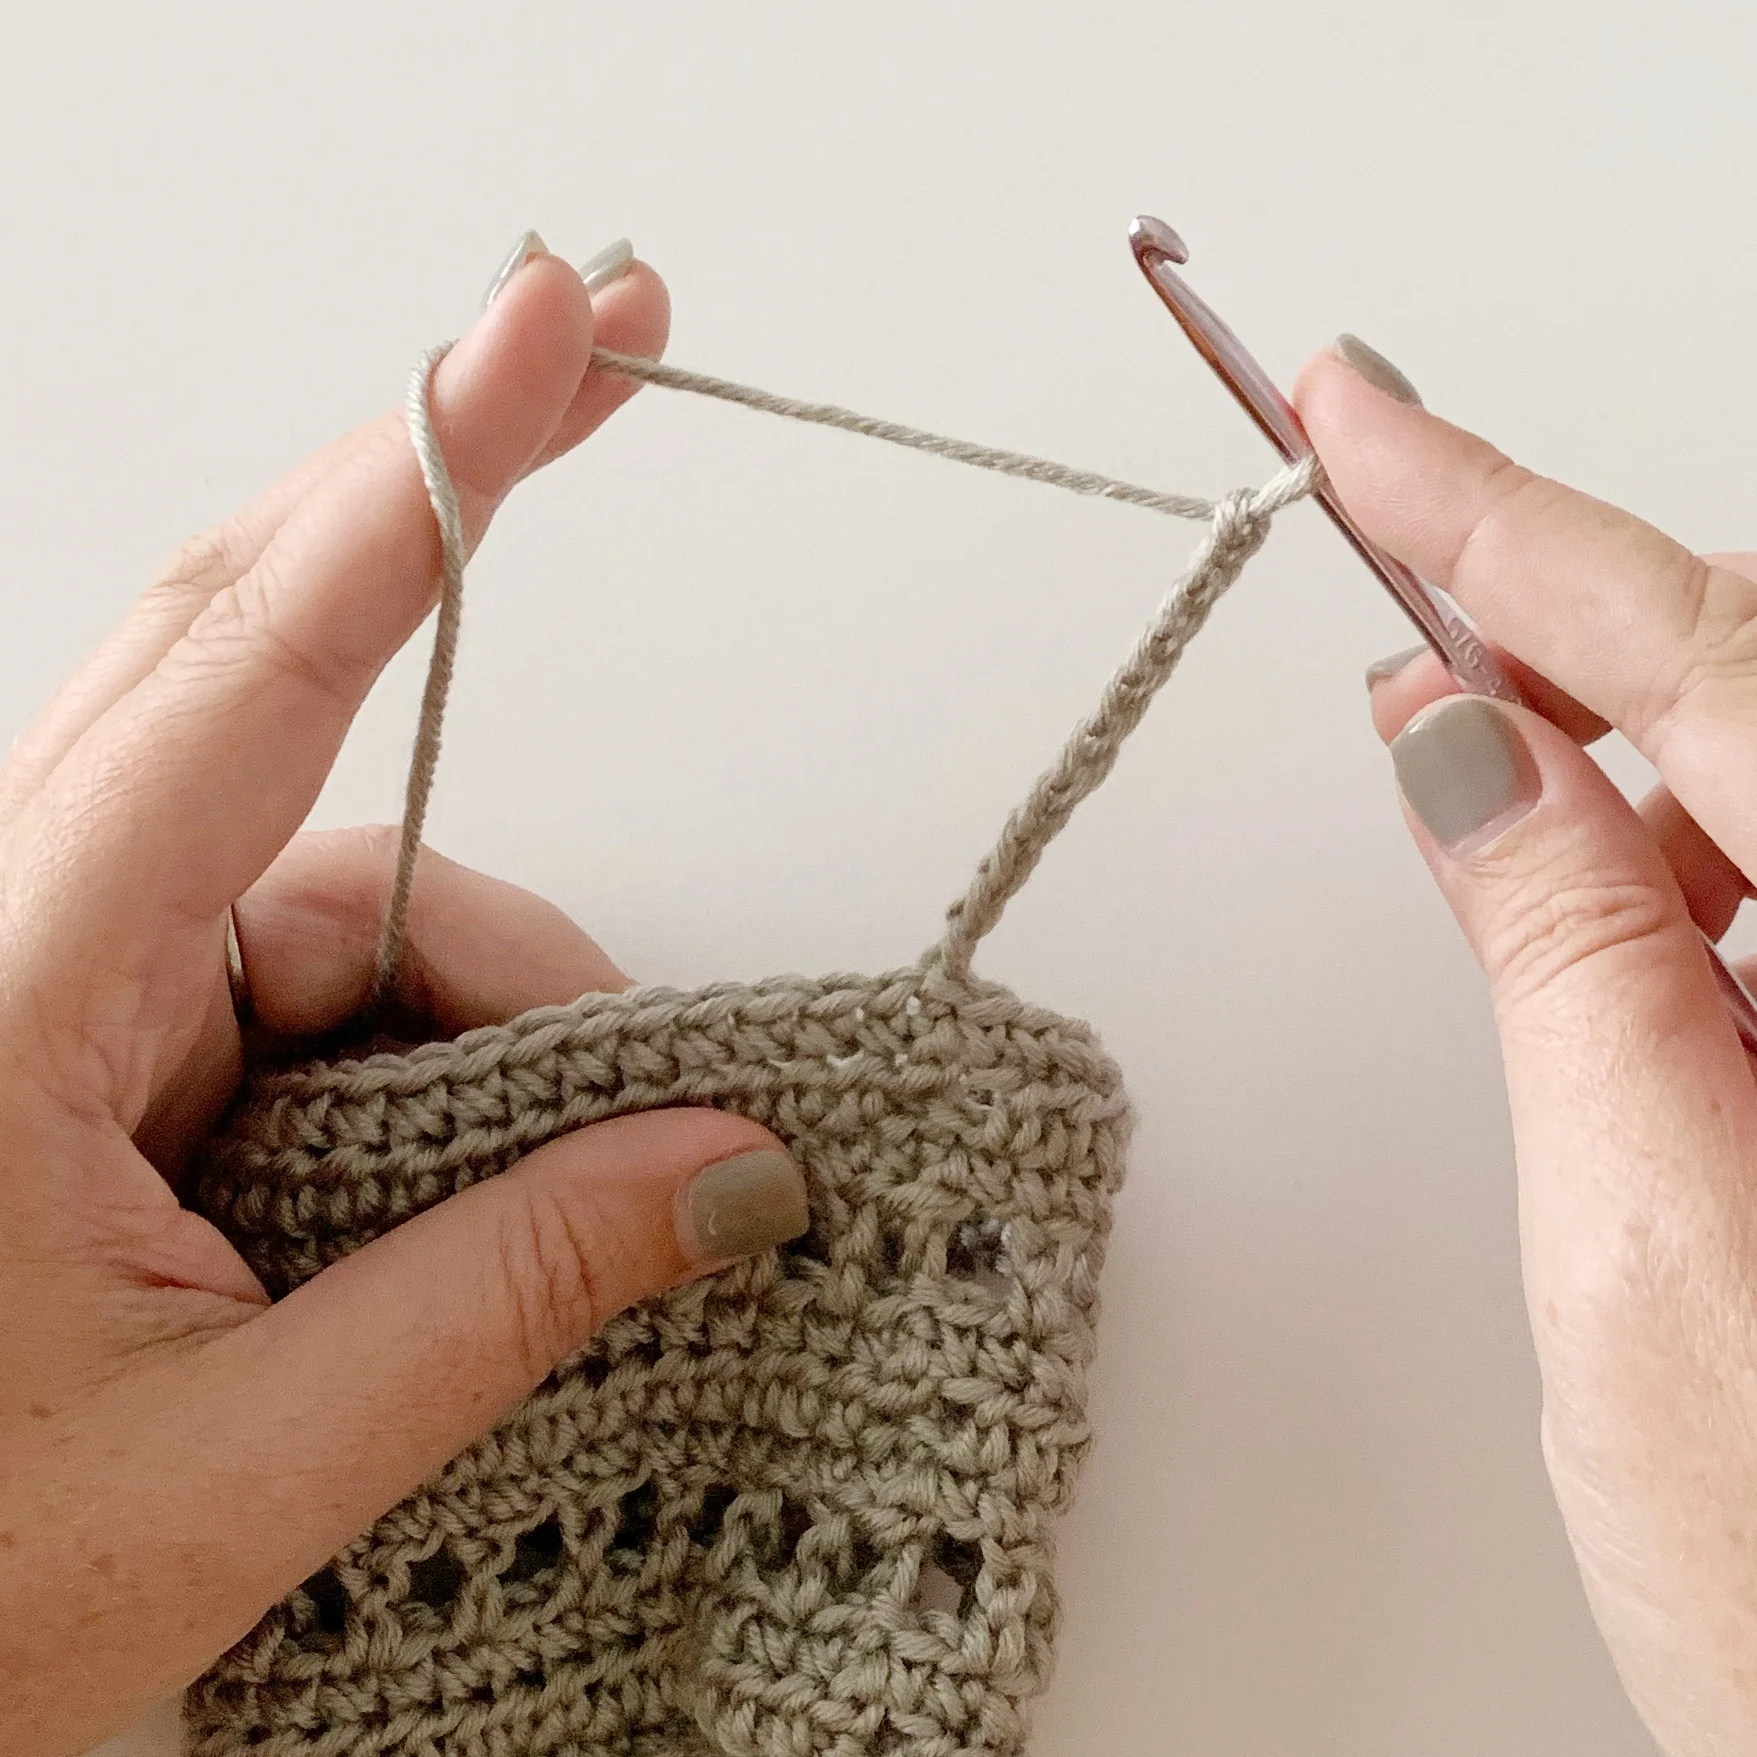
With yarn still attached to bottom of sleeve ch 8.
Row 1: hdc in 3rd ch from hook and in each ch across, sl st into the next 3 sts on the bottom of the sleeve, turn. (6)
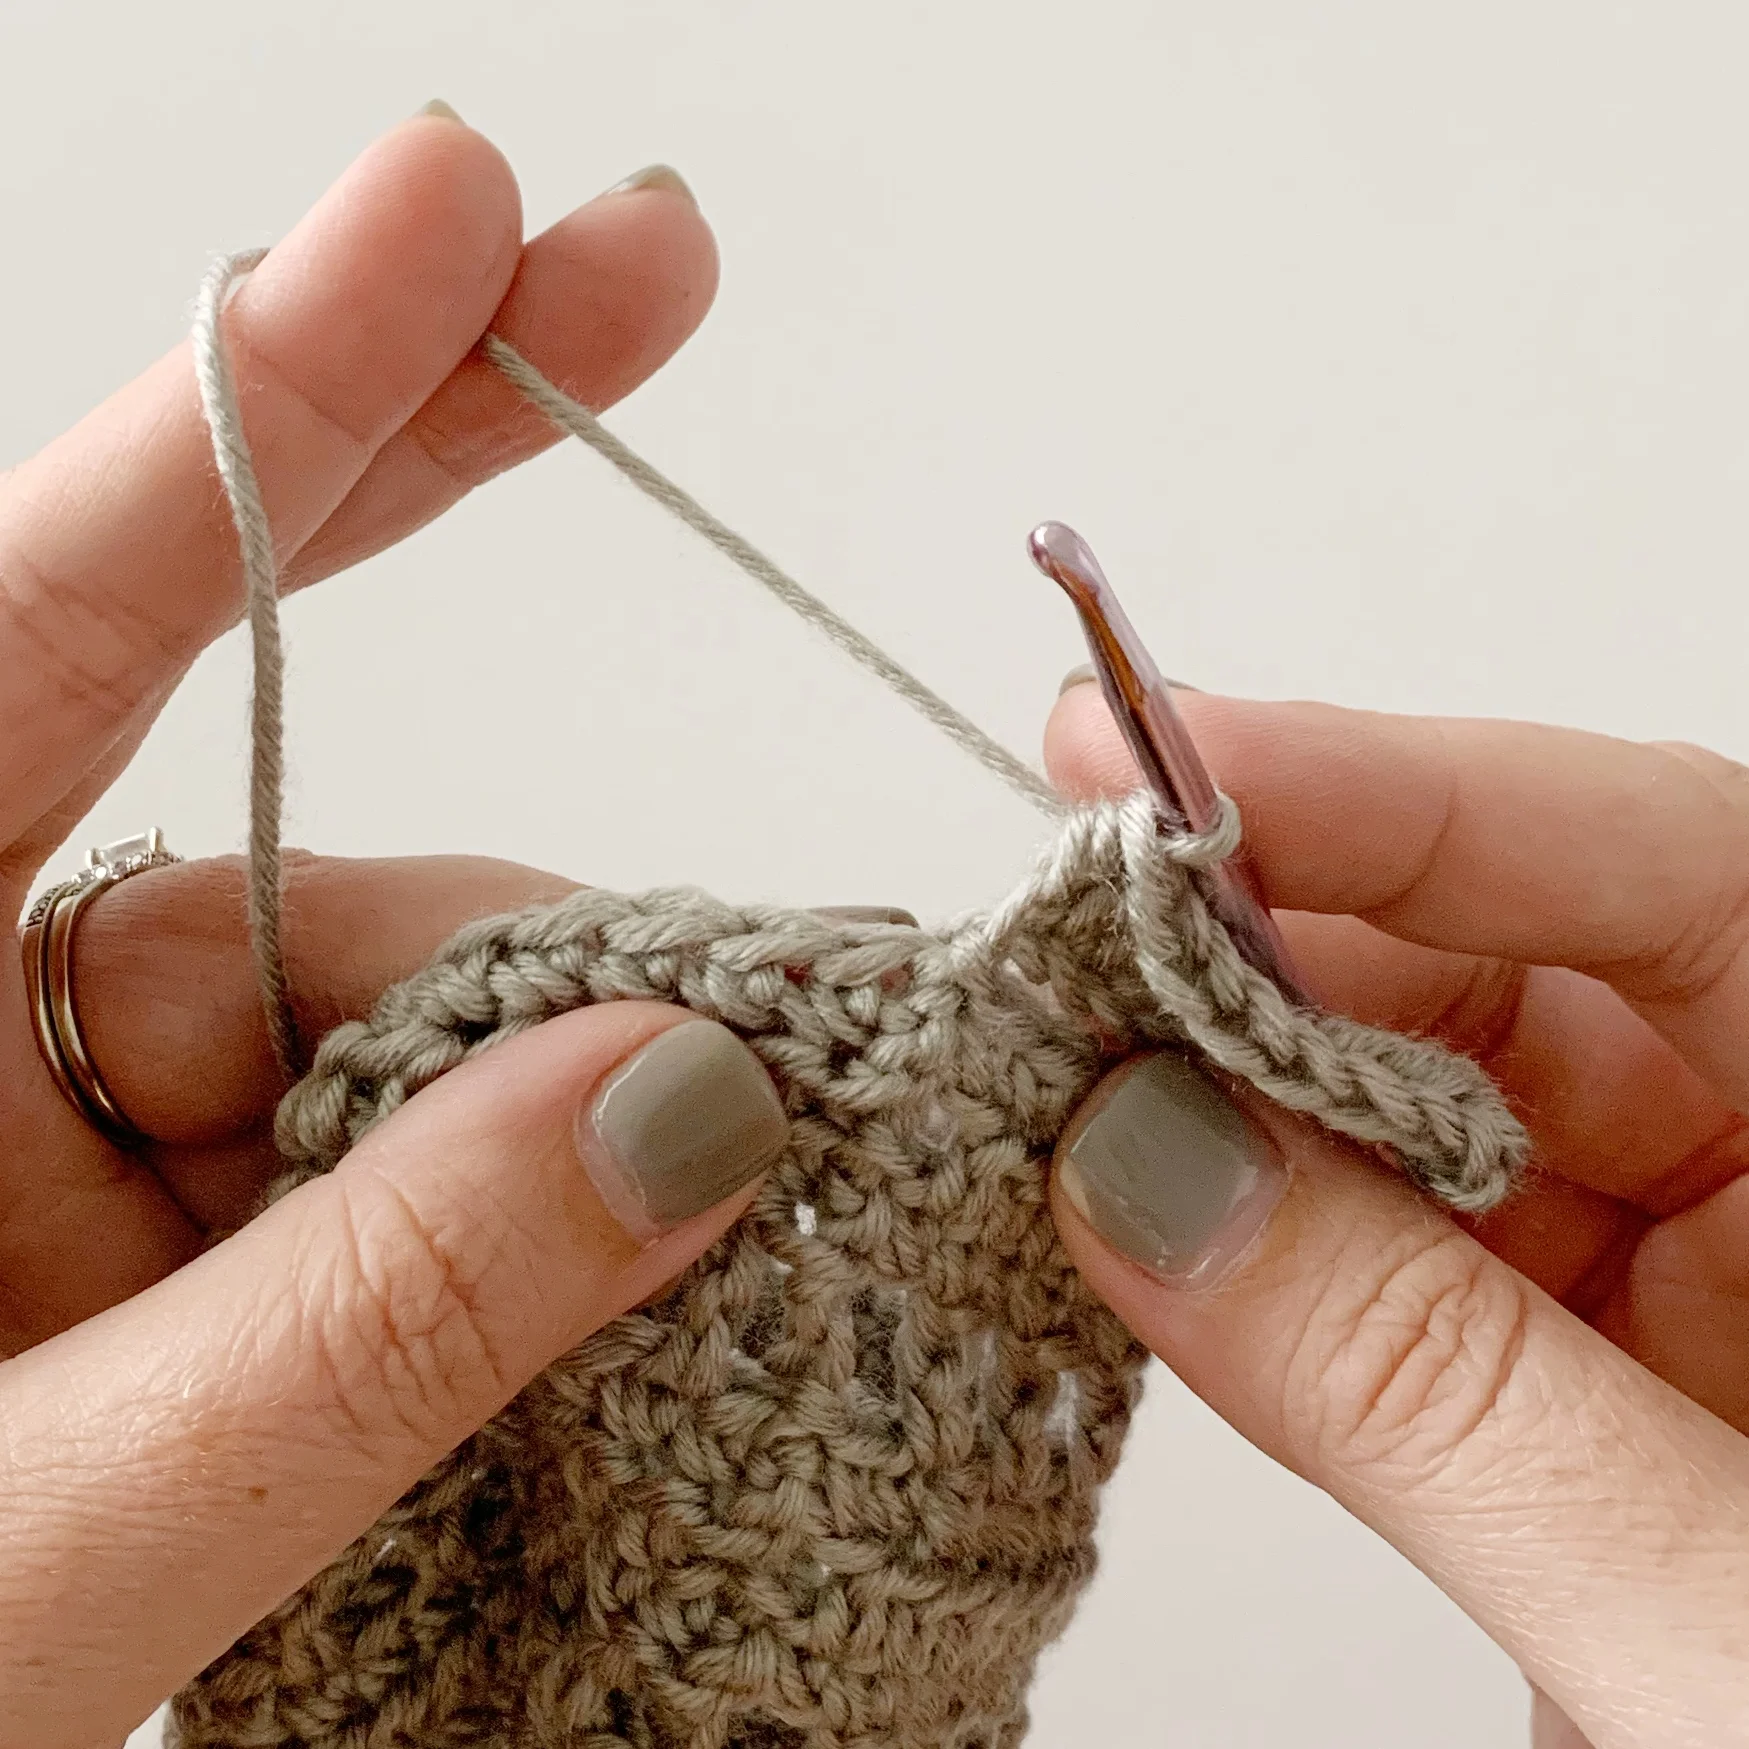
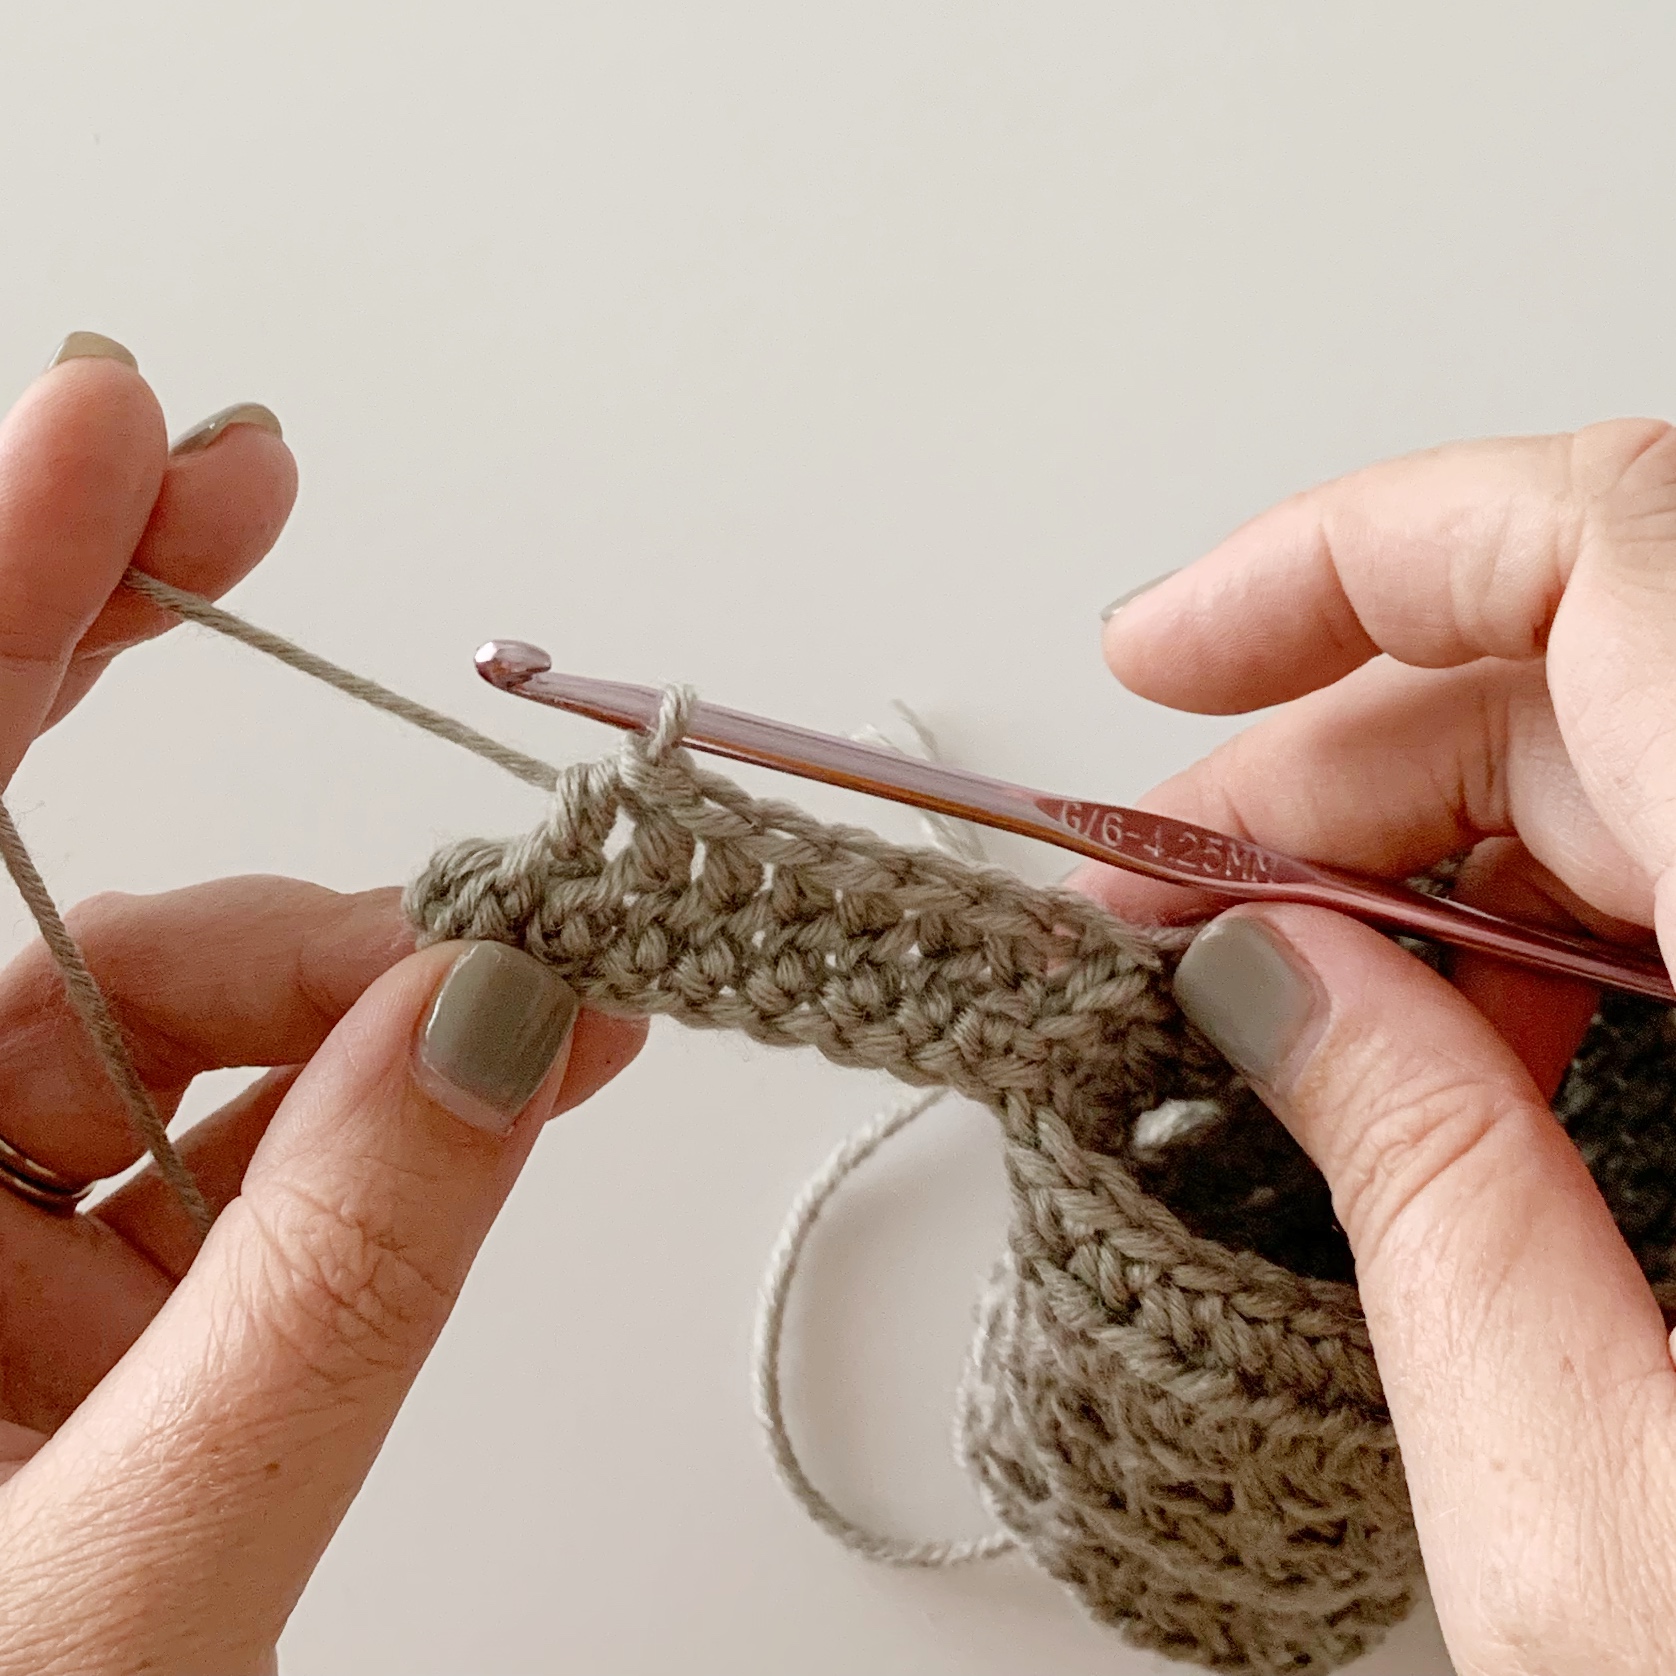
Row 2: sk 3 sl sts, hdc in 3rd loop of each st across until 1 st remains, hdc through both top loops of last st, ch 2 (does not count as a st), turn. (6)
Row 3: hdc in BLO of each st across, sl st into the next 3 sts on the bottom of the sleeve, turn. (6)
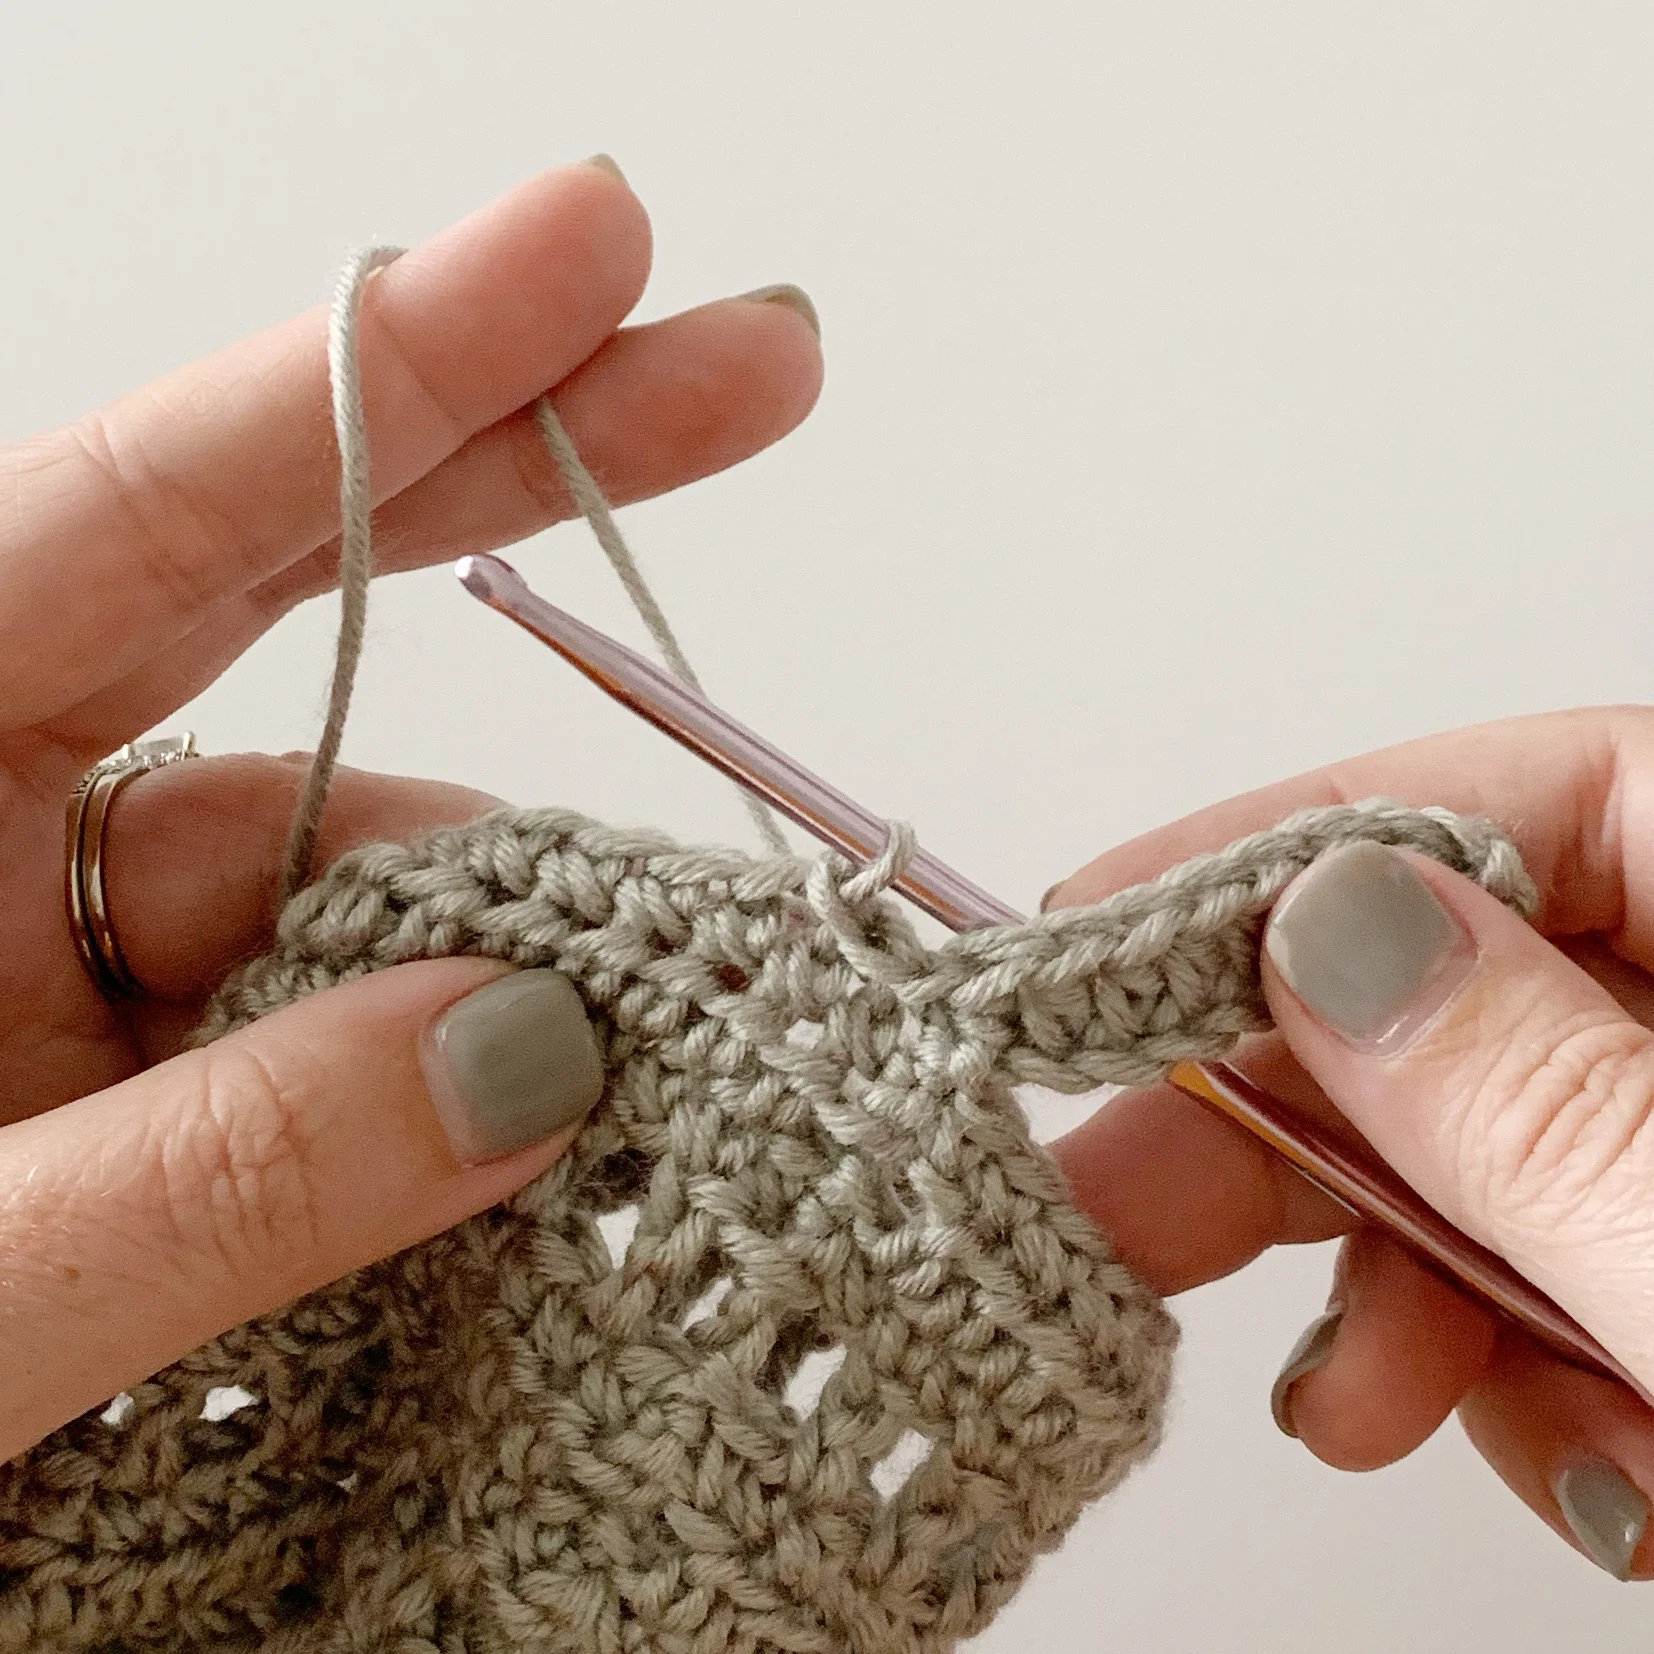
Repeat Rows 2 & 3 around entire bottom of sleeve.
Lay right sides of cuff together and sl st ends together to close.
Fasten off and weave in ends.
Repeat Sleeve and Cuff instruction for second sleeve.
Bottom Ribbing:
With WS of cardigan facing you attach yarn to bottom right corner.
Set Up Row: ch 1, sc into same st as join and evenly across bottom edge (working 1 sc in every sc and hdc row and 2 sc in each dc row), turn. 83(93, 99, 103, 109, 113, 119, 123)
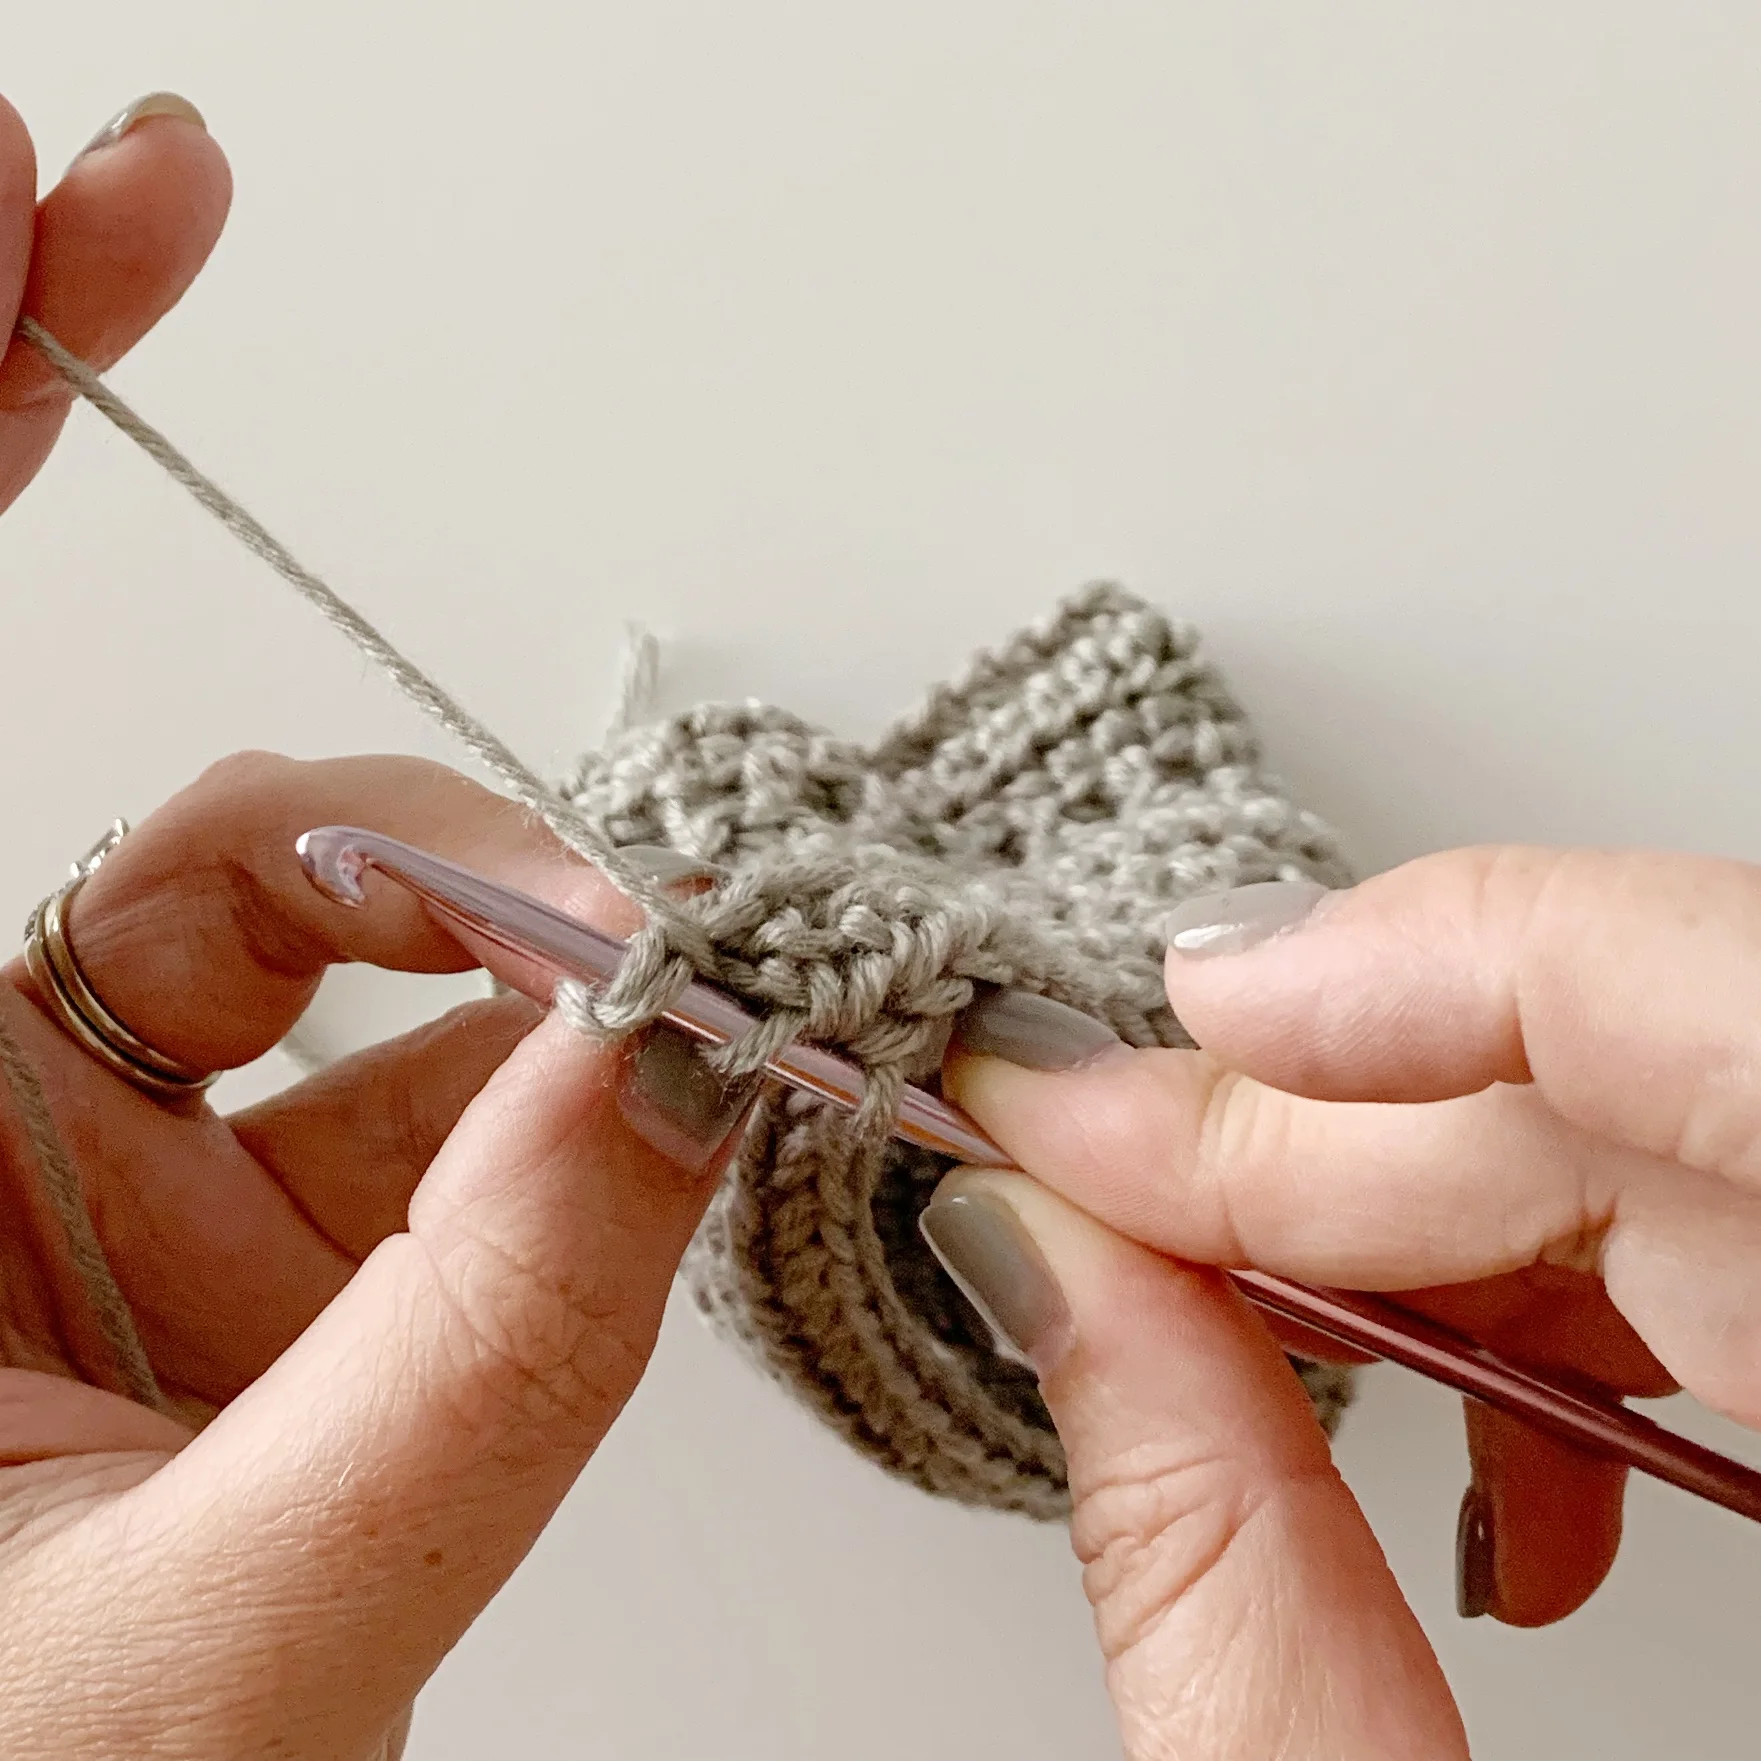
Bottom ribbing is worked the same as the cuff, in rows and joined by sl sts along bottom of cardigan.
With yarn still attached ch 8.
Row 1: hdc in 3rd ch from hook and in each ch across, sl st into the next 3 sts on the bottom of the cardigan, turn. (6)
Row 2: sk 3 sl sts, hdc in 3rd loop of each st across until 1 st remains, hdc through both top loops of last st, ch 2 (does not count as a st), turn. (6)
Row 3: hdc in BLO of each st across, sl st into the next 3 sts on the bottom of the cardigan, turn. (6)
Repeat Rows 2 & 3 around entire bottom of cardigan. Fasten off.
Collar:
With RS of cardigan facing you, attach yarn at bottom right edge of ribbing.
Ch 1
Row 1: sc in same st as join and in each stitch and row around entire front edge of cardigan. (again working 1 sc into each sc and hdc row and 2 sc in each dc row), turn. (117, 127, 139, 149, 159, 169, 181, 191)
Row 2: ch 2 (counts as first st) hdc in each st across, turn. (117, 127, 139, 149, 159, 169, 181, 191)
Row 3: ch 1, sc in each st across. (117, 127, 139, 149, 159, 169, 181, 191)
Turn and sc evenly across bottom ribbing working 3 sc across every two rows of hdc ribbing, sl st to top of first st of row 3.
Fasten off and weave in all ends.
Wet block or steam block, especially bottom ribbing.
Now go enjoy matching your little one in their new Mini Home Town Cardi! I hope you love this pattern as much as I do. I love to see what you make from my designs so please share by tagging me @meghanmakesdo or using hashtags #meghanmakesdo and #theminihometowncardi so I can see them.
Don’t forget if you’d like a printable PDF version of the pattern you can find it in my shop, Ravelry and Etsy.
You can also found The Home Town Cardi Bundle in my shop! You’ll get both the women’s and child sizes together in one PDF for a discounted price!
Happy Crocheting!
Meghan


