The Livy Throw-Free Crochet Pattern
This post contains affiliate links. If you make a purchase through one of those links I may receive a small commission at no extra cost to you. Read more here.
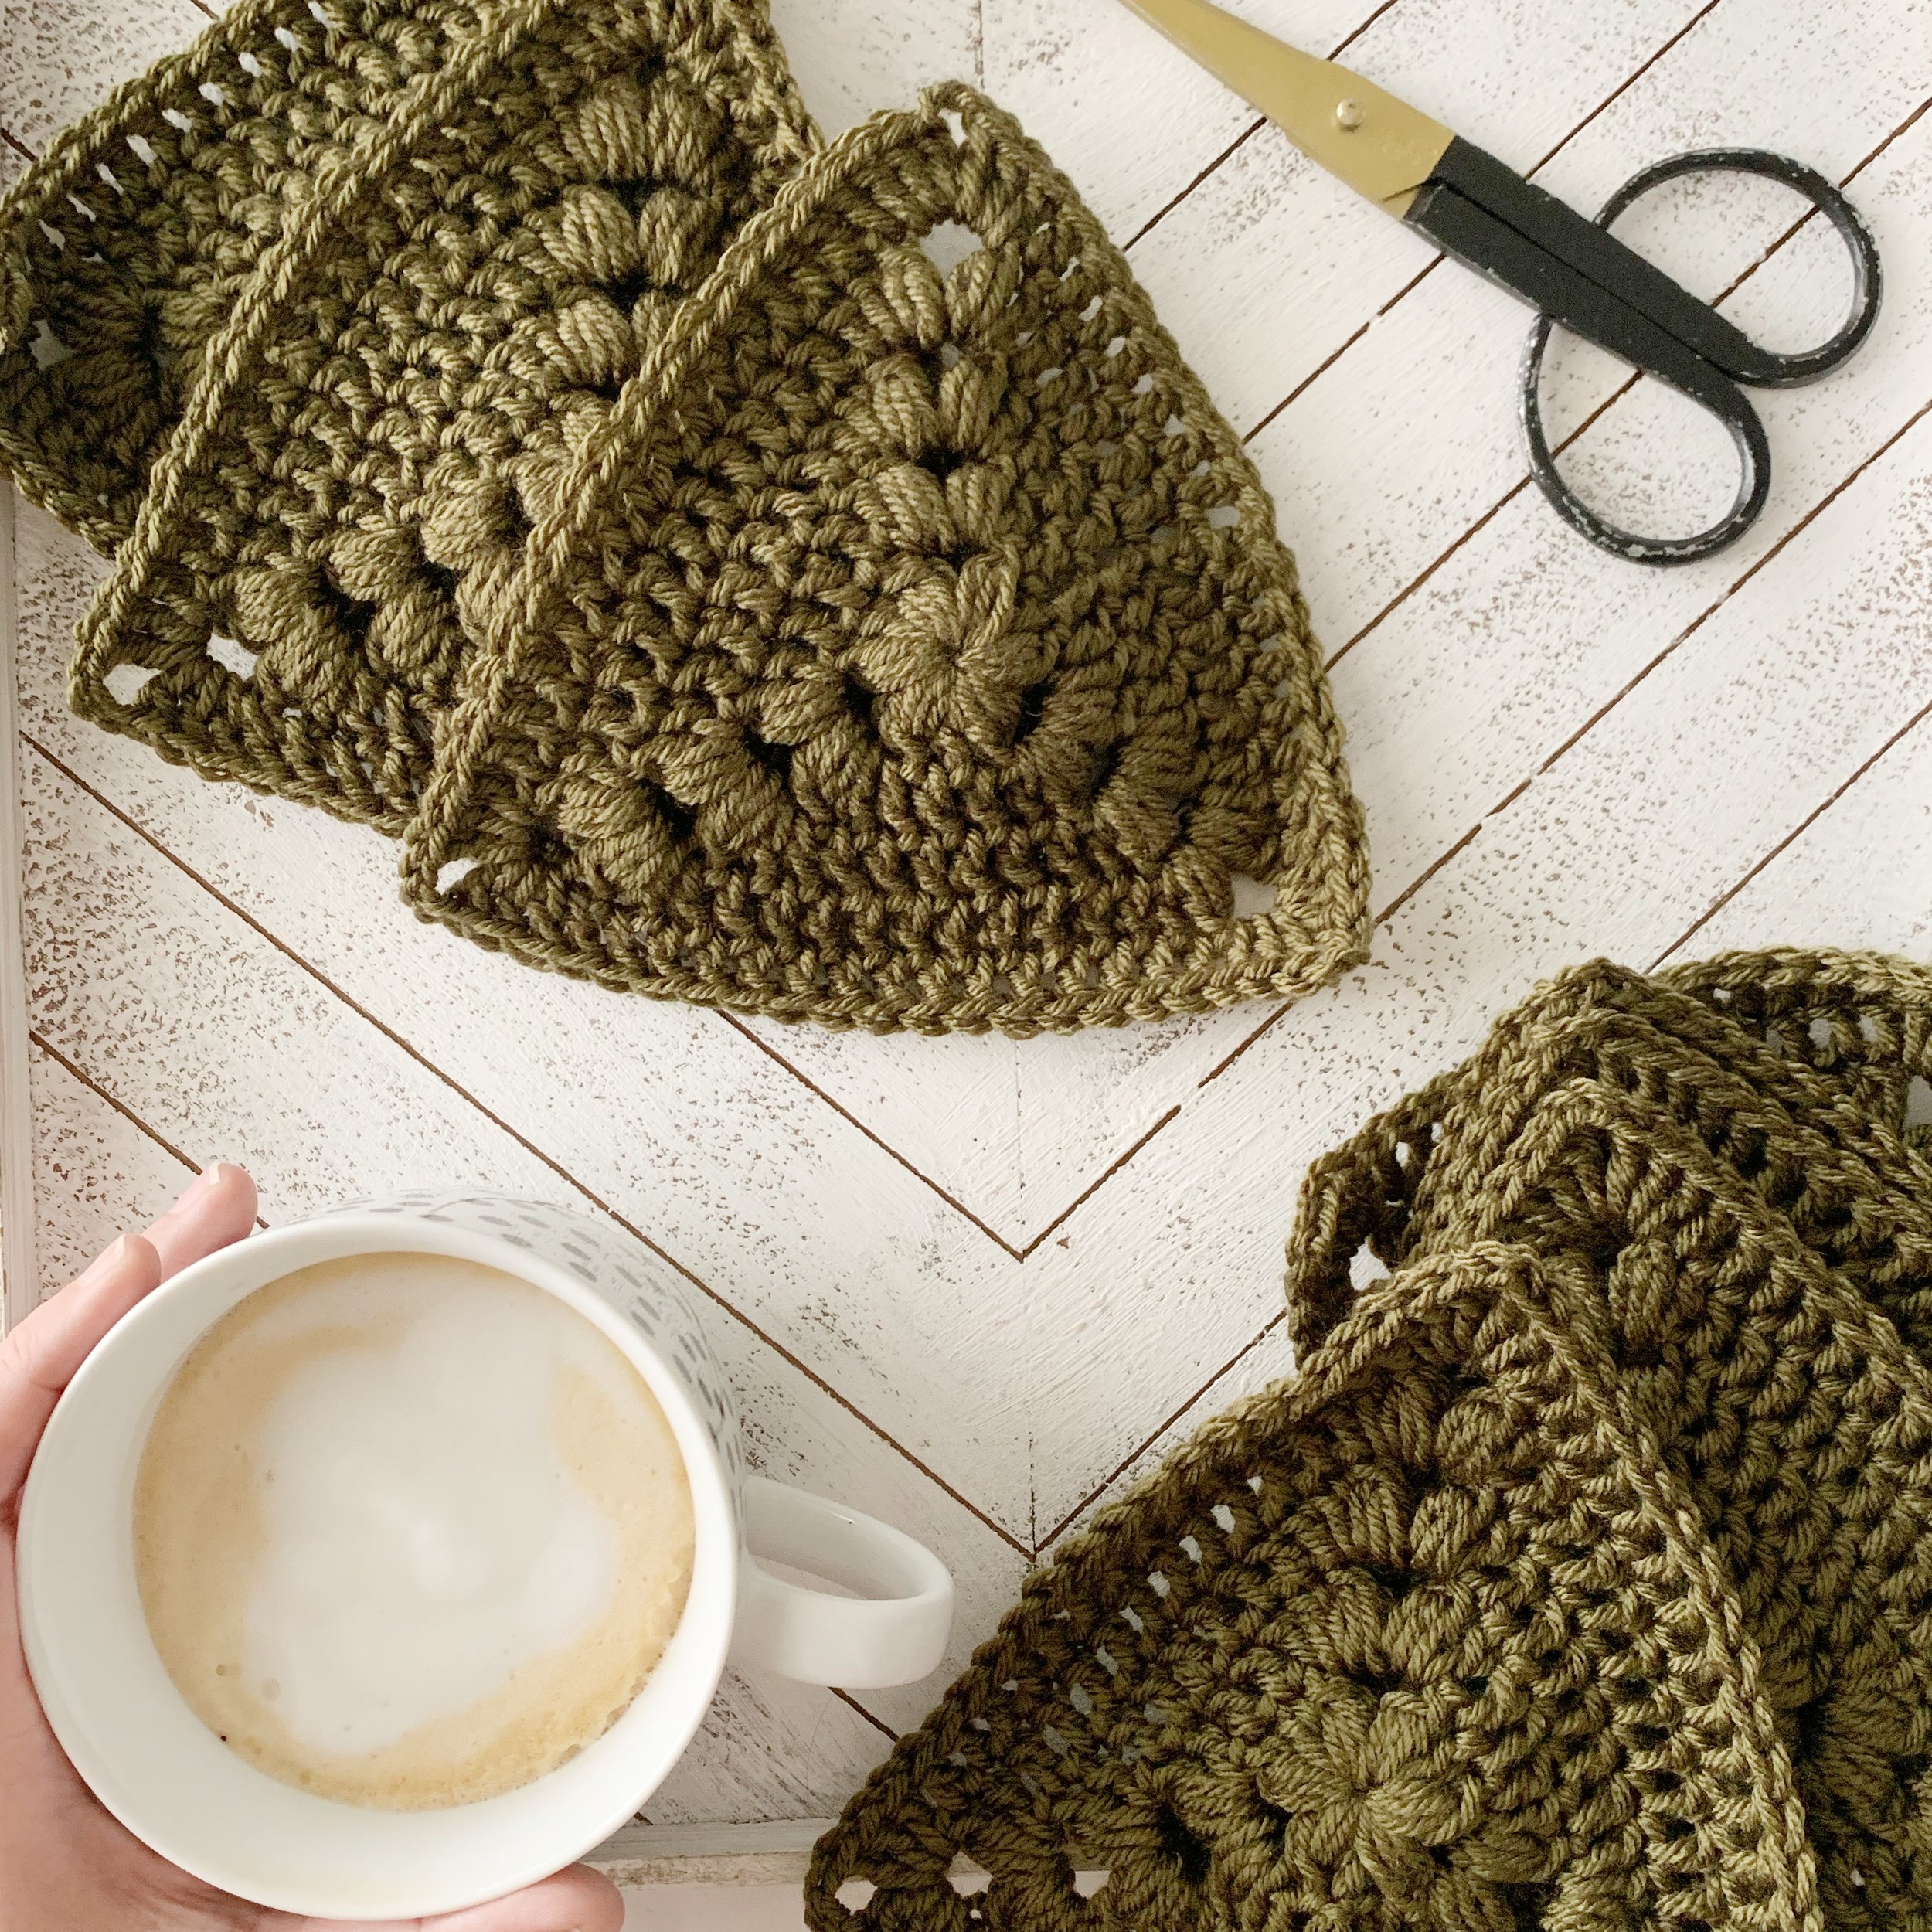
The Livy Throw is a modern crochet blanket with a romantic feel. Made with simple shapes sewn together it’s the perfect project for an intermediate crocheter or an enthusiastic beginner. Find the free pattern below or grab the ad-free PDF in my shop, Ravelry or Etsy.
You can also find The Livy Throw crochet pattern as a kit on the Lion Brand Yarn website. You’ll receive all the yarn you need plus a printed copy of the pattern!
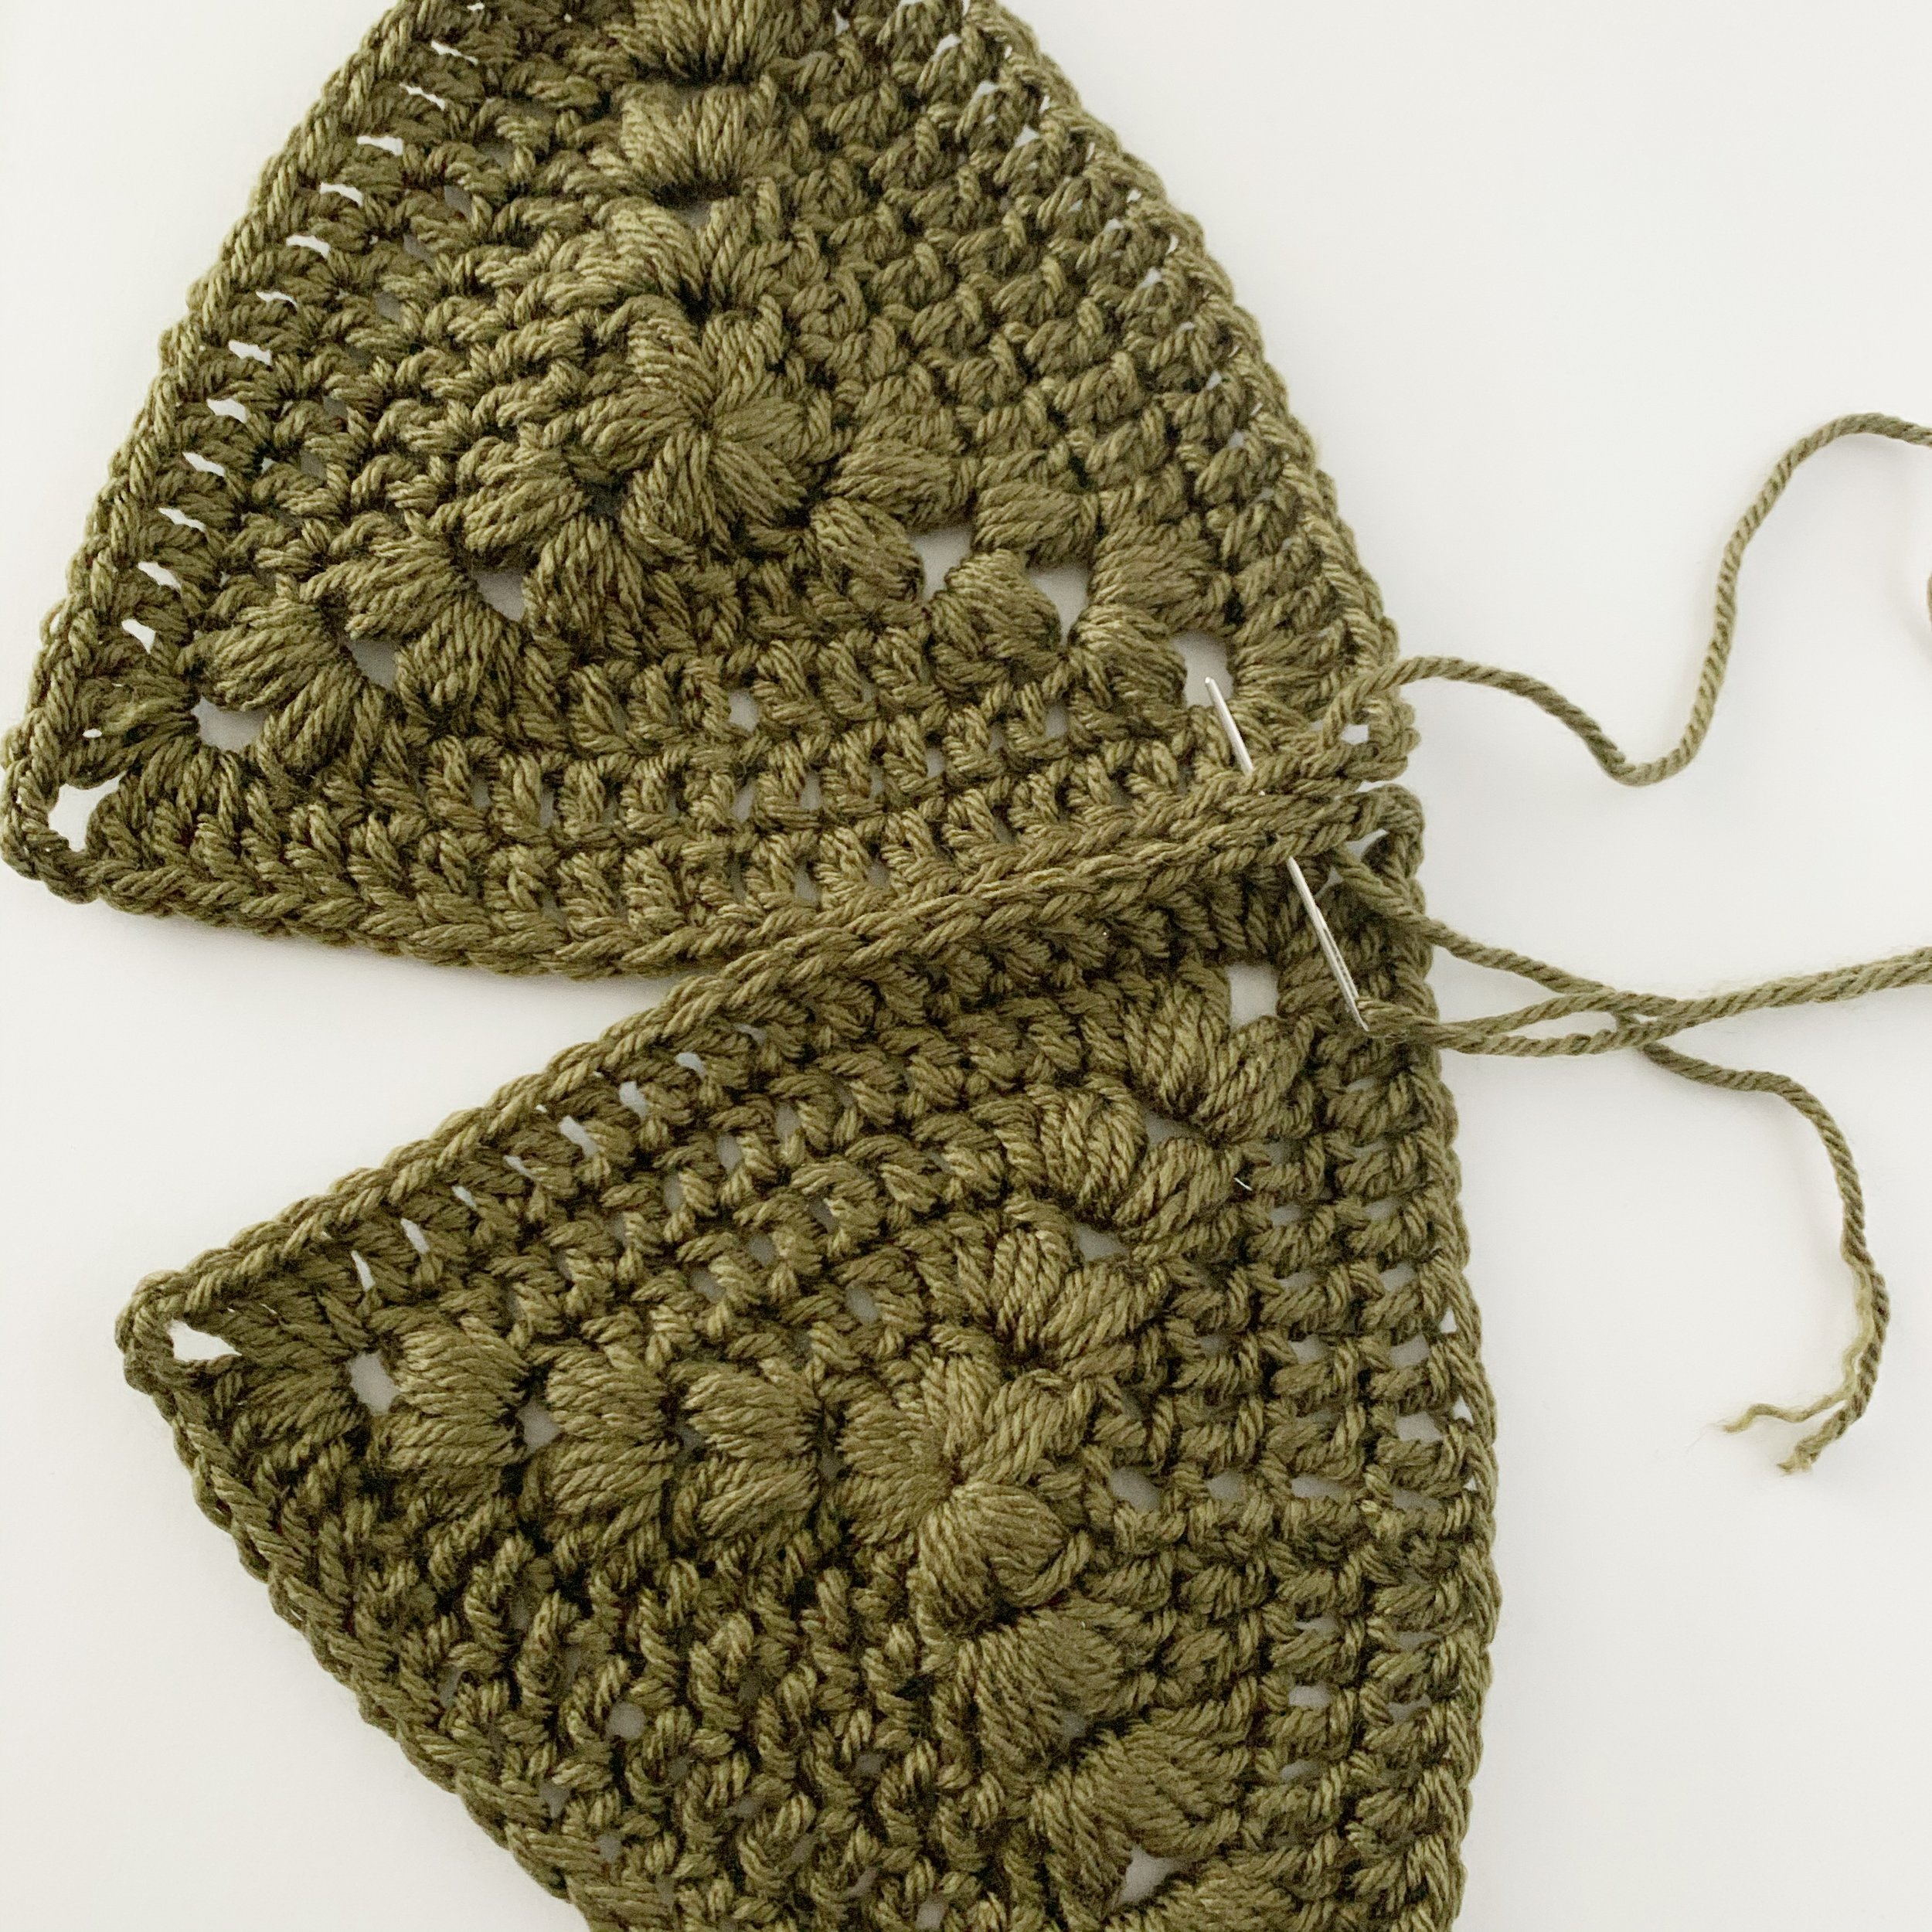
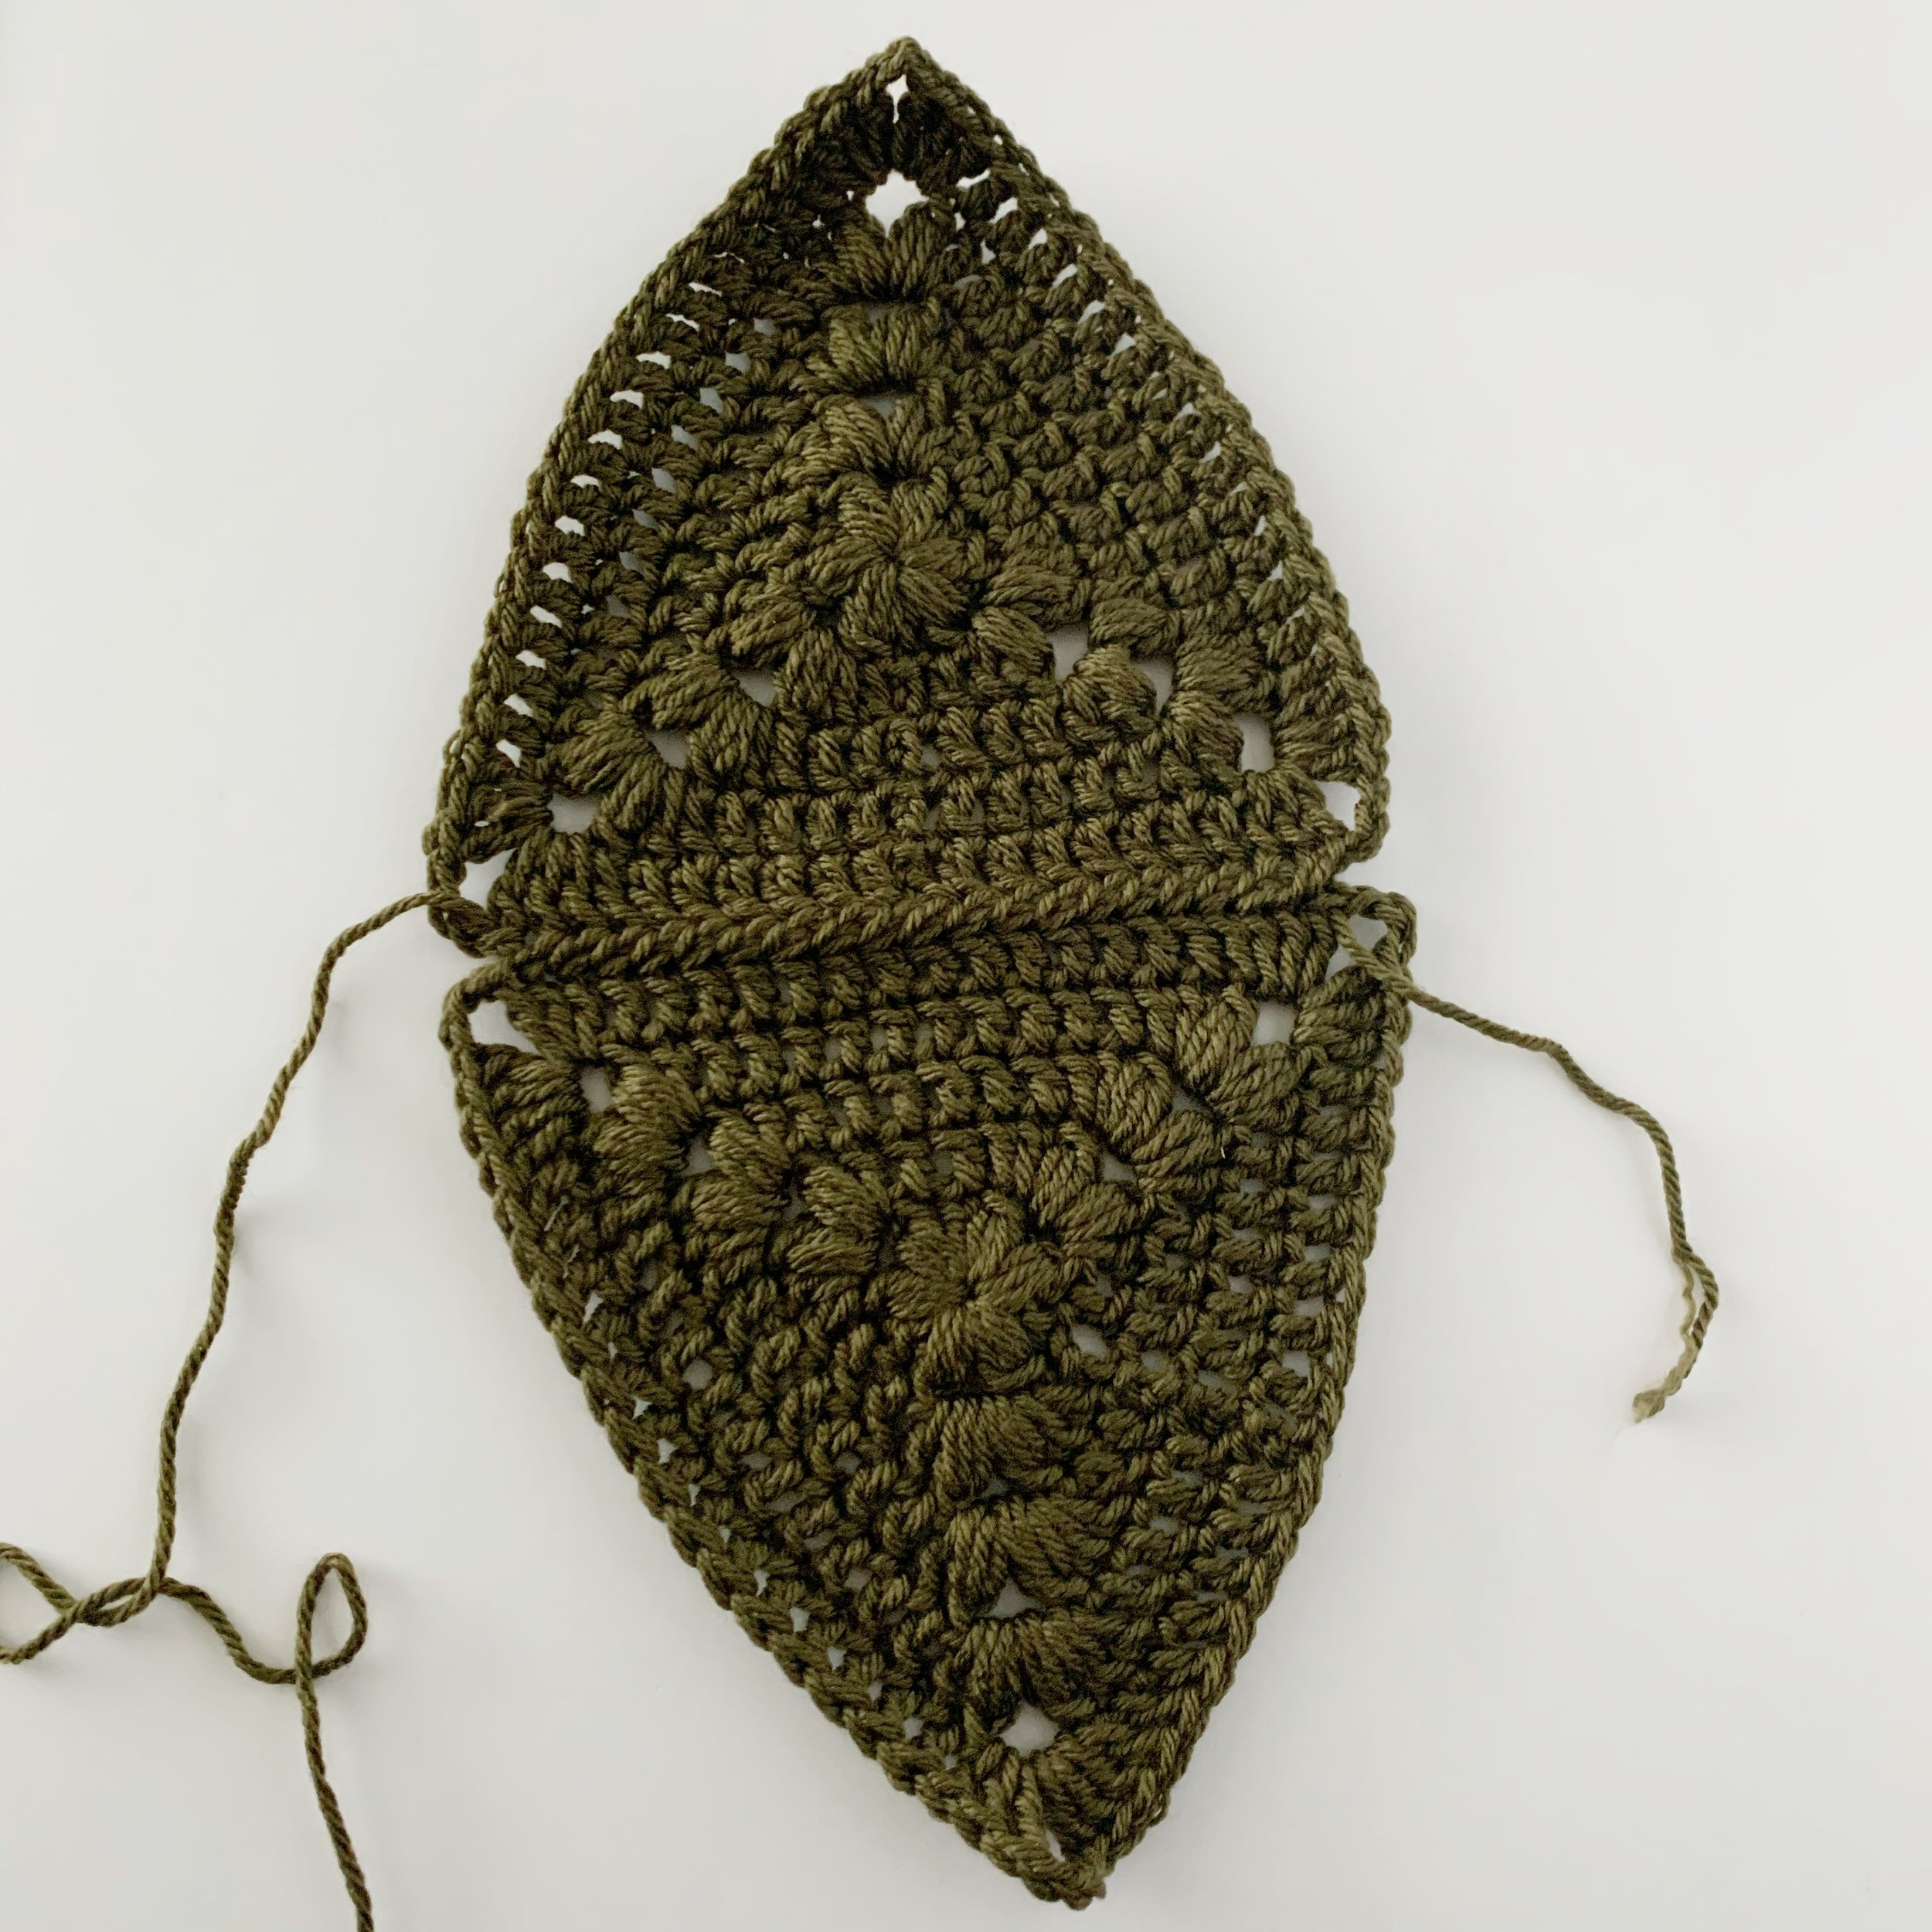
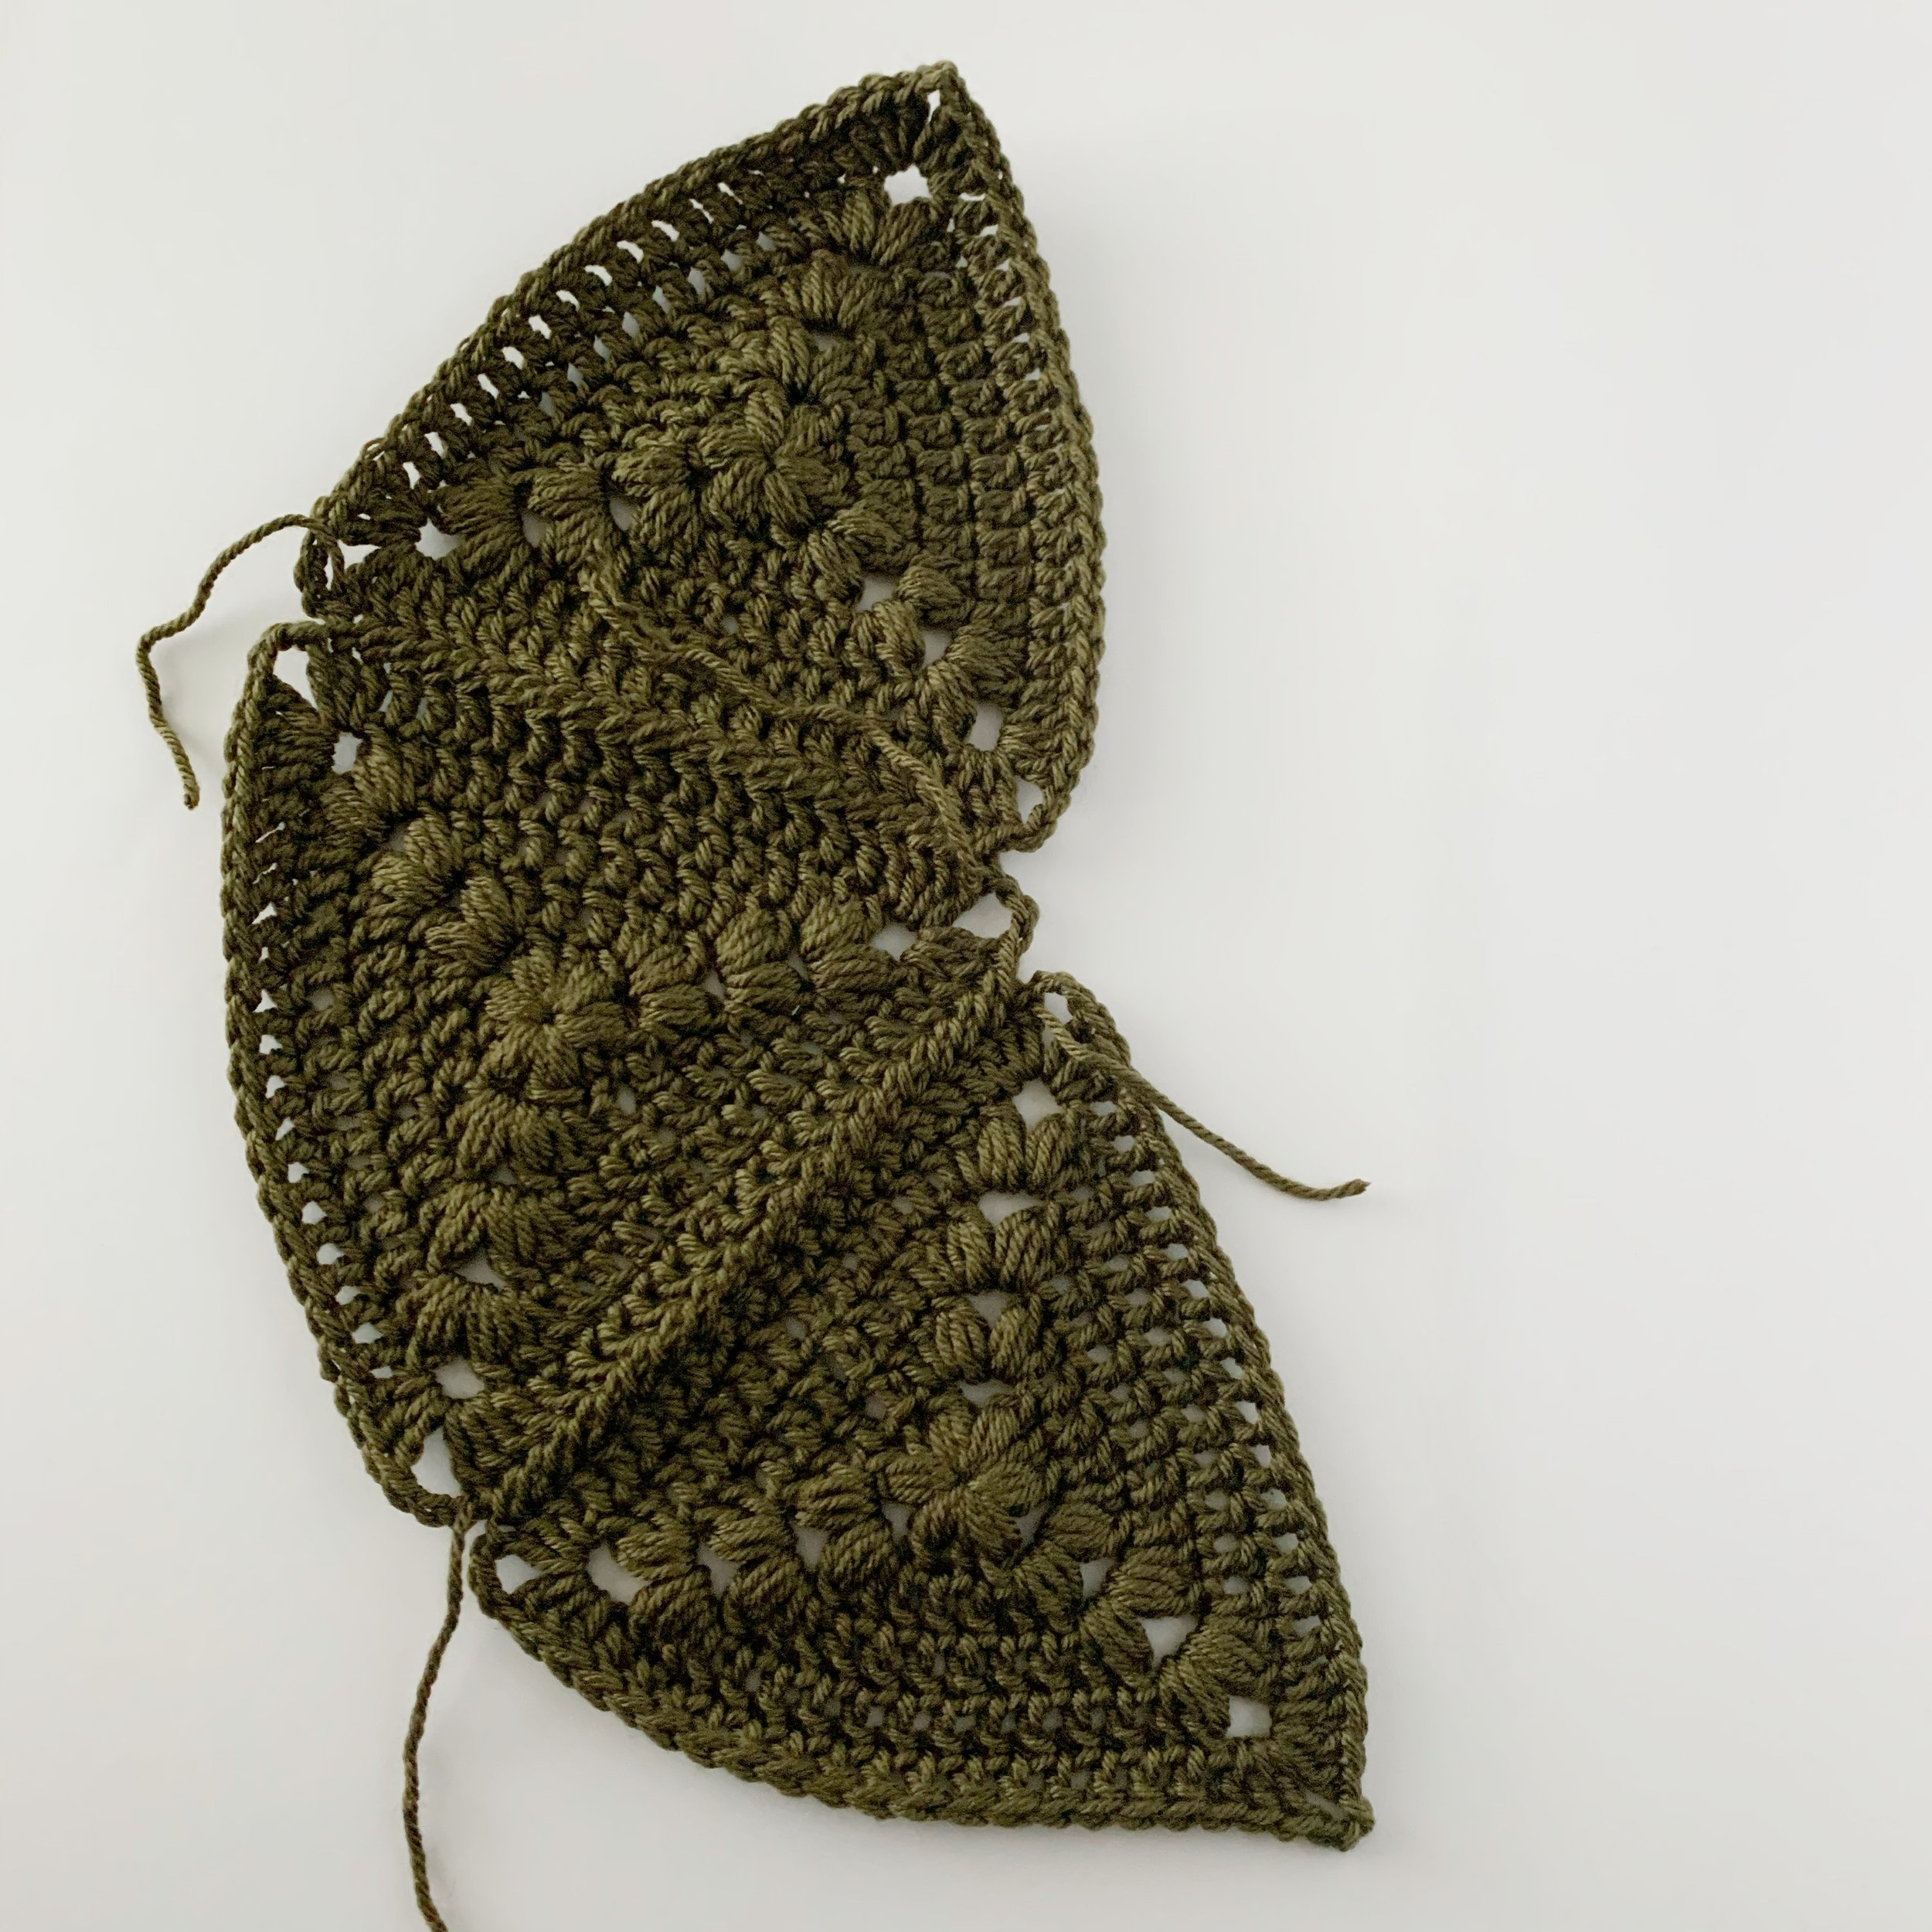
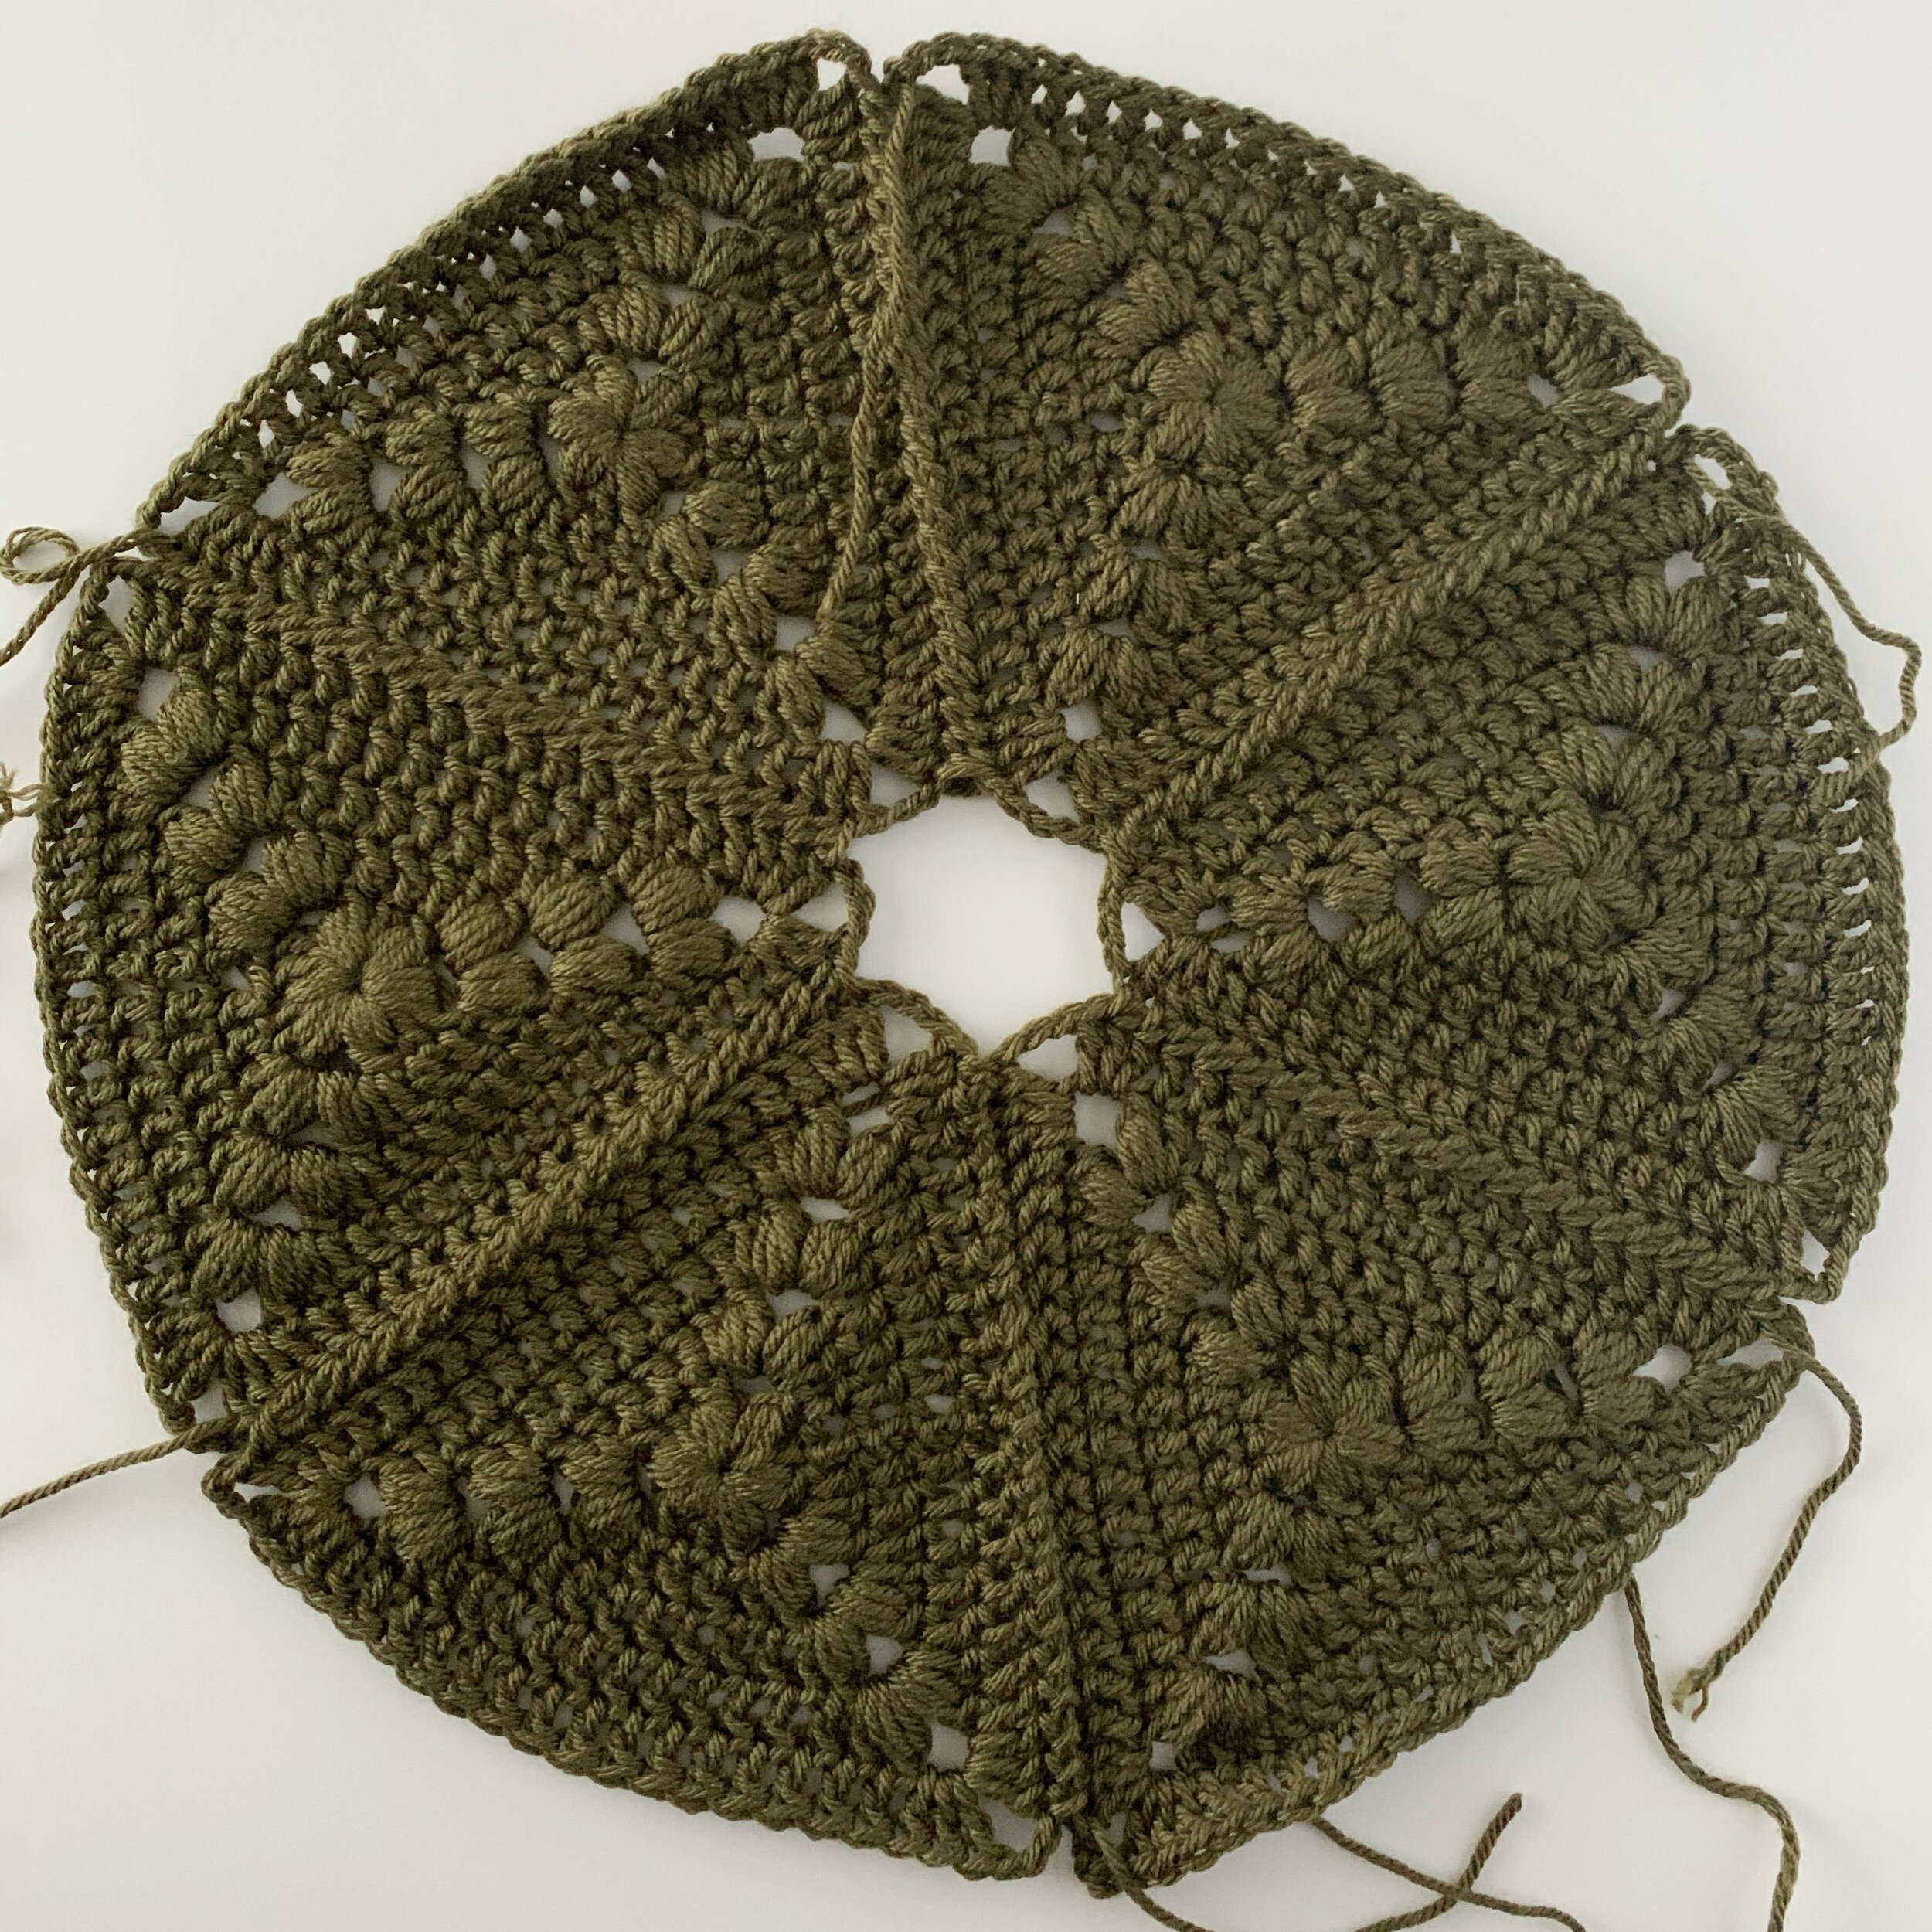
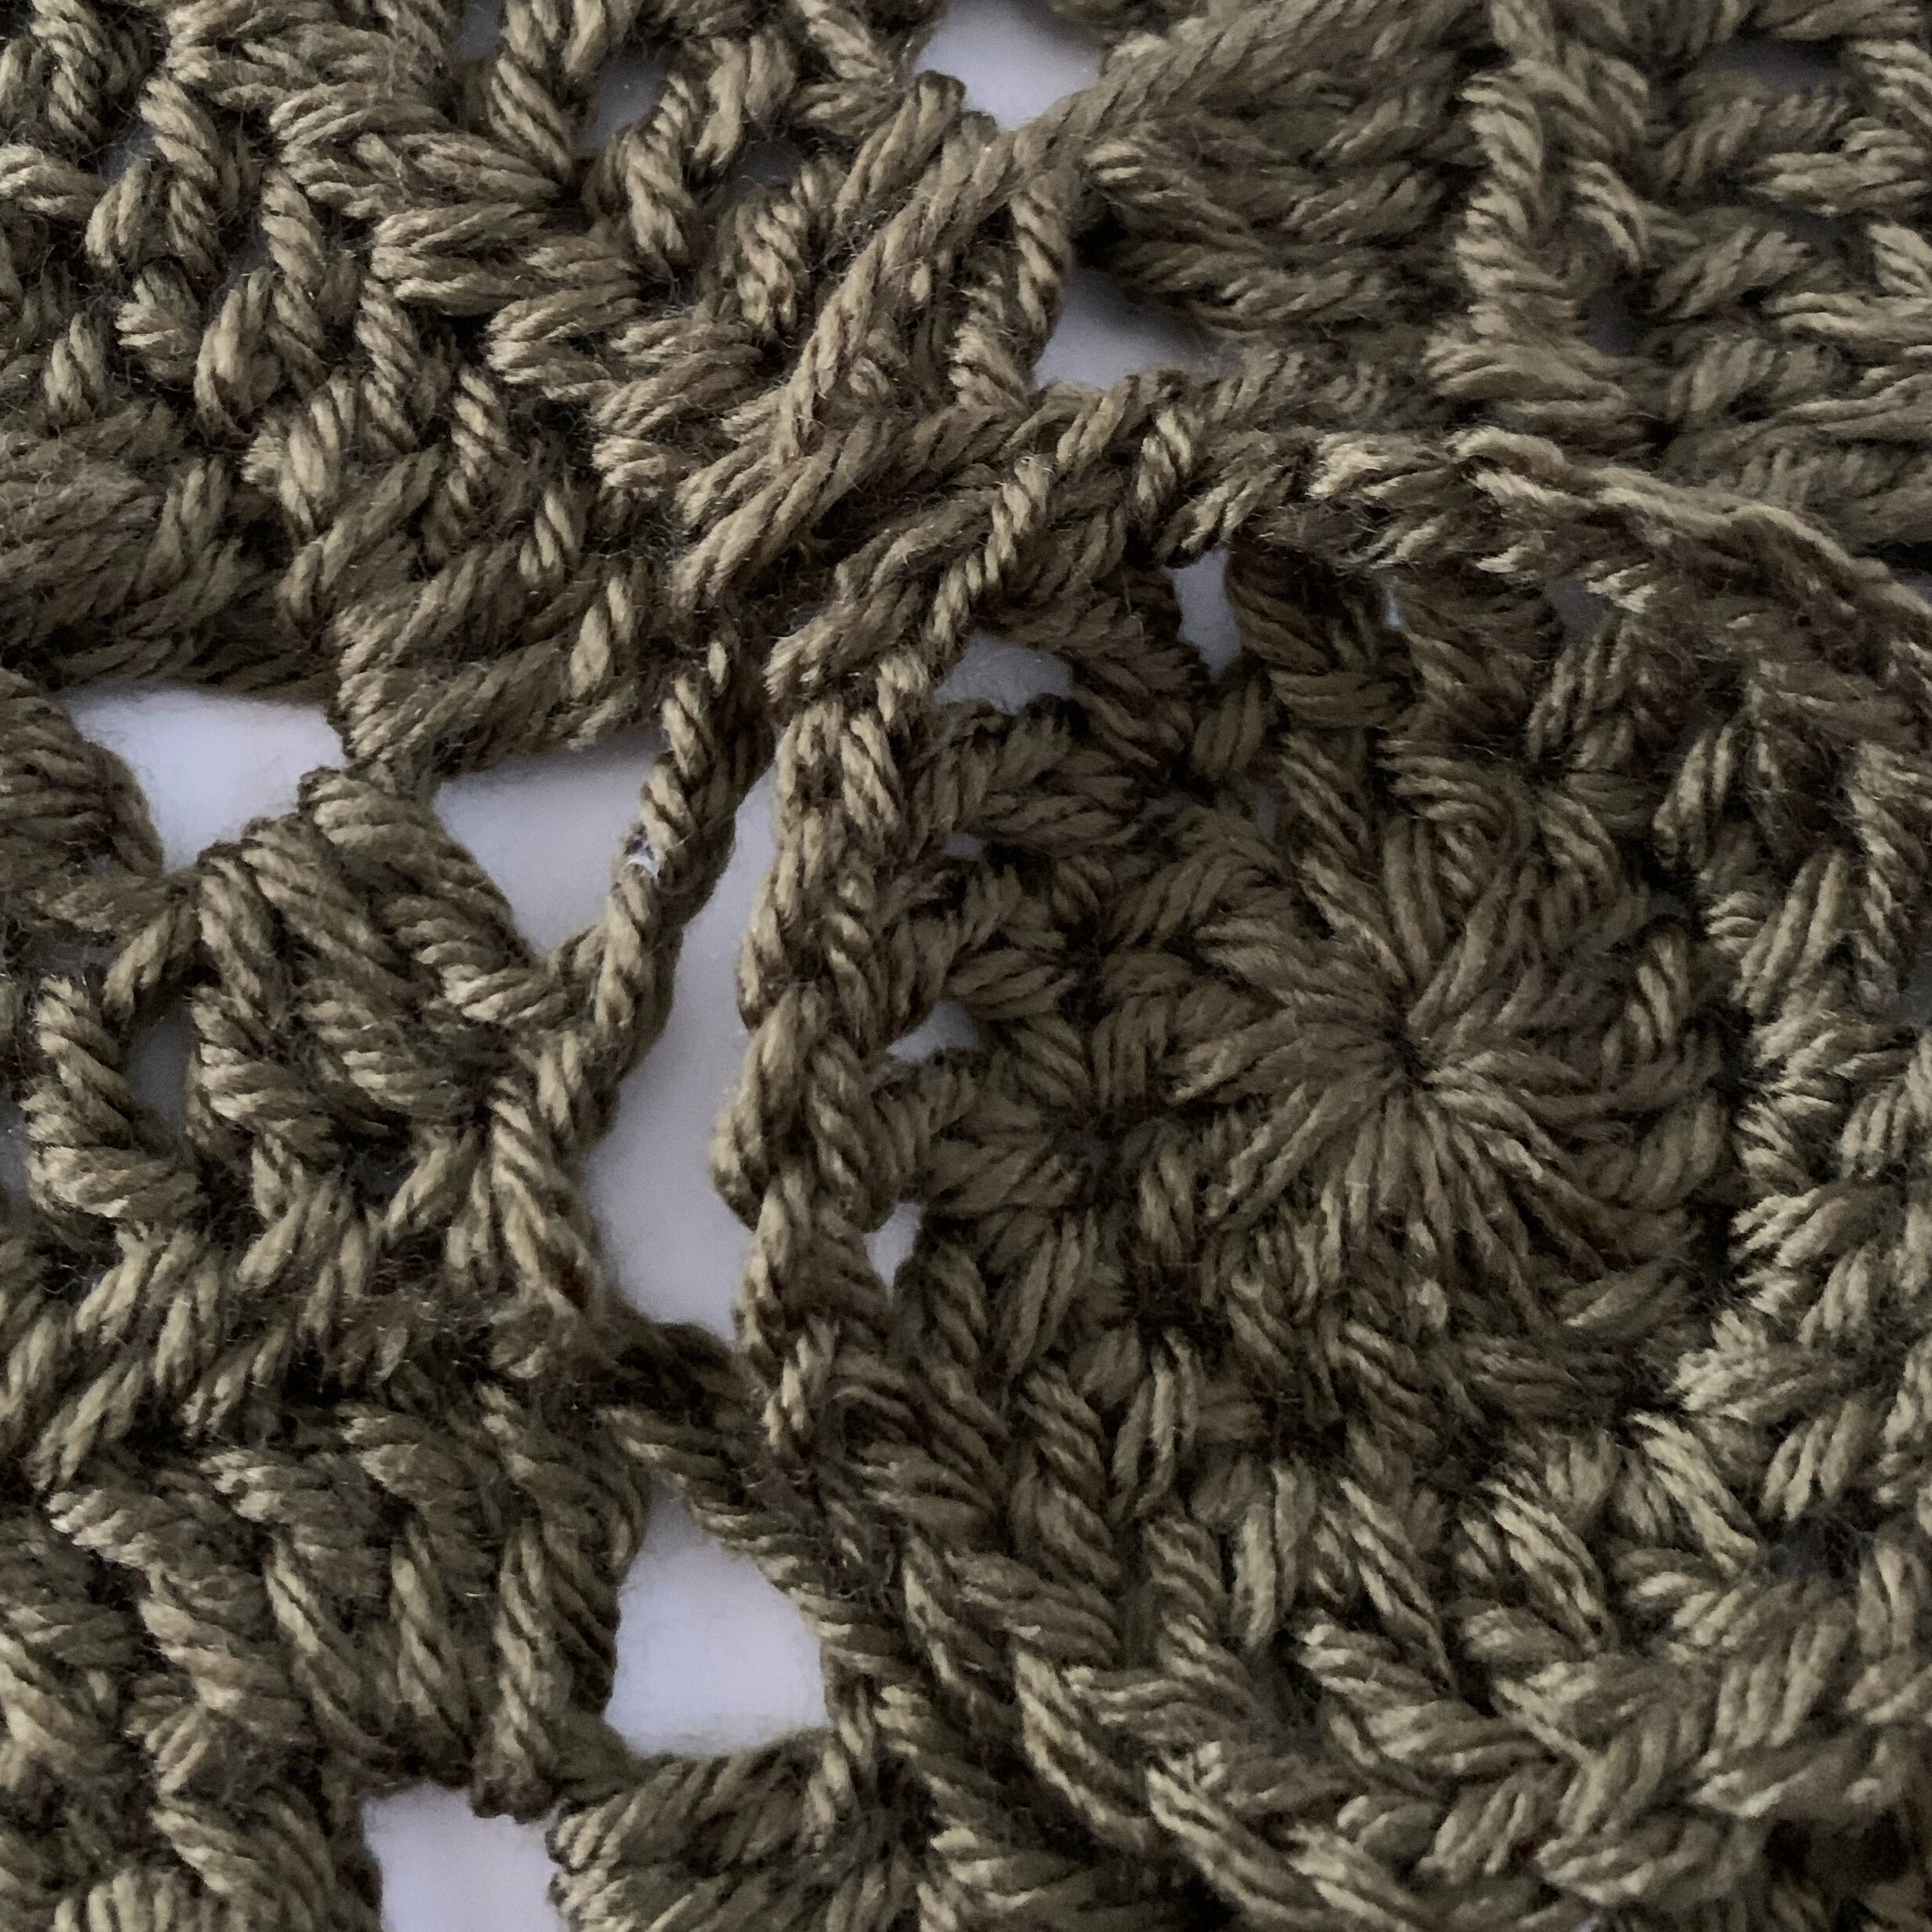
I kind of have a thing for crocheting shapes, especially shapes that can come together in blanket form. I’ve already done squares and hexagons, but was really wanting to experiment with triangles. Triangles are…tricky. There are so many different kinds, but I knew that with equilateral triangles I’d be able to create something amazing. Easier said then done! I think I made at least five different versions of the Livy Triangle before finally finding one that I thought would work. The problem I ran into when seaming them together was that they didn’t really come together to a perfect point. Instead when I tried to seam them, they would pucker and get wavy and bunch up. After many seaming and unseaming sessions I decided to try seaming only the sides and leaving the corners unworked. To my excitement when the triangles came together there was a perfect hexagon hole in the center! Aren’t shapes just amazing?
The Livy Throw is made up of 66 triangles and 23 mini hexagons. The puff stitch detail helps to create a gorgeous flower like motif within the blanket that gives it a romantic look. Get ready to create an heirloom quality throw for your home. Find the free pattern along with a video tutorial below.
The Livy Throw Crochet Pattern
Materials:
2,305 yards (approx. 13 skeins) of Lion Brand Basic Stitch Anti-Pilling in Olive
Crochet hook size I-9 (5.5mm)
Tapestry needle
Scissors
Gauge: rounds 1-3 of the triangles = 4.25” along the edge.
Finished Blanket Measurements: Finished size is approximately 48” wide and 60” tall.
Pattern Notes:
1. Pattern is worked by making individual triangles and hexagons and then seaming them together.
2. Chains at beginning of rounds and rows count as a stitch unless otherwise noted.
Abbreviations (US Terms):
Ch- chain
St(s)- stitch(es)
Sl st- slip stitch
sc- single crochet
hdc- half double crochet
dc- double crochet
tr- treble crochet
dc2tog- double crochet 2 together
sc3tog- single crochet 3 together
Puff- puff stitch {yo, insert hook into indicated st and draw up a long loop, repeat two more times, (7 loops on hook) yo and draw through 6 loops, yo and draw through 2 loops}
Pattern:
Triangles: (make 66)
Form a magic loop
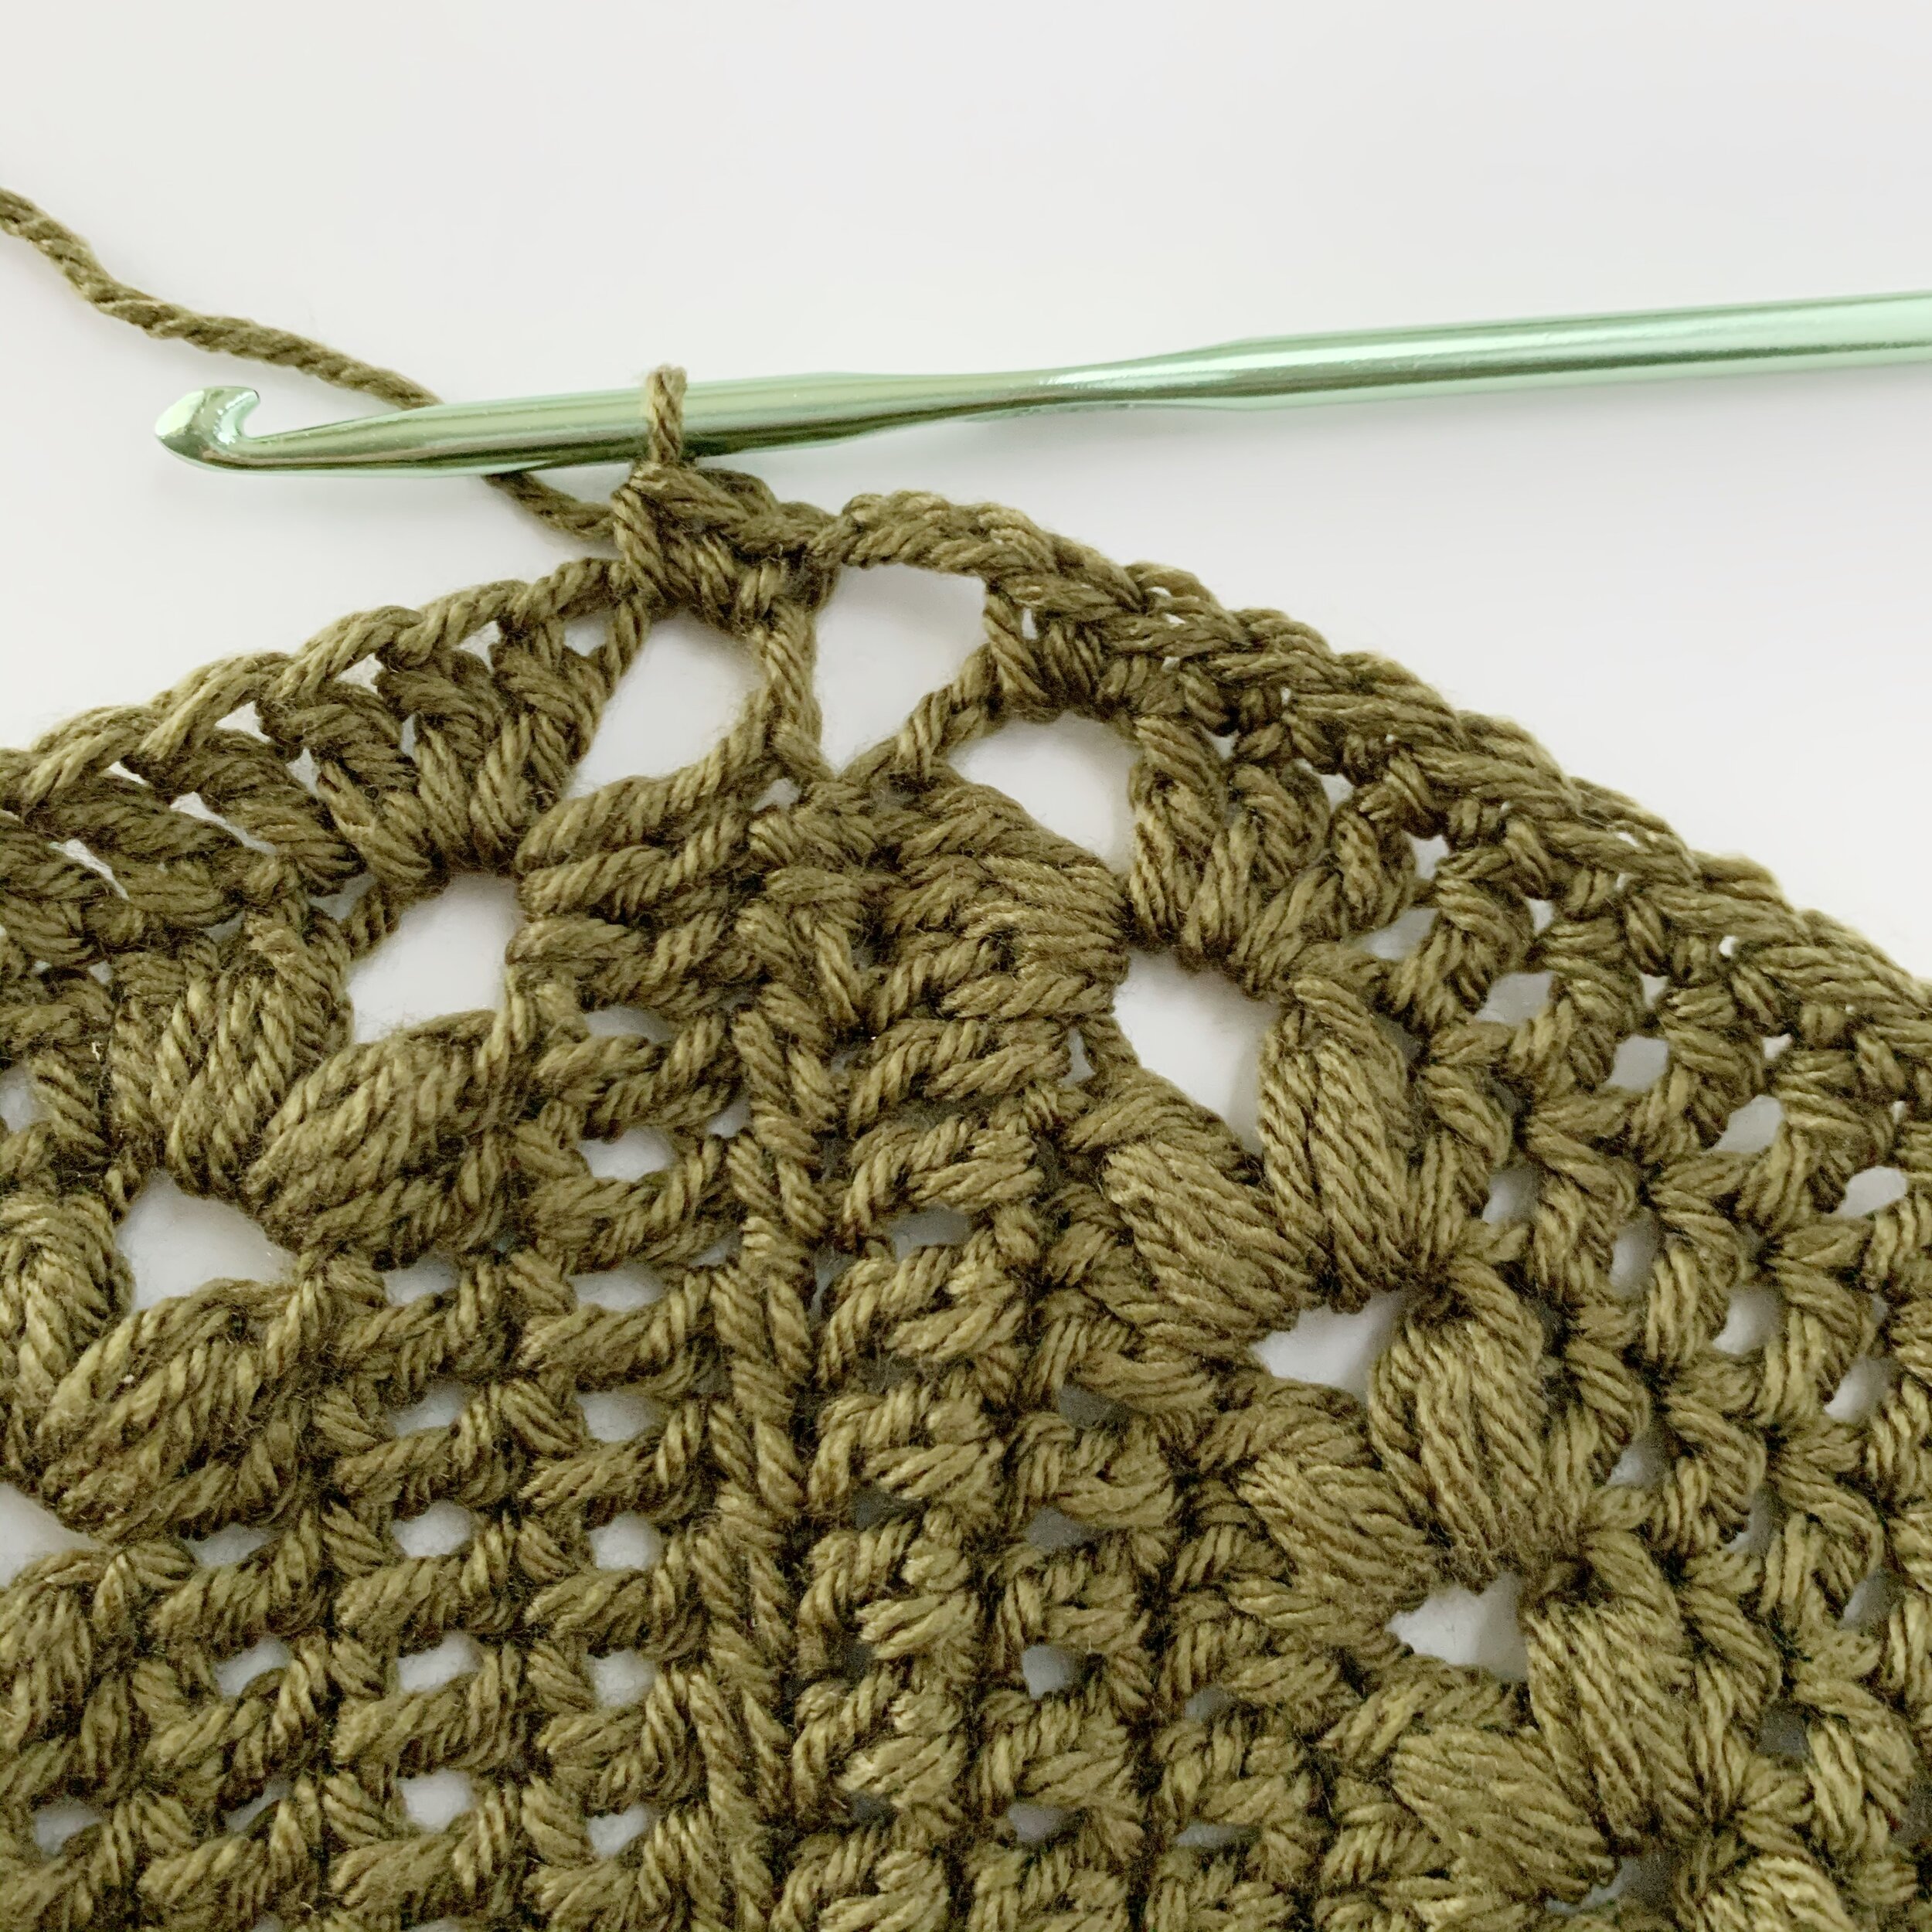
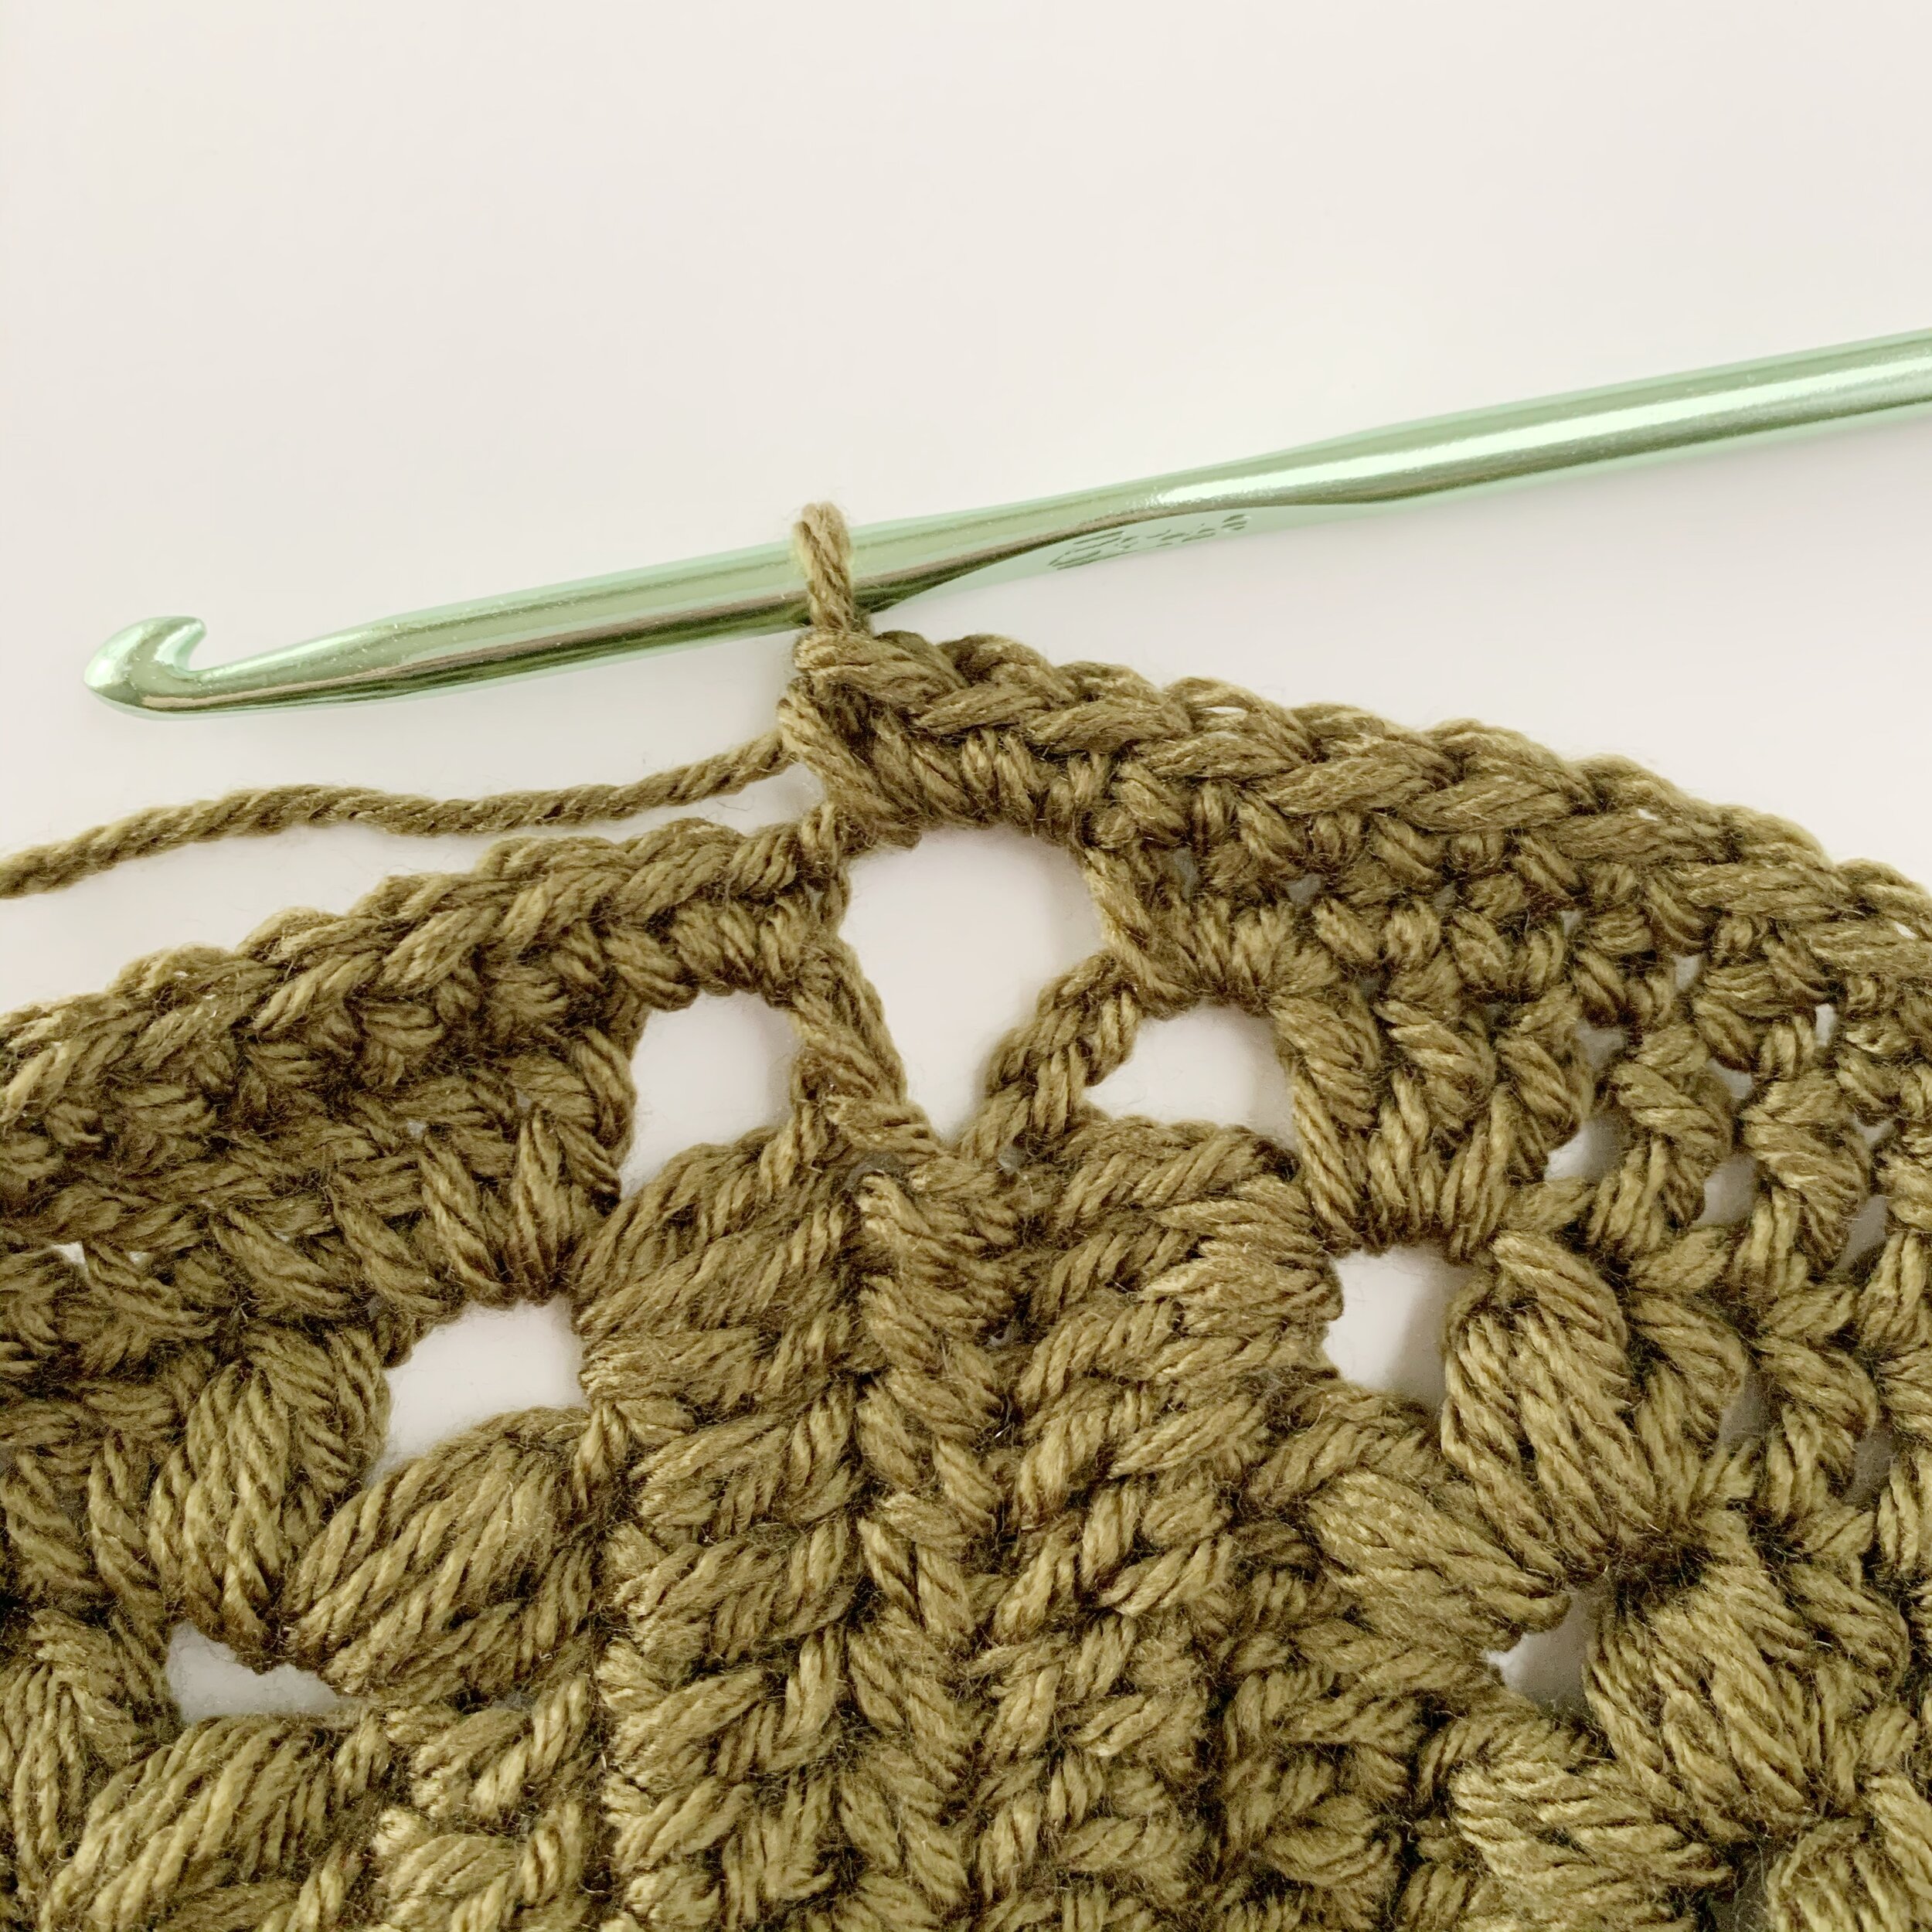
Round 1: ch 3, working into the magic loop, [puff, ch 3, puff], *dc, [puff st, ch 3, puff st], repeat from * one more time, sl st to top of ch 3 to join and pull loop tight. (18)
Round 2: ch 3, dc, [dc, puff, ch 3, puff, dc] into ch-3 sp, *dc 3, [dc, puff, ch 3, puff, dc] into ch-3 sp, repeat from * one more time, dc, sl st to top of ch 3 to join. (30)
Round 3: ch 3, dc 3, [dc, puff, ch 3, puff, dc] into the ch-3 sp, *dc 7, [dc, puff, ch 3, puff, dc] into the ch-3 sp, repeat from * one more time, dc 3, sl st to top of ch 3 to join. (42)
Round 4: ch 3, dc 5, [dc, puff, ch 3, puff, dc] into the ch-3 sp, *dc 11, [dc, puff, ch 3, puff, dc] into the ch-3 sp, repeat from * one more time, dc 5, sl st to top of ch 3 to join. (54)
Round 5: ch 3, dc 7, [3dc, ch 3, 3dc] into the ch-3 sp, *dc 15, [3dc, ch 3, 3dc] into the ch-3 sp, repeat from * one more time, dc 7, sl st to top of ch 3 to join. (72)
Fasten off and weave in all ends. Block all pieces before seaming.
Hexagons: (make 23)
Form a magic loop
Round 1: ch 3, work 11 dc into magic loop, sl st to top of ch 3 and pull loop tight. (12)
Round 2: ch 3, [dc, ch 2, dc] into next st, *dc, [dc, ch 2, dc], repeat from * five times, sl st to top of ch 3 to join. (30)
Fasten off leaving a long tail for sewing. Weave in beginning tail.
Assembly:
Using a large tapestry needle and yarn, whip stitch triangles together leaving the ch 3 corners unworked. See diagram above for specific placement. Weave in ends.
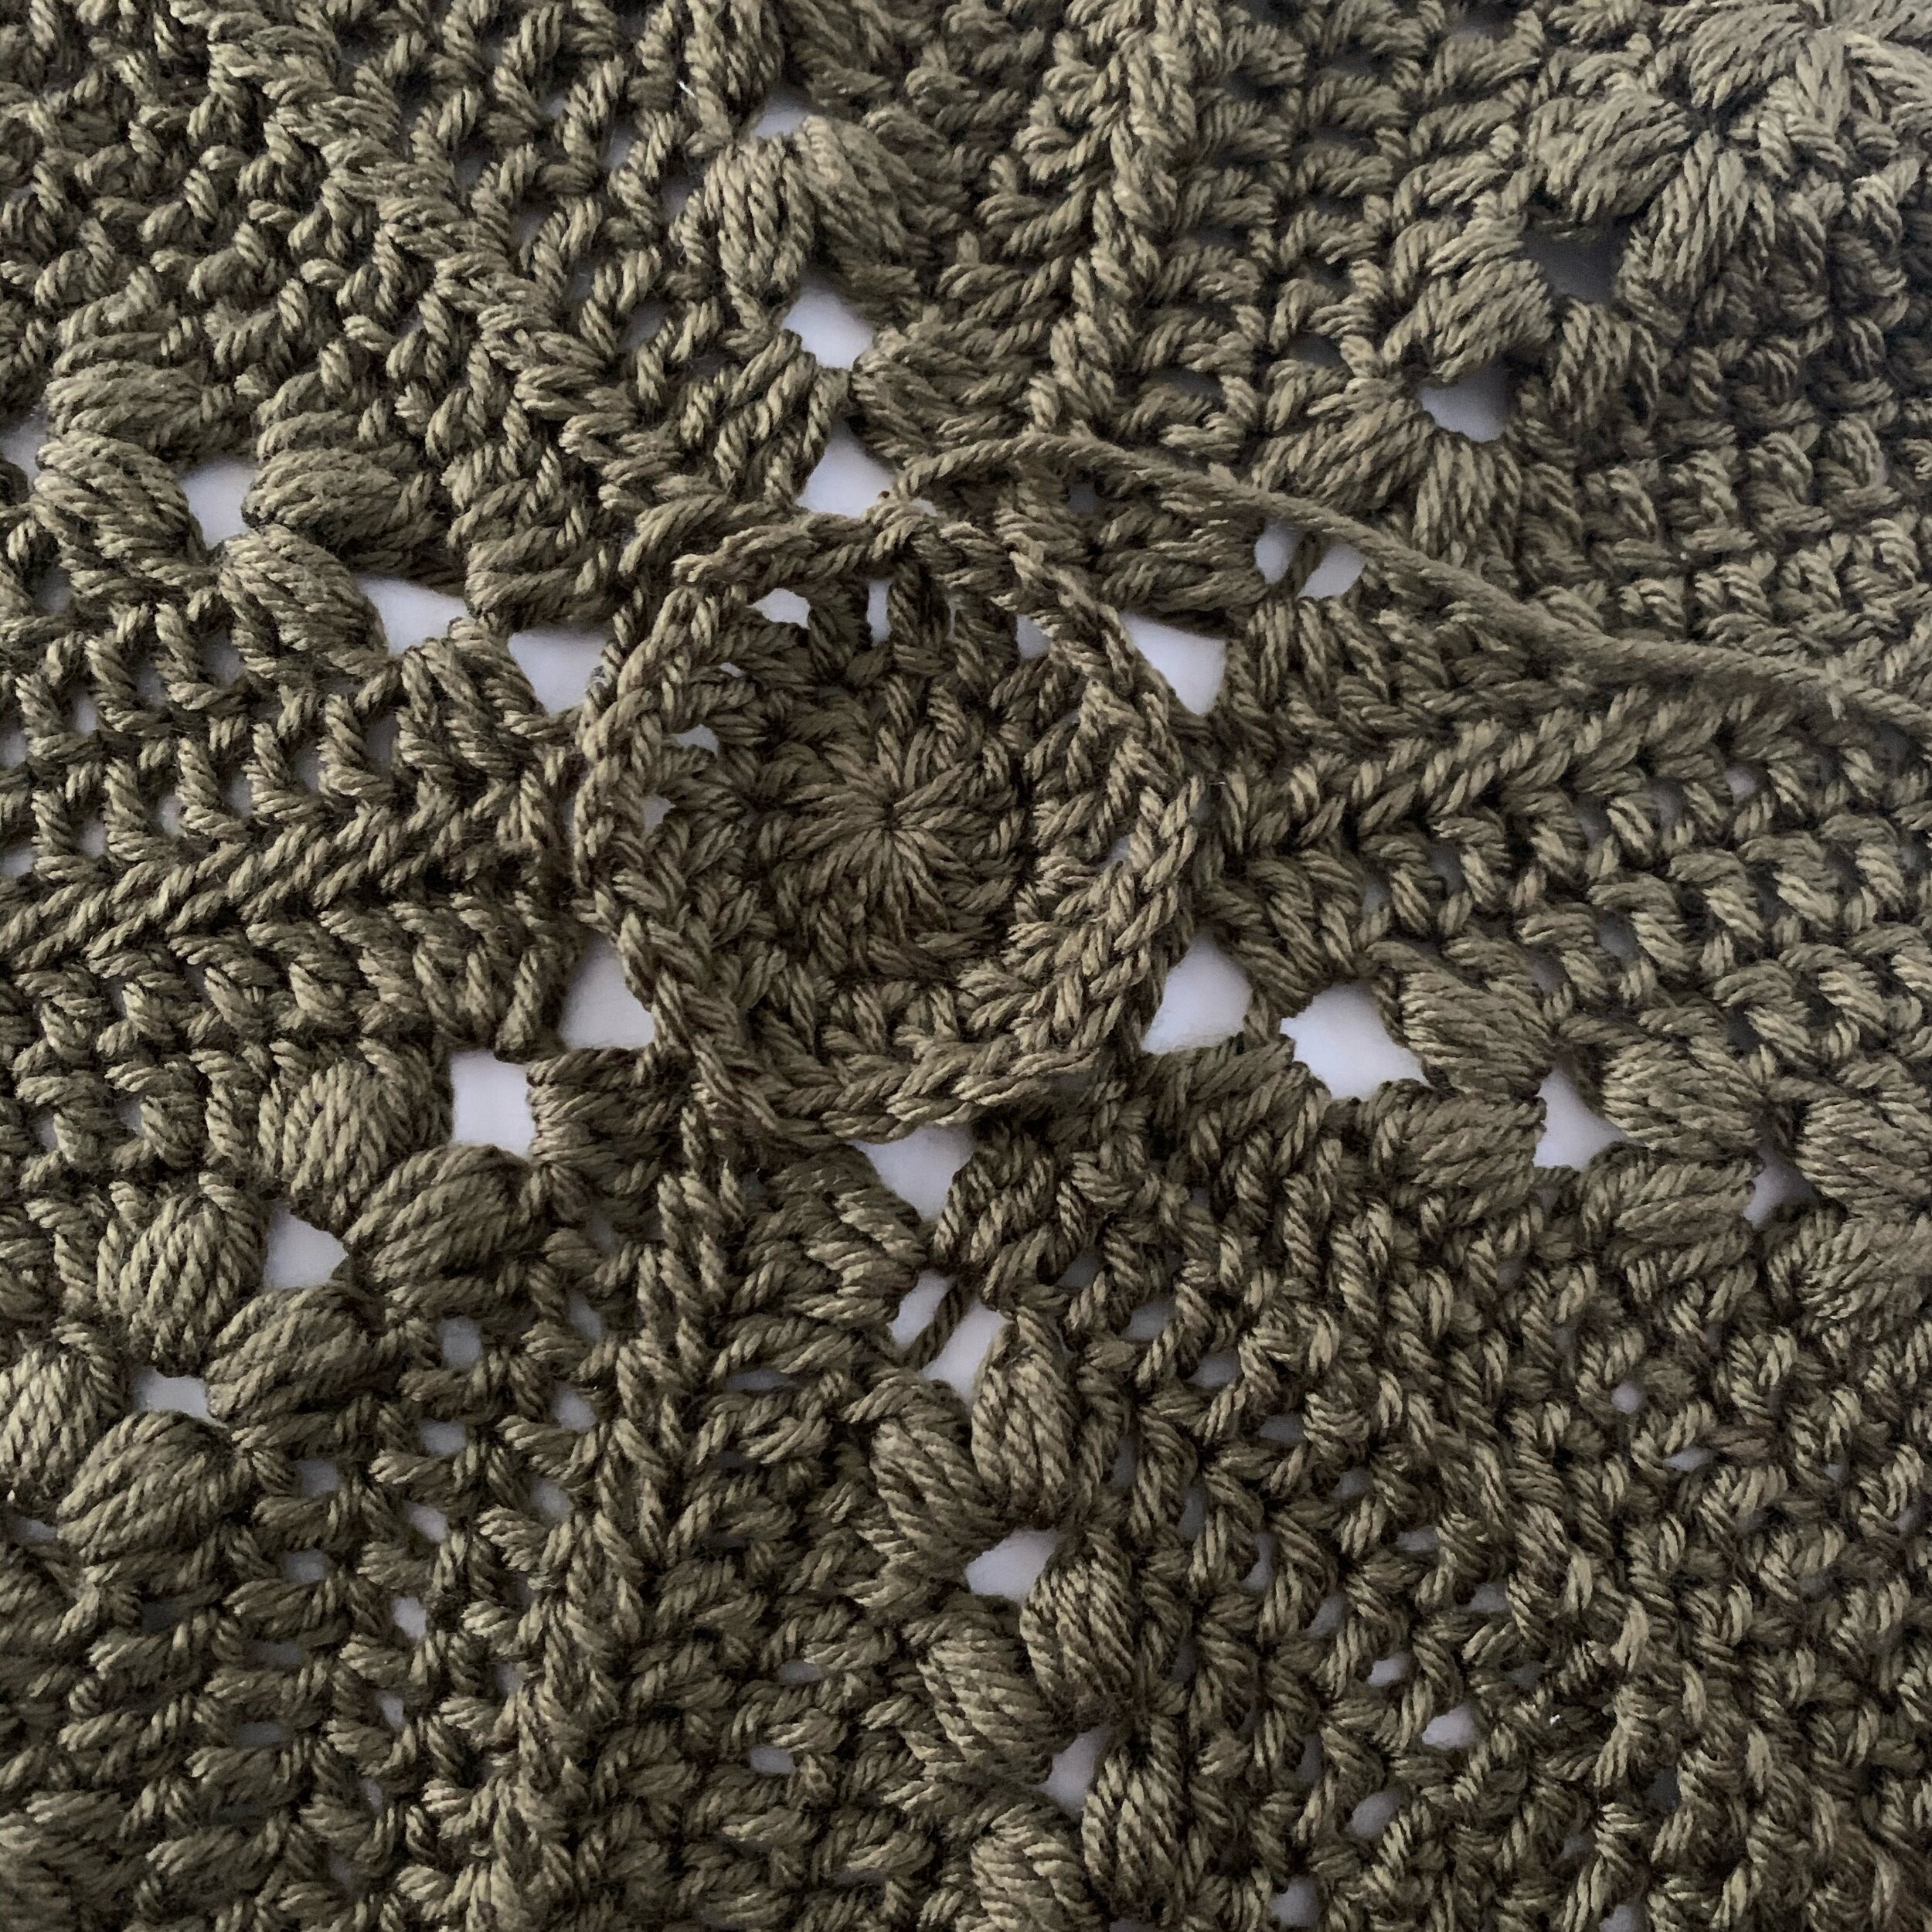
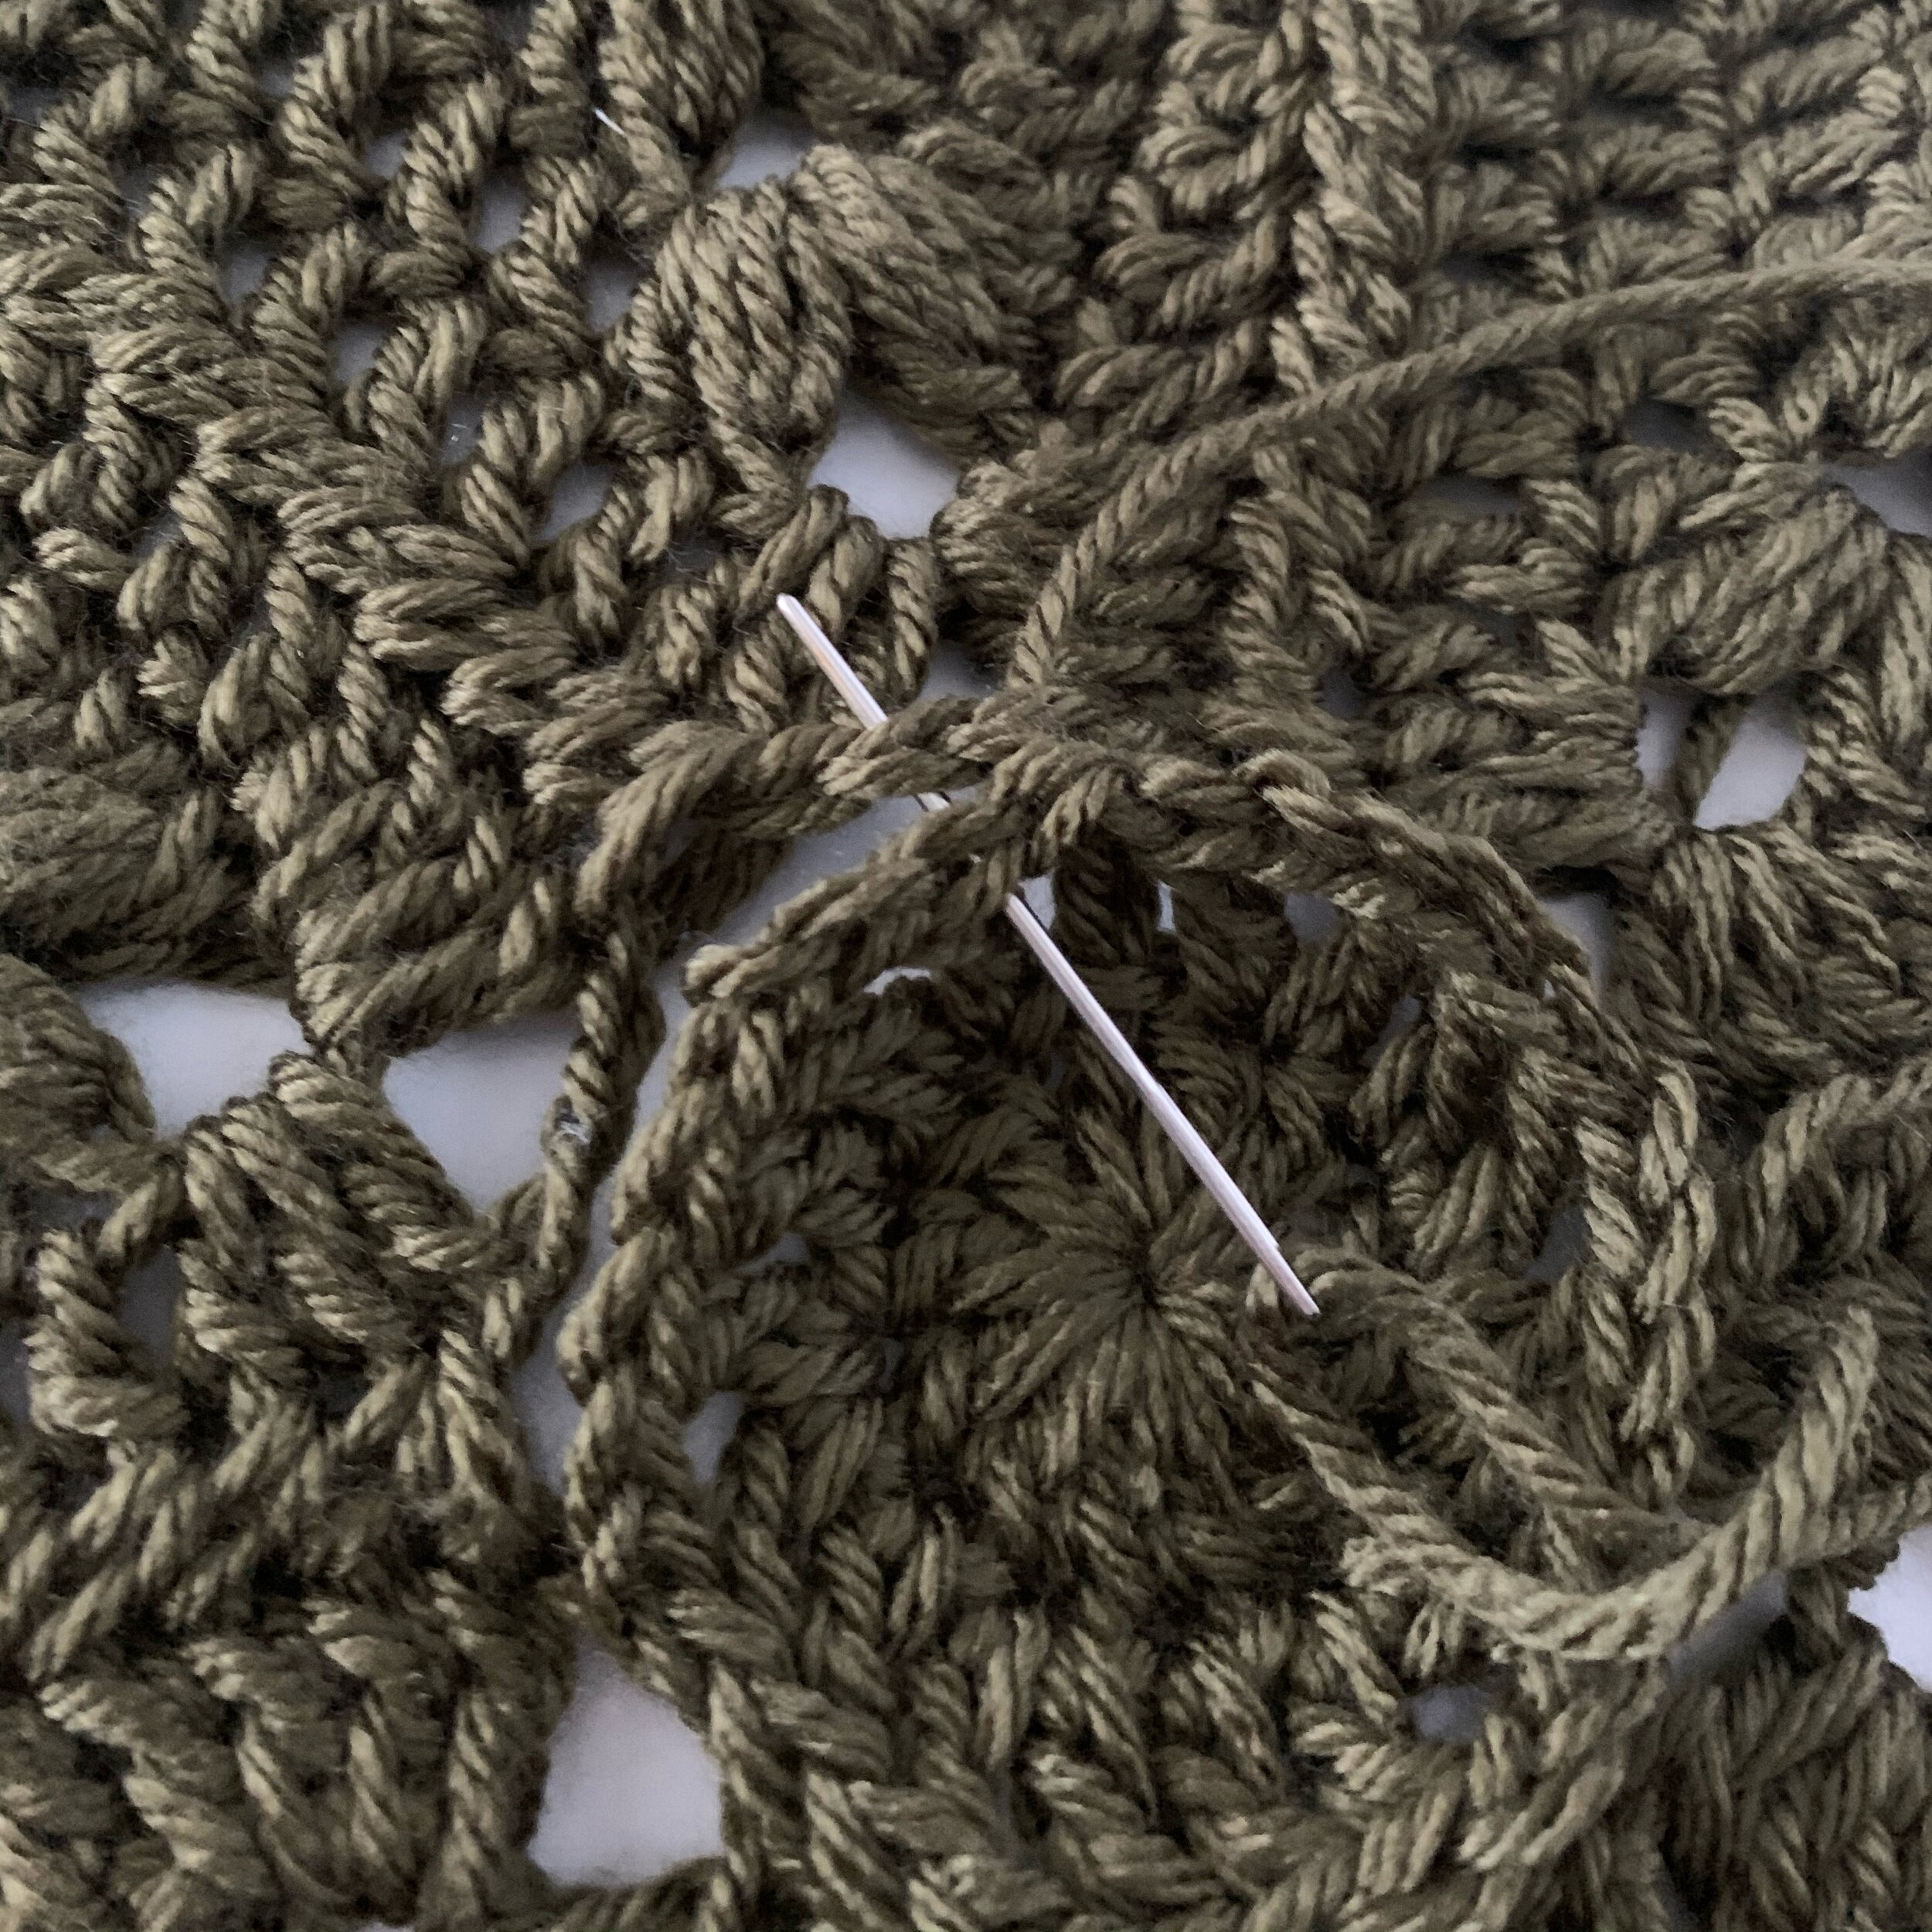
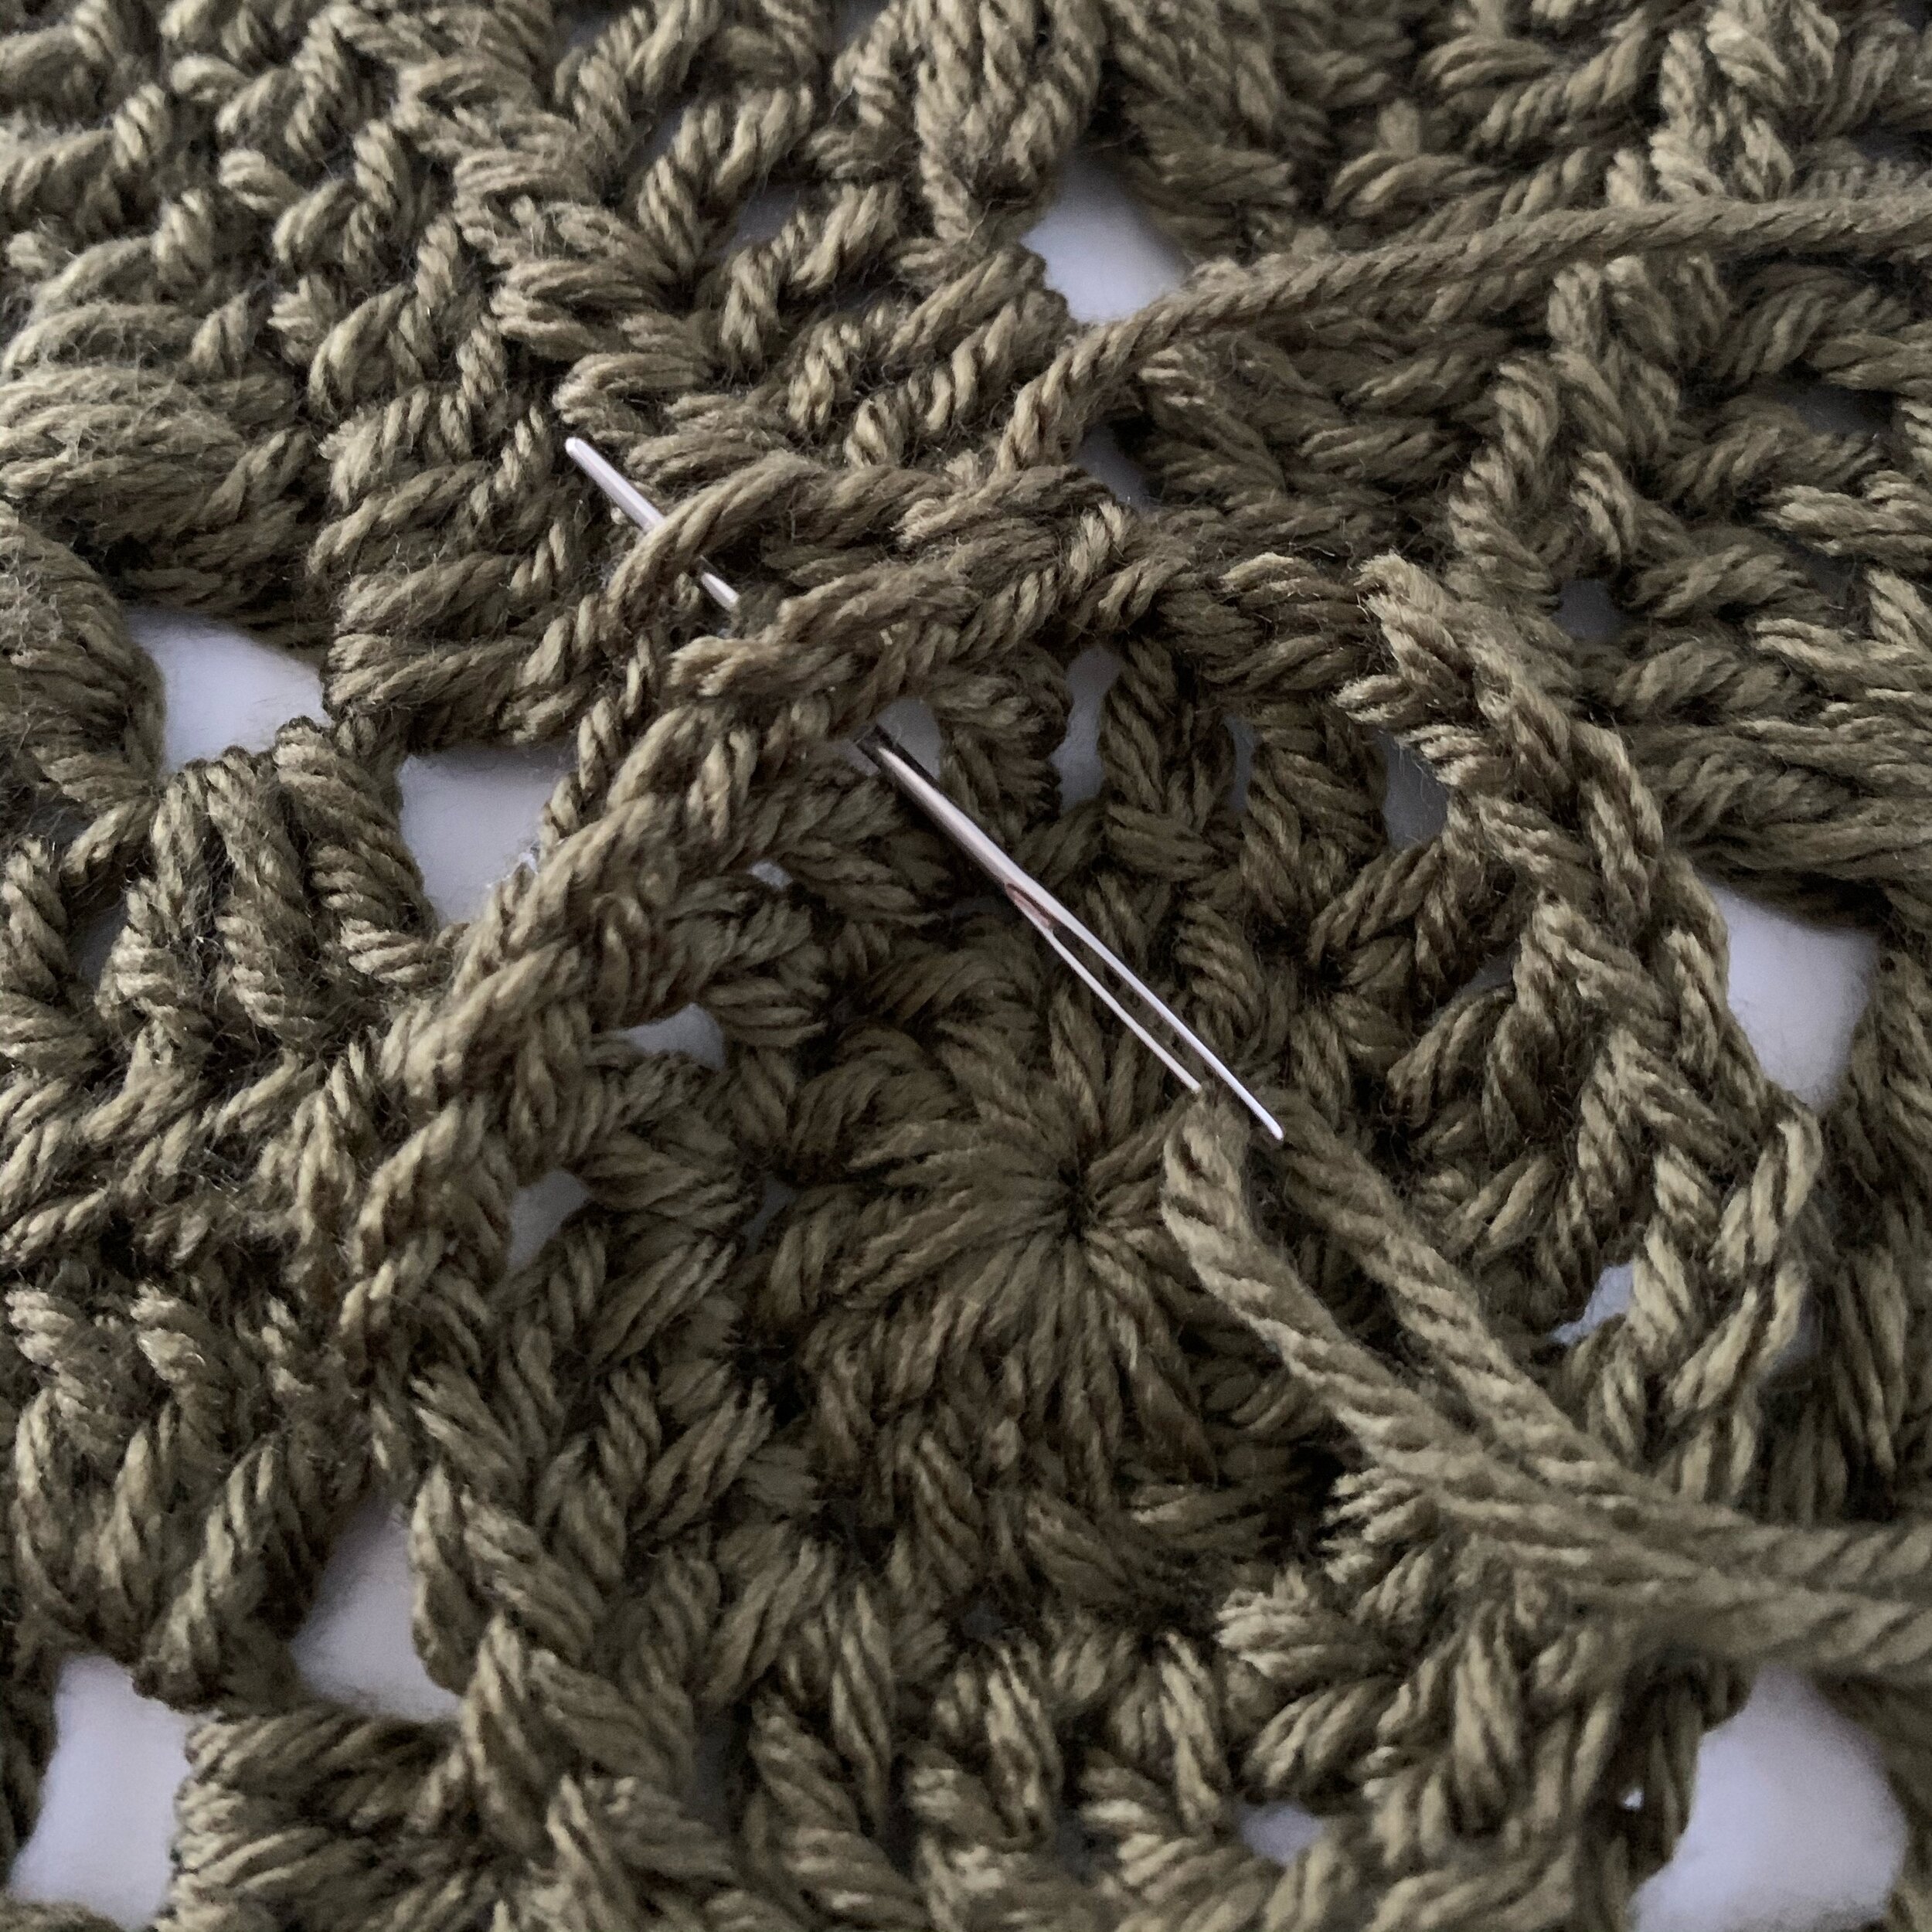
Attach hexagons in the center of each point where six triangles come together. Make sure to attach the dcs of the hexagons to the ch 3s of the triangles and the ch-2 sps of the hexagons to the seam of the triangles. Weave in ends.
Border:
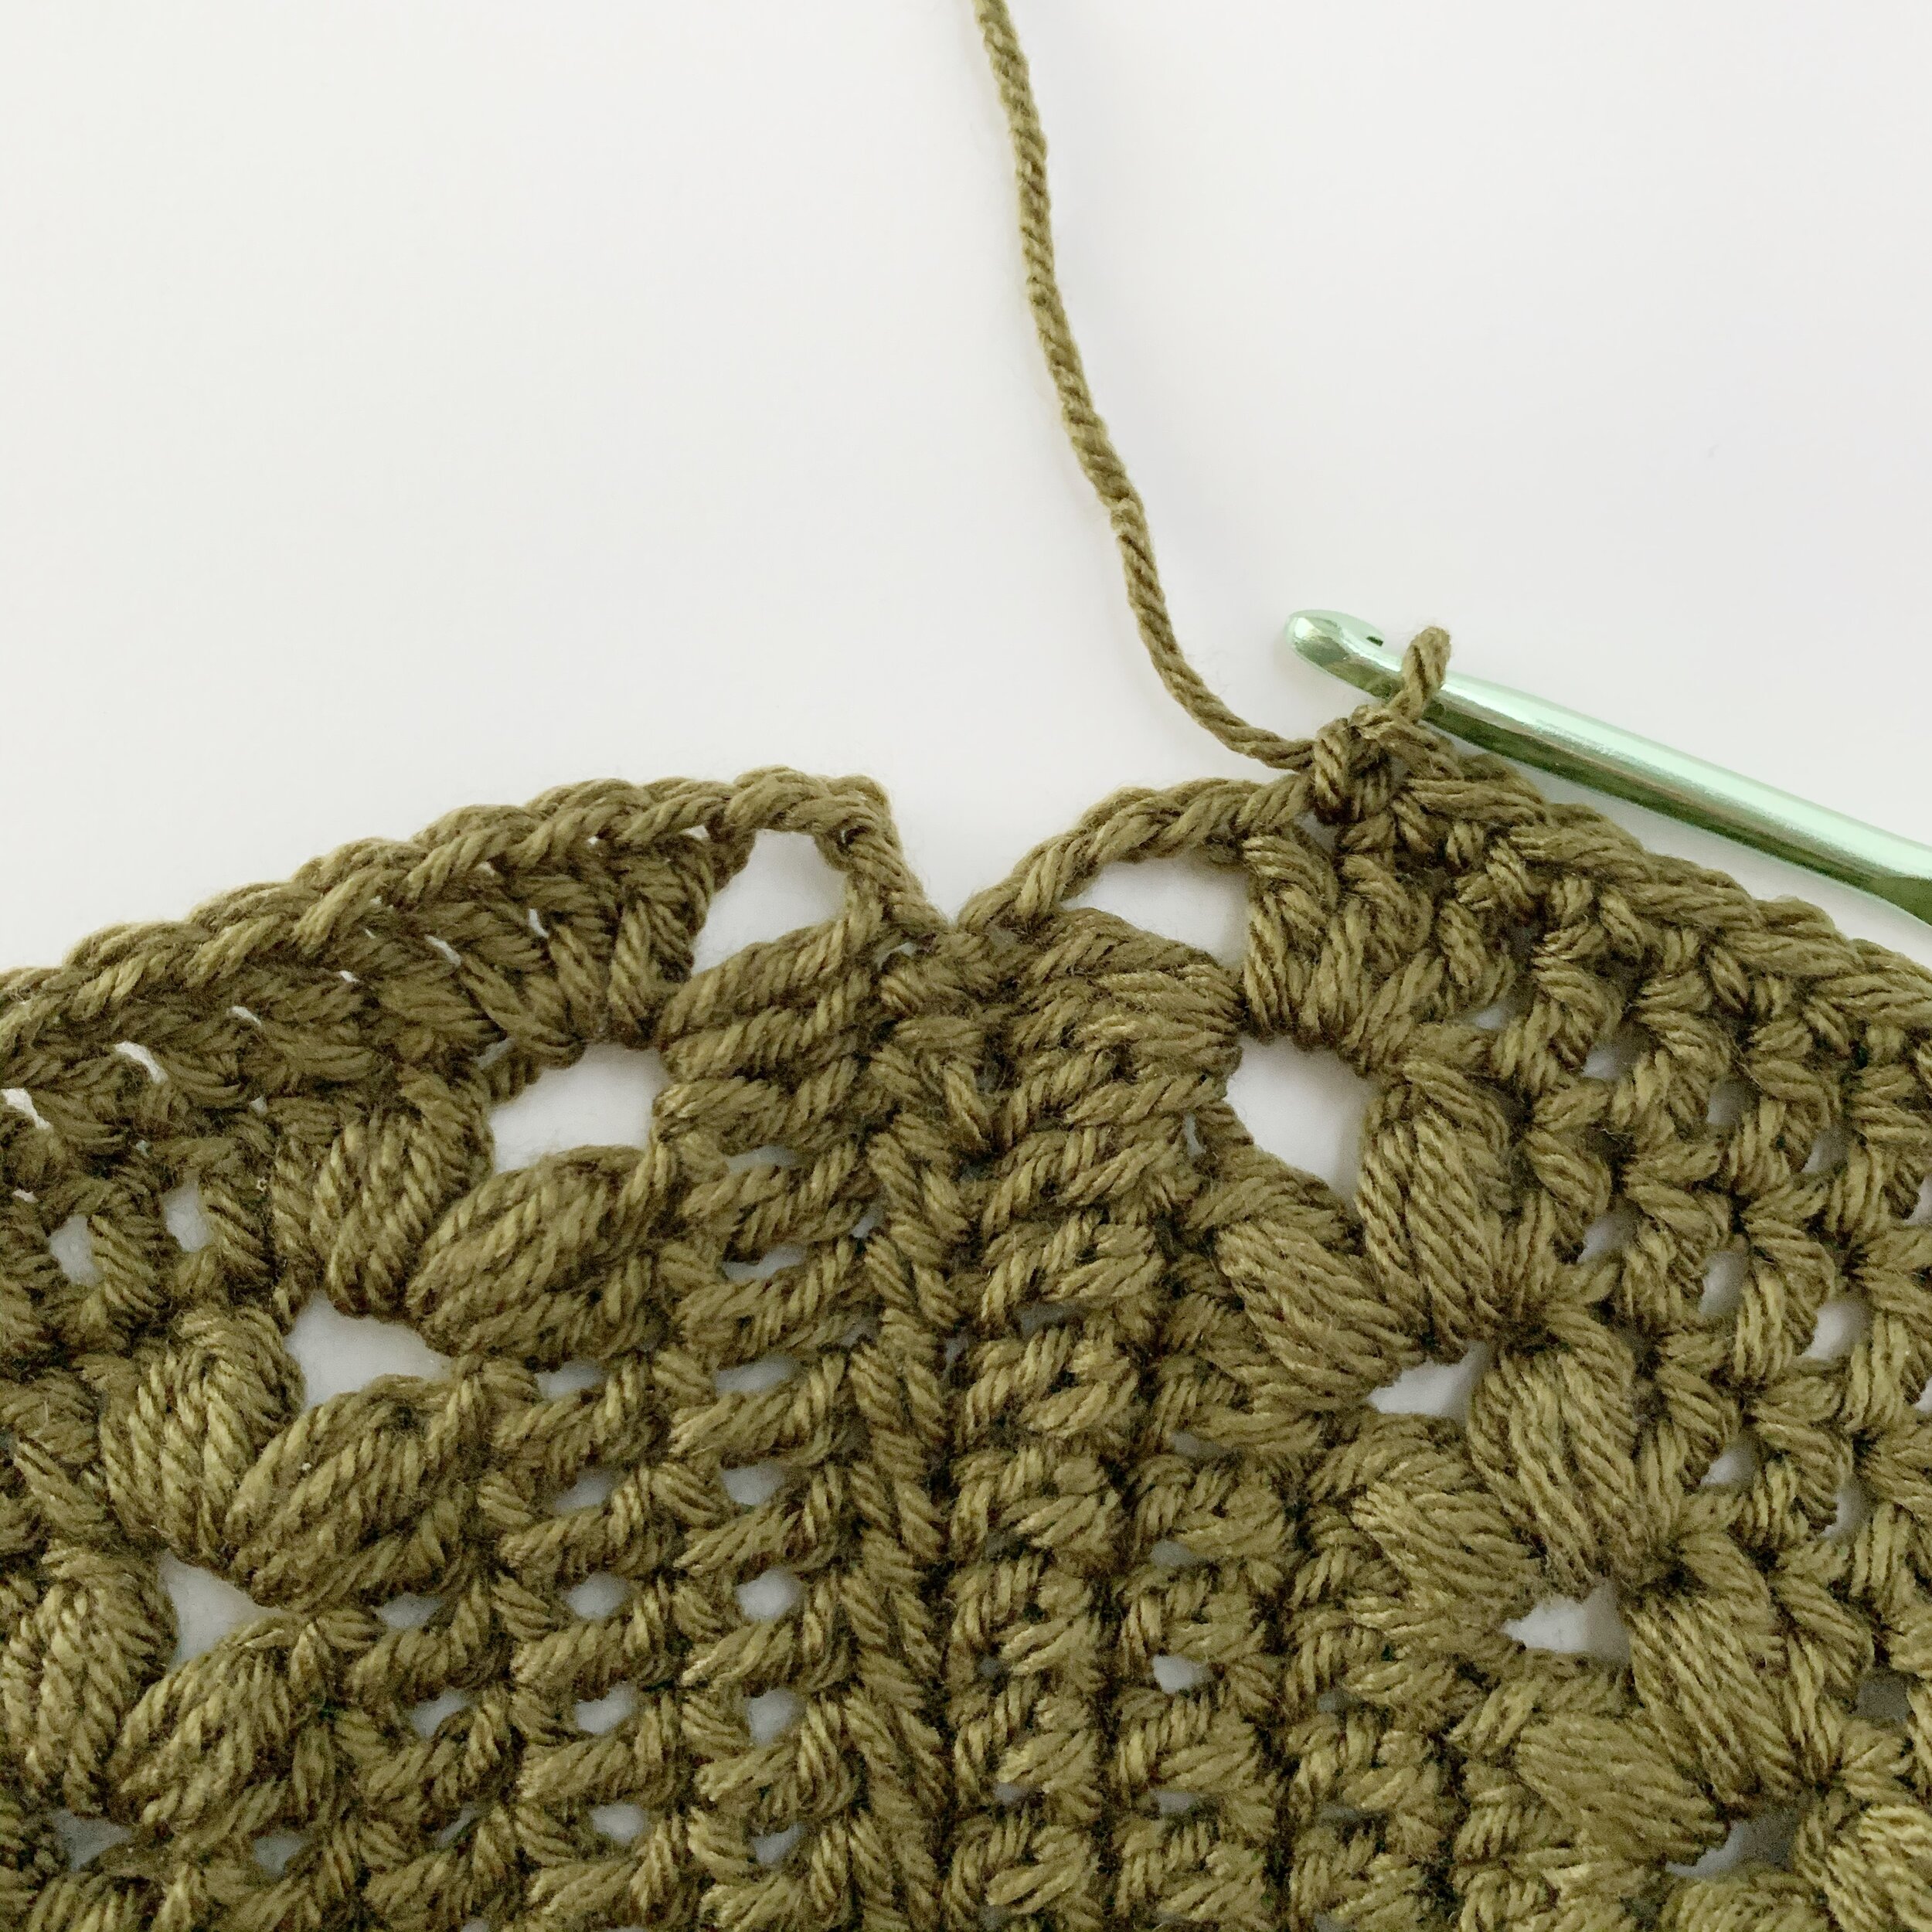
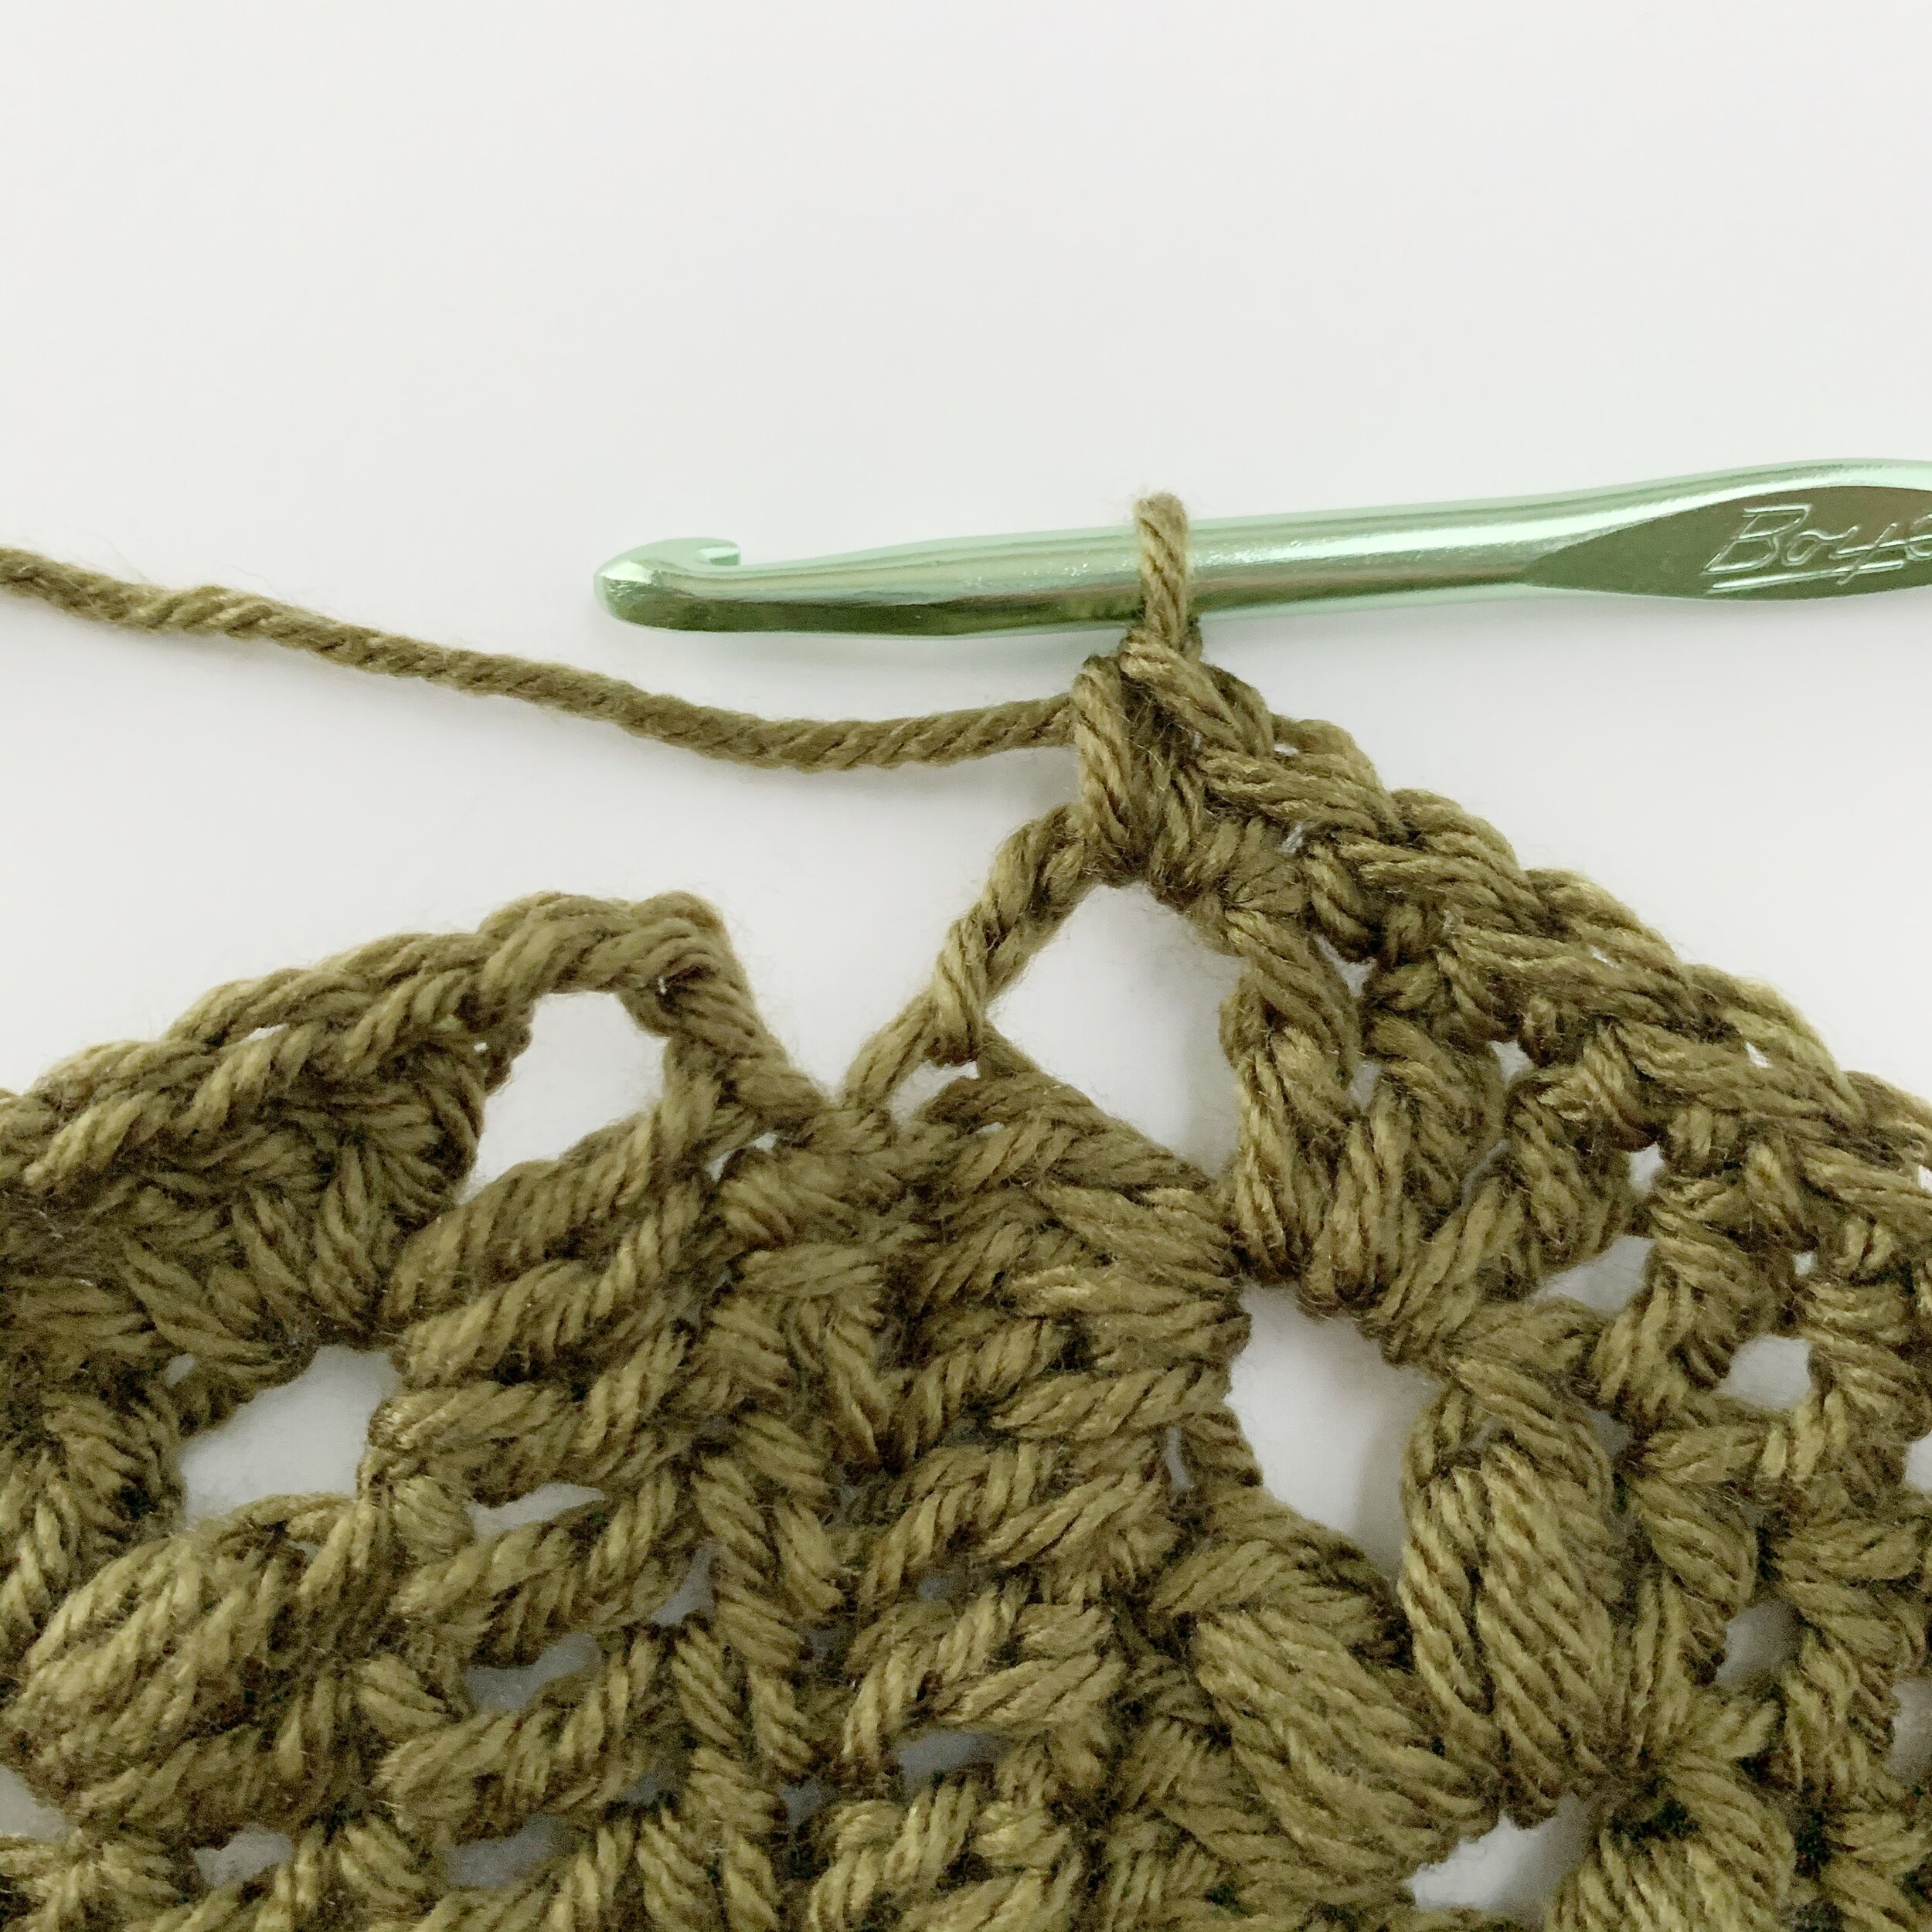
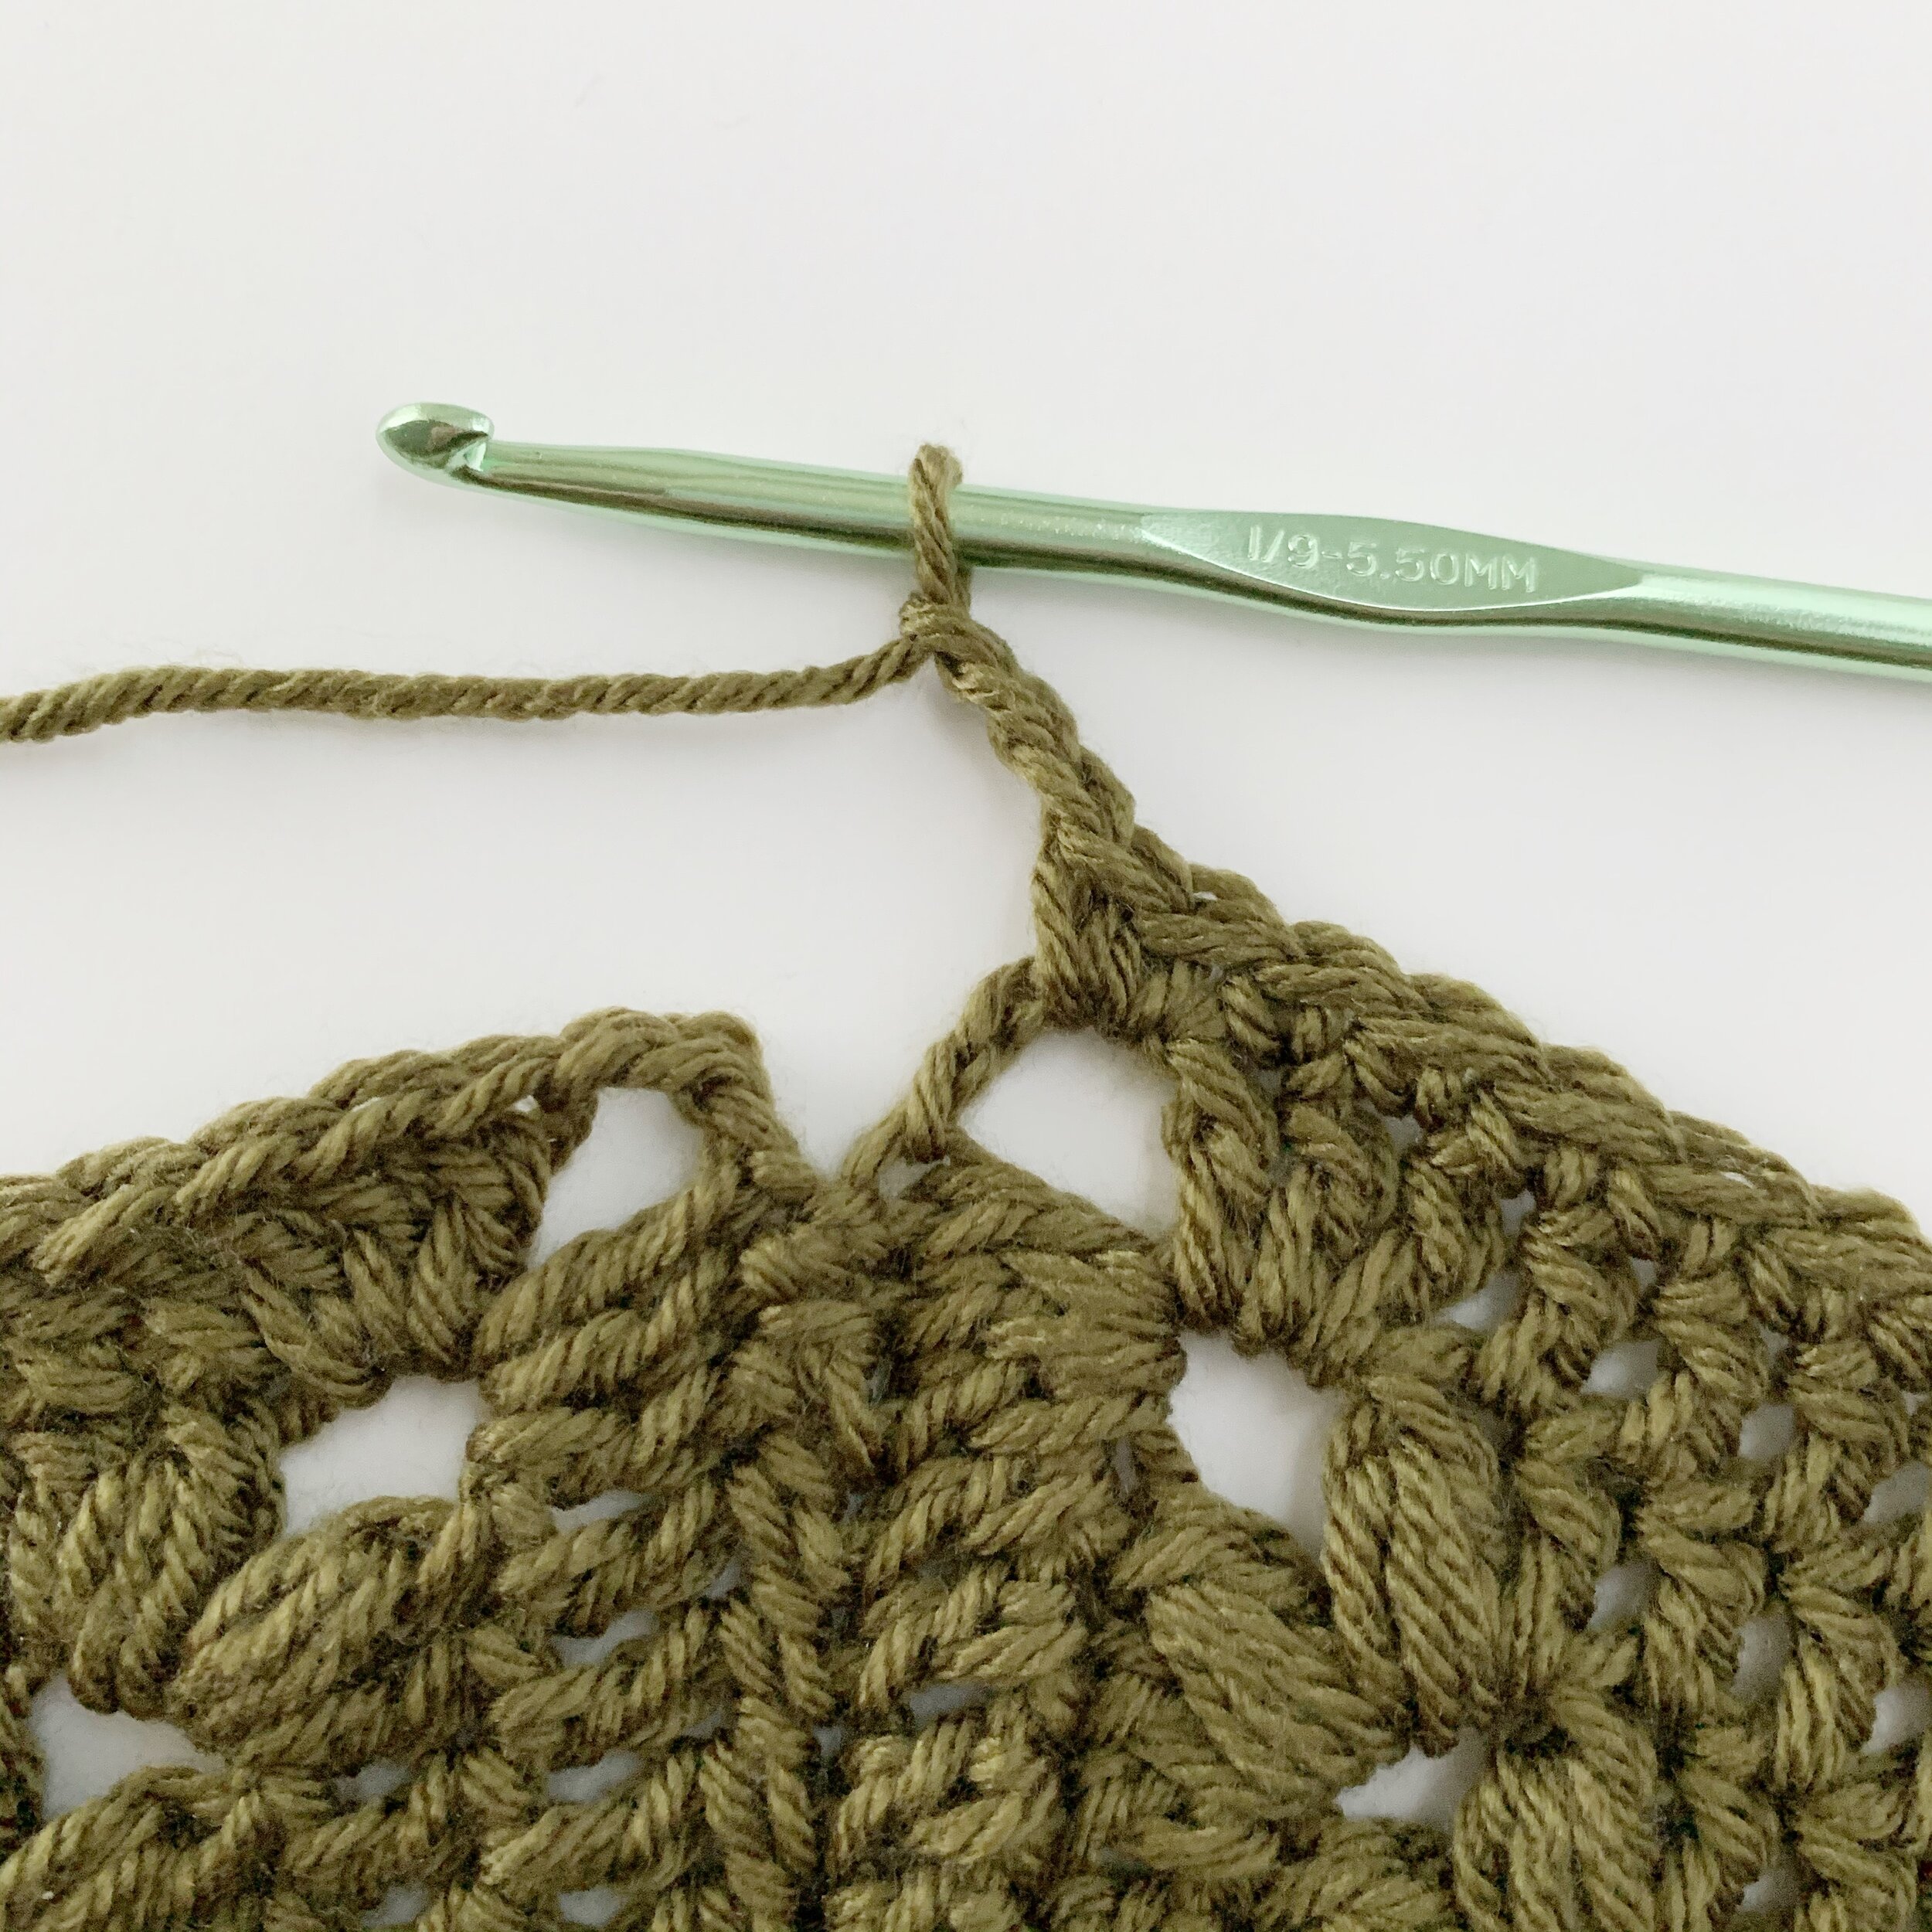
Round 1: Join yarn in any st along the edge of a triangle. Sc in each st across each triangle.
For each point where two triangles meet:
Work 2 sc into the ch-3 sp, ch 3, 2 sc into the next ch-3 sp.
For each point where three triangles meet:
Hdc into the 1st ch-3 sp, tr in the dc st to the right of the next ch-3 sp, 3 tr into the ch-3 sp, tr in the dc st to the left of the ch-3 sp, hdc in next ch-3 sp.
For each point where four triangles meet:
Work 2 sc into the 1st ch-3 sp, dc2tog into the next ch-3 sp, dc2tog across the next 2 dc, dc2tog into the next ch-3 sp, 2 sc into the last ch-3 sp.
Sl st to 1st st to join.
Round 2: ch 1, sc in same st as join,
Straight edges:
Work a sc into each sc and hdc st across, work a hdc into each tr.
Chevron edges:
Work a sc into each sc st, work 3sc into each ch-3 sp, sc3tog across each dc2tog from previous round.
Sl st to the top of the first st to join.
Round 3: ch 1, sc in same st as join,
Straight edges:
Work a sc into each st across.
Chevron edges:
Work a sc into each sc st, work 3sc into each center stitch of the 3sc from the previous round.
Sc3tog across each sc3tog and the st on either side of the sc3tog from previous round.
Sl st to the top of the first st to join. Fasten off and weave in all ends.
Tassels: (optional)
Make six
Using a book that is at least 6” wide, wrap yarn loosely around book 50 times. Cut yarn along edge of the book on one side to create long strands. Thread strands through large space on each point along the chevron edge.
Using a long length of yarn, tie tassel about 1 inch below fold. Wrap one tail around the tie multiple times and then knot in the back and weave end into center of tassel. Trim if necessary. Repeat for each point along both chevron edges.
Now go enjoy your brand new, beautiful throw blanket!
I’d love to see your finished Livy Throws too. Make sure to tag me on social media @meghanmakesdo and use hashtags #meghanmakesdo & #thelivythrow so I can see them!
Find the ad-free PDF of The Livy Throw crochet pattern in my shop, on Etsy and Ravelry or grab the full kit from Lion Brand.
Happy Crocheting!
Meghan


