
The Magnus Throw-Free Crochet Pattern
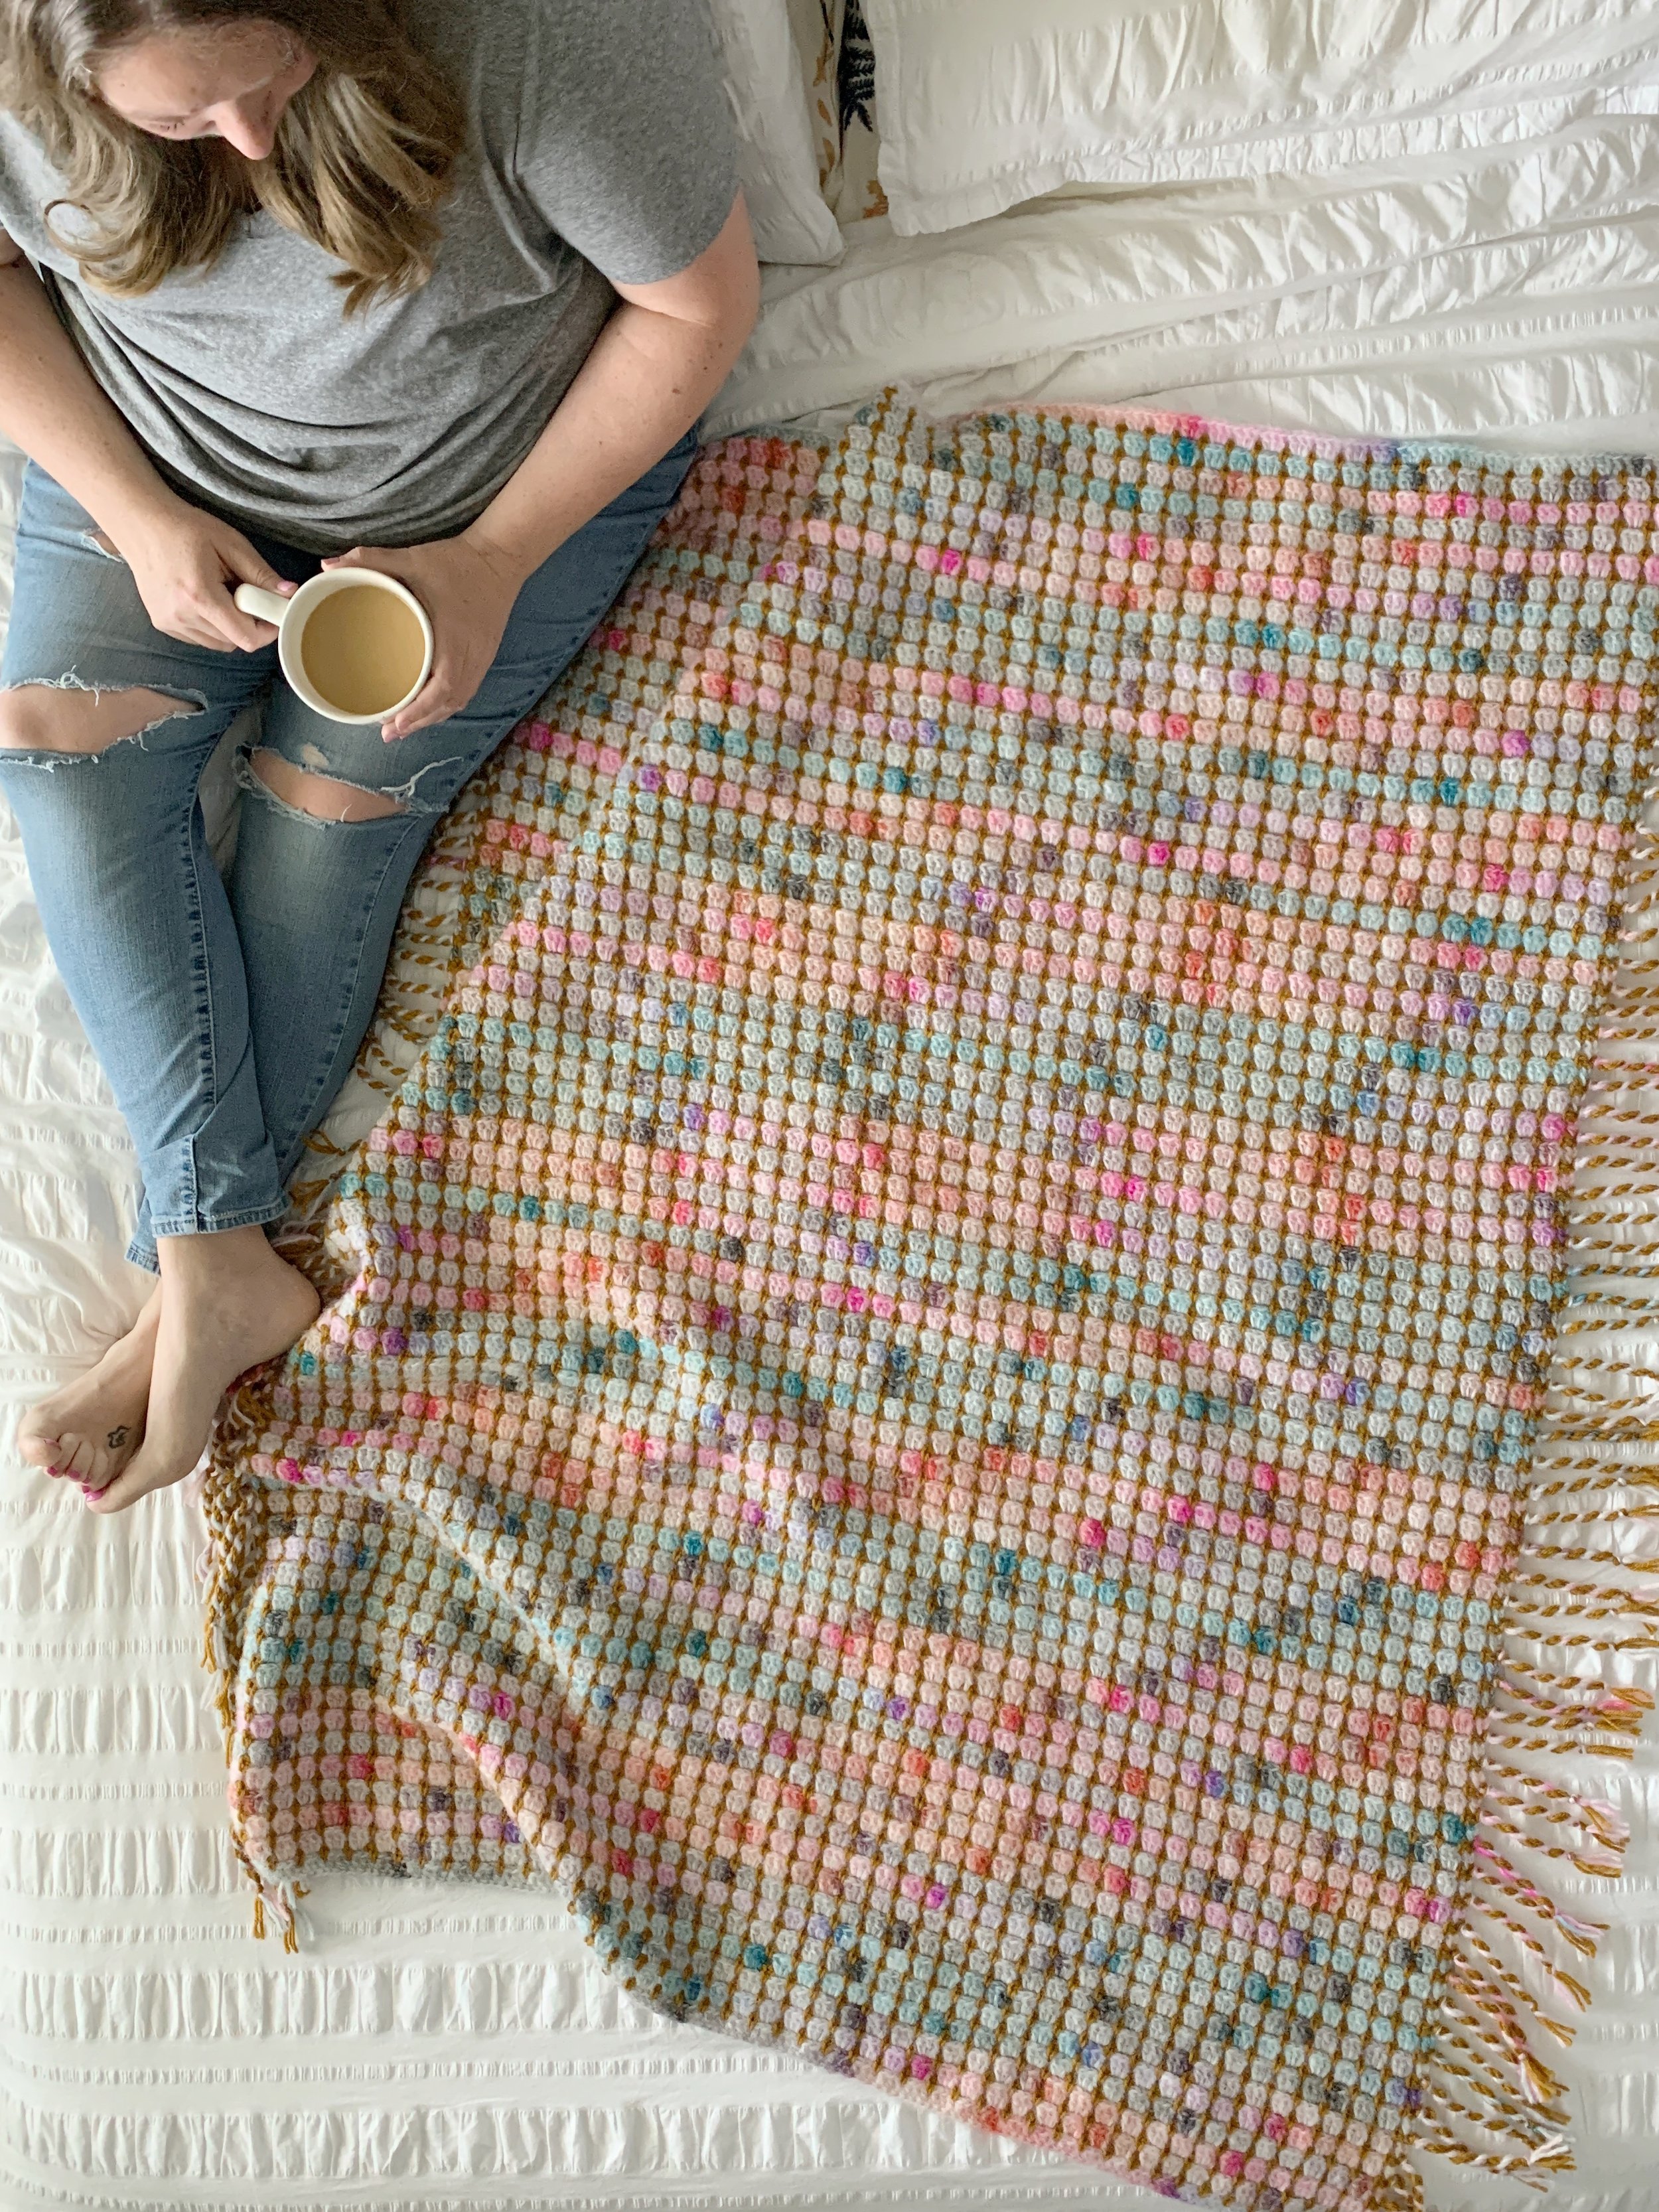
Add some color and joy to your home with The Magnus Throw. This stunning, soft and lightweight throw is sure to become a favorite. The Scarfie Lite shines in this block stitch pattern. Plus the twisted fringe means no ends to weave in! Find the free pattern below or grab a digital PDF in the shop.

The wait is over! You asked and it’s finally here. Ever since I released the Magnus Cardigan I’ve gotten so many request for a blanket version. It took a few months, but I’m thrilled to be bringing you the pattern for the Magnus Throw today.
If you hate weaving in ends then this blanket is going to be your new best friend. My favorite thing about this blanket is that there are ZERO ends to weave in.
It’s made using the same colors of Scarfie Lite and Wool-Ease as the cardigan as well as the beautiful block stitch. You’ll need to make sure to leave about 9 inch tails at the beginning and ending of each row, but instead of weaving them in you’ll just tie them together and then add some extra strands to create a twisted fringe.
To make it even easier I’ve included a video tutorial so you can see exactly how to work up the main body of the blanket as well as adding the fringe.

Get The Magnus Throw PDF on Etsy
The Magnus Throw Crochet Pattern
Materials:
1,520 yards (5 skeins) of Lion Brand Scarfie Lite in Color A (Sunset)
850 Yards (5 skeins) of Lion Brand Wool-Ease in Color B (Arrowwood)
Tapestry needle, scissors, tape measure
Abbreviations:
Ch(s)- chain(s)
St(s)- stitch(es)
Fdc- foundation double crochet
sc- single crochet
dc- double crochet
sp- space
RS- right side
WS- wrong side
Notes:
1.Blanket is made in one piece, leaving 8-9” tails on both sides. No ends are woven in. The tails are included in the added fringe.
2.Ch(s) at beginning of rows do(es) not count as a stitch.
3.Easily adjust the width of the blanket by adding more stitches. Make sure to have a multiple of 3+2. Add more rows to adjust the height making sure end on a double crochet row.
Gauge:
14 sts X 10 rows = 4.5” X 4.5” in block stitch
Size:
Finished size is approx. 45”W x 60”H (not including fringe).
Video Tutorial:
Pattern:
Main Body:
With Color A and making sure to leave an 8-9” tail, ch 2
Row 1: Fdc 146. (146)
Change to Color B making sure to leave 8-9” tails for both colors, ch 1 and turn.
Row 2: sc into 1st st, sc into sp between first and second st, *ch 2, sk 3, sc into sp right after the 3rd skipped st, repeat from * until 1 st remains, sc into last st. (146)
Change to Color A, making sure to leave 8-9” tails for both colors, ch 2 and turn.
Row 3: dc into 1st st, *3dc into ch-2 sp, repeat from * across until 1 st remains, dc into last st. (146)
Repeat Rows 2-3 for a total of 137 Rows.
Fasten off leaving an 8-9” tail.
Fringe:
Cut 136 -18” pieces each of Color A and Color B.
With a tapestry needle, thread beginning tail down the first st and into the space where the first fringe piece will start.
Knot the strands of Color A and strand of Color B together.

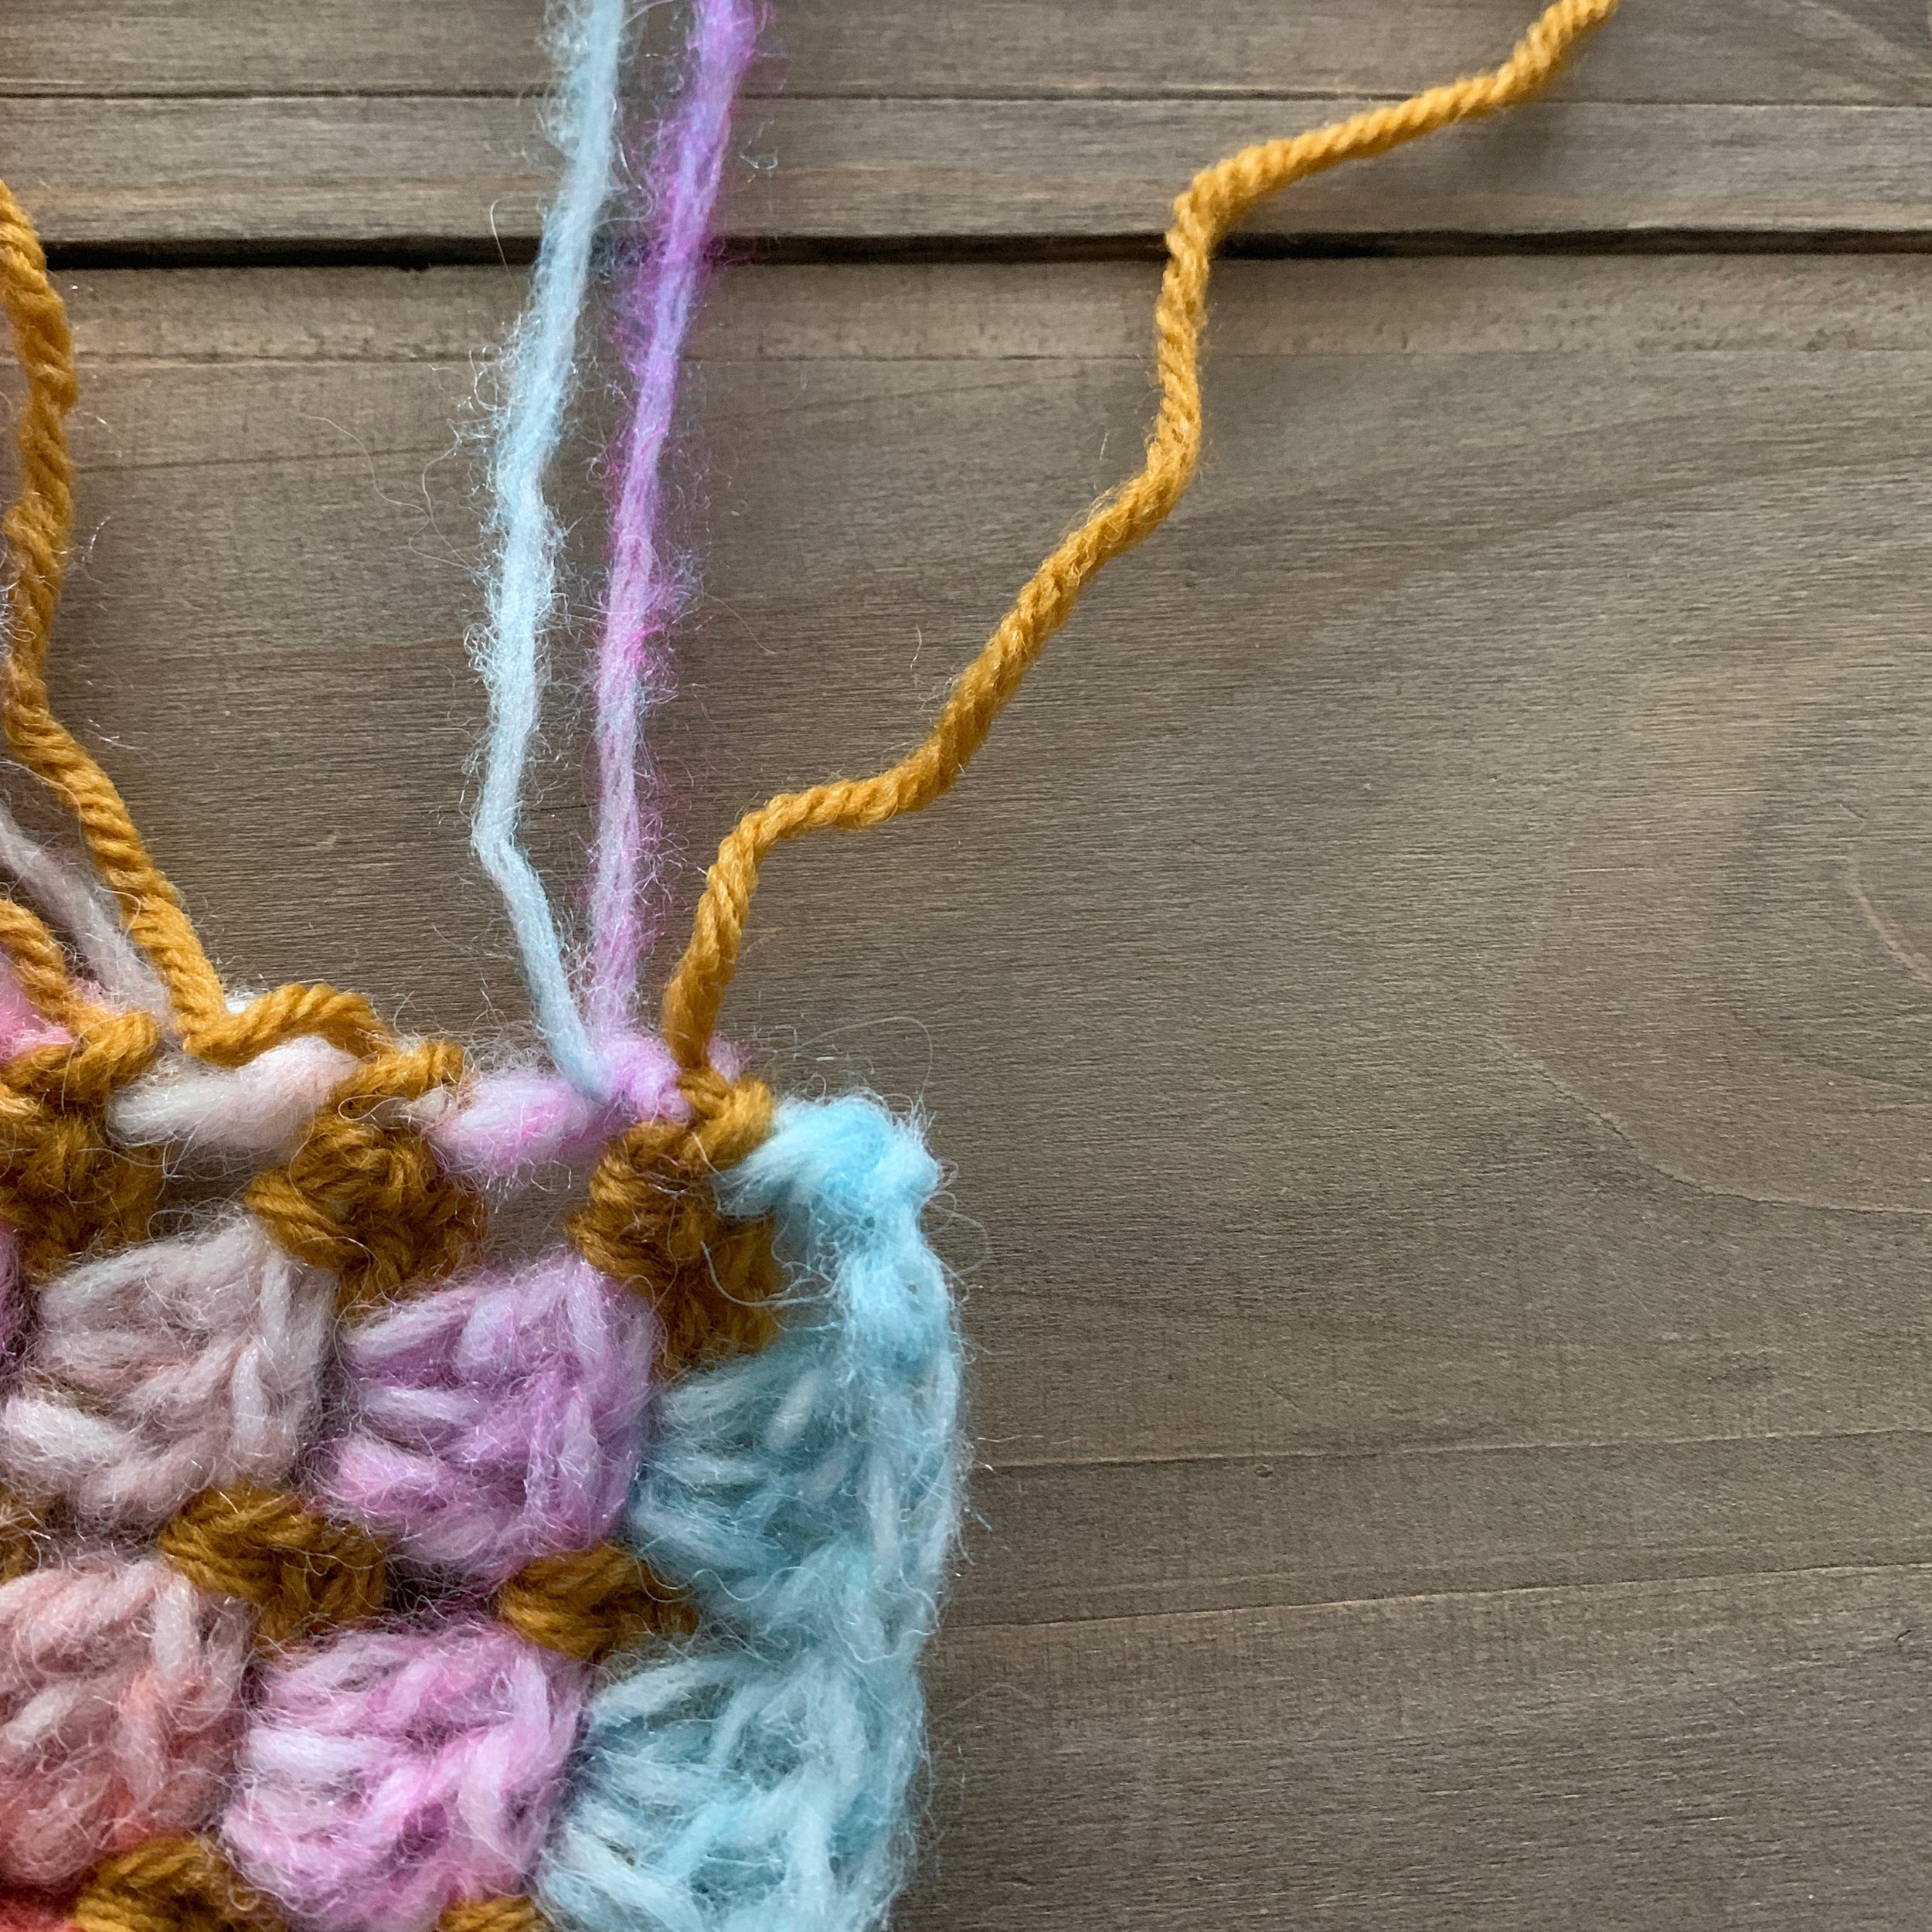

Then fold an 18” piece of Color A and Color B in half and thread through the space between the single crochet stitches with your crochet hook. Pull the strand through from front to back.


Draw the knotted ends through and then draw the tail ends through and pull tight.


Separate the Color A and Color B strands. Twist the Color A strands around the Color B strands tightly all the way down. Tie a knot and adjust to the length you prefer (approx. 4-5”).
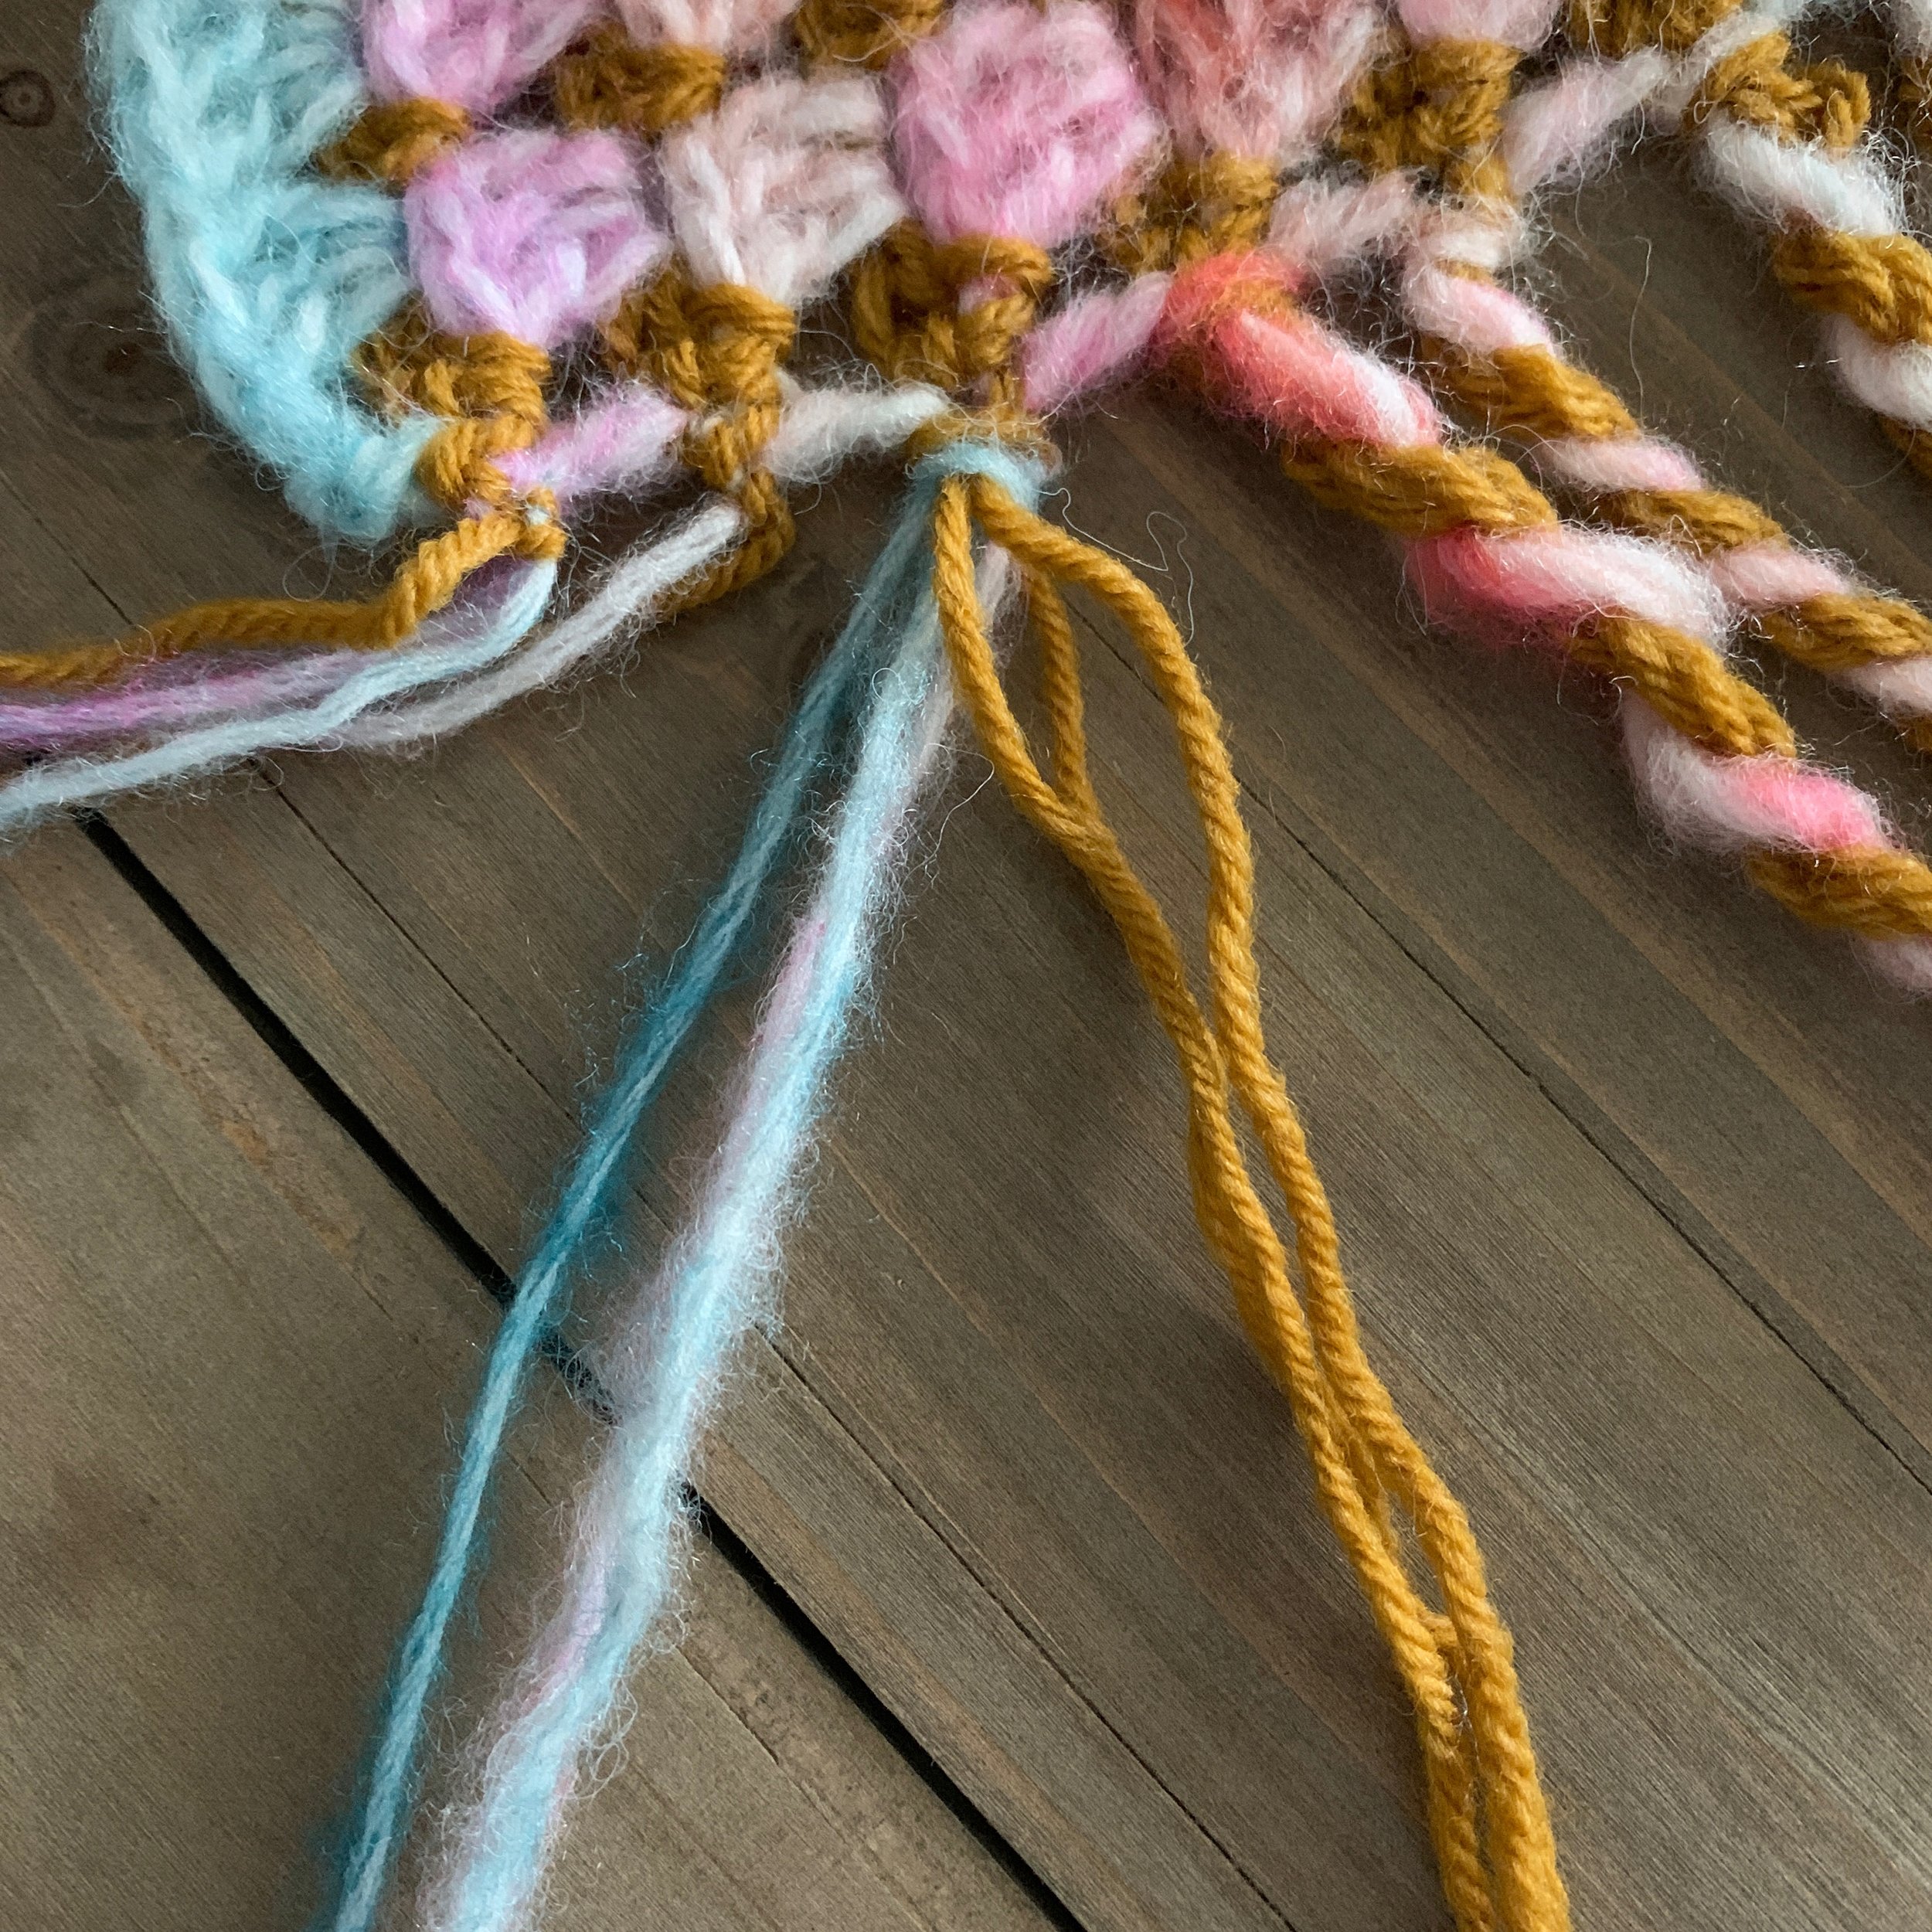


Trim the ends 1-1.5” from the knot.
Repeat these steps all the way up the blanket, knotting the tails together and adding two folded strands to each knot before creating the twist. Adjust the knots to match as you go.
Repeat on the other side starting at the top and working your way down.
Once all fringe is attached, tied and trimmed your Magnus Throw is complete! Enjoy!

I hope you love your new Magnus Throw. If you make one I’d love to see it! Make sure to tag me @meghanmakesdo on social media and use #themagnusthrow so I can share.
As always you can find a digital PDF version of this pattern in my shop, on Etsy and Ravelry. Or grab the complete kit from Lion Brand Yarn.
Happy Crocheting,
Meghan

