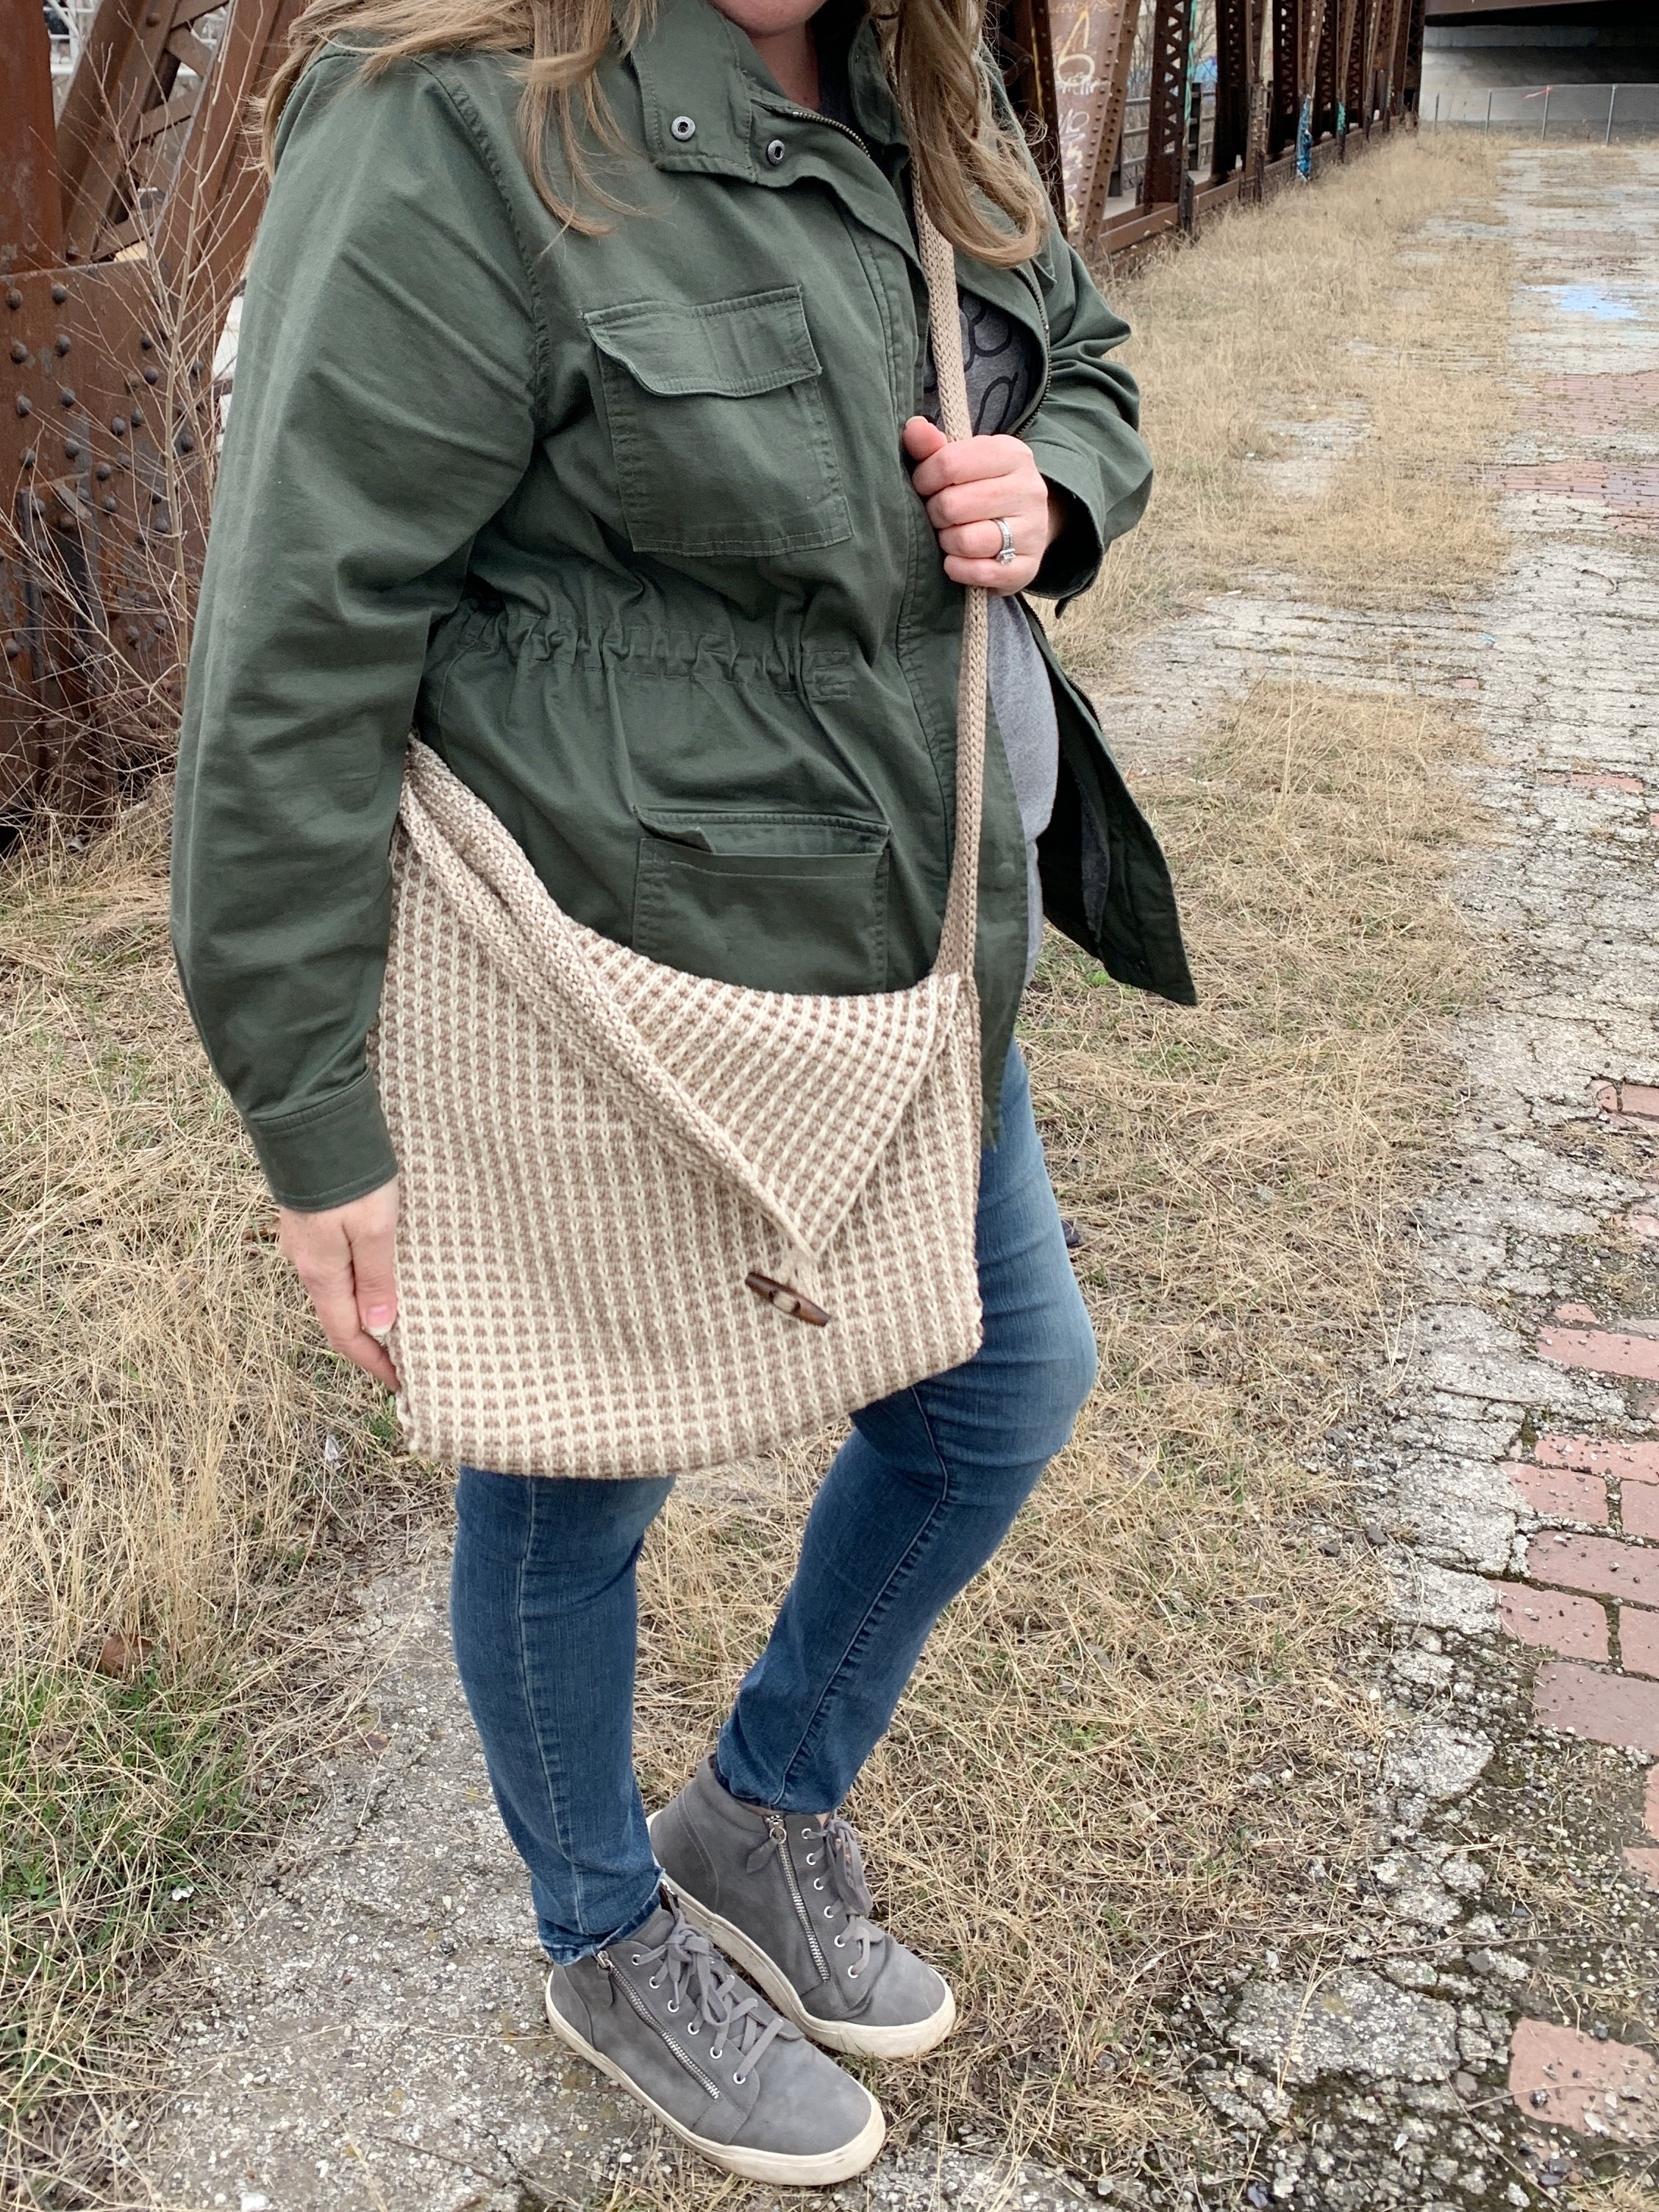
The Carson Crossbody- Free Knitting Pattern
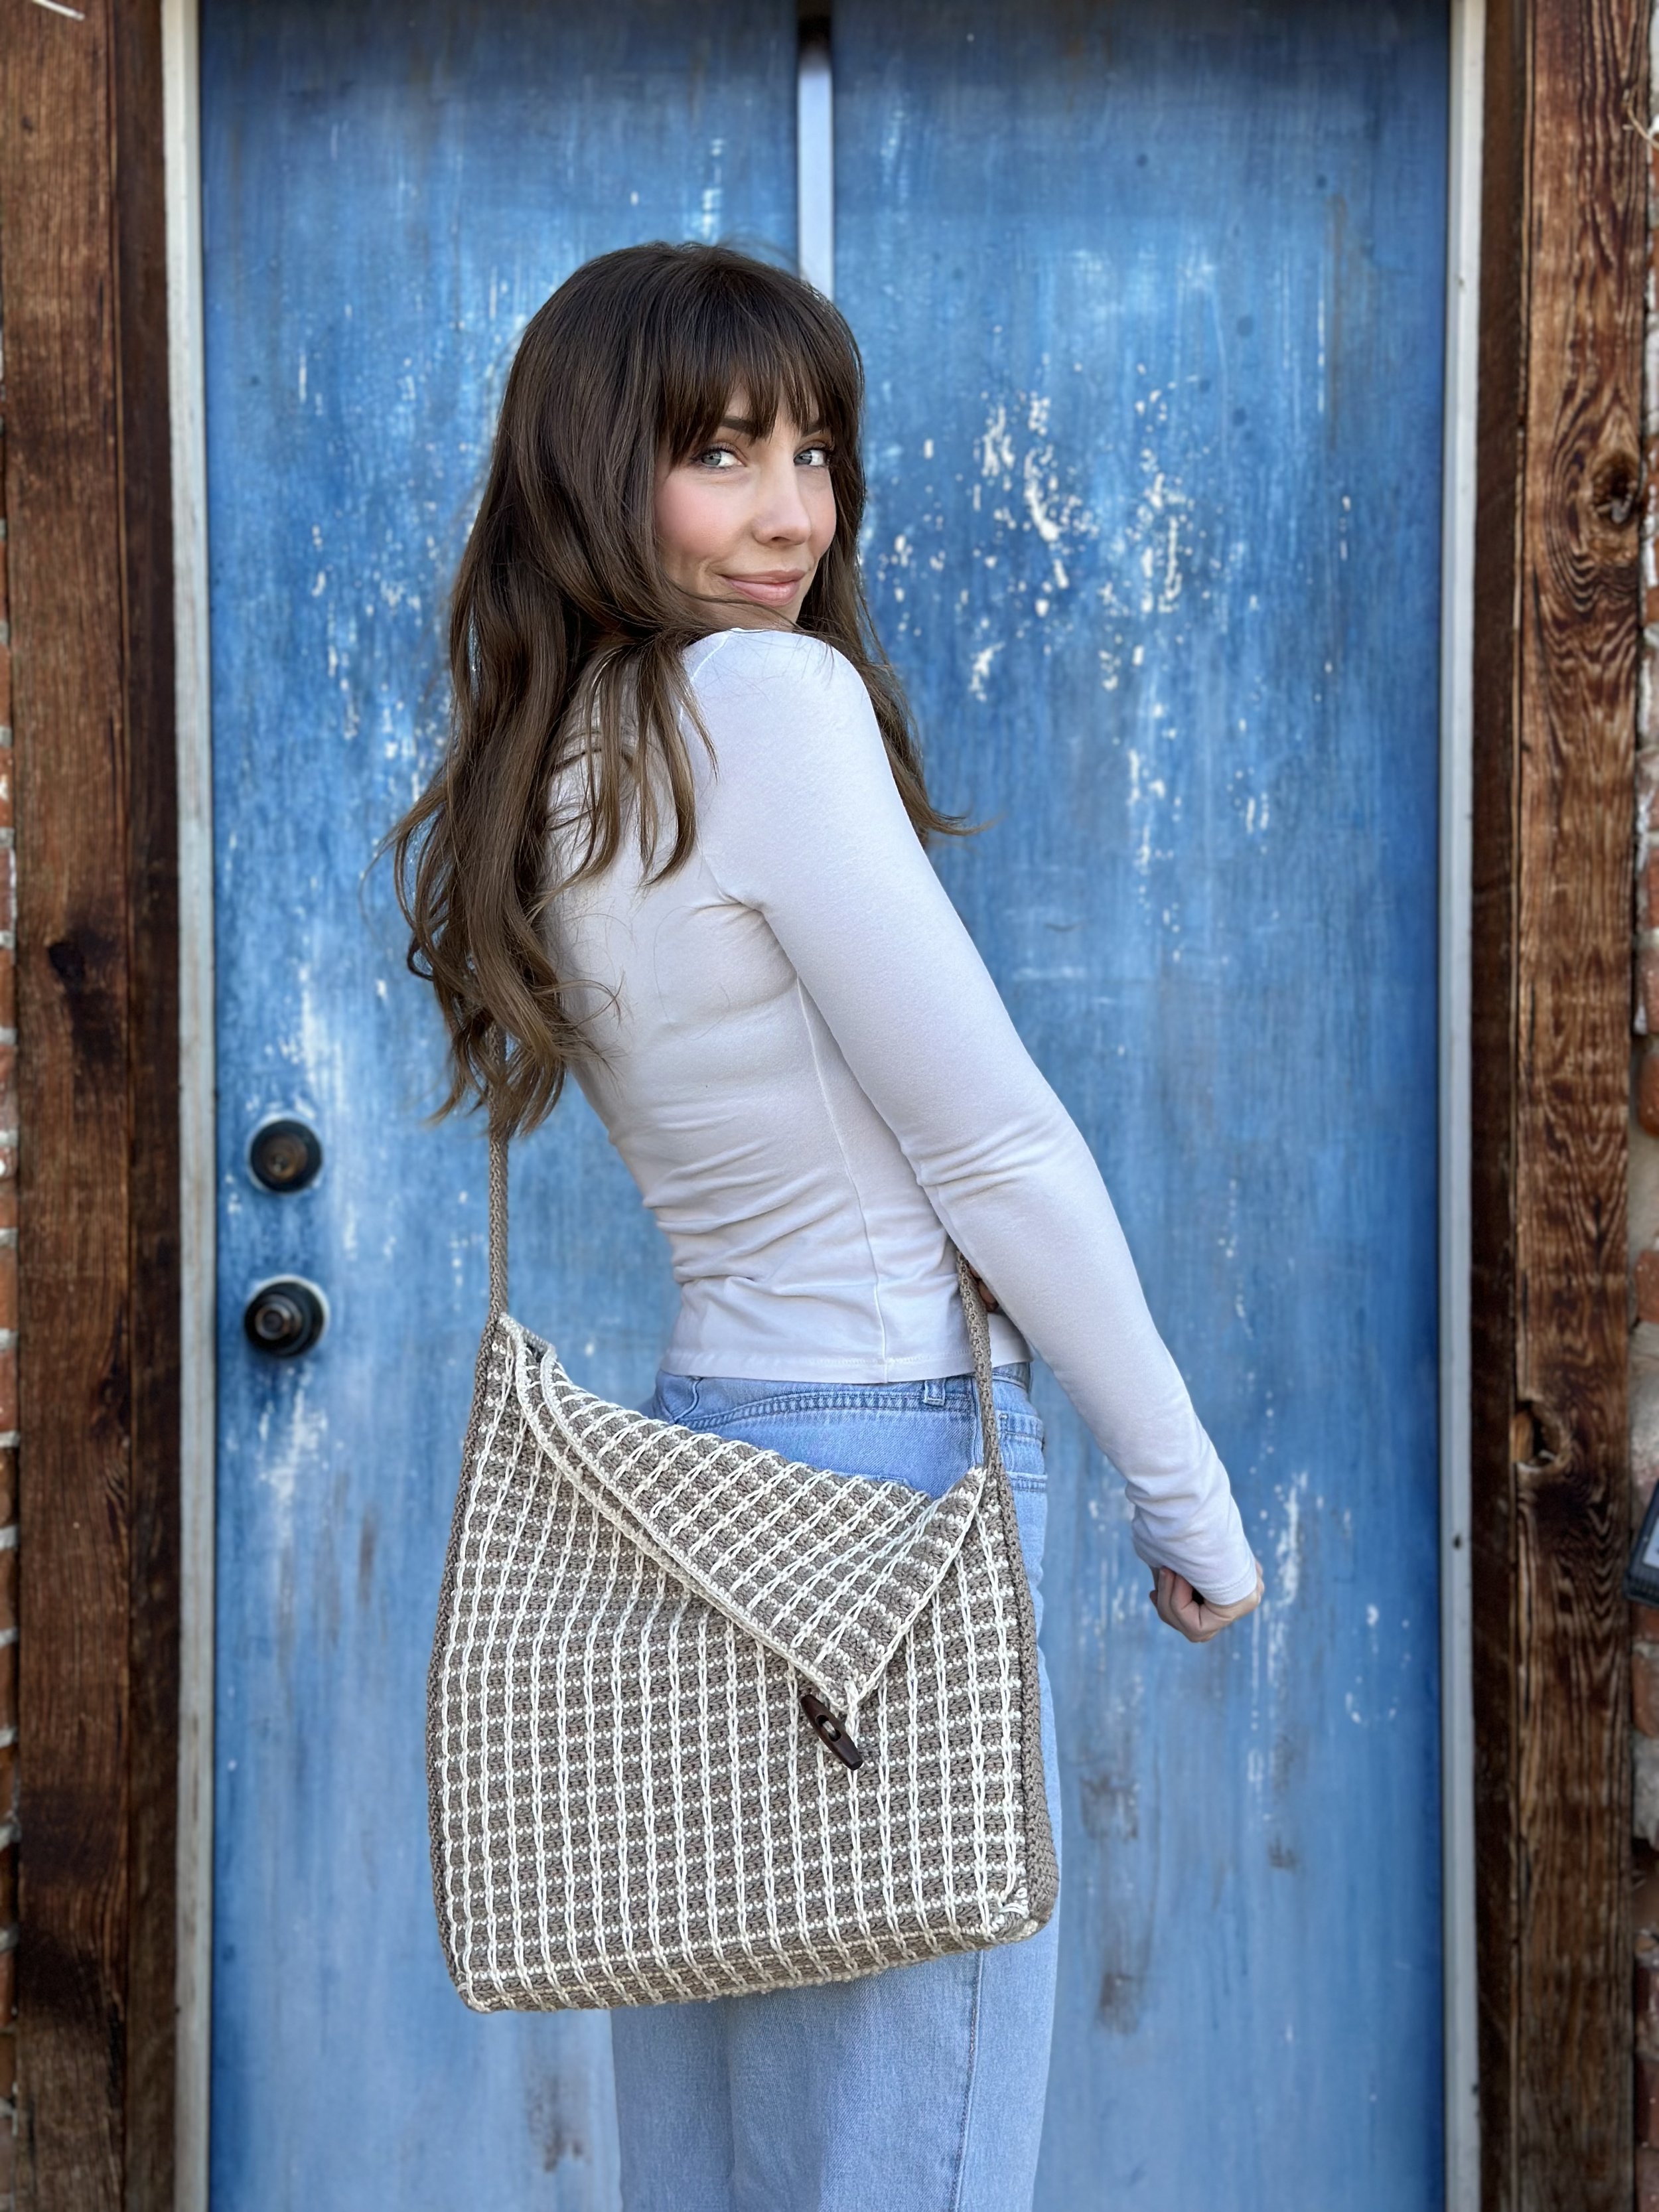
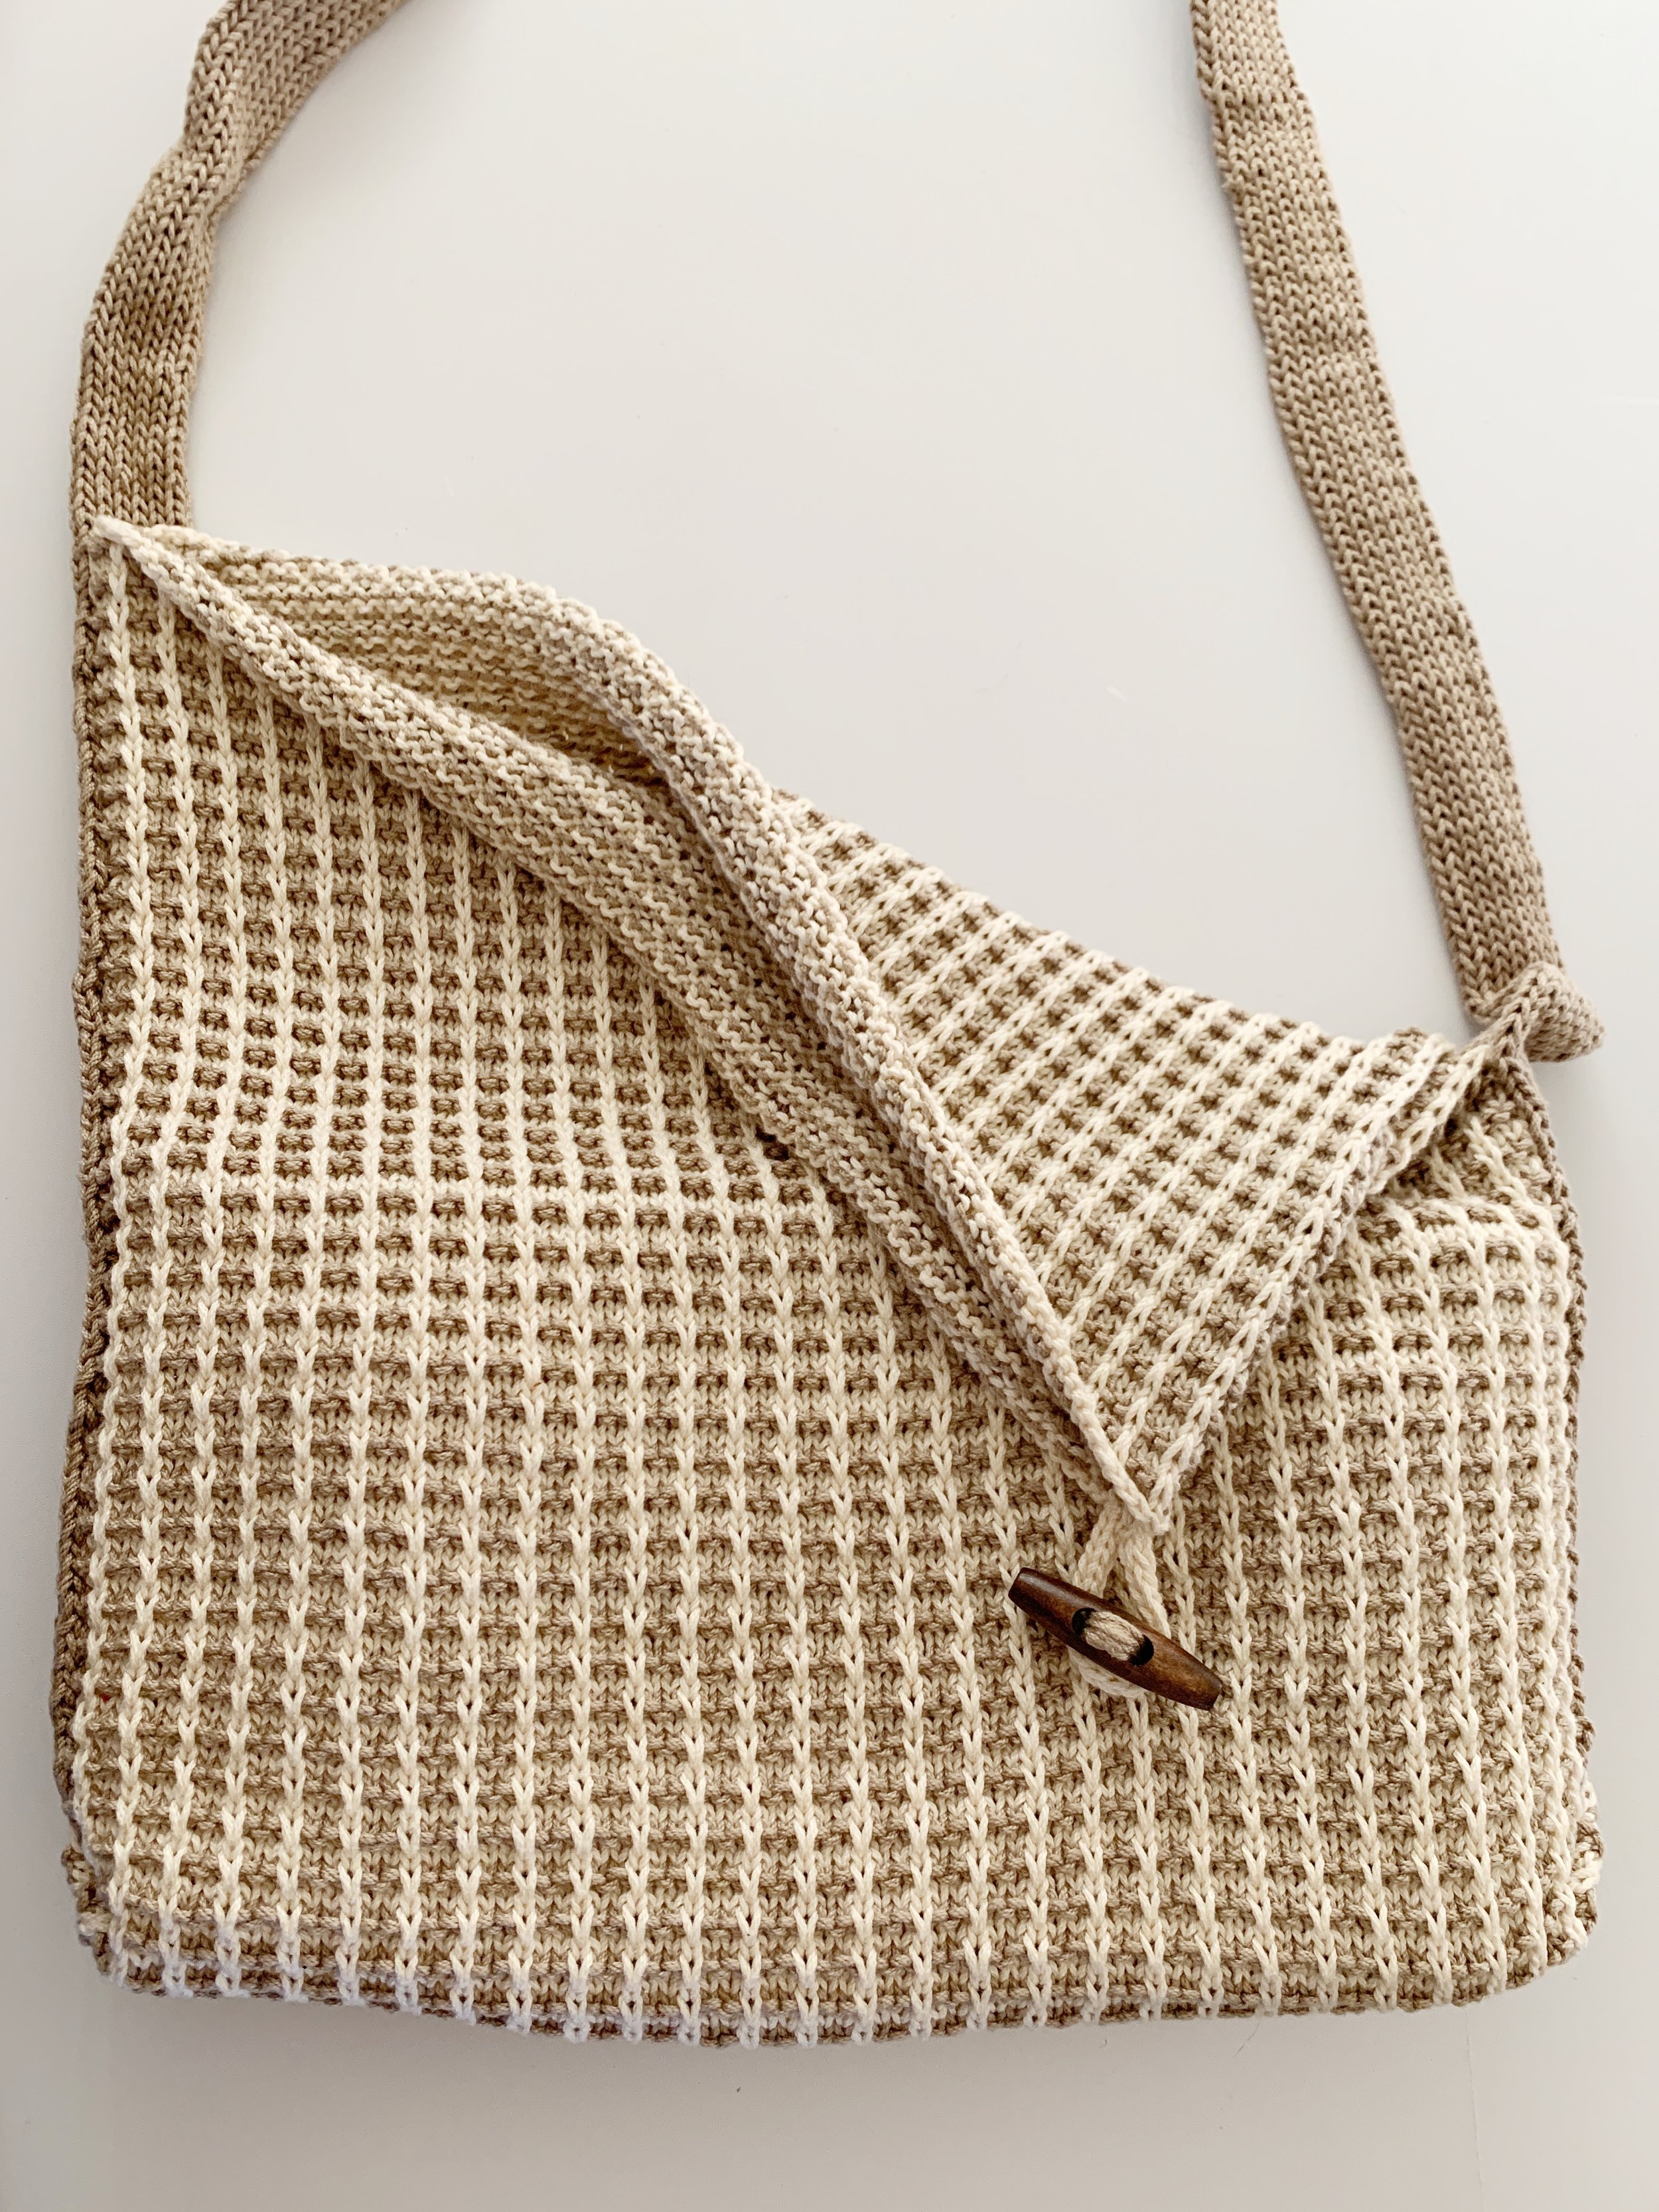
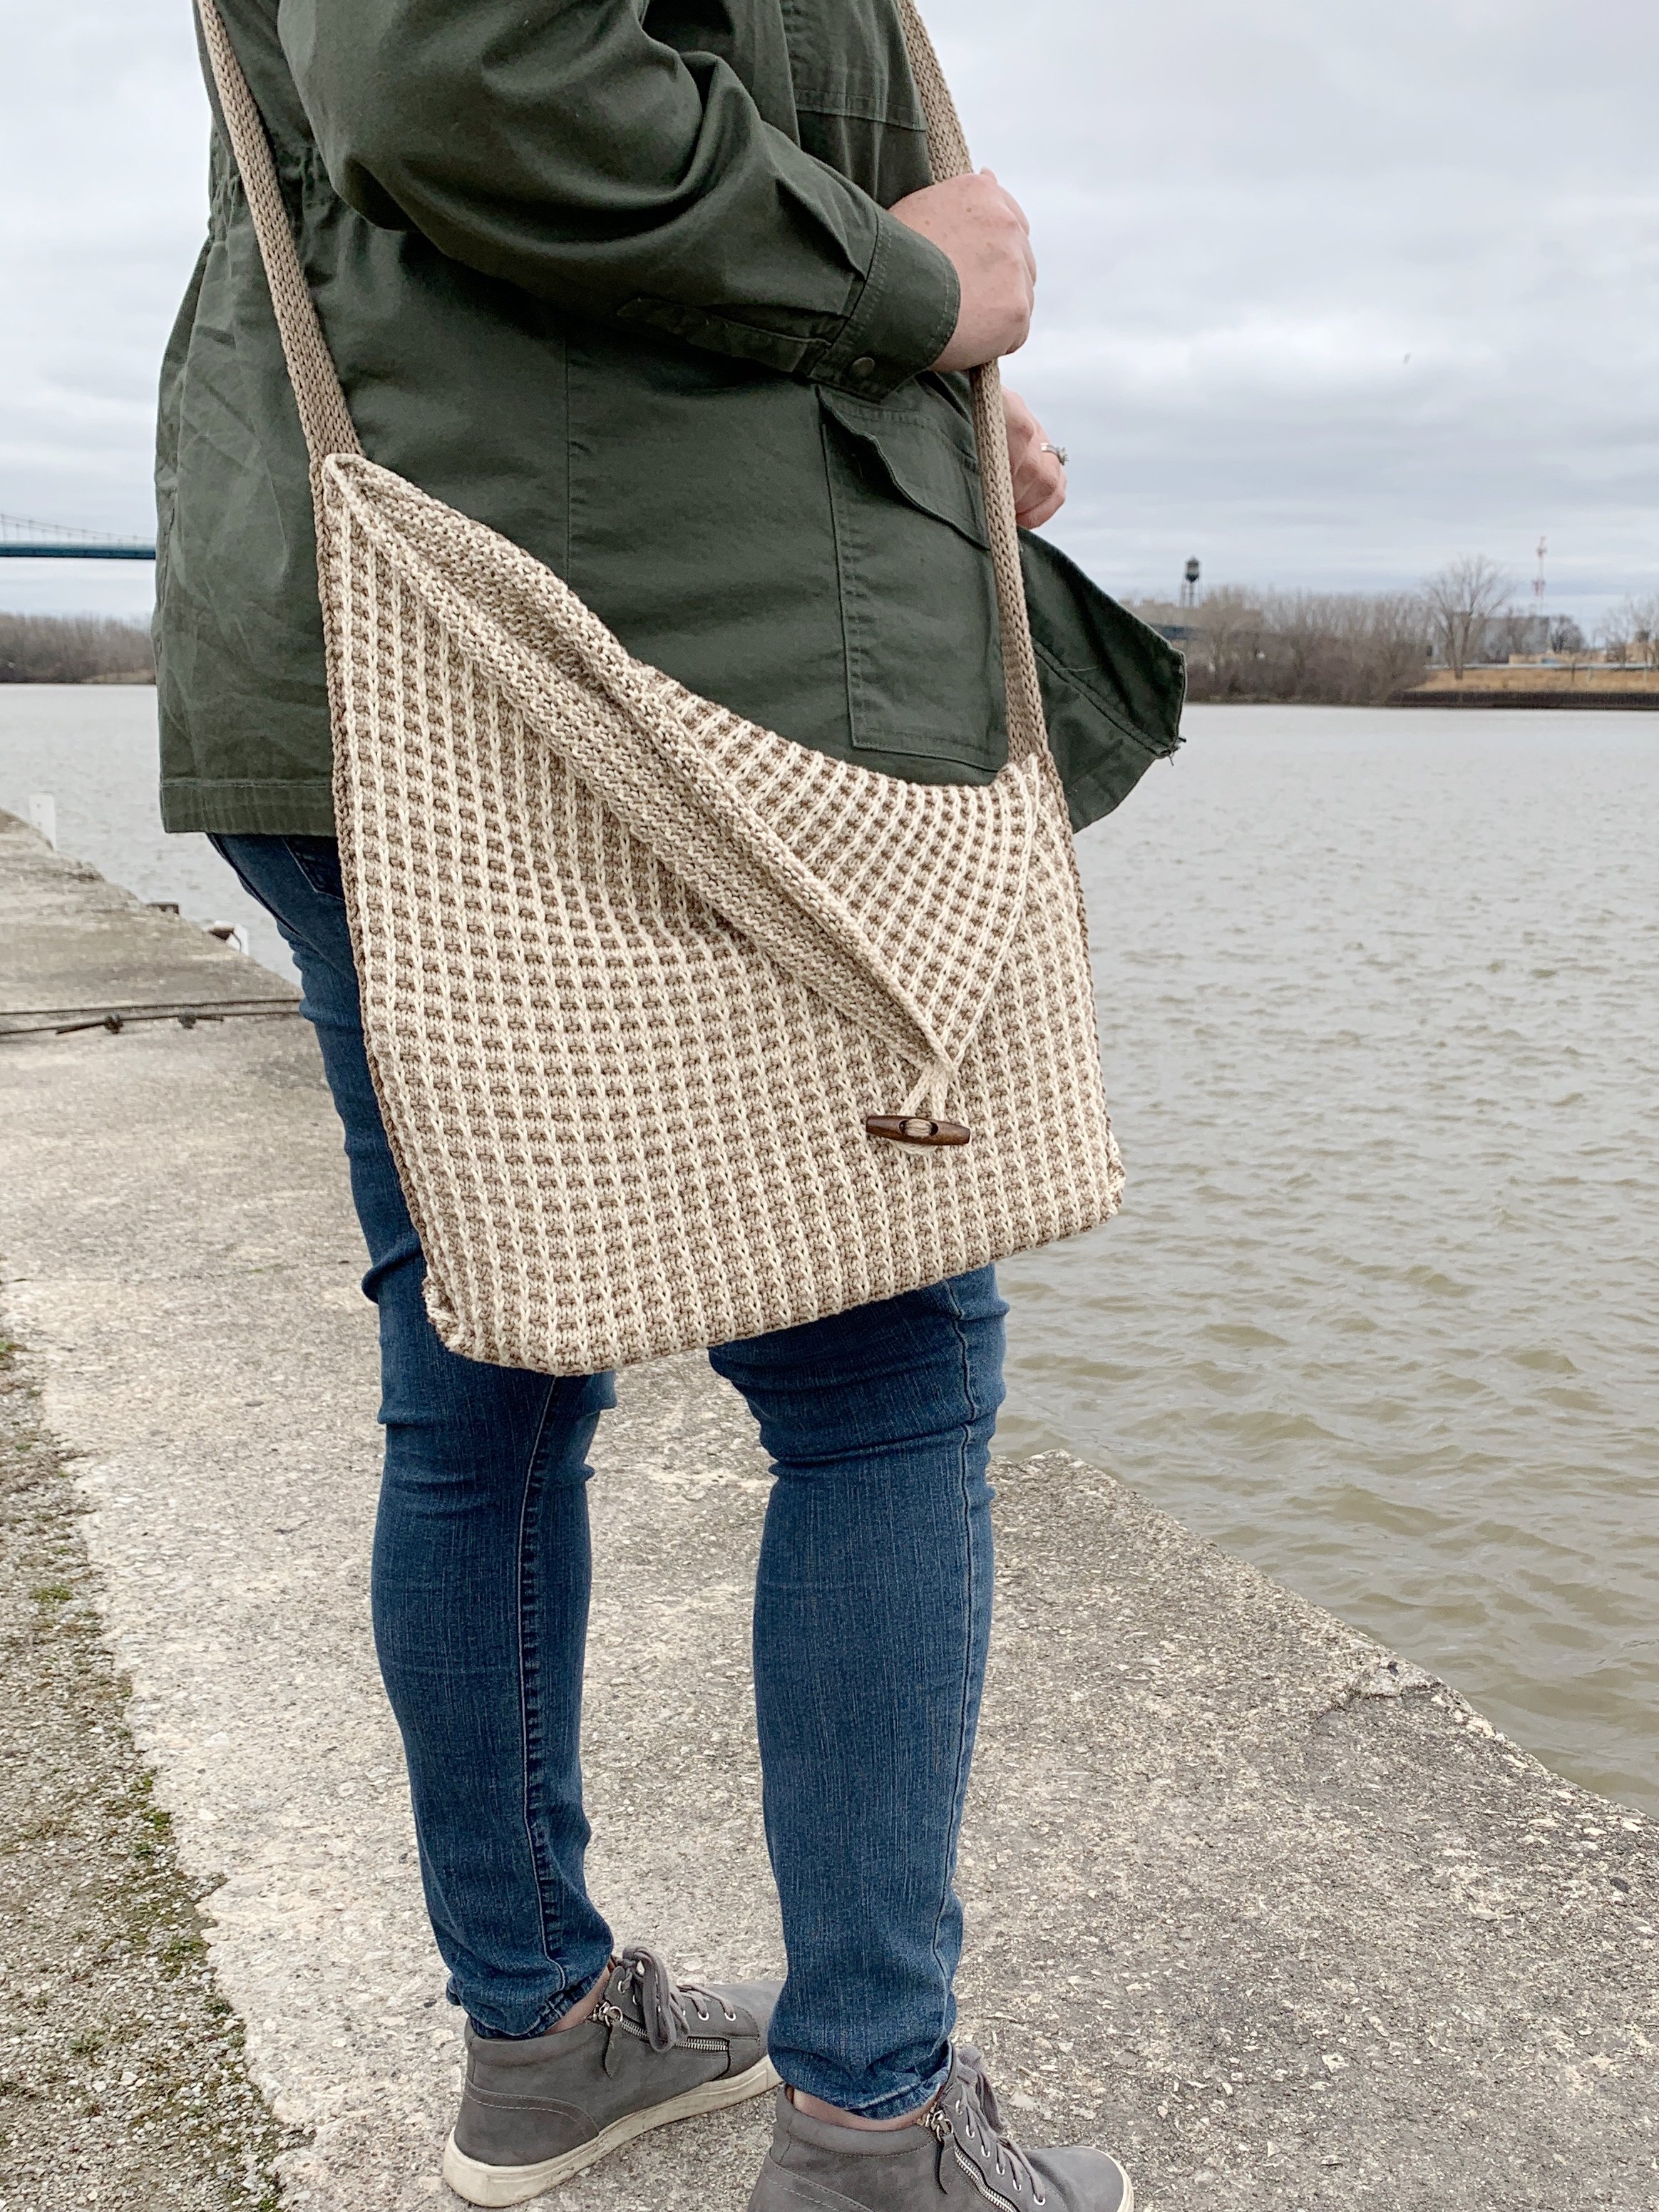
The stylish Carson crossbody knitting pattern featuring two colors, an asymmetrical fold-over design, and a button closure. This pattern is perfect for knitters looking for a unique and functional project. Find the free pattern below or get the PDF in my shop.
I’m thrilled to be bringing you The Carson Crossbody knitting pattern today. The Carson is extra special because it’s part of a collaboration with my friend Rachel of Evelyn and Peter. It’s been a few years since Rachel and I first worked on the Lottie and Luna cardigans so we knew it was time for another collab.
Since warmer weather is just around the corner we knew that a bag design would be perfect. Finding stitches that look similar in crochet and knit can be a challenge, but Rachel used her skills to come up with a stitch that is almost identical to the knit stitches I used. We wanted something really unique so we went with an asymmetrical design and a simple button closure. The result is better than we could have imagined.
Keep scrolling to make the Carson knit version or head over to Rachel’s blog to make the Cade crochet version. Both are made using Lion Brand 24/7 cotton in Ecru and Taupe. It’s the perfect yarn for bags since it’s durable but still has a bit of stretch to it.
Rachel and I have also each made a video tutorial to accompany the patterns so make sure to check those out as well.
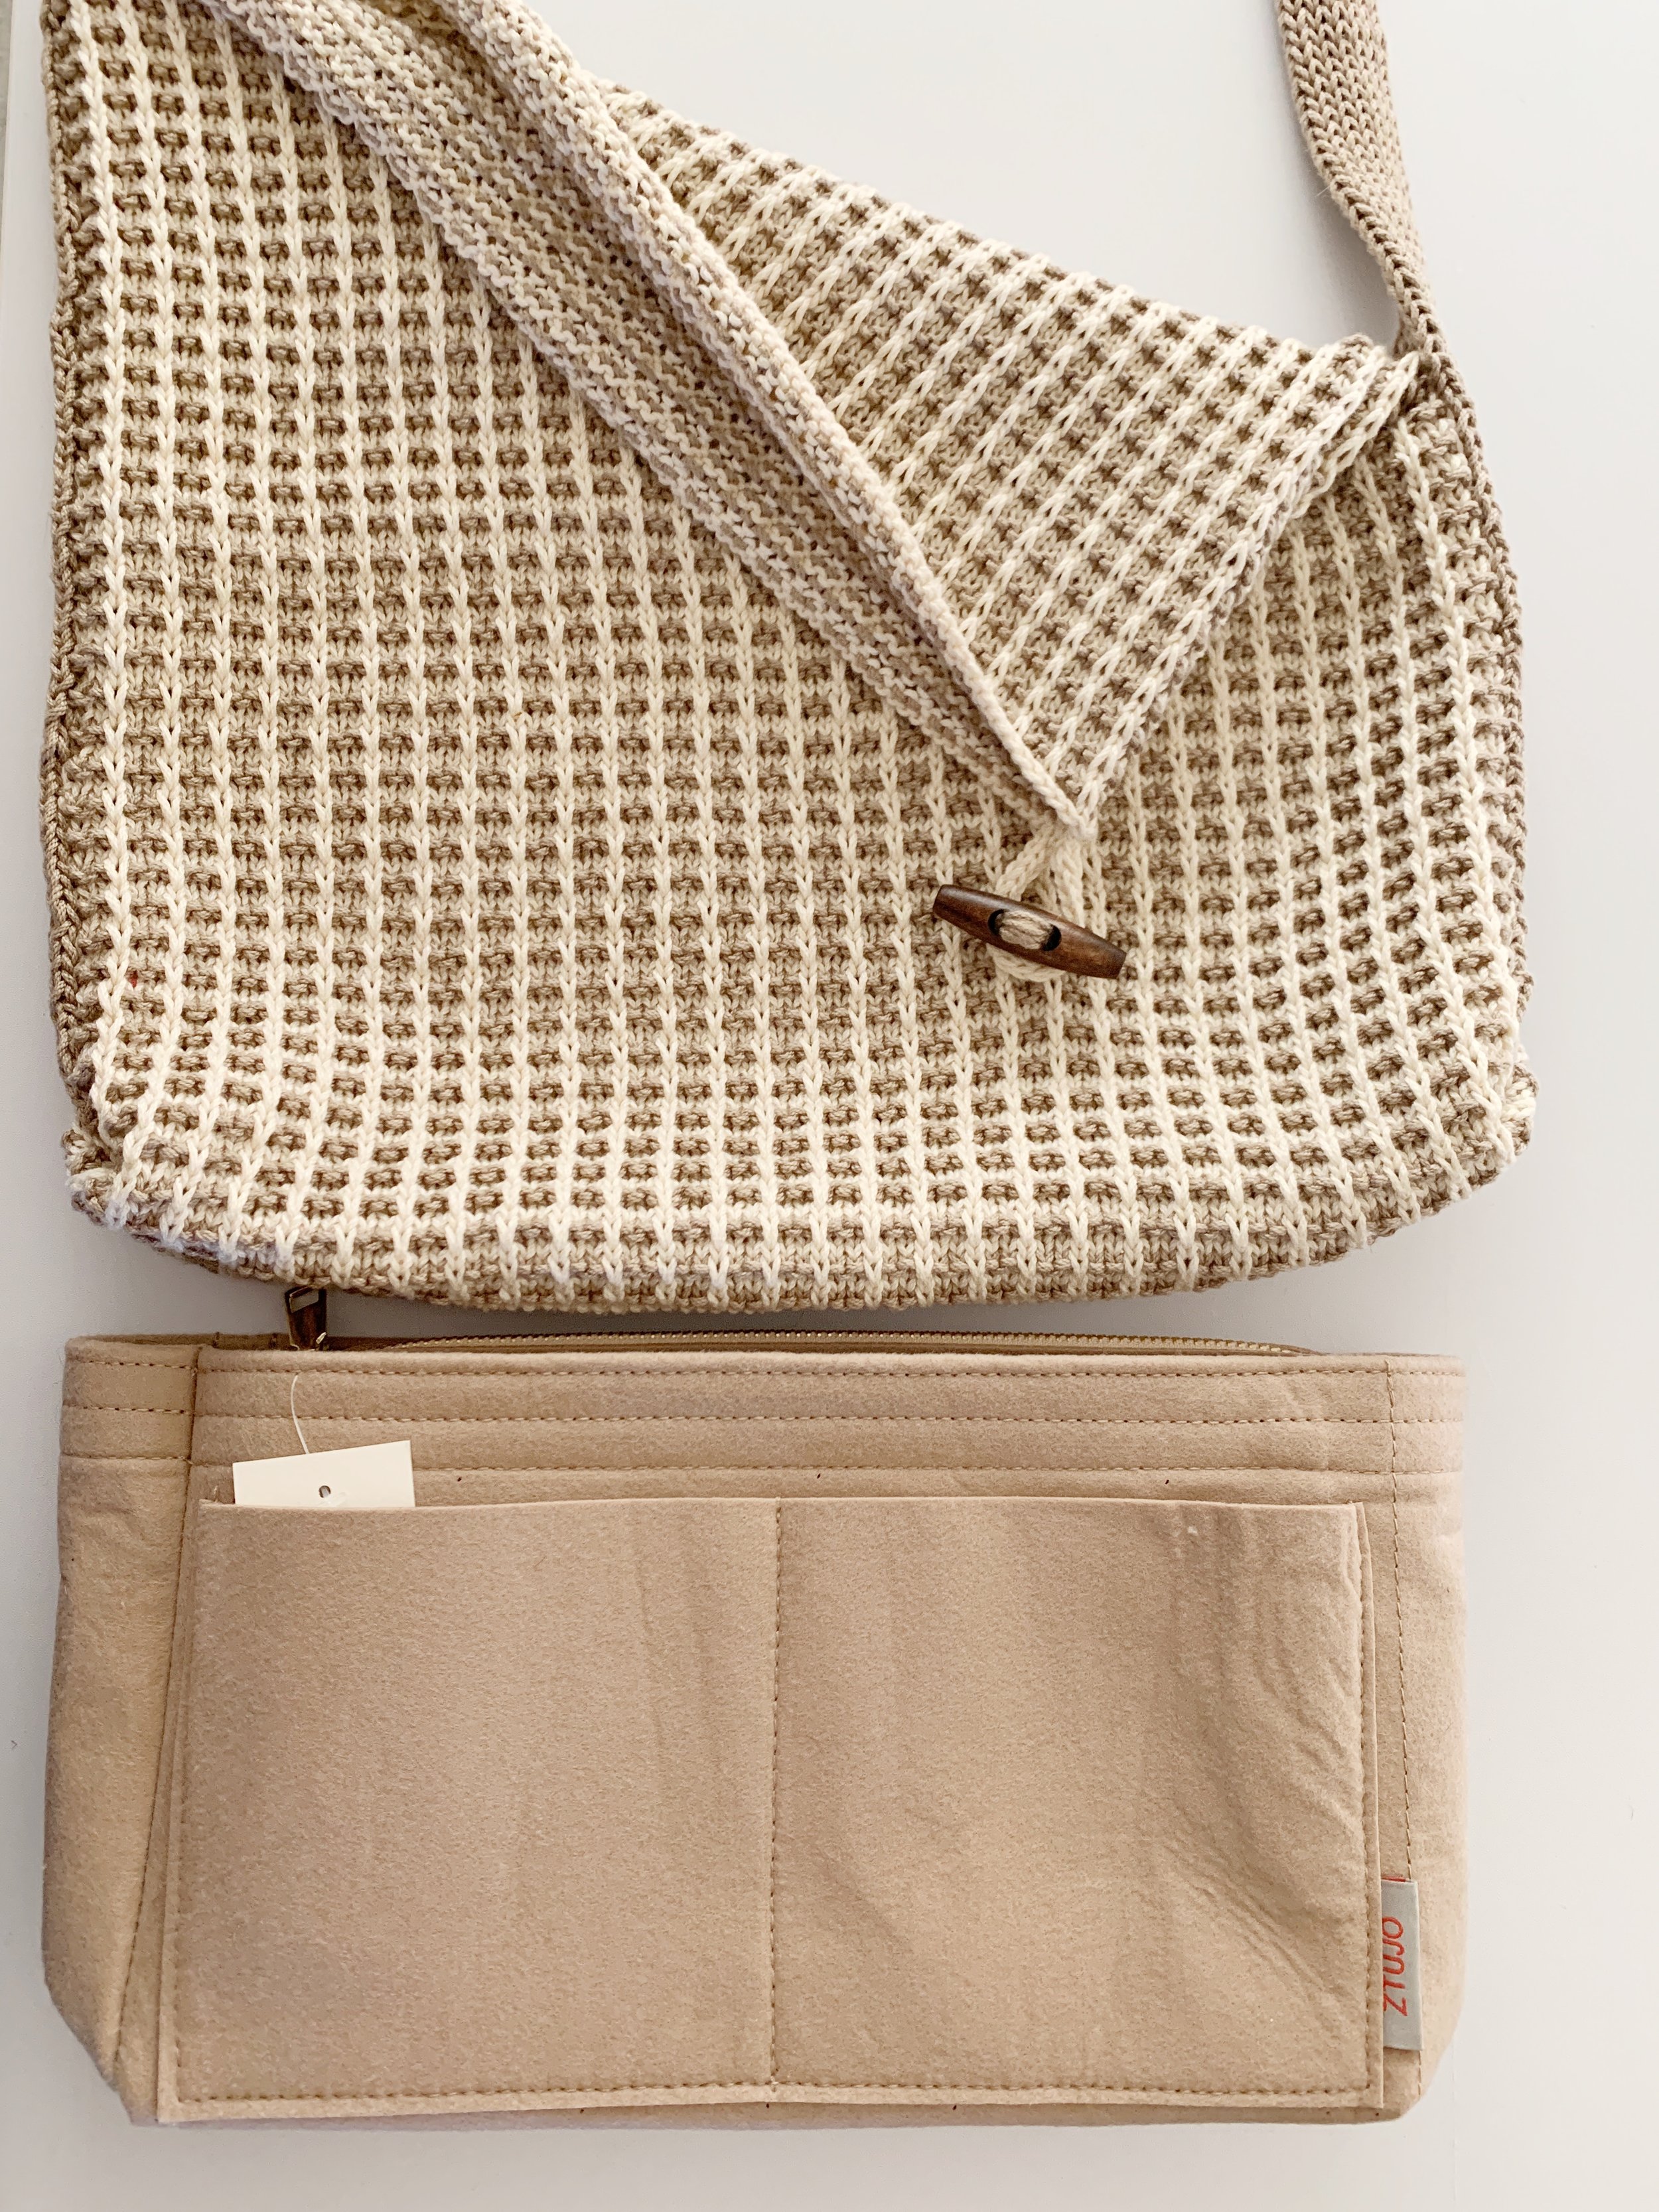
When using a handmade knit or crochet bag it can be a little floppy. If you are looking for a more stability I recommend using a bag insert. I found this one on Amazon and it fits perfectly in The Carson and The Cade. The color compliments the bag and it even has pockets and a zippered compartment for organization. Plus it is removable so you can switch it out with other bags you have too.
The photos on the left show The Carson with the insert and the photos on the right show The Carson without the insert. I’ve linked to the insert below if you want to check it out. Make sure to select the slender medium size if you plan to use it with the Carson Crossbody.
The Carson Crossbody Knitting Pattern
Materials:
319 yards (2 skeins) of Lion Brand 24/7 Cotton in Color A (Ecru)
325 Yards (2 skeins) of Lion Brand 24/7 Cotton in Color B (Taupe)
24” US size 4 (3.5mm) circular knitting needles
16” US size 3 (3.25mm) circular knitting needles
Tapestry needle, scissors, tape measure
Bag insert for stability (optional)
Notes:
1.Pattern is knit flat using circular needles.
2.The bag is made of two panels seamed together. The strap is made separately and then sewn to the sides. The bottom corners of the bag are then folded up and tacked in place. The button loop is made and sewn into the seam of the bag and the button is sewn on last.
3.Stitches are slipped purl wise unless otherwise stated.
Gauge:
24 sts X 44 rows = 4” X 4” in pattern stitch
(Use Rows 1-4 of main panels for gauge)
Size:
finished size is approx. 14” W X 14” H (tall side) 9” H (short side) X 3.5” D
Abbreviations:
CO- cast on
BO- bind off
St(s)- stitch(es)
K- knit
P- purl
sl- slip
wyif- with yarn in front
wyib- with yarn in back
RS- right side
WS- wrong side
Video Tutorial:
Get The Carson Crossbody PDF on Etsy.
Pattern:
Main Panels: make two
With Color A and 3.5mm needles CO 95 sts.
Row 1: sl 1st st, K across, turn. (95)
Row 2: sl 1st st, P across, turn. (95)
Change to Color B, leaving Color A attached.
Row 3: sl 1st st, K1, *sl1wyib, K2, repeat from * across, turn.
Row 4: sl 1st st, K1, *sl1wyif, K2, repeat from * across until 3 sts remain, sl1wyif, K1, P last st, turn. (95)
Change to Color A, leaving Color B attached.
Rows 5-169: Repeat Rows 1-4, changing color after Row 2 and Row 4 repeats. You will continue to carry the yarn up the sides as you go.
BO all sts purl wise. Leave a long tail for seaming.
Strap:
With Color B and 3.25mm needles CO 13 sts.
Row 1: K1, *sl1wyif, K1, repeat from * across, turn. (13)
Row 2: sl 1st st, *K1, sl1wyif, repeat from * across, turn. (13)
Repeat Rows 1-2 until strap measures 57” long. BO all sts in pattern repeat.
Seaming:
Lay main panels together with RS facing each other and WS facing out. Using a tapestry needle and the long tails of Color A,whip stitch the sides and bottom together.
Turn bag RS out.
Attach Strap:
Starting on one side, pin strap in place evenly along the side seam. The strap should be 2” up from the bottom corner. Sew the first side of the strap in place all the way to the top of the bag making sure to sew along both sides of the strap, along the bottom and along the top.
Without twisting the strap, pin the other end of the strap in place evenly along the other side. Again, the strap should be 2” upfrom the bottom corner. Sew the second side of the strap in place from the bottom to 6” from the top of bag making sure to sew along both sides of the strap, along the bottom and across the strap at the 6” mark.
Open up one of the bottom corners of the bag so the bottom seam and side seam are in line. Fold the corner up and using color A, tack it down through all layers. Repeat on the other side.
Button Loop:
With Color A and 3.25mm needles, CO 3 sts
Row 1: K all sts across. (3)
*Slide sts to other side of needle, and repeat Row 1. Repeat from * until loop measures 3”, BO all sts leaving a tail for sewing.
Attach Button Loop:
Fold the button loop in half and pin in place along the seam at the top of the bag. Using a tapestry needle and the tails, sew the button loop to the top of the bag on the side where the strap was not sewn to the top.
Attach Button:
Using a long piece of Color B and a tapestry needle, sew button to front of bag where the loop sits after folding the top down.
Weave in all ends and enjoy!
I hope you love your new Carson Crossbody! If you make one I’d love to see it. Make sure to tag me @meghanmakesdo on social media and use #thecarsoncrossbody so I can share.
As always you can find a PDF version in my shop, Etsy or Ravelry. Or treat yourself to the complete kit from Lion Brand Yarn.
Happy Knitting,
Meghan


