The Magnus Hat and Scarf- Free Crochet Pattern
The Magnus Hat and Scarf Crochet Pattern is the perfect cozy combo, using Lion Brand Yarn’s Scarfie Lite and Wool-Ease for a soft and warm feel. The hat has a classic look, while the scarf is long enough to wrap up in multiple ways. Get this stylish yet super cozy set that’s easy to make and fun to wear! Scroll down for the free pattern, get a digital PDF in my shop or grab the complete kit from Lion Brand Yarn.

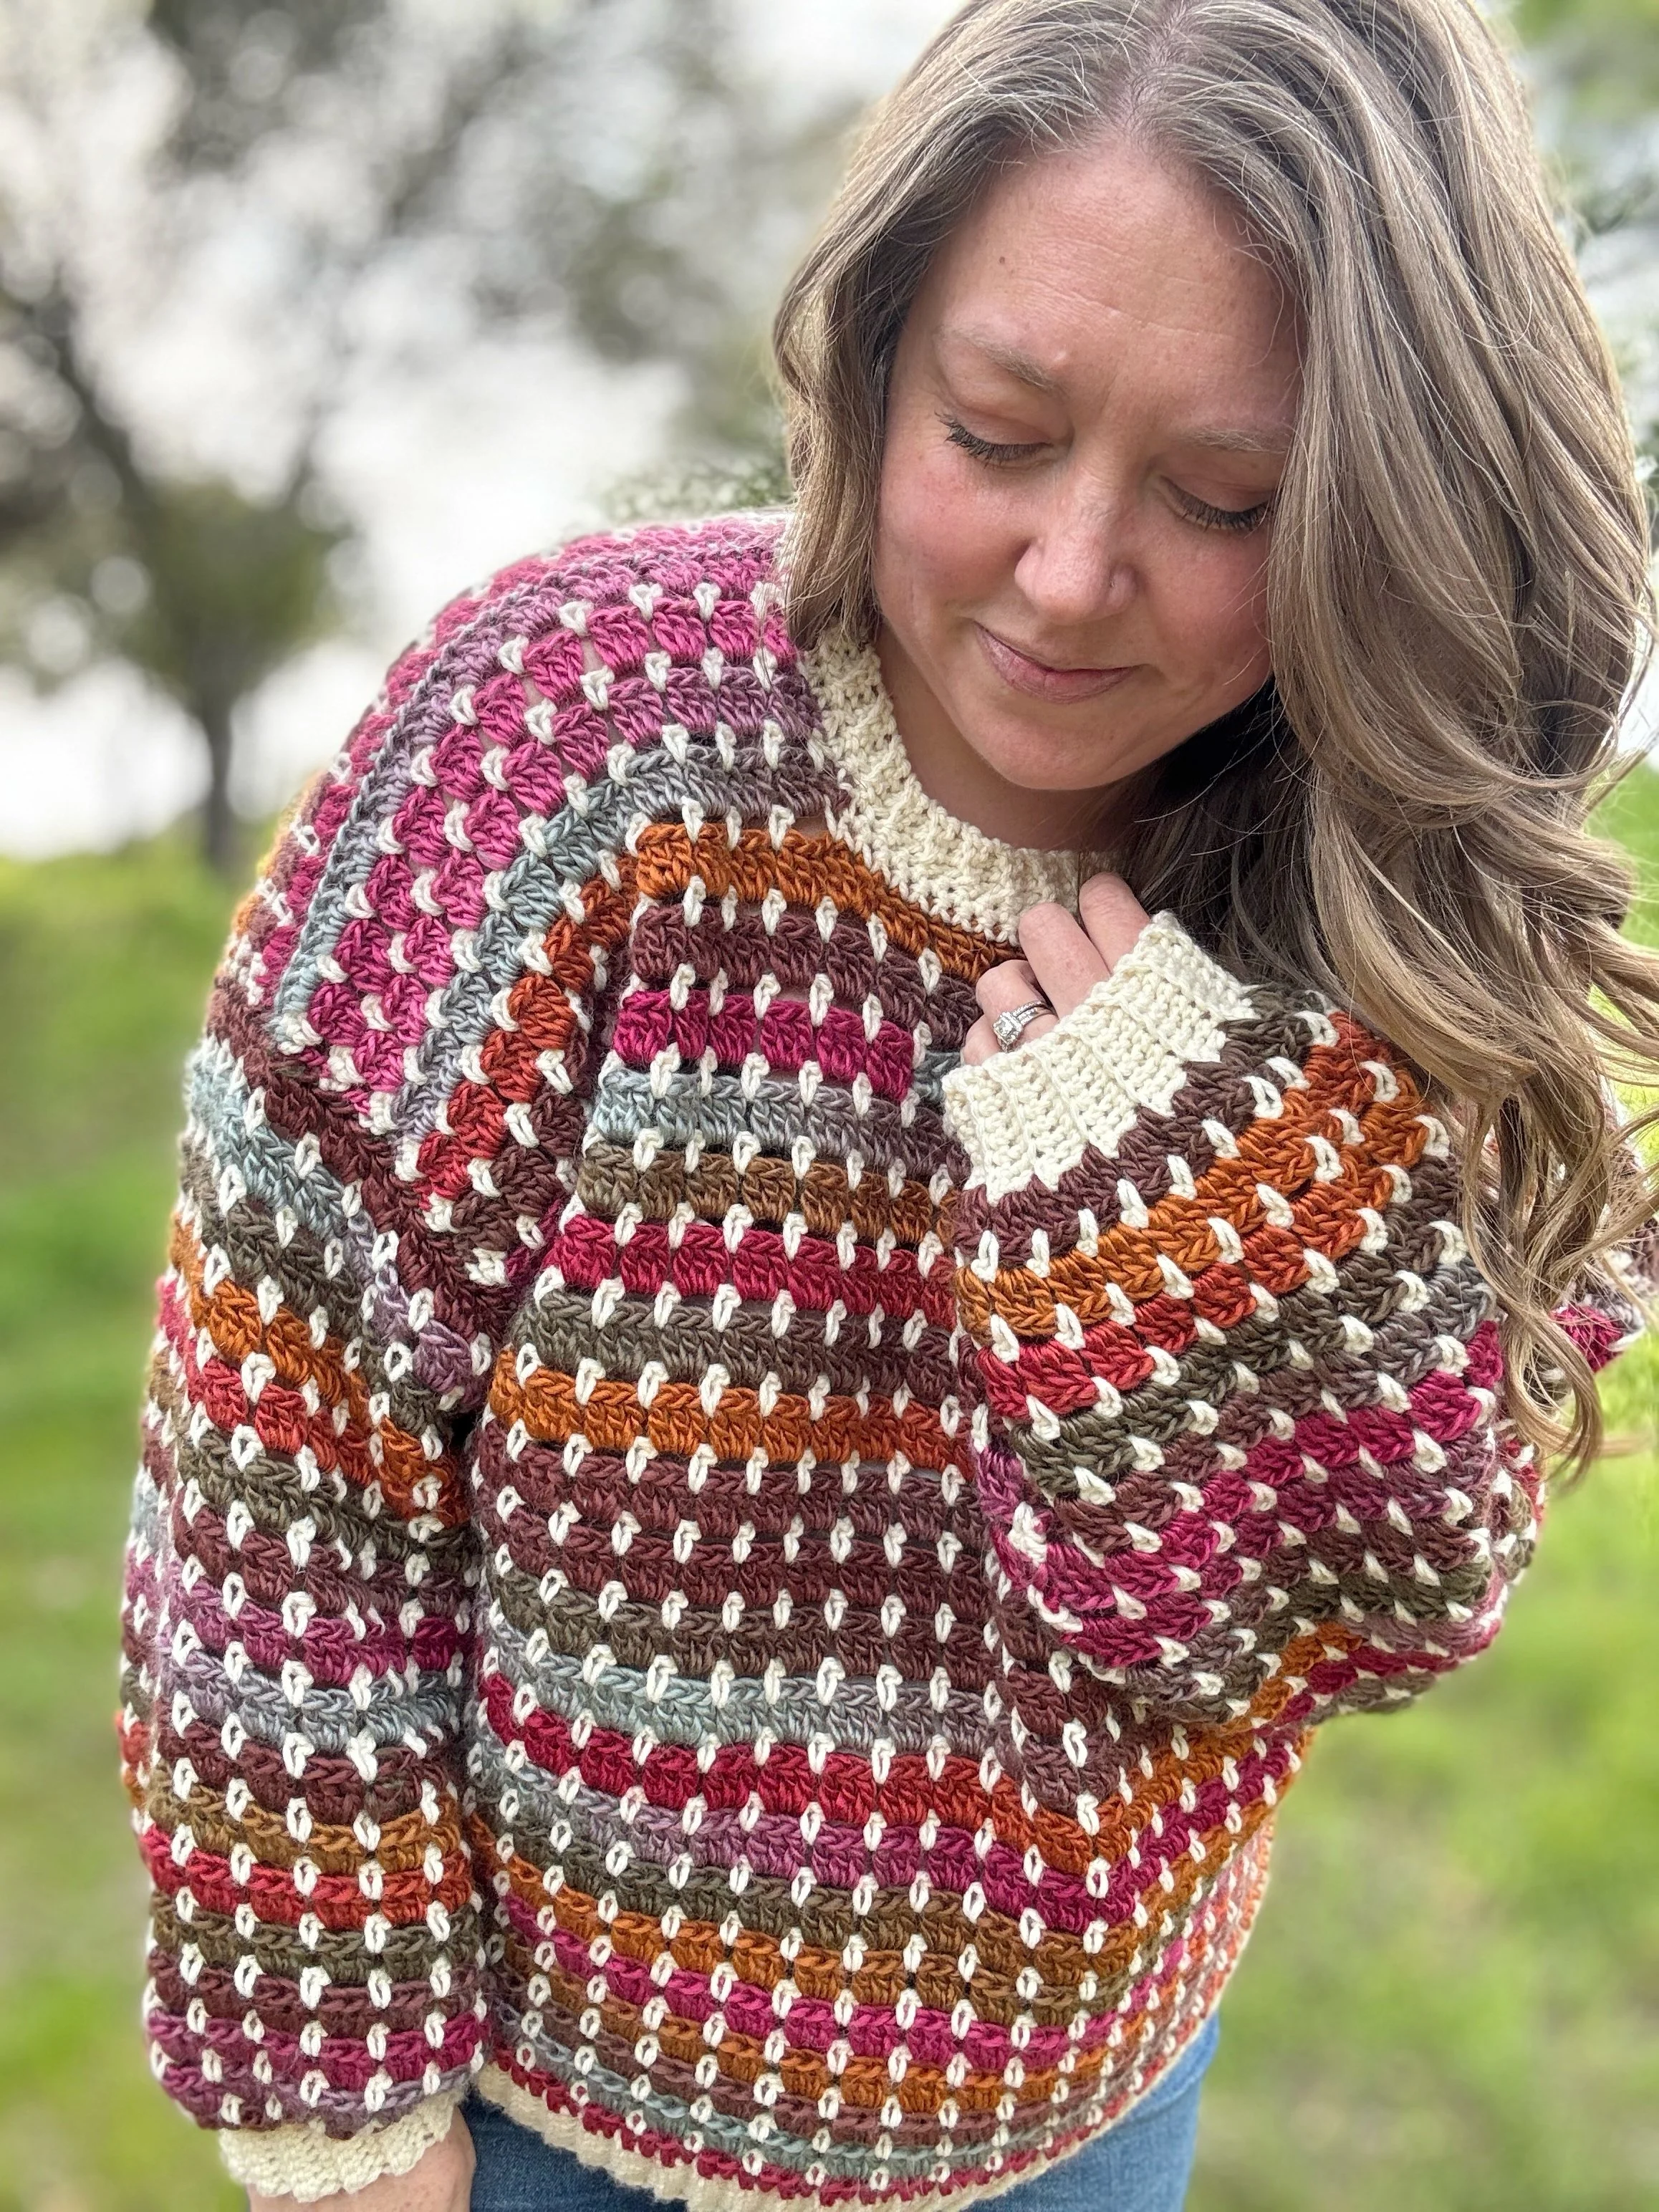
I’m thrilled to be bringing you the latest patterns to join The Magnus Collection… The Magnus Hat & Scarf Set! This stylish, cozy set uses the block stitch to create a warm and eye-catching design—perfect for bundling up on chilly days.
Made with Lion Brand Scarfie Lite and Wool-Ease, the Magnus Hat fits snug and cozy, while the Magnus Scarf adds the perfect finishing touch with its beautiful drape and playful fringe. Whether you’re heading out for a winter walk or just want to add a little handmade charm to your wardrobe, this set is a must-make!
And the best part? If you’re new to the block stitch or just love a little extra guidance, step-by-step video tutorials are included with the pattern. So, whether you’re a confident beginner or a seasoned crocheter, you’ll have everything you need to stitch up your own cozy masterpiece.
Grab your yarn, pick up your hook, and let’s get started on this gorgeous winter set! Keep reading for all the details, materials, and tips to make your own Magnus Hat & Scarf Set.

The Magnus Hat & Scarf Crochet Pattern
Materials:
690 yards (2 skeins) of Lion BrandLion Brand Scarfie Lite Scarfie Lite in Color A (Sunset)
290 Yards (2 skeins) of Lion Brand Wool-Ease in Color B (Arrowwood)
Crochet hooks sizes H(5mm) & J(6mm)
Tapestry needle, scissors, tape measure
pom-pom maker or faux fur pom (optional)
Abbreviations:
Ch(s)- chain(s)
St(s)- stitch(es)
sl st- slip stitch
Fdc- foundation double crochet
sc- single crochet
dc- double crochet
BLO- back loop only
sp- space
RS- right side
WS- wrong side
Notes:
1.Hat is made in one piece starting with the ribbing. The ribbing is then joined and the main body of the hat is worked directly into the ribbing edges.
2.Scarf is made in one piece, leaving 8-9” tails on both sides. No ends are woven in. The tails are included in the added fringe.
3.Ch(s) at beginning of rows/rounds do(es) not count as a stitch.
Gauge:
14 sts X 10 rows = 4.5” X 4.5” in block stitch
Size:
Finished scarf is approx. 10”W x 74”L (not including fringe).
Finished hat is approx. 19” around and 9”H.
Video Tutorials:
Hat Pattern:
Ribbing:
With Color B and 5mm hook ch 9.
Row 1: sc in 2nd back bump from hook and in each back bump across, ch 1, turn. (8)
Row 2: sc in BLO of each st across, ch 1, turn. (8)
Repeat Row 2 for a total of 72 rows.
Adjust the number of rows for a tighter or looser fit. Make sure to have a multiple of 3.
Bring ends together and slip stitch into a loop. Turn ribbing RS out. Change to Color A and ch 2.
The main body of the hat is worked directly into the edges of the ribbing and is made in turned rounds. Yarn can be carried up along the seam. No need to fasten off after every round.
Main Body:
Switch to 6mm hook.
Round 1: working directly into the edges of the ribbing, 1dc into each row edge around, sl st to 1st st to join. (72)
Change to Color B, ch 1 and turn.
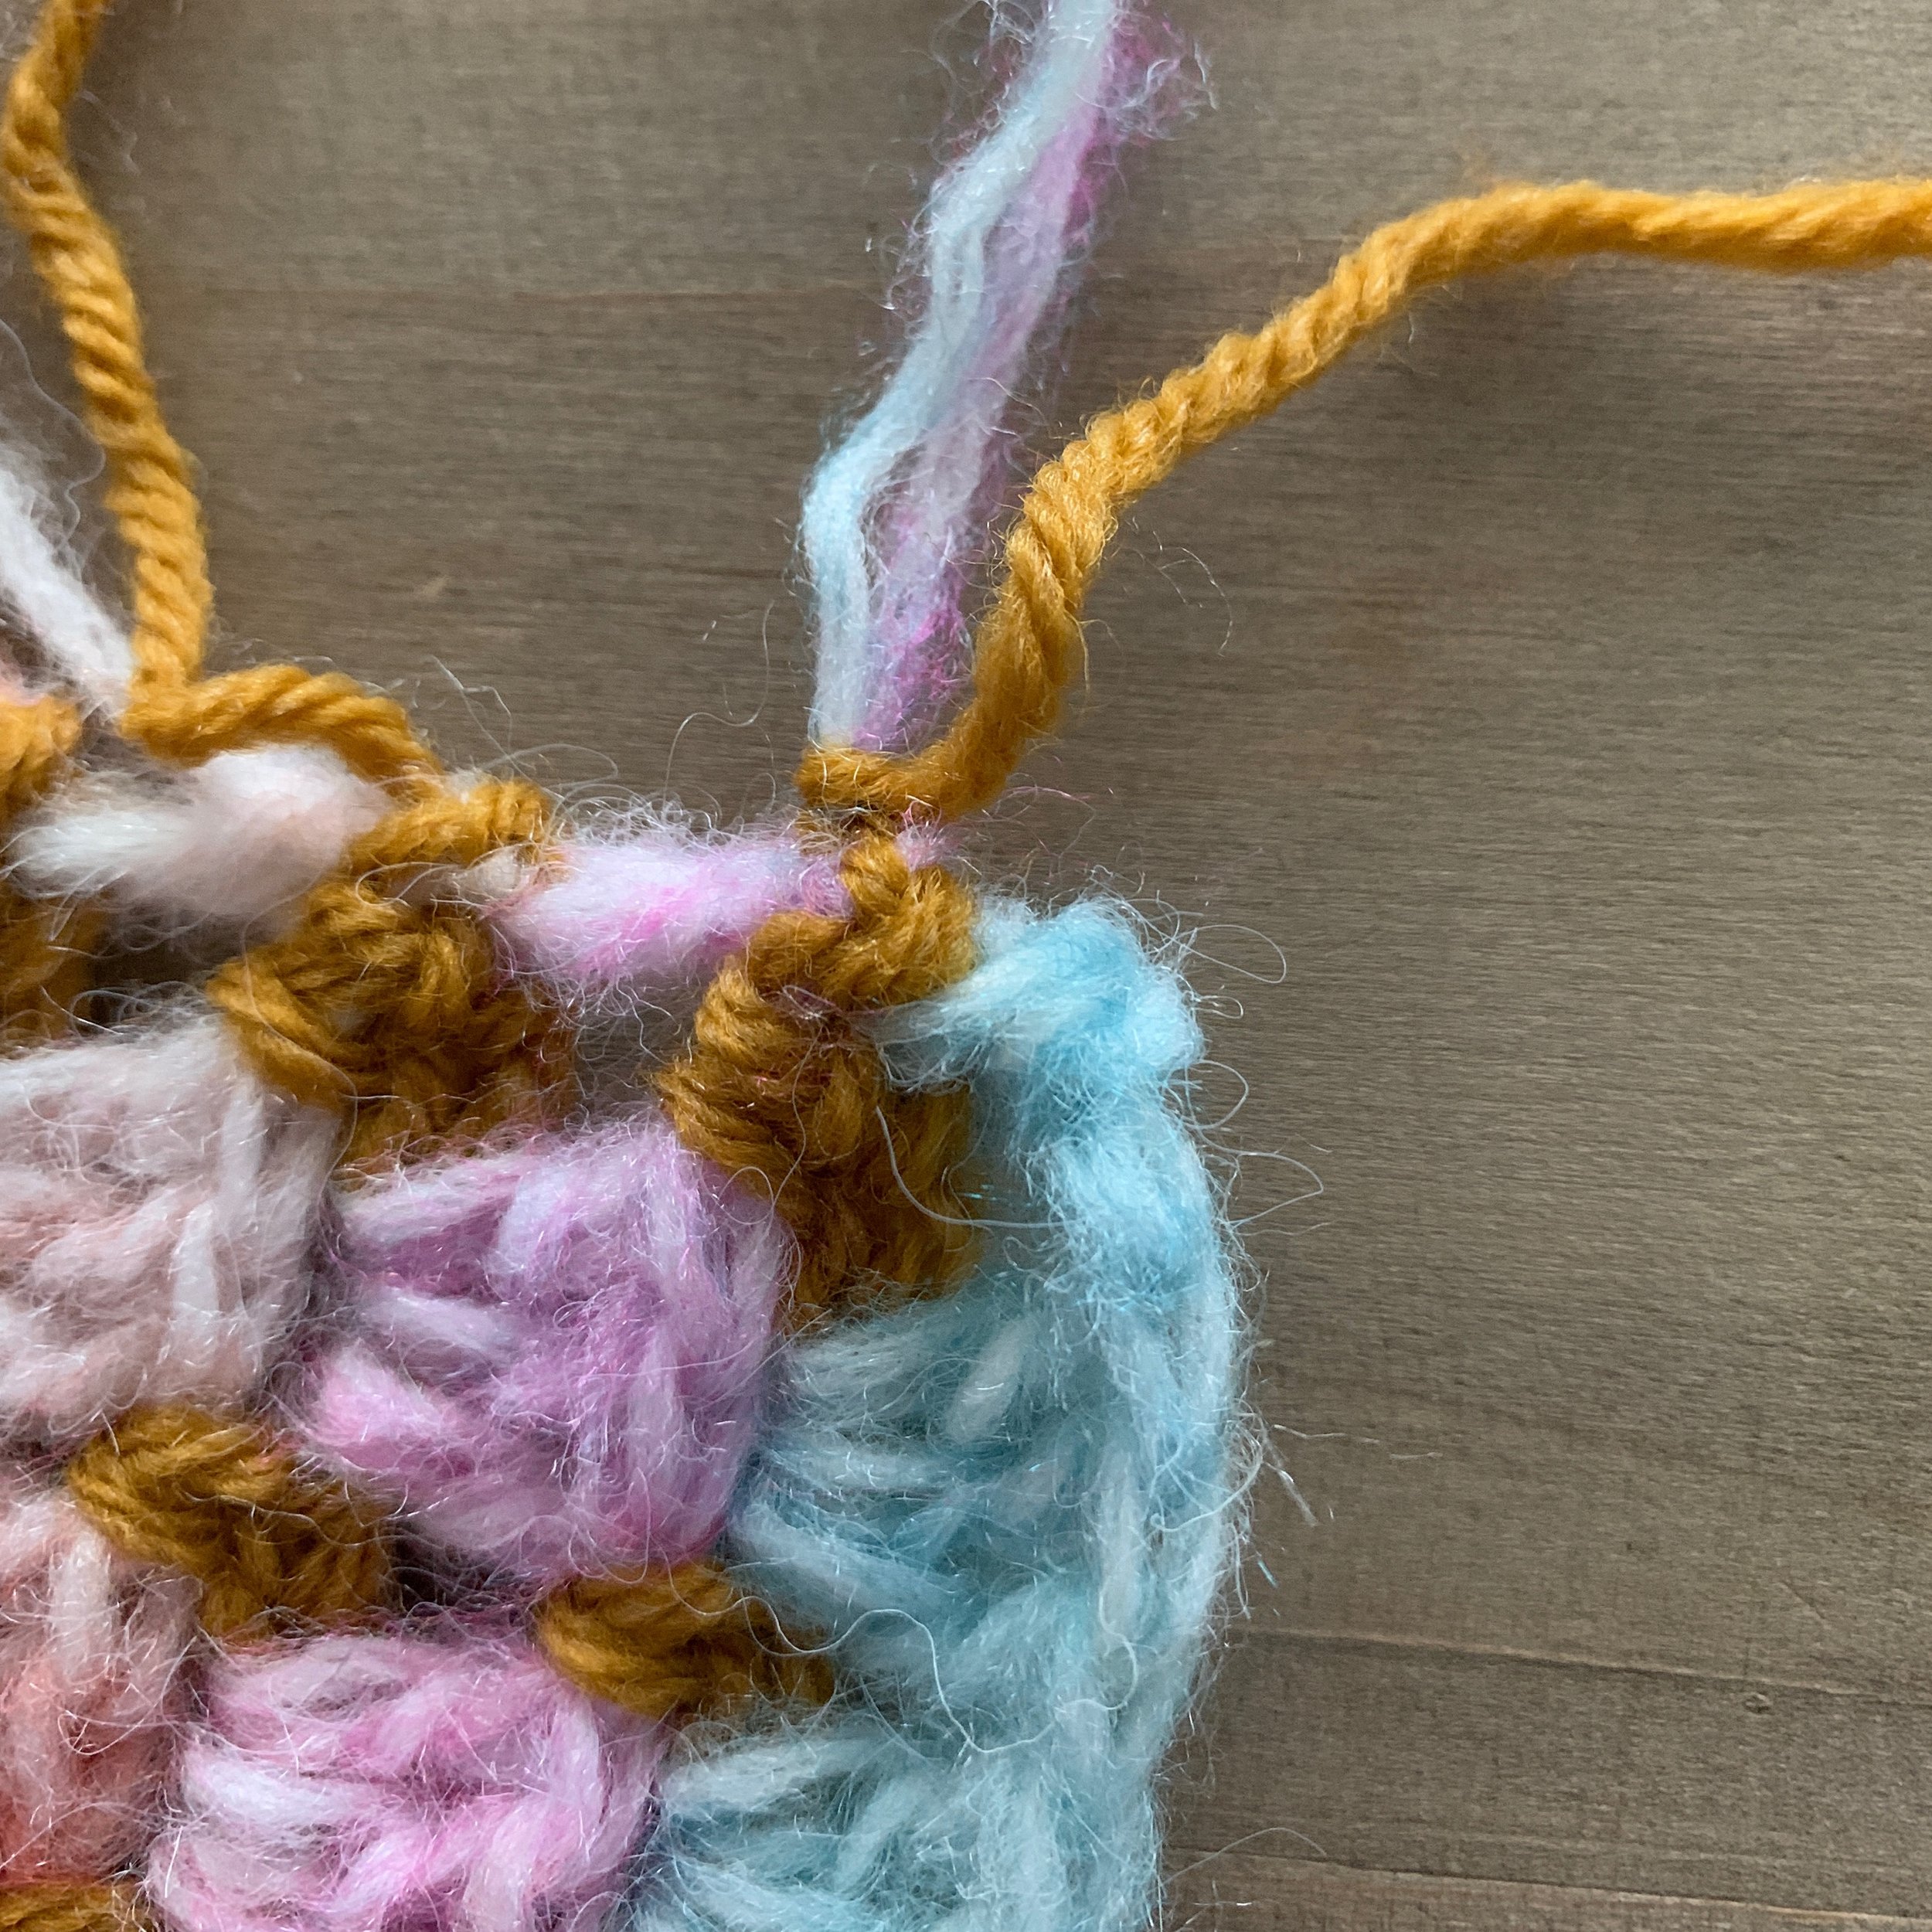
Round 2: sc into sp between first and last st of previous round, *ch 2, sk 3, sc into sp right after the 3rd skipped st, repeat from * around, sl st to 1st st to join. (72)
Change to Color A, ch 2 and turn.
Round 3: *3dc into ch-2 sp, repeat from * around, sl st to1st st to join. (72)
Change to Color B, ch 1 and turn.
Repeat Rows 2-3 for a total of 19 rows. The hat should measure approx. 9.5” from the bottom of the ribbing.
Adjust the number of rows to get the desired height. Make sure to end on a Row 3 repeat.
Fasten off leaving a long tail of Color A for closing the top of the hat.
To close the top of the hat fold in half so join is in the center, sew through both sides at the top.


You will have two open circles at the top your hat, bring the center of one circle in and sew through the center and back through the first stitch made, then bring in the center of the second and sew through the center and back through the first stitch made.
Now you will have four open circles, bring the center of each circle into the middle and stitch closed. You will have eight open circles.


One at a time bring the center of each circle into the middle and stitch closed. Fasten off and weave in ends.


With Color A, use a pom pom maker to create a nice round pom for the top of the hat.
Attach to the top of the hat and weave in all remaining ends. To keep your pom removable, simply tie a bow on the inside of the hat.

Scarf Pattern:
Main Body:
With Color A and J(6mm) hook, ch 3 making sure to leave an 8-9” tail.
Row 1: Fdc 230. (230)
Change to Color B making sure to leave 8-9” tails for both colors, ch 1 and turn.
Row 2: sc into 1st st, sc into sp between first and second st, *ch 2, sk 3, sc into sp right after the 3rd skipped st, repeat from * until 1 st remains, sc into last st. (231)
Change to Color A, making sure to leave 8-9” tails for both colors, ch 2 and turn.
Row 3: dc into 1st st, *3dc into ch-2 sp, repeat from * across until 1 st remains, dc into last st. (230)
Repeat Rows 2-3 for a total of 23 Rows.
Fasten off leaving an 8-9” tail.
Fringe:
Cut 22 -18” pieces each of Color A and Color B.
With a tapestry needle, thread beginning tail down the first st and into the space where the first fringe piece will start.
Knot the strands of Color A and strand of Color B together.


Then fold an 18” piece of Color A and Color B in half and thread through the space between the single crochet stitches with your crochet hook. Pull the strand through from front to back.


Draw the knotted ends through and then draw the tail ends through and pull tight.


Separate the Color A and Color B strands. Twist the Color A strands around the Color B strands tightly all the way down. Tie a knot and adjust to the length you prefer (approx. 4-5”)


Trim the ends 1-1.5” from the knot.
Repeat these steps across the edge of the scarf, knotting the tails together and adding two folded strands to each knot before creating the twist. Adjust the knots to match as you go. Repeat on the other side.
Weave in any remaining ends.

I hope you love your new Magnus Hat and Scarf set. If you make one I’d love to see it. Make sure to tag me @meghanmakesdo and use #themagnushatandscarf of social media.
As always you can find a digital PDF of this pattern set in my shop, Etsy, Ravelry or as a kit from Lion Brand Yarn.
Happy Crocheting,
Meghan