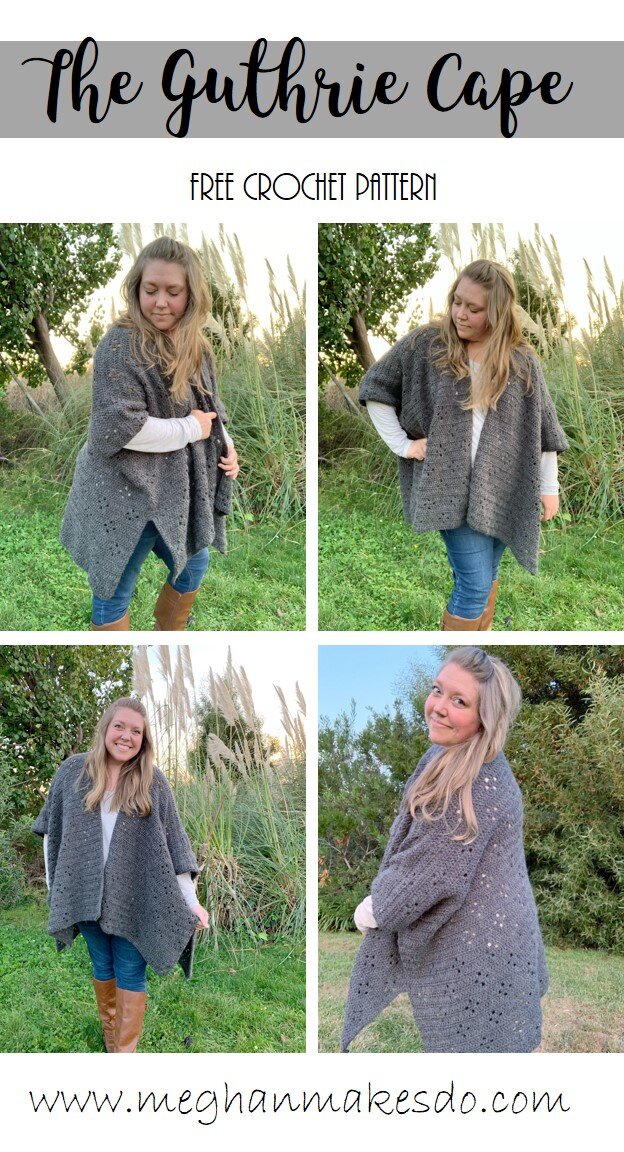
The Guthrie Cape-Free Crochet Pattern
Super cozy?…check!
Beginner friendly?…check!
Works up fast?…check!
The Guthrie Cape is just what you need this winter. Get ready to get cozy with this super quick and easy crochet pattern. Find the free version below, a digital PDF in my shop or the complete kit from Lion Brand Yarn.

I can’t believe this year is almost coming to a close. It has been one heck of a year hasn’t it? After working like crazy through a pandemic with the whole family home I was ready for a nice easy and relaxing project to work on this winter. Don’t get me wrong, I do love a good challenging design, but sometimes we just need something simple that doesn’t take up too much brain power.
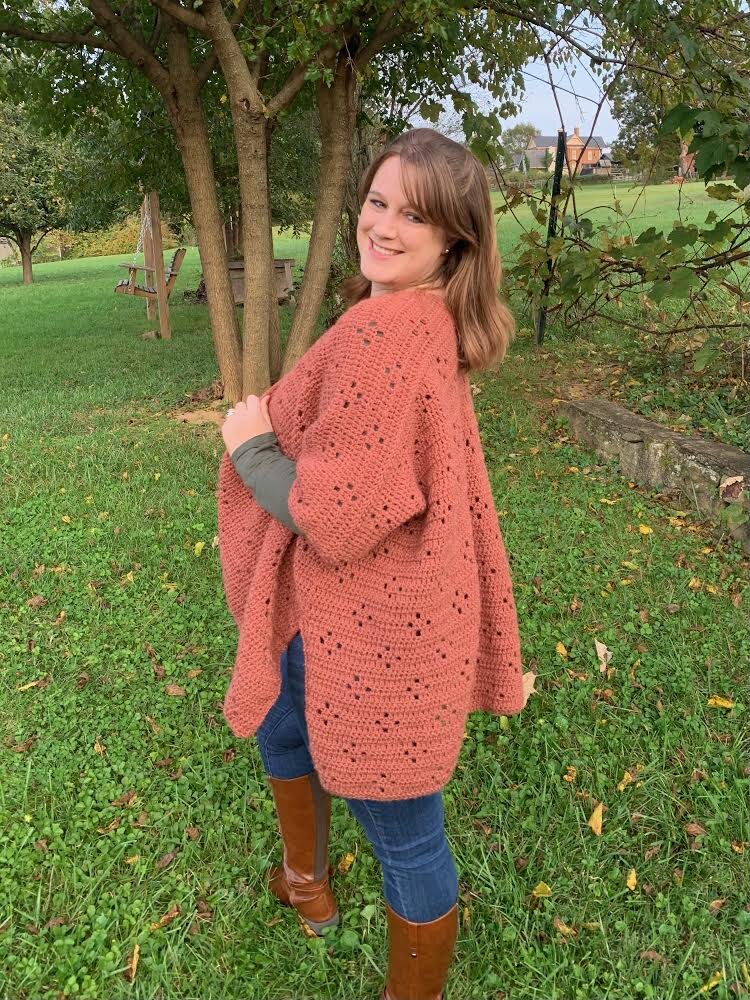
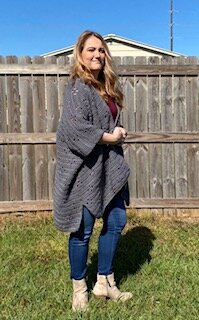
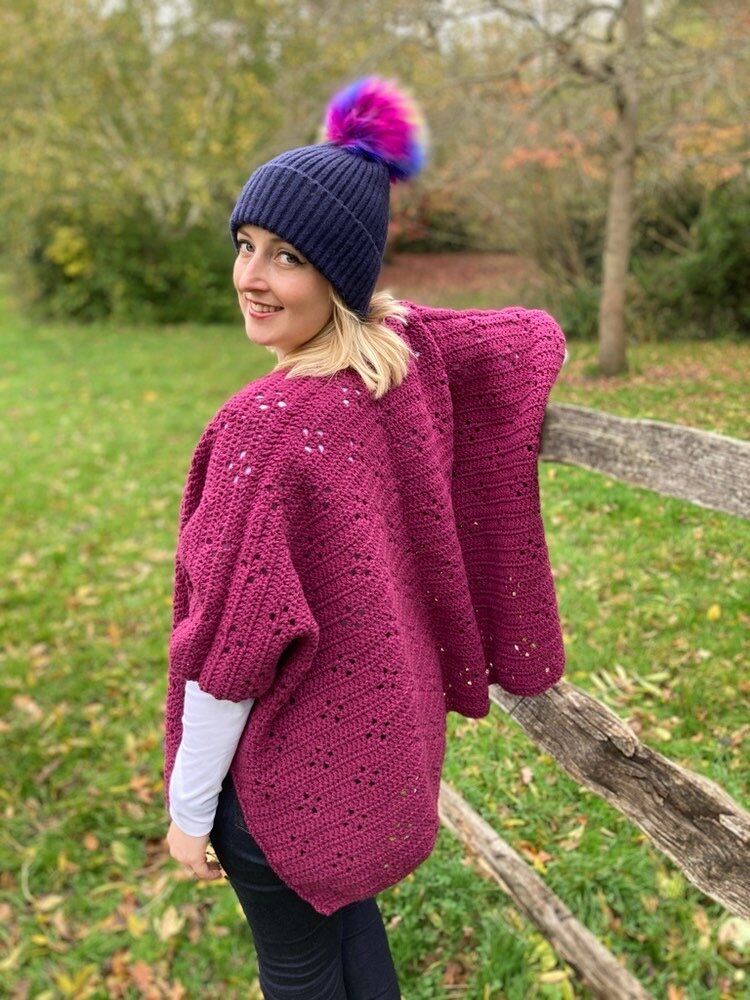
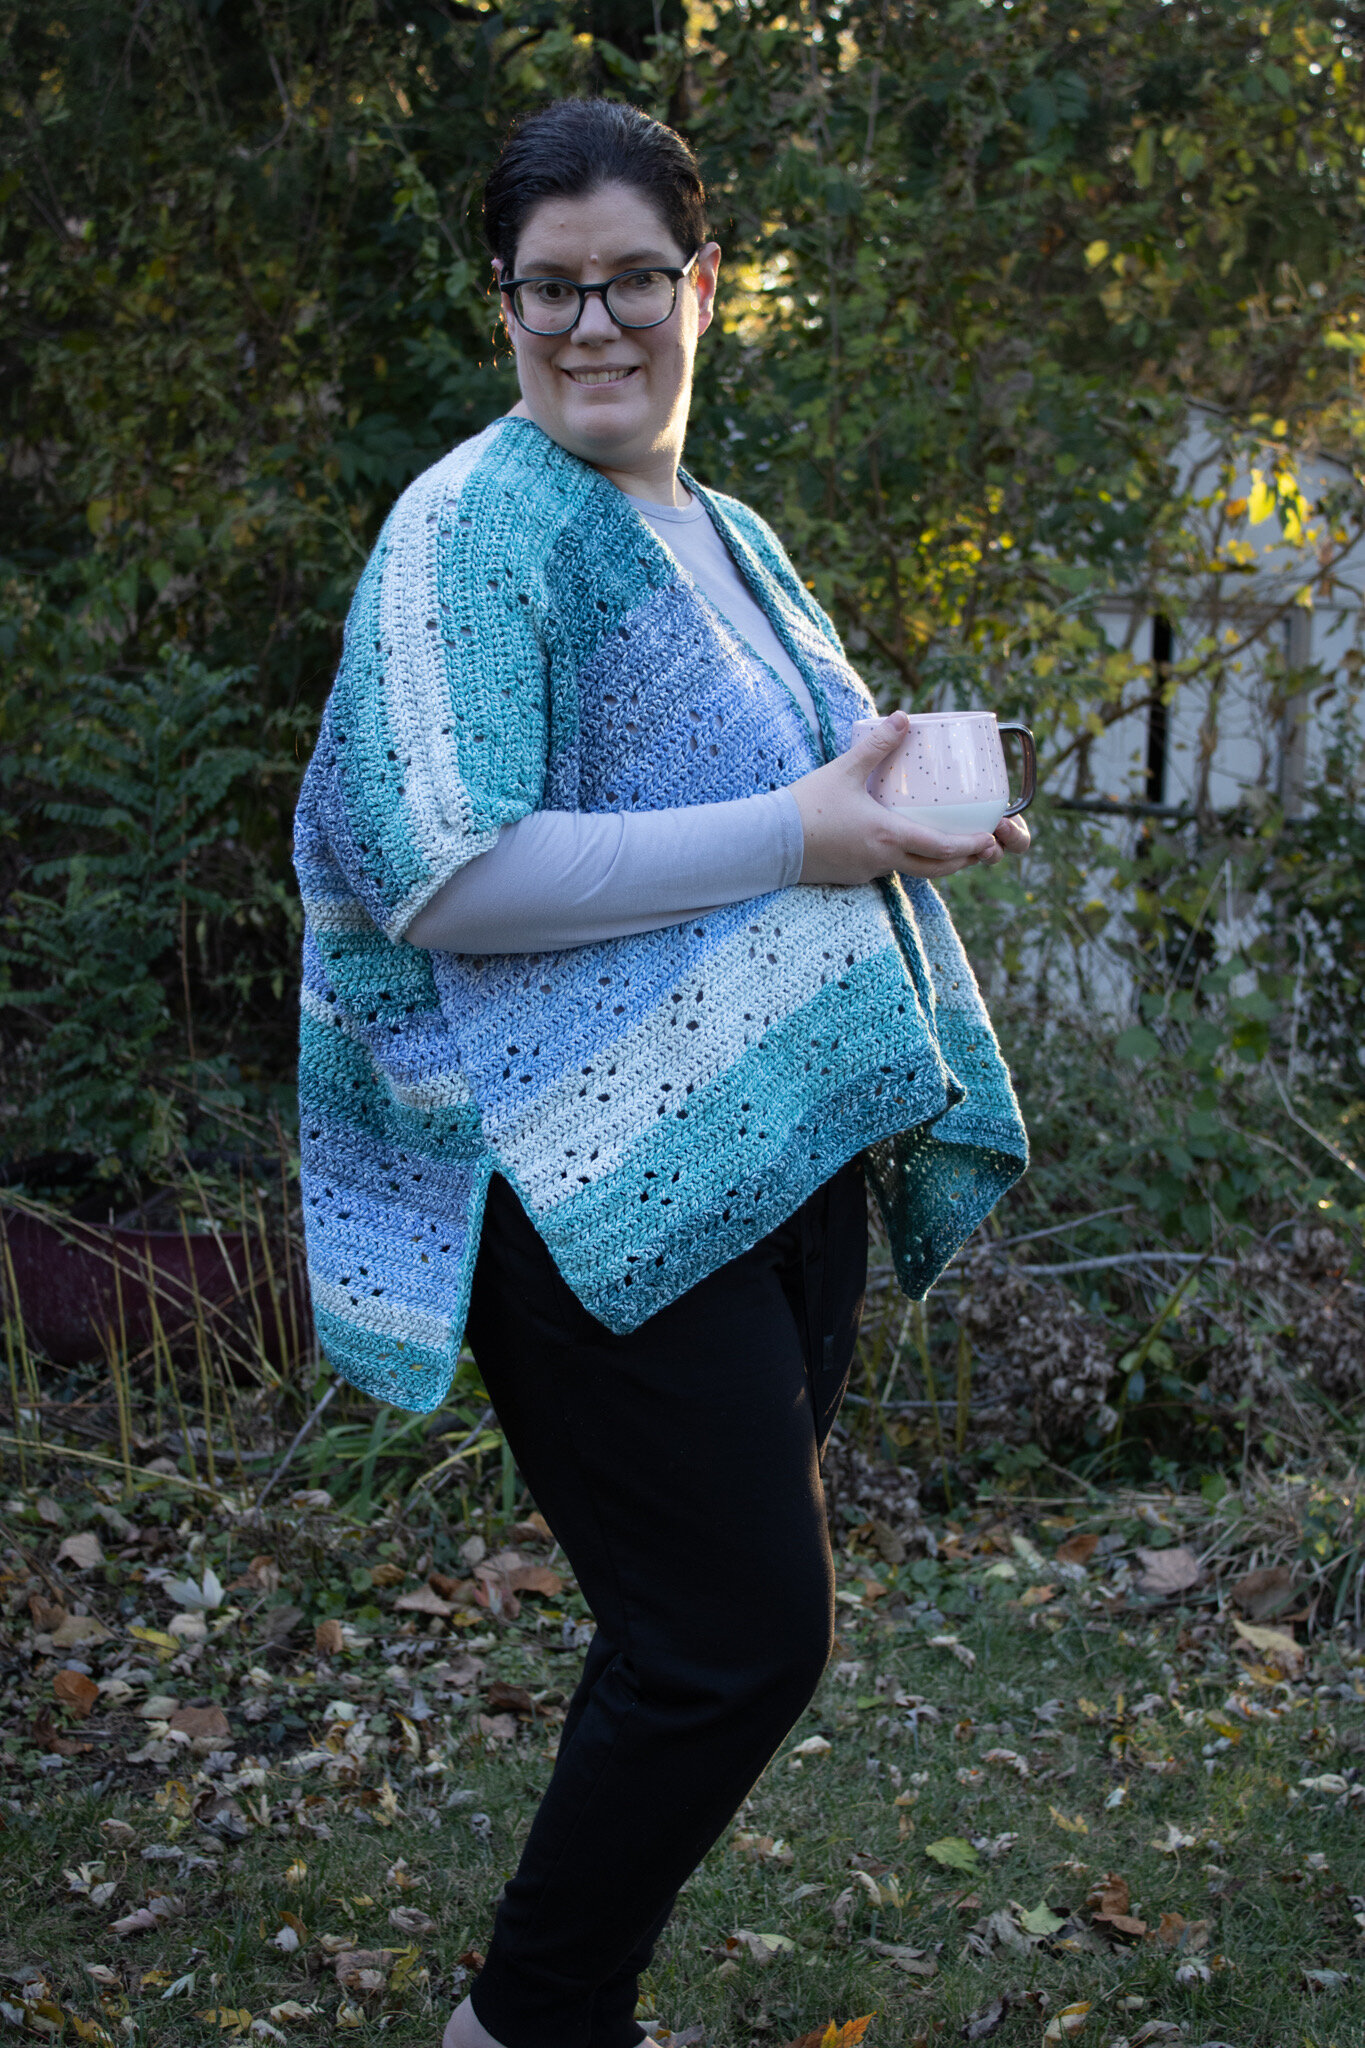
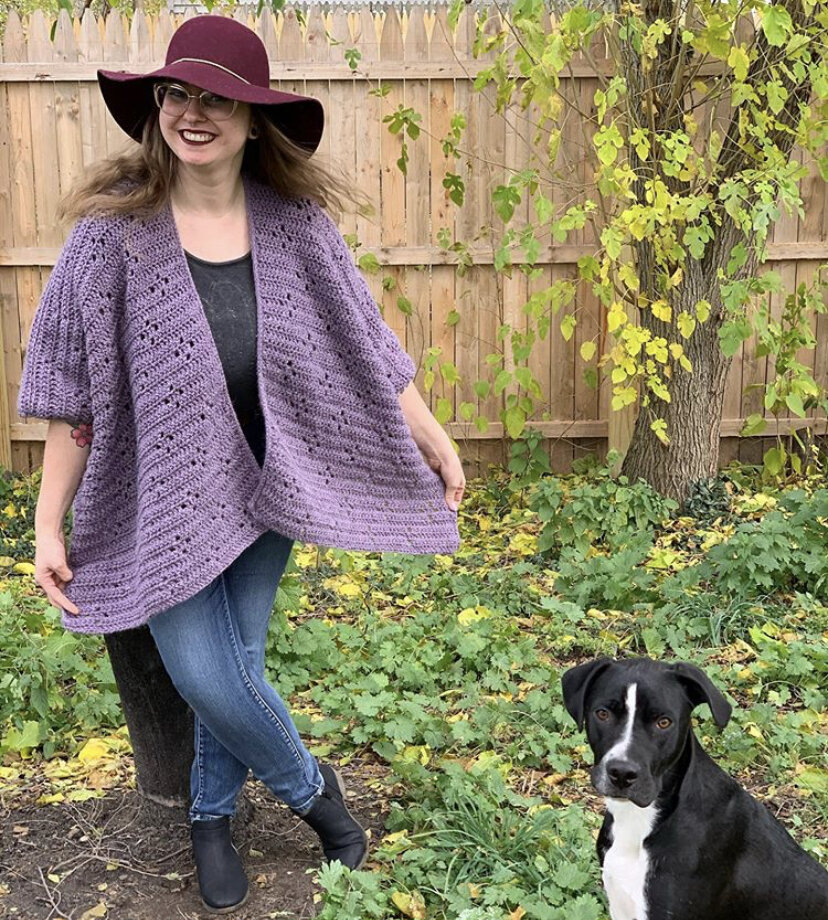
Say hello to The Guthrie Cape! I can’t even begin to tell you how much I love how this design turned out. If you’re anything like me and just need a break from the complicated things in life, then this pattern is for you. It uses simple stitches and easy construction to create the coziest wearable of the season.

The Guthrie is made up of three rectangles, seamed together to create a gorgeous cape that can easily be thrown on with any outfit. I loved pairing mine with a long sleeve tee, jeans and boots. It’s effortless! Plus the filet crochet details give it that little extra pop that will catch people’s eye.
The pattern is written in US terms and uses basic crochet stitches. The digital PDF includes charts for the front panels to help make the stitch repeat more clear. Grab it in my shop.
The Guthrie Cape Crochet Pattern
Materials:
1424-2025 yards of Lion Brand Touch of Alpaca in Charcoal
Crochet hook size I (5.5mm)
Tapestry needle
Scissors
Abbreviations:
ch- chain
st(s)- stitch(es)
sk- skip
sl st- slip stitch
sc- single crochet
dc- double crochet
fdc- foundation double crochet
slst3tog- slip stitch 3 together
BLO- back loop only
Notes:
1.Pattern is worked in three pieces and then seamed at the shoulders and for 10” under the arm.
2.Chain 2s at beginning of rows do not count as a stitch.
3.Chs in rows are included in stitch counts.
4.Cape is meant to be very oversized.
5.Work into the ch 1 sts, not around them.
Size:
XS/S: fits bust 28”-34” 1424 yards (7 skeins)
M/L: fits bust 36”-42” 1574 yards (8 skeins)
XL/2X: fits bust 44”-50” 1863 yards (9 skeins)
3X/4X: fits bust 52”-58” 2025 yards (10 skeins)

Gauge:
13 sts and 7 rows in double crochet= 4” square

Pattern:
Back Panel:
Row 1(RS): fdc 119(131, 143, 155), ch 2, turn. (119, 131, 143, 155)
Row 2(WS): dc 5, *ch 1, sk 1, dc 11, repeat from * across until 6 sts remain, ch 1, sk 1, dc 5, ch 2, turn. (119, 131, 143, 155)
Row 3: dc 3, *ch 1, sk 1, dc 3, ch 1, sk 1, dc 7, repeat from * across until 8 sts remain, ch 1, sk 1, dc 3, ch 1, sk 1, dc 3, ch 2, turn. (119, 131, 143, 155)
Row 4: dc 5, *ch 1, sk 1, dc 11, repeat from * across until 6 sts remain, ch 1, sk 1, dc 5, ch 2, turn. (119, 131, 143, 155)
Row 5: dc in each st across, ch 2, turn. (119, 131, 143, 155)
Row 6: dc 11, *ch 1, sk 1, dc 11, repeat from * across, ch 2, turn. (119, 131, 143, 155)
Row 7: dc 9, *ch 1, sk 1, dc 3, ch 1, sk 1, dc 7, repeat from * across until 14 sts remain, ch 1, sk 1, dc 3, ch 1, sk 1, dc 9, ch 2, turn. (119, 131, 143, 155)
Row 8: dc 11, *ch 1, sk 1, dc 11, repeat from * across, ch 2, turn. (119, 131, 143, 155)
Row 9: dc in each st across, ch 2, turn. (119, 131, 143, 155)
Repeat Rows 2-9 for a total of 49(49, 53, 53) rows. Fasten off leaving a long tail for seaming. Add or subtract rows here to get desired length.
Front Panels: make two
XS/S & XL/2X
Row 1(RS): fdc 55(67), ch 2, turn. (55, 67)
Row 2(WS): dc 3, *ch 1, sk 1, dc 11, repeat from * across until 4 sts remain, ch 1, sk 1, dc 3, ch 2, turn. (55, 67)
Row 3: dc 1, *ch 1, sk 1, dc 3, ch 1, sk 1, dc 7, repeat from * across until 6 sts remain, ch 1, sk 1, dc 3, ch 1, sk 1, dc 1, ch 2, turn. (55, 67)
Row 4: dc 3, *ch 1, sk 1, dc 11, repeat from * across until 4 sts remain, ch 1, sk 1, dc 3, ch 2, turn. (55, 67)
Row 5: dc in each st across, ch 2, turn. (55, 67)
Row 6: dc 9, *ch 1, sk 1, dc 11, repeat from * across, until 10 sts remain, ch 1, sk 1, dc 9, ch 2, turn. (55, 67)
Row 7: dc 7, *ch 1, sk 1, dc 3, ch 1, sk 1, dc 7, repeat from * across, ch 2, turn. (55, 67)
Row 8: dc 9, *ch 1, sk 1, dc 11, repeat from * across, until 10 sts remain, ch 1, sk 1, dc 9, ch 2, turn. (55, 67)
Row 9: dc in each st across, ch 2, turn. (55, 67)
Repeat Rows 2-9 for a total of 49(53) rows. Fasten off leaving a long tail for seaming on one of the panels. Add or subtract rows to get your desired length.
M/L & 3X/4X
Row 1(RS): fdc 61(73), ch 2, turn. (61, 73)
Row 2(WS): dc 6, *ch 1, sk 1, dc 11, repeat from * across until 7 sts remain, ch 1, sk 1, dc 6, ch 2, turn. (61, 73)
Row 3: dc 4, *ch 1, sk 1, dc 3, ch 1, sk 1, dc 7, repeat from * across until 9 sts remain, ch 1, sk 1, dc 3, ch 1, sk 1, dc 4, ch 2, turn. (61, 73)
Row 4: dc 6, *ch 1, sk 1, dc 11, repeat from * across until 7 sts remain, ch 1, sk 1, dc 6, ch 2, turn. (61, 73)
Row 5: dc in each st across, ch 2, turn. (61, 73)
Row 6: dc 12, *ch 1, sk 1, dc 11, repeat from * across, until 13 sts remain, ch 1, sk 1, dc 12, ch 2, turn. (61, 73)
Row 7: dc 10, *ch 1, sk 1, dc 3, ch 1, sk 1, dc 7, repeat from * across until 15 sts remain, ch 1, sk 1, dc 3, ch 1, sk 1, dc 10, ch 2, turn. (61, 73)
Row 8: dc 12, *ch 1, sk 1, dc 11, repeat from * across, until 13 sts remain, ch 1, sk 1, dc 12, ch 2, turn. (61, 73)
Row 9: dc in each st across, ch 2, turn. (61, 73)
Repeat Rows 2-9 for a total of 49(53) rows. Fasten off leaving a long tail for seaming on one of the panels. Add or subtract rows to get your desired length.
Assembly:
Lay back panel down with RS facing up. Then lay front panels RS down on top of back panel, lining up the edges. There will be a 9 sts space along the top of the back panel.
Using the mattress stitch, join panels along the top to make the shoulder seams.

Then measure along the open sides and place stitch markers 7(8, 9, 10) inches down from the shoulder seam and 11 inches up from the bottom. Using the mattress stitch, seam the sides in between the markers.

Finishing:
Turn piece RS out. Then attach yarn to bottom right side of front.
Lapel:
Ch 1,
Row 1: sc evenly along front right edge, across the 9 sts along the back panel and evenly down the front left edge, ch 1, turn.
Row 2: sl st loosely in the BLO of each stitch, ch 1, turn.
Row 3: repeat Row 2.
Add additional Row 2 repeats if desired. Fasten off.

Sleeves:
With RS facing out, attach yarn in seam of underarm.
Row 1: ch 1, sc in same st as join and evenly around edge of armhole, sl st to 1st st to join.
Row 2: ch 1, turn, sl st loosely in BLO of each st around, sl st to 1st st to join.
Fasten off. Repeat on second arm hole.

Slits:
With RS facing out, attach yarn on the left side of the slit.
Row 1: ch 1, sc in same st as join and evenly up the left side and down the right side of the slit making sure to also put a sc st in the seam.
Row 2: ch 1, turn, sl st loosely in BLO of each stitch up the right side until 1 st remains before the seam, sl st 3 tog in BLO in the last st of the right side, the seam st and the 1st st of the left side, sl st in BLO of each stitch down the left side.
Fasten off.
Repeat on second slit.
Weave in all ends.
After all ends are woven in you may need to steam block the edges just a bit to prevent the corners from curling. Then you can throw on your Guthrie and enjoy staying warm and fashionable this winter. I literally wear mine almost everyday.
If you make a Guthrie I’d love to see it! Make sure to tag me @meghanmakesdo on social media and use hashtag #guthriecape so I can see.
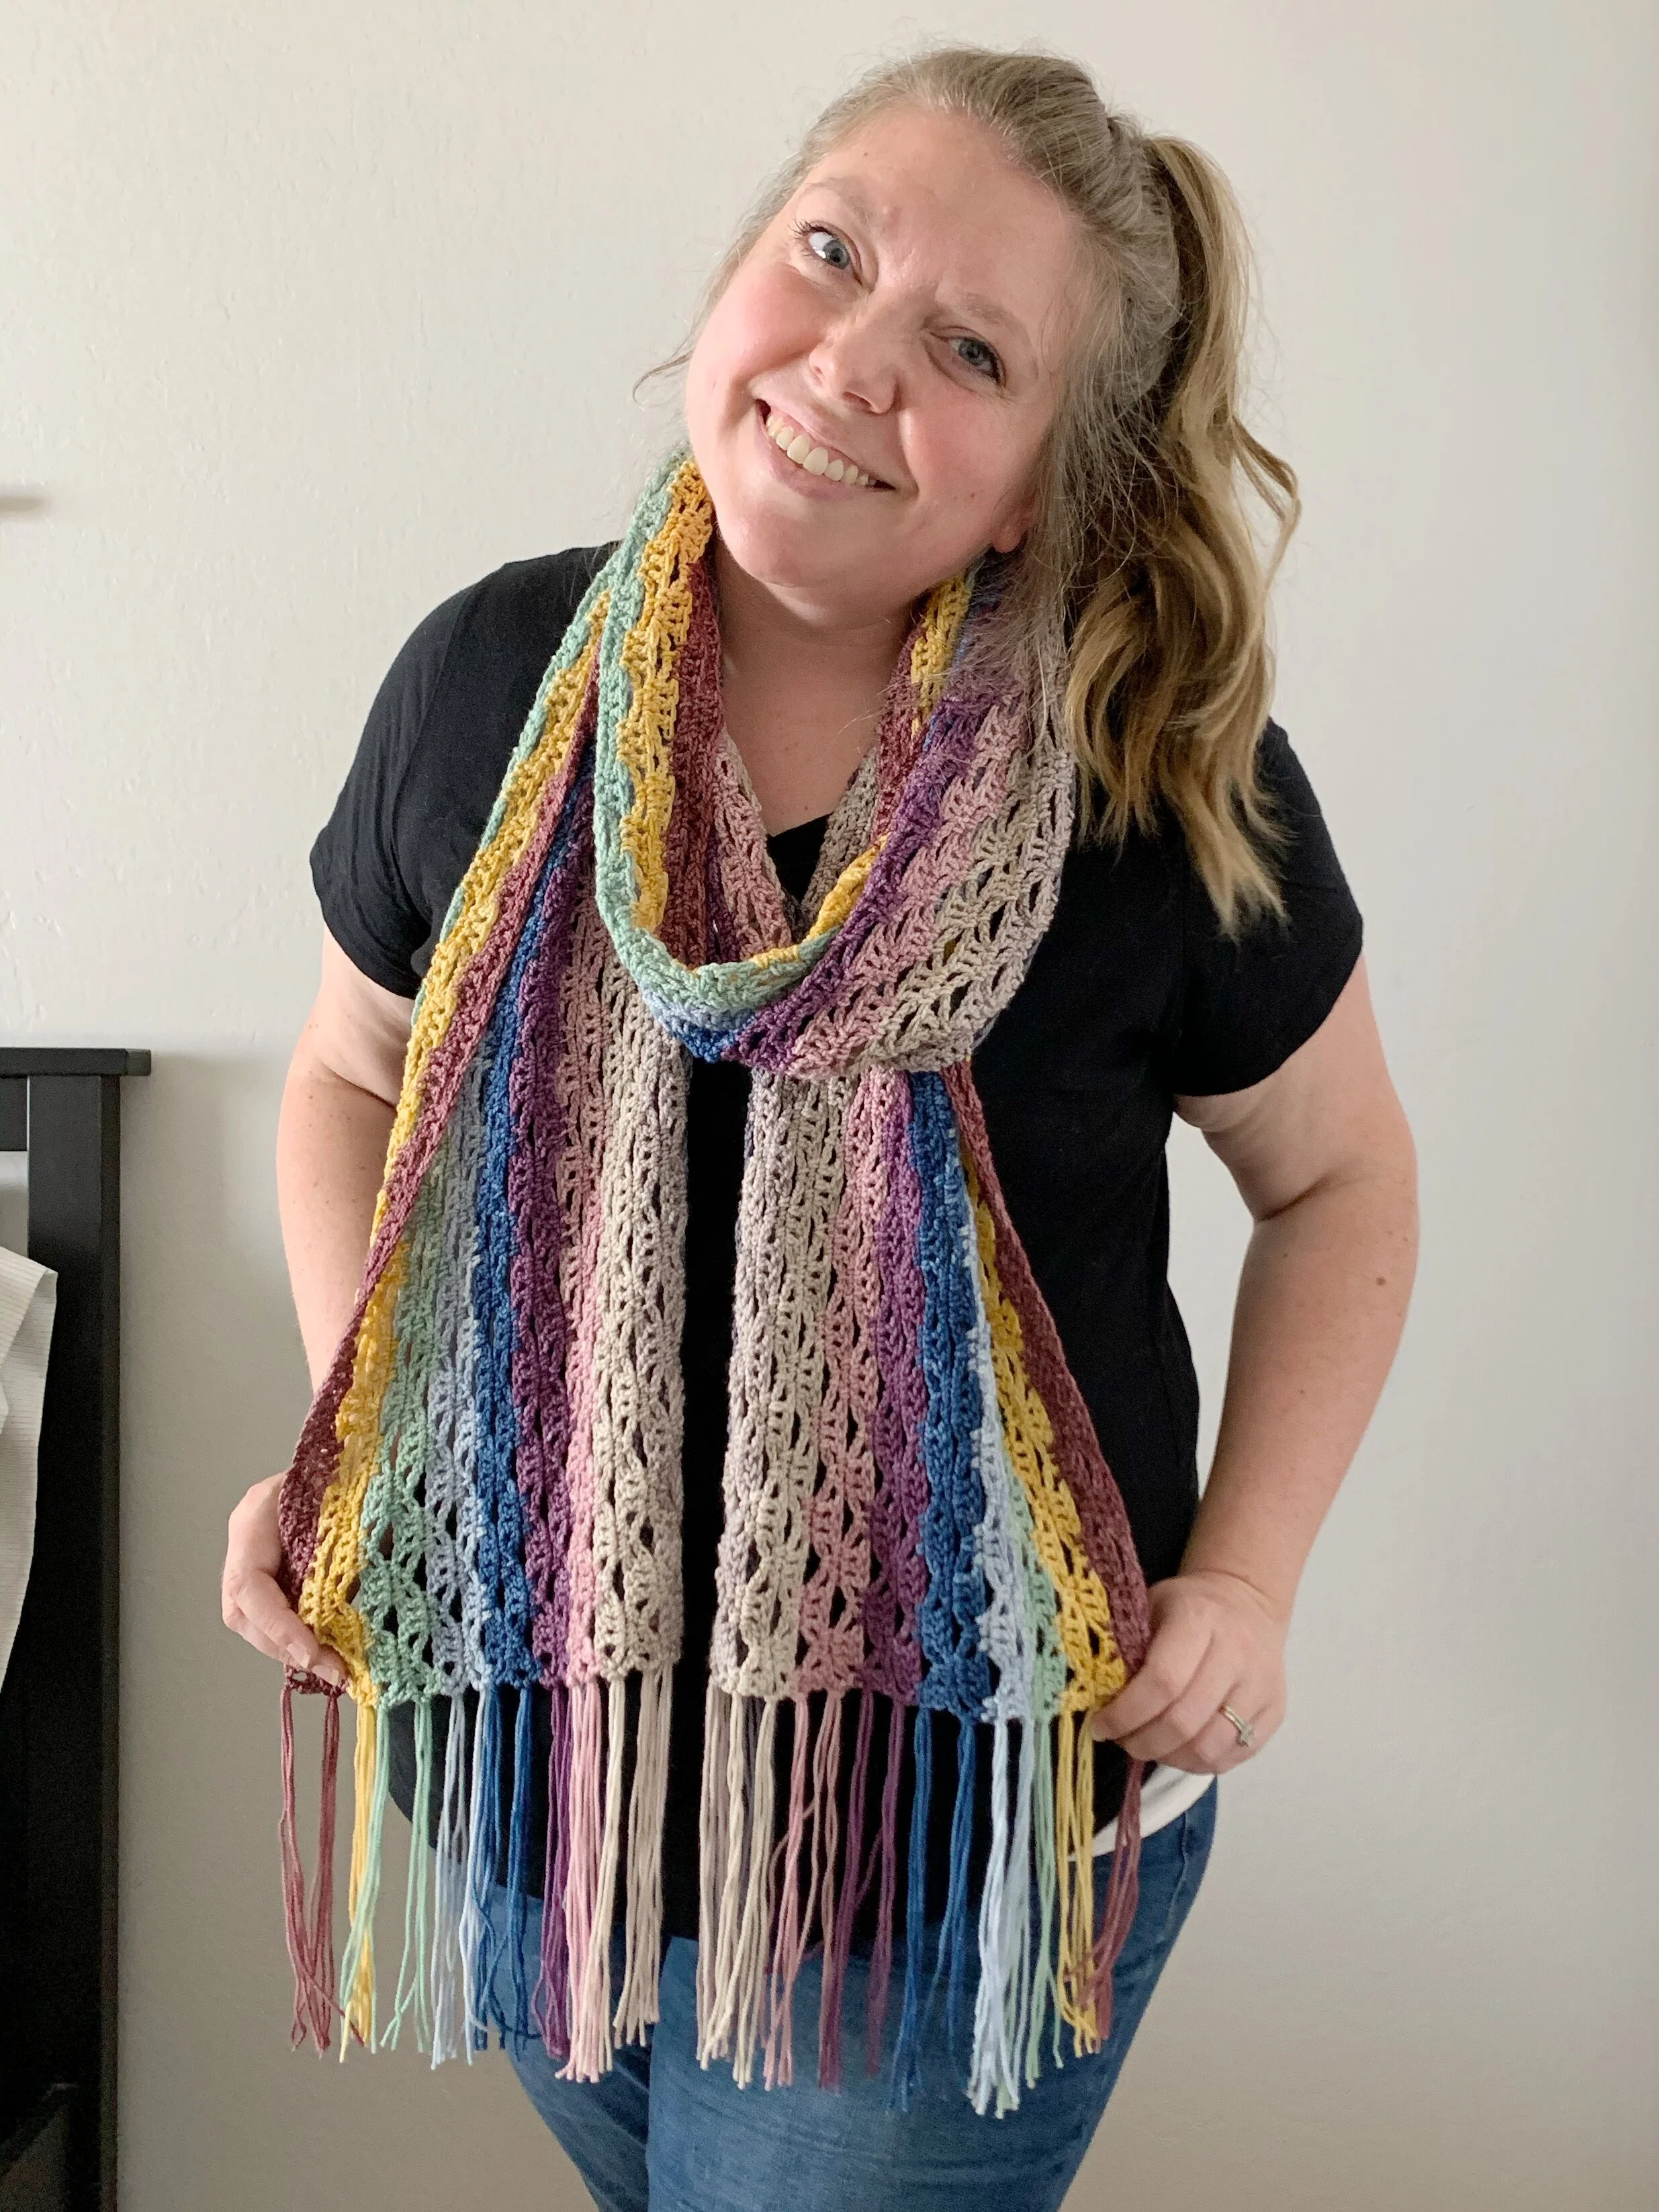
Special shout out to my fabulous testers who helped me make this pattern so amazing. They did such and amazing job and look stunning in their Guthries. Show them some love over on Instagram. I’ve linked to all their profiles below.
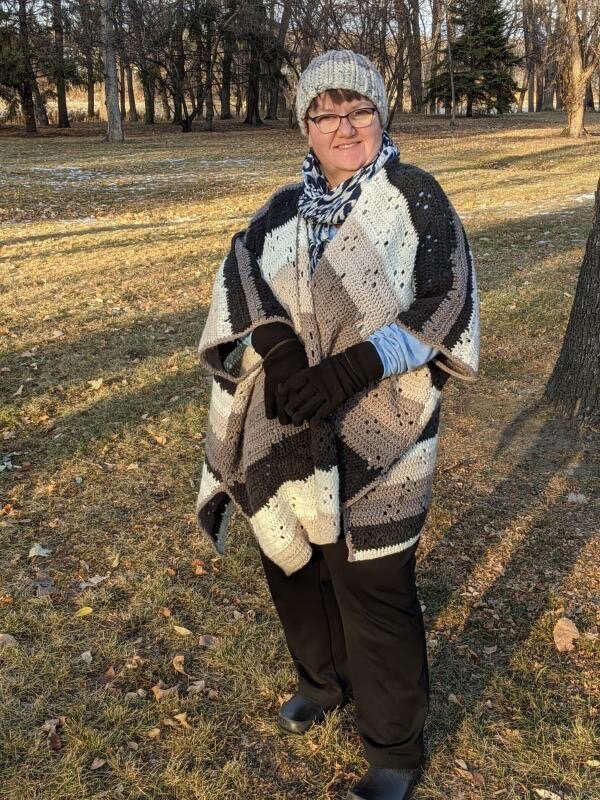
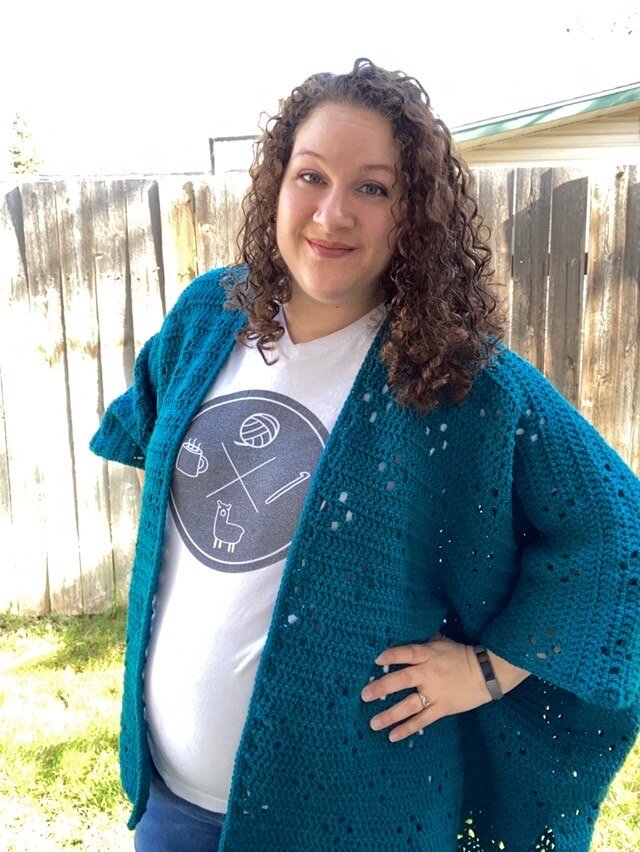


Top row (left to right): @mamankay_crochet; @finger_Lydia; @hearthandwool; @sweetteaandcrochet; @raising.four.arrows
Bottom row (left to right): @what.fifi.did; @one_in_custody; @hooksandcoffee; @najettemae
As always you can find a digital PDF version of this pattern in my shop, Etsy, Ravely or as a kit from Lion Brand Yarn.
Happy Crocheting,
Meghan