The Ghostie Trio Crochet Pattern
Meet the Ghostie Trio! 👻 These three little crochet ghosts are ready to haunt your handmade wardrobe and add a little spooky fun to your favorite projects. They're quick to make, easy to customize, and perfect for adding a Halloween touch to cardigans, hats, bags, and more. These ghost are extra magical because they use Lion Brand’s Glow Cozy yarn which glows in the dark! Keep scrolling for the free pattern and video tutorial or grab a PDF version in my shop.
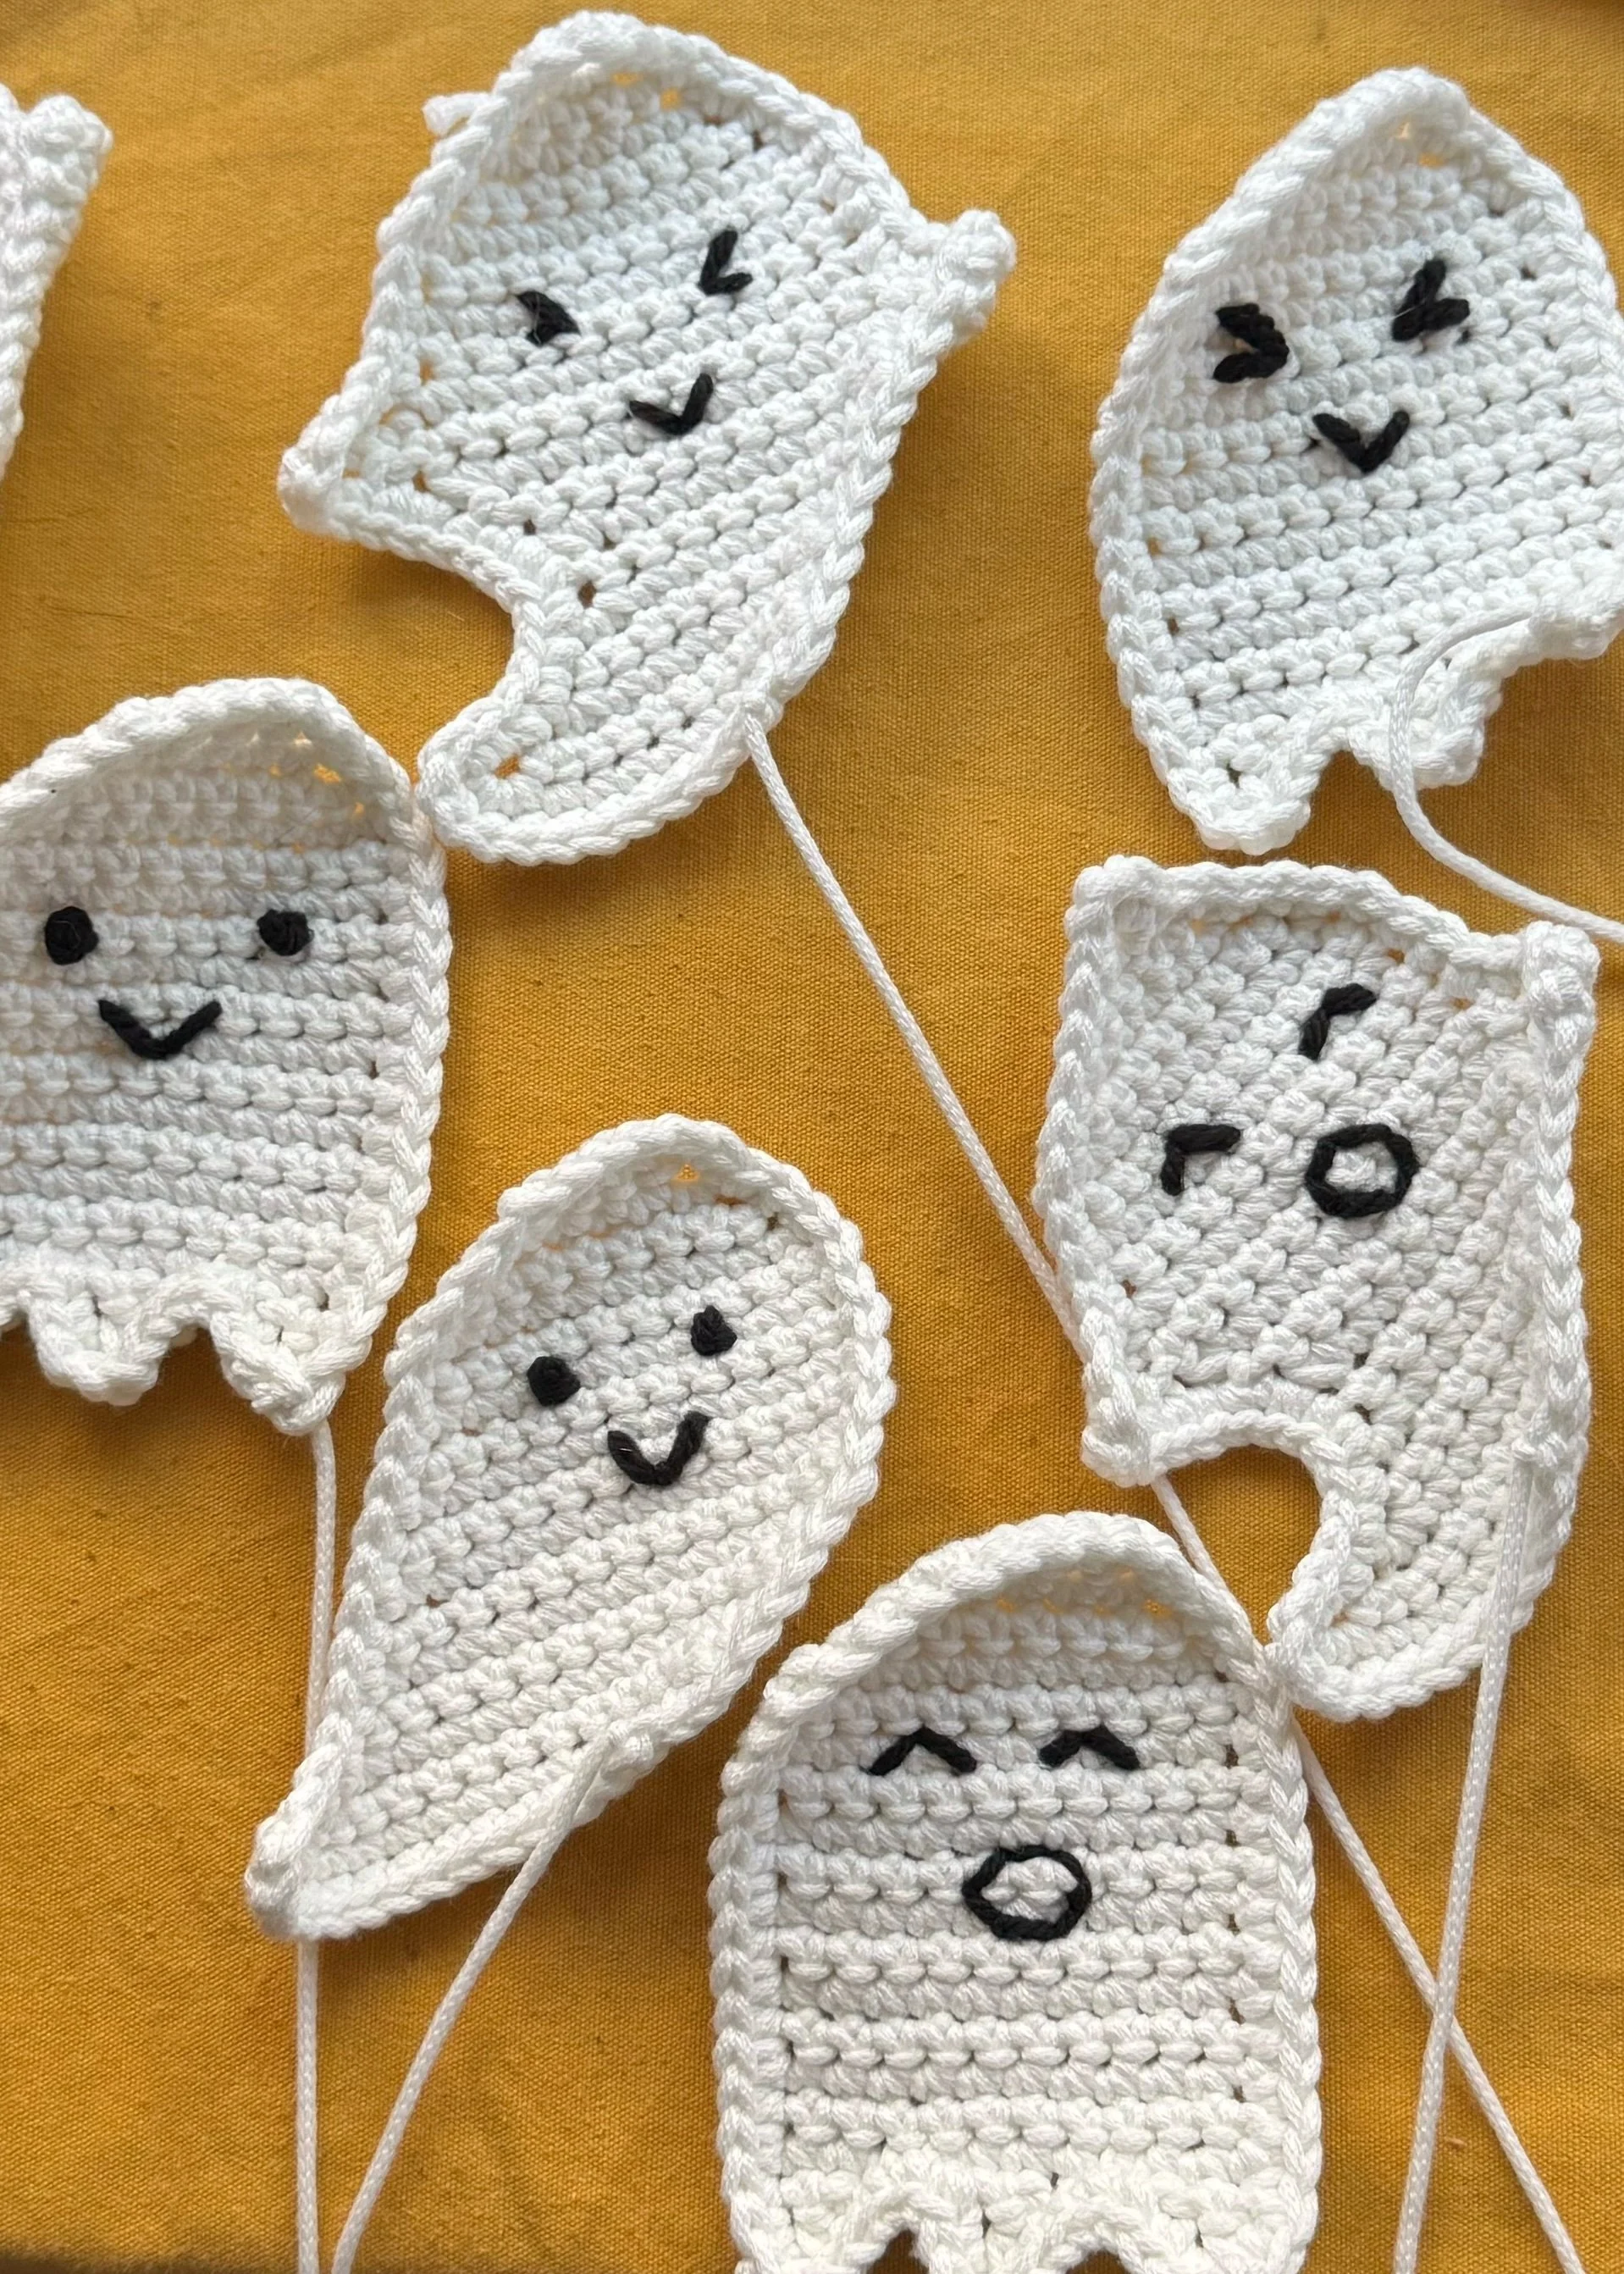
This may be a Meghan Makes Do first! I’m actually releasing a seasonal-themed pattern before that season ends. LOL.
Last year, I had high hopes of making a little amigurumi ghost and getting it out before Halloween. Alas, I didn’t even start it until the week before, and now, a whole year later, it’s still sitting in my WIP pile.
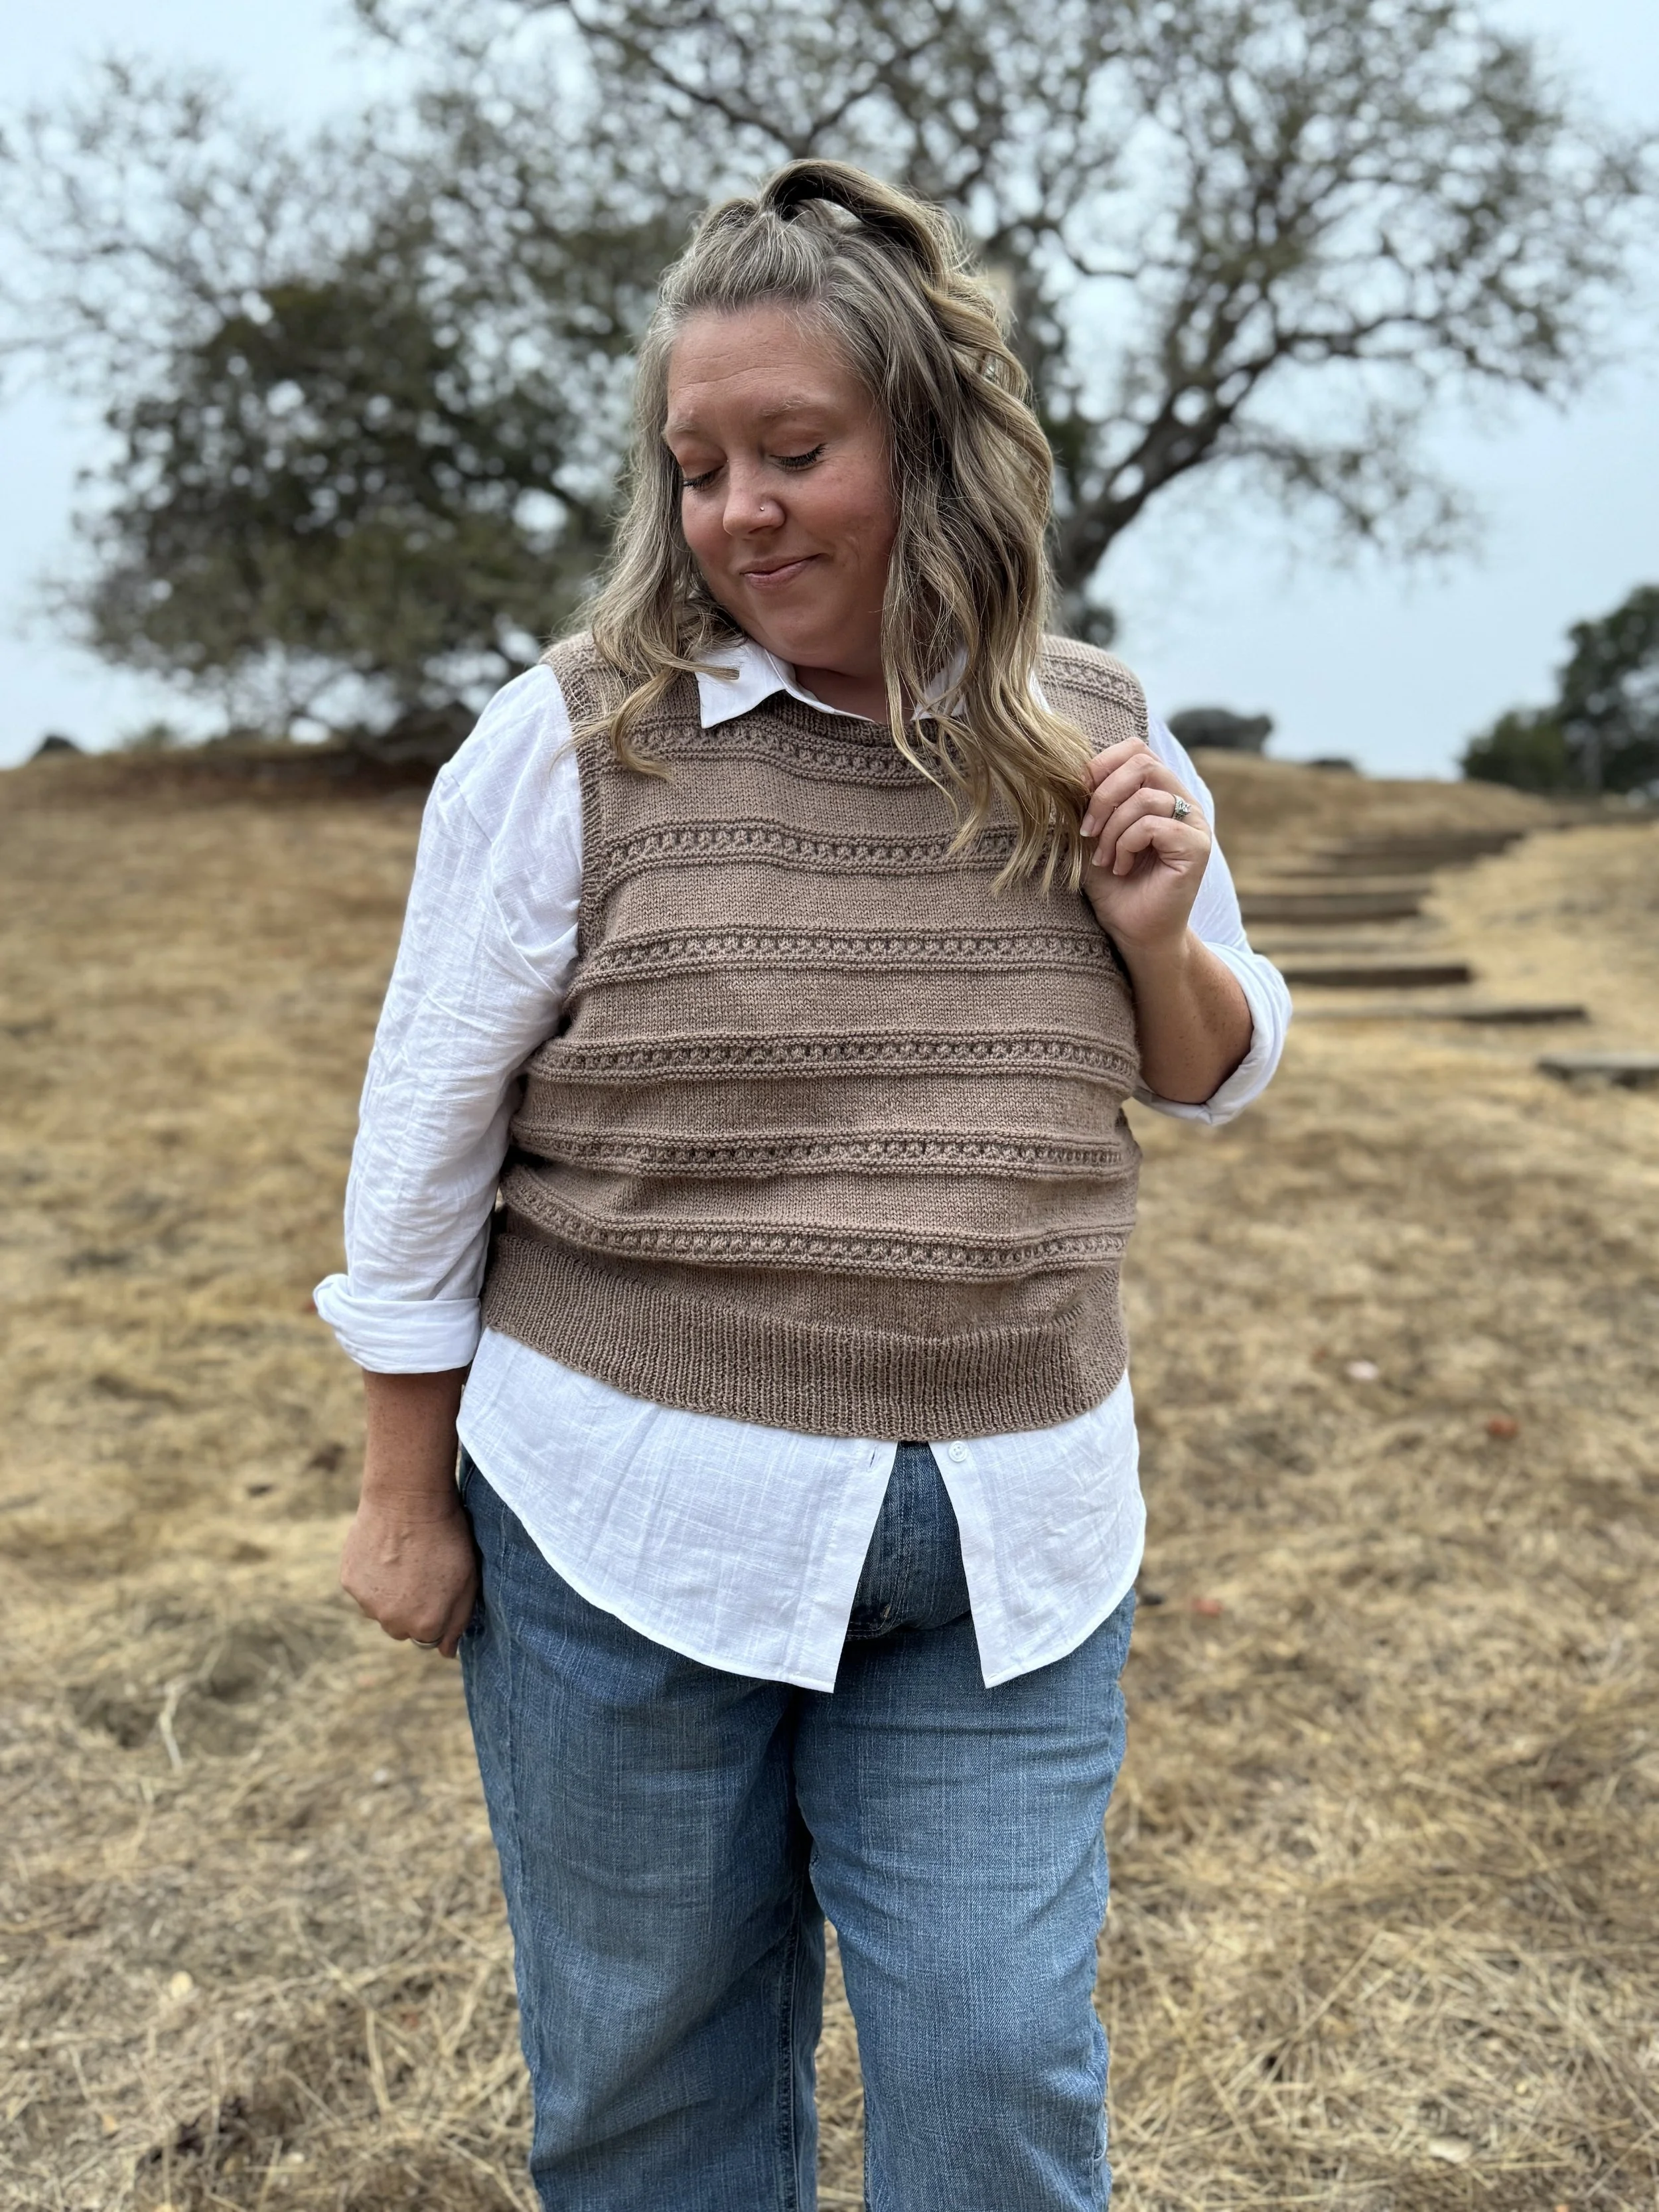
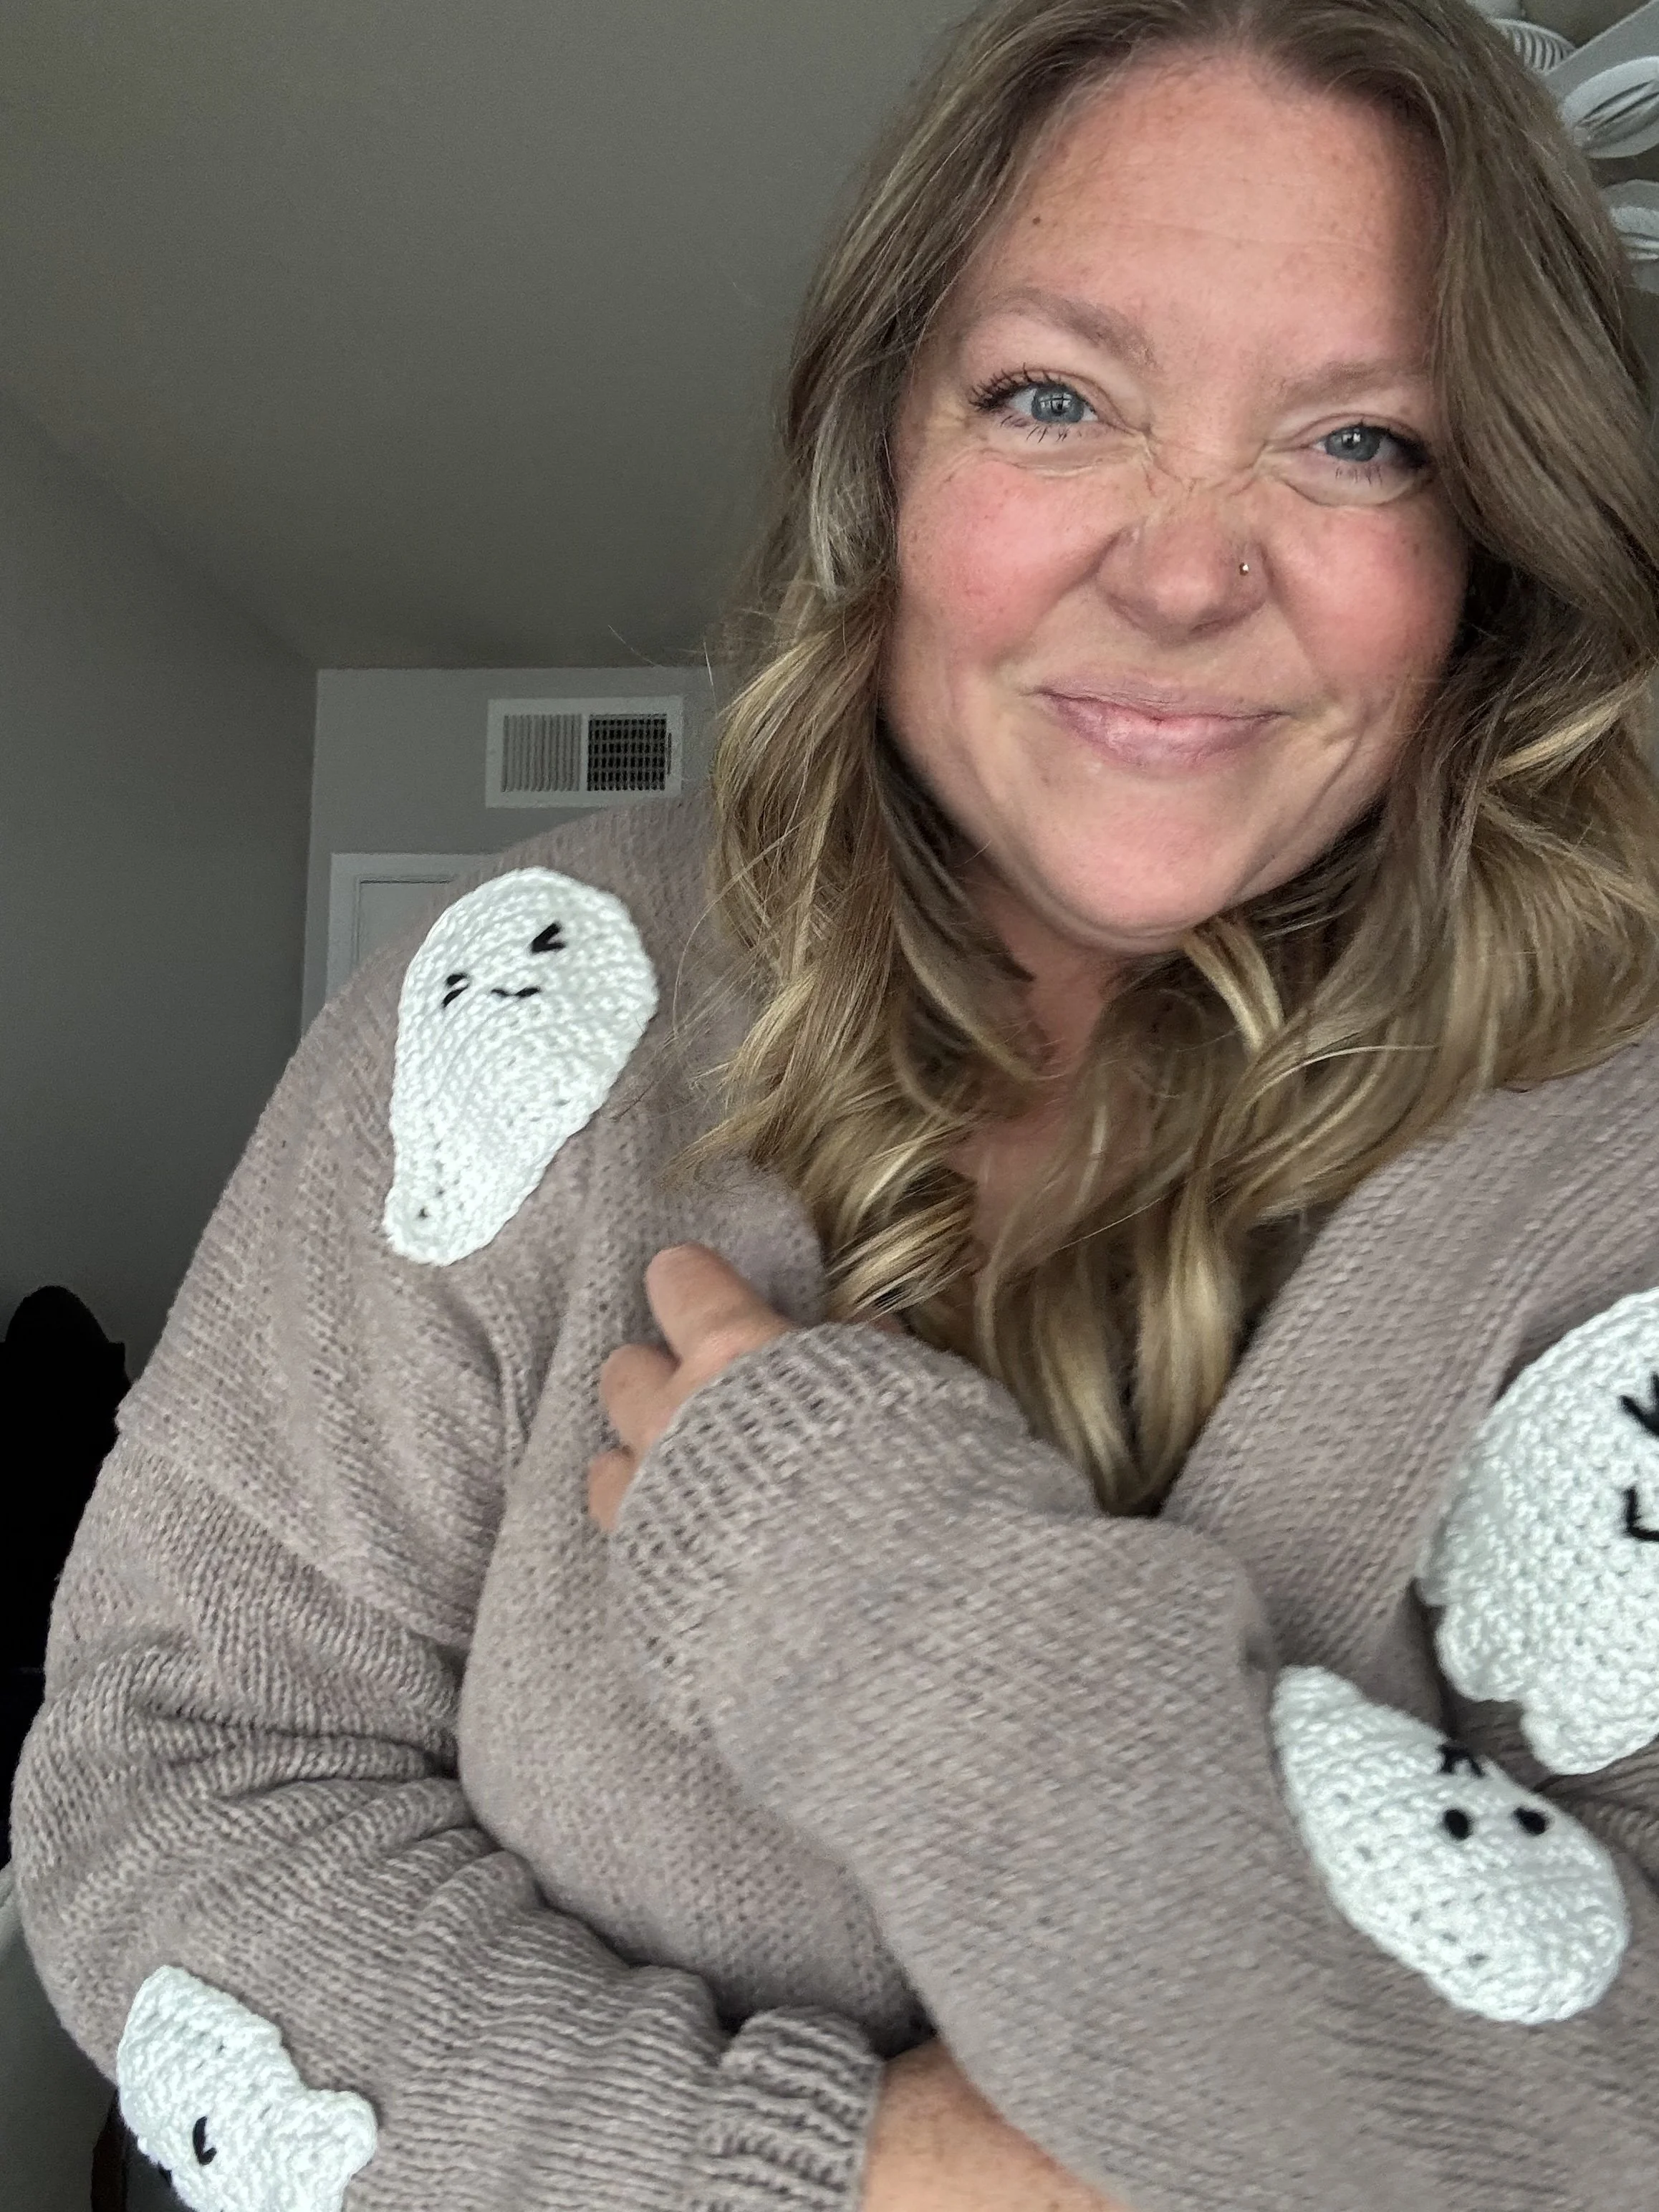
This year, when I got the idea to make a cardigan with little ghost appliqués, I decided to work smarter, not harder. I ordered the yarn I wanted to use, and while I waited for it to arrive, I decided to repurpose an older design for the cardigan itself. I took all the bows off my Bellamy Cardigan (good thing I hadn’t woven in those ends, huh?!) and knew it would be the perfect backdrop for my three little ghost designs.
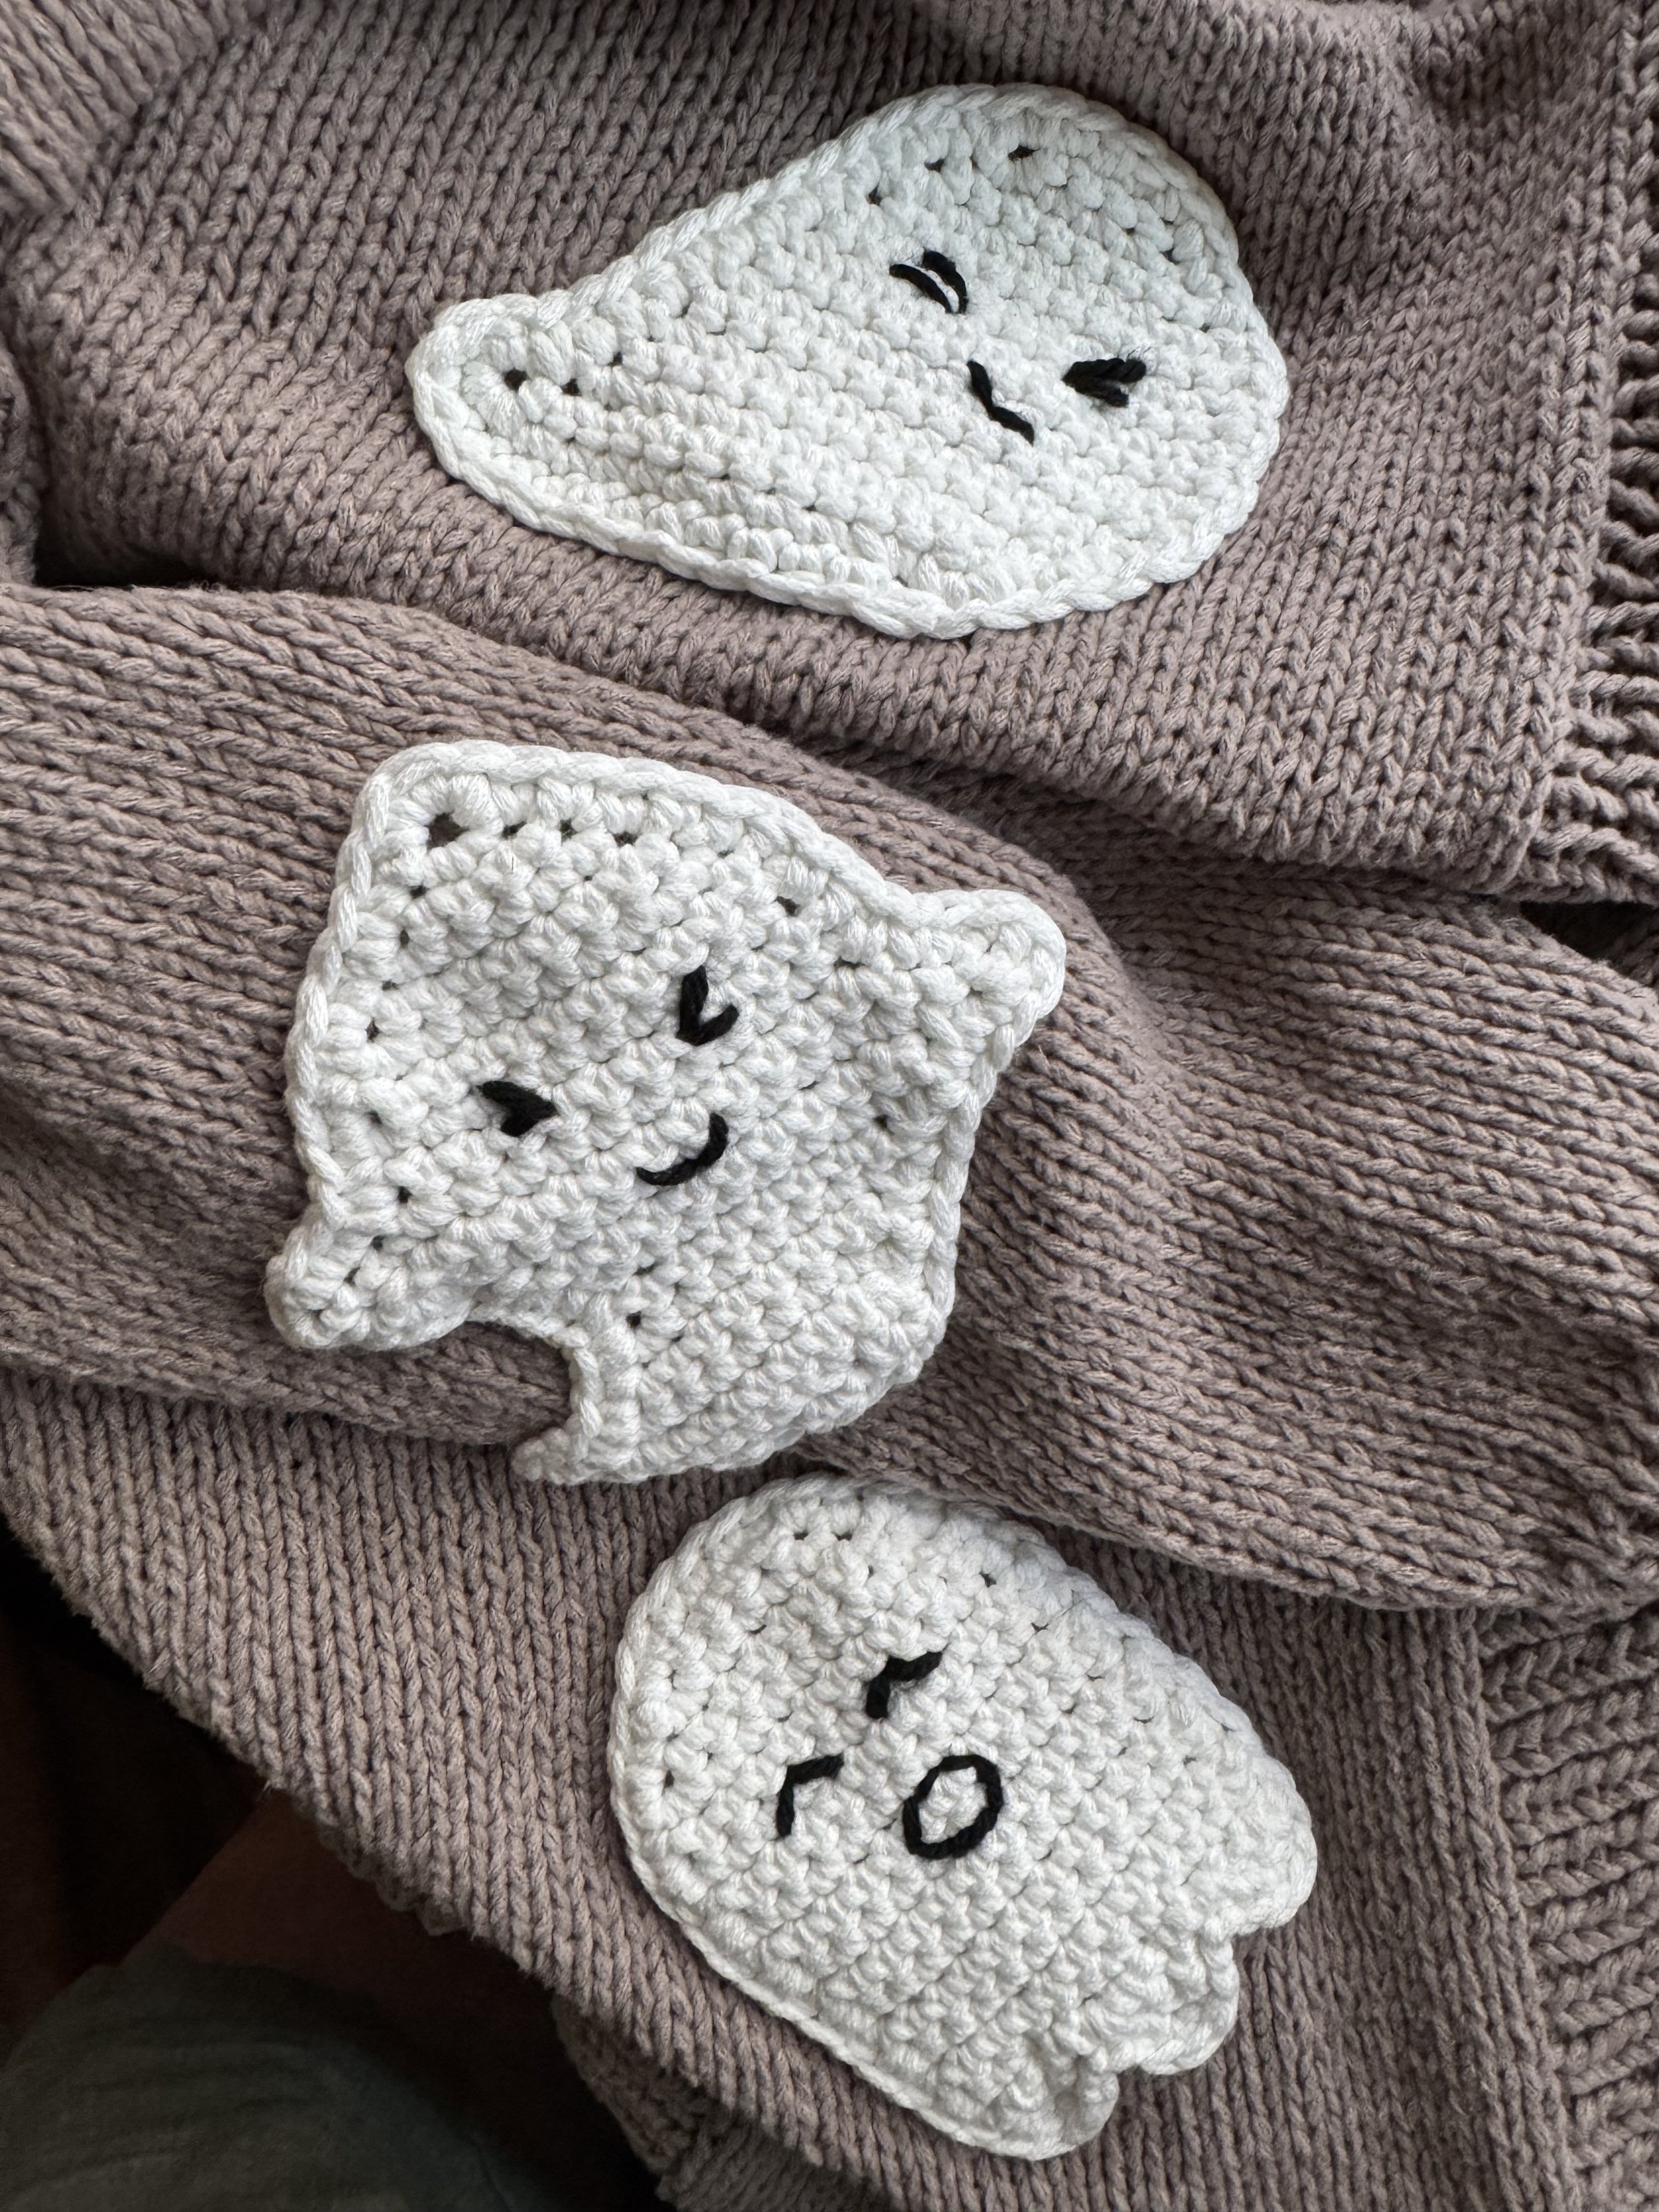
Each of the ghosts has its own personality, and I’ve included instructions for all three ghosts, along with directions for embroidering their little faces. You can mix and match the faces or come up with your own! The Ghostie Trio can be added to a cardigan, bag, hat, or whatever your heart desires. There are so many possibilities!
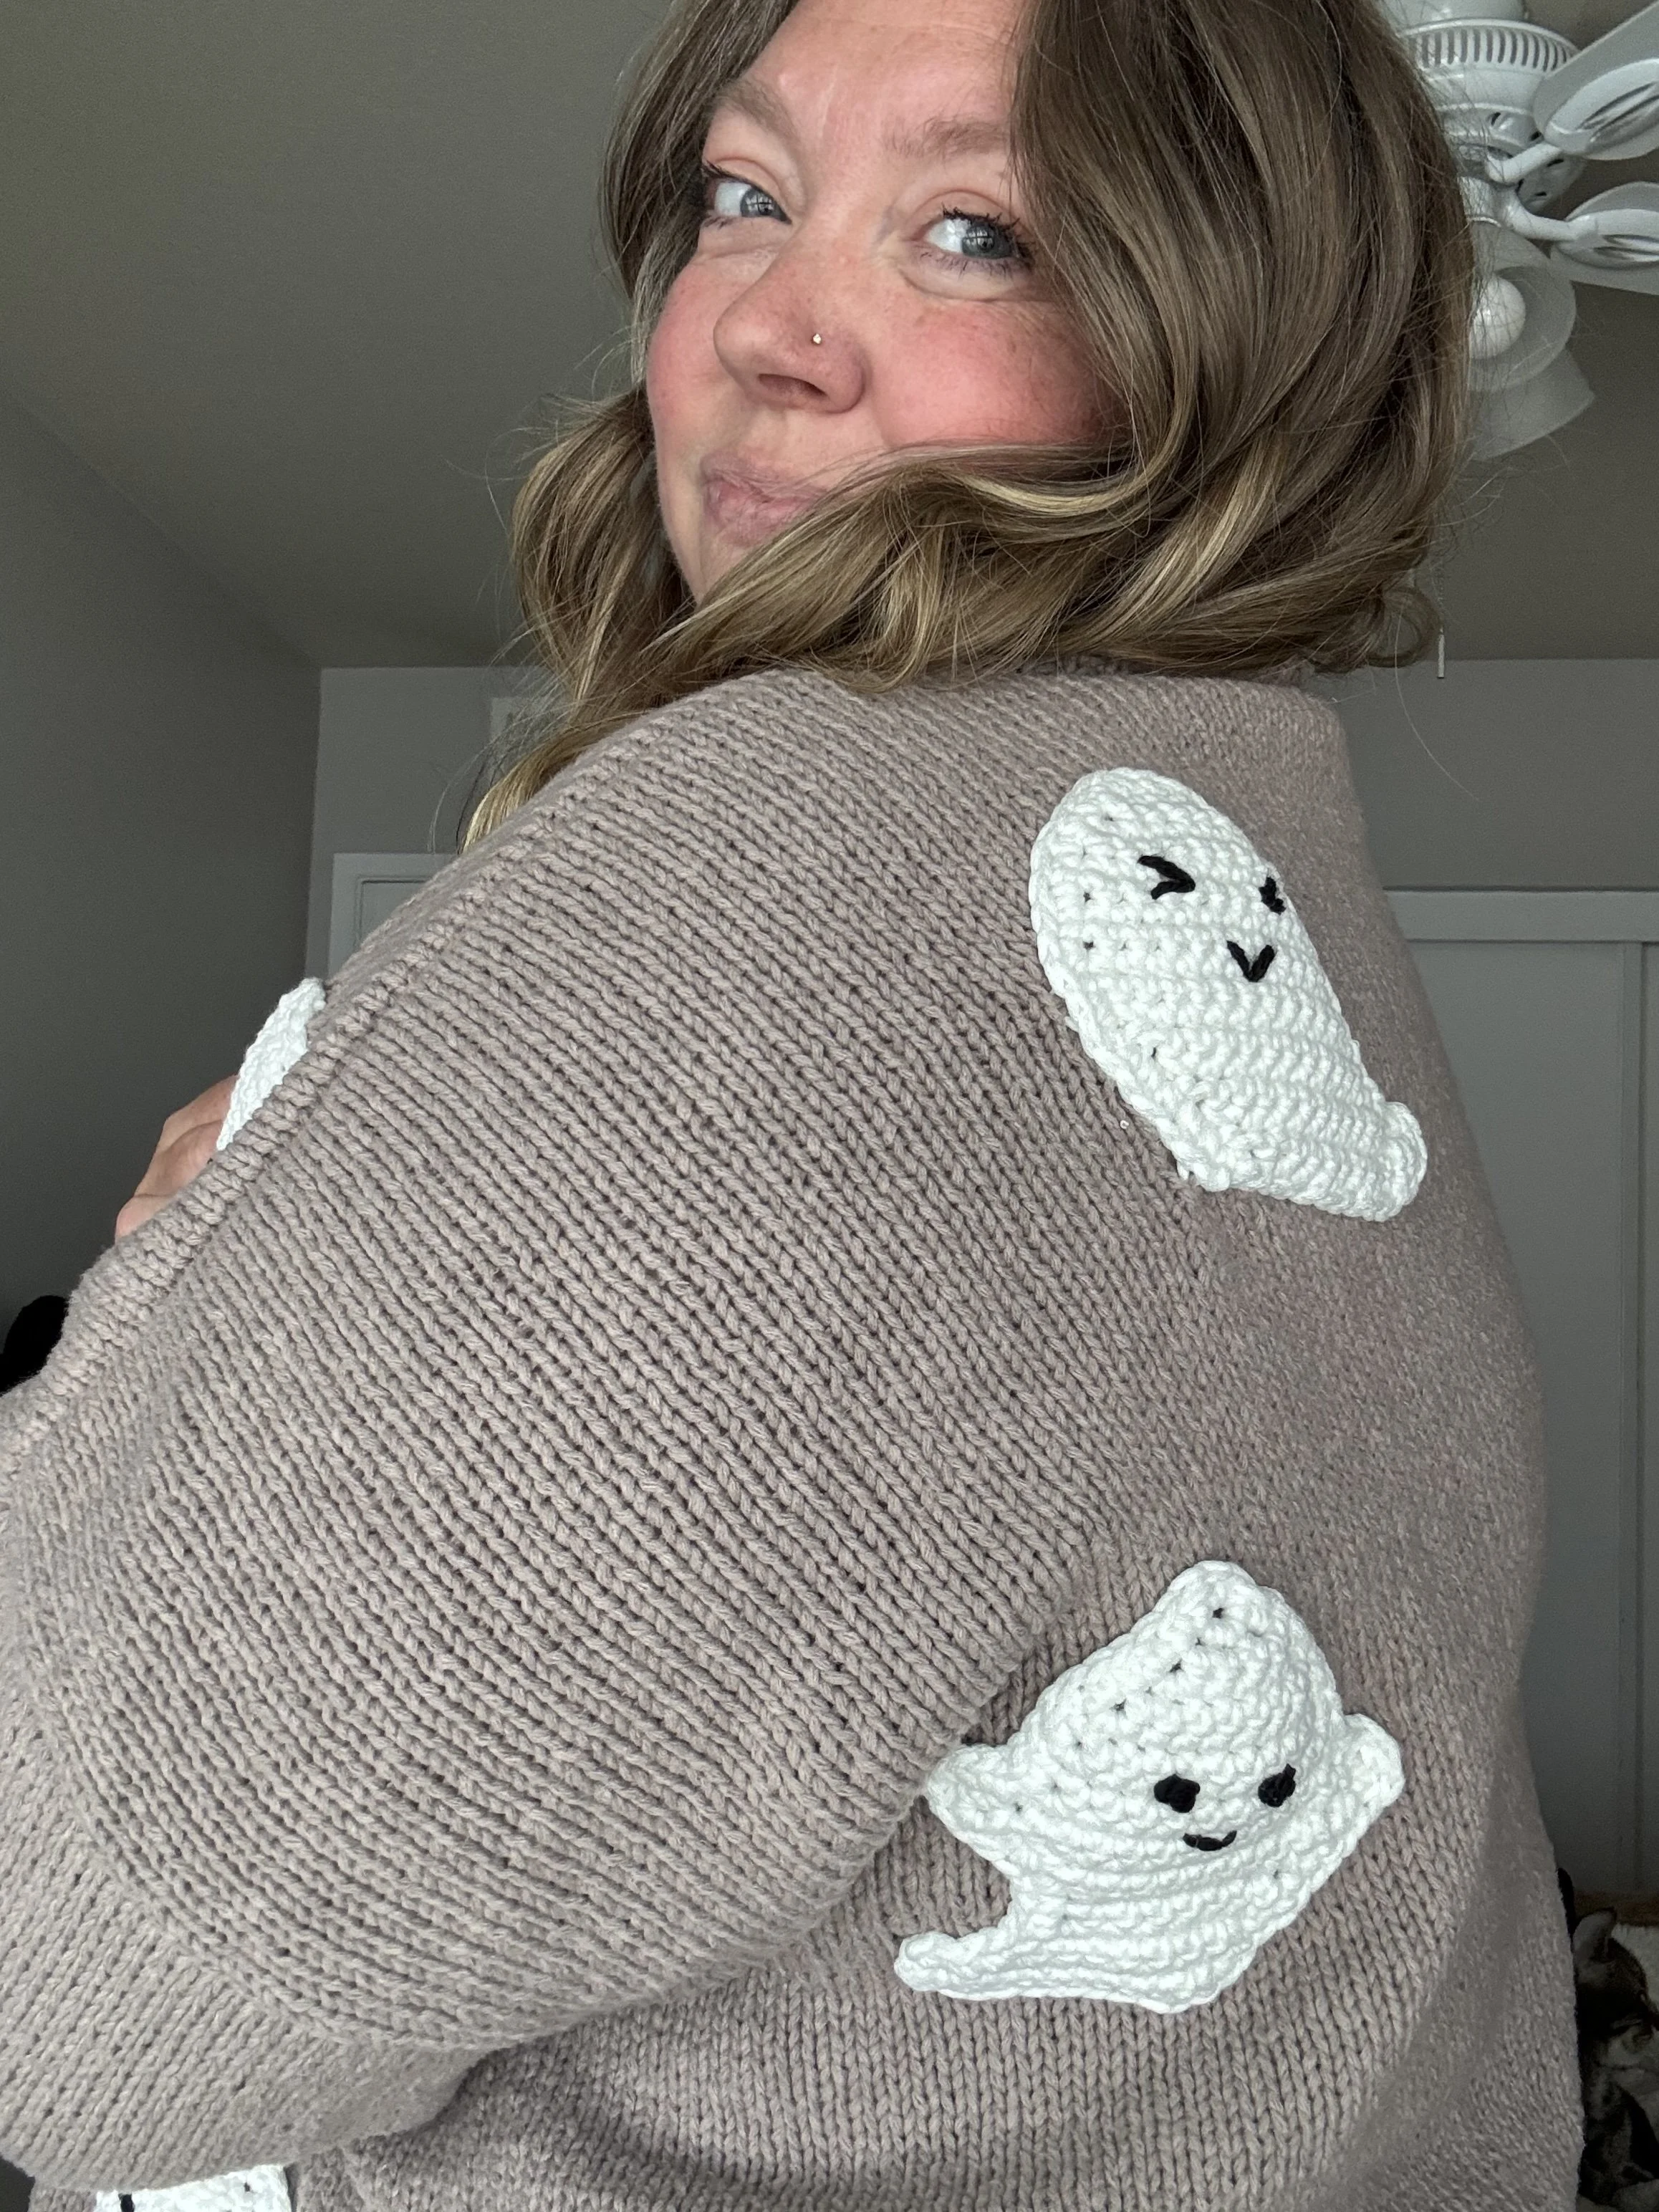
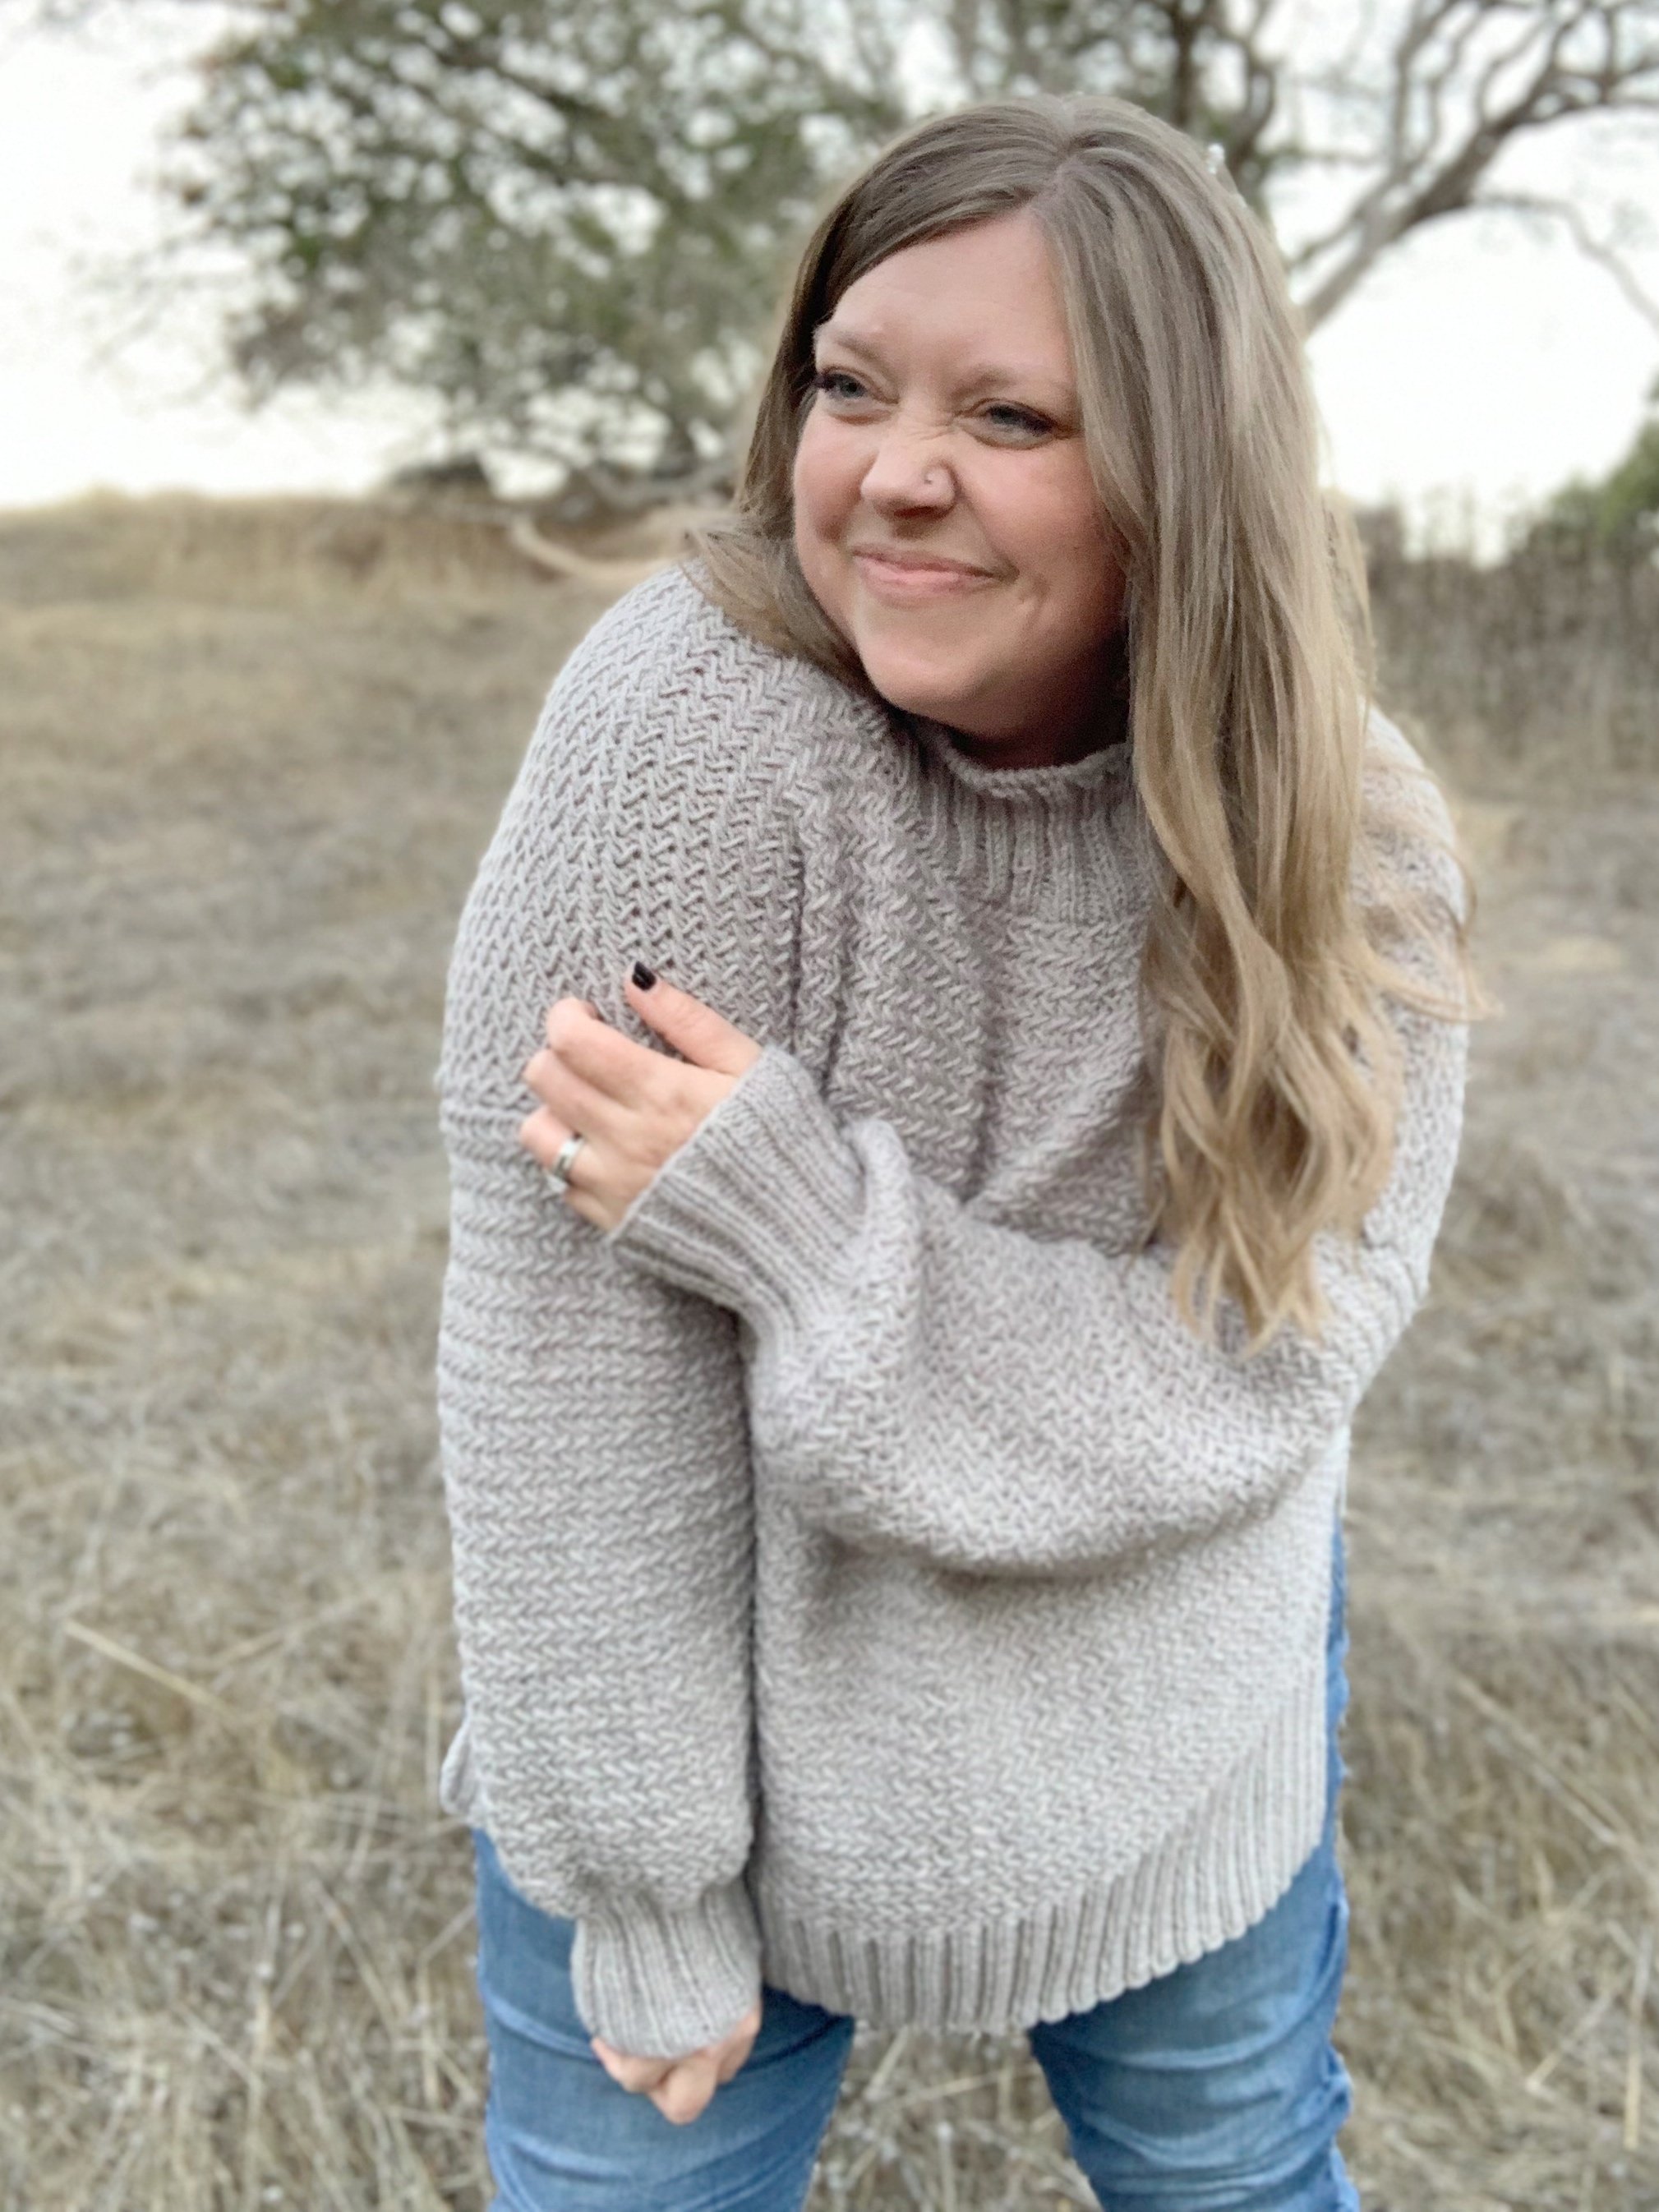
Wanting to make a Ghostie Trio cardigan like me? You can easily knit up the Bellamy Cardigan too or if you’d rather crochet, follow the instructions for the Bowden Cardigan, but skip the color work bows. The Trio would also look great on the ultra cozy Blake or Beacon Bombers.
You’ll need to make at least 10 ghosts. I used two skeins of Lion Brand Glow Cozy and made 3 Ghostie #1s, 3 Ghostie #2s and 4 Ghostie #3s. Then place two ghosts on each front panel, one one each sleeve and four on the back.
The Ghostie Trio Crochet Pattern
Materials:
78 yards of Lion Brand Yarn Glow Cozy in white or similar worsted weight yarn (for ghost bodies)
15 yards of Lion Brand Basic Stitch in Black or similar worsted weight yarn (for eyes and mouth)
Crochet hook size G (4.5mm)
Tapestry needle
Scissors
Gauge:
8 stitches X 9 rows = 2” square in single crochet.
Size:
Ghostie #1 – 4.5” H x 3.25” W
Ghostie #2 – 3.75” H x 4.5” W
Ghostie#3– 4.5”Hx 4.25” W
Abbreviations:
Ch(s)- chain(s)
st(s)- stitch(es)
sl st- slip stitch
sc- single crochet
sc2tog- single crochet two together
Notes:
1.Each ghost is made using single crochet stitches in turned rows. They are finished by working single crochet evenly all the way around.
2.All ghost are made starting at the top of the head and working down to the bottom.
3.Eyes and mouth are sewn on at the end.
4.One skein of Glow Cozy makes 5 ghosts.
Video Tutorial:
Ghostie #1
Main Body
Ch 6,
Row 1: working into the back bumps, sc into the 2nd bump from hook and in each bump across, ch 1, turn. (5)
Row 2: 2sc in 1st st, sc across until 1 st remains, 2sc in last st, ch 1, turn. (7)
Rows 3-4: repeat Row 2. (11 sts at the end of Row 4)
Rows 5-15: sc in each st across, ch 1, turn. (11)
We will now be making the three bumps along the bottom of the ghost. Do not fasten off. Each bump is worked into the top of Row 15.
Bump 1
Row 16: sc 3, ch 1, turn. (3)
Row 17: sc2tog, sc, ch 1, turn. (2)
Row 18: sc2tog, ch 1, do not turn. (1)
Sl st into each row edge of Bump 1 and into the next st of Row 15.
Bump 2
Repeat instructions for Bump 1.
Bump 3
Row 16: sc 3, ch 1, turn. (3)
Row 17: sc, sc2togch 1, turn. (2)
Row 18: sc2tog, ch 1, do not turn. (1)
Border
Sc into each row edge of the right side of the ghost. Sc into each st across the head of the ghost. Sc into each row edge of the left side of the ghost until you reach the top of the first bump.
Continue to sc evenly around each bump, but work 2sc into the top stitch of each bump. Fasten off and weave in ends. (Leave a long tail if sewing to another item)
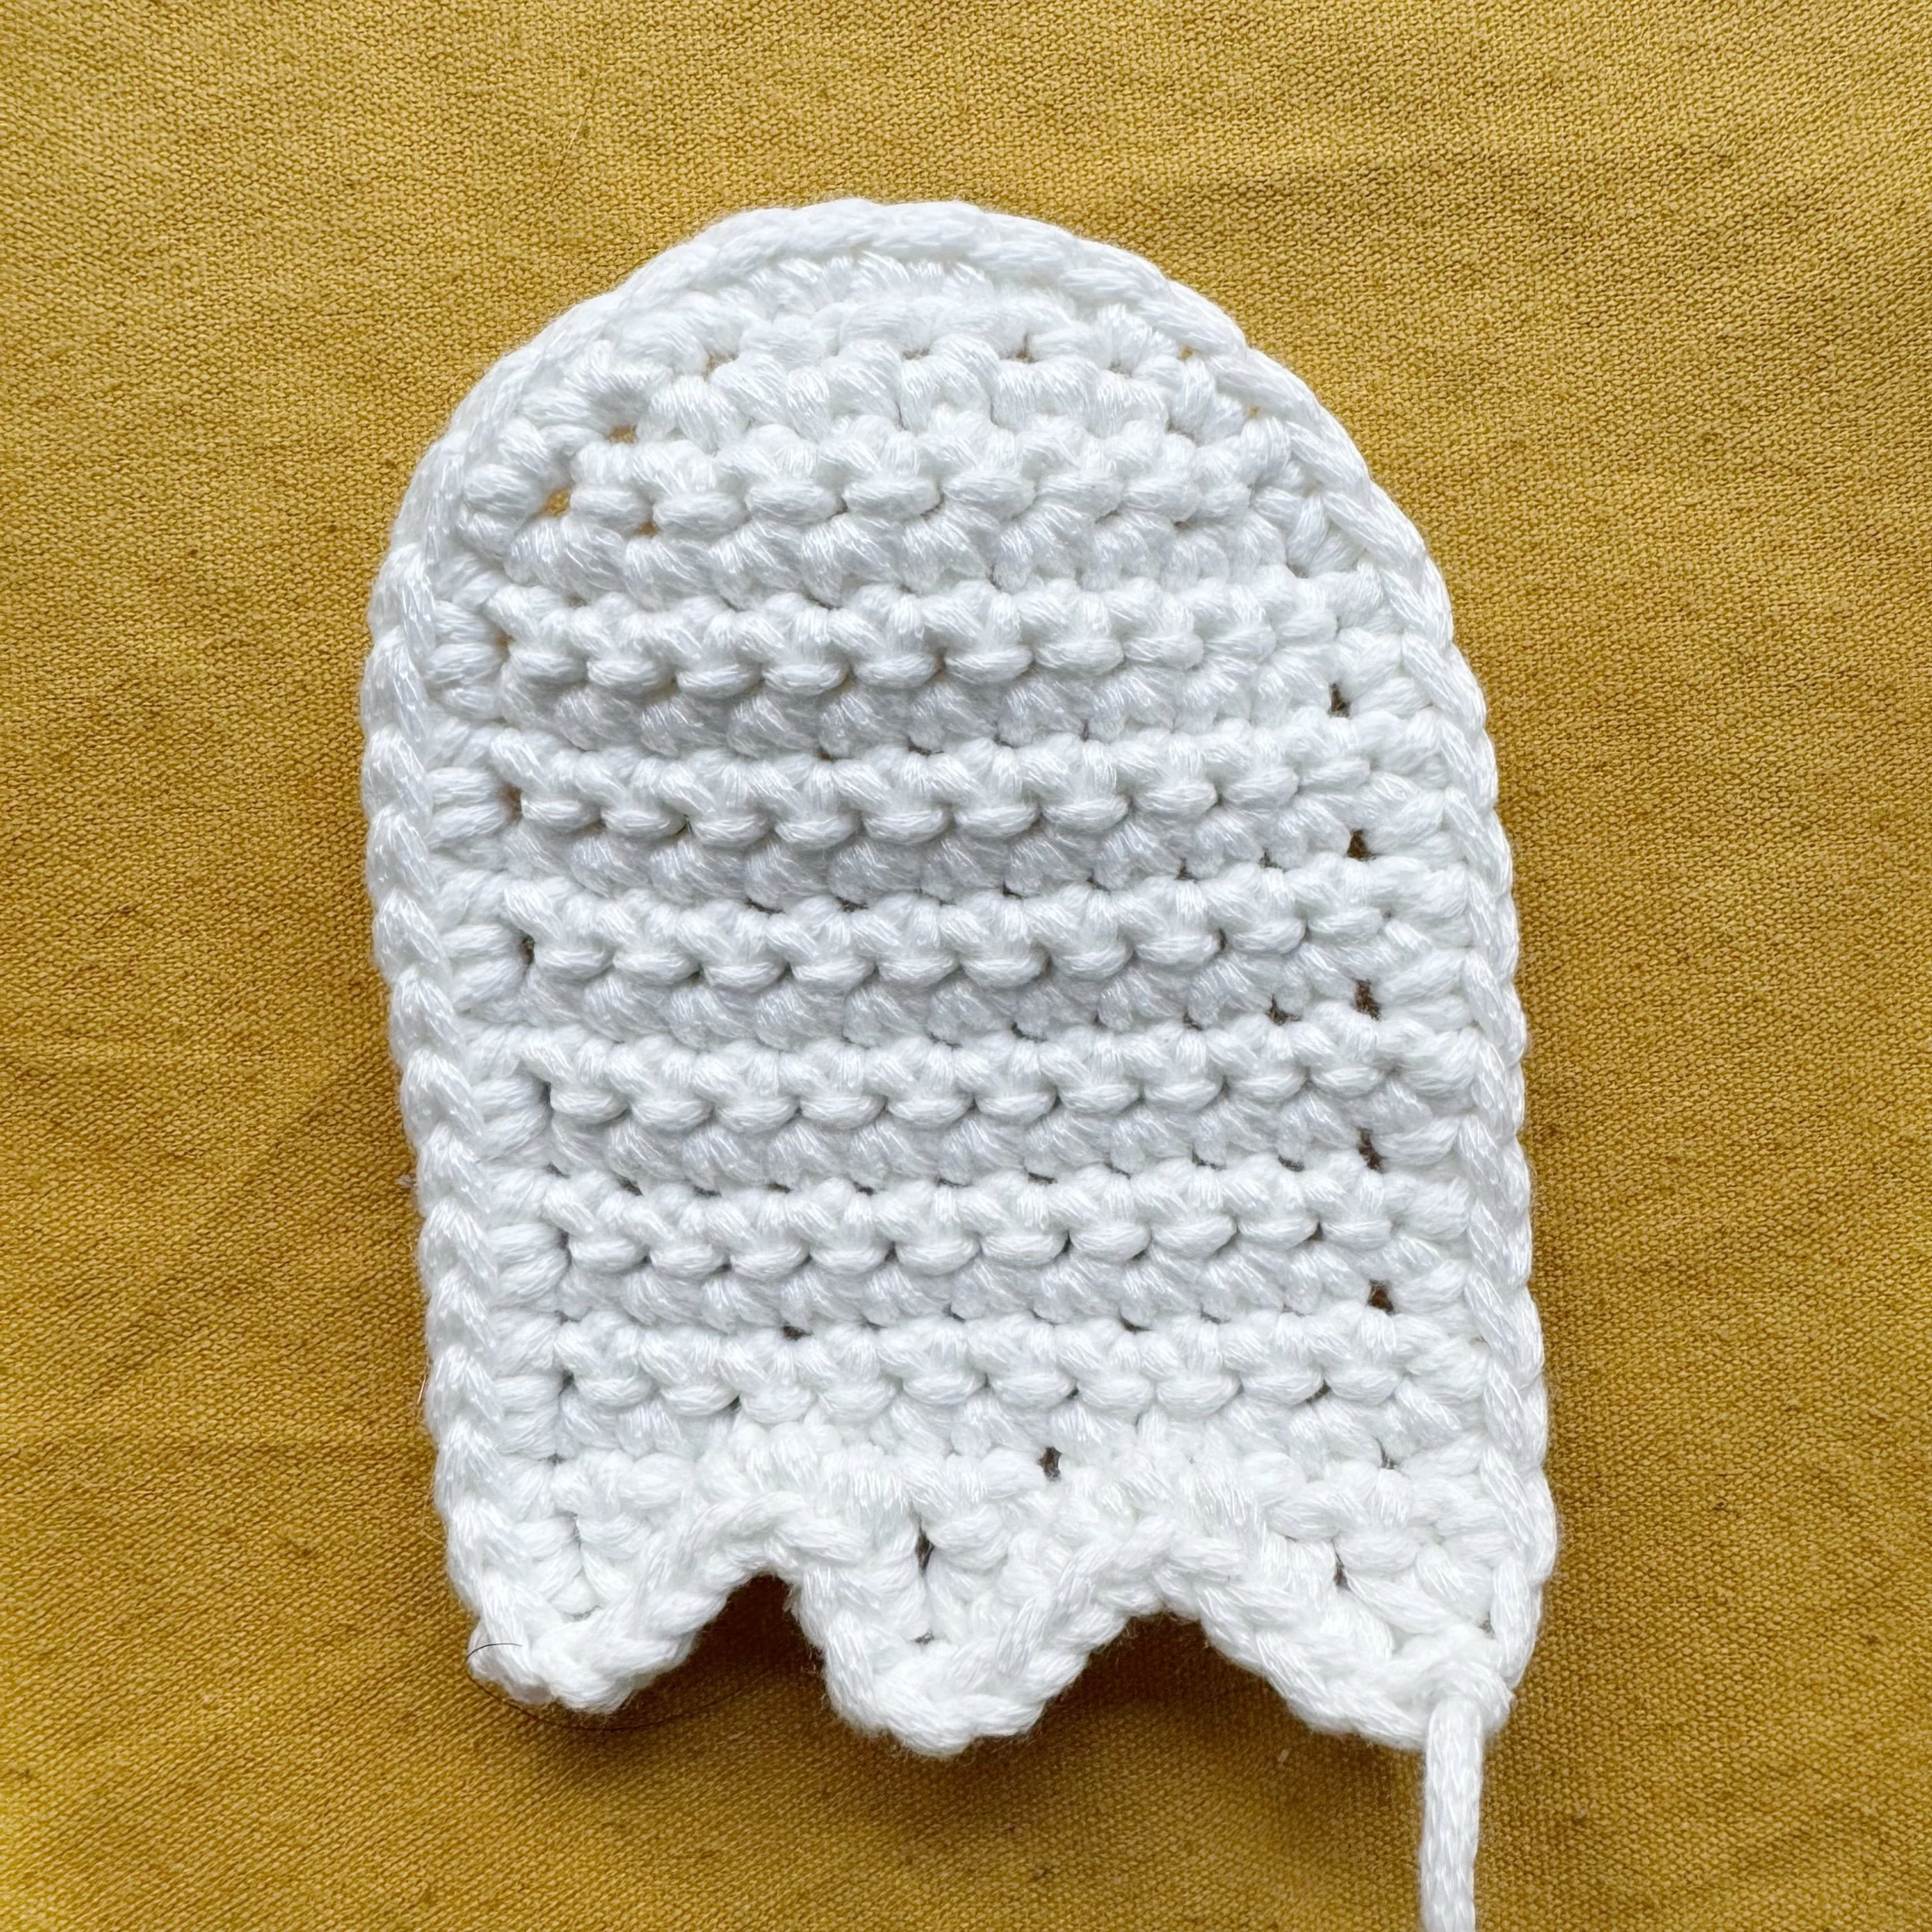
Ghostie #2
Main Body
Ch 6,
Row 1: working into the back bumps, sc into the 2nd bump from hook and in each bump across, ch 1, turn. (5)
Row 2: 2sc in 1st st, sc across until 1 st remains, 2sc in last st, ch 1, turn. (7)
Rows 3-4: repeat Row 2. (11 sts at the end of Row 4)
Rows 5-6: sc in each st across, ch 1, turn. (11)
Row 7: sc in each st across until 1 st remains, 2sc in last st, ch 1, turn. (12)
Row 8: sc in each st across, ch 1, turn. (12)
Rows 9-10: repeat Rows 7-8. (13)
Row 11: sc2tog, sc across until 1 st remains, 2sc in last st, ch 1, turn. (13)
Row 12: sc in each st across until 2 sts remain, sc2tog, ch 1, turn. (12)
Row 13: repeat Row 11. (12)
Row 14: 2sc in 1st st, sc across until 2 sts remain, sc2tog, ch 1, turn. (12)
Row 15: sc2tog, sc across until 1 st remains, 3sc in last st, ch 1, turn. (13)
Row 16: 3sc in 1st st, sc across until 4 sts remain, sc2tog twice, ch 1. (13)
You can either turn your work or not turn depending on which way you would like your ghost to face. Please note if you turn your border instructions will be opposite of what is listed below.
Border
Sc into each row edge of the right side of the ghost. Sc into each st across the head of the ghost. Sc into each row edge of the left side. Sc across the bottom of the ghost making sure to add an extra stitch into beginning stitch of Row 16.
Fasten off leaving a long tail for sewing. Weave in beginning end.
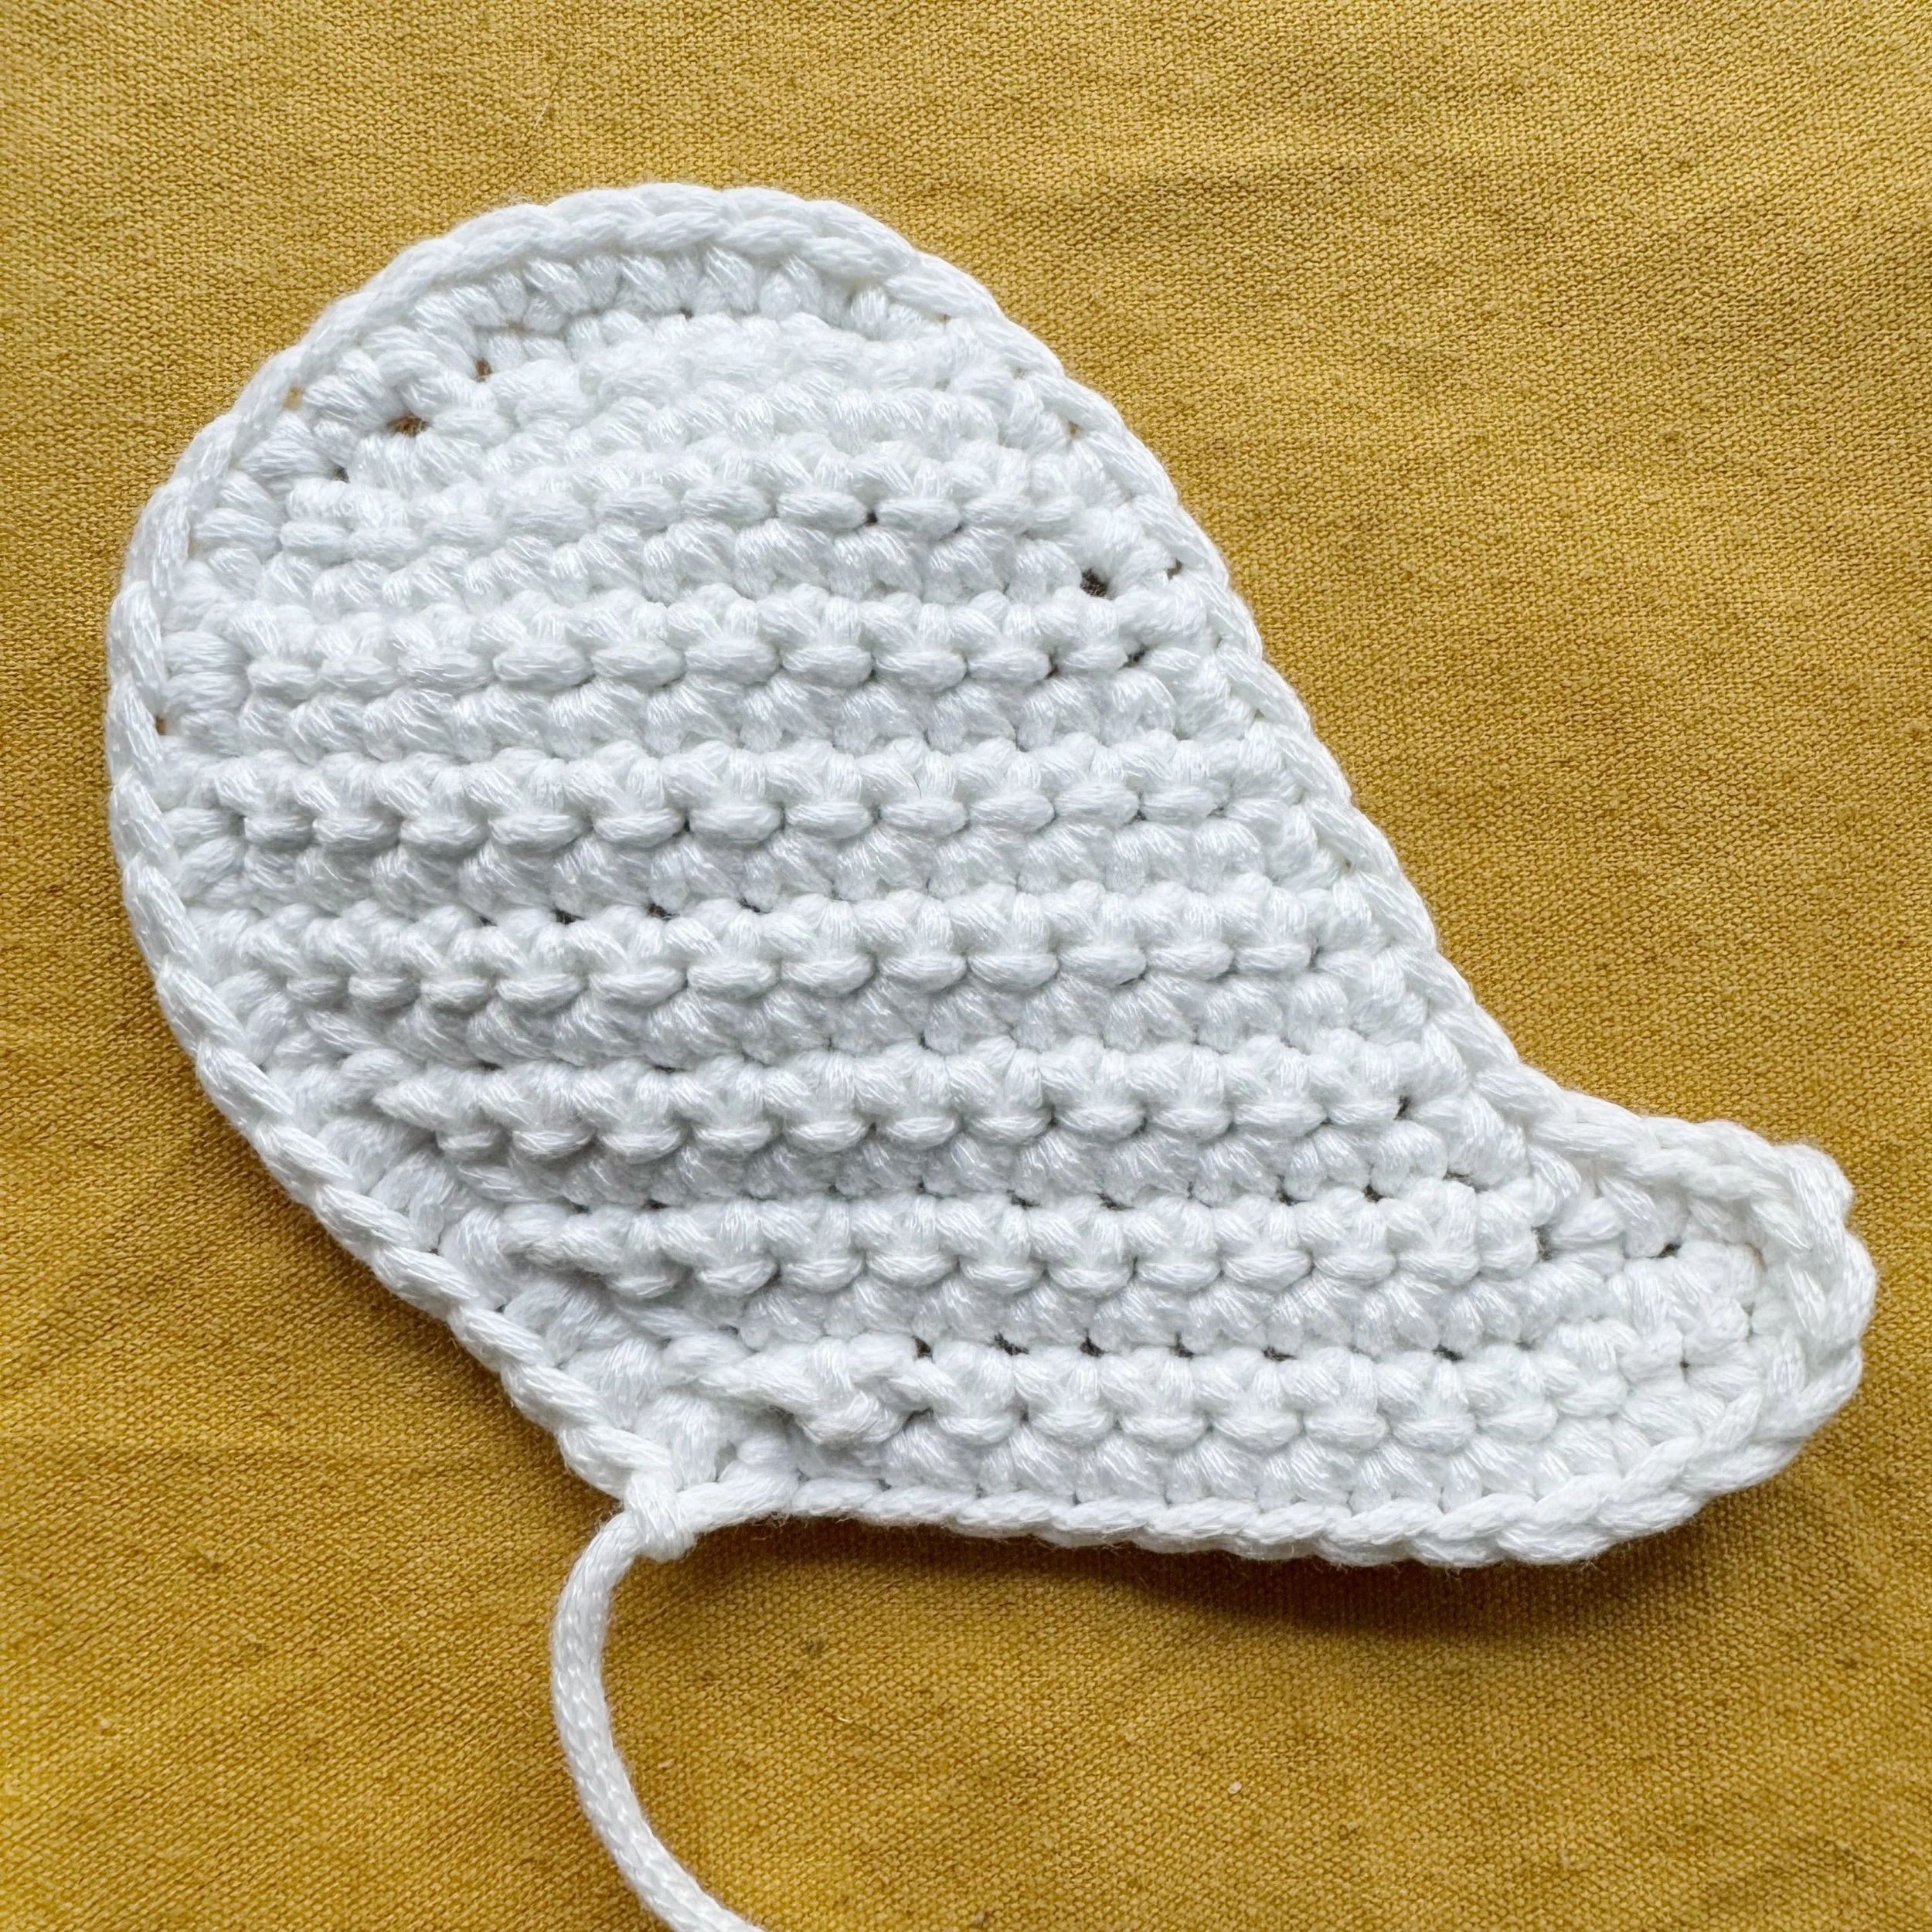
Ghostie #3
Main Body
Ch 2,
Row 1: working into the back bumps, sc into the 2nd bump from hook, ch 1, turn. (1)
Row 2: 3sc in same st, ch 1, turn. (3)
Row 3: 2sc in 1st st, sc across until 1 st remains, 2sc in last st, ch 1, turn. (5)
Rows 4-6: repeat Row 3. (11 sts at the end of Row 6)
Rows 7-8: sc in each st across, ch 1, turn. (11)
Row 9: sc in each st across. (11)
Row 10: ch 4, turn, starting in the 2nd ch from hook, sc in next 3 chs and in each sc across. (14)
Row 11: ch 4, turn, starting in the 2nd ch from hook, sc in next 3 chs and in each sc across until 3 sts remain, sc2tog, ch 1, turn. (15)
Row 12: sc2tog, sc in each st across until 3 sts remain, sc2tog, ch 1, turn. (12)
Rows 13- 14: sc2tog, sc across until 2 sts remain, sc2tog, ch 1, turn. (8)
Row 15: sc in each st across, ch 1, turn. (8)
Row 16: 2sc in 1st st, sc across until 2 sts remain, sc2tog, ch 1, turn. (8)
Row 17: sc2tog, sc across until 1 st remains, 2sc in last st, ch 1, turn. (8)
Row 18: 3sc in 1st st, sc across, ch 1, turn. (10)
Row 19: sc2tog, sc in each st across until 1 st remains, 3sc in last st, ch 1, turn. (11)
Row 20: 3sc in 1st st, sc across until 4 sts remain, sc2tog twice, ch 1.
Do not turn or fasten off, continue on to border instructions.
Border
Sc into each row edge of the right side of the ghost, adding an extra st into the tip of the arm. Work 3sc into to top stitch of the head of the ghost. Sc into each row edge of the left side, adding an extra st into the tip of the arm. Work 3 sc into 1st st of Row 20 and then sc across bottom of ghost. Join to 1st st of border. Fasten off leaving a long tail for sewing. Weave in beginning end.
Faces
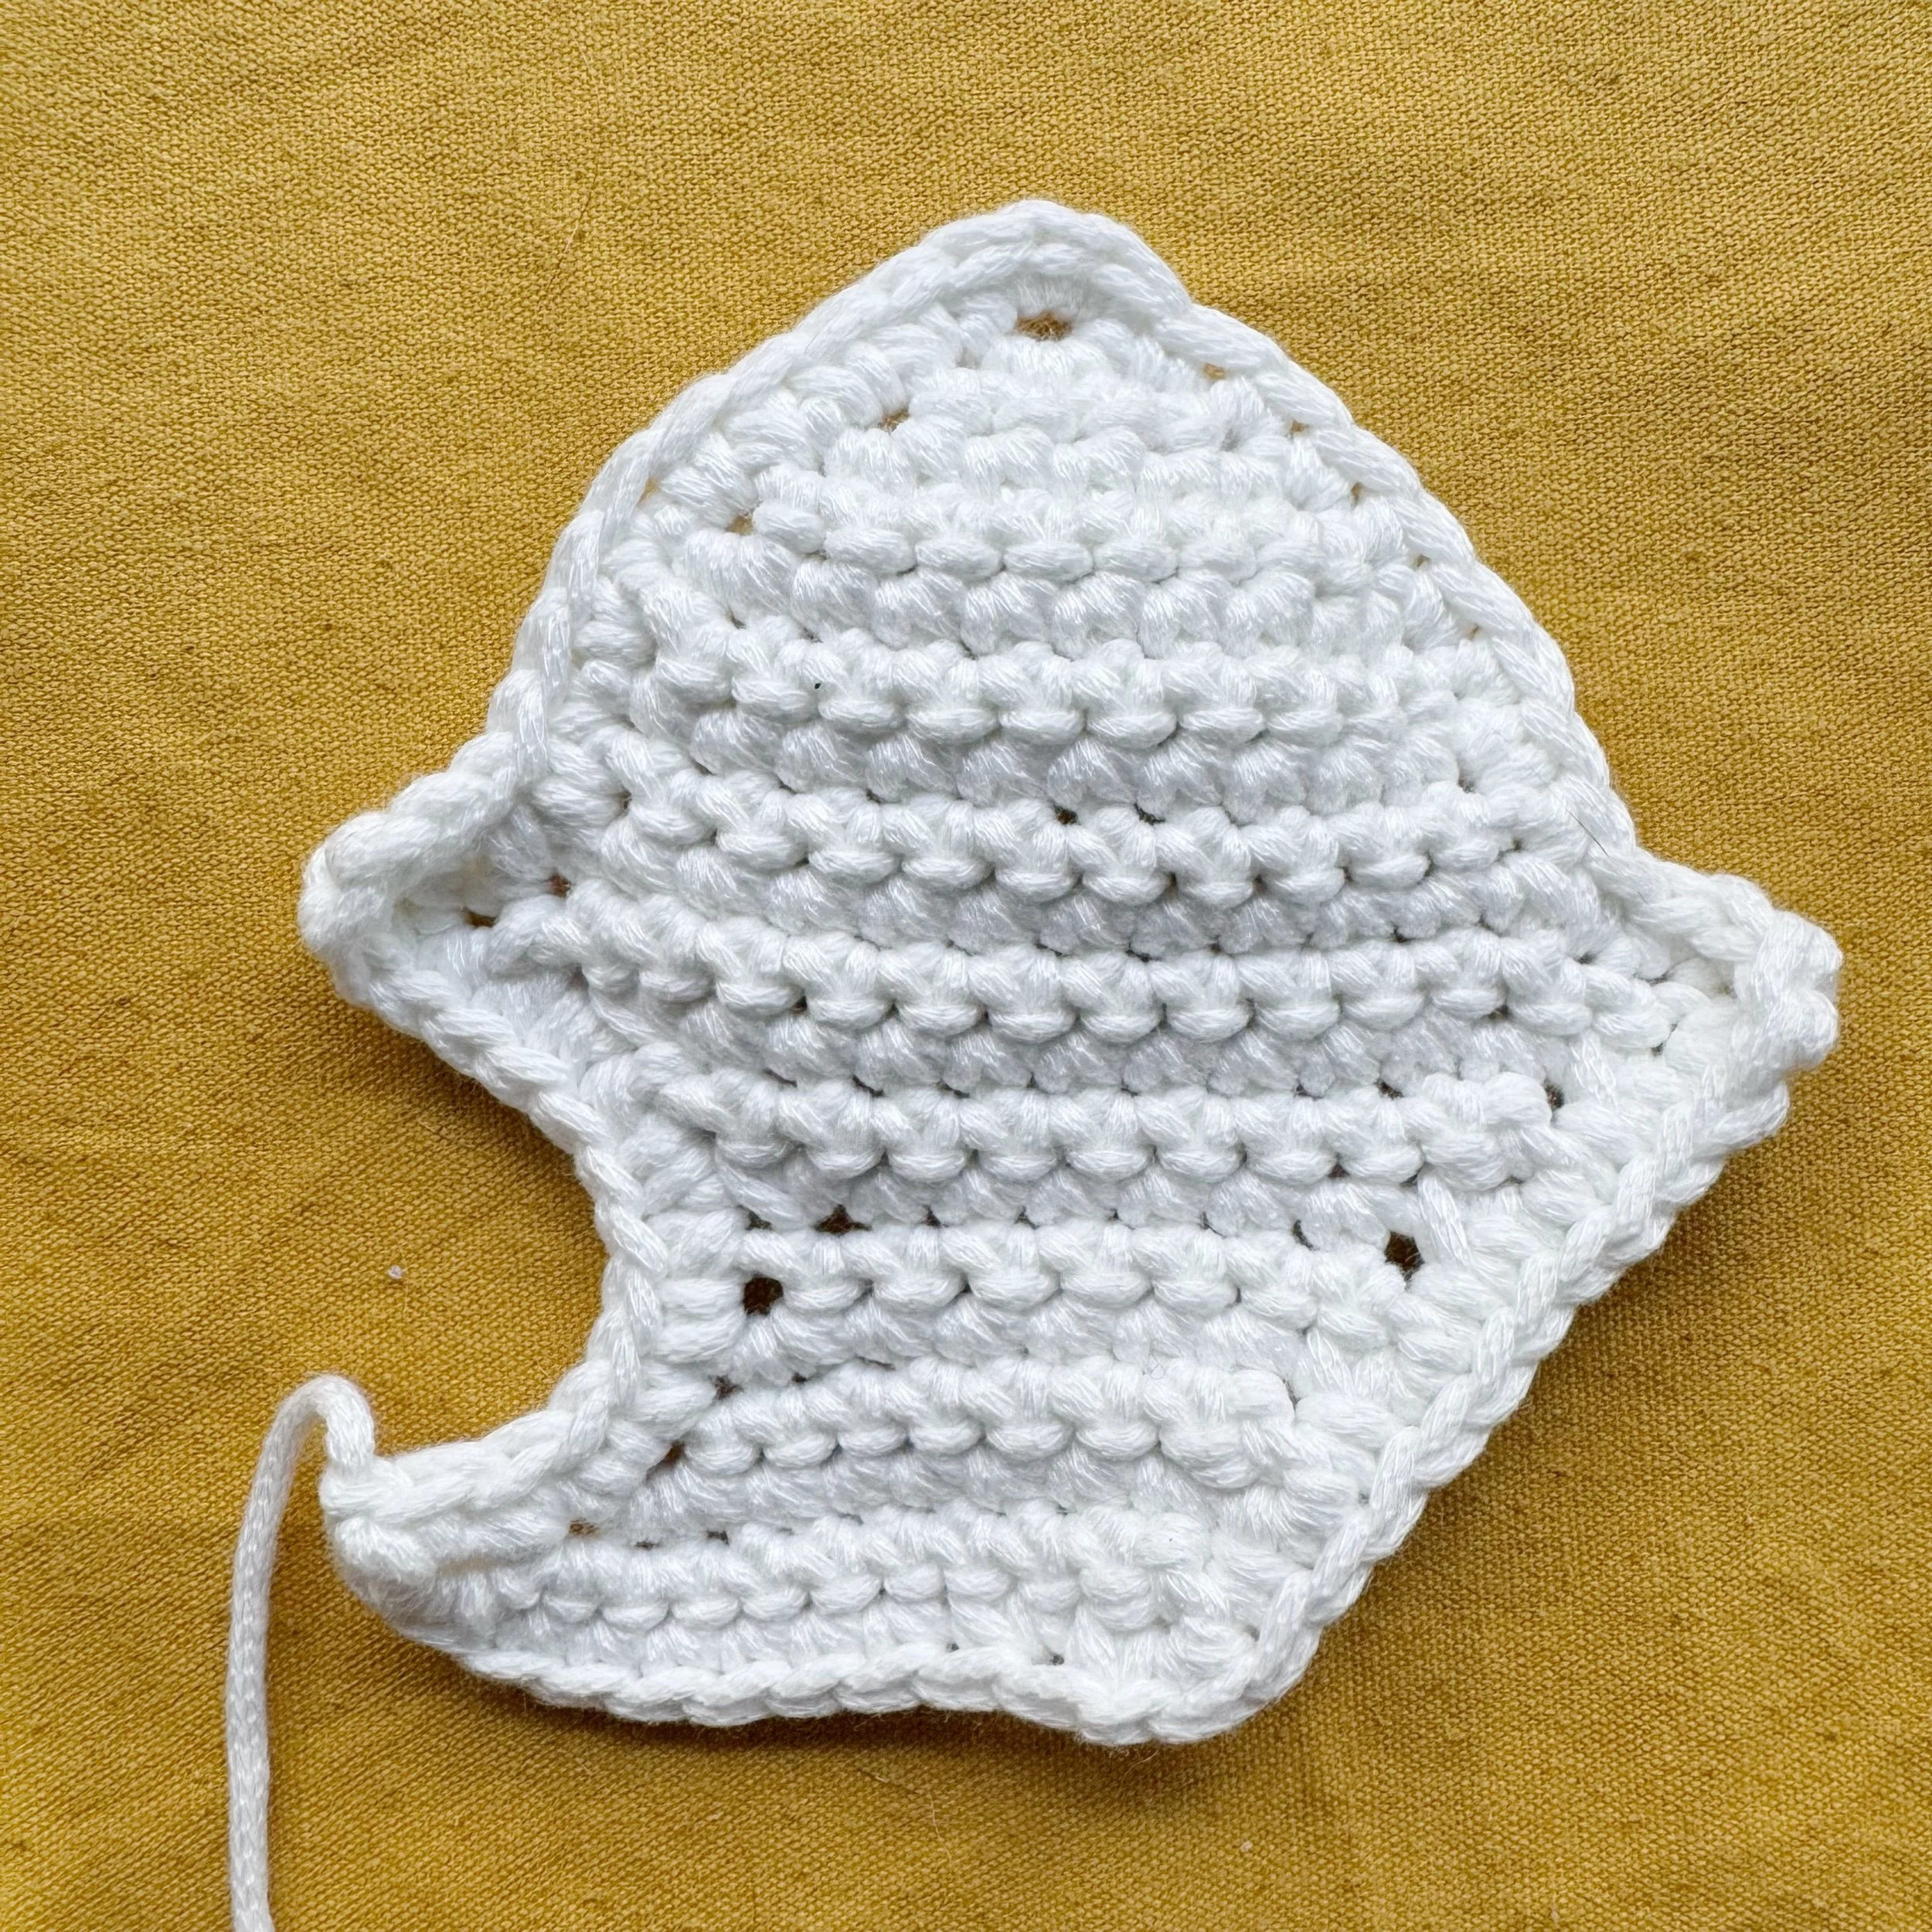
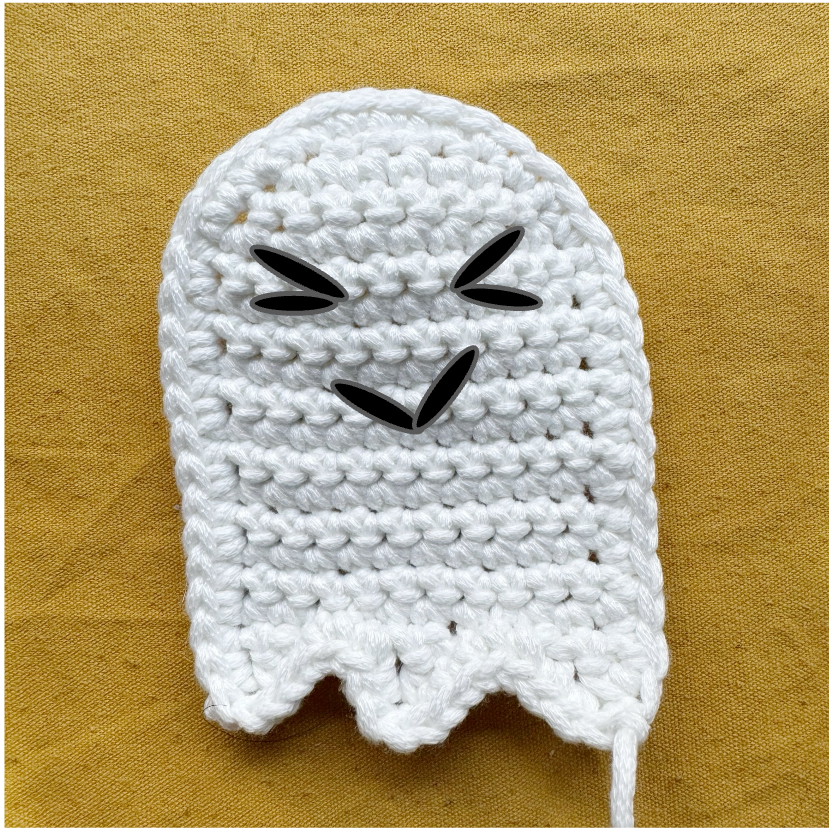
Using a long strand of black yarn and a tapestry needle, embroider the faces on to each ghost as shown in the photos. Make sure to leave small tails at the beginning and end and then tie those ends together when finished to secure.
Feel free to mix and match the elements for each ghost or create your own.
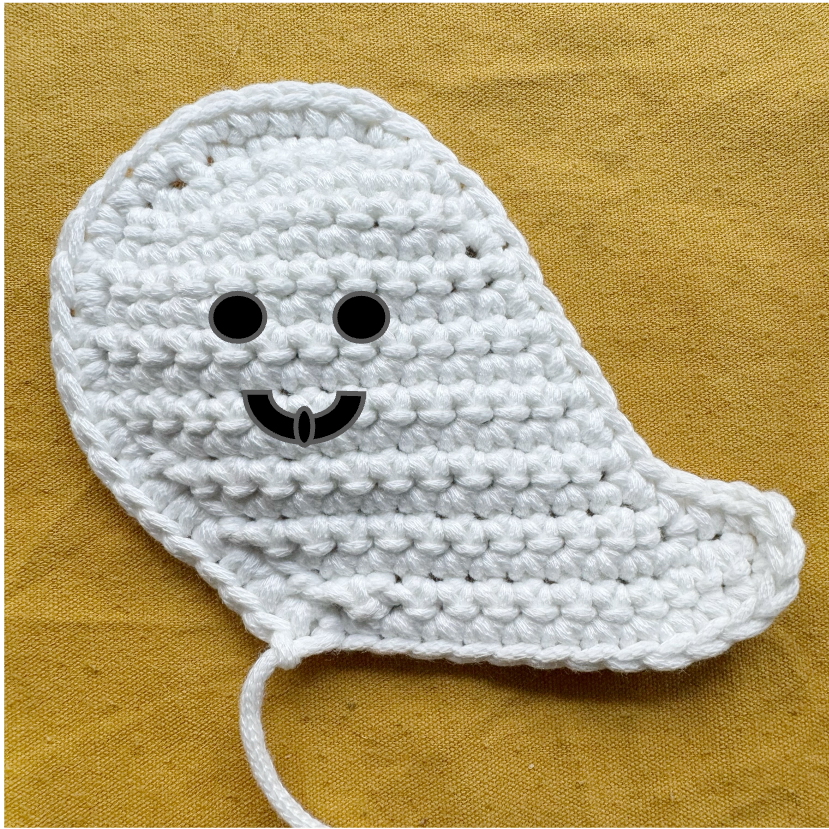
Ghostie #2 uses colonial knots for the eyes and one long stitch for the mouth which is then secured with a small stitch in the middle. See video tutorial for details.
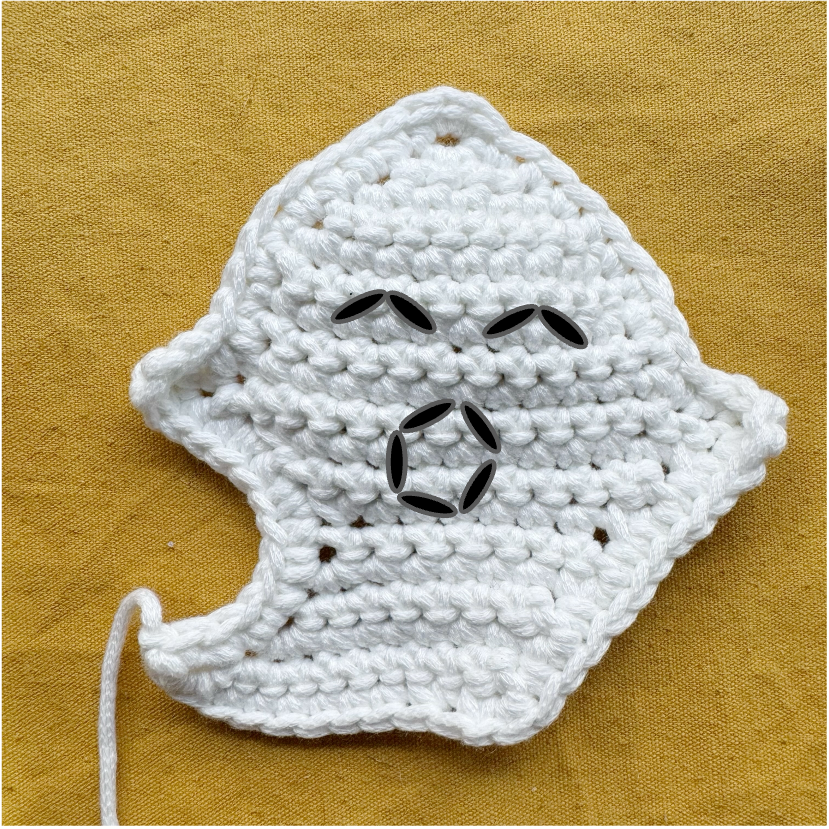
Once ghosts are complete you can sew them onto a cardigan, bag, cup cozy, etc.
I hope you love your new ghosties! If you. make some I’d love to see what you do with them. Make sure to tag me @meghanmakesdo on socials so I can see and share.
As always you can find a digital PDF version of The Ghostie Trio in my shop, Etsy and Ravelry.
Happy Crocheting,
Meghan