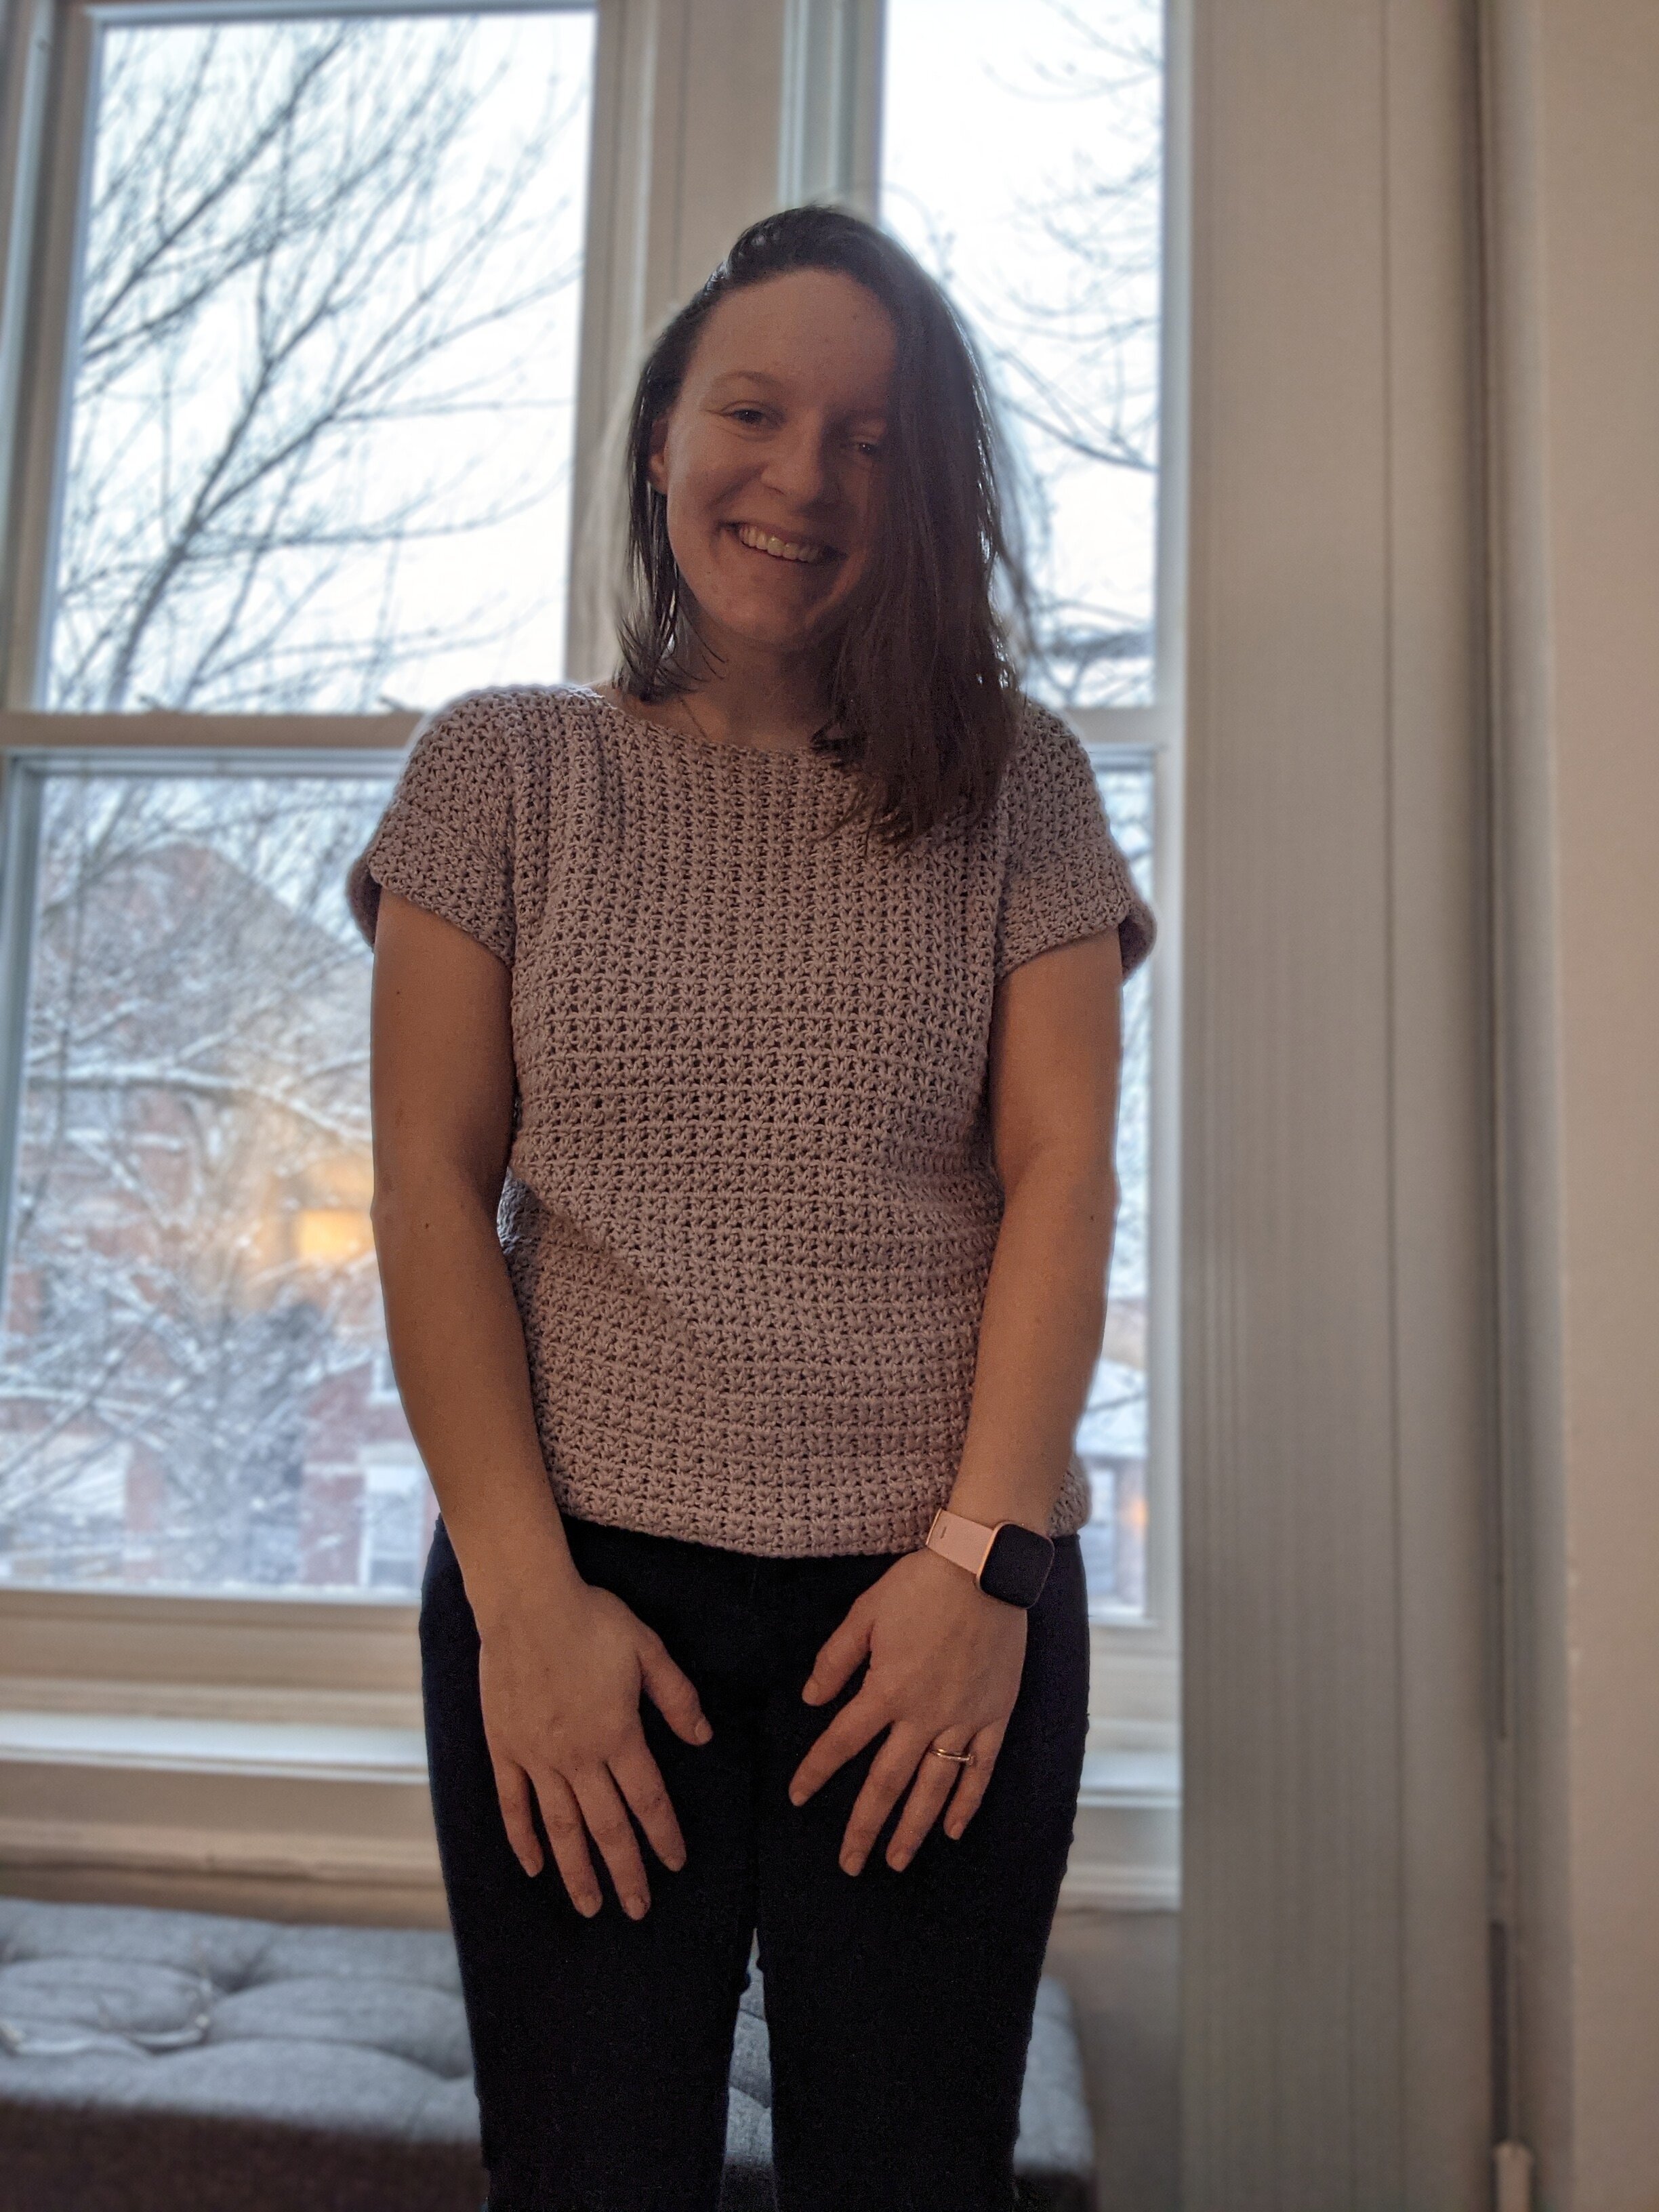
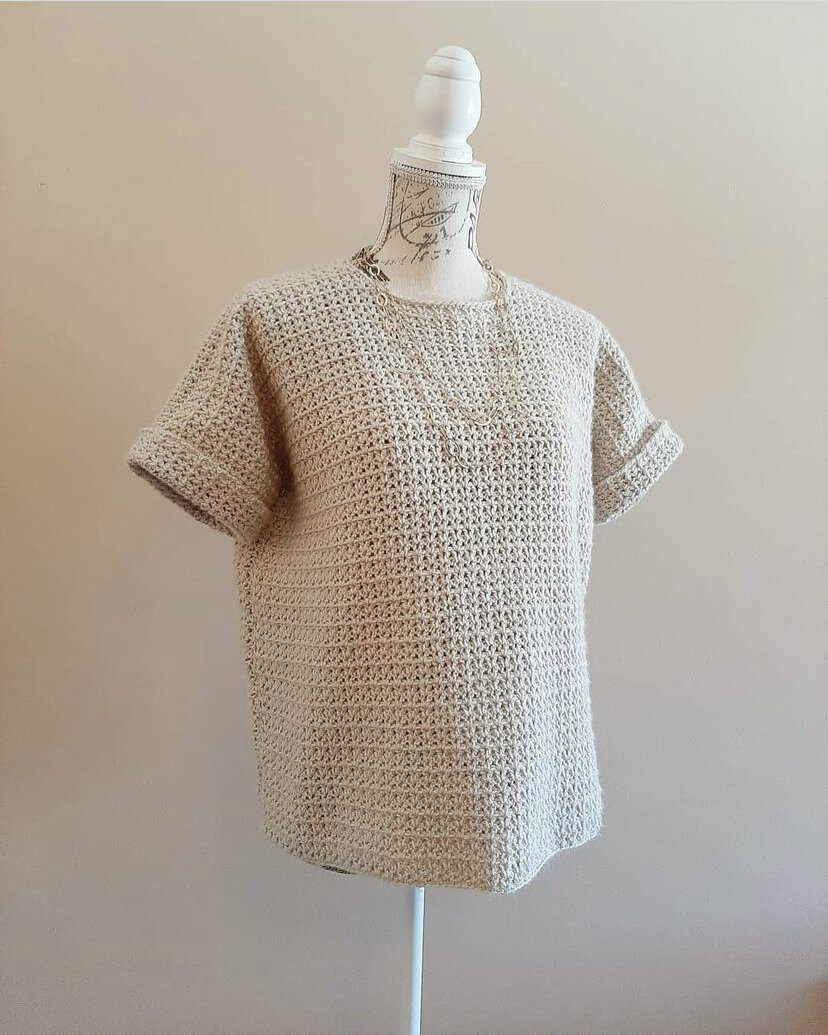
The Caris Pullover- Free Crochet Pattern
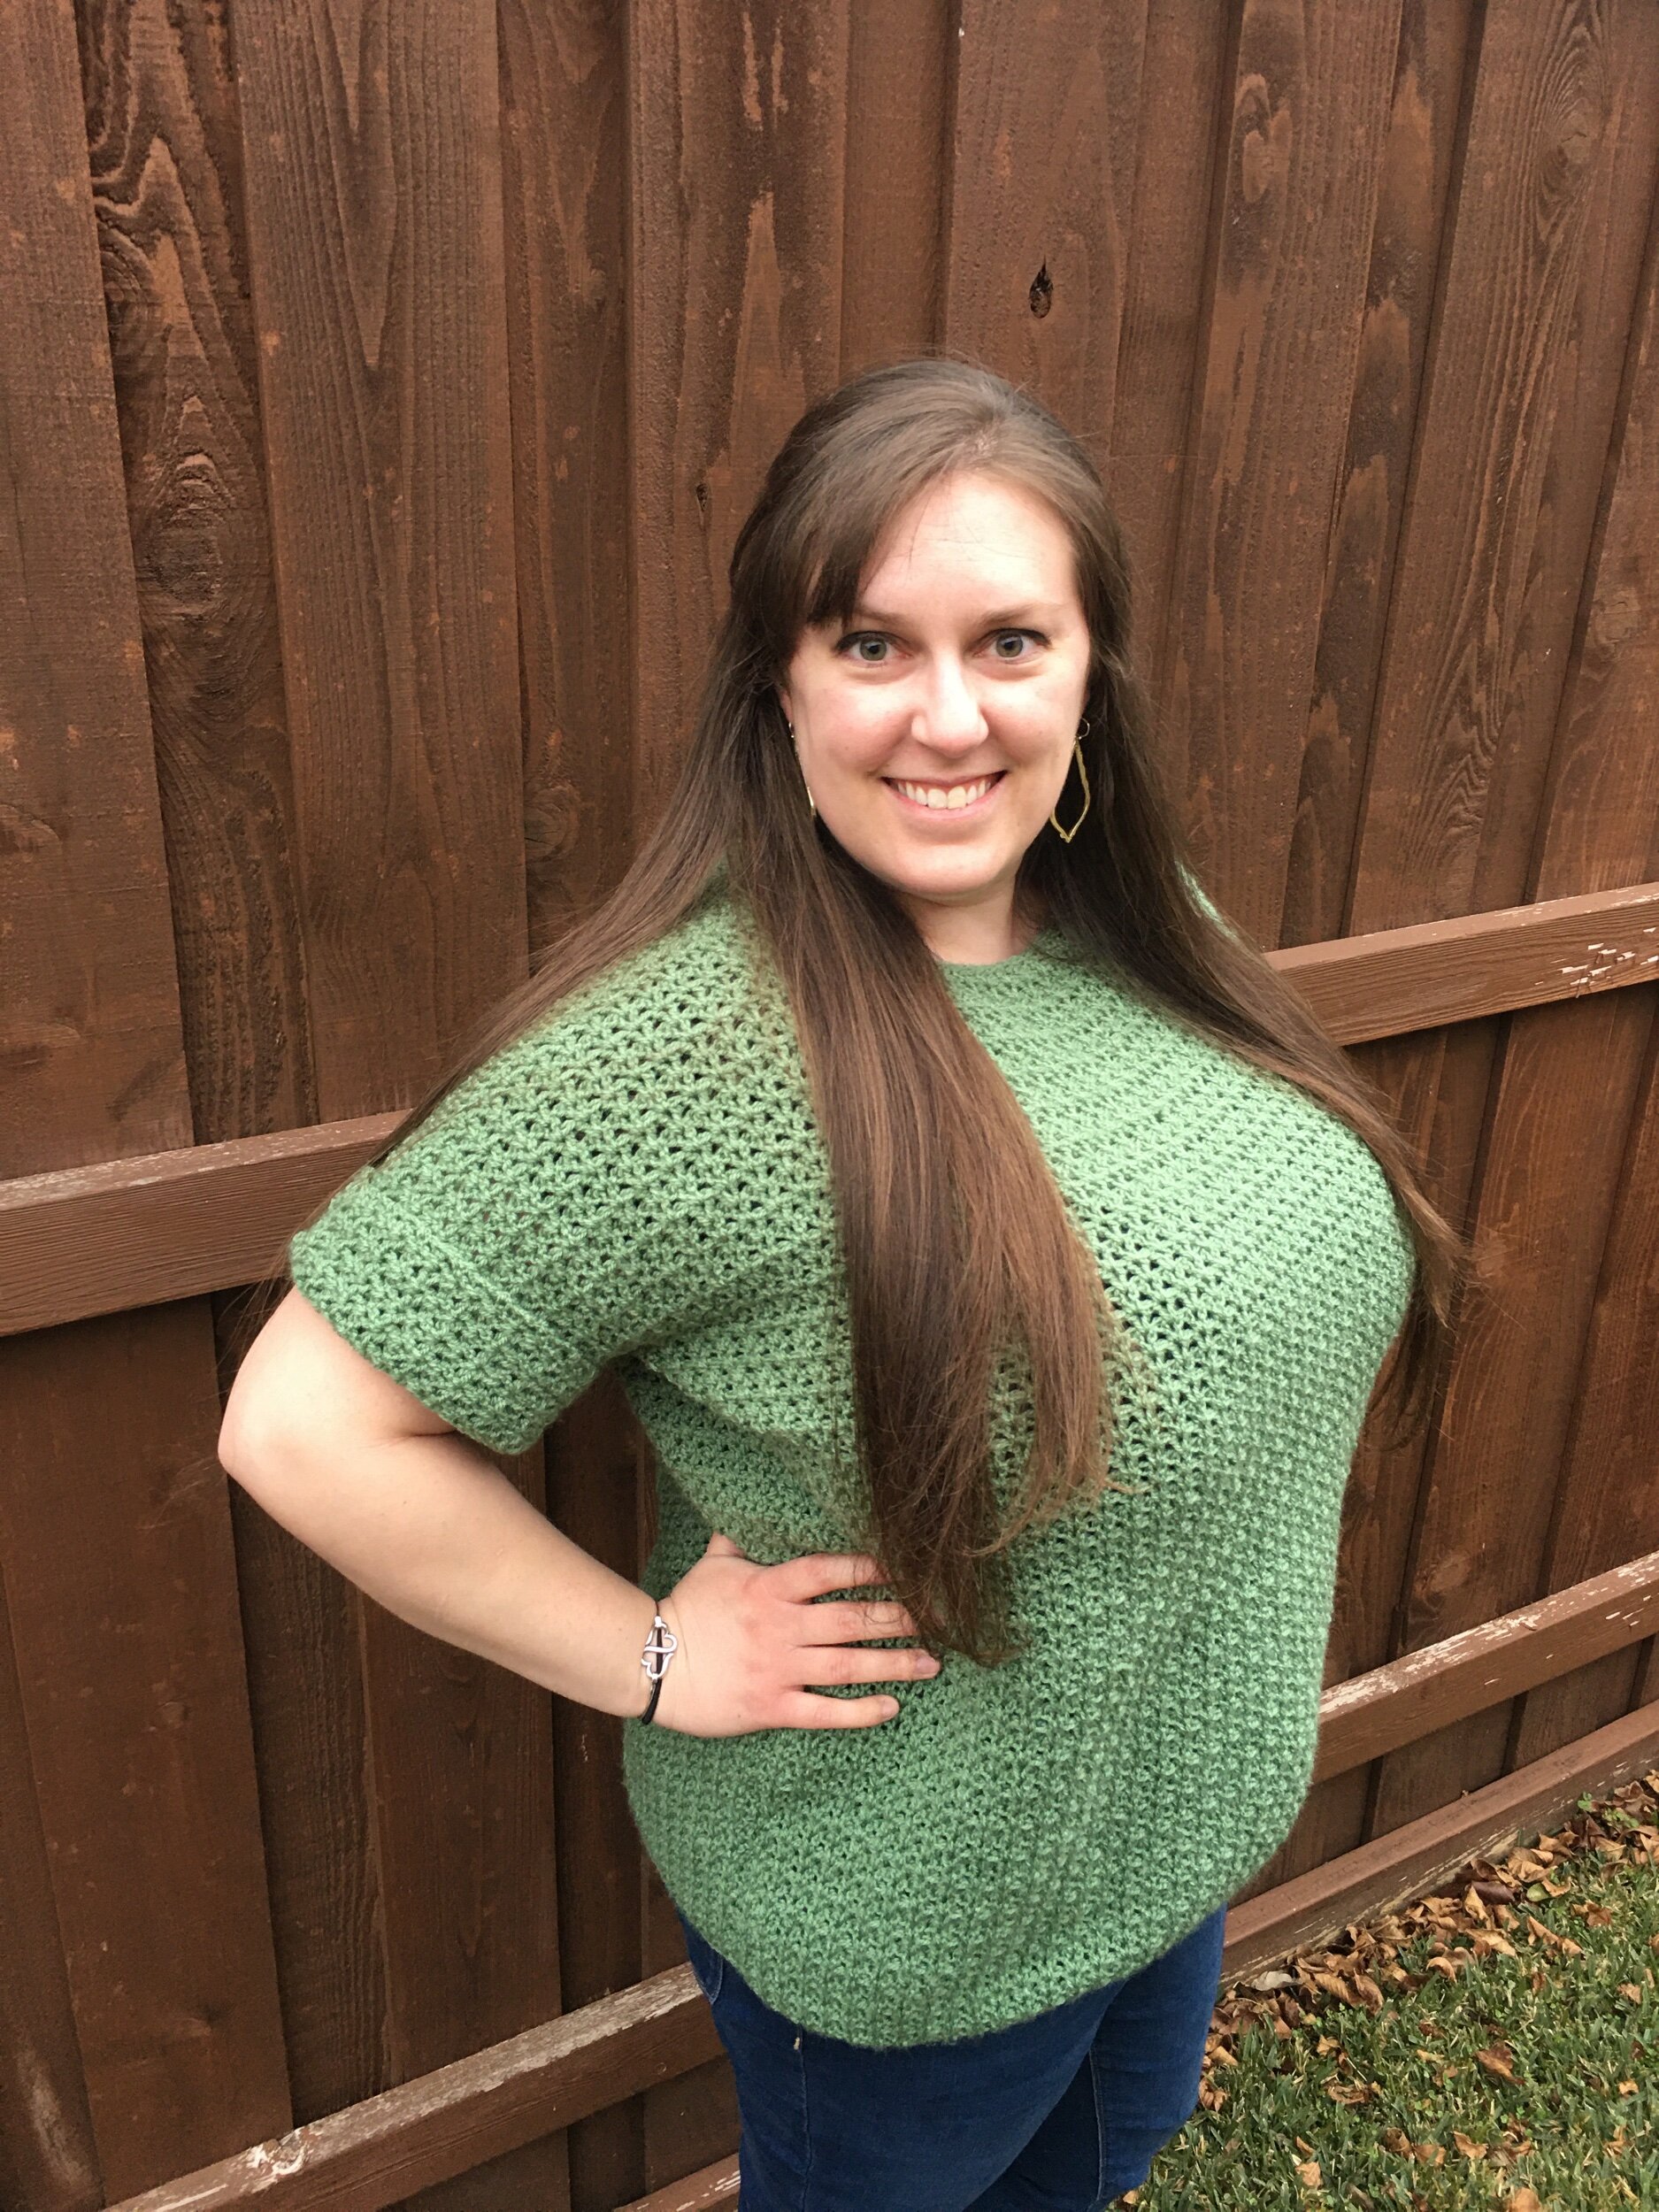
Get ready for a super simple crochet pullover sweater that is perfect for the Spring. The Caris Pullover uses basic stitches and two piece construction which makes this sweater perfect for beginners. Scroll down for the free pattern or grab a digital PDF in my shop.

I may have a slight addiction to buying gorgeous hand dyed yarn and never using them. I can’t even tell you how many sweater’s quantity amounts of yarn I have that are just waiting for me to whip them up into something new. Late last year I decided I needed to make it a priority to use up these pretty skeins and I’m so glad I did.
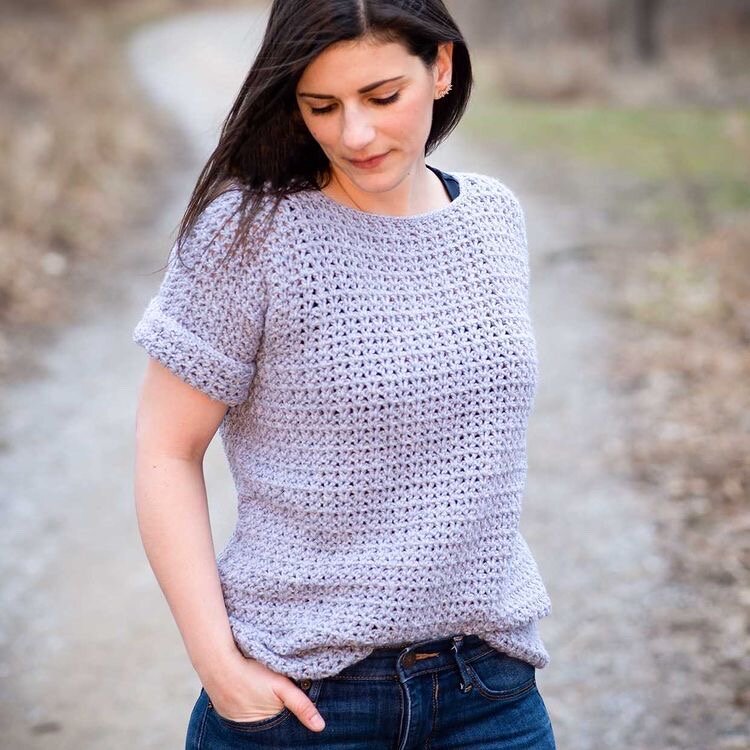
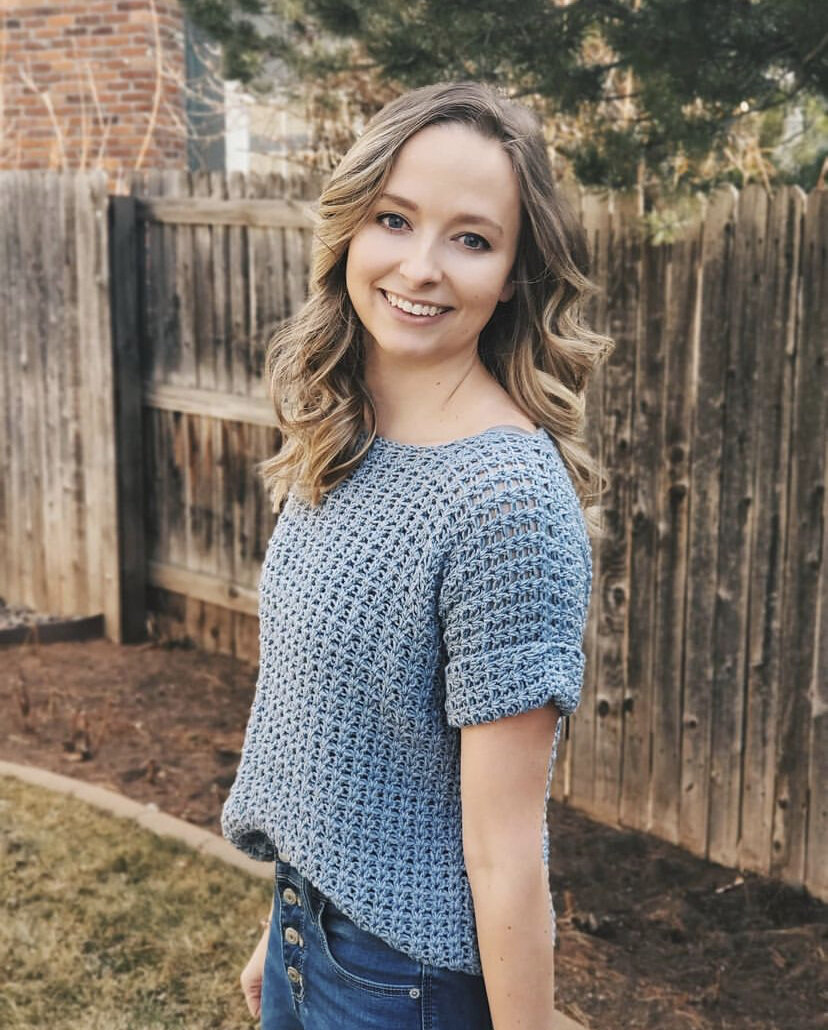
The first set of yarn I used is now the gorgeous Caris Pullover! My friend Ashley of Montana Crochet creates the most stunning colorways and I couldn’t resist snagging some skeins of her beautiful Cold Brew on Tweed DK. It’s the perfect neutral shade.
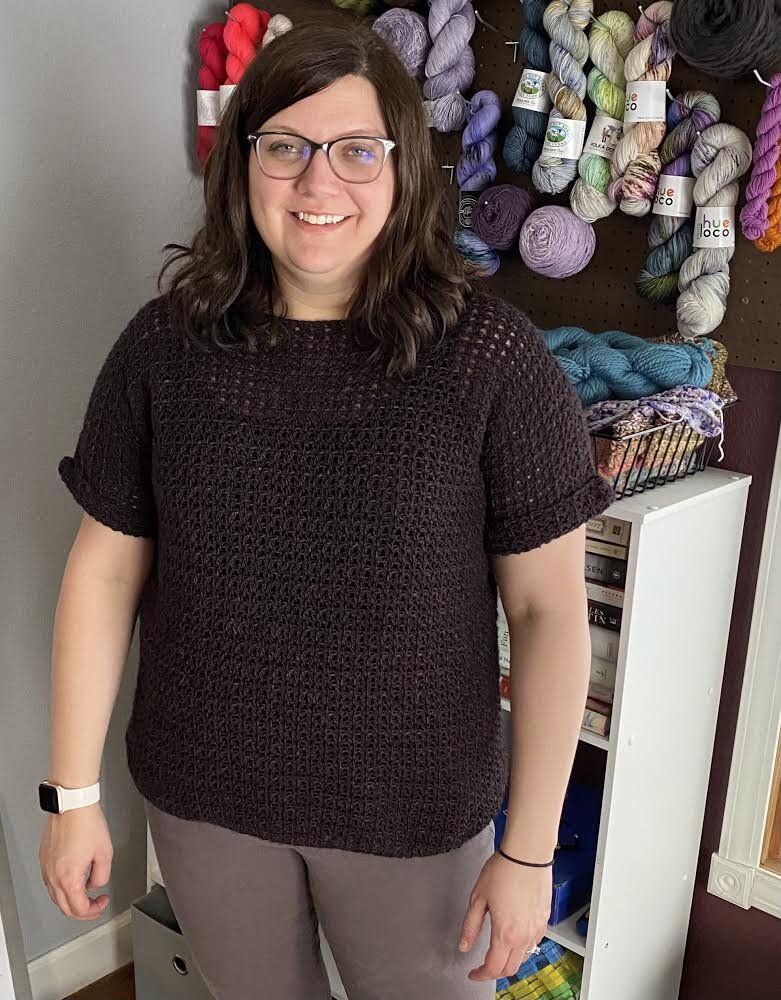
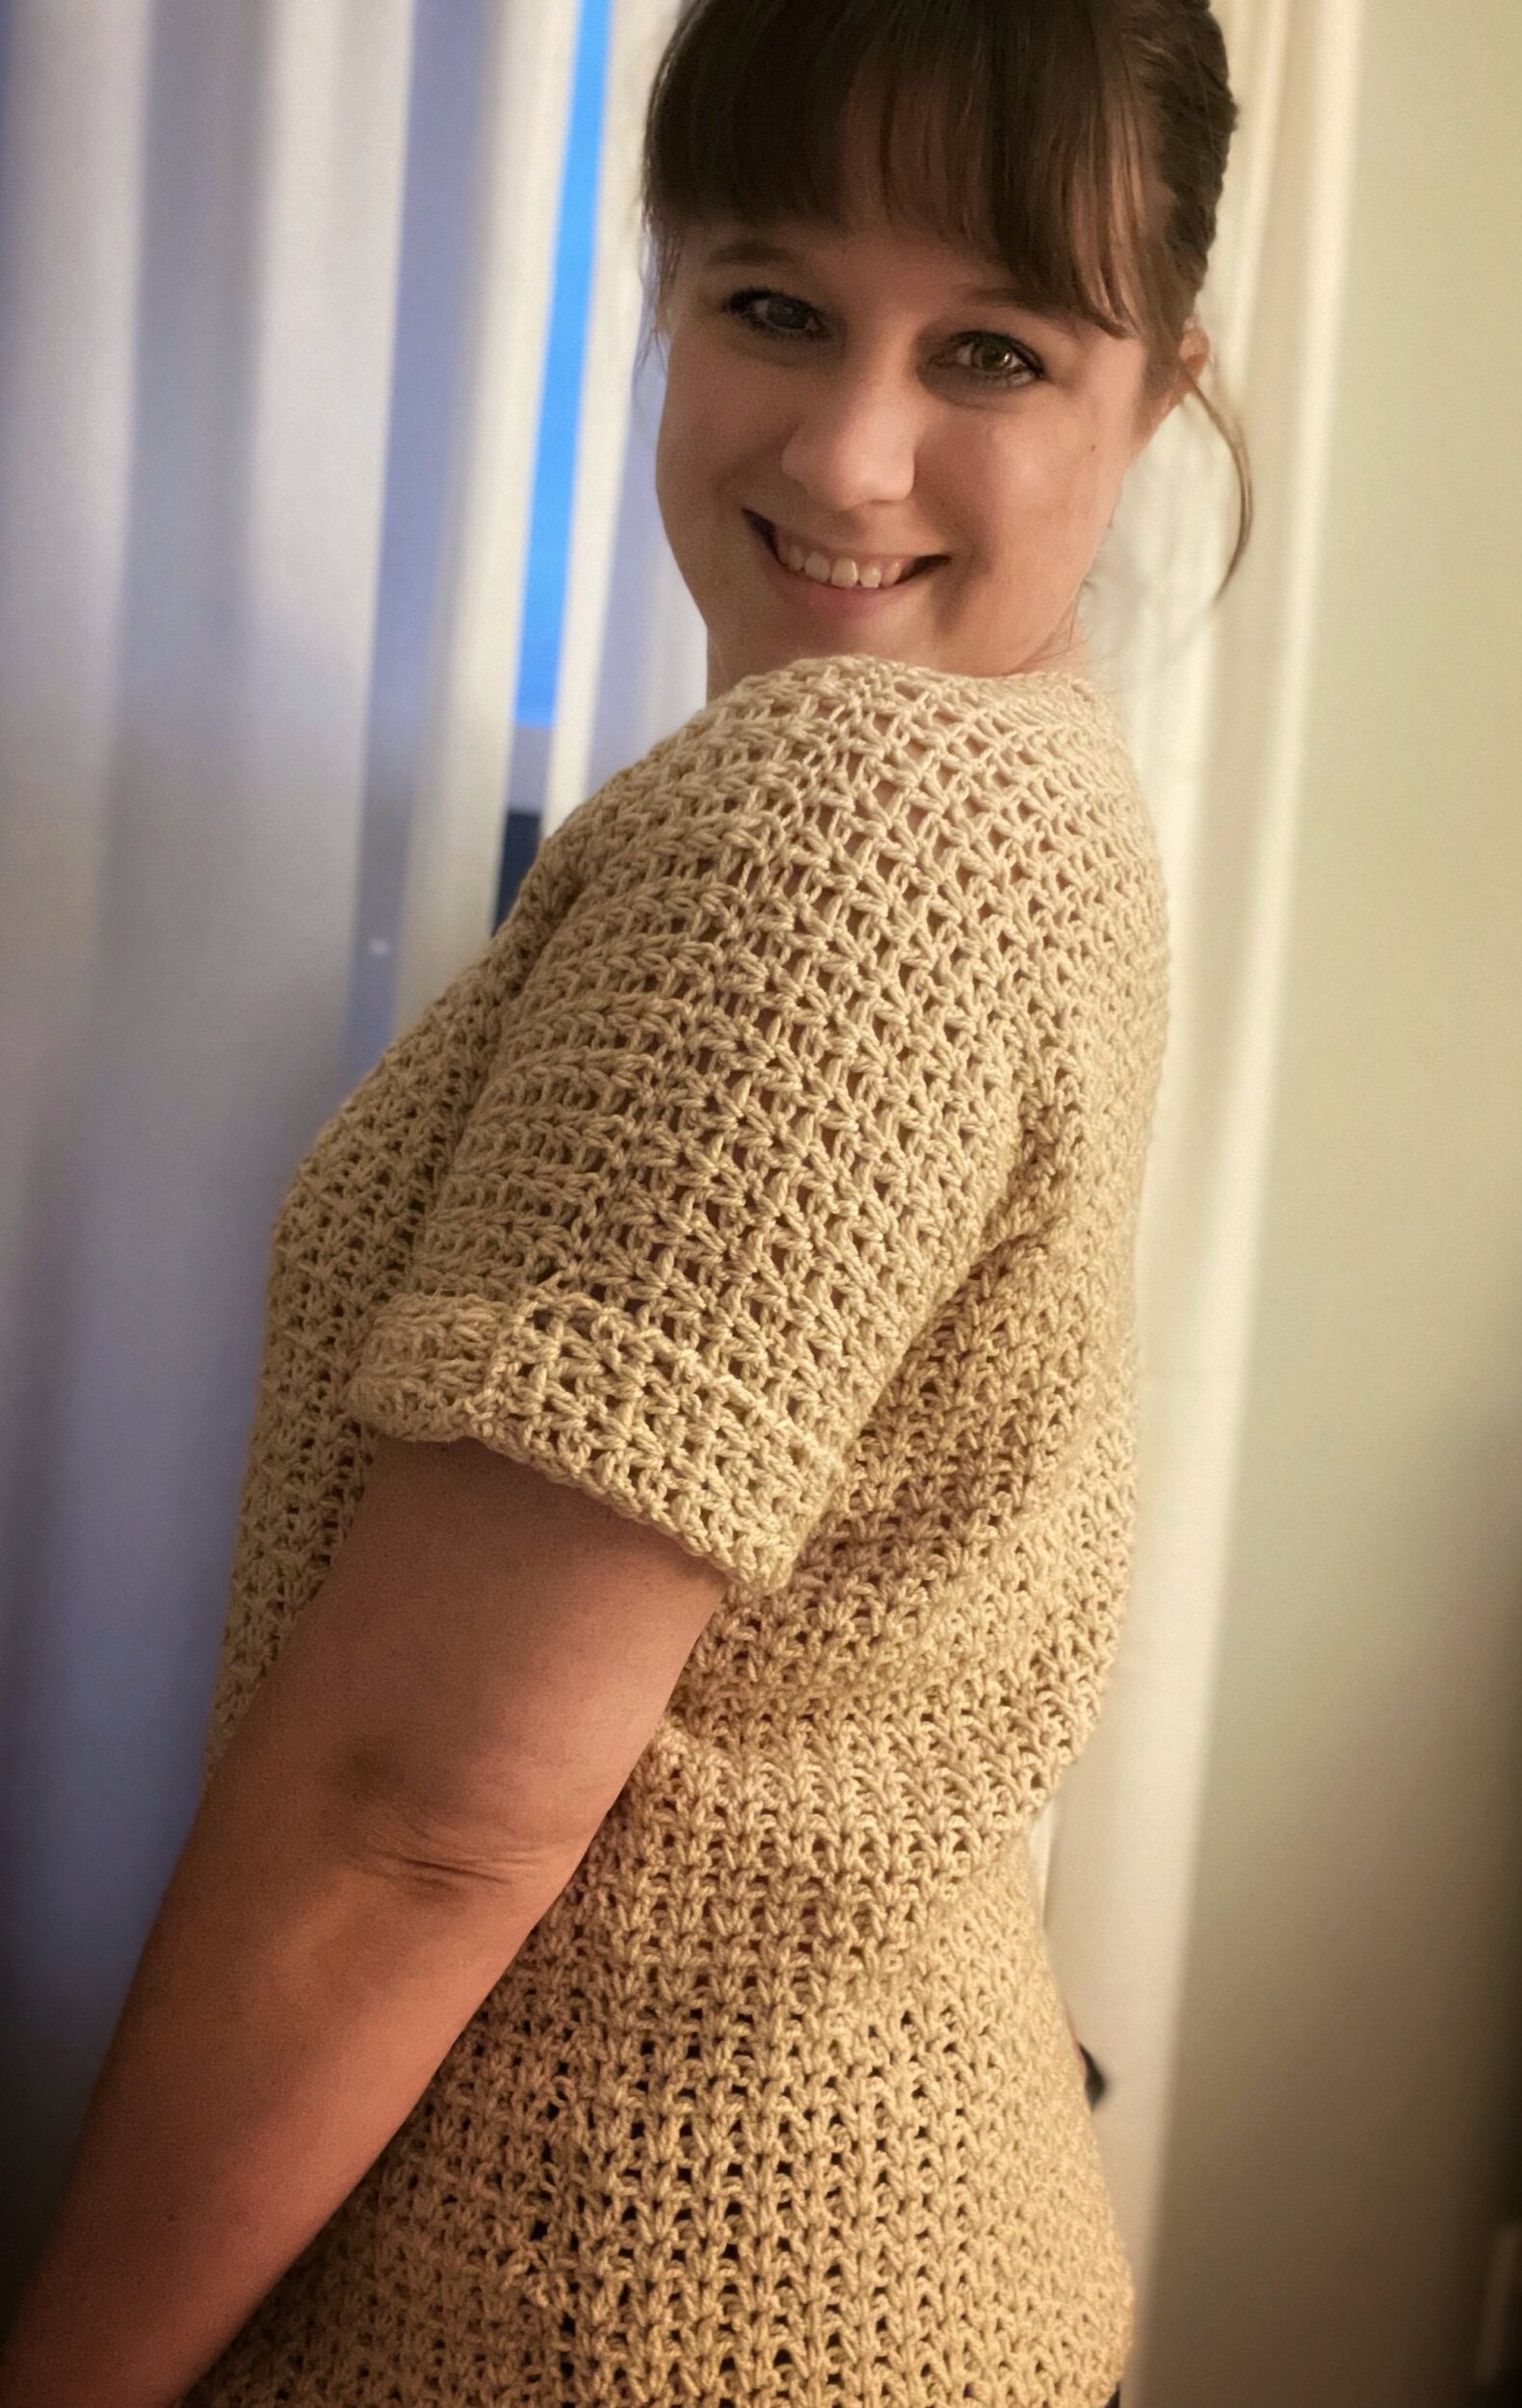
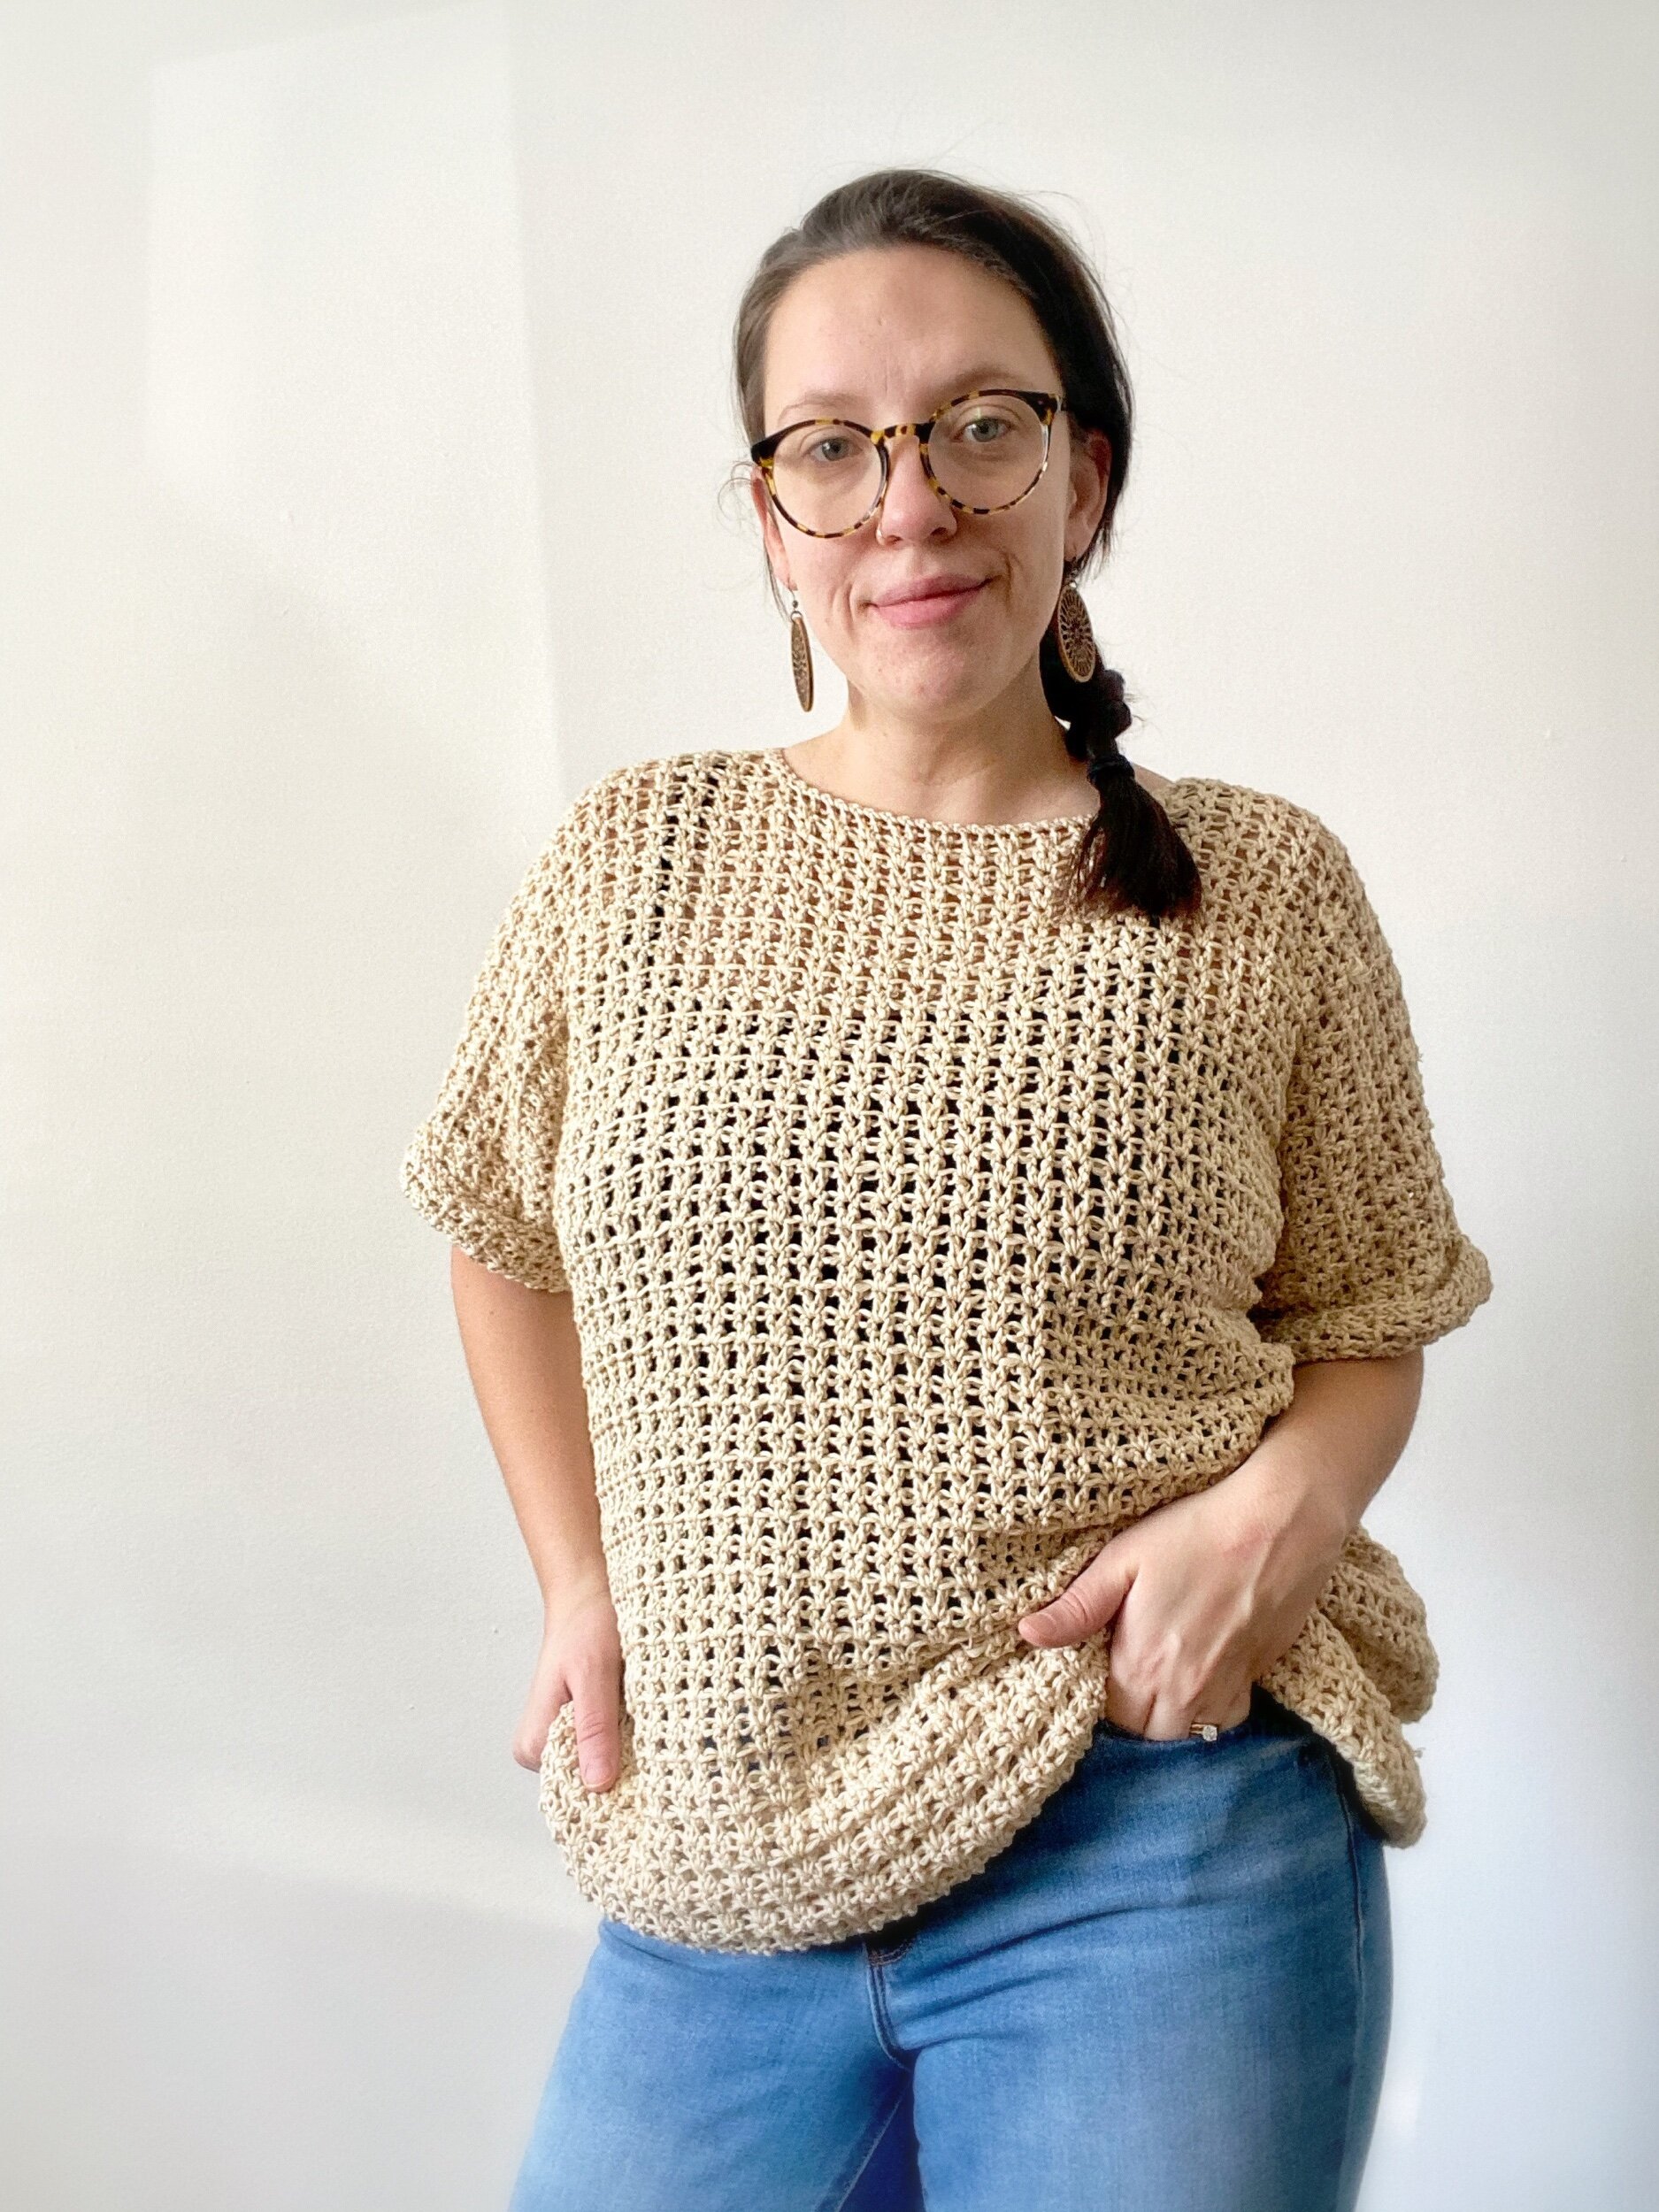
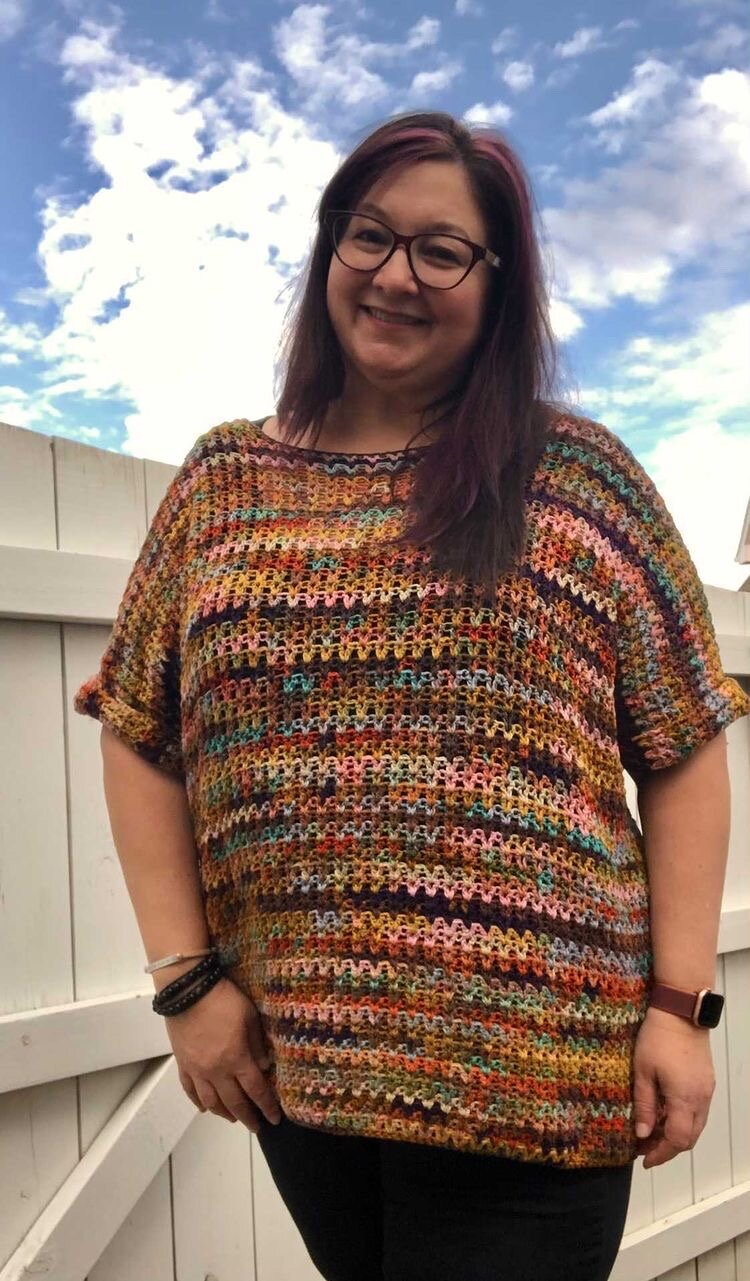
I decided to use simple stitches (just double crochets) to make this sweater easy and mindless to work up. The two panels are almost identical and create a slightly oversized look. The cuffed sleeves add a little extra touch that looks great on all figures.
I’m so excited to finally be using some of my “fancy” yarn and I hope you love the Caris Pullover as much as I do.

The Caris Pullover Crochet Pattern
Materials:
987-2006 yards of DK weight yarn (Montana Crochet Cold Brew)
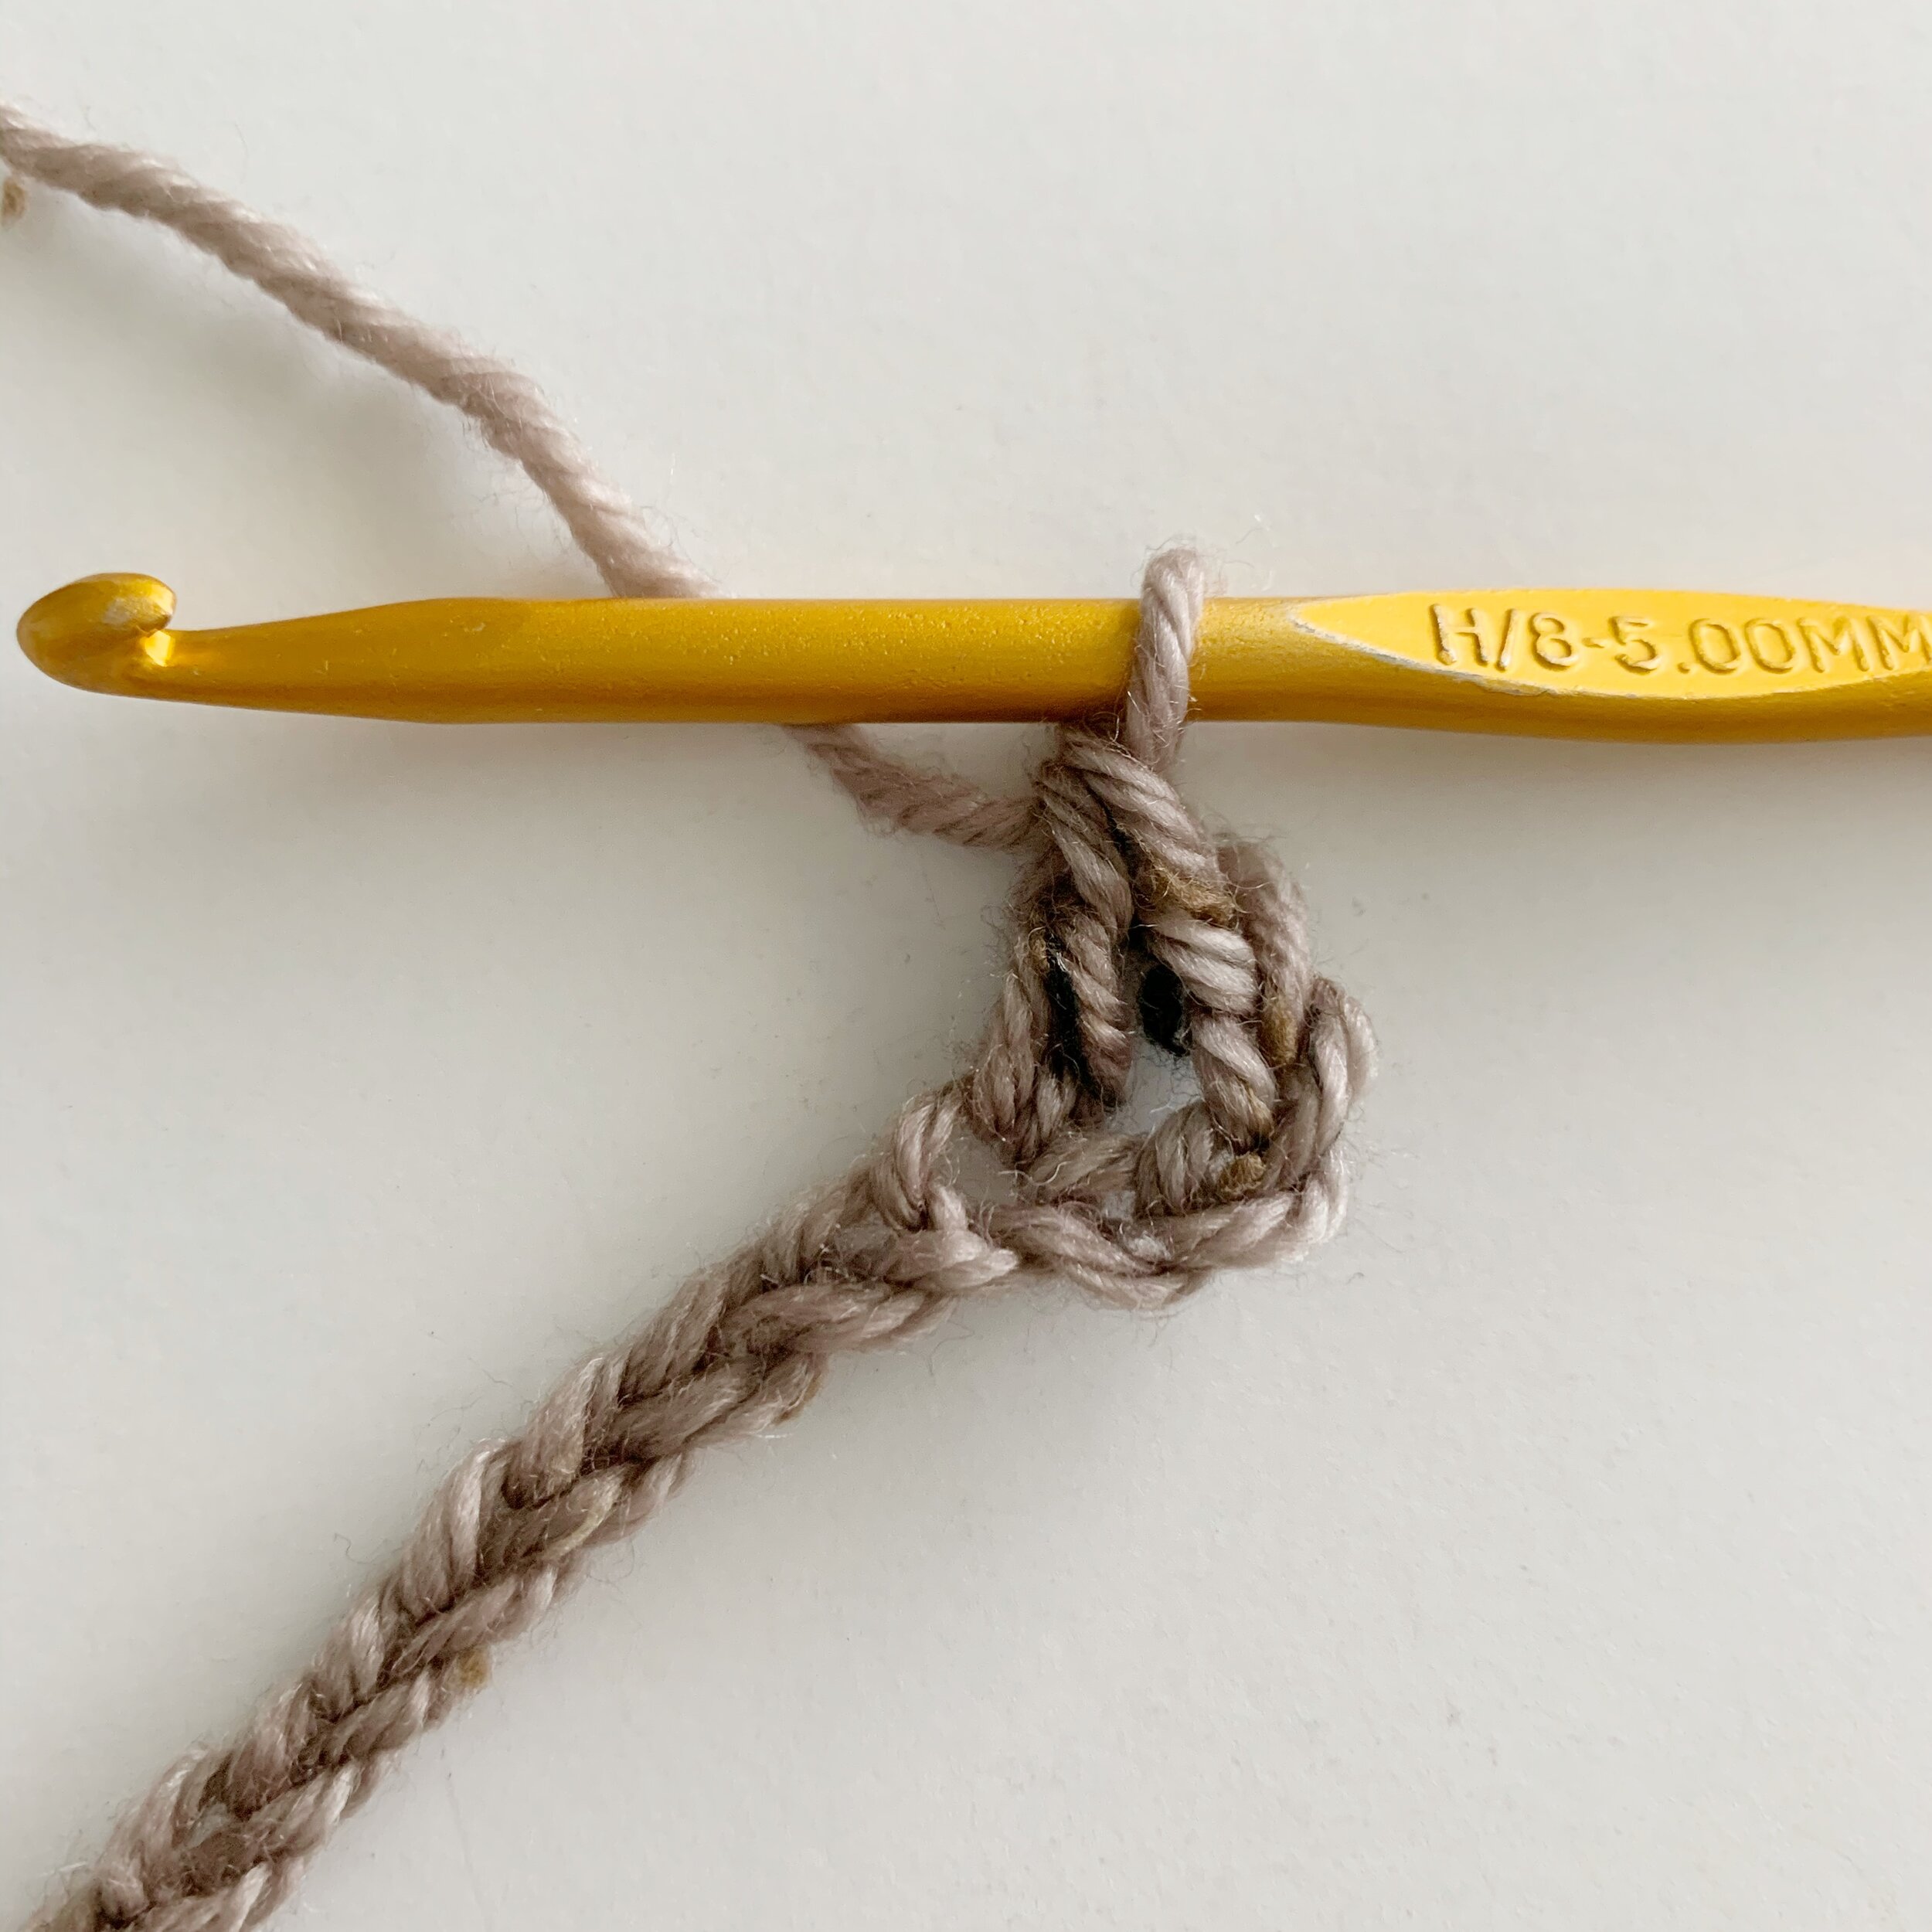
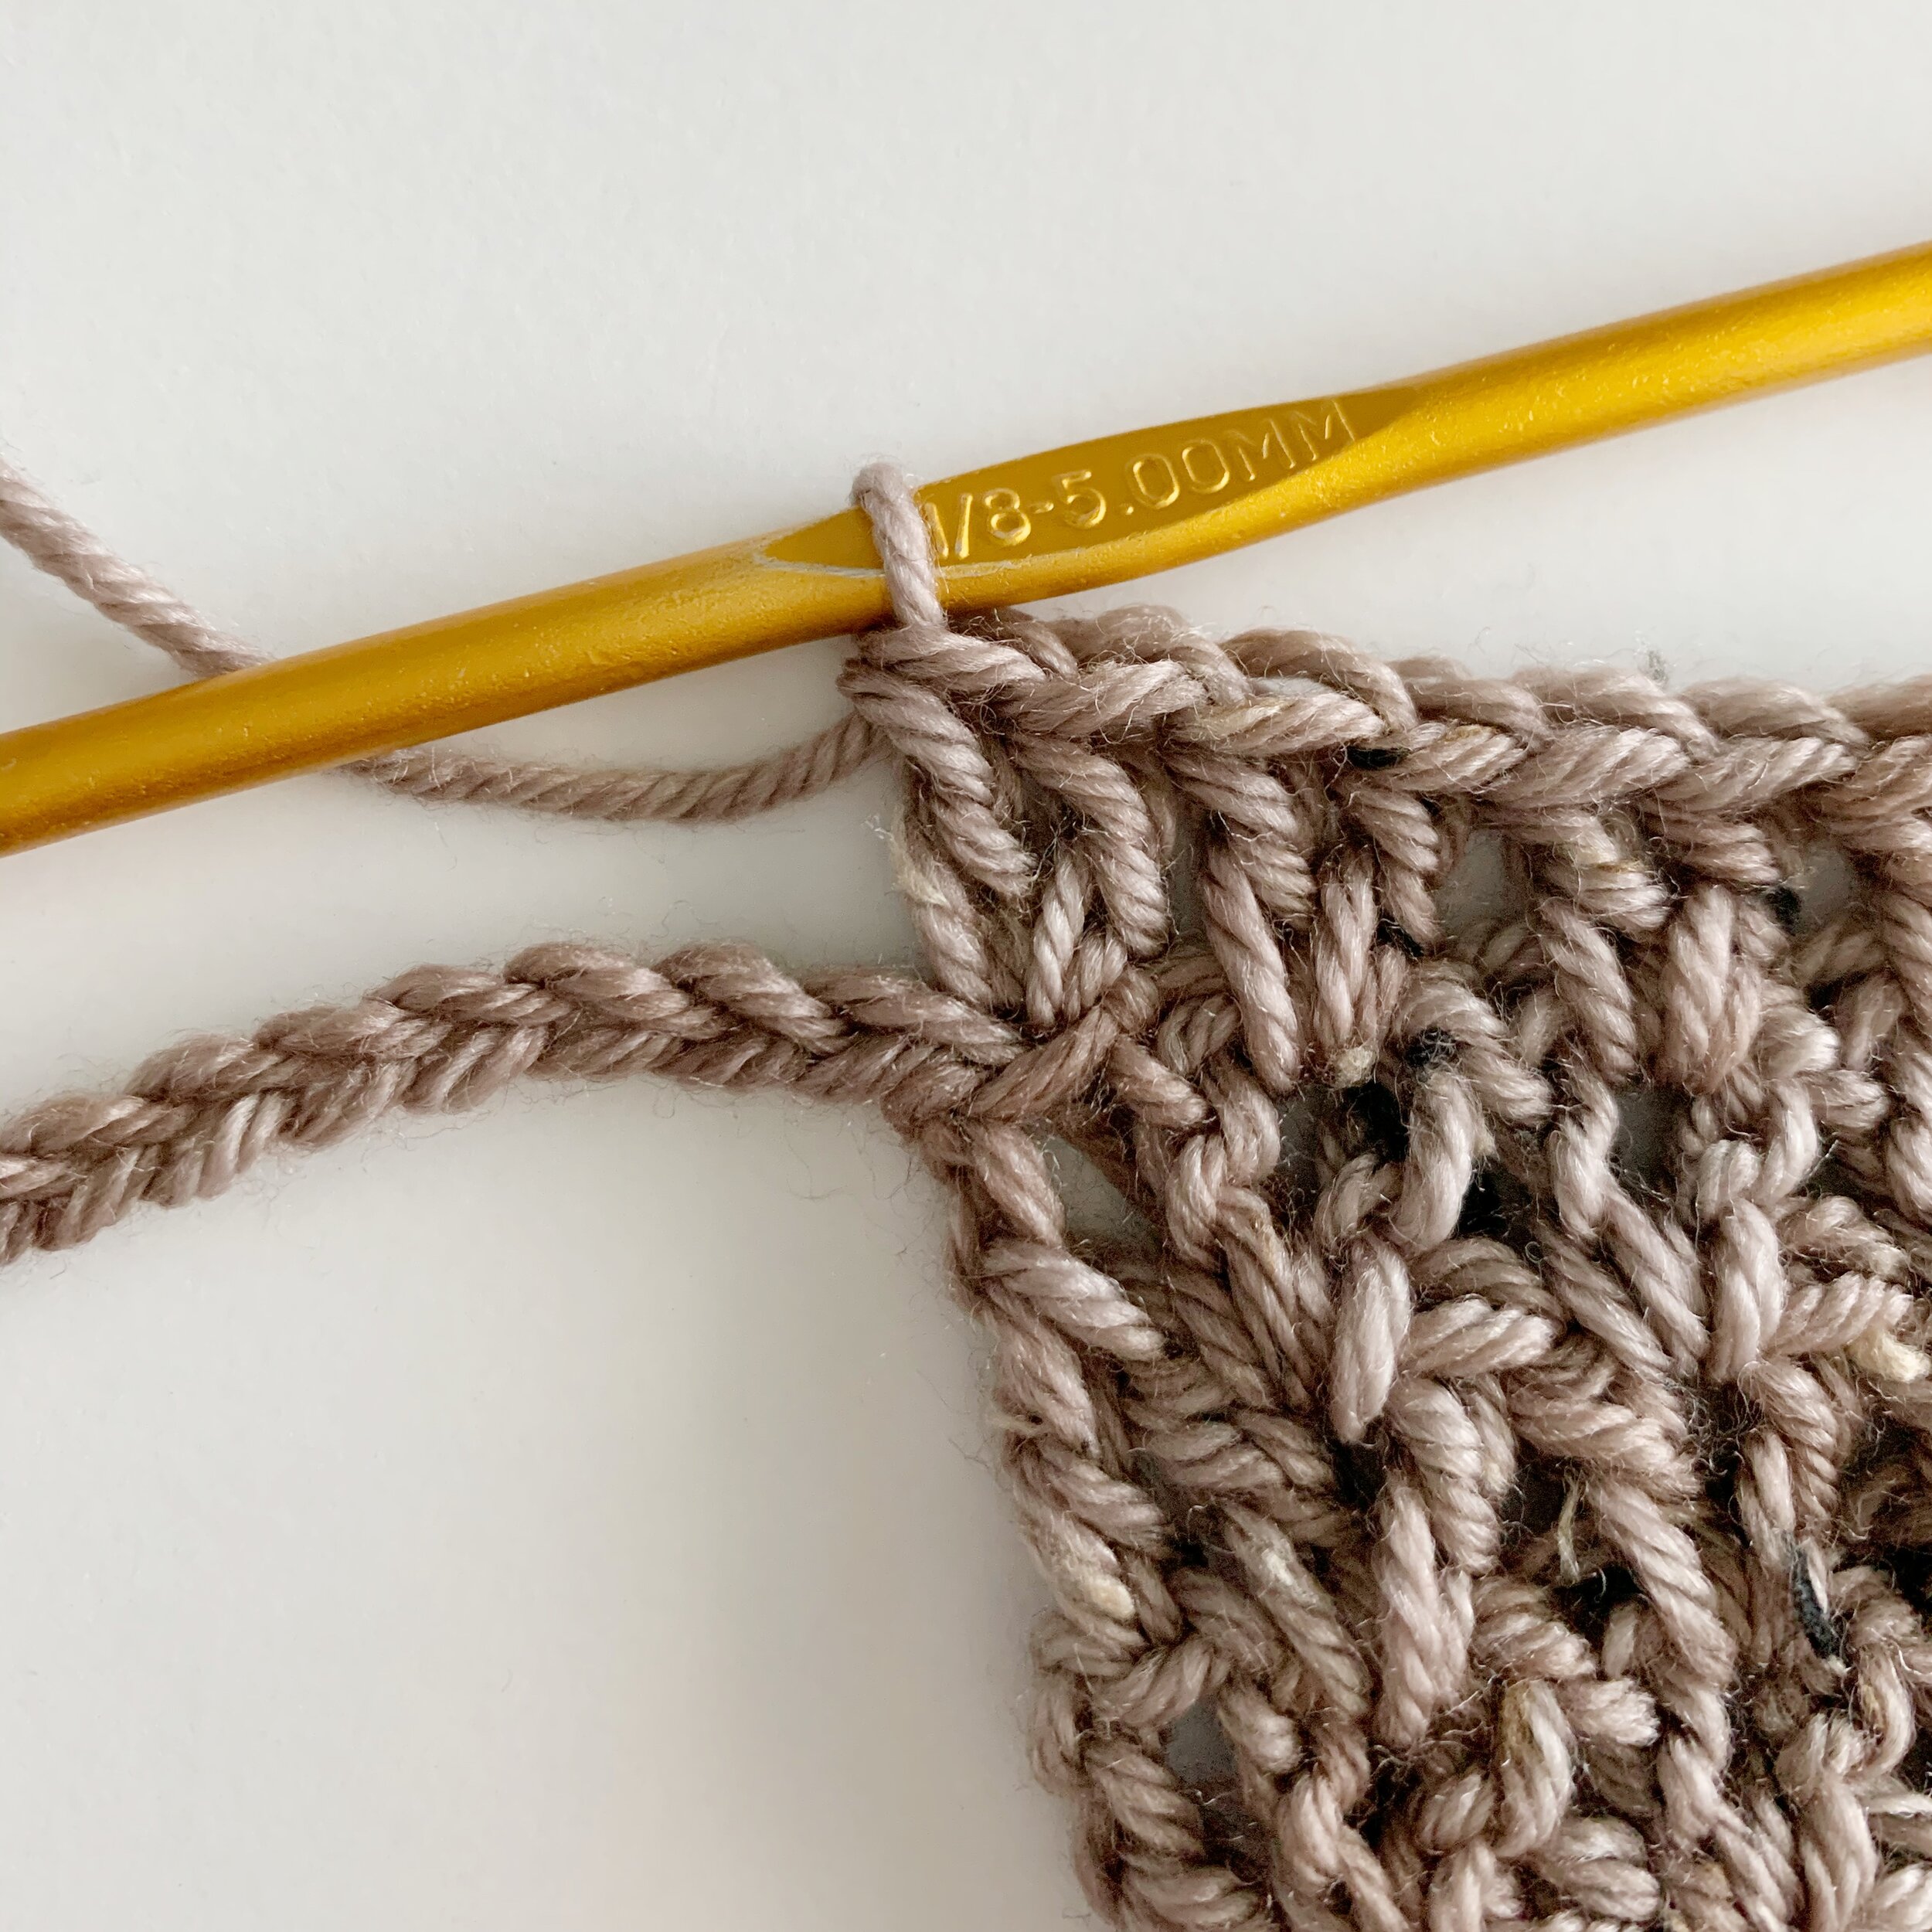
Crochet hook size H (5.00mm)
Tapestry needle
Scissors
Abbreviations:
ch- chain st(s)- stitch(es)
sk- skip RS- right side
sl st- slip stitch WS- wrong side
sc- single crochet dc- double crochet
sp- space
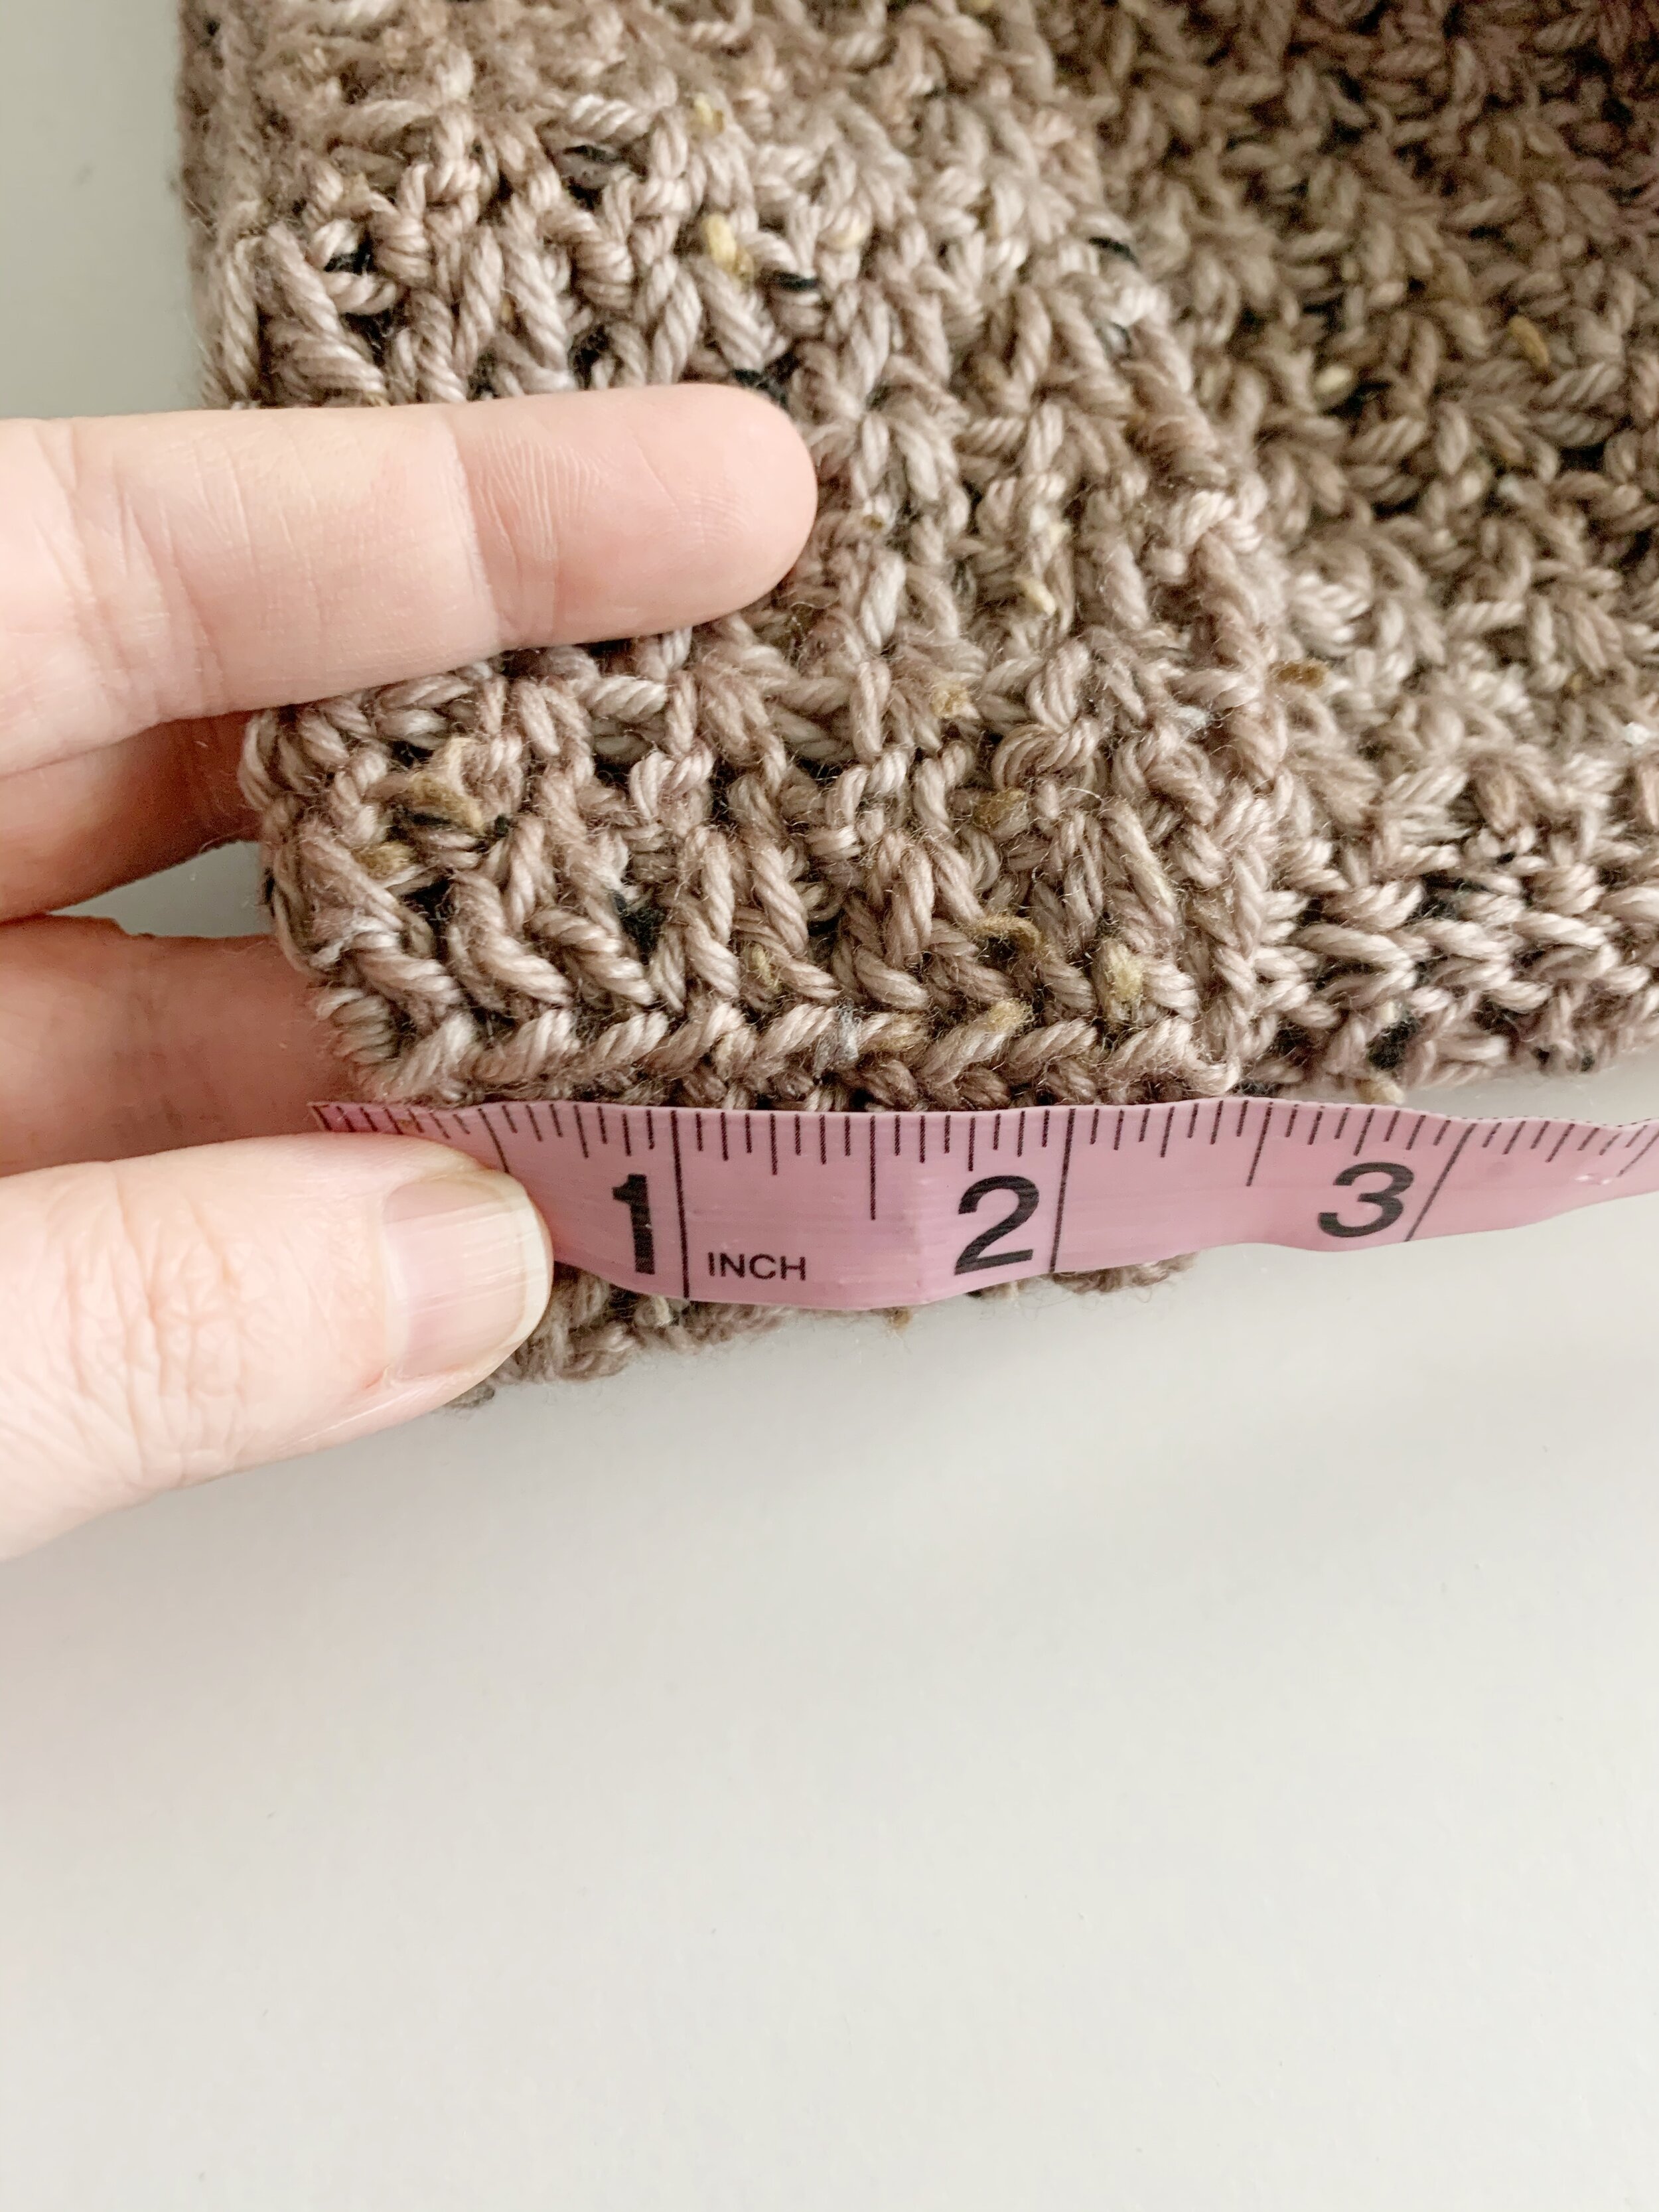
Gauge:
13 sts and 9 rows in pattern repeat = 4” square
(use rows 1-10 of back panel for gauge)
Size:
XS: fits bust 28-30” (approx. 987 yards)
S: fits bust 32-34” (approx. 1090 yards)
M: fits bust 36-38” (approx. 1223 yards)
L: fits bust 40-42” (approx. 1332 yards)
XL: fits bust 44-46” (approx. 1472 yards)
2X: fits bust 48-50” (approx. 1586 yards)
3X: fits bust 52-54” (approx. 1733 yards)
4X: fits bust 56-58” (approx. 1853 yards)
5X: fits bust 60-62” (approx. 2006 yards)
Notes:
1.Pattern is worked bottom up in two panels. The front and back panels are seamed at the shoulders and sides.
2.Chain 3 at beginning of rows count as a stitch unless otherwise noted.
3.Pattern is made with 4-6” of positive ease. Size down for a tighter fit.

Pattern
Back:
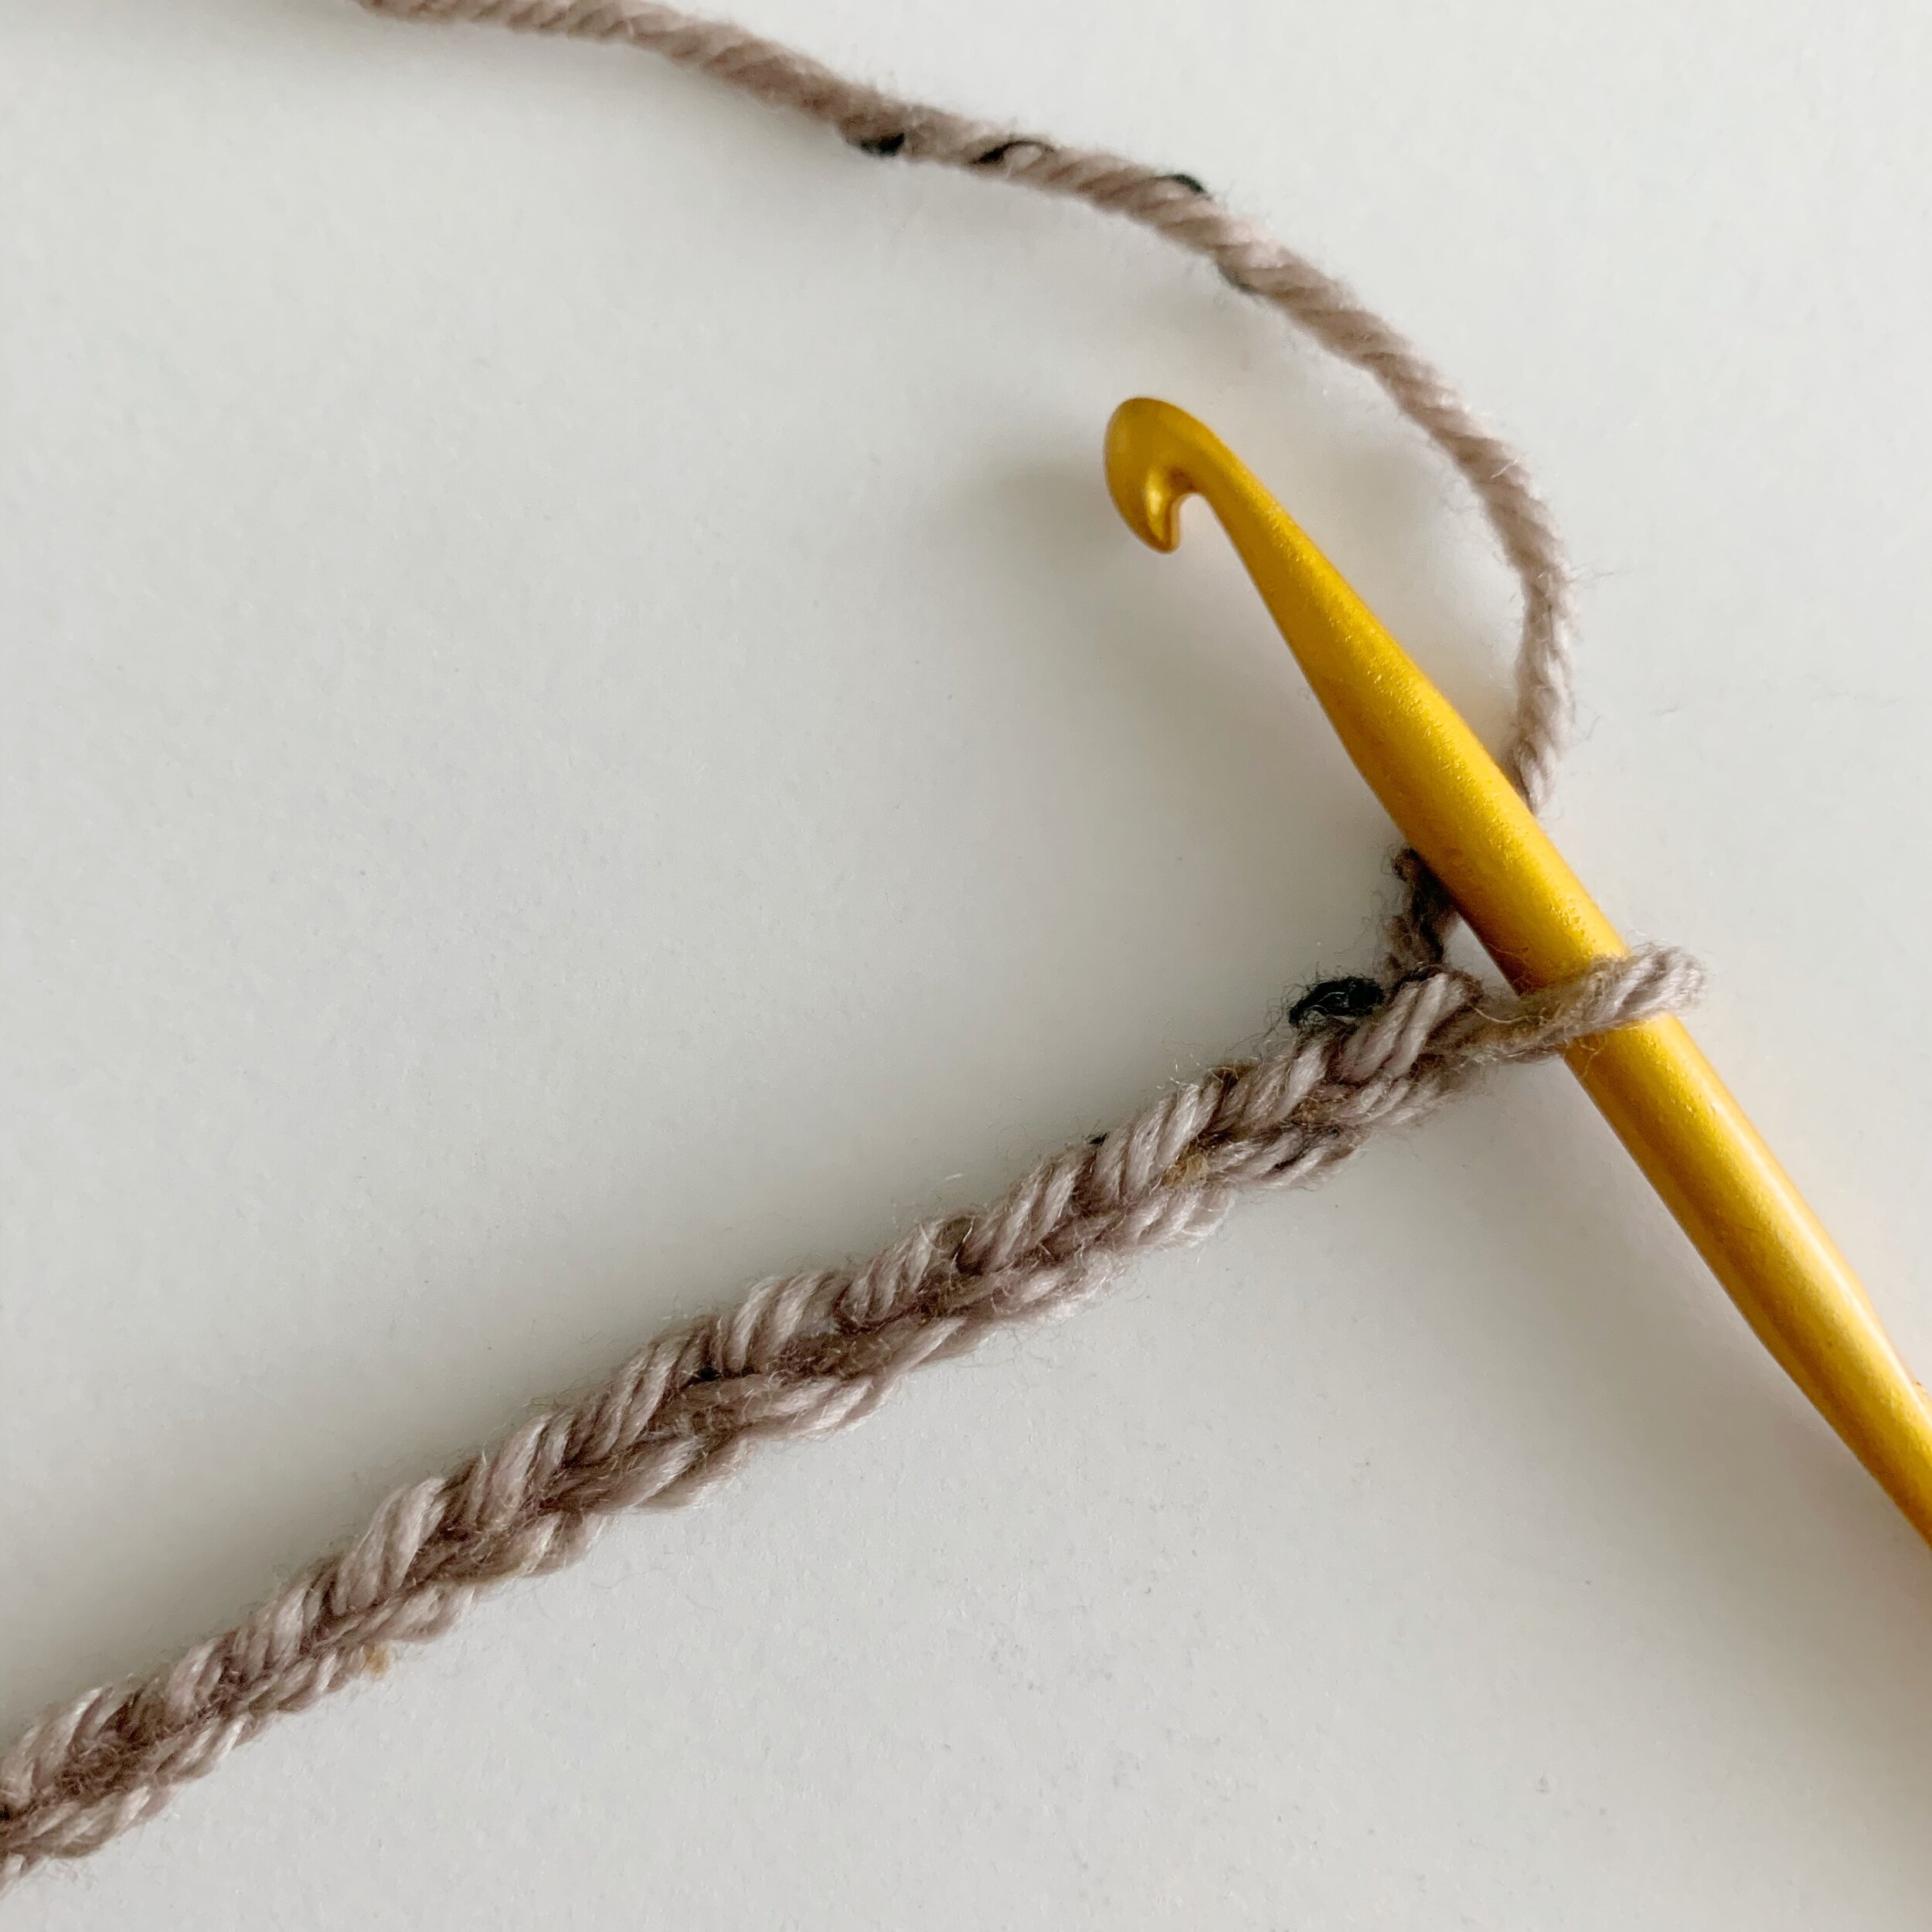
Ch 62(68, 76, 82, 90, 96, 104, 110, 118)
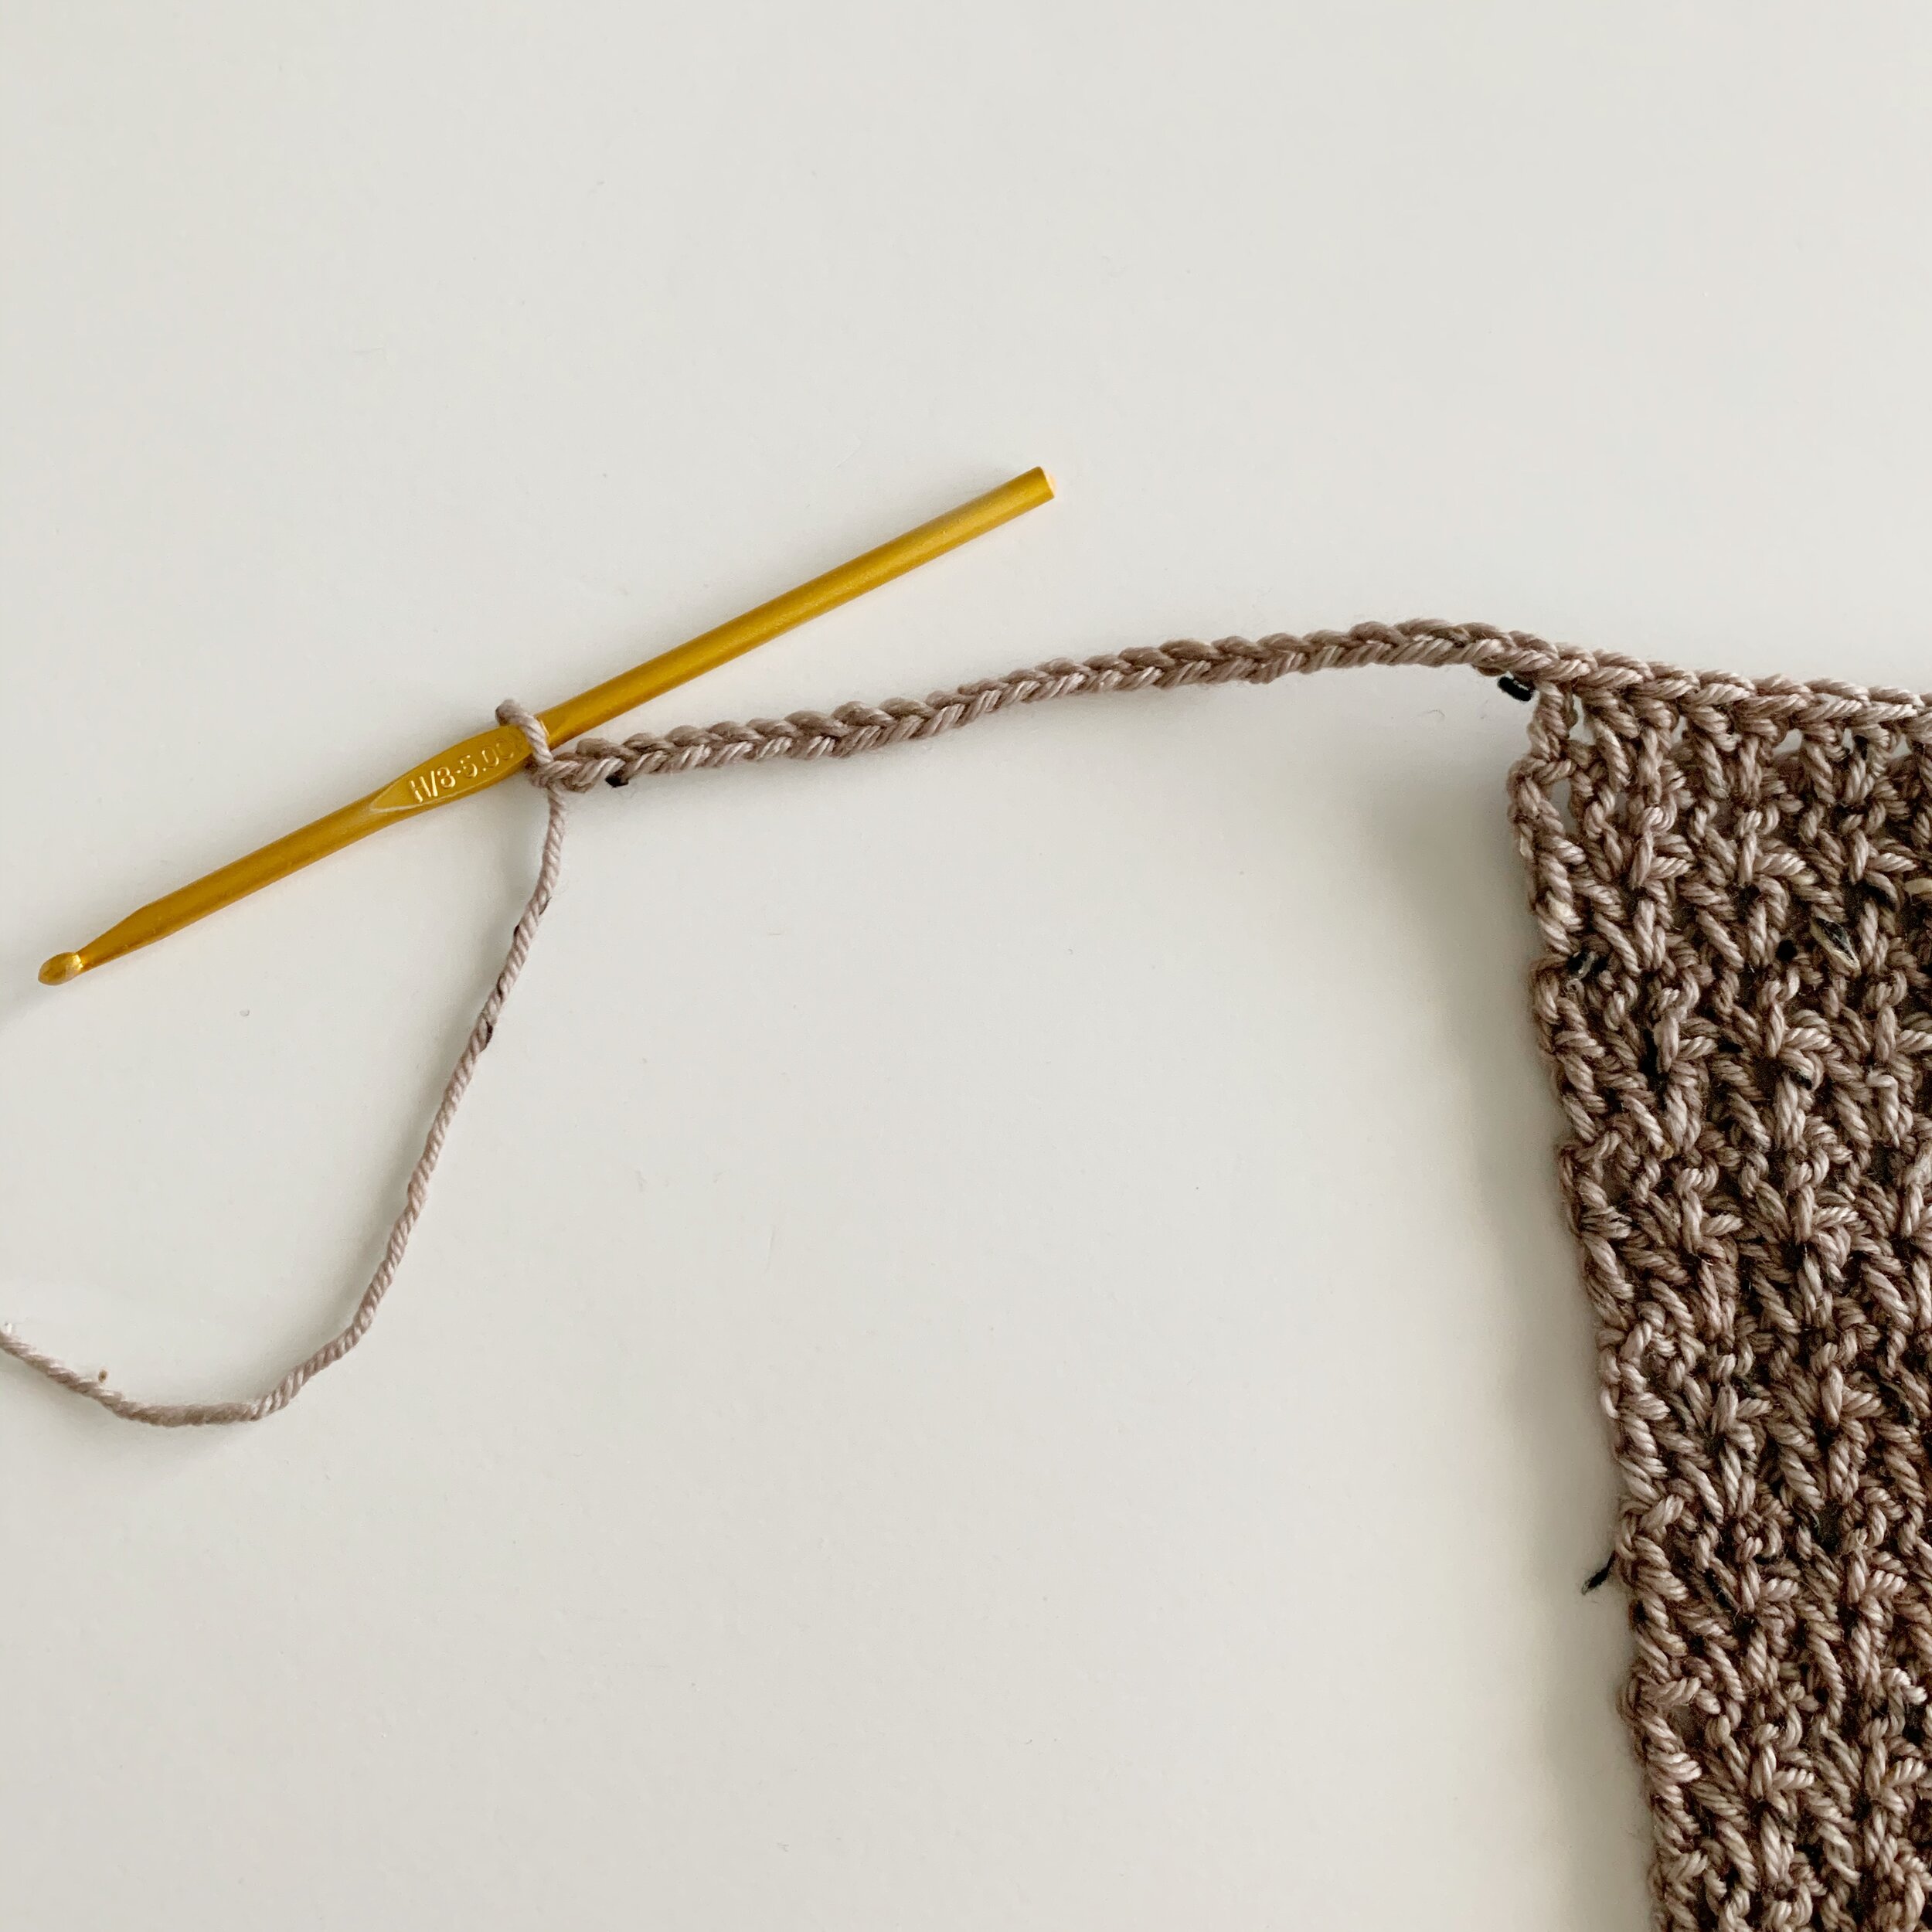
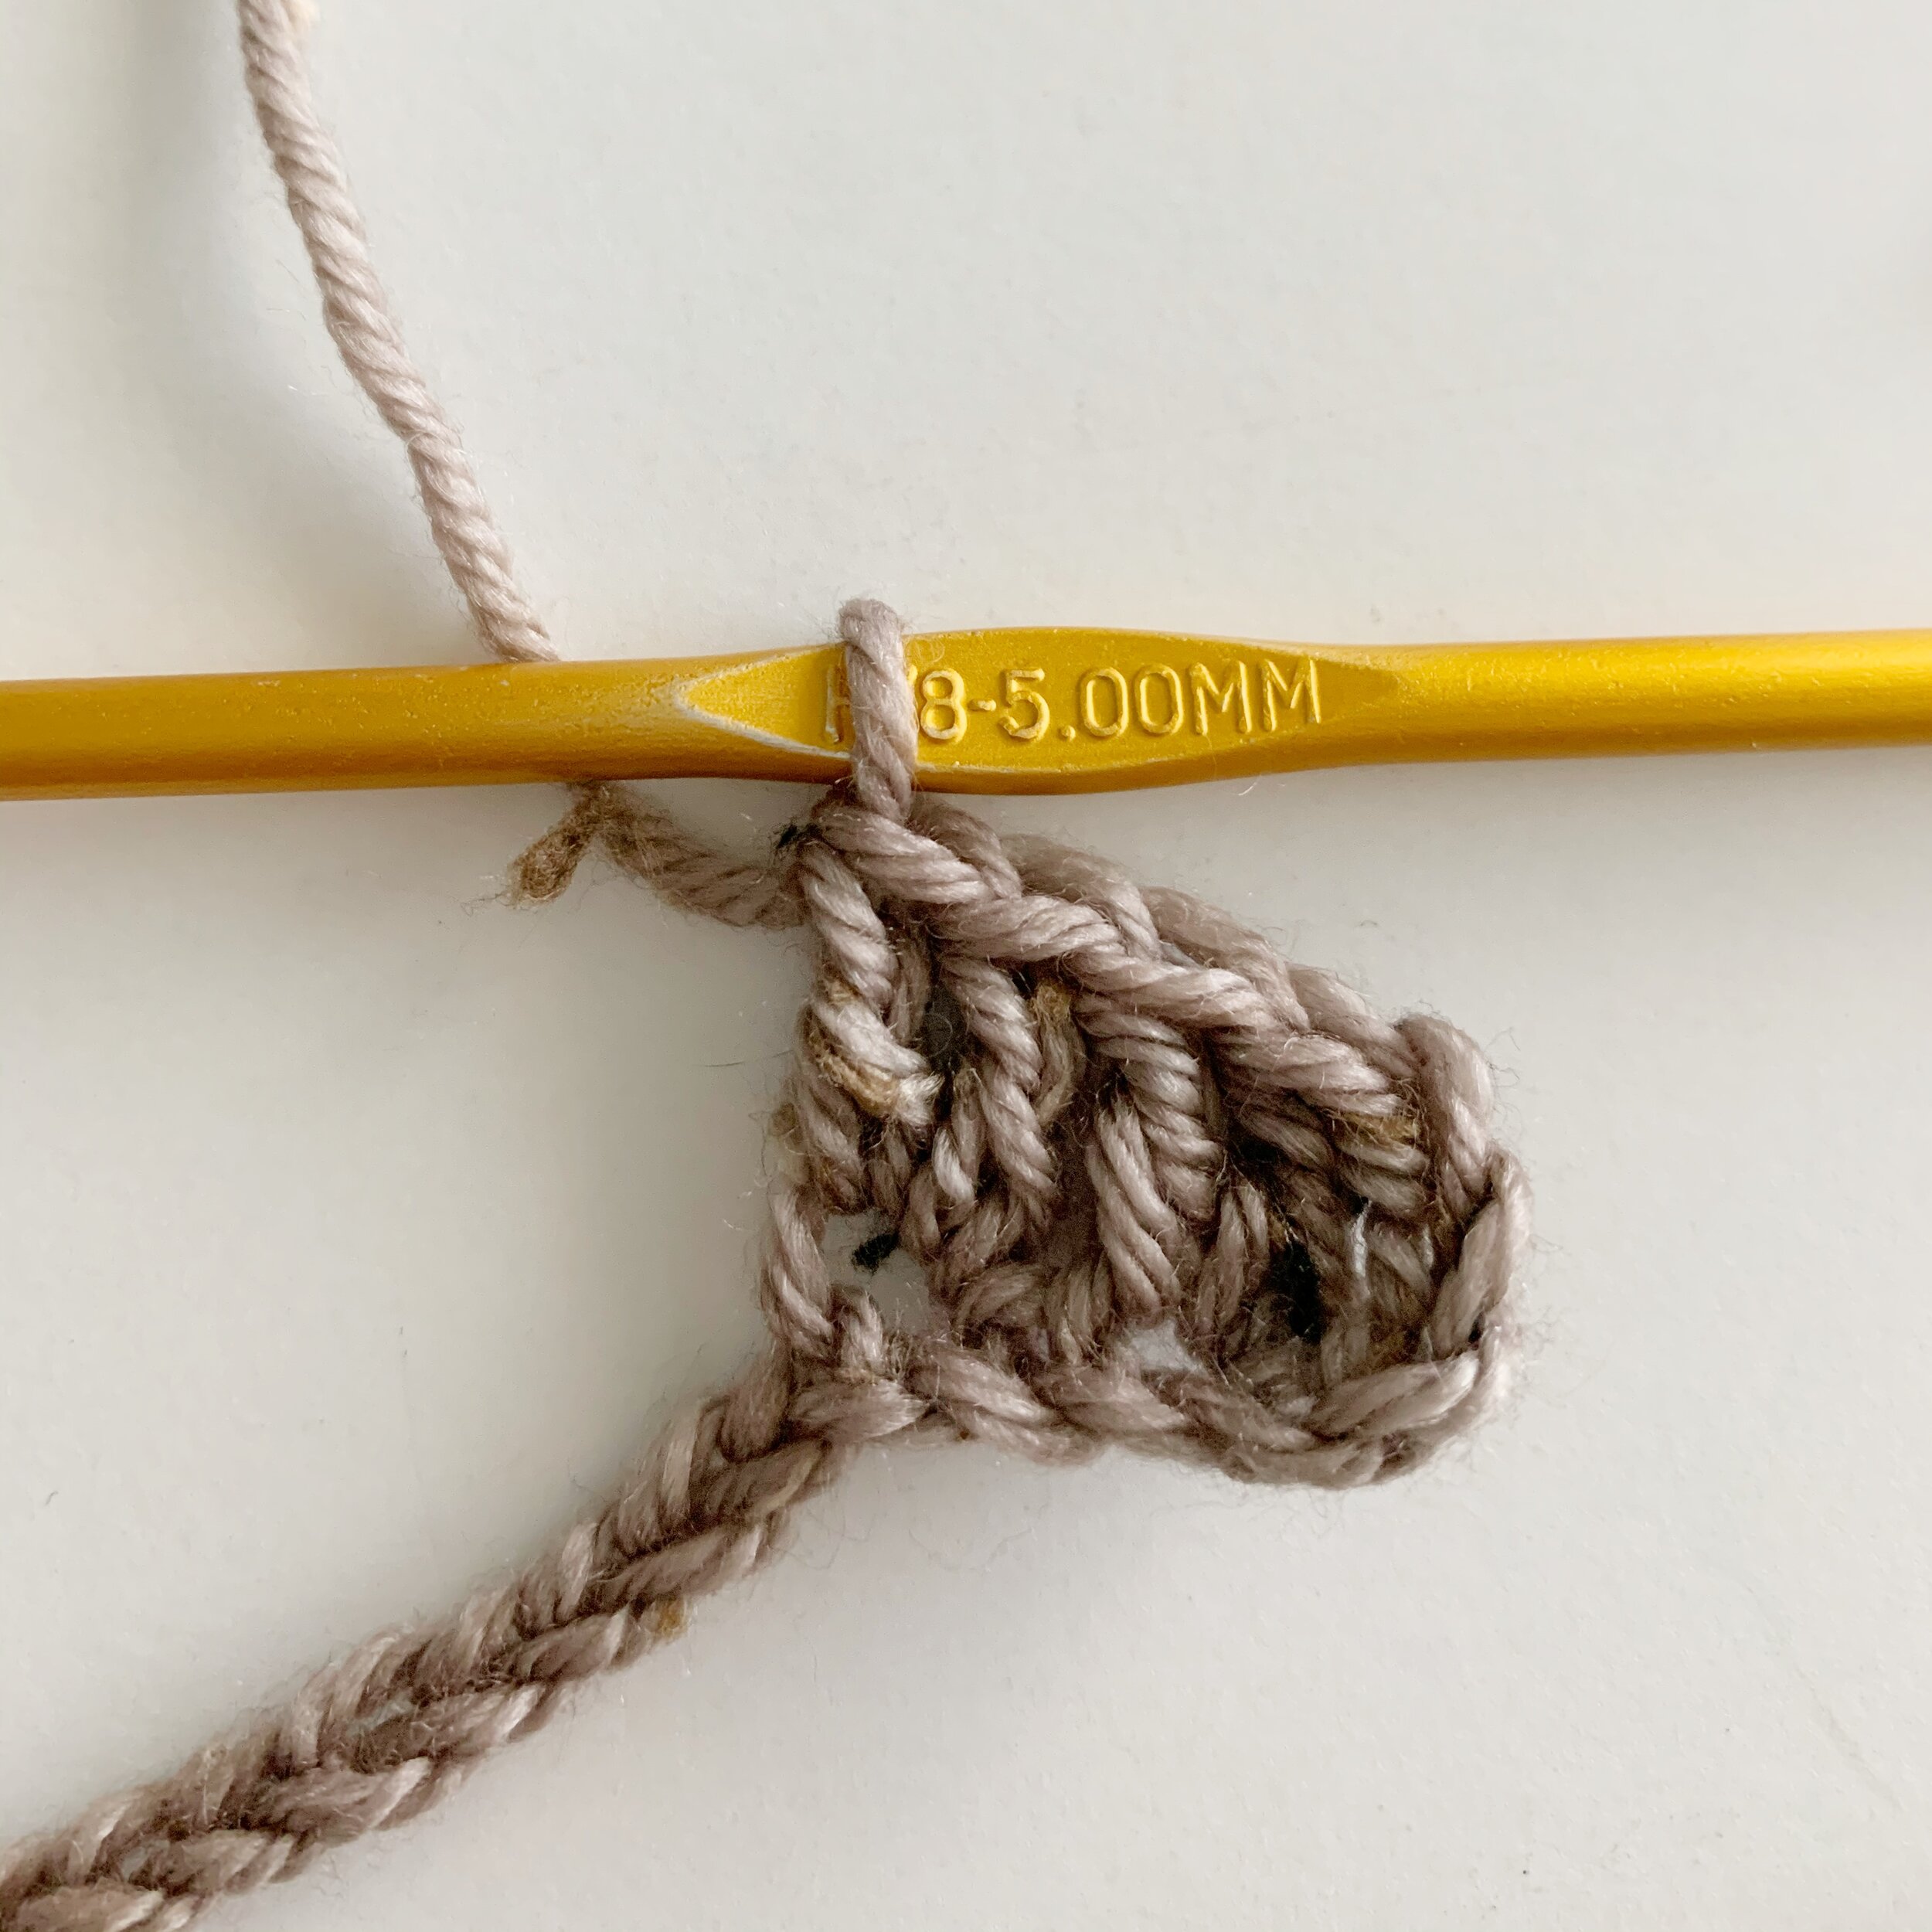
Row 1(RS): starting in the 2nd ch from hook, sc in the back bump of each ch across, turn. (61(67, 75, 81, 89, 95, 103, 109, 117)
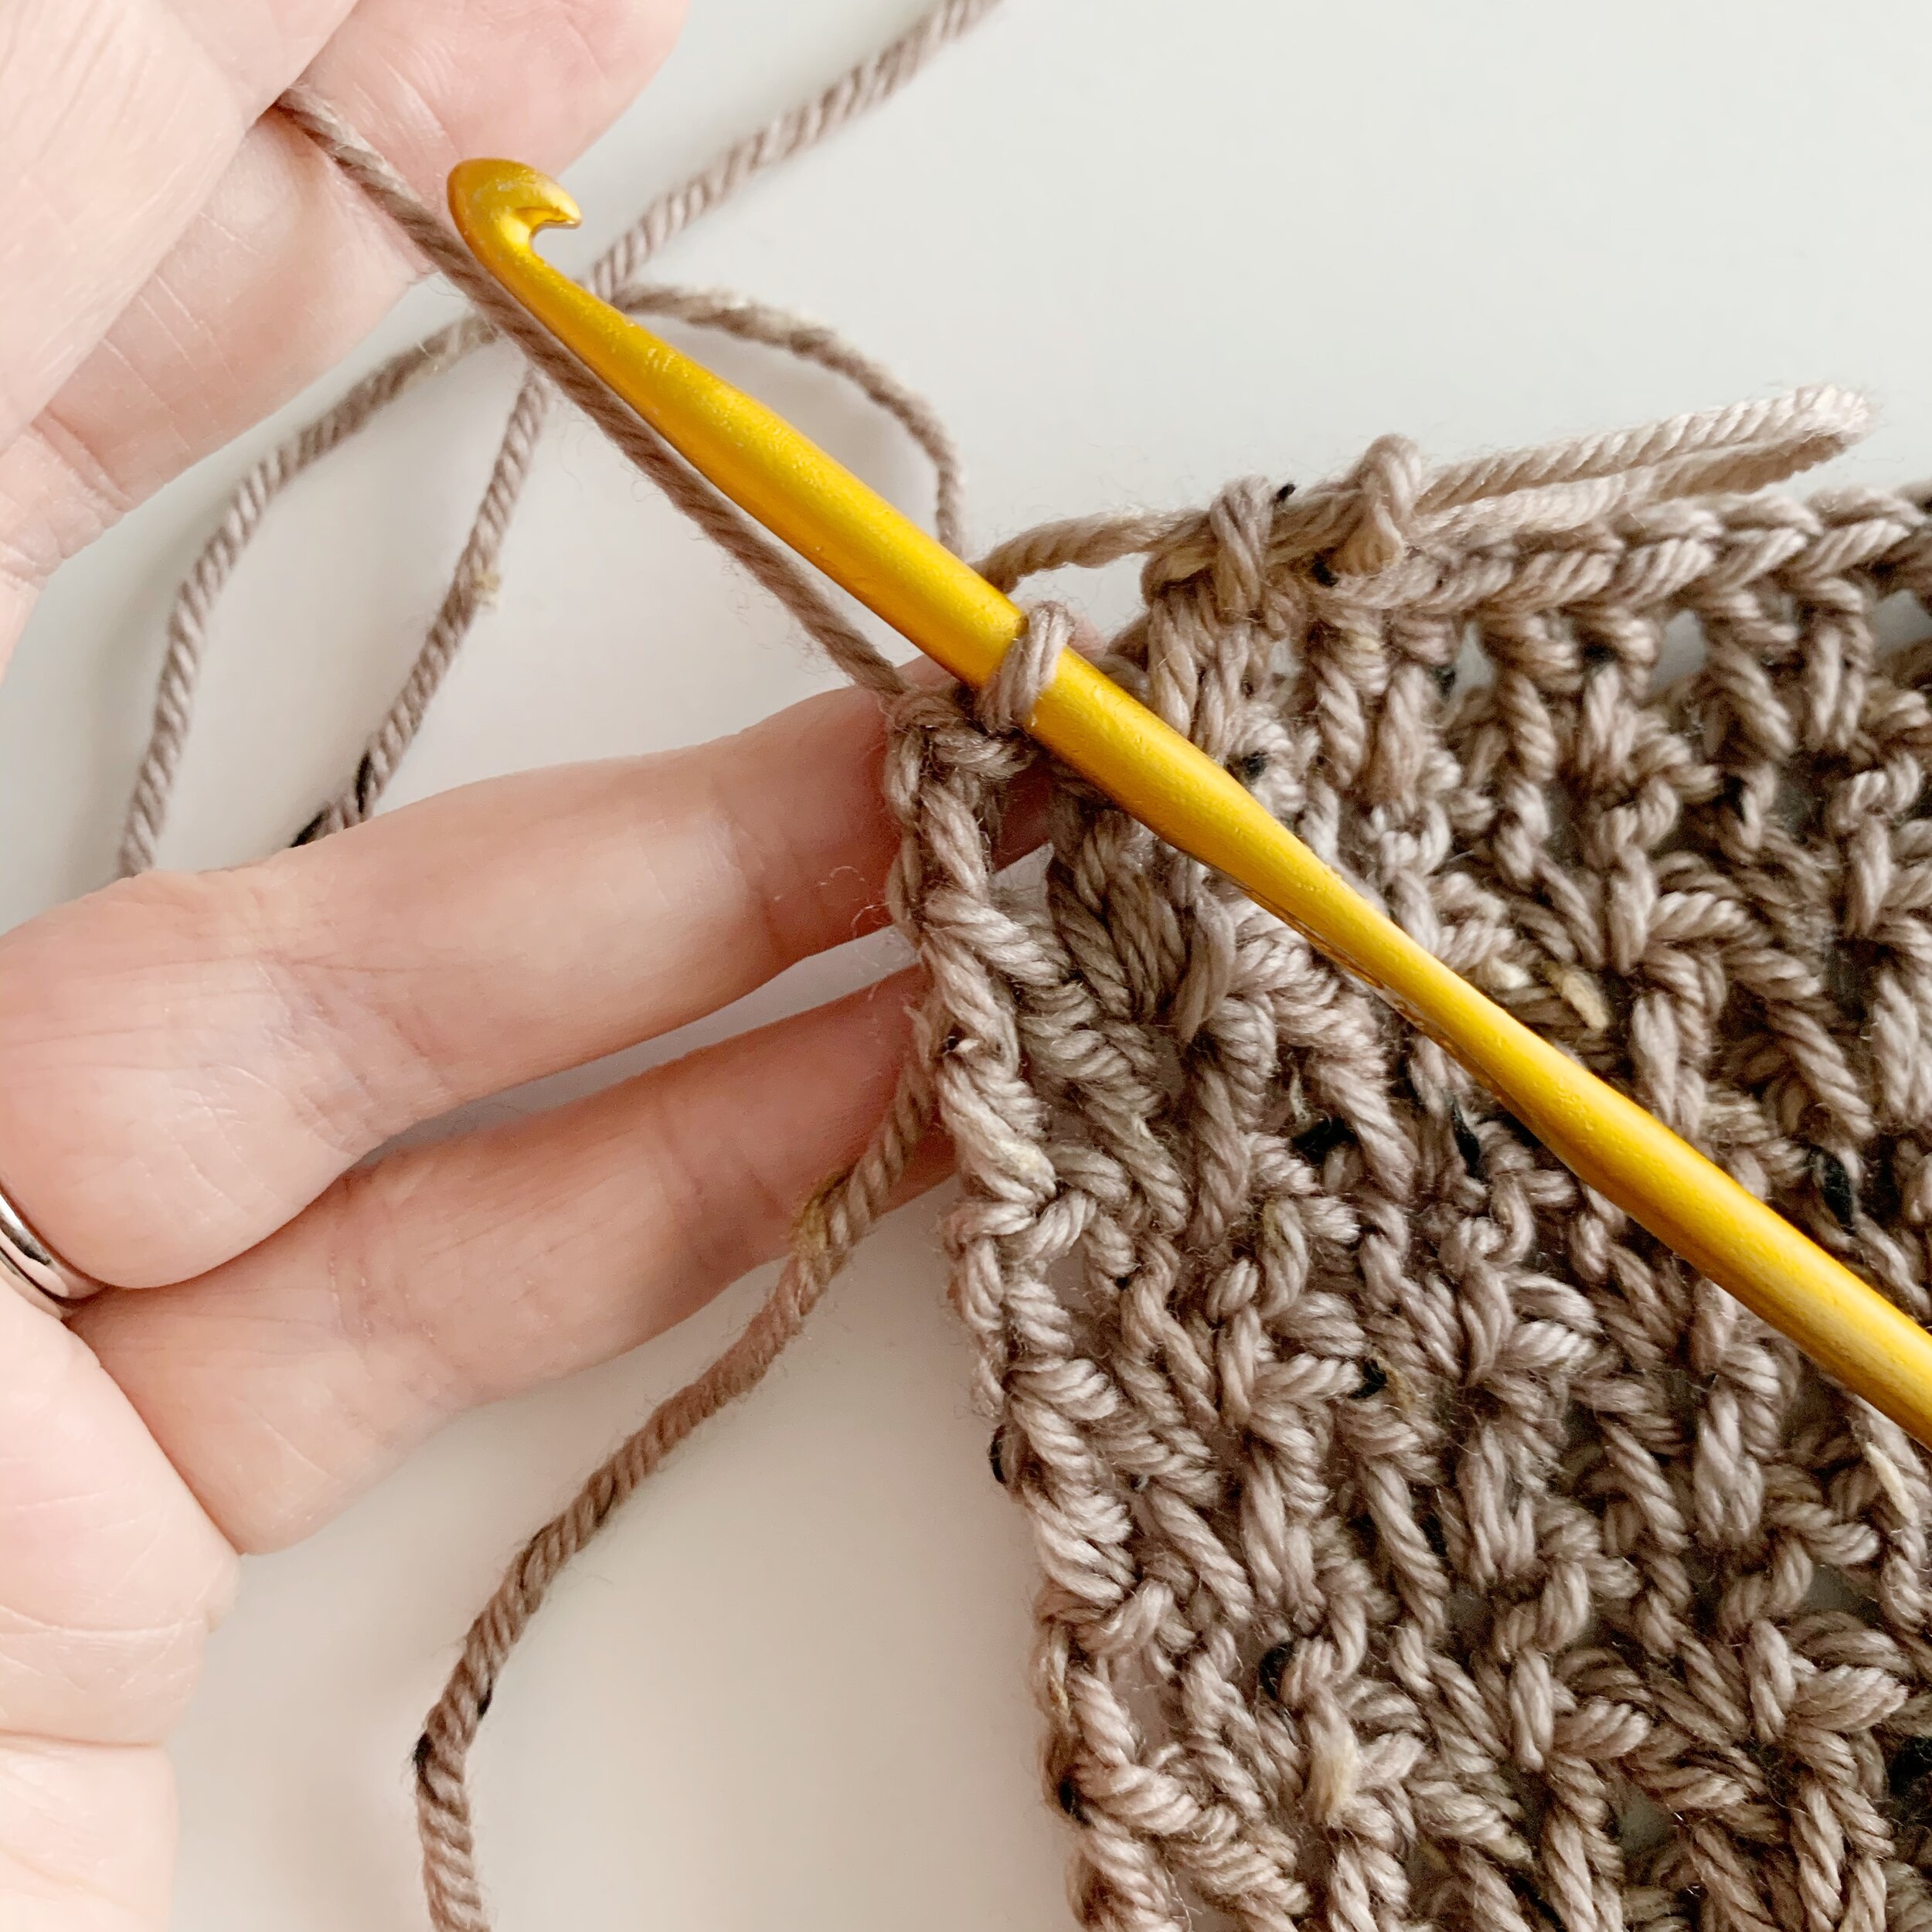
Row 2(WS): ch 3, *sk 1, 2dc in next st, repeat from * until 2 sts remain, sk 1, dc in last st, turn. (60(66, 74, 80, 88, 94, 102, 108, 116)
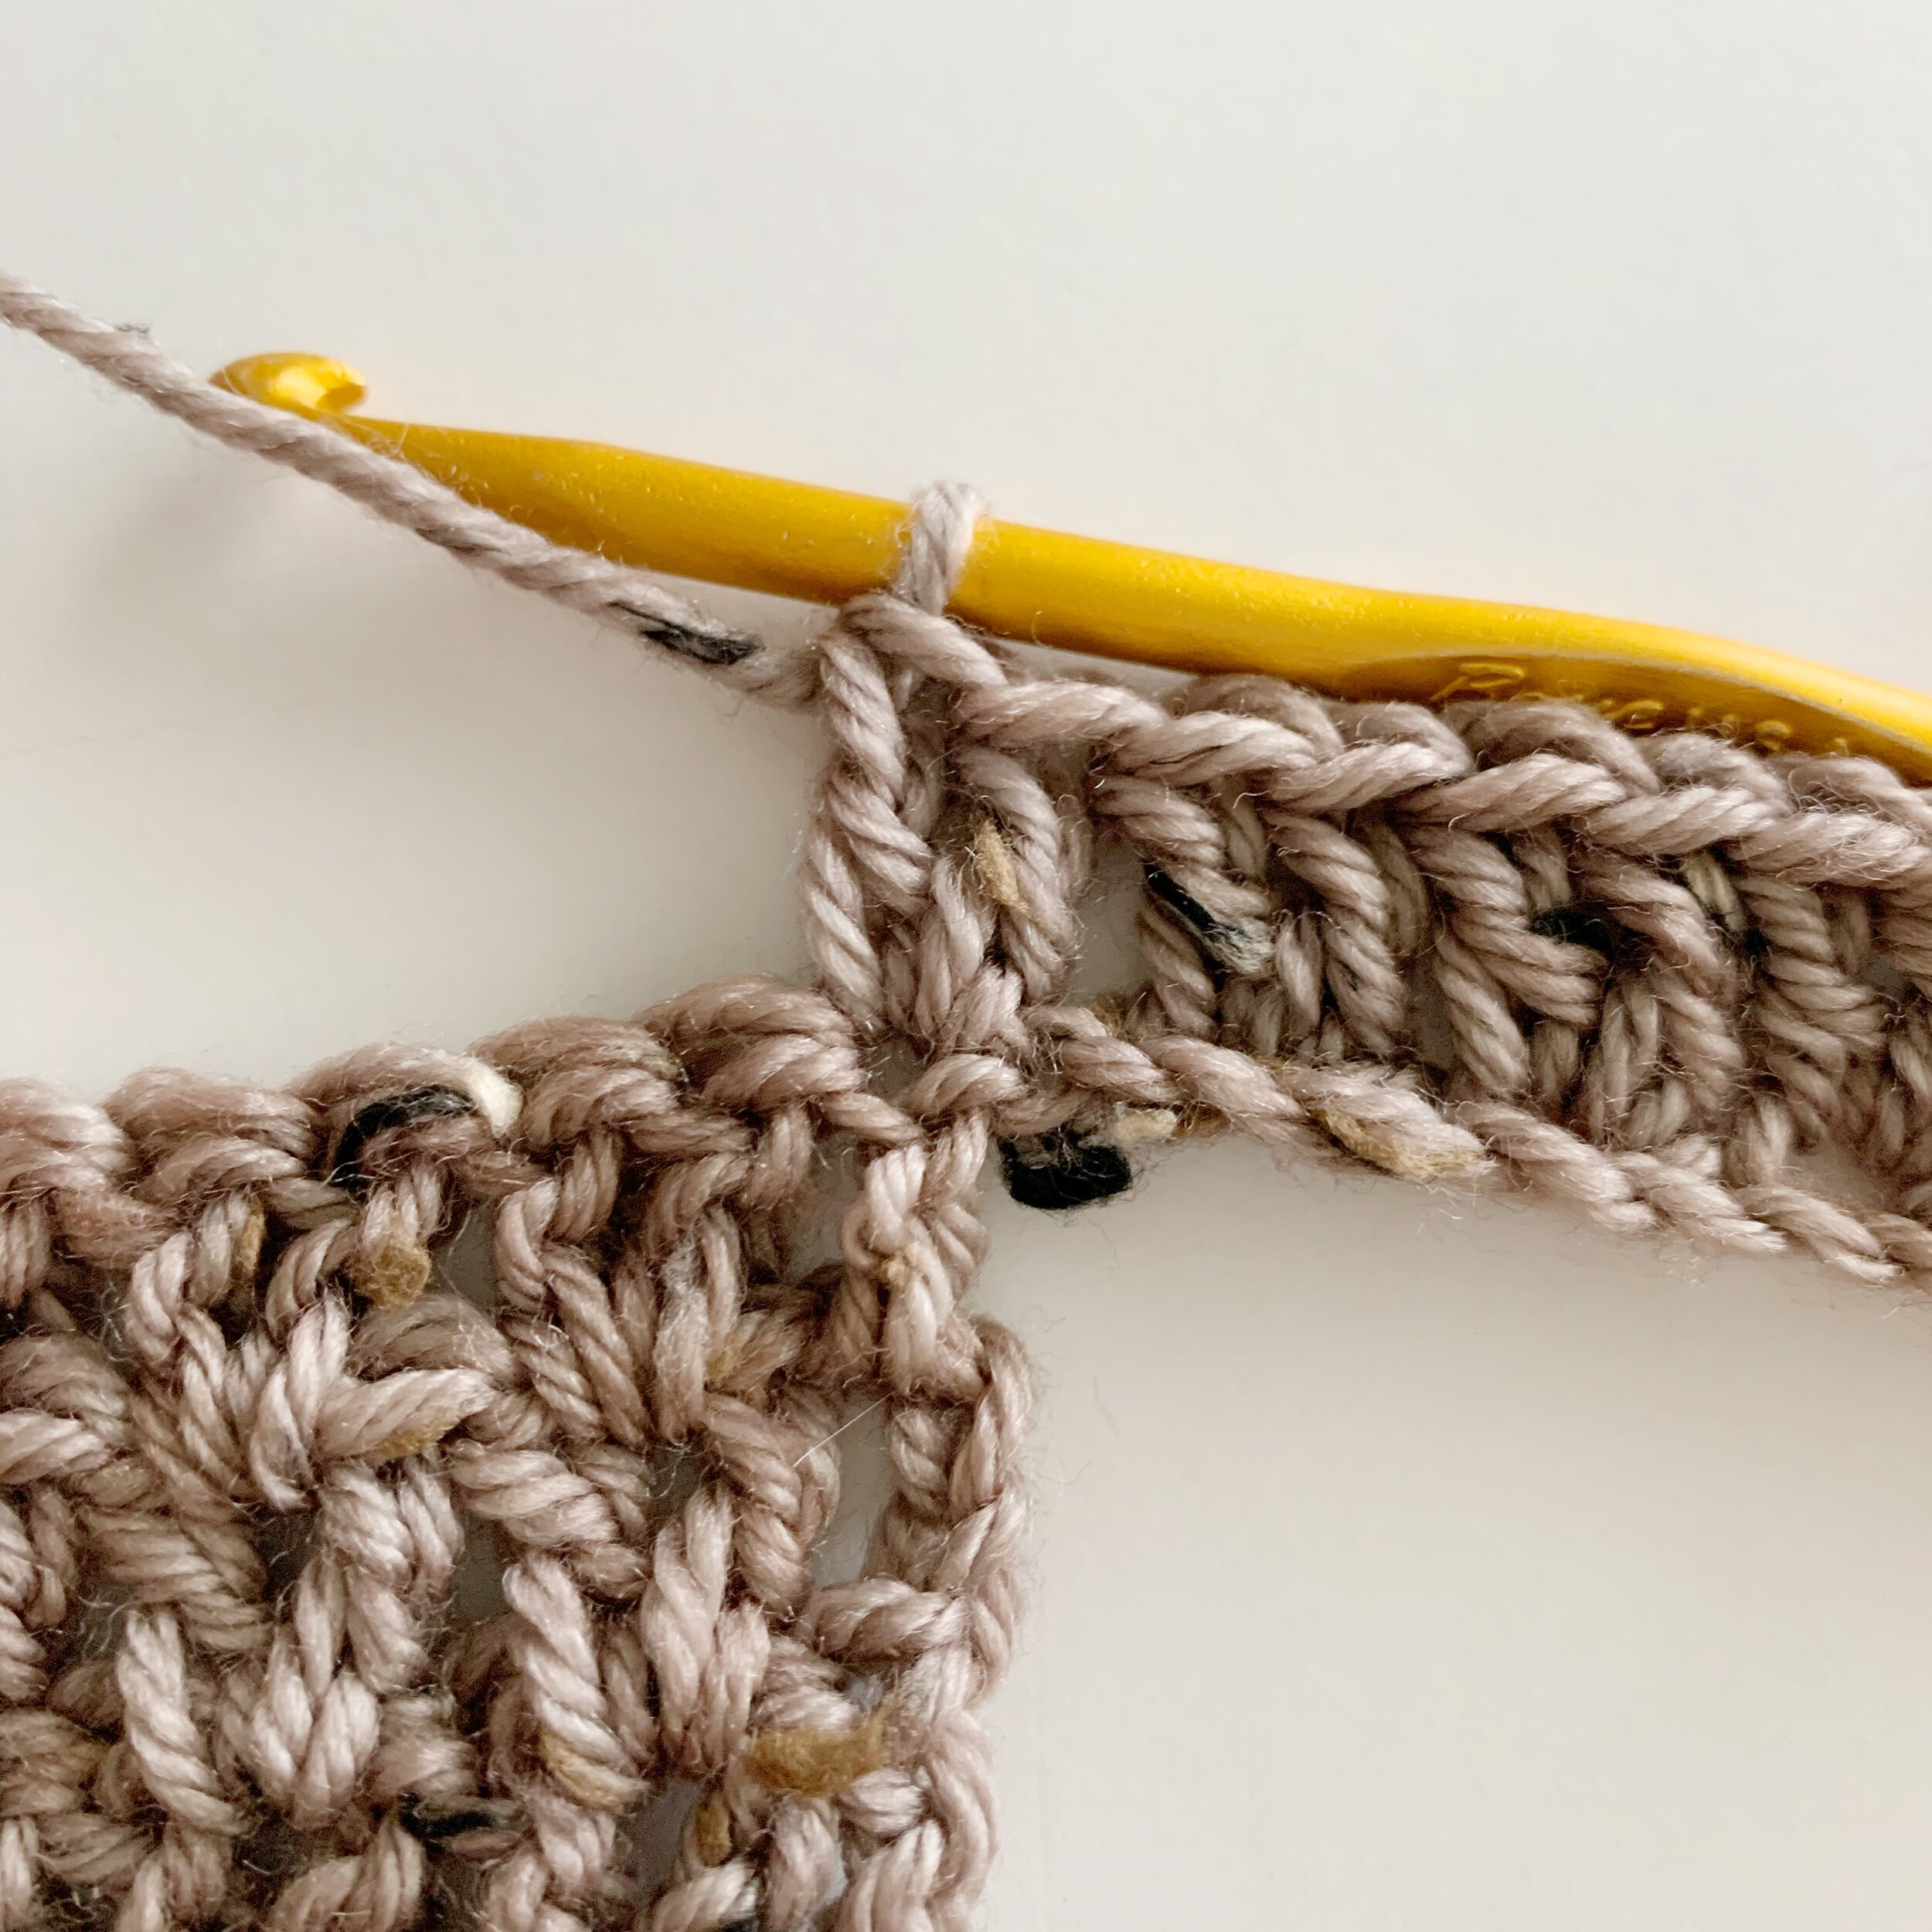
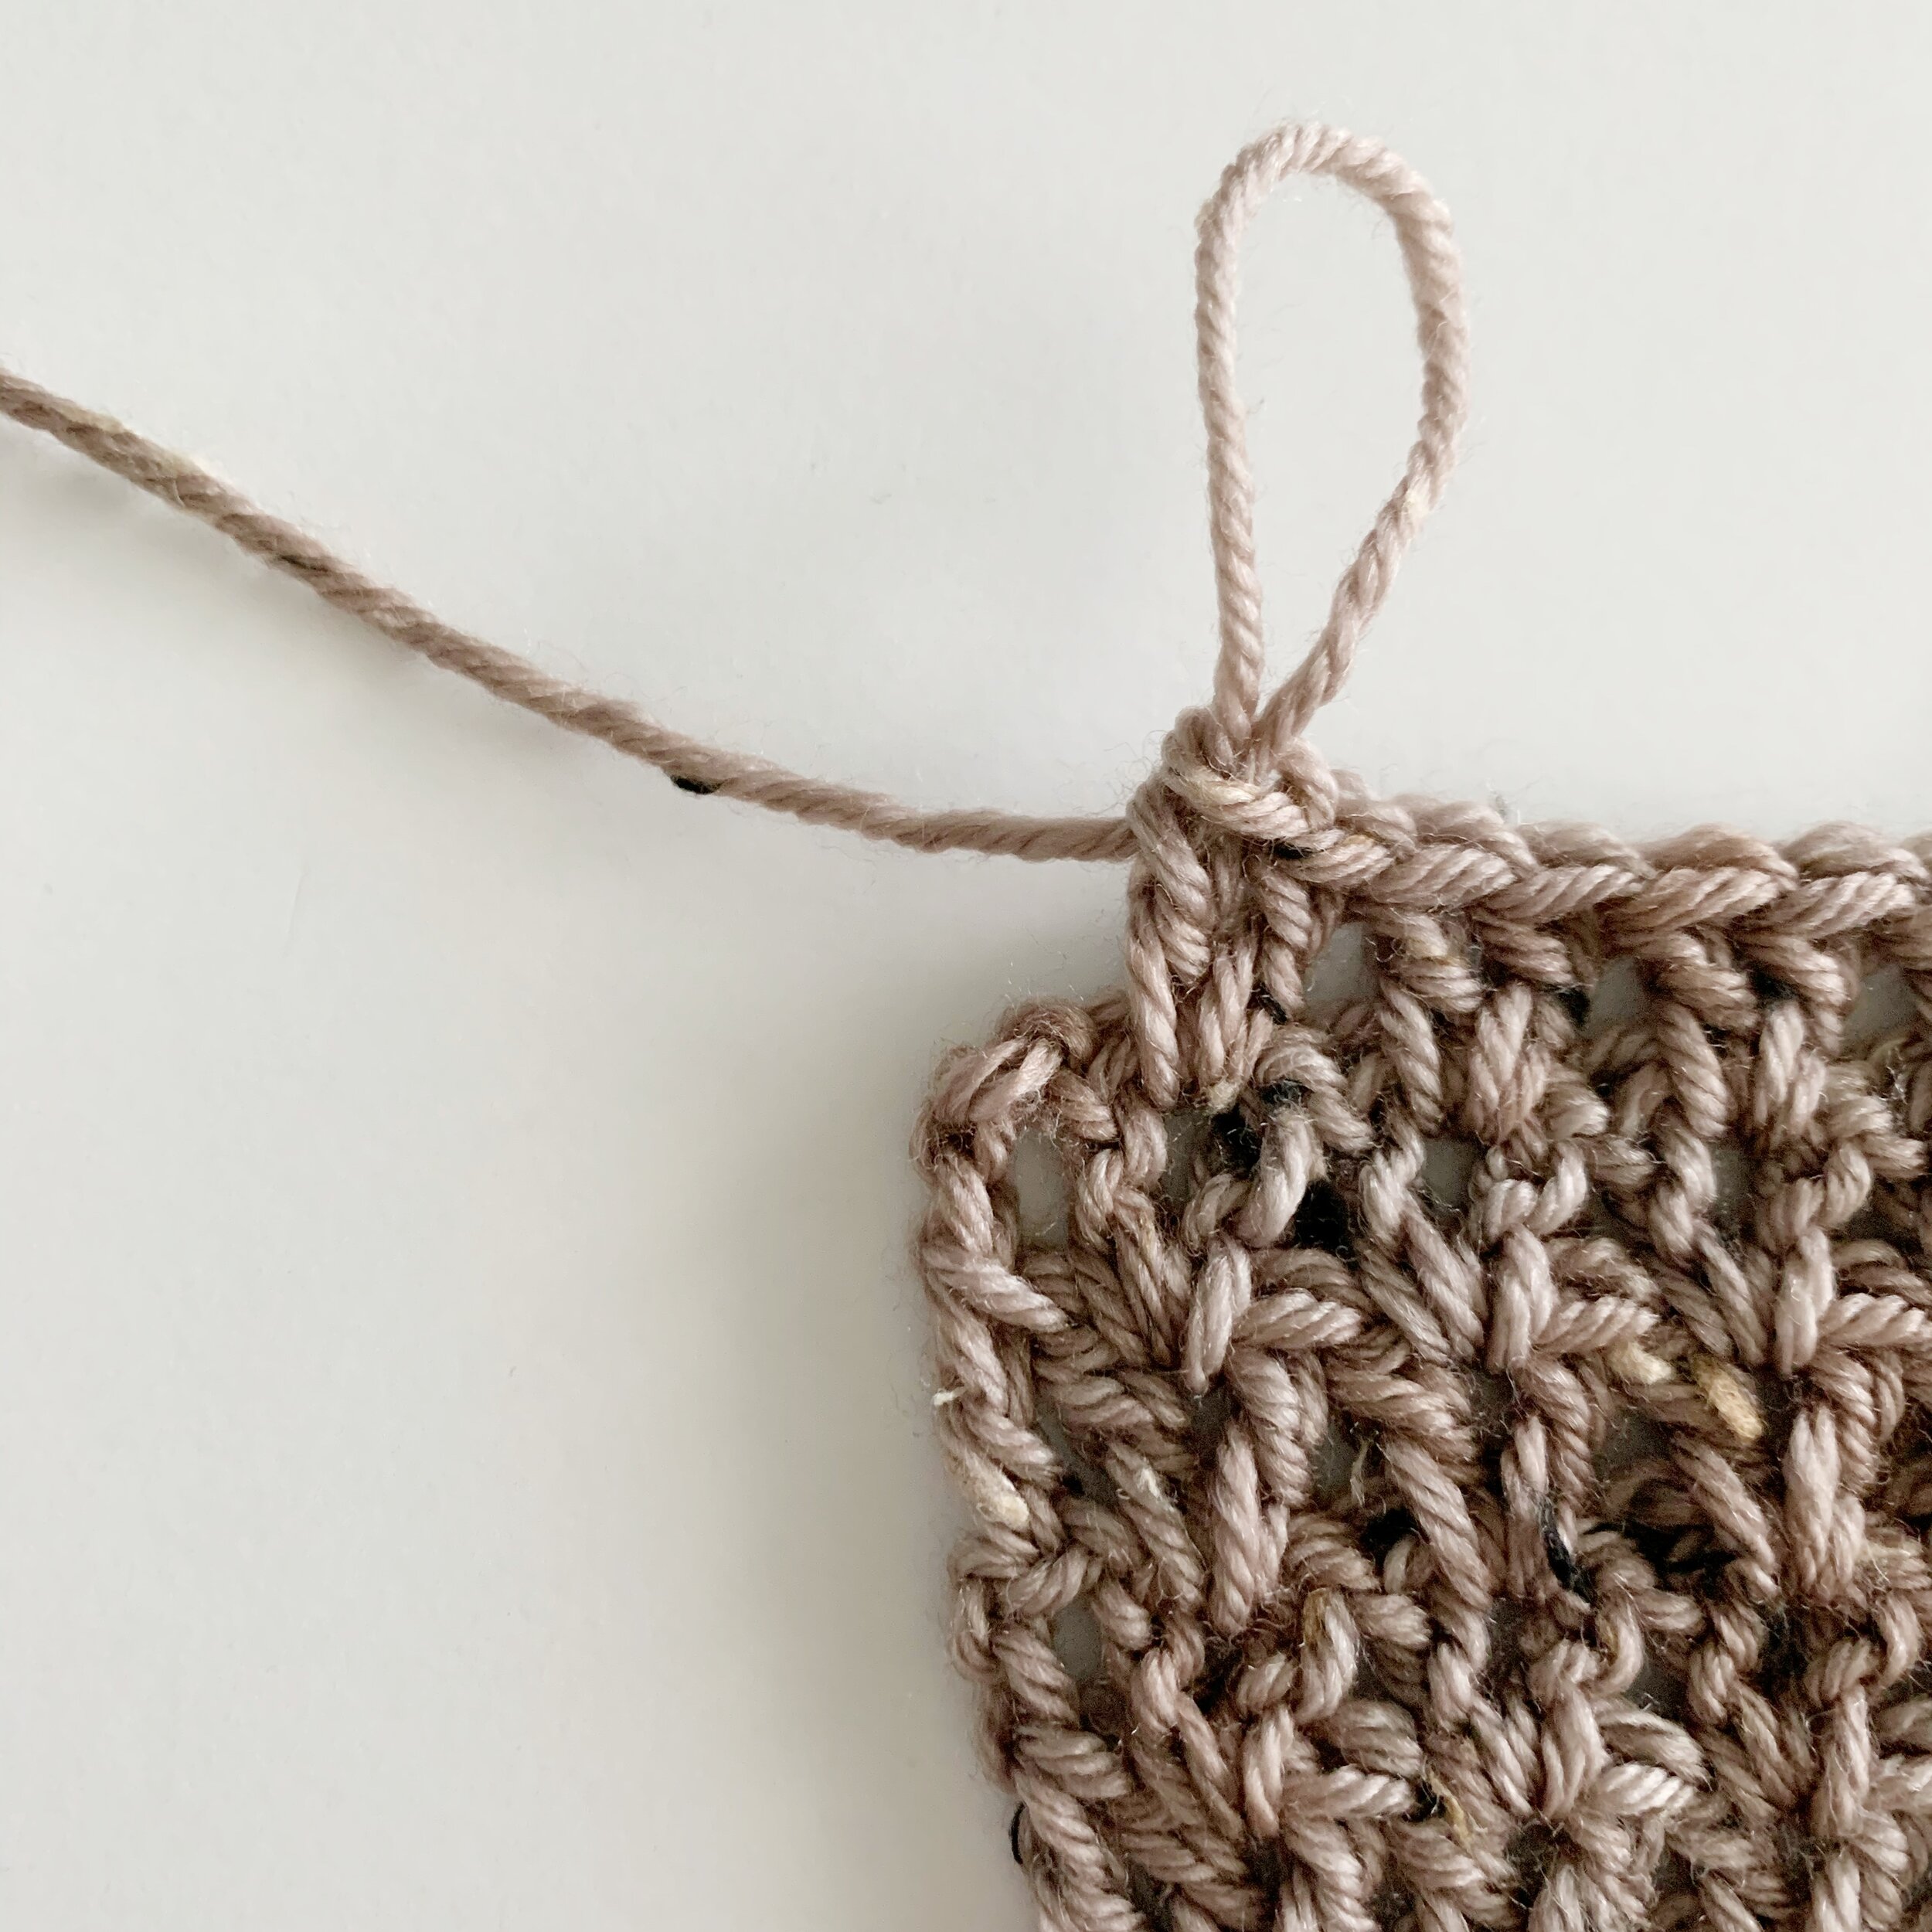
Row 3: ch 3, *2dc in v-sp between next set of dc, repeat from * across until 2 sts remain, dc in top of ch 3, turn. (60(66, 74, 80, 88, 94, 102, 108, 116)
Rows 4-43: repeat Row 3.
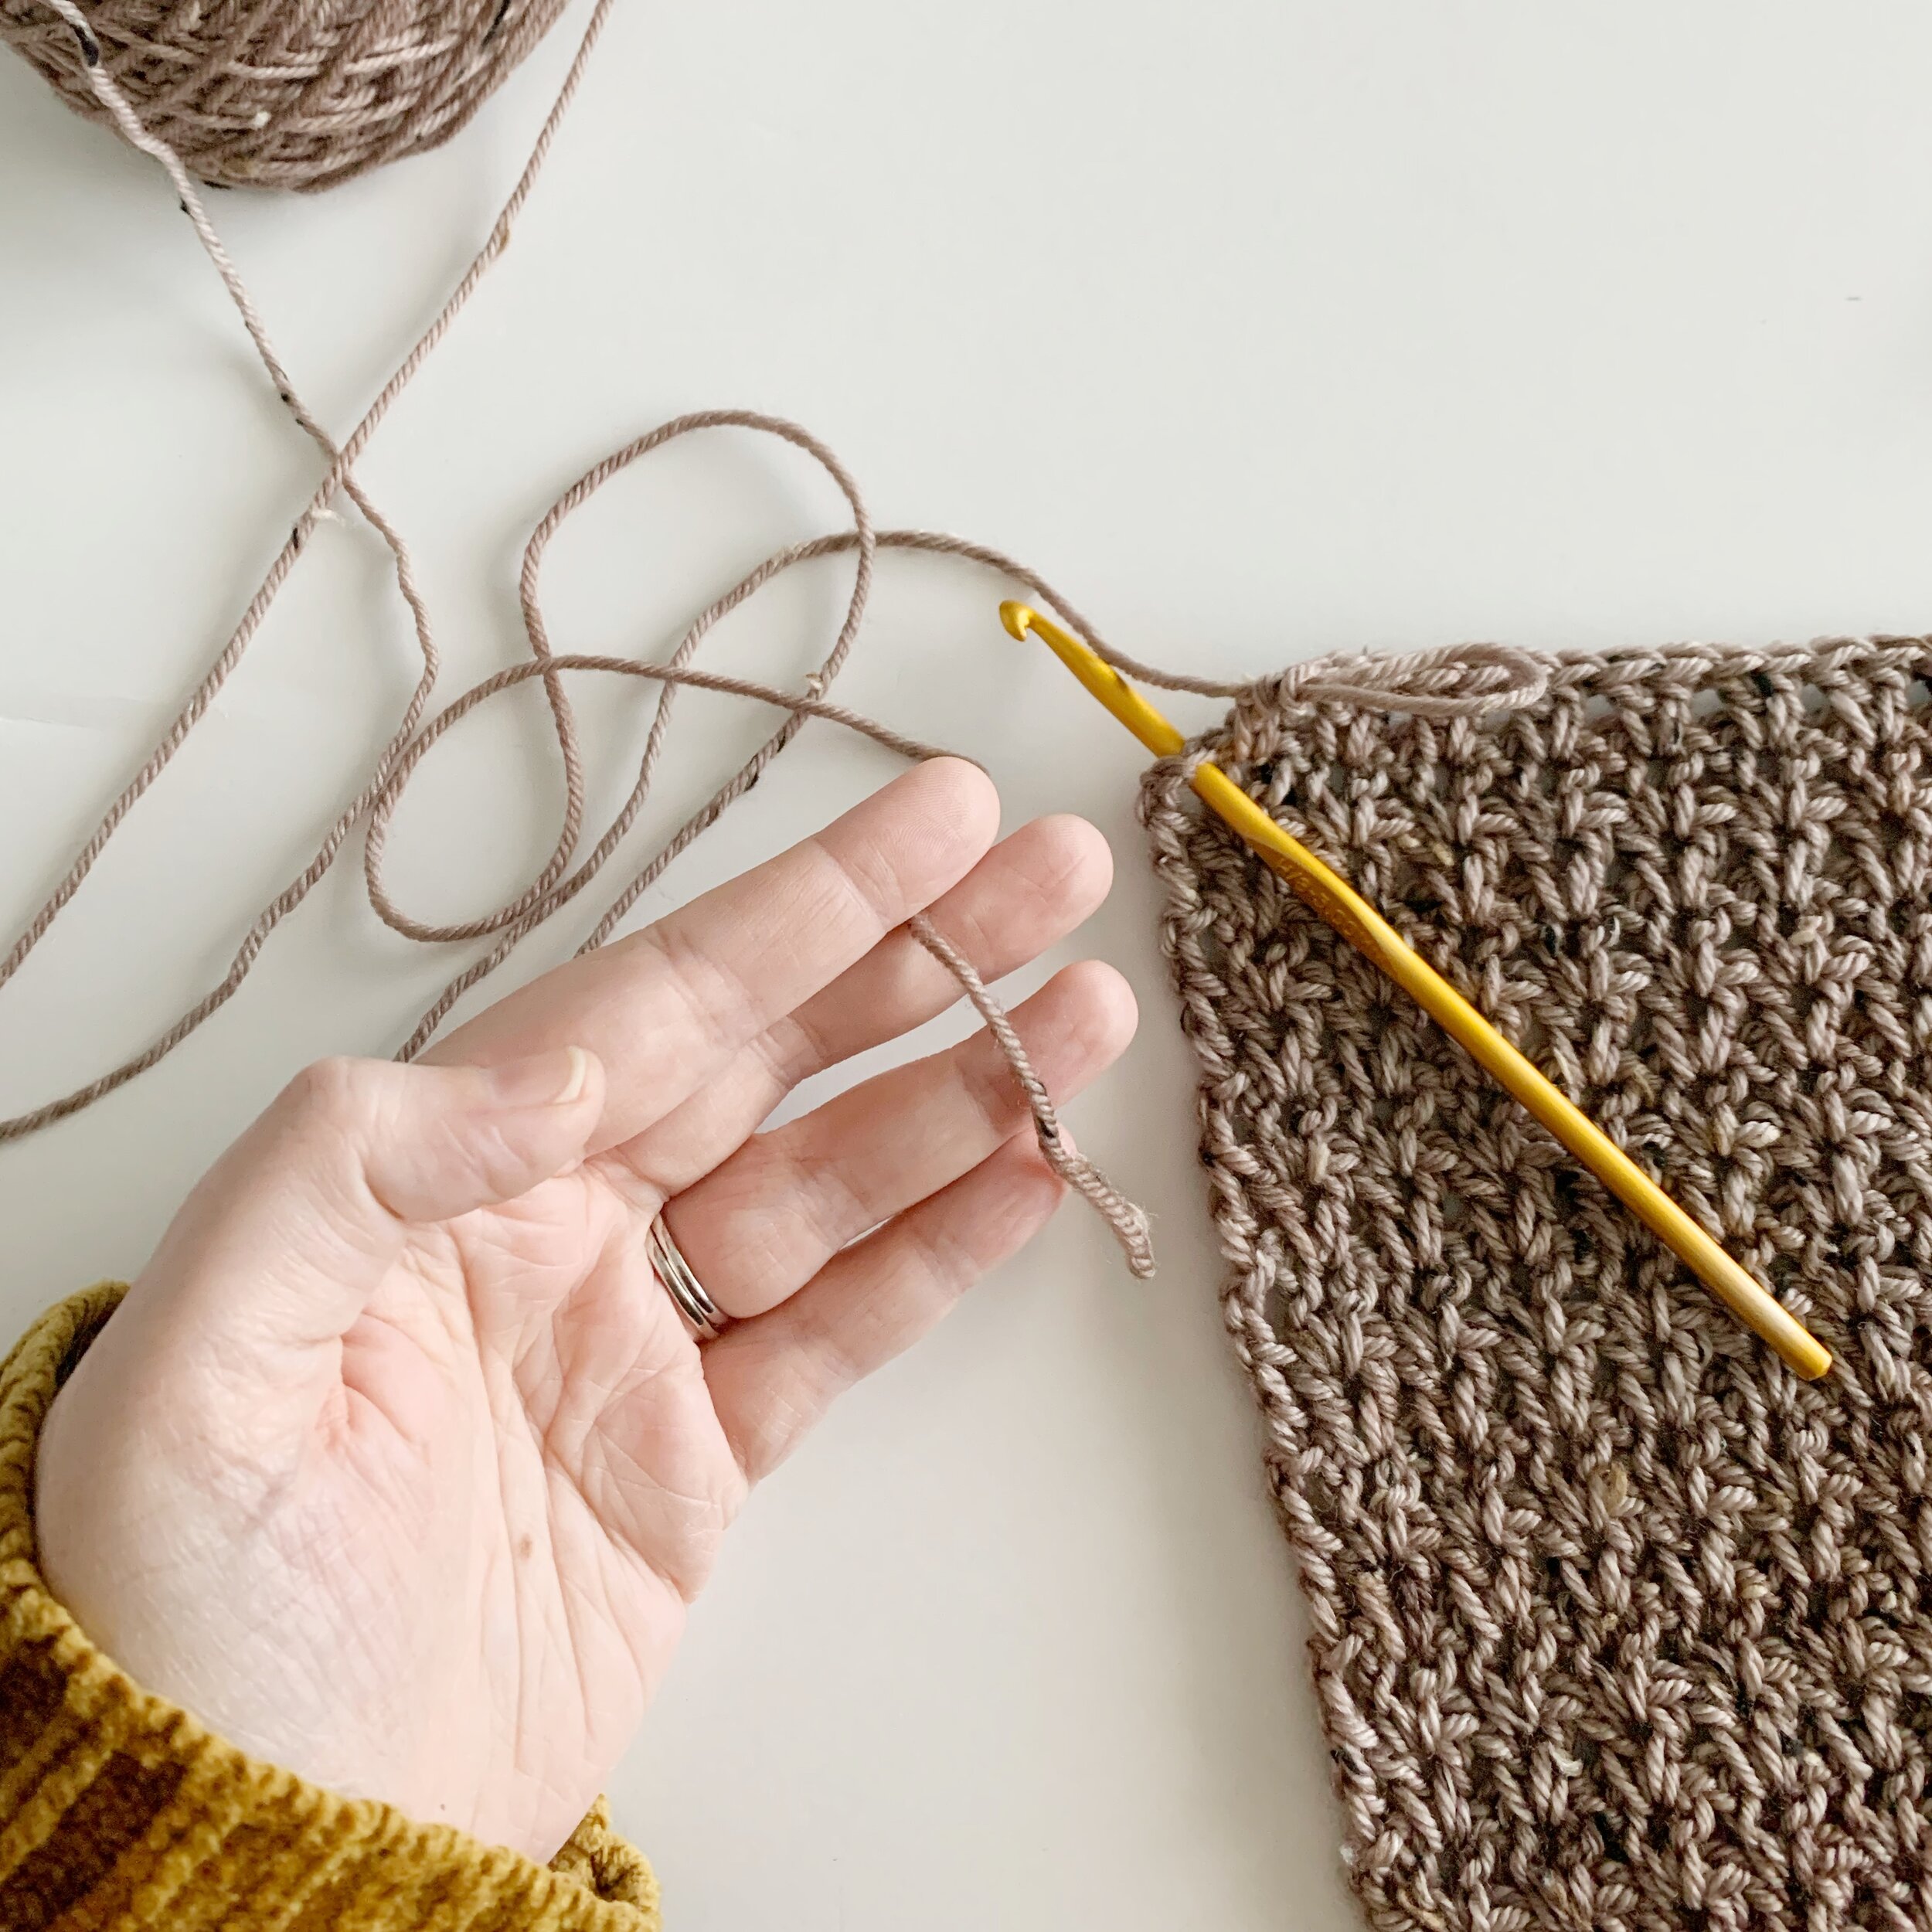
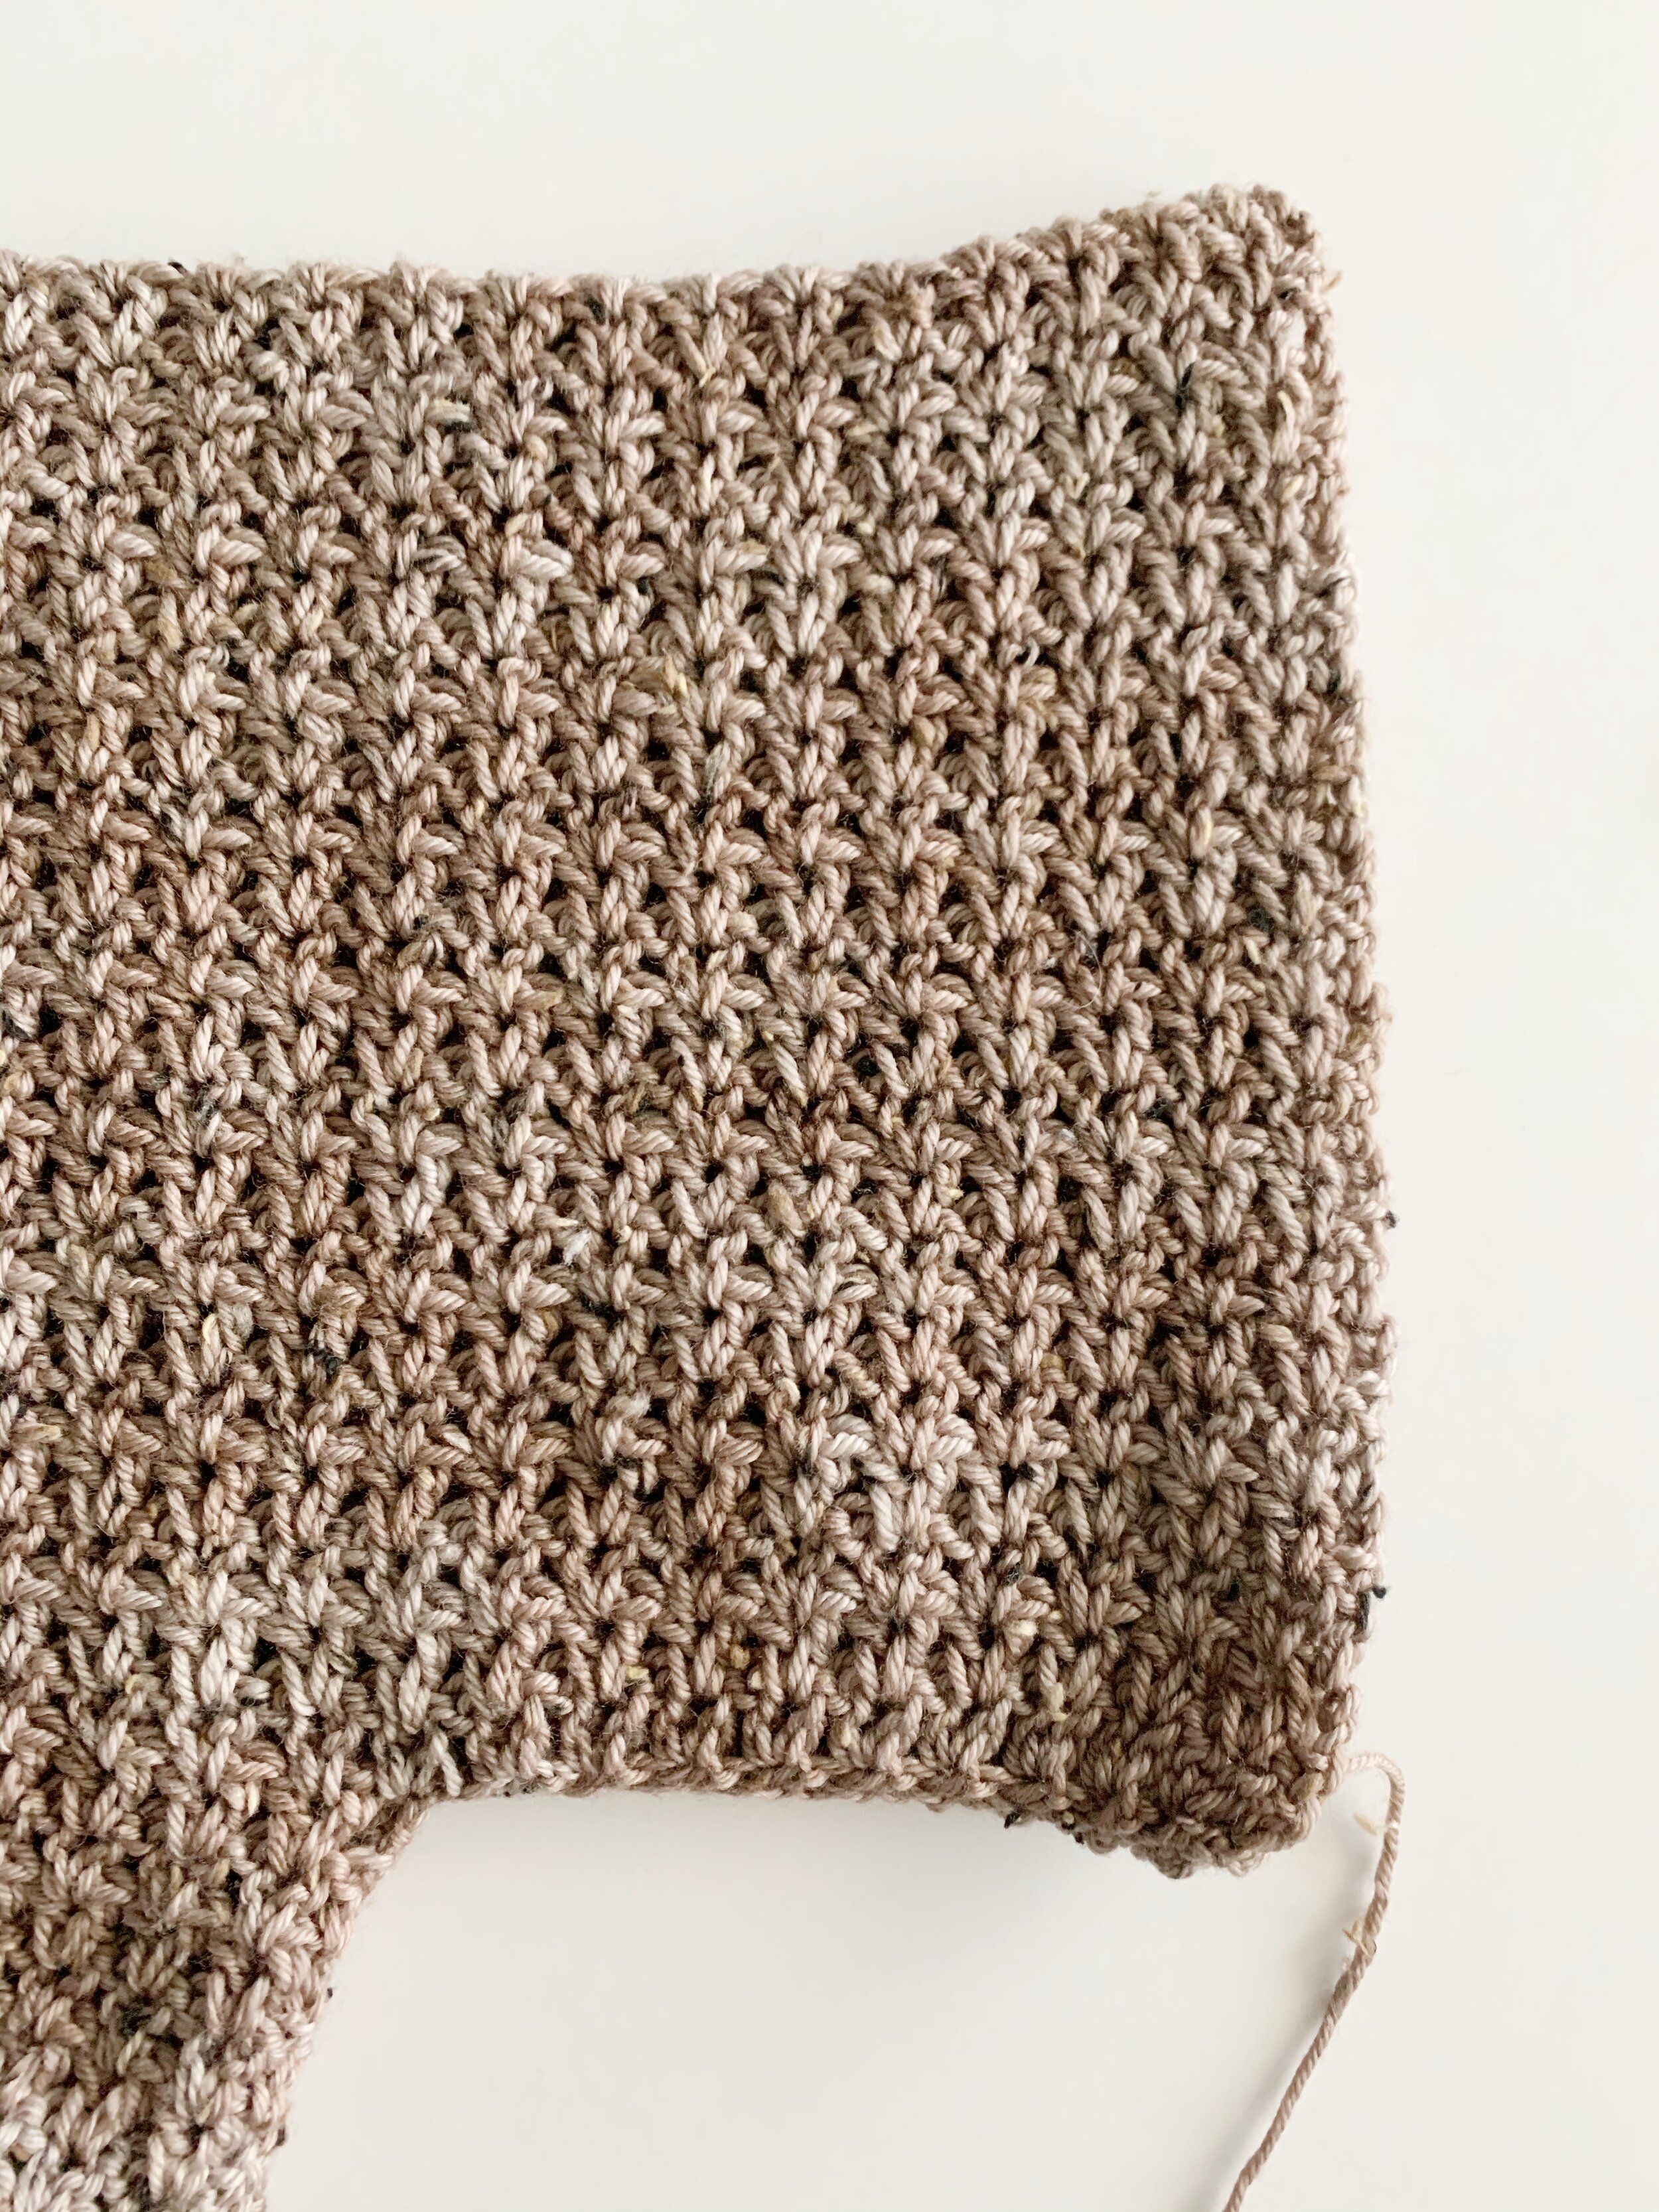
Piece will measure approx. 18” at this point. Add or subtract rows here to lengthen or shorten your sweater.
We will now be adding sts on both sides to create our sleeves.
Row 44: ch 22, 2dc in 5th ch from hook, *sk 1 ch, 2dc in next st, repeat from * 9 times, **2dc in the v-sp between next set of dc, repeat from ** across until 2 sts remain. Remove hook and place a stitch marker in working loop.


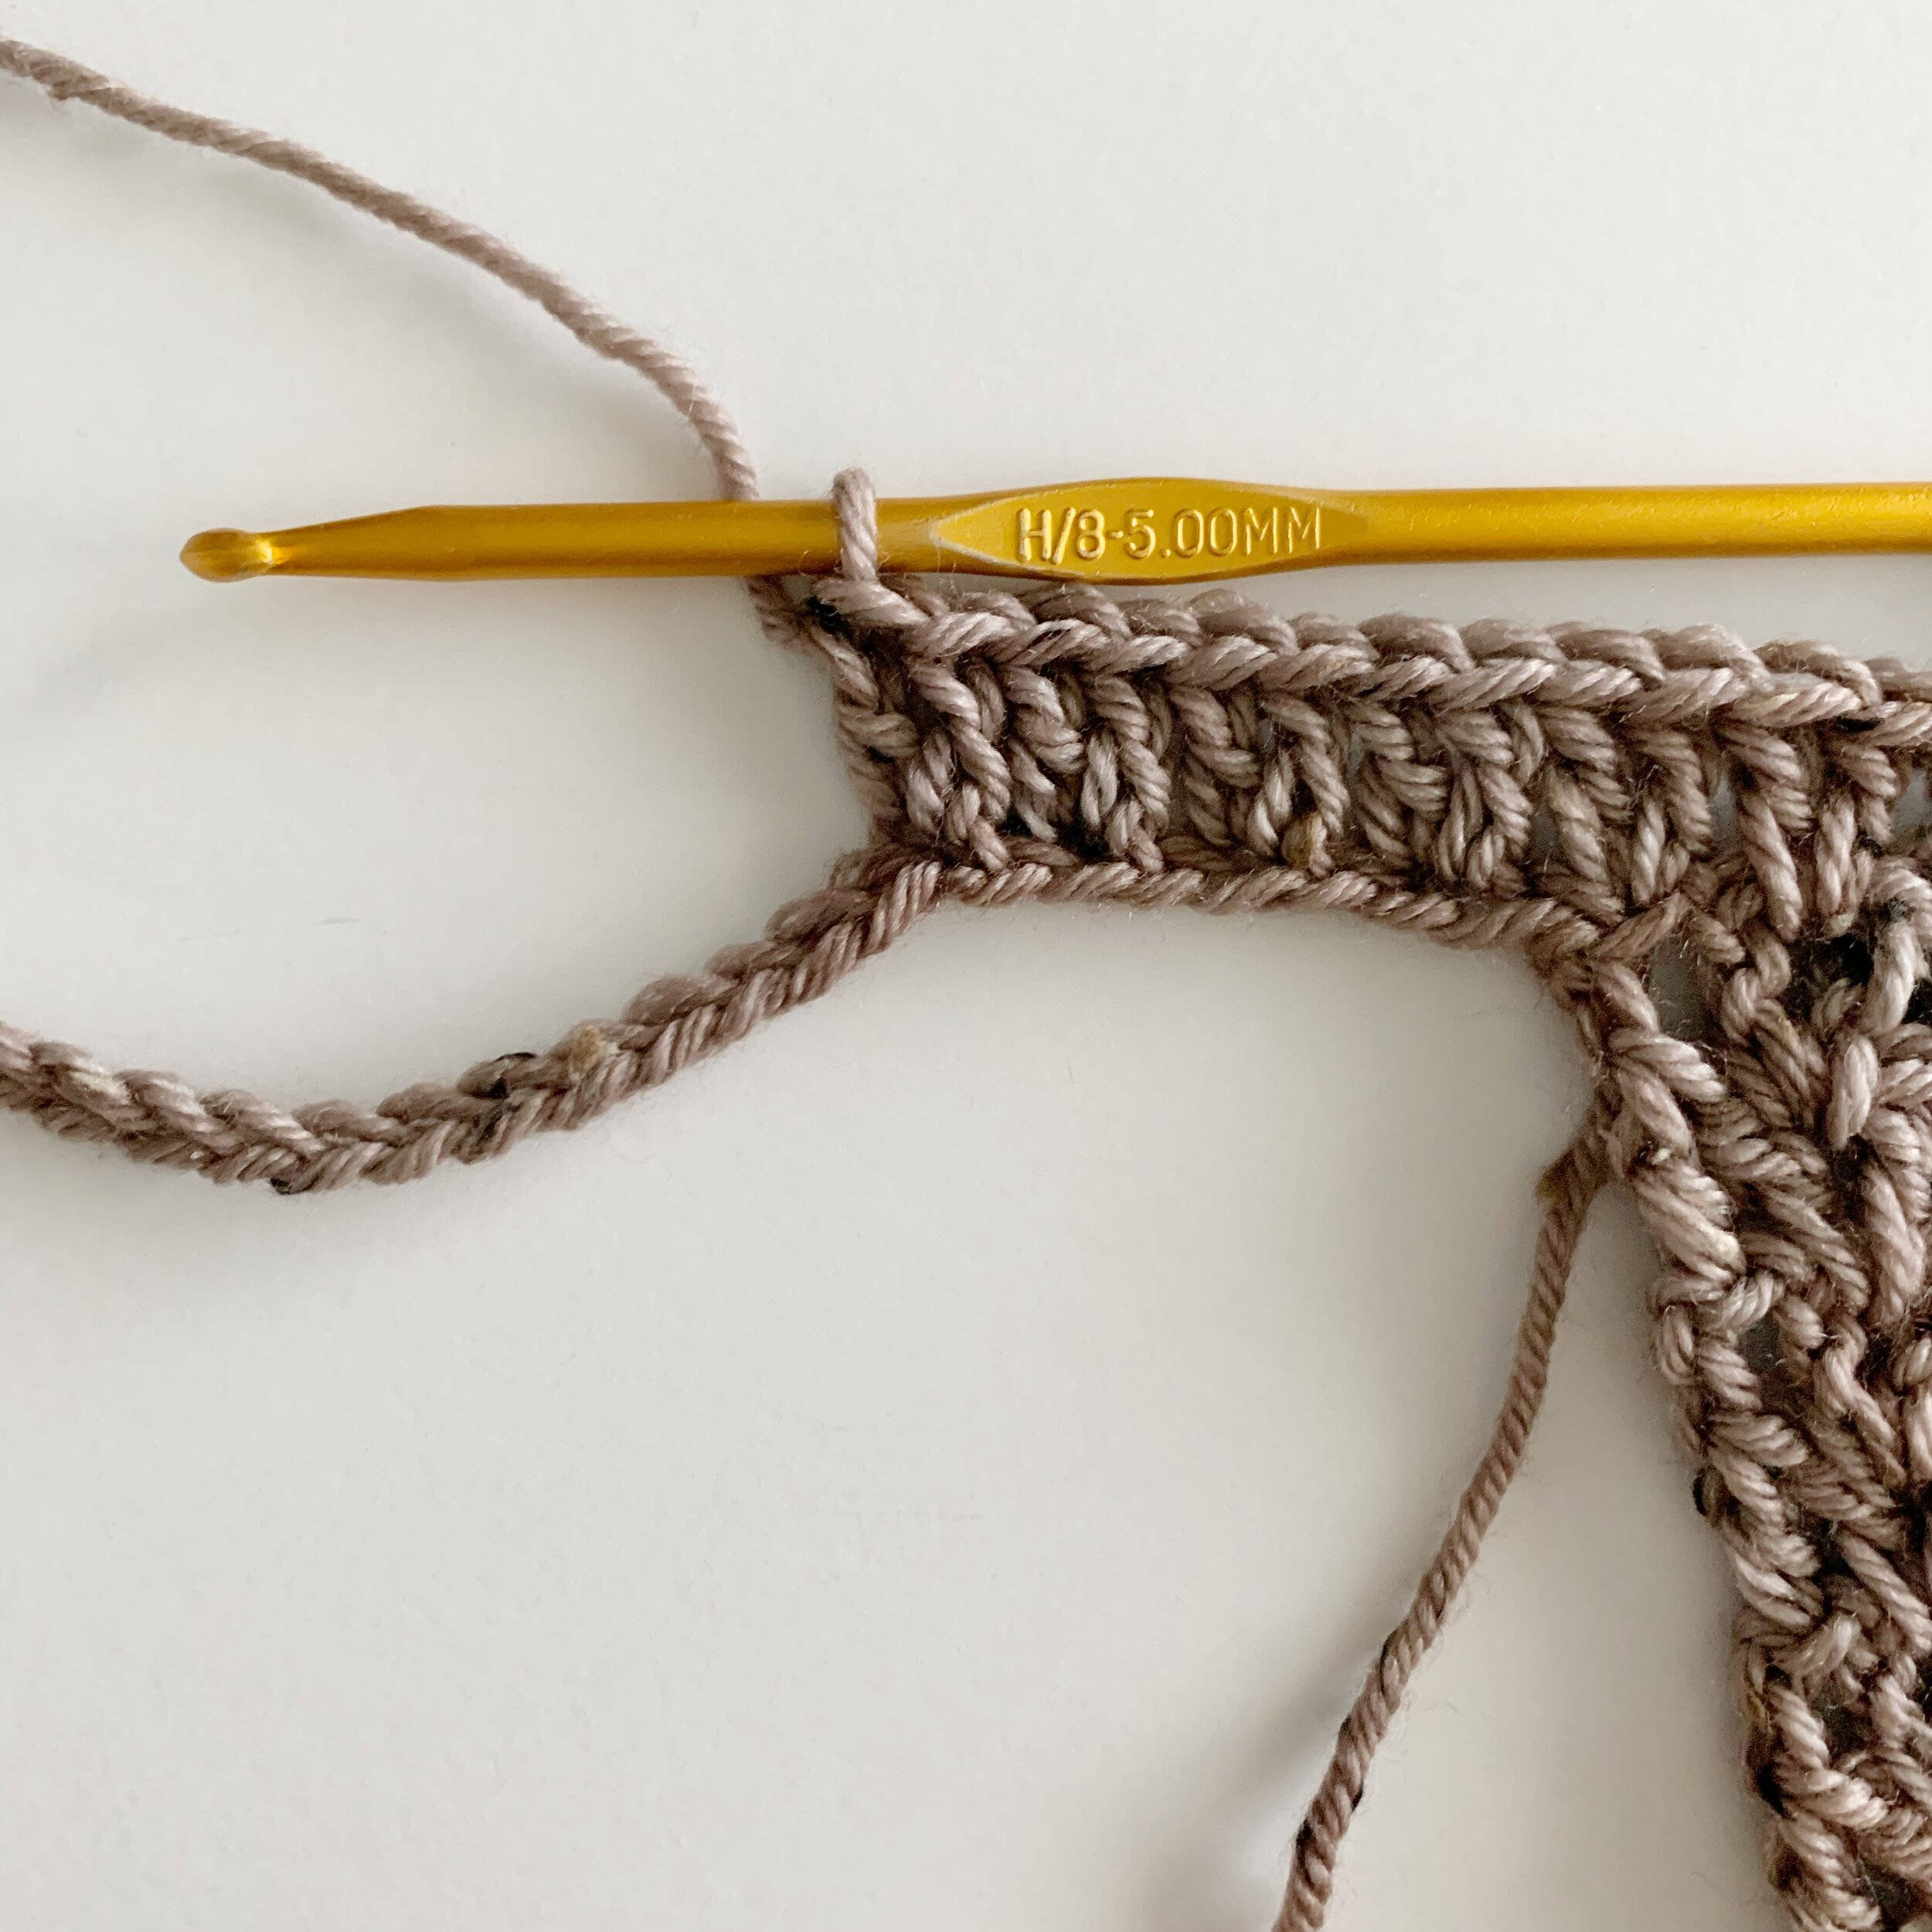
Using the other end of the skein of yarn, or your next skein of yarn, insert hook in top of ch 3 and draw up a loop, ch 20 and fasten off.
Insert hook back into the loop you left off with, 2dc in top of ch 3, ***sk 1 ch, 2dc in next, repeat from *** until 2 chs remain, sk 1, dc in last ch, turn. (100(106, 114, 120, 128, 134, 142, 148, 156)
Row 45-57(58, 59, 60, 61, 62, 63, 64, 65): ch 3, *2dc in v-sp between next set of dc, repeat from * across until 2 sts remain, dc in top of ch 3, turn. (100(106, 114, 120, 128, 134, 142, 148, 156)
Fasten off leaving a long tail for seaming.
Front:
Follow instructions for Back Rows 1-53(54, 55, 56, 57, 58, 59, 60, 61)
We will now be working the rest of the top in two sections to create our neckline. You will be decreasing on the inside to form a rounded neckline.
Left Shoulder:
Row 1: ch 3, *2dc in v-sp between next set of dc, repeat from *19(20, 22, 24, 26, 27, 29, 31, 33) times, dc in v-sp between next set of dc, turn. (40(42, 46, 50, 54, 56, 60, 64, 68)
Row 2: ch 3, dc in v-sp between next set of dc, *2dc in v-sp between next set of dc, repeat from * across, dc in top of ch 3, turn. (39(41, 45, 49, 53, 55, 59, 63, 67)
Row 3: ch 3, *2dc in v-sp between next set of dc, repeat from *18(19, 21, 23, 25, 26, 28, 30, 32) times, sk dc, dc in top of ch 3, turn. (38(40, 44, 48, 52, 54, 58, 62, 66)
Row 4: ch 3, dc in v-sp between next set of dc, *2dc in v-sp between next set of dc, repeat from * across, dc in top of ch 3. (37(39, 43, 47, 51, 53, 57, 61, 65)
Fasten off leaving a long tail for seaming.
Right Shoulder:
Attach yarn in between the 20th and 21st (22nd/23rd, 22nd/23rd, 20th/21st, 20th/21st, 22nd/23rd, 22nd/23rd, 20th/21st, 20th/21st)stitches from Row 1 of the Left Shoulder.
Row 1: ch 3, *2dc in v-sp between next set of dc, repeat from * across, dc in top of ch 3, turn. (40(42, 46, 50, 54, 56, 60, 64, 68)
Row 2: ch 3, *2dc in v-sp between next set of dc, repeat from * 18(19, 21, 23, 25, 26, 28, 30, 32) times, dc in v-sp between next set of dc, dc in top of ch 3, turn. (39(41, 45, 49, 53, 55, 59, 63, 67)
Row 3: ch 3, sk 1st dc, *2dc in v-sp between next set of dc, repeat from * across, dc in top of ch 3, turn. (38(40, 44, 48, 52, 54, 58, 62, 66)
Row 4: ch 3, *2dc in v-sp between next set of dc, repeat from *17(18, 20, 22, 24, 25, 27, 29, 31) times, dc in v-sp between next set of dc, dc in top of ch 3, turn. (37(39, 43, 47, 51, 53, 57, 61, 65)
Fasten off.
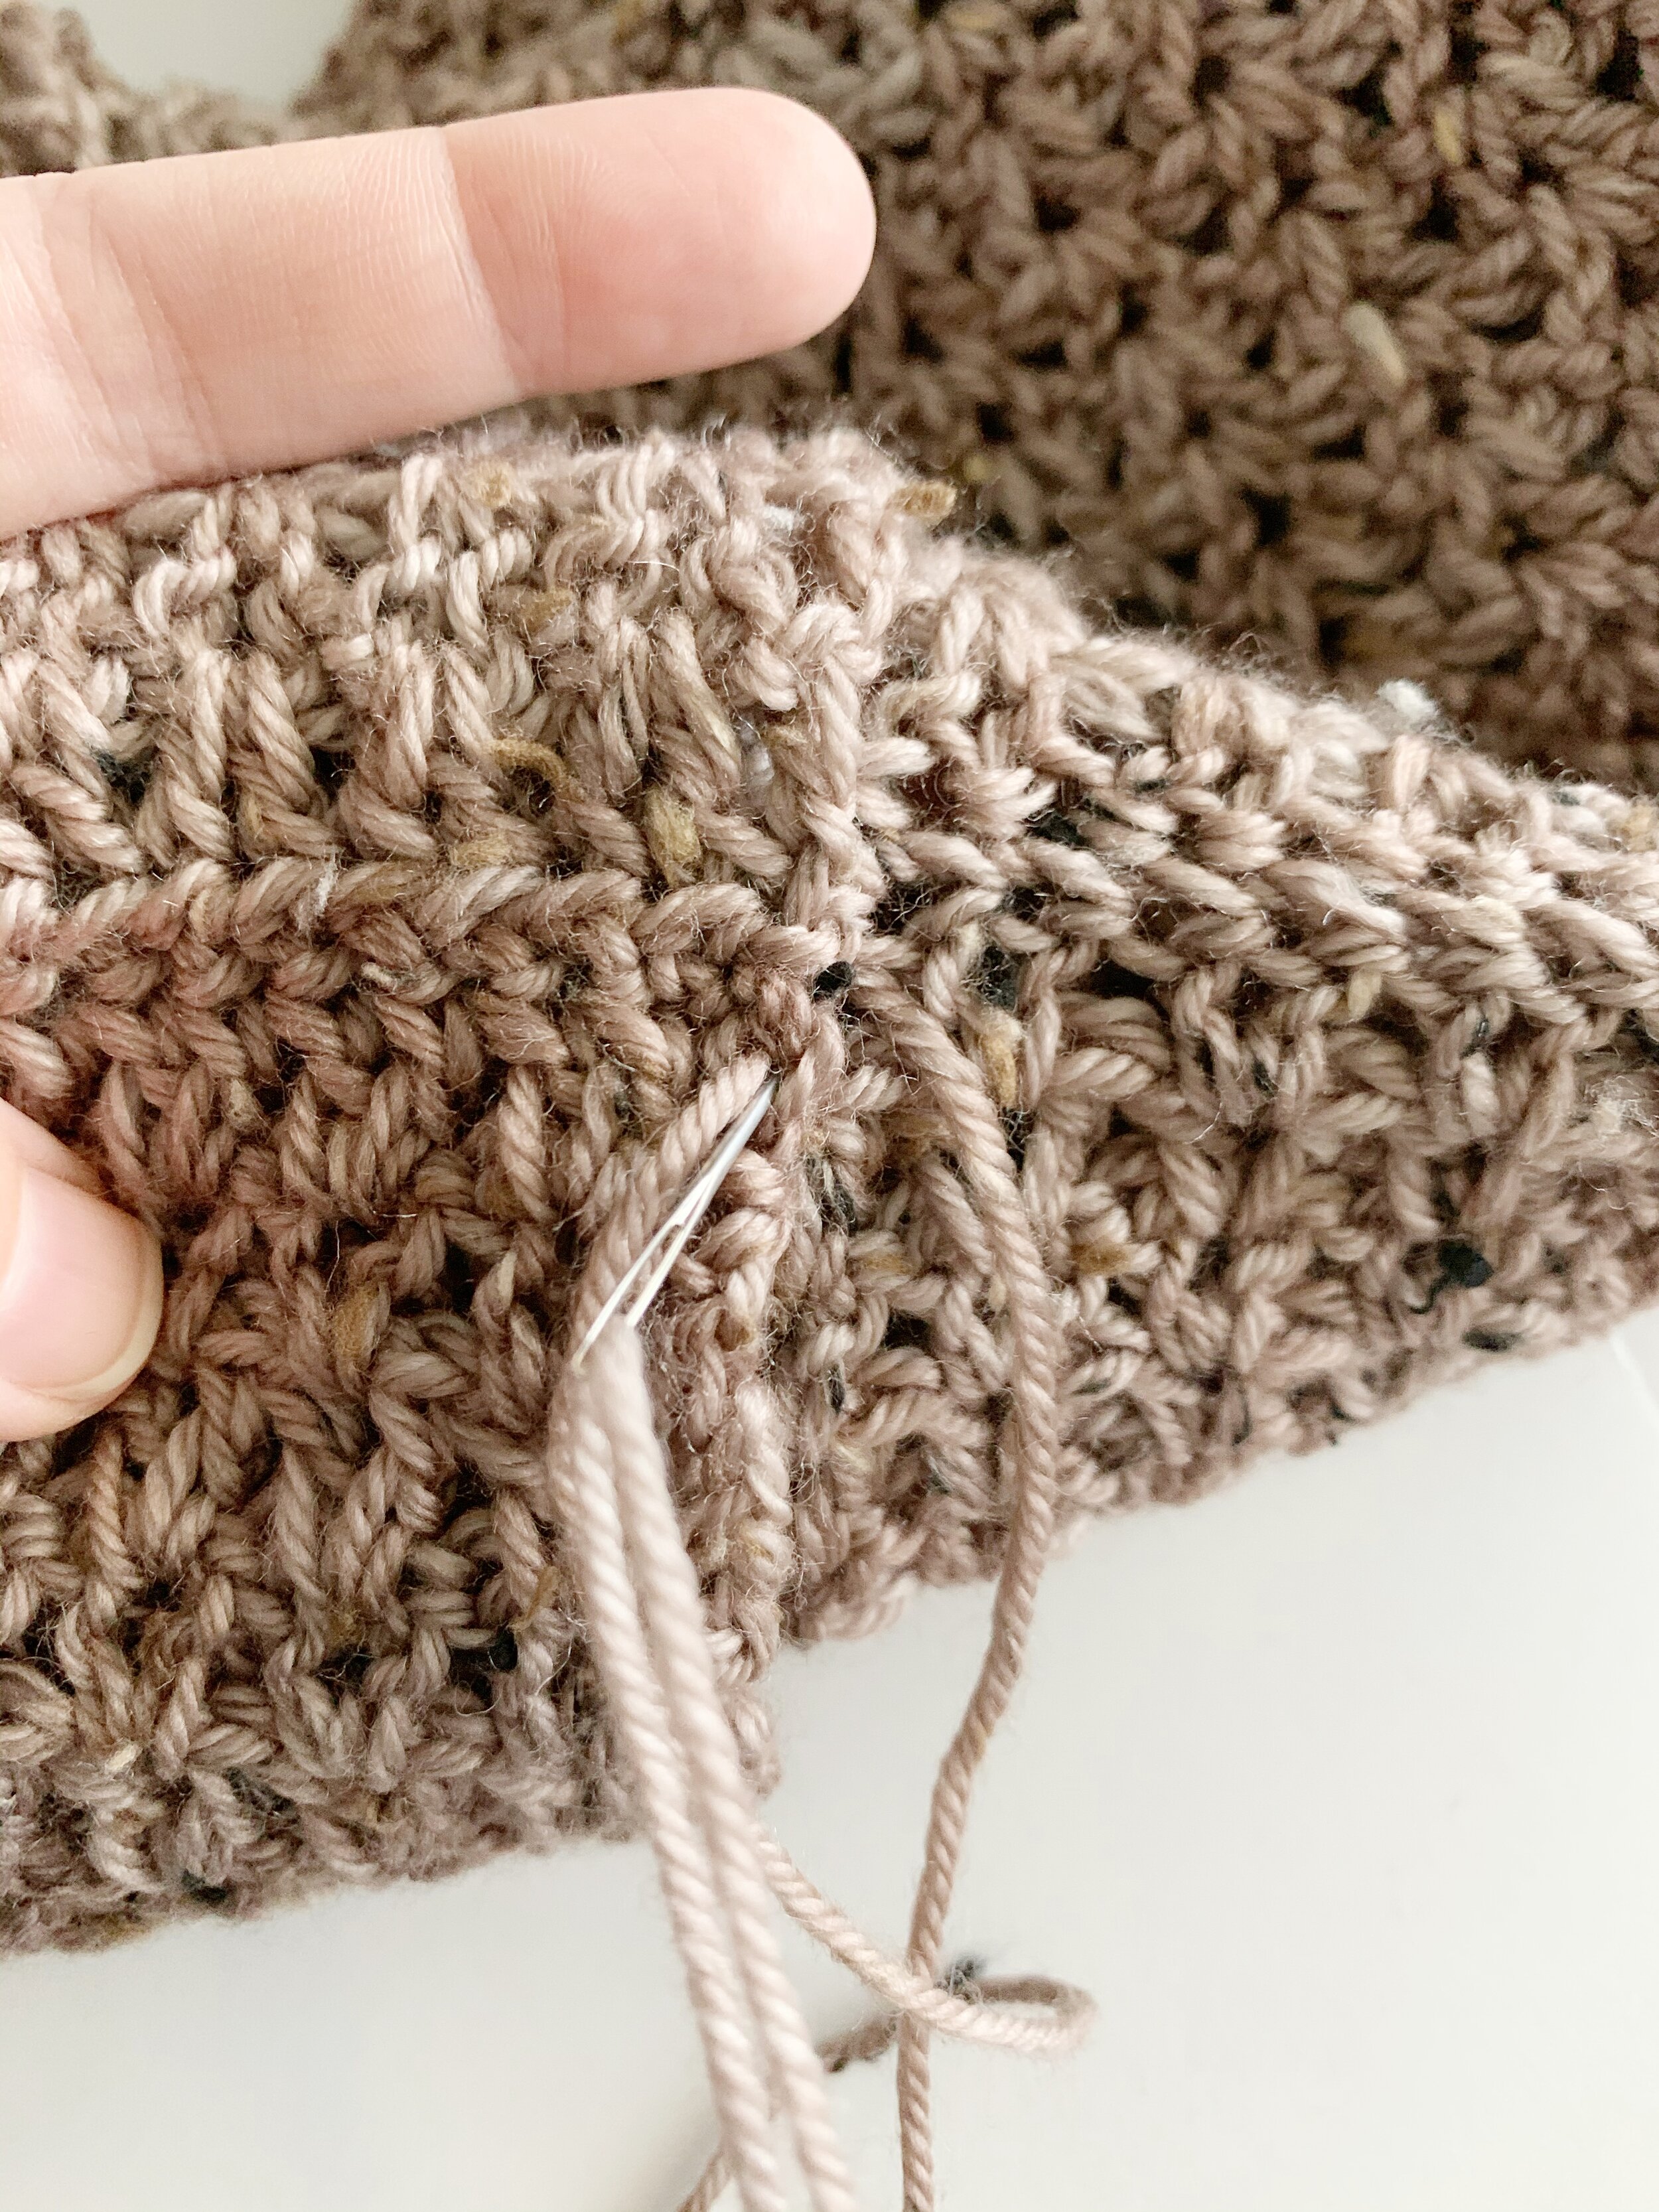
Assembly:
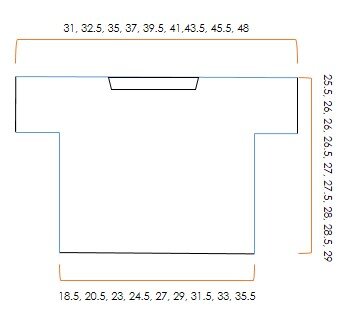
Lay panels together with RS facing. Using your preferred method of seaming, seam the shoulders and sides together where indicated by the blue lines below.
Cuff:
Turn sleeves up about 2.5.” Tack in place along top seam and under arm seam. Fasten off and weave in ends.
Neckline:
Finish off your sweater by working one row of sc around the neckline. With RS facing you, attach yarn to center back of neck.
Round 1: ch 1, sc in same st as join and in each st and row end around, sl st to top of 1st st to join.
Fasten off and weave in ends.
Wet or steam block as needed.

I hope you enjoy your new Caris Pullover. I’d love to see your finished Caris so make sure to tag me @meghanmakesdo on social media. Don’t forget to use #carispullover too.
Special thanks to my amazing testers! I love every single one. Make sure to check out their Instagram accounts tagged below.
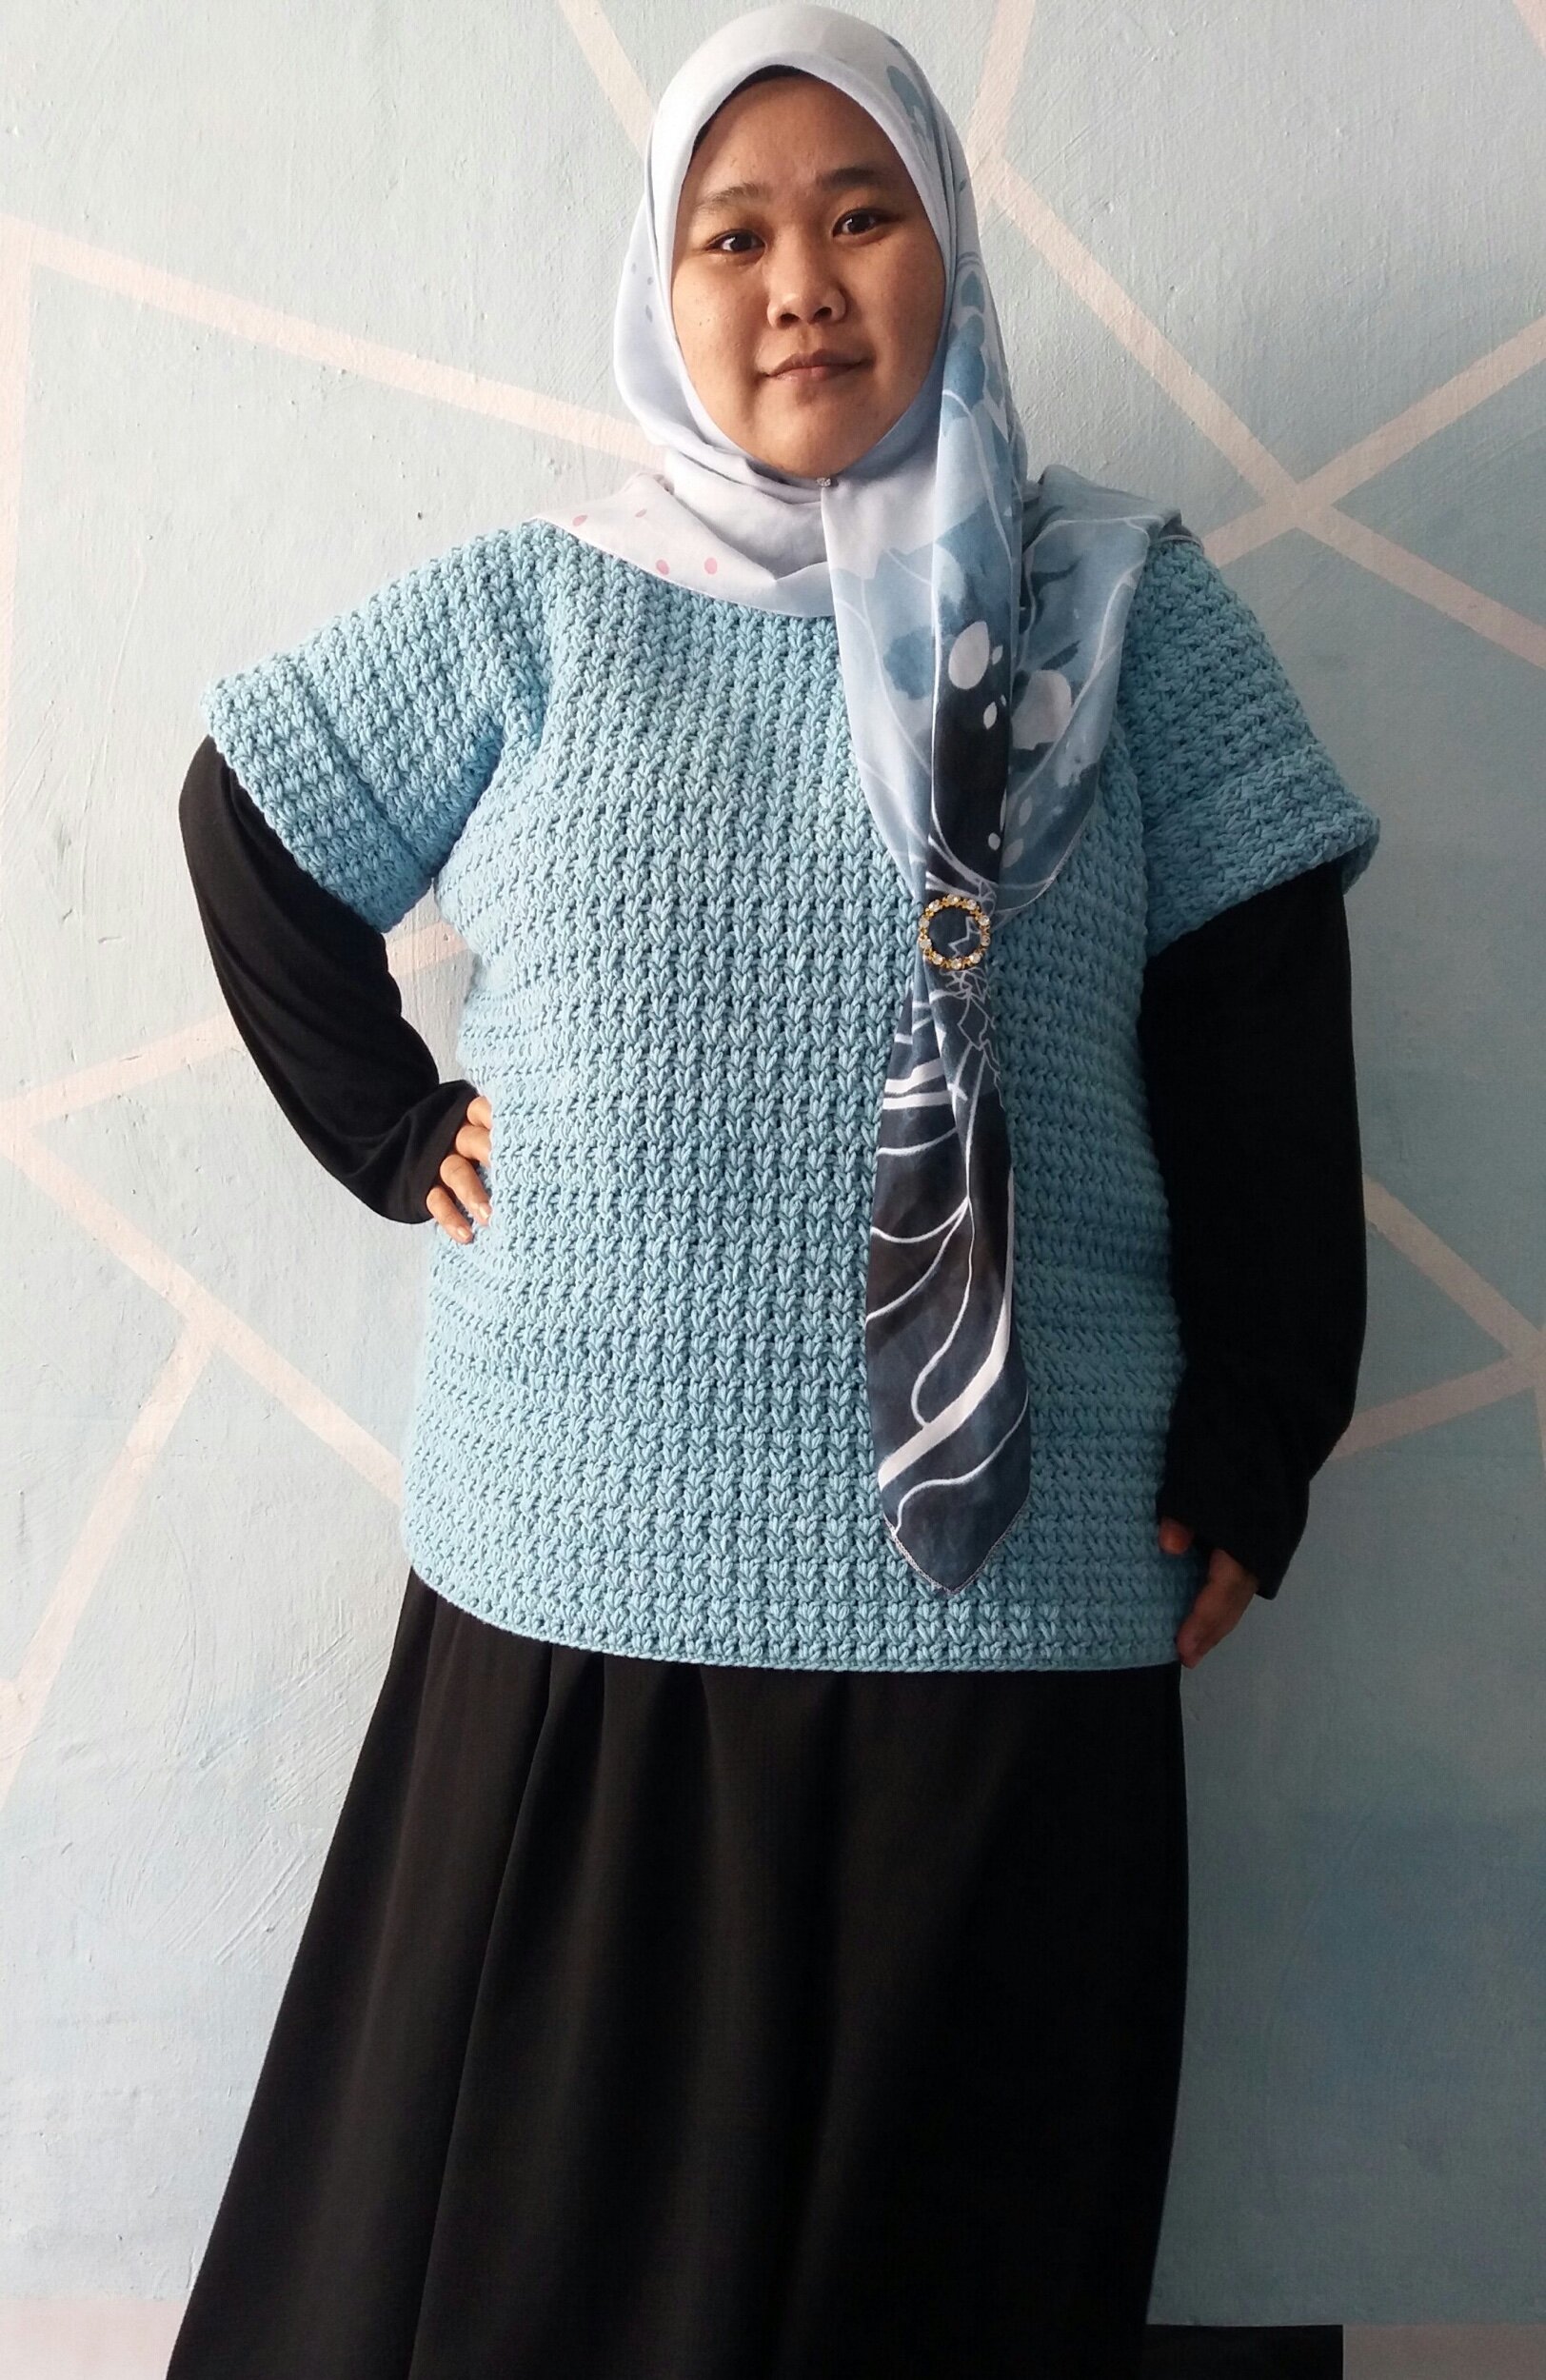
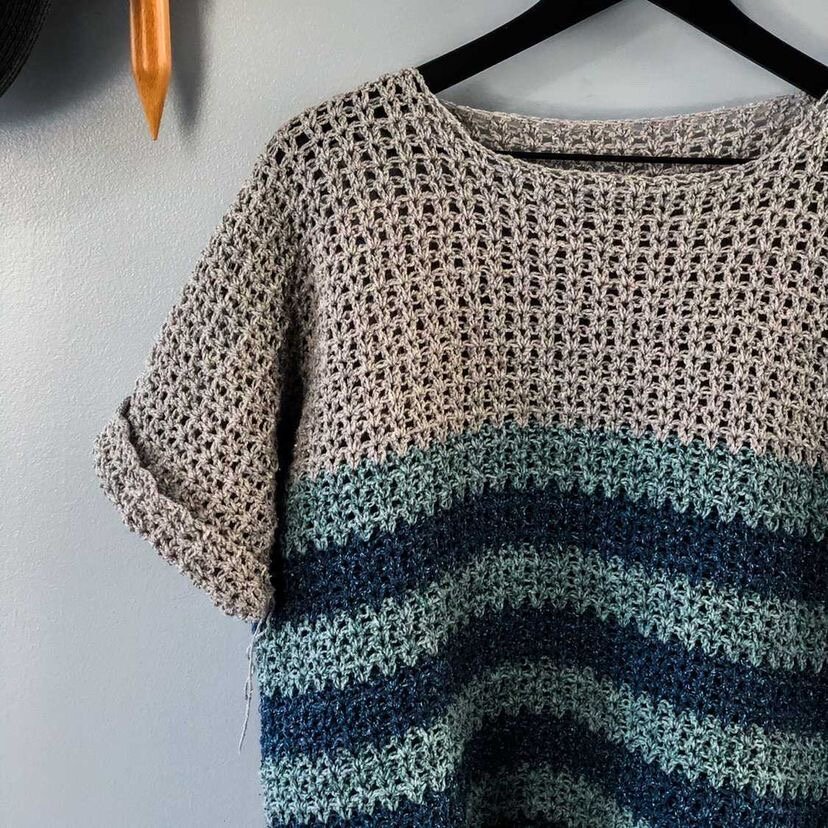
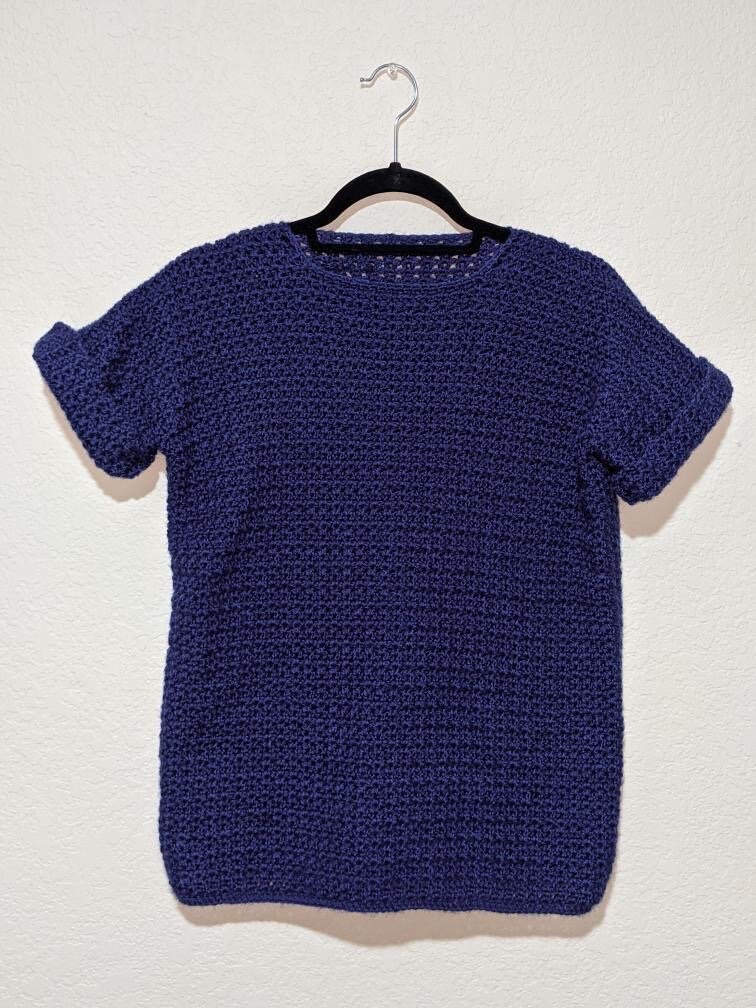
Top Row: @newday.heirlooms, @thatssewlacey, @hook_n_heart, @creativeartscrochet, @literaryyarn
Middle Row: @sweetteaandcrochet, @josephineandroot, @handmadexhope, @thepurlingpineapple, @thedecoratedgiraffe
Bottom Row: @thesppj, @rinknits, @the_crafty_psychologist
As always you can find the PDF version of The Caris Pullover pattern in my shop, Etsy or Ravelry.
Happy Crocheting,
Meghan