The Pearl Pincushion-Free Sewing Pattern
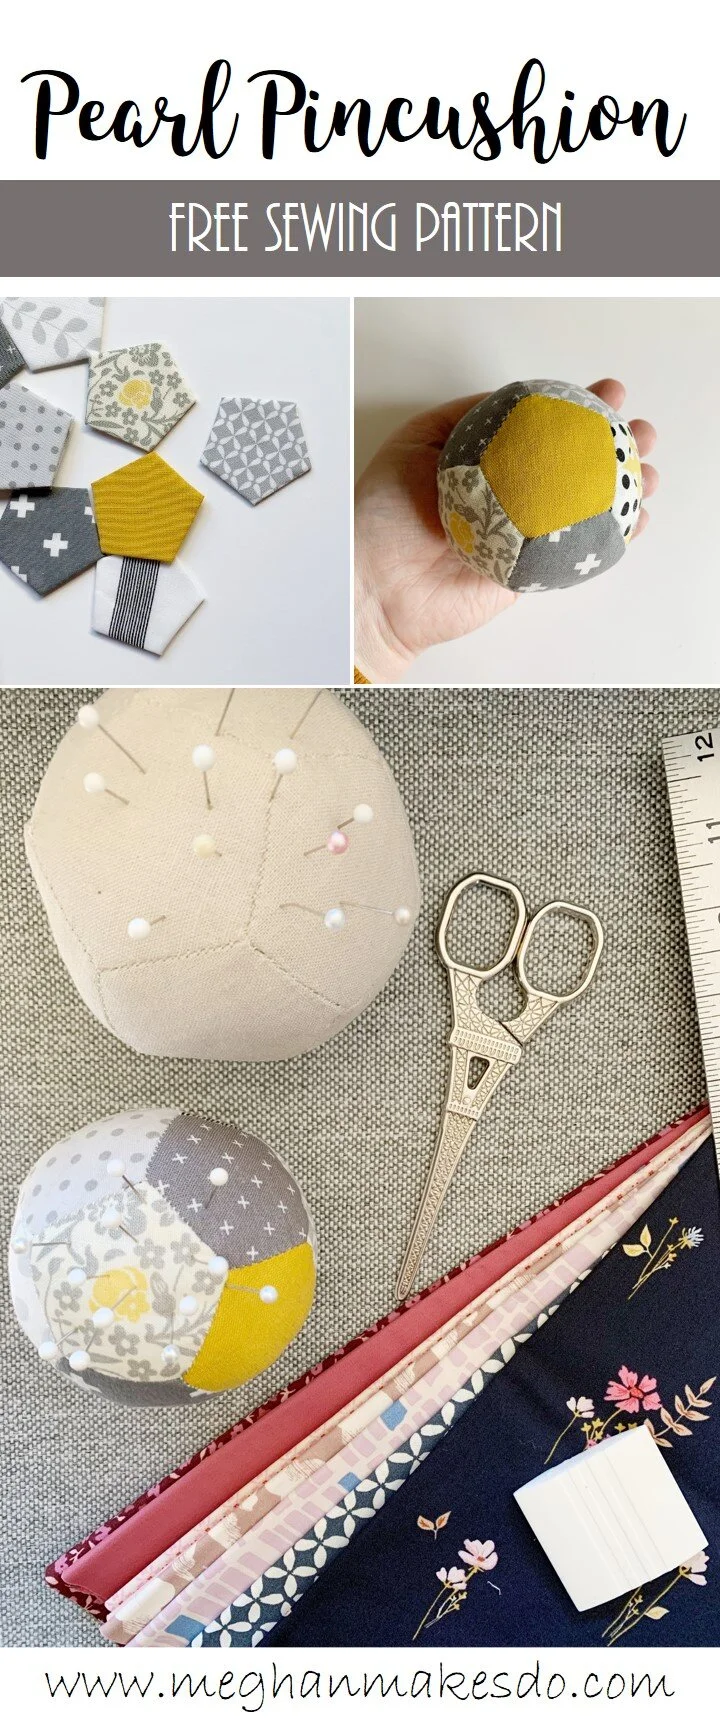
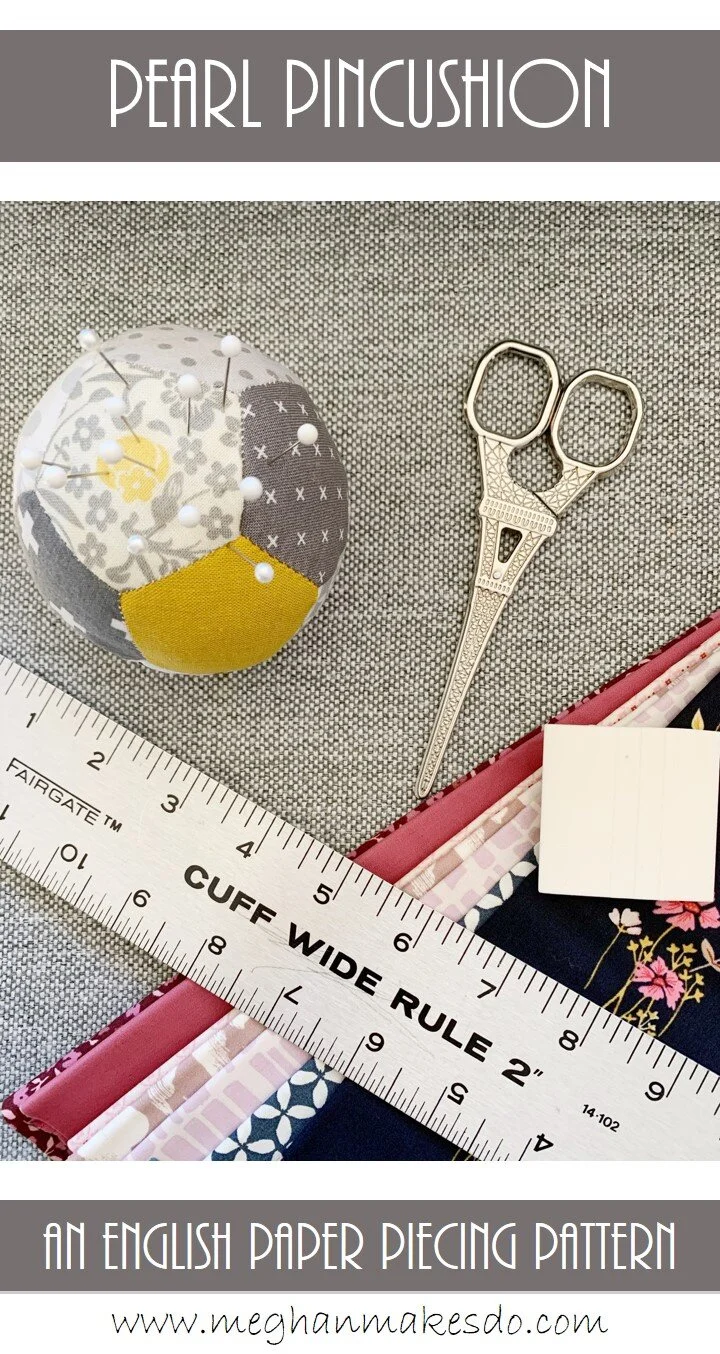
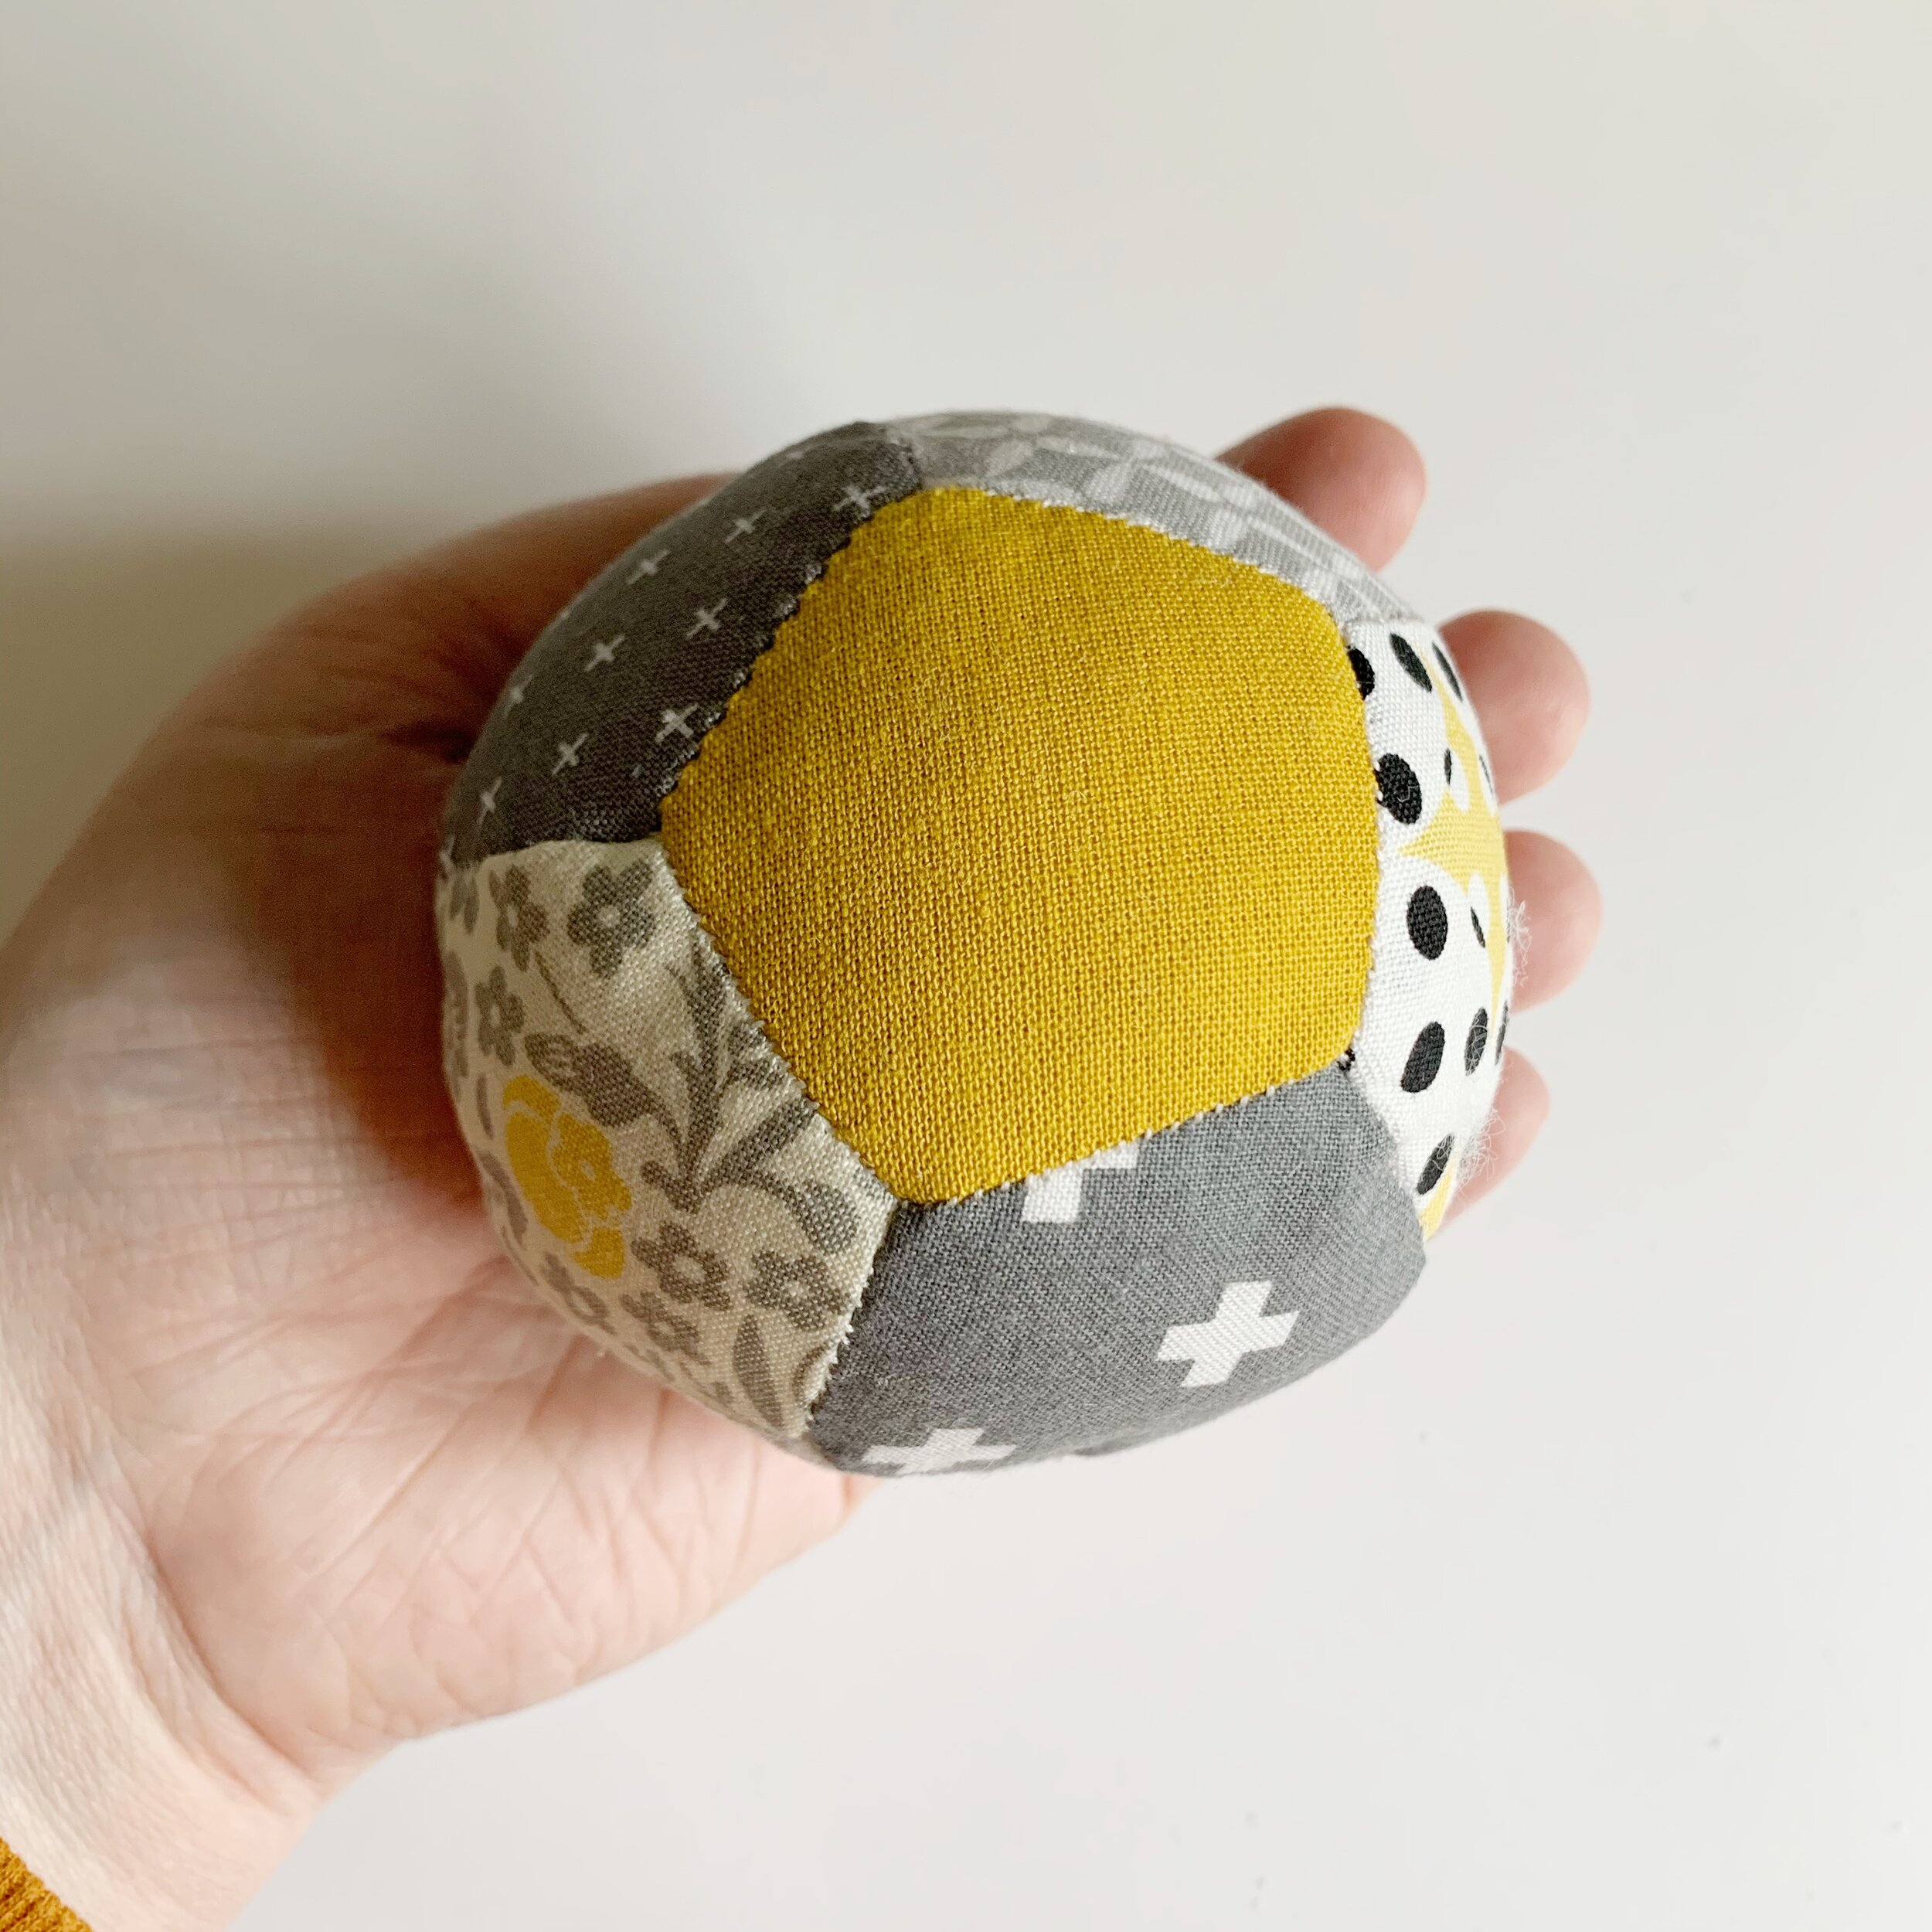
Get ready to fall in love with a pincushion. Trust me it will happen when you see how fun it is to make the Pearl Pincushion. Scroll down for the free pattern or grab a digital PDF in my shop .
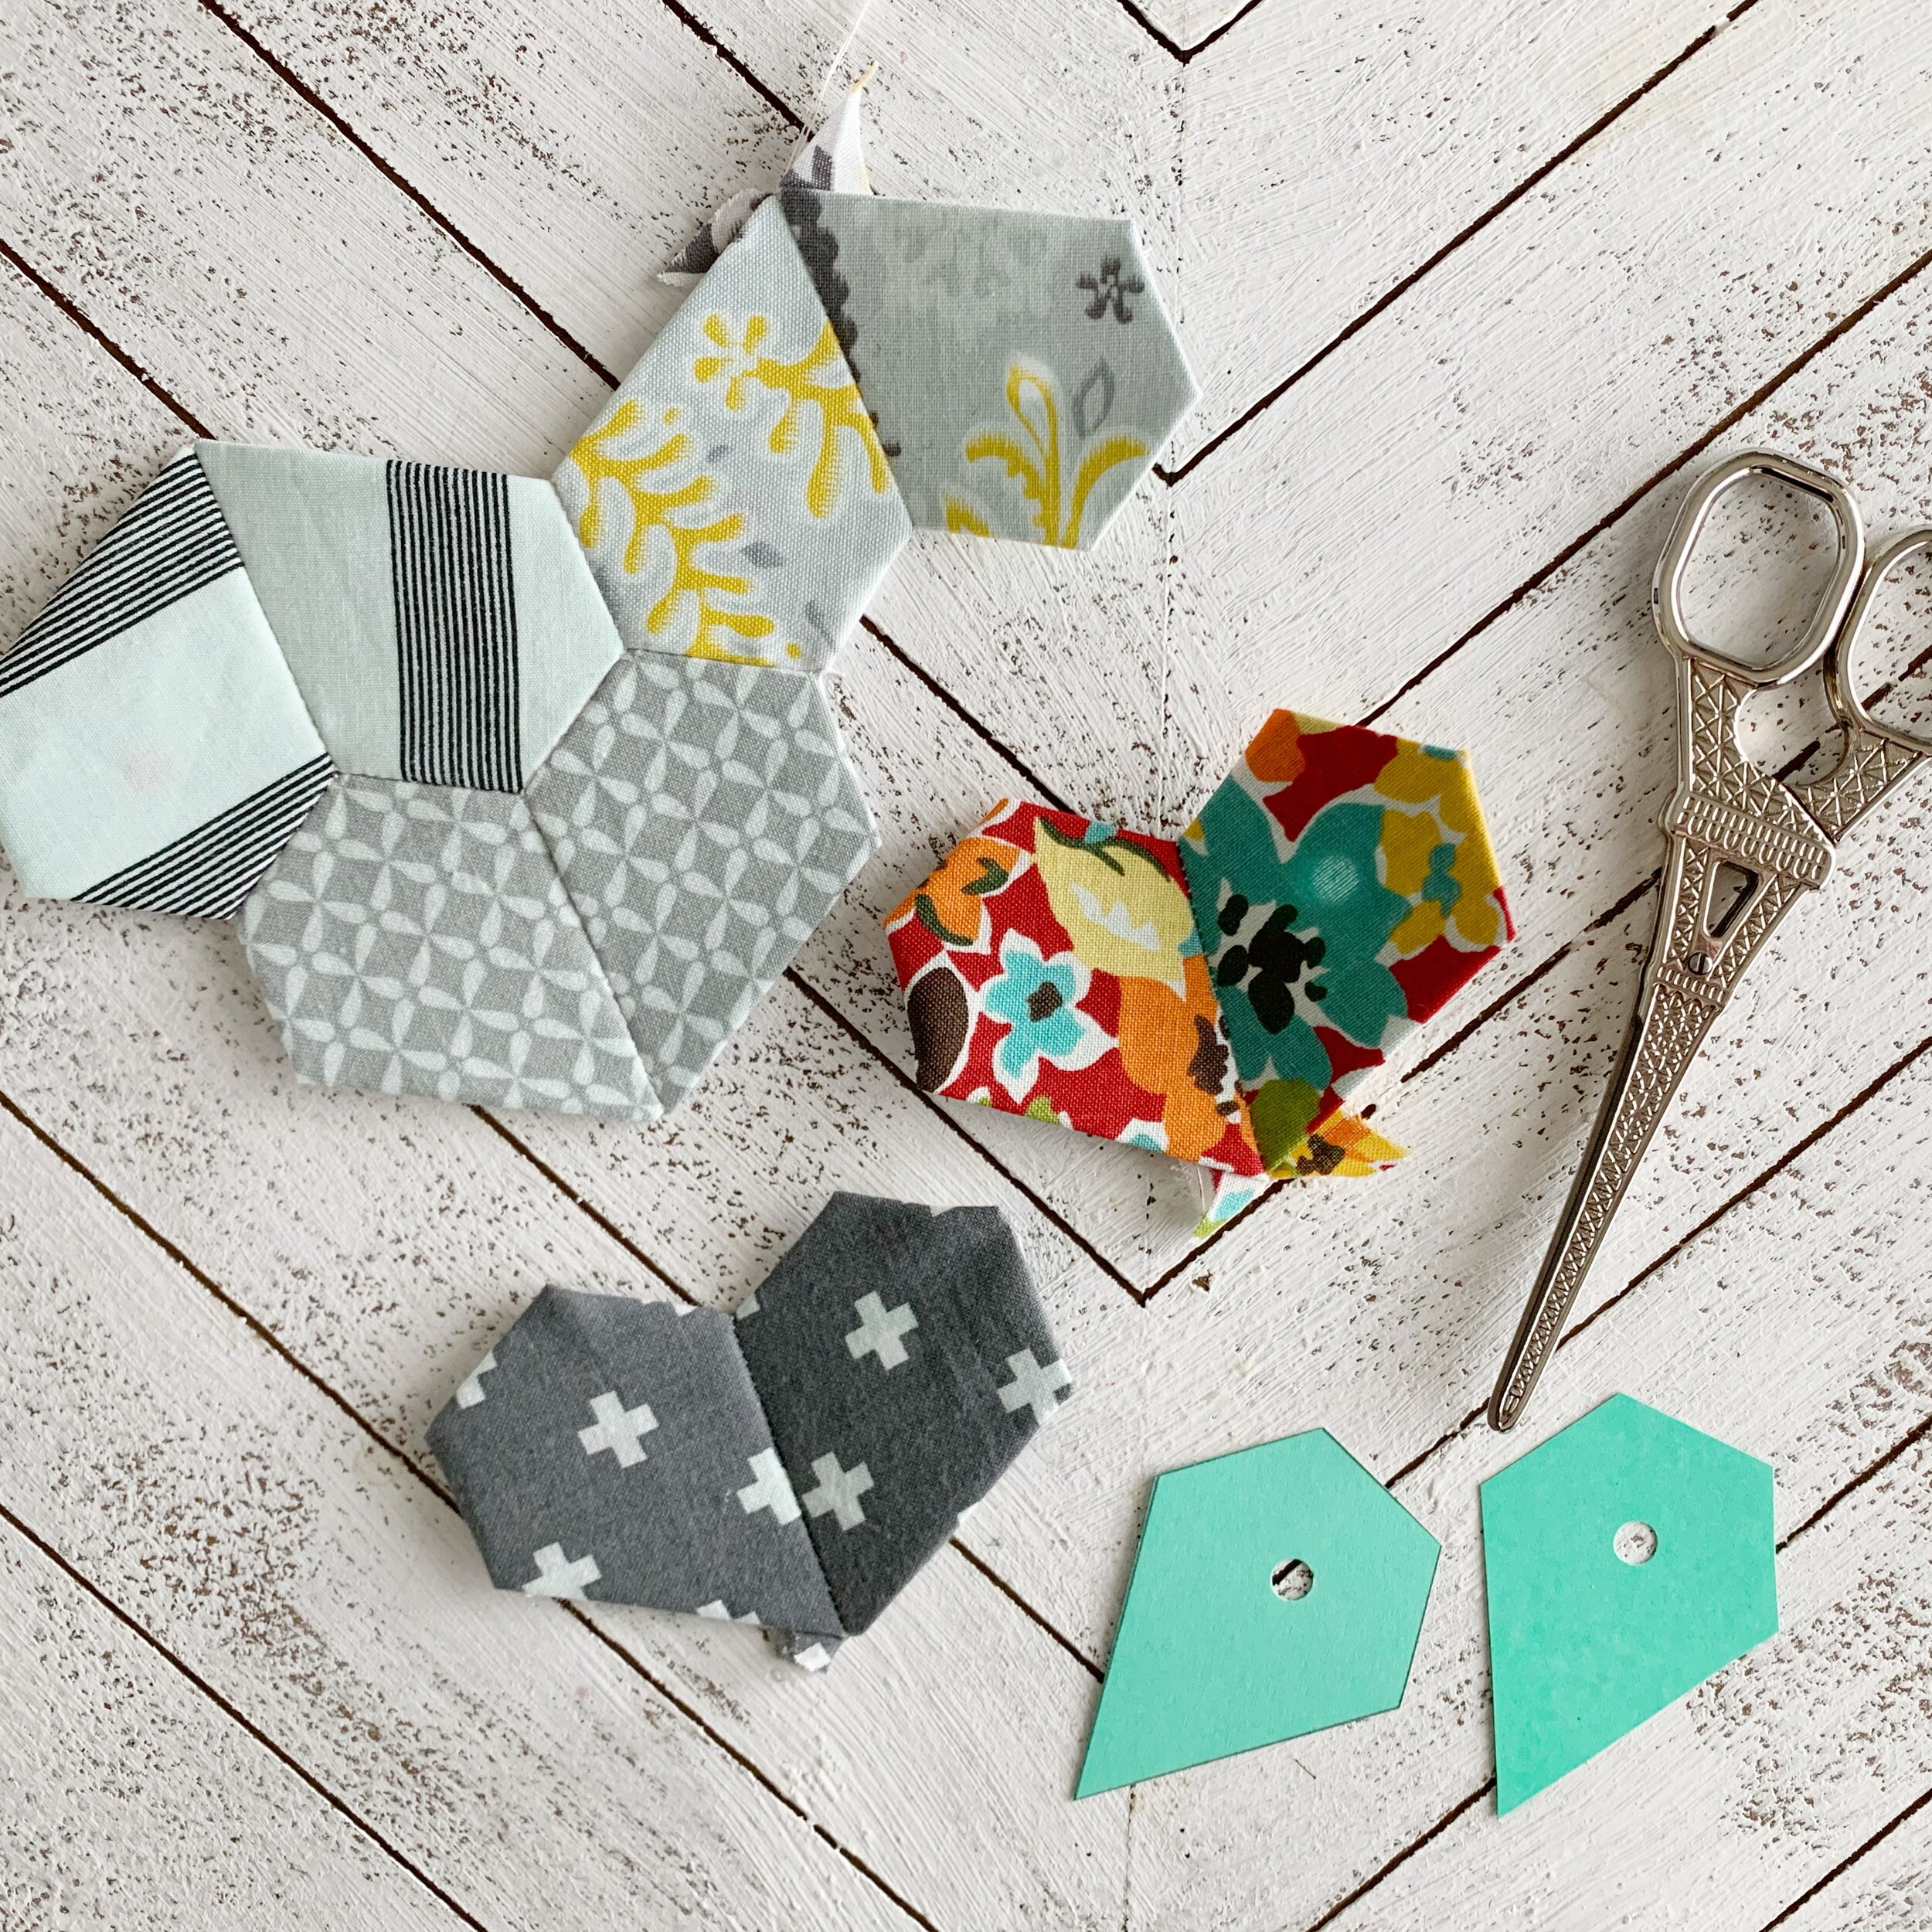
I’ve totally fallen in love with English Paper Piecing. If you’ve never tried it make sure to check out my blog post How To English Paper Piece. It’s full of super helpful information, step by step photos and a video tutorial.
It’s the perfect way to use up scraps of fabric and is easy to take on the go since you don’t need many supplies. I also love that it uses cute little shapes like hexagons and jewels.
When I first had the idea for the Pearl Pincushion, I really wanted to create a dodecahedron and was trying to figure out a way to do it. I knew it would be a bit tricky trying to sew those tiny pentagons on the machine, so English Paper Piecing it would have to be. While it doesn’t create a typical flat sided dodecahedron, it makes the cutest little sphere shaped pincushion that would look great in any sewing space.
The Pearl Pincushion Pattern
Materials:
1/8 yard of quilting fabric or a few fabric scraps
Sewing needle
Thread
Fiber-fil
Rice
Pentagon paper templates & cardstock
Size:
Finished size is approx. 3” X 3” or 3.5” X 3.5” (two different sized templates are included.
Notes:
1.The Pearl Pincushion is made using the English Paper Piecing method of hand sewing. If you are not familiar with this technique, you can find written and video instructions here.
2.The rice is used to weight the pincushion down. Alternately you can use plastic or glass beads or beans.
Pattern:
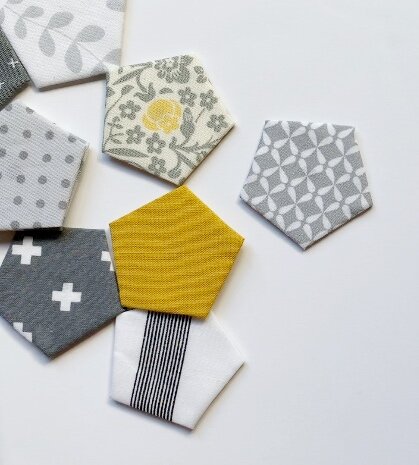
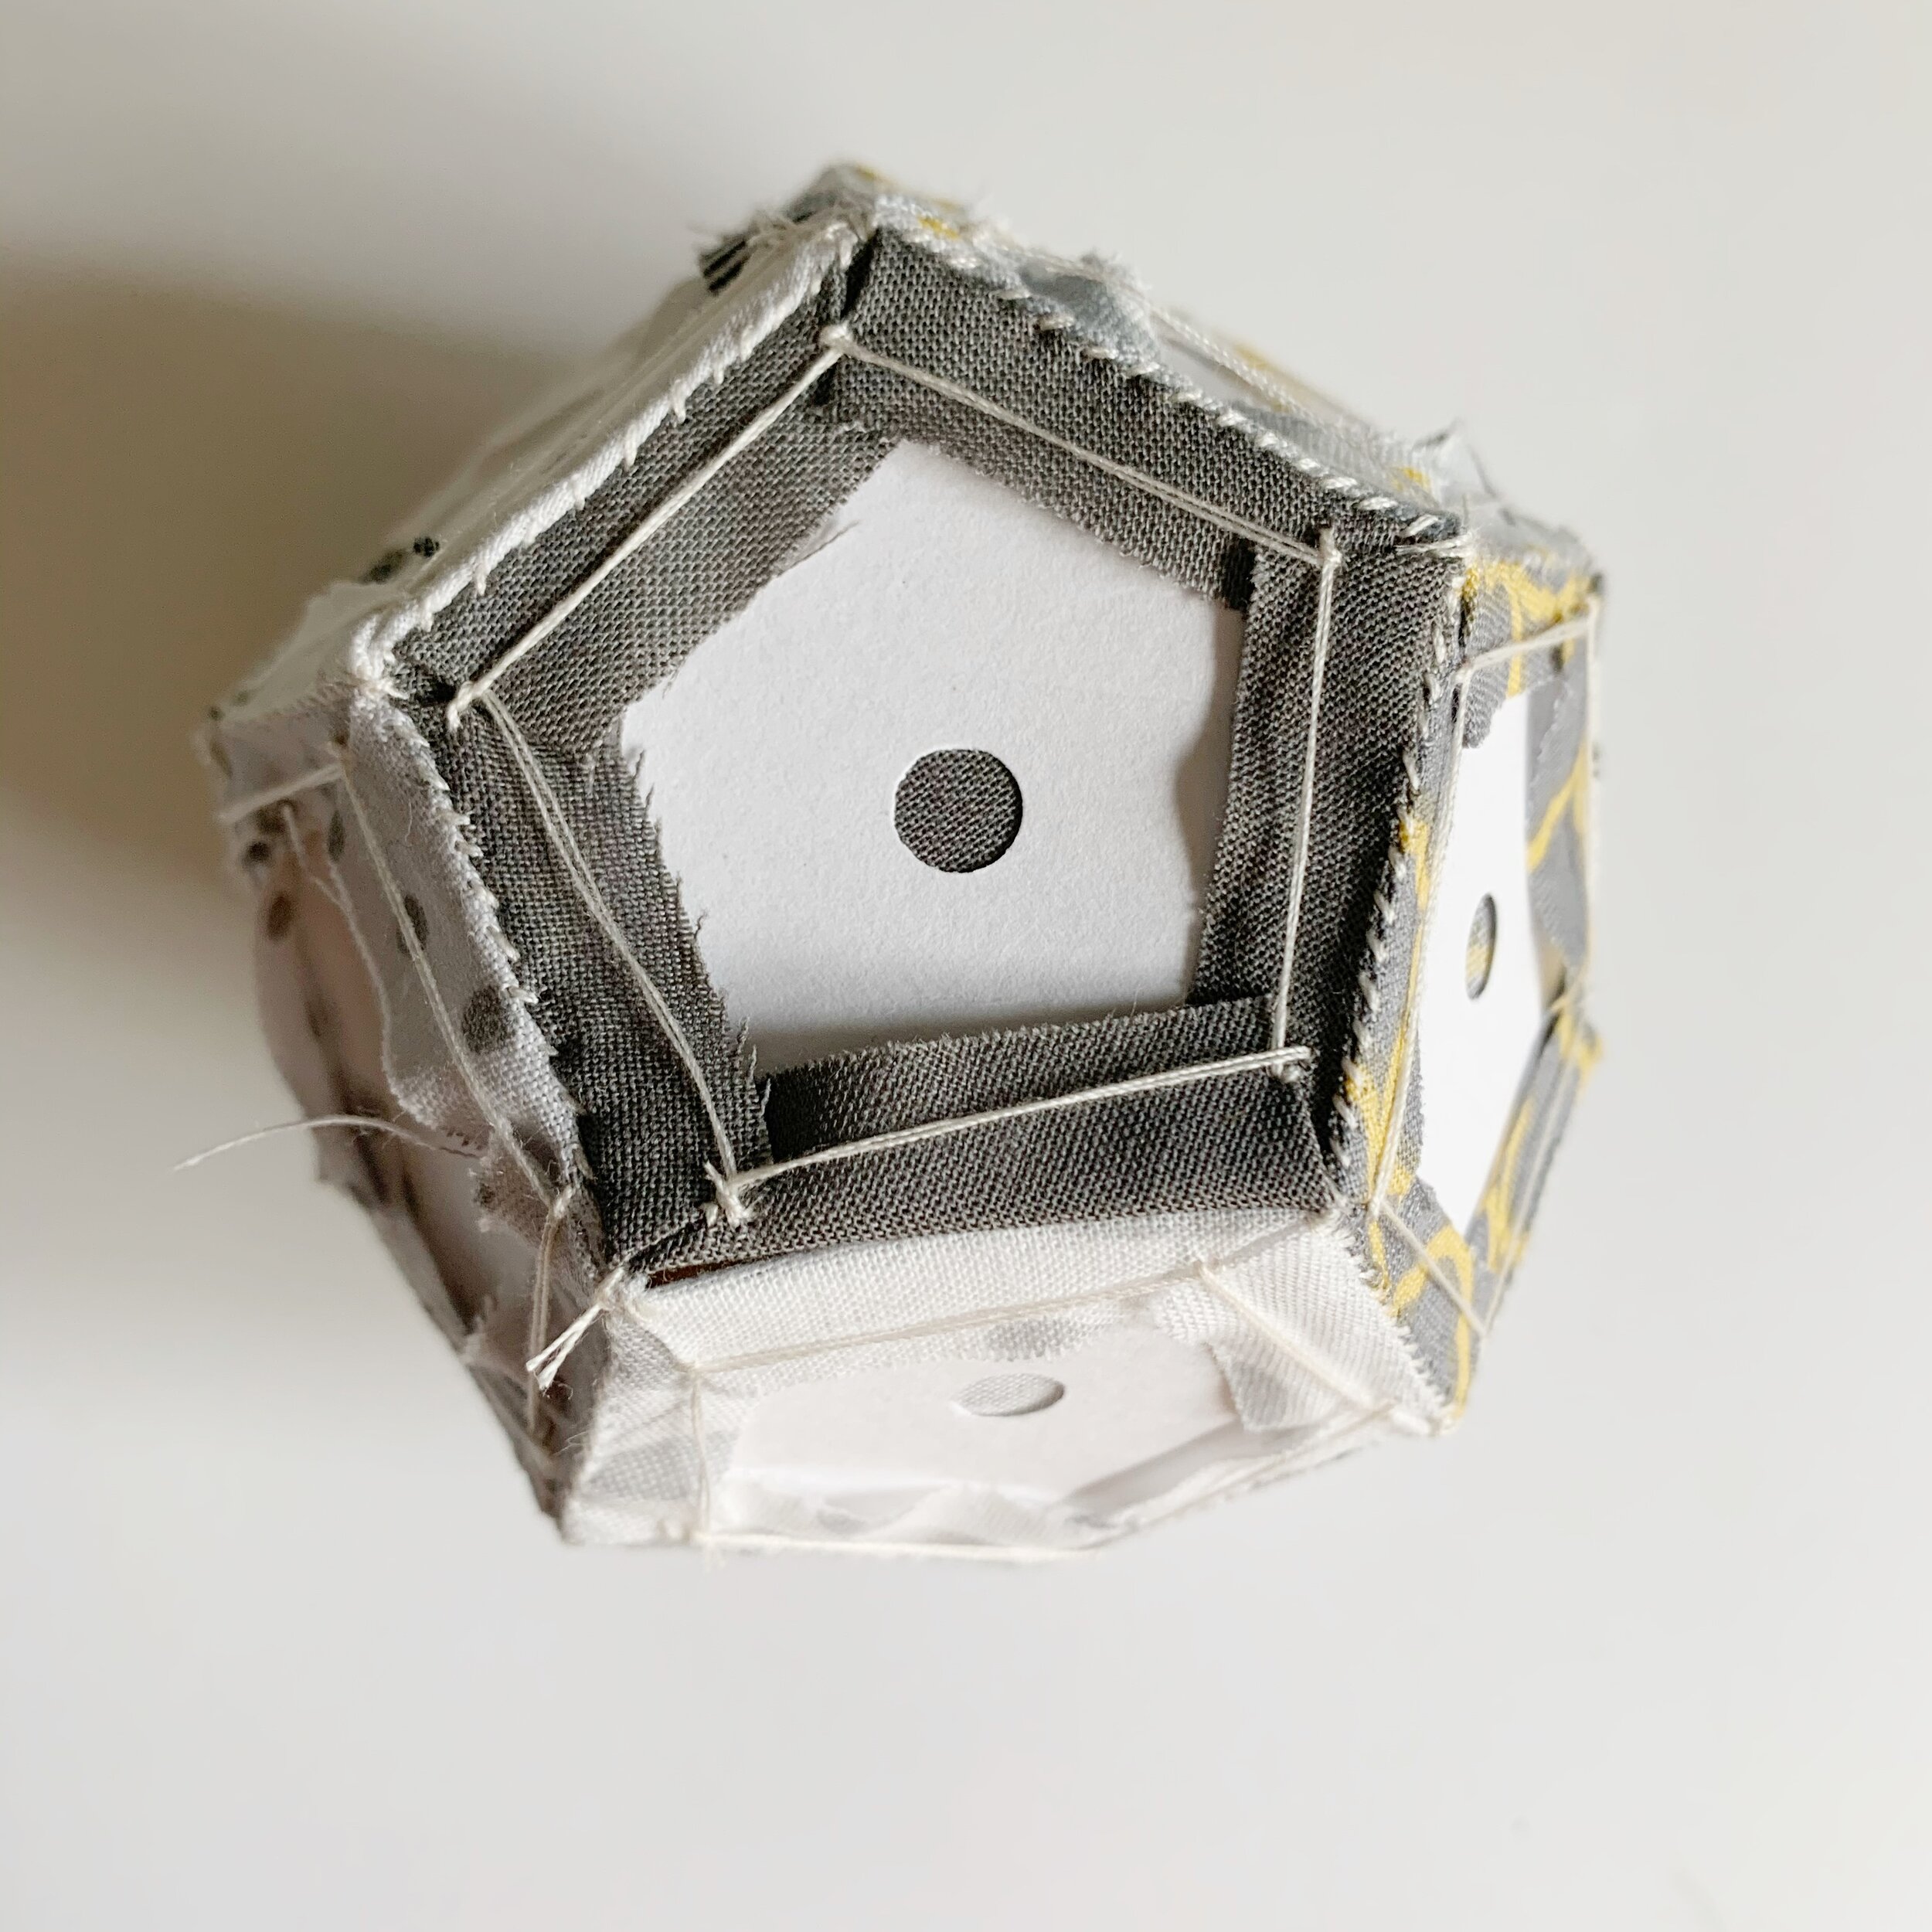
1.Print the pentagon paper template on cardstock and then cut out each pentagon and punch a hole in the center. The smaller pentagons will produce a 3” pincushion and the larger will produce a 3.5” pincushion.
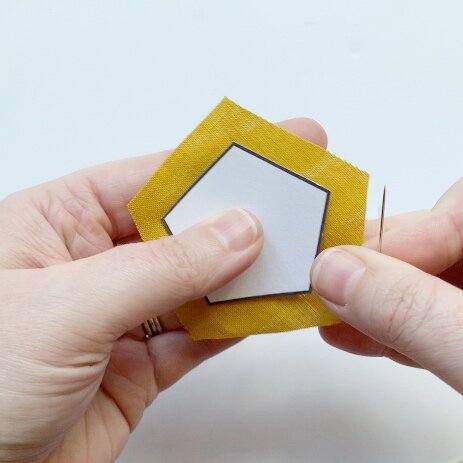
2.Using your paper pentagons as a template cut out fabric leaving at least a ½” of fabric all the way around the template.
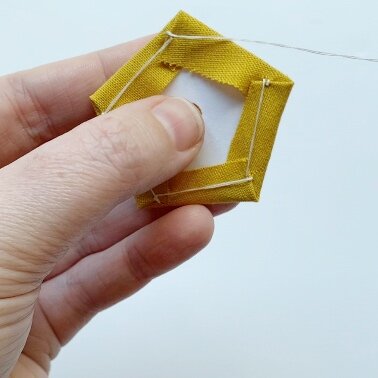
3.Using your preferred method, baste the fabric to the paper pieces.
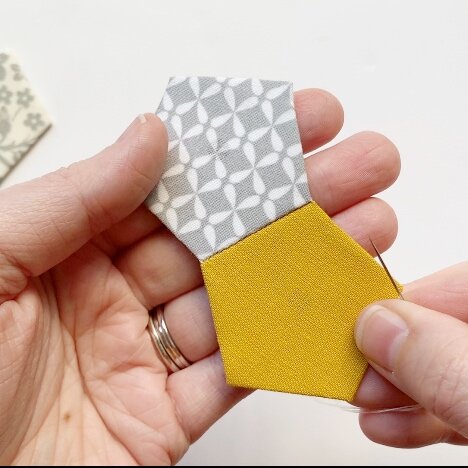
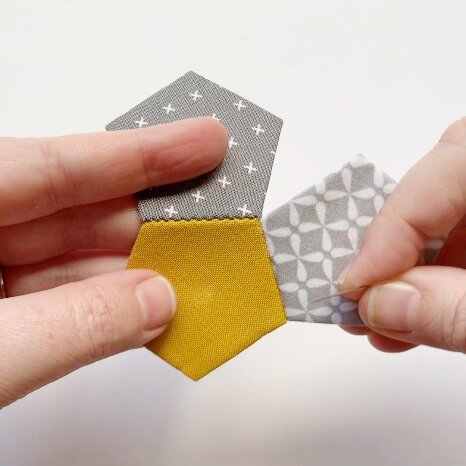
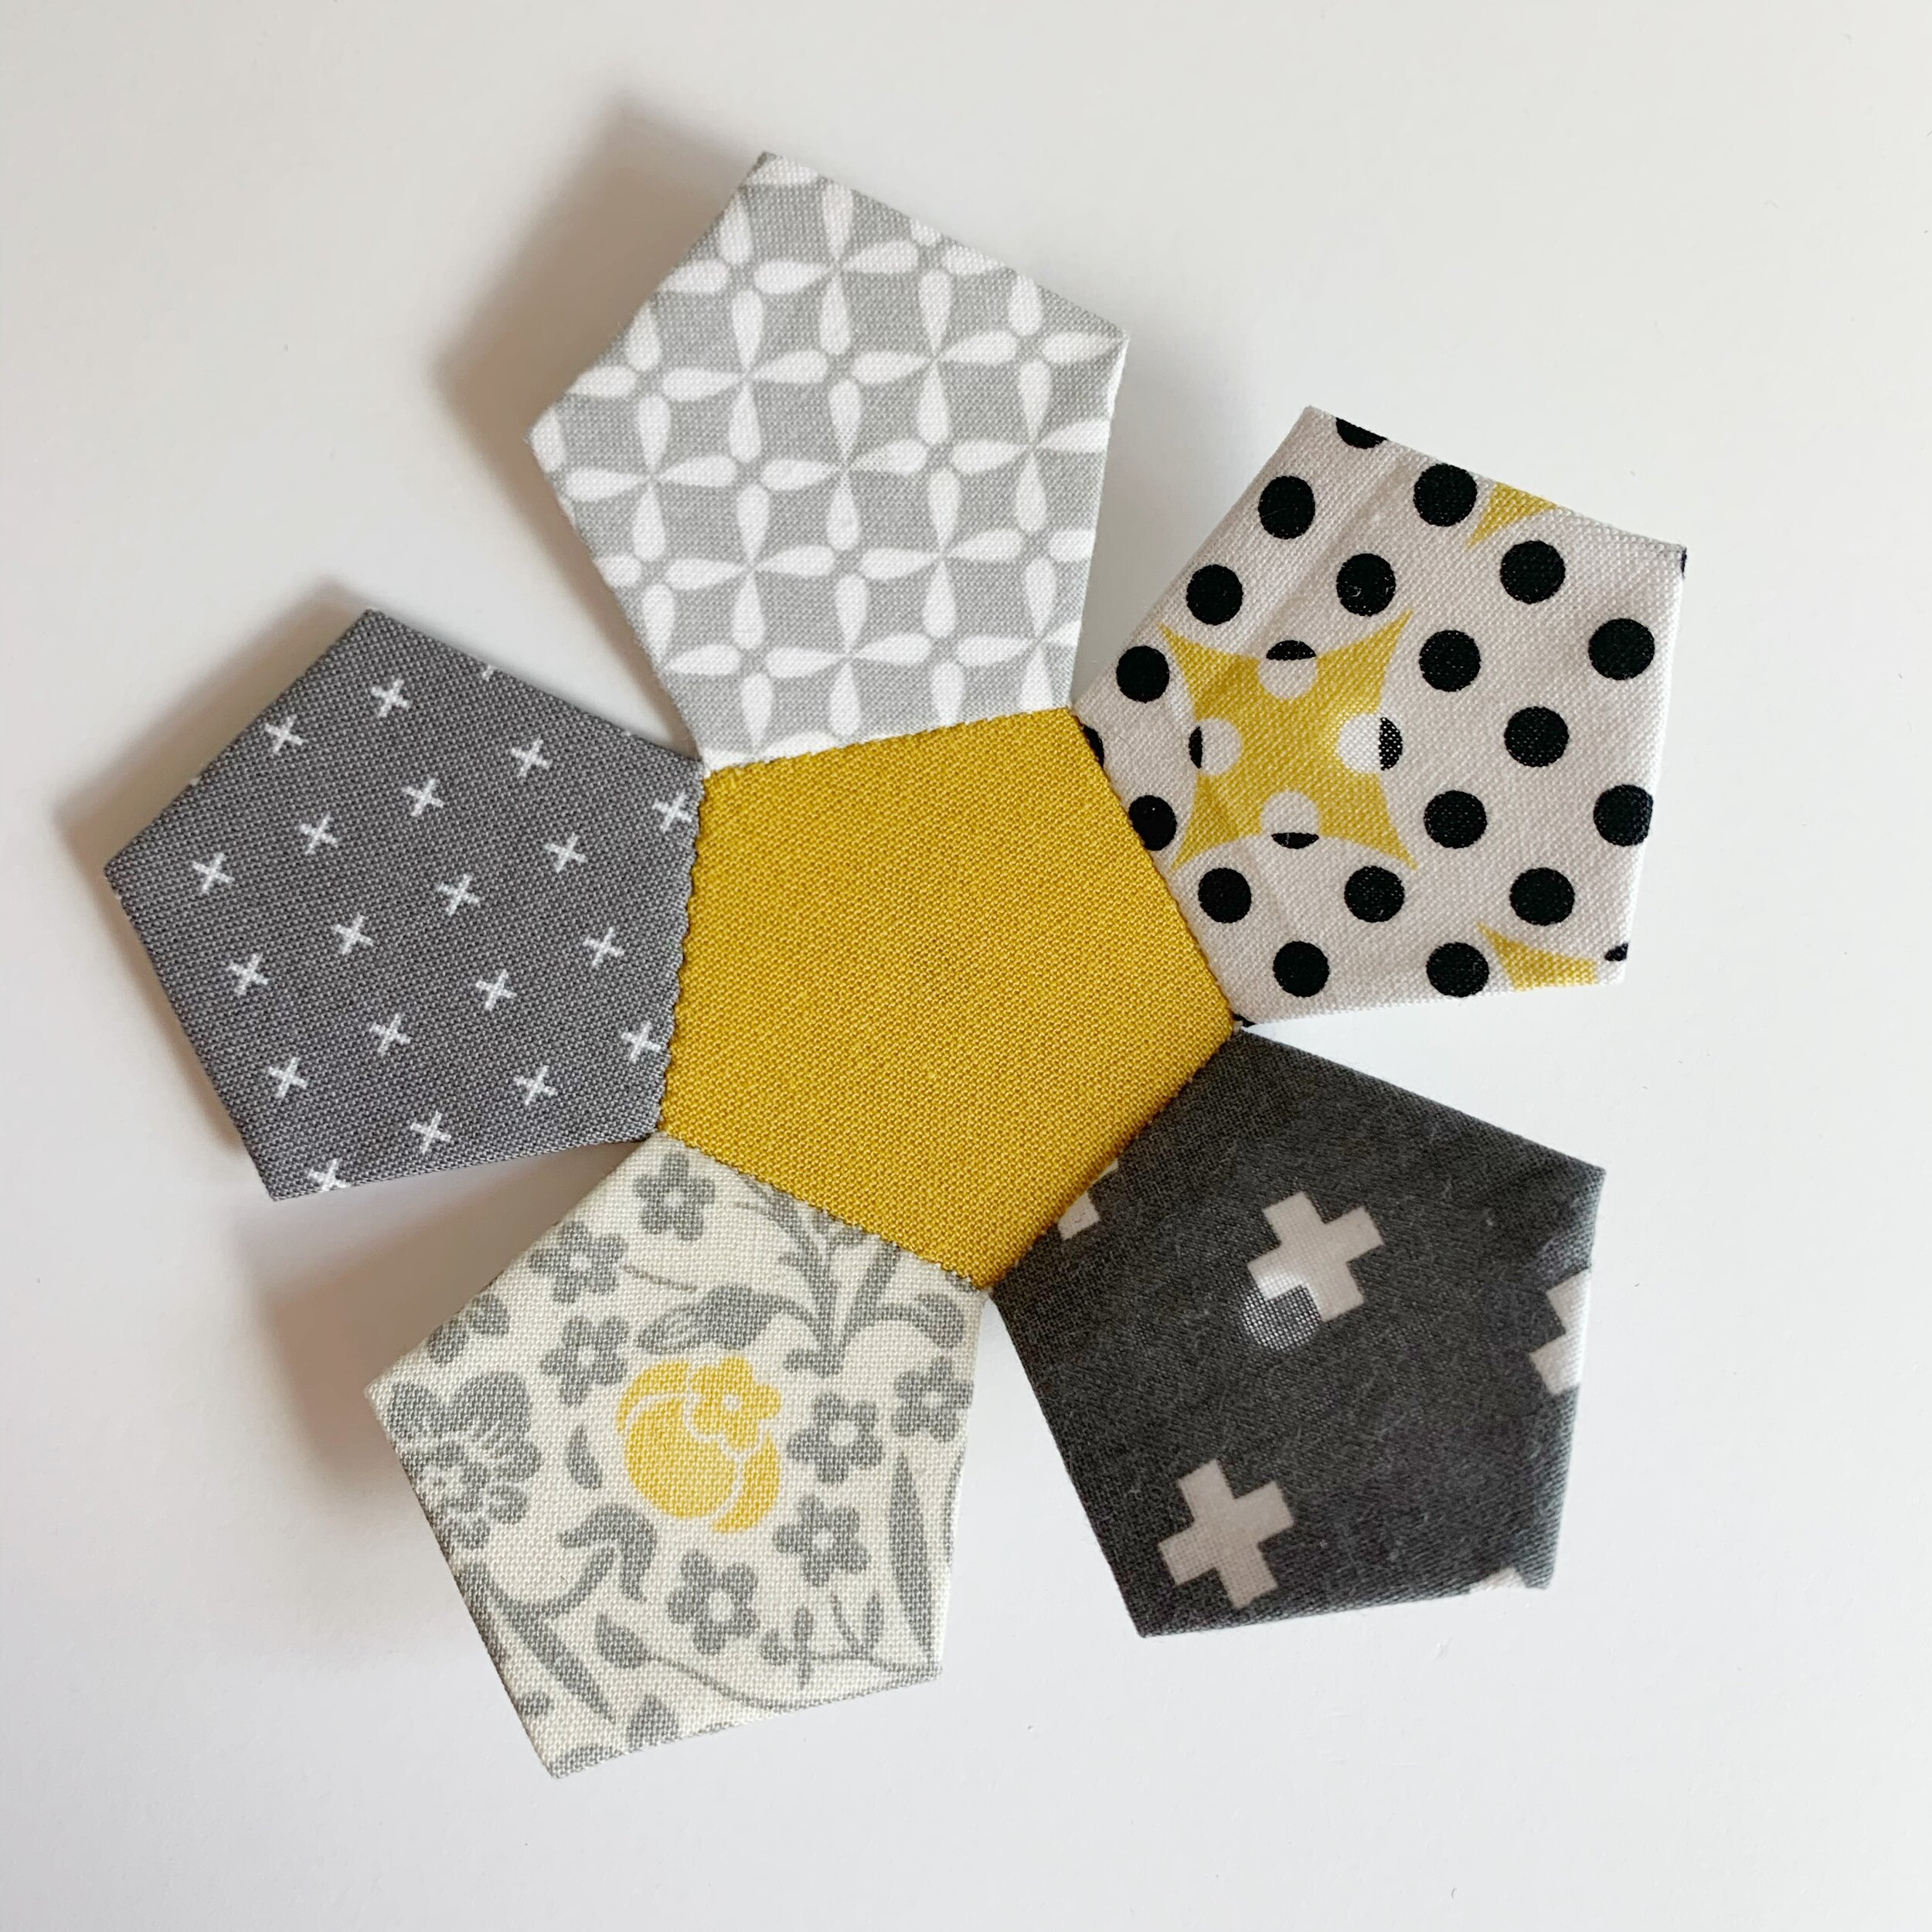
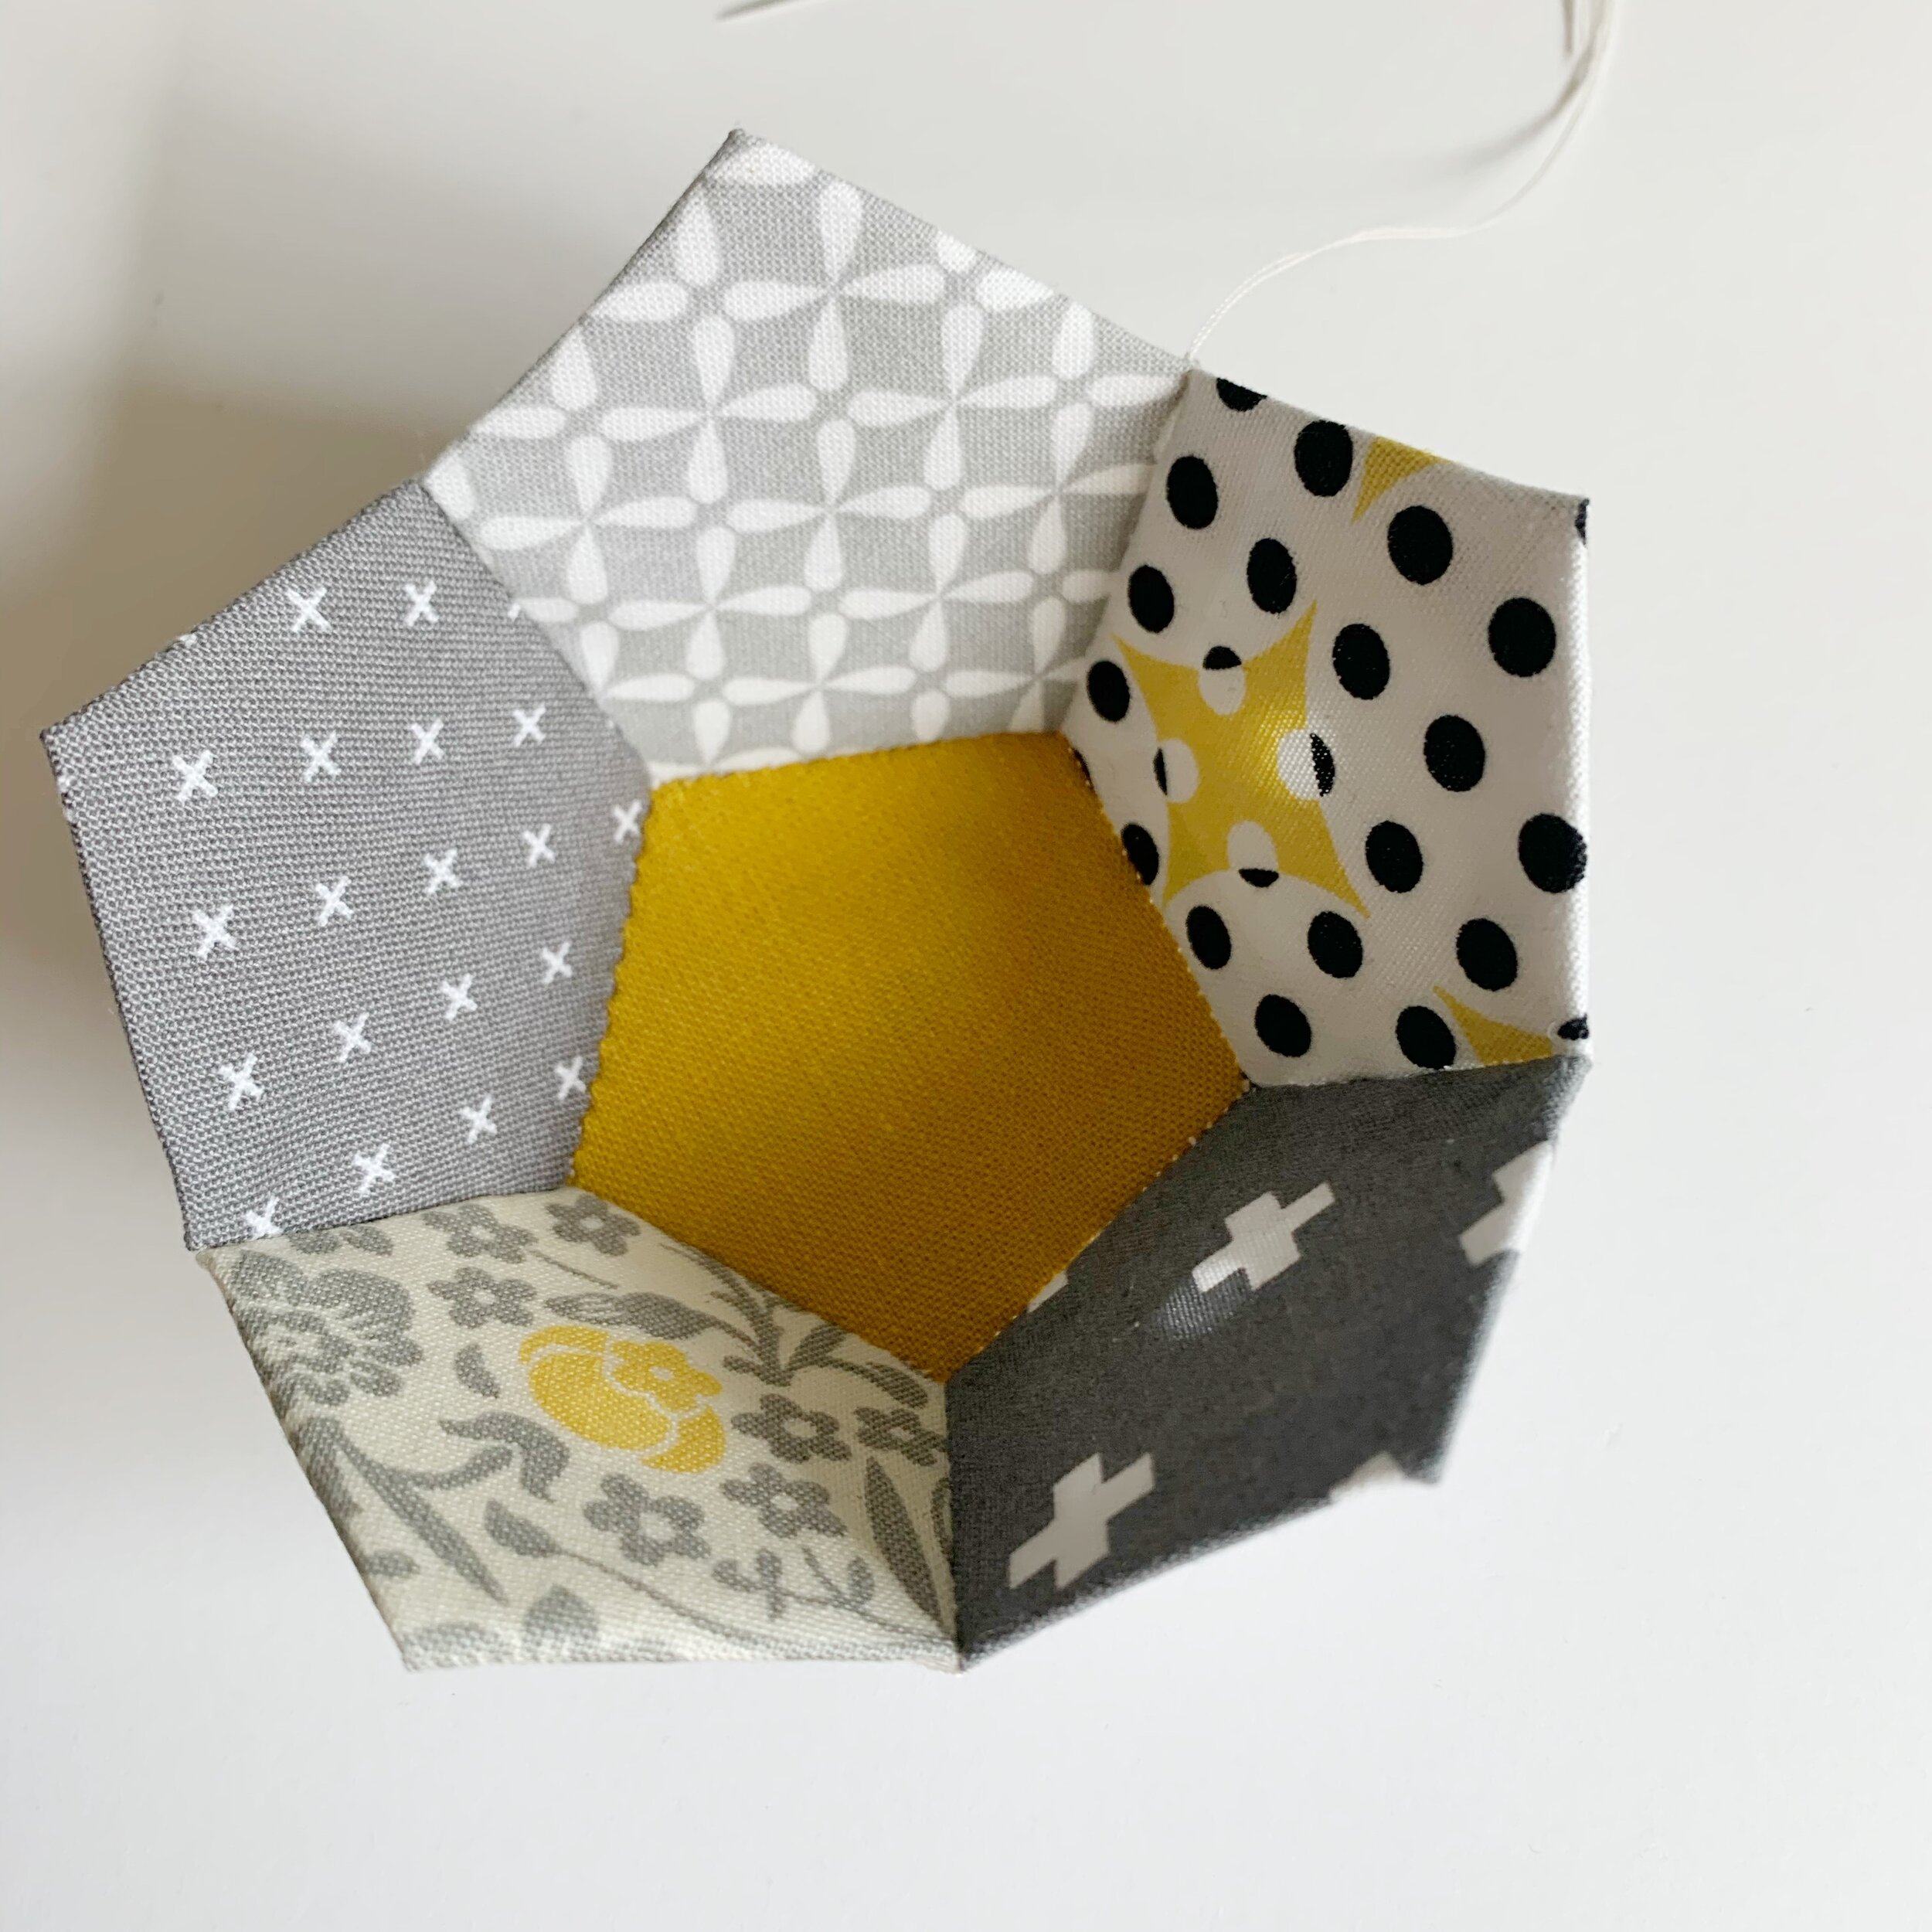
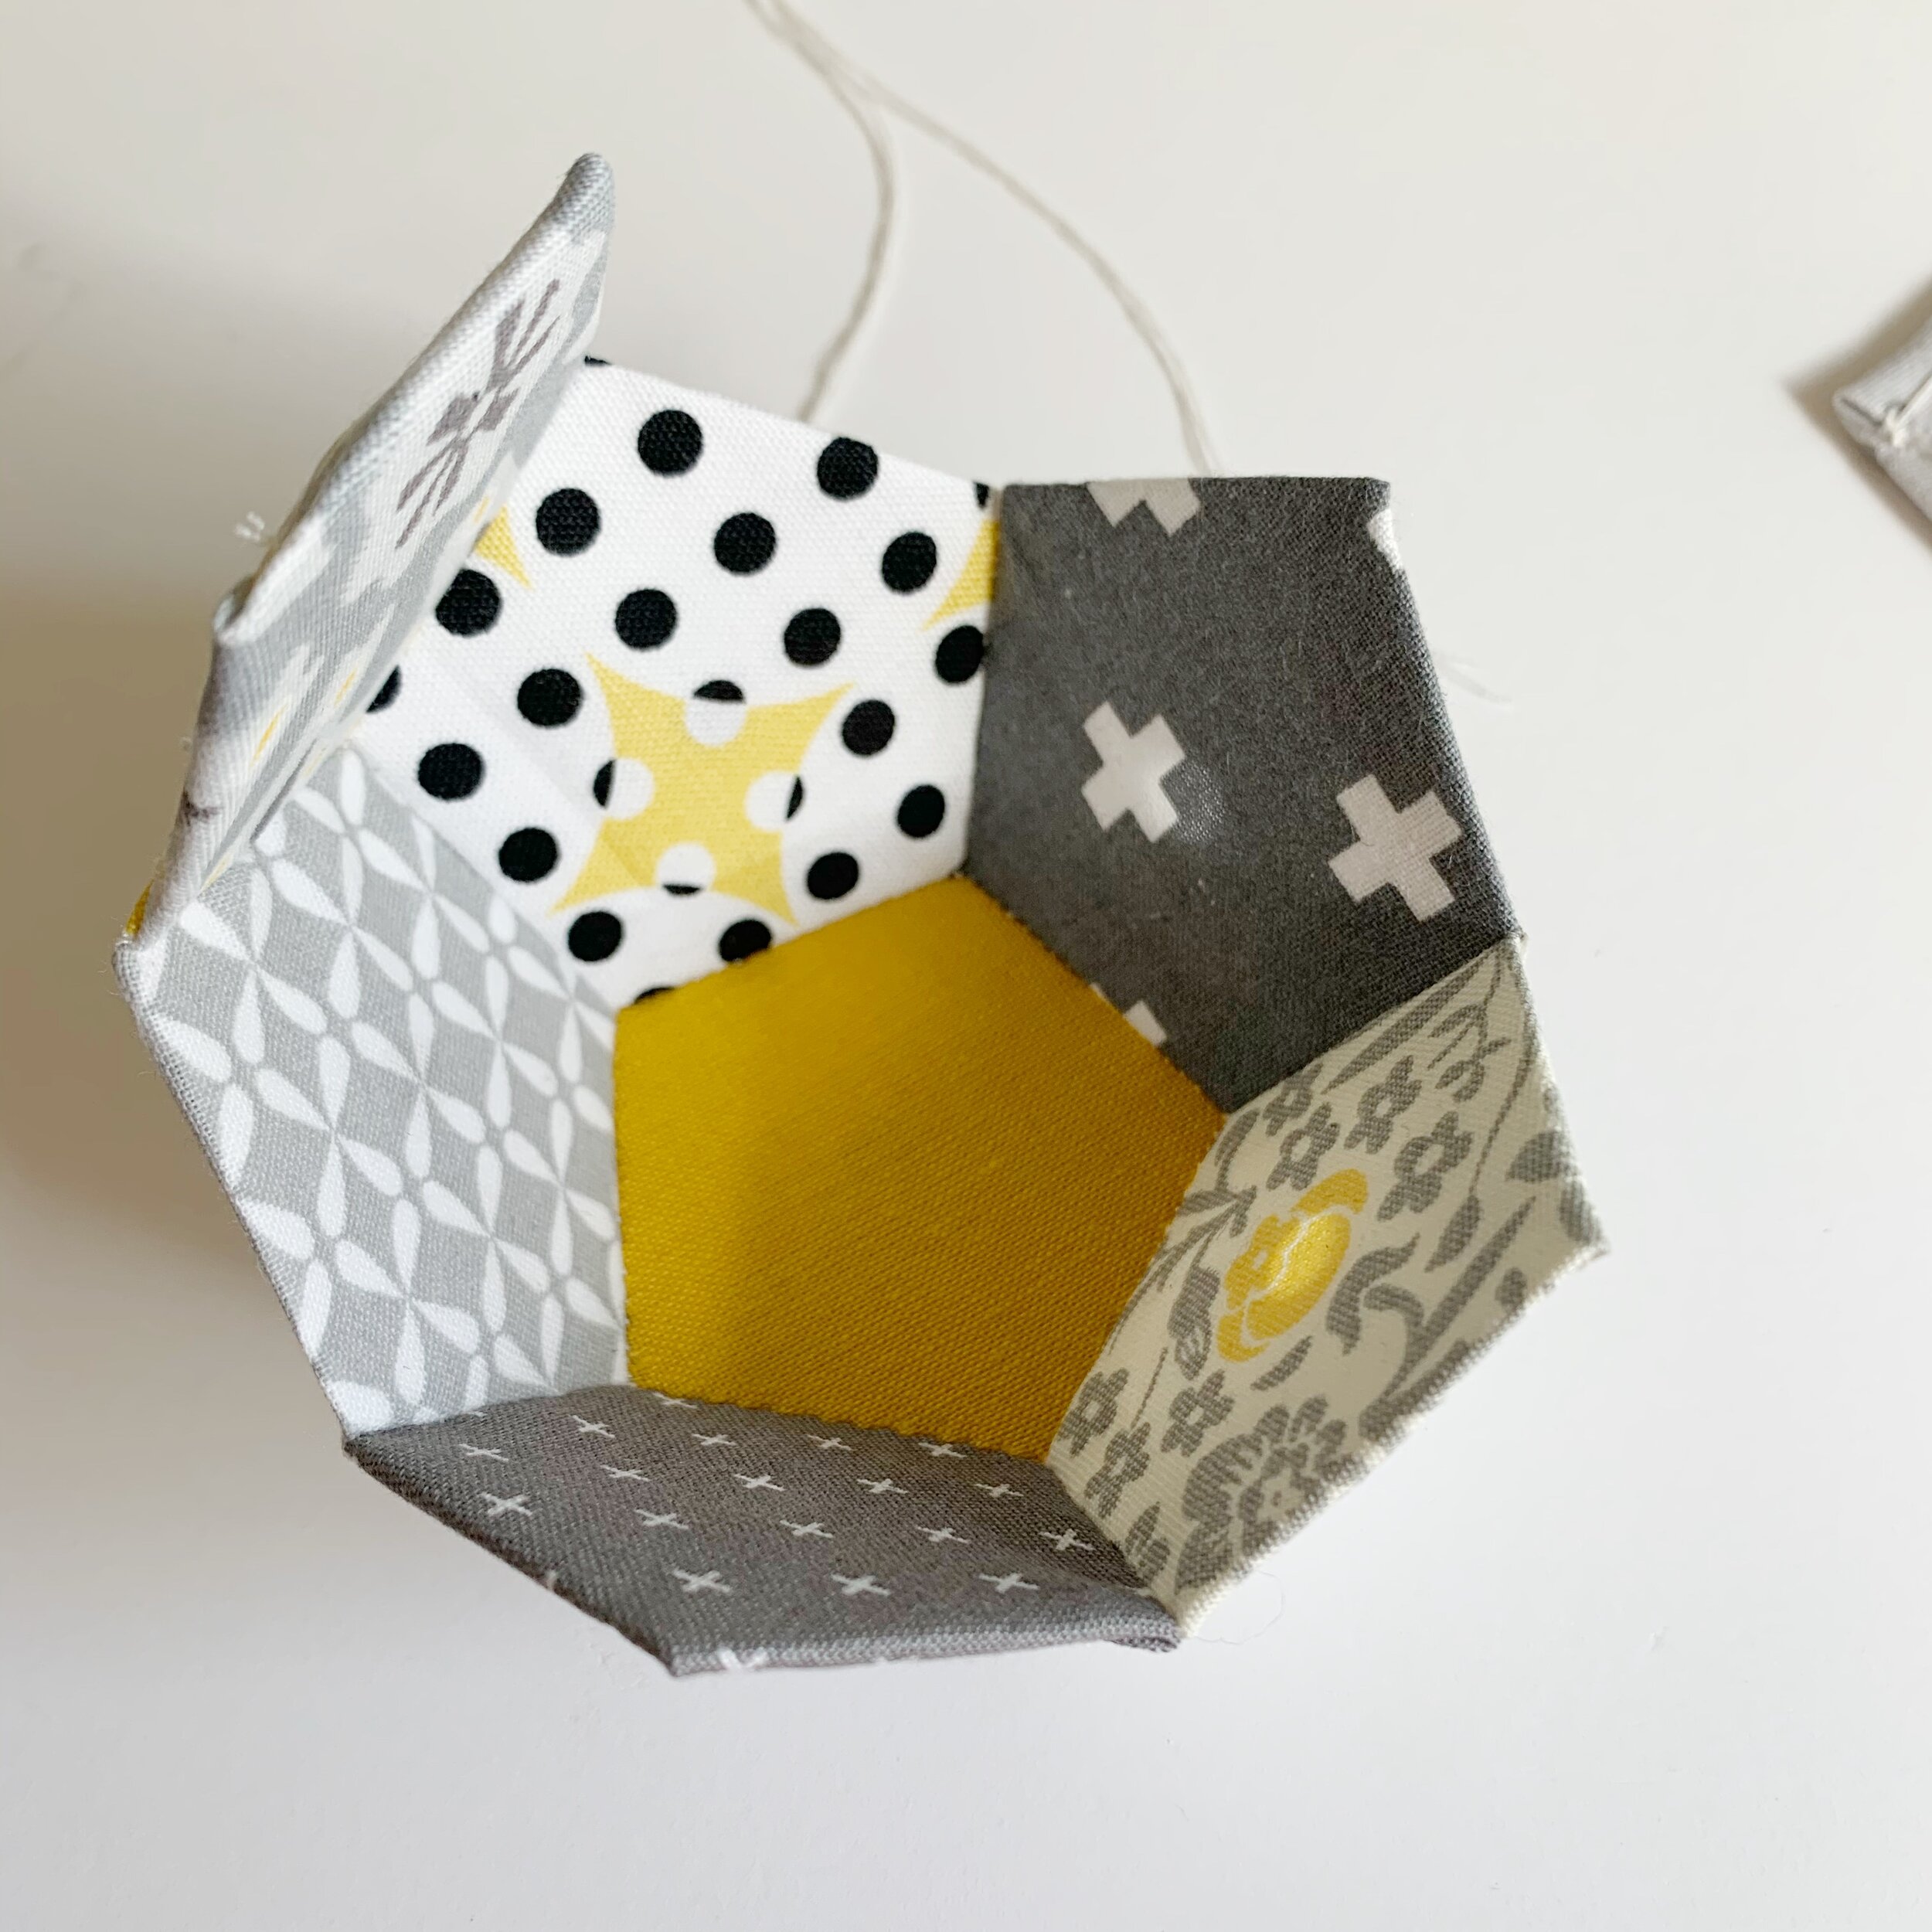
4. Starting with two pentagons, lay them right sides together and whip stitch the edges of one side. Then continue to attach pentagons on every side of the center, making a flower shape.
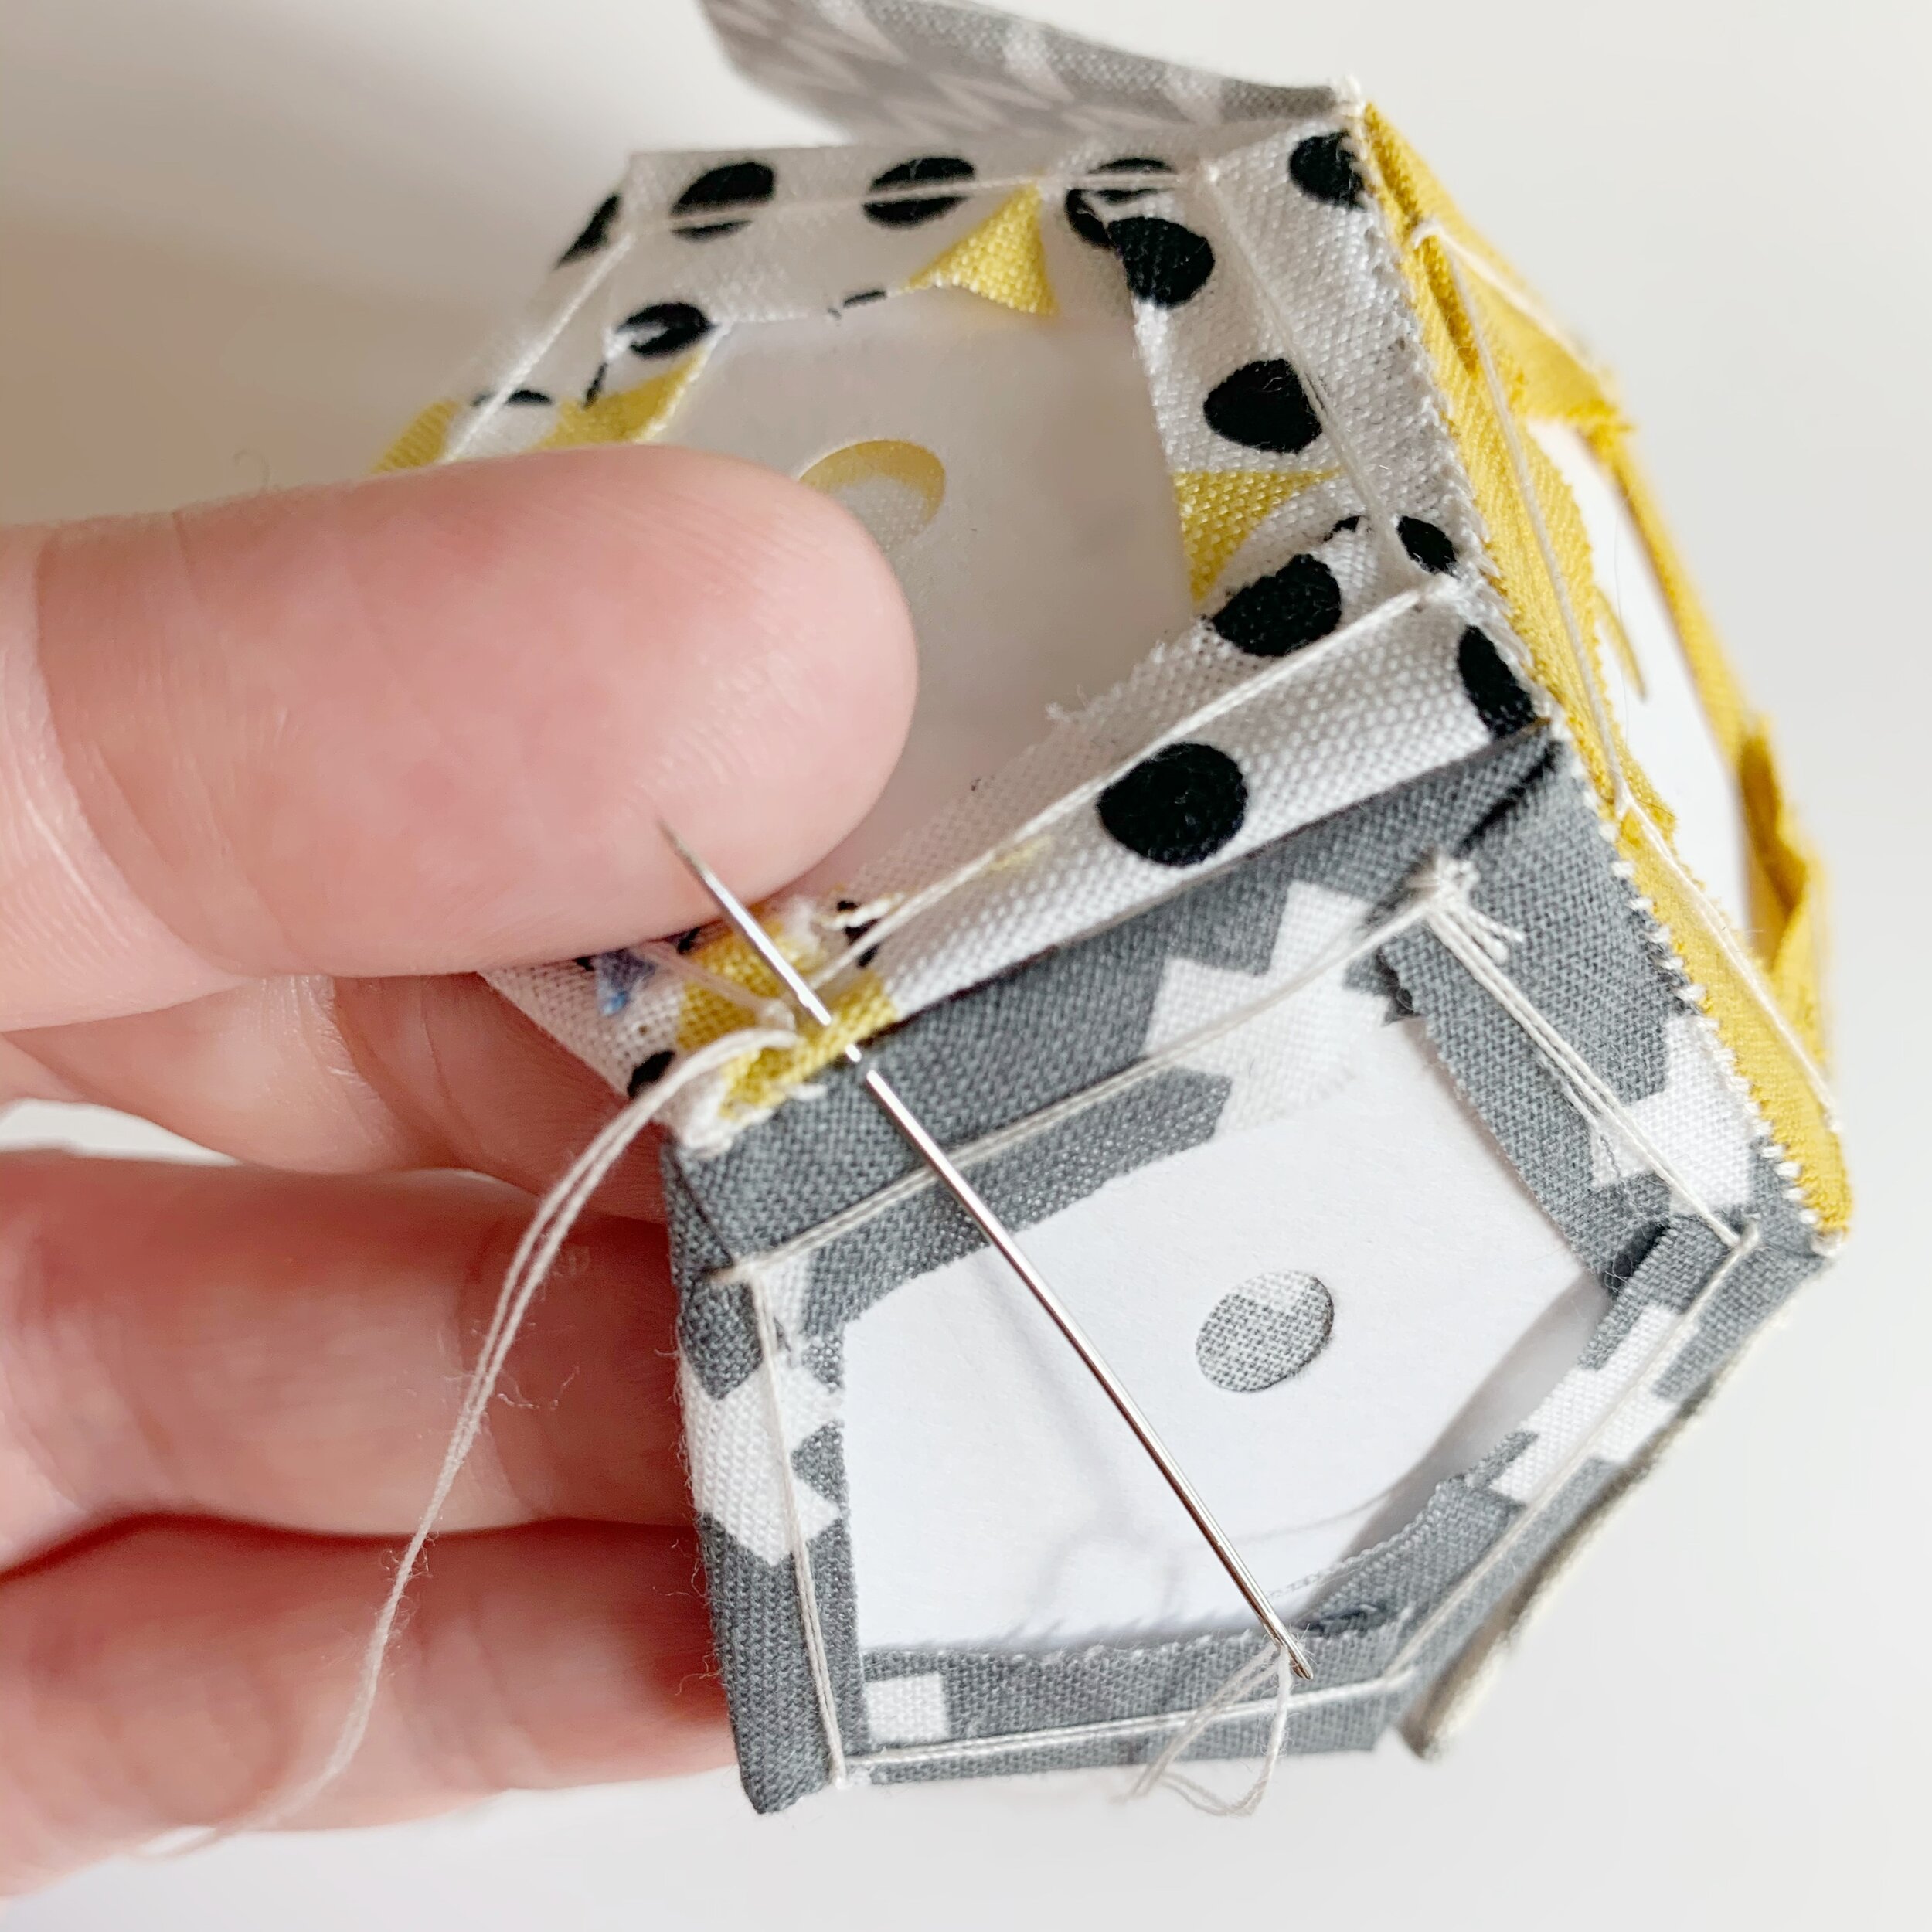
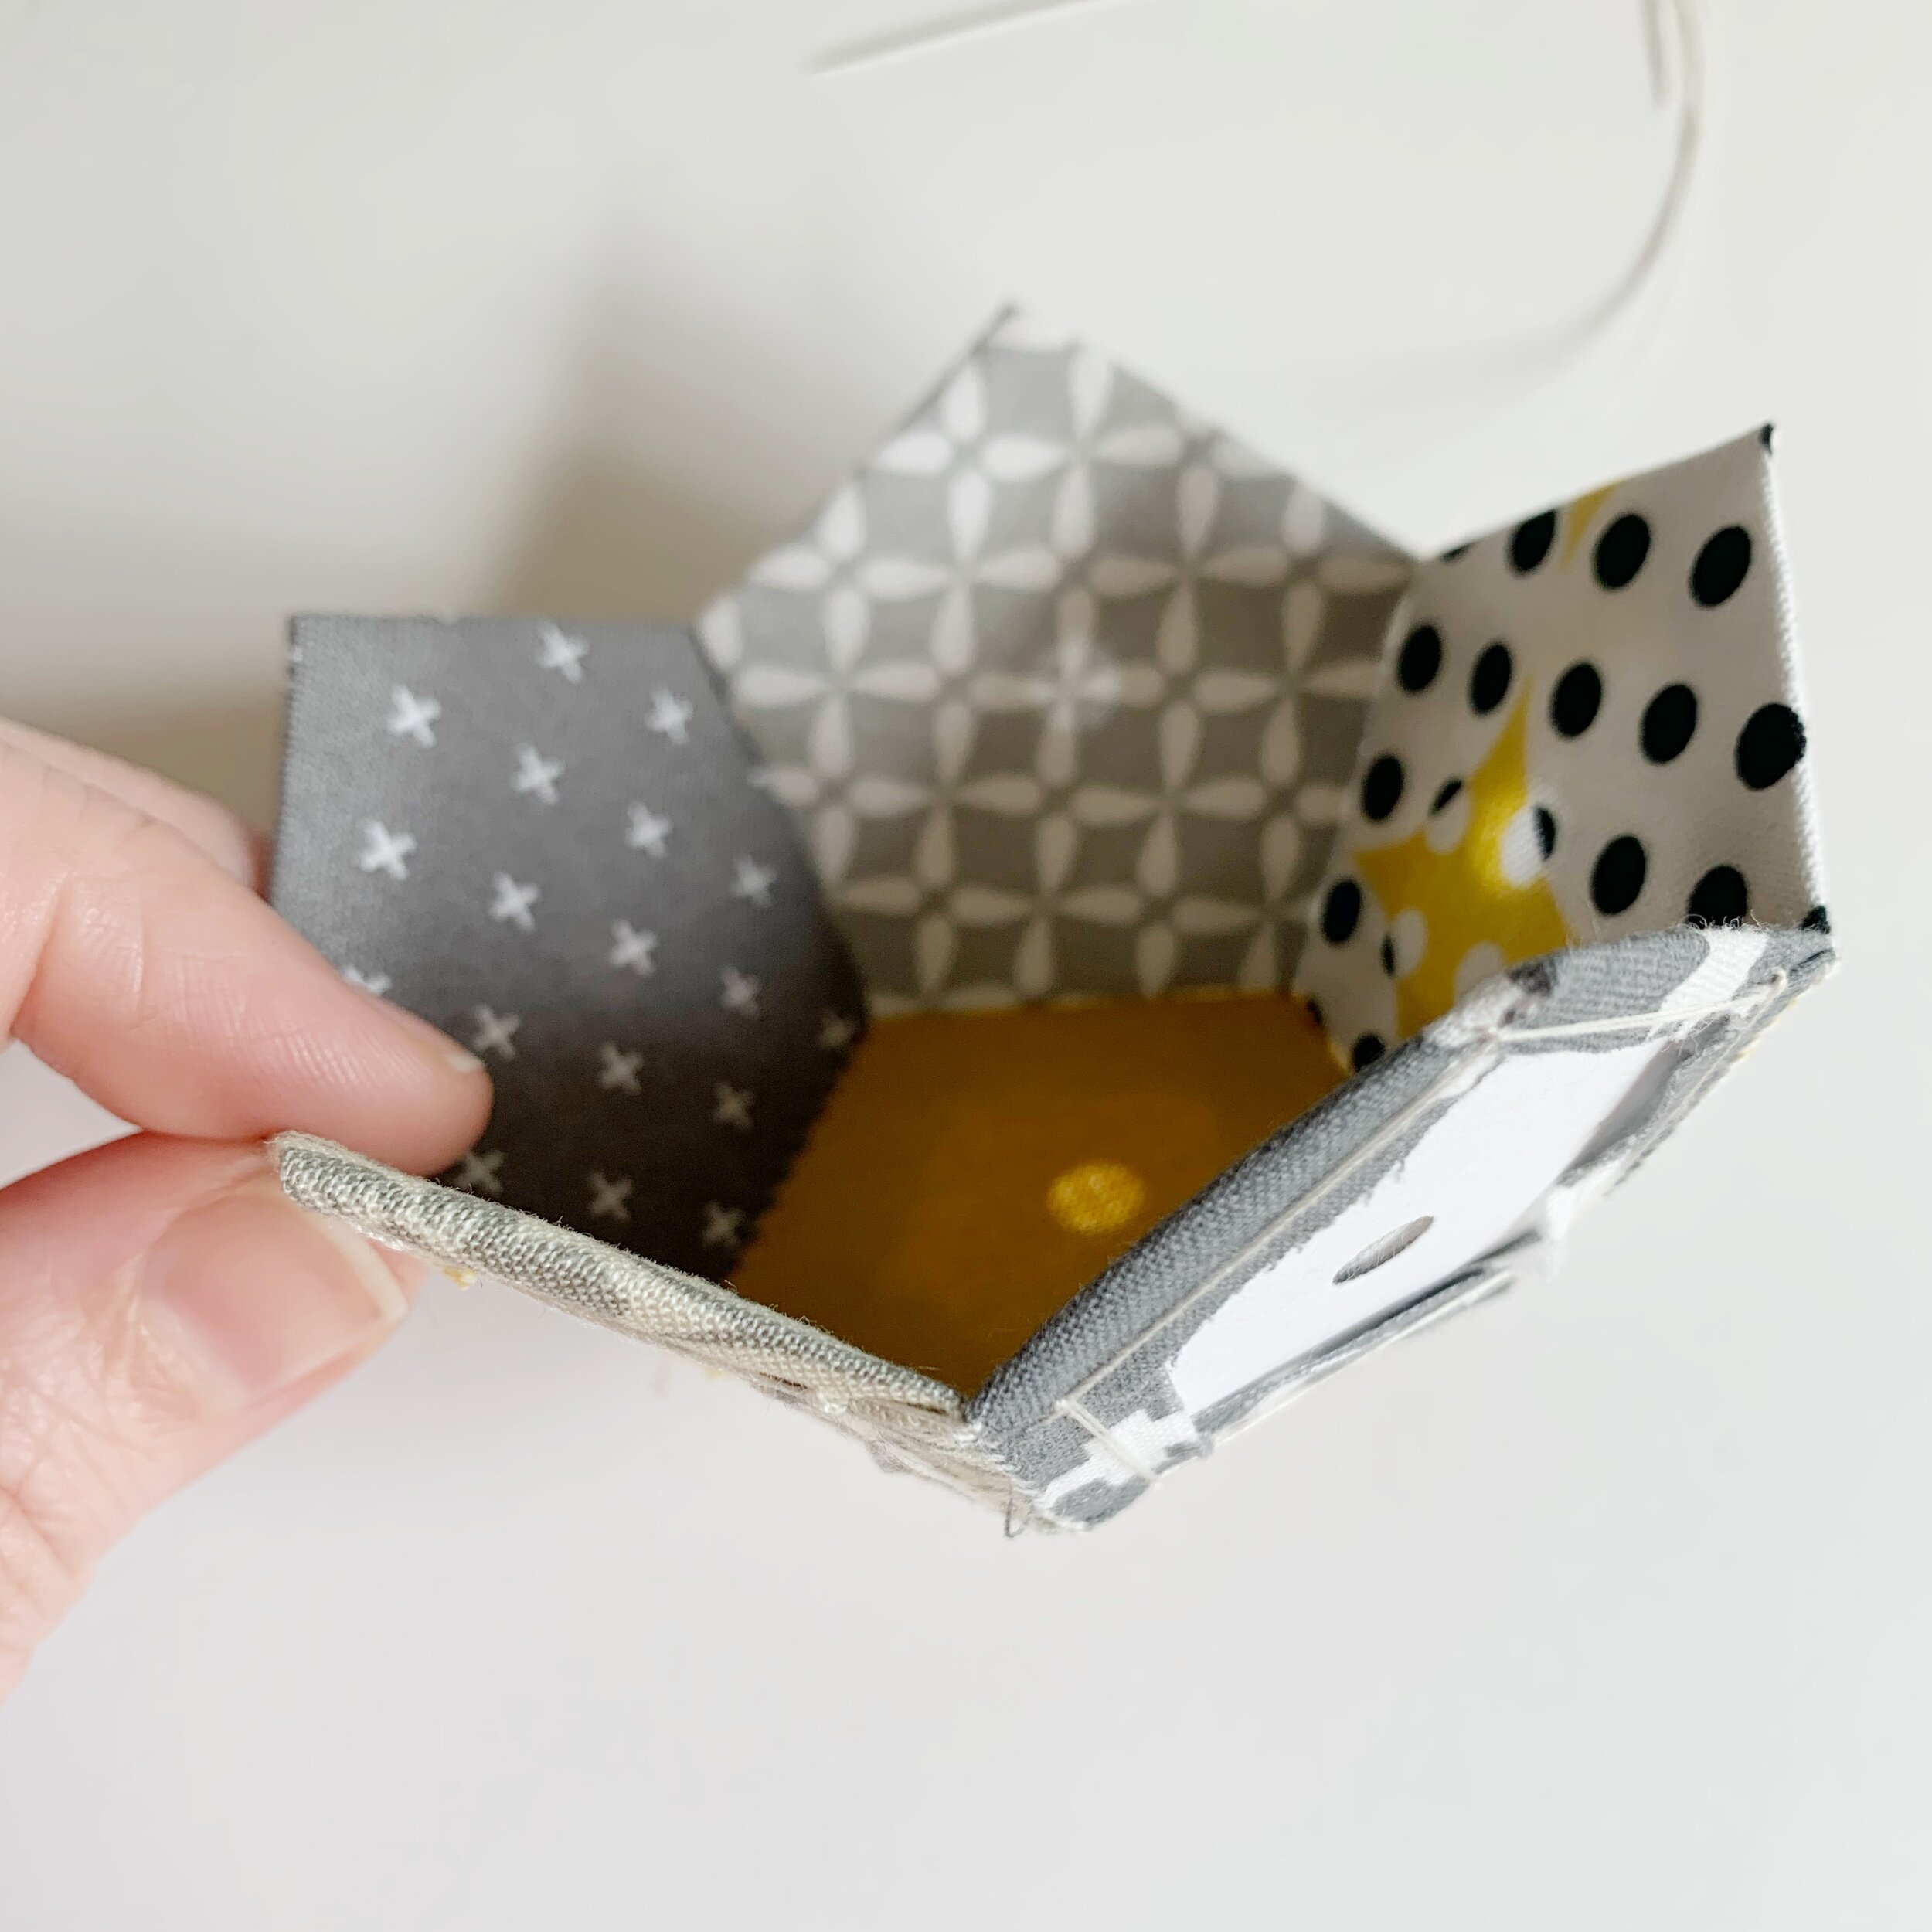
5.Then sew the “sides” of the flower shape together creating a bowl shape. This will be the top of the pincushion once complete.
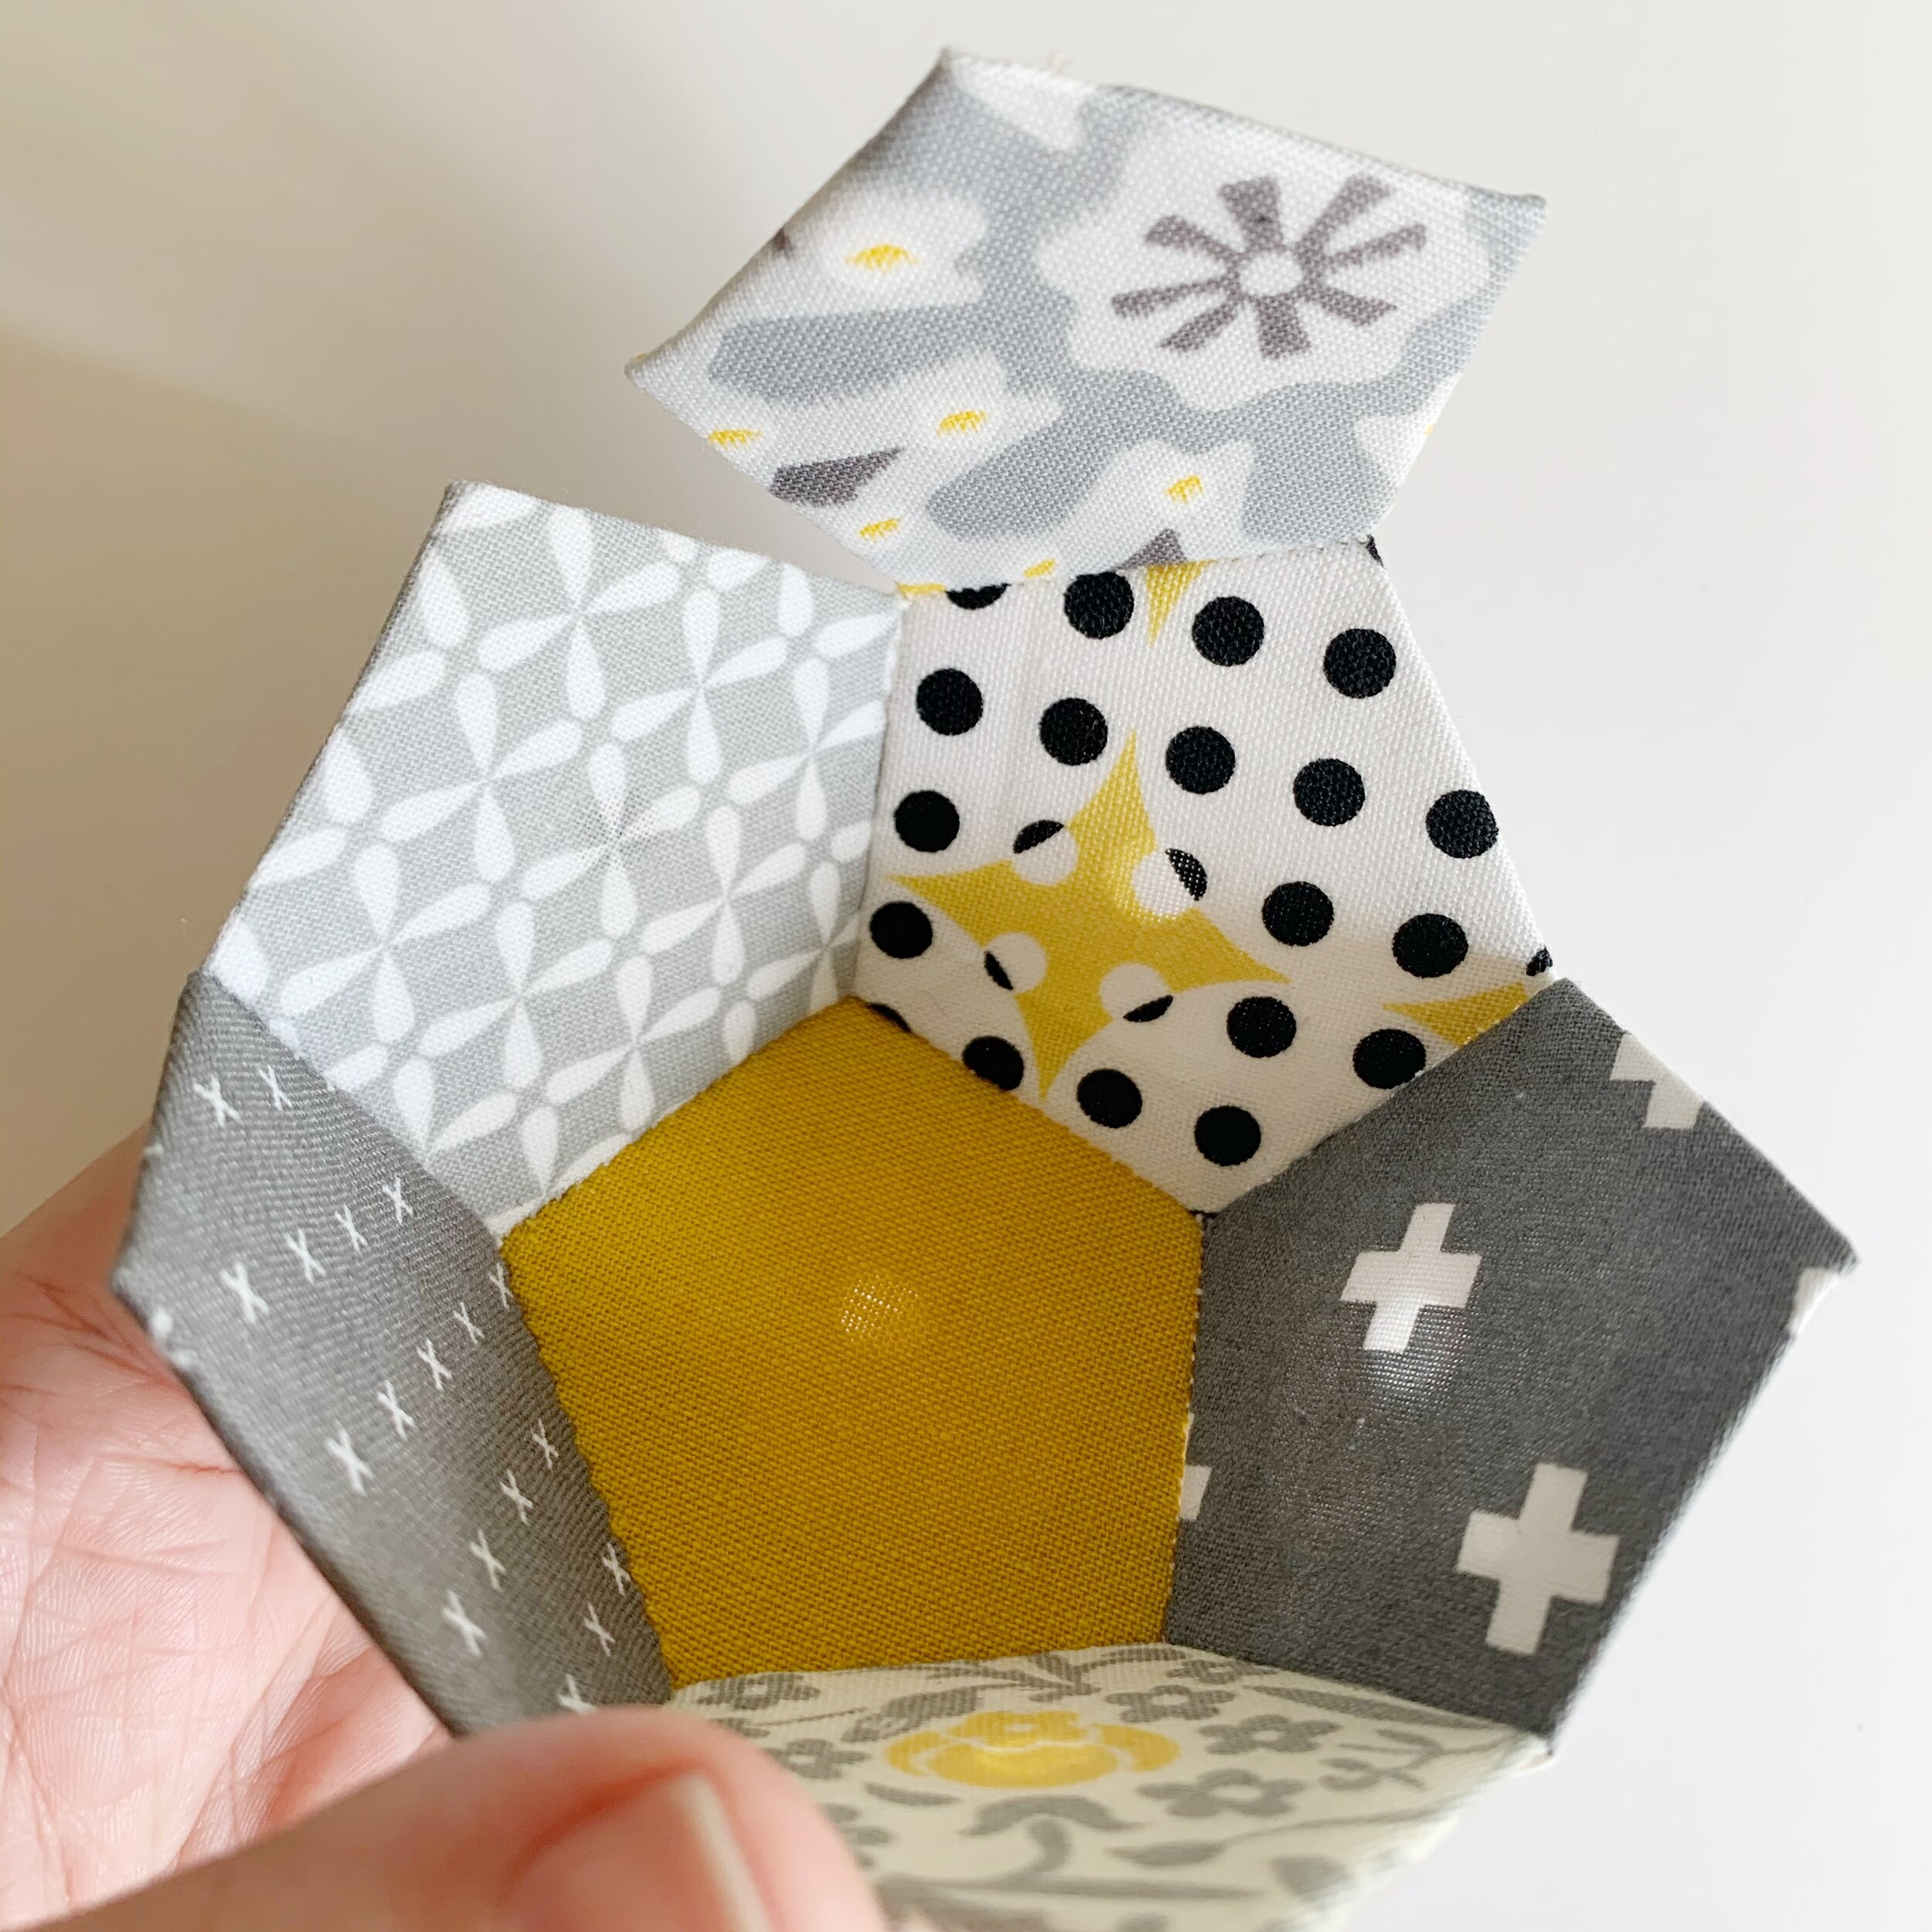
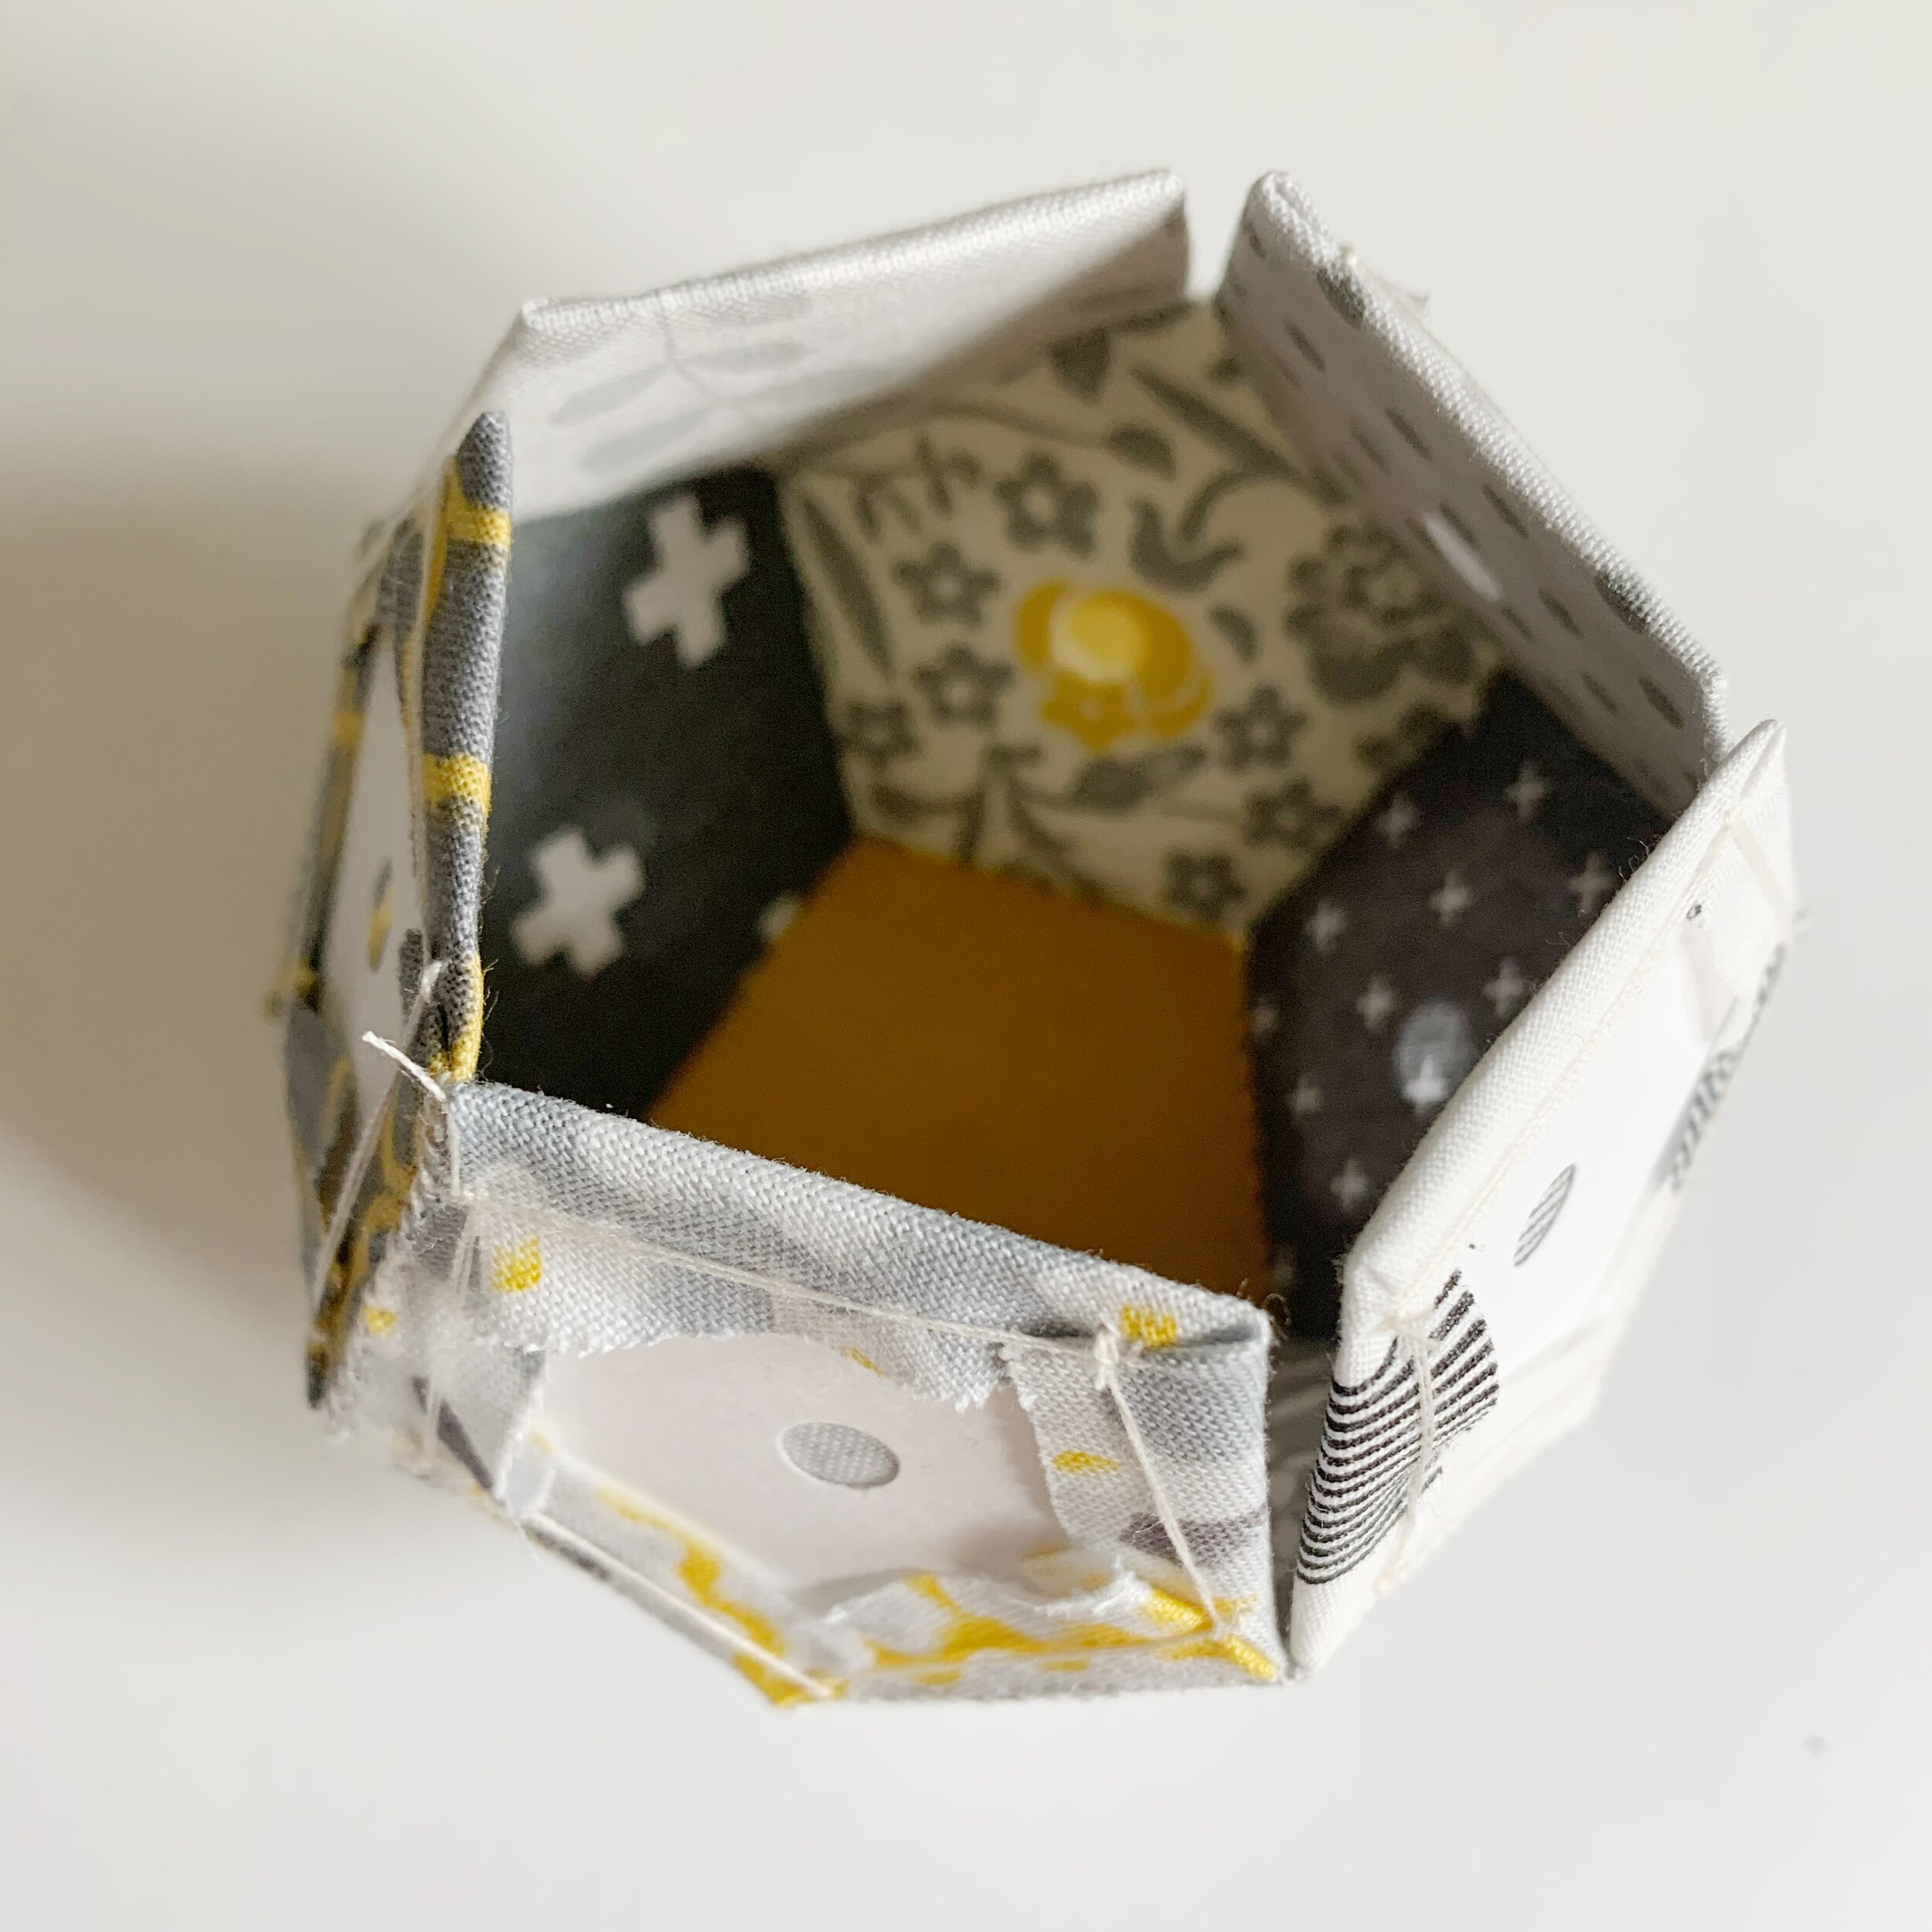
6. Attach a second round of pentagons to the bowl shape.
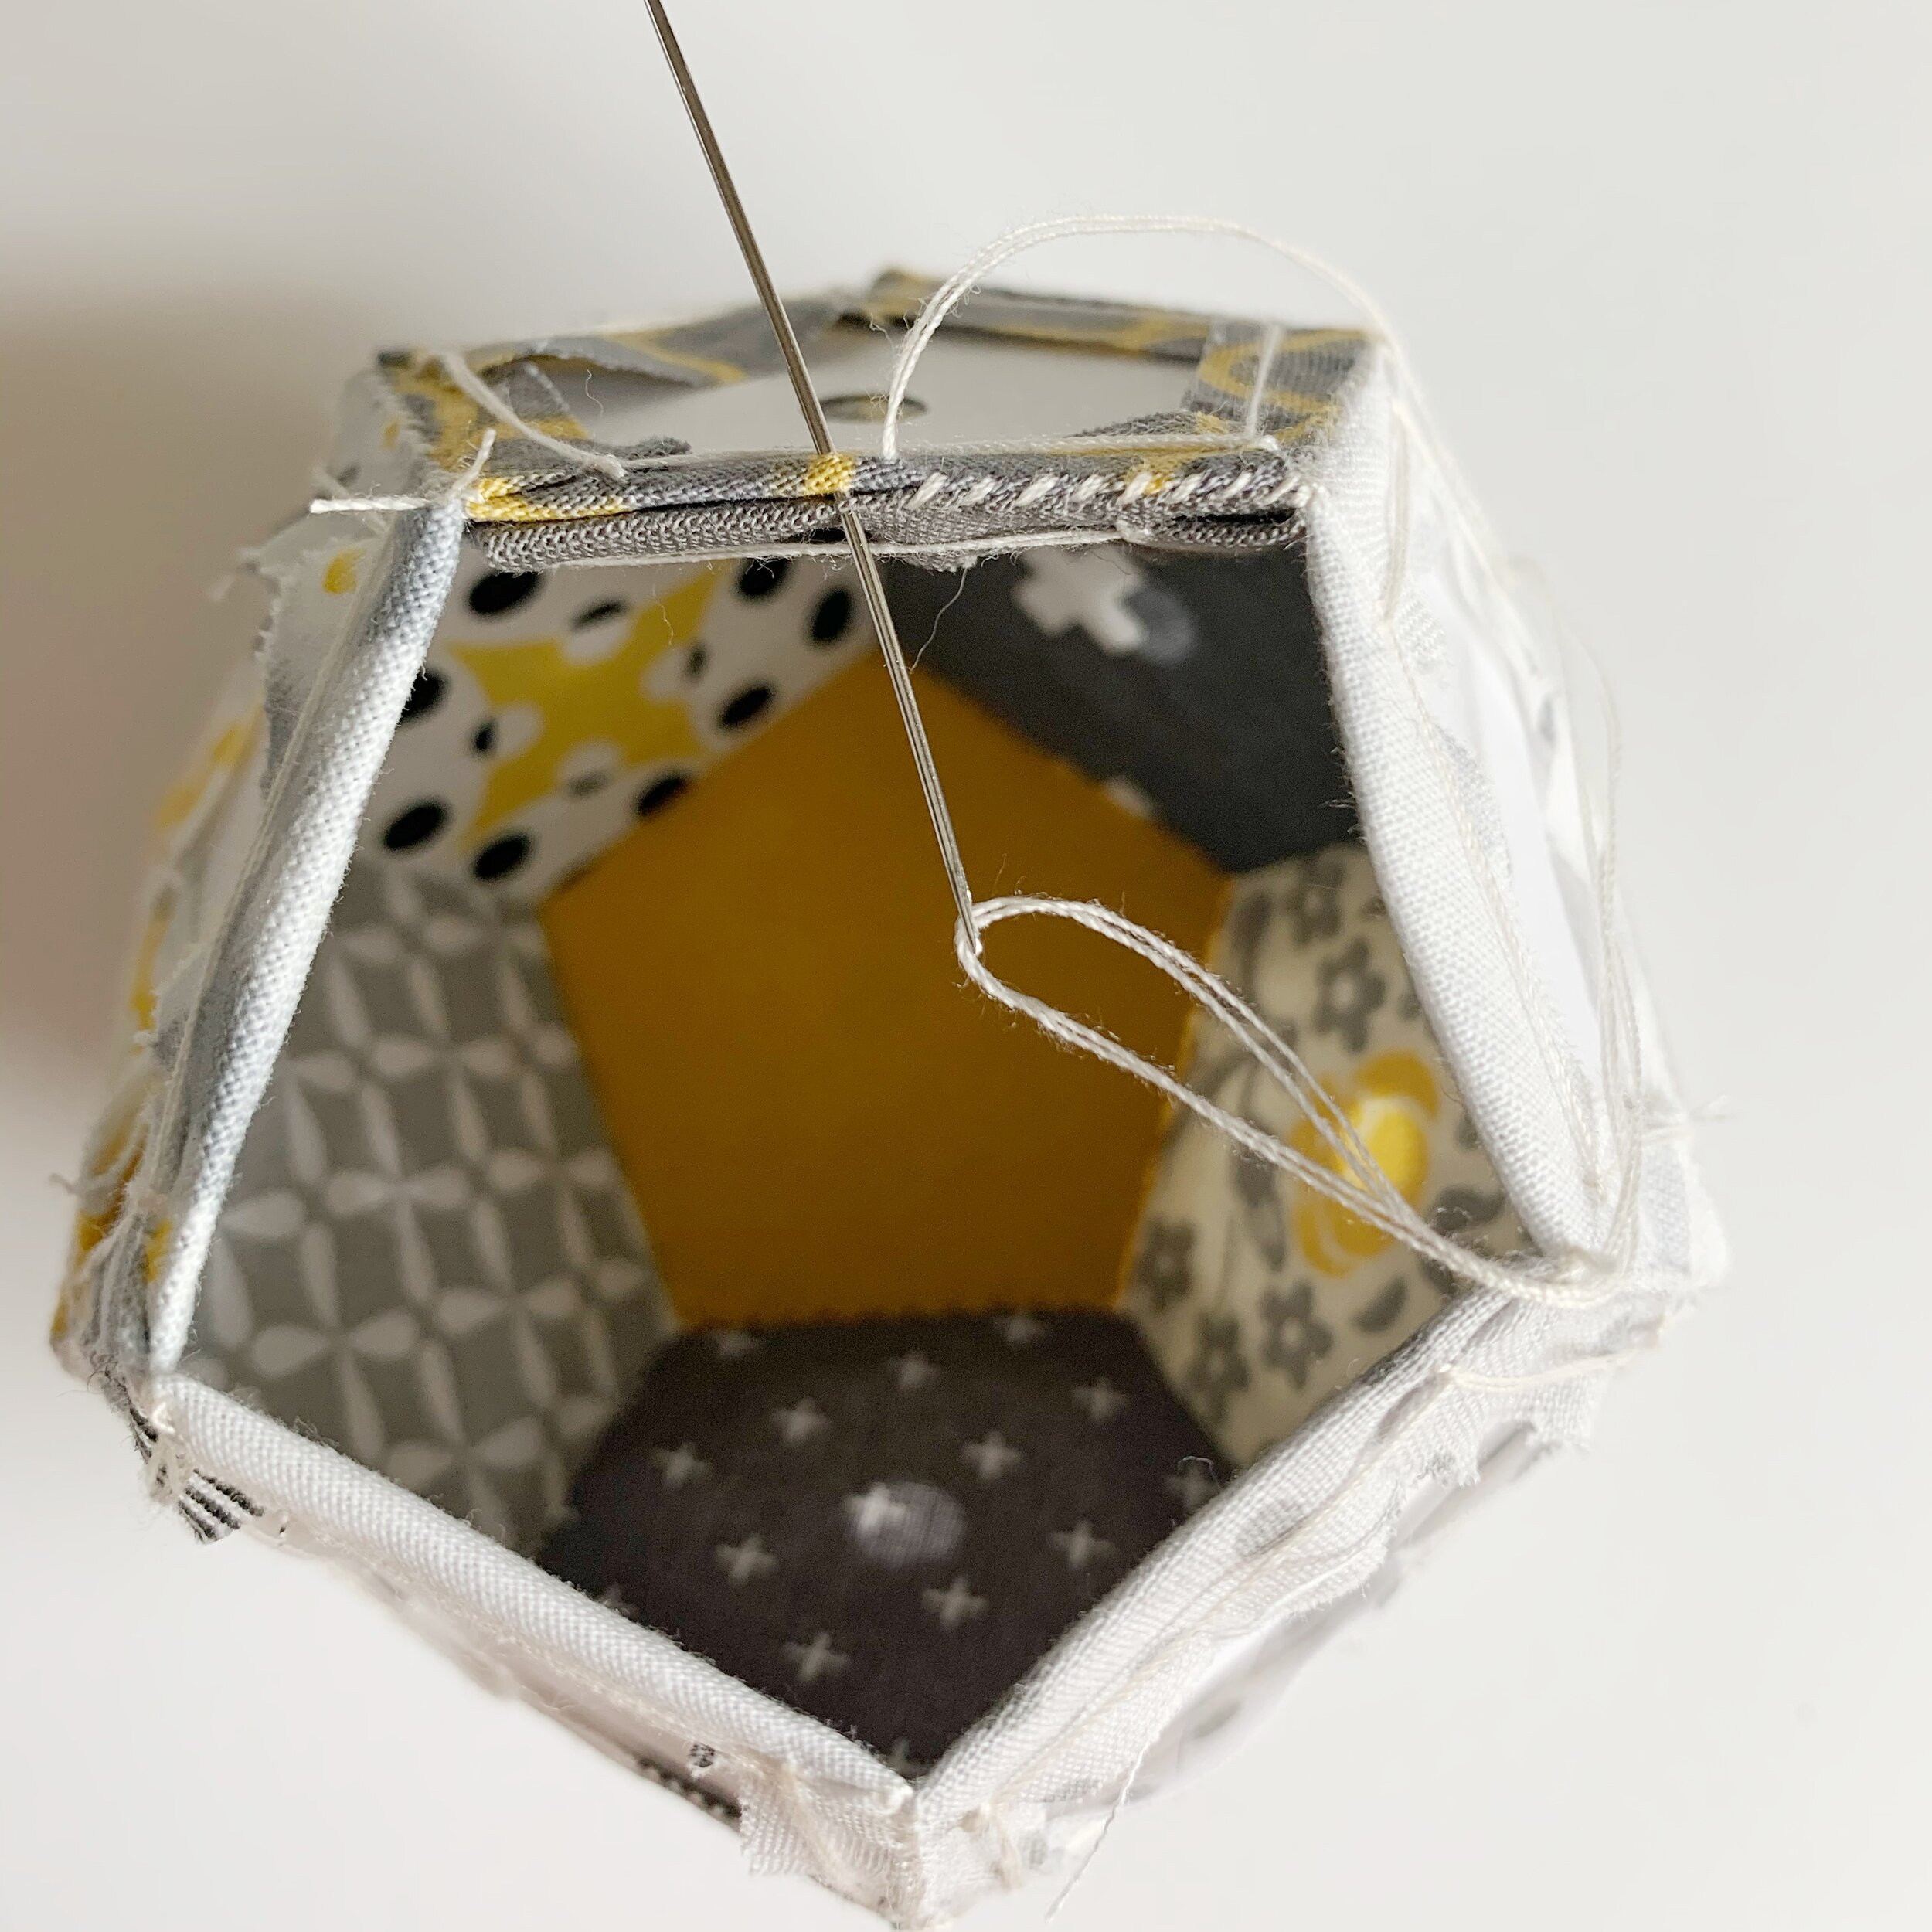
7. Once all sides have been sewn you will attach the last pentagon in the hole that is left. Leave one or two sides unsewn for turning.
8. Remove paper pieces and turn right side out.
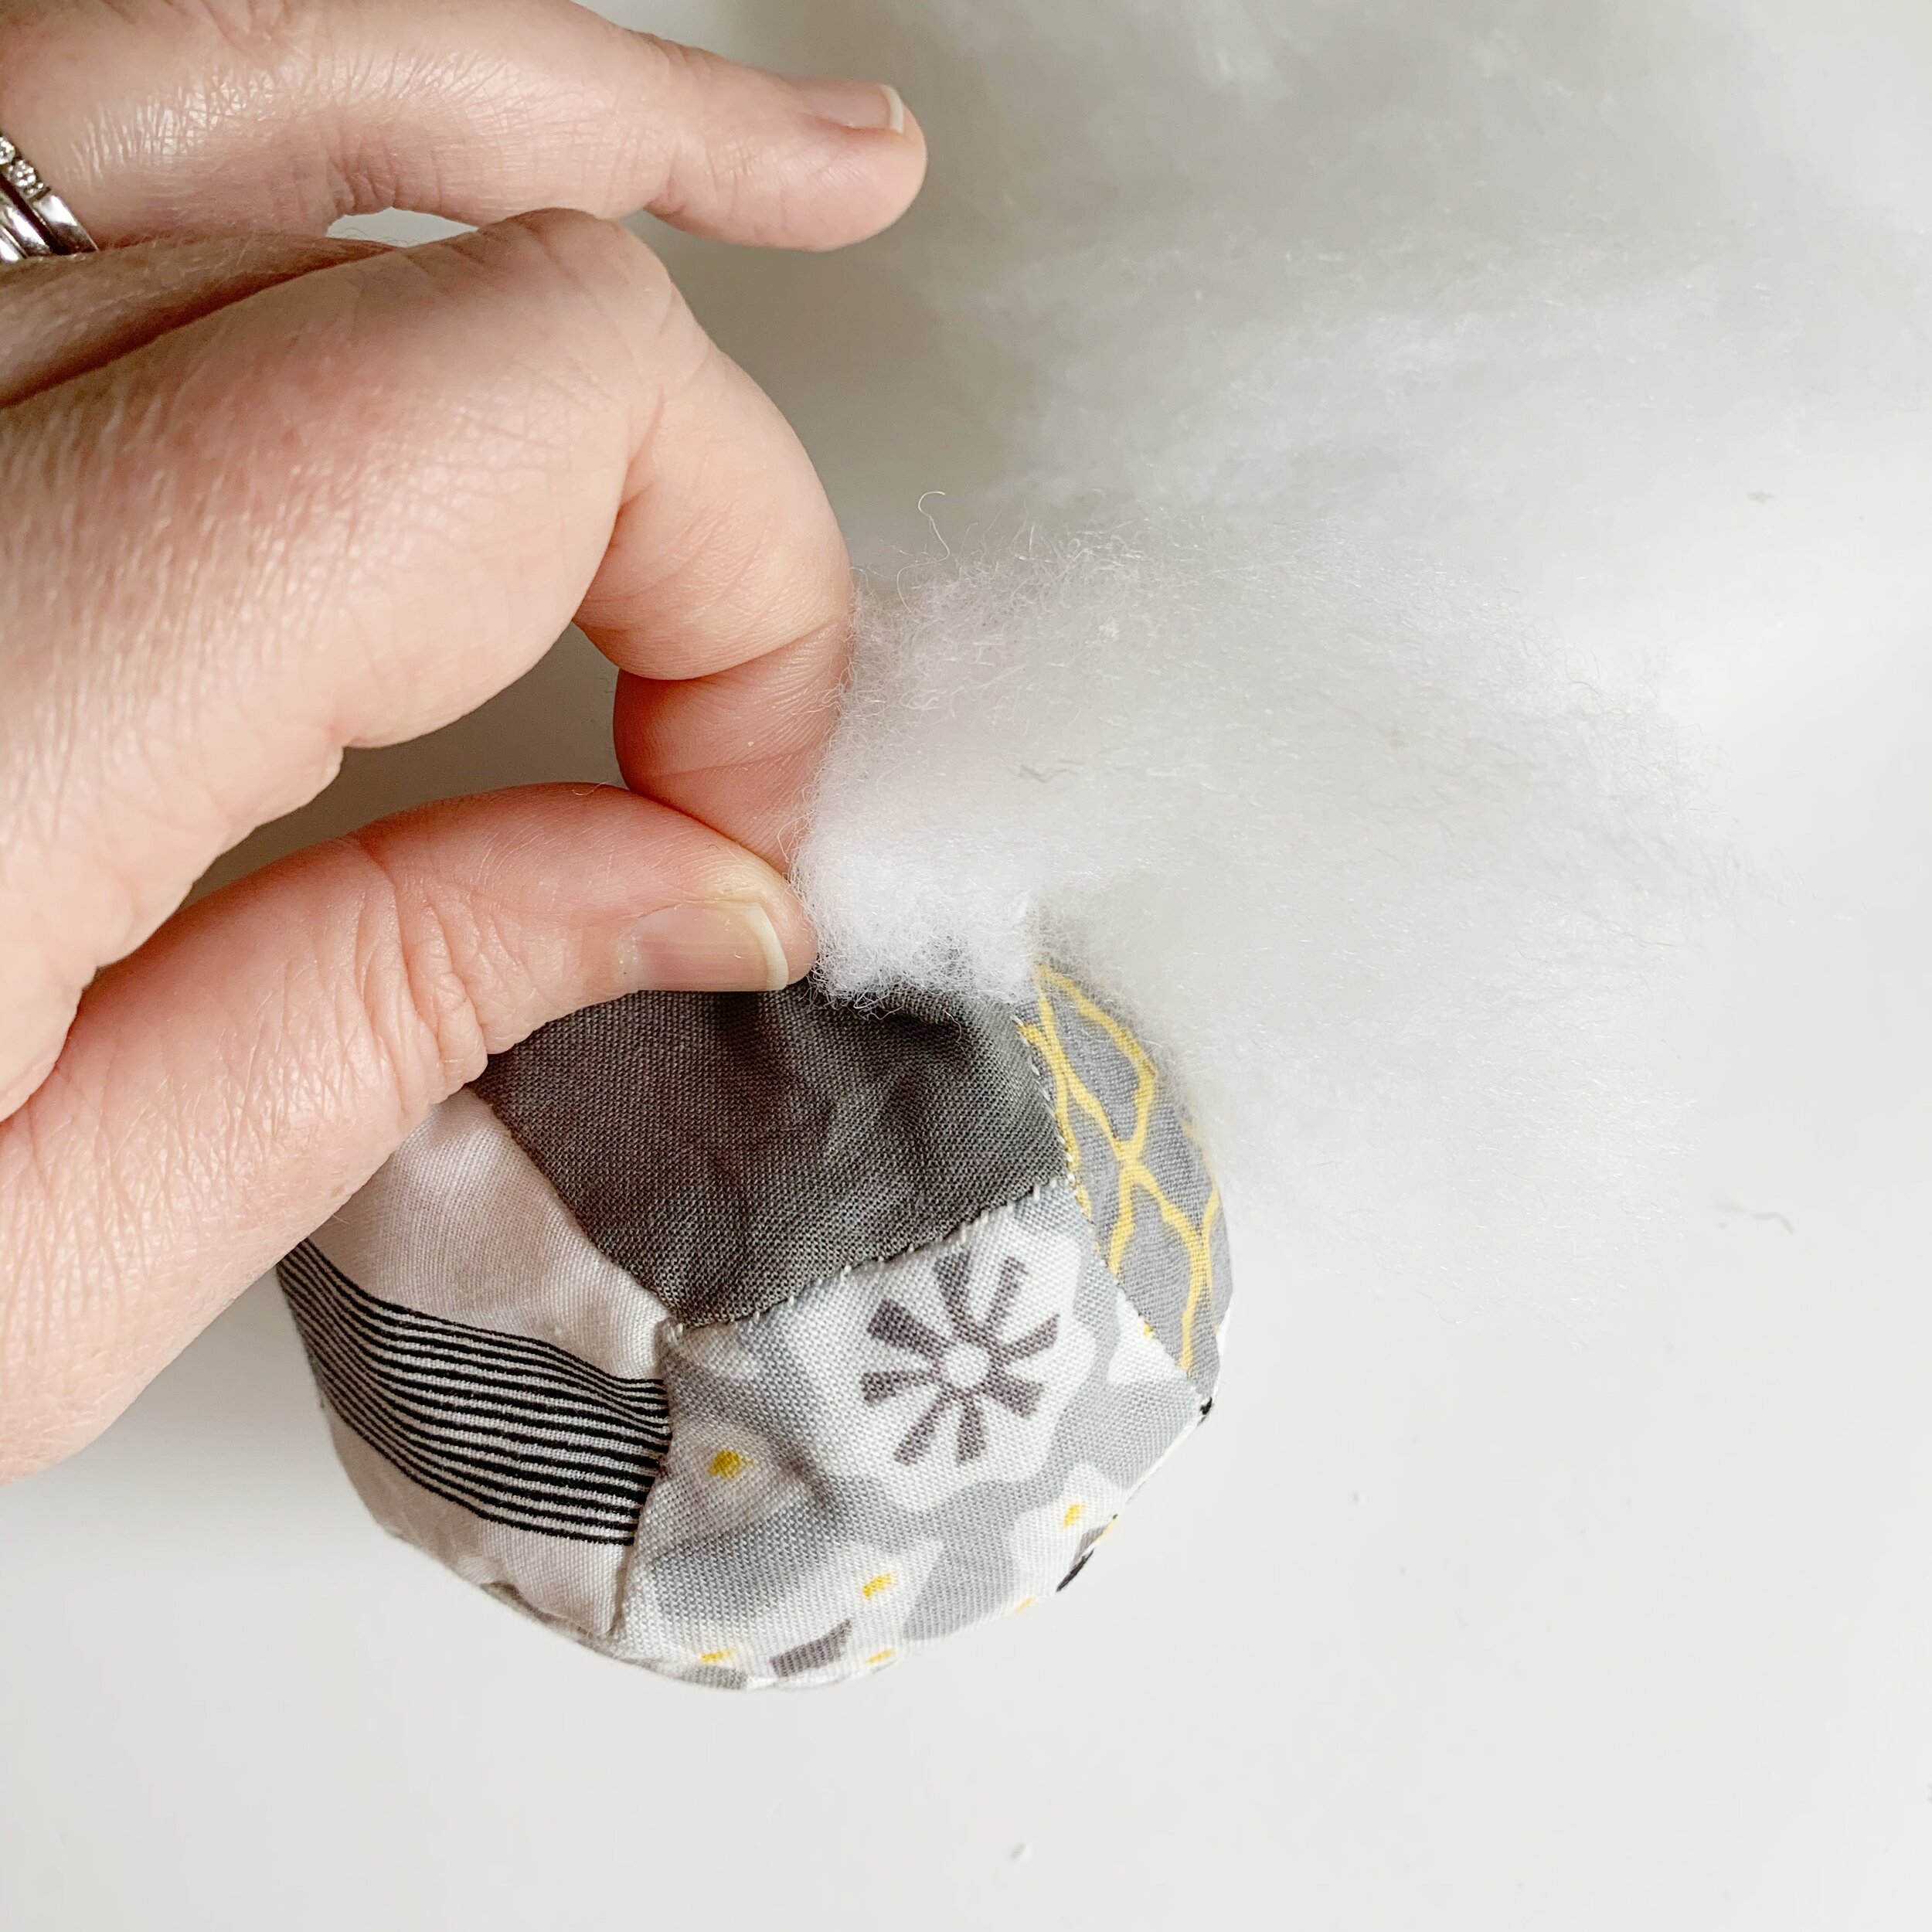
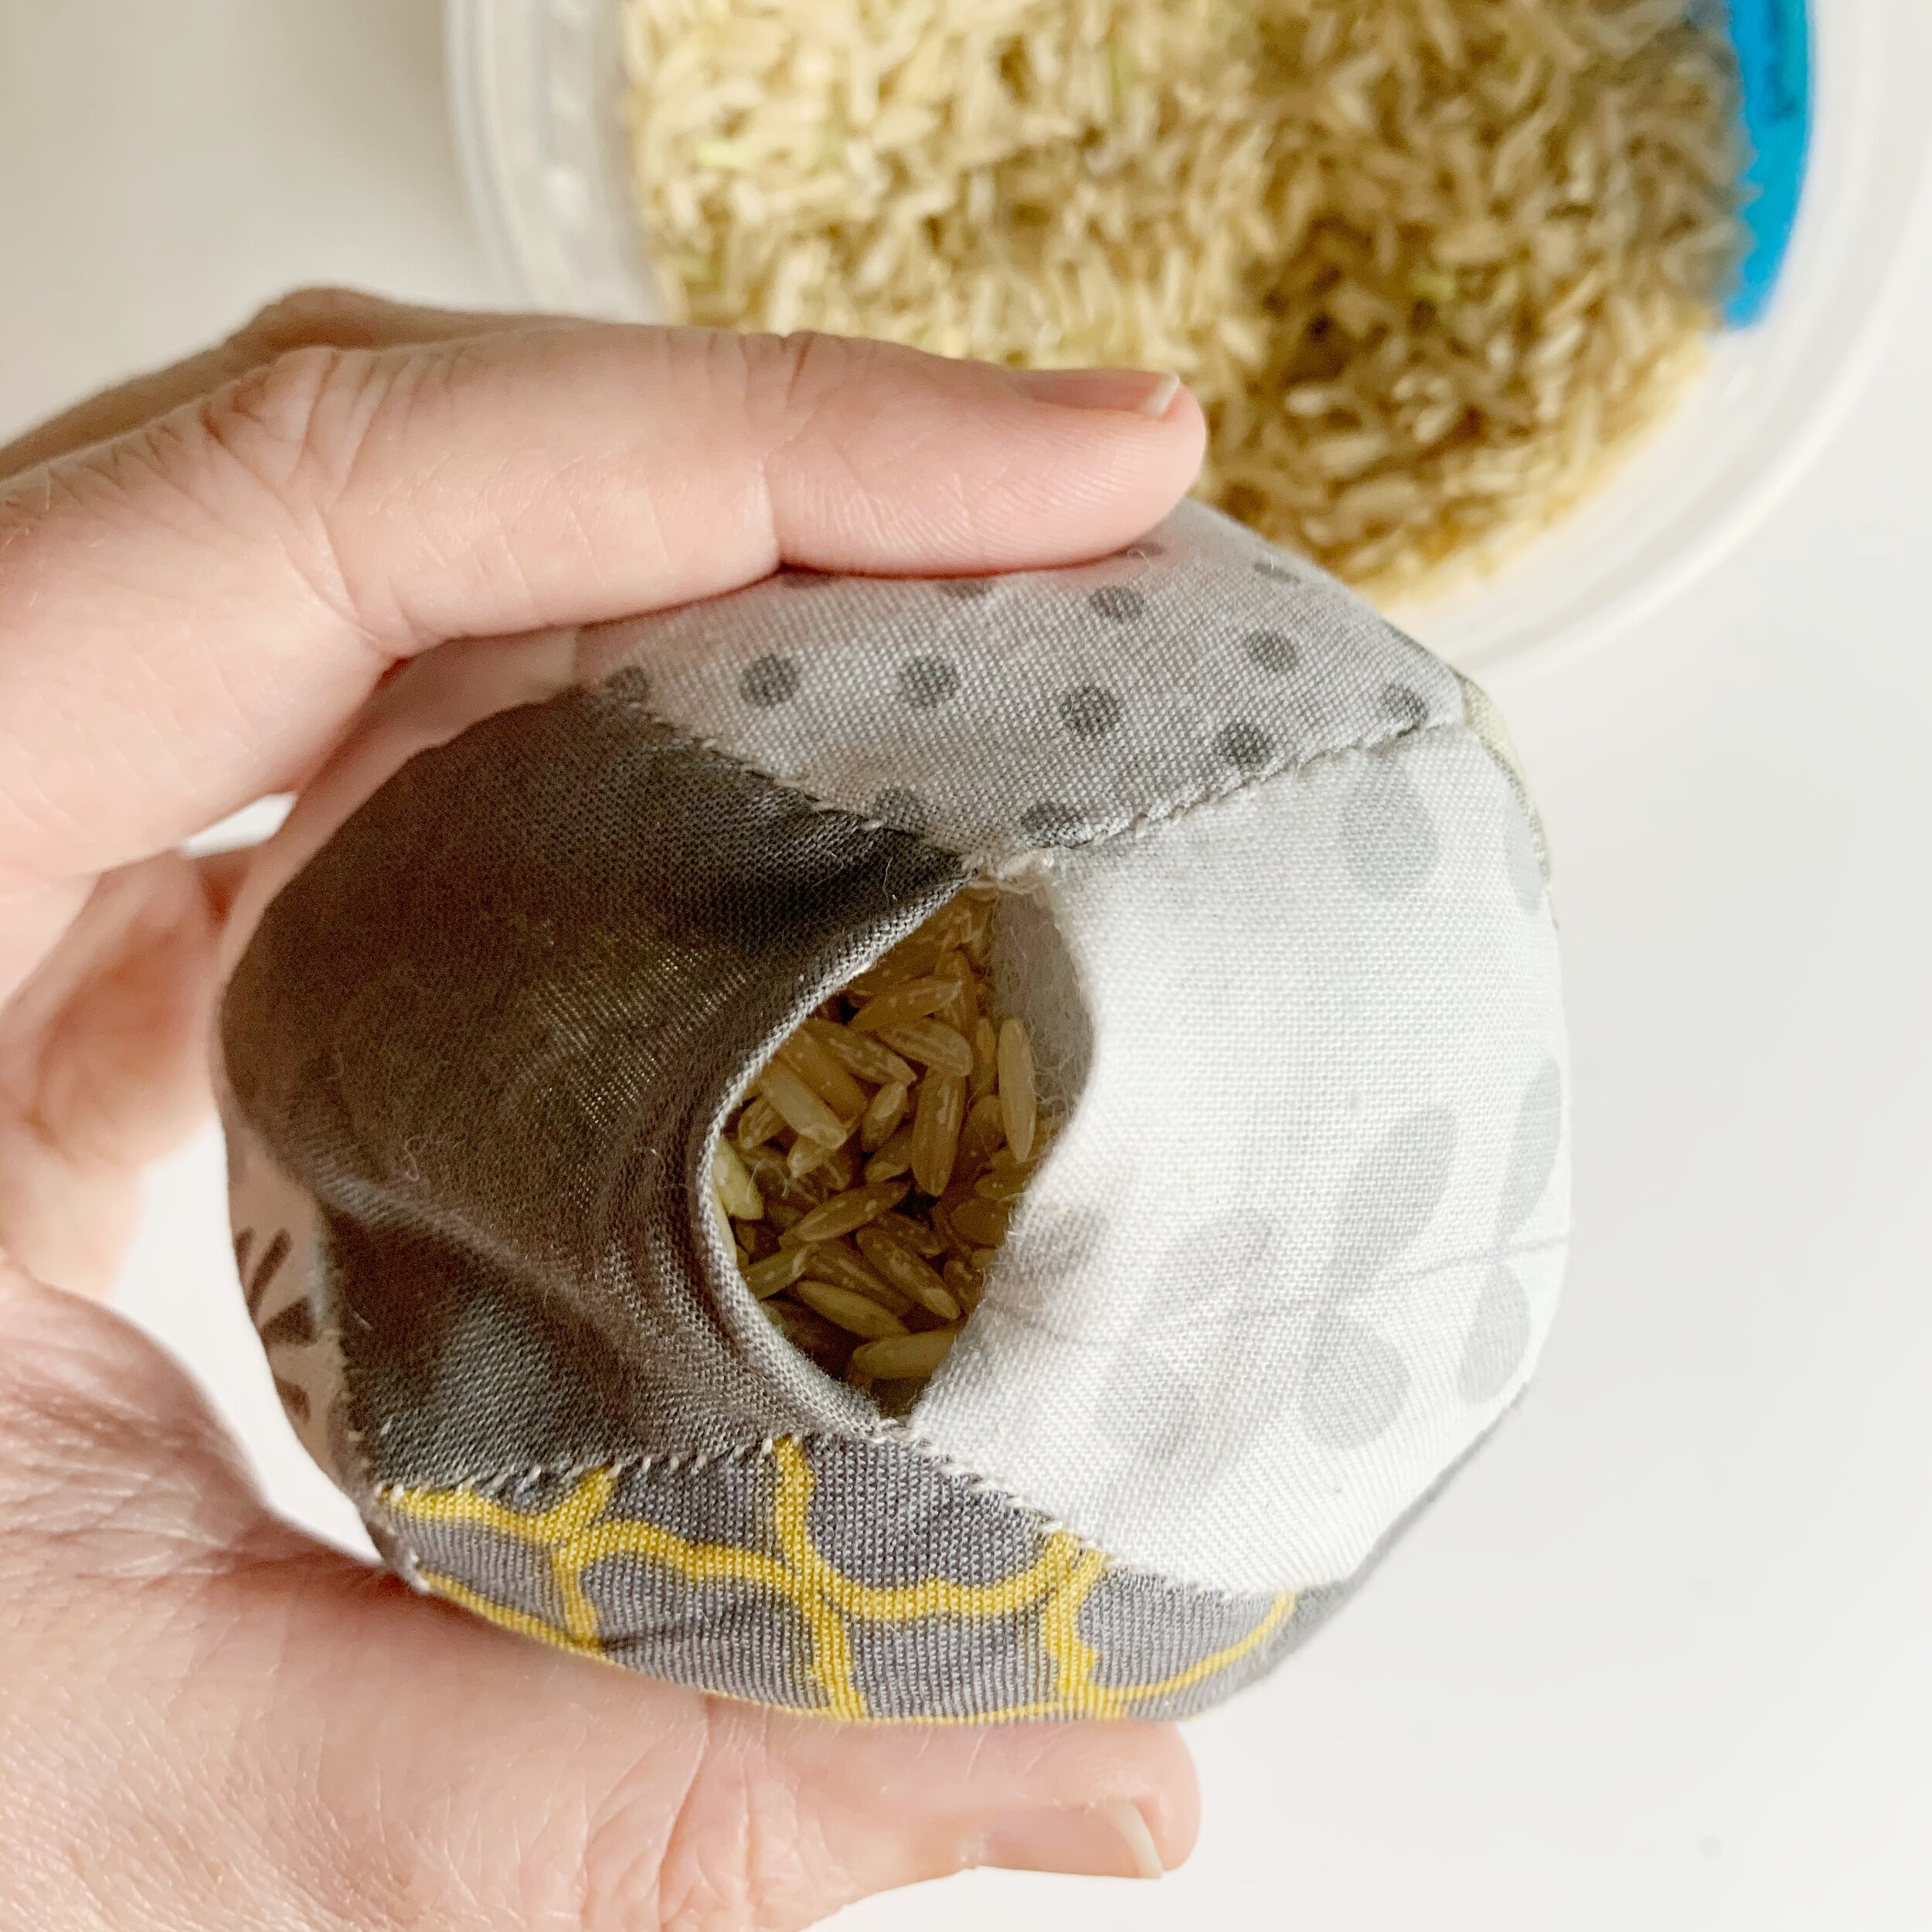
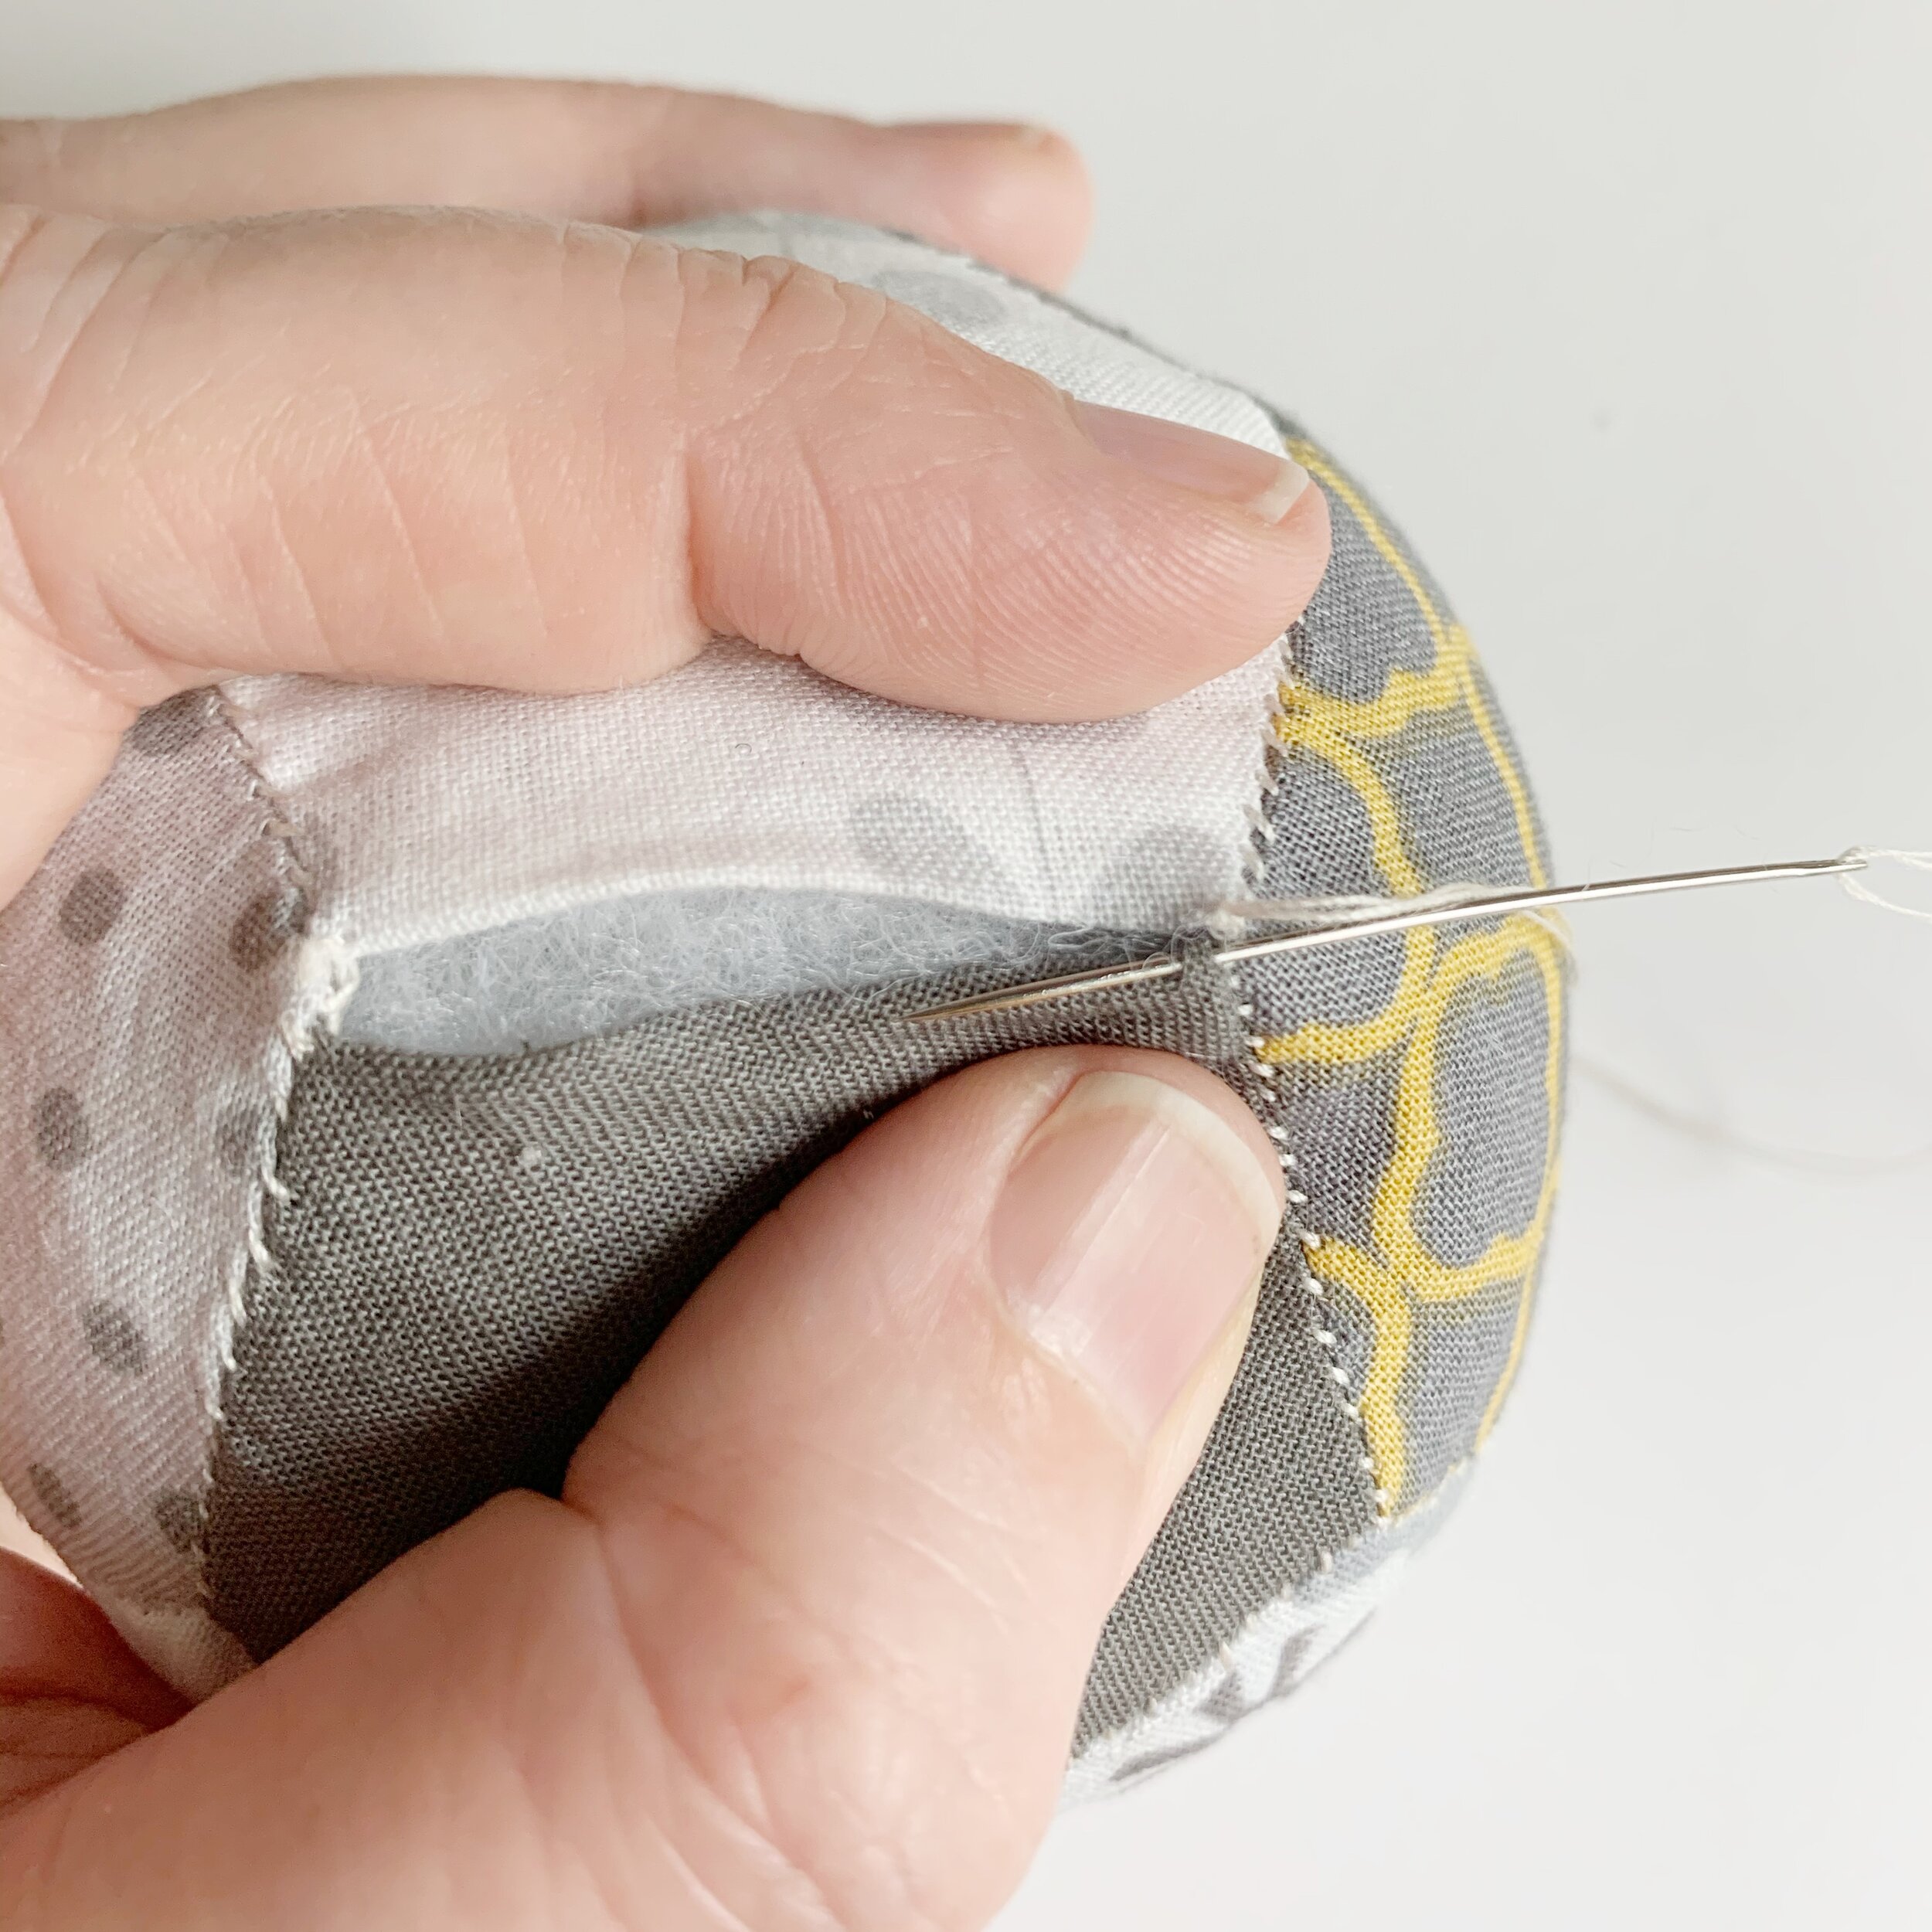
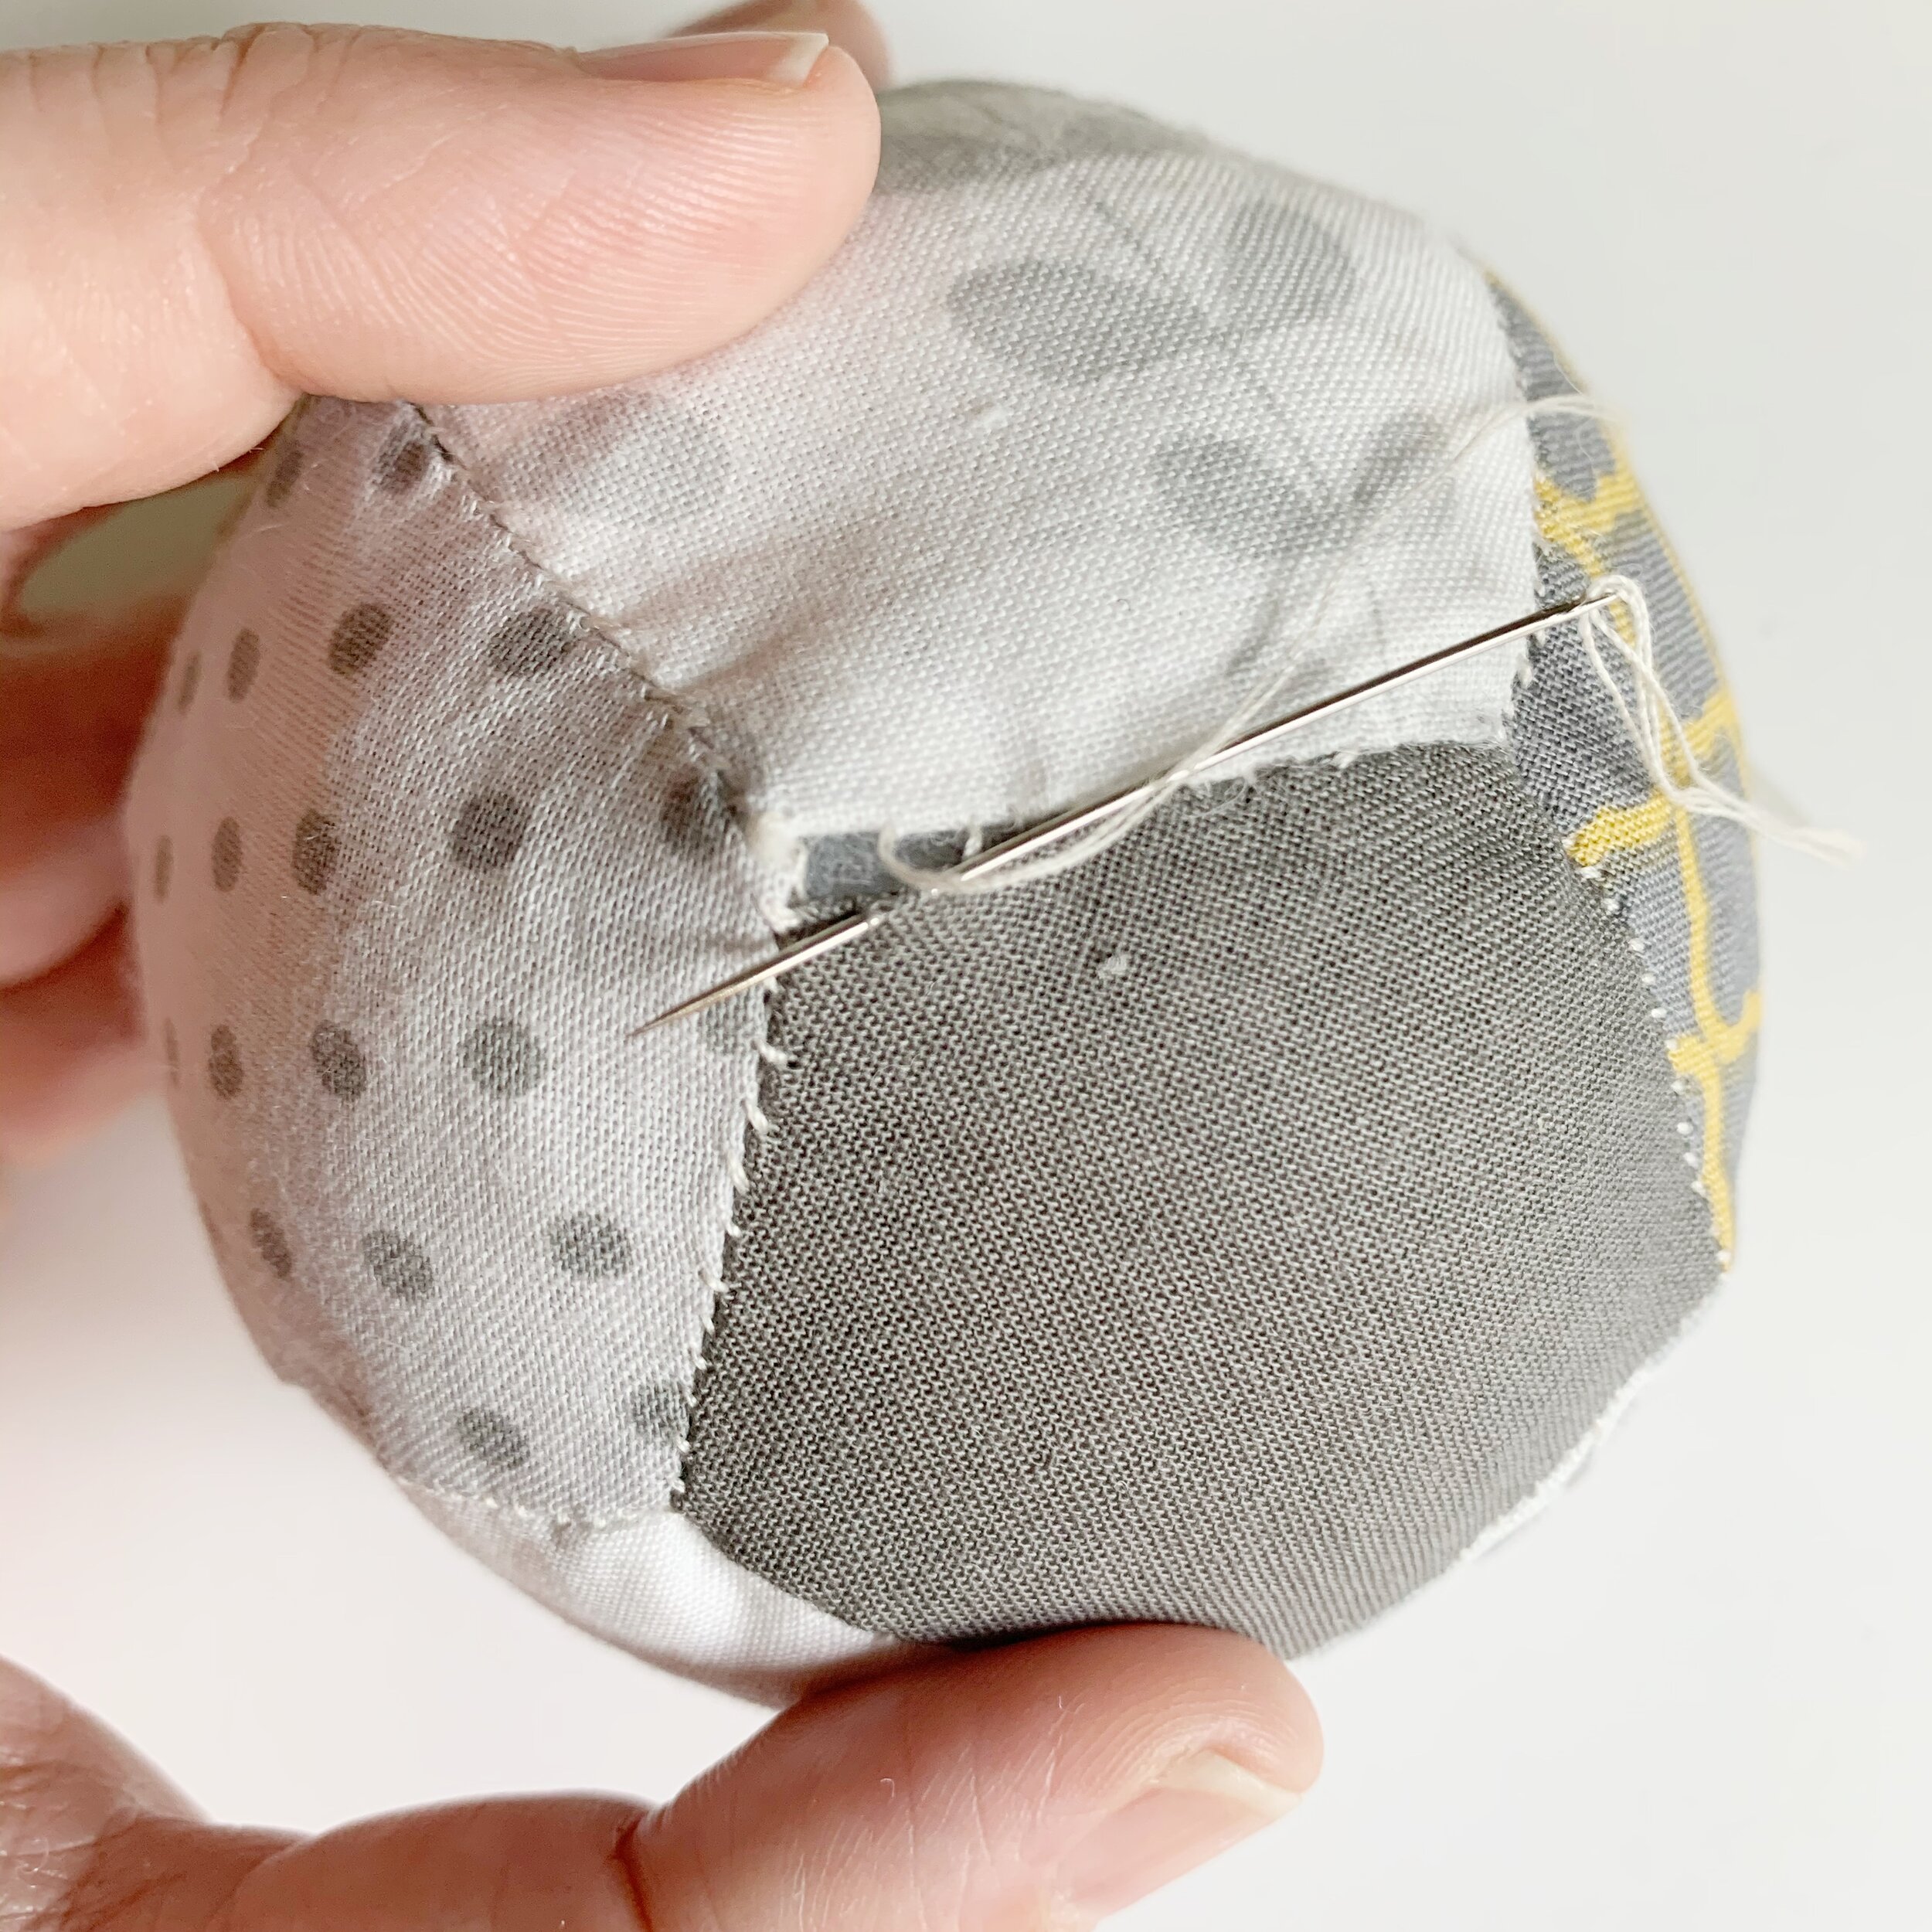
9. Stuff with fiberfill until almost full. Then add rice or beads until your desired weight is achieved. Stuff with more fiberfill and then sew the opening closed.
Now you have a brand new adorable Pearl Pincushion. You can make a few to have all over your sewing space. Play around with multiple fabrics or make a solid color one. The possibilities are endless.
I hope you enjoyed this sewing pattern. If you make a Pearl Pincushion, I’d love to see it! Make sure to tag me @meghanmakesdo on social media and use #pearlpincushion.
Don’t forget you can also find a digital PDF of this pattern in my shop.
Happy Sewing!
Meghan


