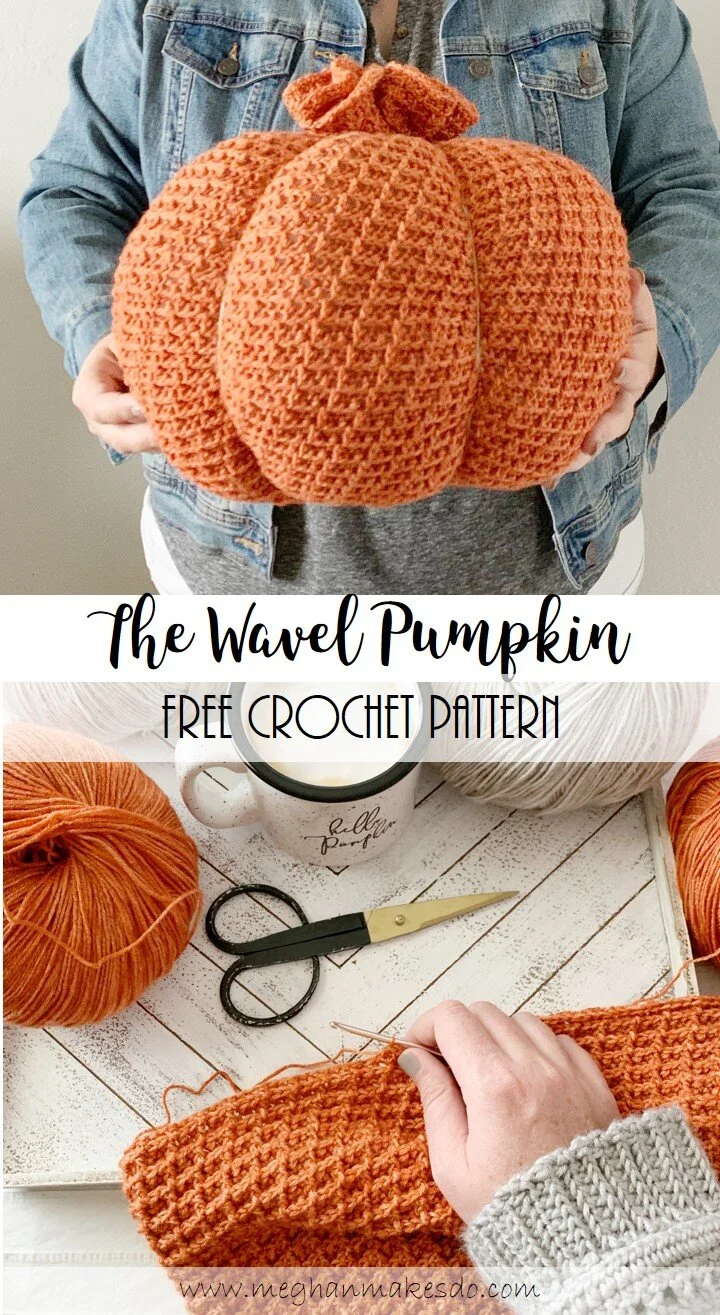
The Wavel Pumpkin-Free Crochet Pattern
This post contains affiliate links. If you make a purchase through one of those links I may receive a small commission.
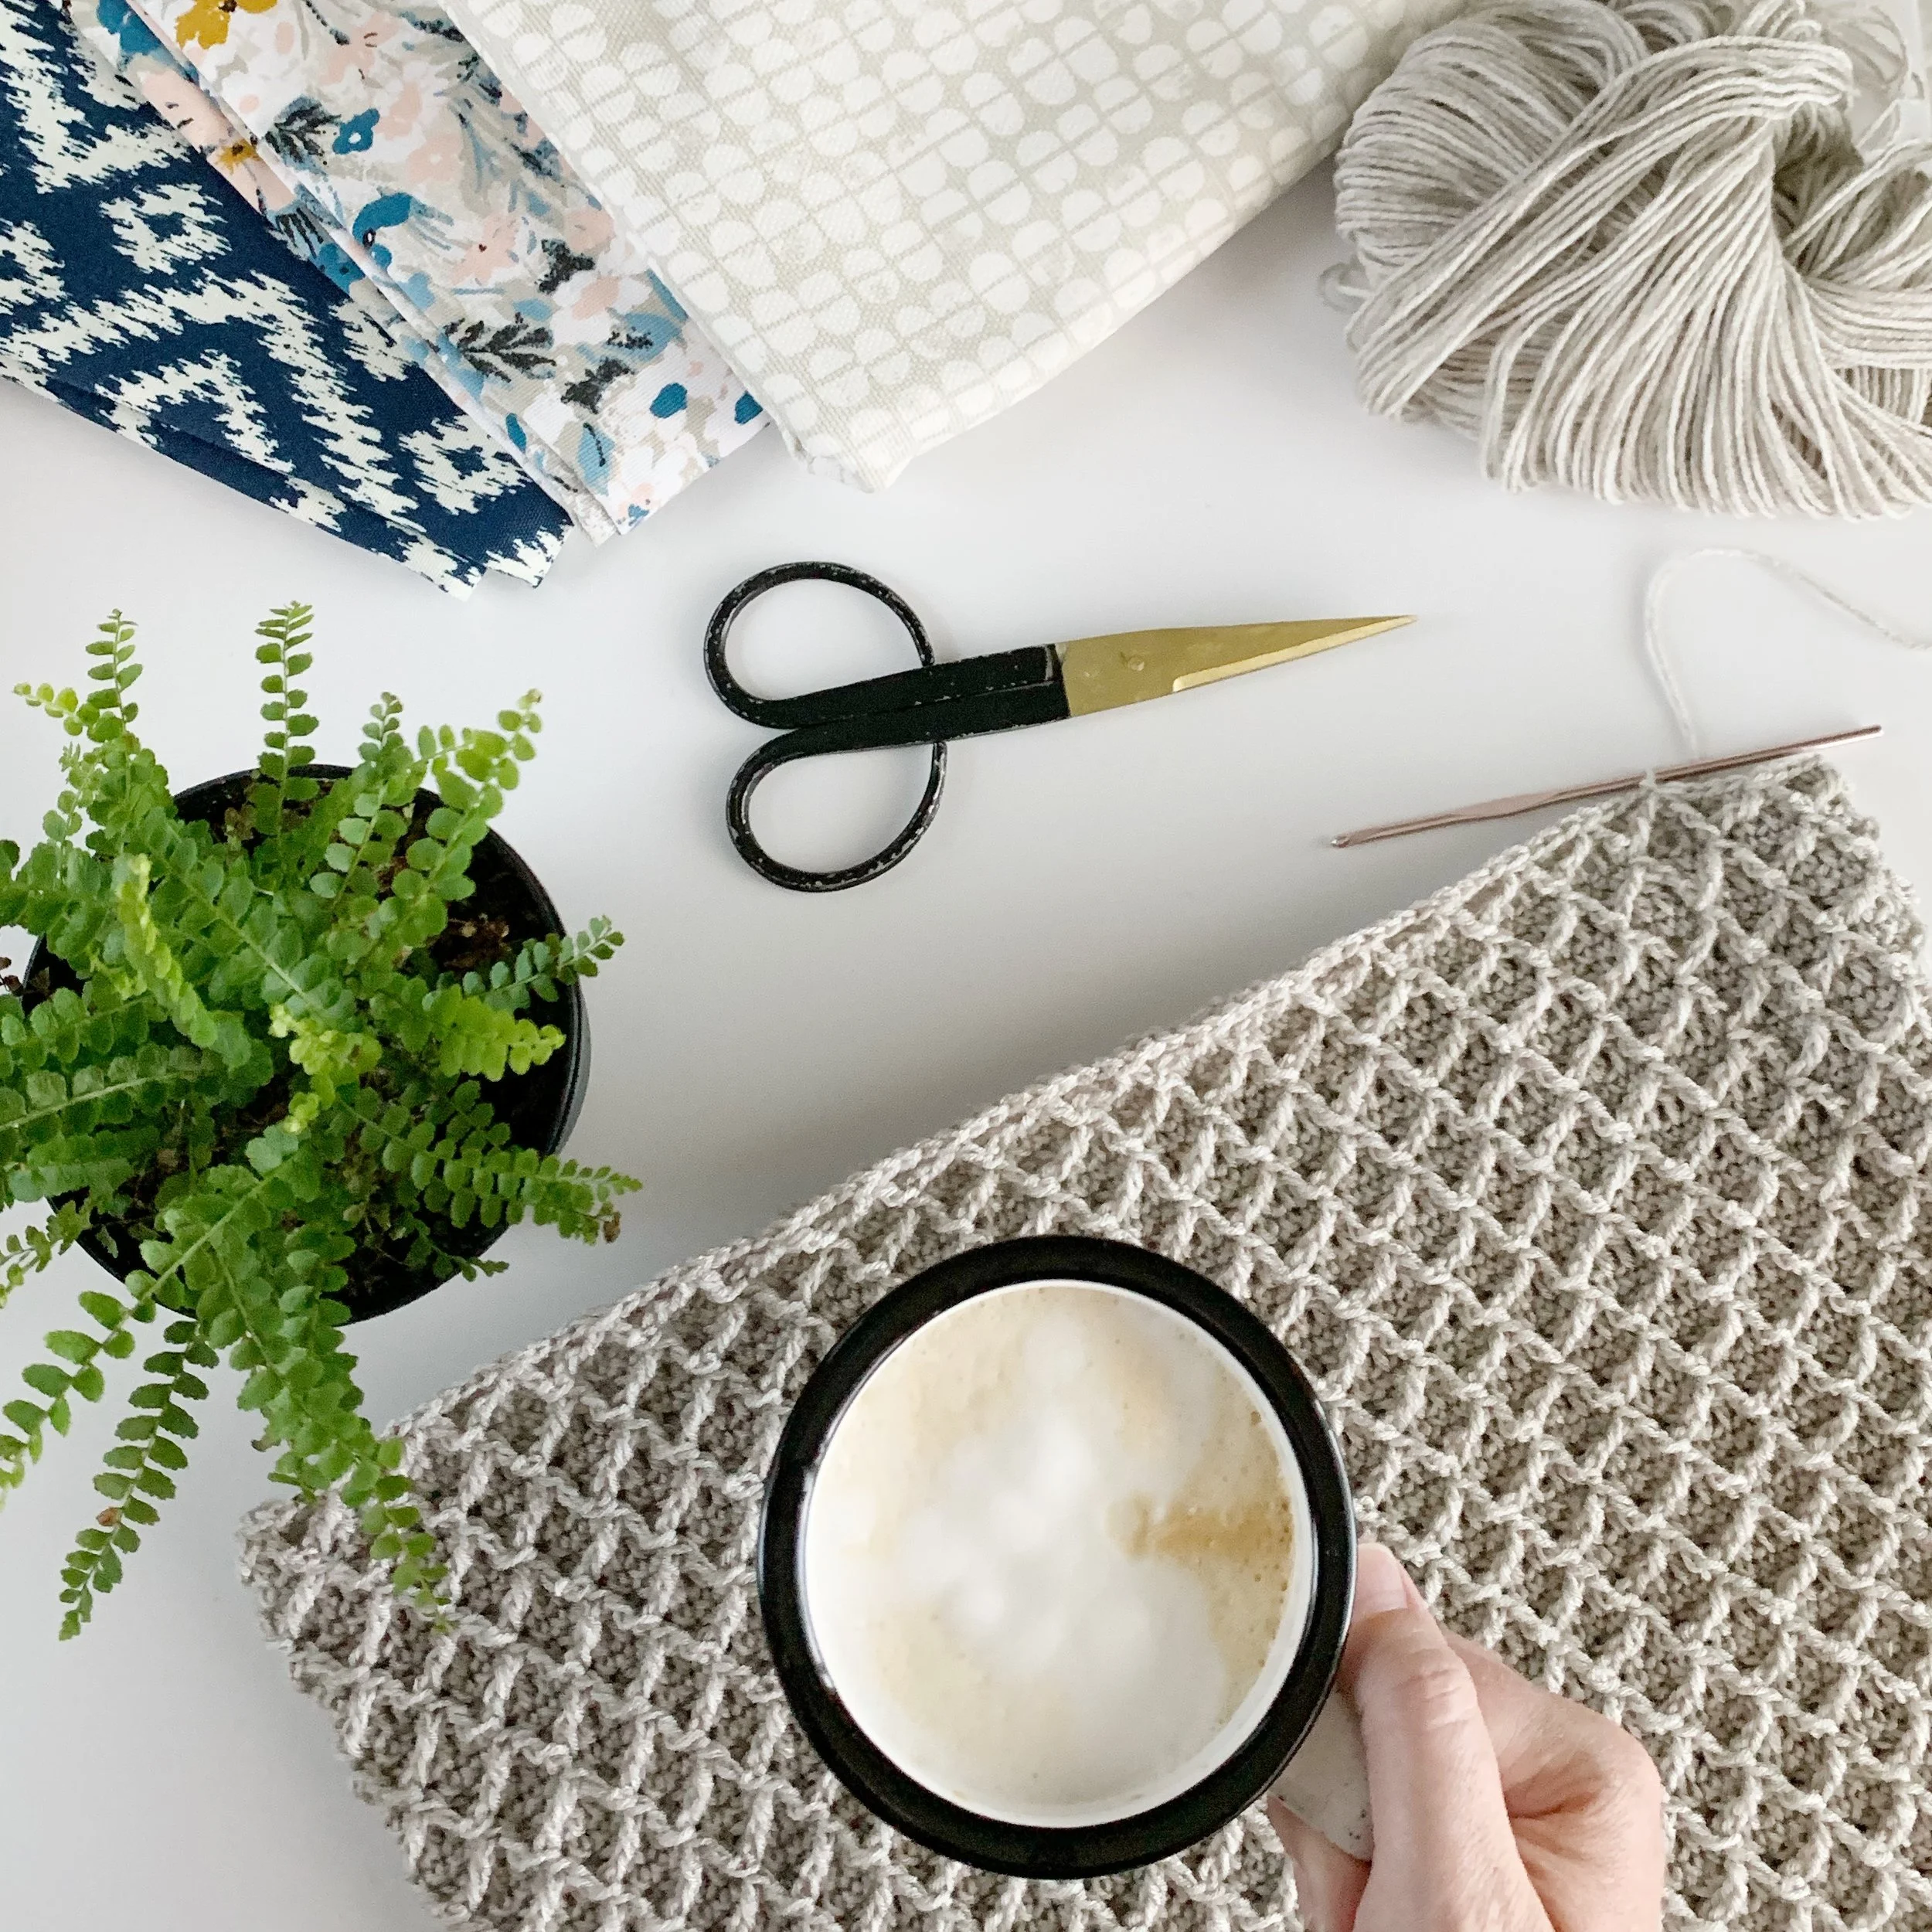
The crisp air in the morning means it’s time for all things fall! Add a little rustic decor to your home with The Wavel Pumpkin. The repetitive stitches and simple construction make this the perfect project to relax with this season. You can find the ad-free PDF in my shop or scroll down for the free version.
While visiting family in Ohio this summer, my sister and I found the cutest knit pumpkin at the grocery store. It was a simple white pumpkin, but it was large and squishy and I immediately thought “I could totally make one!” I had been wanting to make a crochet pumpkin for quite some awhile, but never made the time to actually do it. But with inspiration striking I decided just to go for it and make my very own large squishy pumpkin!
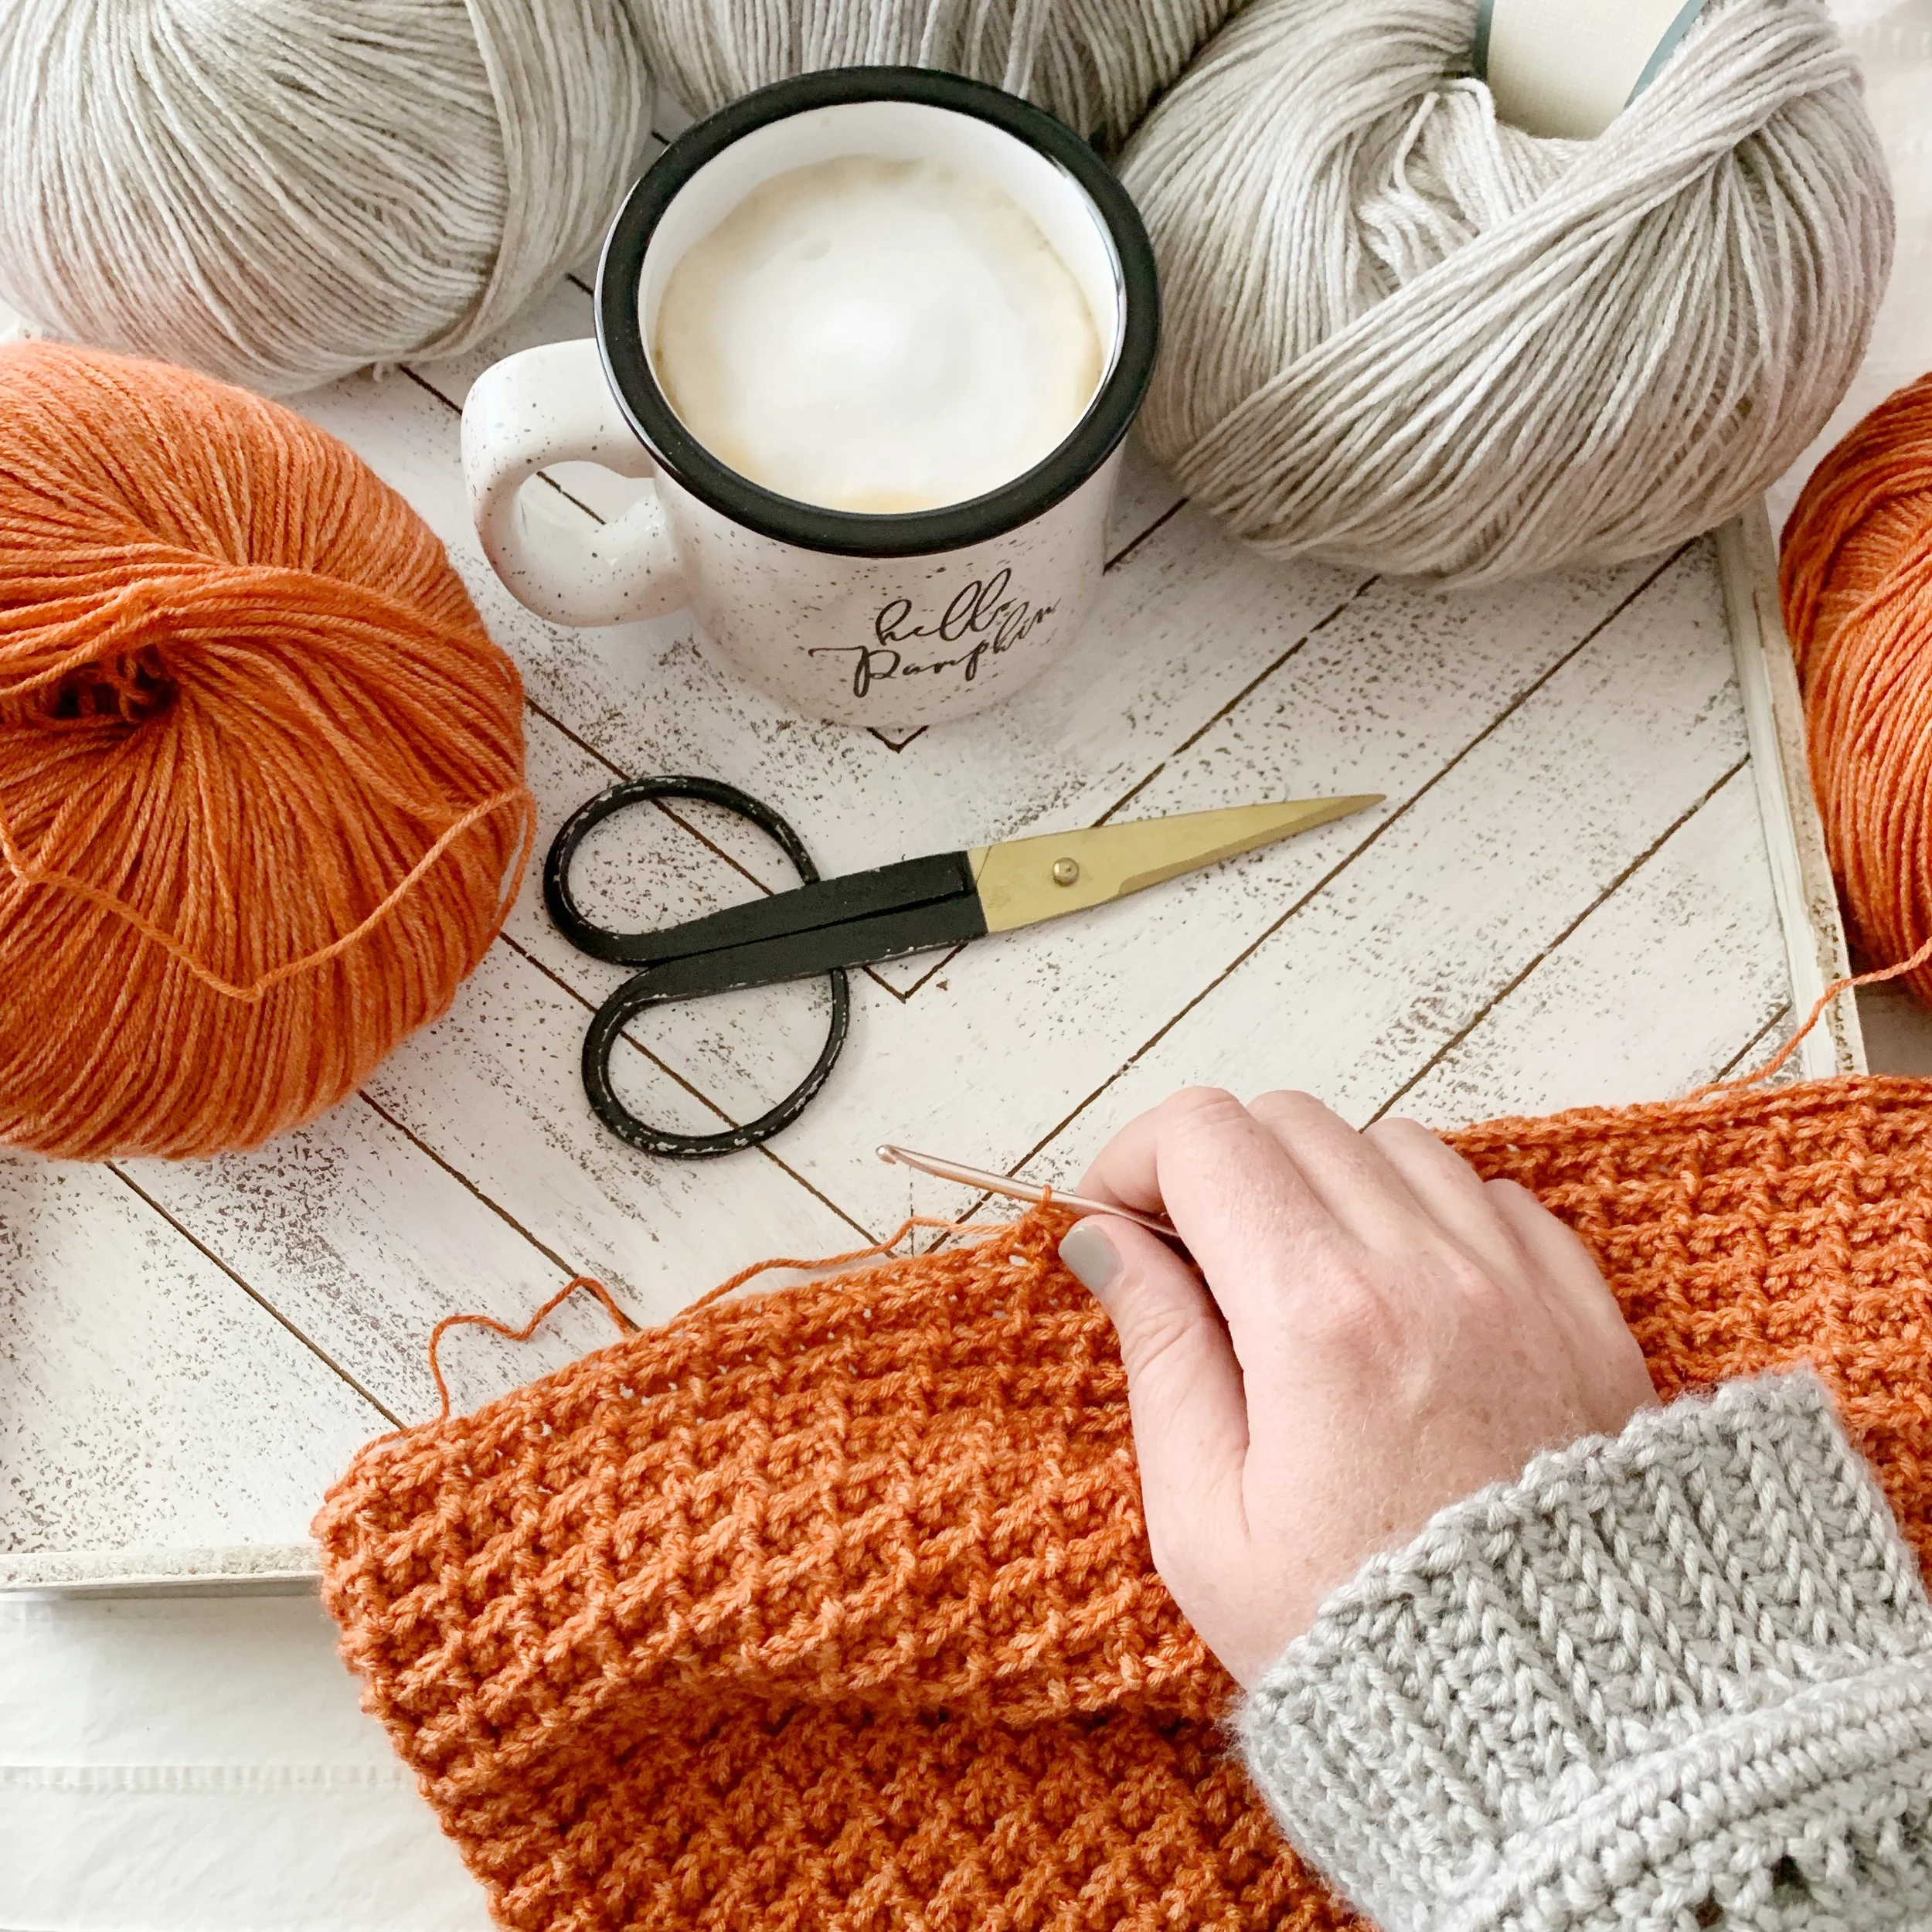
We immediately went over to Hobby Lobby to check out yarn and I fell in love with the Soft and Sleek DK yarn. It is incredibly soft and comes in the most amazing colors. My sister wanted one too so she picked the Pumpkin paradise color way (totally meant to be!) and I picked a neutral Linen. Then it was time to find the perfect stitch. I wanted something that was textured and when I found the waffle stitch I knew it would be perfect. After the initial swatch I realized it was a bit too big for the DK weight yarn so decide to experiment with using hdc instead of dc. To be honest I was a bit skeptical after the first few rows, but decided to keep going and I’m so glad I did. The mini waffle stitch creates the most amazing texture in this DK weight yarn and the repetitive stitches are great for getting lost in the process.
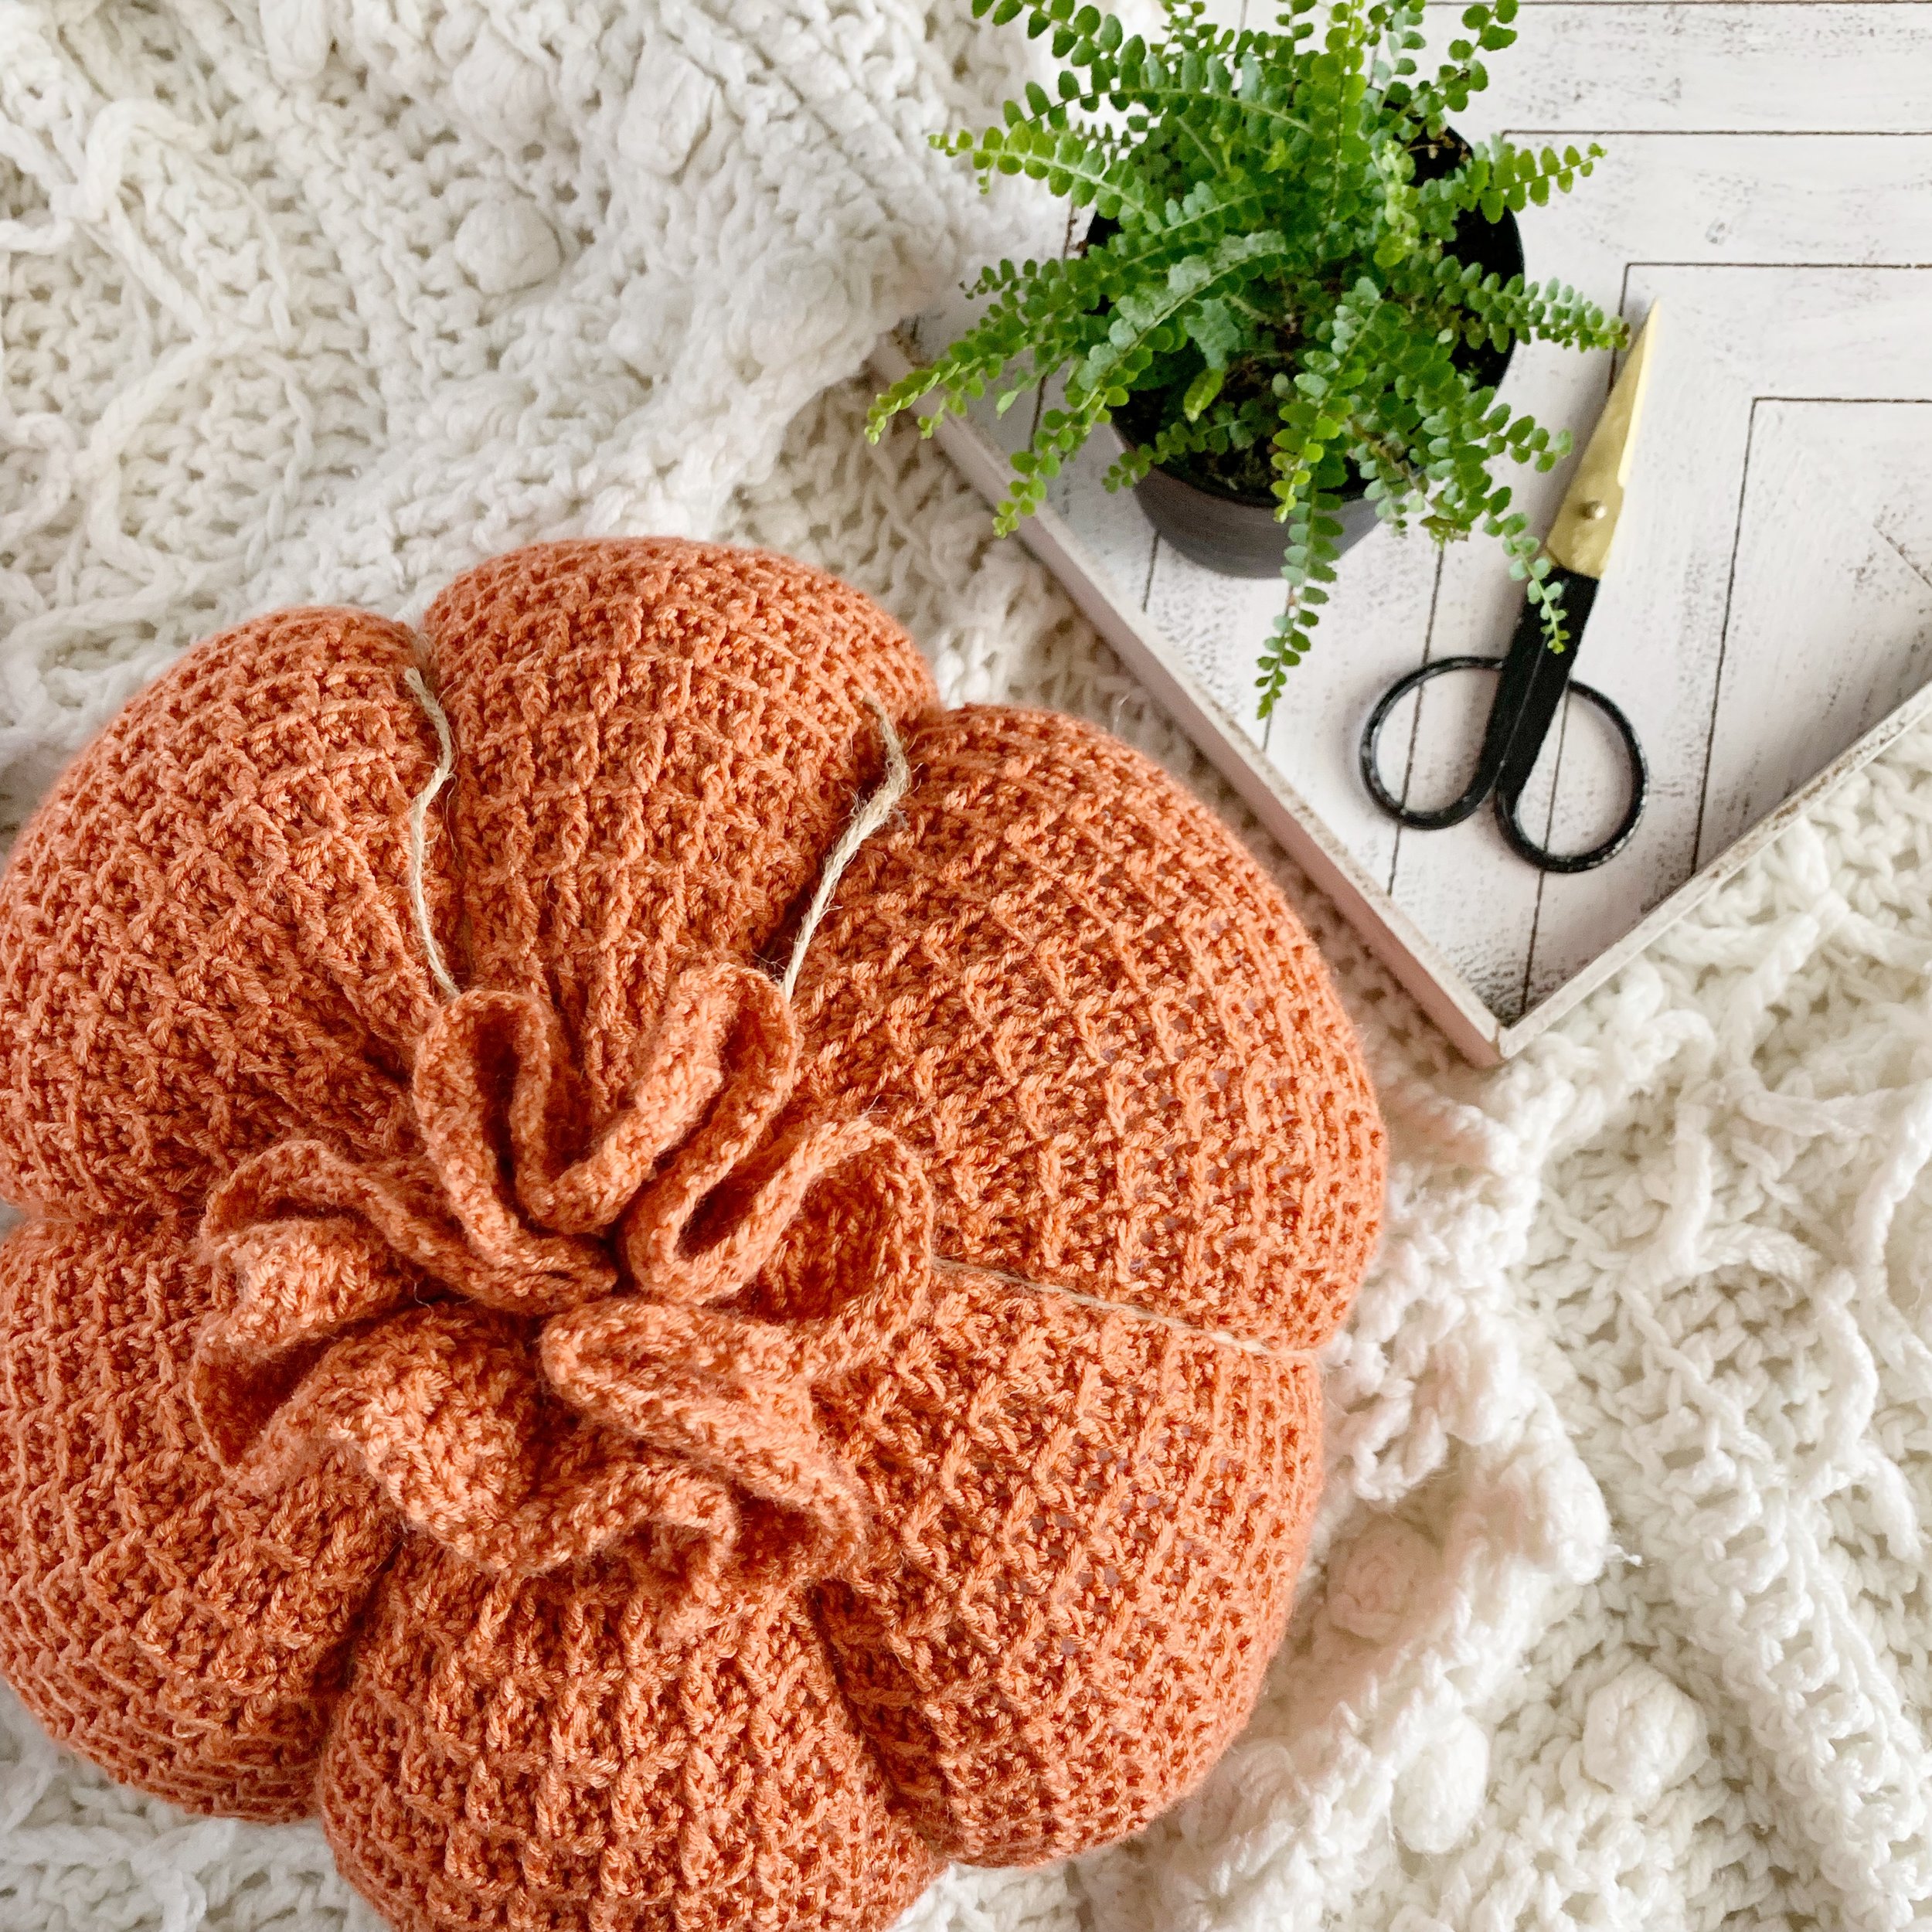
I’m so happy to be adding this gorgeous rustic pumpkin to my collection of patterns and I hope you love making one as much as I did.
Here’s what you’ll need to make your own:
Materials:
950 yards of Yarn Bee Soft and Sleek DK in Pumpkin Paradise
Crochet hook size E (3.5mm)
Tapestry needle
Scissors
Fiber Fill
20 yards of twine
Abbreviations:
Ch- chain
St(s)- stitch(es)
Sl st- slip stitch
hdc- half double crochet
Fphdc- front post half double crochet
Bphdc- back post half double crochet
Gauge:
18 stitches X 12 rows = 4” square in mini waffle stitch.
Size:
Finished size is approx. 15” wide by 11.5” high. Size may vary depending on how heavily stuffed.
Notes:
1.Pattern is worked in the round from the top down.
2.Ch 2 at the beginning of rounds counts as a stitch.
3. Find a detailed photo and video tutorial on how to work the mini waffle stitch here.

Pattern:
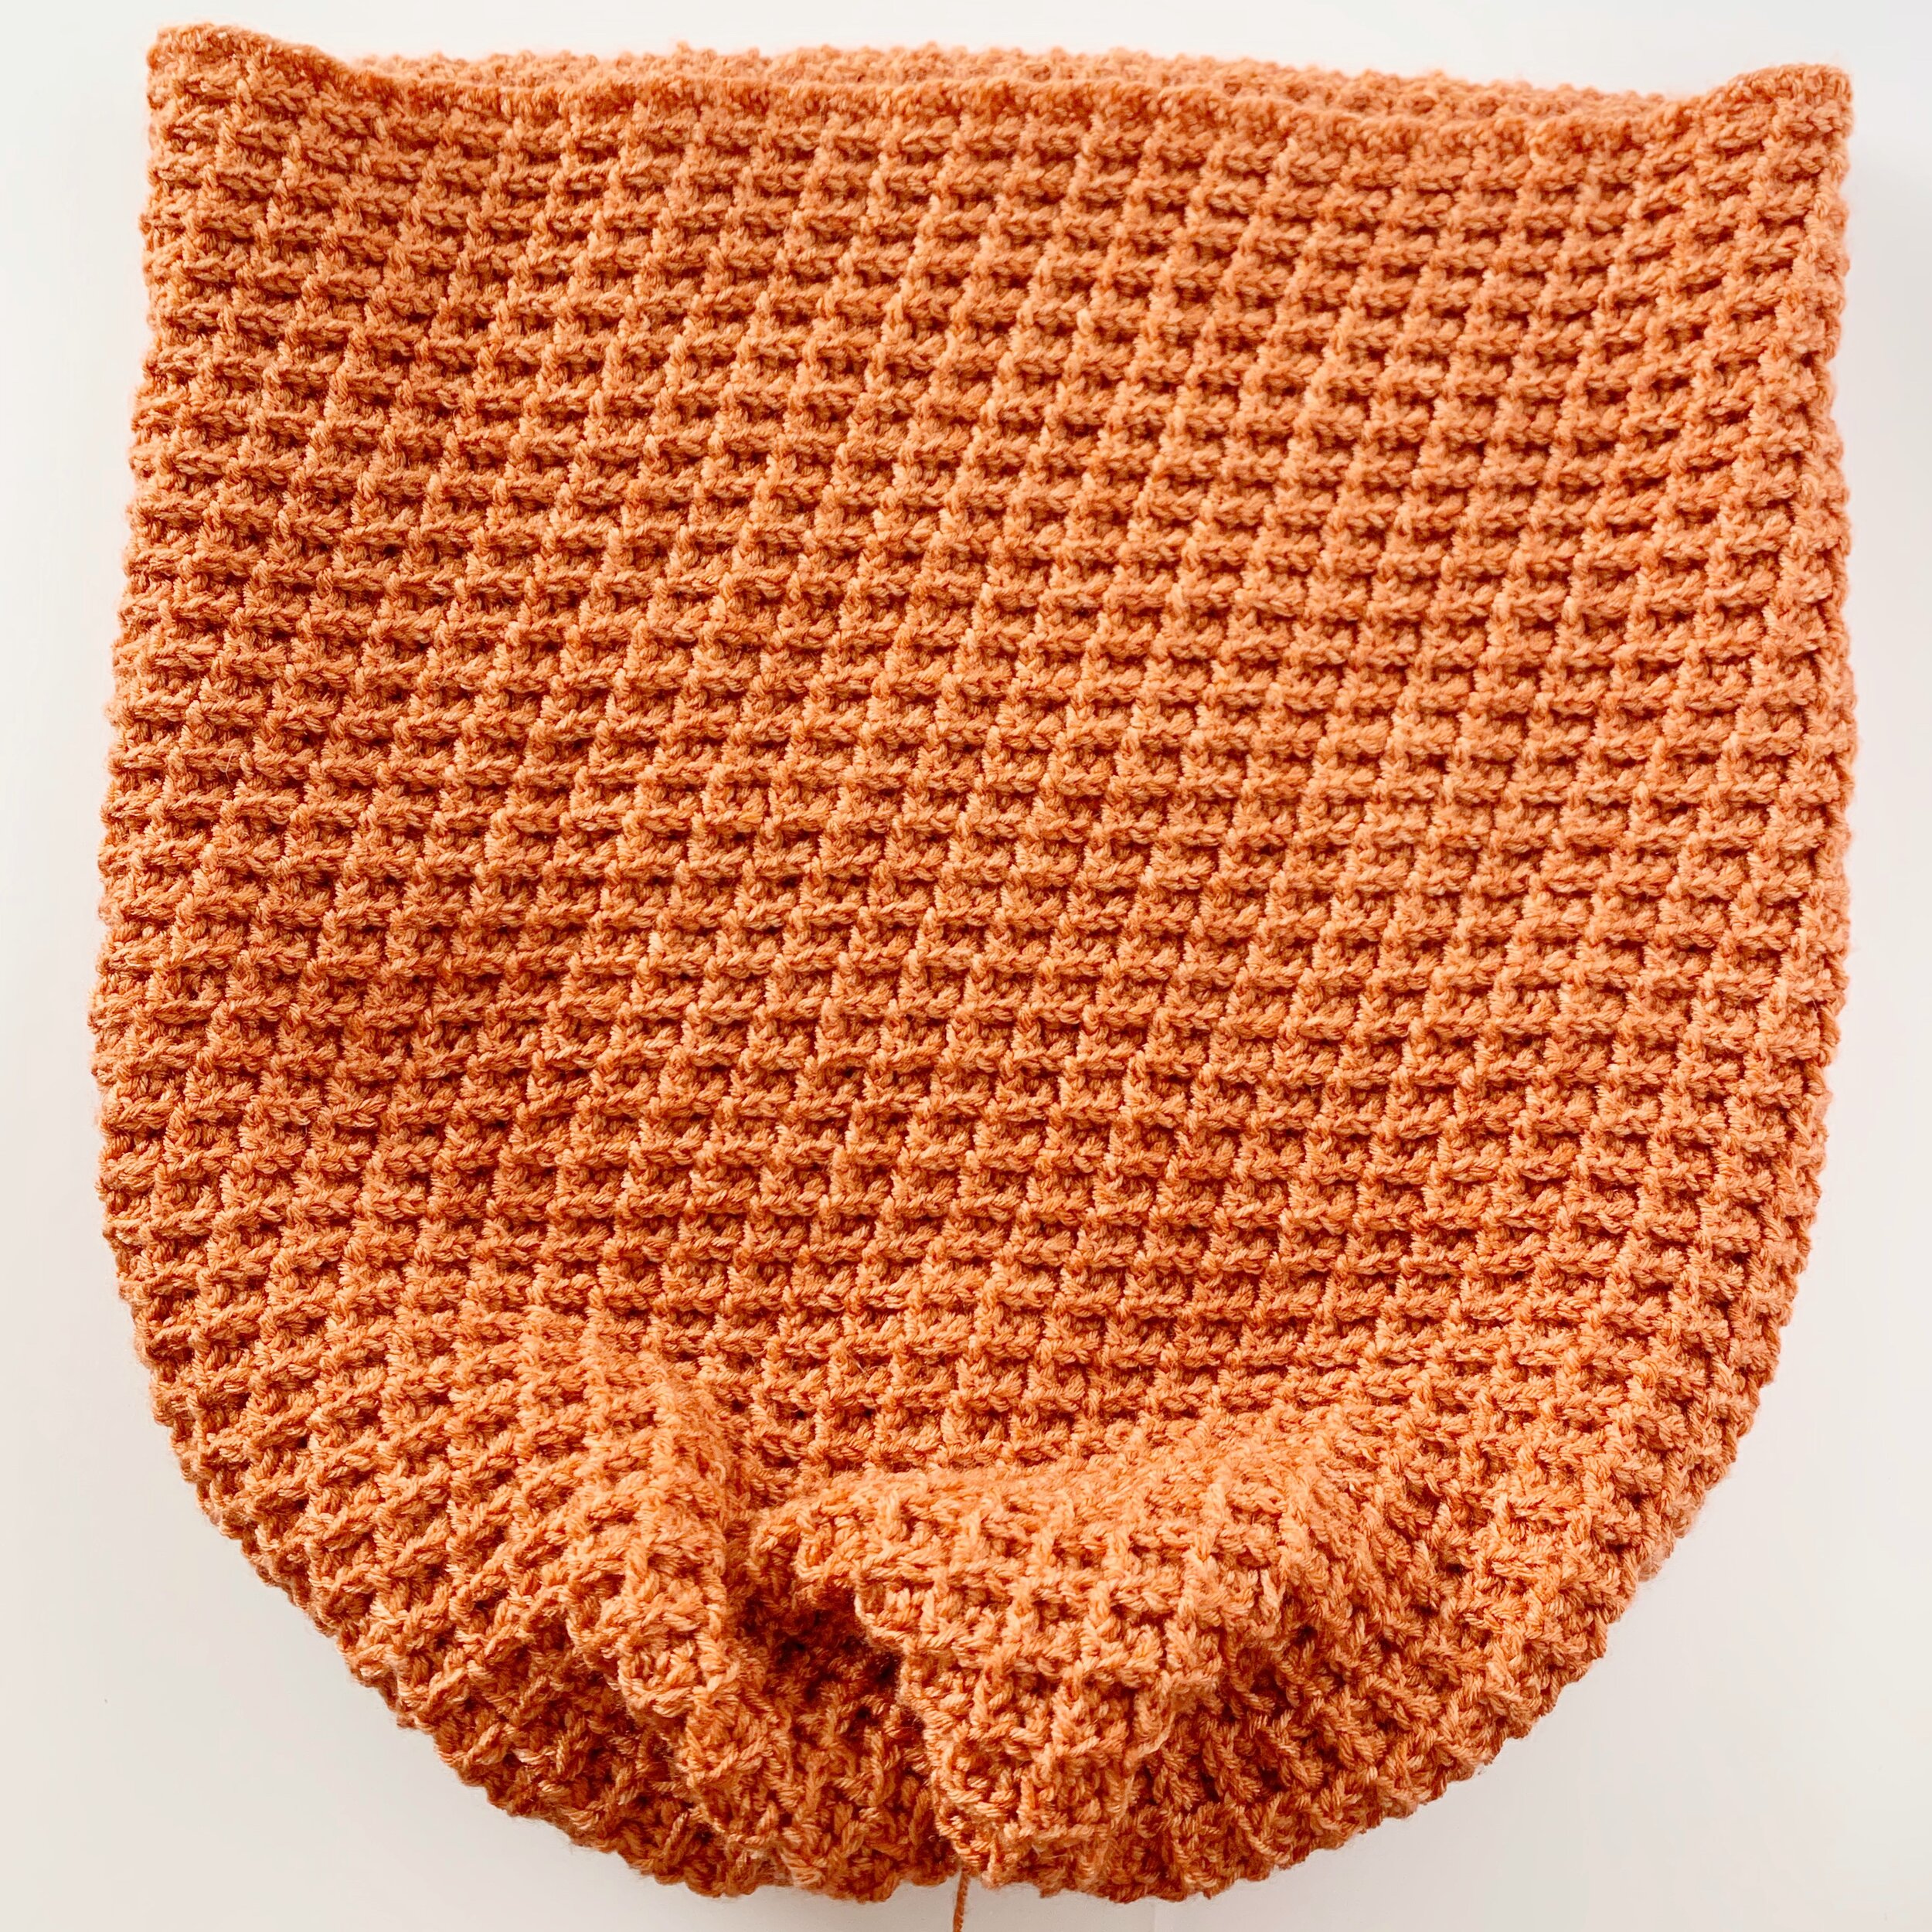
Ch 162, sl st to 1st chain to join making sure not to twist the chains.
Round 1: ch 2, hdc in each ch around, sl st to top of ch 2 to join. (162)
Round 2: ch 2, hdc in 1st st, fphdc around next st, *hdc 2, fphdc, repeat from * around, sl st to top of ch 2 to join. (162)
Round 3: ch 2, bphdc around 1st st, hdc in next, *bphdc 2, hdc, repeat from * around, sl st to top of ch 2 to join. (162)
Repeat rounds 2-3 until pumpkin measures 17.5” high.

Fasten off leaving a long tail for sewing. Weave in all other ends.
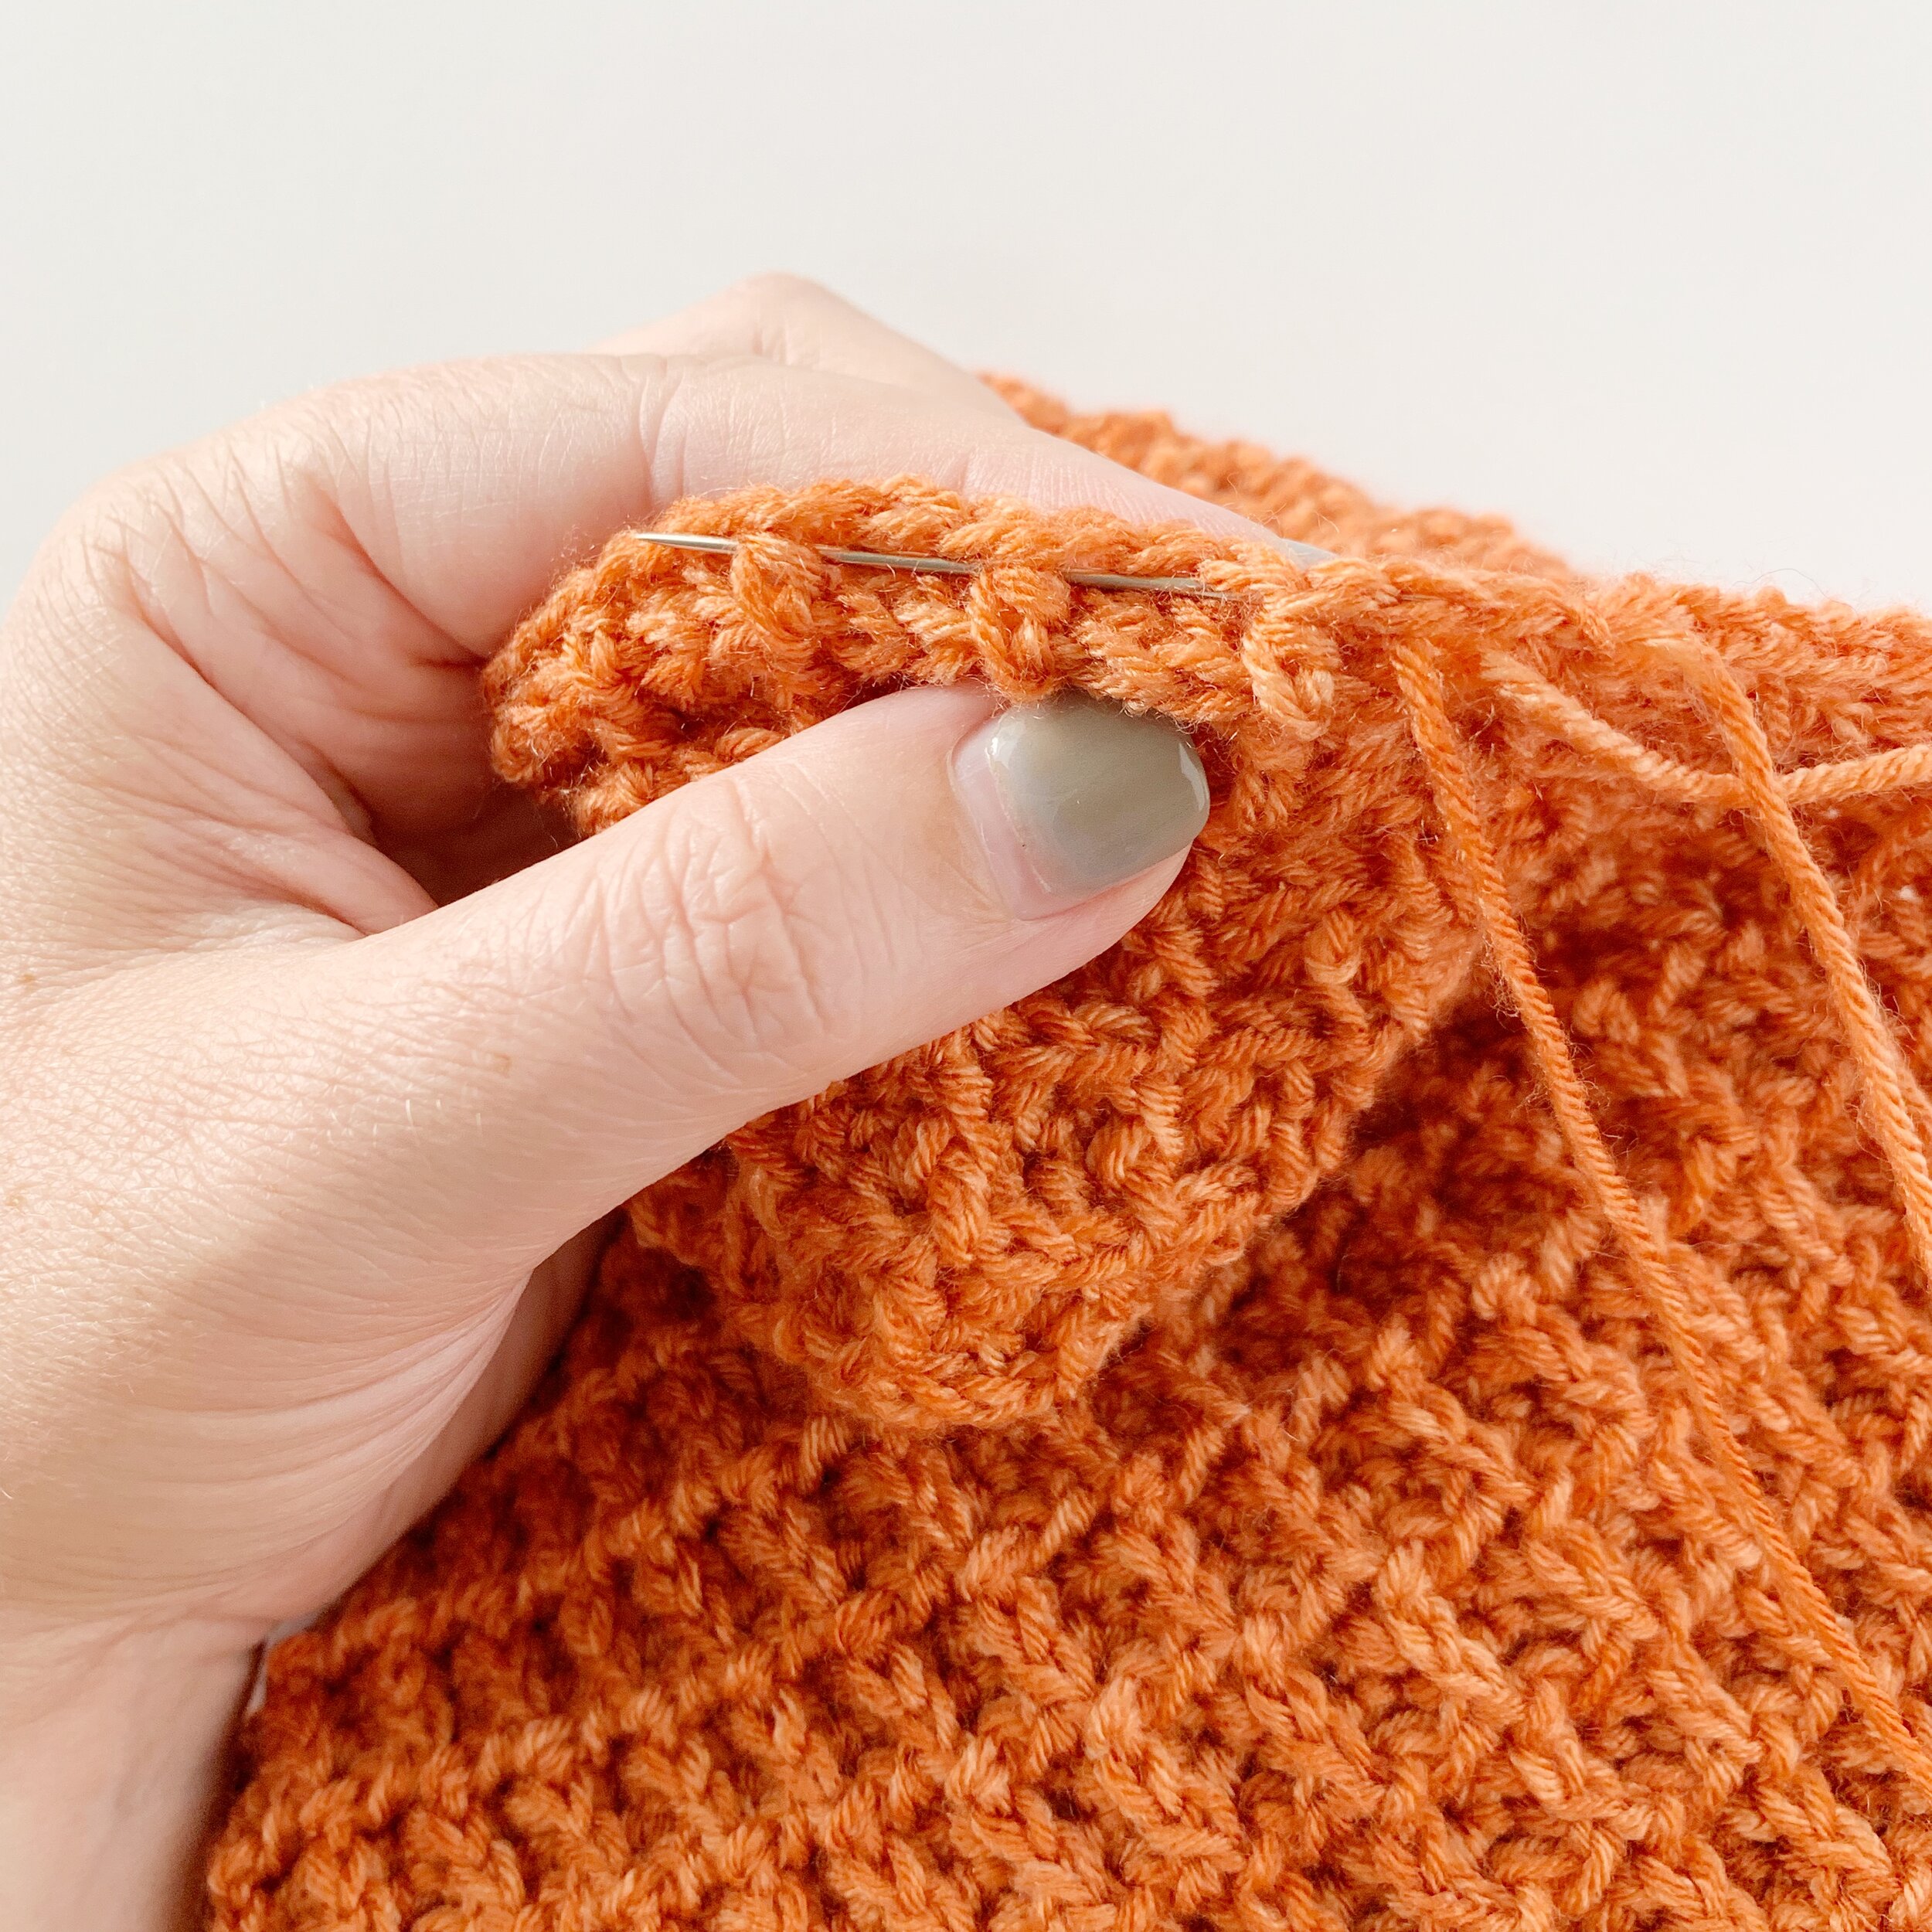
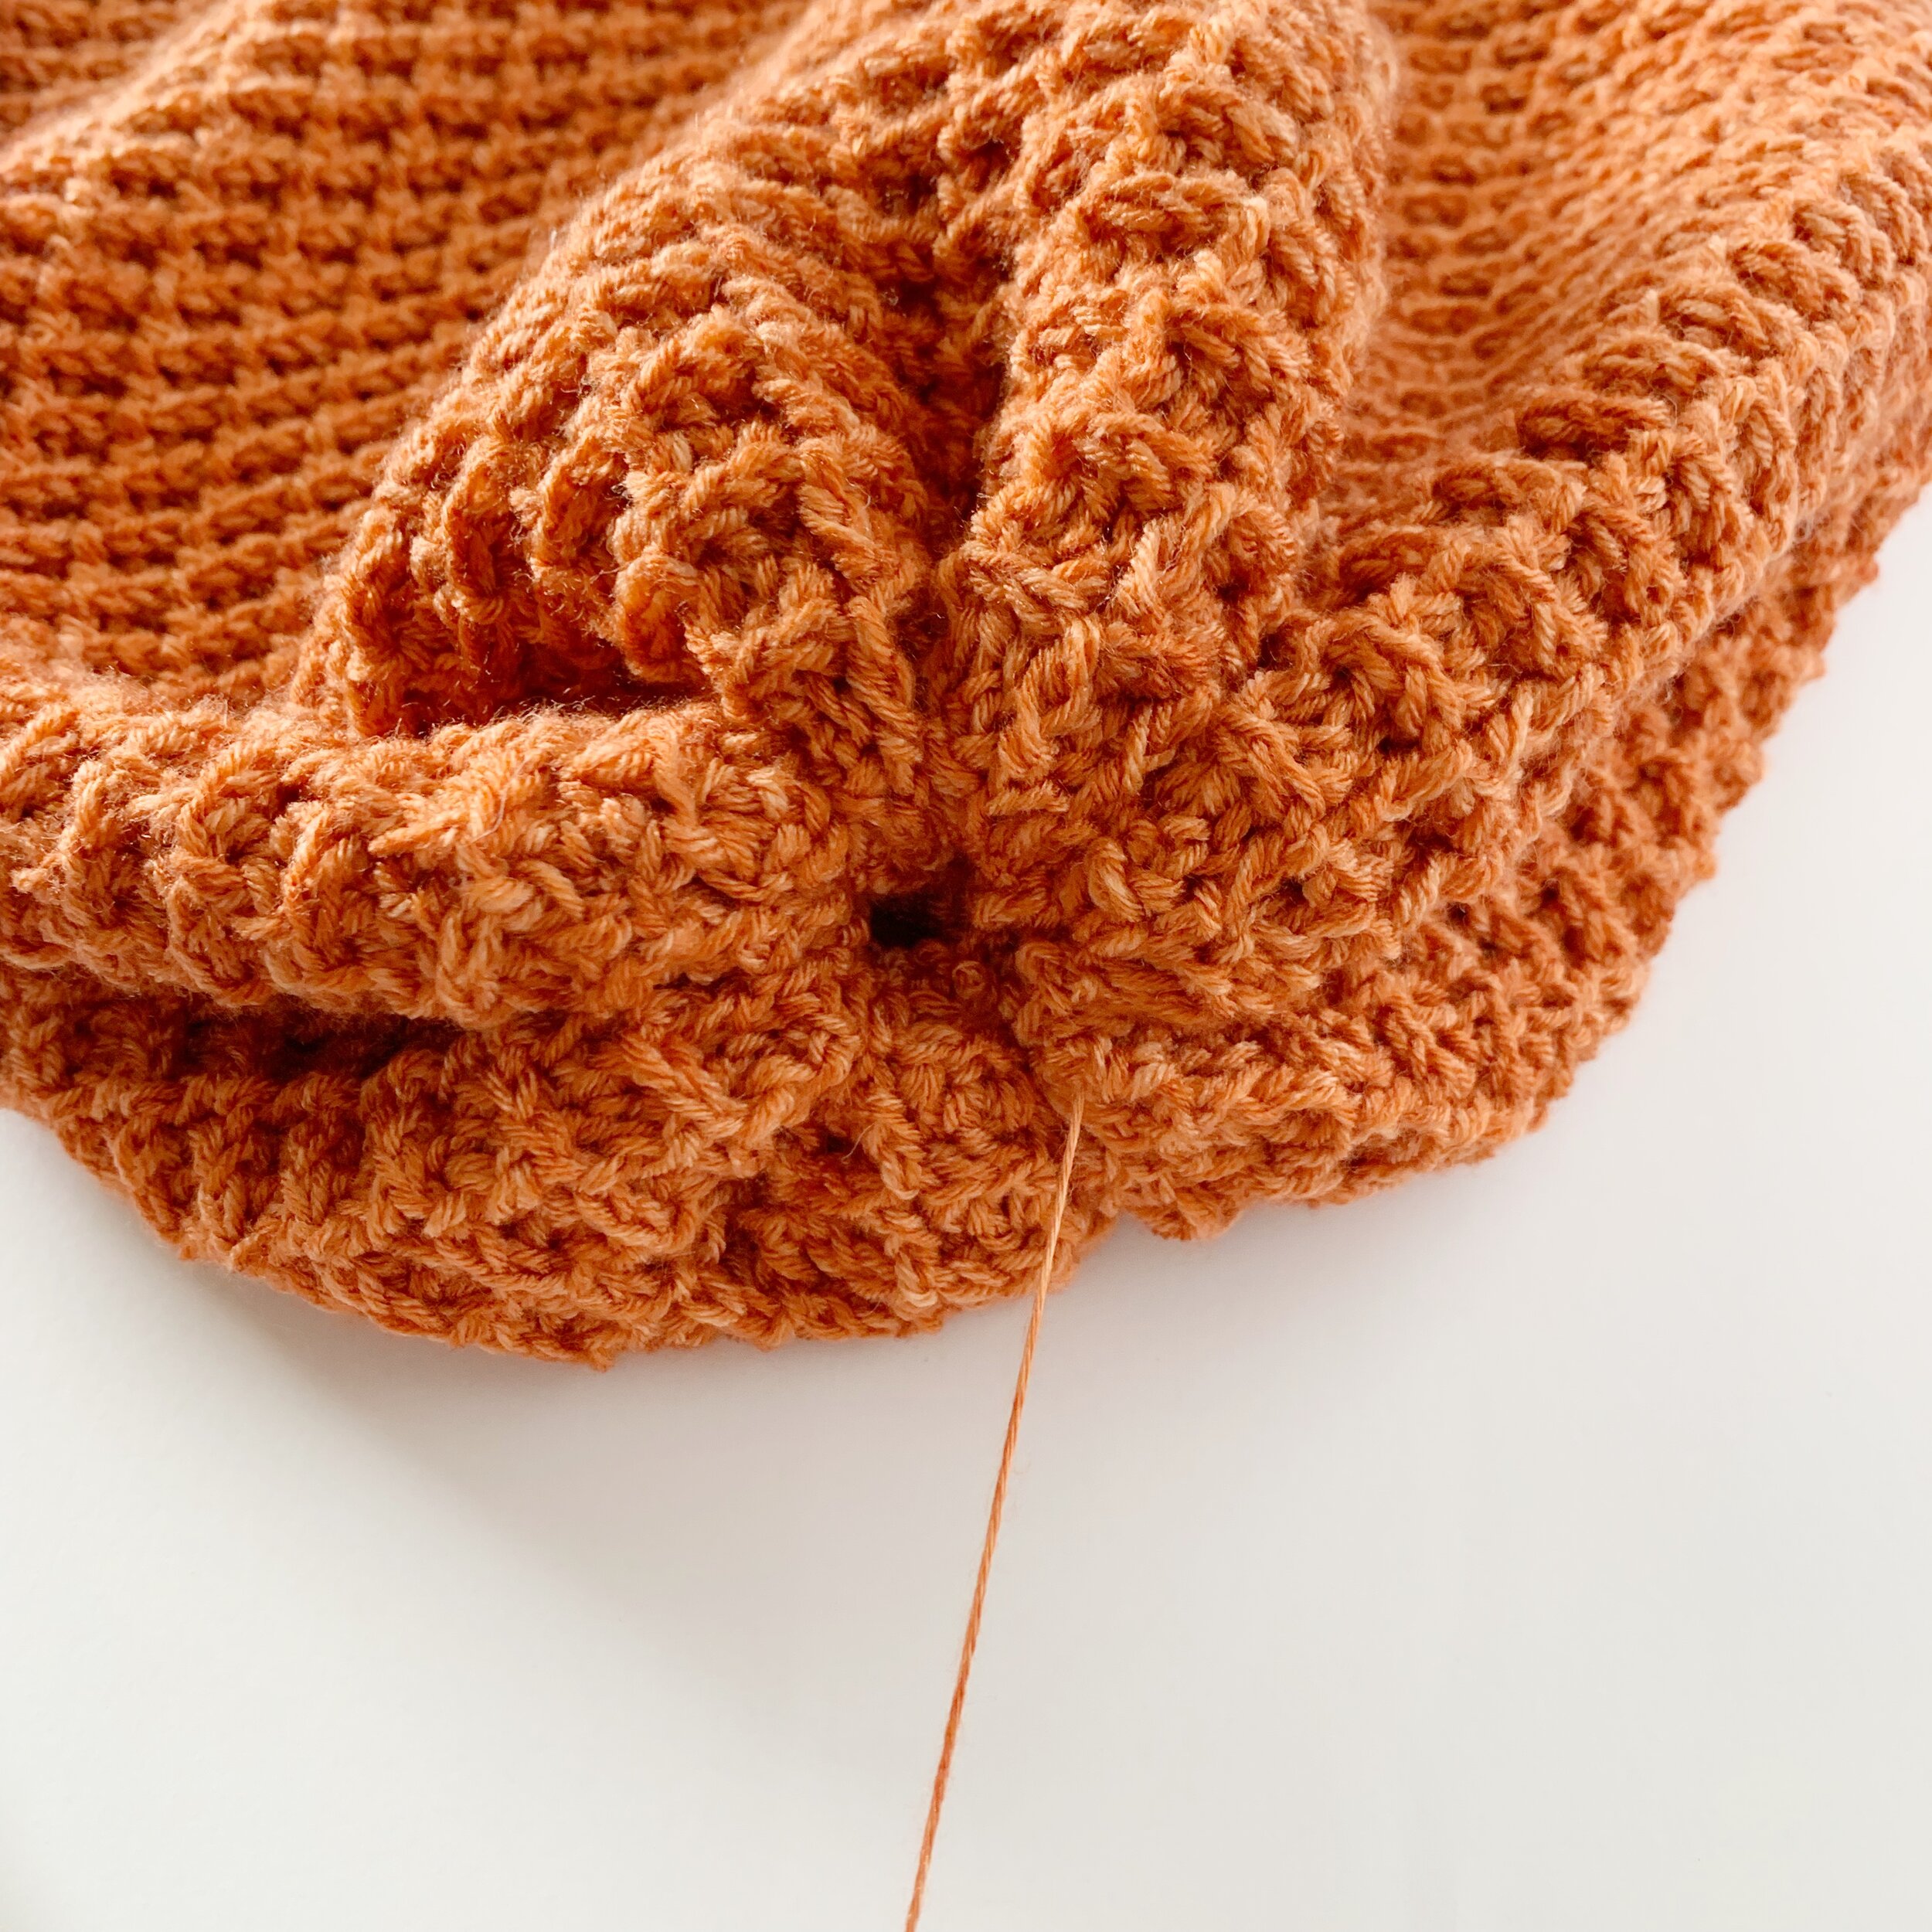

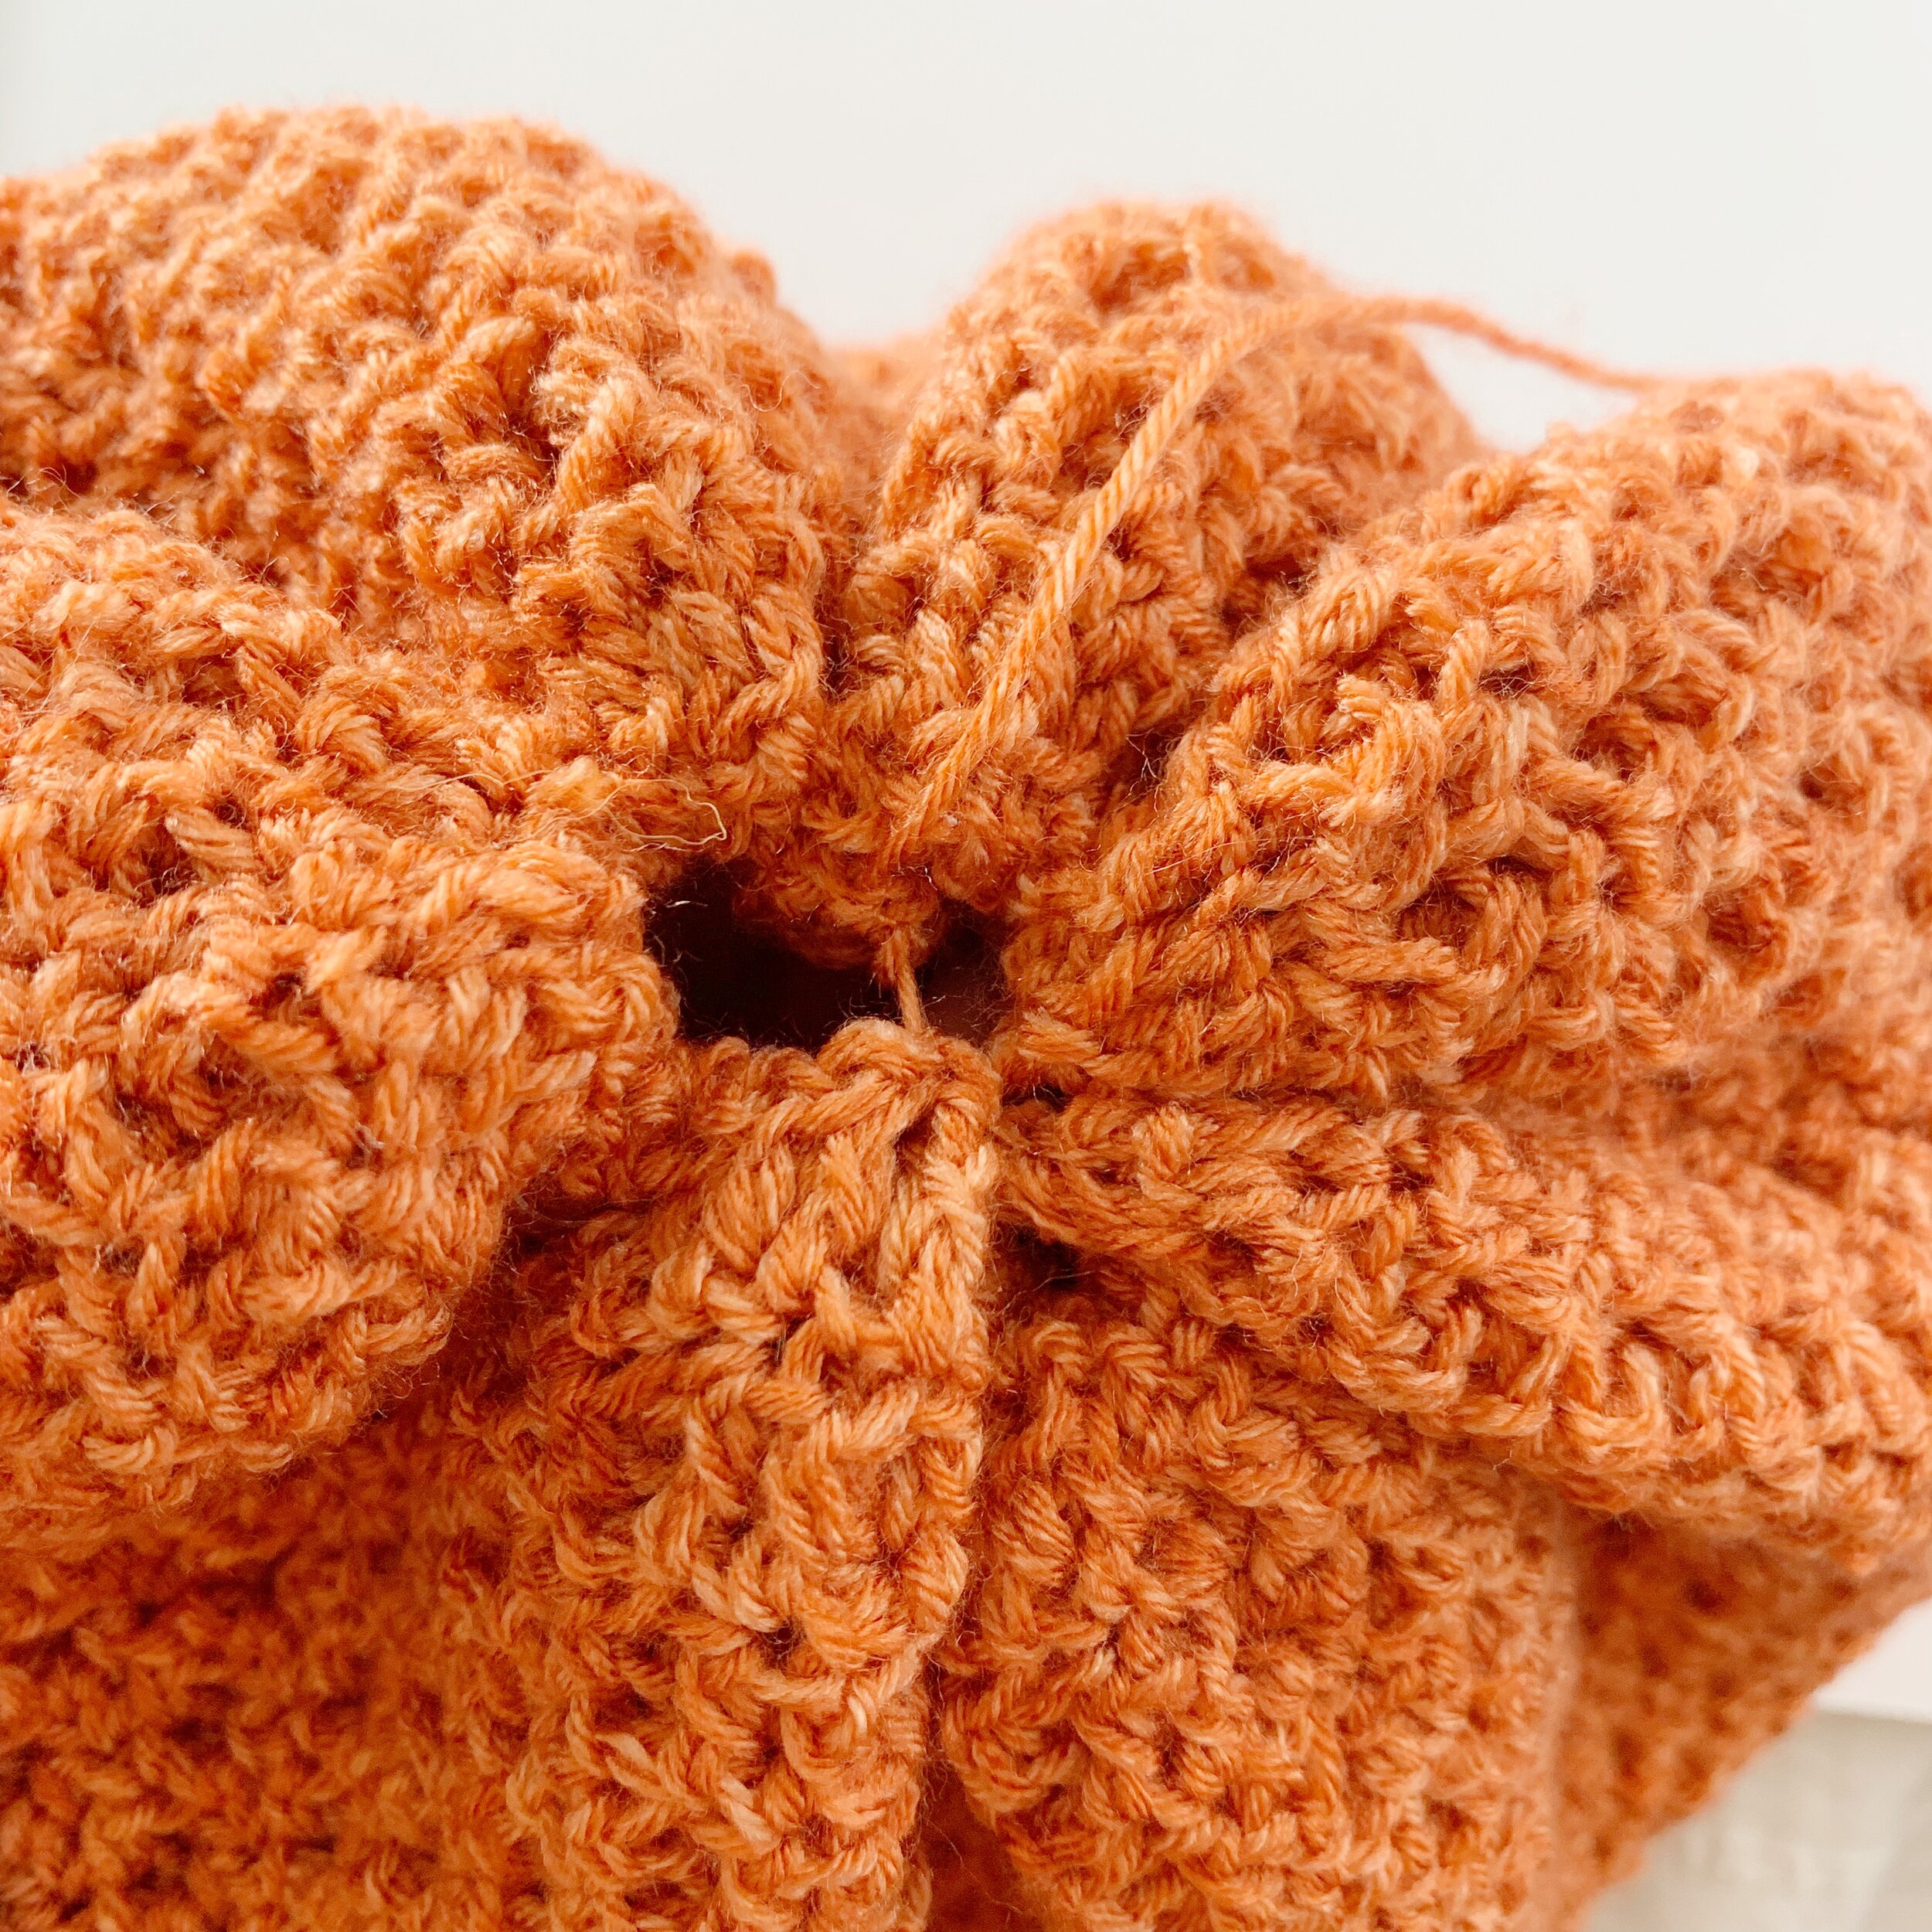
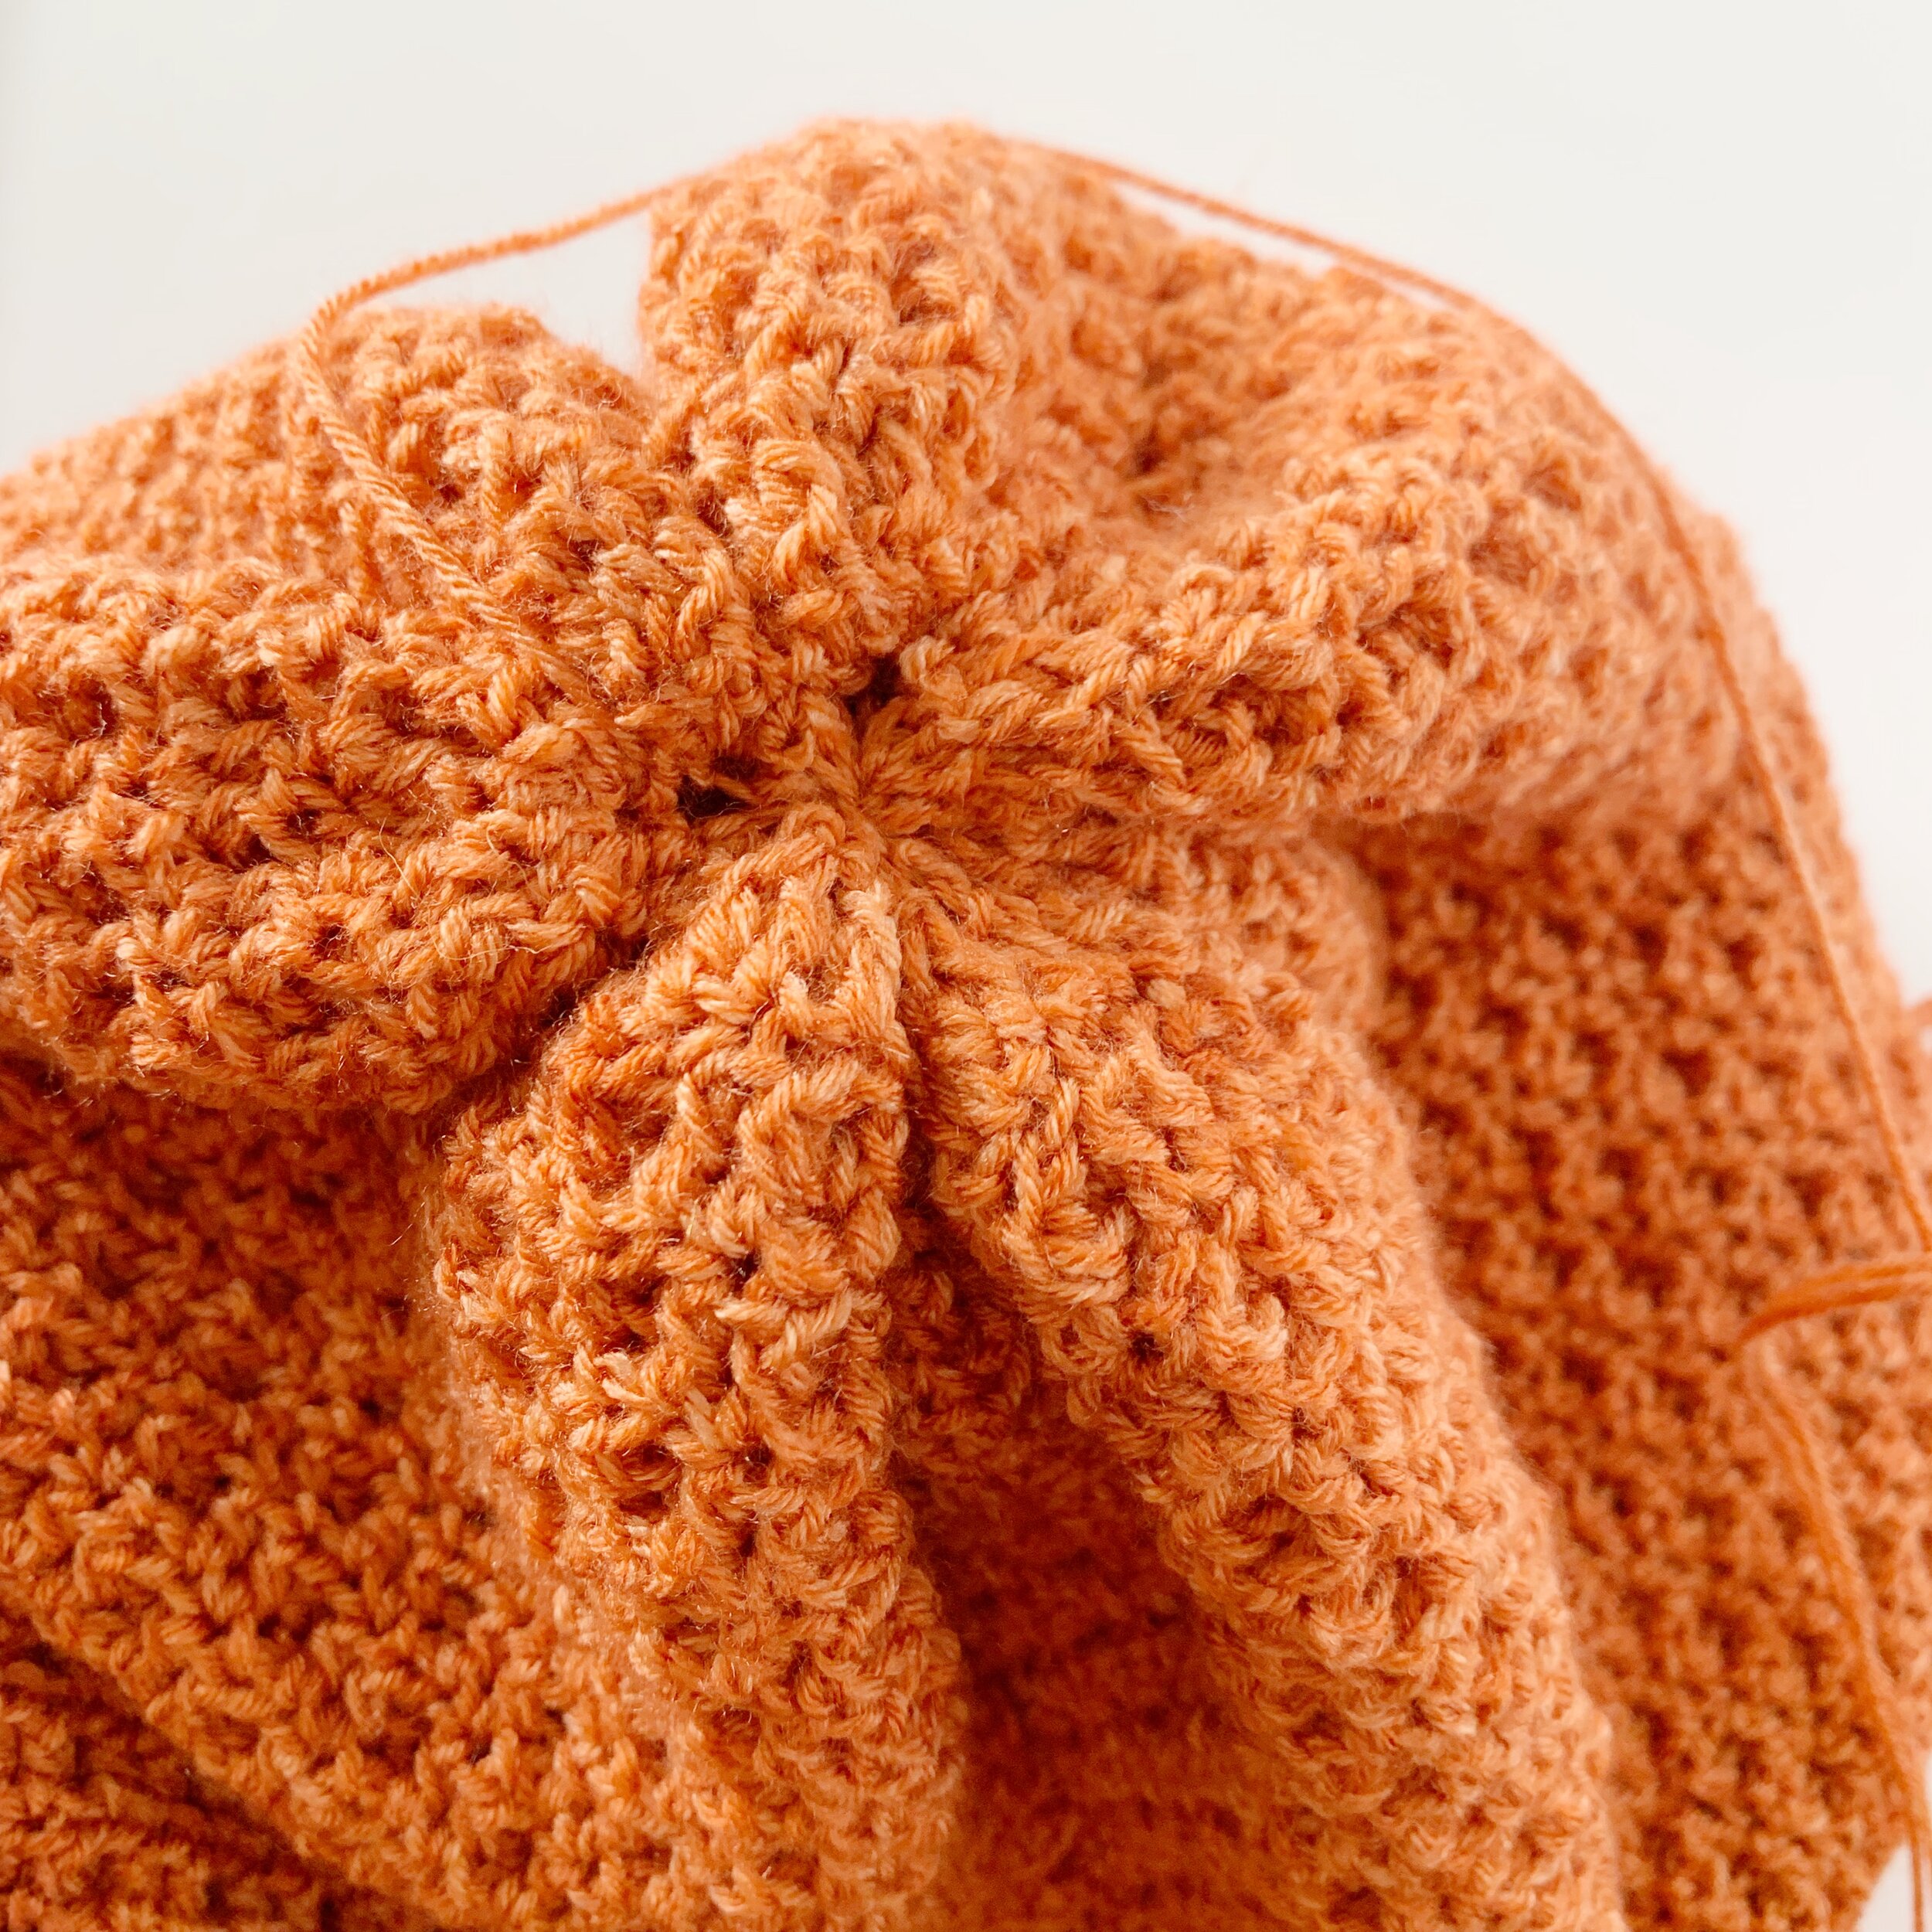
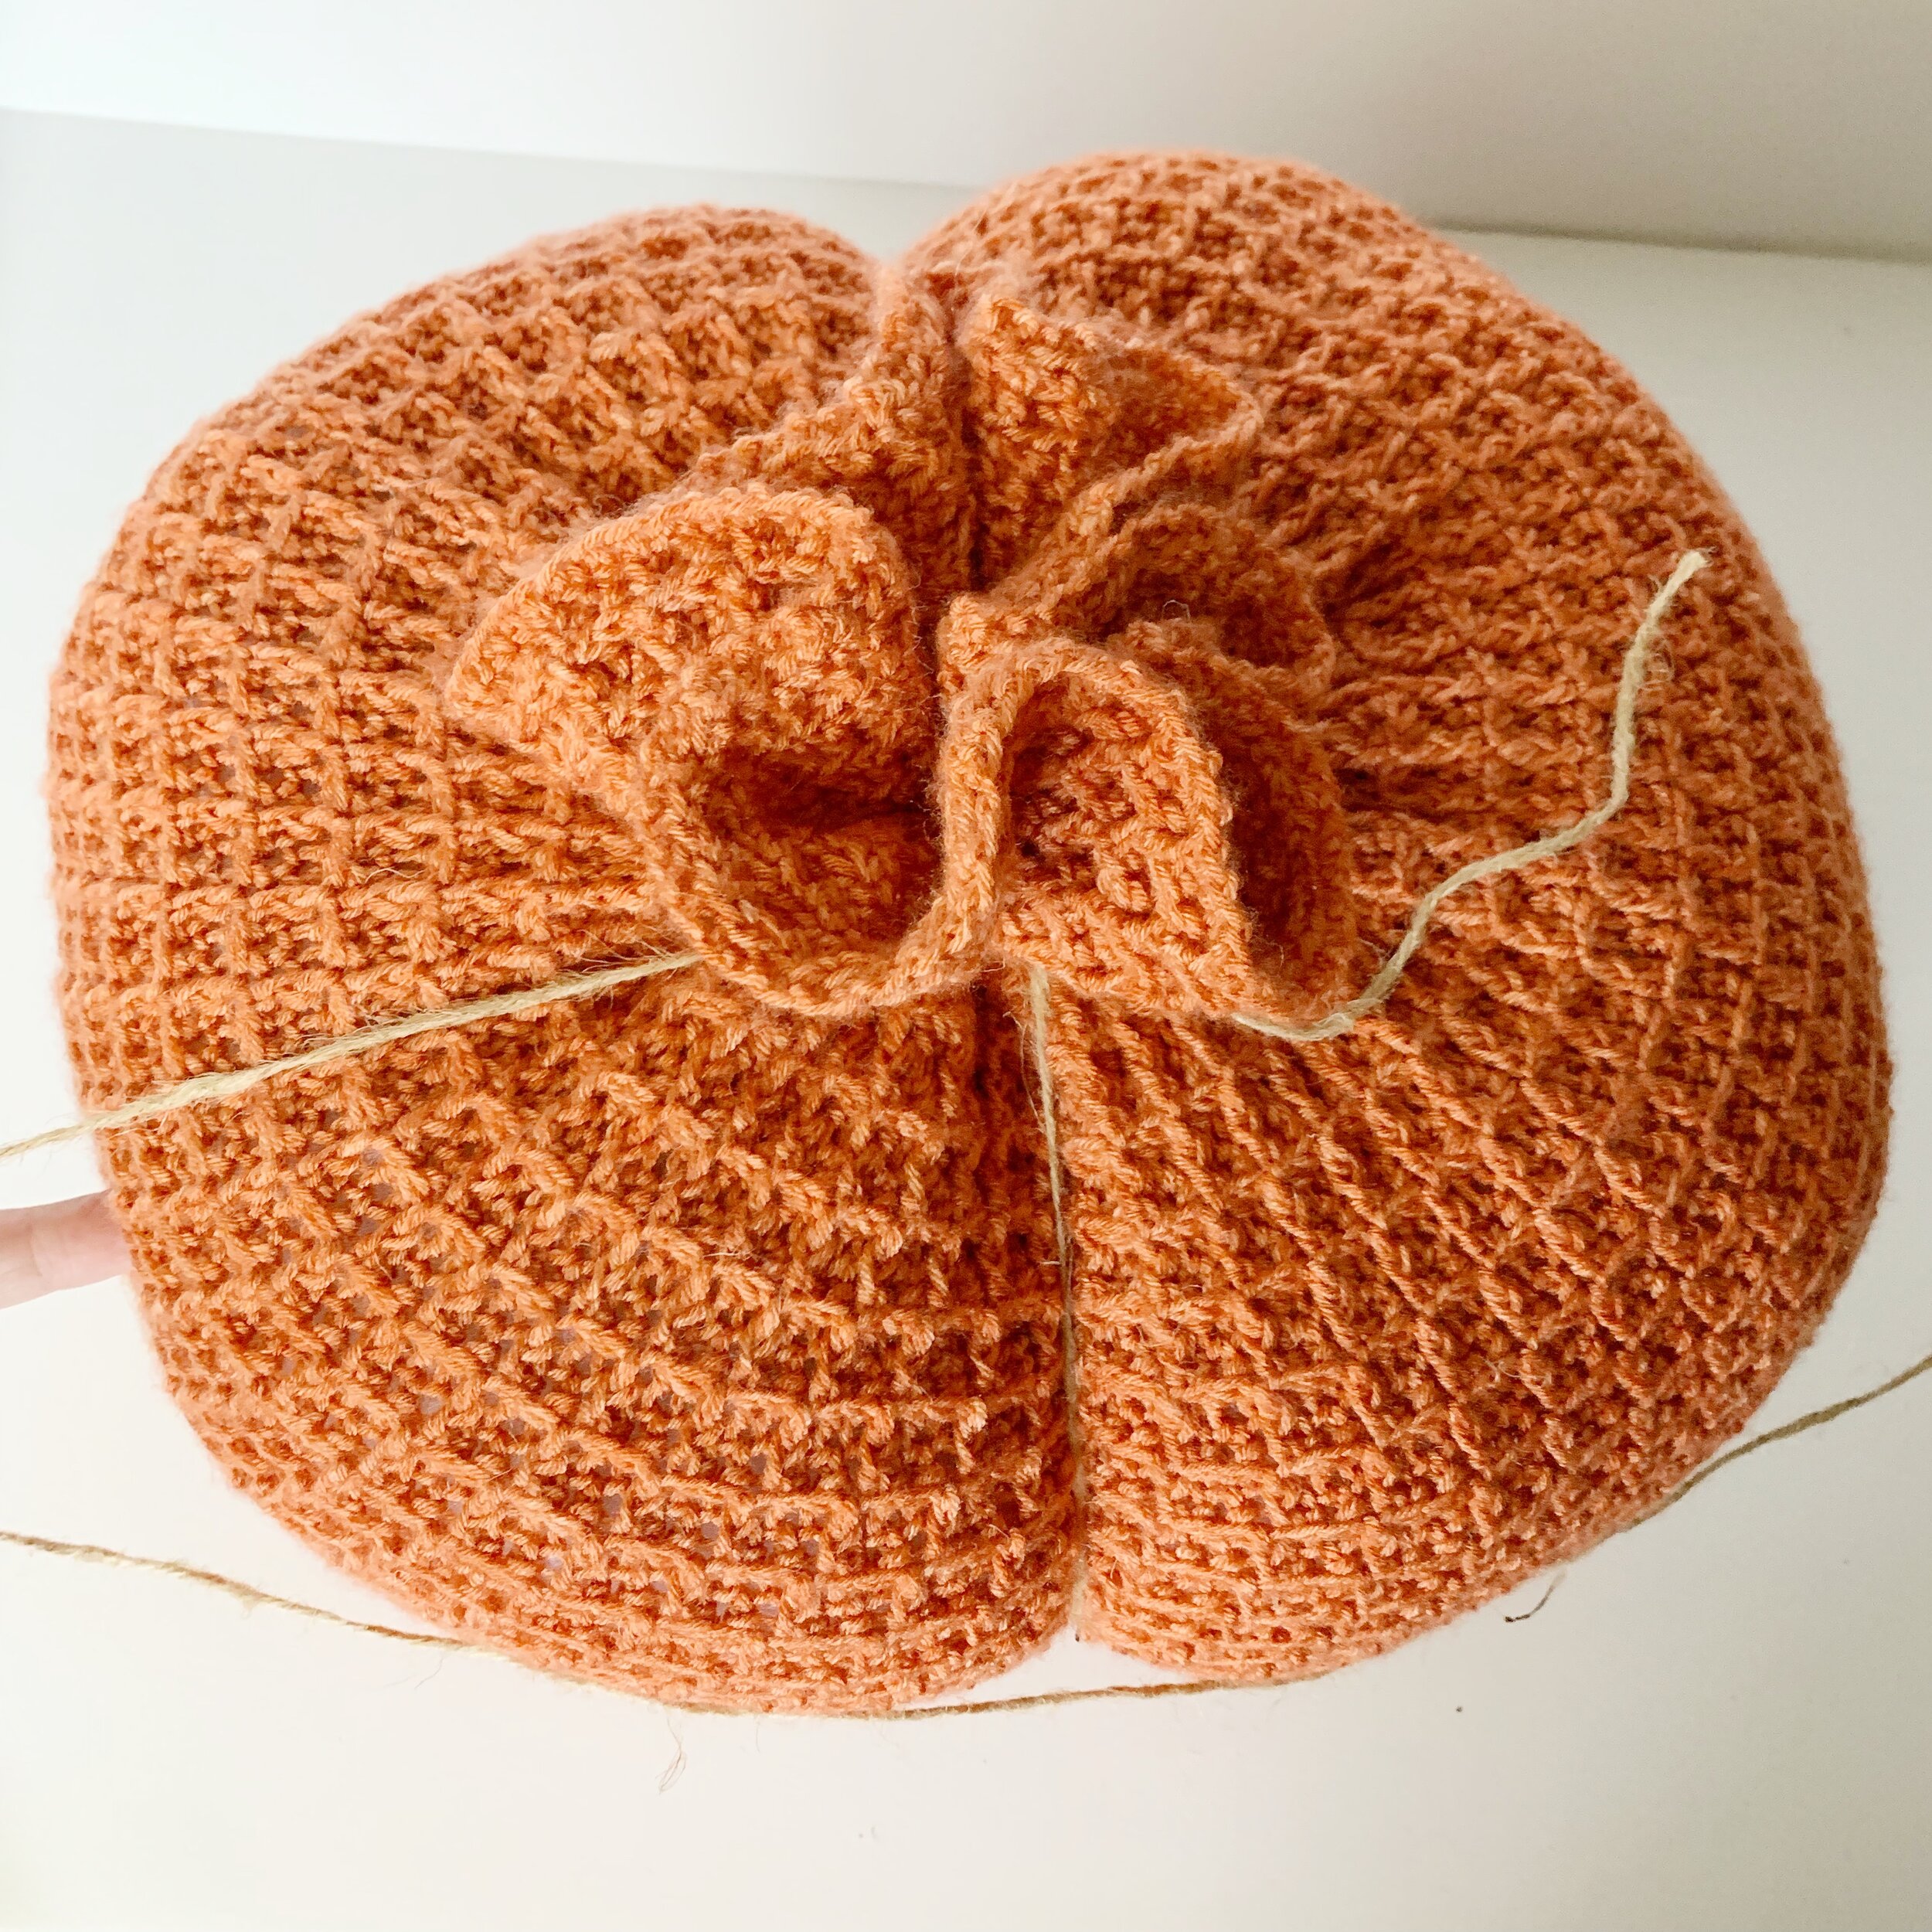
Thread the long tail onto a tapestry needle and weave in and out around the top end going behind the last round of hdc or fphdc. Pull tight to gather. Turn inside out and thread yarn back and forth across the opening to close the end completely. Tie and knot and cut off yarn.
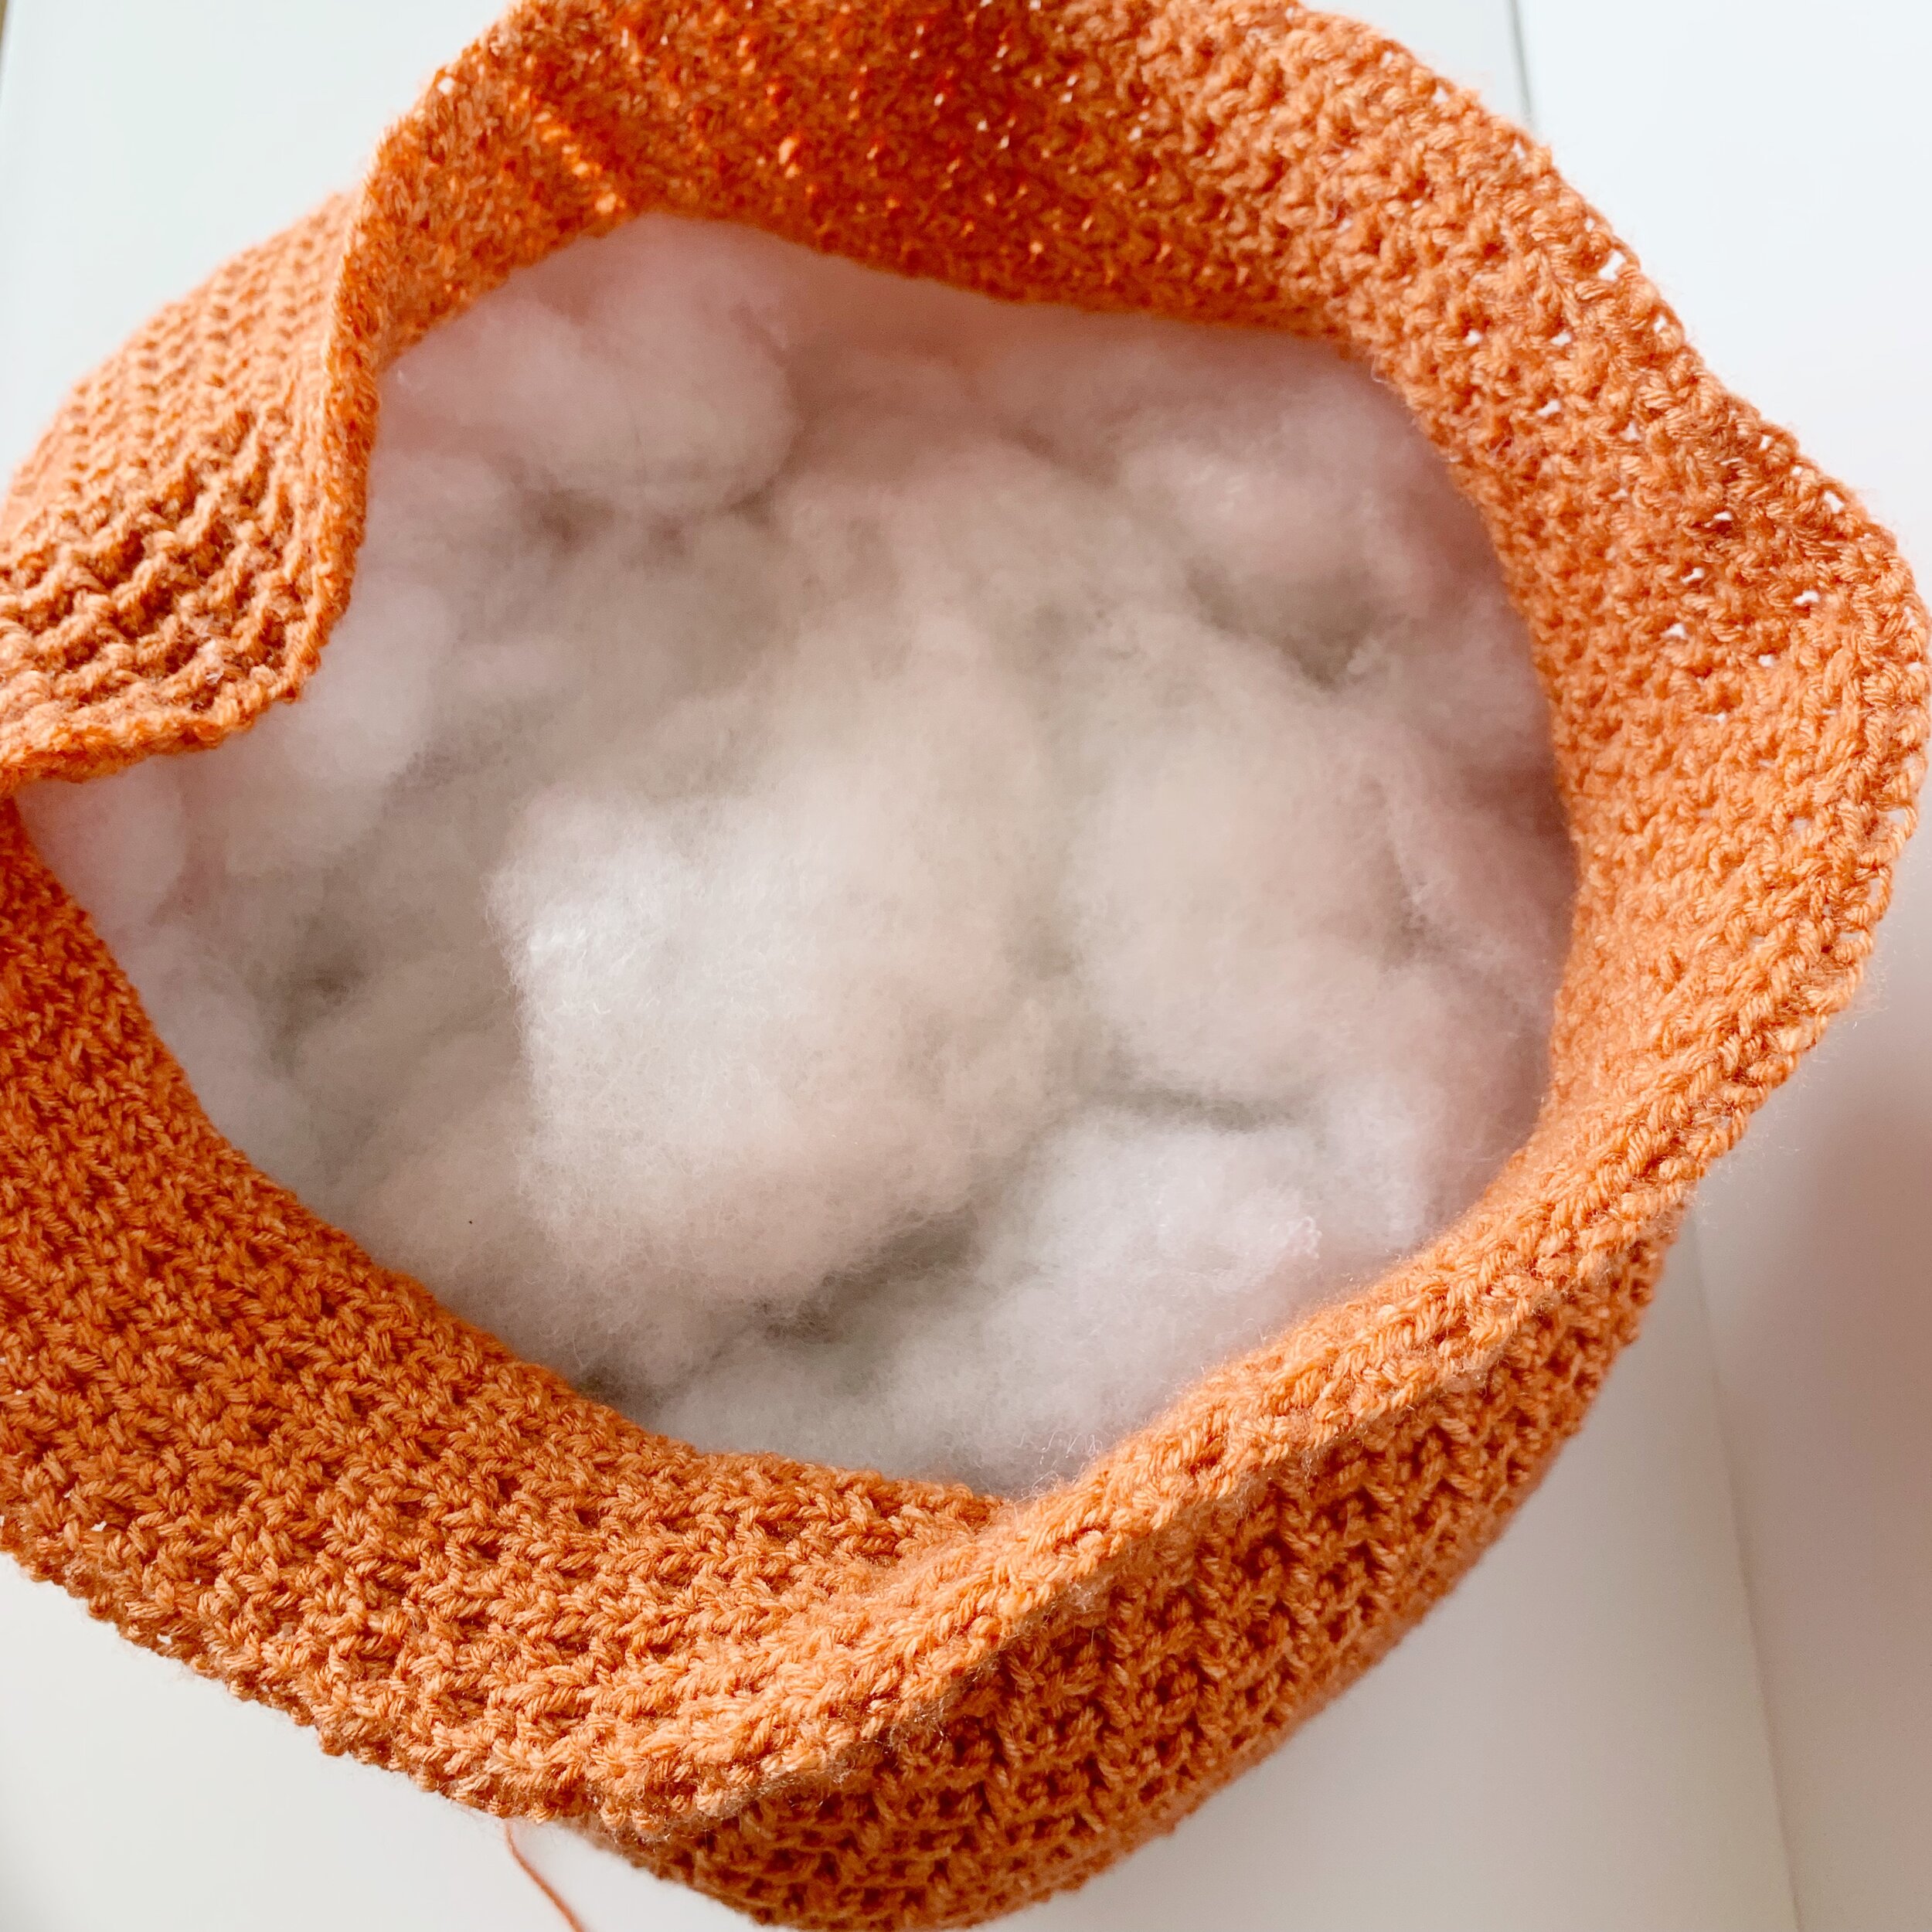
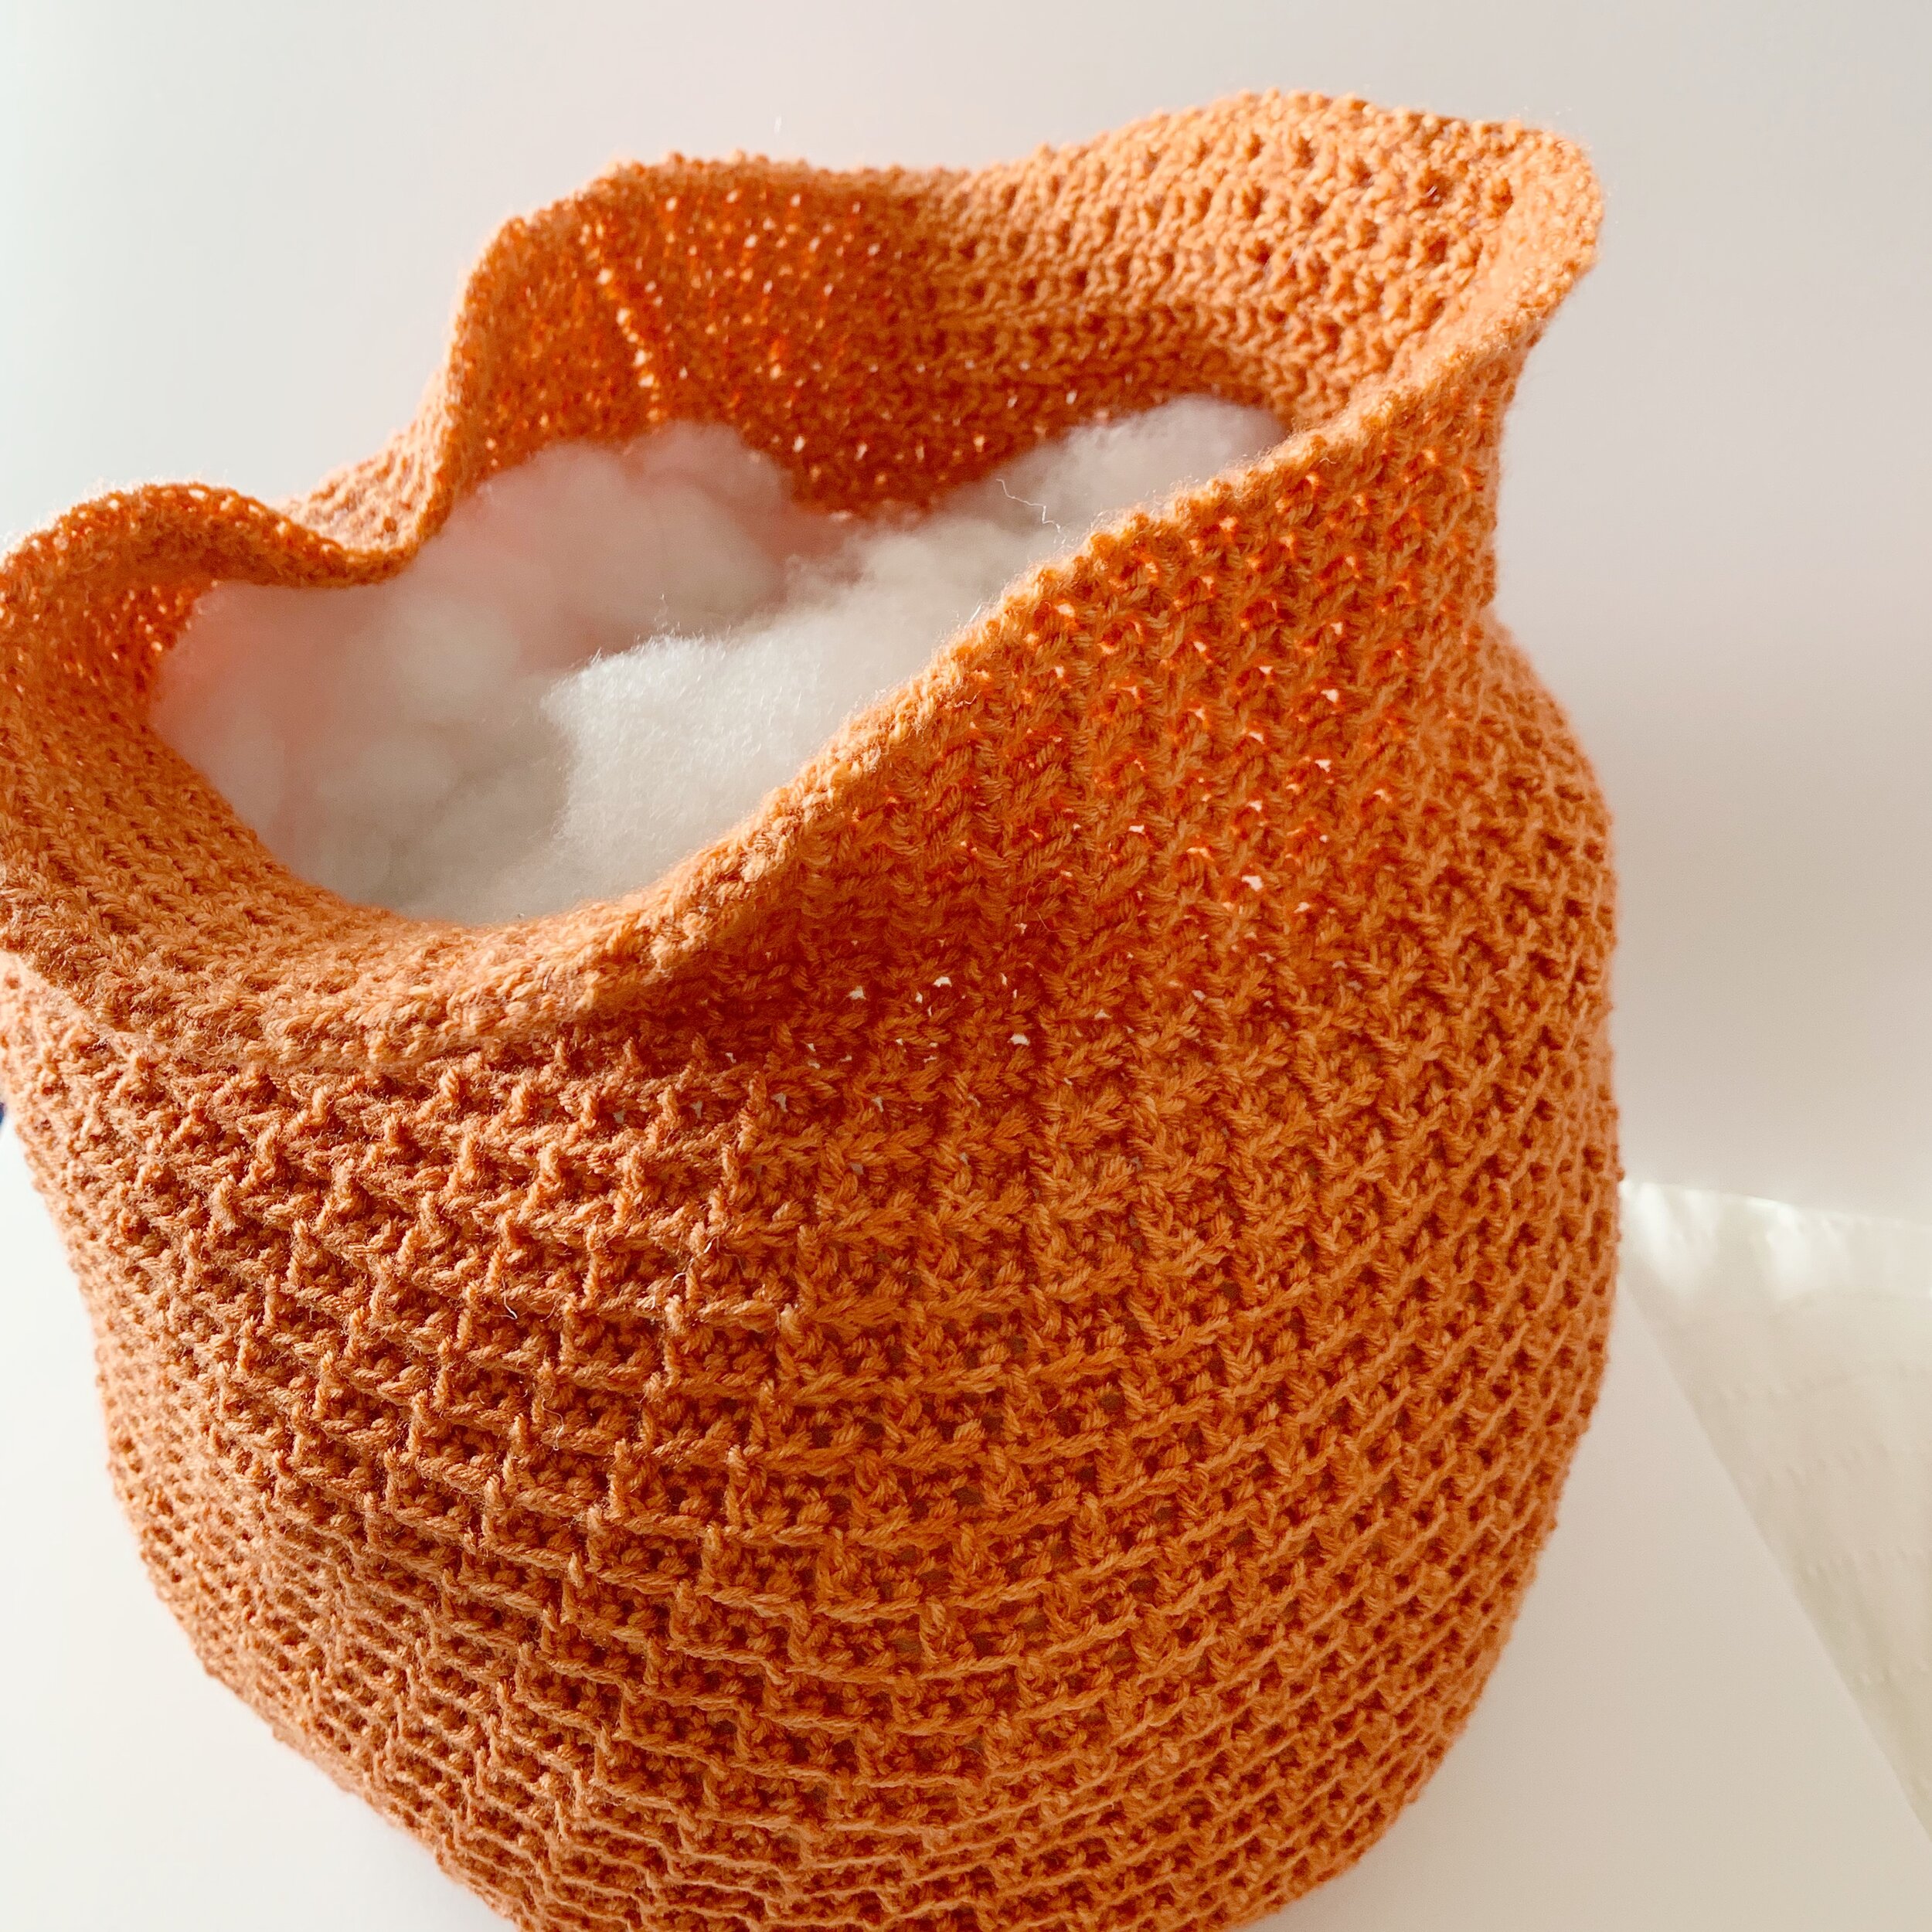
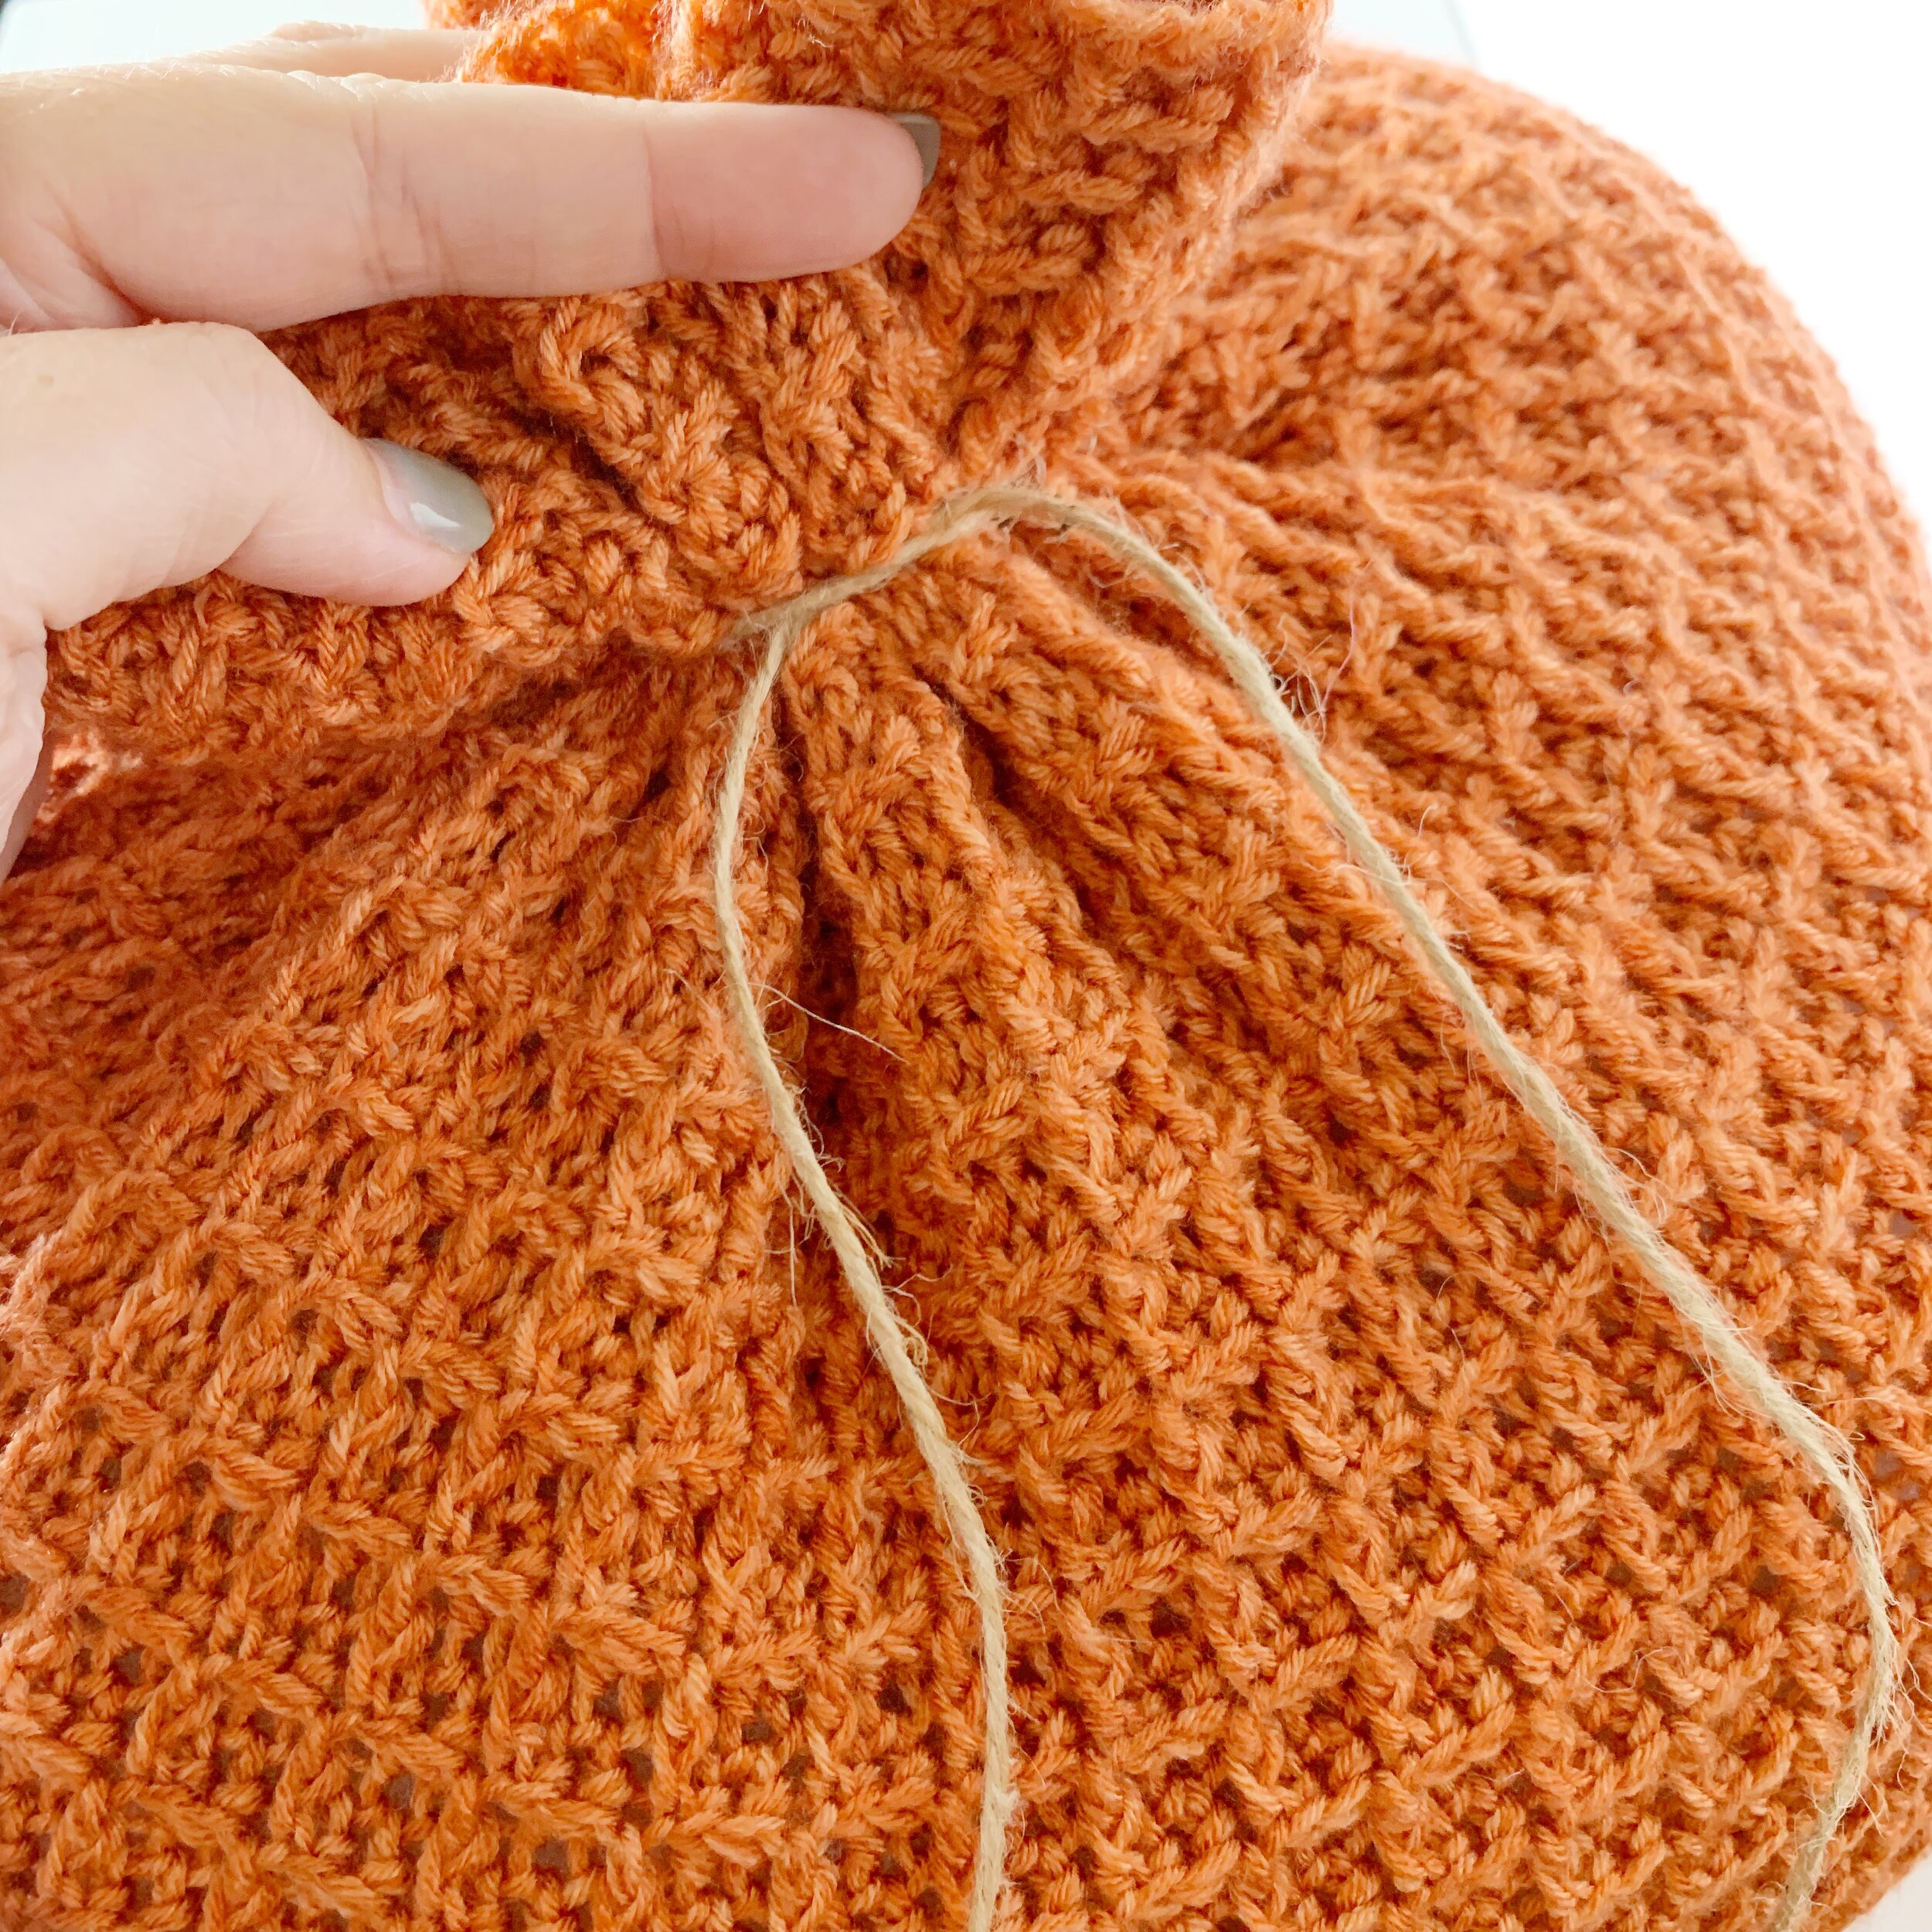
Turn right side out and stuff with poly fill. Gather the top. You will have about 2-3 inches of crochet at the top. Tie a long piece of twine around the gathered section to secure, leaving one short end and one long end.
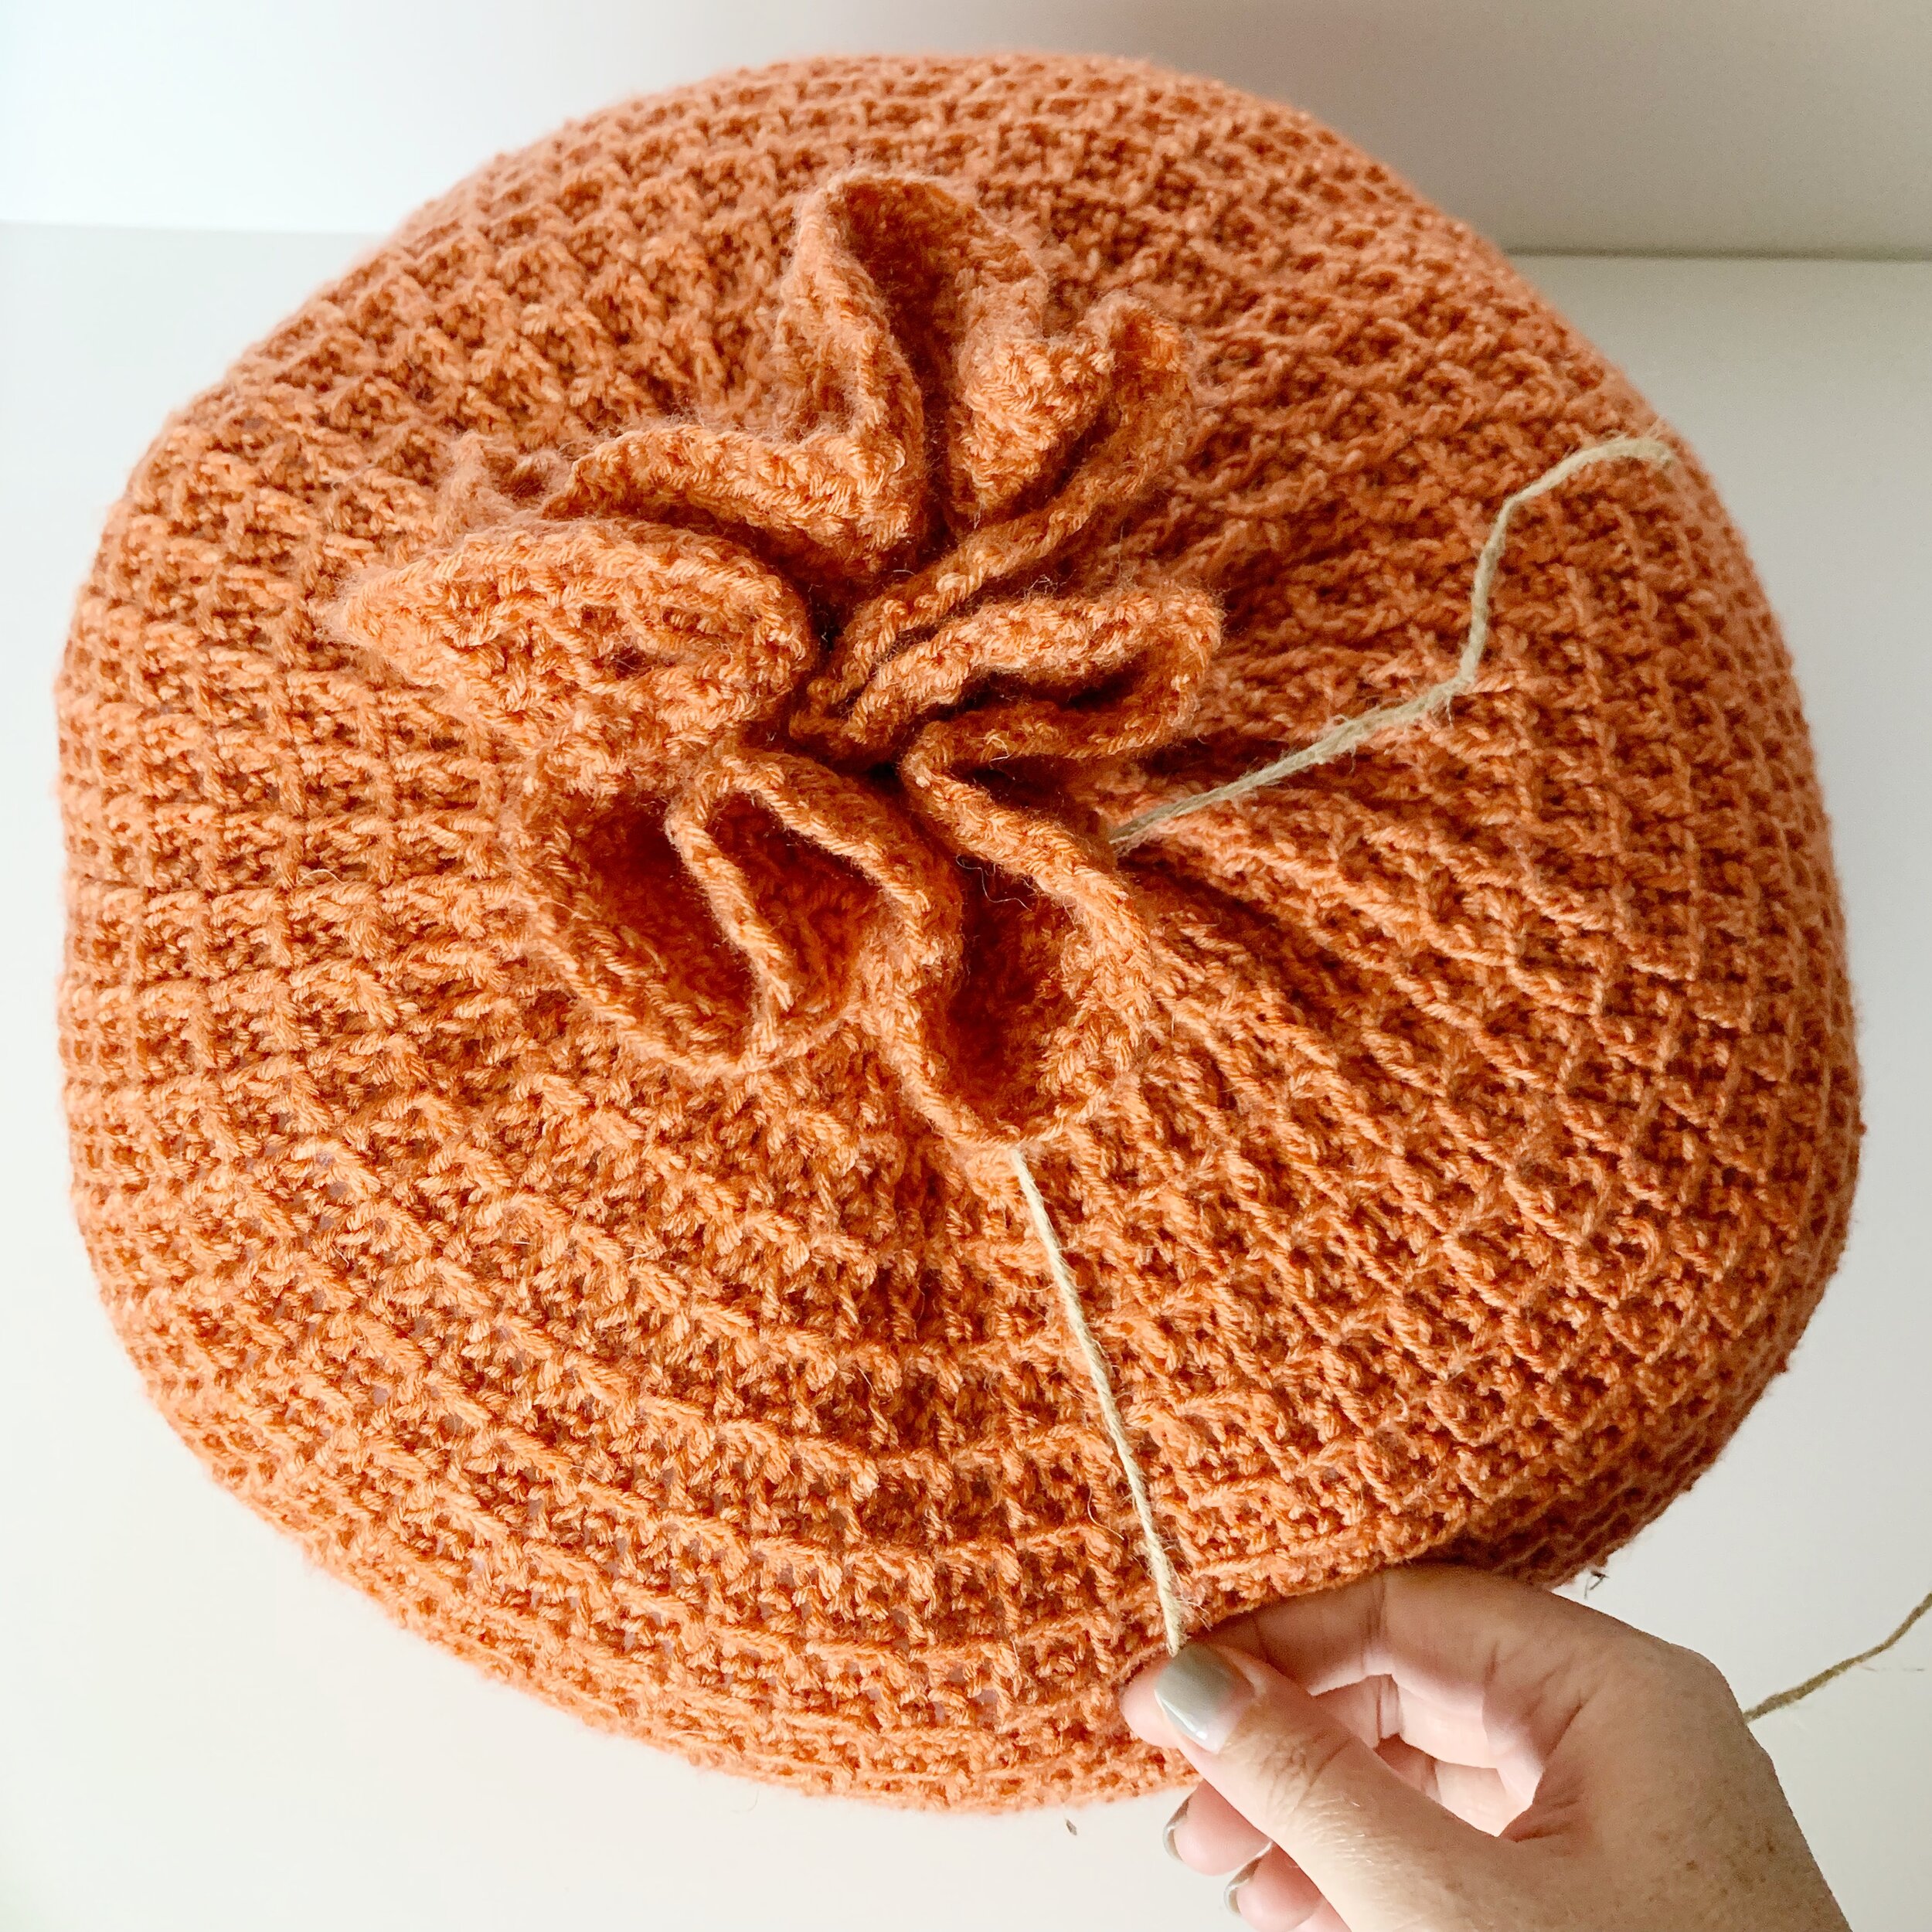
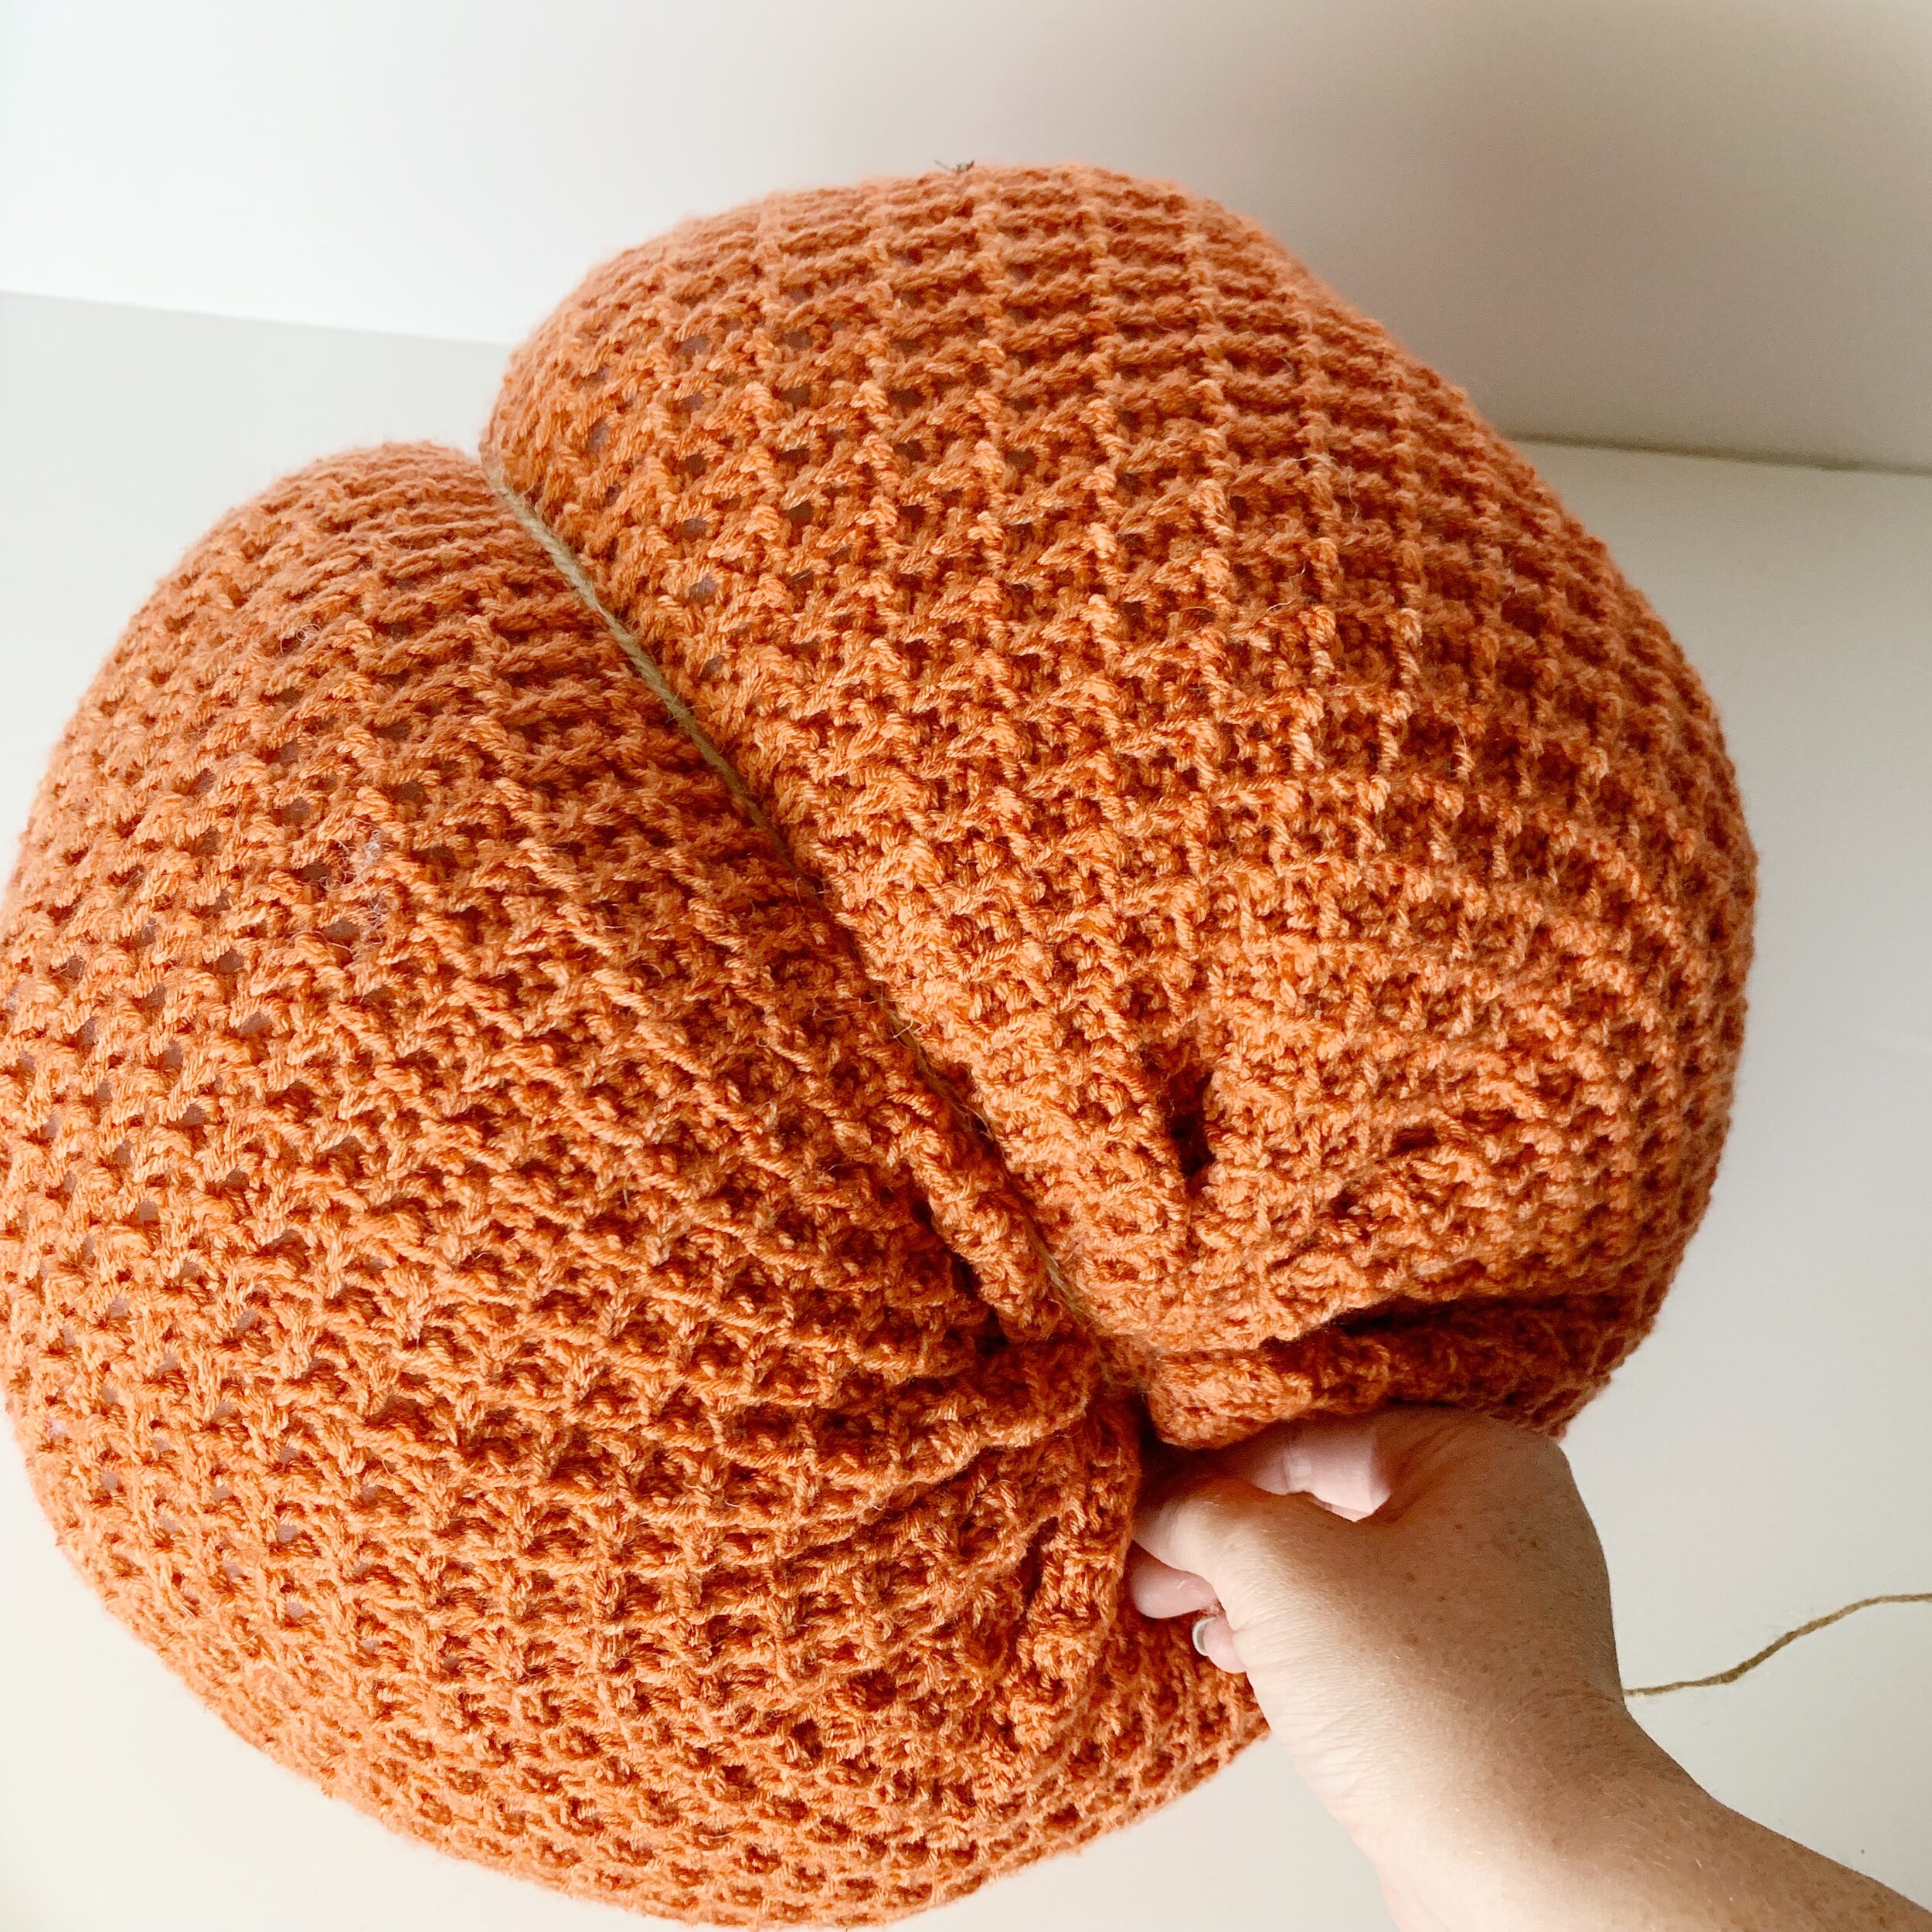
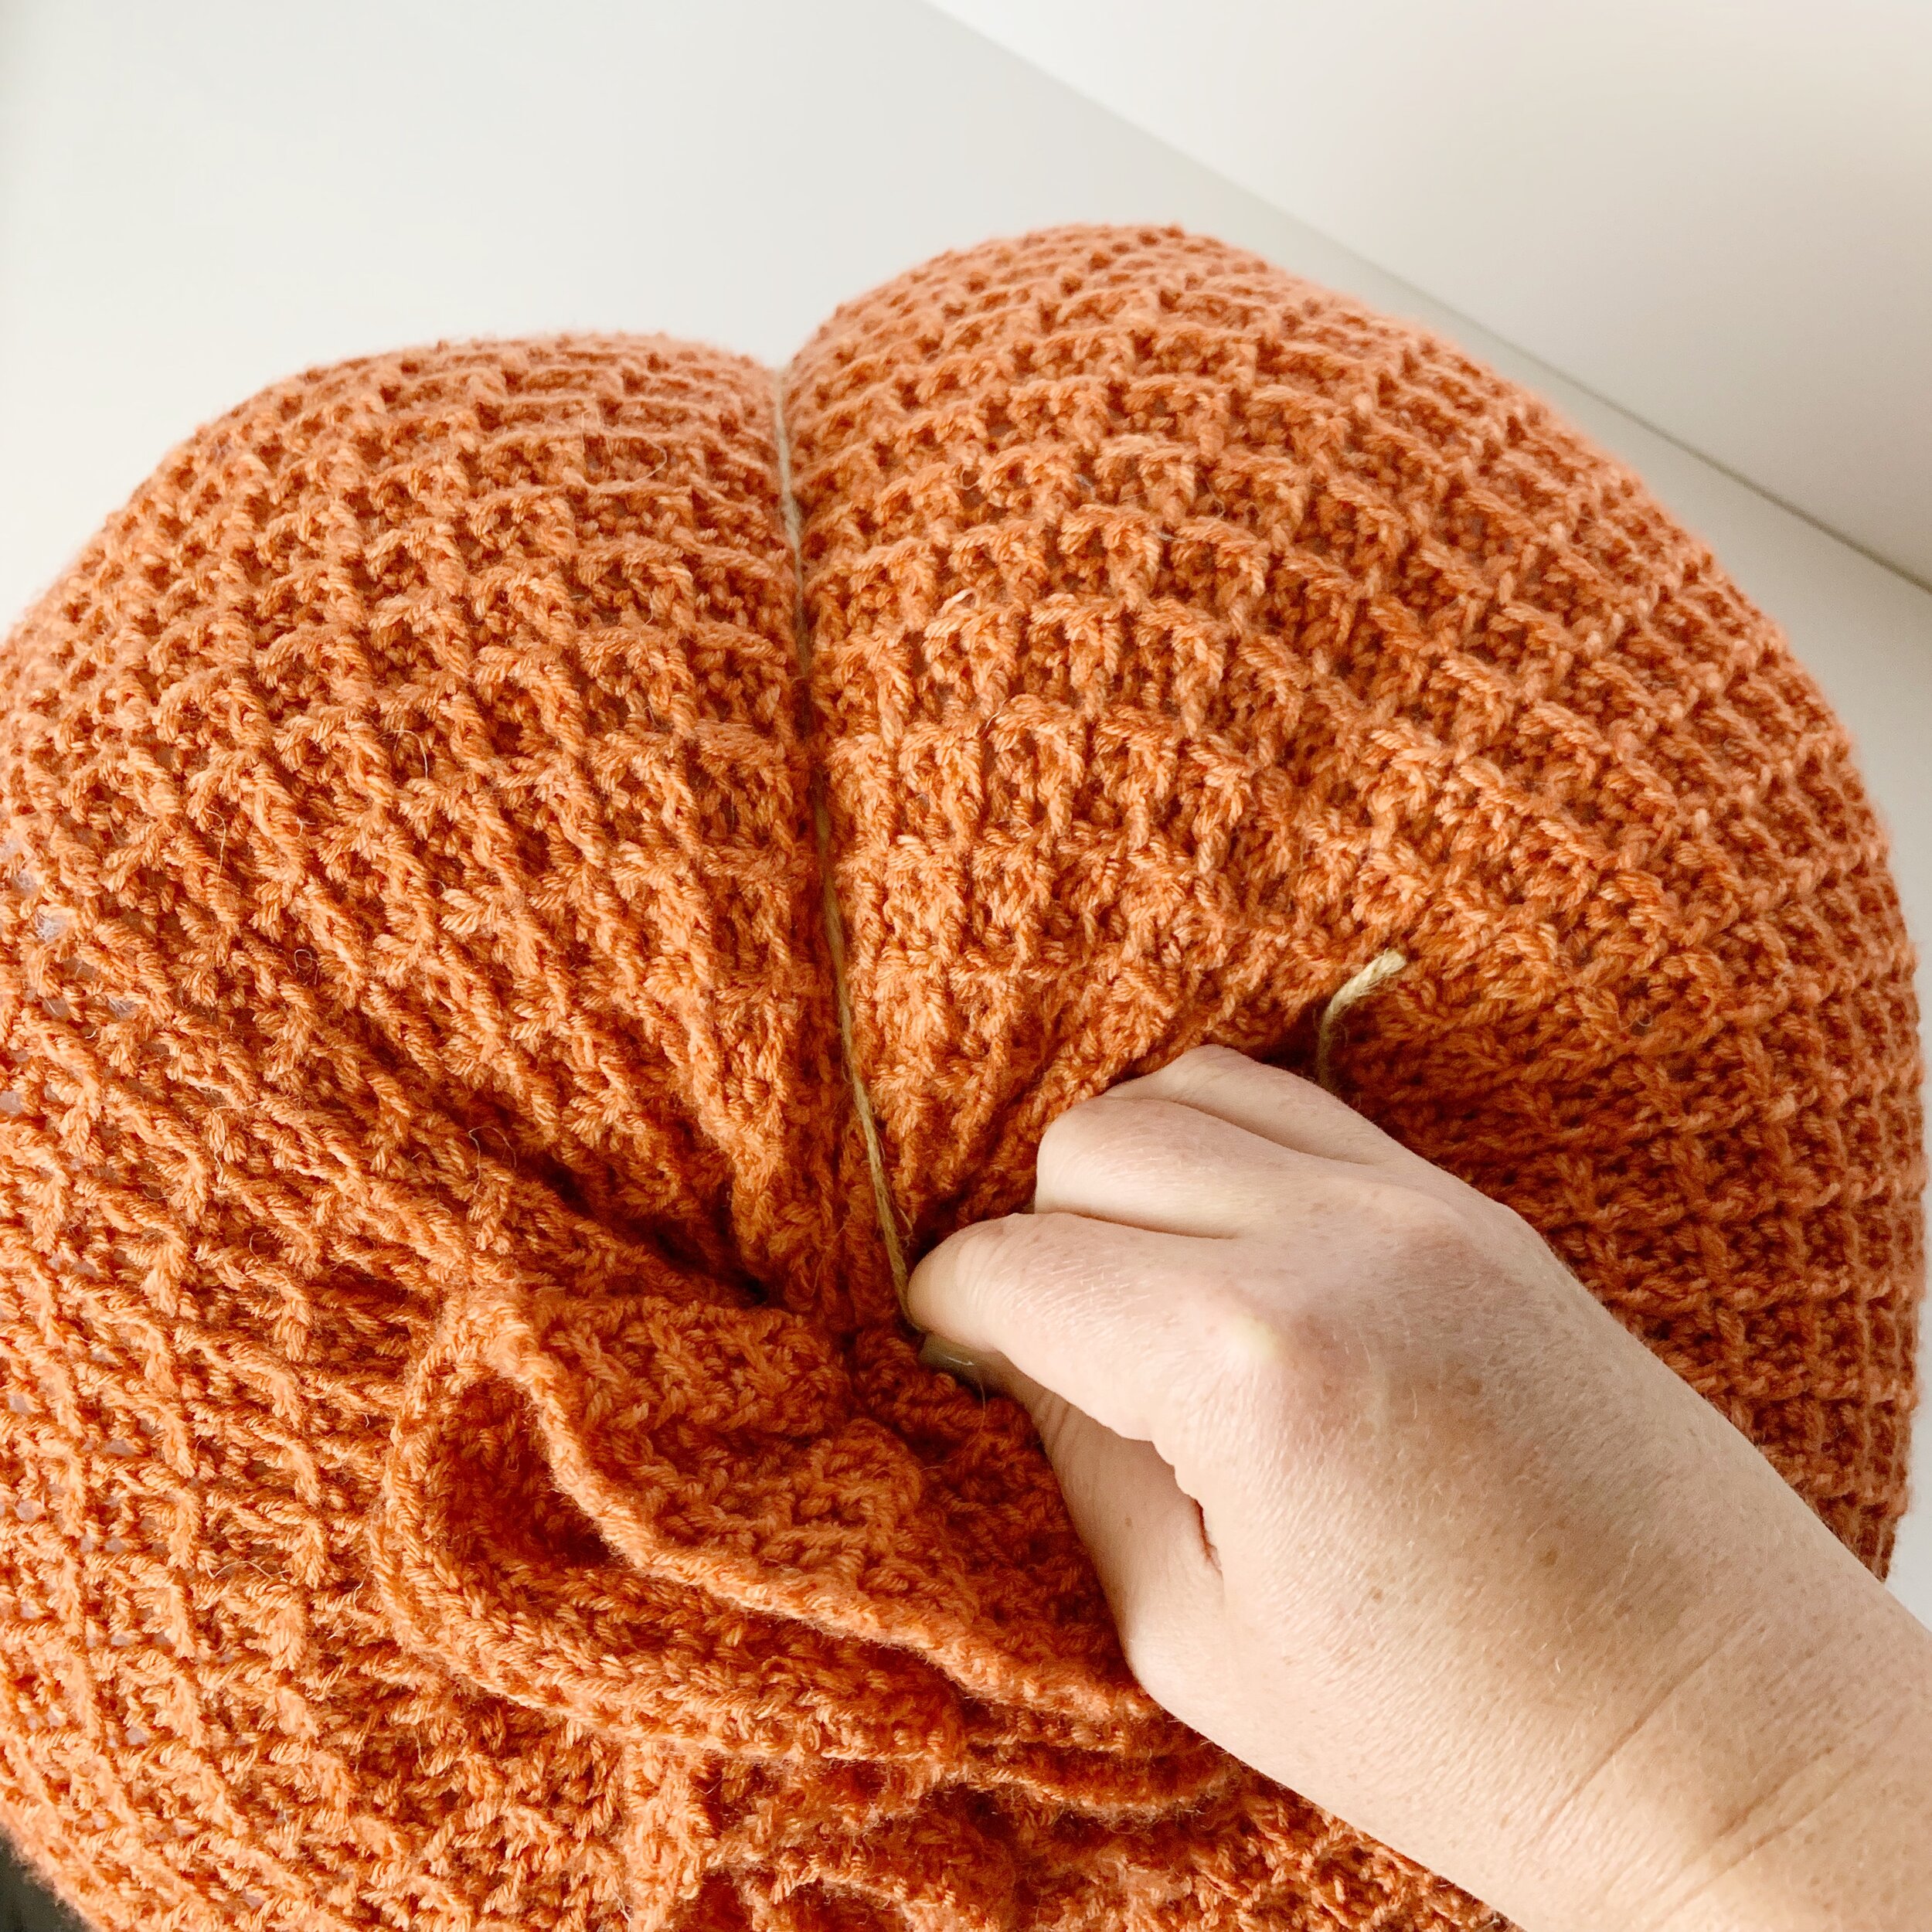
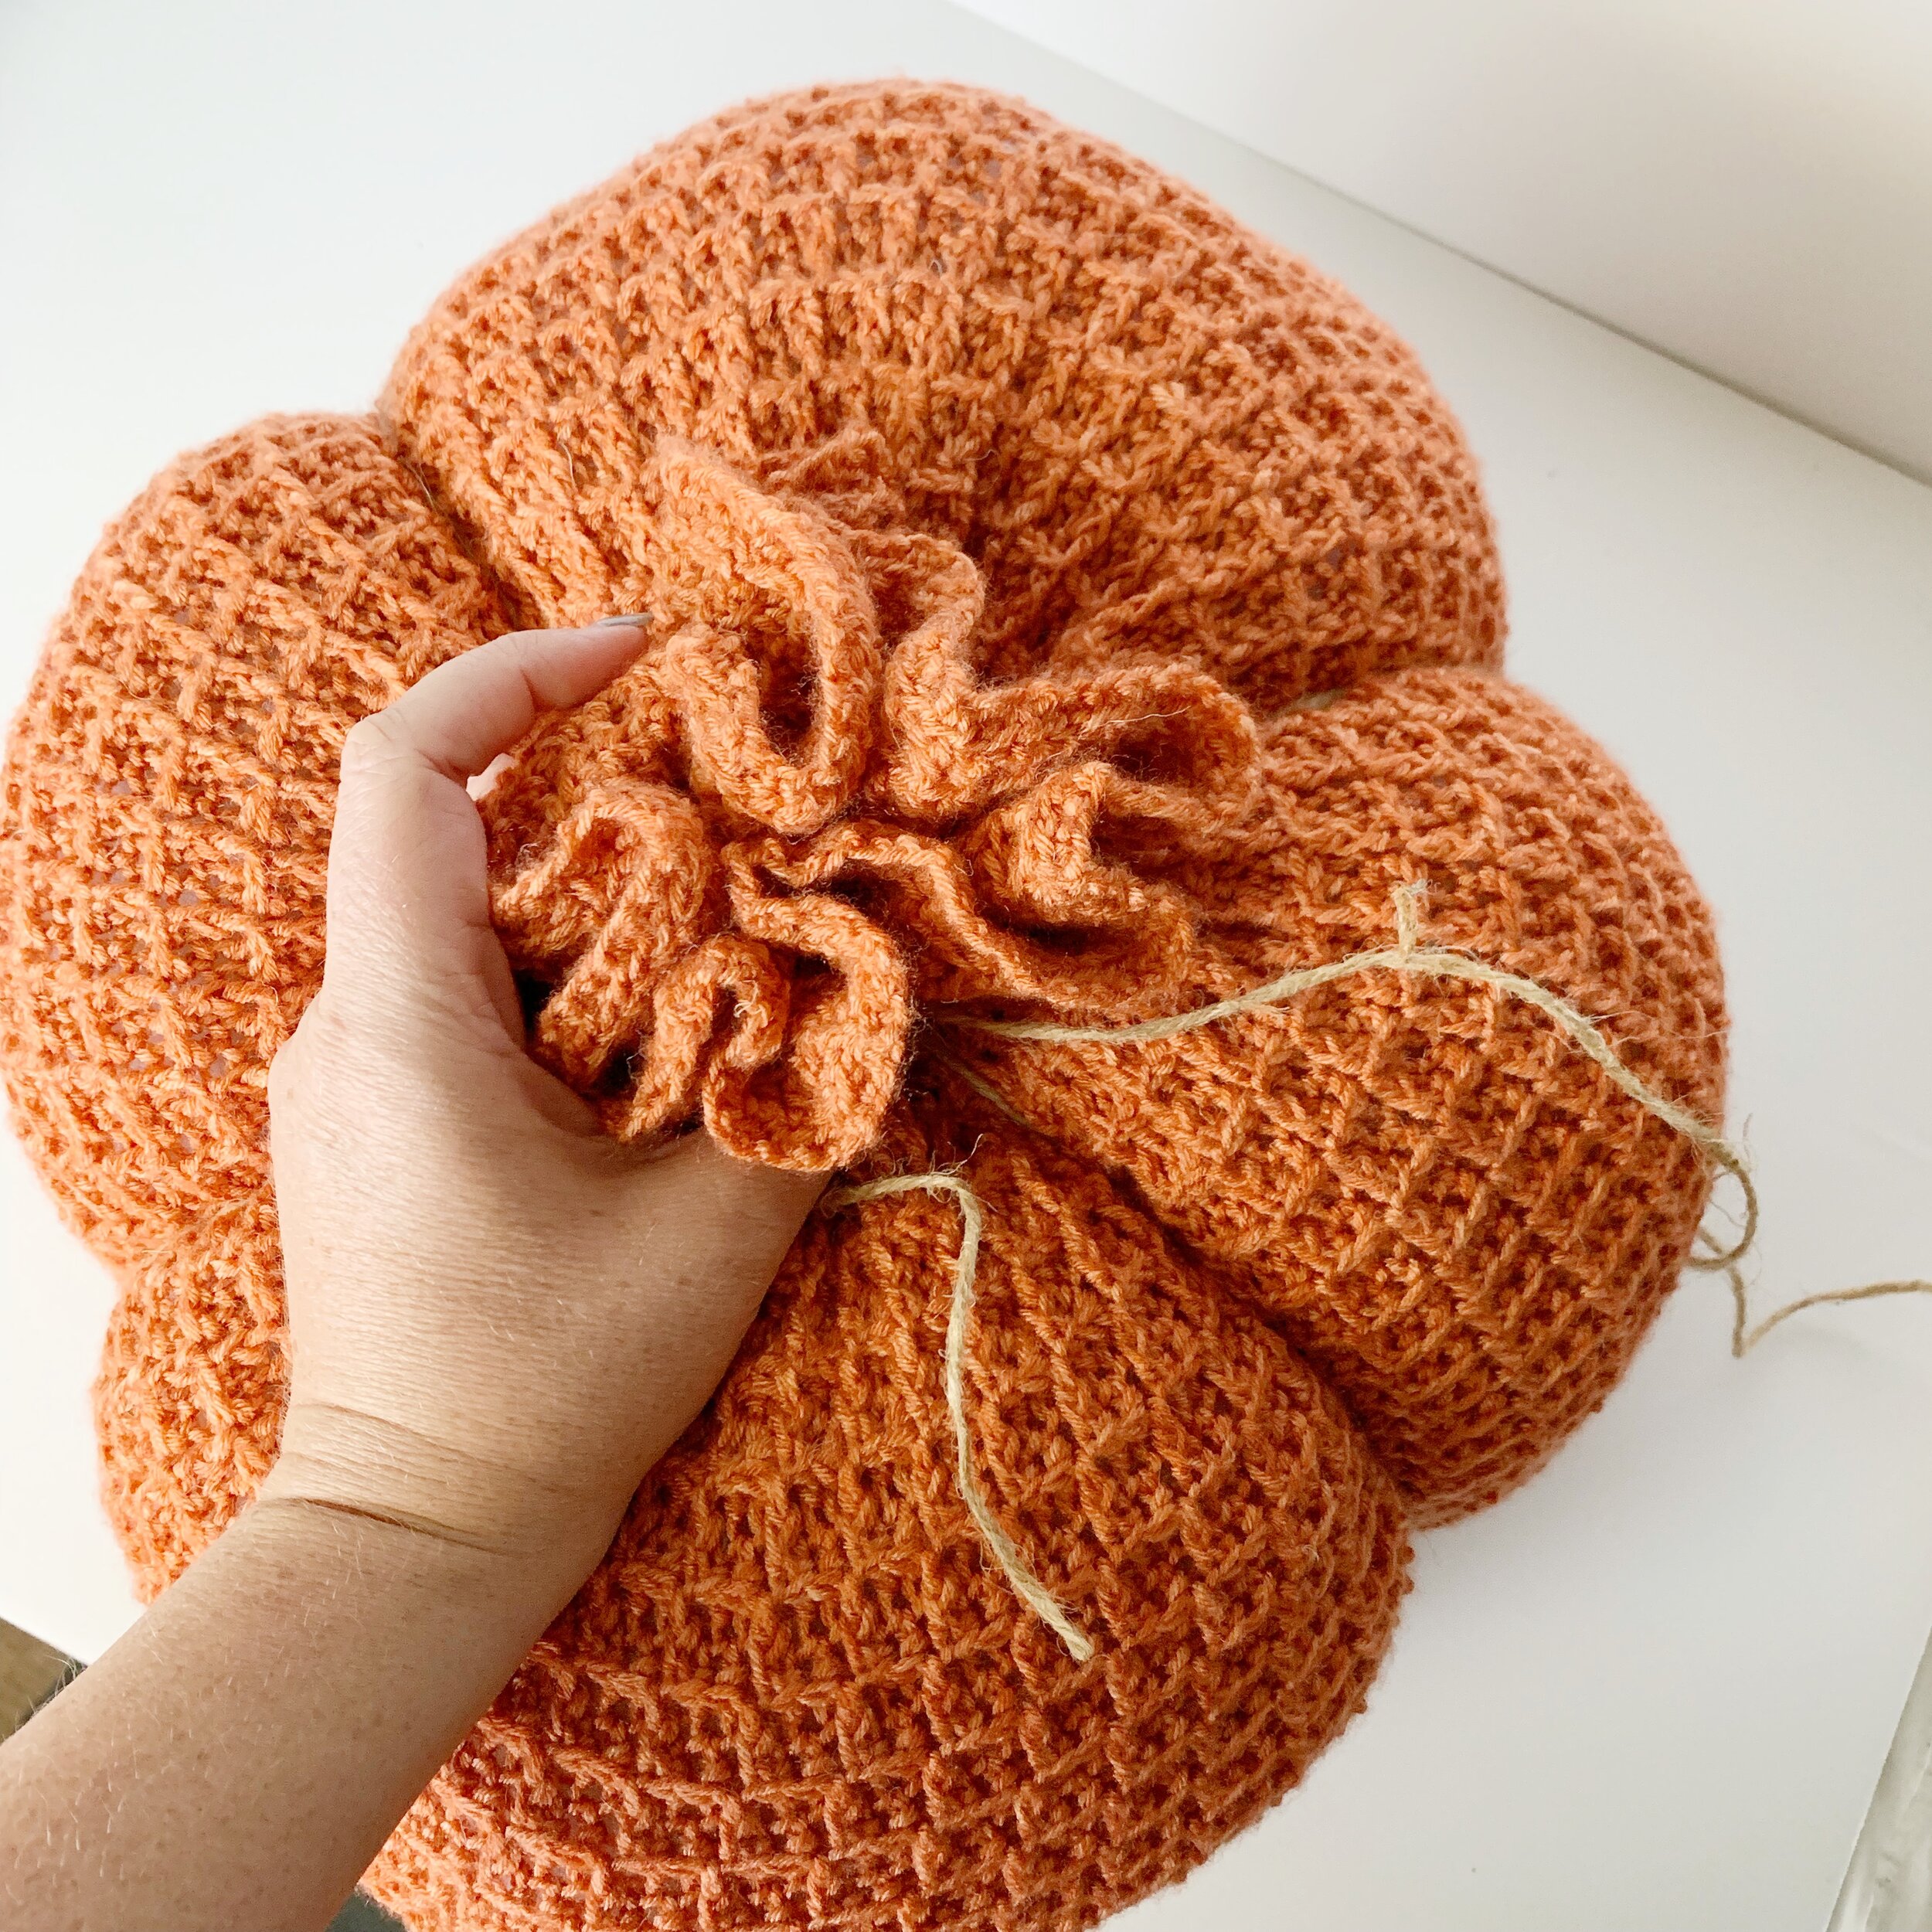
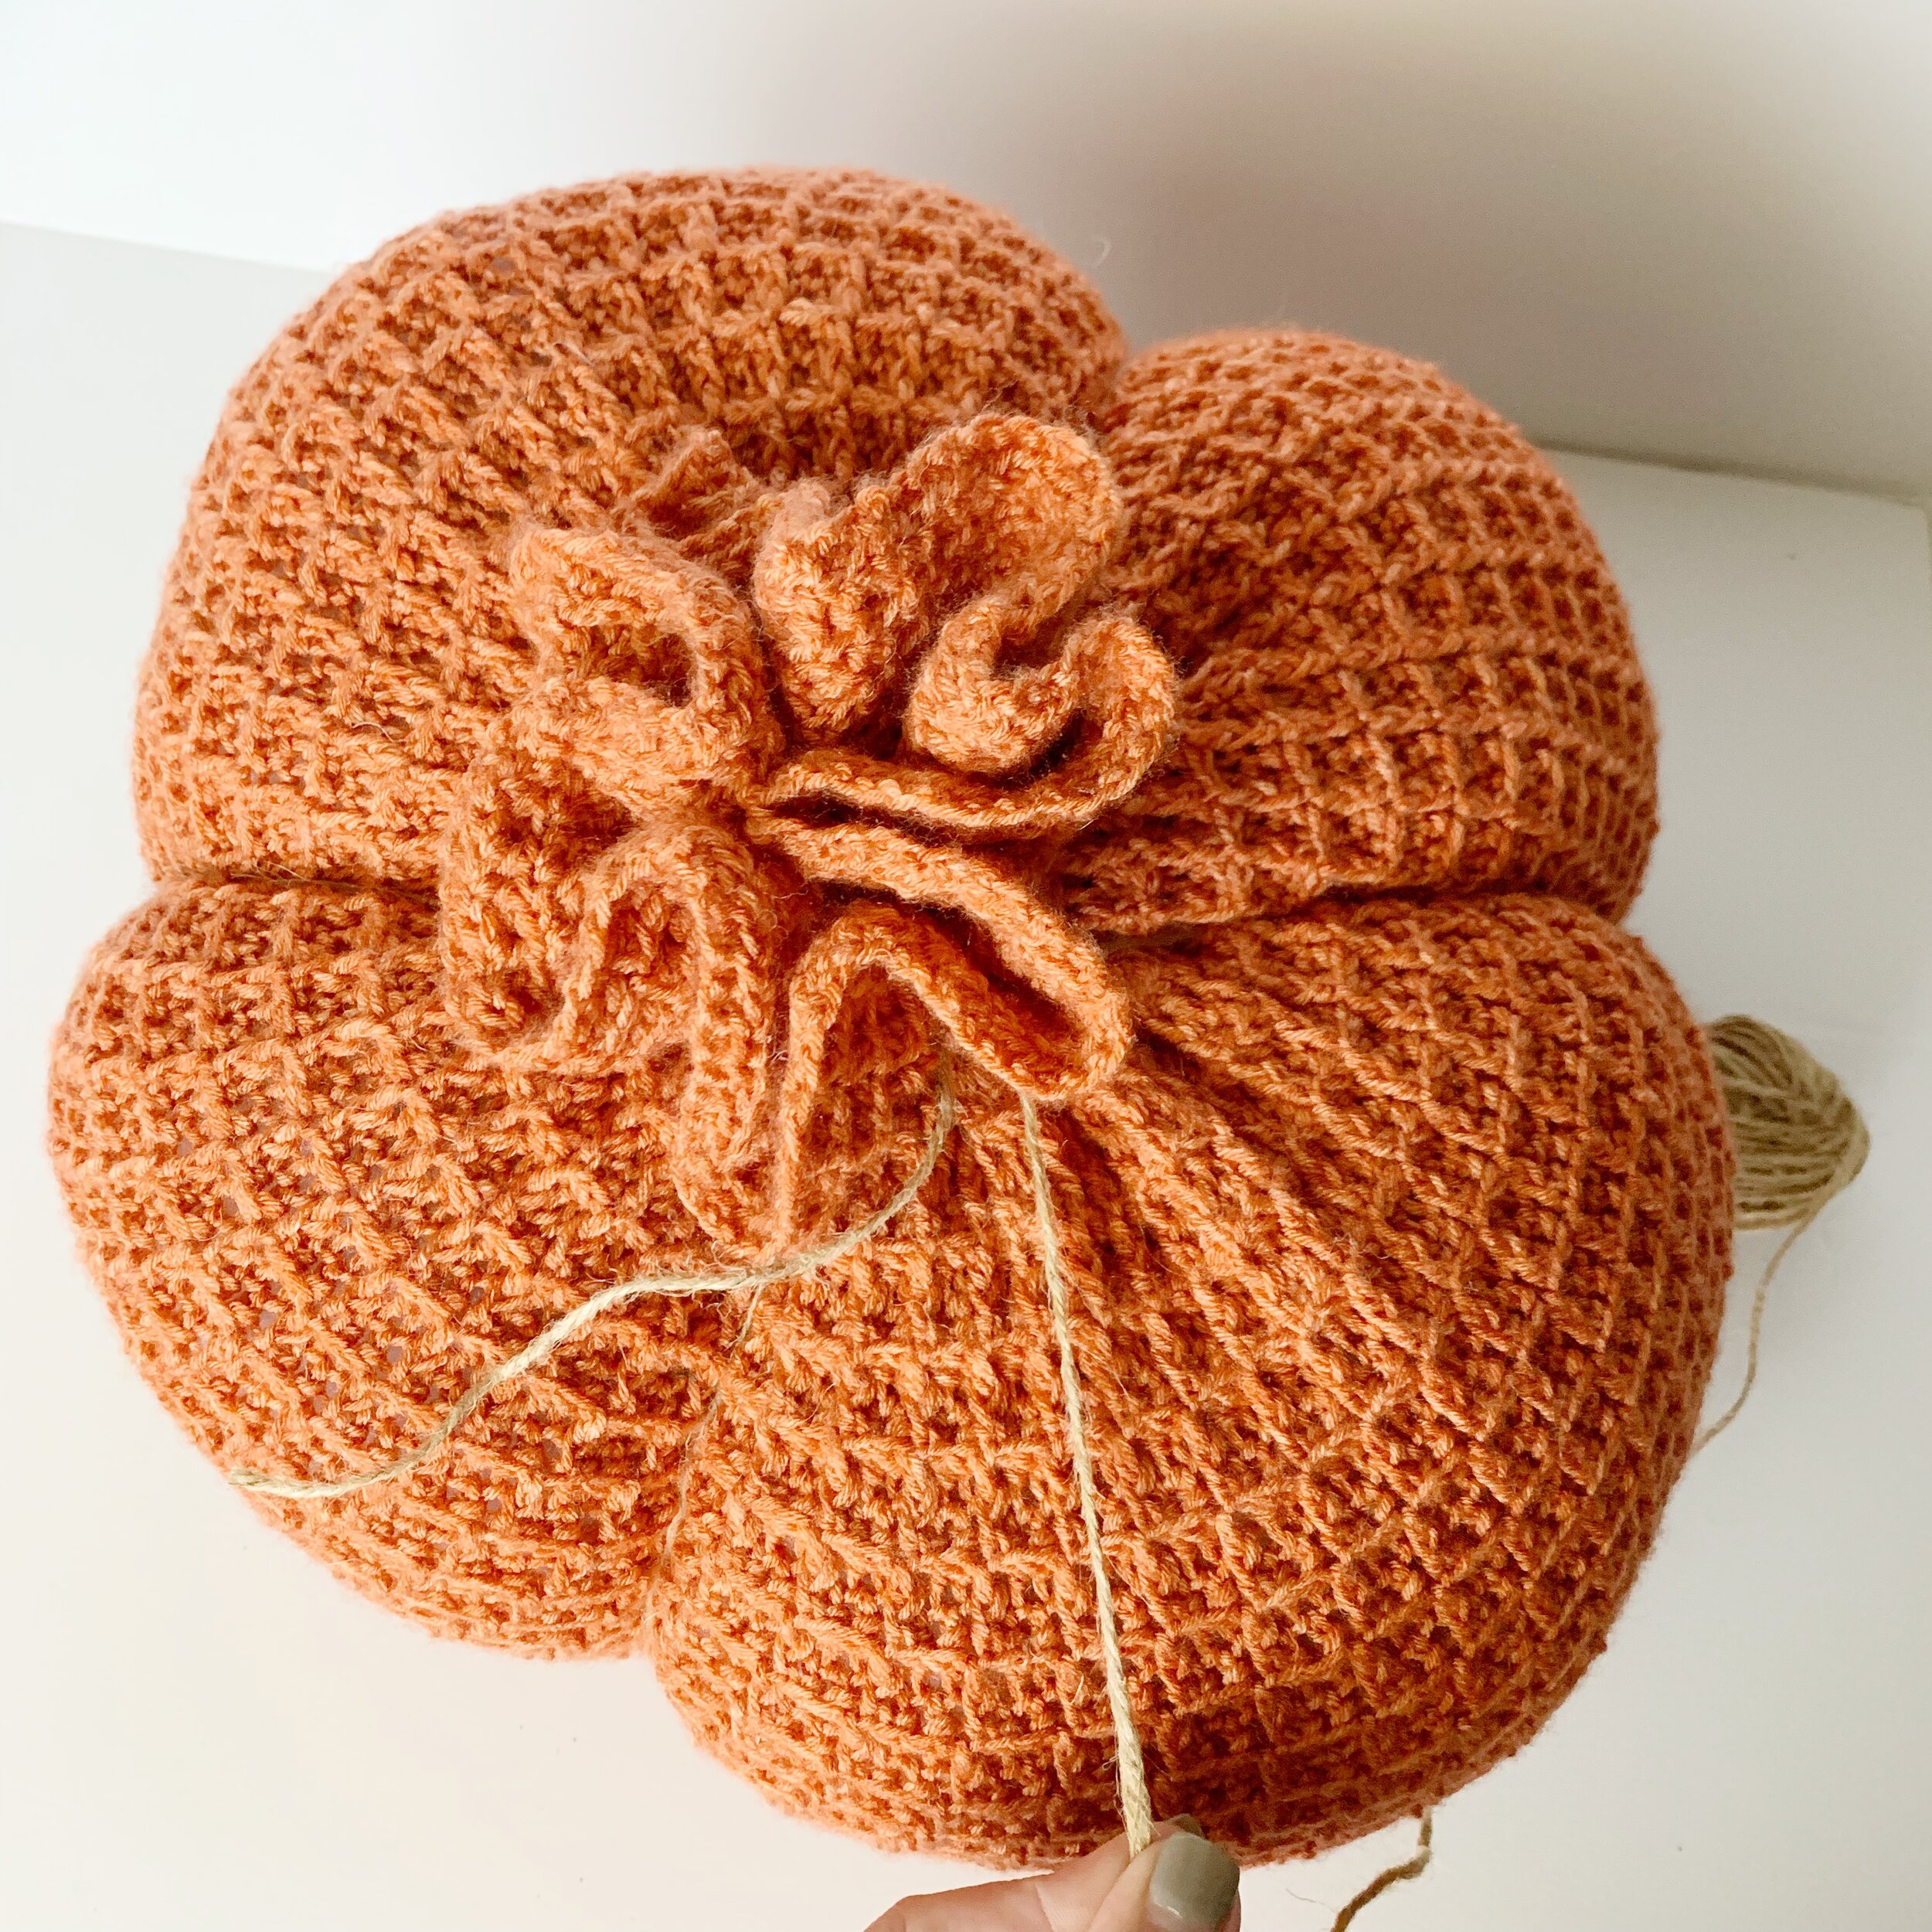
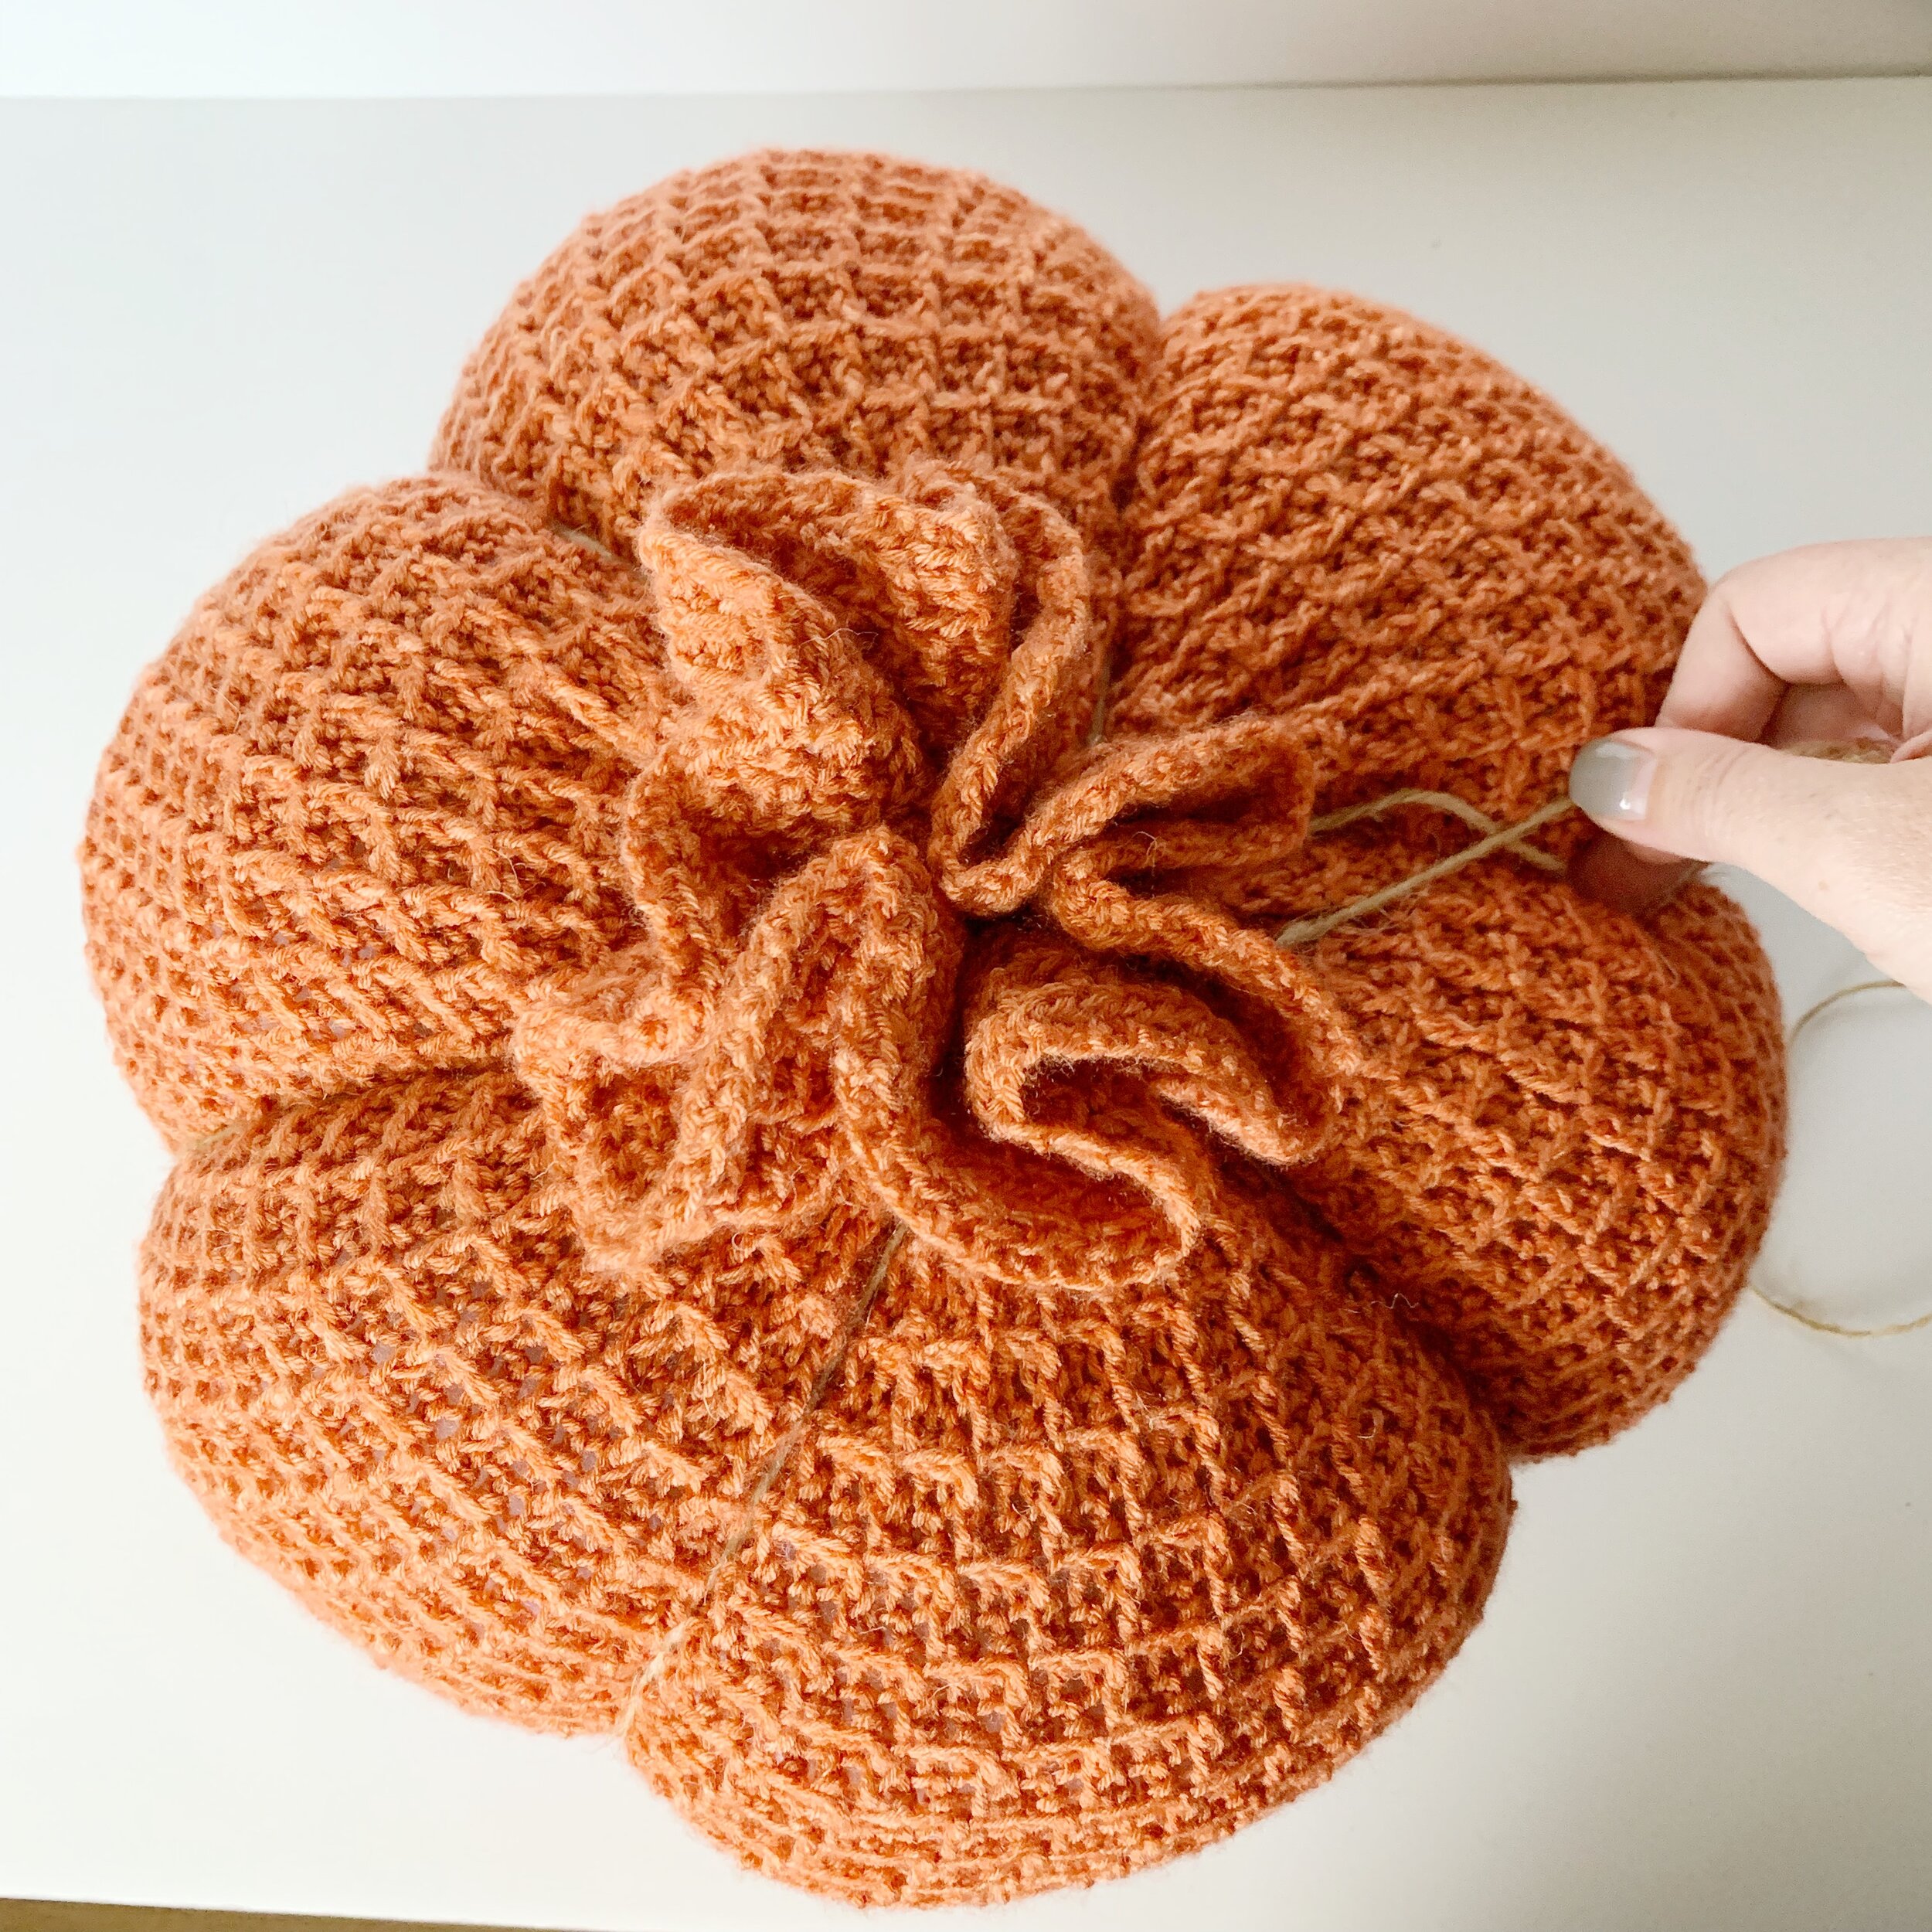
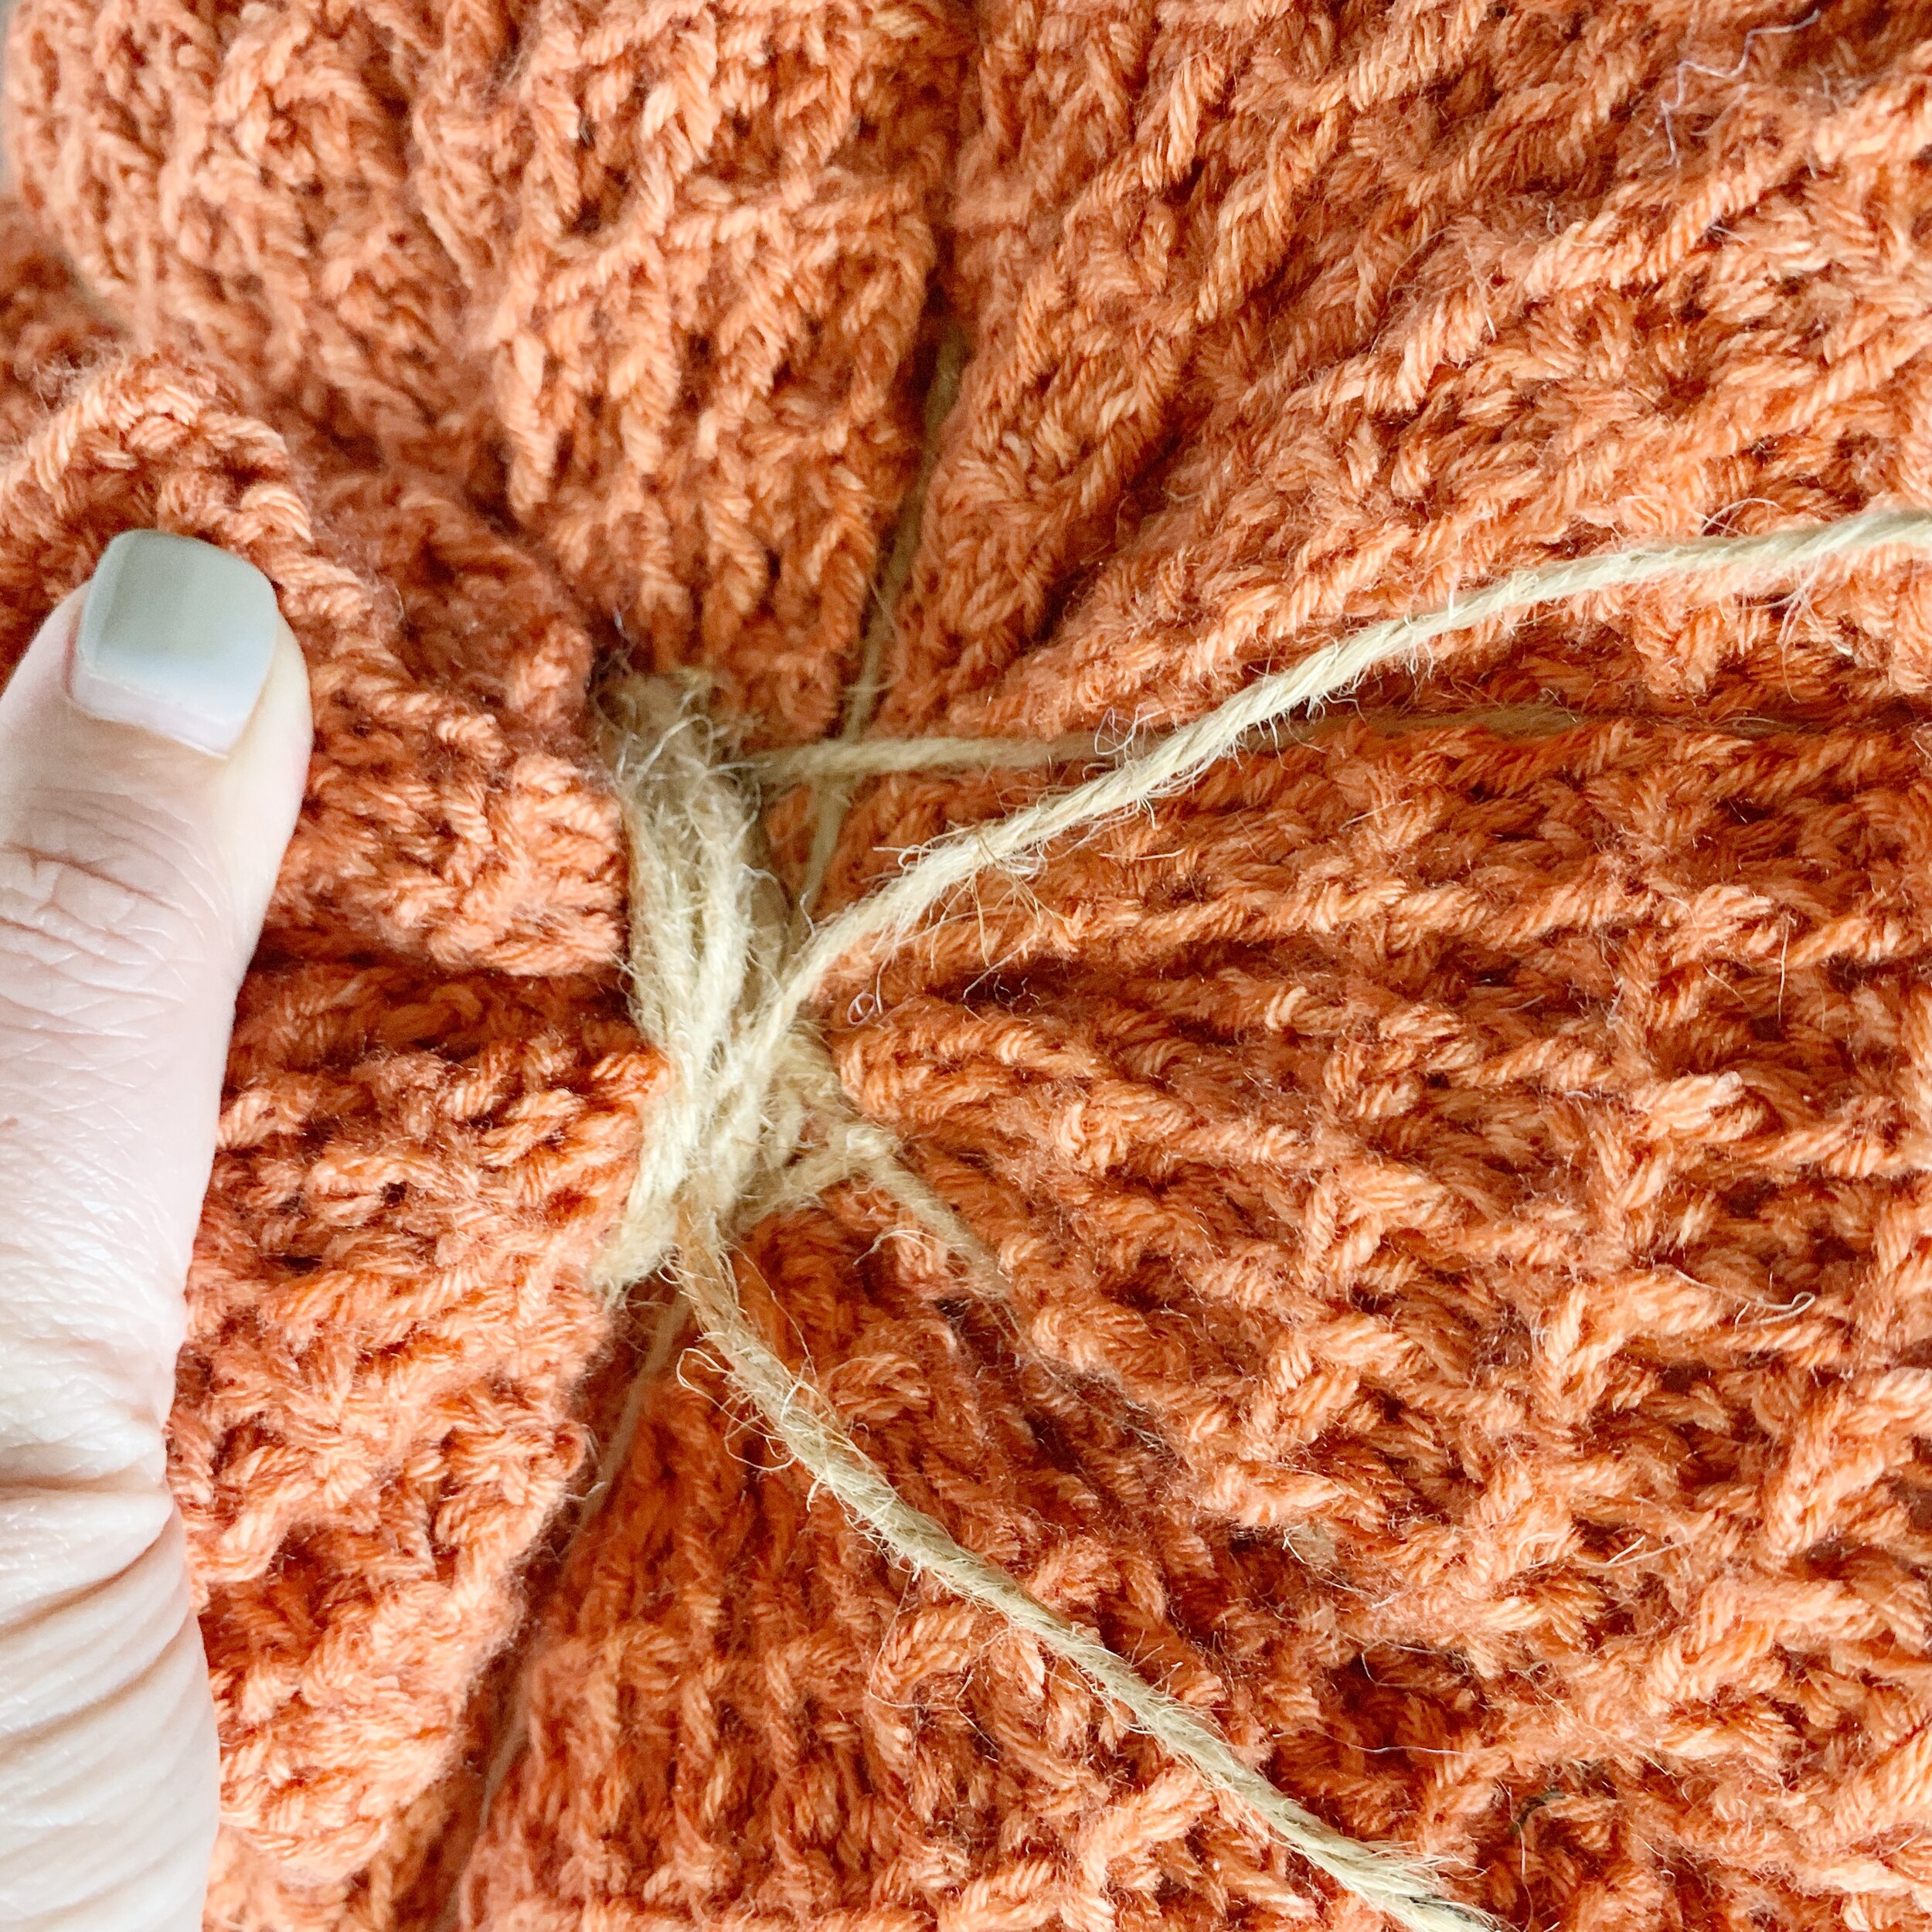
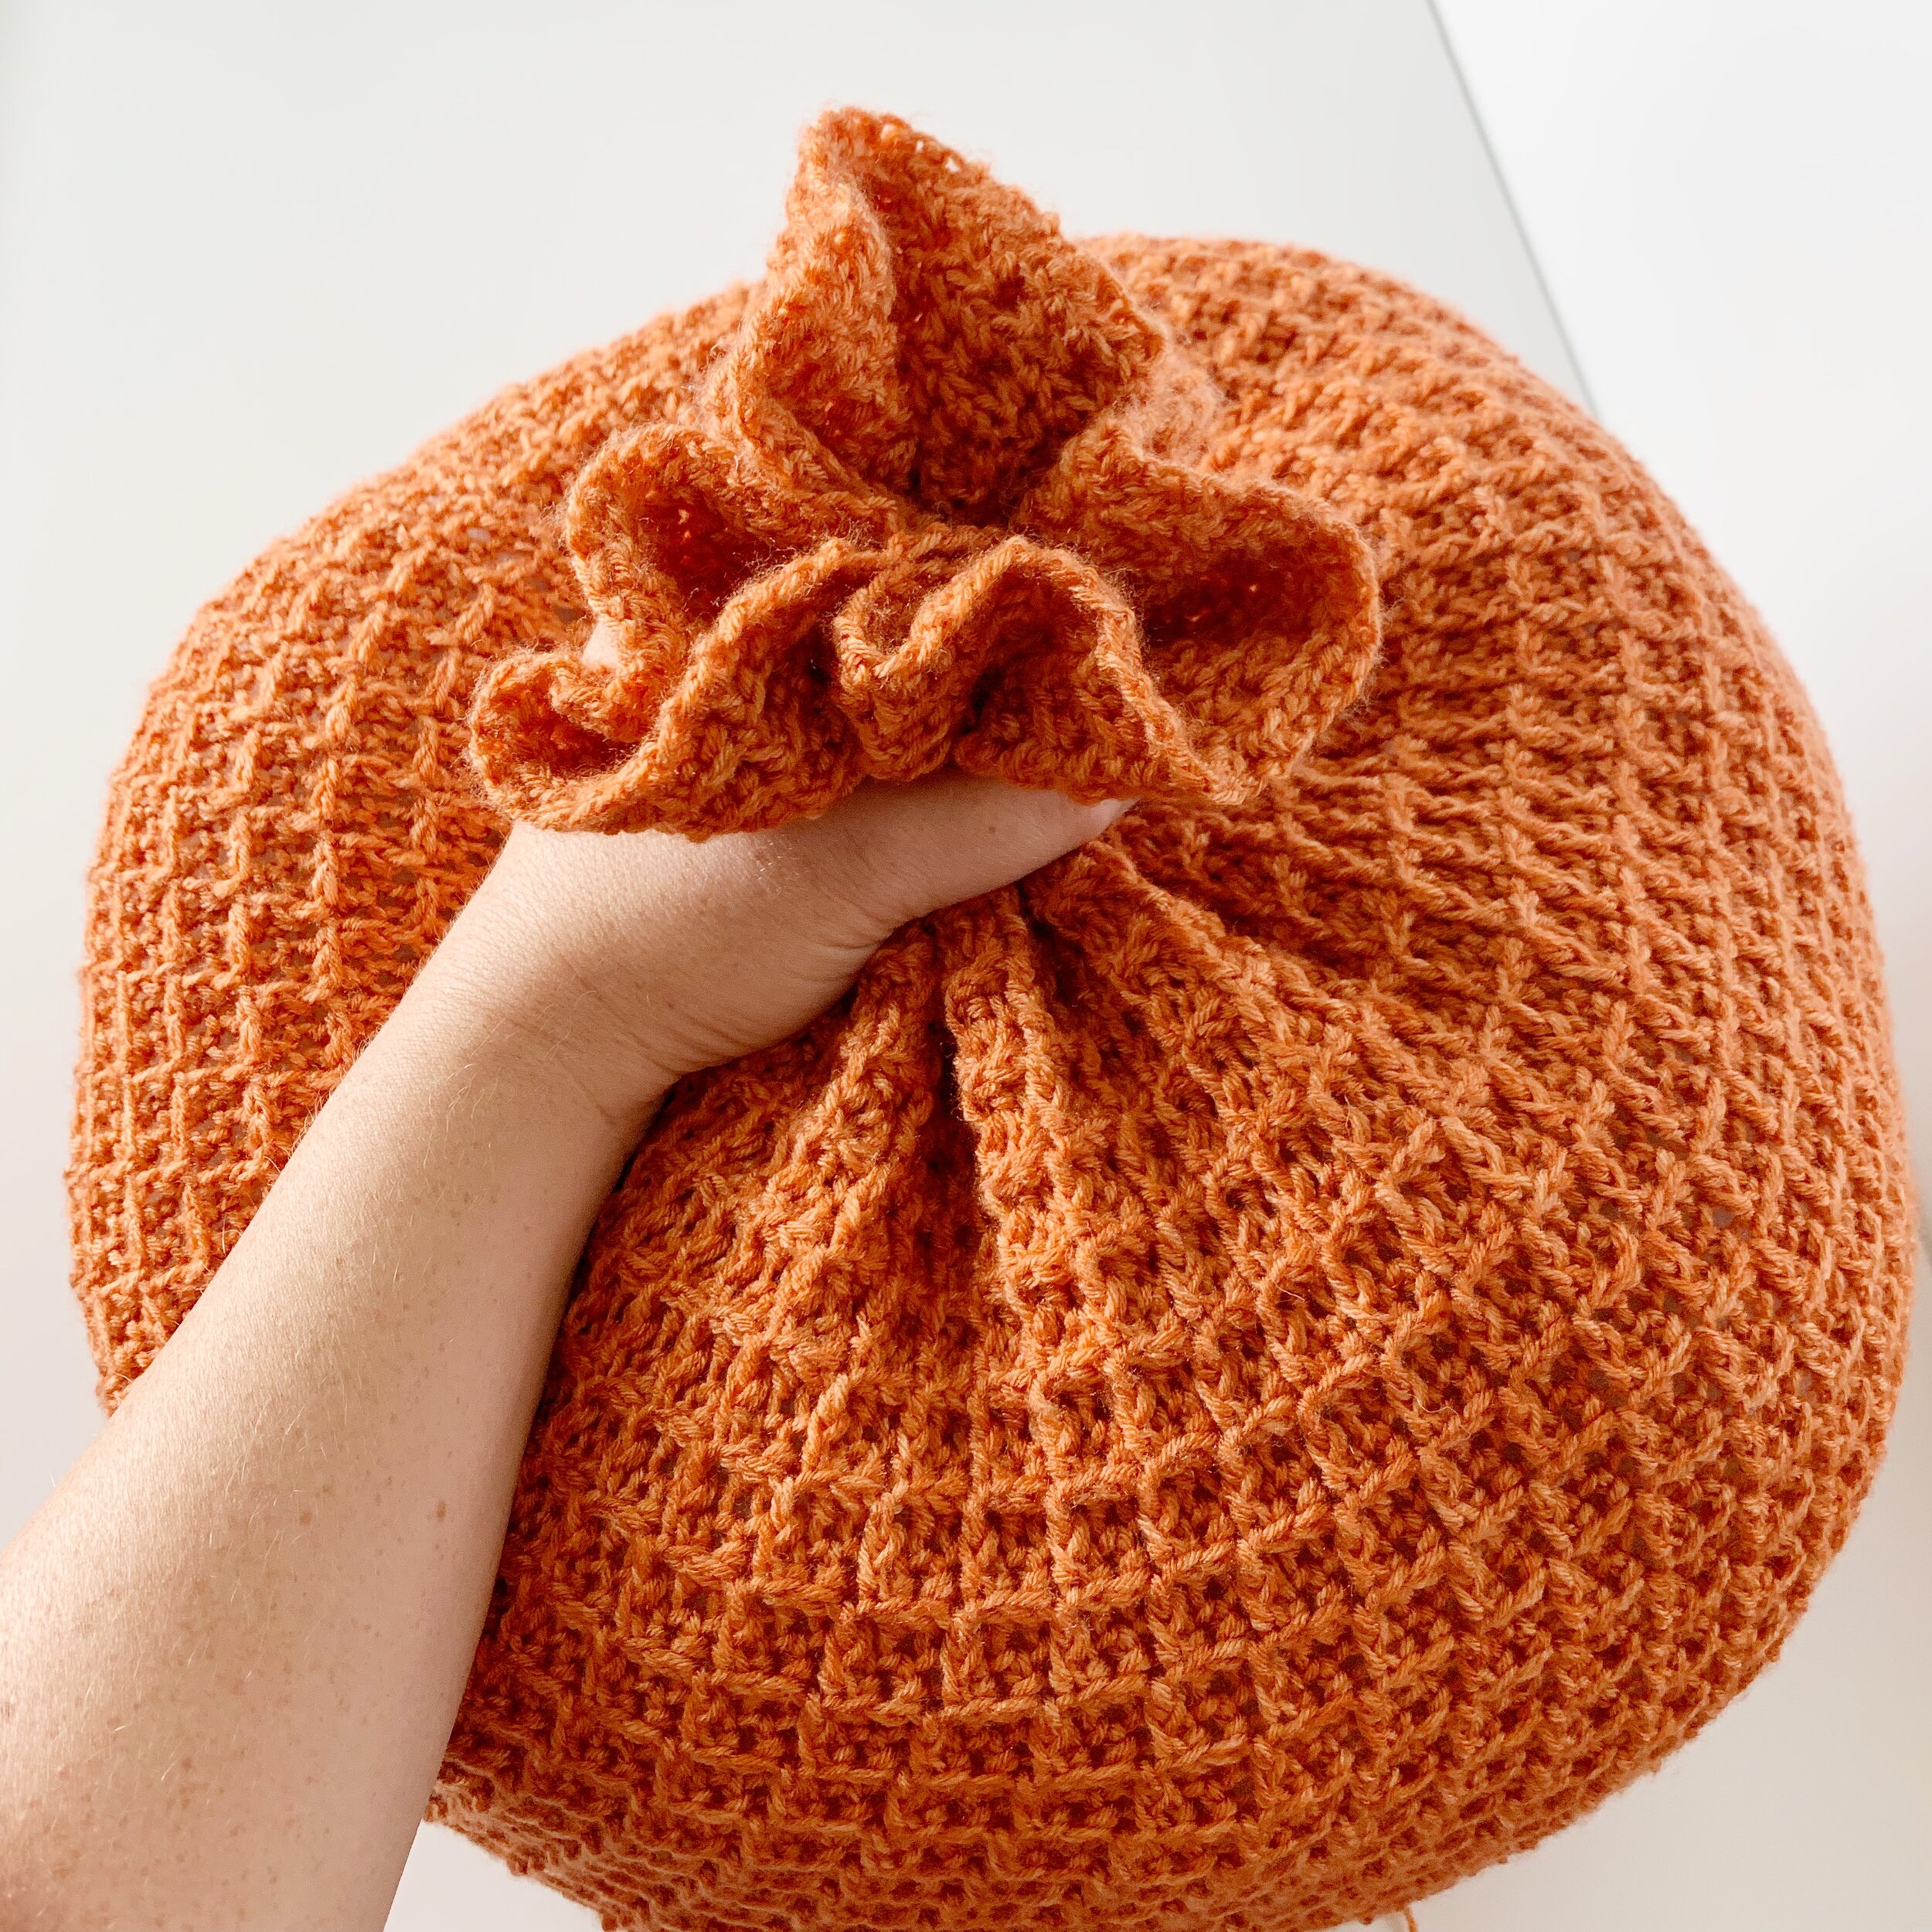
Using the long end, wrap it tightly around the pumpkin and then around the gathered top to secure. Then repeat two more times evenly around the pumpkin to create six sections. Make sure to wrap around the gathered top after each wrap. Once all six sections are created, wrap the long end of the twine around the top gathered section multiple times and tie a knot. Adjust the twine if needed to make even sections around the pumpkin.

Now go enjoy your brand new squishy pumpkin!
I hope you enjoyed this free crochet pattern for the Wavel Pumpkin. I’d love to see yours when you make it so make sure to tag me @meghanmakesdo on social media and use #thewavelpumpkin so I can see!
Don’t forget you can also find an ad-free PDF version in my shop, on Ravelry and Etsy.
Happy Crocheting!
Meghan