The Tegwen Pillow-Free Crochet Pattern
I’m super excited to be participating in my first ever blog hop! I’ve teamed up with some of my favorite designers to bring you all some amazing Valentine’s Day themed crochet goodies! Scroll down to see the full schedule.
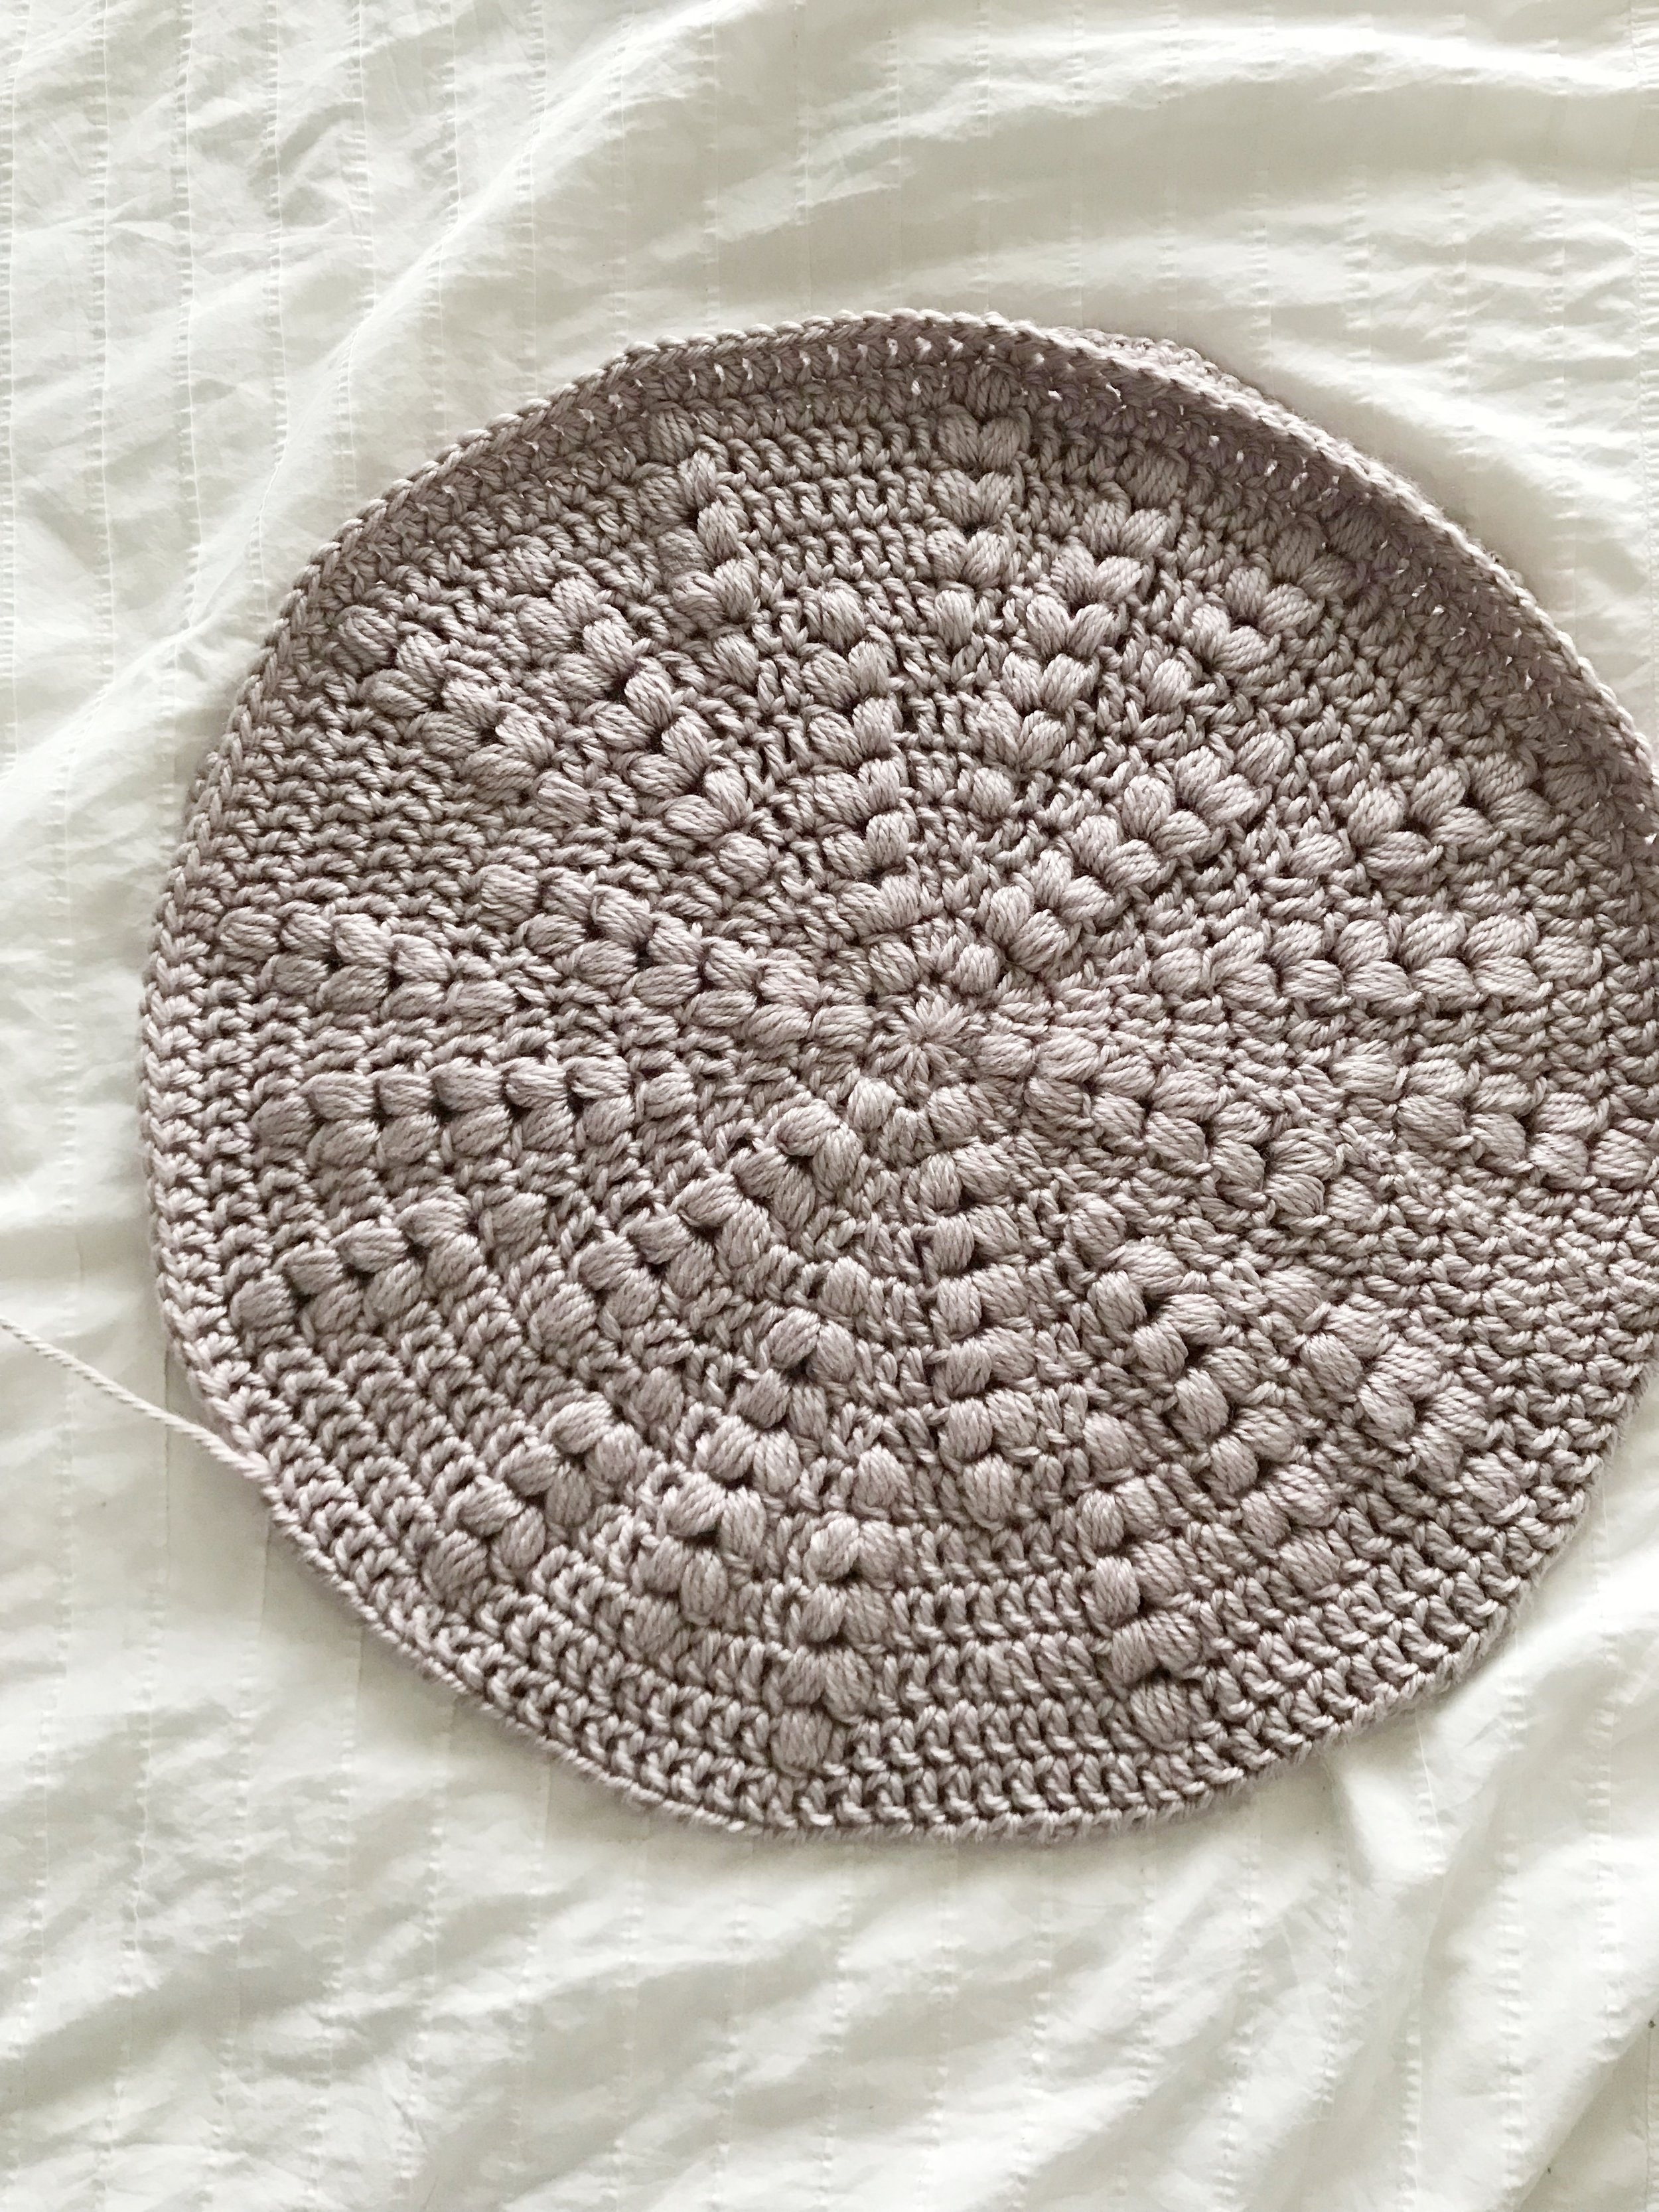
If you’ve been keeping an eye on my Instagram feed, then I’m sure you’ve seen this little beauty I’m sharing with you today. The Tegwen pillow is made using two puff stitches together which creates little “hearts.” It’s perfect for those of you wanting to do a little holiday crochet, but also subtle enough to be used all year round. I used Red Heart Soft Essentials in Biscuit which is a bulky weight yarn with a bit of shine to it. I’ve had this yarn in my stash since last year and have been waiting to find the perfect design to make with it. I’m so happy with how this pattern turned out and can’t wait to start seeing all your Tegwen Pillows!
***As always you can also find an Ad-Free digital PDF in my shop, Etsy or Ravelry. This six page PDF includes full color photos, special stitch tutorials and full instructions.***
The Tegwen Pillow Crochet Pattern
Materials:
410 Yards (3 ¼ skeins) of Red Heart Soft Essentials in Biscuit or similar weight yarn
crochet hook size J (6.0mm)
scissors
20” round pillow form
tapestry needle
Size:
Finished pillow measures 20” across.
Gauge:
Rows 1-3 of front panel = 4.5” diameter circle.
Abbreviations:
ch- chain
sc- single crochet
dc- double crochet
sk- skip
puff- puff stitch (yo, insert hook into st and pull up a loop, repeat until you have 9 loops on your hook, yo and pull thru 8 loops, yo and pull through two loops to finish stitch)
sl st- slip stitch
Notes:
Pillow is worked in two pieces sewn together.
Ch 2 at beginning of rounds does not count as a stitch.
Work first st of each round into same st as joining.
Stitch counts at the end of rounds tell how many dc and puff stitches were worked in each round.
Only work into puff stitches when indicated in pattern.
When the pattern says to work in the space between stitches, work in between the current stitch and the next stitch.
Pattern:
Front Panel- make one
Form a magic loop
Round 1: work 12 dc into loop, pull tight, sl st into top of first st. (12)
Round 2: ch 2, 3dc in first st, puff in next st, *3dc, puff, repeat from * 5 times, sl st to top of first st. (24)
Round 3: ch 2, *dc in first st, 2dc in next st, dc, [puff, ch 2, puff] into puff st from previous round, repeat from * 6 times, sl st to top of first st. (36)
Round 4: ch 2, *dc in first 2 sts, dc into sp between sts, dc 2, sk puff, [puff, ch 2, puff] into ch-2 sp, sk puff, repeat from * 6 times, sl st to top of first st. (42)
Round 5: ch 2, *2dc in first st, dc, puff, dc, 2dc in next st, sk puff, [puff, ch-2, puff] into ch-2 sp, sk puff, repeat from * 6 times, sl st to top of first st. (54)
Round 6: ch 2, *dc 3, [puff, ch 2, puff] into puff st from previous round, dc 3, sk puff, [puff, ch-2, puff] into ch-2 sp, sk puff, repeat from * 6 times, sl st to top of first st. (60)
Round 7: ch 2, *dc, 2dc, dc, sk puff, [puff, ch 2, puff] into ch-2 sp, sk puff, repeat from * 12 times, sl st to top of first st. (72)
Round 8: ch 2, *dc 2, puff into sp between sts, dc 2, sk puff, [puff, ch 2, puff] into ch-2 sp, sk puff, dc 2, puff into sp between sts, dc 2, dc into next puff st, puff into ch-2 sp, dc into next puff st, repeat from * 6 times, sl st to top of first st. (90)
Round 9: ch 2, dc 2, *[puff, ch 2, puff] into puff st, dc 2, sk puff, [puff, ch 2, puff] into ch-2 sp, sk puff, dc 2, [puff, ch 2, puff] into puff st, dc 7, repeat from * 5 times, [puff, ch 2, puff] into puff st, dc 2, sk puff, [puff, ch 2, puff] into ch-2 sp, sk puff, dc 2, [puff, ch 2, puff] into puff st, dc 5, sl st to top of first st. (102)
Round 10: ch 2, dc 2, *sk puff, [puff, ch 2, puff] into ch-2 sp, sk puff, dc, 2dc, sk puff, [puff, ch 2, puff] into ch-2 sp, sk puff, 2dc, dc, sk puff, [puff, ch 2, puff] into ch-2 sp, sk puff, dc 7, repeat from * 5 times, sk puff, [puff, ch 2, puff] into ch-2 sp, sk puff, dc, 2dc, sk puff, [puff, ch 2, puff] into ch-2 sp, sk puff, 2dc, dc, sk puff, [puff, ch 2, puff] into ch-2 sp, sk puff, dc 5, sl st to top of first st. (114)
Round 11: ch 2, dc 2, *sk puff, [puff, ch 2, puff] into ch-2 sp, sk puff, dc 3, dc into puff st, puff into ch-2 sp, dc into puff st, dc 3, sk puff, [puff, ch 2, puff] into ch-2 sp, sk puff, dc 3, 2dc, dc 3, repeat from * 5 times, sk puff, [puff, ch 2, puff] into ch-2 sp, sk puff, dc 3, dc into puff, puff into ch-2 sp, dc into puff st, dc 3, sk puff, [puff, ch 2, puff] into ch-2 sp, sk puff, dc 3, 2dc, dc in last st, sl st to top of first st. (126)
Round 12: ch 2, dc 2, *dc into puff st, puff into ch-2 sp, dc into puff st, dc 9, dc into puff st, puff into ch-2 sp, dc into puff st, dc 8, repeat from * 5 times, dc into puff st, puff into ch-2 sp, dc into puff st, dc 9, dc into puff, puff into ch-2 sp, dc into puff st, dc 6, sl st to top of first st. (138)
Round 13: ch 2, dc 3, *2dc into puff st, dc 11, 2dc into puff st, dc 10, repeat from * 5 times, 2dc into puff st, dc 11, 2dc into puff st, dc 7, sl st to top of first st. (150)
Fasten off and weave in ends.
Back Panel – make one
Form a magic loop
Round 1: work 12 dc into loop, pull tight, sl st into top of first st. (12)
Round 2: work 2dc into each st around, sl st to top of first st. (24)
Round 3: dc in first st, 2dc in next, *dc, 2dc, repeat from * 11 times, sl st to top of first st. (36)
Round 4: dc in first 2 sts, 2dc in next, *dc 2, 2dc, repeat from * 11 times, sl st to top of first st. (48)
Round 5: dc in first 3 sts, 2dc in next, *dc 3, 2dc, repeat from * 11 times, sl st to top of first st. (60)
Round 6: dc in first 4 sts, 2dc in next, *dc 4, 2dc, repeat from * 11 times, sl st to top of first st. (72)
Round 7: dc in first 5 sts, 2dc in next, *dc 5, 2dc, repeat from * 11 times, sl st to top of first st. (84)
Round 8: dc in first 6 sts, 2dc in next, *dc 6, 2dc, repeat from * 11 times, sl st to top of first st. (96)
Round 9: dc in first 7 sts, 2dc in next, *dc 7, 2dc, repeat from * 11 times, sl st to top of first st. (108)
Round 10: dc in first 8 sts, 2dc in next, *dc 8, 2dc, repeat from * 11 times, sl st to top of first st. (120)
Round 11: dc in first 9 sts, 2dc in next, *dc 9, 2dc, repeat from * 11 times, sl st to top of first st. (132)
Round 12: dc in first 10 sts, 2dc in next, *dc 10, 2dc, repeat from * 11 times, sl st to top of first st. (144)
Round 13: dc in first 11 sts, 2dc in next, *dc 11, 2dc, repeat from * 11 times, sl st to top of first st. (156)
Round 14: dc in first 12 sts, 2dc in next, *dc 12, 2dc, repeat from * 11 times, sl st to top of first st. (168)
Round 15: sc in first 13 sts, 2sc in next, *sc 13, 2sc, repeat from * 11 times, sl st to top of first st. (180)
Fasten off leaving a very long tail for sewing. Weave in all other ends.
Finishing:
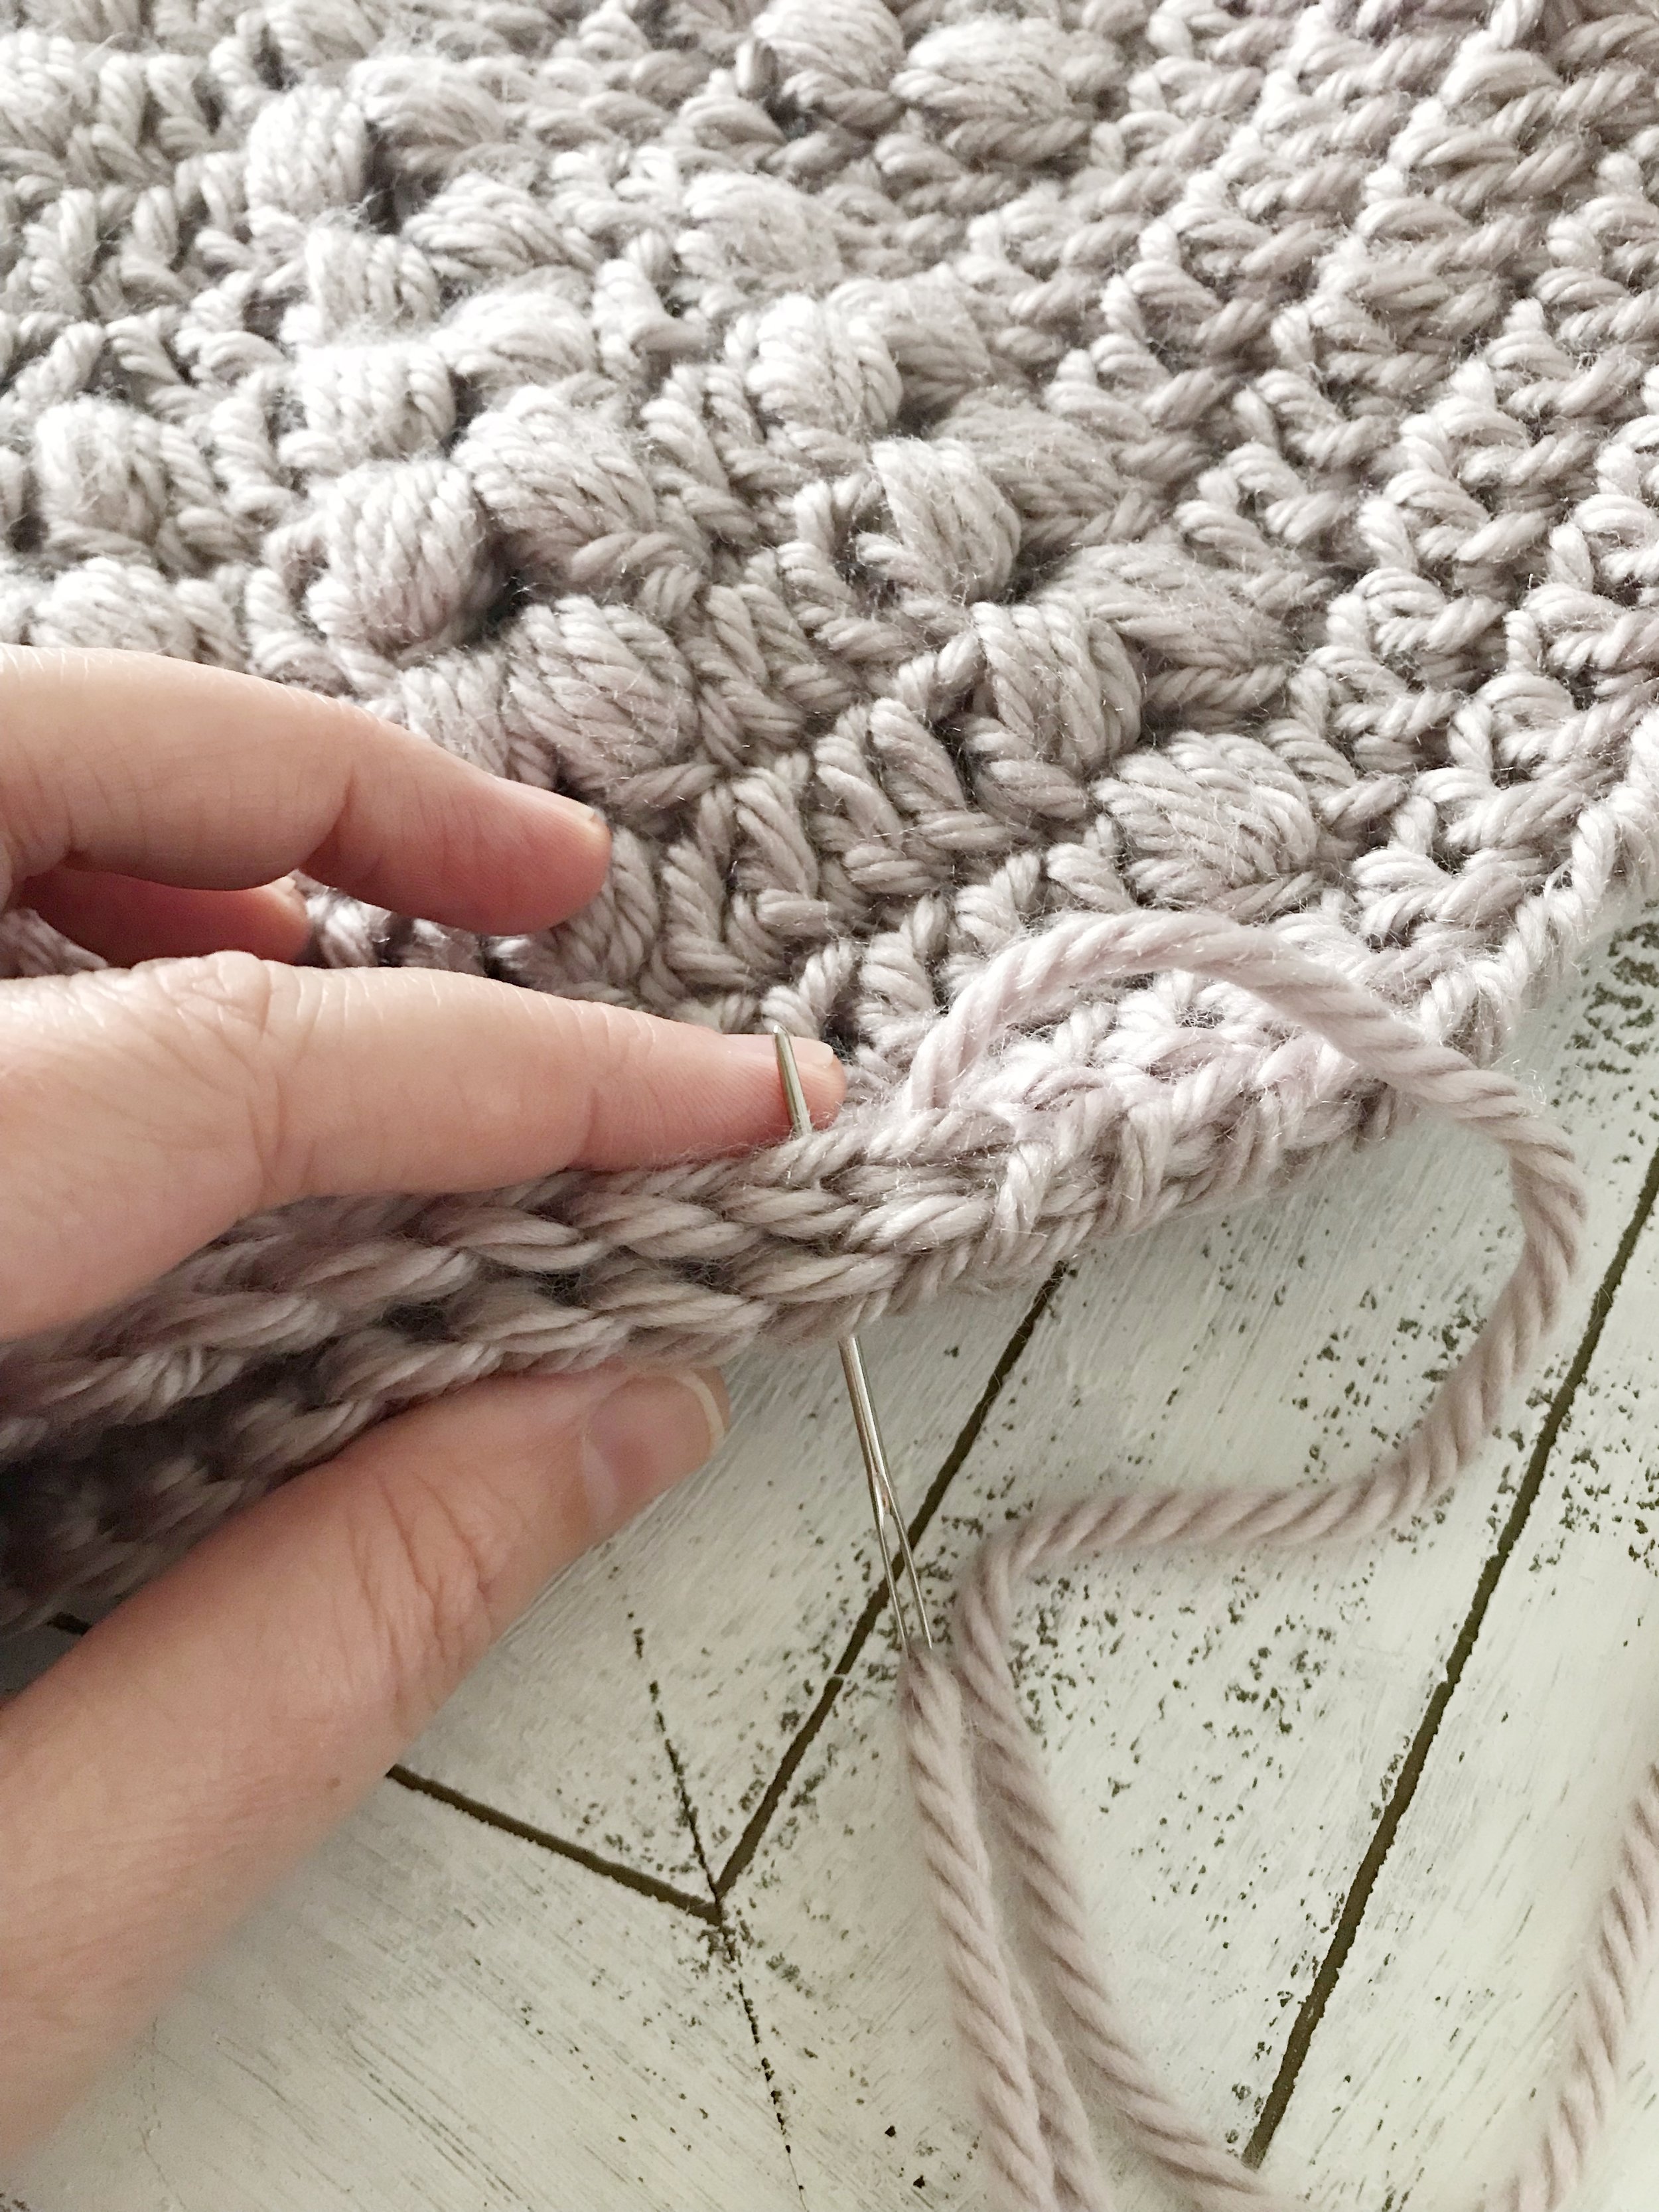
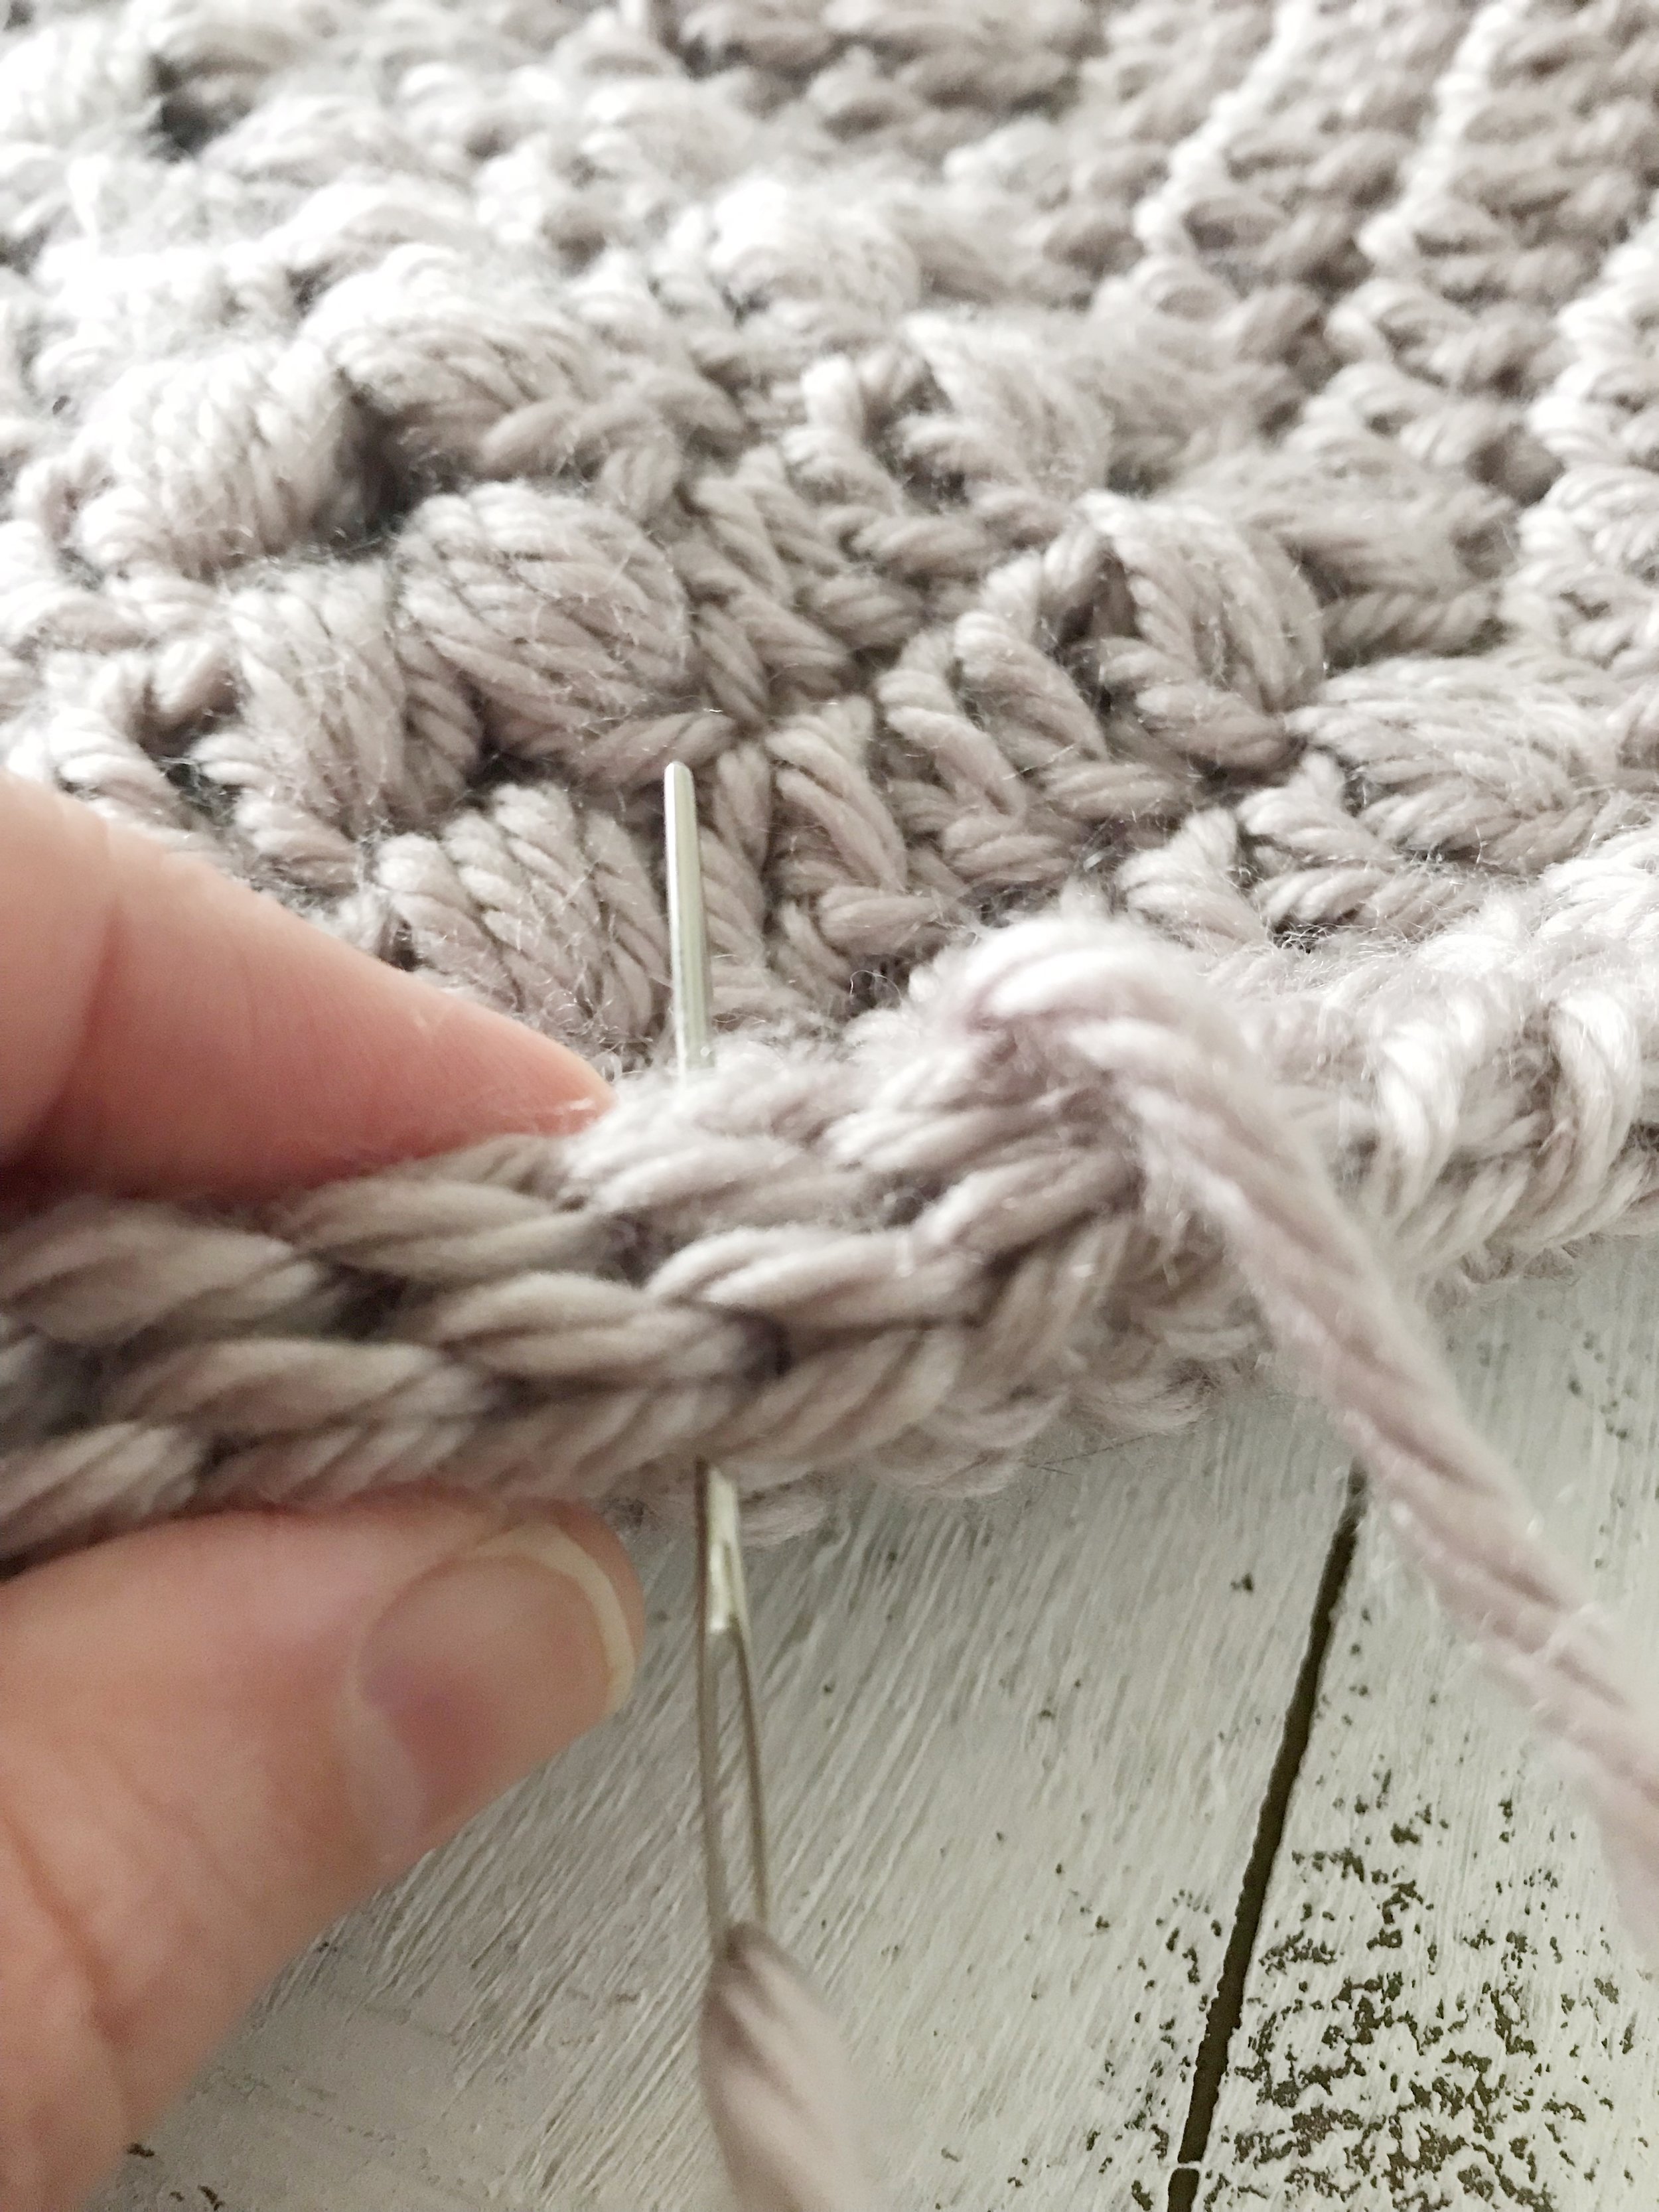
Lay both panels on top of each other with wrong sides together. Then, using a large tapestry needle, whip stitch the edges together going through both loops on each panel, about 2/3 of the way around. Since each panel ends with a different amount of stitches you will need to go between the stitches on the back panel every few passes. It may help to use stitch markers or pins to attach the pieces together before sewing. Insert pillow form and whip stitch closed. Fasten off and weave in ends.
I hope you enjoyed making your Tegwen Pillow! Remember you can also find an ad-free PDF in my shop, on Etsy or Ravelry. I’d love to see your finished Tegwens so don’t forget to share using #thetegwenpillow on social media! Now hop on over to these other amazing blogs to find more valentine’s day themed patterns! I’ll be updating the links as we go so stay tuned!
January 22nd: Sweetheart Cupcake Ami from Divine Debris
Jauary 24th: Delphi Cowl from KT and The Squid
January 28th: The Evie Pull Over by Evelyn and Peter
January 30th: The Salt Water Taffy Pillow by Life and Yarn
February 1st: CoCoCrochetLee
February 3rd: Hooked Hazel


