The Mini Magnus Cardigan- Free Crochet Pattern
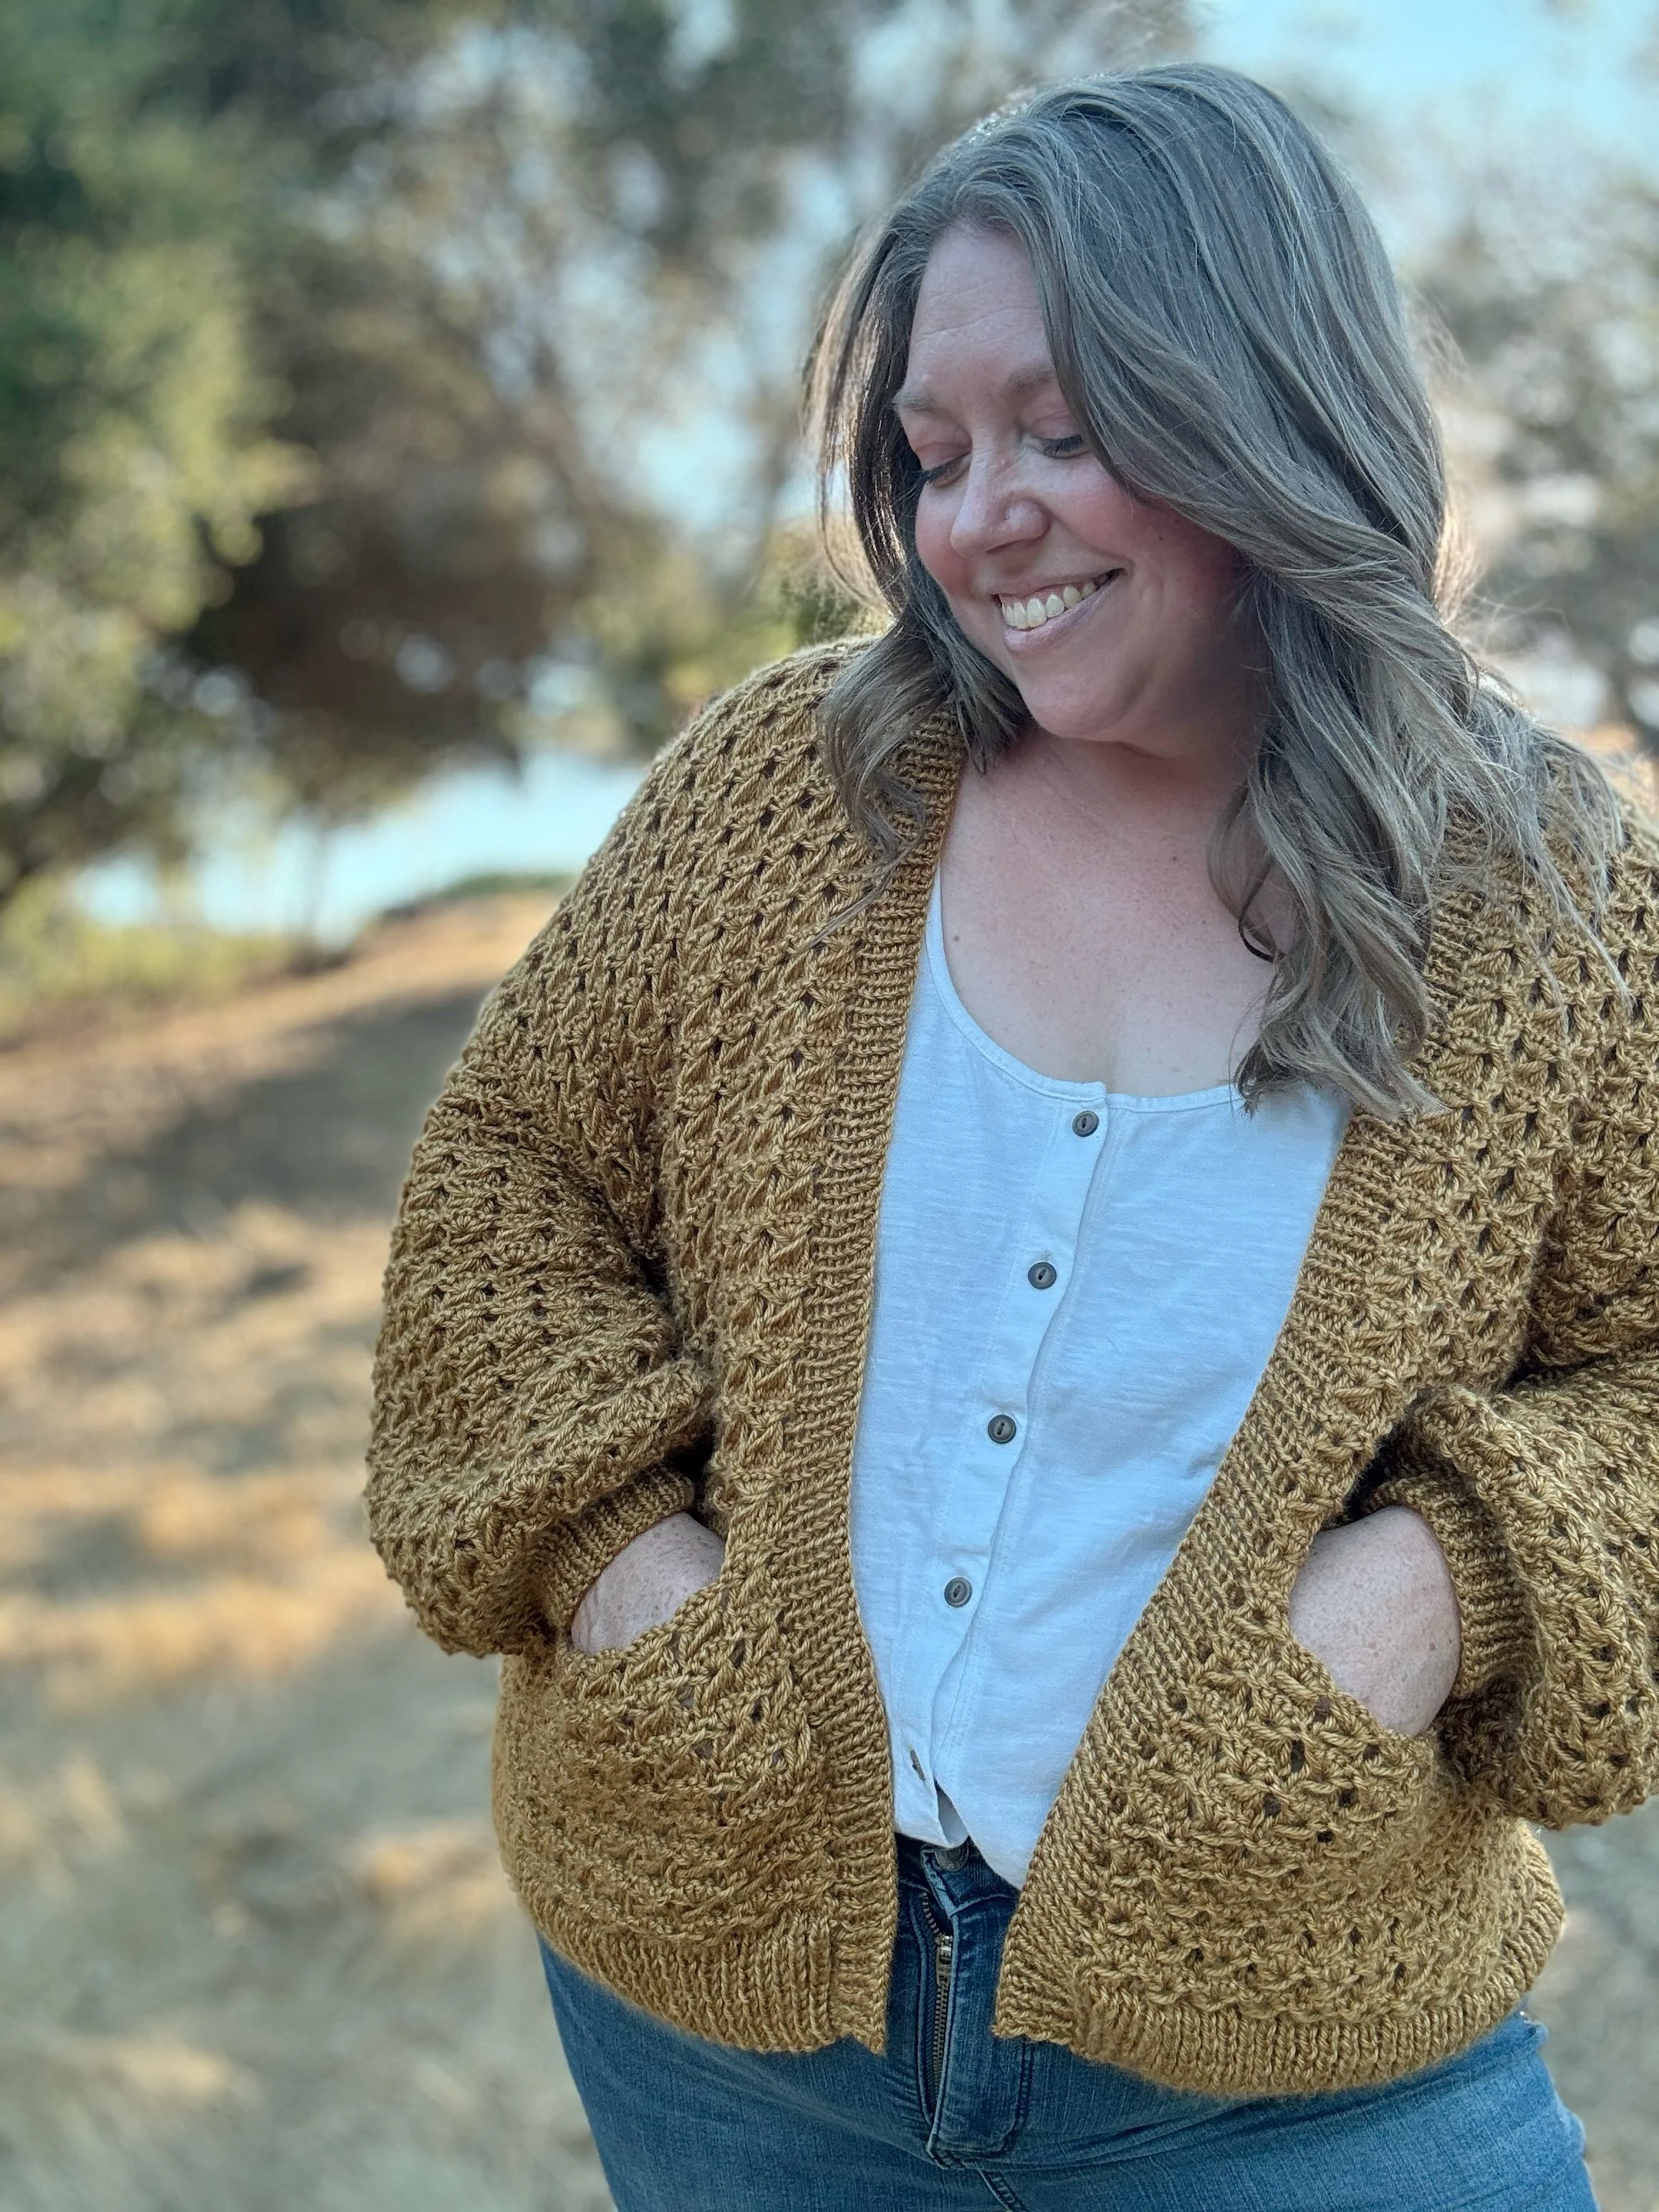
The Mini Magnus Cardigan is a delightful, must-have crochet piece that wraps your little one in cozy, stylish warmth. With its eye-catching textured stitches and playful design, this cardigan turns every outfit into an adorable fashion statement. Perfect for layering, it's a versatile, customizable pattern that makes every chilly day feel a bit more magical! Keep scrolling for the free pattern, get a printable PDF version in my shop, or grab the complete kit from Lion Brand Yarn.

I have literally be waiting MONTHS to share this pattern with you. After designing the Magnus Cardigan and Magnus Throw, I had some left over yarn (and quite a few requests from you) and knew I wanted to make a mini version of the cardigan.
The Magnus is just too fun to only have for adults right? Plus with it being a tinier version that meant it would work up quick and there were would be slightly less ends to weave in. I challenged myself to get the whole thing made for my daughter in one weekend. Can you guess what happened?
I did get it very close to being done. Just one pocket and the collar were left, but then Summer hit and we took our annual trip to Ohio and next thing I knew it was almost Fall and I still needed to finish this mini beauty!
So this poor little thing has been waiting for several months for me to complete it and get it out in the world for all of you. And of course being that it went that long undone, my daughter has grown a bit so I’m going to have to make her another one in a larger size now. Hoping the next one will actually get done in a decent amount of time, but who knows?

The Mini Magnus has the same design style as the adult version. It’s made bottom up starting with the ribbing and then working into the main body as one large piece. It then splits off into three sections (front right, back and front left) before being seamed at the shoulders. The sleeves are made in turned rounds (yay no ends to weave in!) and then sewn into the armholes. It’s finished off with two front pockets and a single crochet collar.
Your little one will be sporting their new Mini Magnus just in time for family photos this holiday season. Matching family Magnus cardigans anyone?
The Mini features the same Scarfie Lite and Wool-Ease yarn combo we love. I’ve worked up several new color combo swatches so you can see how each one would look just in case the bright pinks and yellows aren’t your thing. Just change the colors when purchasing the kit on Lionbrand.com.


Scarfie Lite in color way Palm shown with Wool-Ease Thrush, Arrowwood and Flint.


Scarfie Lite in color way Tartan shown with Wool-Ease Riverside, Arrowwood and Umber.


Scarfie Lite in color way Rain shown with Wool-Ease Thrush, Arrowwood and Riverside.
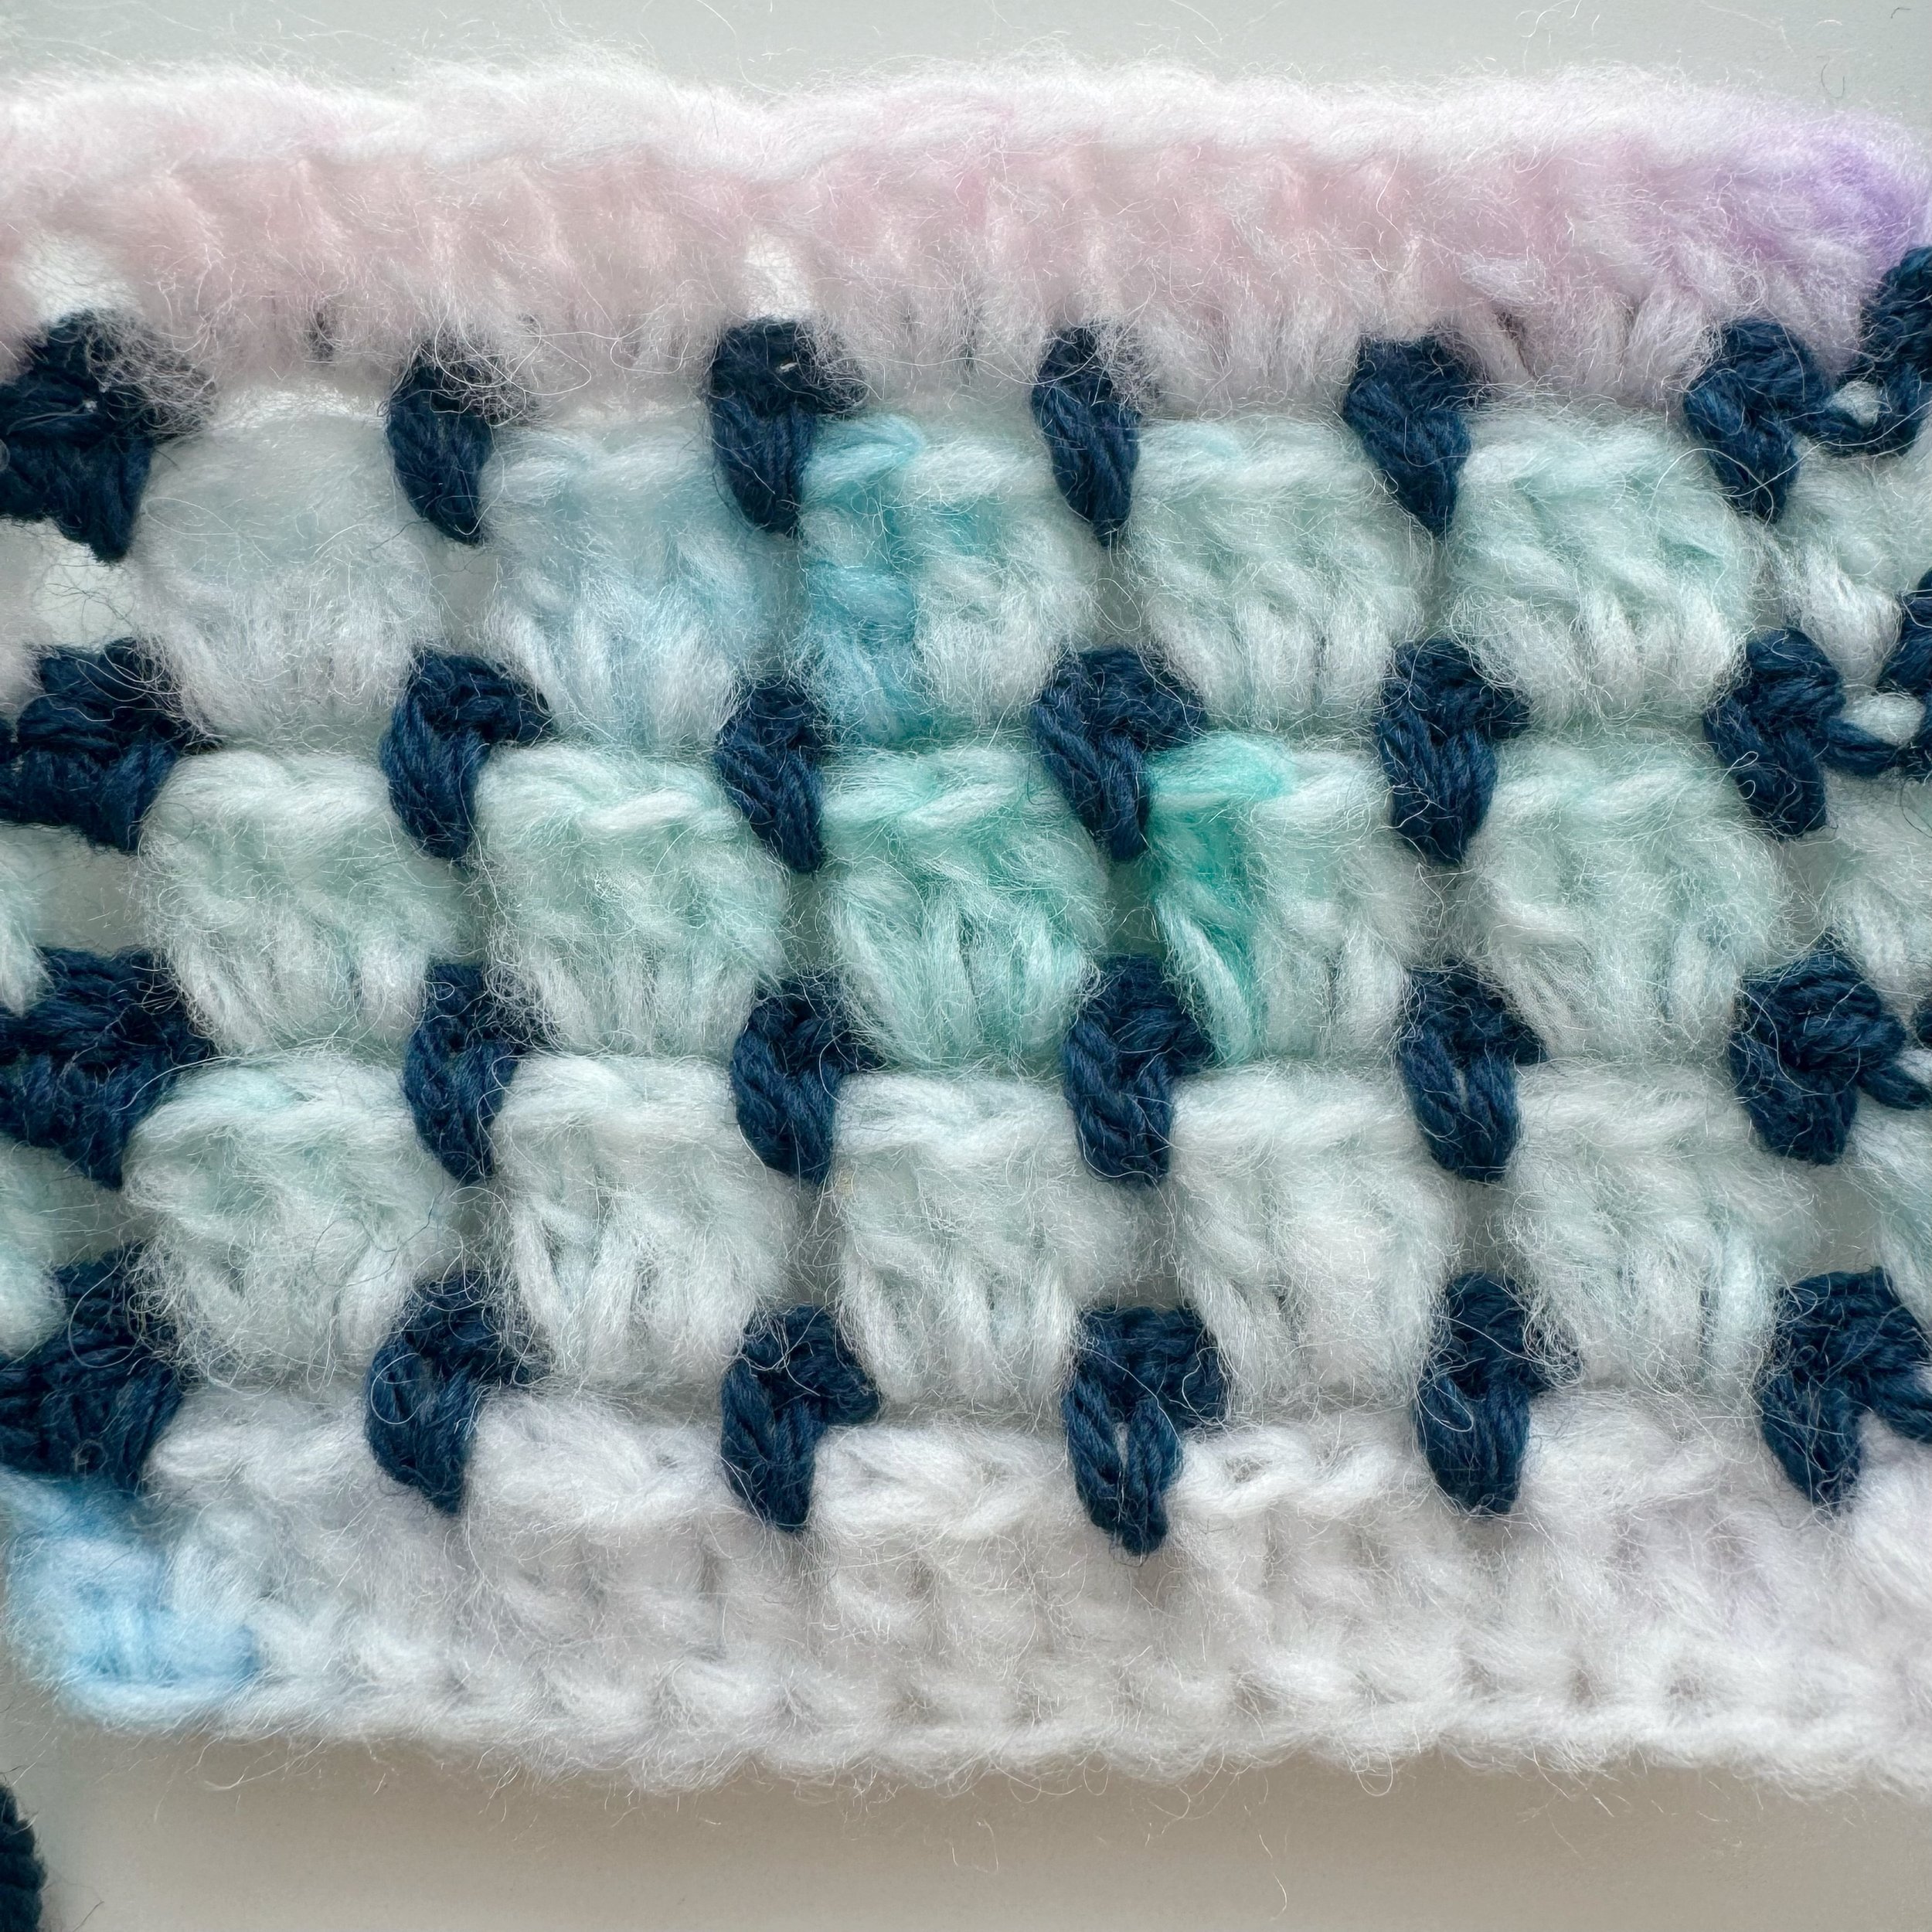


Scarfie Lite in color way Seaglass shown with Wool-Ease Riverside, Black and Raindrops.
If you need some extra help along the way or just want to see the basics of how the cardigan is constructed you can check out the original adult size Magnus Cardigan video tutorial on my YouTube channel.

The Mini Magnus Cardigan Crochet Pattern
Materials:
275-775 yards (1-3 skeins) of Lion Brand Scarfie Lite in Color A (Sunset)
170-415 yards (1-3 skeins) of Lion Brand Wool-Ease in Color B (Arrowwood)
Crochet hook size J (6mm)
Crochet hook size I (5.5mm)
Tapestry needle, scissors, tape measure, stitch markers
Abbreviations:
Ch(s)- chain(s)
St(s)- stitch(es)
sc- single crochet
dc- double crochet
sl st- slip stitch
BLO- back loop only
sp- space
RS- right side
WS- wrong side
Notes:
1.The bottom of the main body is worked in one piece. The ribbing is worked first and then the main body is worked directly into the edges of the ribbing until the underarm is reached. The fronts and back are then worked directly onto the bottom piece. The shoulders are seamed. The sleeves are then worked bottom up in turned rounds and seamed into the armholes. The collar is worked directly onto the front edges of the cardigan and pockets are attached last.
2.Ch(s) at beginning of rounds and rows do(es) not count as a stitch.
3.Pattern is made with 2-4” of positive ease. Size up for a looser fit
4. Model is wearing a size 10/12 and is 4’10”
Gauge:
15 sts X 11 rows = 4.5” X 4.5” in block stitch
*helpful tip- make a pocket as your gauge swatch
Size:
2: fits chest 21” Color A (approx. 285 yards/ 1 skein) Color B (approx. 170 yards/1 skein)
4: fits chest 23” Color A (approx. 366 yards/ 2 skeins) Color B (approx. 212 yards/2 skeins)
6/8: fits chest 25-27” Color A (approx. 478 yards/ 2 skeins) Color B (approx. 270 yards/2 skeins)
10/12: fits bust 28-30” Color A (approx. 631 yards/ 2 skeins) Color B (approx. 345 yards/2 skeins)
14/16: fits bust 31-33” Color A (approx. 775 yards/ 3 skeins) Color B (approx. 415 yards/3 skeins)

Pattern:
Bottom Main Body Ribbing:
With Color B and 5.5mm hook ch 7.
Row 1: sc in 2nd ch from hook and in each ch across, ch 1, turn. (6)
Row 2: sc in BLO of each st across, ch 1, turn. (6)
Repeat Row 2 for a total of 86(98, 110, 122, 134) rows.
Turn piece 90 degrees and switch to Color A and 6mm hook, ch 2, then pull Color B tight until the last ch made with Color B disappears into the ribbing.
Bottom Main Body:
Row 1: dc into the edge of each row of ribbing across. (86(98, 110, 122, 134)
Change to Color B, ch 1 and turn.
Row 2: sc into 1st st, sc into sp between first and second st, *ch 2, sk 3, sc into sp right after the 3rd skipped st, repeat from * until 1 st remains, sc into last st. (86(98, 110, 122, 134)
Change to Color A, ch 2 and turn.
Row 3: dc into 1st st, *3dc into ch-2 sp, repeat from * across until 1 st remains, dc into last st. (86(98, 110, 122, 134)
Change to Color B, ch 1 and turn.
Rows 4-15(17, 21, 25, 27): repeat Rows 2 & 3.
Do not fasten off.
Change to Color B, ch 1 and turn.
Place stitch markers in the following stitches to indicate where the right side, back and left side of the cardigan will be worked.
2: place markers in the 20th and 22nd stitch in from each side.
4: place markers in the 23rd and 25th stitch in from each side.
6/8: place markers in the 26th and 28th stitch in from each side.
10/12: place markers in the 29th and 31st stitch in from each side
14/16: place markers in the 32nd and 34th stitch in from each side
Upper Main Body Right:
Row 1(WS): sc into 1st st, sc into sp between first and second st, *ch 2, sk 3, sc into sp right after the 3rd skipped st, repeat from * until 1st sm, sc into same st as sm. (20(23, 26, 29, 32)
Change to Color A, ch 2 and turn.
Row 2(RS): dc into 1st st, *3dc into ch-2 sp, repeat from * across until 1 st remains, dc into last st. (20(23, 26, 29, 32)
Change to Color B, ch 1 and turn.
Repeat Rows 1 and 2 for a total of 10(12, 14, 16, 18) rows.
Fasten off leaving a long tail for seaming.
Upper Main Body Center:
With WS facing you, attach Color B in the same stitch as the next sm, ch 1 and turn.
Row 1(WS): sc into 1st st, sc into sp between first and second st, *ch 2, sk 3, sc into sp right after the 3rd skipped st, repeat from * until next sm, sc into same st as sm. (44(50, 56, 62, 68)
Change to Color A, ch 2 and turn.
Row 2(RS): dc into 1st st, *3dc into ch-2 sp, repeat from * across until 1 st remains, dc into last st. (44(50, 56, 62, 68)
Change to Color B, ch 1 and turn.
Repeat Rows 1 and 2 for a total of 10(12, 14, 16, 18) rows.
Fasten off leaving a long tail for seaming.


Check out the adult version of The Magnus Cardigan.
Upper Main Body Left:
With WS facing you, attach Color B in the same stitch as the next sm, ch 1 and turn.
Row 1(WS): sc into 1st st, sc into sp between first and second st, *ch 2, sk 3, sc into sp right after the 3rd skipped st, repeat from * until 1st sm, sc into same st as sm. (20(23, 26, 29, 32)
Change to Color A, ch 2 and turn.
Row 2(RS): dc into 1st st, *3dc into ch-2 sp, repeat from * across until 1 st remains, dc into last st. (20(23, 26, 29, 32)
Change to Color B, ch 1 and turn.
Repeat Rows 1 and 2 for a total of 10(12, 14, 16, 18) rows.
Fasten off leaving a long tail for seaming.
Sleeves: make two
Ribbing:
With Color B and 5mm hook ch 7.
Row 1: sc in 2nd ch from hook and in each ch across, ch 1, turn. (6)
Row 2: sc in BLO of each st across, ch 1, turn. (6)
Repeat Row 2 for a total of 15(18, 21, 24, 27) rows.
Bring ends together and slip stitch into a loop. Turn cuff RS out. Change to Color A and ch 2.
The main body of the sleeve is worked directly into the edges of the ribbing and is made in turned rounds. Yarn can be carried up along the seam. No need to fasten off after every round.
Main Body:
Switch to 6mm hook.
Round 1(initial increase): working directly into the edges of the ribbing, 2dc into each edge around, sl st to 1st st to join. (30(36, 42, 48, 54)
Change to Color B, ch 1 and turn.
Round 2: sc into sp between first and last st of previous round, *ch 2, sk 3, sc into sp right after the 3rd skipped st, repeat from * around, sl st to1st st to join. (30(36, 42, 48, 54)
Change to Color A, ch 2 and turn.
Round 3: *3dc into ch-2 sp, repeat from * around, sl st to1st st to join. (30(36, 42, 48, 54)
Change to Color B, ch 1 and turn.
Repeat Rows 2-3 for a total of 27(29, 31, 37, 41) rows.
*adjust number of rows to lengthen or shorten sleeves.
Fasten off leaving a long tail for seaming.
Seaming:
Shoulders:
Line up front panel shoulders with the top of the back panel. With Color A and a tapestry needle, seam the shoulders together using your preferred method of seaming. Mattress stitch was used for the sample.
Sleeves:
Turn cardigan WS out. Place sleeve into armhole with right sides facing each other. Make sure the seam of the sleeve in lined up with the bottom of the armhole. Pin or clip in place then using Color A and a tapestry needle use your preferred method of seaming to join the sleeve to the armhole.
Pockets: make two
With 6mm hook and Color A, ch 16(16, 19, 19, 22)
Row 1: dc in 3rd ch from hook and in each ch across. (14(14, 17, 17, 20)
Change to Color B, ch 1 and turn.
Row 2: sc into 1st st, sc into sp between first and second st, *ch 2, sk 3, sc into sp right after the 3rd skipped st, repeat from * until 1 st remains, sc into last st. (14(14, 17, 17, 20)
Change to Color A, ch 2 and turn.
Row 3: dc into 1st st, *3dc into ch-2 sp, repeat from * across until 1 st remains, dc into last st. (14(14, 17, 17, 20)
Change to Color B, ch 1 and turn.
Repeat Rows 2-3 for a total of 9(9, 11, 11, 13) rows.
Change to Color B, ch 1 and turn.
Row 10(10, 12, 12, 14): sc into 1st st and each st across. (14(14, 17, 17, 20)
Do not fasten off. Ribbing is applied directly to top of pocket.
Pocket Ribbing:
Switch to 5.5mm hook.
Row 1:ch3 ,scin 2nd ch from hook and in next ch, slst into 1st 2 sts on top of pocket, turn. (2sc, 2 sl sts)
Row 2: sk sl sts, sc BLO in each st across, ch 1, turn. (2 sc)
Row 3: sc BLO 3, sl st into next 2 sts on top of pocket, turn. (3sc, 2 sl sts)
Repeat Rows 2-3 until you’ve reached the end of the pocket, ending on a Row 3 repeat and sl stitching into the last st of the pocket.
Fasten off leaving a tail for seaming.
Collar:
With 6mm hook and Color B, attach yarn to bottom right front of cardigan and ch 1.
Row 1: sc in same st as join and in each st of the ribbing, then work 2 sc into end of each double crochet row and 1 sc into the end of each sc row and neckline st around, ch 1, turn.
Rows 2: sc into each st around, ch 1, turn.
Row 3: sc into each st around.
Fasten off and weave in ends.
Attach Pockets:
Pin pockets to both sides of the cardigan 2” in from the collar and 2.5” up from the bottom edge.
Sew in place along both sides and bottom using your preferred method. Fasten off and weave in all ends.

I hope you’re little one loves their new Mini Magnus! If you make one, I’d love to see it. Make sure to tag me @meghanmakesdo and use #theminimagnuscardigan on socials so I can share.
As always you can find a PDF version of this pattern in my shop, Etsy or Ravelry along with the complete kit from Lion Brand Yarn.
Happy Crocheting,
Meghan