The Mini Beryl Pumpkin-LIVE CAL
This post may contain affiliate links. If you make a purchase through one of those links I may receive a small commission.
Ever since I created the Wavel and Beryl Pumpkin crochet patterns, I’ve been itching to make a mini version. What better way to share the new mini crochet pattern than with a LIVE Crochet Along on Instagram! Scroll down for the free mini Beryl Pumpkin pattern or watch the LIVE video.
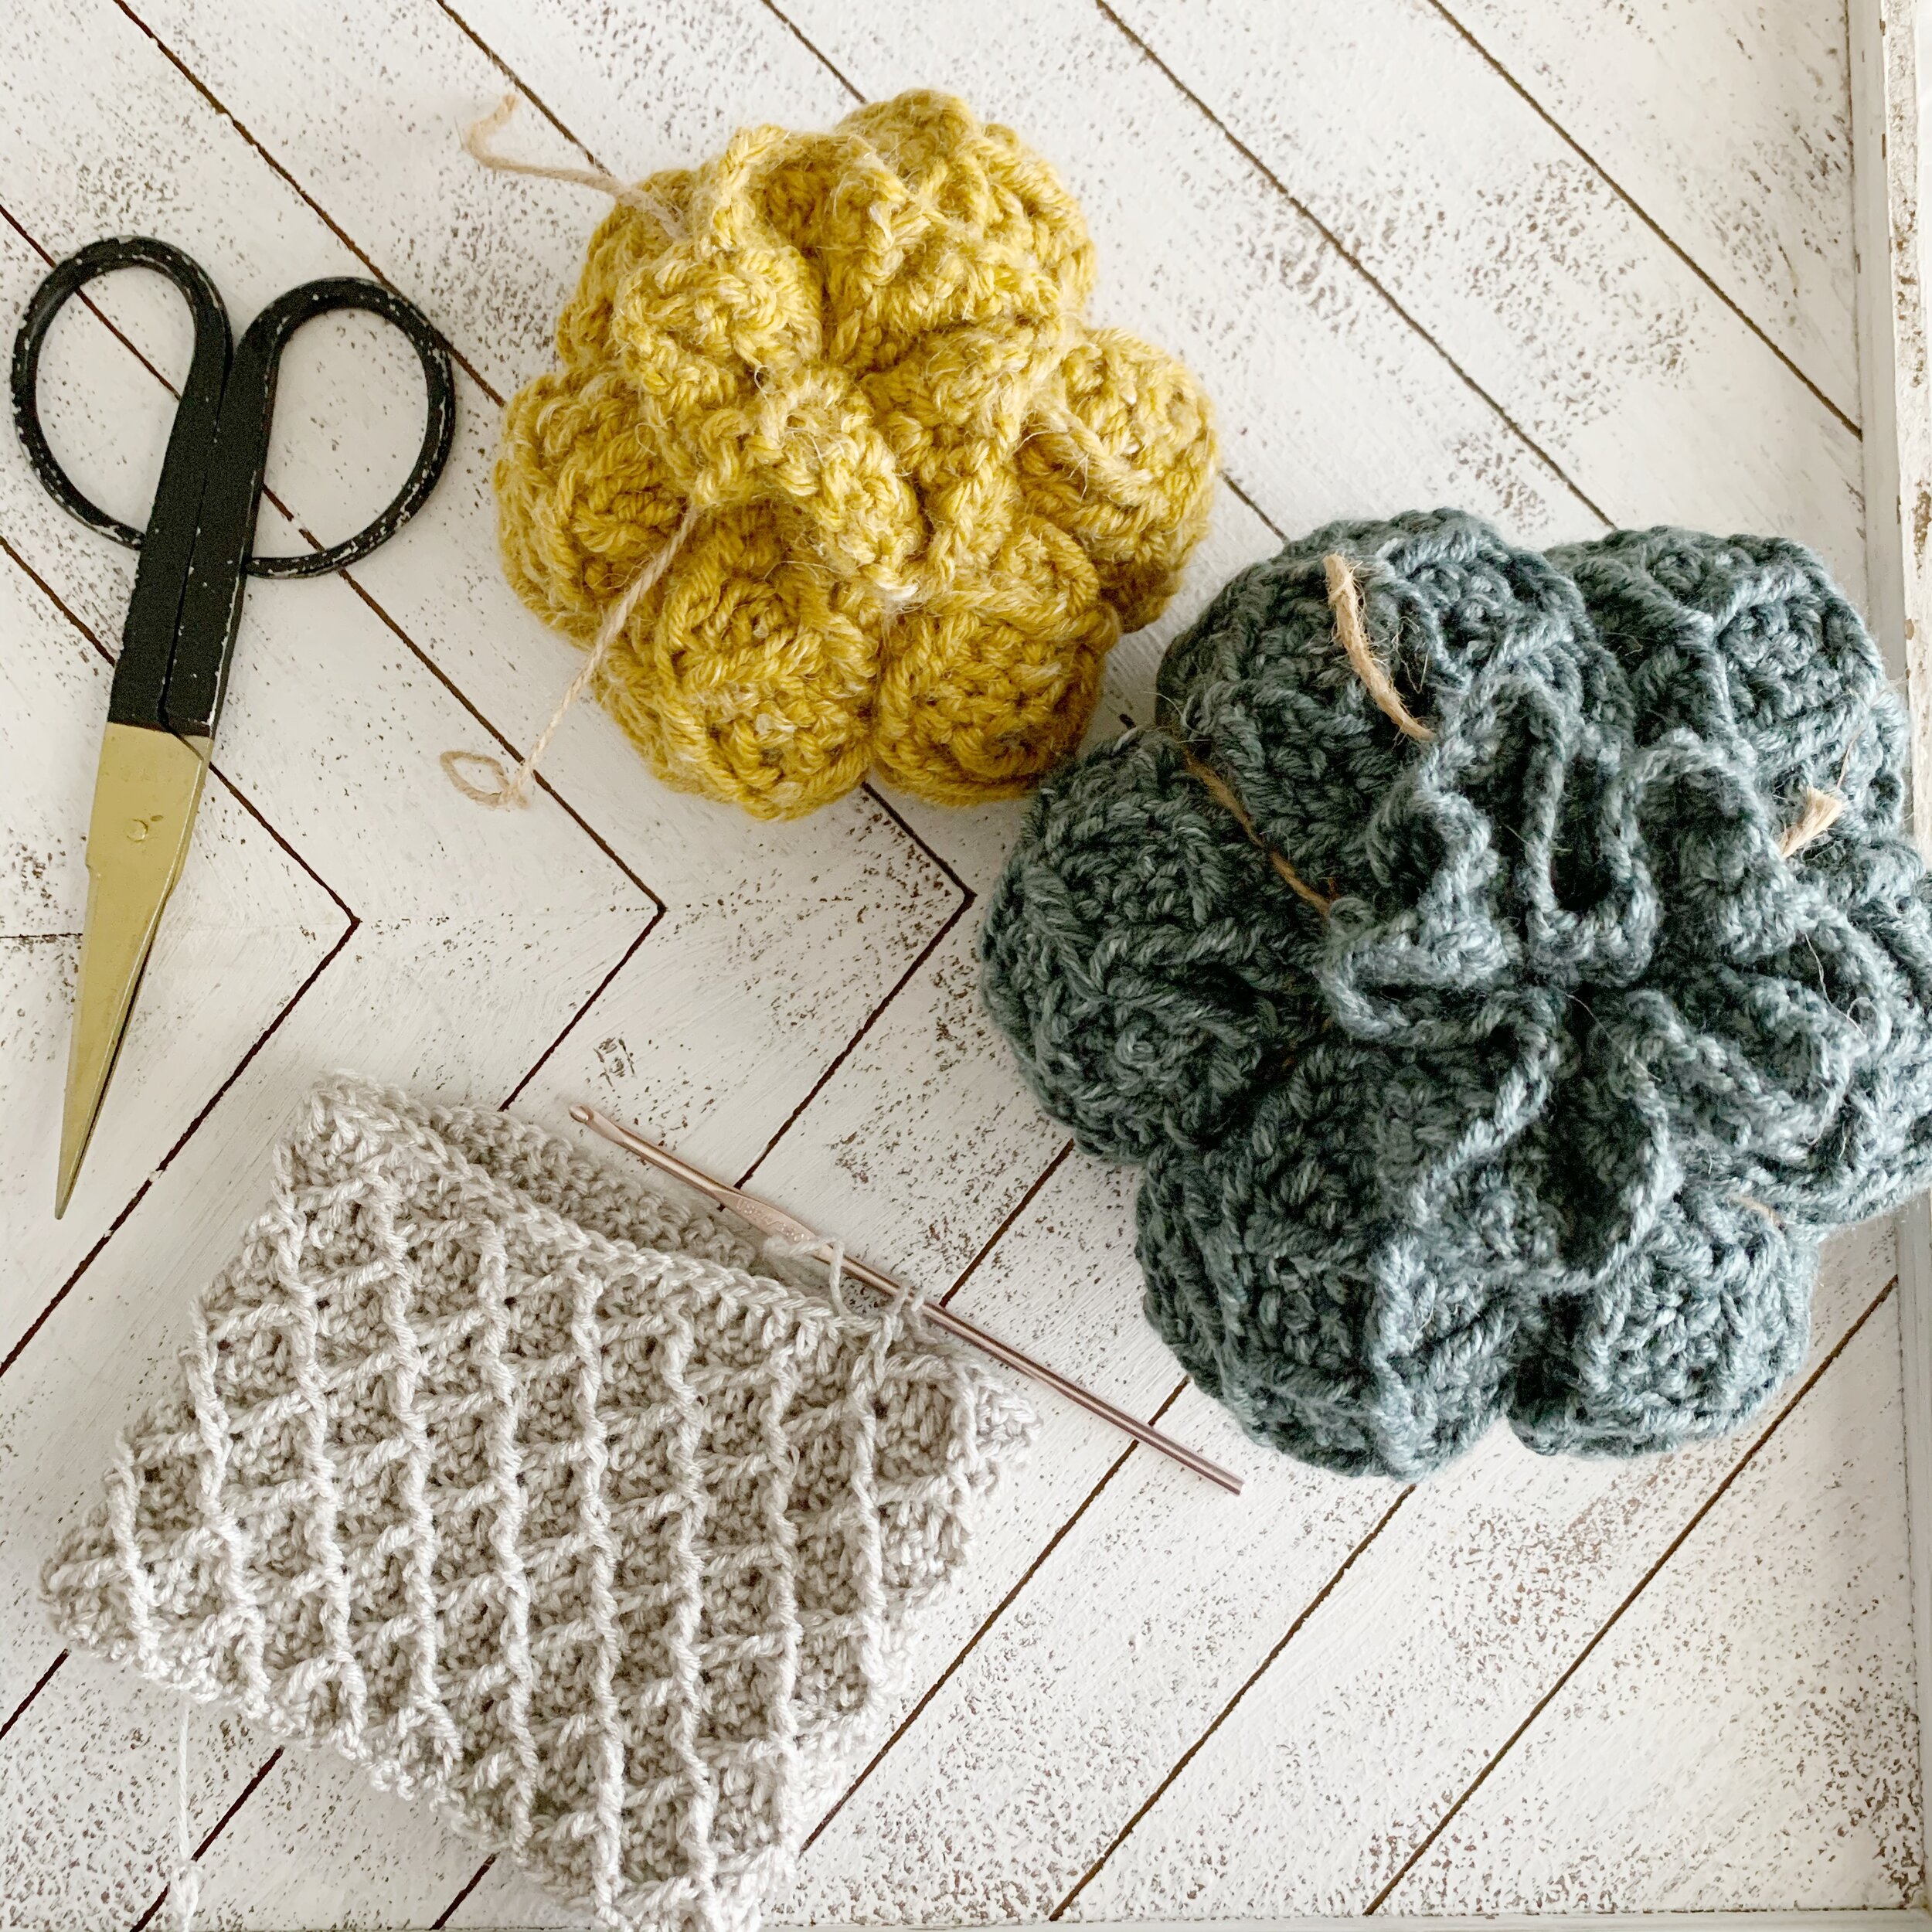
I’m thrilled to be bringing you the mini version of the Beryl Pumpkin pattern today. I decided to switch it up a bit and use worsted weight yarn this time. It gives the minis a chunkier look which I love. The best thing about making these little pumpkins is that you can use whatever yarn and hook you’d like and you’ll get a different look each time! You can also make them in any size you’d like. Just remember to start your pumpkin with a multiple of 4 chains and you’ll be good.
If you weren’t able to join me for the LIVE Crochet Along on Instagram you can find the replay video below or scroll down for the free written pattern.
TheMini Beryl Pumpkin Crochet Pattern
Materials Needed:
150-200 yards of worsted weight yarn such as Lion Brand Jeans
Crochet hook size F (3.75mm)
Tapestry needle
Scissors
Fiber Fill
20 yards of twine
Abbreviations:
Ch- chain
St(s)- stitch(es)
Sl st- slip stitch
Sc- single crochet
Dc- double crochet
fptrc2tog- front post treble crochet two together
Gauge:
18 stitches X 8 rows =4” square in double crochet
Note that gauge is not essential for making mini pumpkins. Feel free to experiment with different hook sizes and yarn weights to achieve the look you want.
Notes:
1.Pattern is worked in the round from the top down.
2.Ch 3 at the beginning of dc rounds counts as a stitch.
3.All fptrc2tog stitches are worked around the sc or fptrc2tog stitches two rounds below.
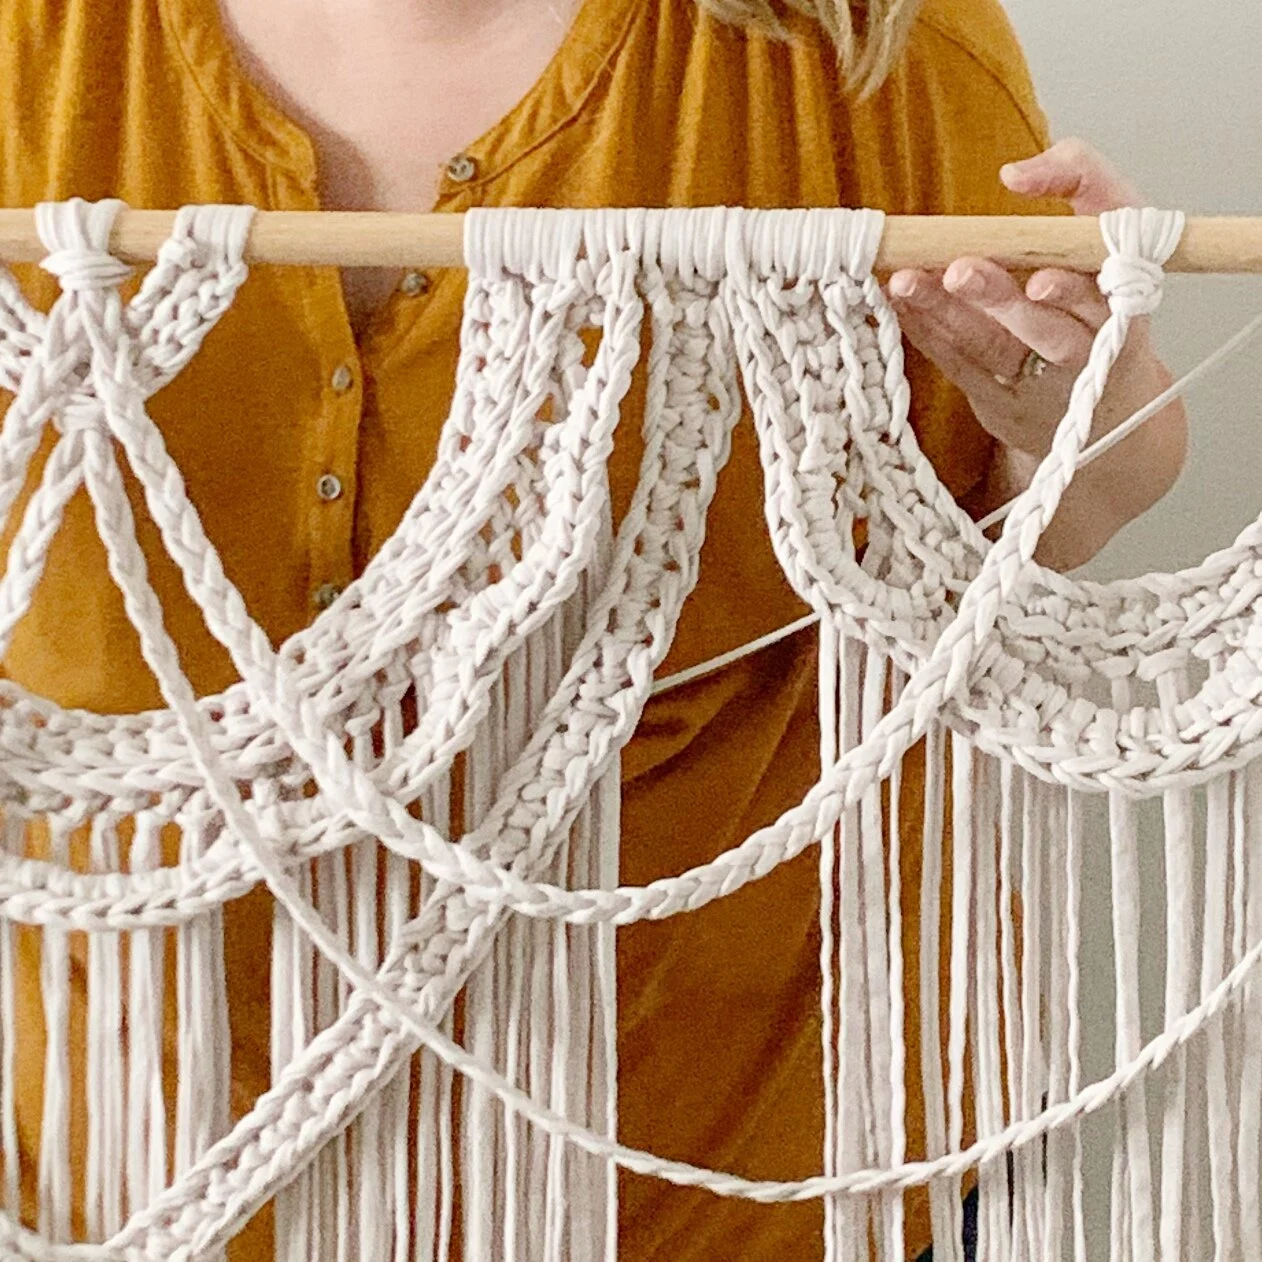
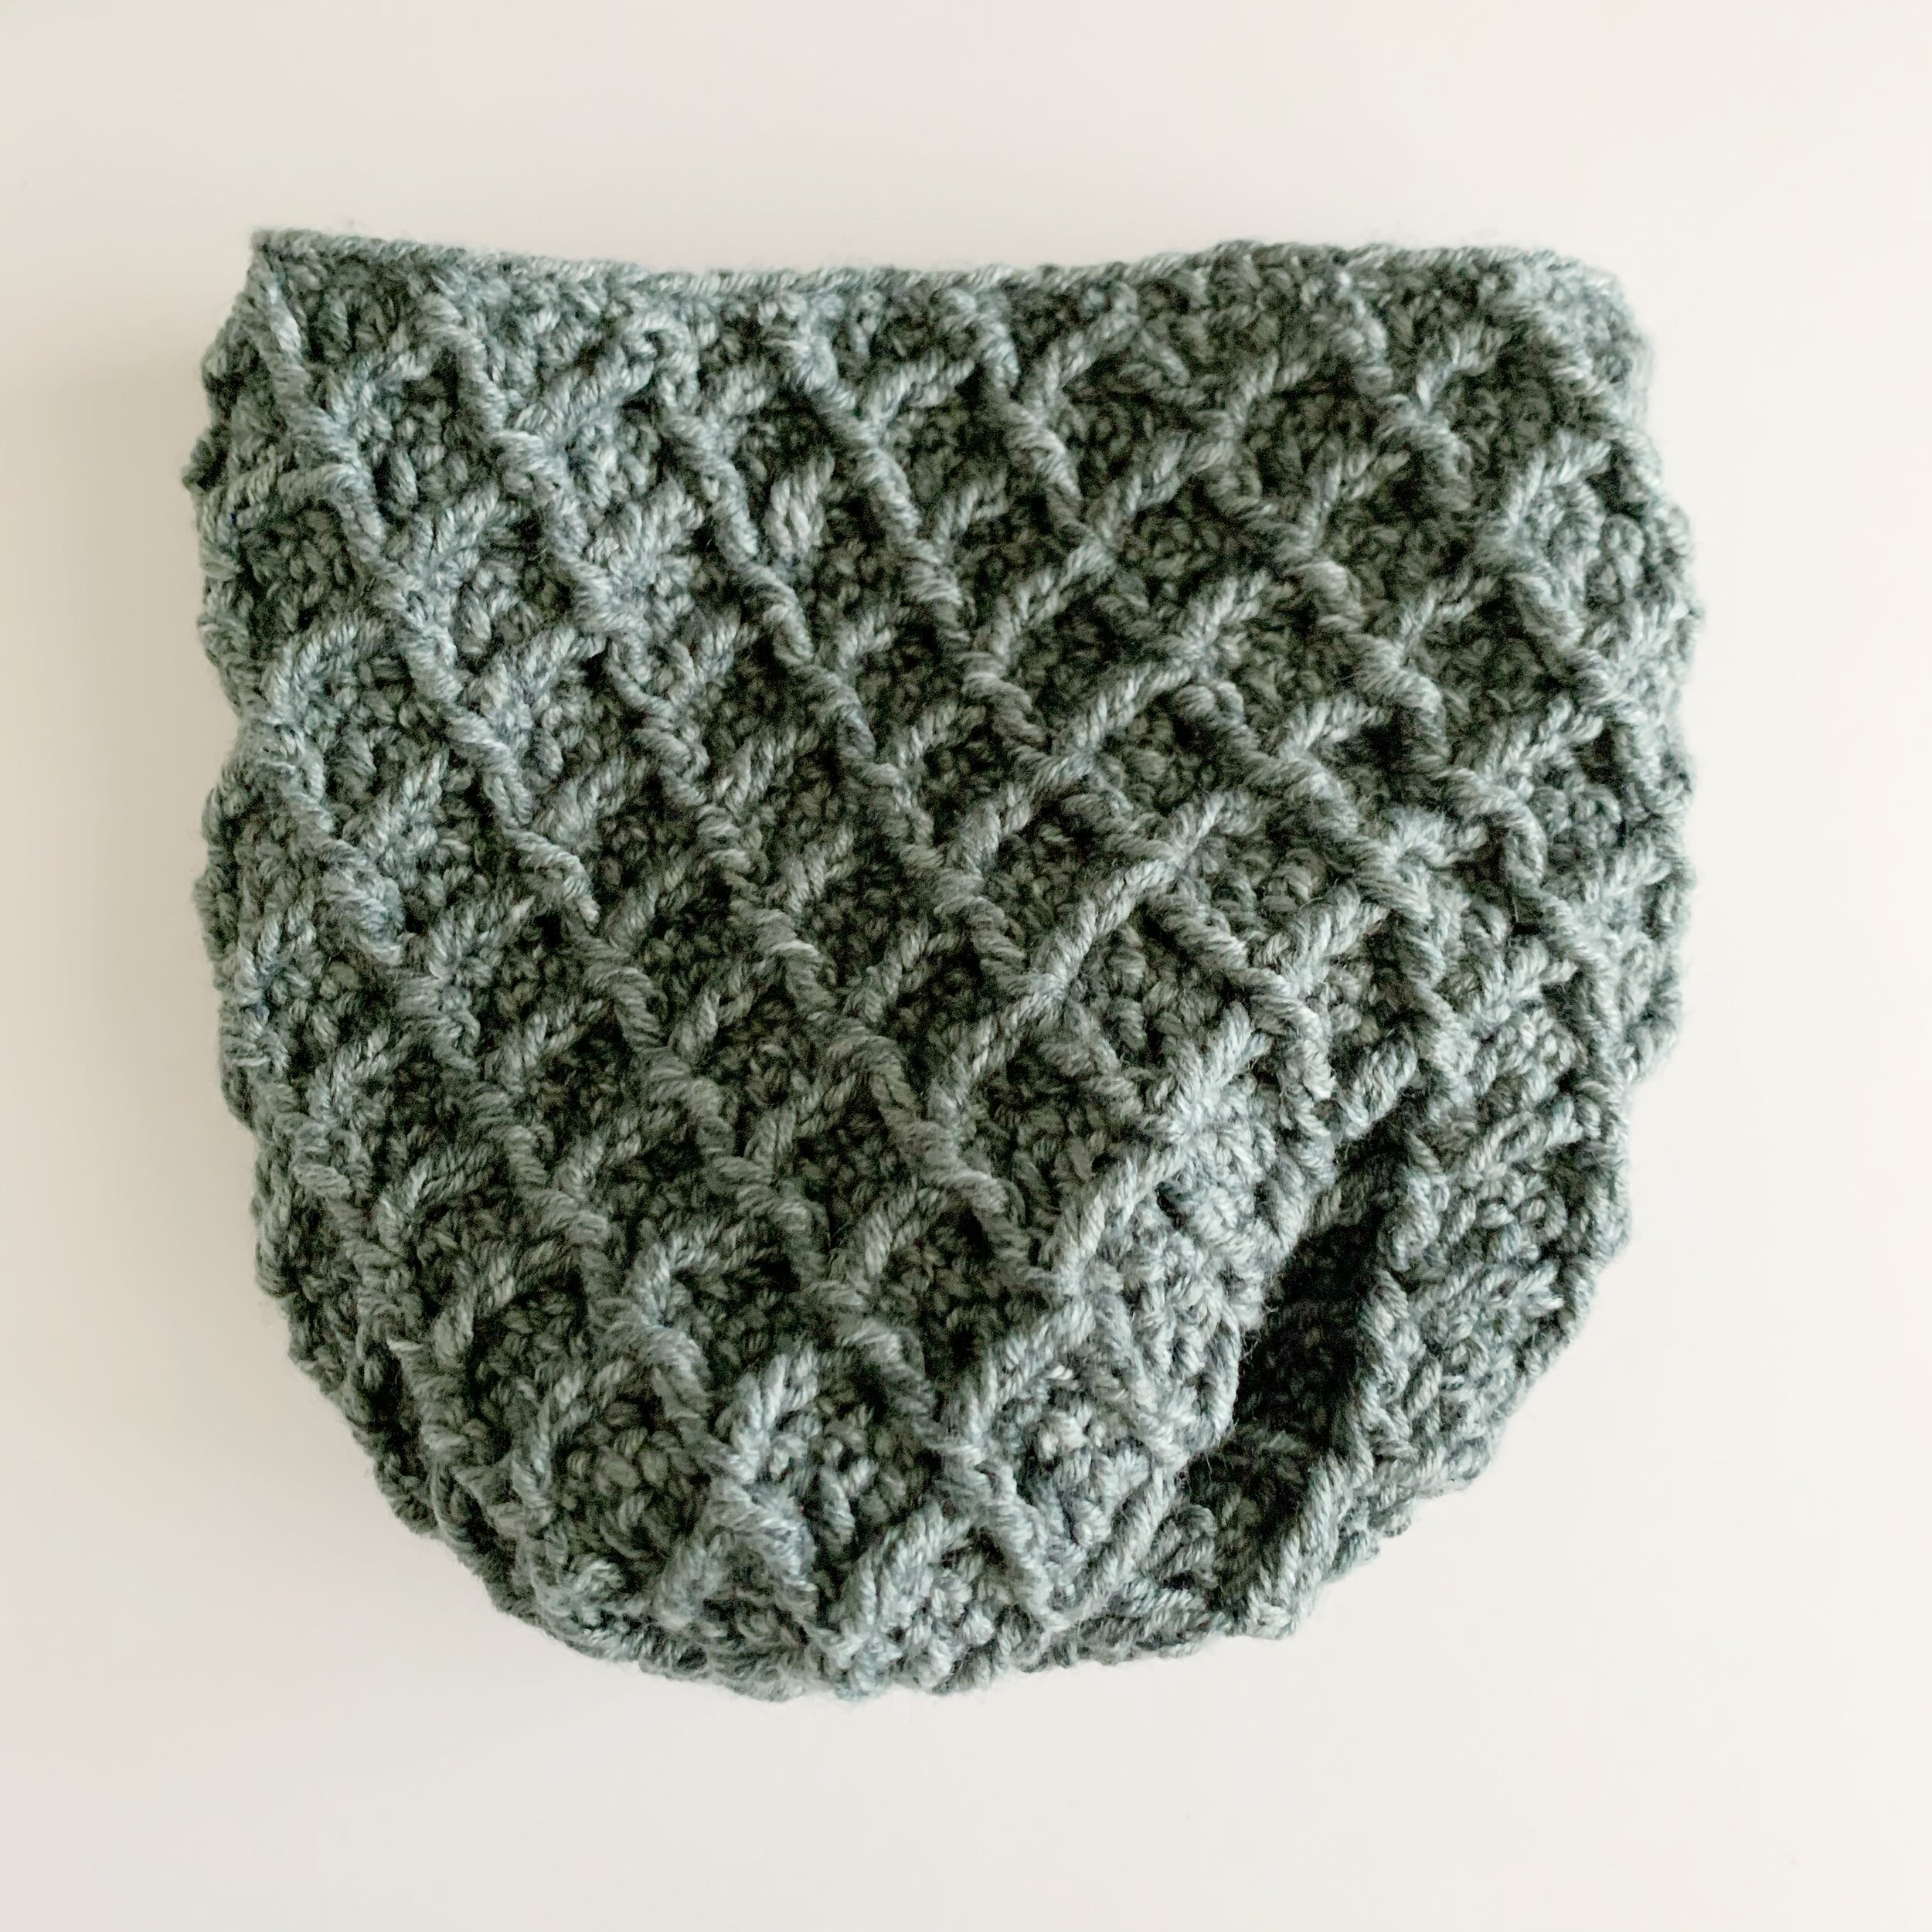
If you are unfamiliar with the Diamond Lattice Stitch I recommend watching my video tutorial to familiarize yourself with the stitch before you begin. For a more detailed photo tutorial check out my original Beryl Pumpkin Crochet Pattern.

Pattern:
Ch 68, sl st to 1st chain to join making sure not to twist the chains.
Round 1: ch 1, sc in same st as join and in each ch around, sl st to top of 1st st to join. (68)
Round 2: ch 3 (counts as 1st st), dc in each st around, sl st to top of ch 3 to join. (68)
At this point it may be helpful to place stitch markers in every fourth stitch, starting in the join, to help set up your initial diamond stitch row.
Round 3: do not ch, fptrc2tog working back into the sc row two stitches to the right of the join and into the sc row two stitches to the left of the join, now working back into the top of the dc stitches of round 2, sk 1, sc 3, *fptrc2tog working into the same st as the previous fptrc2tog and the fourth stitch from that fptrc2tog in the sc row, working back into the dc sts, sk 1, sc 3, repeat from * around, sl st to top of 1st fptrc2tog st to join. (68)
Round 4: ch 3 (counts as 1st st), dc into each st around, sl st to top of ch 3 to join. (68)
Round 5: ch 1, sc into same st as join and in next st, *fptrc2tog around the top of the first two fptrc2tog two rounds below, working back into the dc from the previous round, sk 1, sc 3, repeat from * until last set of fptrc2tog, working back into the dc from the previous round, sk 1, sc, sl st to top of 1st st to join. (68)
Round 6: ch 3 (counts as first st), dc in each st around, sl st to top of ch 3 to join. (68)
Round 7: do not ch, working around the fptrc2tog to the right of the join and in the next fptrc2tog two rows below, *fptrc2tog, working back into dc, sk 1, sc 3, repeat from * around, sl st to the top of the first fptrc2tog to join. (68)
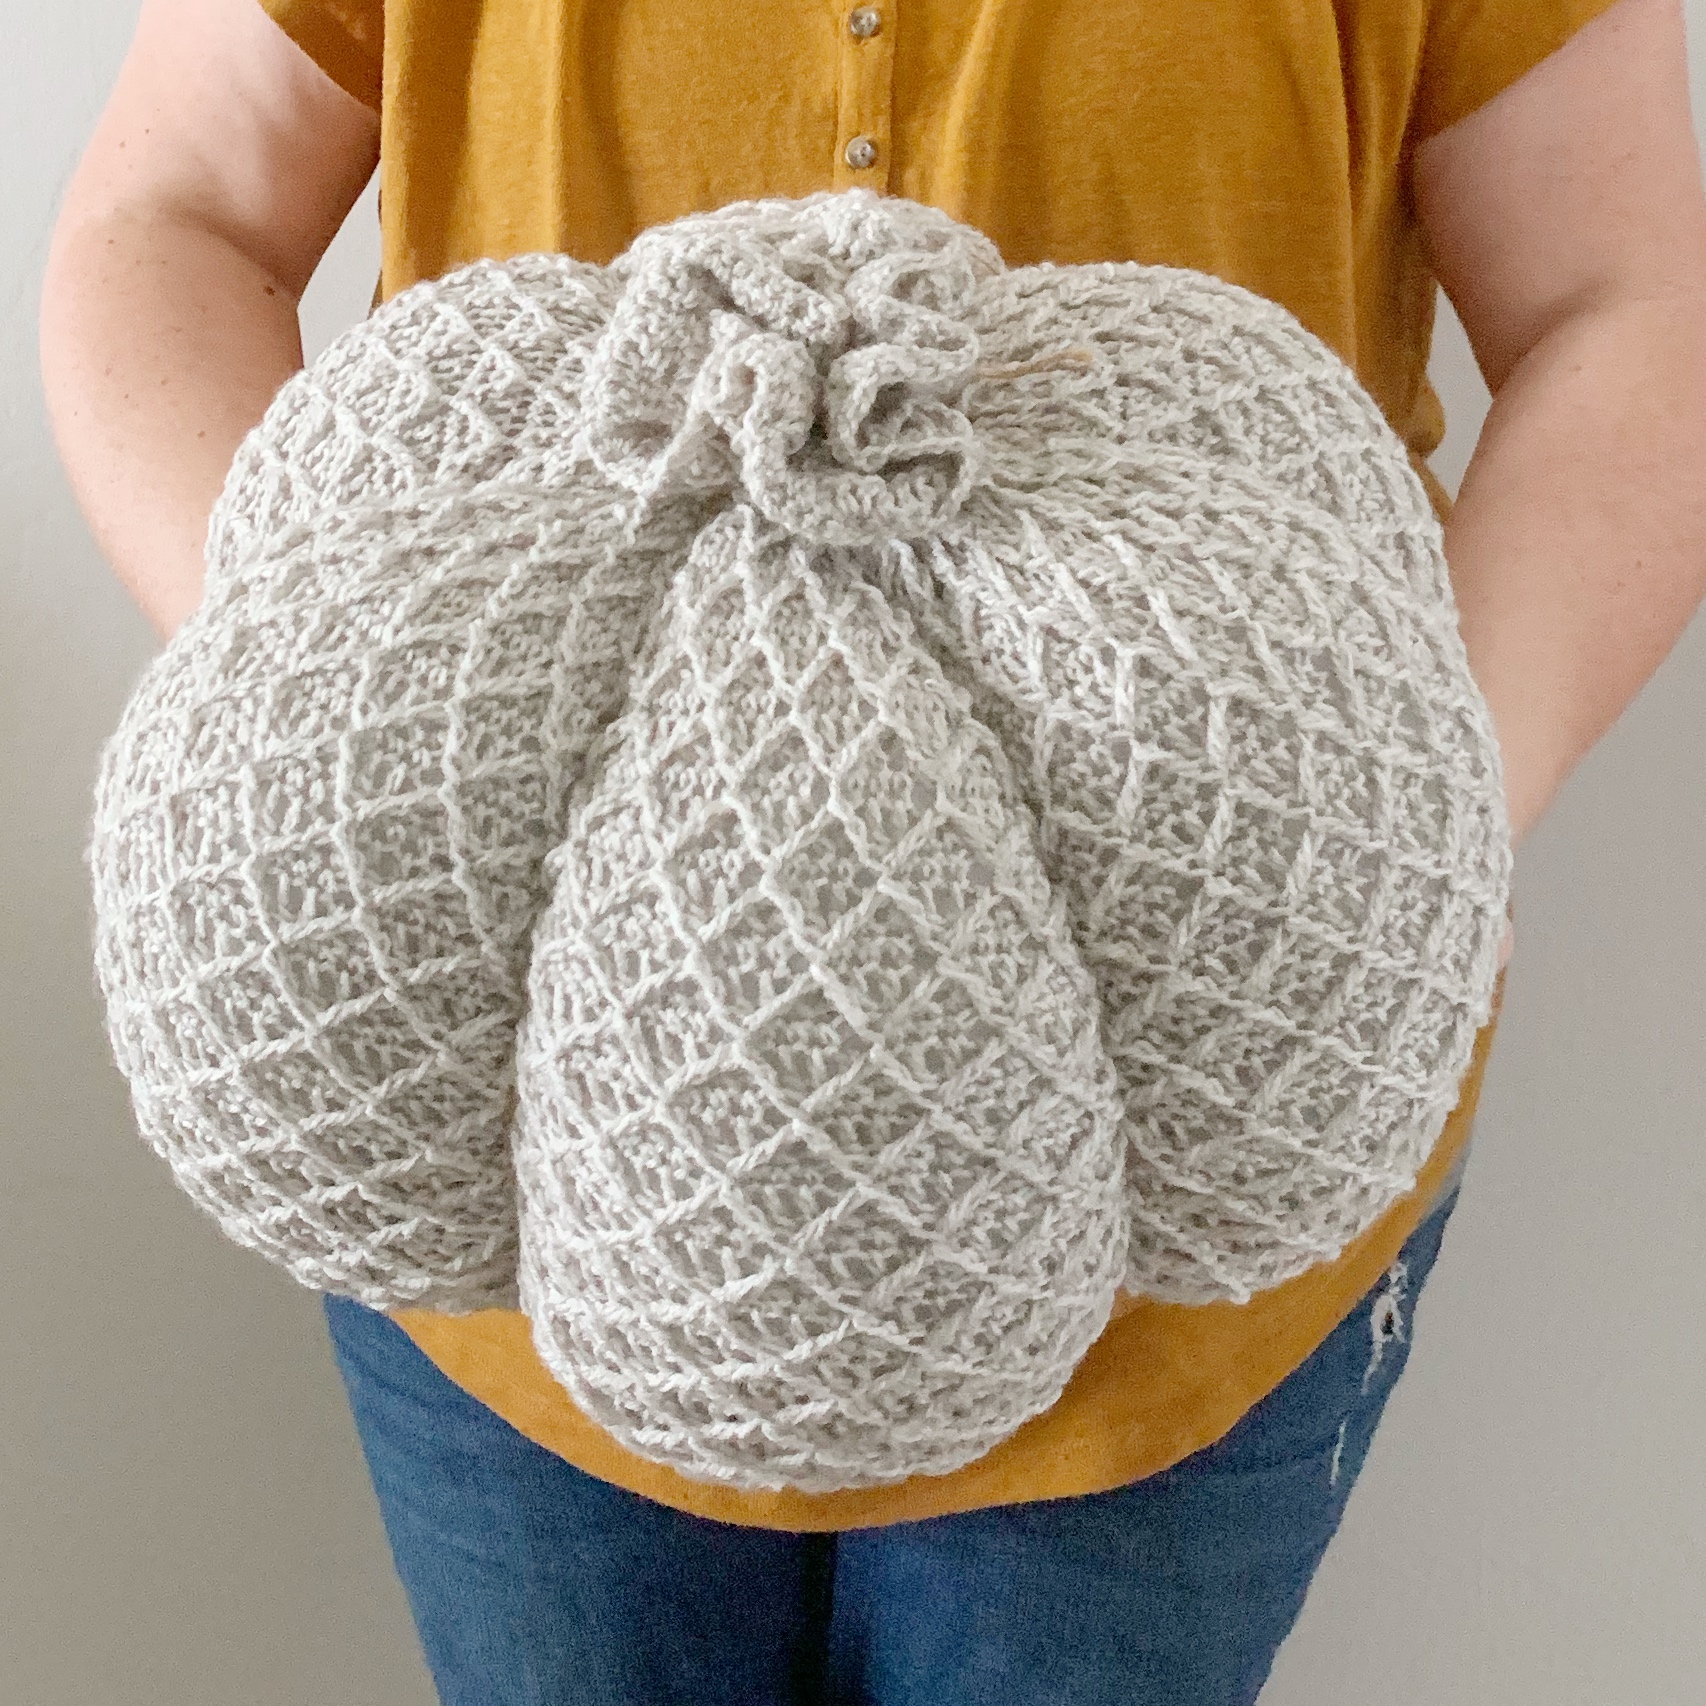
Repeat rounds 4-7 until pumpkin measures 7.5-8” high.

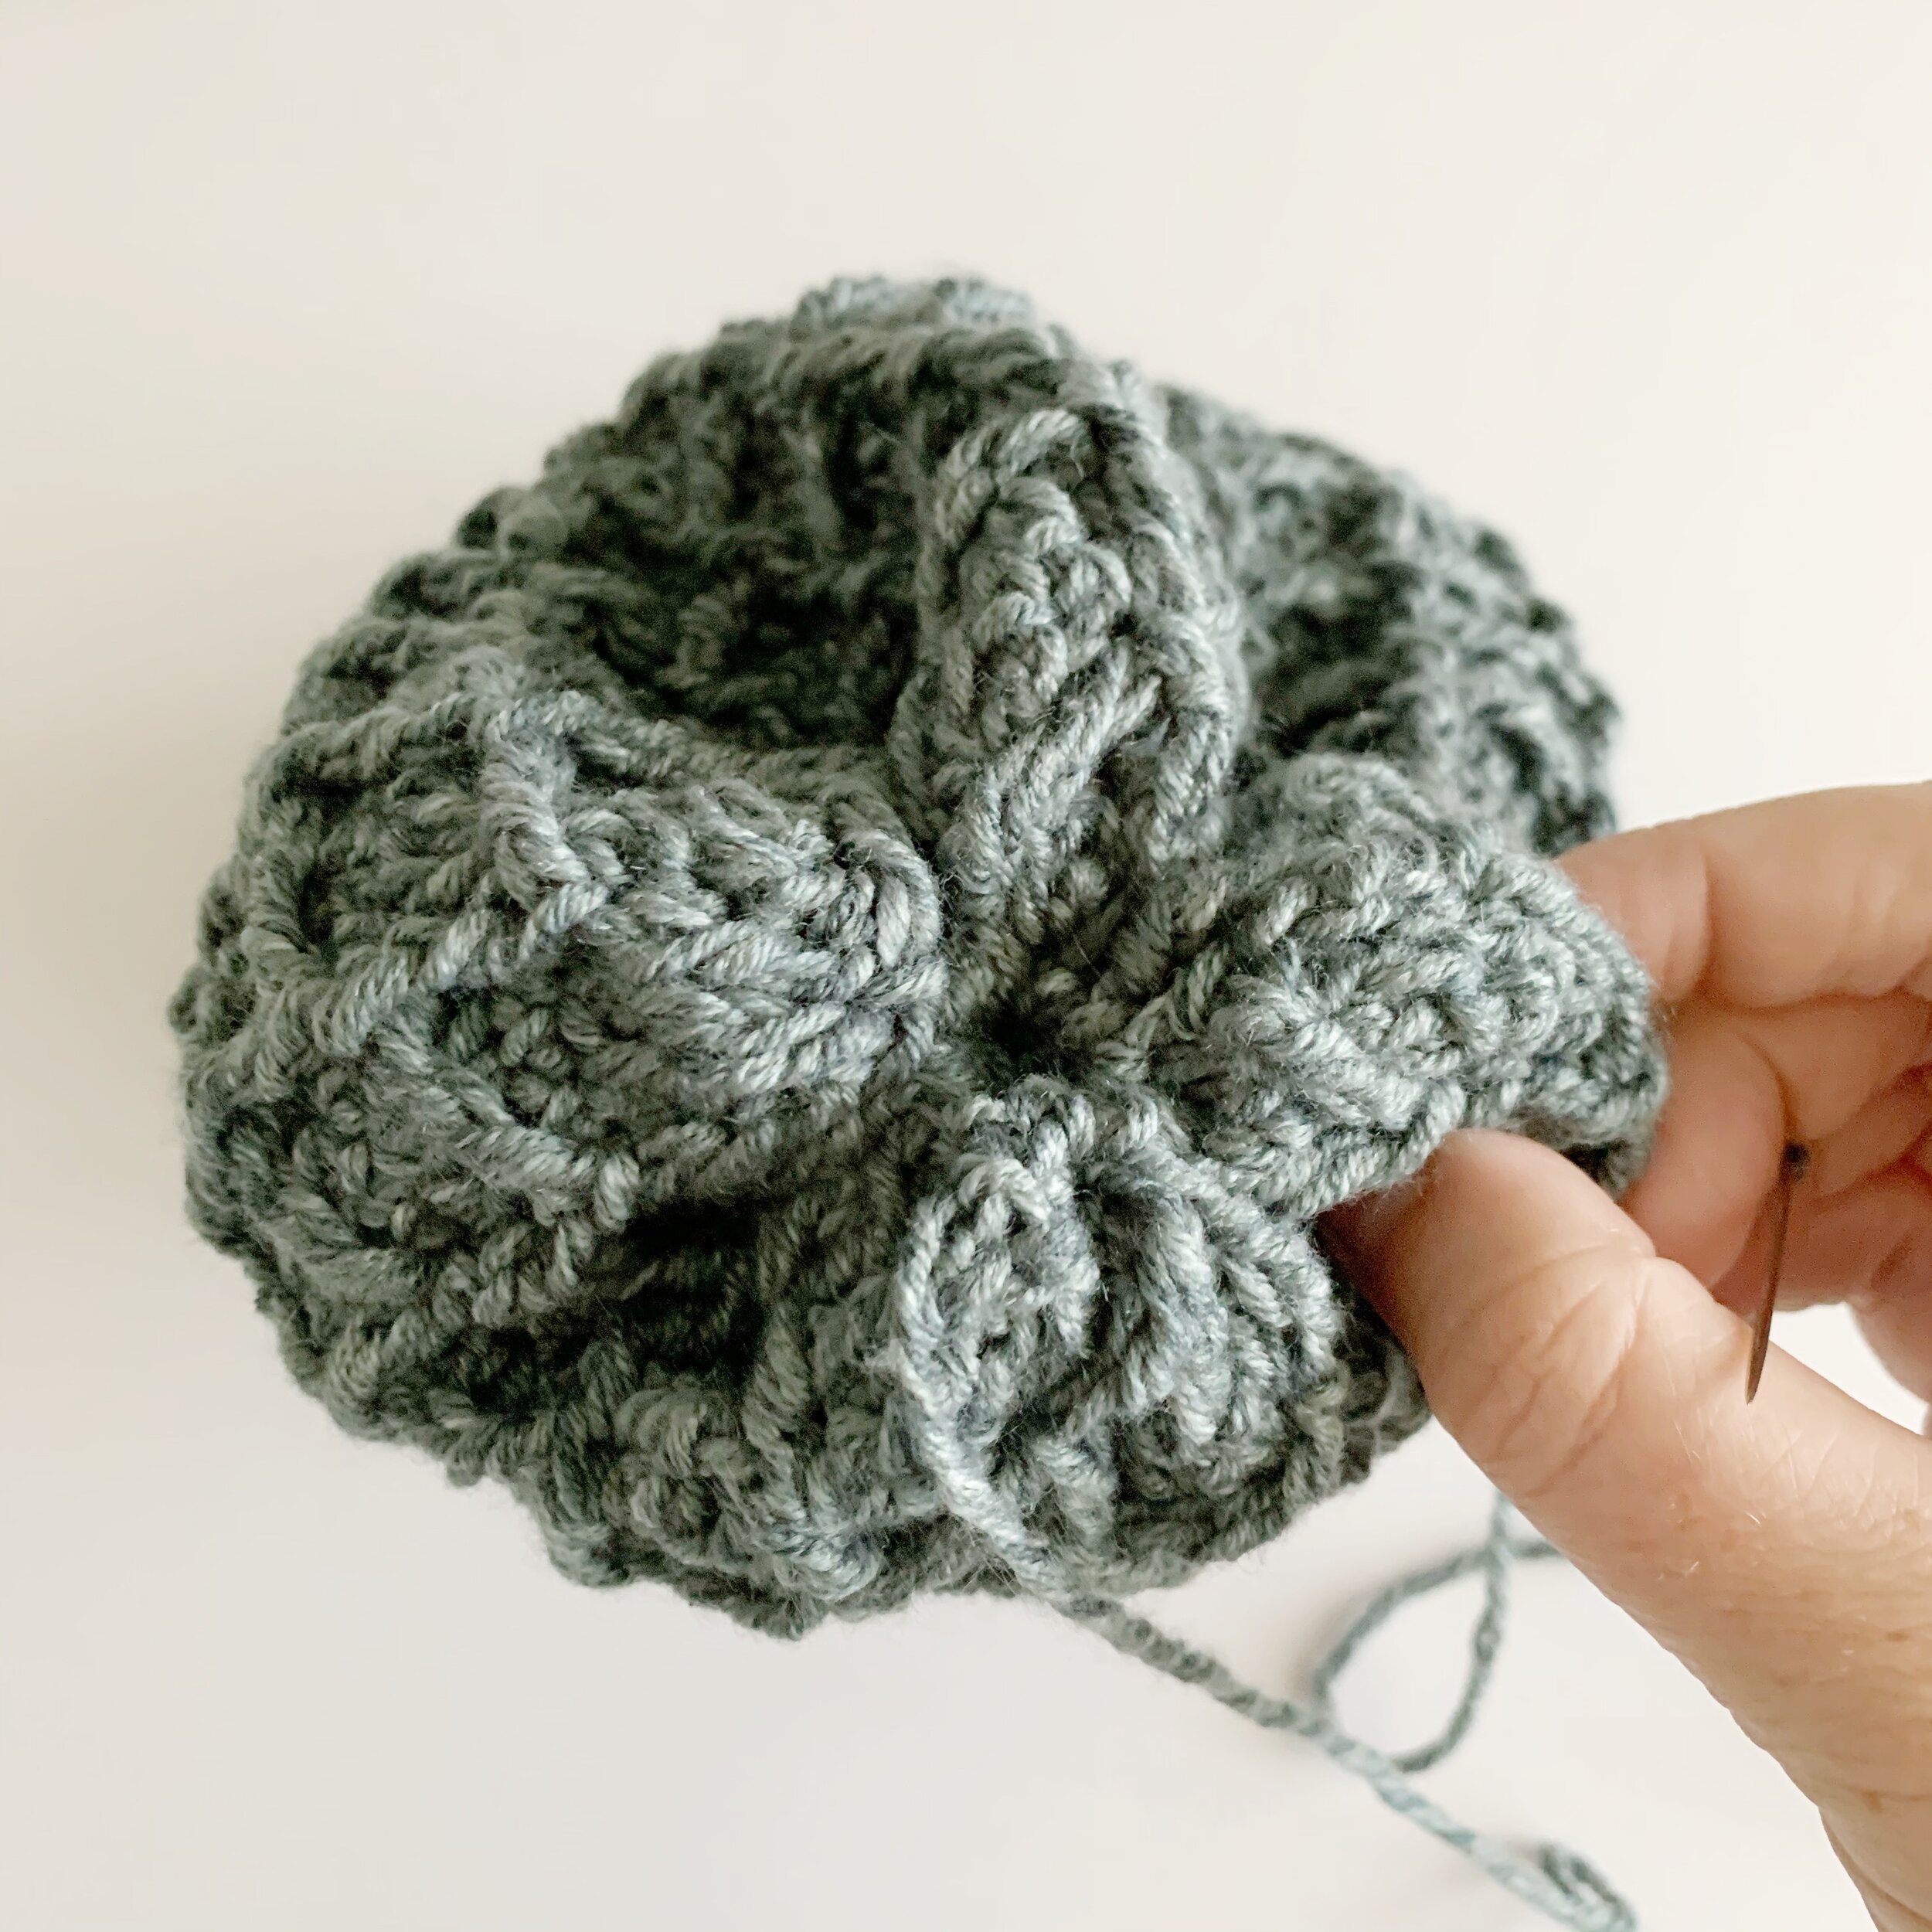
Fasten off leaving a long tail for sewing. Weave in all other ends.
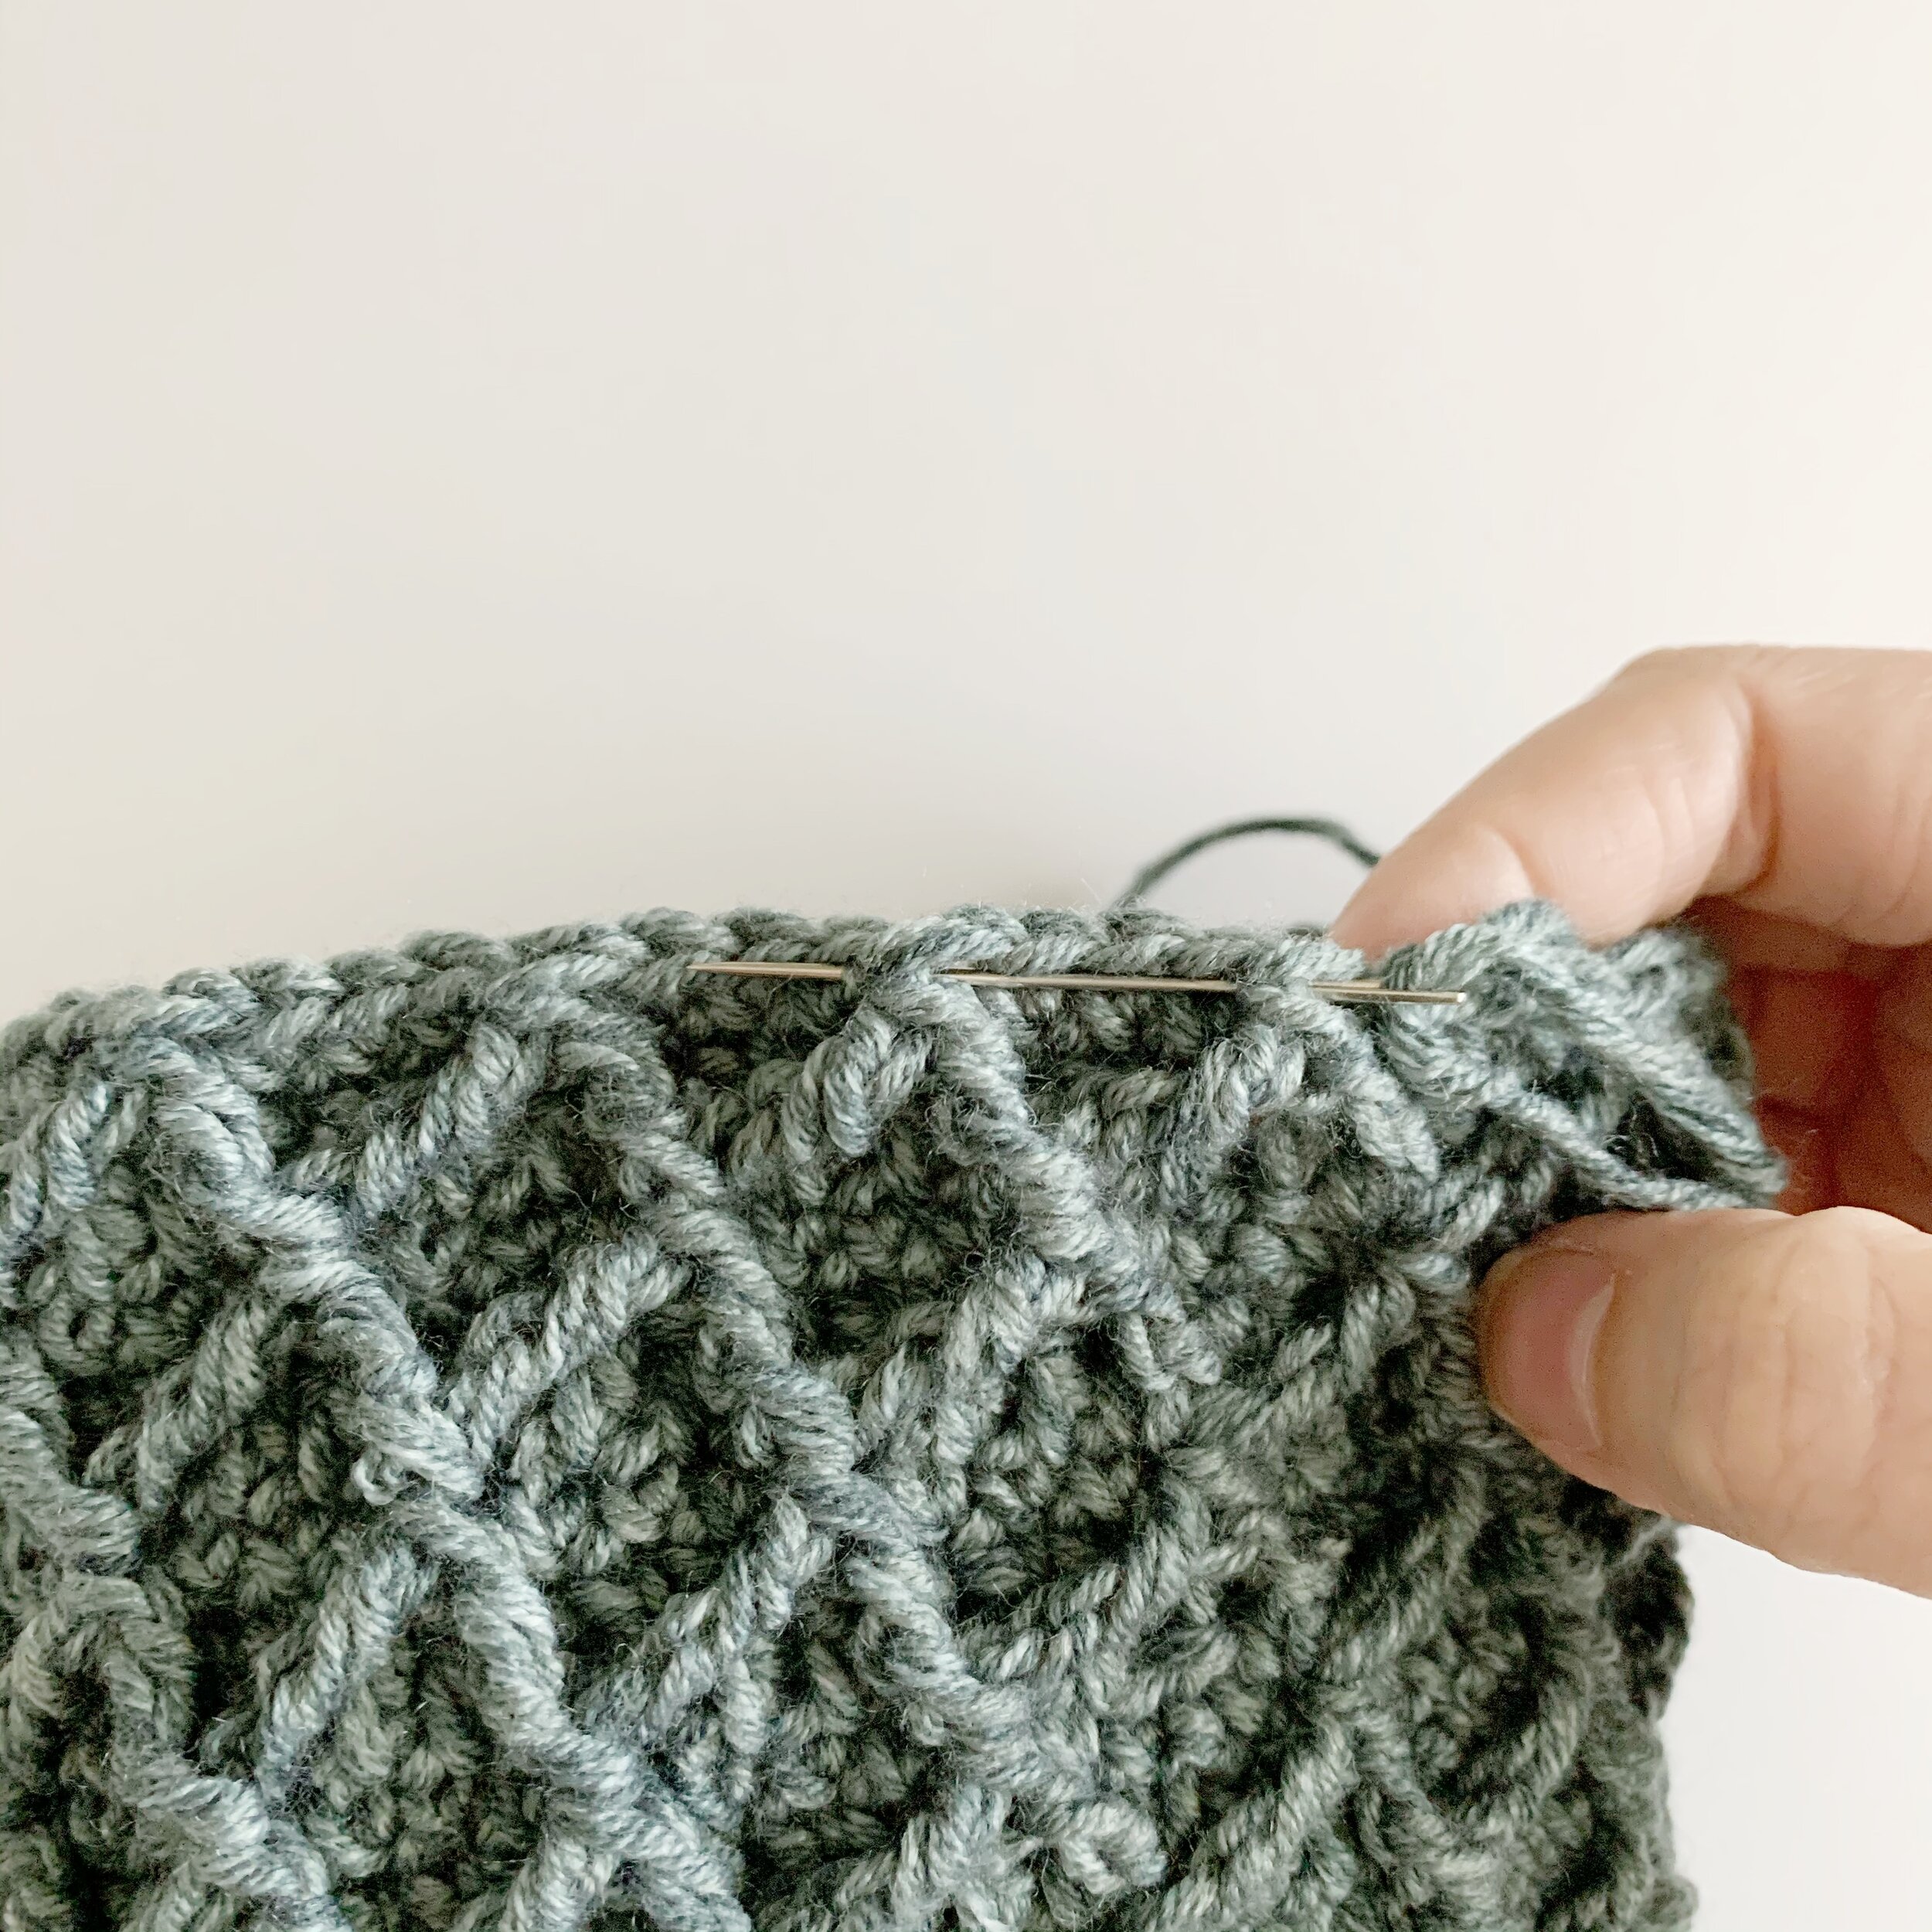
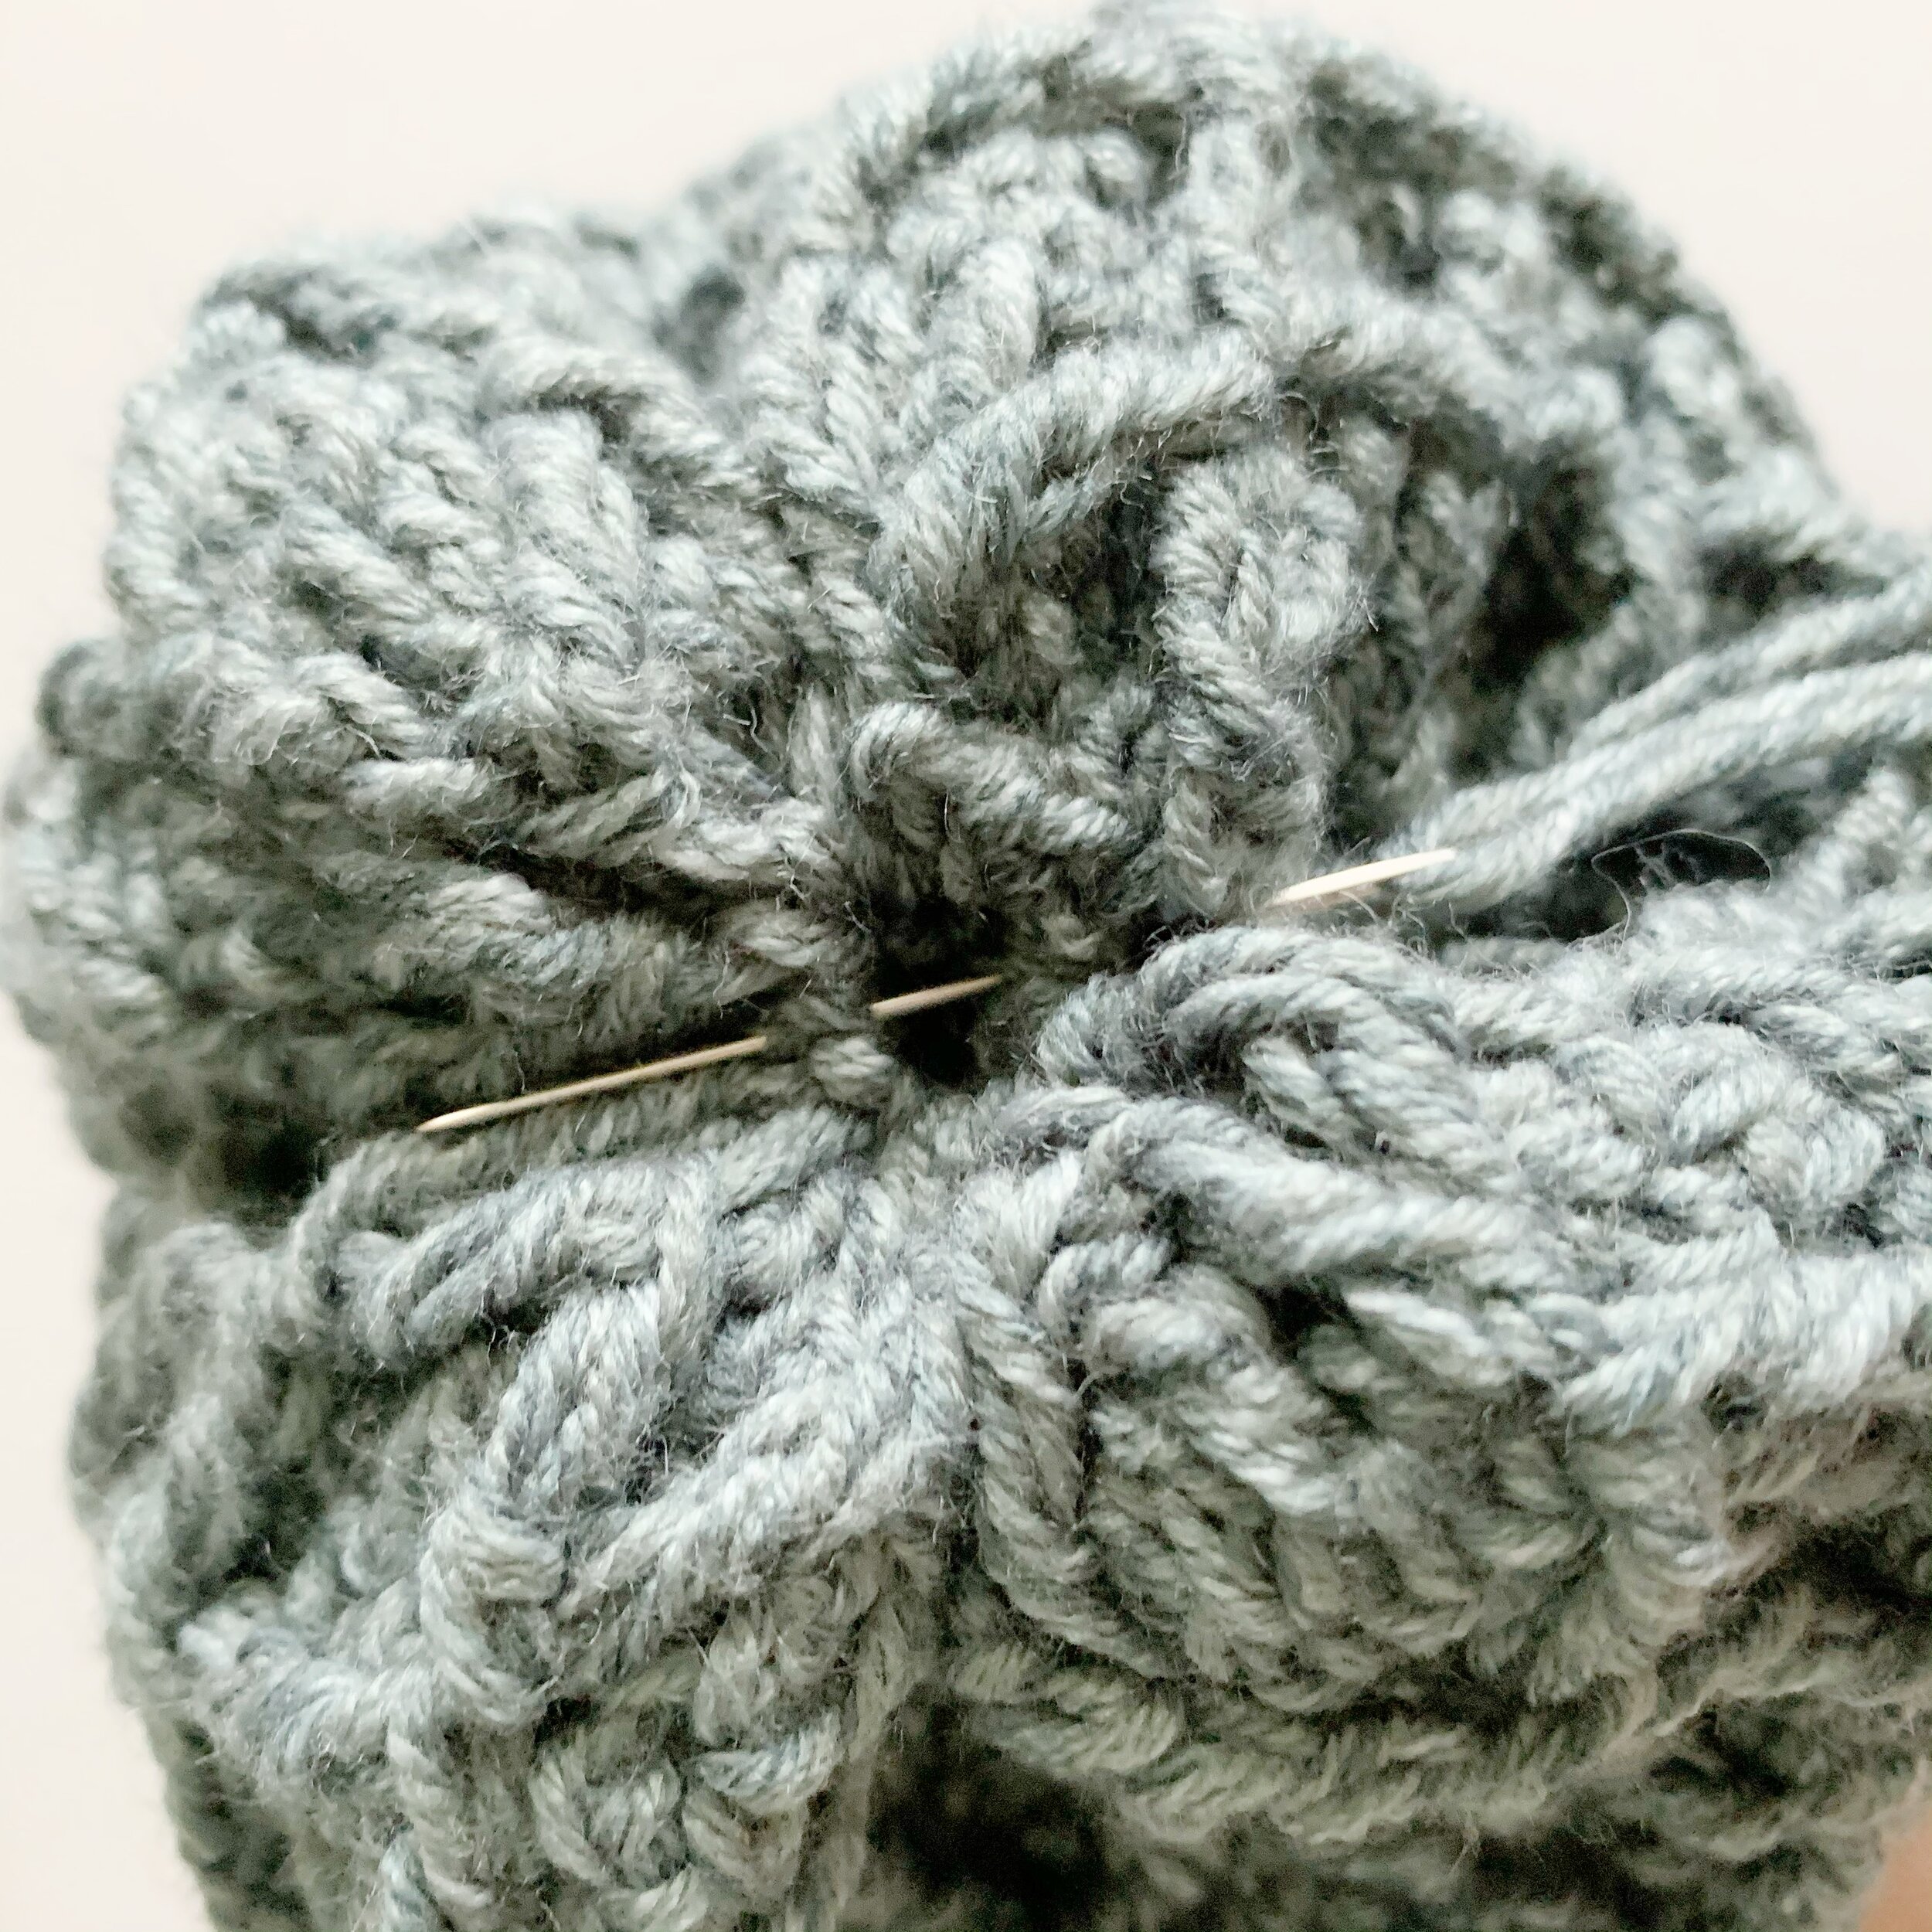
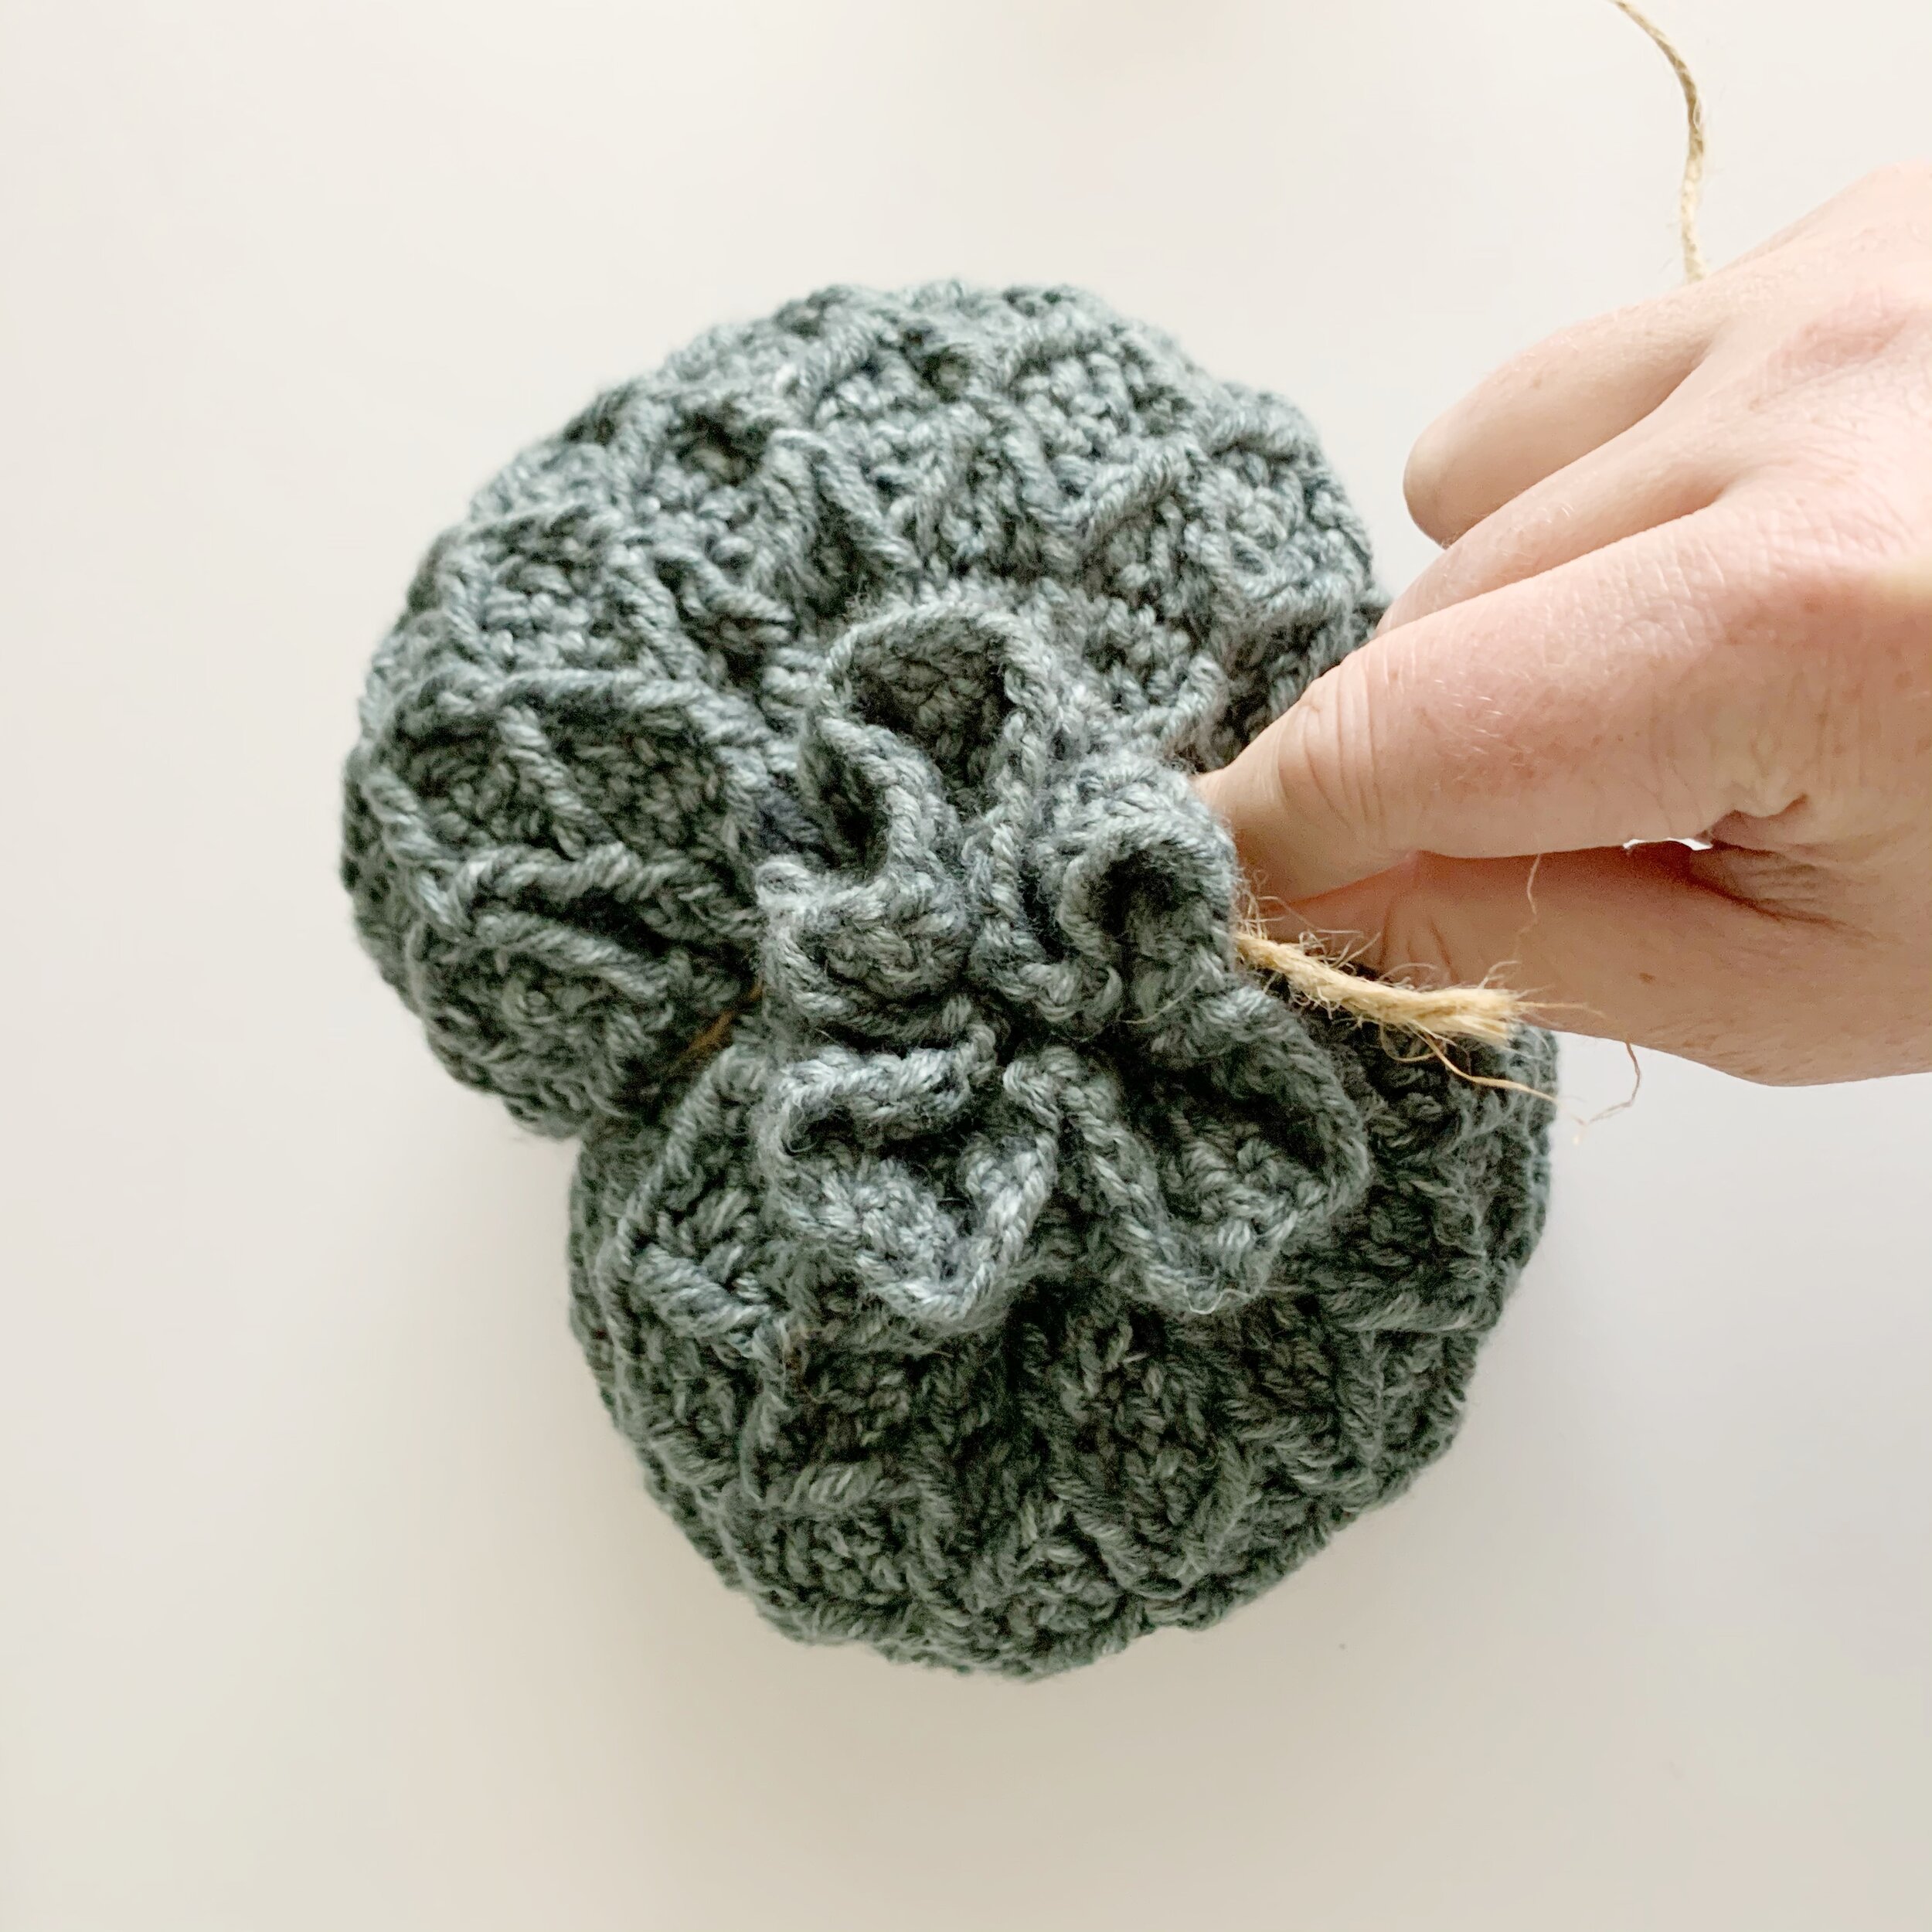
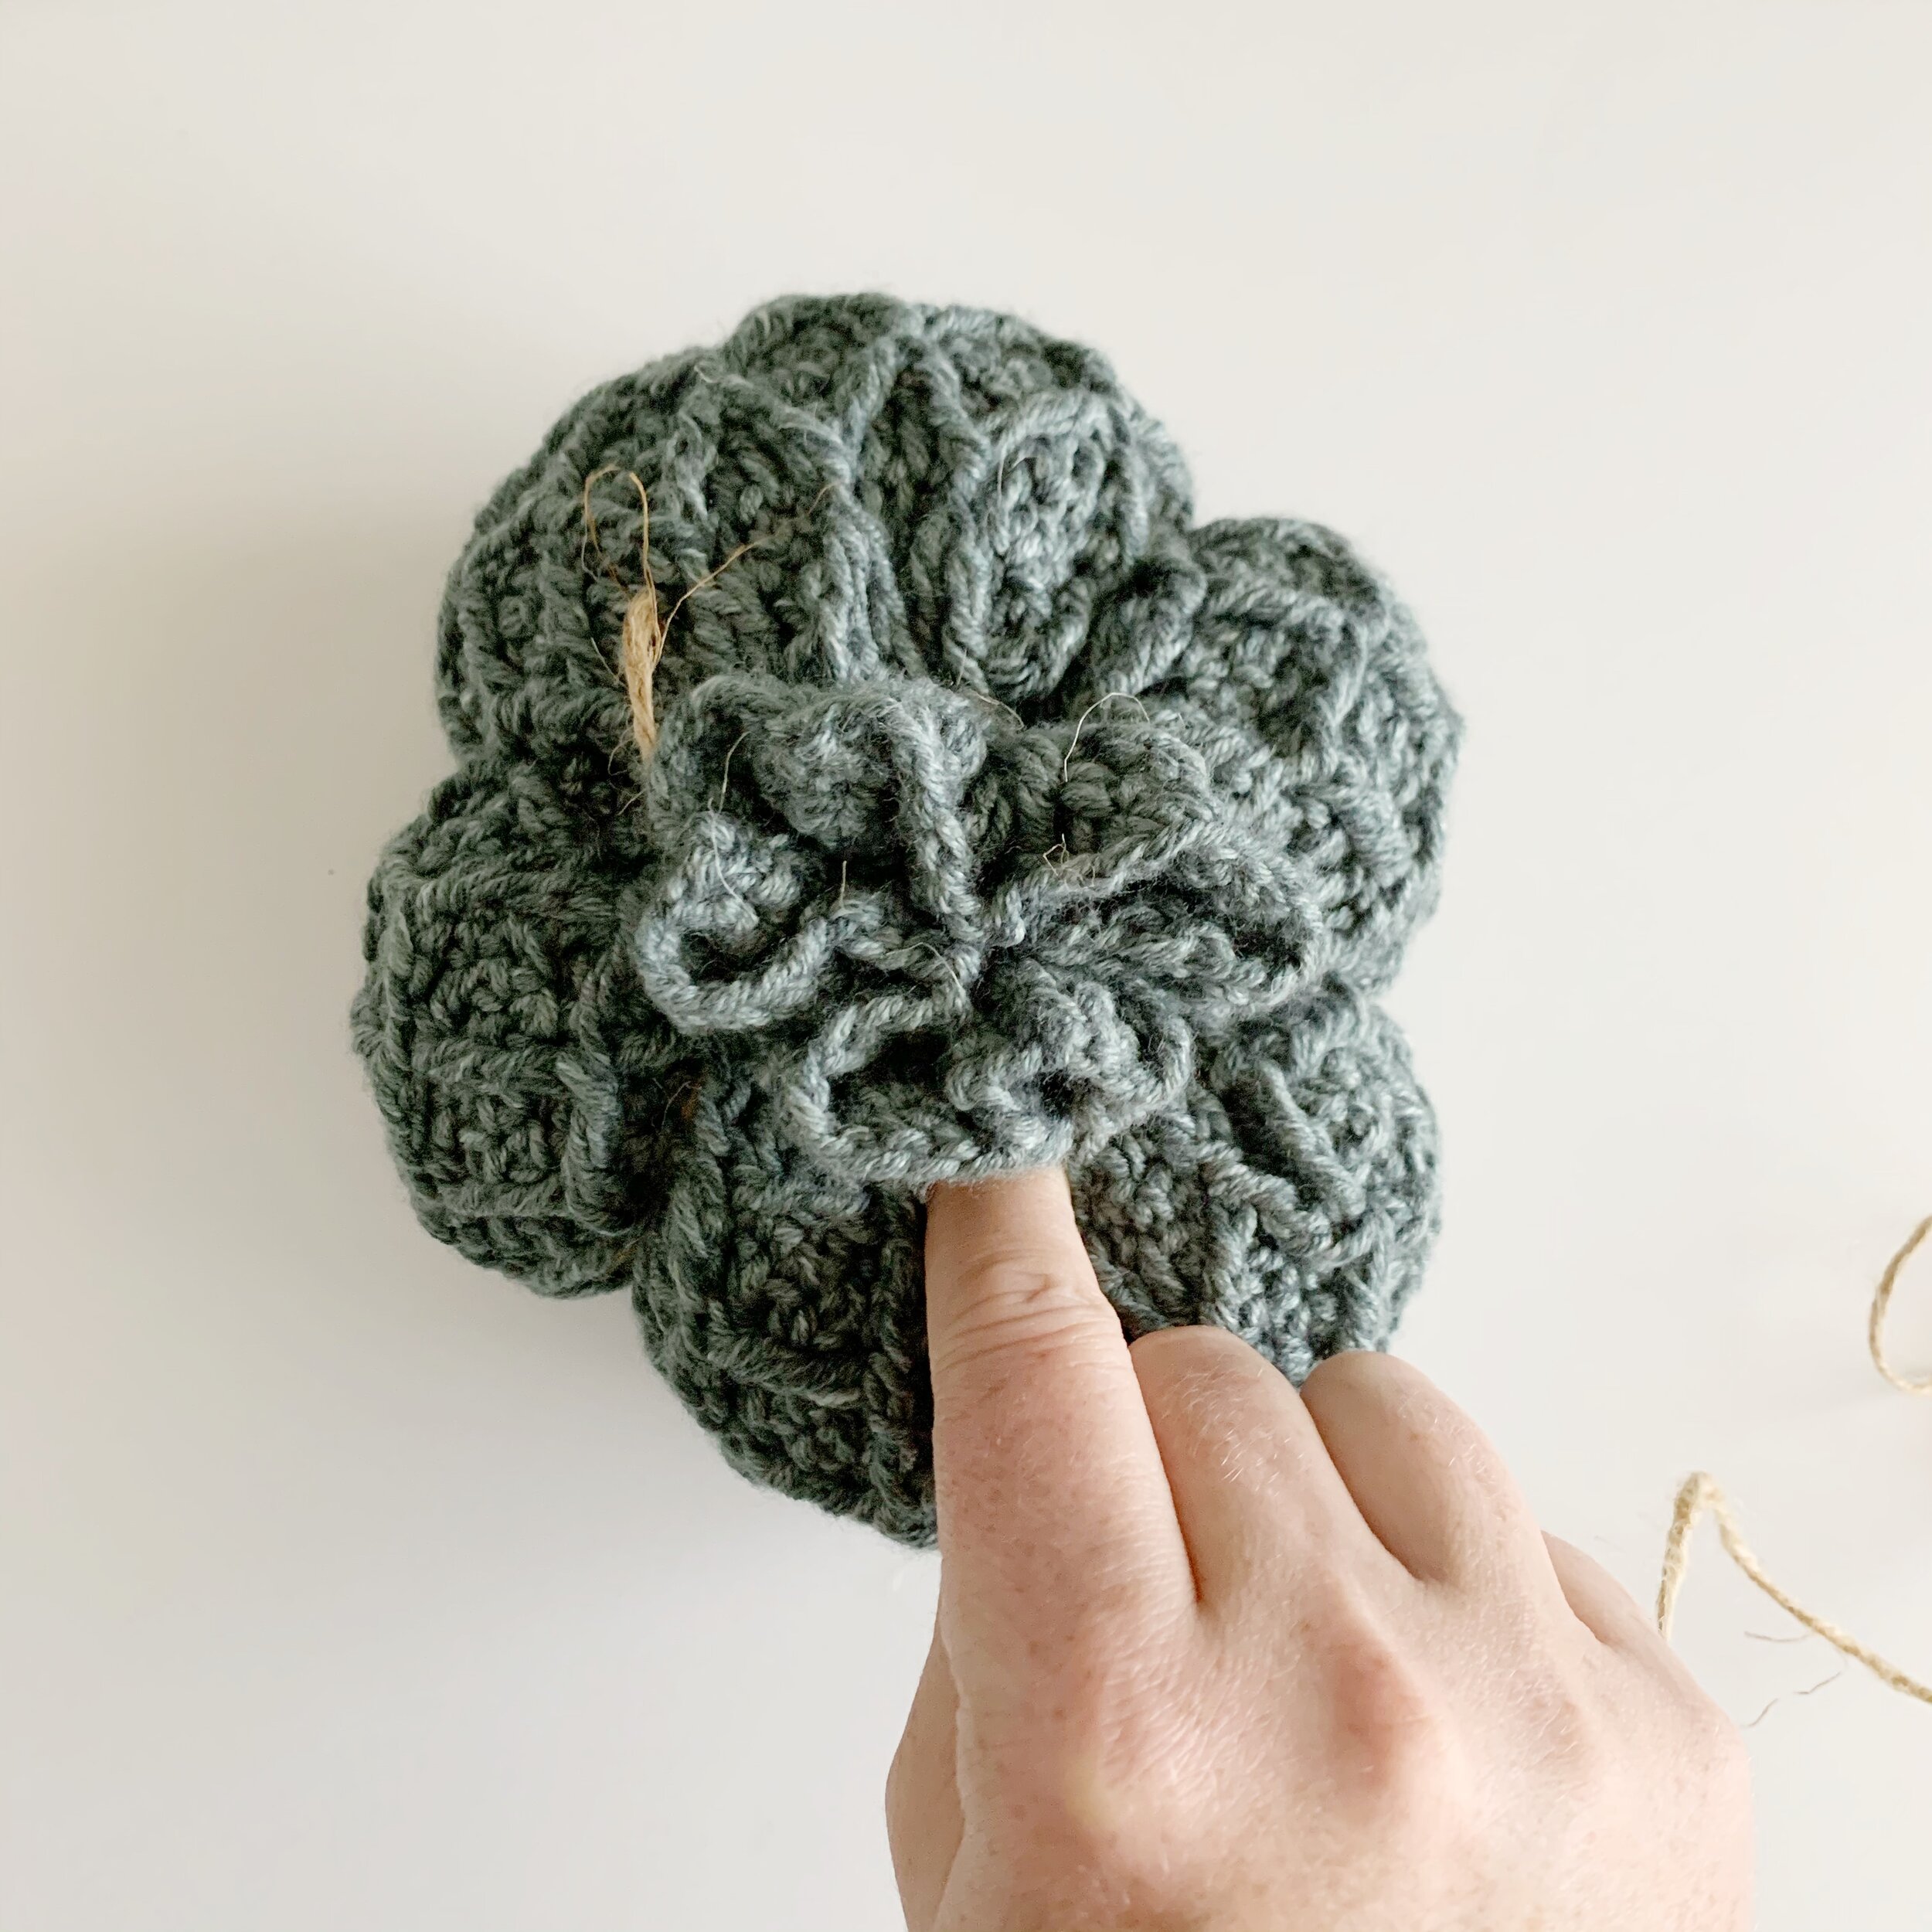
Thread the long tail onto a tapestry needle and weave in and out around the top end going behind the fptrc2tog stitches. Pull tight to gather. Thread yarn back and forth across the opening to close the end completely. Tie and knot and weave in end. Stuff with poly fill. Then gather top to close. You will have 1-2” of crochet at the top.


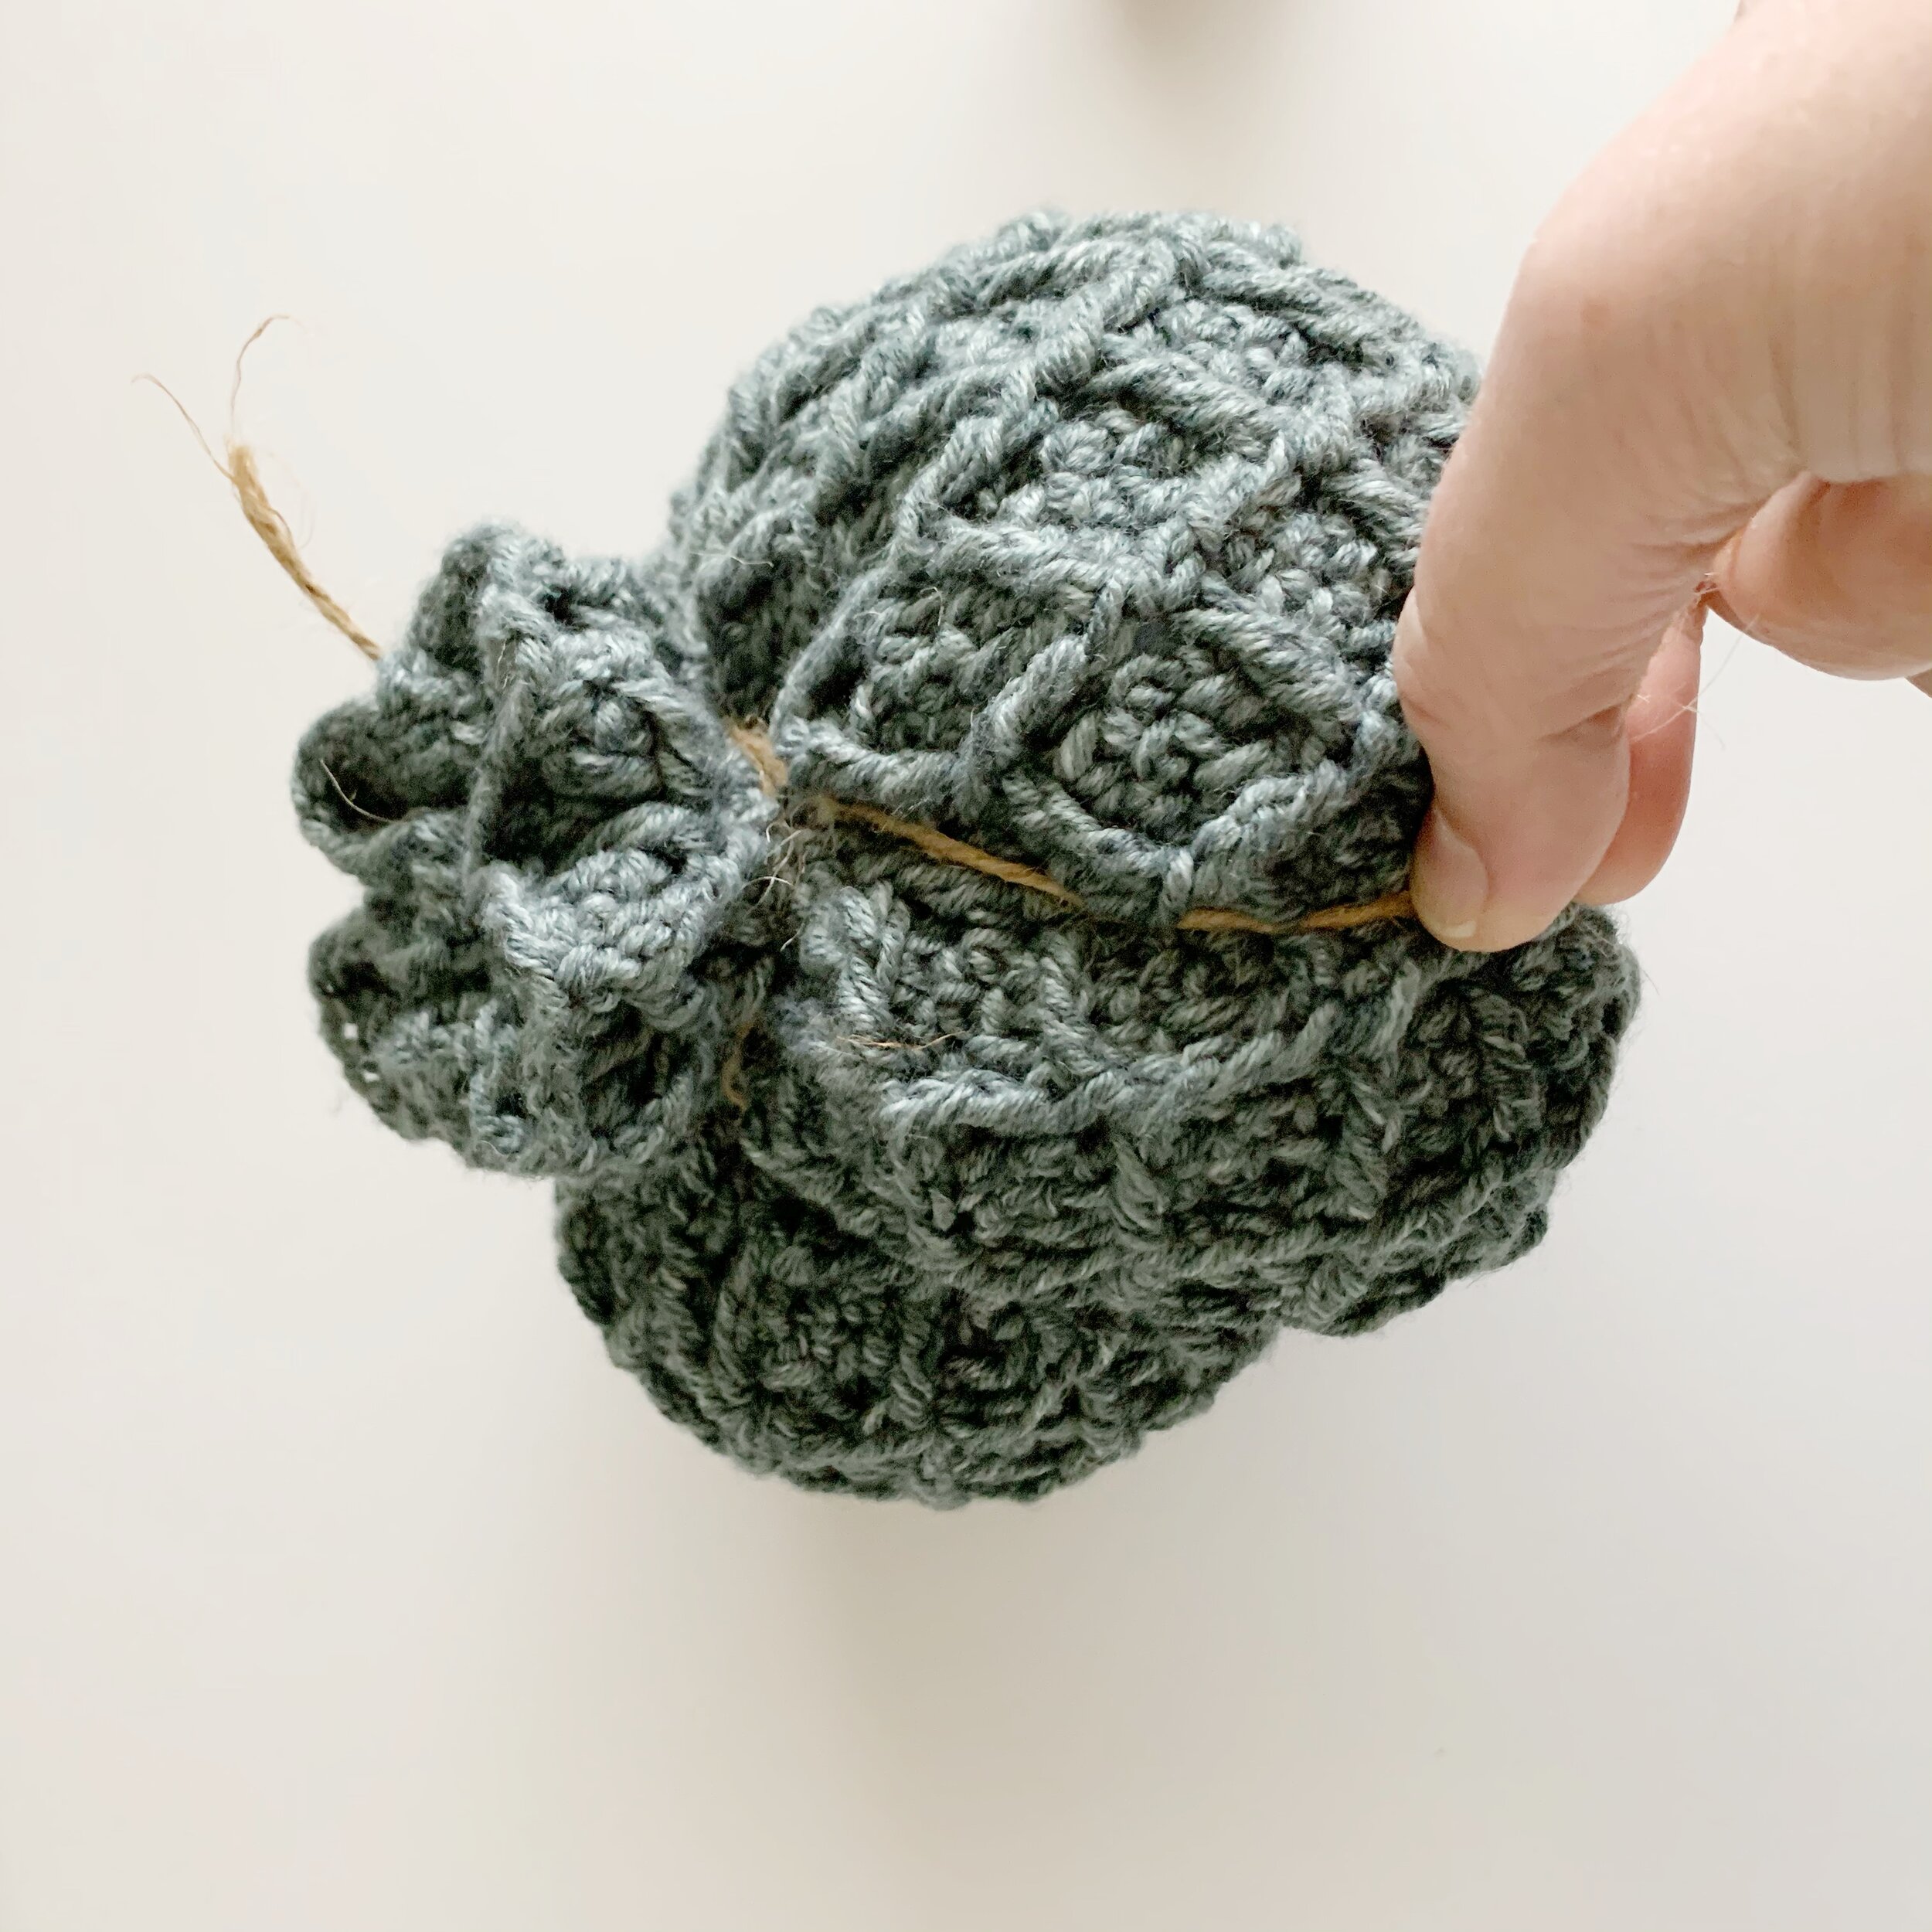
Tie a long piece of twine around the gathered section to secure, leaving one short end and one long end. Using the long end, wrap it tightly around the pumpkin and then around the gathered top to secure. Then repeat two more times evenly around the pumpkin to create six sections. Make sure to wrap around the gathered top after each wrap.
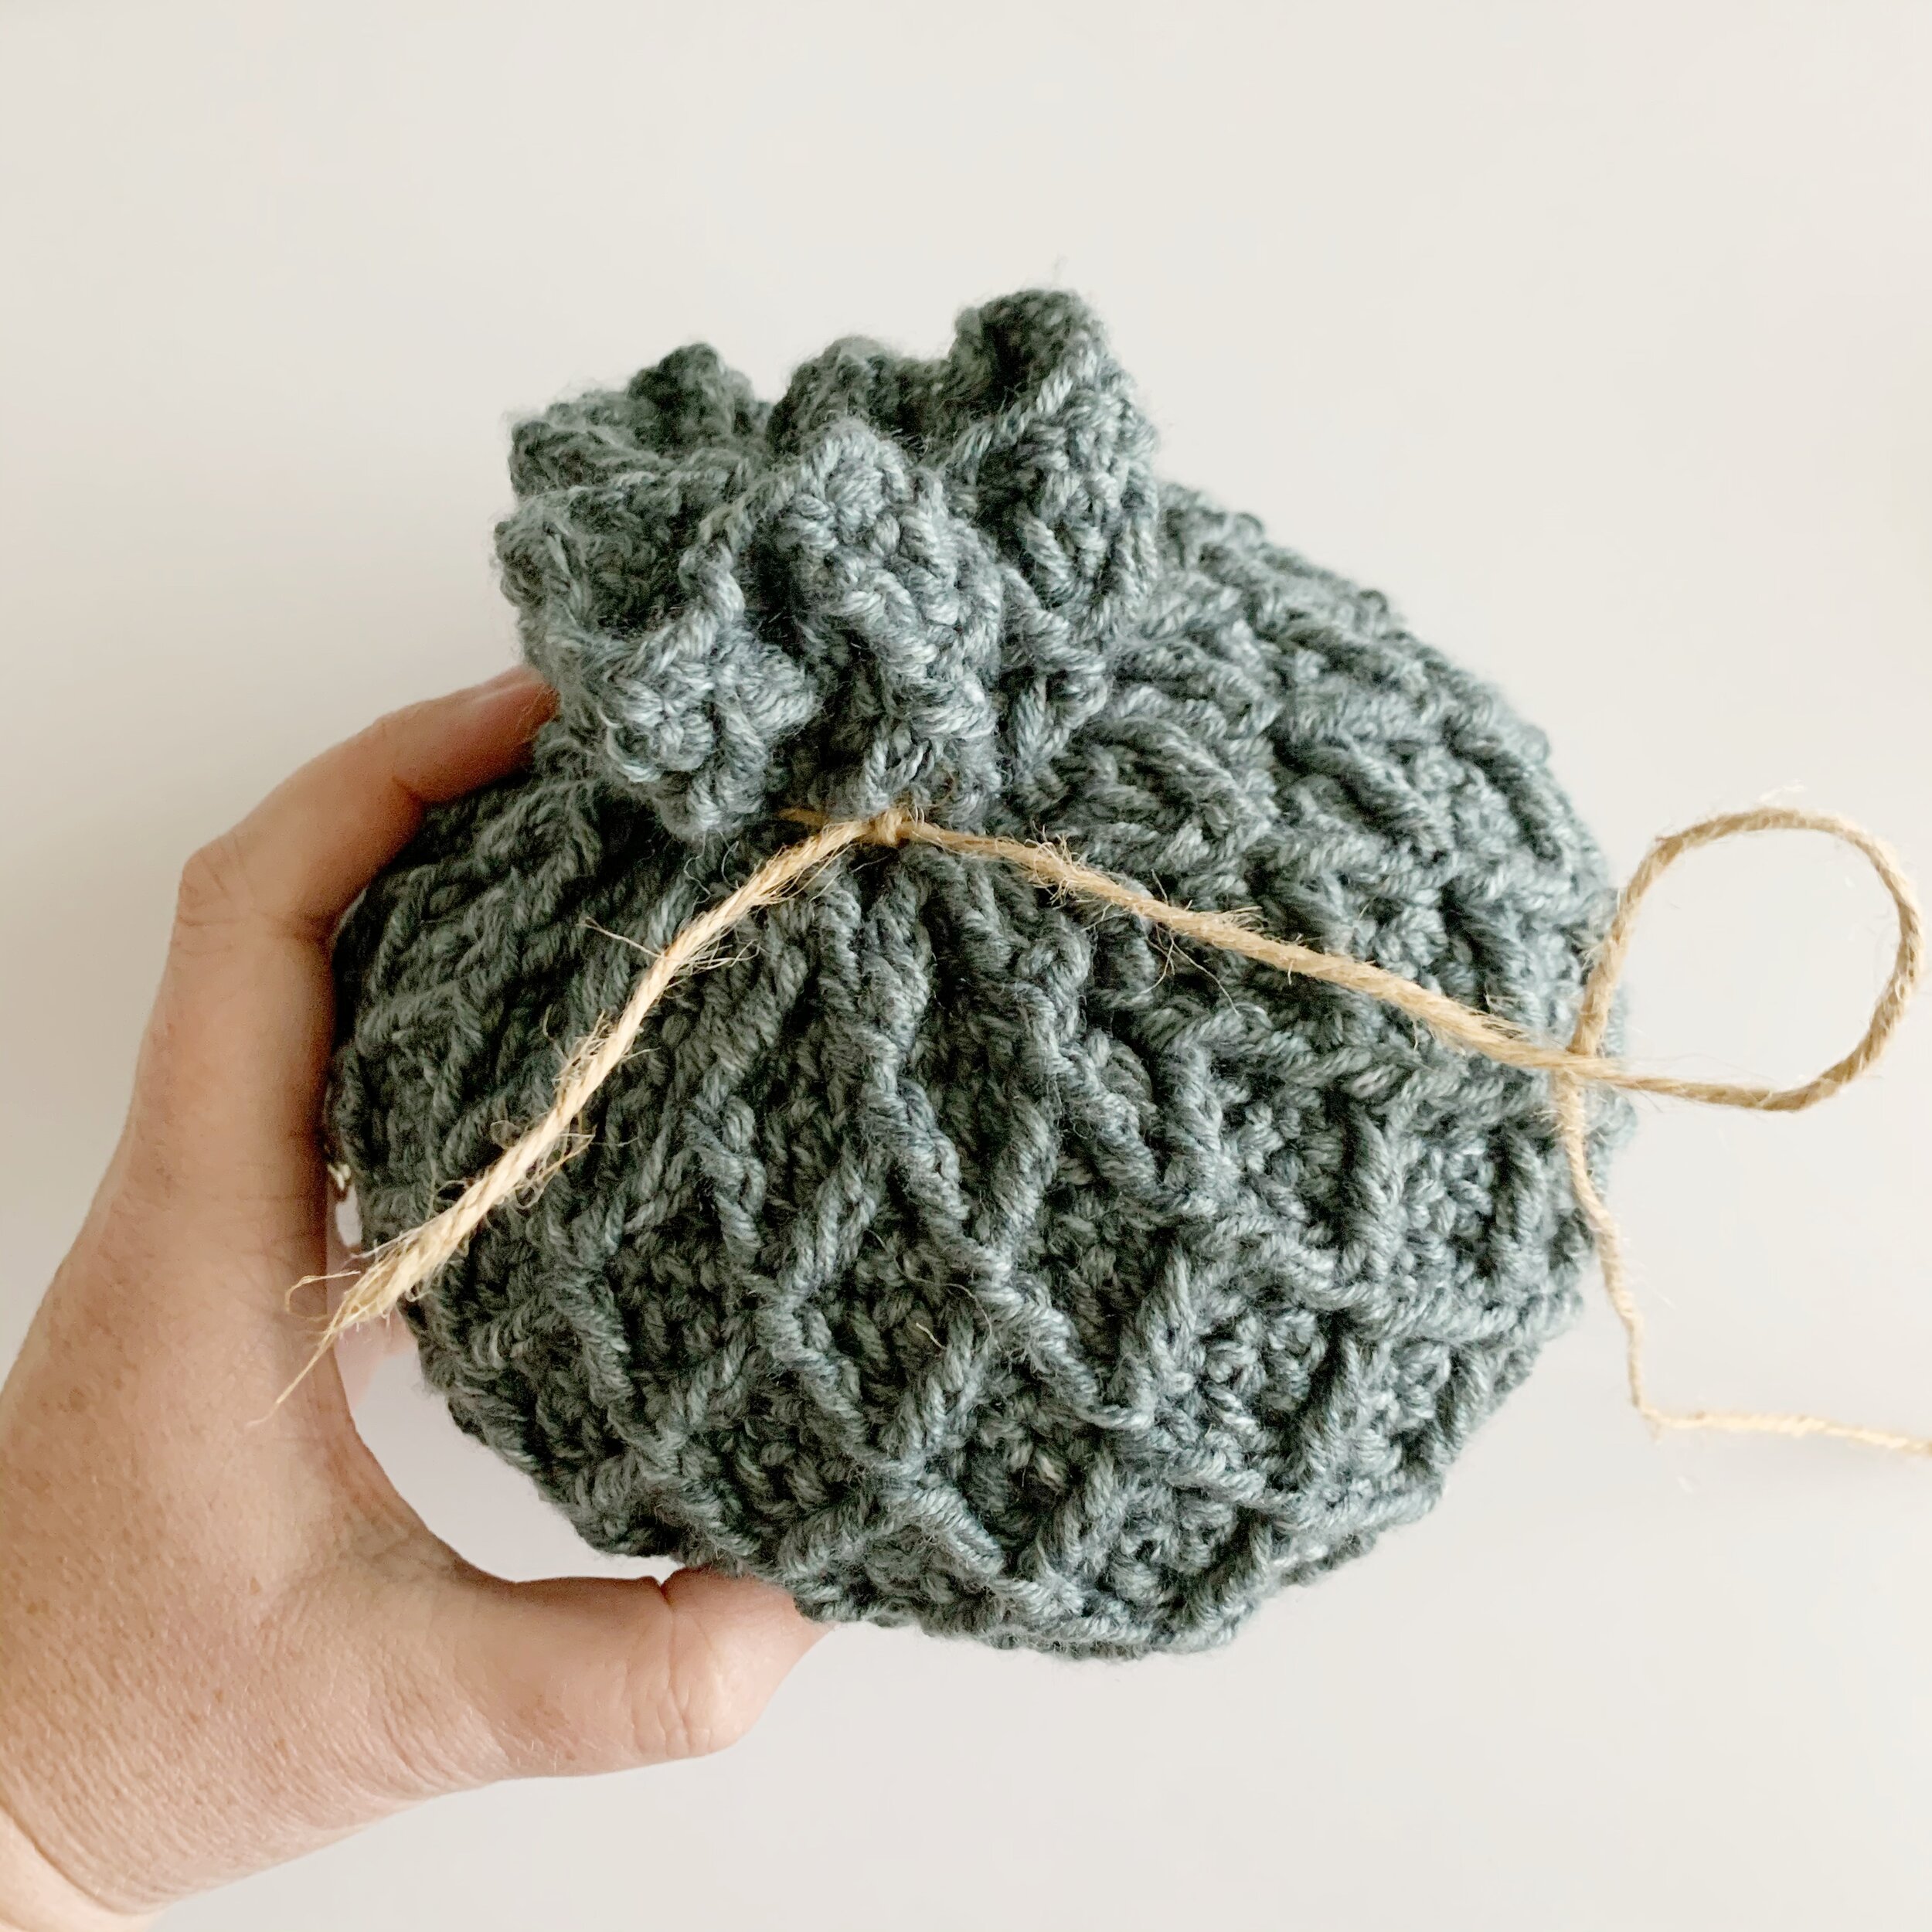
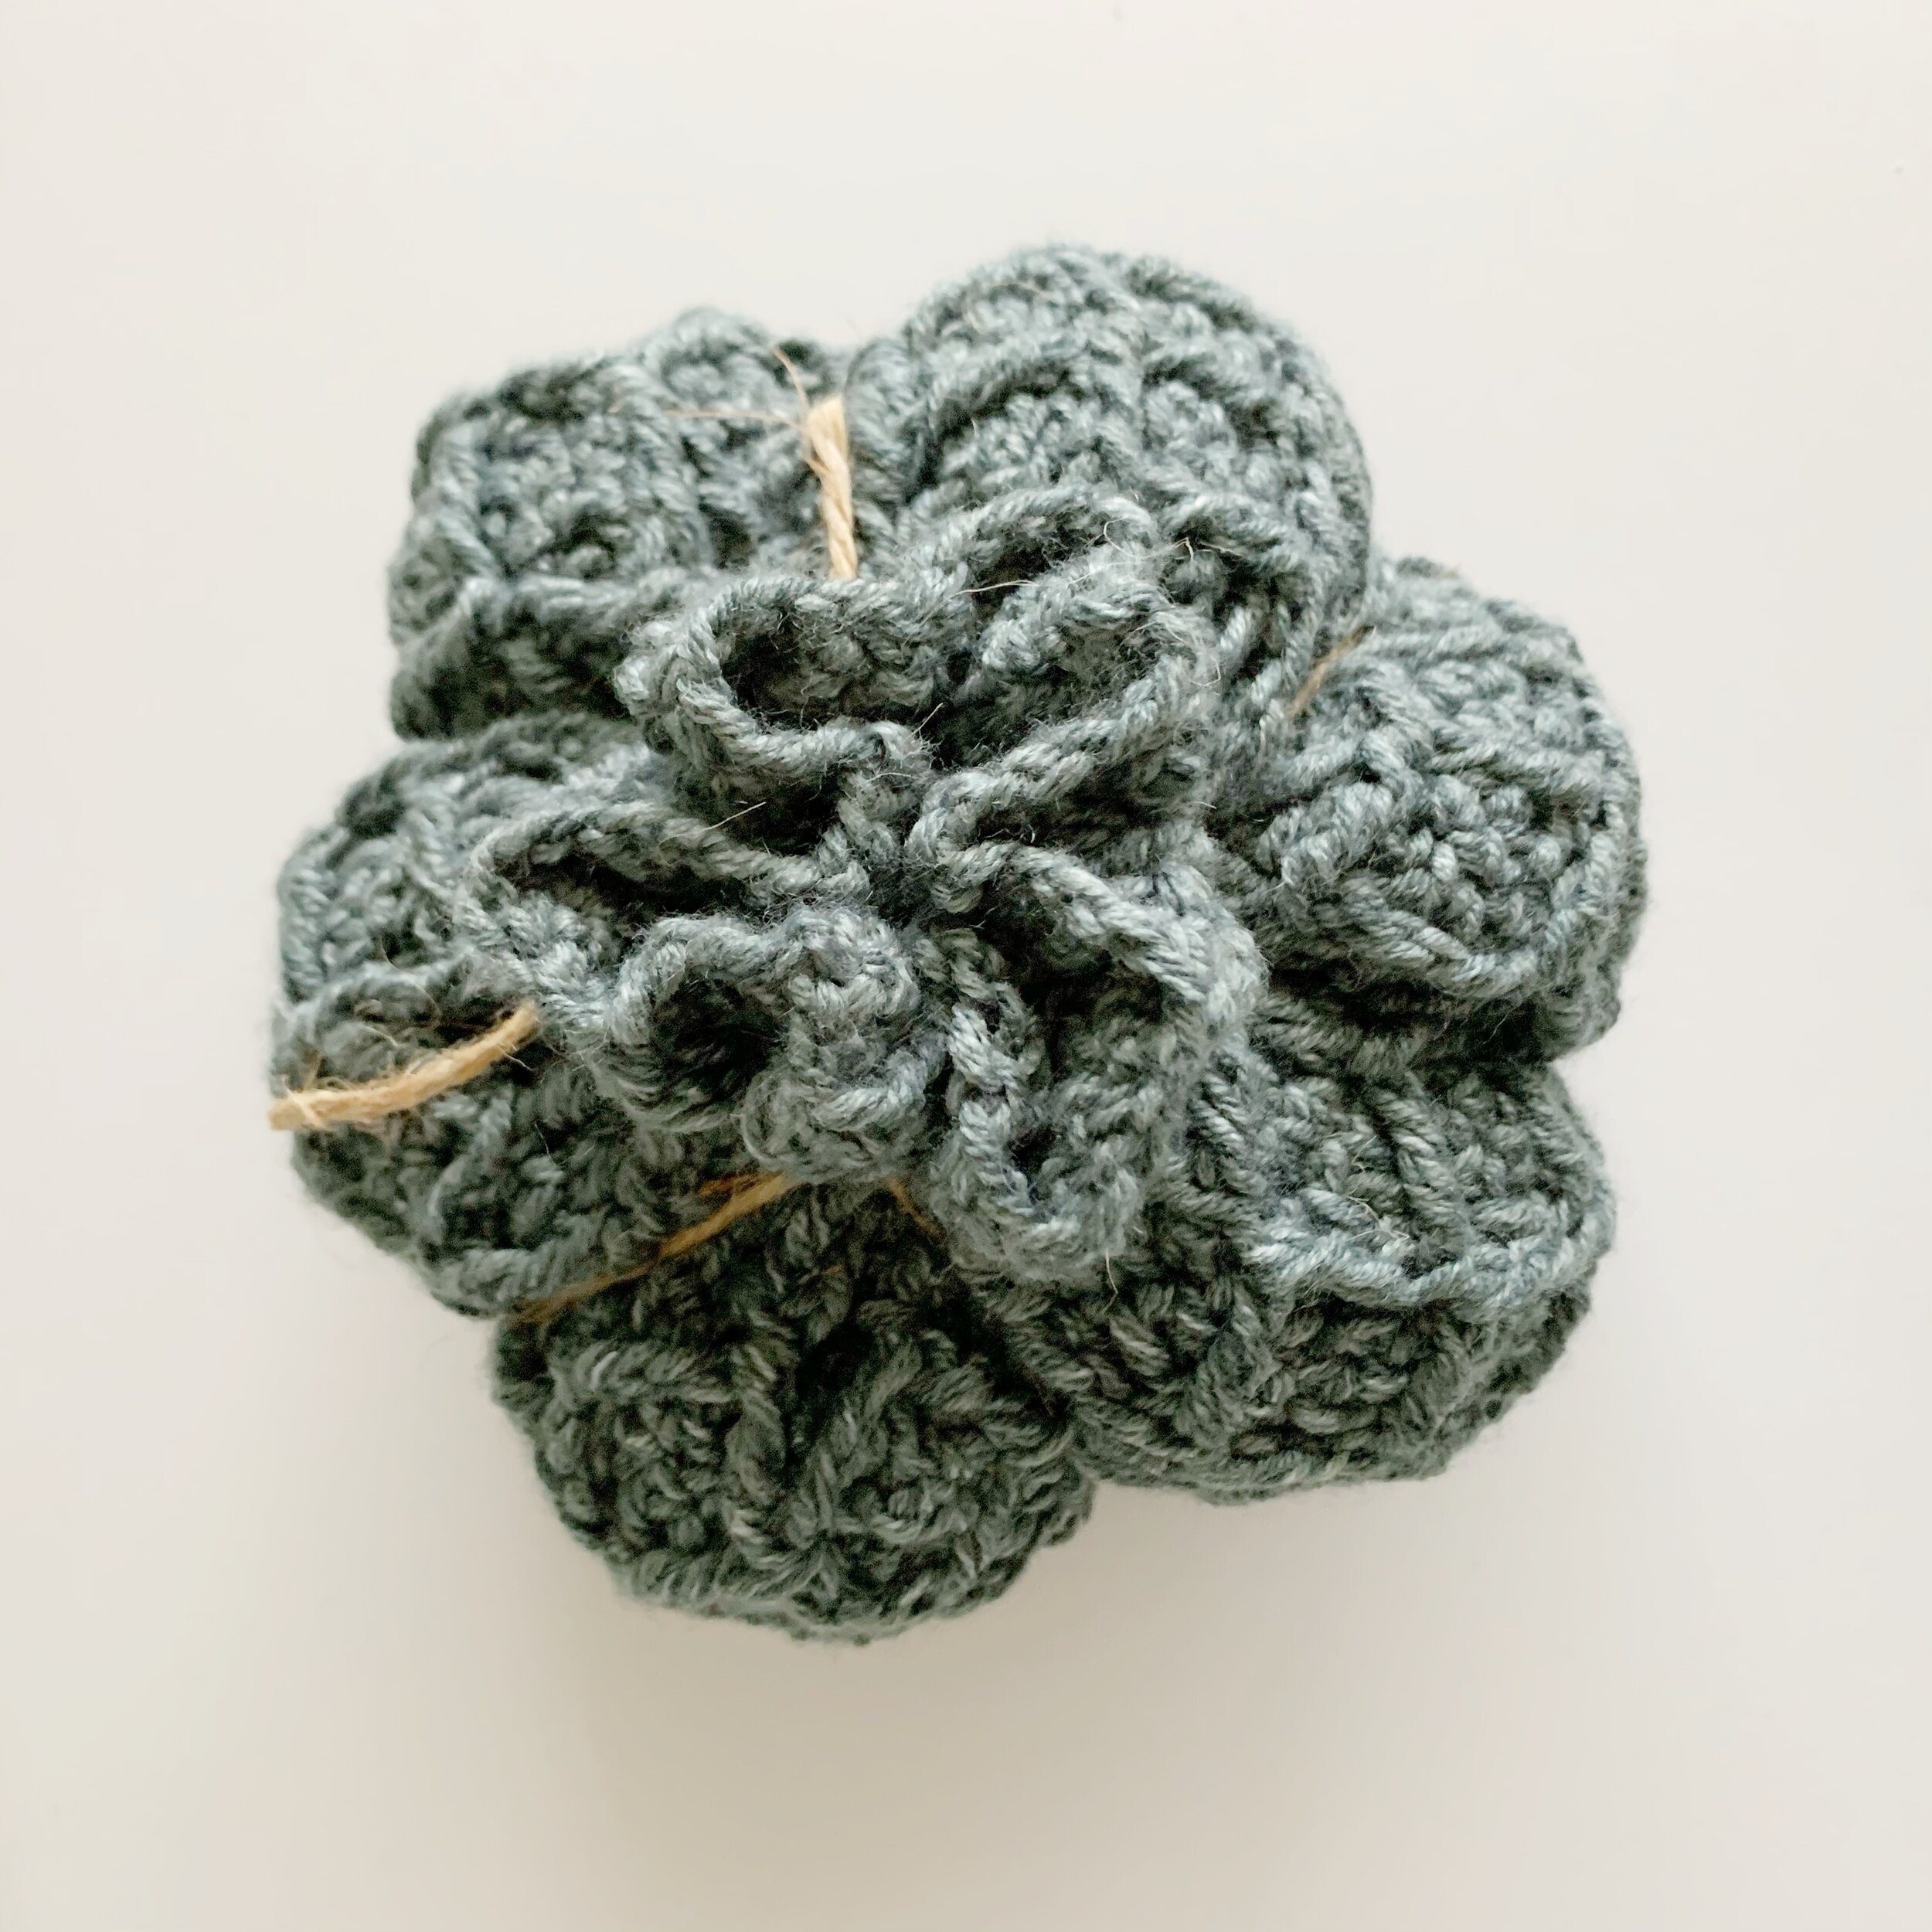
Once all six sections are created, wrap the long end of the twine around the top gathered section multiple times and tie a knot. Adjust the twine if needed to make even sections around the pumpkin. Enjoy!
I hope you liked this free crochet pattern for The Mini Beryl Pumpkin. If you make one, I’d love to see it! Use #meghanmakesdo or #theminiberylpumpkin and tag me @meghanmakesdo on social media. Don’t forget you can find an ad-free PDF version of the original Beryl Pumpkin pattern which includes detailed photo instructions in my shop, on Etsy and Ravelry.
Happy Crocheting!
Meghan