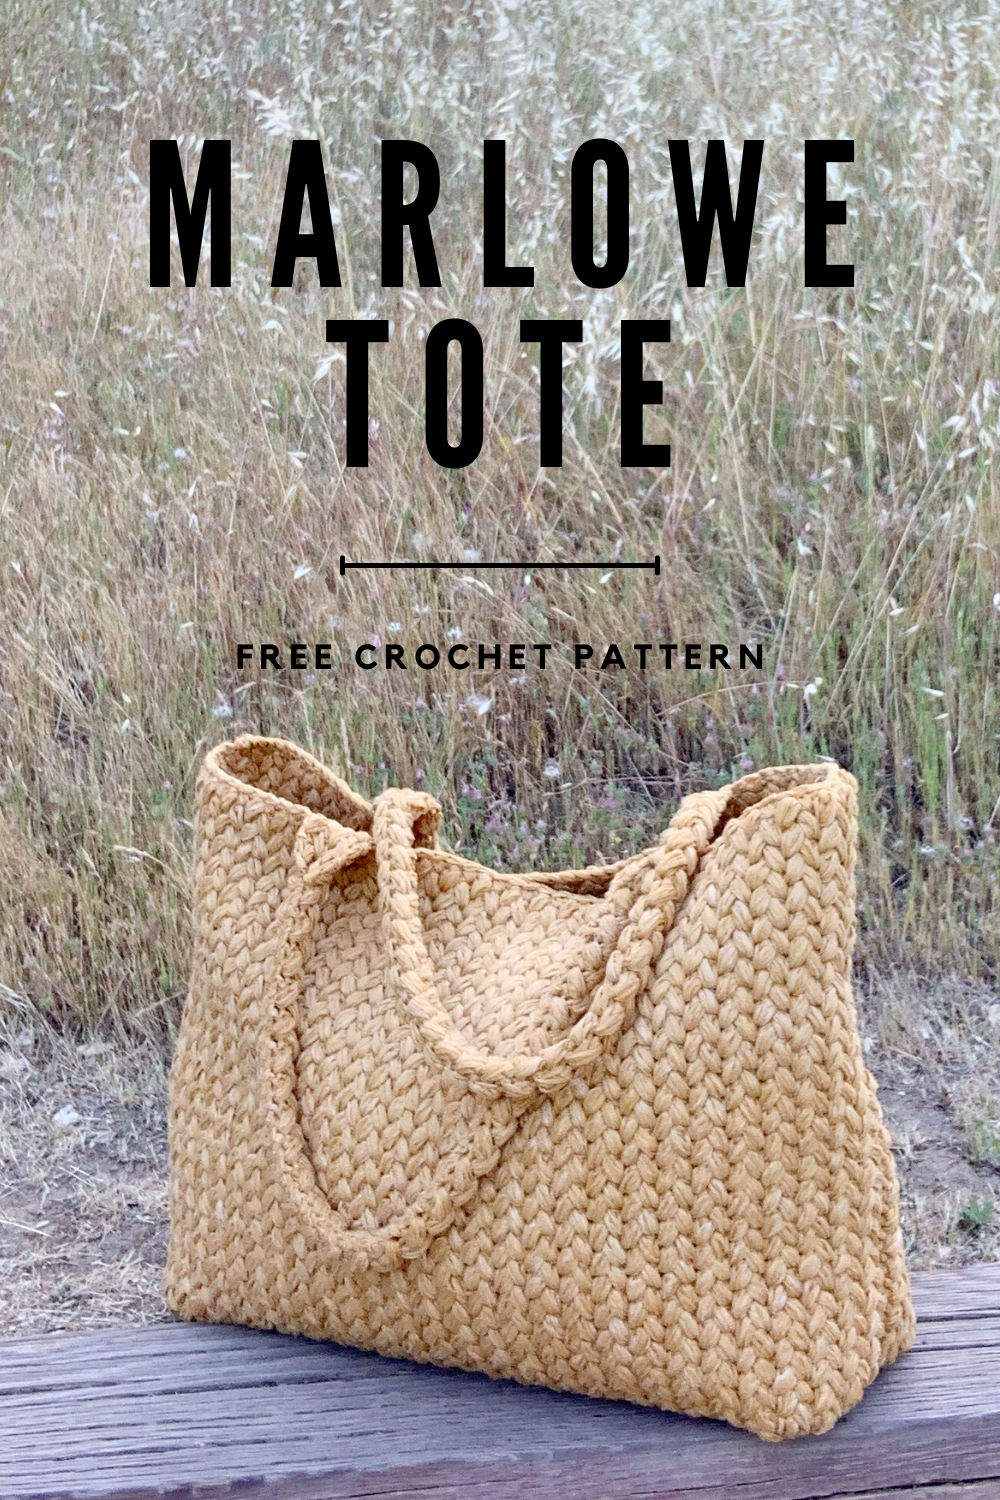
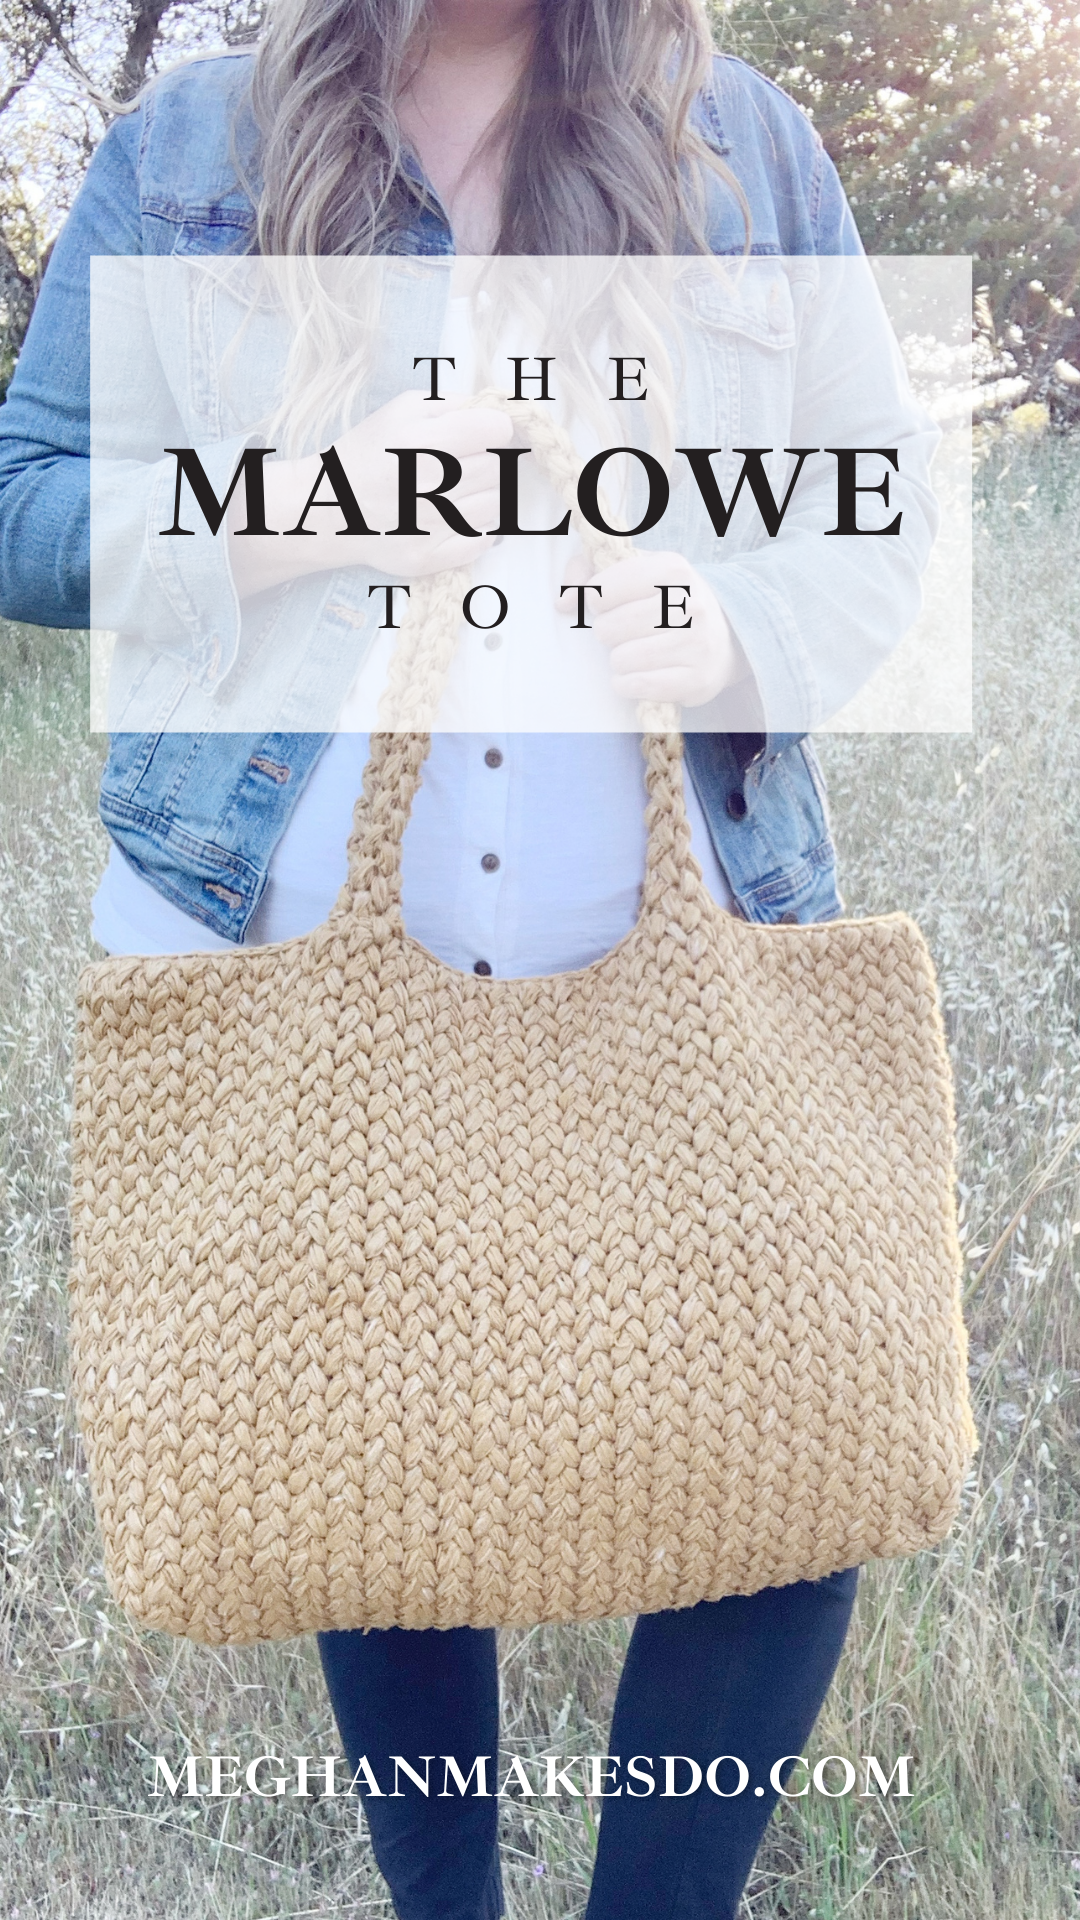
The Marlowe Tote- Free Crochet Pattern
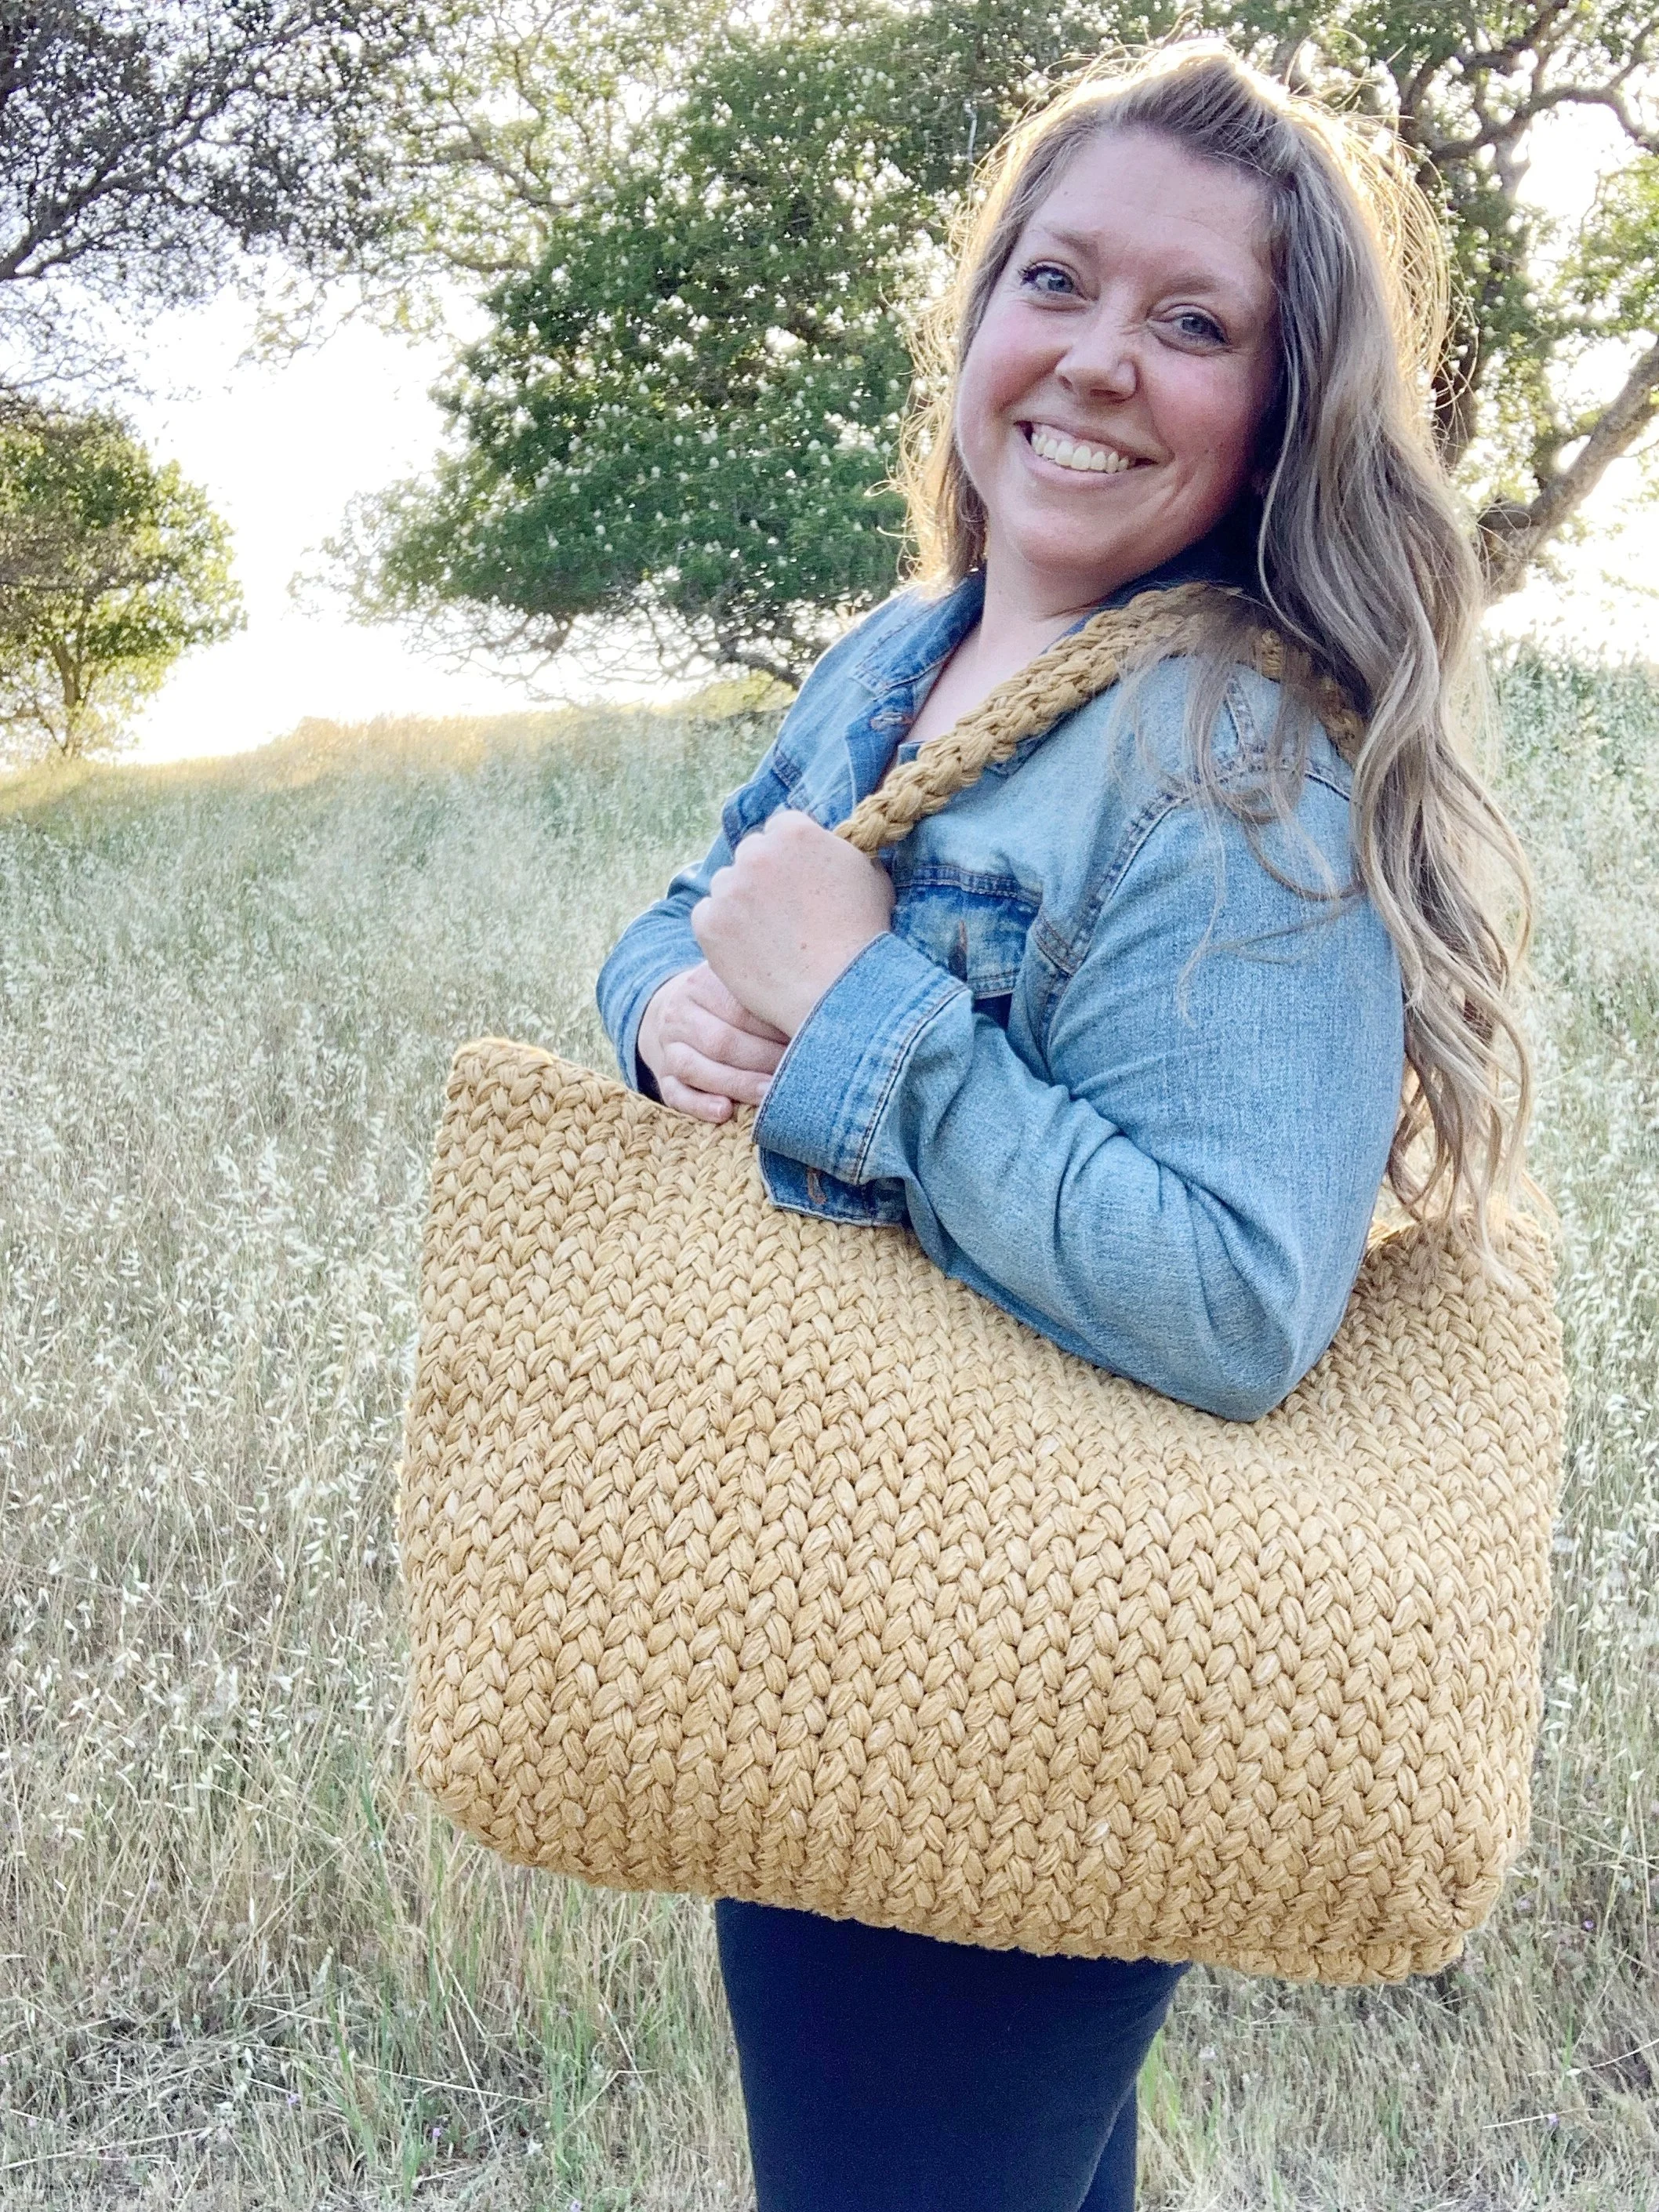
Get carried away this Summer with The Marlowe Tote! This fun and functional design works up quickly and is perfect for toting around all your Summer essentials. Find the free pattern below or grab a digital PDF in my shop!
The Marlowe Tote is available as a complete it from Lion Brand Yarn. You’ll get all the Rewind yarn you need (in the color of your choice) as well as a digital copy of the pattern. Head to the link below to grab your kit today!
I don’t know about you, but I LOVE tote bags. I can not resist them! I especially love giant ones that can carry ALL THE THINGS. When I came across a photo on Pinterest of a giant woven tote I was inspired to create my own in crochet.
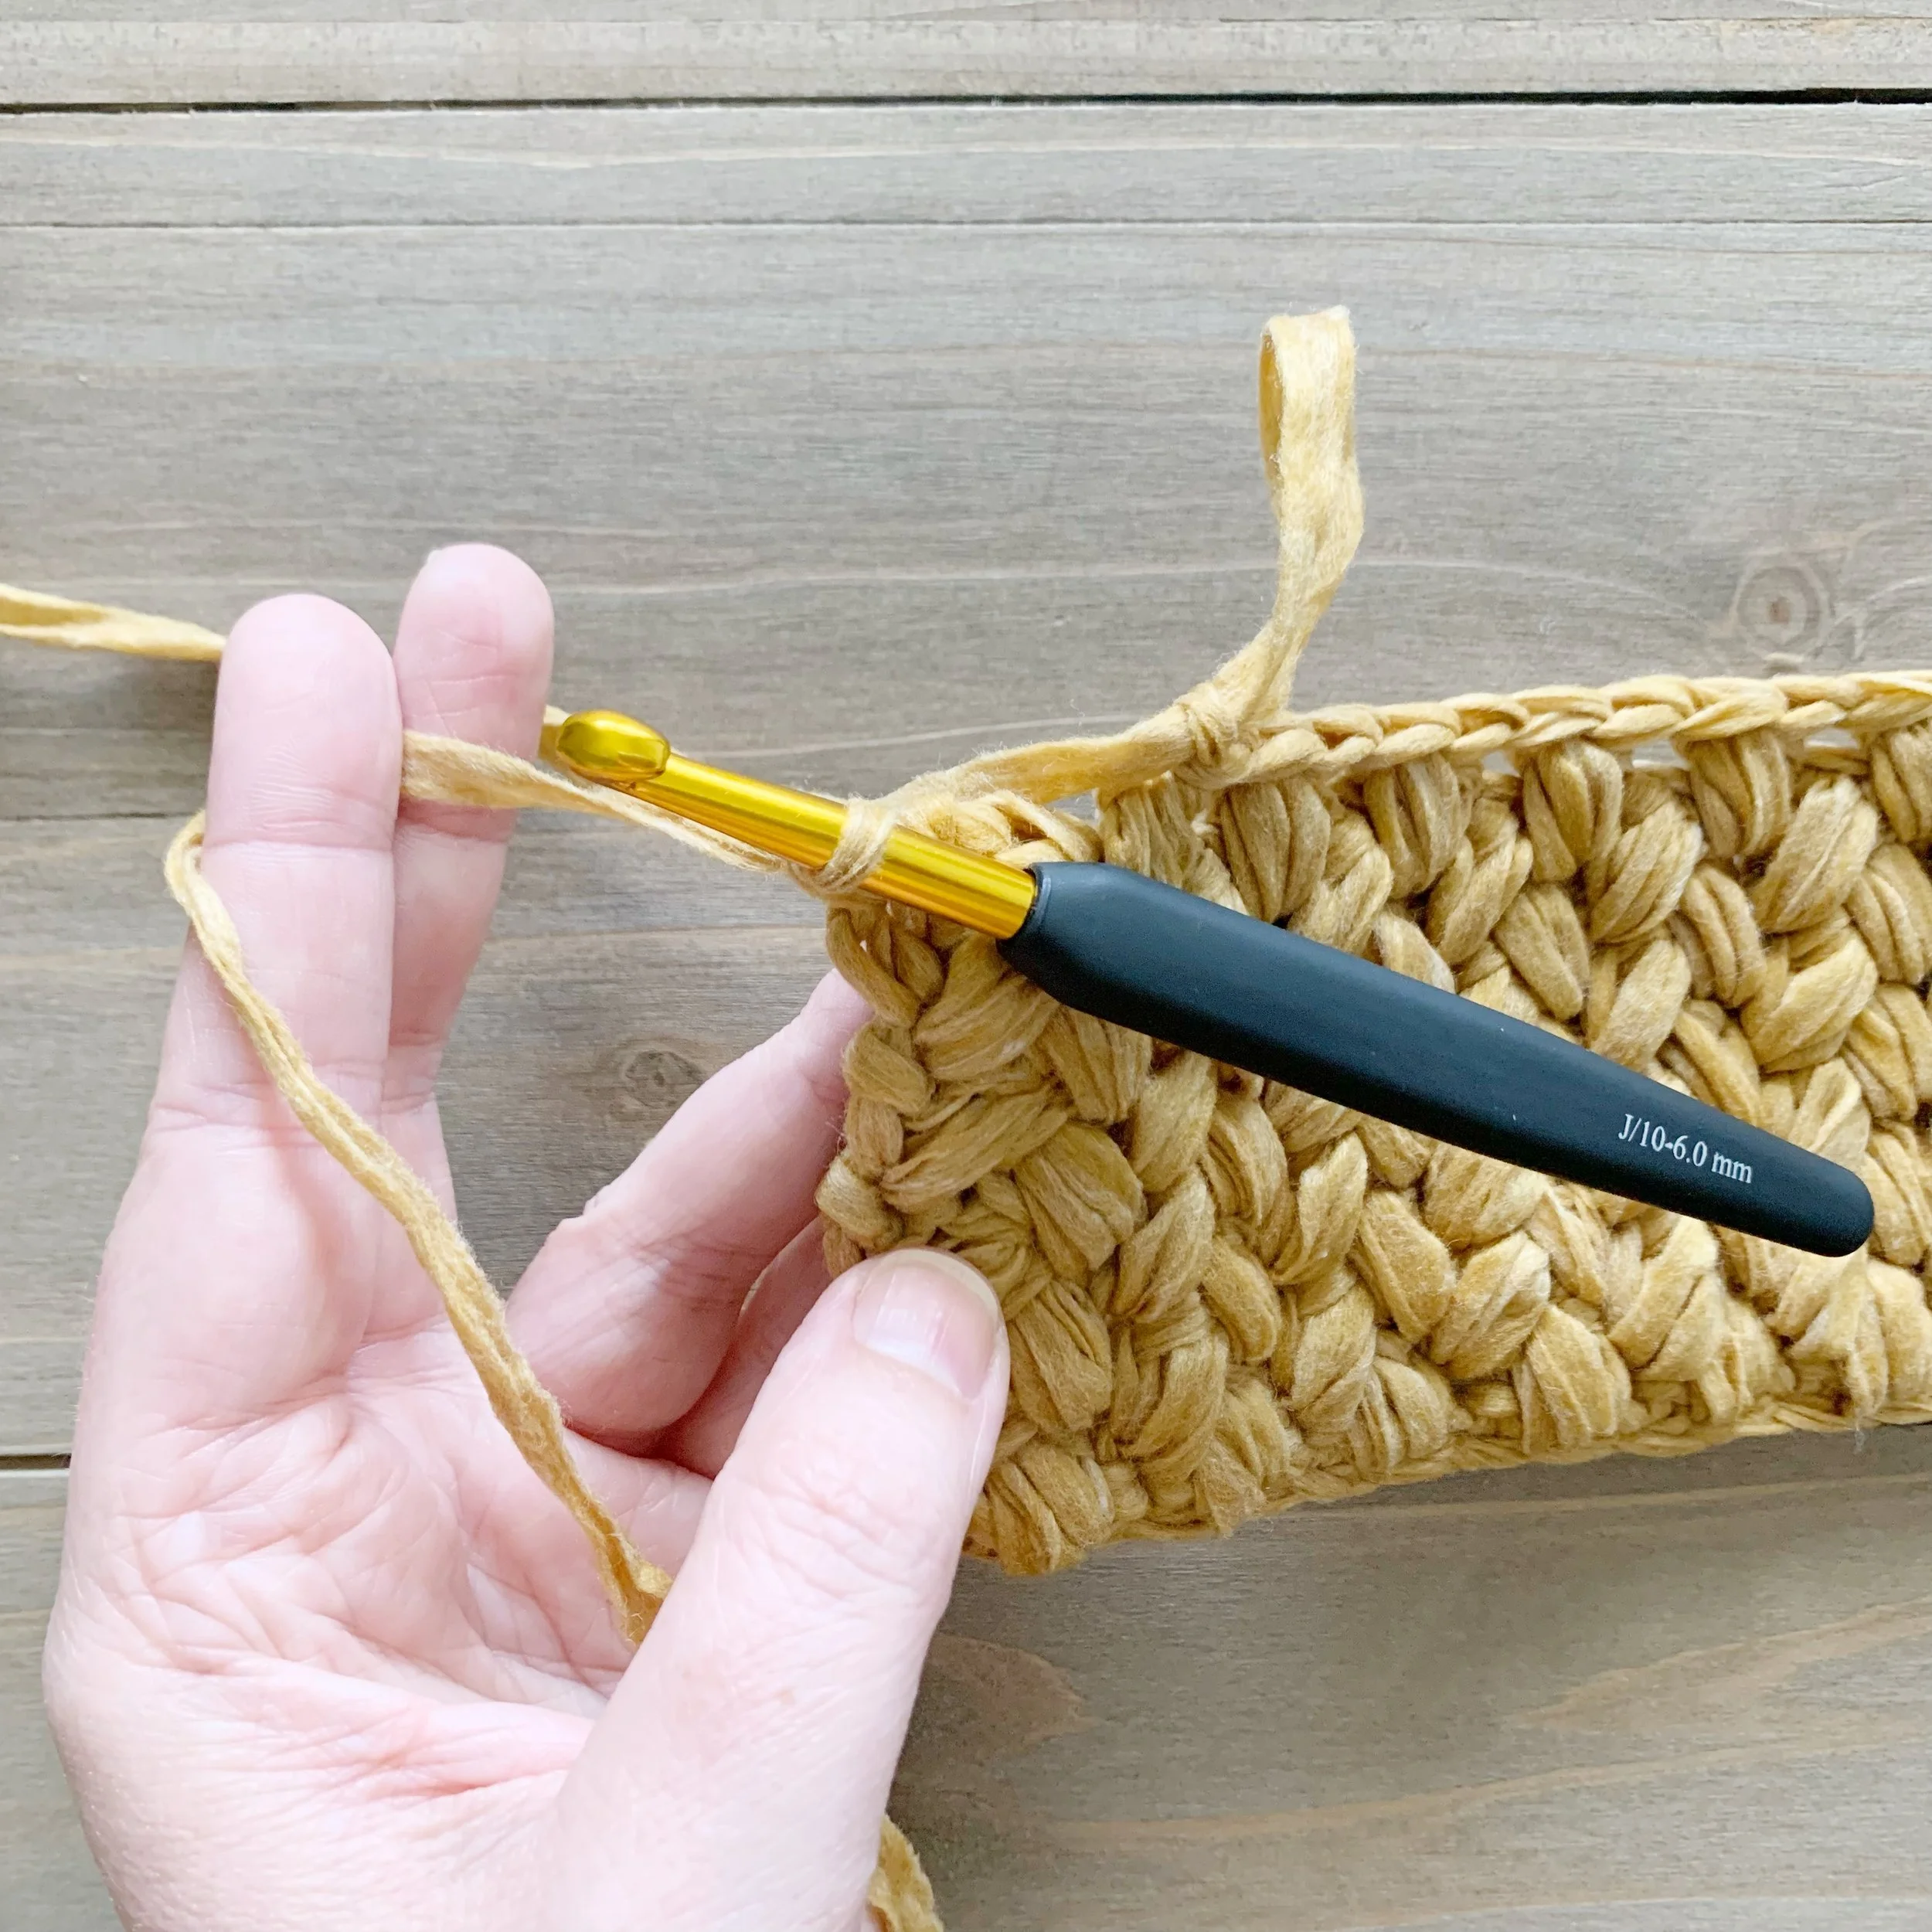
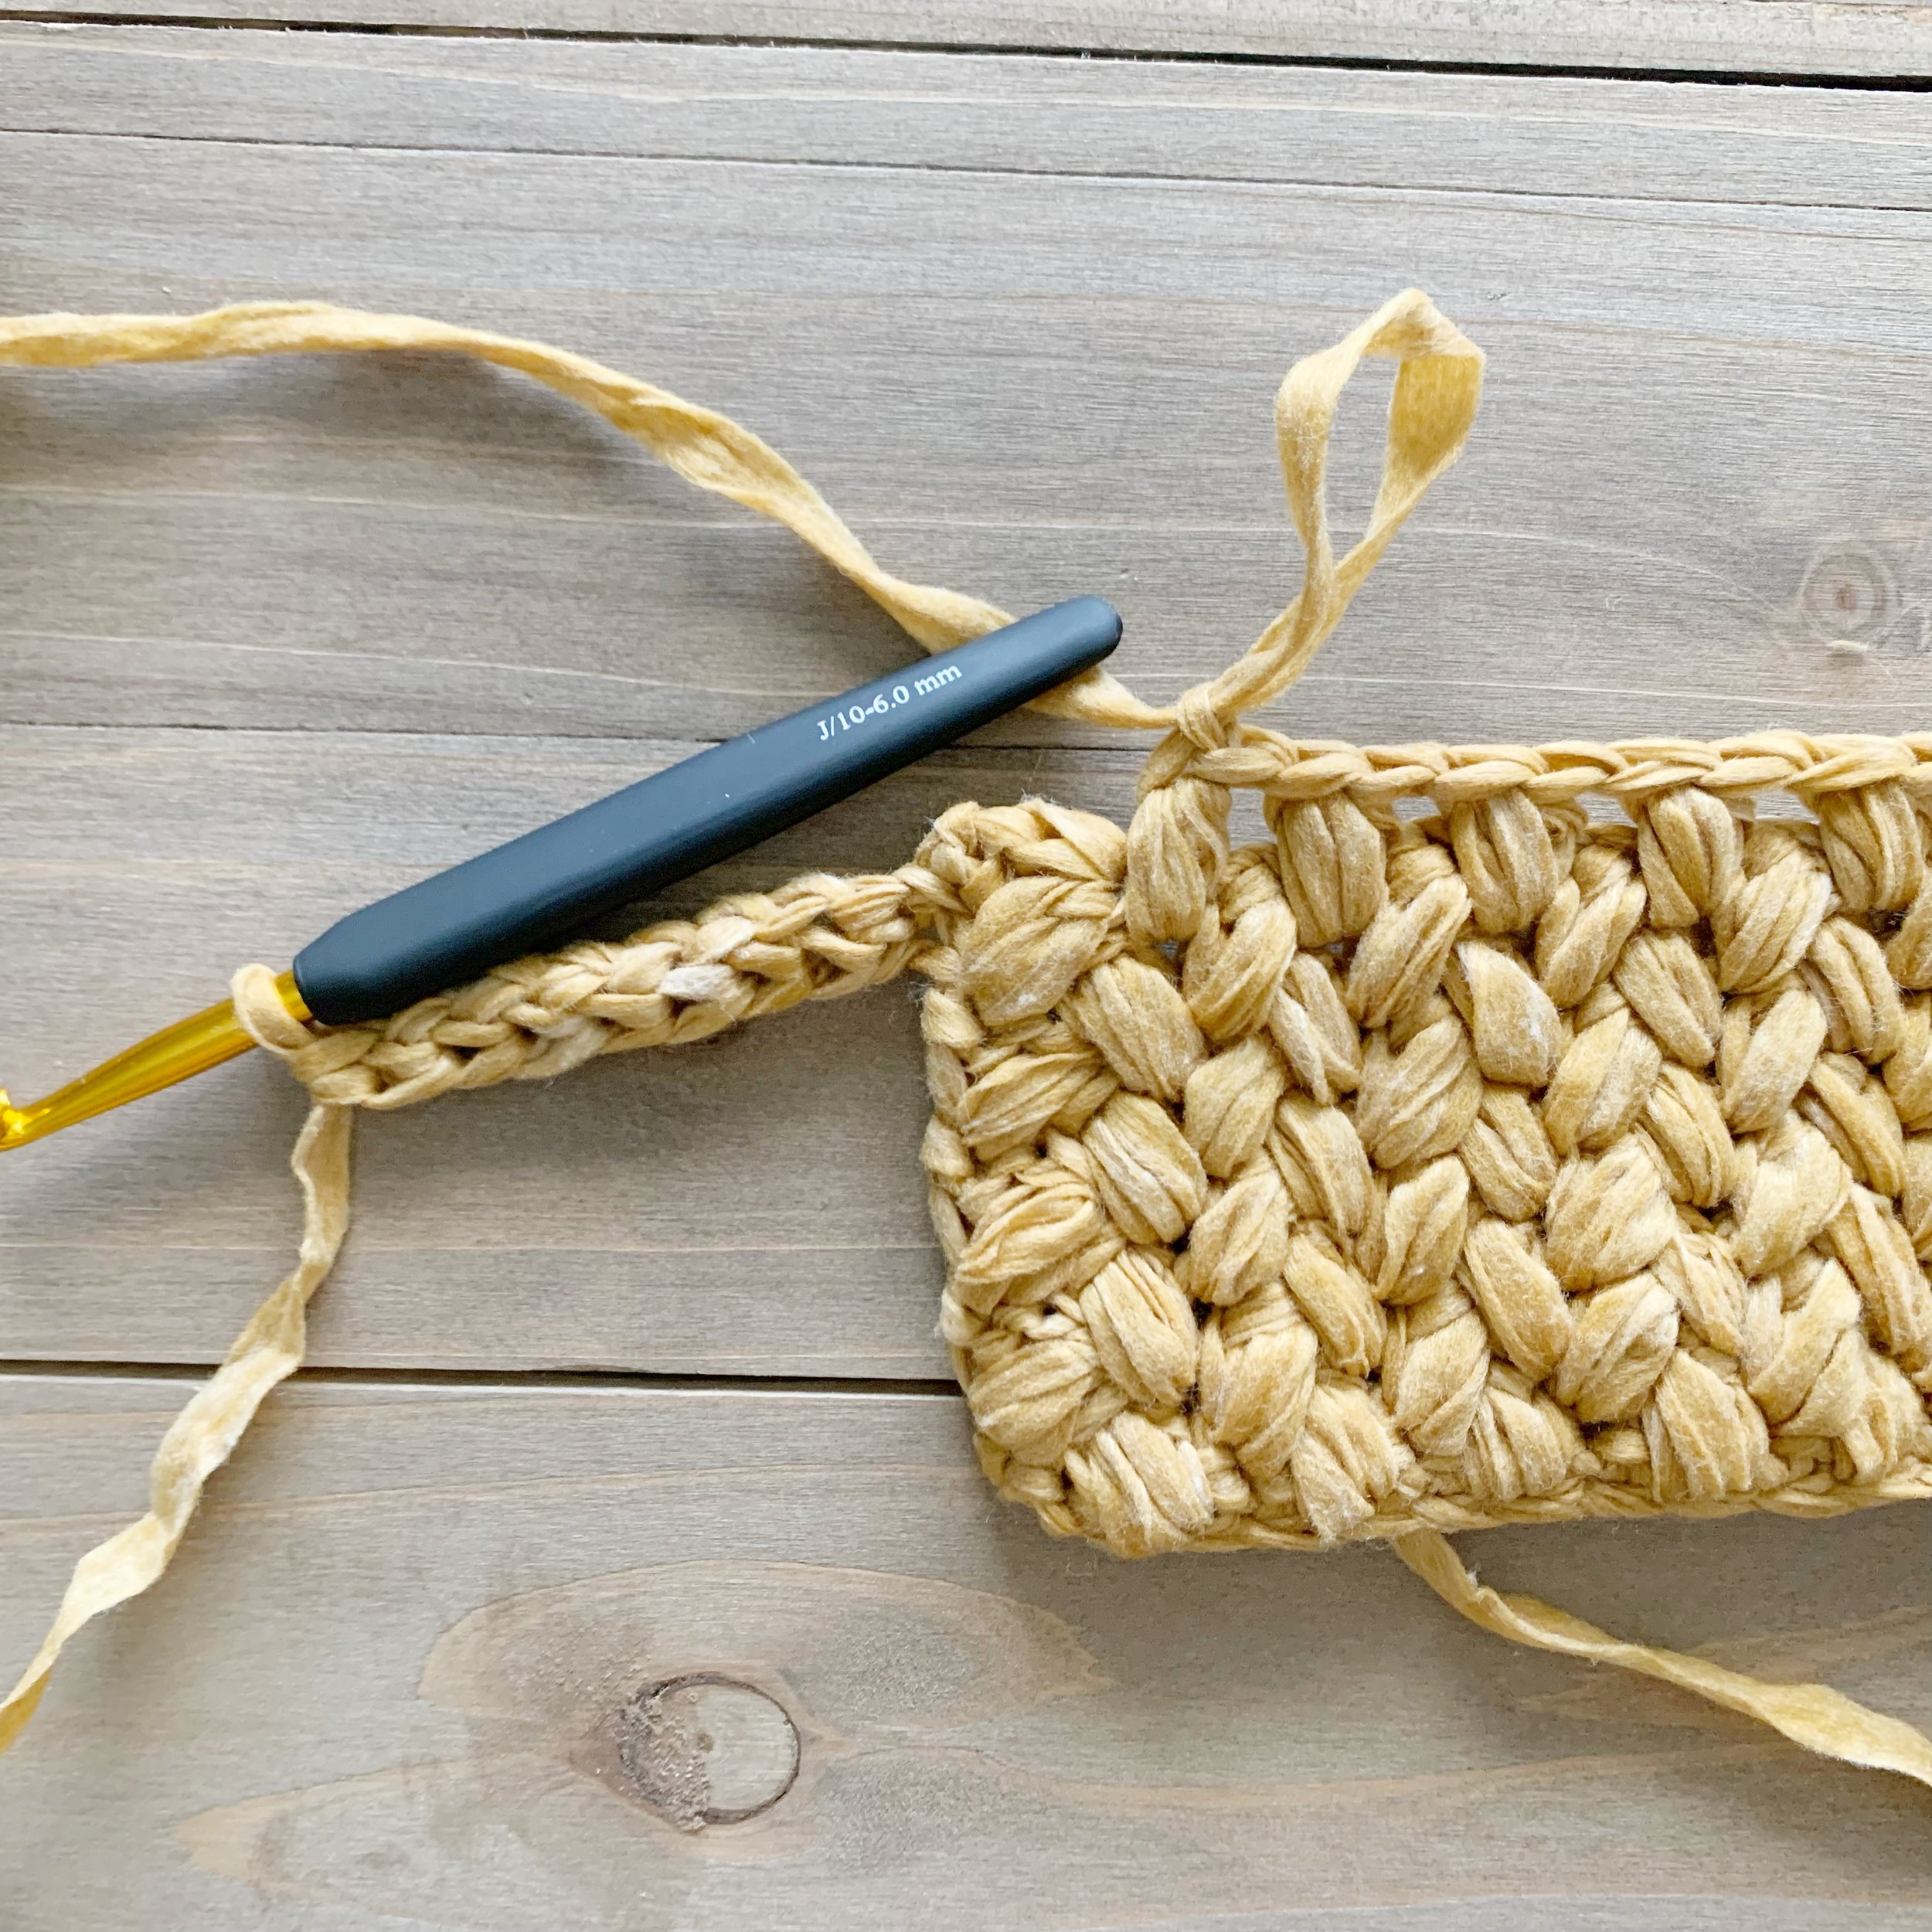
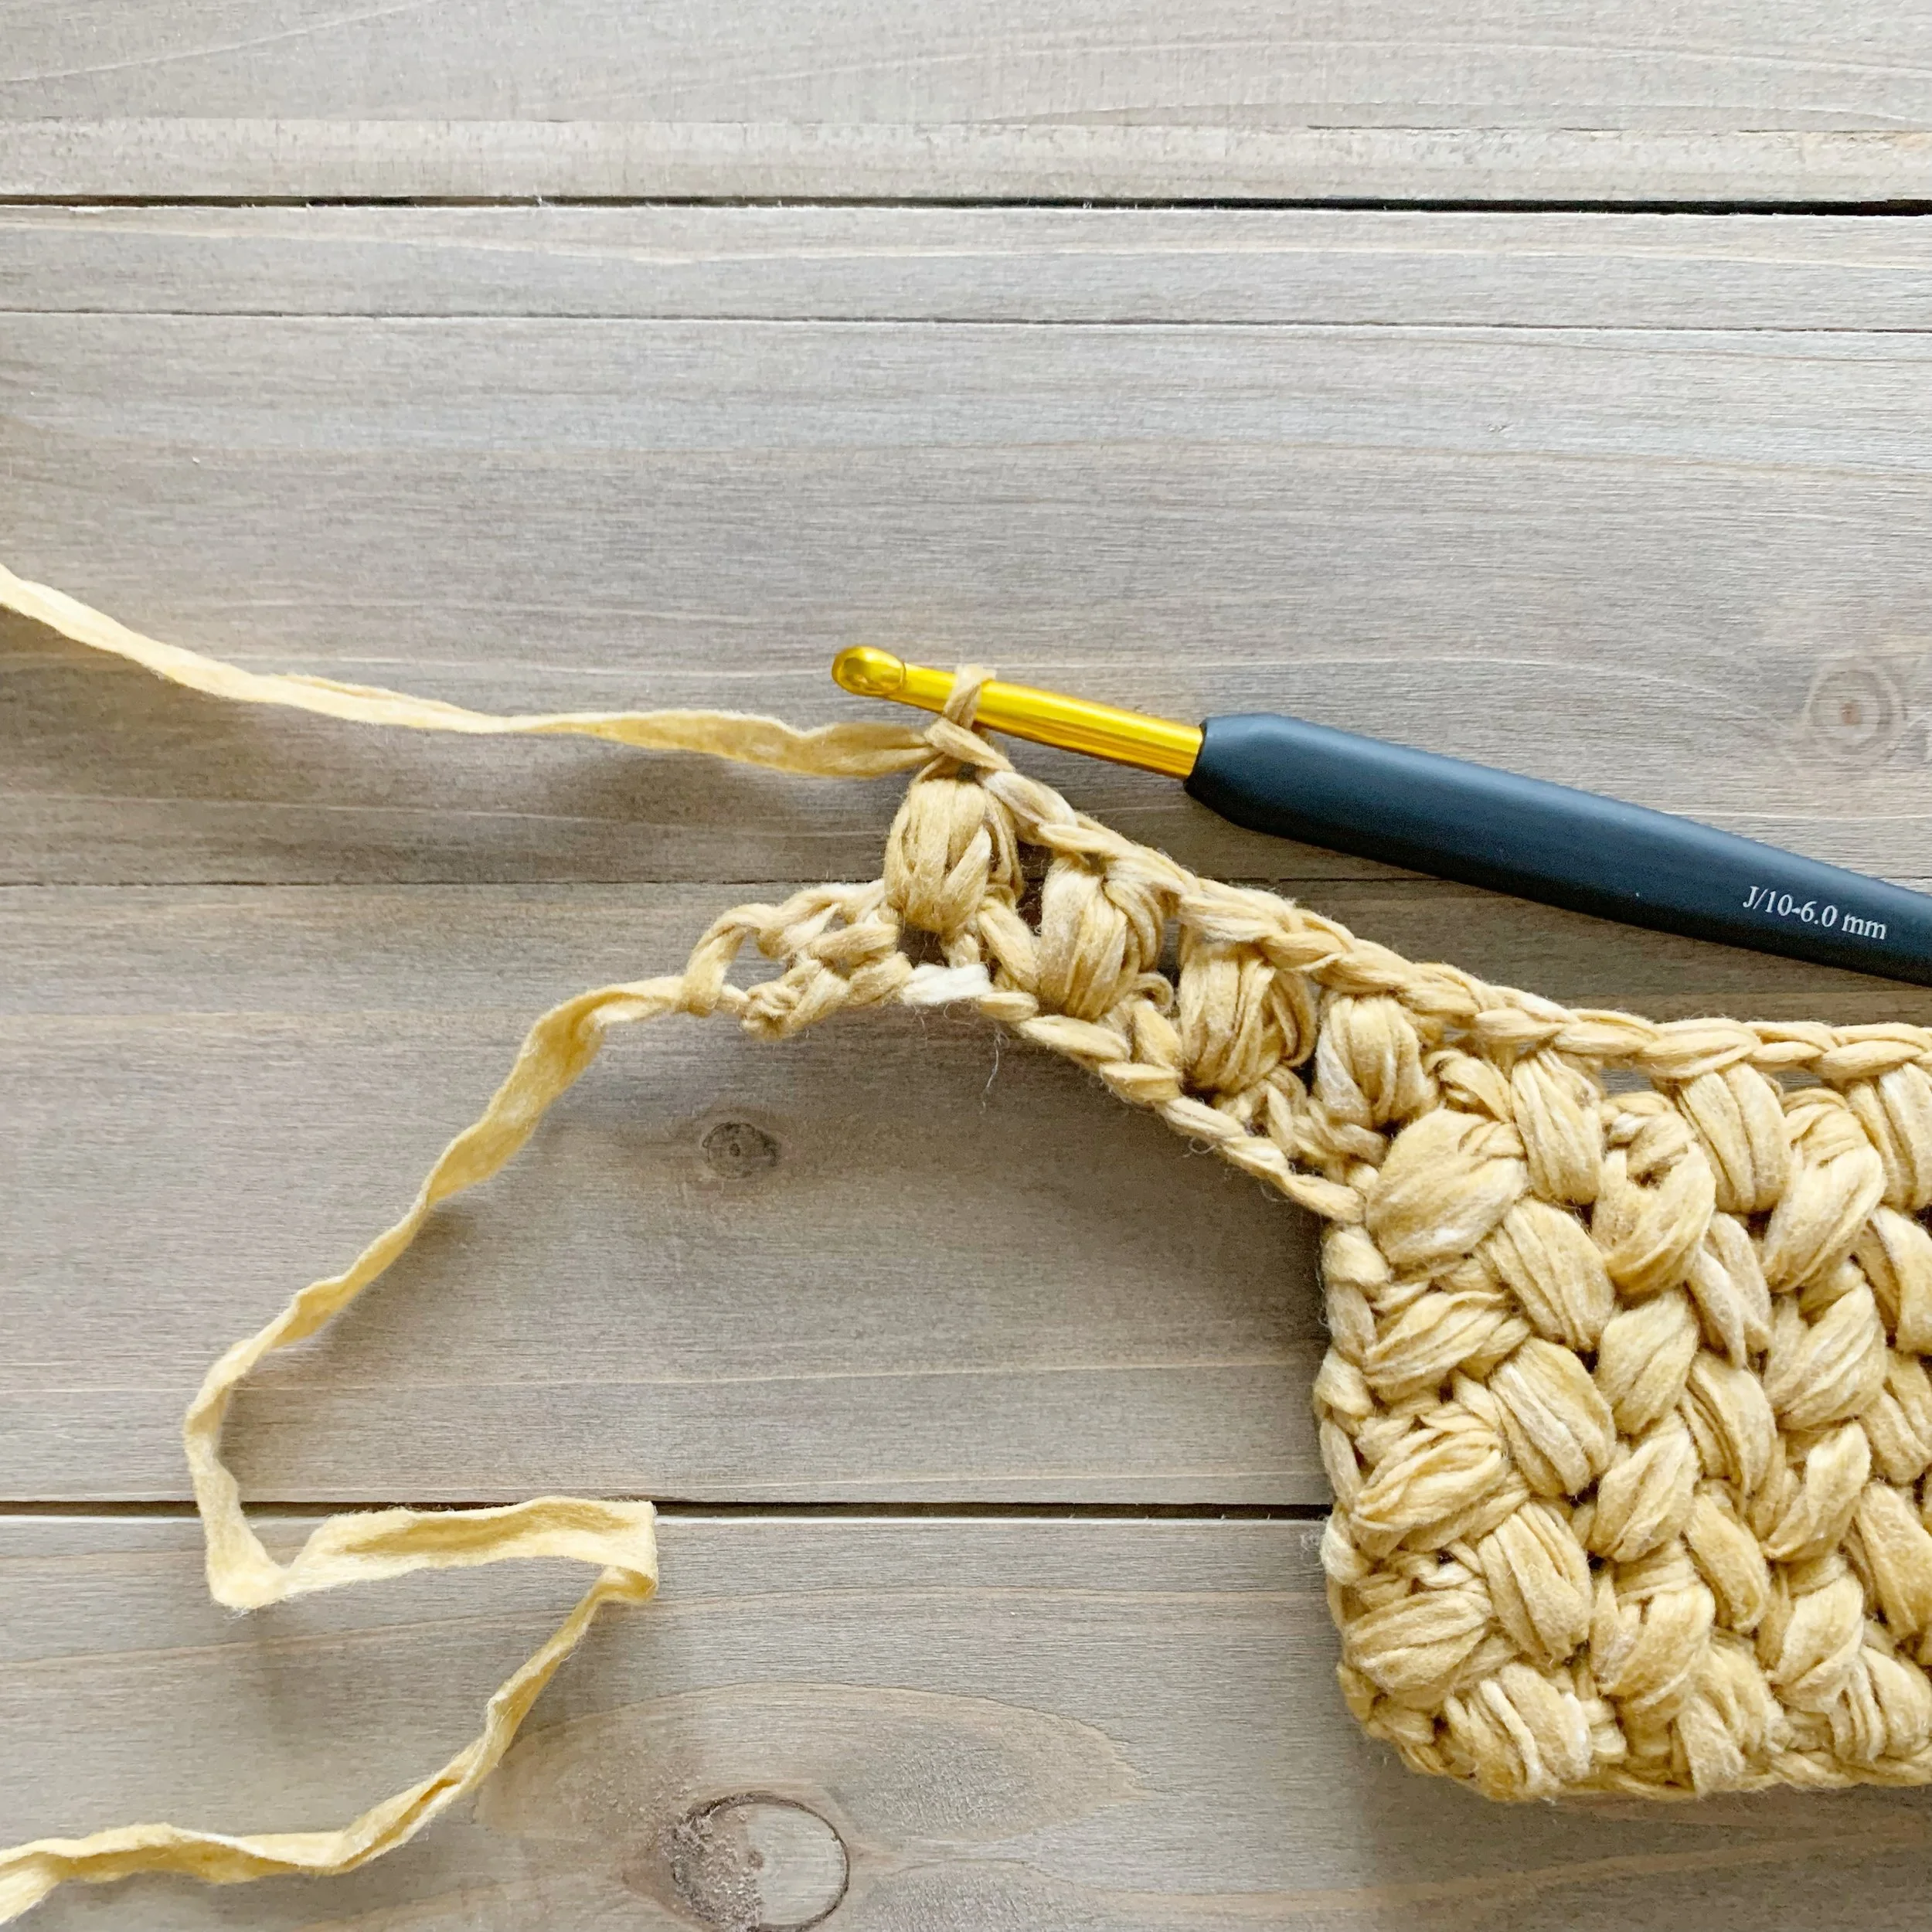
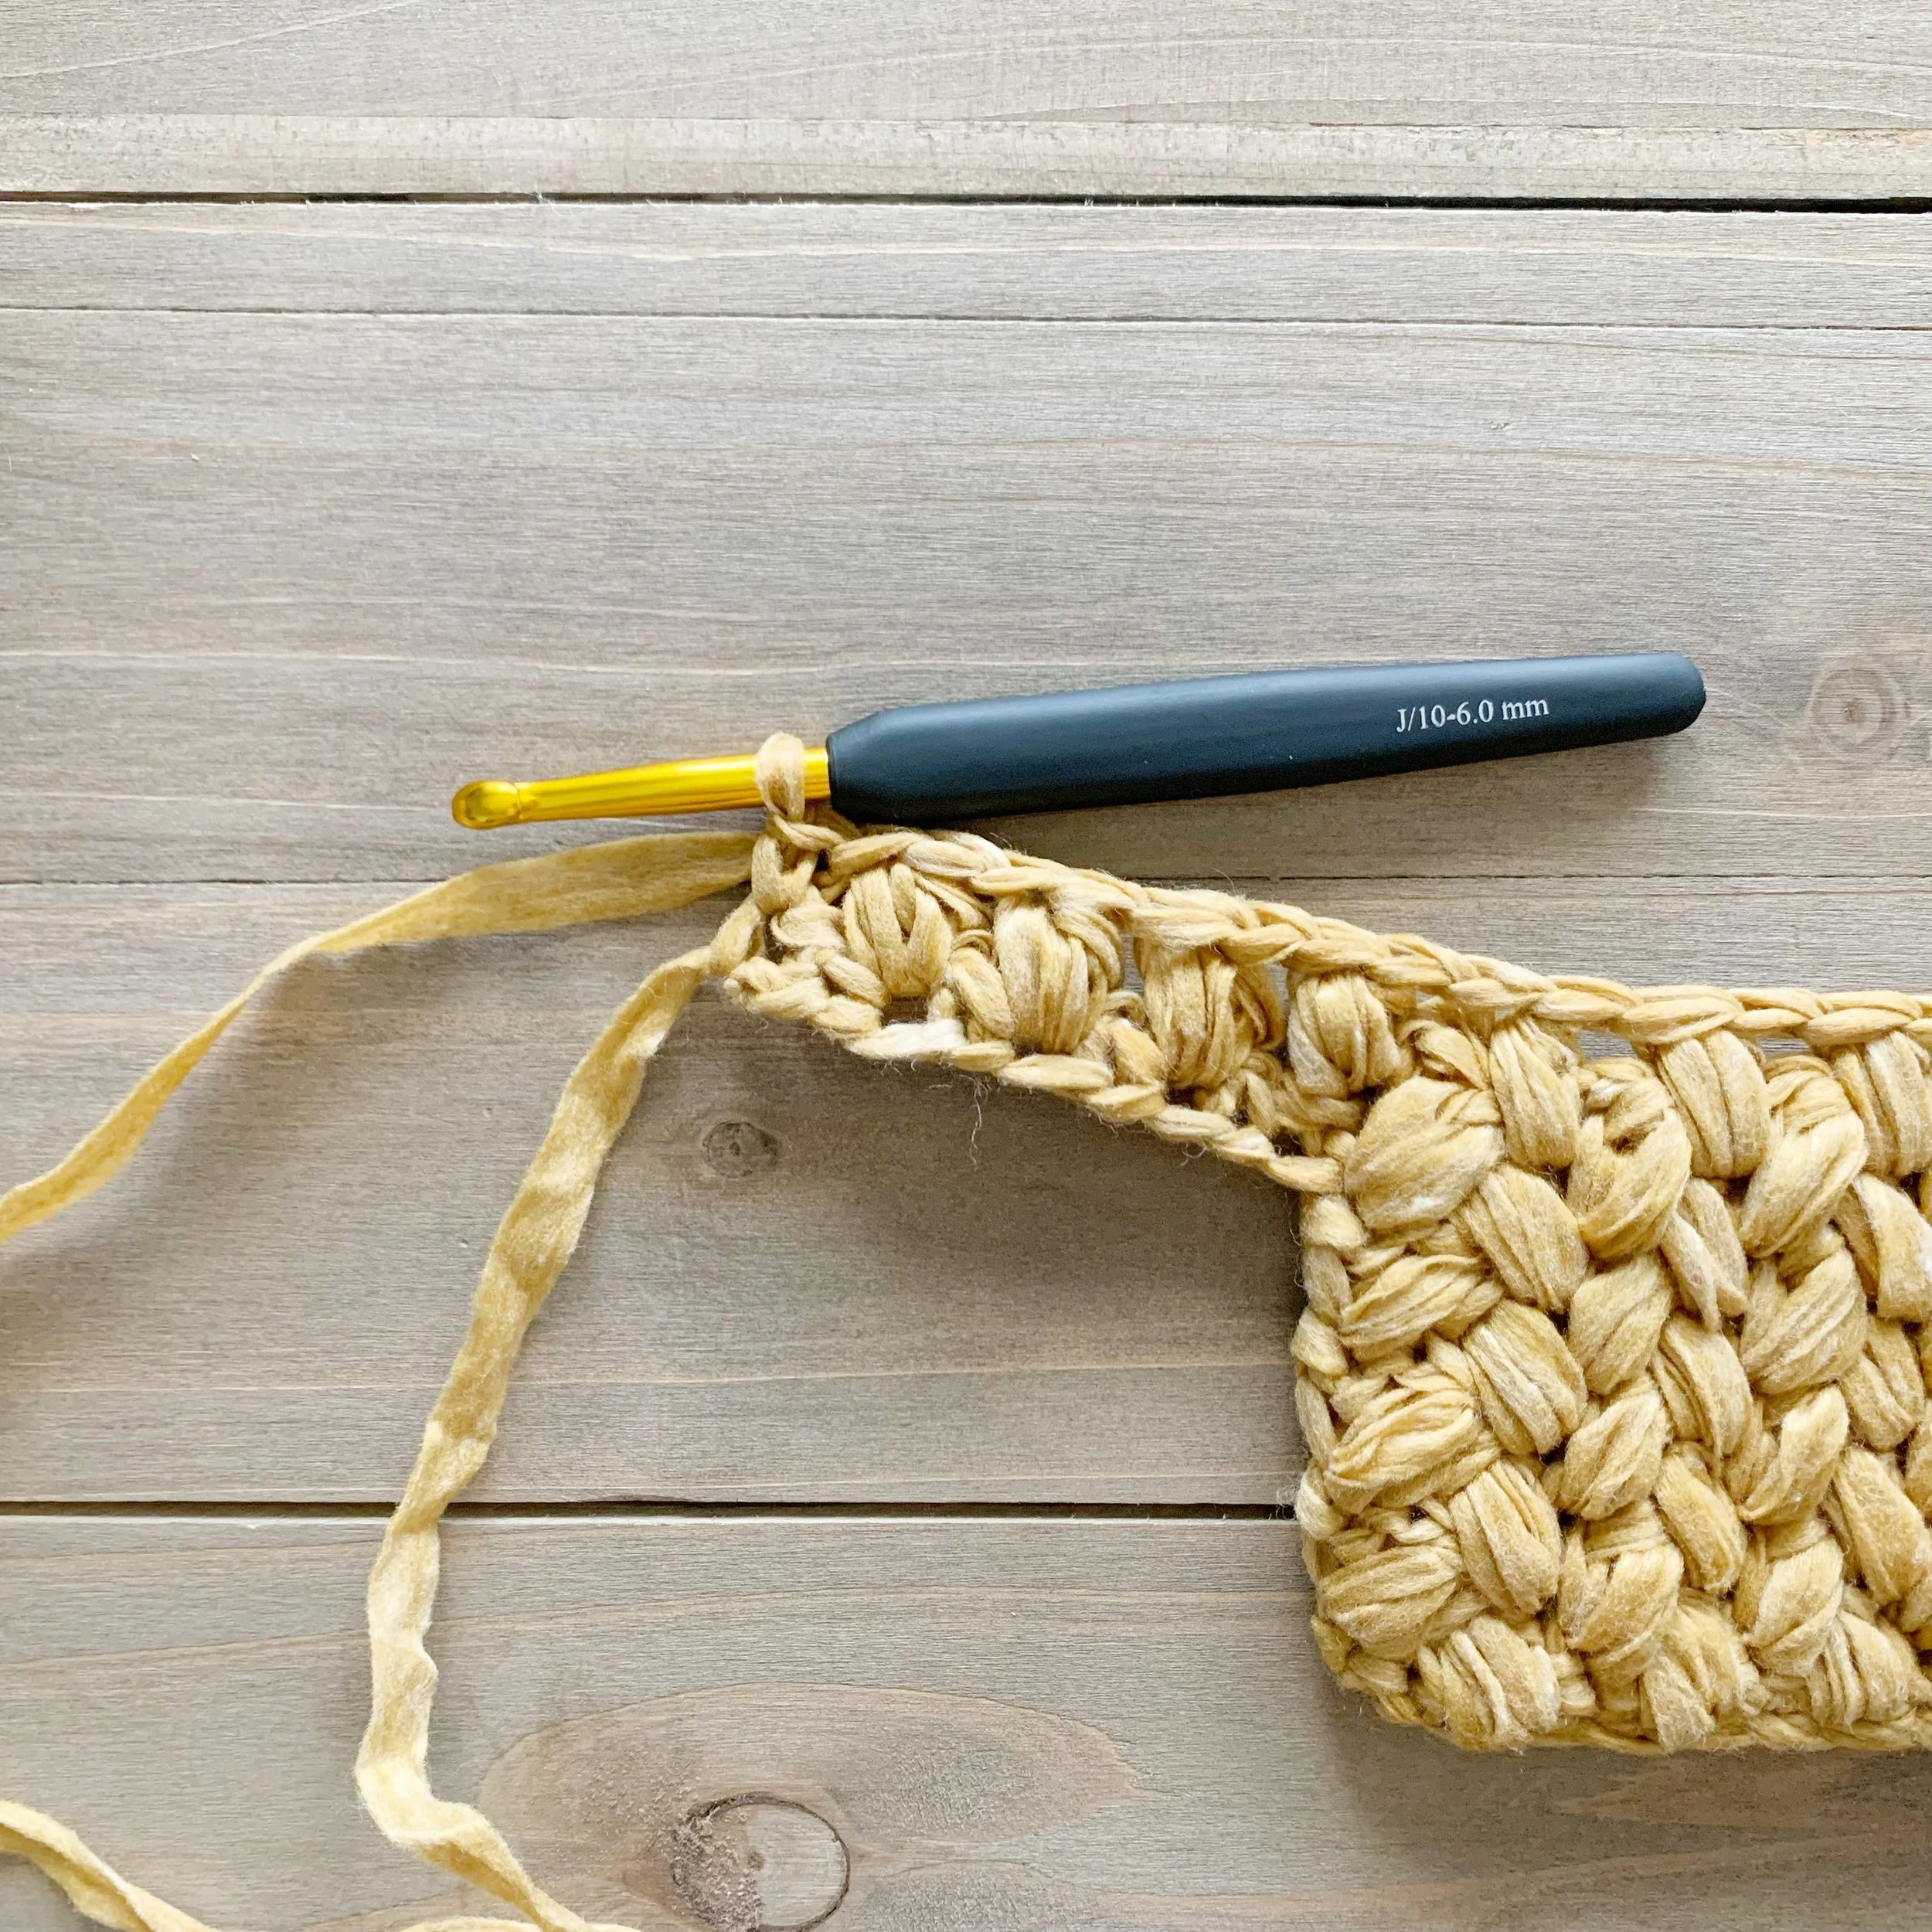
It took me a bit of trial and error to find the perfect stitch that looked woven, but would also be sturdy. I didn’t want the bag to get too stretched out as crochet tends to do. When I discovered the braided puff stitch I knew it would be perfect.. Since the puff are worked into the stitches two rows below it creates a gorgeous texture that is super sturdy without any holes.
The Rewind Yarn from Lion Brand was perfect for this tote. I’d always wanted to try it and I was shocked at how soft it is. The tape yarn really makes the puff stitches pop. Rewind comes in so many beautiful colors, I kind of want to make a Marlowe in each one. LOL. I’m thrilled to be bringing this pattern to you and so thankful for the support for this project from Lion Brand.
The Marlowe is created by making two identical panels and then seaming them together. I’ve created a full video tutorial so you can see exactly how to make your Marlowe and know exactly where to place your puff stitches so you get the unique woven look. Grab your favorite color of Rewind and let’s make a Marlowe!
The Marlowe Tote Crochet Pattern
Materials:
1,530 yards (7 skeins) of Lion Brand Rewind Tape yarn in the color Citronella or similar weight 5 yarn.
Tapestry needle
Scissors
Abbreviations:
ch(s)- chain(s)
st(s)- stitch(es)
sk- skip
sc- single crochet
fsc- foundation single crochet
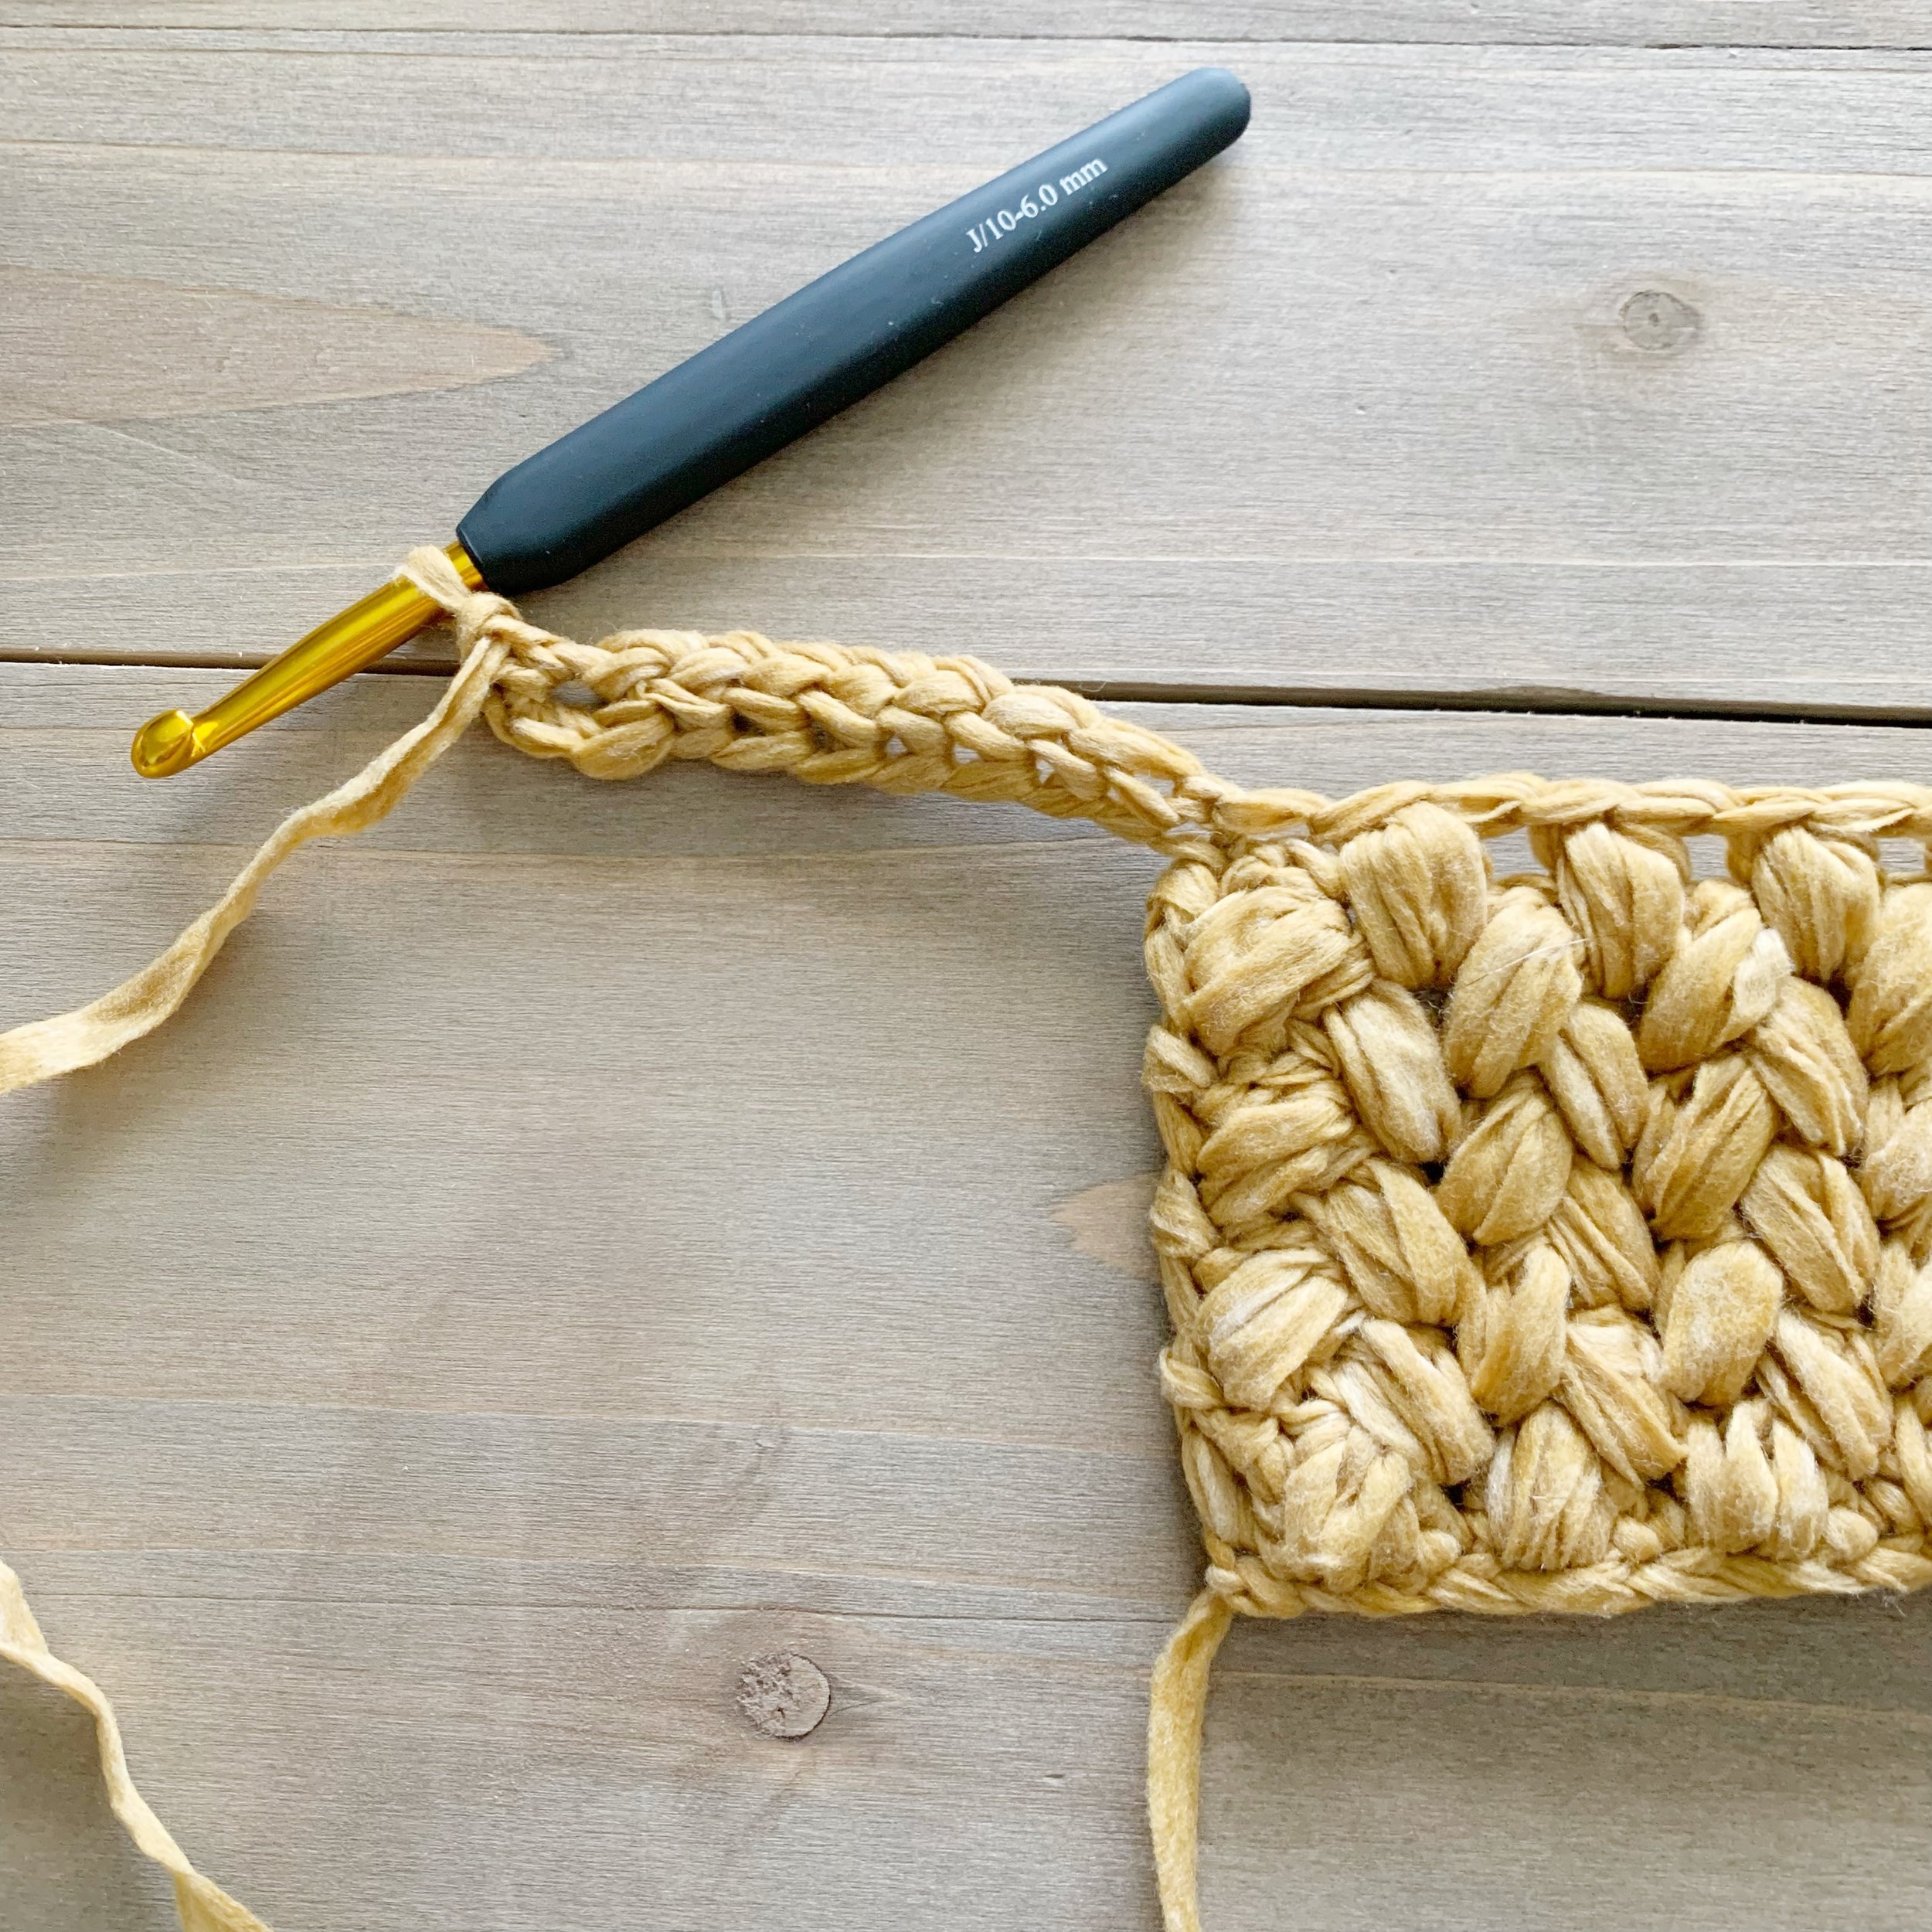
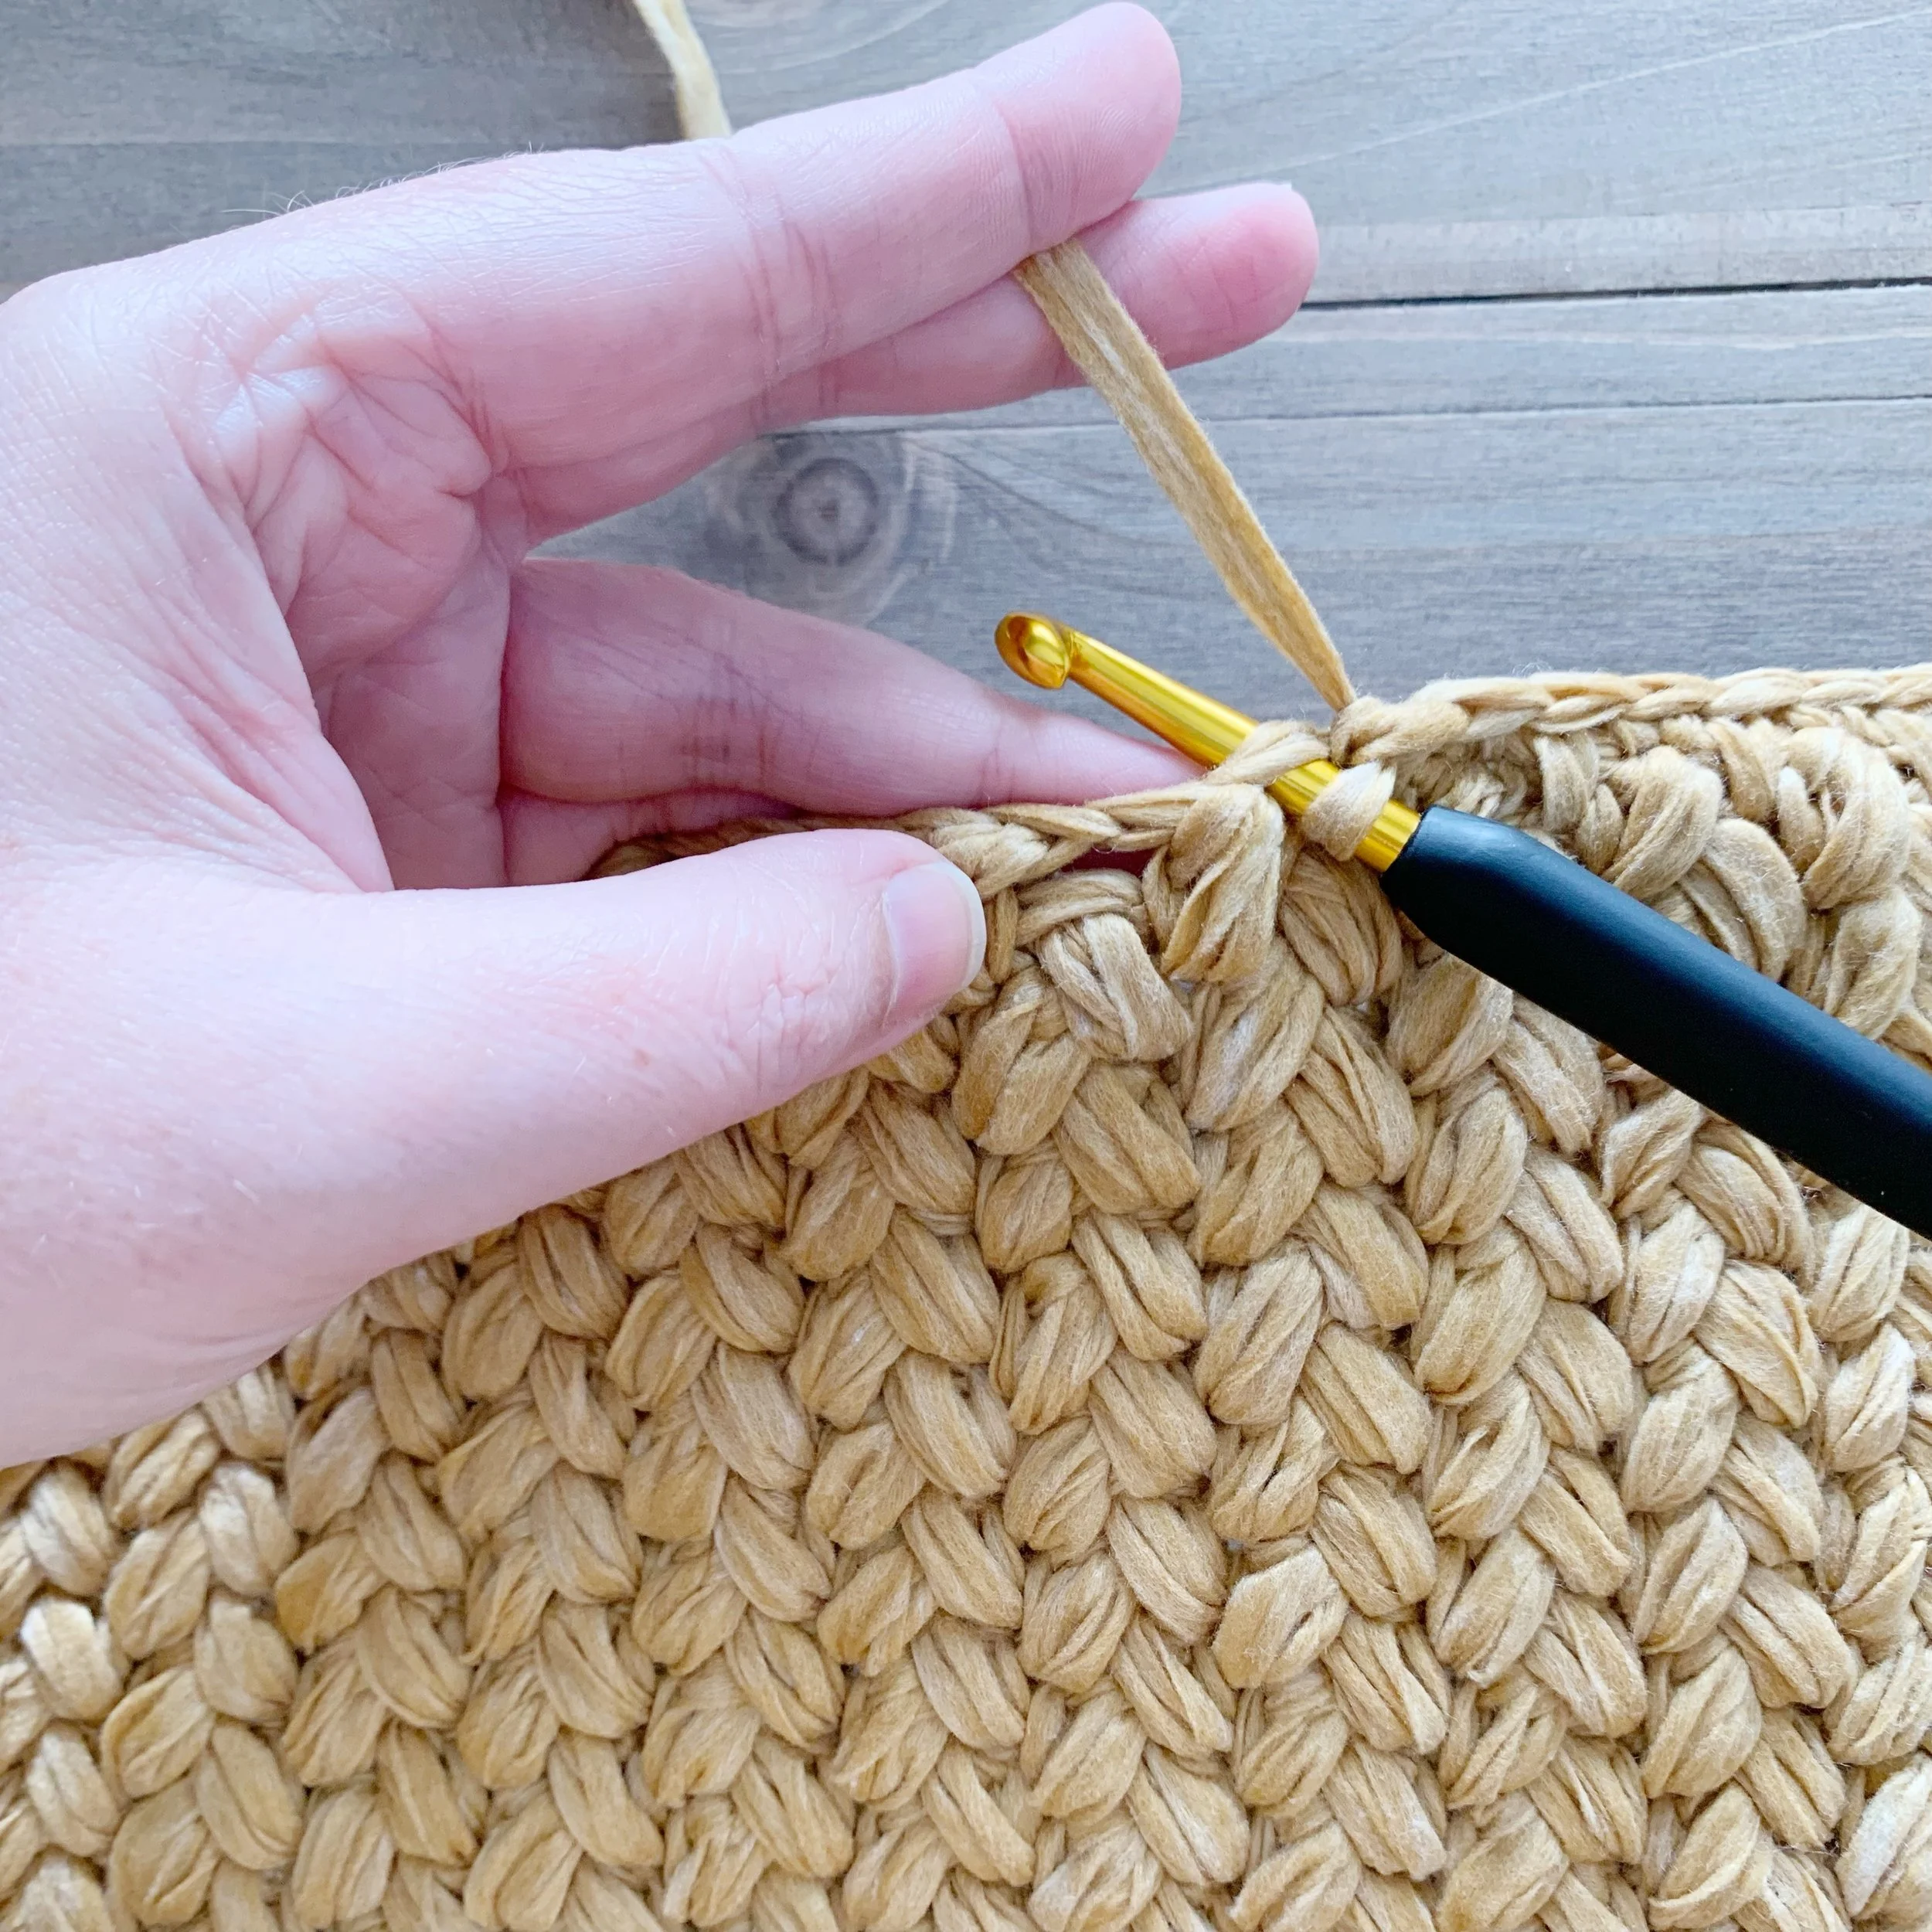
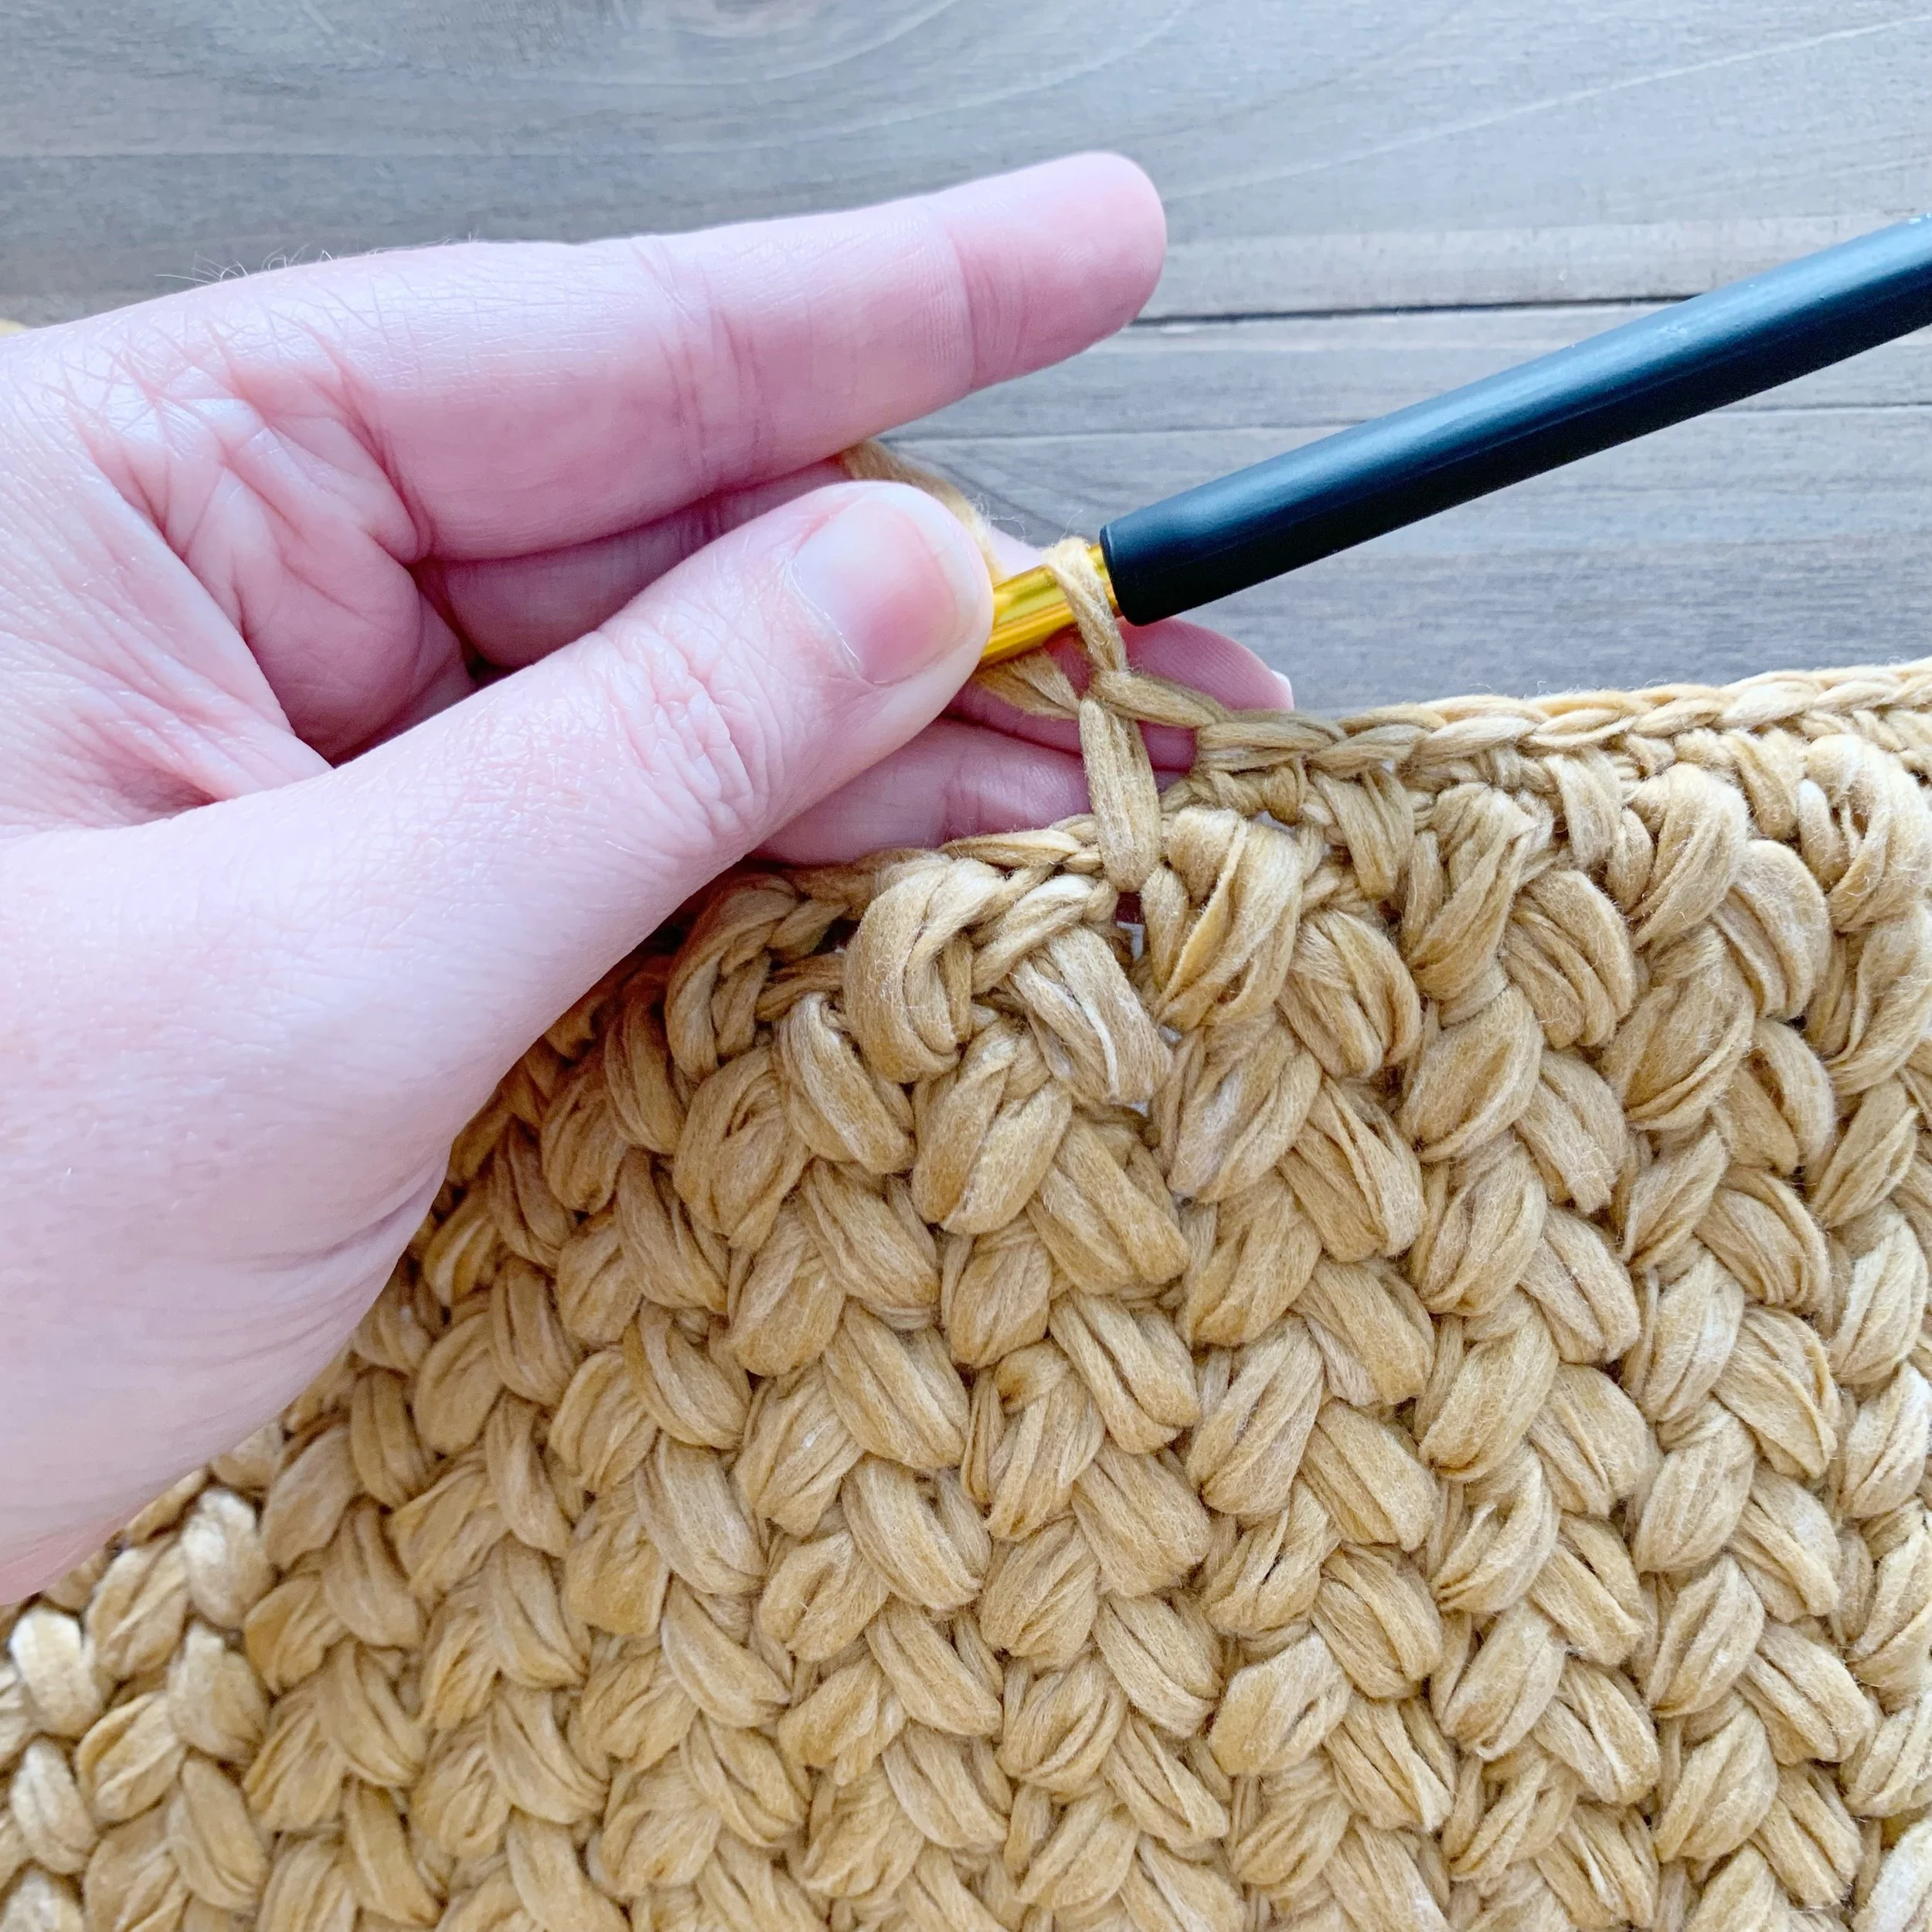
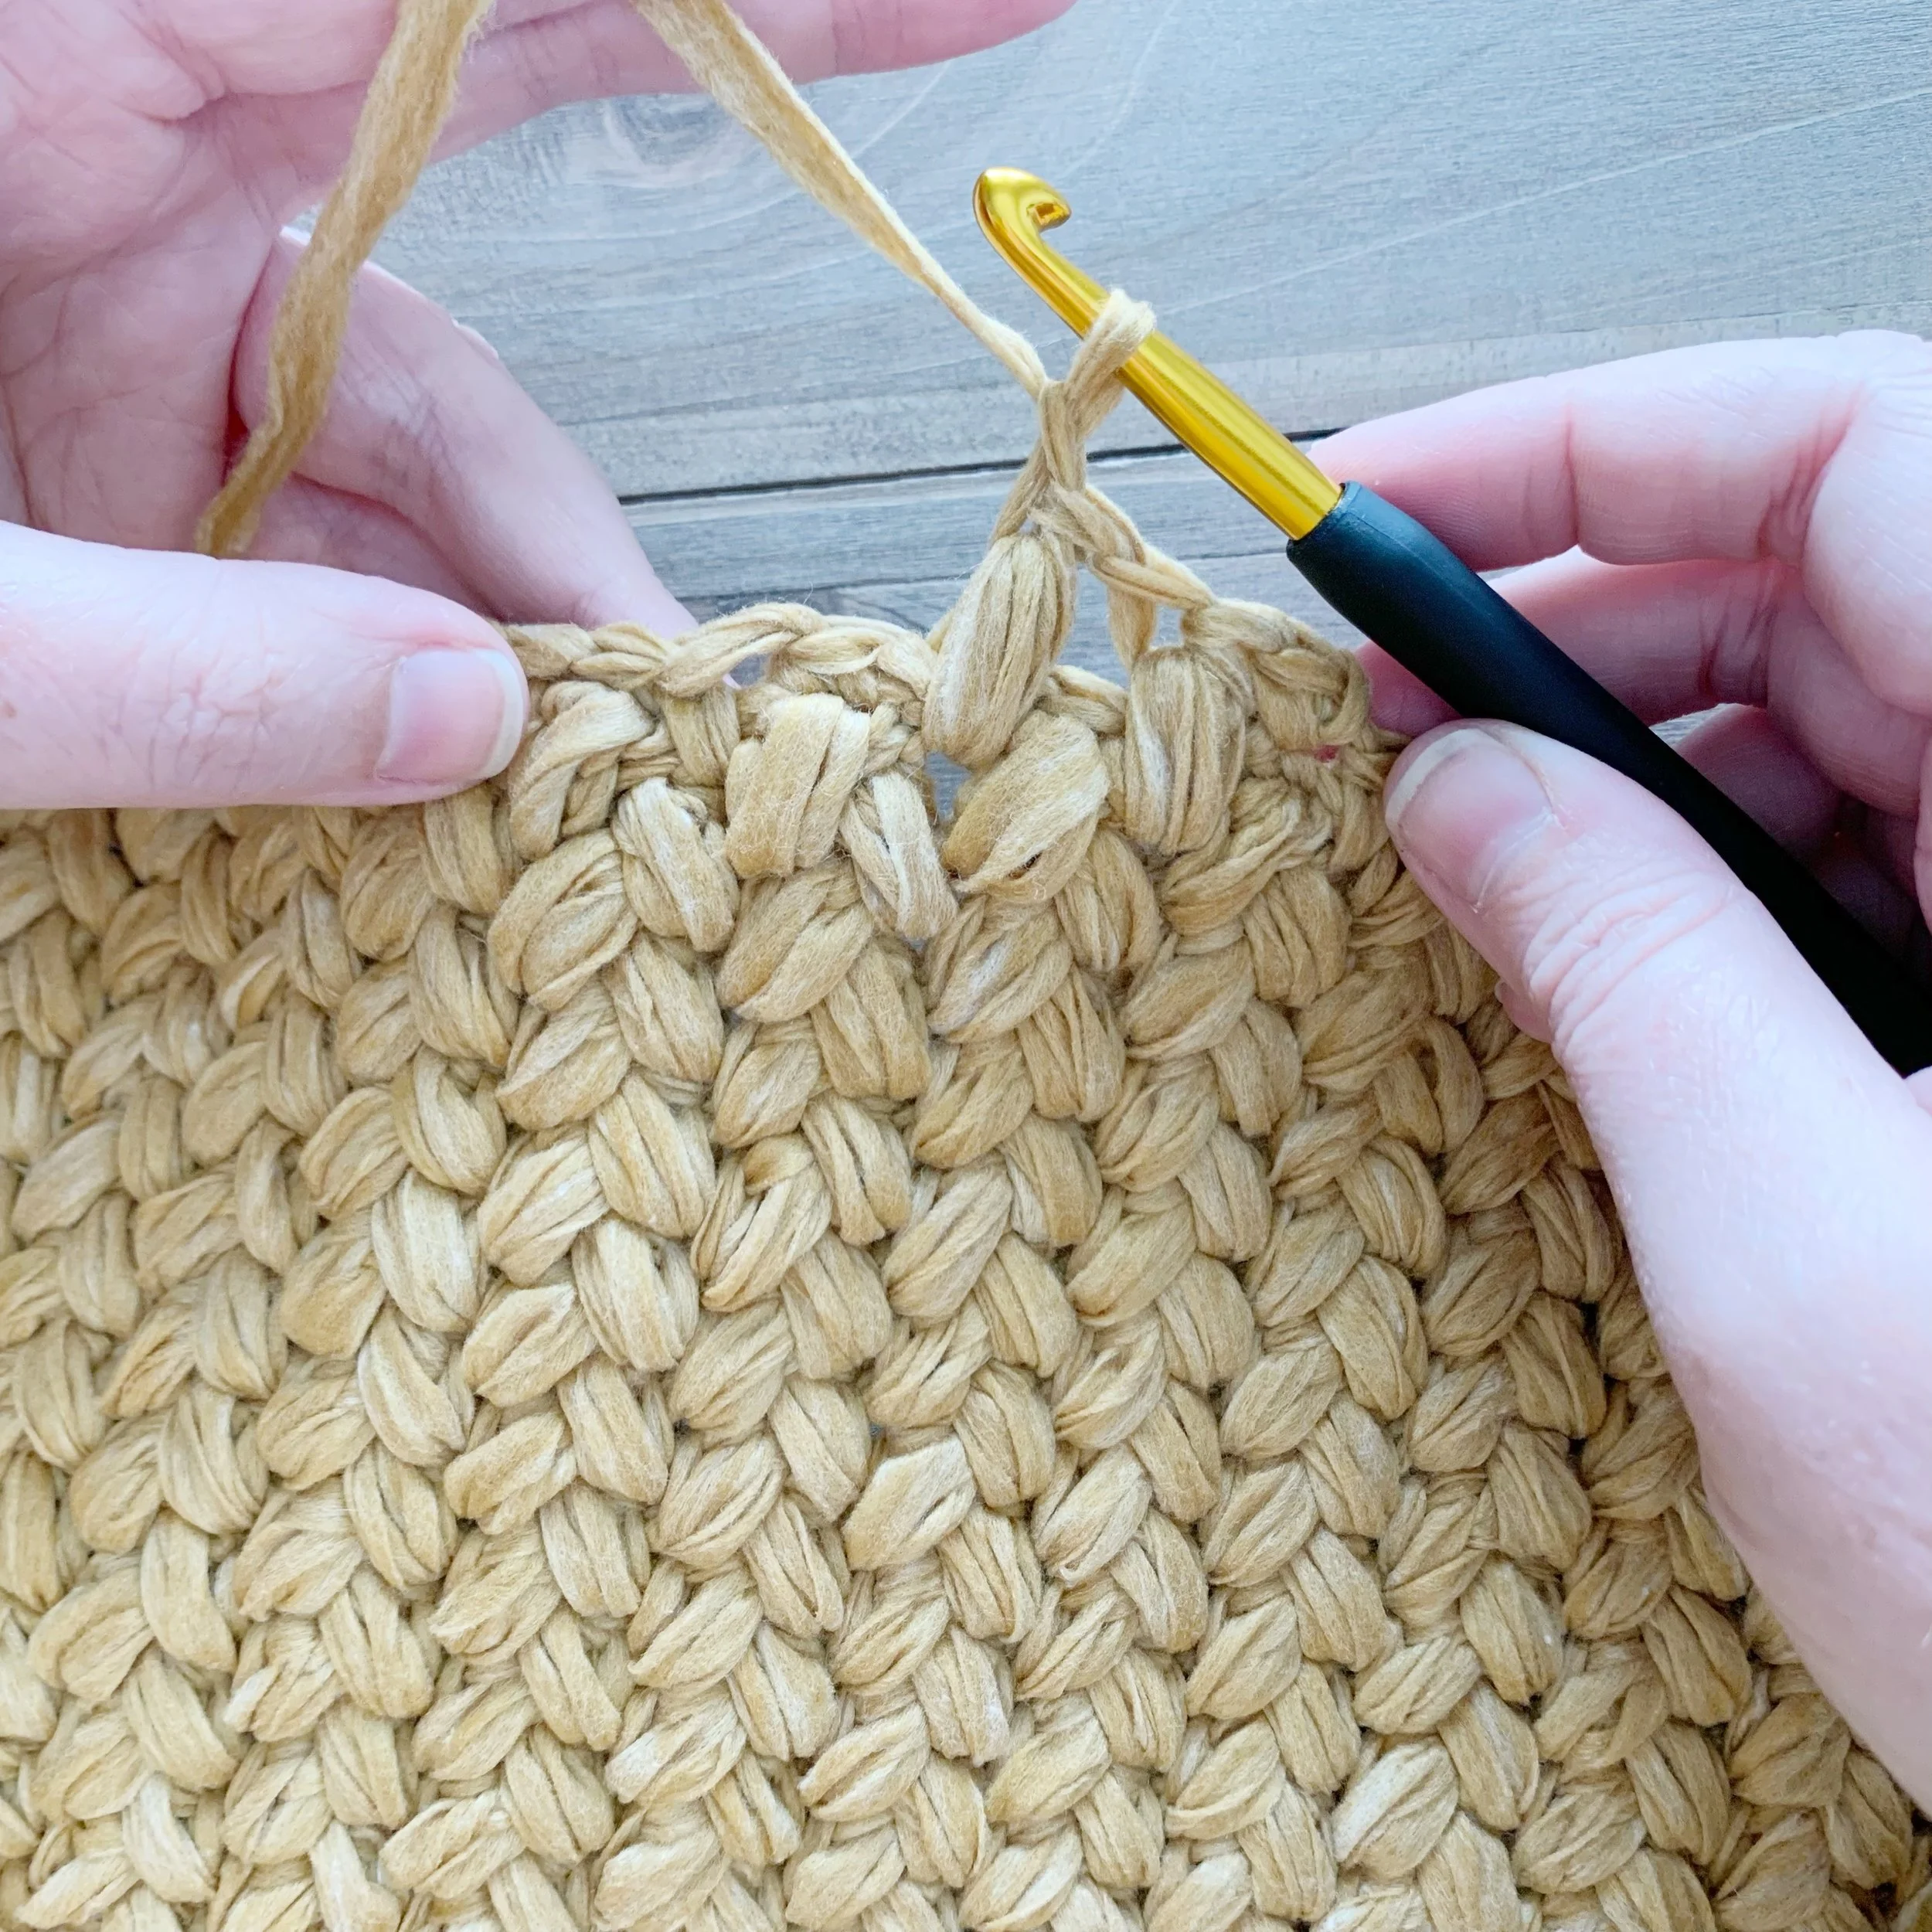
puff- *yo, insert hook into indicated stitch, yo, draw up a loop, repeat from * 3 times (7 loops on hook), yo and draw through all loops.
WS- wrong side
RS- right side
Notes:
1.Tote is made of two panels worked bottom up.
2.Panels are made using the braided puff stitch. The panels consist of an initial bottom section, stitches are then added for the main section and finally straps are added on just before seaming.
Size:
23” wide X 14” high X 5” deep
Gauge:
10 sts and 14 rows in braided puff stitch= 4” square
Follow along with the complete video tutorial below:
Pattern:
Main Panels: (make 2)
Ch 47
Row 1: sc in 2nd ch from hook and in each ch across, ch 1, turn. (46)
Row 2: sc in 1st st, puff st in next st 2 rows below, *ch 1, sk 1, puff st in next st 2 rows below, repeat from * until 2 sts remain, ch 1, sk 1, sc in last st, ch 1, turn. (46)
Row 3: sc in 1st st, puff st in 1st st 2 rows below, *ch 1, sk 1, puff st in next sc st 2 rows below, repeat from * until 2 sts remain, ch 1, sk 1, sc in last st, ch 1, turn. (46)
Row 4: sc in 1st st, puff st in 1st st 2 rows below, *ch 1, sk 1, puff st in next st 2 rows below, repeat from * until 2 sts remain, ch 1, sk 1, sc in last st, ch 1, turn. (46)
Rows 5-9: repeat Row 4.
Do not ch 1, and turn at the end of Row 9.
We will now be adding stitches to both sides in order to make the cut out corners.
Fsc 8 directly off the last st of Row 9, ch 1, turn.
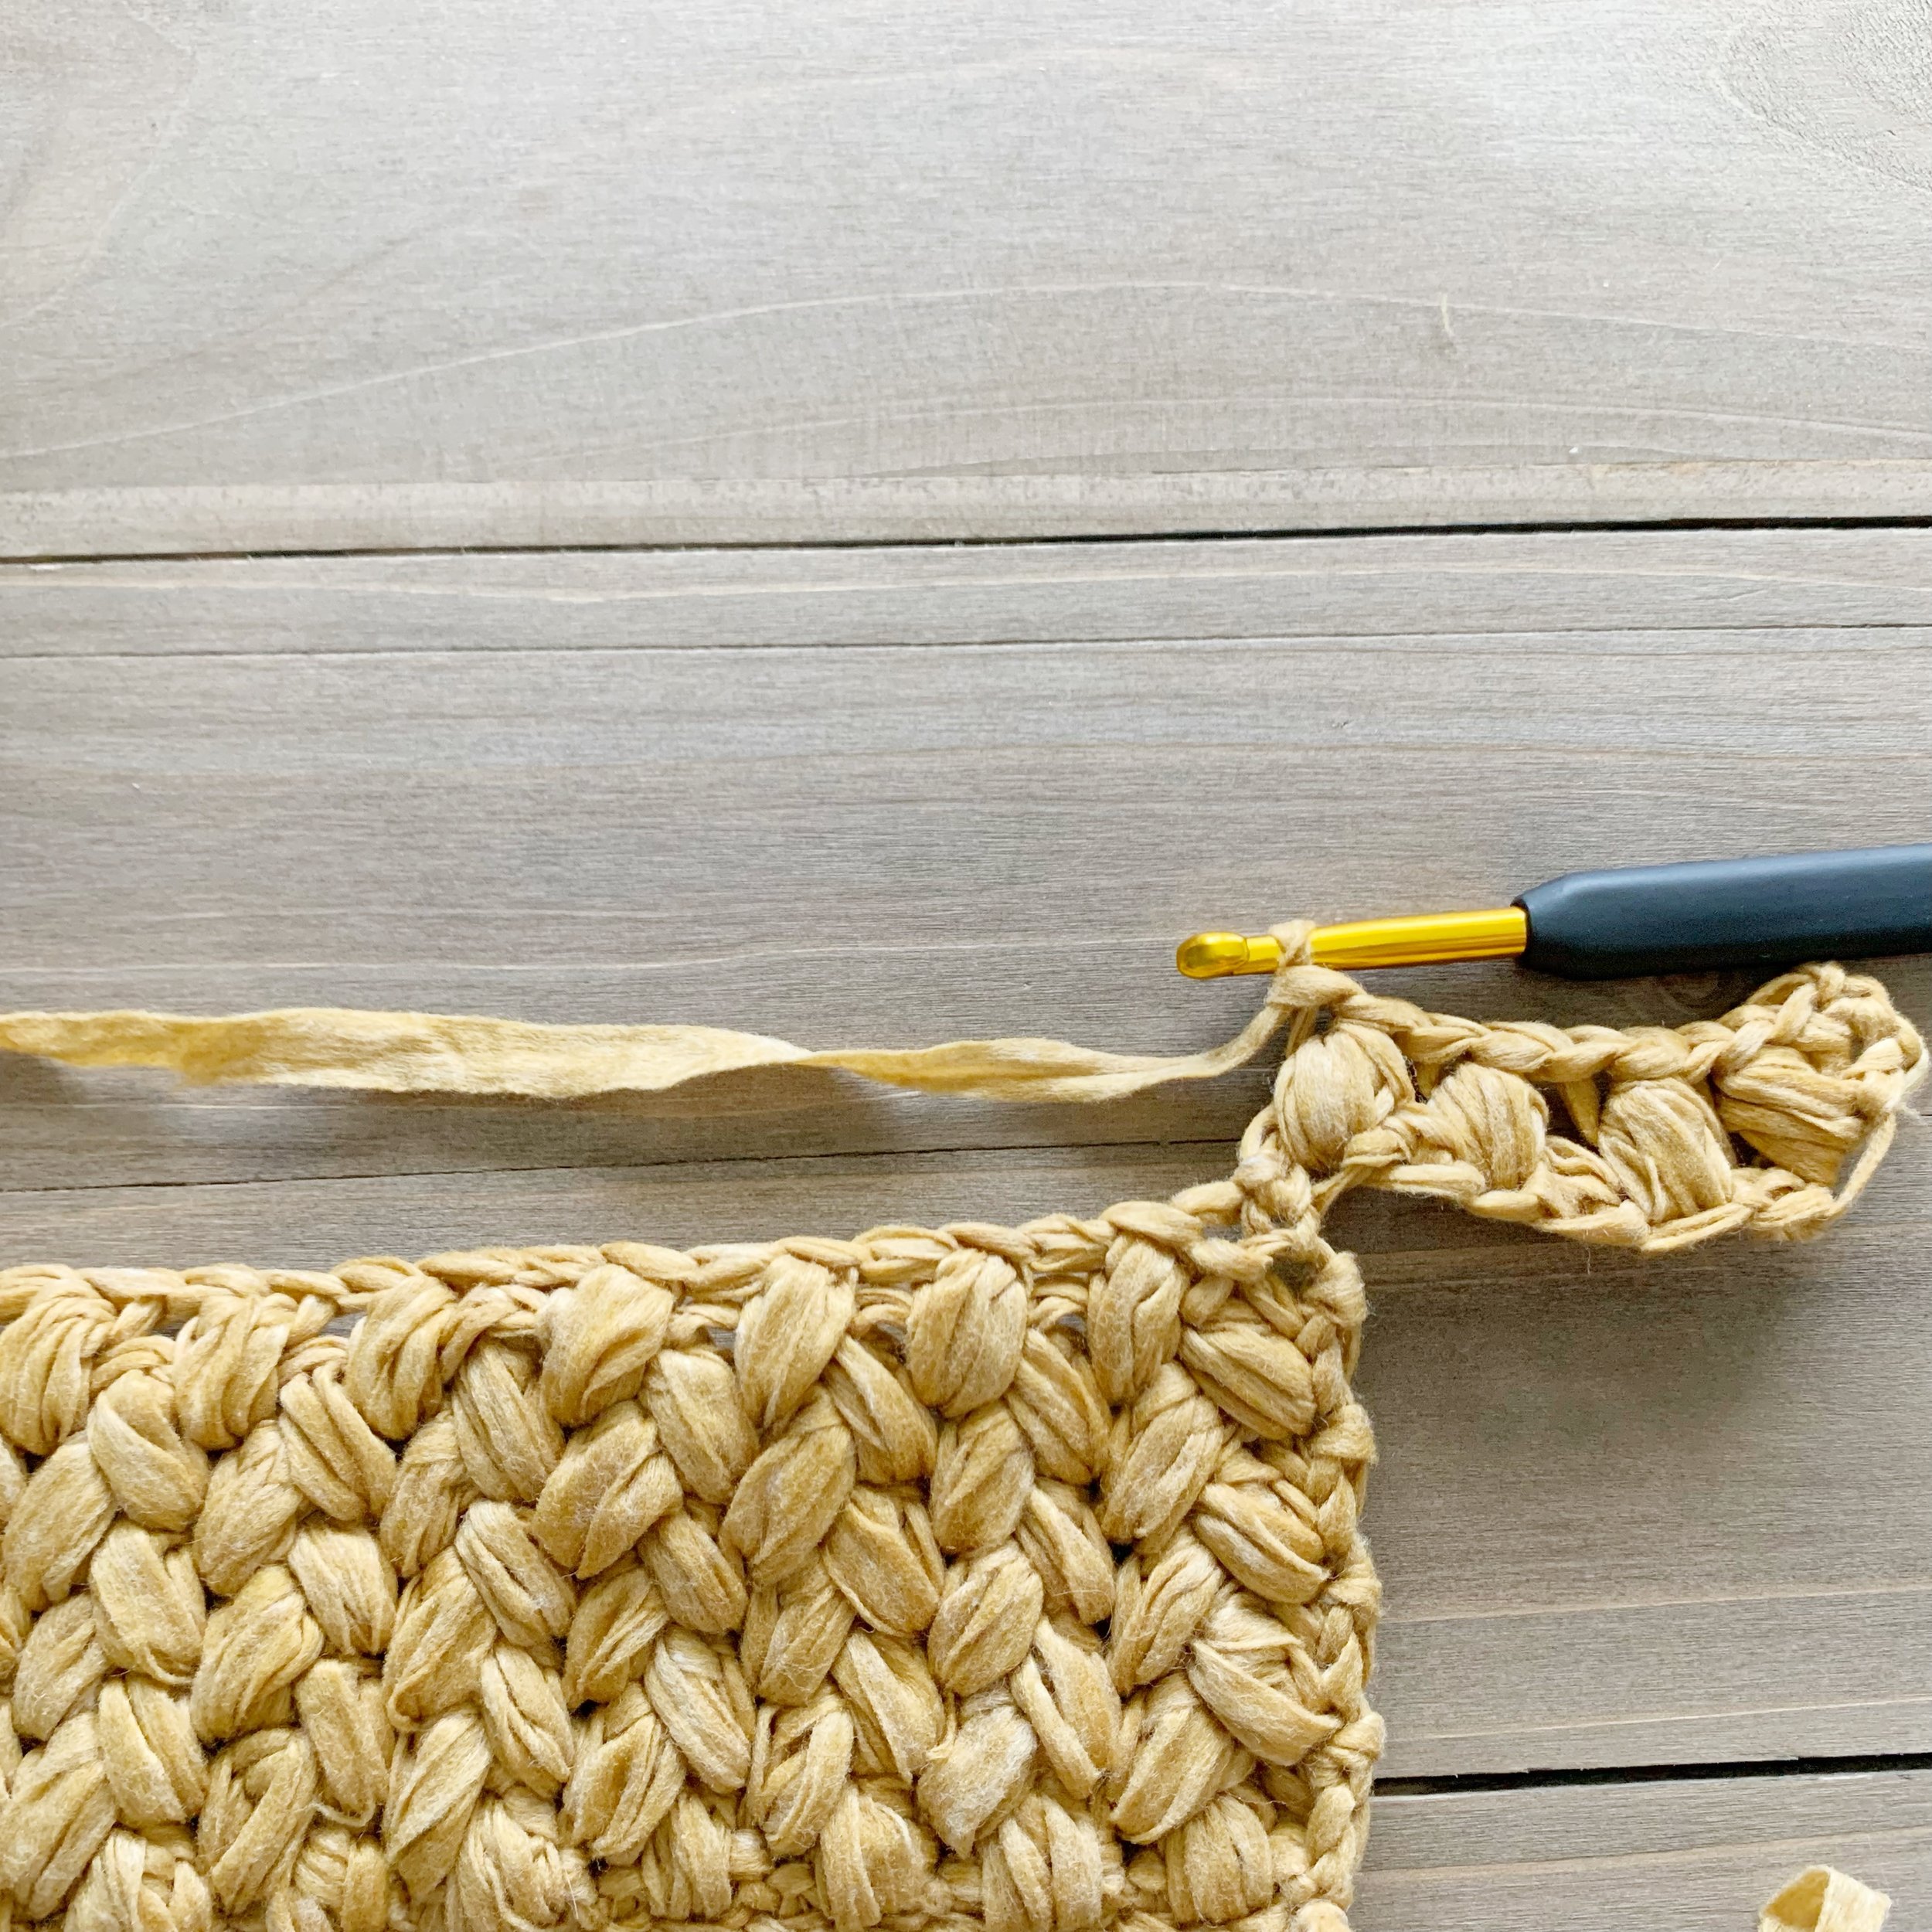
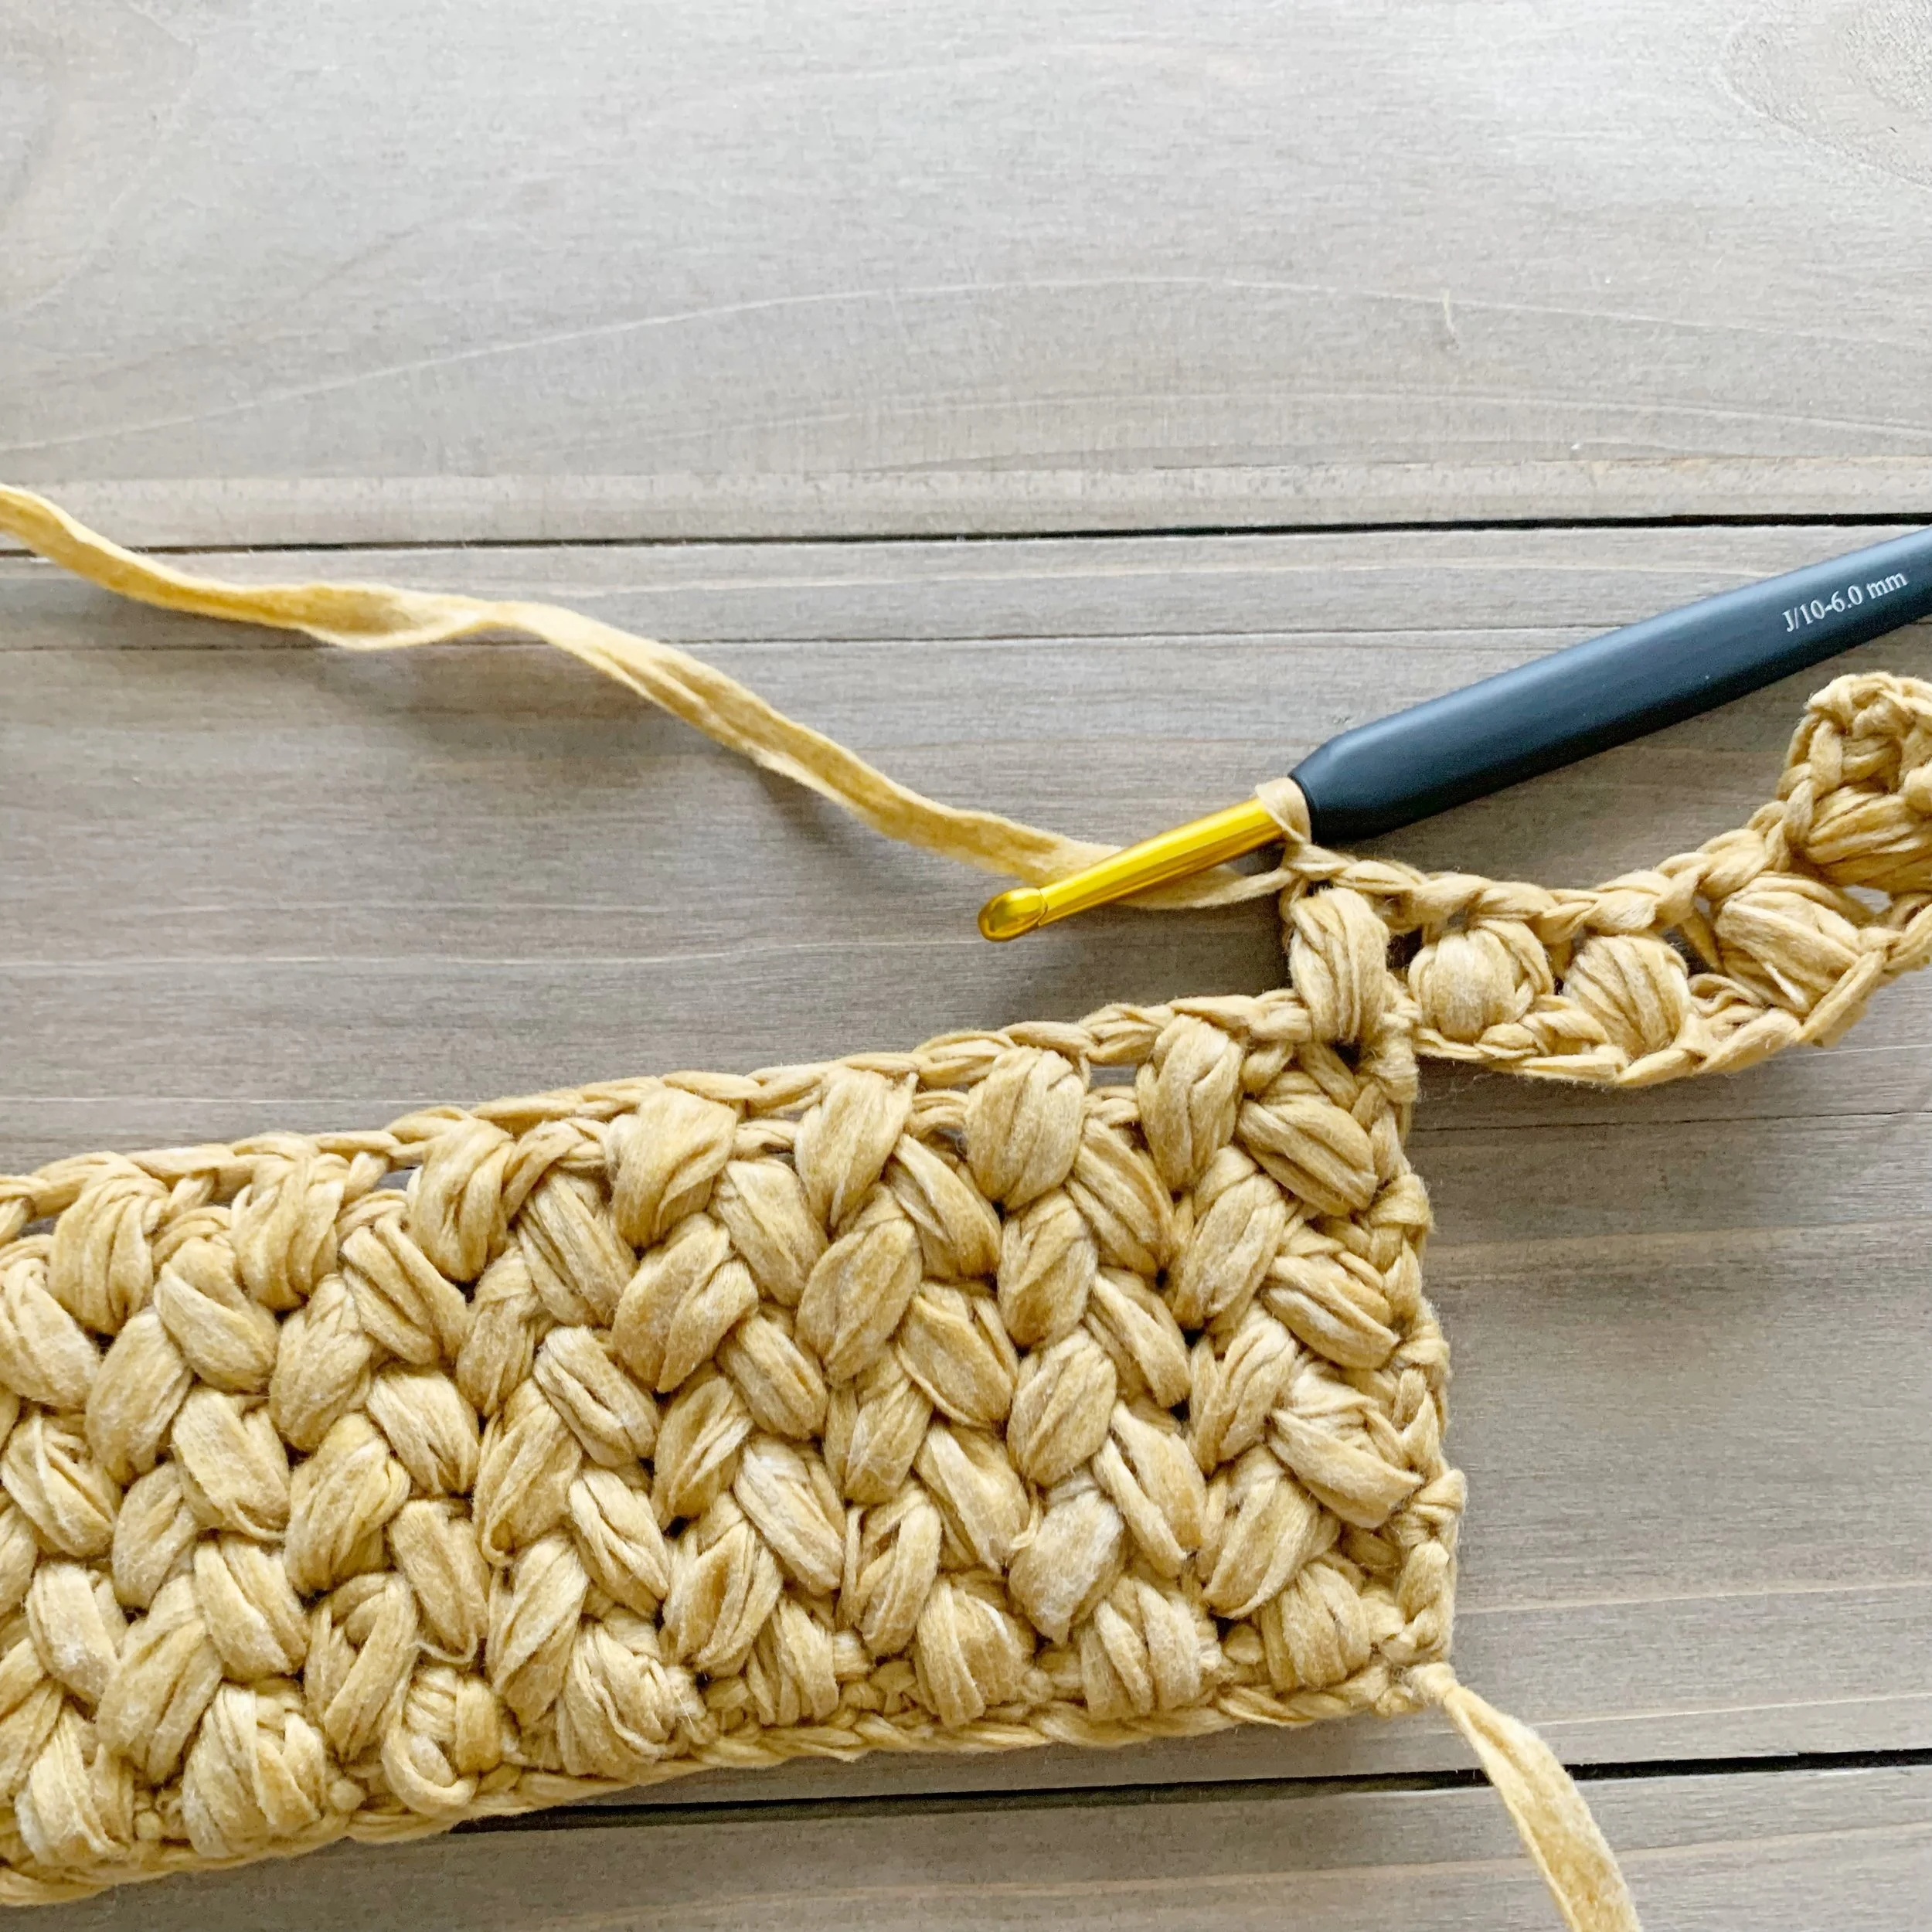
Row 10: sc in 1st st, puff st in next st 2 rows below, *ch 1, sk 1, puff st in next st 2 rows below, repeat from * three times, ch 1, puff st into the 1st sc st of the main panel 2 rows below, **ch 1, sk 1, puff st in next st 2 rows below, repeat from ** until 2 sts remain.
Take hook out of current st, leaving a tall loop, then insert hook into the last st 2 rows below and attach either another skein of yarn or the end tail of your current skein and ch 1, make 8 fsc stitches and fasten off. Insert hook back into working stitch and make next puff st into the same stitch you made your first fsc st, *ch 1, sk 1, puff st in next st 2 rows below, repeat from * until 2 sts remain, ch 1, sk1, sc in last fsc, ch 1, turn. (62)

Rows 11-57: sc in 1st st, puff st in 1st st 2 rows below, *ch 1, sk 1, puff st in next st 2 rows below, repeat from * until 2 sts remain, ch 1, sk 1, sc in last st, ch 1, turn. (62)
Row 58(RS): sc in 1st st, sc in 1st st 2 rows below, *sc in ch 1 st, sc in next st 2 rows below, repeat from * across until 3 sts remain, sc in ch 1 st, sk 1, sc in last st. (62)


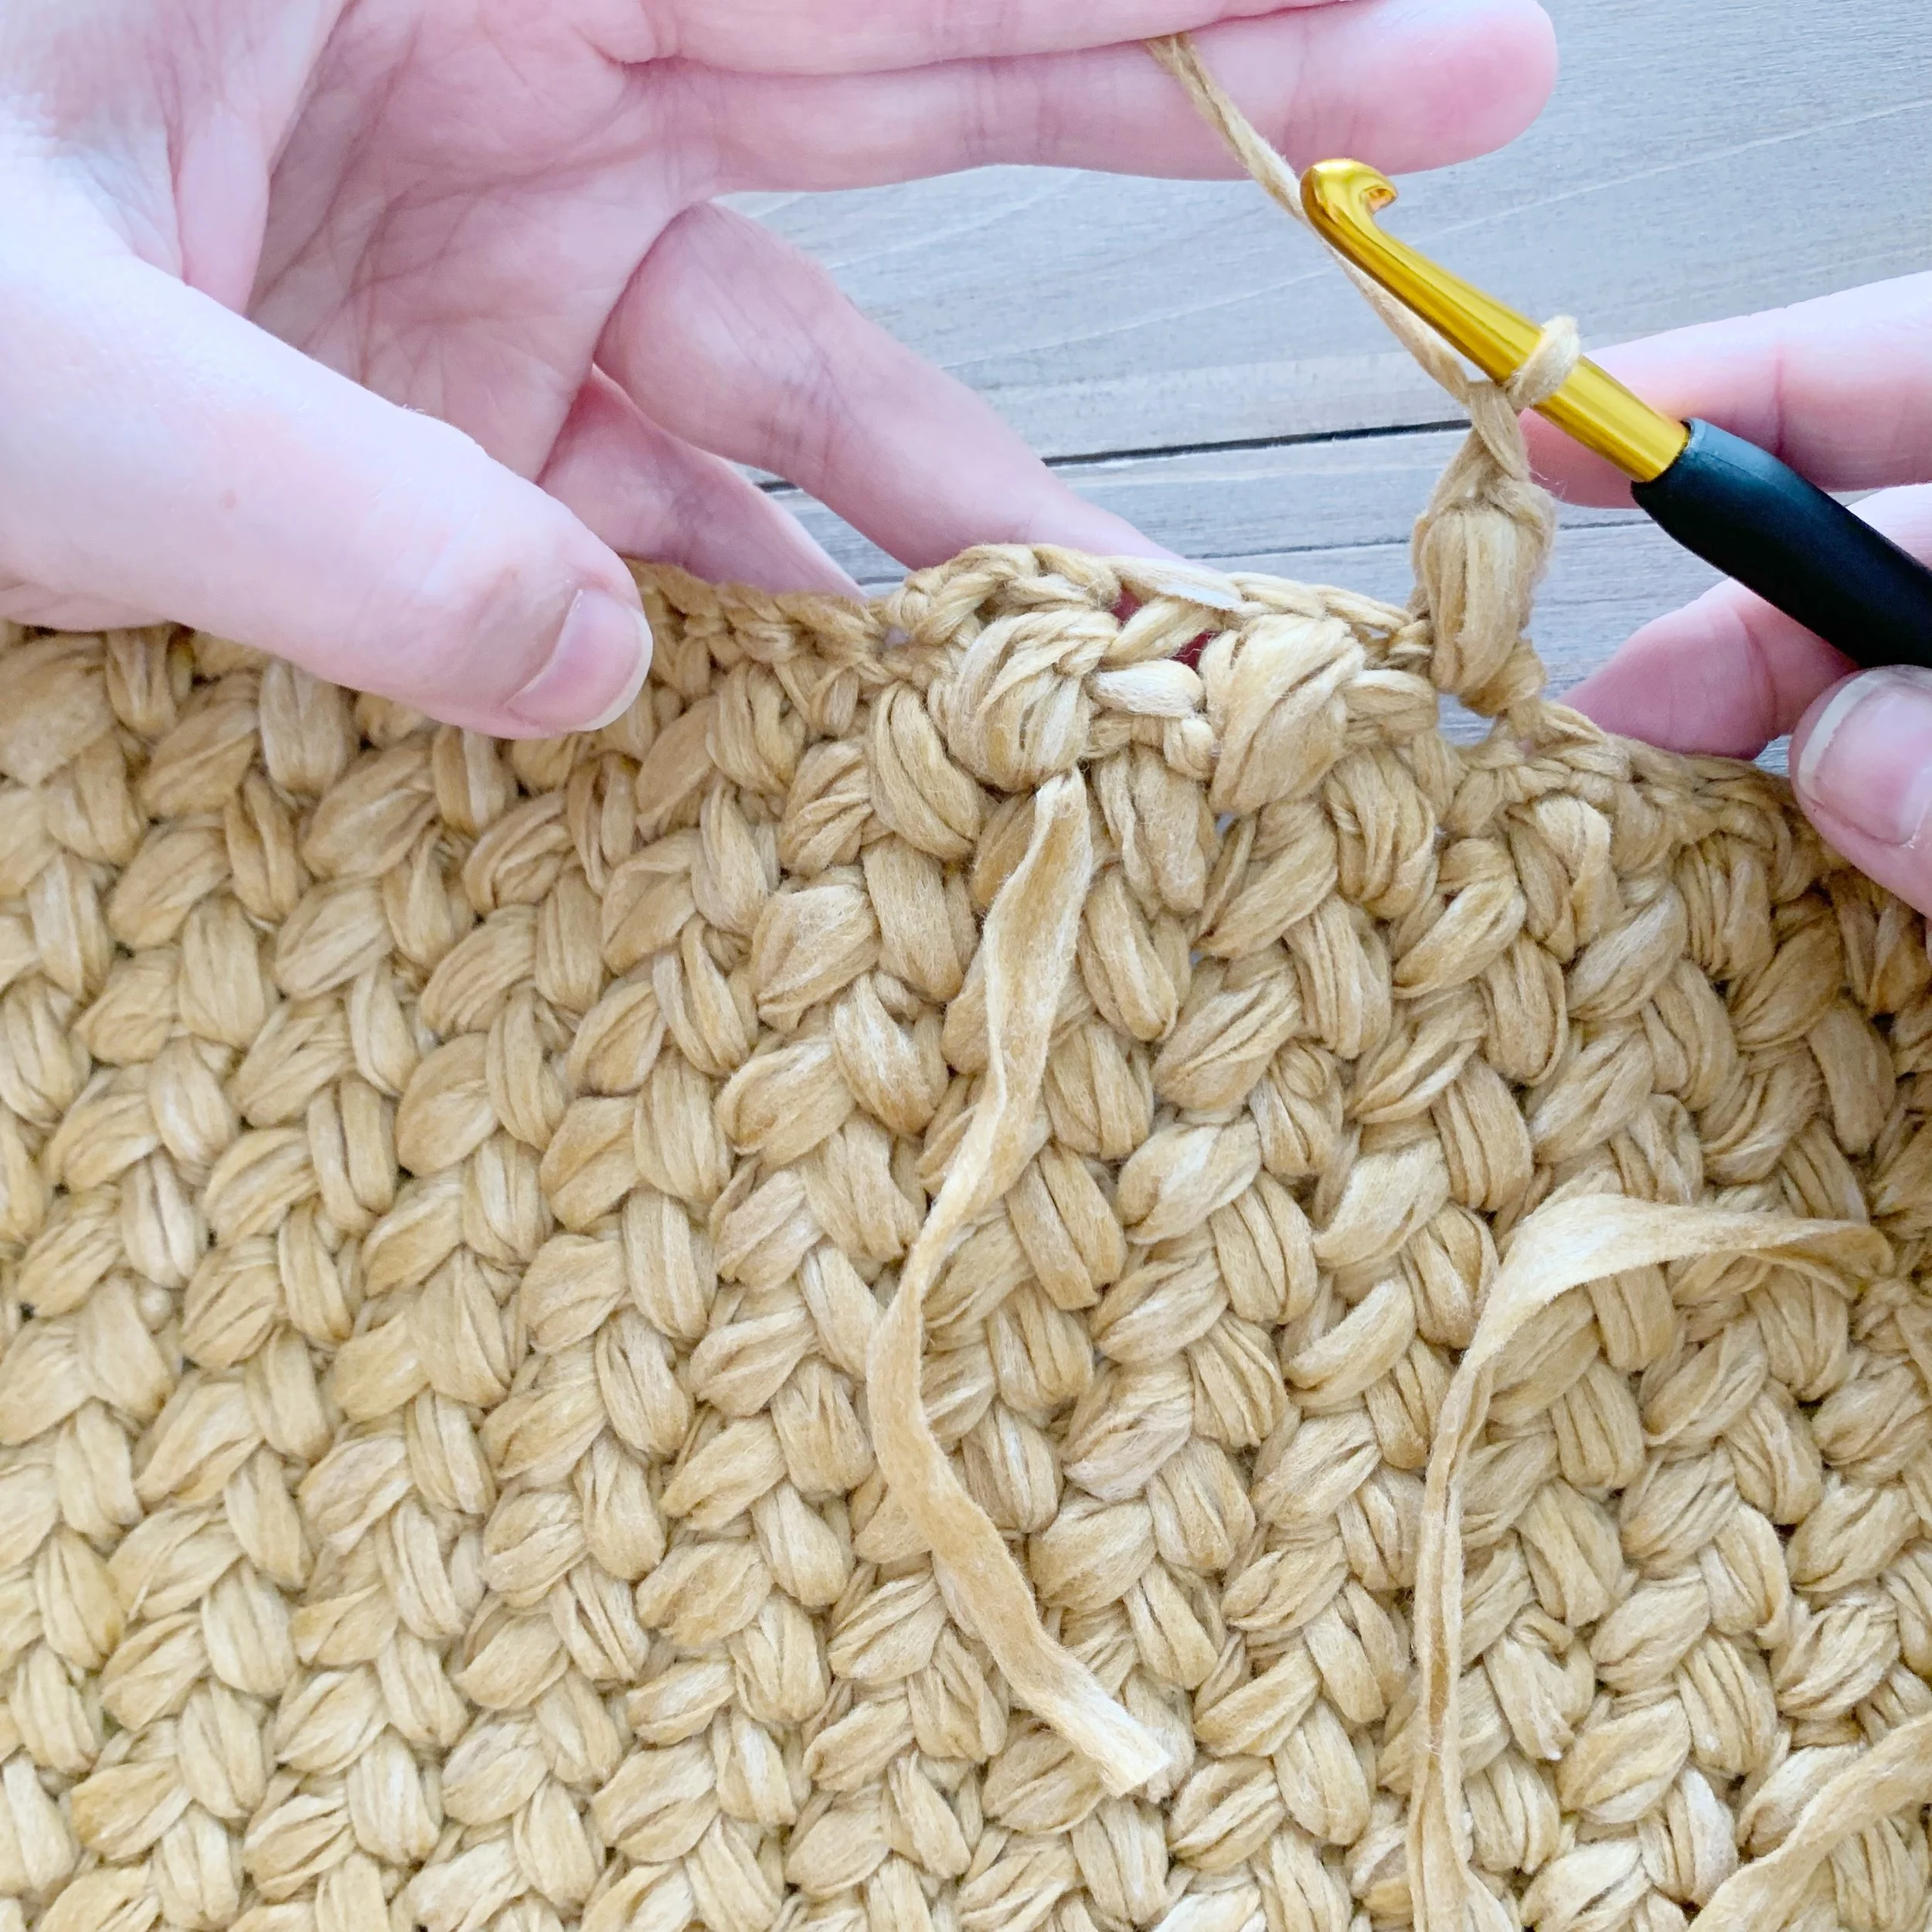
Fasten off leaving a long tail for seaming.
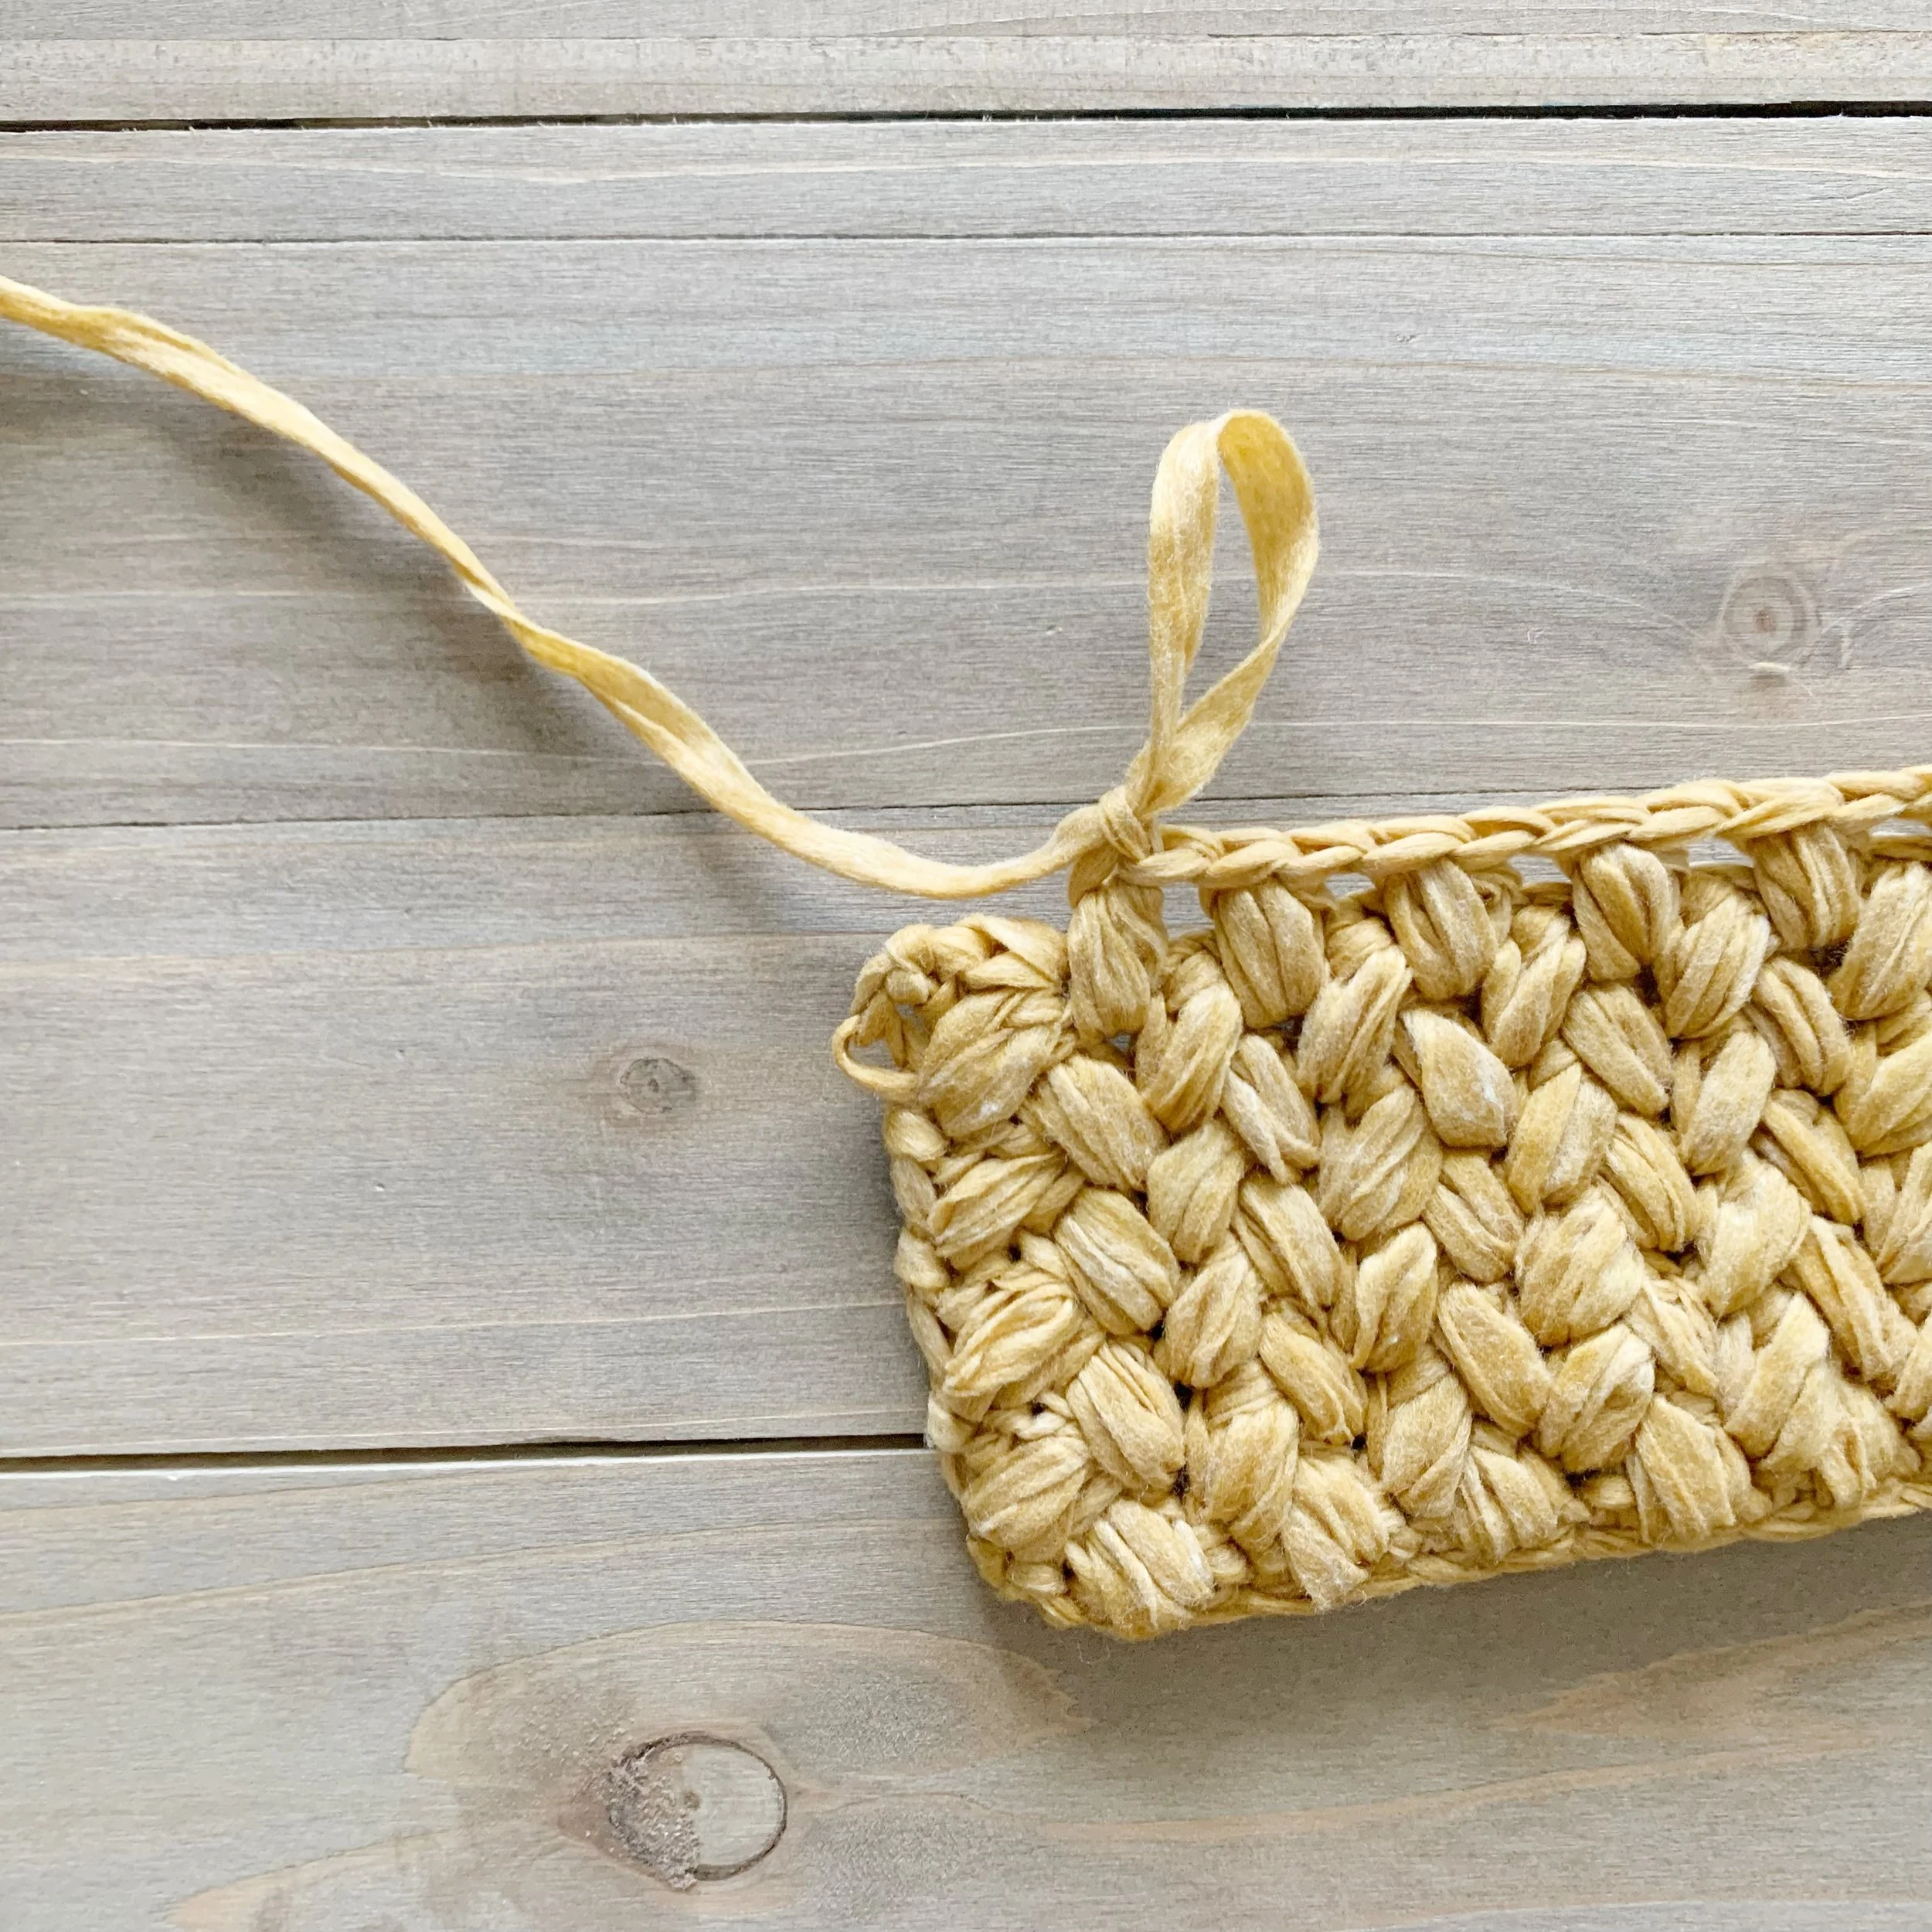
Strap
With RS facing up, attach yarn to top of 17th st from the right side of panel, ch 1
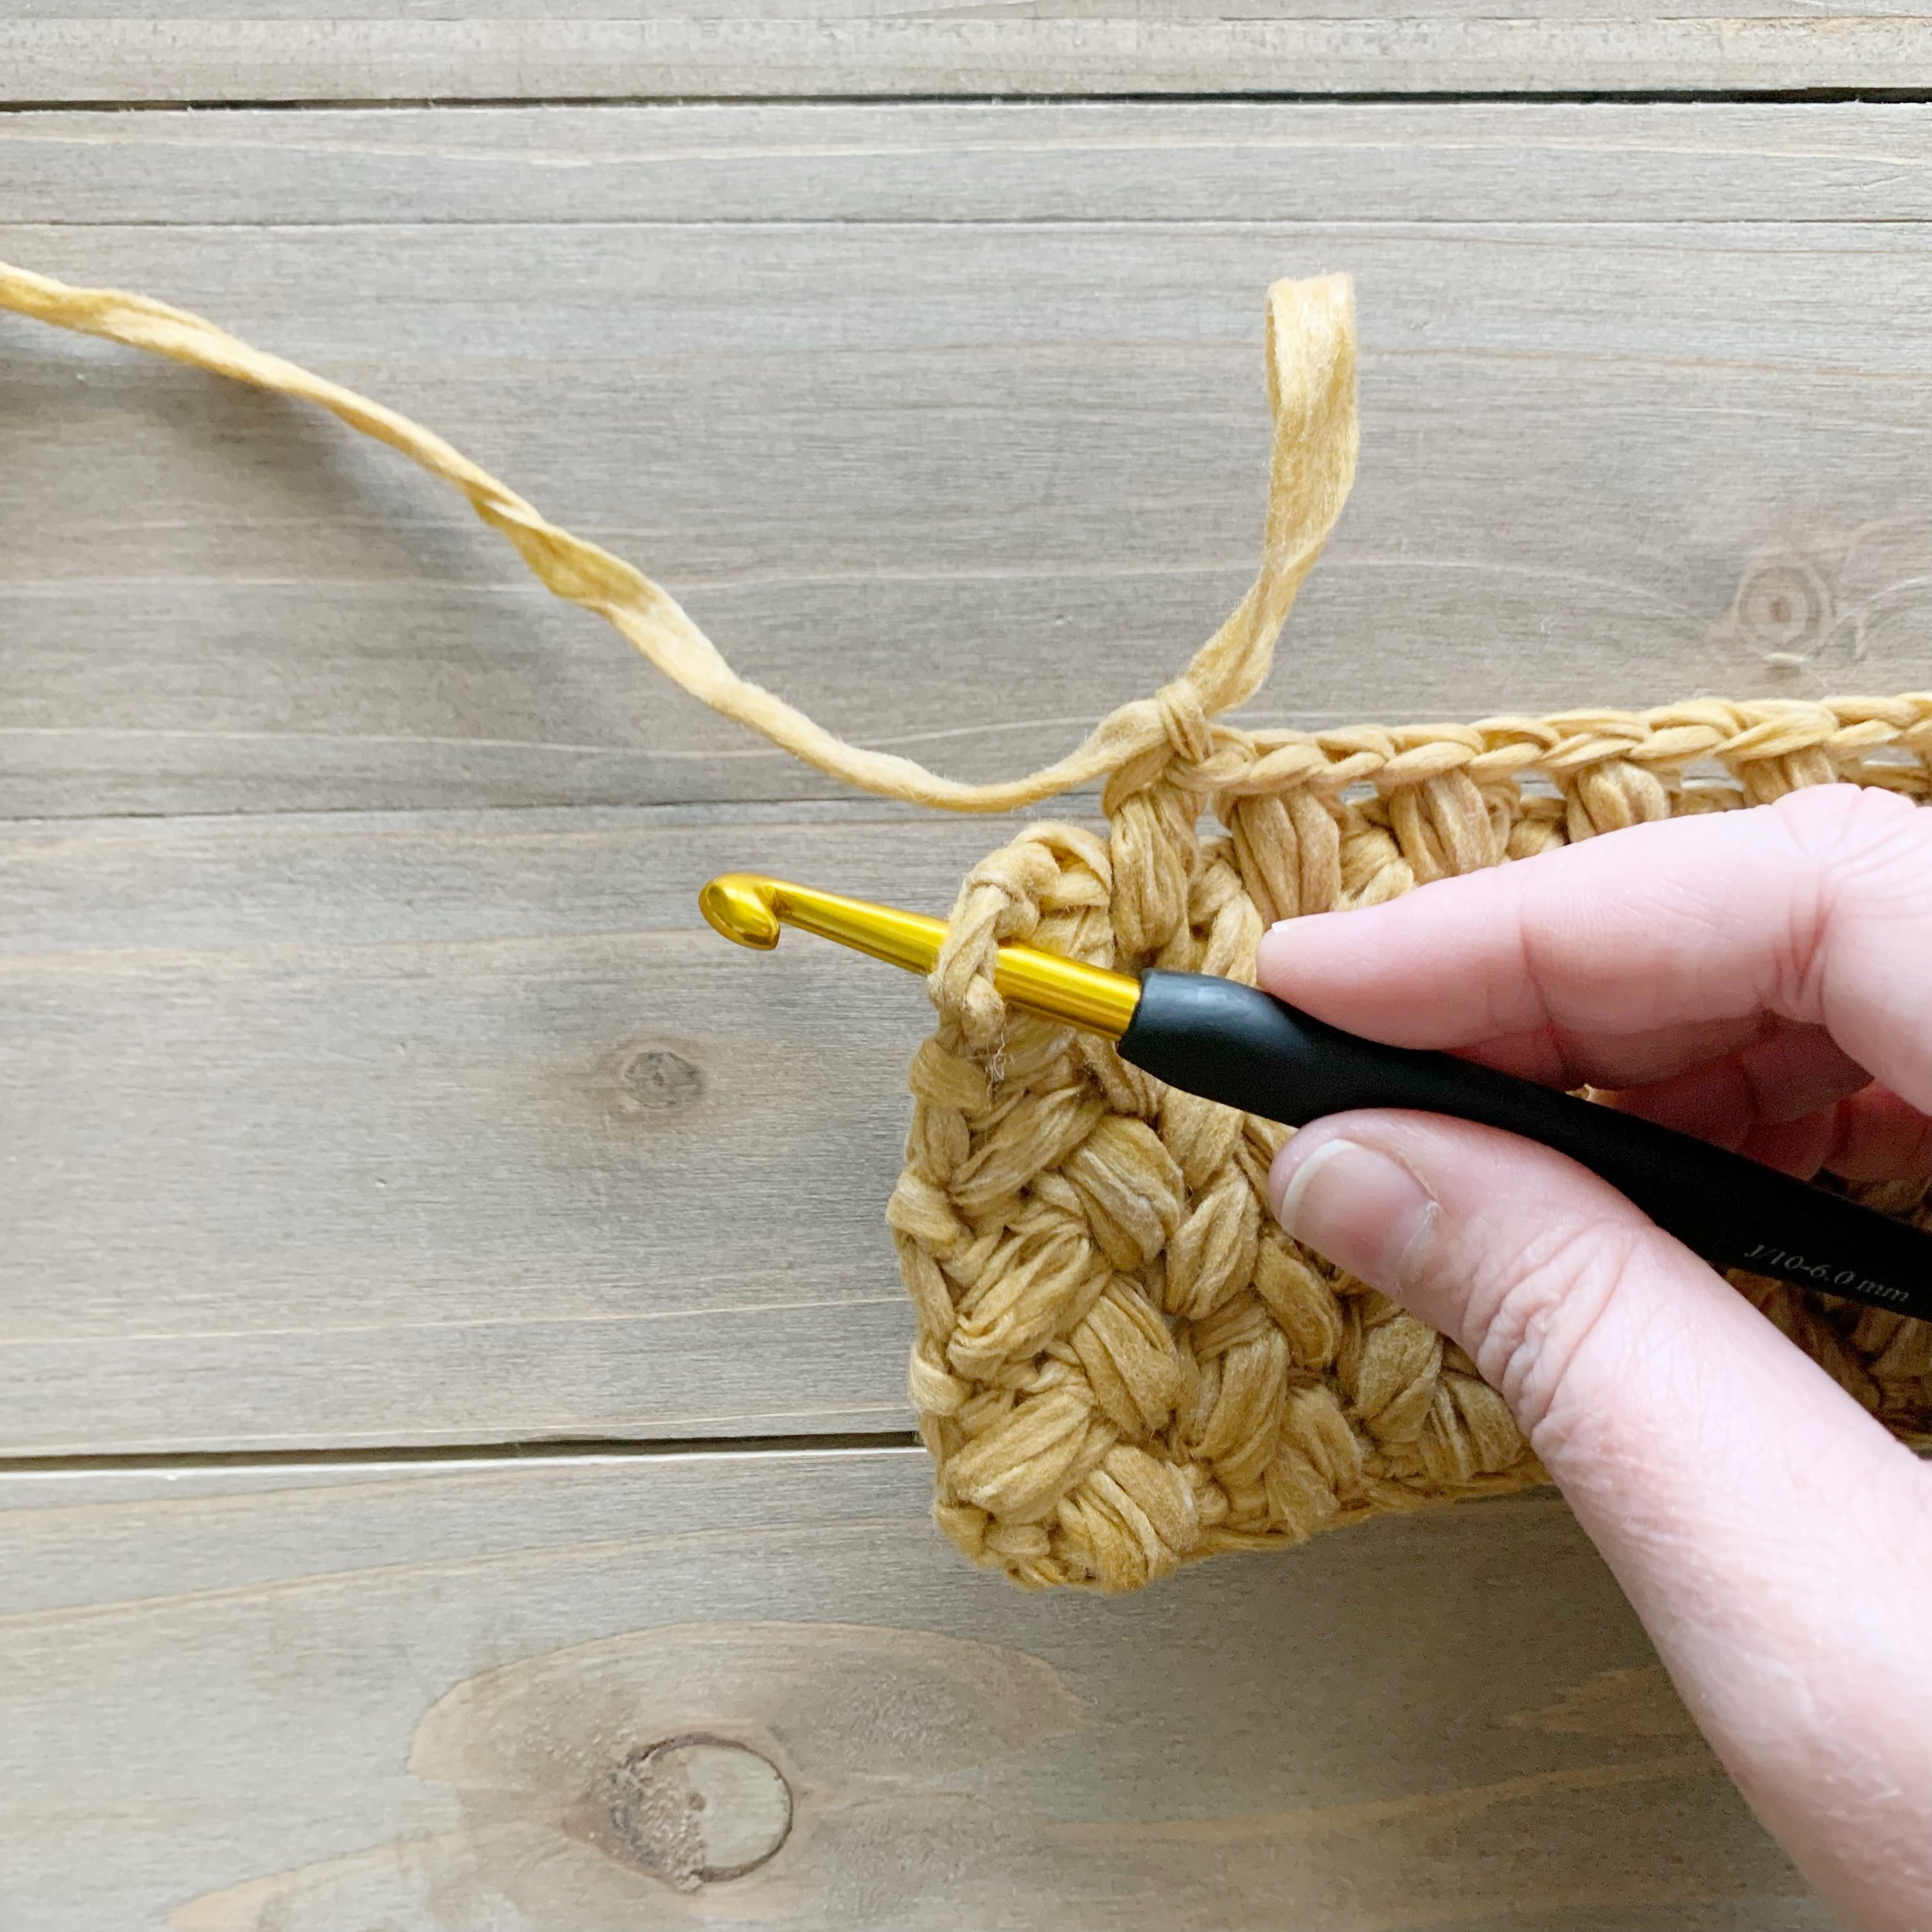
Row 1: sc in same st as join, puff st in next st 2 rows below (working around the sc stitches of Row 58), ch 1, sk 1, puff st in next st 2 rows below, ch 1, sk 1, sc in top of next st, ch 1, turn. (6)


Rows 2-62: sc in 1st st, puff st in 1st st 2 rows below, ch 1, sk 1, puff st in next st 2 rows below, ch 1, sk 1, sc in last st, ch 1, turn. (6)
Fasten off leaving a long tail (at least 2 yards) for seaming.
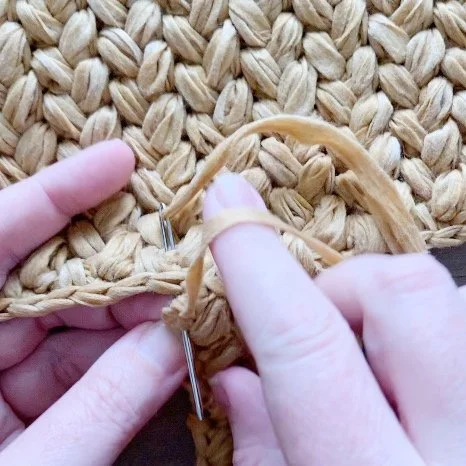
Without twisting the strap, bring the end down towards the top of the panel lining up the last st of the row with the 17th st from the edge of the main panel.

Using a tapestry needle, we will be attaching the strap to the top panel by creating three faux puff stitches. Attach the last st and the 17th stitch together. Then insert your needle through the 1st st 2 rows below on the strap and through the top of the puff stitch directly below the 17th st. Using a whip stitch keep threading the yarn around those two stitches to create the first faux puff stitch making sure to whip stitch around at least 6 times.

Next insert your needle through both the panel and strap and bring it up on the strap through the next puff stitch. Then make another faux puff stitch using the whip stitch method through the puff stitch on the strap and the top of the next puff stitch on the main panel.
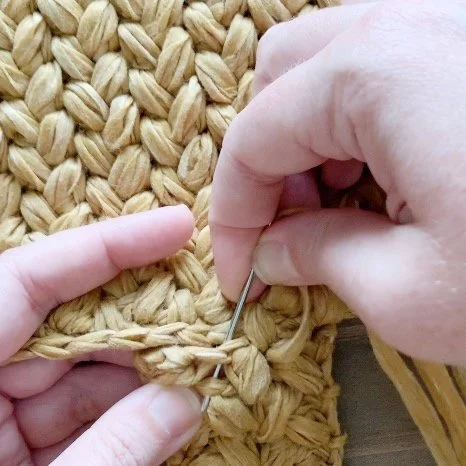

Again insert needle through both the panel and strap and bring it up on the strap through the next puff stitch. Make your last faux puff stitch making sure to work the whip stitch through the top of the next puff stitch on the strap and the top of the next puff stitch on the main panel.

Then insert the needle through both the panel and strap and work a few whip stitches to secure the last stitch of the strap to the next stitch of the main panel to finish.


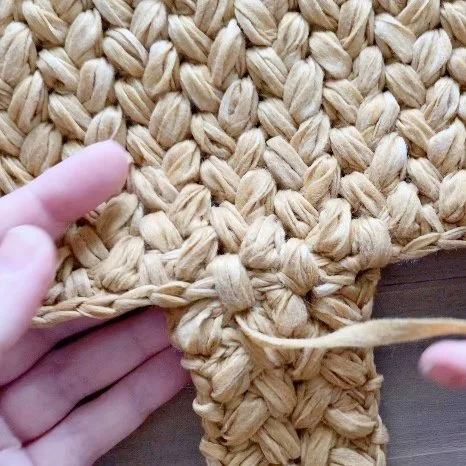
Turn piece over so WS is facing up. Then using a tapestry needle and long piece of yarn stitch the edges of the strap together leaving about 1-1.5” of strap unsewn on either end.
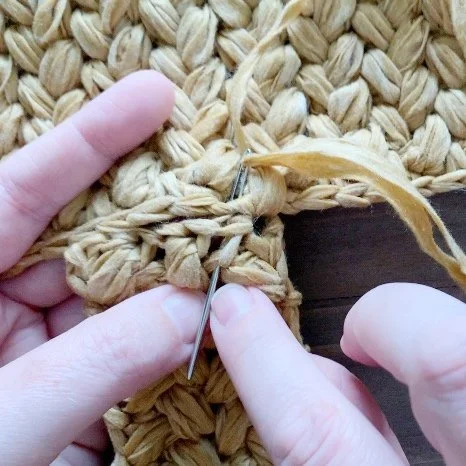
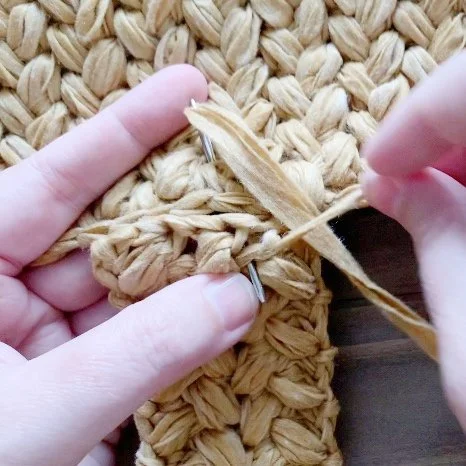
Weave in all ends, except for the long tails left on each panel for seaming.
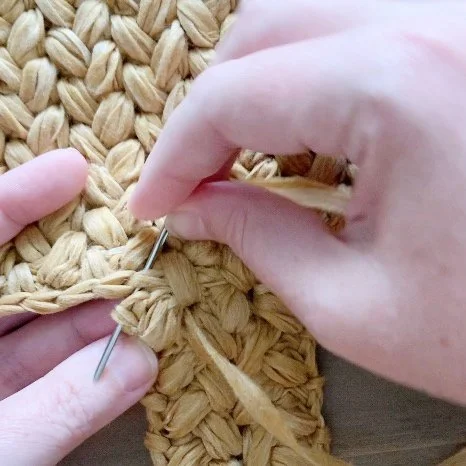
Seaming
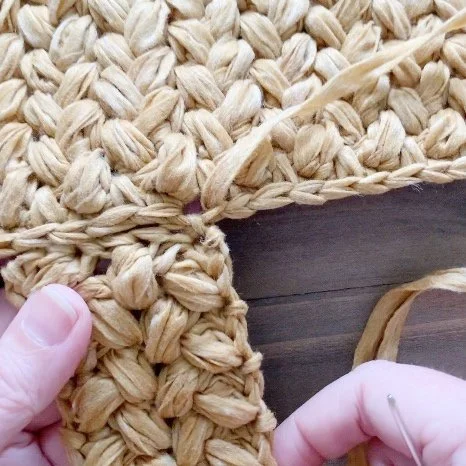
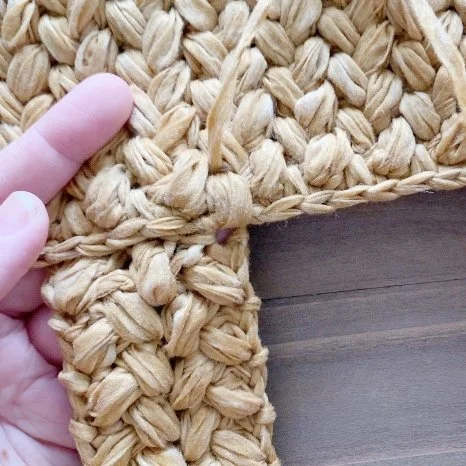
Place both panels together with RS facing each other. Then using the whip stitch, seam the sides and the bottom of the bag together.


Open up each corner and align the side and bottom seams together. Seam the corners closed.
Fasten off and weave in all remaining ends.
Turn bag RS out and enjoy!

Get the digital PDF pattern for the Marlowe Tote on Etsy, Ravelry or in my shop.
Grab the complete kit from Lion Brand Yarn.
If you make a Marlowe I’d love to see it! Make sure to tag me @meghanmaesdo on social media and use #themarlowetote
Happy Crocheting,
Meghan