The Gradey Tee Cardi- Free Crochet Pattern
This post may contain affiliate links. If you make a purchase through one of those links I may receive a small commission. It’s an easy way to support this blog at no additional cost to you.
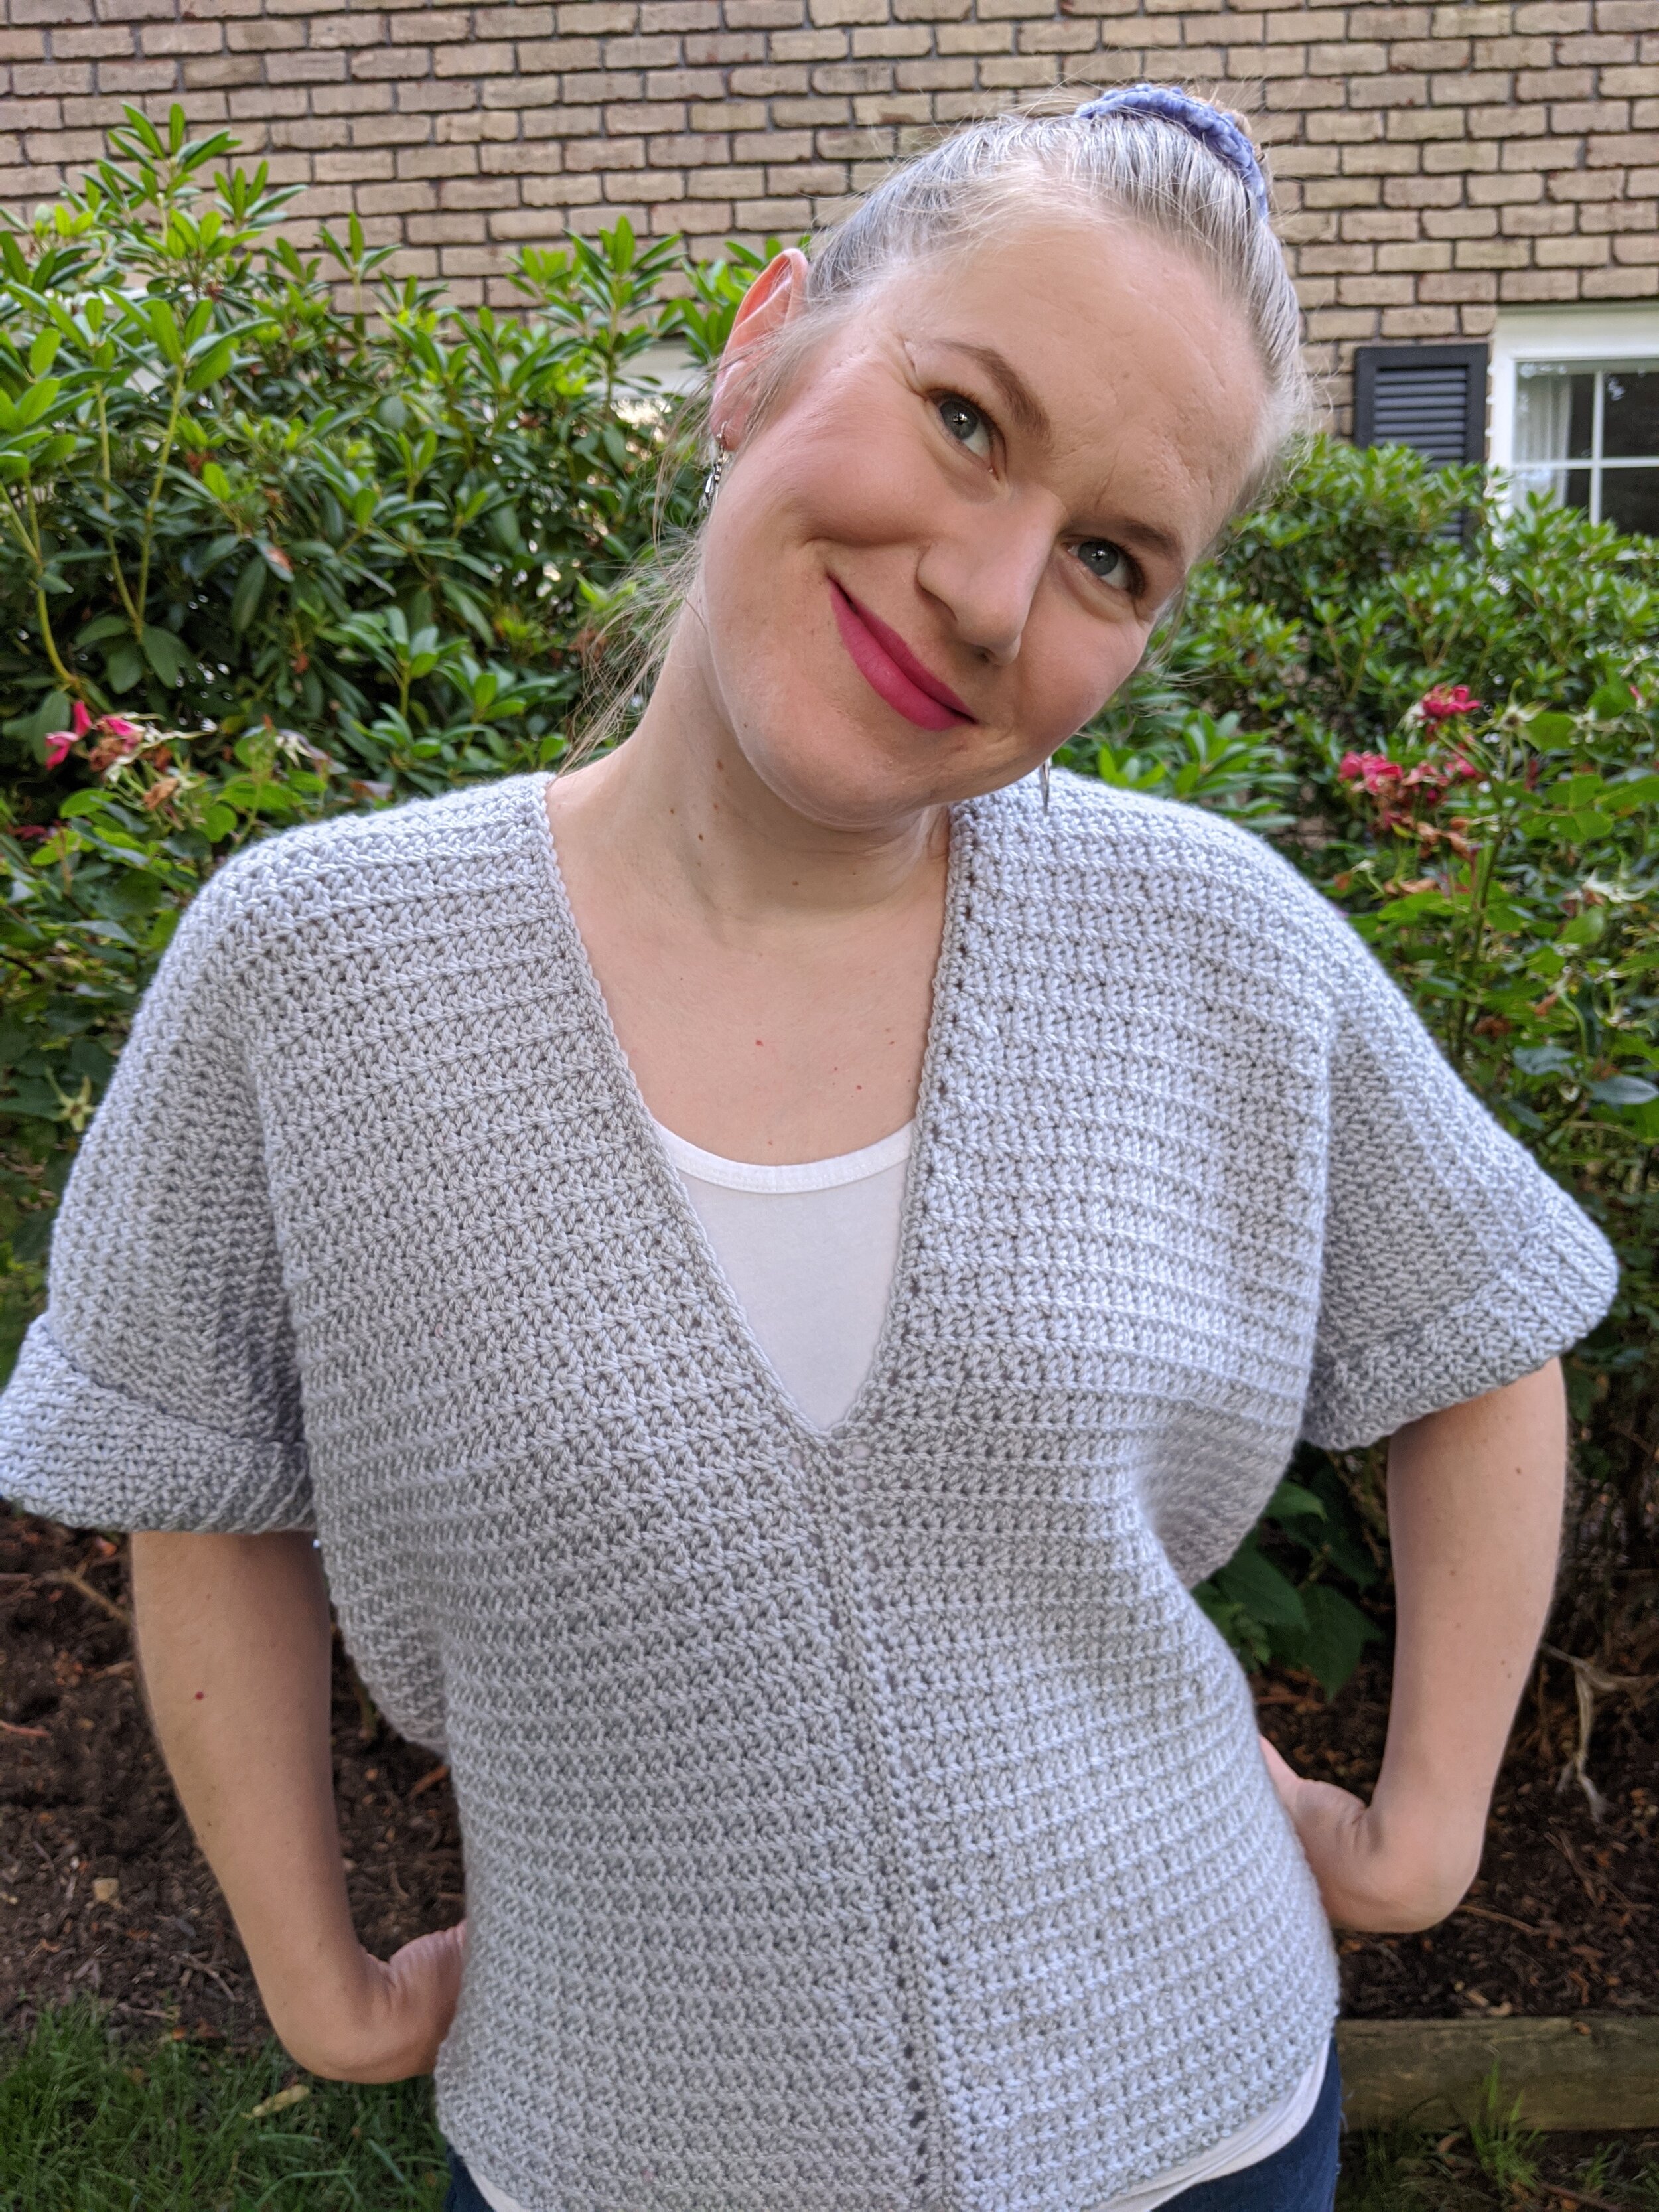
Enjoy those warm summer days with the new Gradey Tee/Cardi. Made with the gorgeous Truboo yarn from Lion Brand Yarn you’ll be comfy and cool. Find the free pattern below or grab a printable PDF in my shop.
If you haven’t had a chance to try out the new Lion Brand Truboo yarn, now is the time! I couldn’t wait to try out this beautiful yarn. Thank you to Lion Brand for sending over the yarn support for The Gradey Tee/Cardi. Truboo is made of 100% rayon from bamboo and it is super soft and perfect for summer. It comes in so many gorgeous colors. I used tan for my Gradey and it’s a stunning rose gold color. Find it at lionbrand.com.
When the weather gets warm one of my favorite things to wear are over sized tees and leggings. Here in the bay our weather is usually pretty mild, but summer does get a bit warm. The Gradey is perfect for staying cool in the summer as well as great for transitioning to the Fall.
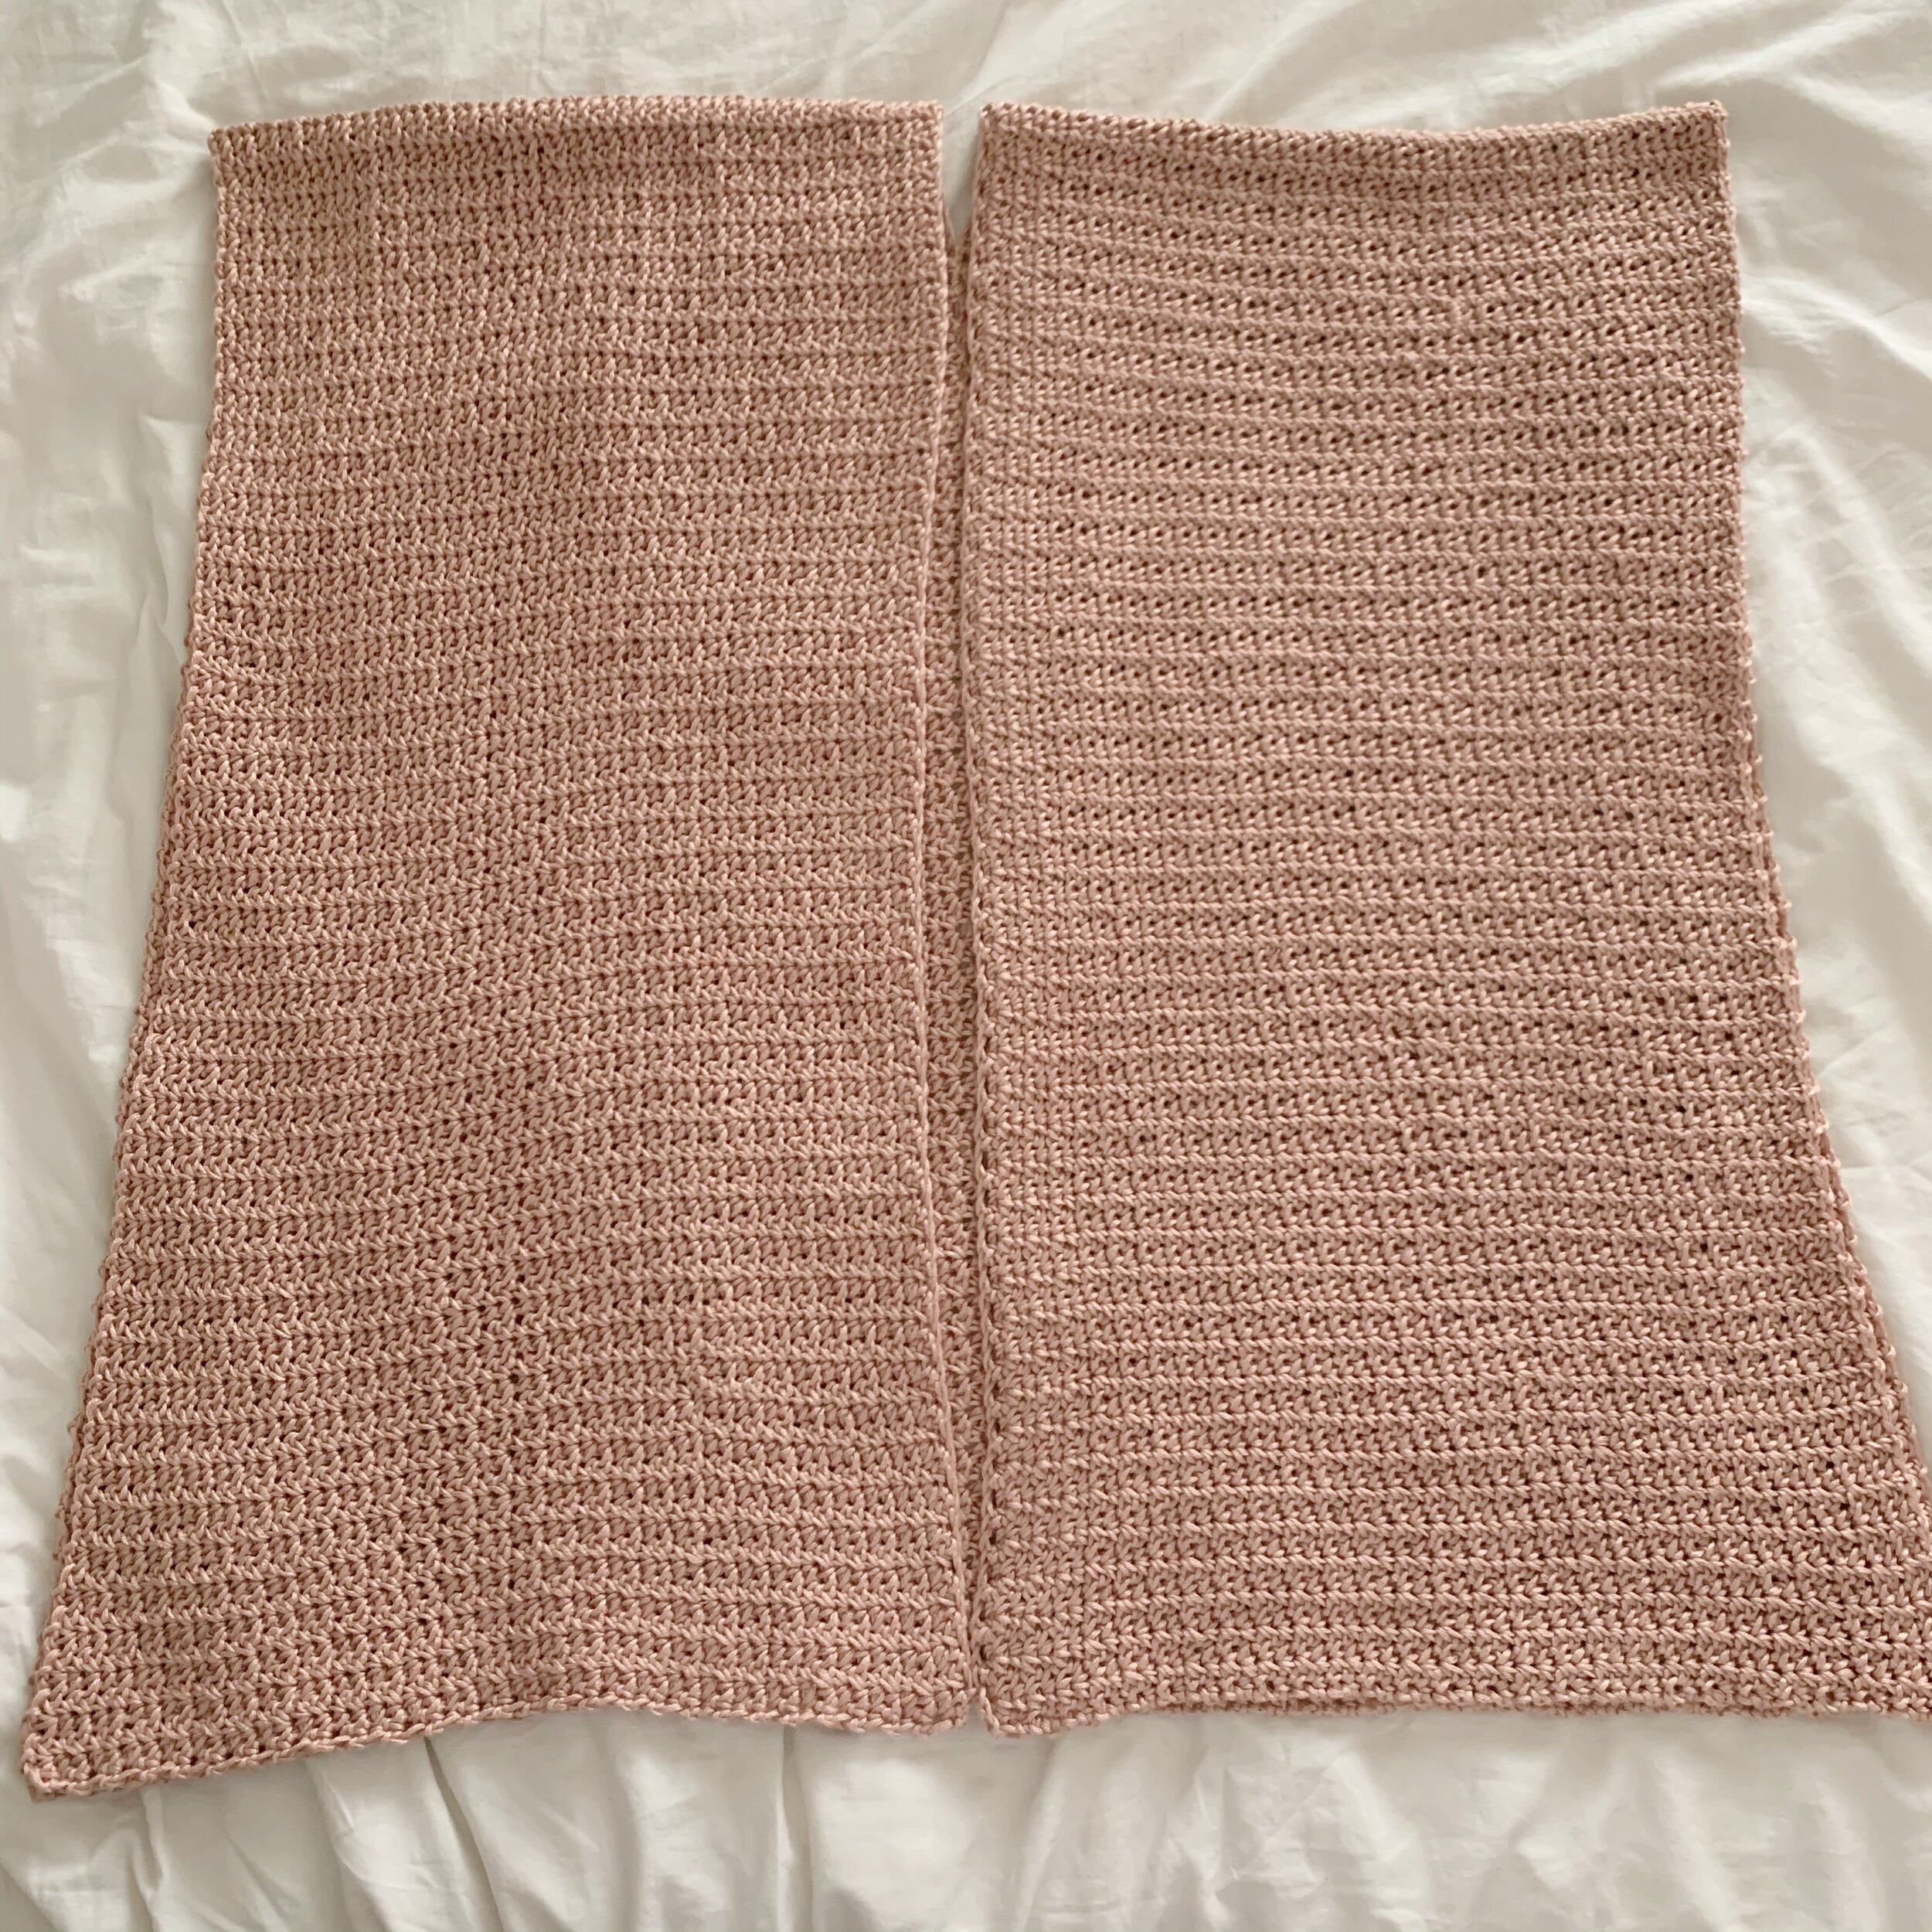
As I got close to finishing the Gradey I couldn’t decide if I wanted to leave it as a cardigan or seam it up to be a tee. It looks great both ways so I decided to include instructions for both. It’s a two for one! Using the spider stitch and simple two piece construction this pattern is great for beginners. The drape of the fabric will look great in all sizes. If you are new to the spider stitch make sure to check out my video and photo tutorial.
Note that the Truboo yarn is prone to split so I recommend using it from the outside of the skein and testing out a variety of hooks to see which one works best. I found that using a Furls streamline swirl worked better than an aluminum hook.
The Gradey Tee/Cardi
Materials:
Approx. 1370-2100 yards of Lion Brand Yarn Truboo in Tan
Tapestry needle
Scissors
Stitch marker(s)
Tape measure
Abbreviations:
ch- chain
st(s)- stitch(es)
sl st- slip stitch
sc- single crochet
Size:
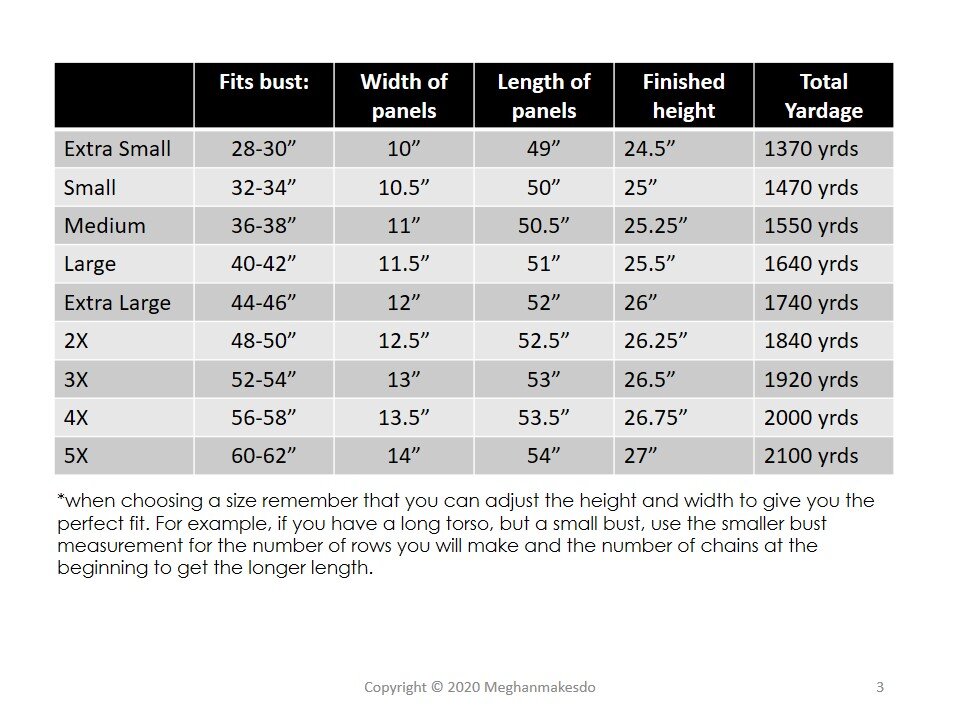
XS-5X (see size chart for more information)
Notes:
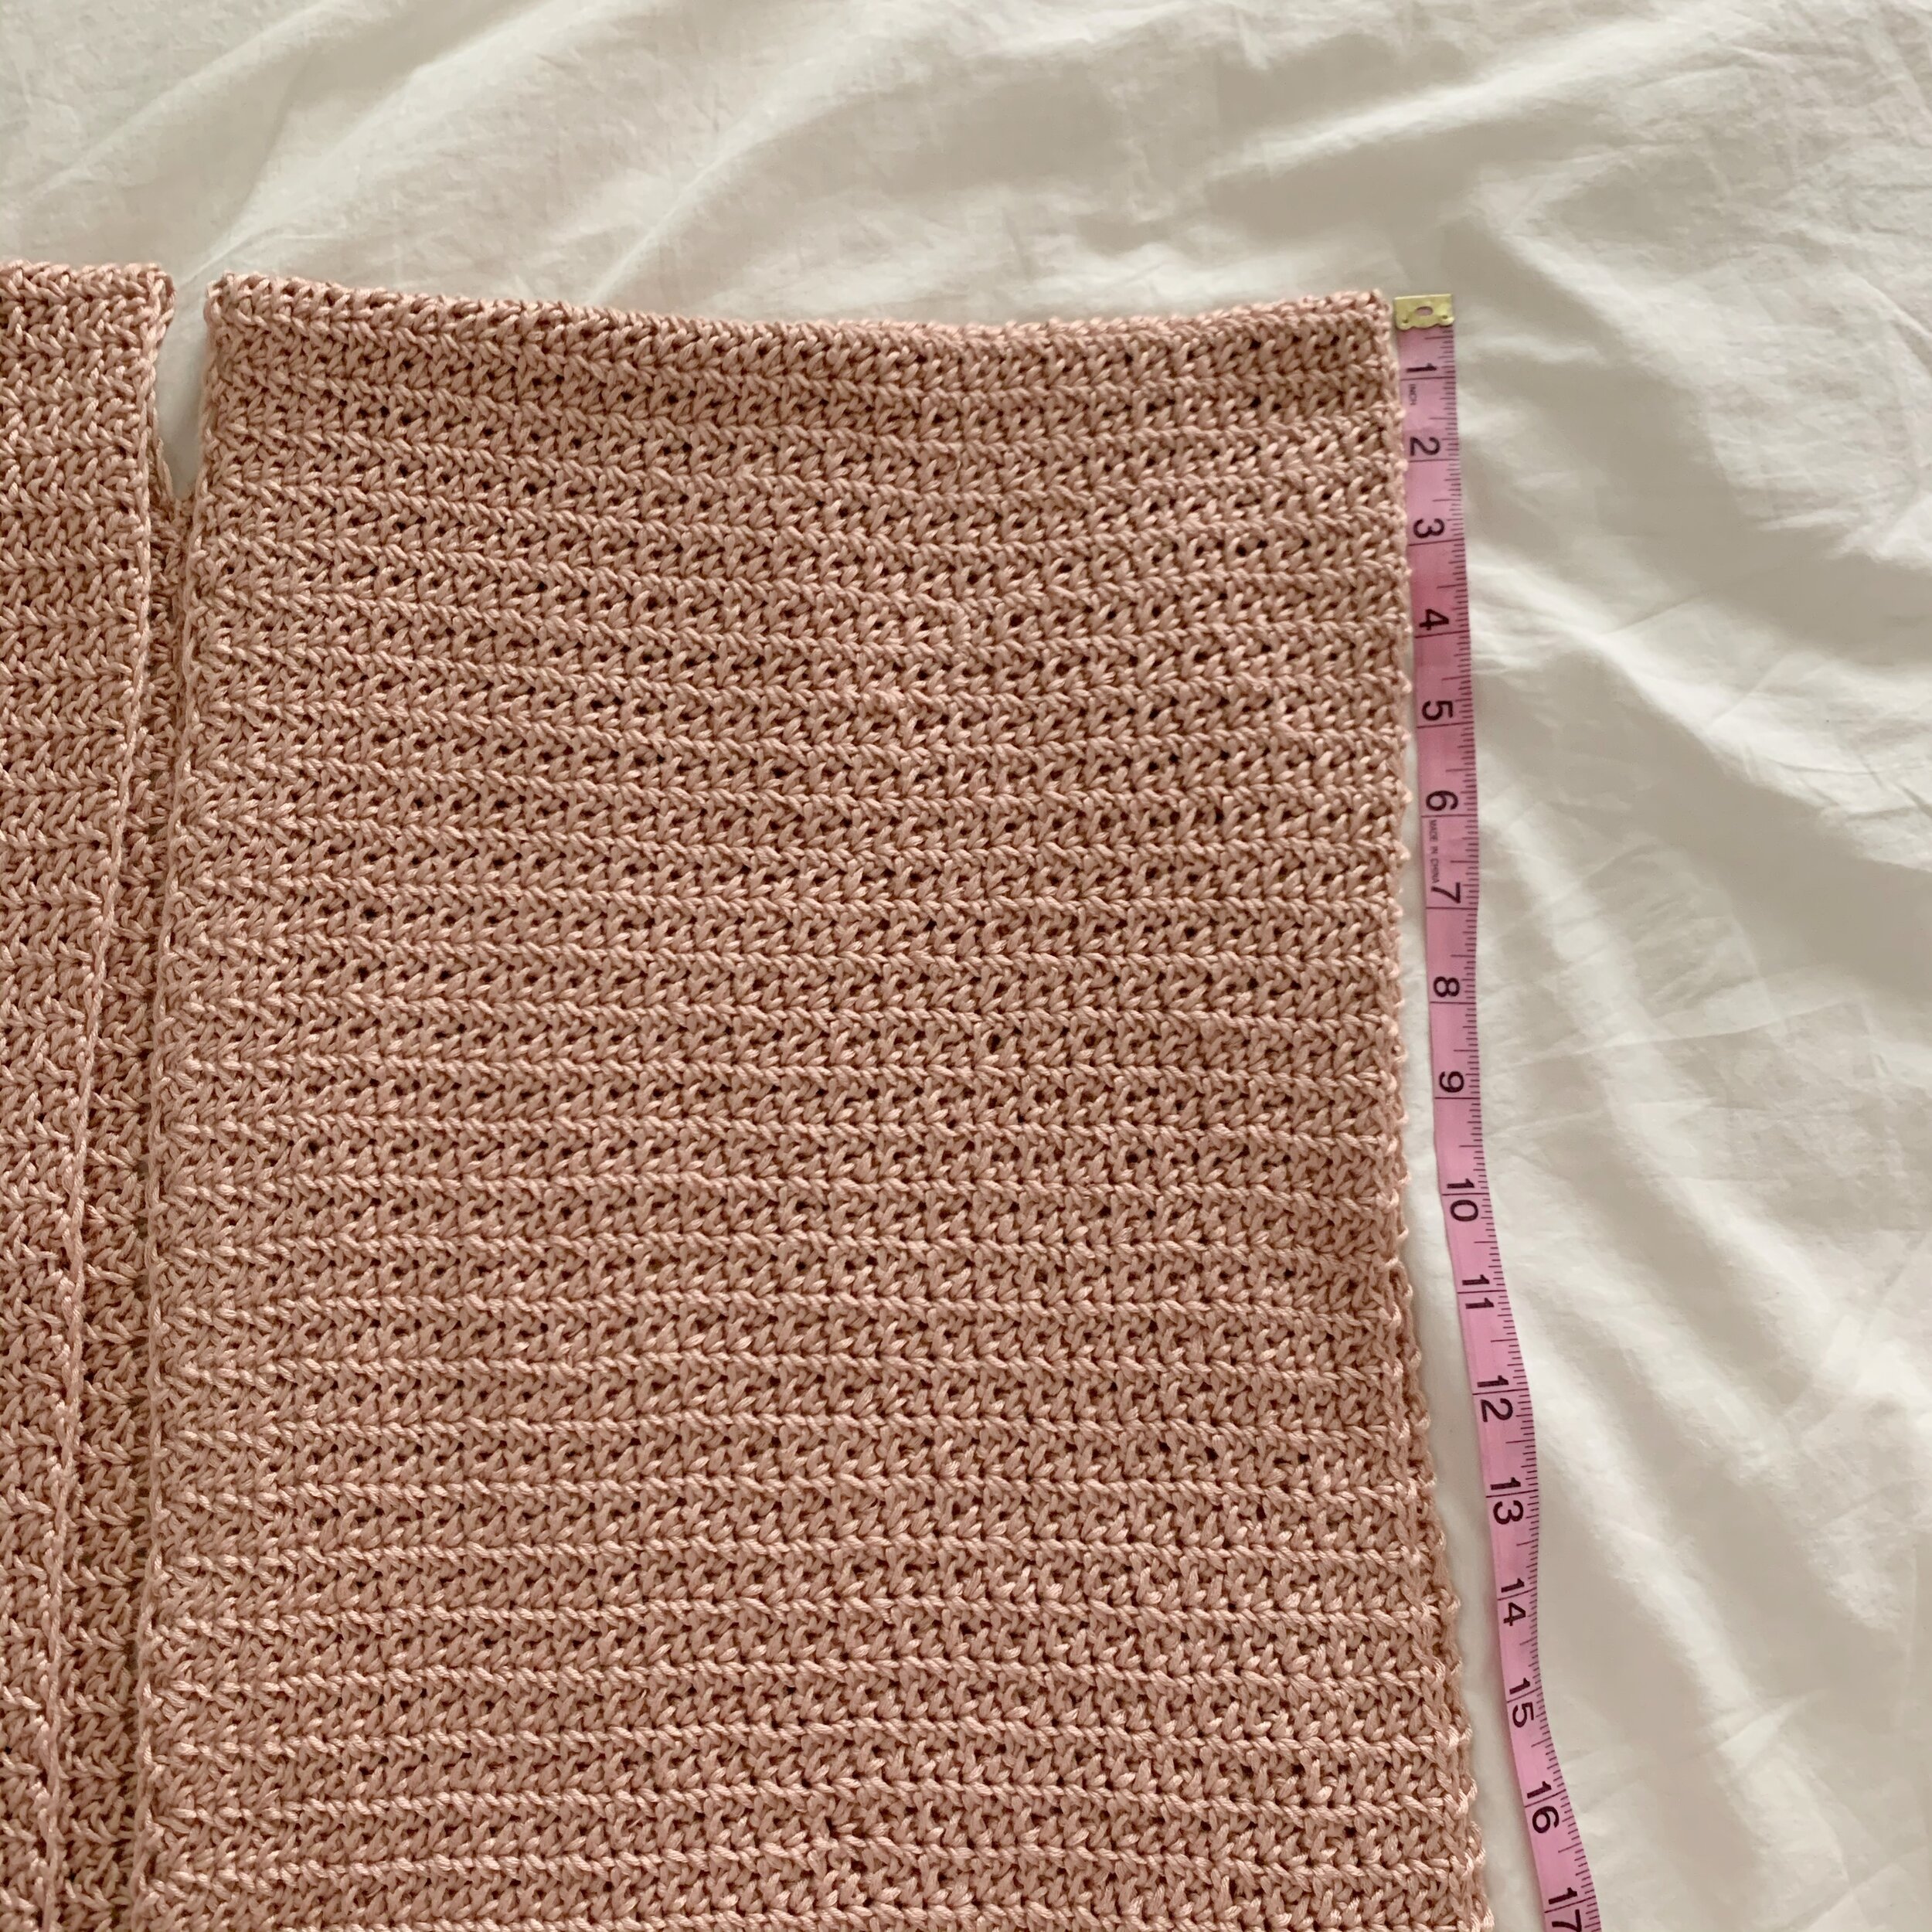
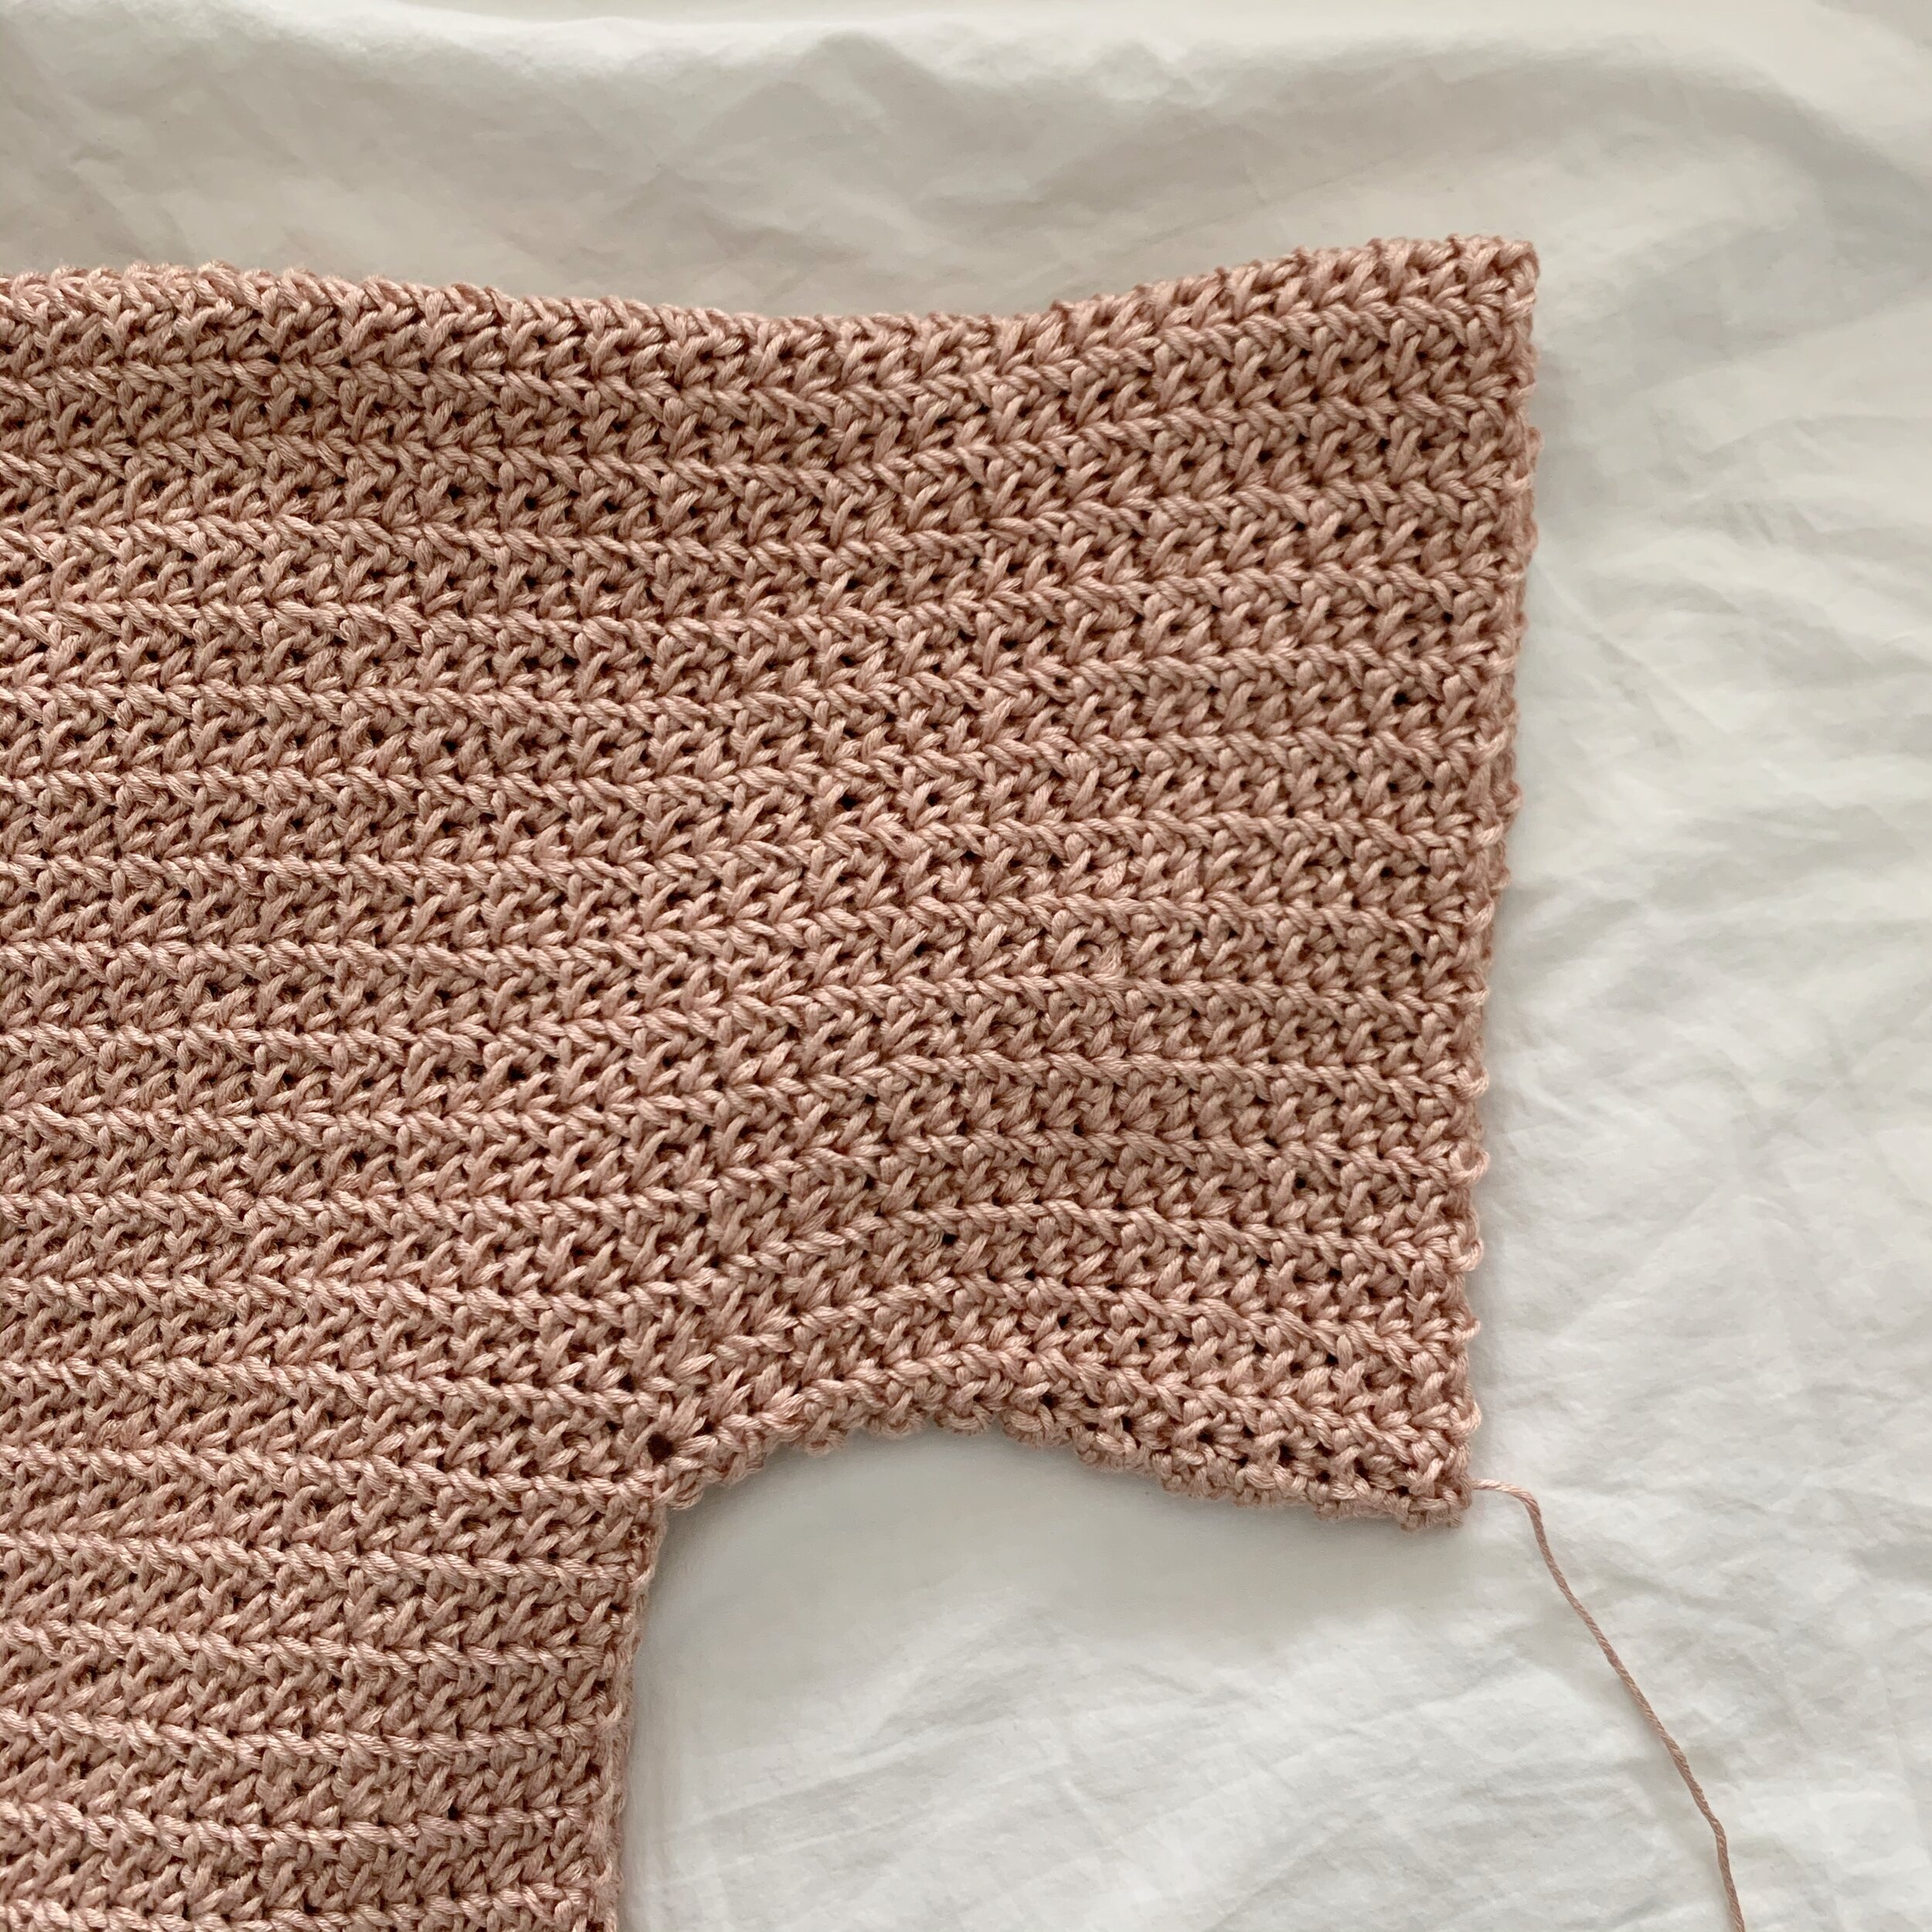
1.The Gradey is made of two rectangles seamed together. Then sleeves are added directly to the piece.
2.Ch 1s at beginning of rows and between sc sts do not count as a stitch.
3.There are two finishing options; a tee or a cardi. Instructions for both are included.
4.Pattern is written for size XS with other sizes in parentheses. Stitch counts are all in parentheses at the end of each row.
5.To adjust the final length of your Gradey add or subtract the number of chs you start with by multiples of two.
6.To adjust the final width of your Gradey add or subtract the number of rows to your large rectangle pieces.
7.The Gradey is meant to be slightly oversized. For a more fitted look size down.
Gauge:
14 sts X 17 rows = 4” across in pattern stitch (*sc, ch 1, sc, sk 1, repeat from *)
Pattern:
Main Panels: Make two.
Ch 172 (174, 176, 178, 182, 184, 186, 188, 190)
*If working the spider stitch into the chs is difficult, work a foundation row of sc first and then continue on working one less row at the end.
Row 1: sc in 2nd ch from hook, *sk 1, [sc, ch 1, sc] in next st, repeat from * until 2 sts remain, sk 1, sc in last st, ch 1, turn. (170, 172, 174, 176, 180, 182, 184, 186, 188)
Row 2: sc in 1st st, sk 1, [sc, ch 1, sc] in ch1-sp, *sk 2, [sc, ch1, sc] in next ch1-sp, repeat from * across until 2 sts remain, sk 1, sc in last st, ch 1, turn. (170, 172, 174, 176, 180, 182, 184, 186, 188)
Rows 3-43 (45, 47, 49, 51, 53, 55, 57, 59): repeat Row 2. (170, 172, 174, 176, 180, 182, 184, 186, 188)
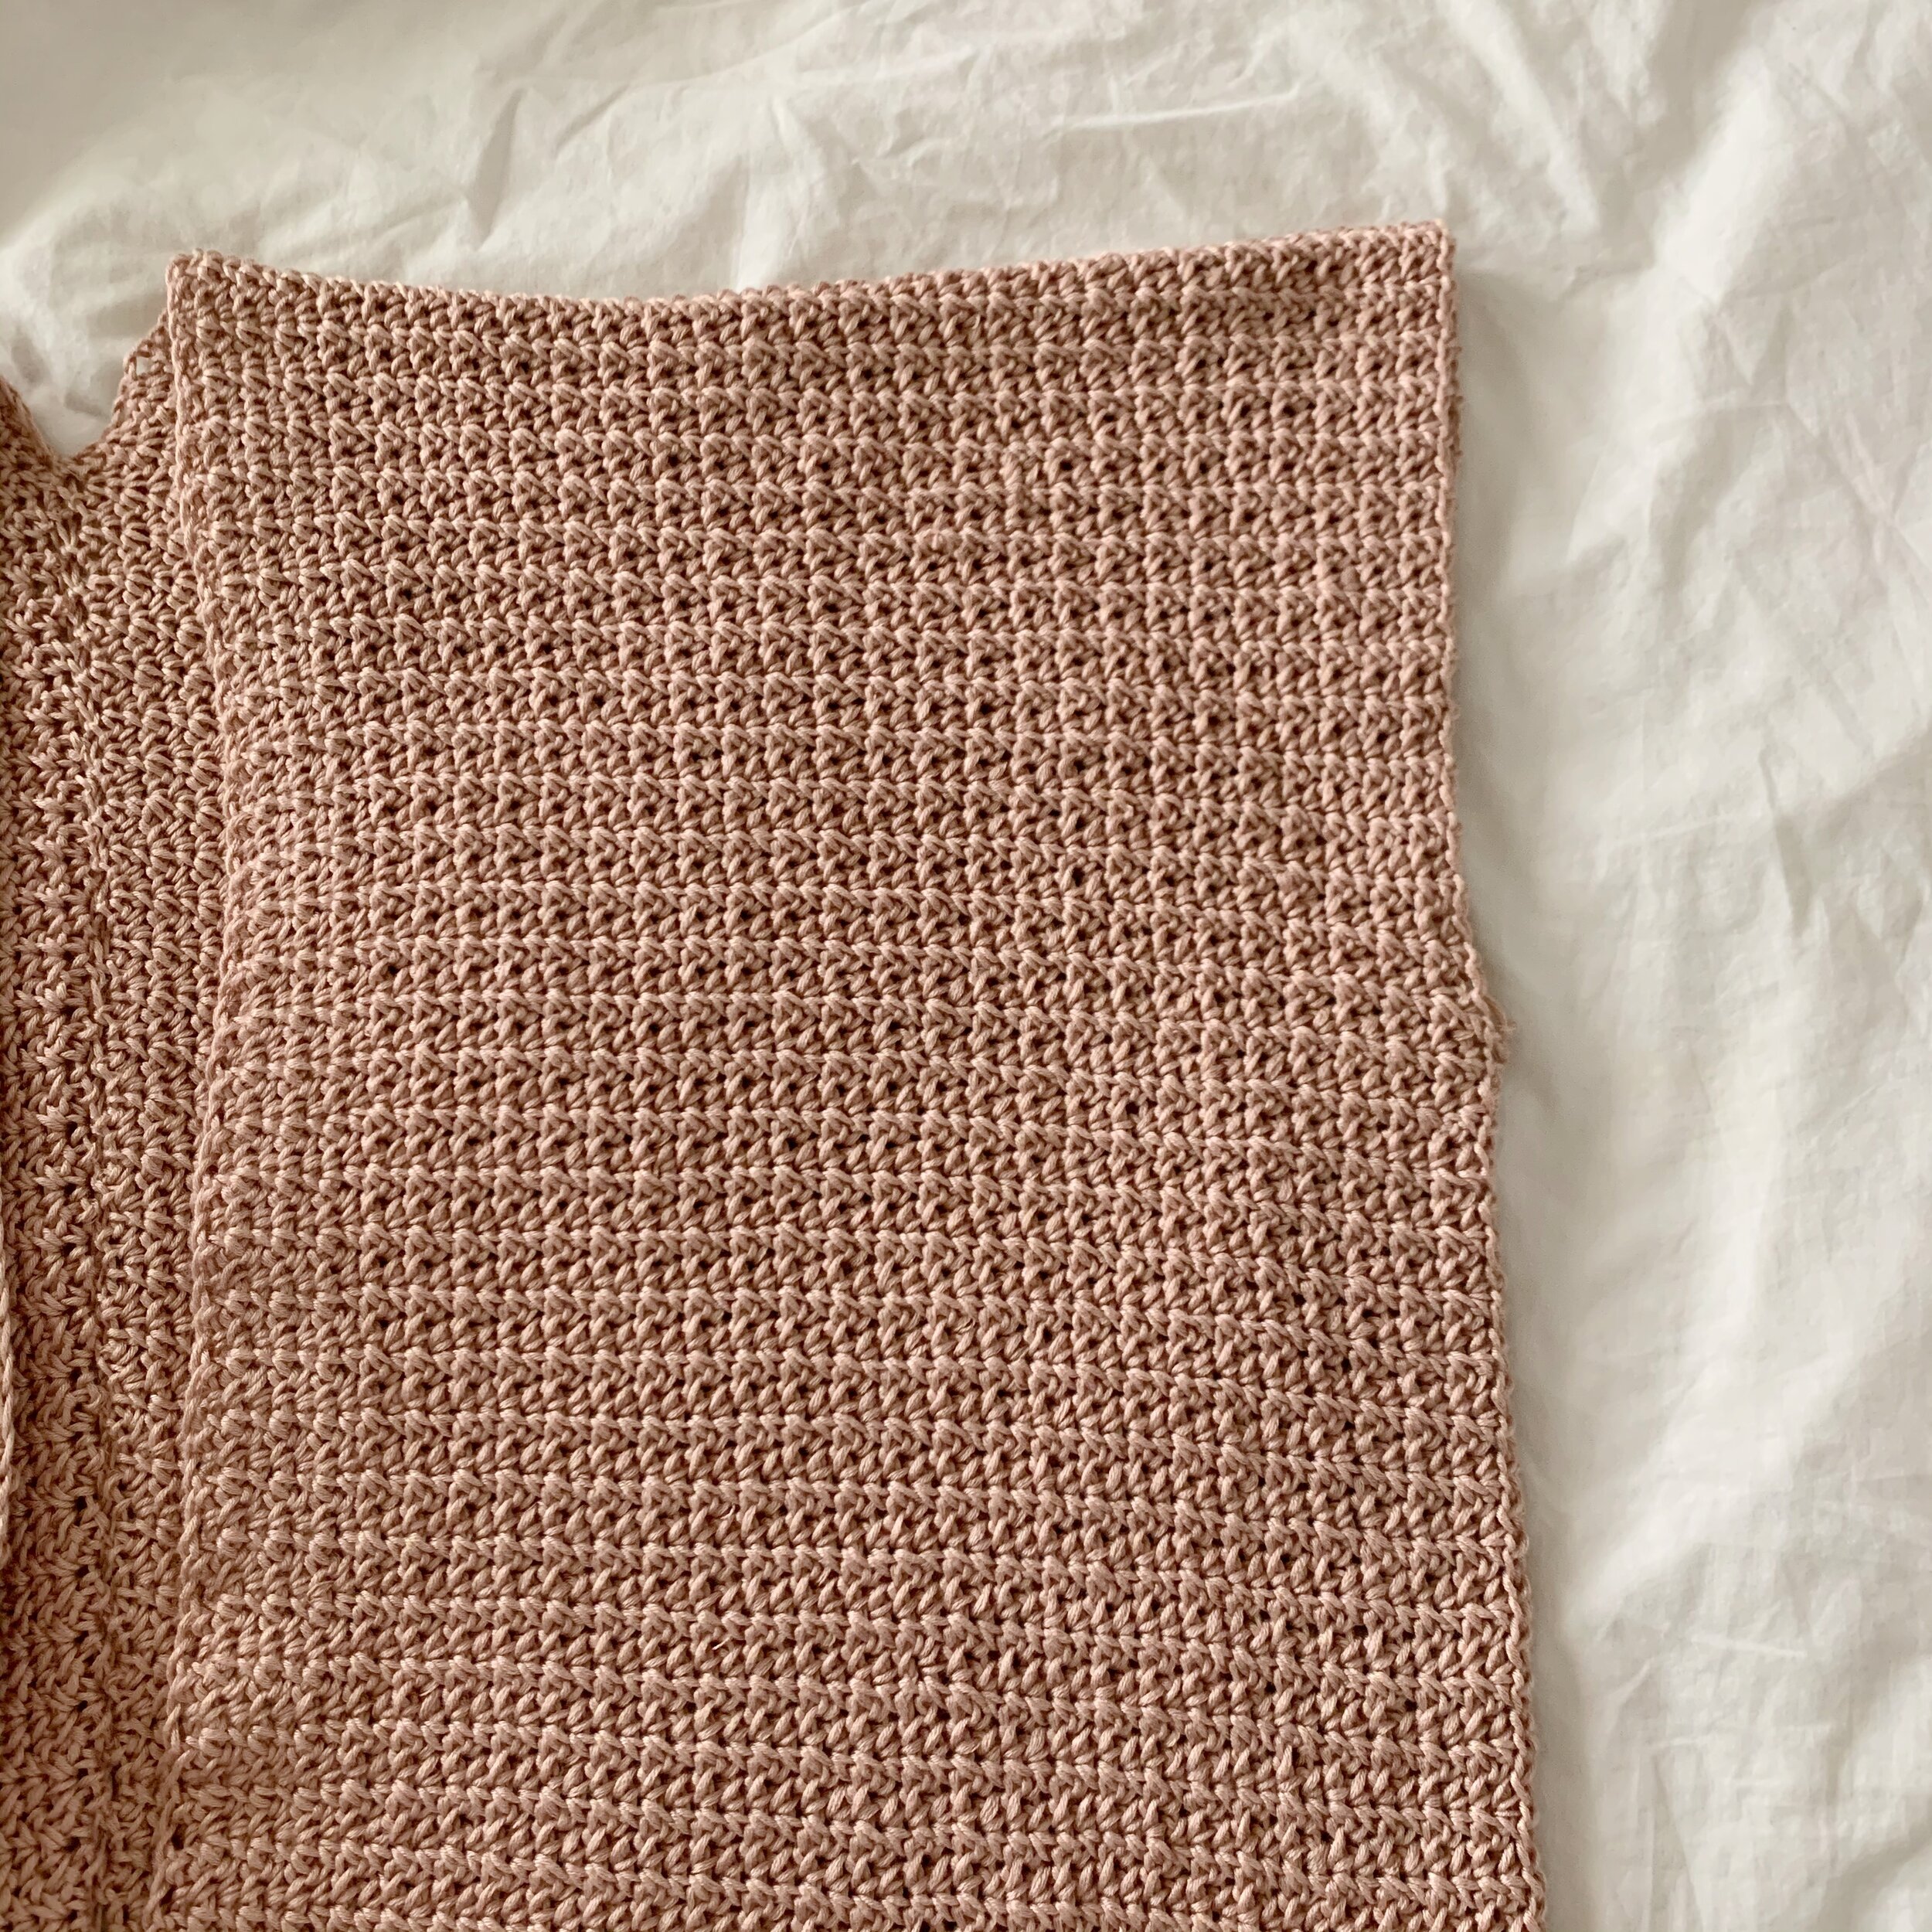
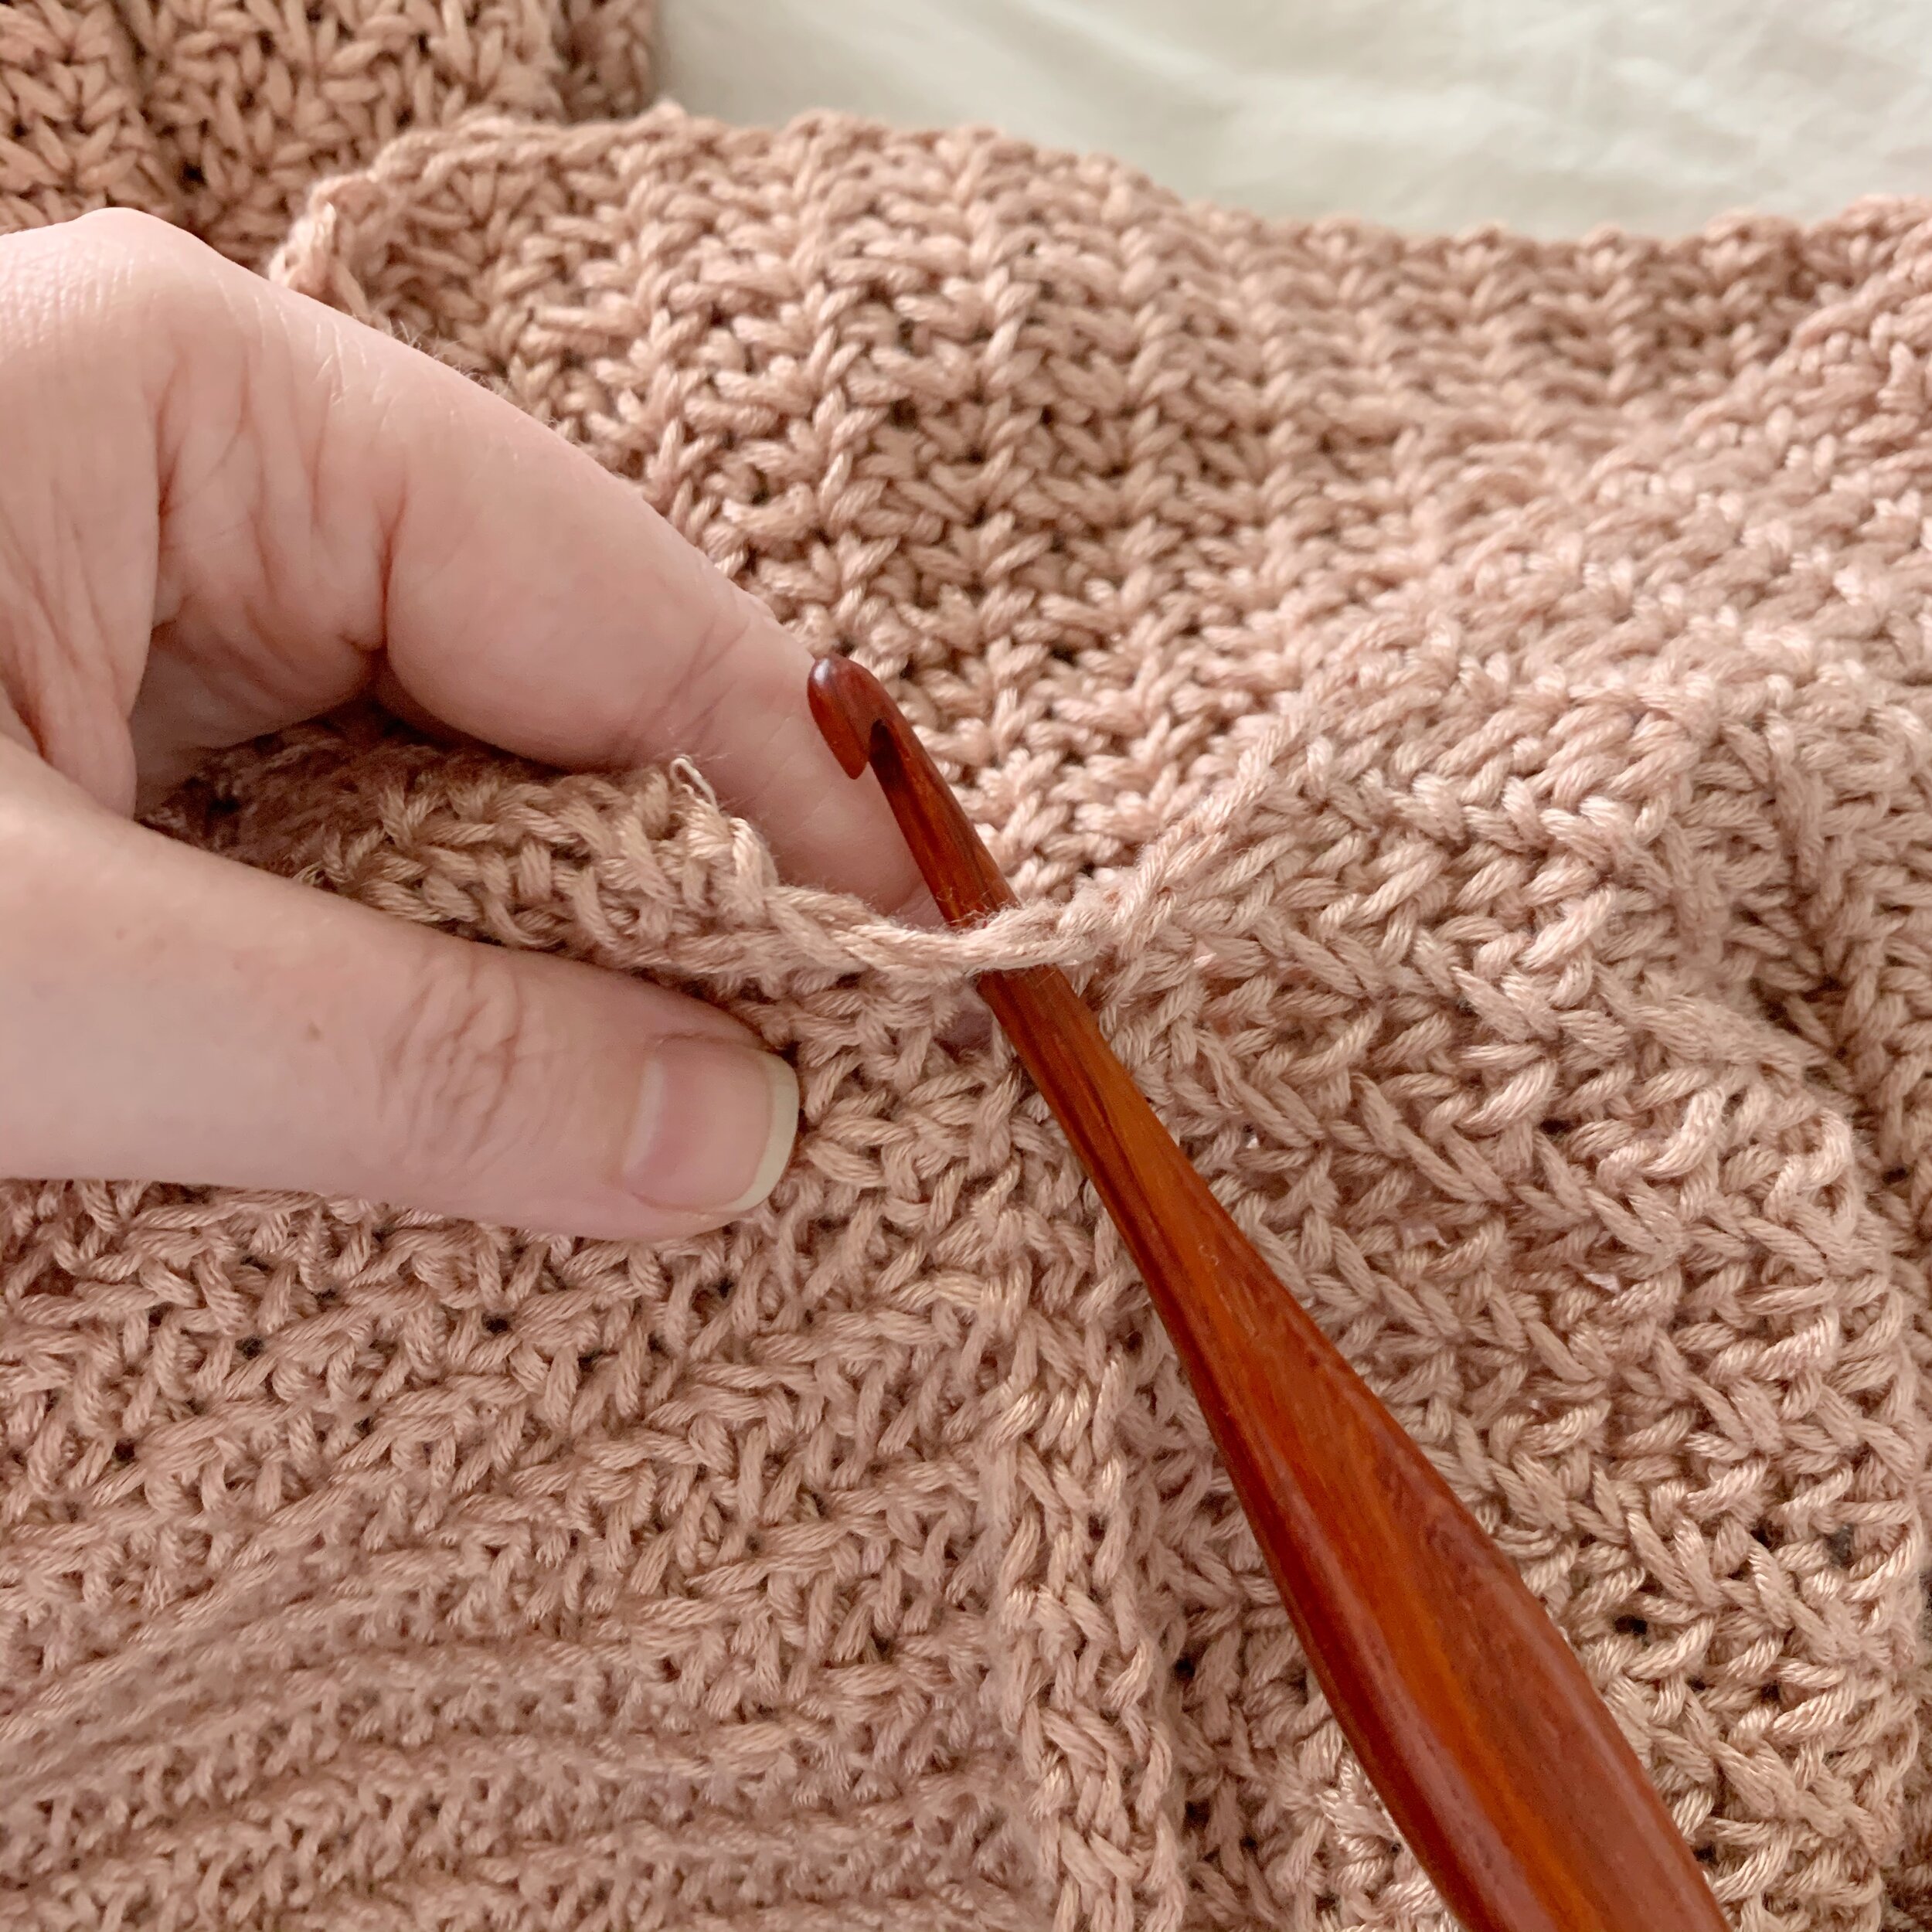
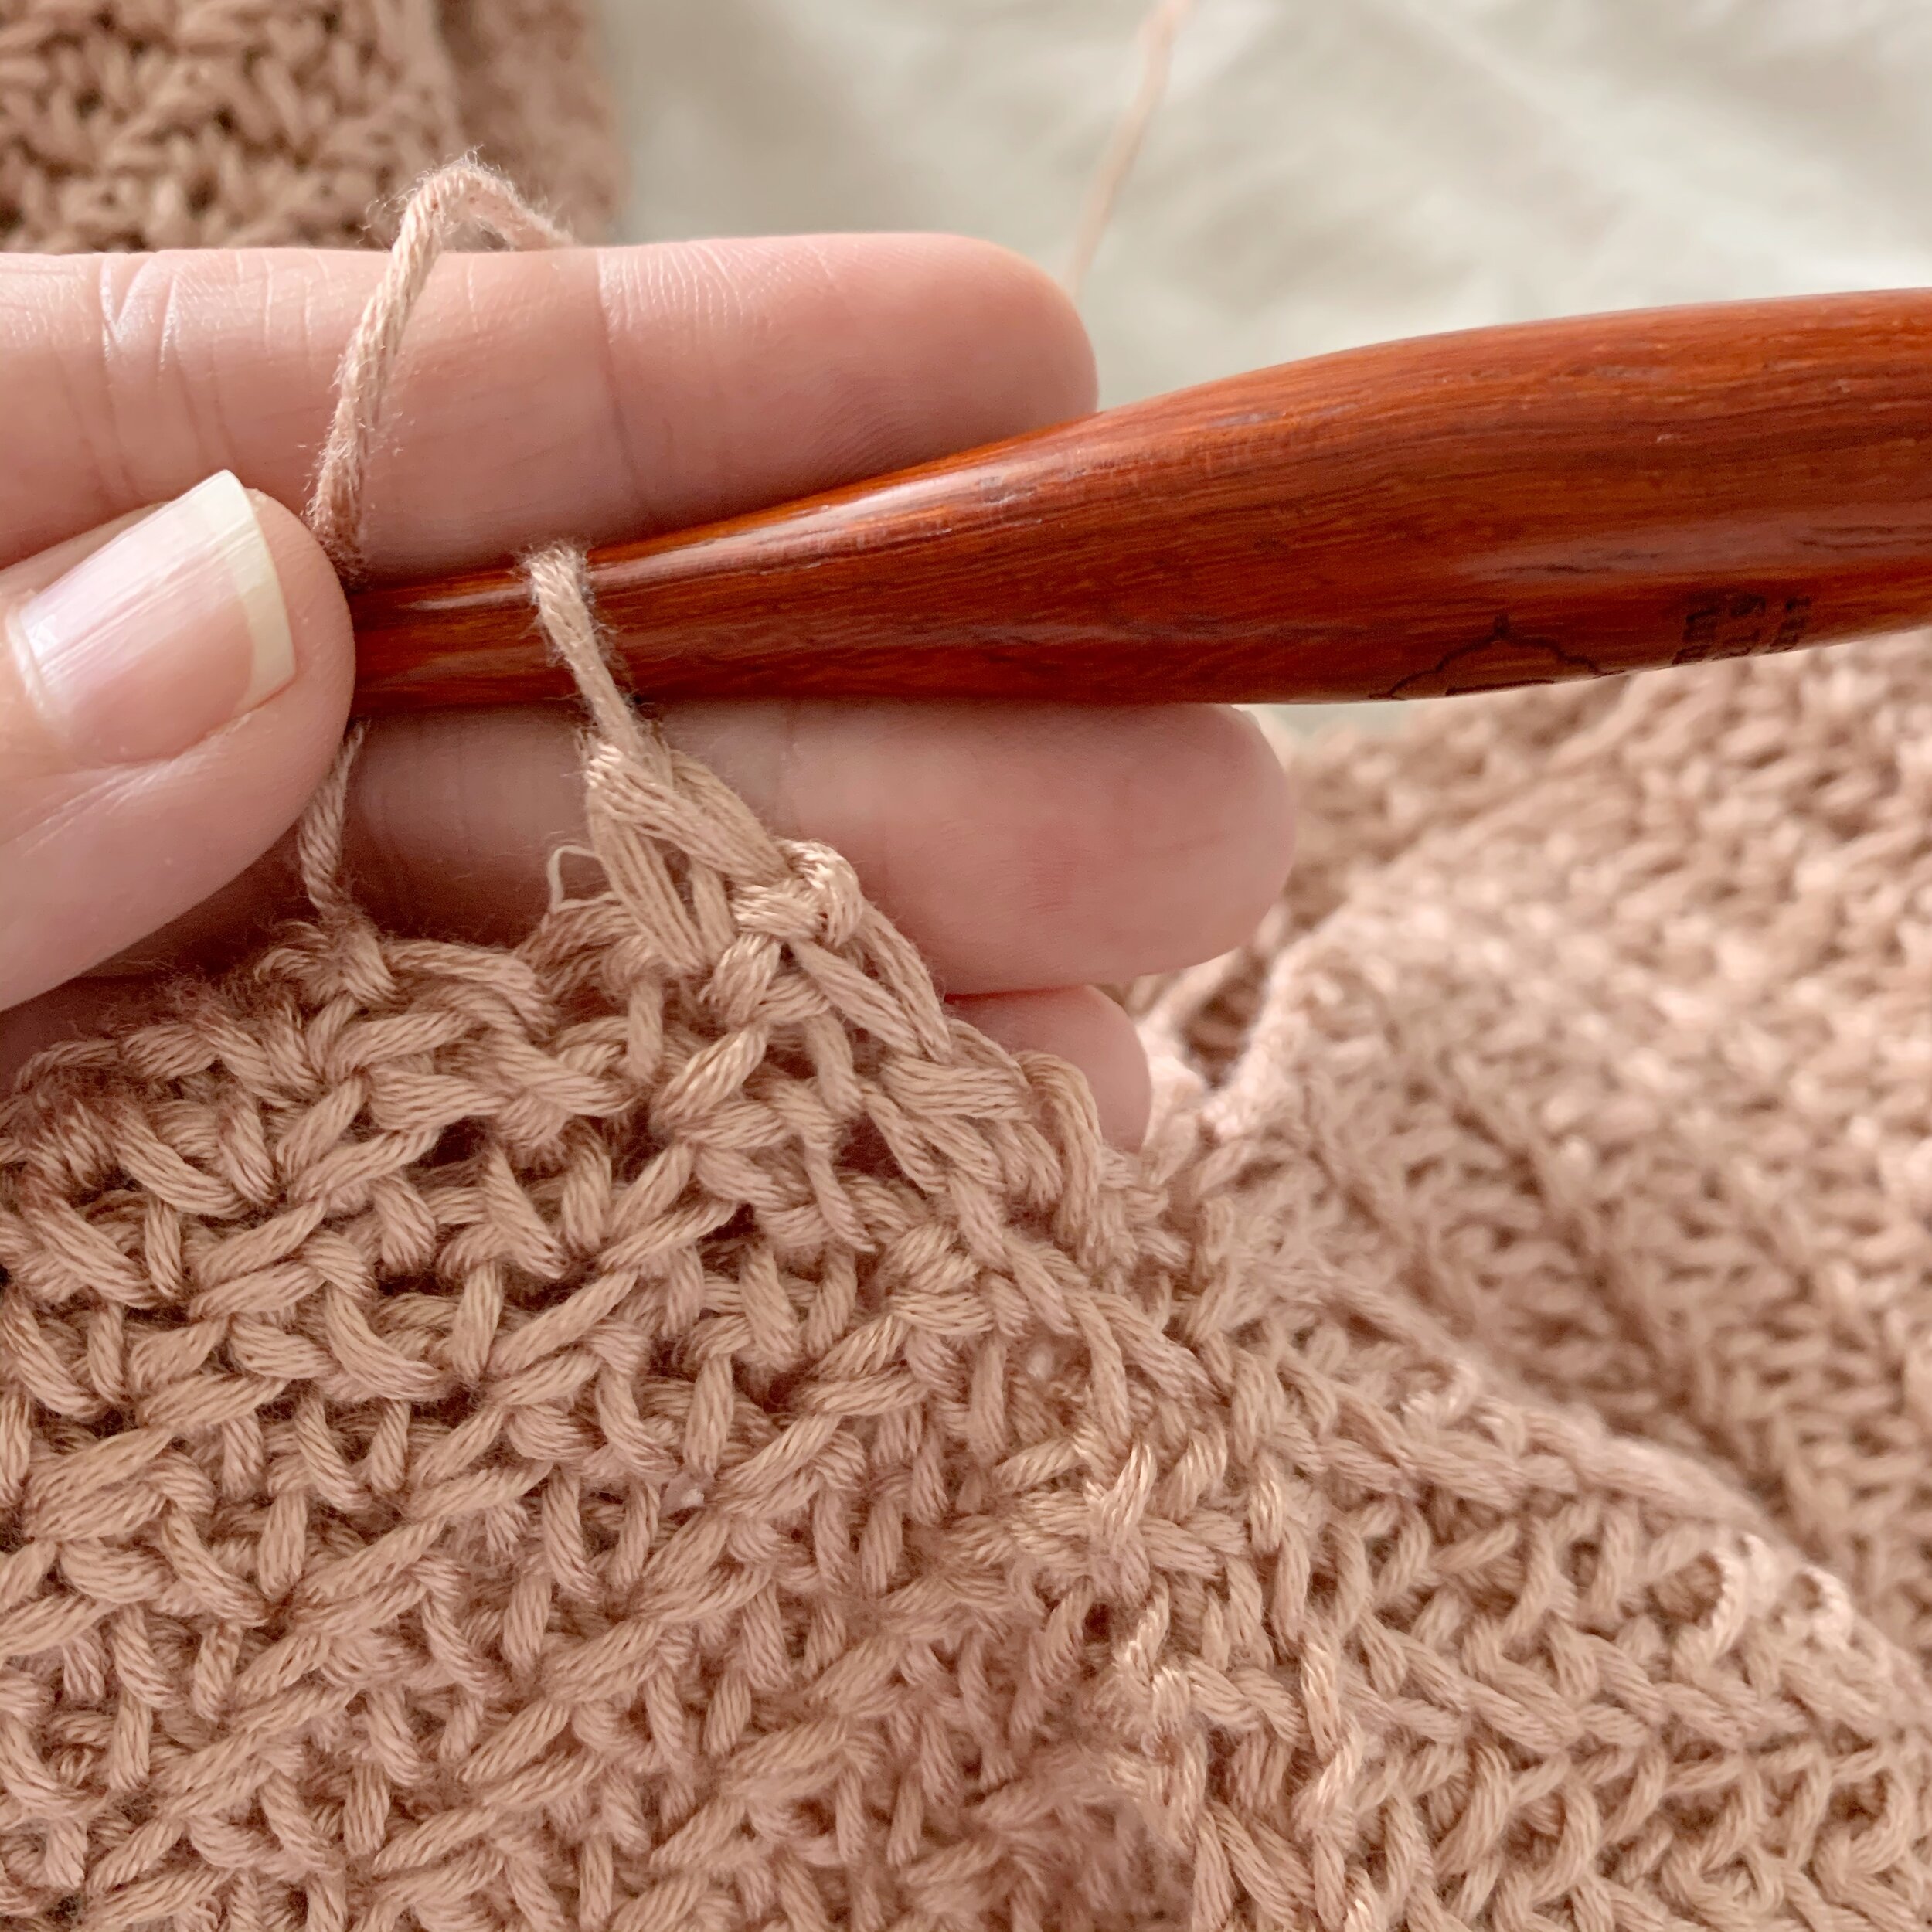
We will now be working sc stitches across three of the four sides of the rectangle (the two short ends and the beginning row). Turn piece 90 degrees and work one sc in the end of each row. Turn piece 90 degrees, work 3 sc into the first st, then work a sc into each st across (see photo below), end with 3 sc in last st. Turn piece 90 degress and work one sc in the end of each row.
Fasten off and weave in ends.
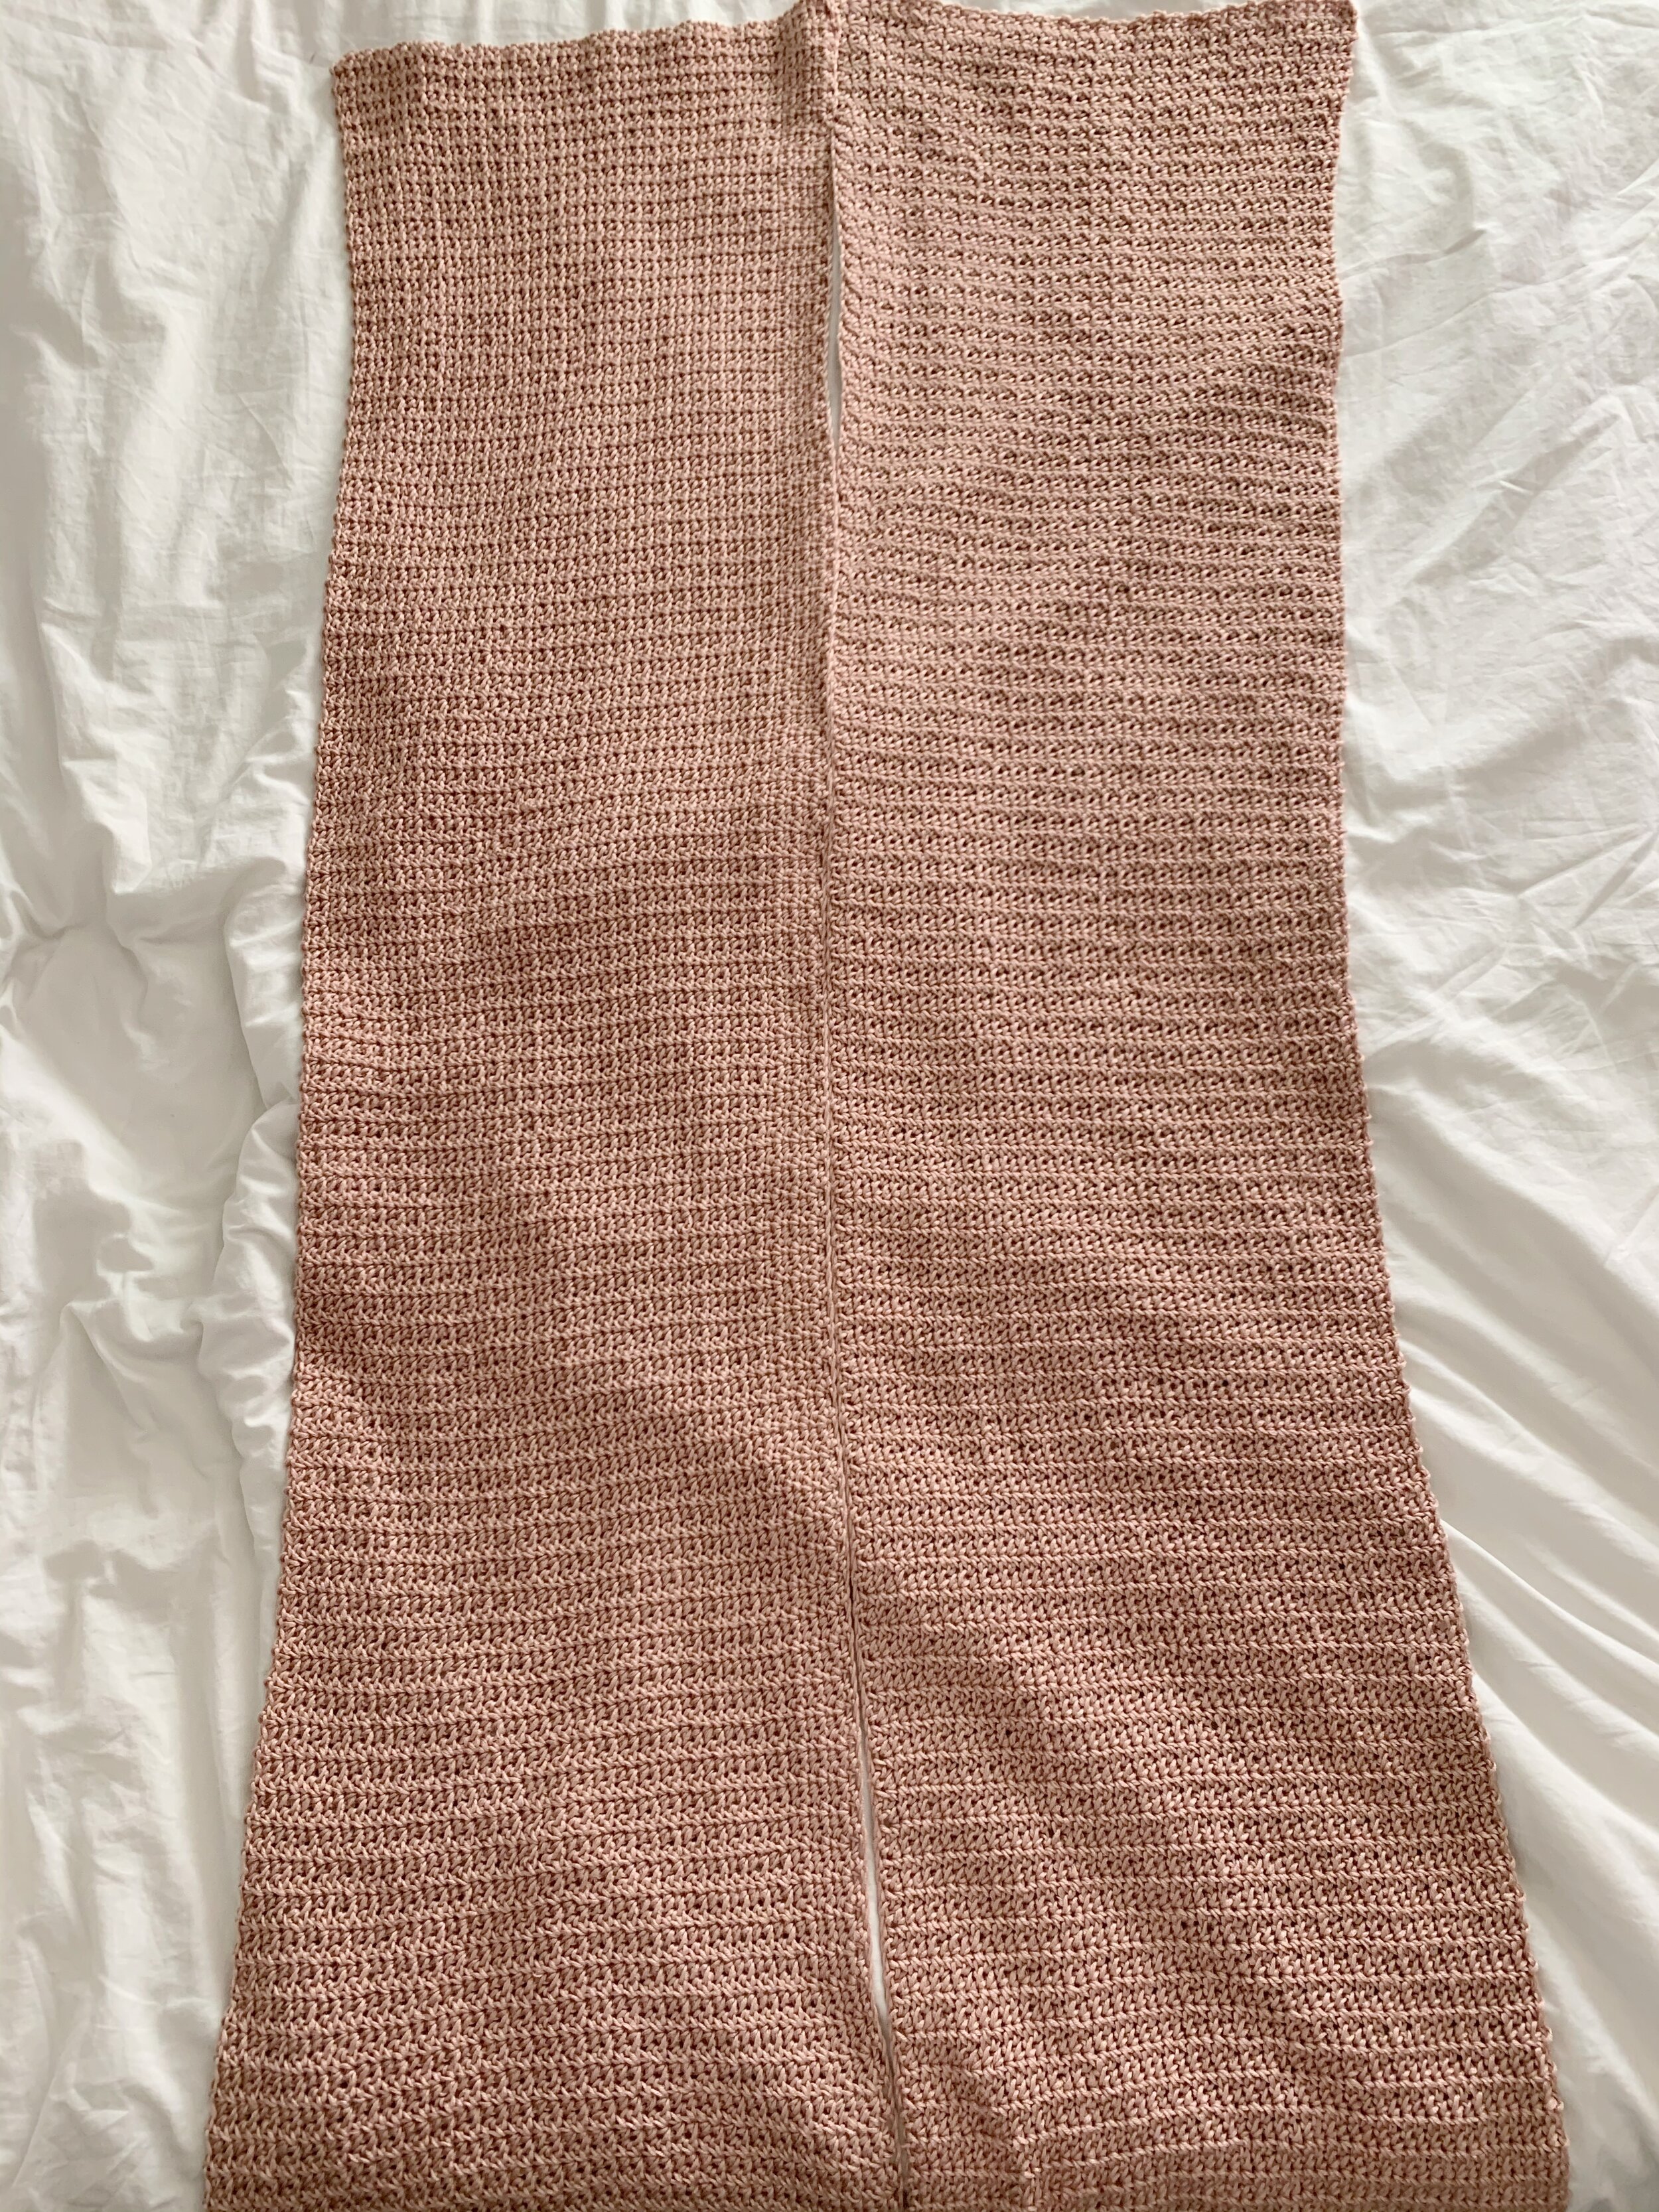
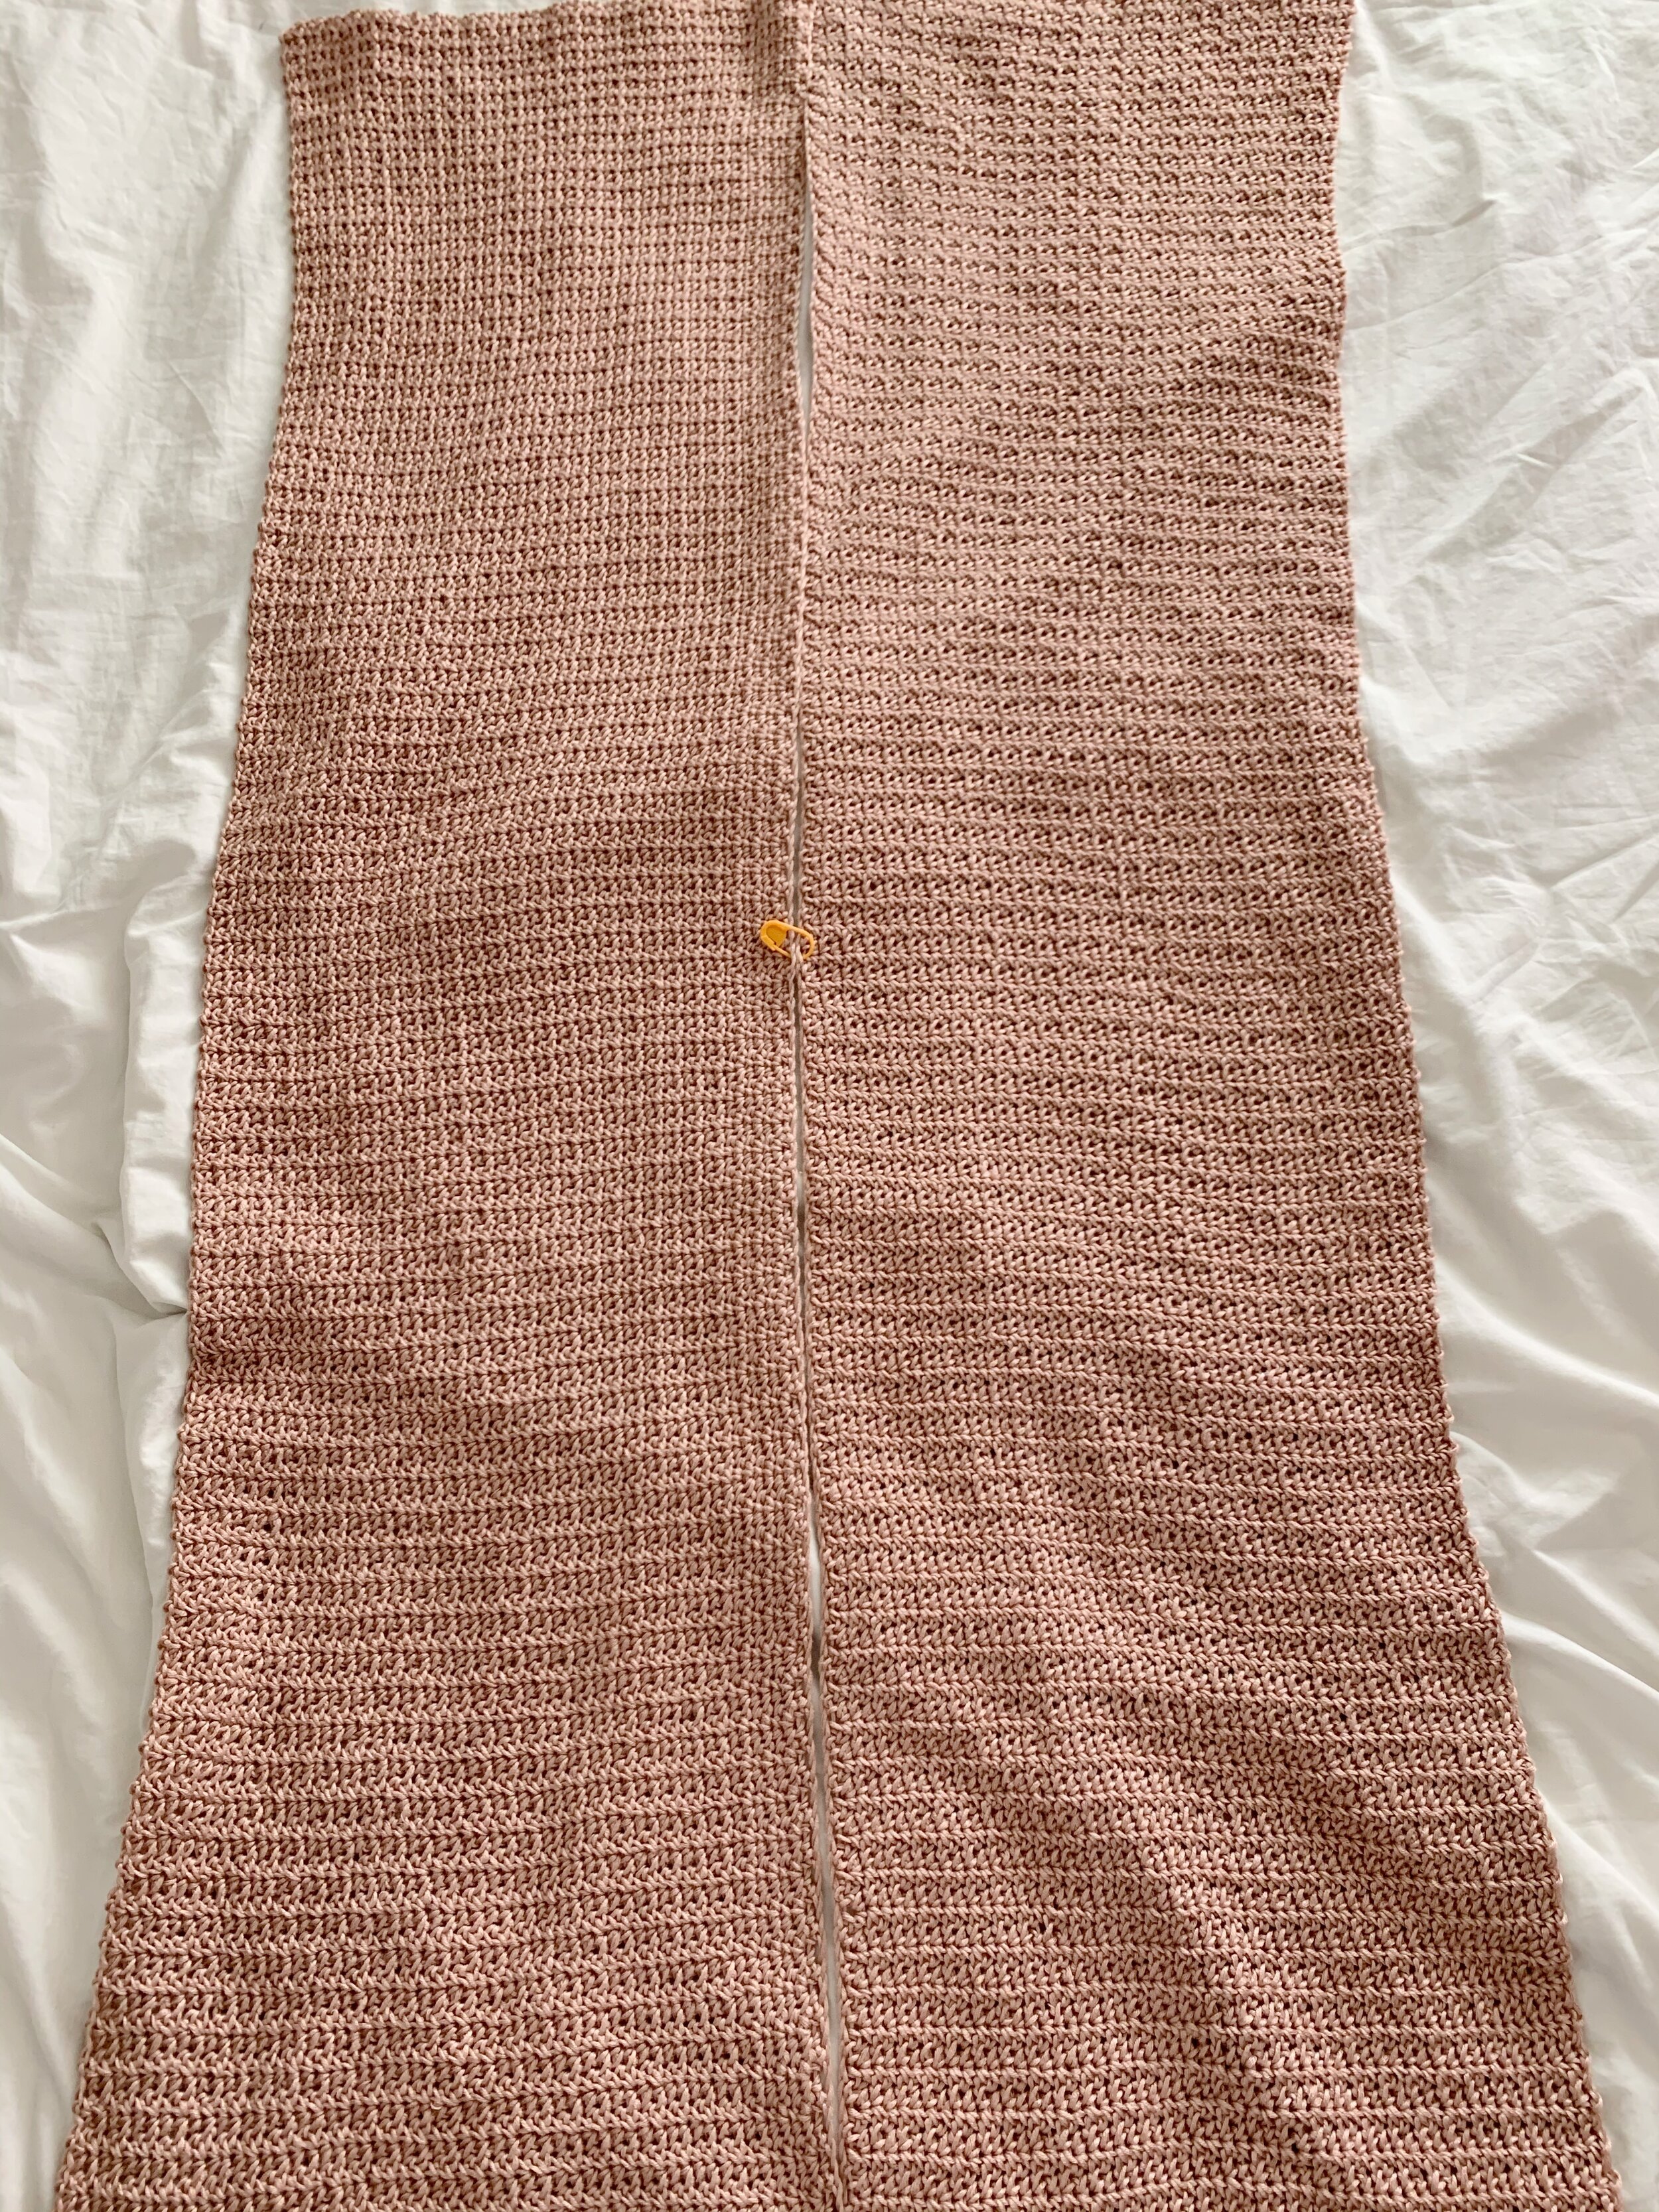
Lay both pieces out so that the beginning rows are facing each other. Seam them together starting at the bottom using the mattress stitch or preferred seaming method, until you’ve reached approx. 22.5”(23”, 23”, 23.5”, 24”, 24”, 24.5”, 24.5”, 25”).
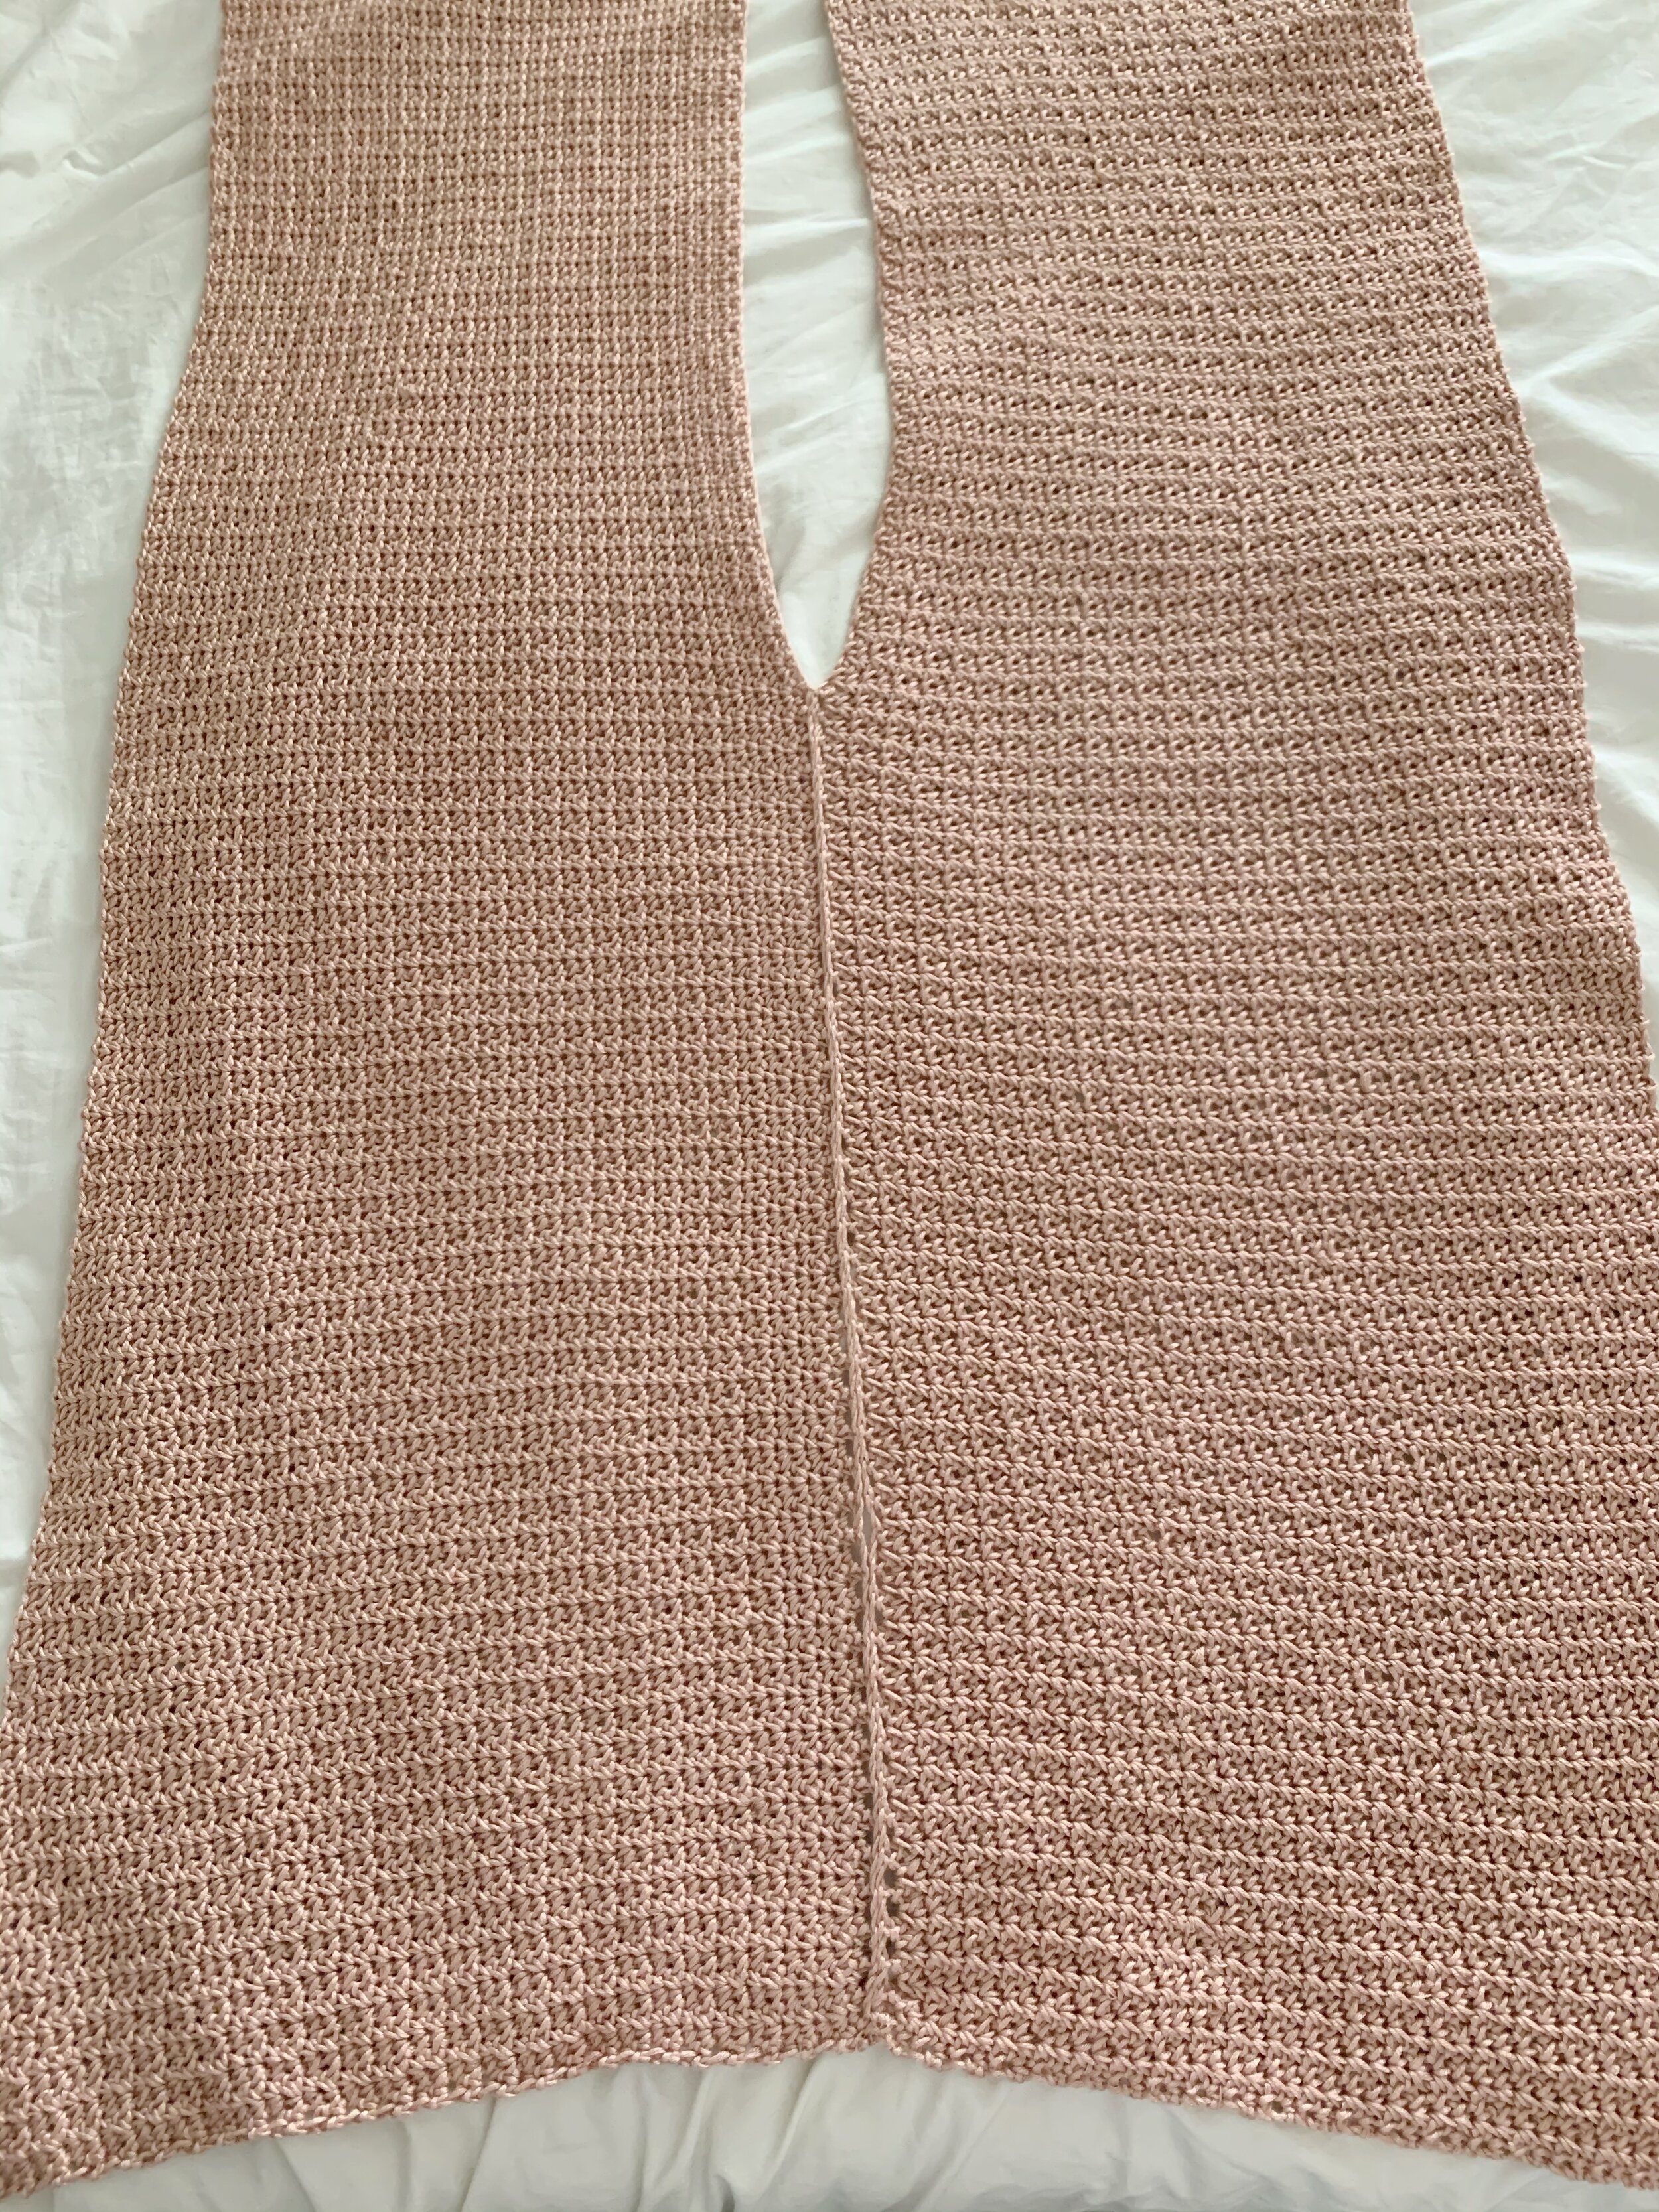
Flip piece over, then fold down top sections of panels so short edges are lined up with the bottom edge of the piece. Starting at the bottom, seam sides together using the mattress stitch or preferred seaming method, leaving approx. 6.5”(7”, 7.5”, 8”, 8.5”, 9”, 9”, 9.5”, 9.5”) for the arm holes.
Sleeves: sleeves are worked directly into arm hole. Stitch counts are approximate and may vary depending on your measurements.
With right side facing out, attach yarn in st or sp on the right side of the seam.
Row 1: ch 1, sc into same st as joined yarn, sk 1, [sc, ch 1, sc] in next ch1-sp, *sk 2, [sc, ch 1, sc] in next ch1-sp, repeat from * around until 2 sts remain, sk 1, sc in last st or sp before seam, sl st to 1st st to join, ch 1, turn. (42, 50, 52, 56, 60, 64, 64, 66, 66)
Row 2: sc in 1st st, sk 1, [sc, ch 1, sc] in ch1-sp, *sk 2, [sc, ch1, sc] in next ch1-sp, repeat from * across until 2 sts remain, sk 1, sc in last st, sl st to 1st st to join, ch 1, turn.
Rows 3-20: repeat row 2.
*add or subtract rows to get the desired sleeve length. Keep in mind you will be folding the sleeve up 2.25” when finished.
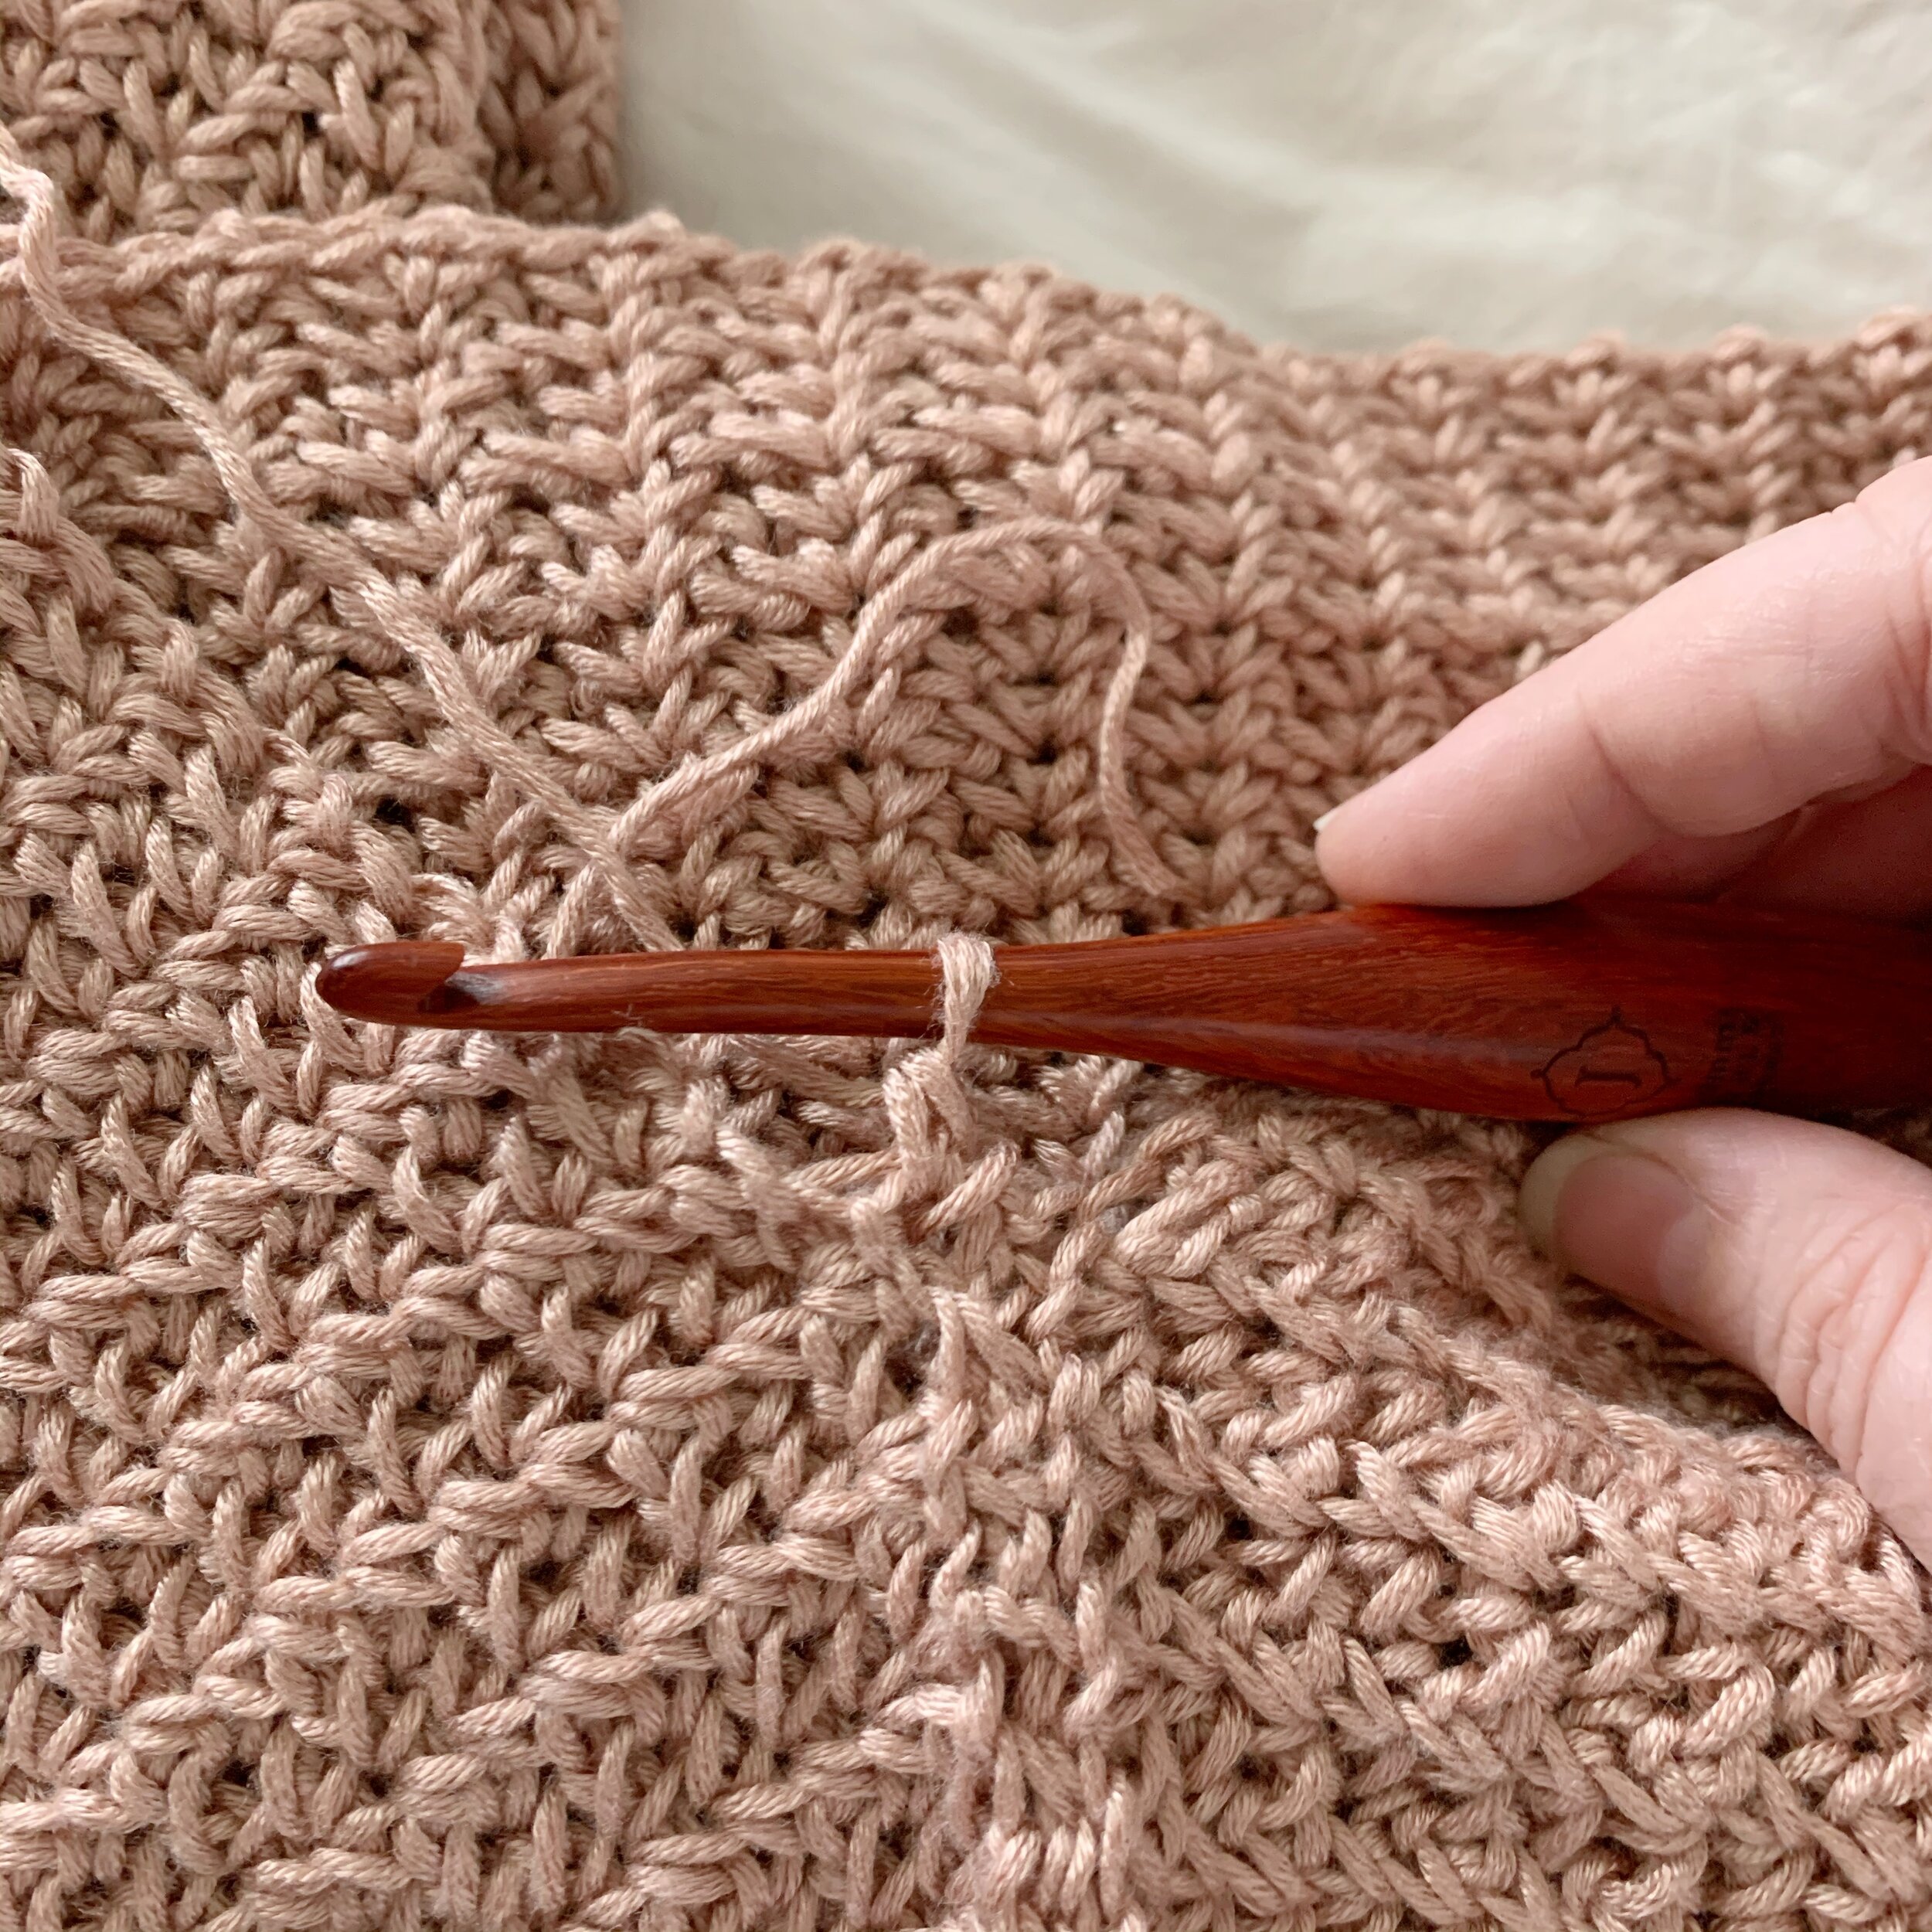
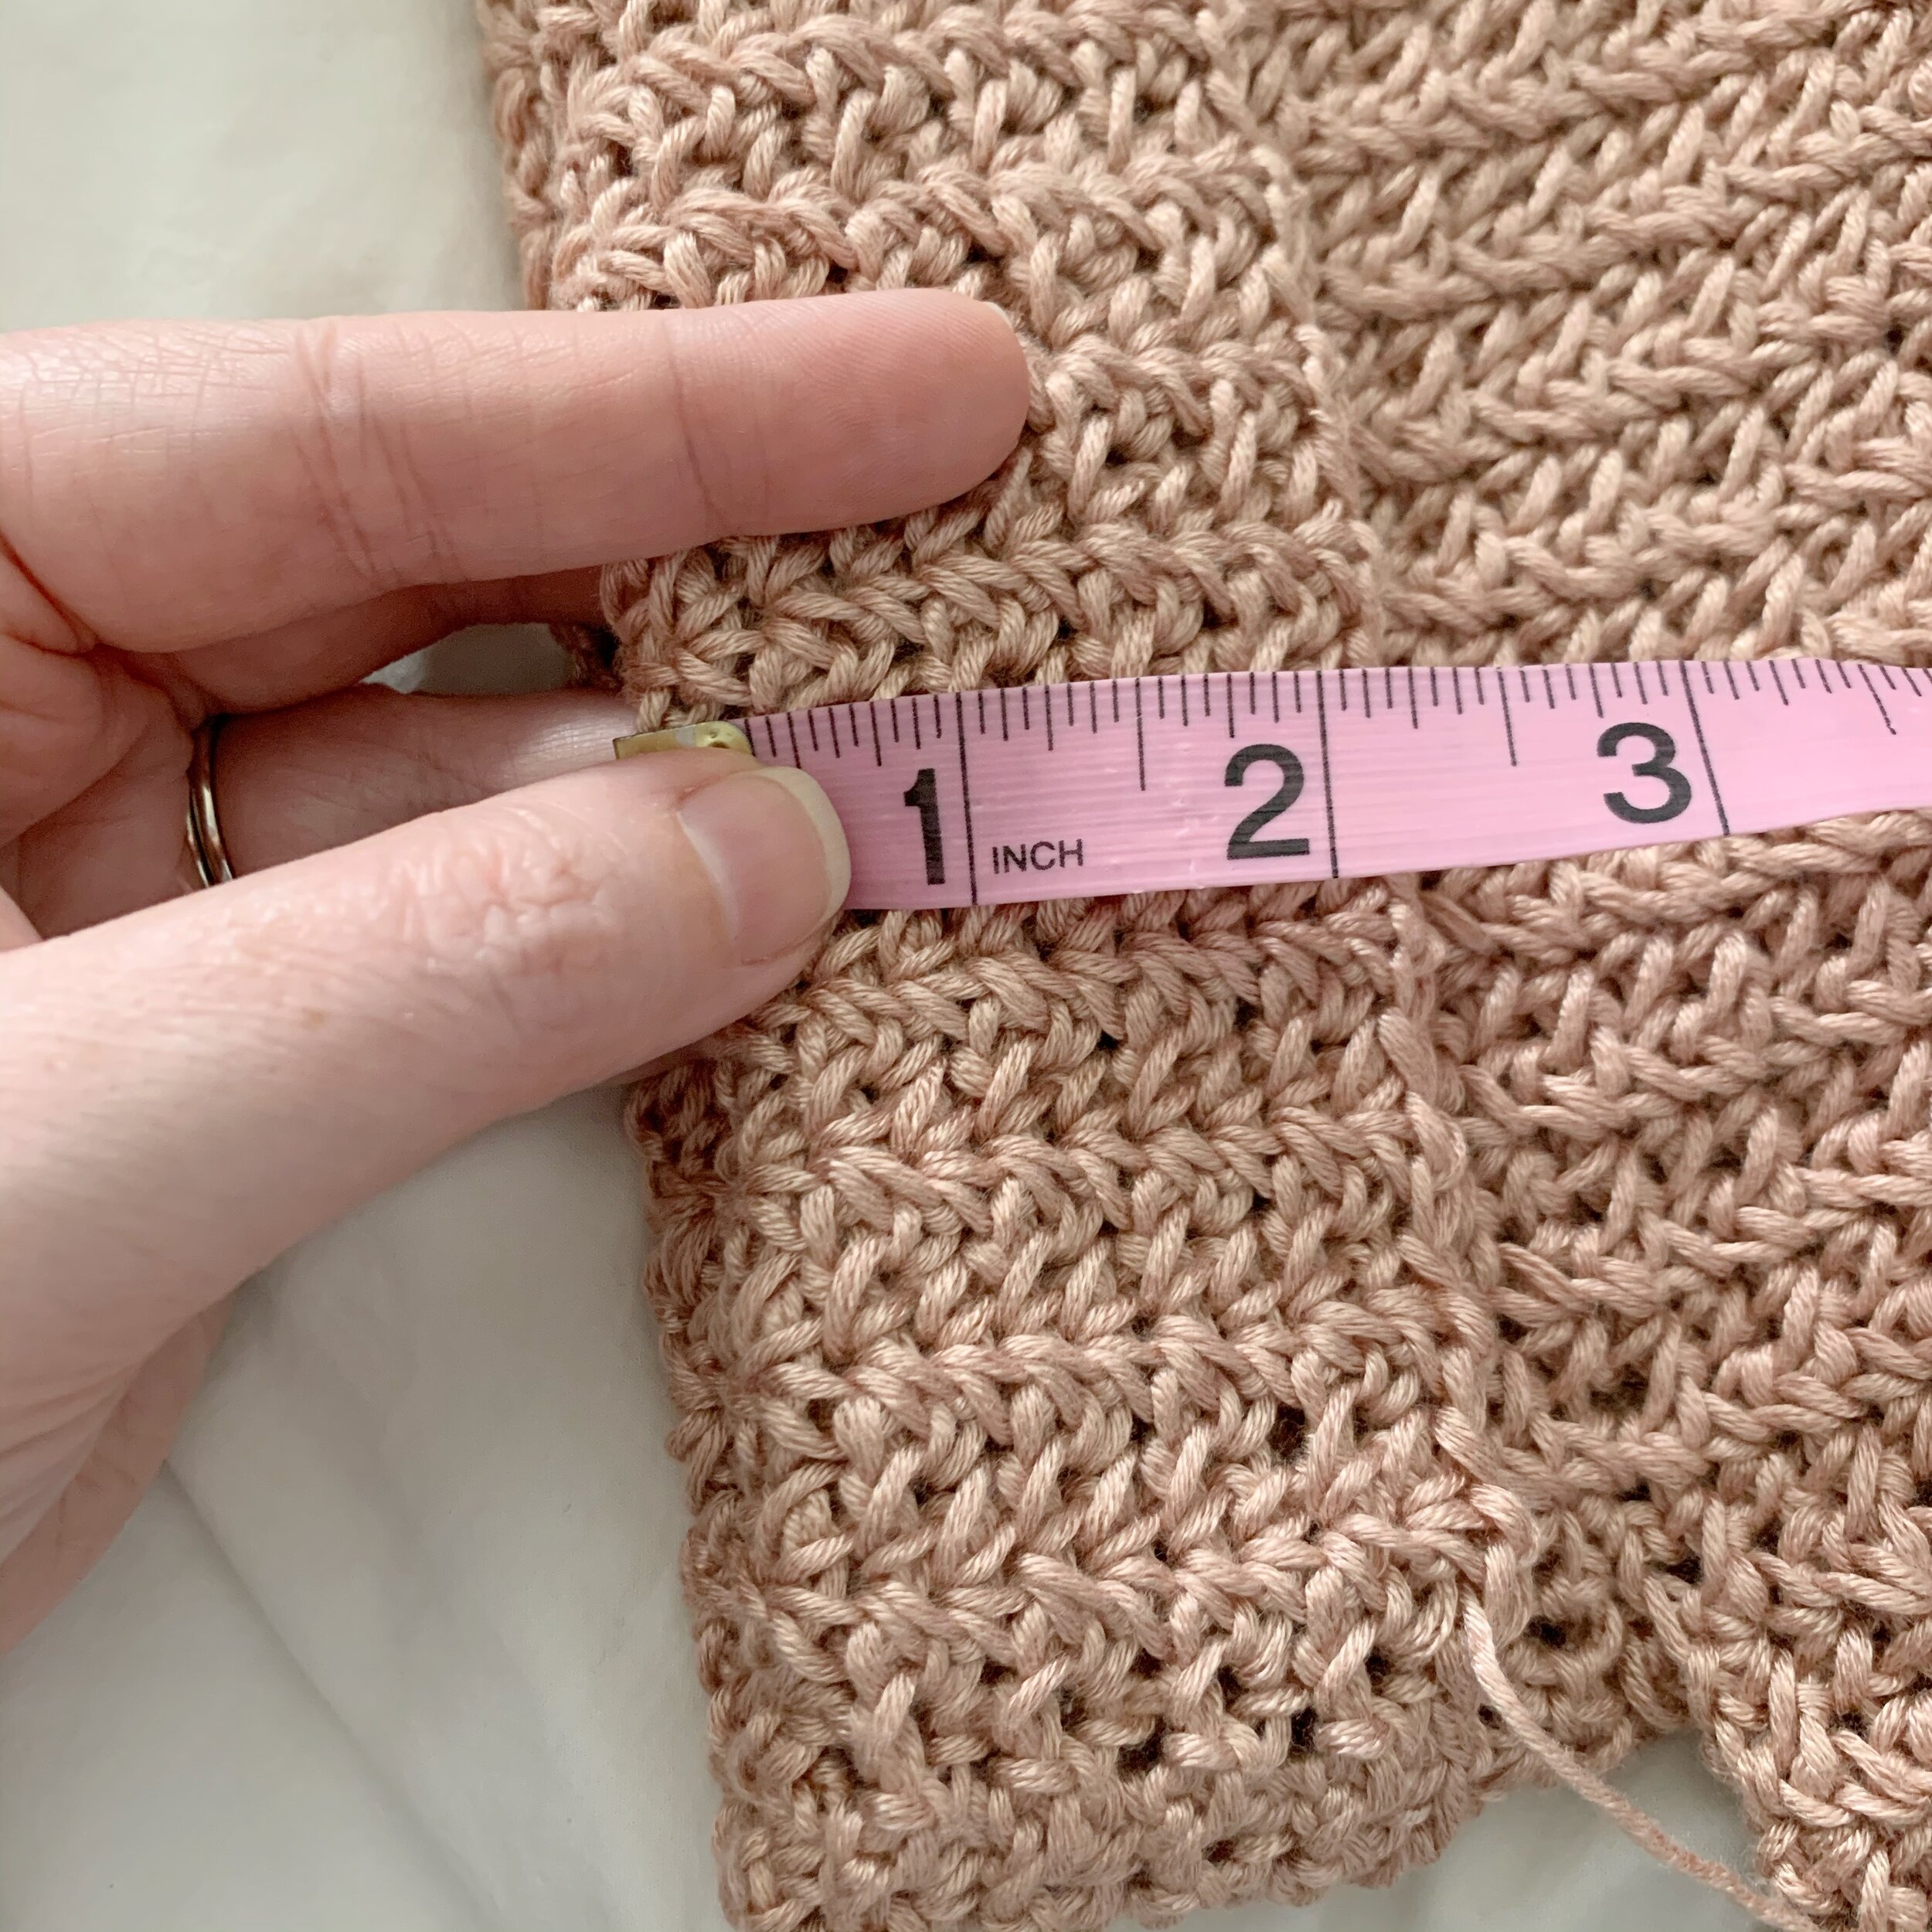
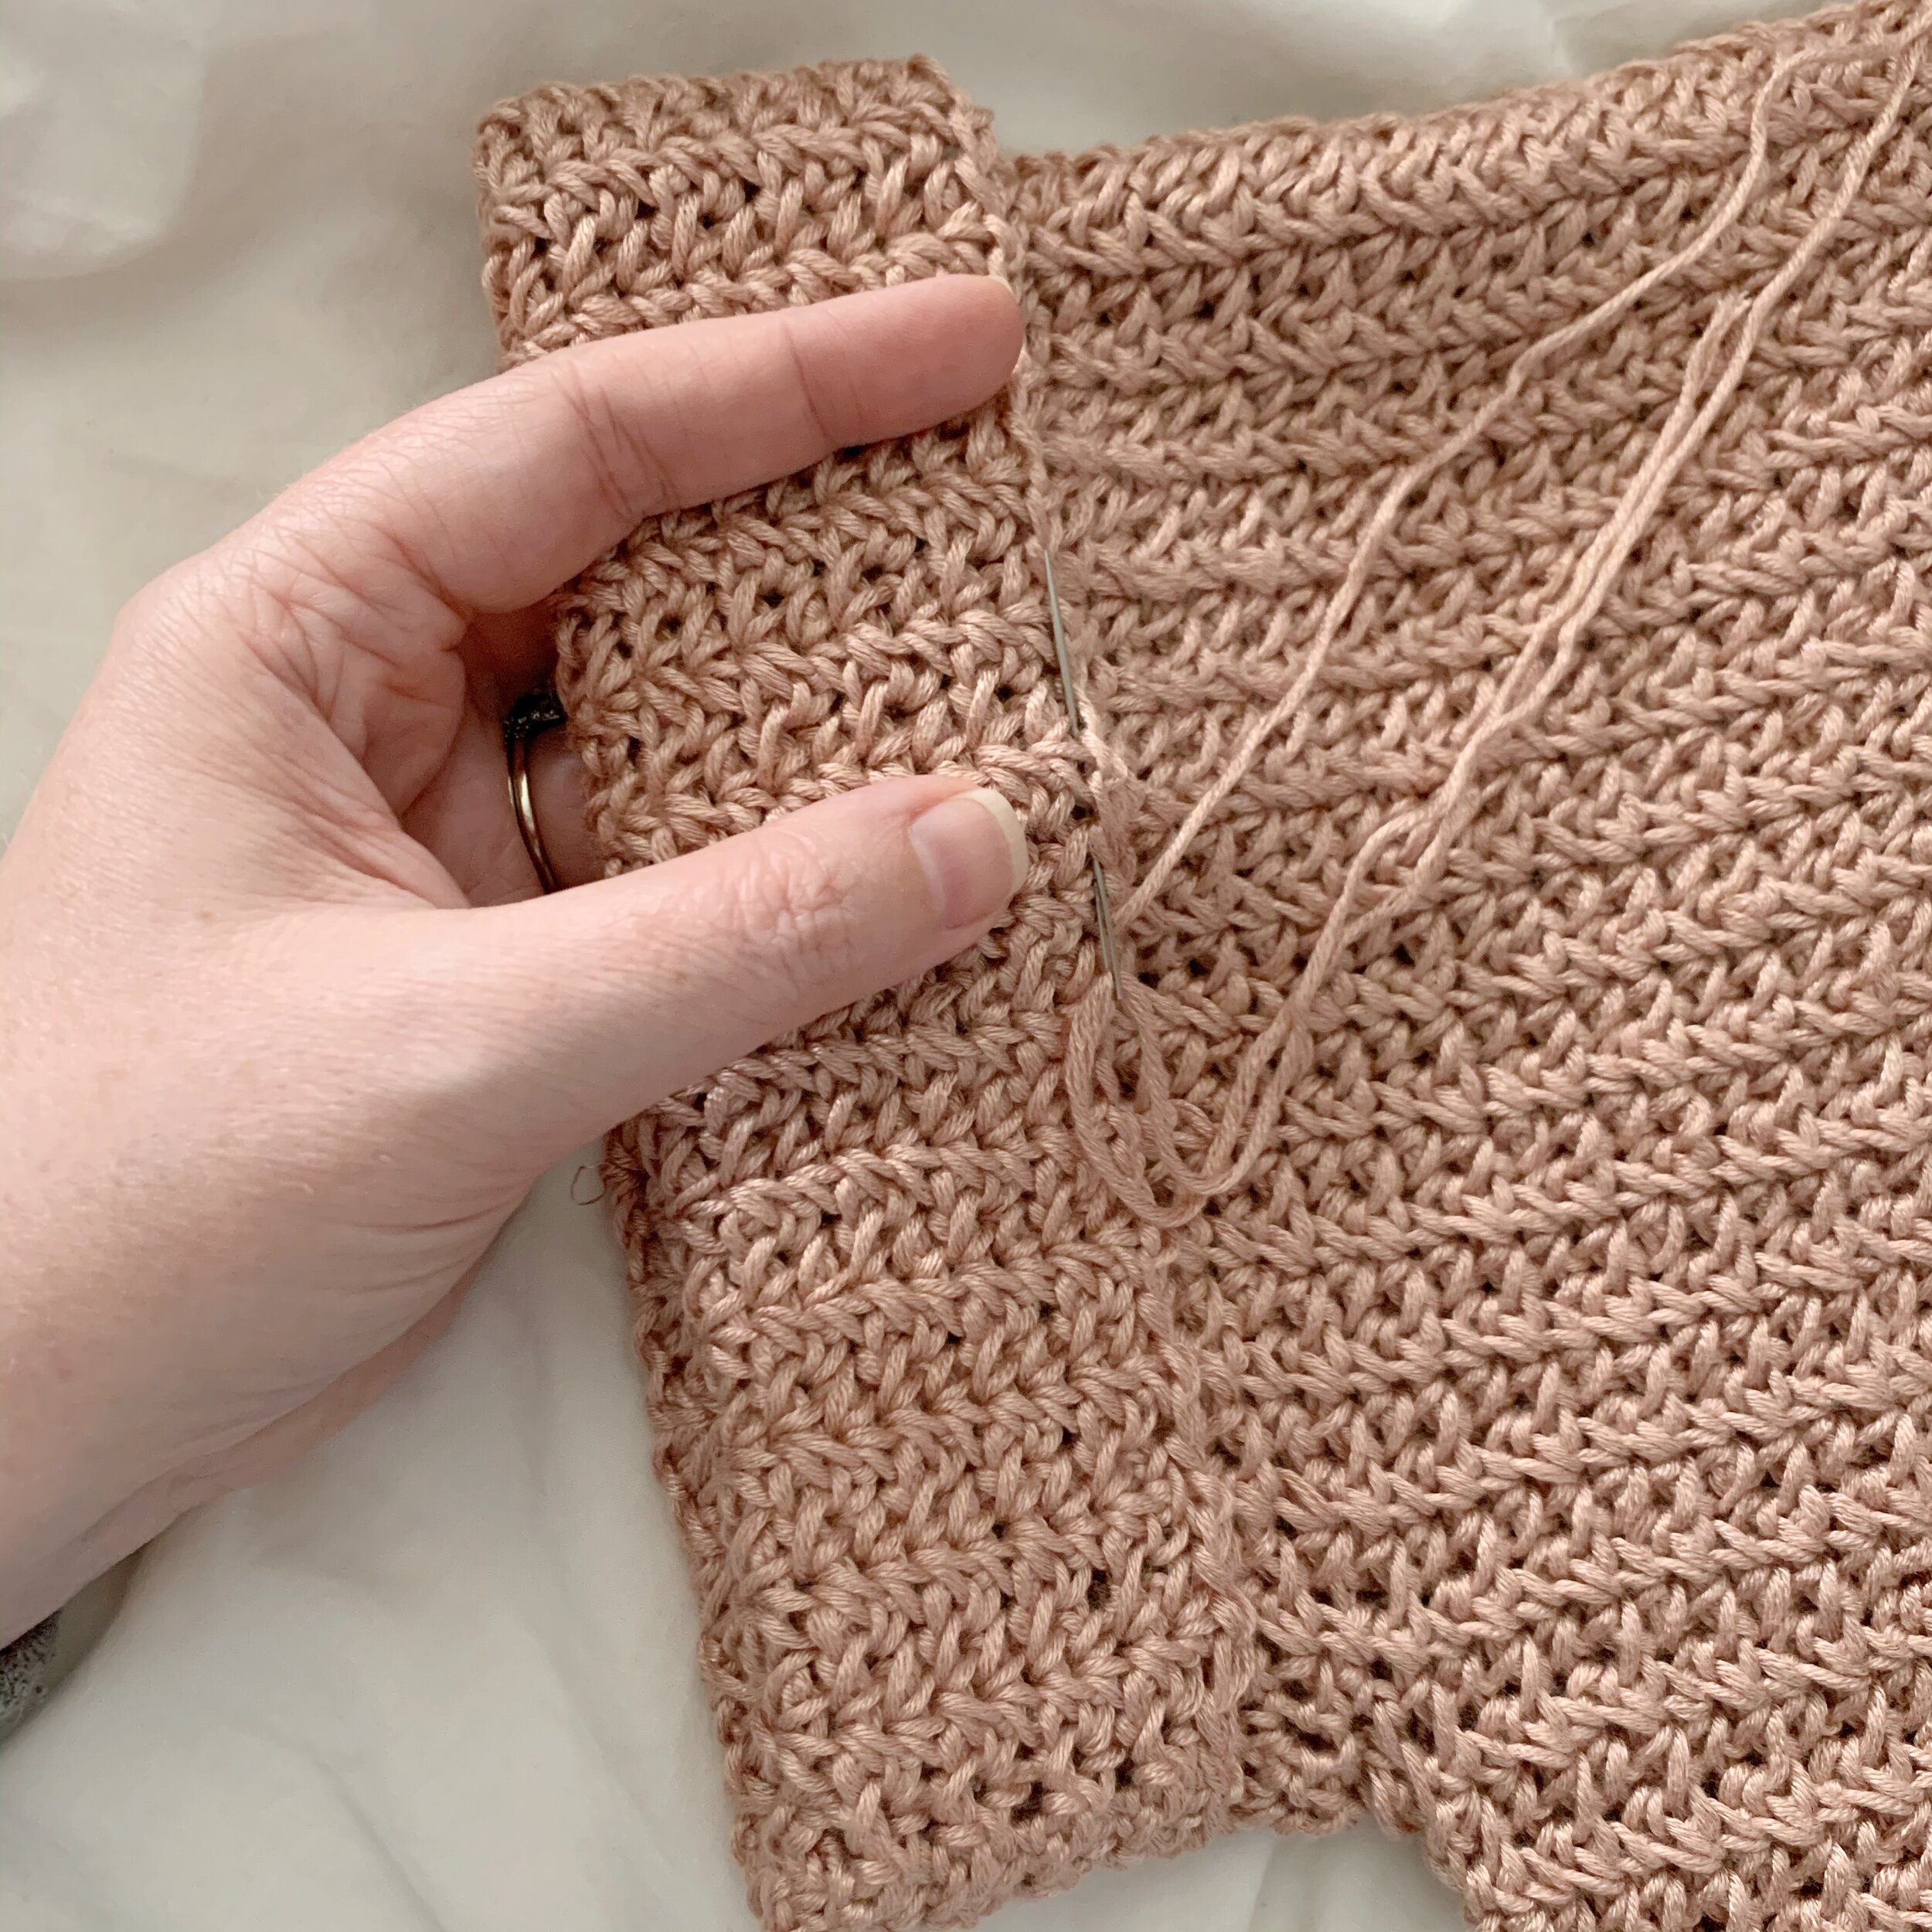
Fasten off leaving a long tail for sewing. Fold sleeve up 2.25” and sew in place. Sew just below the edge of the sleeve as shown below.
Finishing:
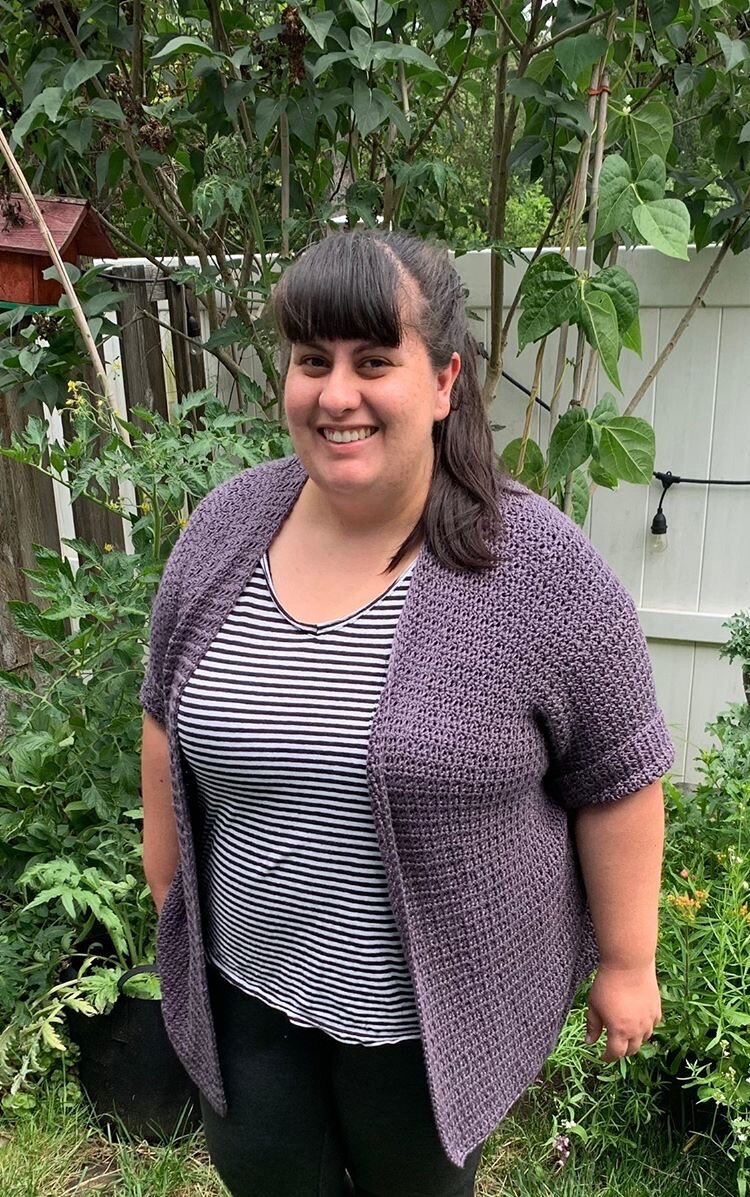
Cardi- If you are making the Gradey Cardi you are done!
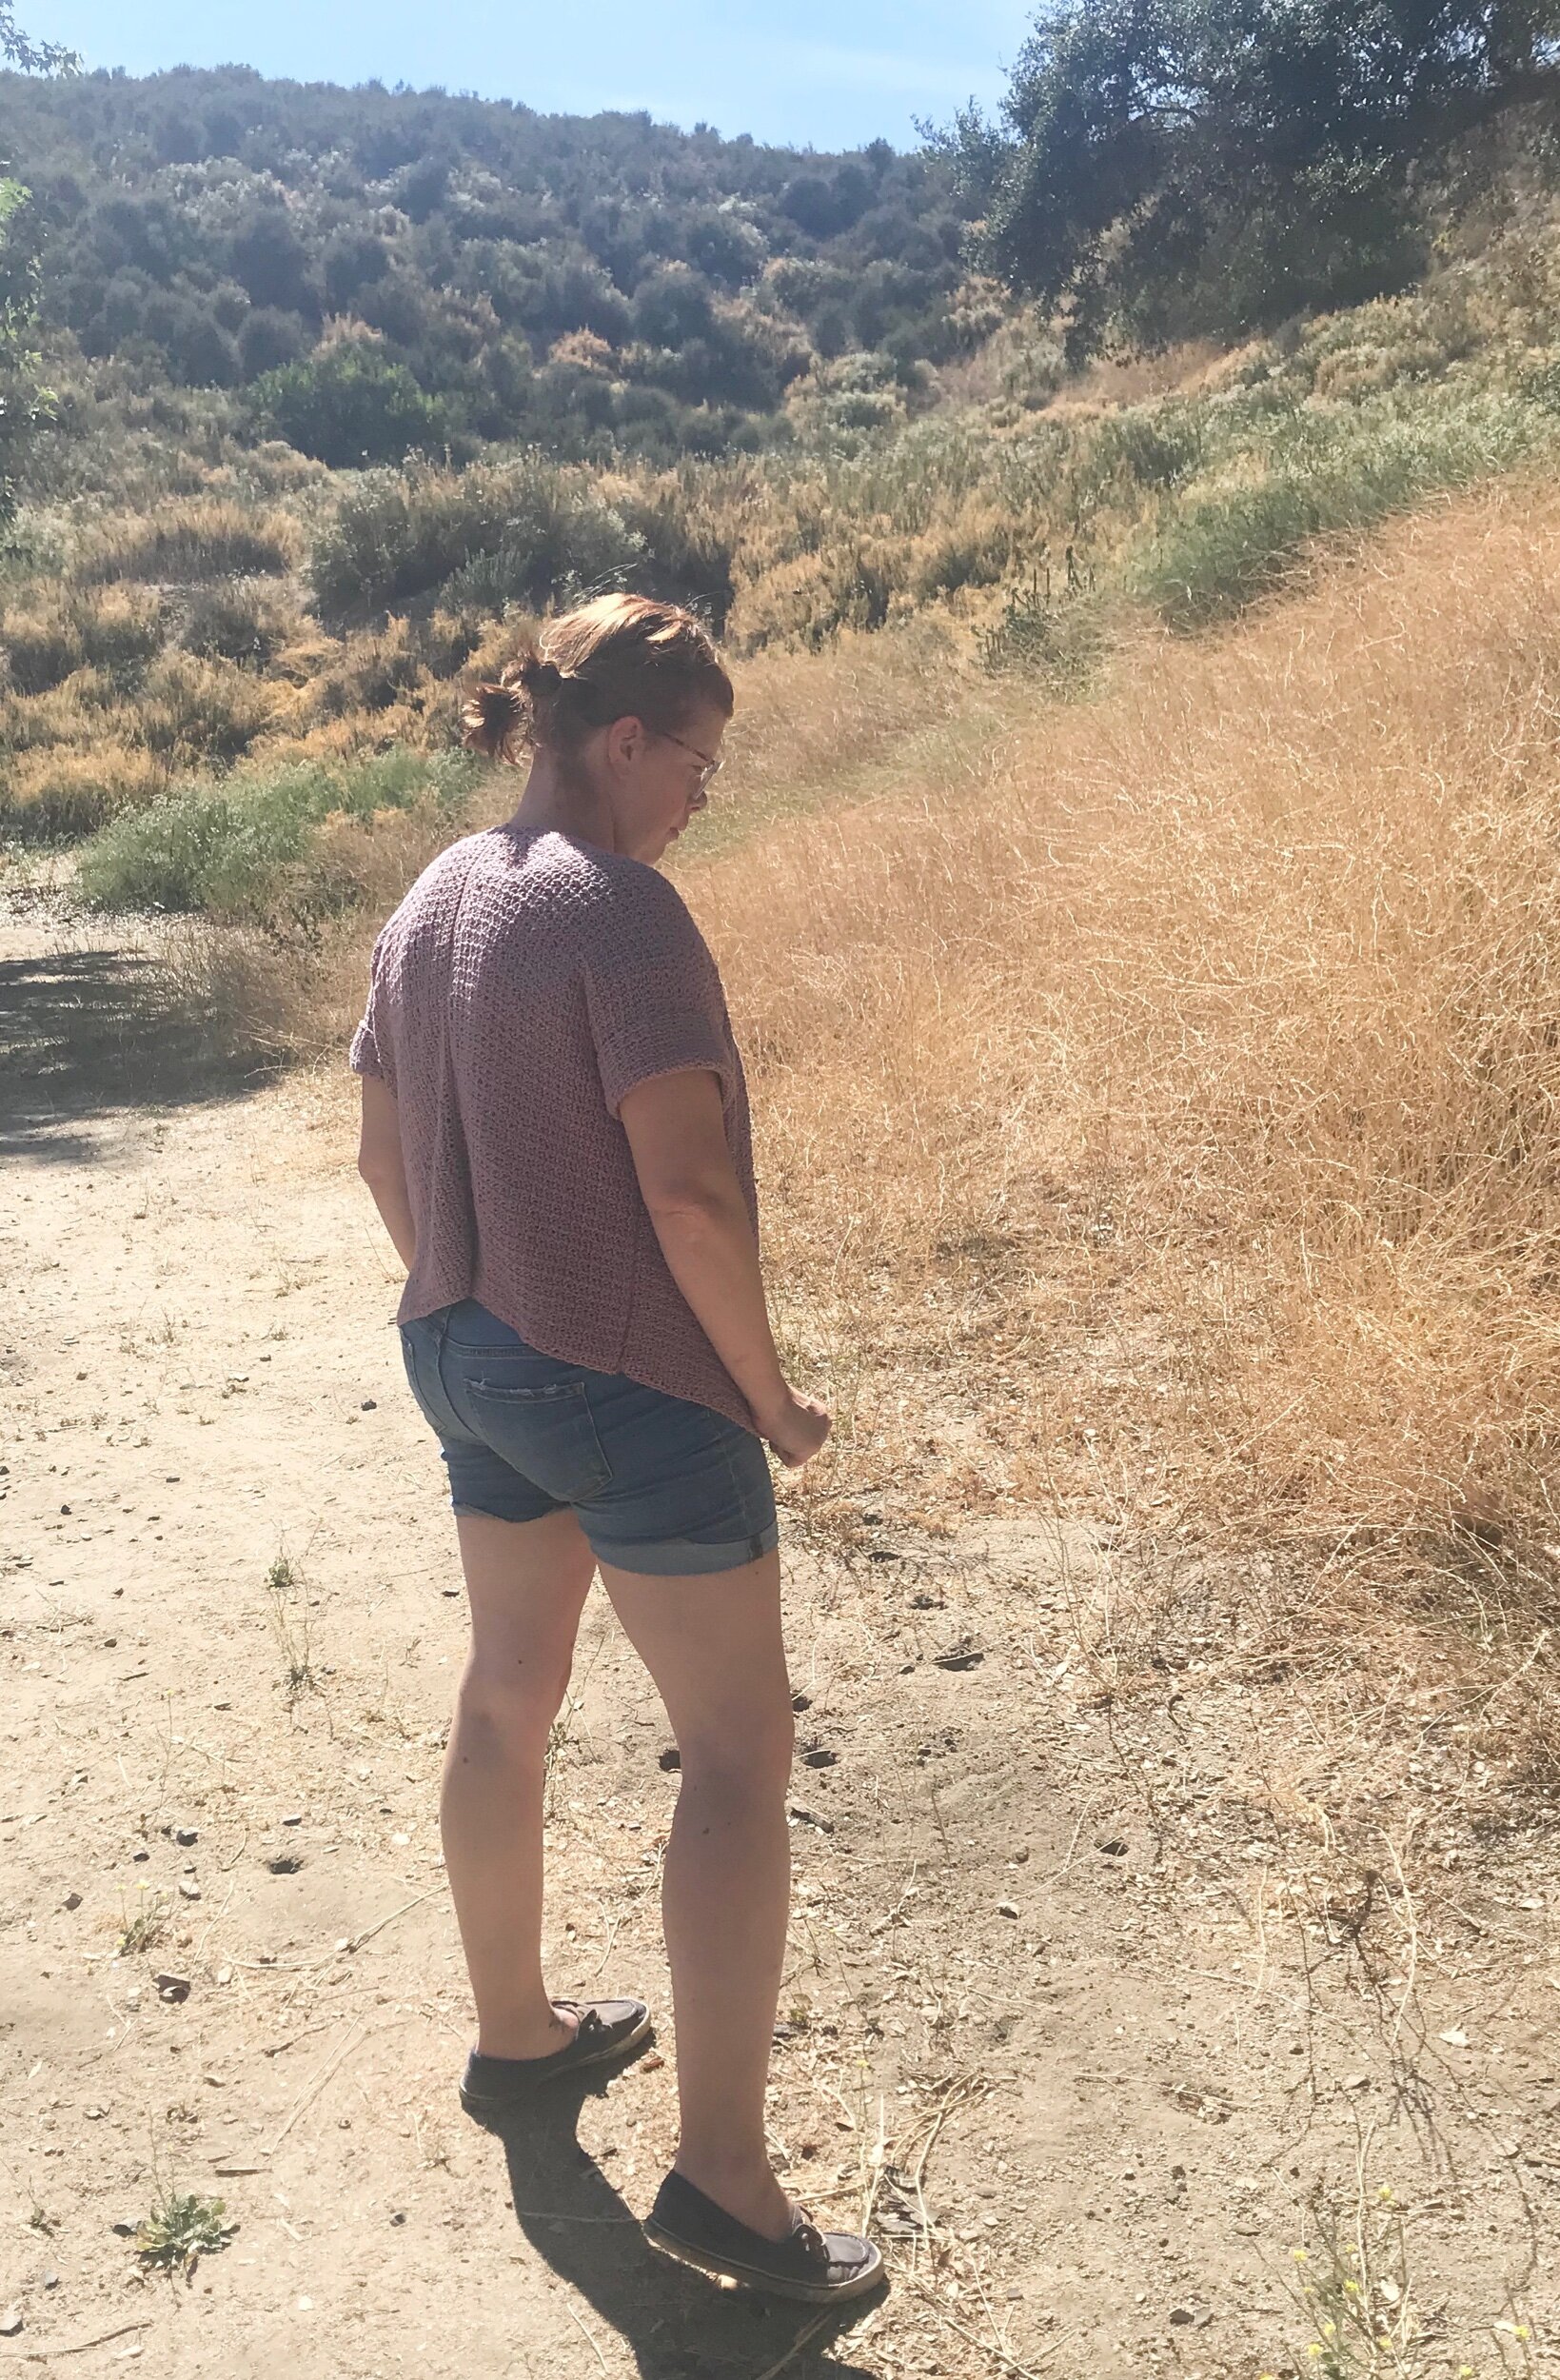
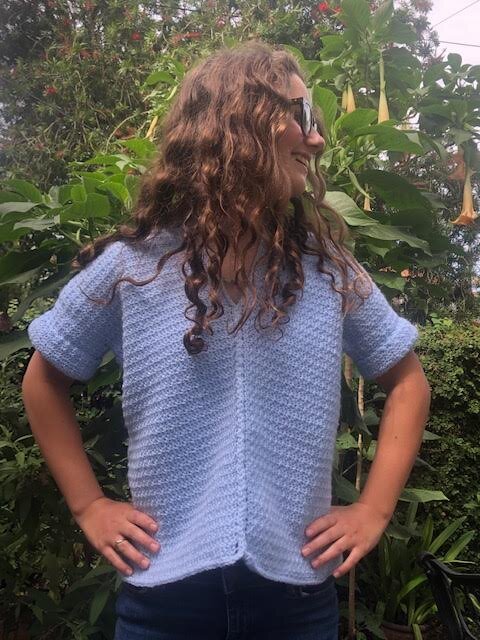
Tee- If you are making the Gradey Tee, try on your piece. Using a stitch marker, mark where you would like your neckline to end. Take off the tee and then using a long strand of yarn and a tapestry needle, seam the front closed from the bottom edge to the stitch marker using your preferred seaming method. I recommend using the mattress stitch with right sides facing you to achieve the raised seam to match the back.
Fasten off and weave in all remaining ends.
Cardi & Tee- Give your new cardi or tee a good blocking either with the wet block or steaming method. Once dry, go enjoy your new wardrobe addition!
Special thanks to my amazing testers!
Right to left: @sweis19, @knotmoreyarn, @chunkycrochet, @sabinegregerellis, @oma.crochets, @motherlodecrafts, @kayscrochetcreation
I hope you love your Gradey Tee/Cardi as much as I loved designing it. If you make one I’d love to see it! Make sure to tag me on social media @meghanmakesdo and use #thegradeytee or #thegradeycardi so I can see.
As always you can find a PDF version of this pattern in my shop, on Etsy and Ravelry.
Happy Crocheting,
Meghan


