The Ashby Hat-Free Crochet Pattern
This post contains affiliate links. If you make a purchase through one of those links I may receive a small commission. It’s an easy way to support this blog at no extra cost to you.
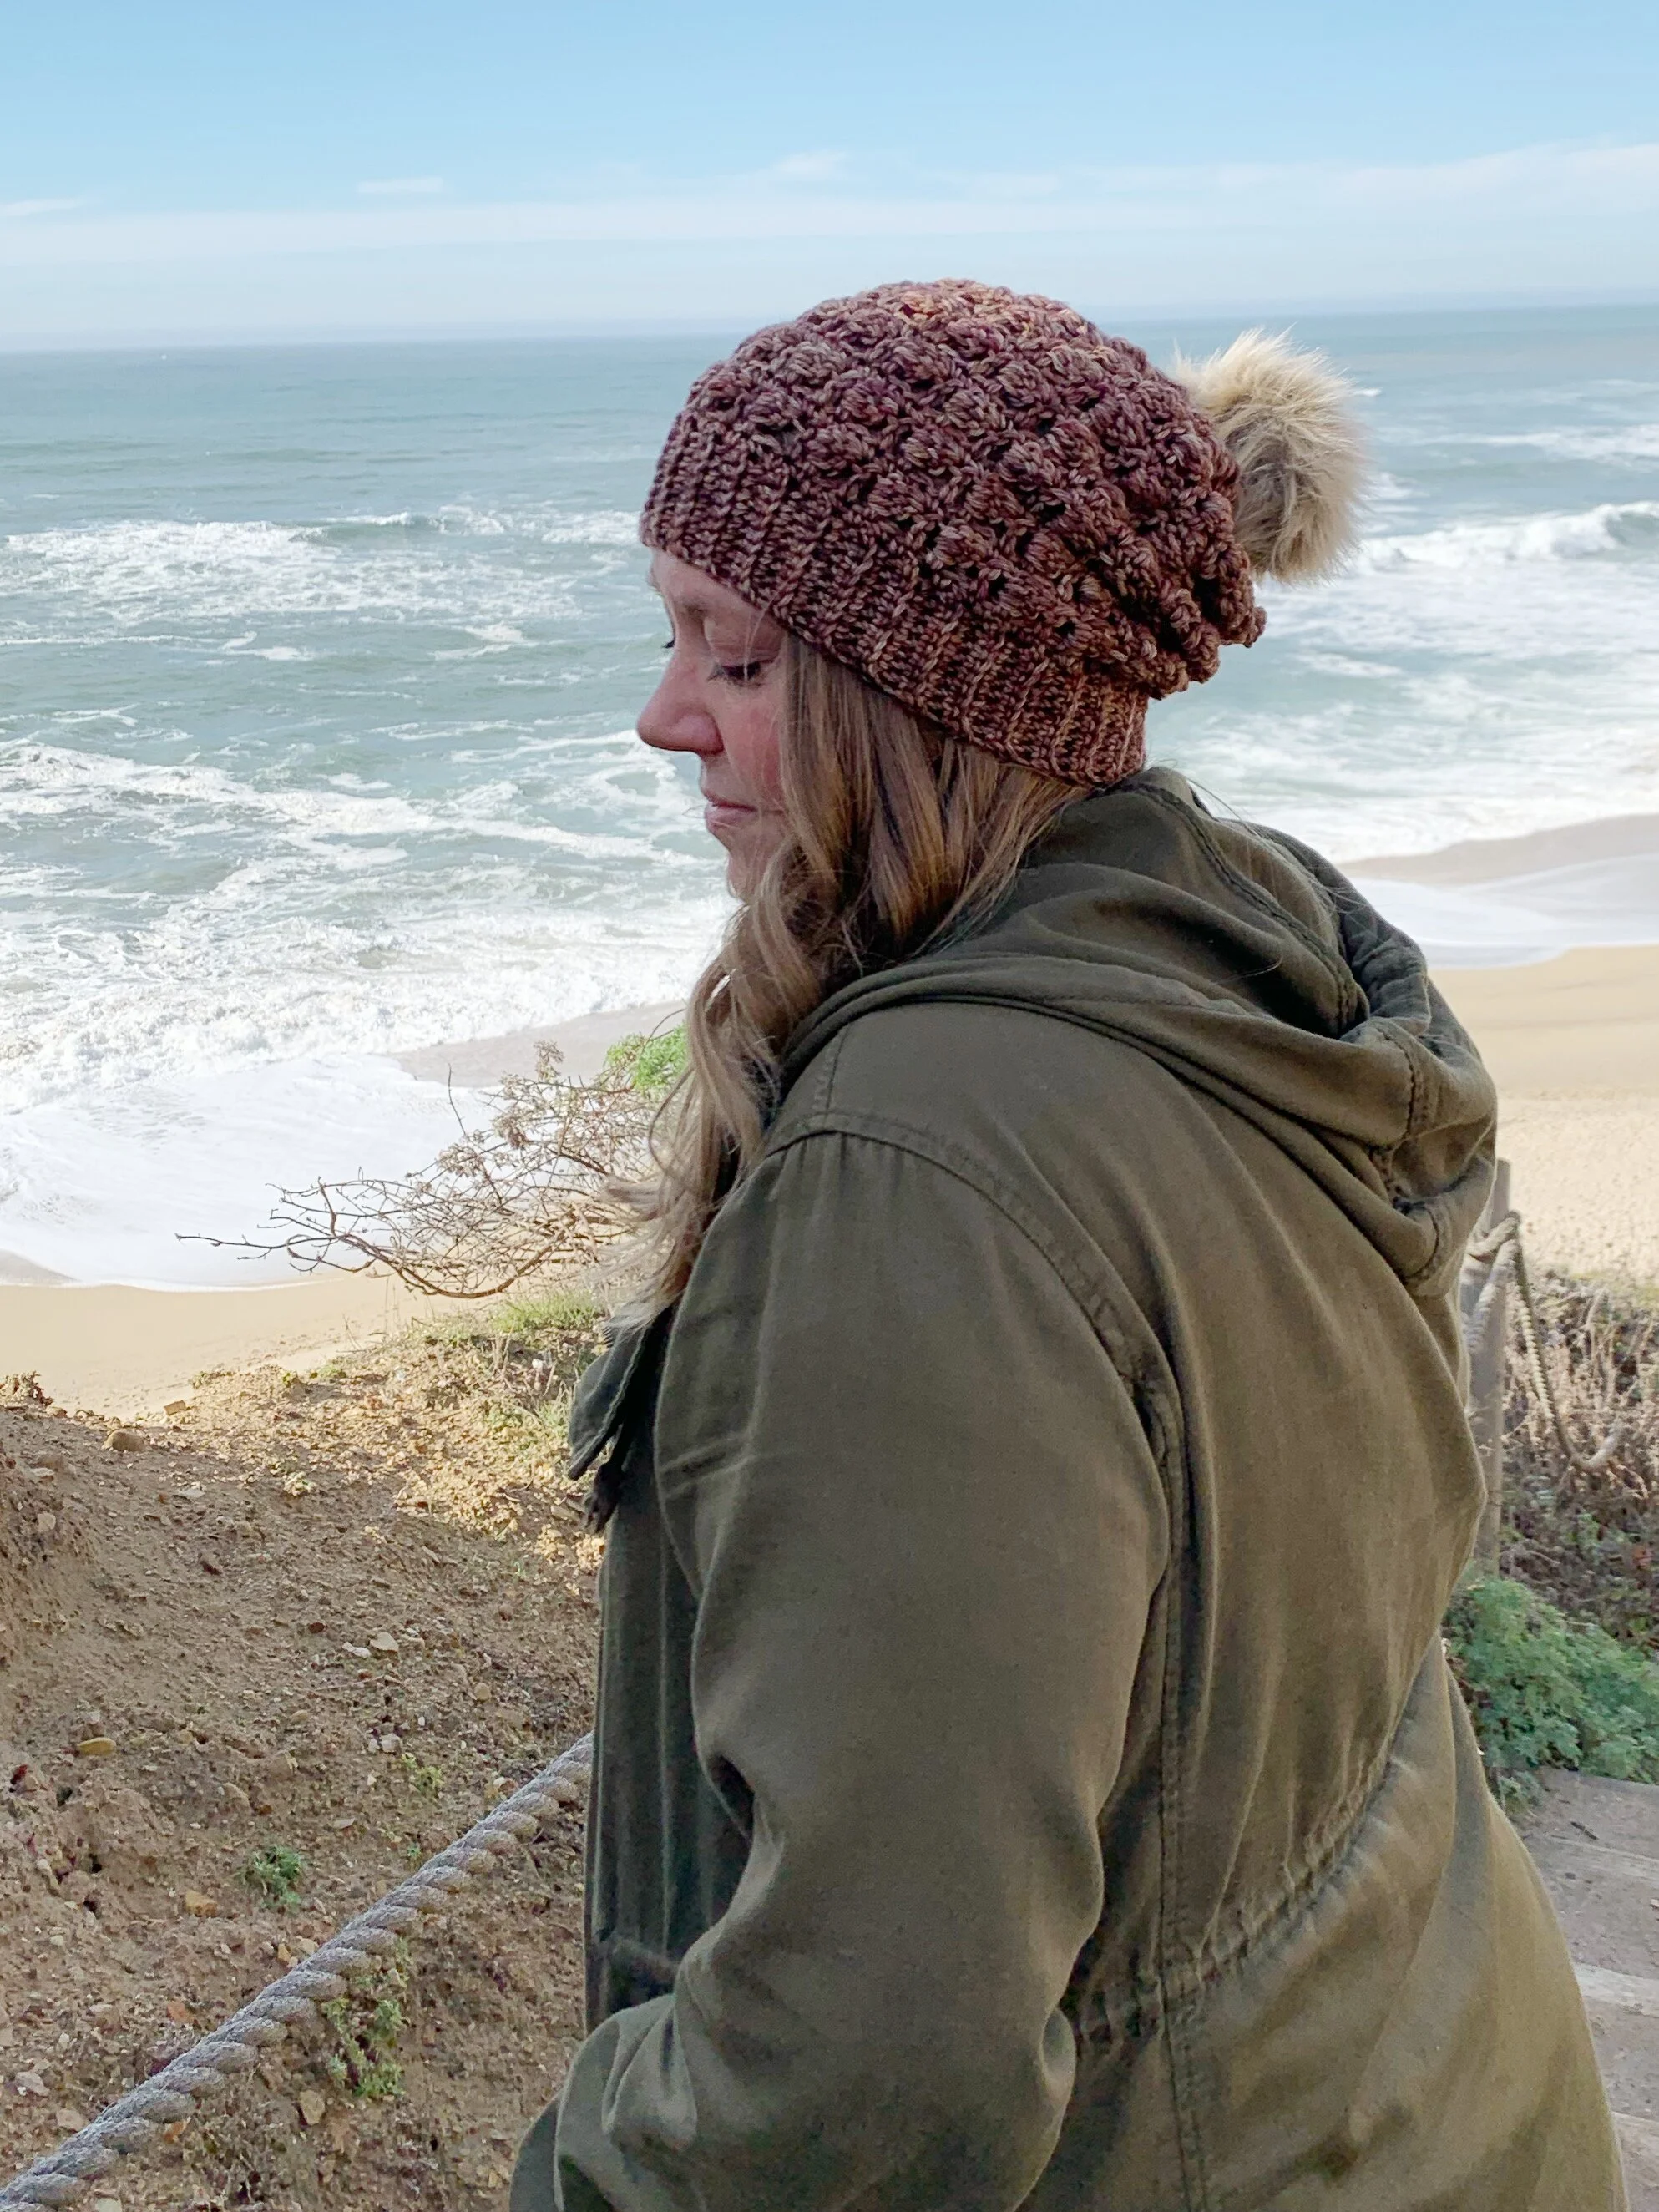
Get lost in the gorgeous textured stitches of The Ashby Hat crochet pattern. Using simple construction and easy stitches, you’ll be wearing your new hat in no time. Find the free pattern and video tutorial below or grab the ad-free PDF in my shop. The PDF includes photo tutorials of all special stitches and full written instructions.
By now I’m sure you can tell that I’m a bit in love with the block stitch. I promise this is the last pattern with the block stitch, at least for a little while. Ever since making The Ashby Cowl I’ve been obsessed with the texture that the block stitch creates. I was curious what it would look like as a hat and well….it’s STUNNING!
Although the first version I made, using Red Heart Amore was beautiful, I couldn’t help but do a second one using some wool yarn I had in my stash. I had been saving this gorgeous skein of Montana Crochet worsted in Grizzly for the perfect project and I found it in The Ashby Hat.
Ashley’s yarn is one of my all time favorites and I was so excited to see this hat come together. The wool has such a great stretch and kind of fluffs up to create a soft and cozy texture. If you haven’t had the chance to use a wool indie dyed yarn yet, please do! You will not regret it.
No matter which yarn you decide to use for your Ashby Hat, I’m sure you’ll love it. Keep in mind that the main section of the pattern is worked in block stitch, in the round. You’ll need to make sure that you have a multiple of 3 stitches when working the first round of the main section. That means if you want to increase or decrease the size of your hat, you will need to adjust the number of rows you make for your brim. This will insure you get the perfect fit.
I’ve included a video tutorial for this pattern as well. I’ll walk you through each section, step by step and show you how to make adjustments so you get the absolute best Ashby hat. Find the video below or scroll down for the written version.
The Ashby Hat Crochet Pattern
Materials:
Approx. 150-190 yards of Red Heart Amore yarn in Chamomile or similar worsted weight yarn.
Crochet hook size H (5.00mm)
Tapestry needle
Scissors
Faux Fur Pom Pom (optional)
Abbreviations:
Ch- chain
St(s)- stitch(es)
Sl st- slip stitch
sc- single crochet
dc- double crochet
BS- Block Stitch (see instructions below)
WS- wrong side
RS- right side
BLO- Back loop only
Notes:
1.Pattern is worked brim first and then seamed. Top of hat is worked directly into the edge of the brim.
2.Main body of hat is worked in multiples of 3. Increase or decrease the number of stitches by 3 to get the perfect fit.
3.Ch 1 does not count as a stitch, ch 3 does count as a stitch.
4.Each block stitch is worked over two stitches and counts as two stitches in st counts at end of rounds.
5.Main body of hat is worked in joined rounds, turning after each round so the texture of the block stitch shows on the right side.
6.Instructions are written for adult size with child and toddler sizes in parenthesis Adult (Child, Toddler).
Size:
Adult- approx. 22” around when stretched and 10” high
Child- approx. 19” around when stretched and 9” high
Toddler- approx. 17” around when stretched and 8” high
Gauge:
13 sts (5dc & 4BS) X 7 rows (beginning and ending with a BS row) in pattern st = 4” square
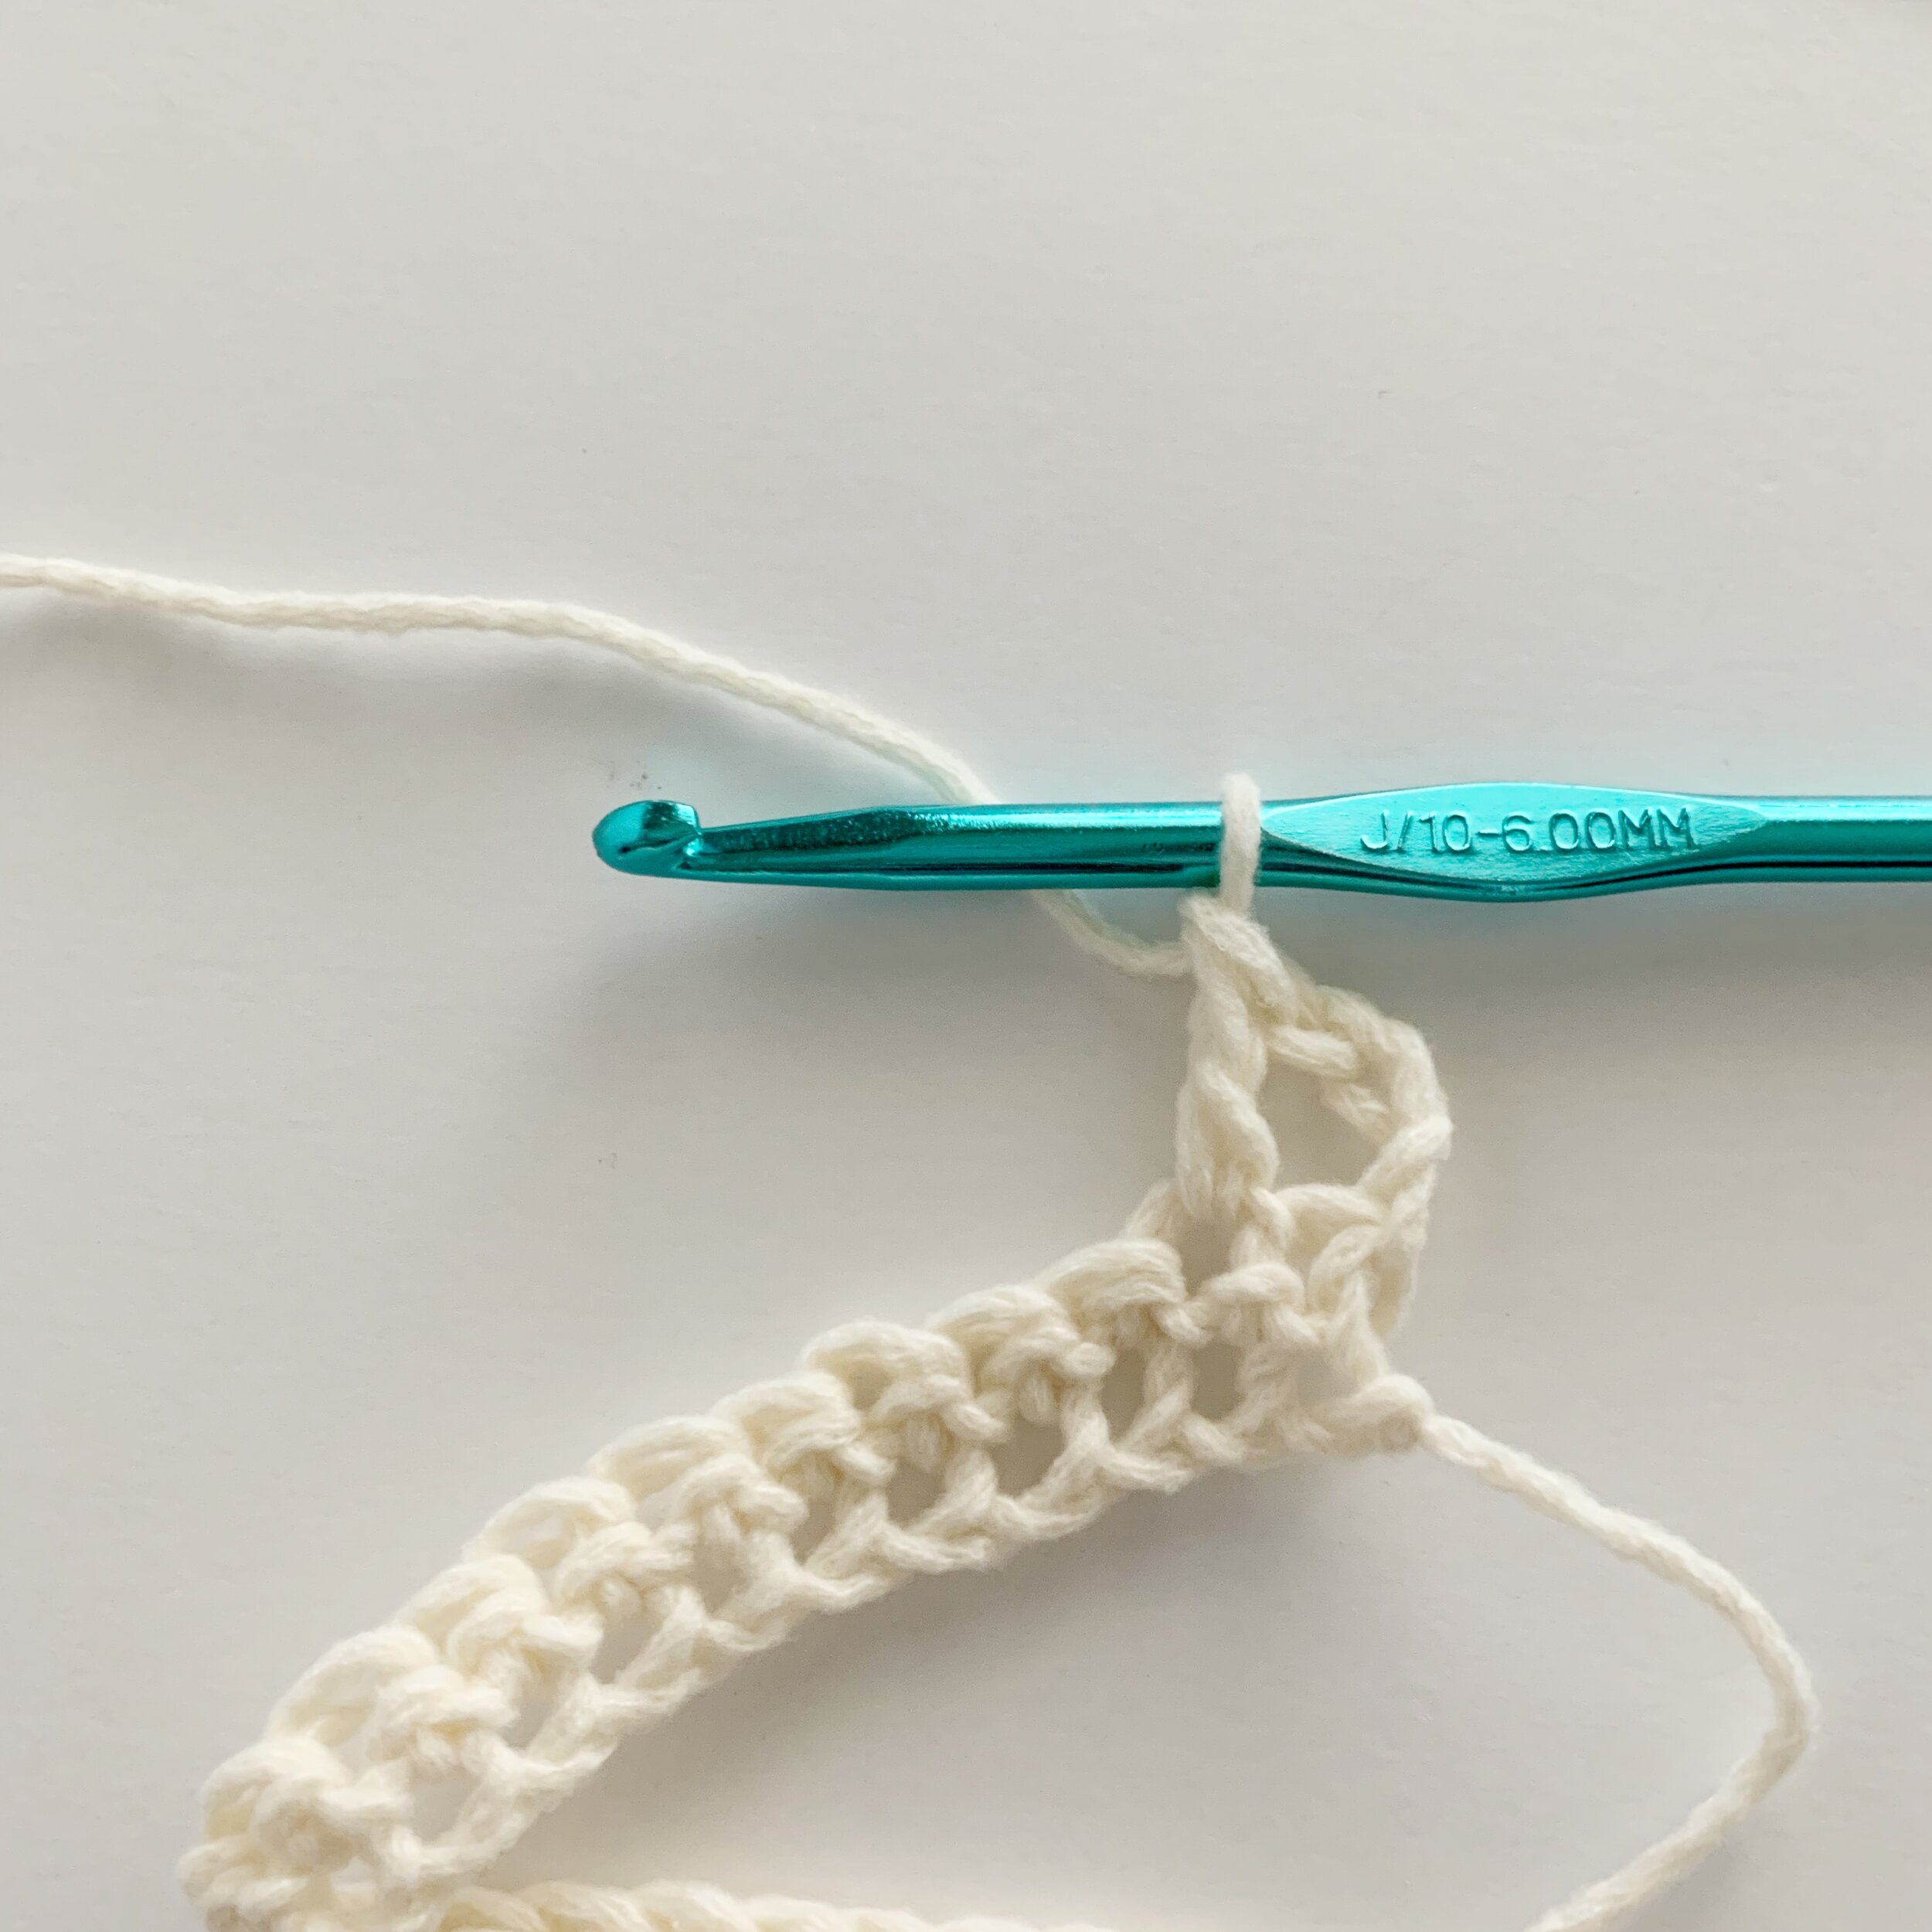
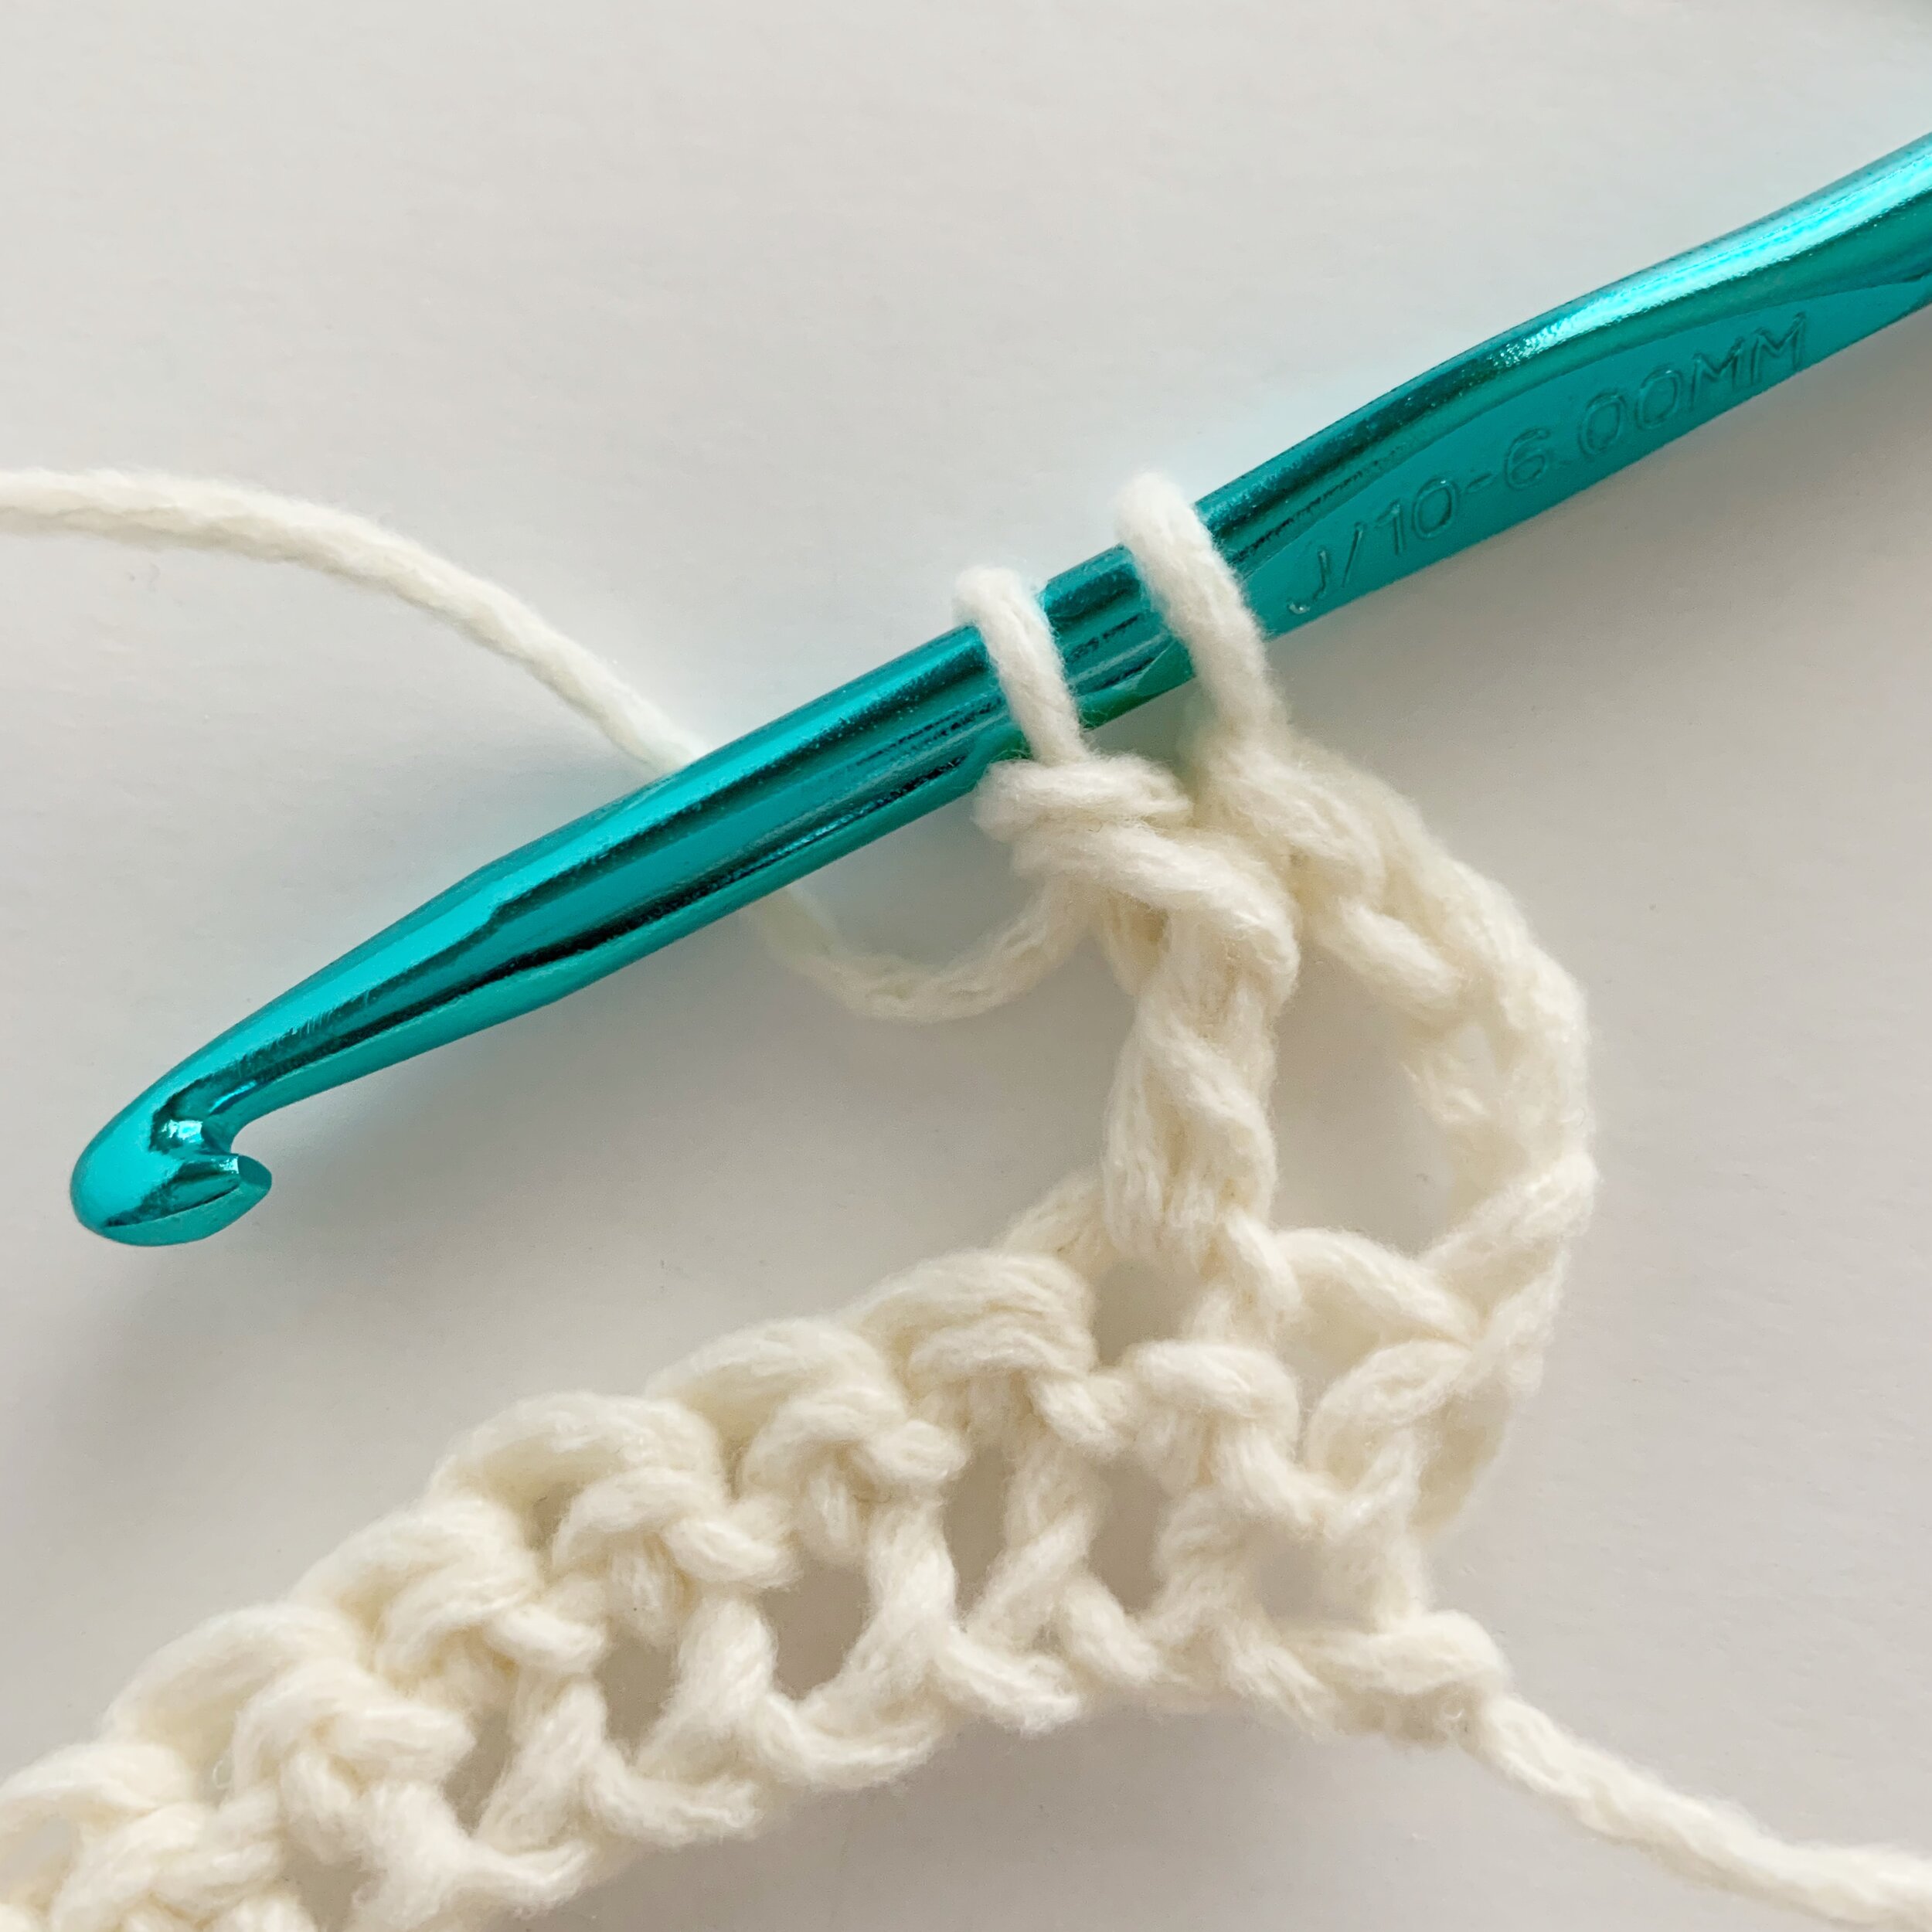
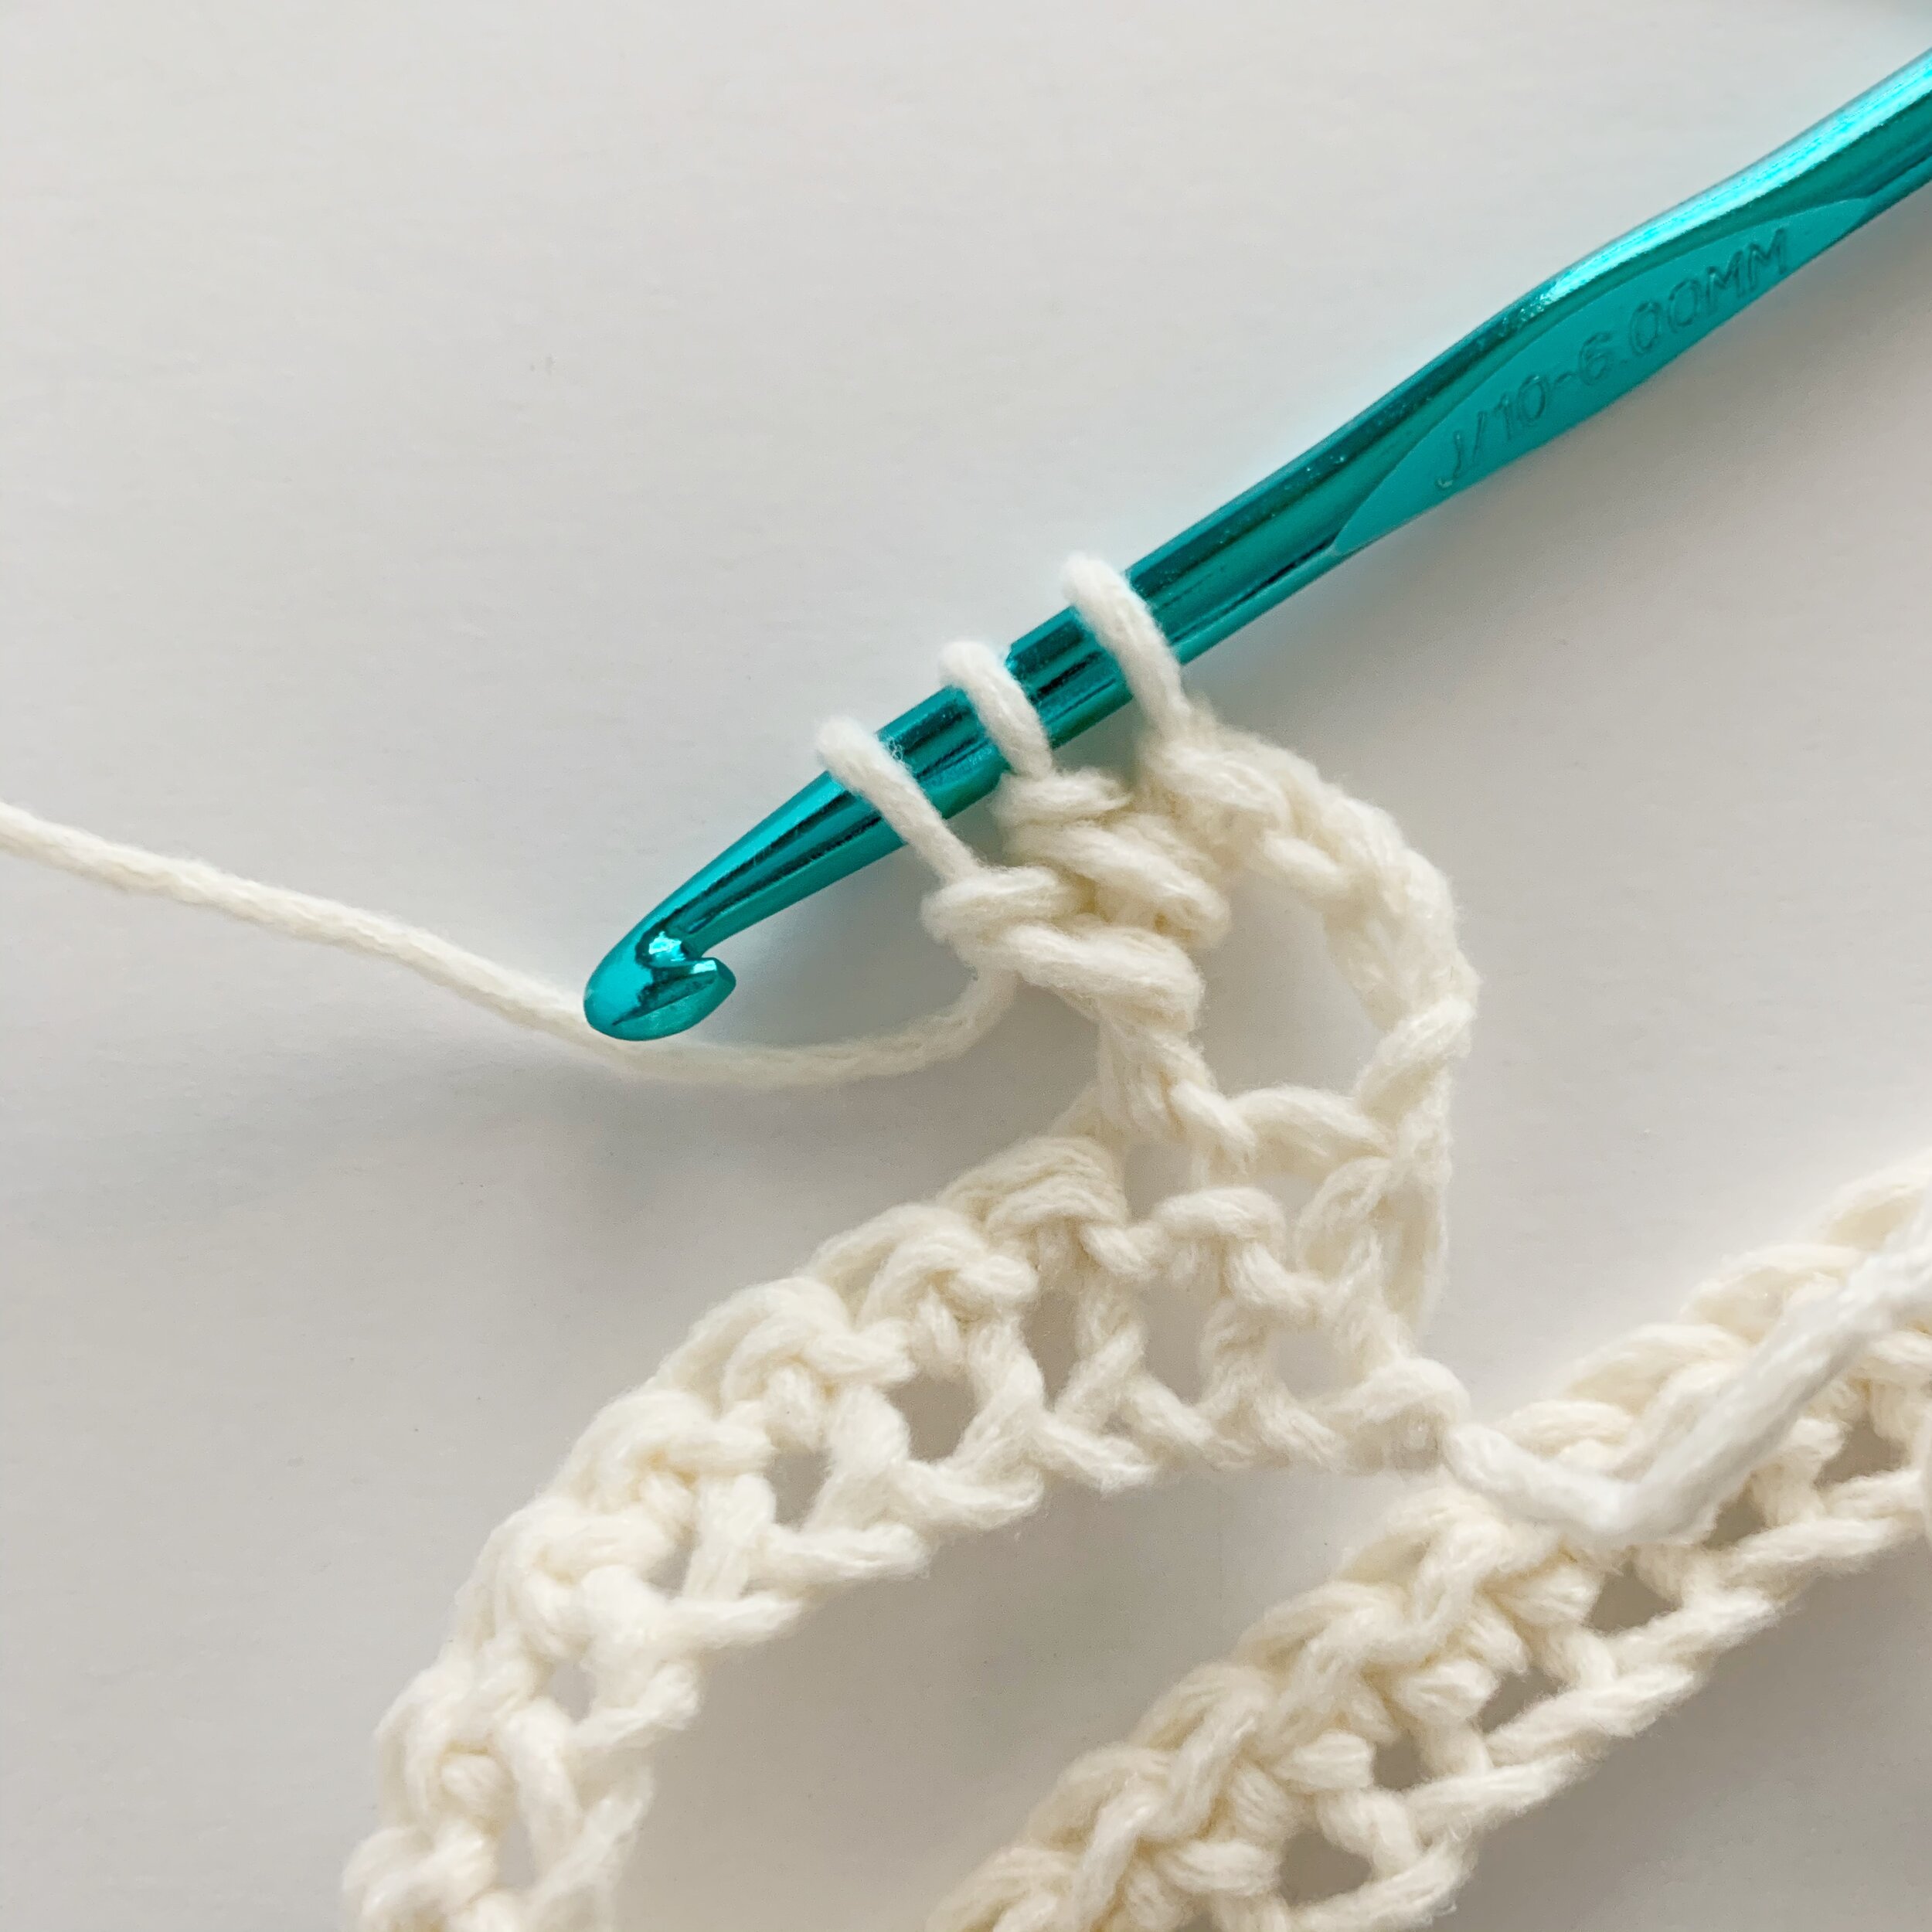
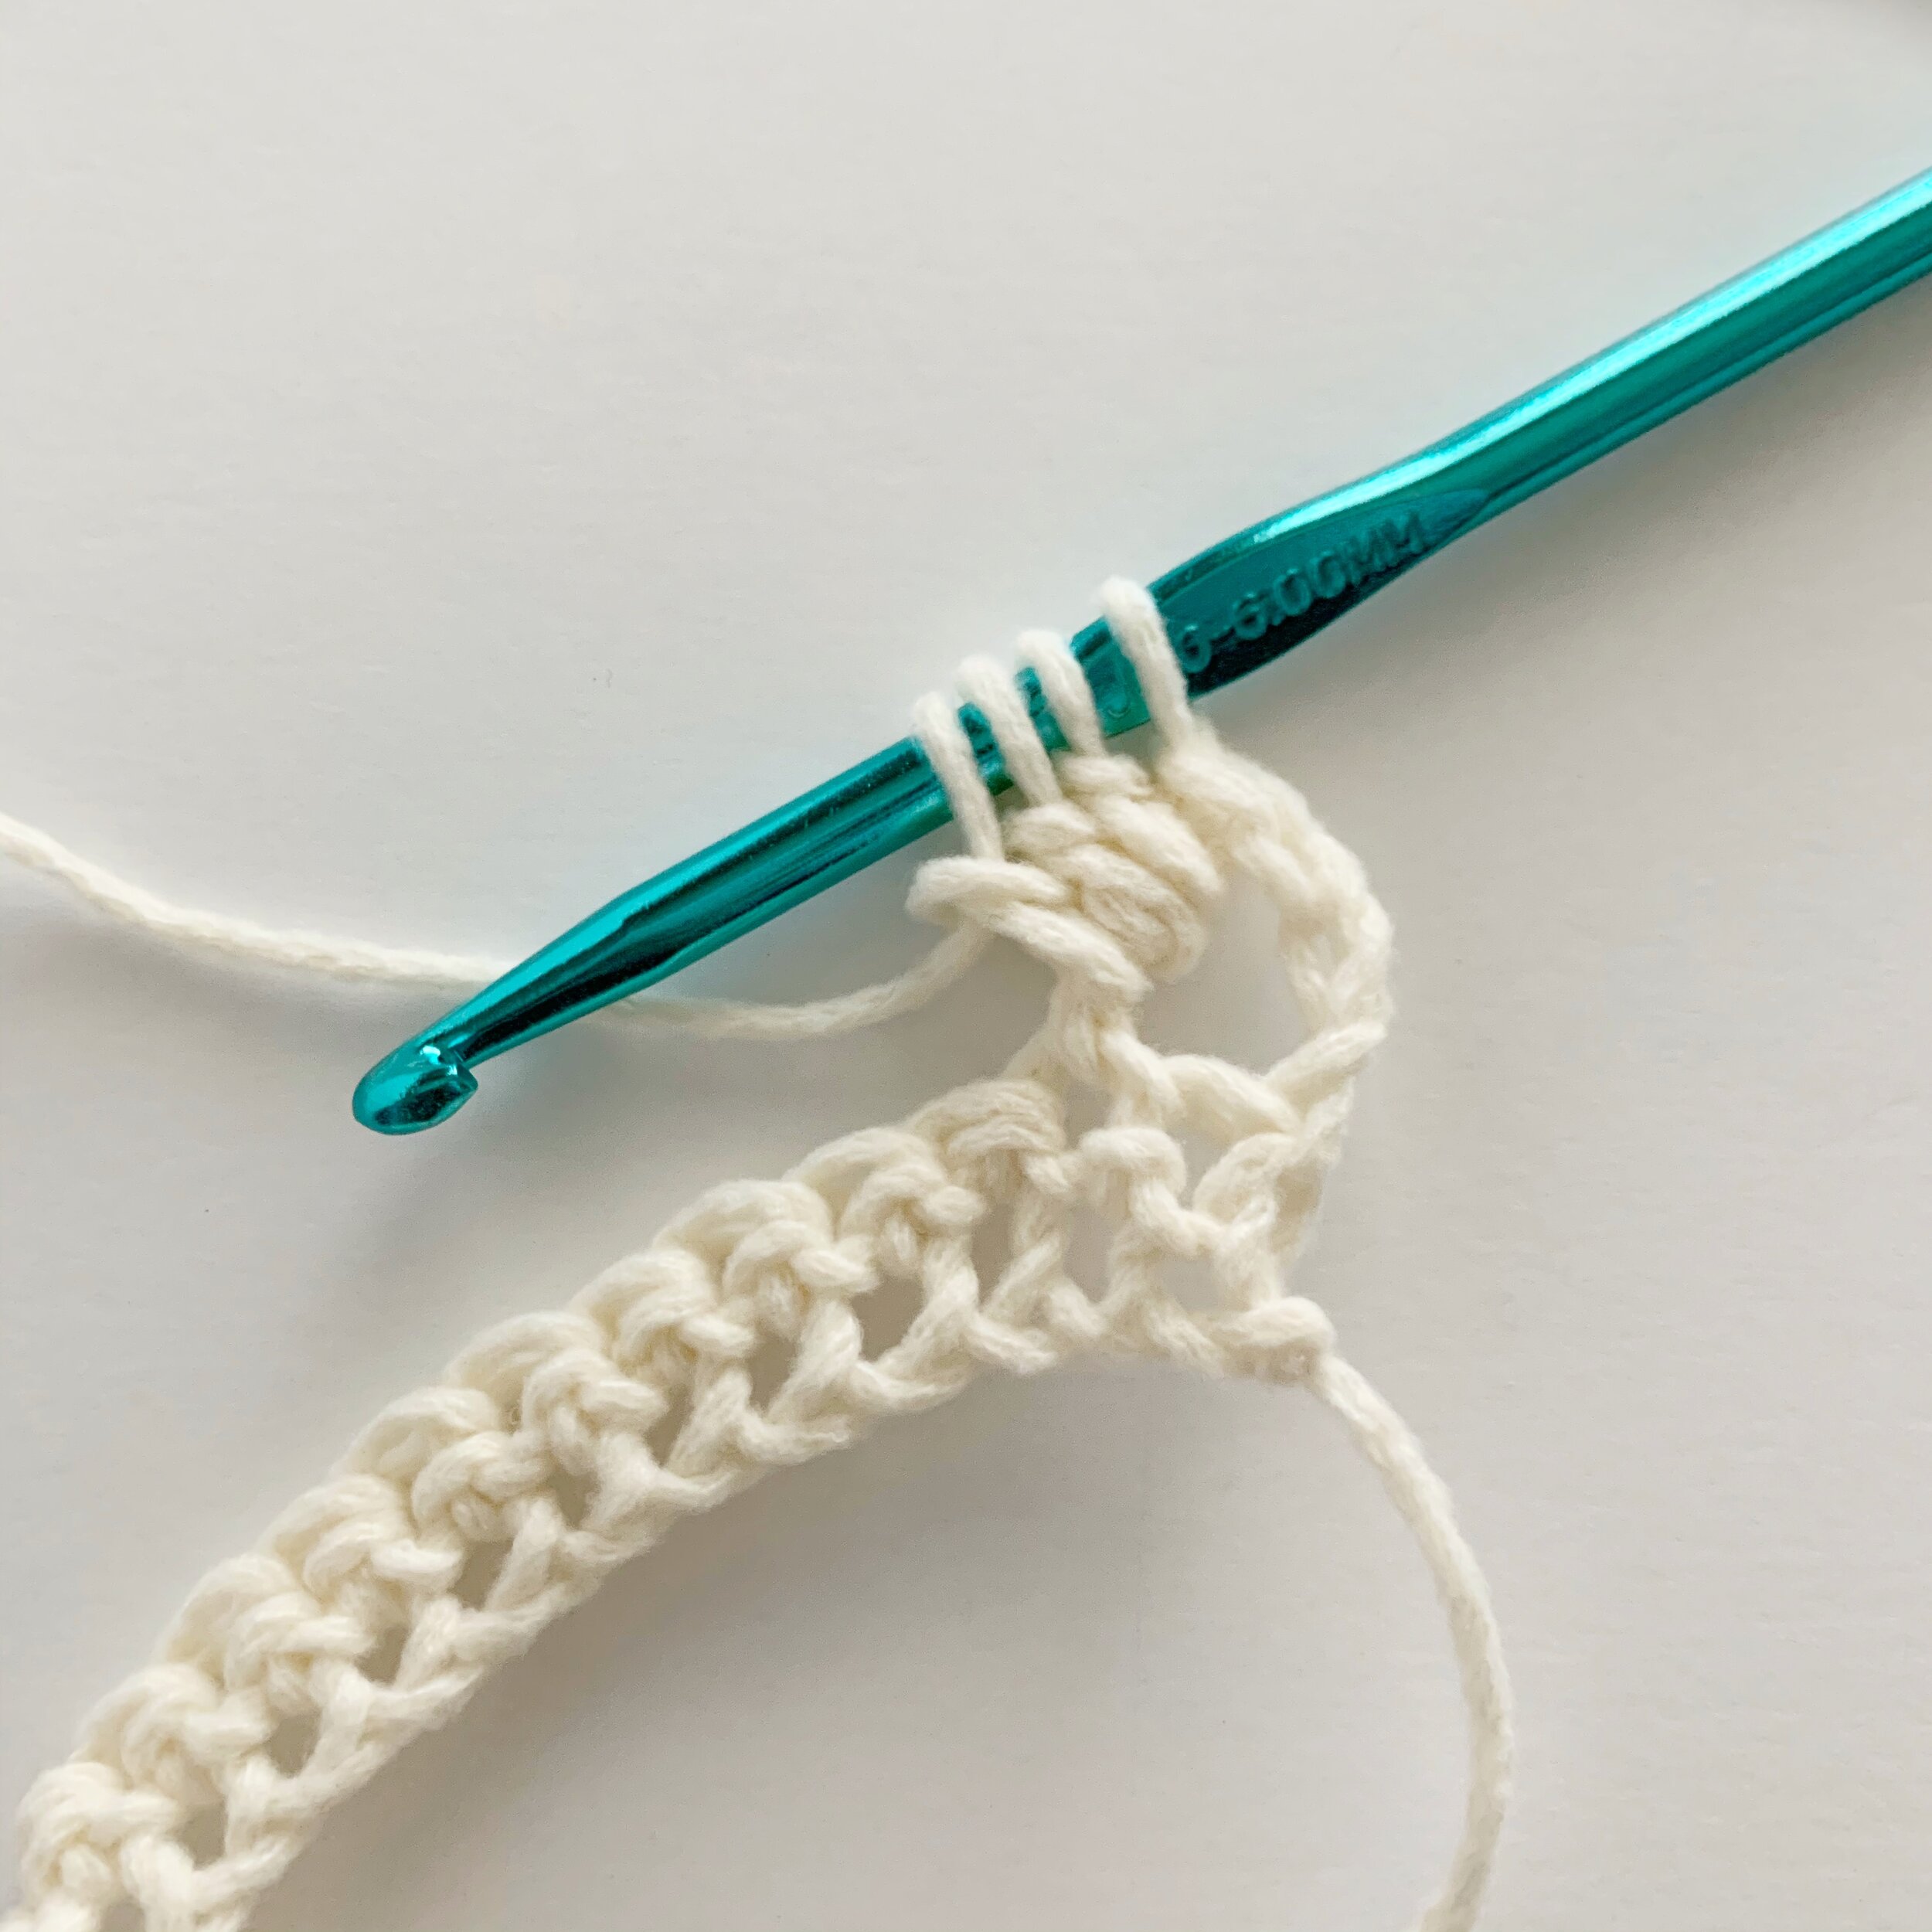
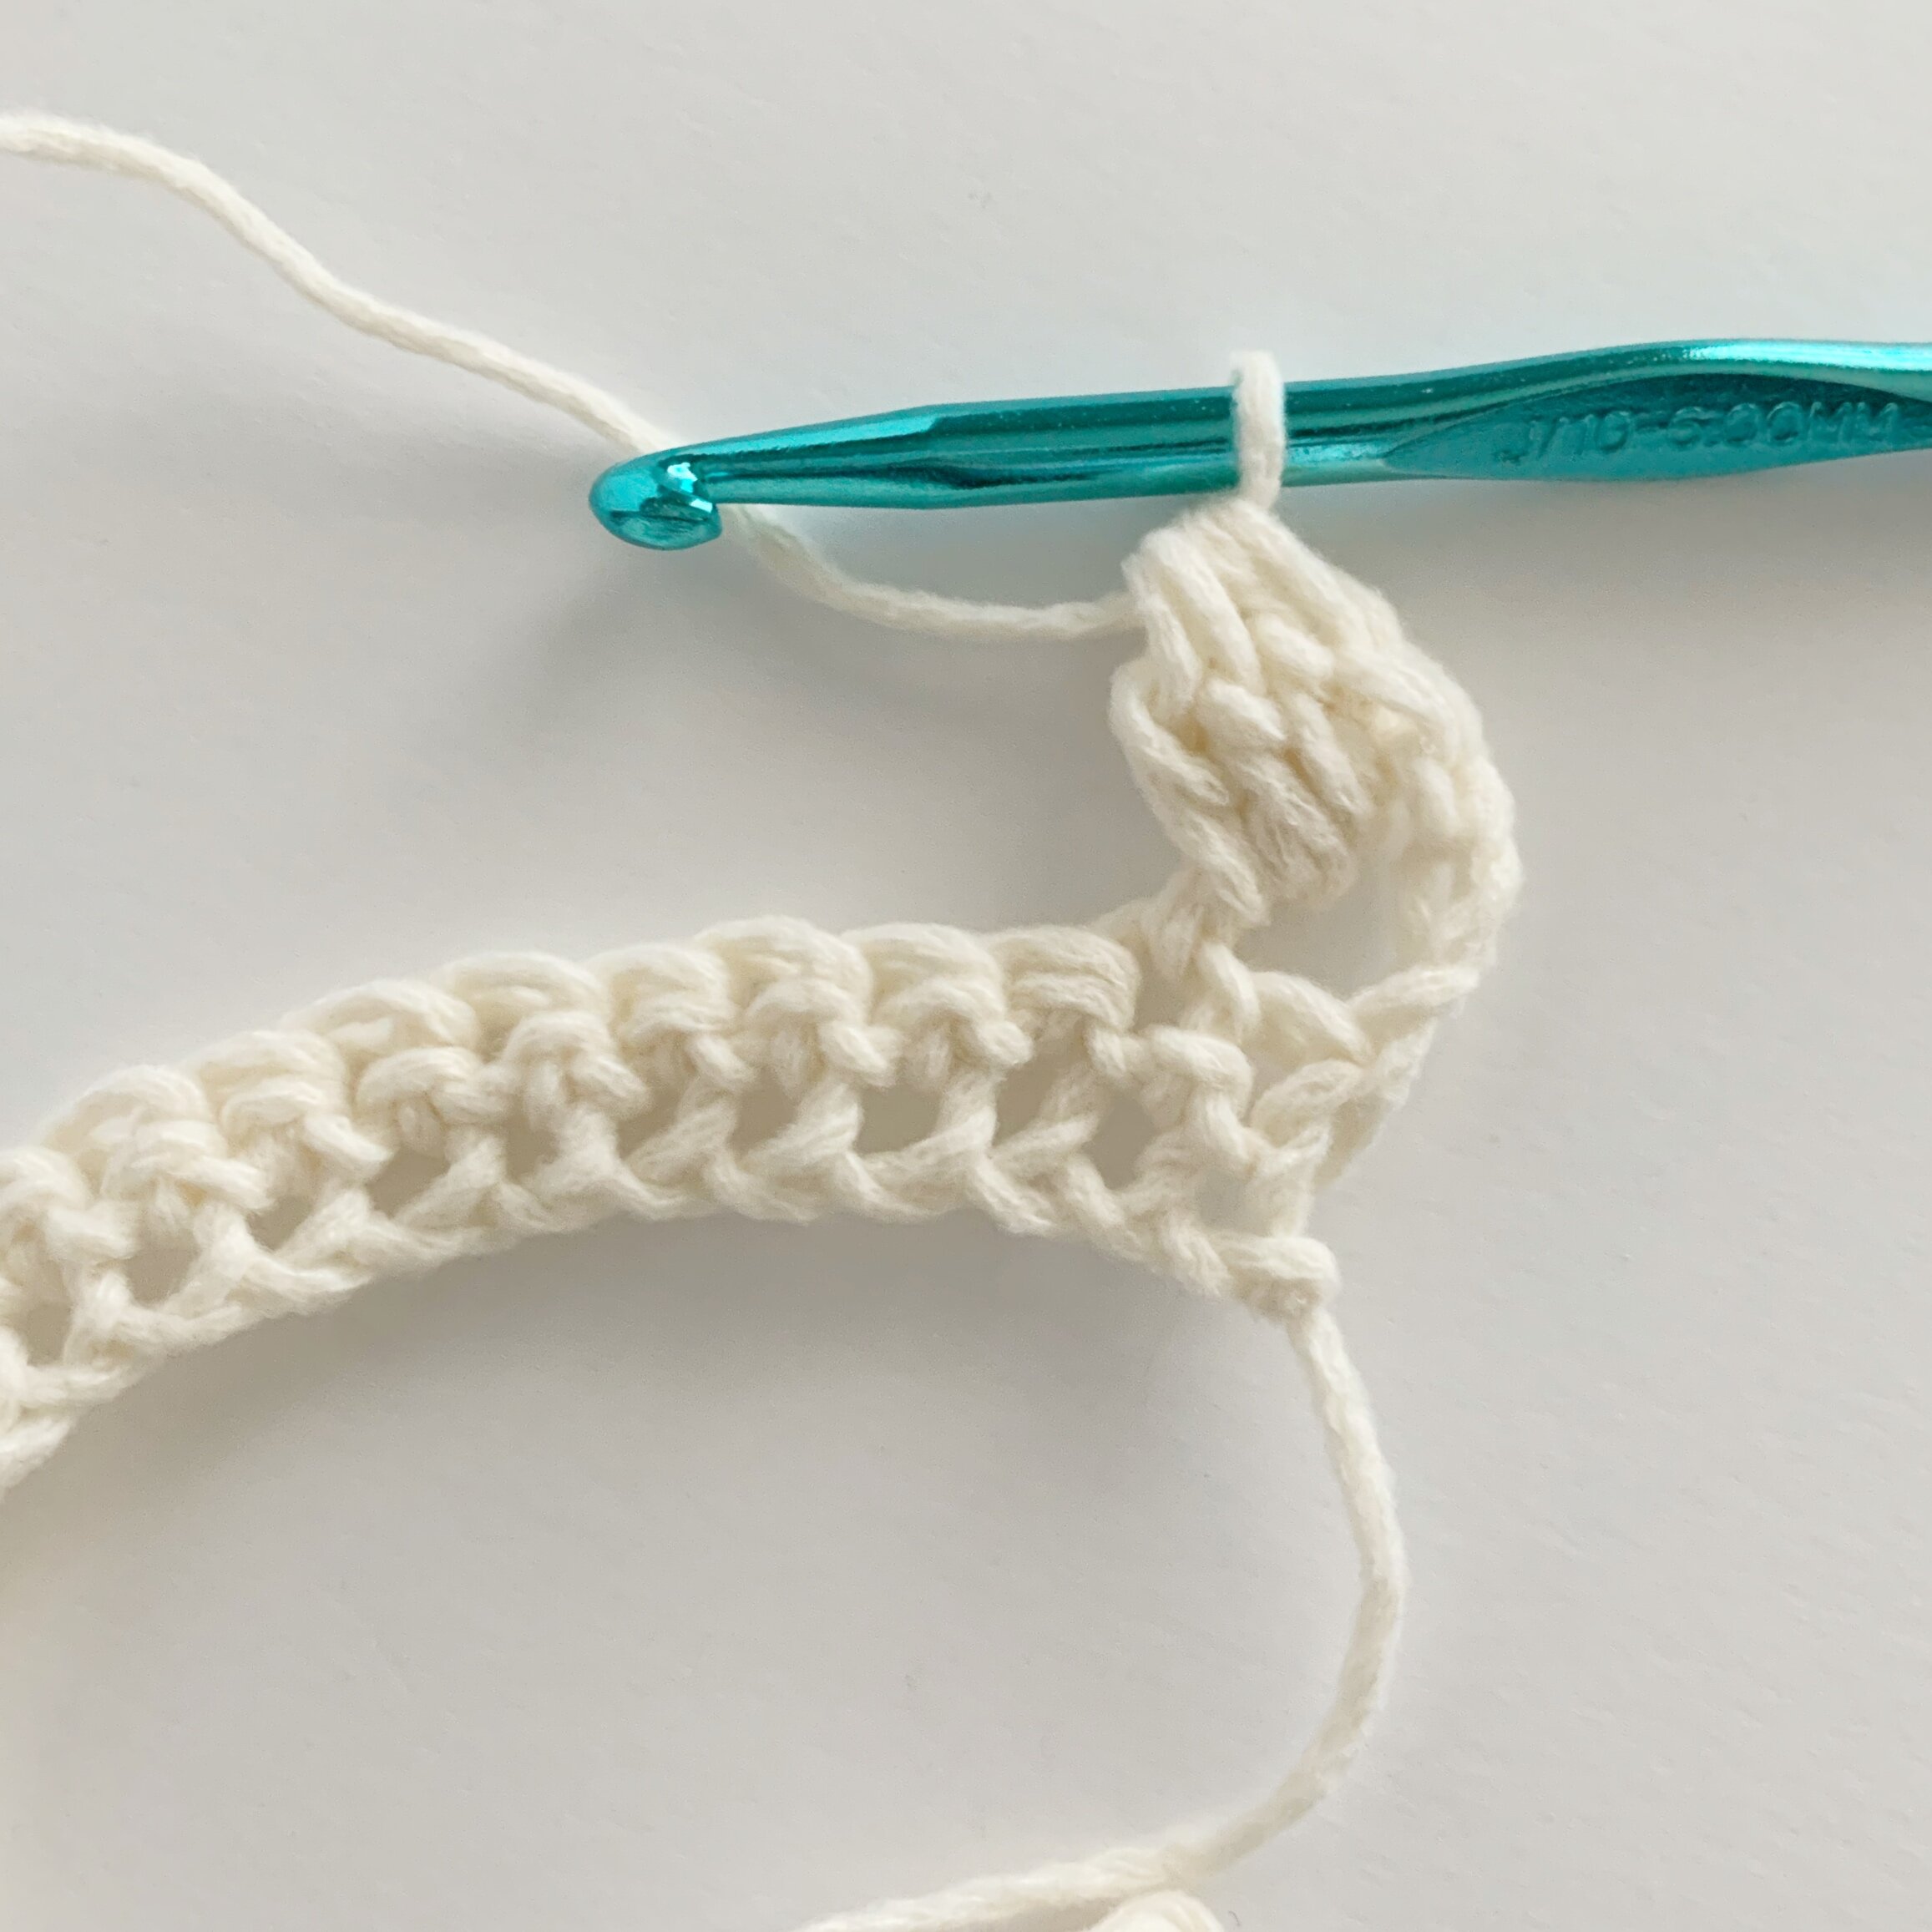
Block Stitch: dc in st indicated, then *yo and insert hook from front to back around the dc post, draw up a loop, yo and draw through 2 loops, repeat from * 2 more times (four loops on hook), yo and draw through all four loops to finish stitch.
Pattern:
Brim:
Ch 10(9,8)
Row 1: sc in 2nd ch from hook and in each ch across, ch 1, turn. (9, 8, 7)
Row 2-60(54, 48): sc in BLO of each st across, ch 1, turn. (9, 8, 7)
*brim will measure approx. 17”(15”, 13”) at this point. Add or subtract rows in multiples of 3 to get the perfect fit.
Bring both ends together, ch 1 and sl st through starting chs and BLO of last row in each st across.
Flip brim right side out, do not fasten off.
Main Body:
Round 1 (RS): ch 1, sc into each row around top of brim, sl st to top of 1st to join. (60, 54, 48)
Round 2 (WS): ch 3 (counts as 1st st), TURN, BS in next st, sk 1, *dc, BS, sk 1, repeat from * around, sl st to top of ch 3 to join. (60, 54, 48)
Round 3 (RS): ch 1, TURN, sc in each st around, sl st to top of 1st st to join. (60, 54, 48)
Rounds 4-19(15, 13): repeat rows 2 and 3.
*Increase or decrease the number of rounds to get desired slouchiness.
Fasten off leaving a long tail for sewing.
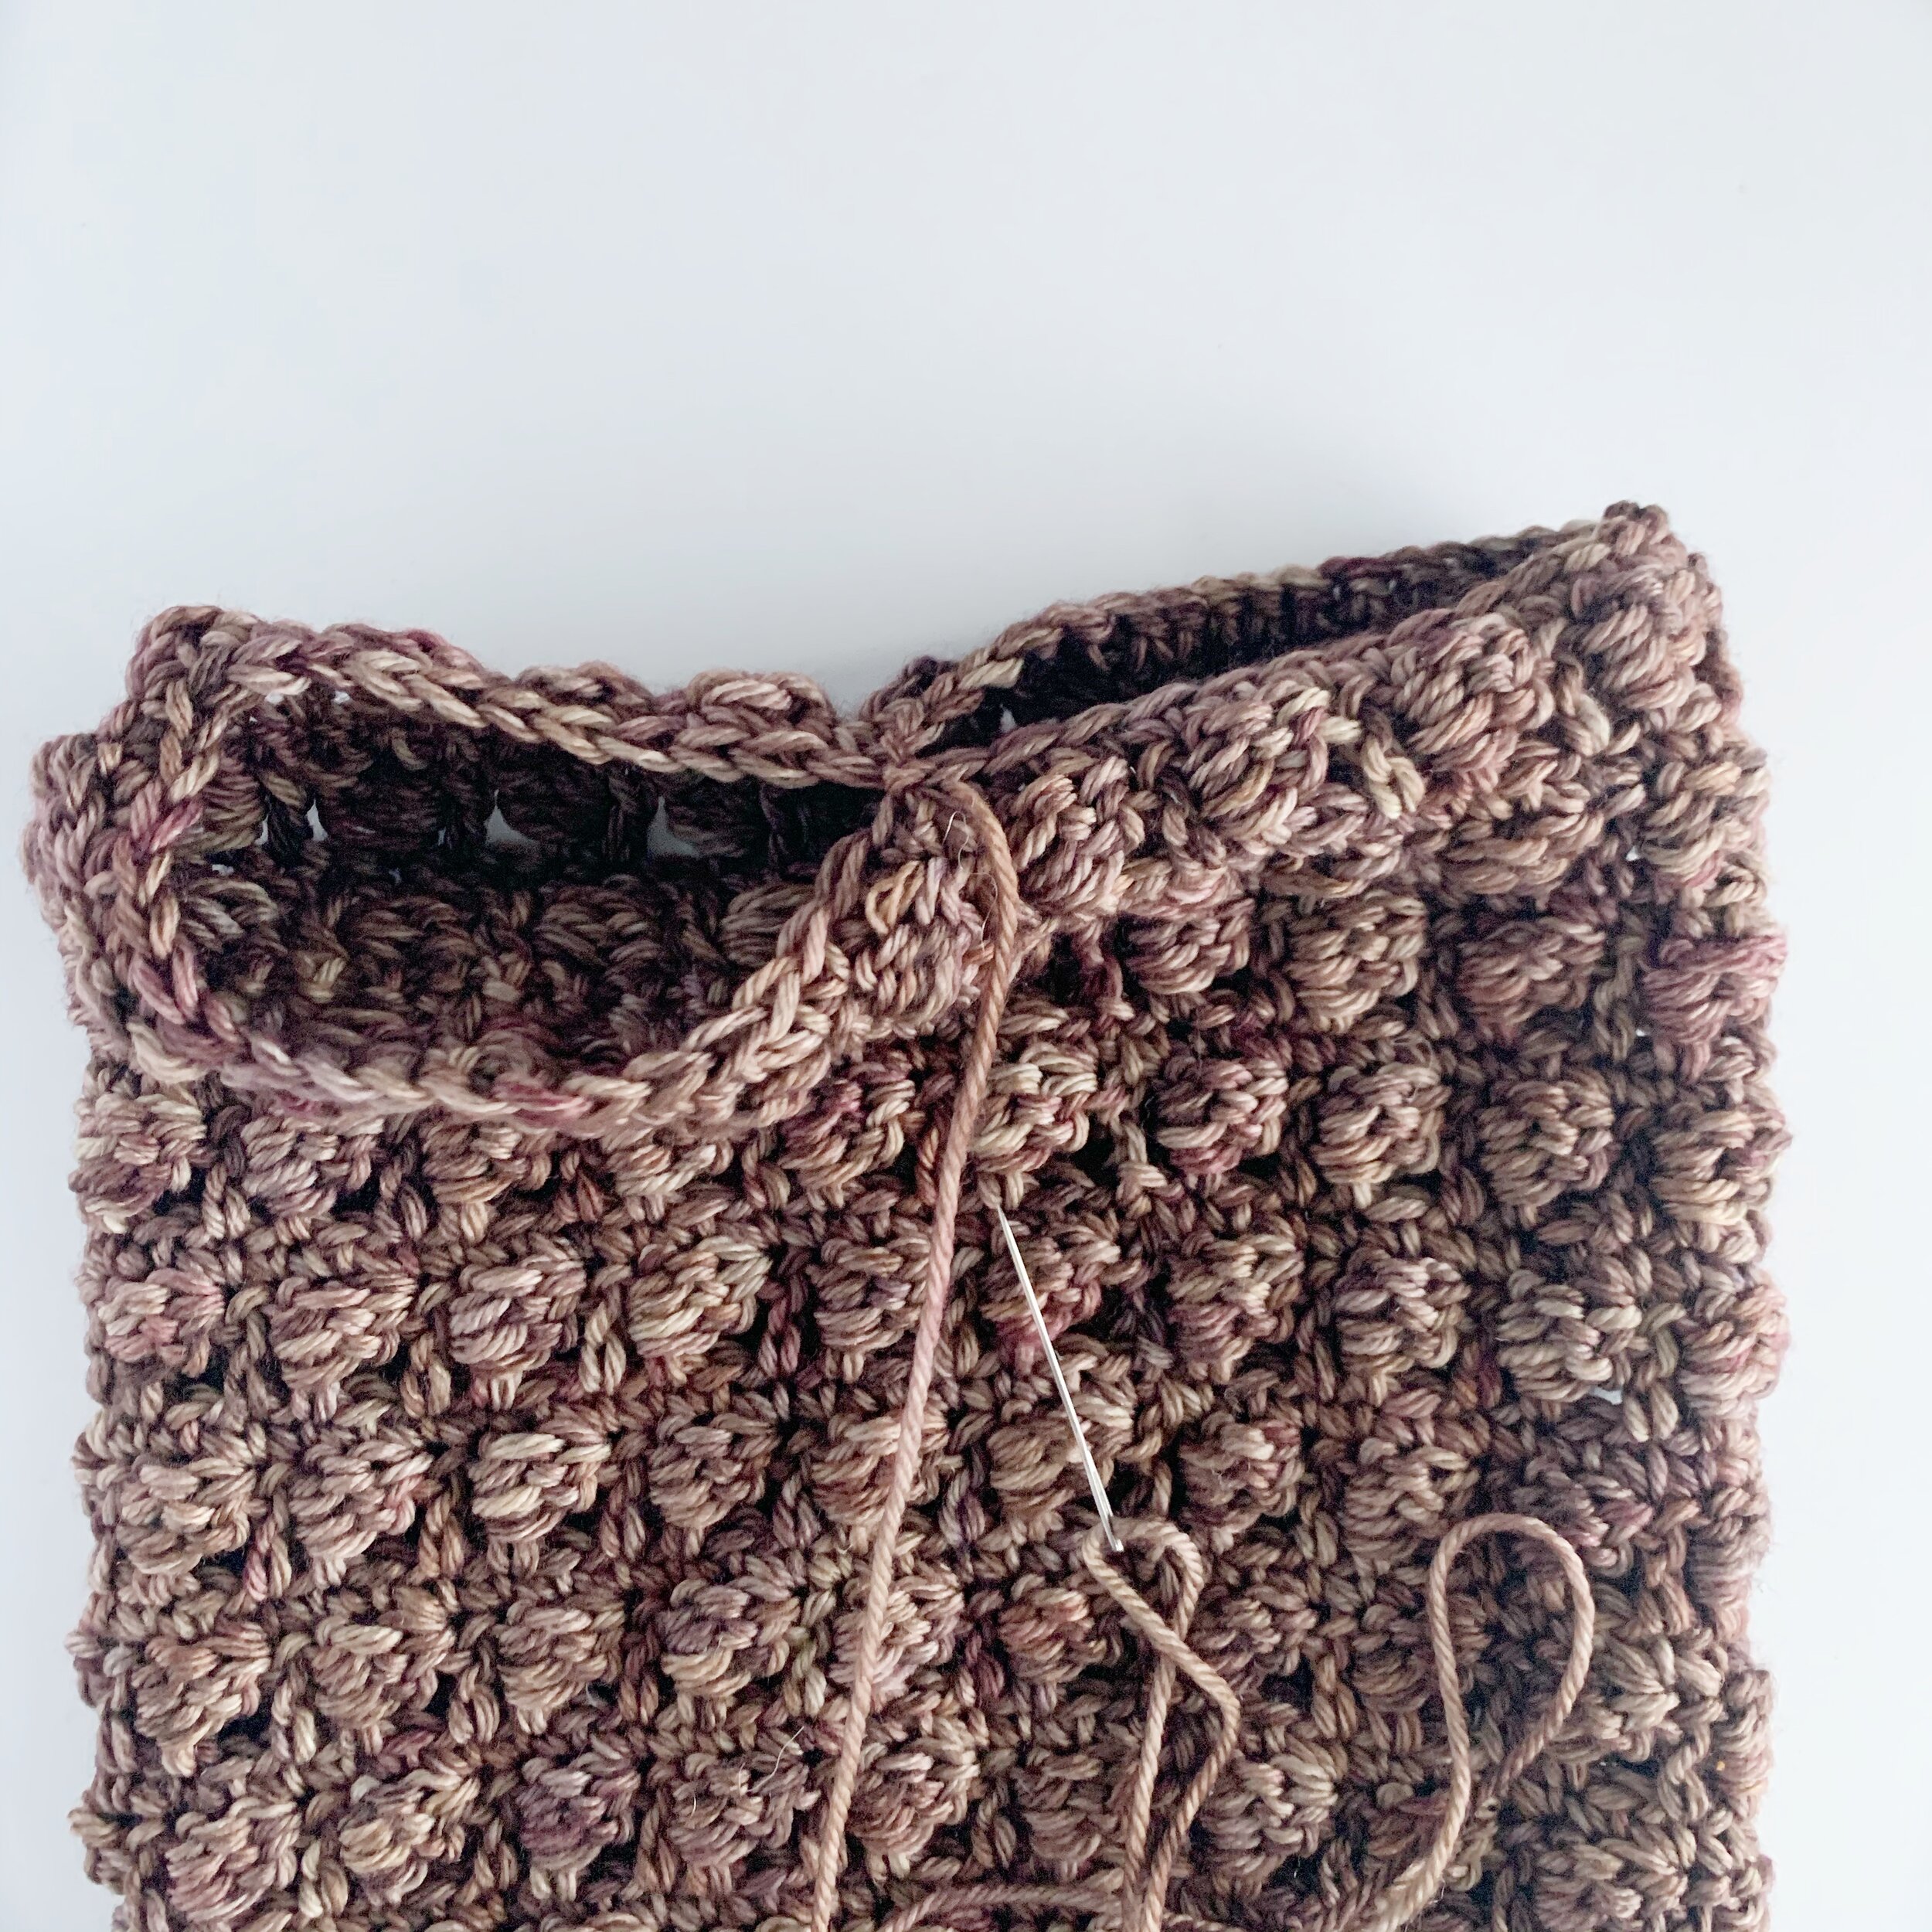
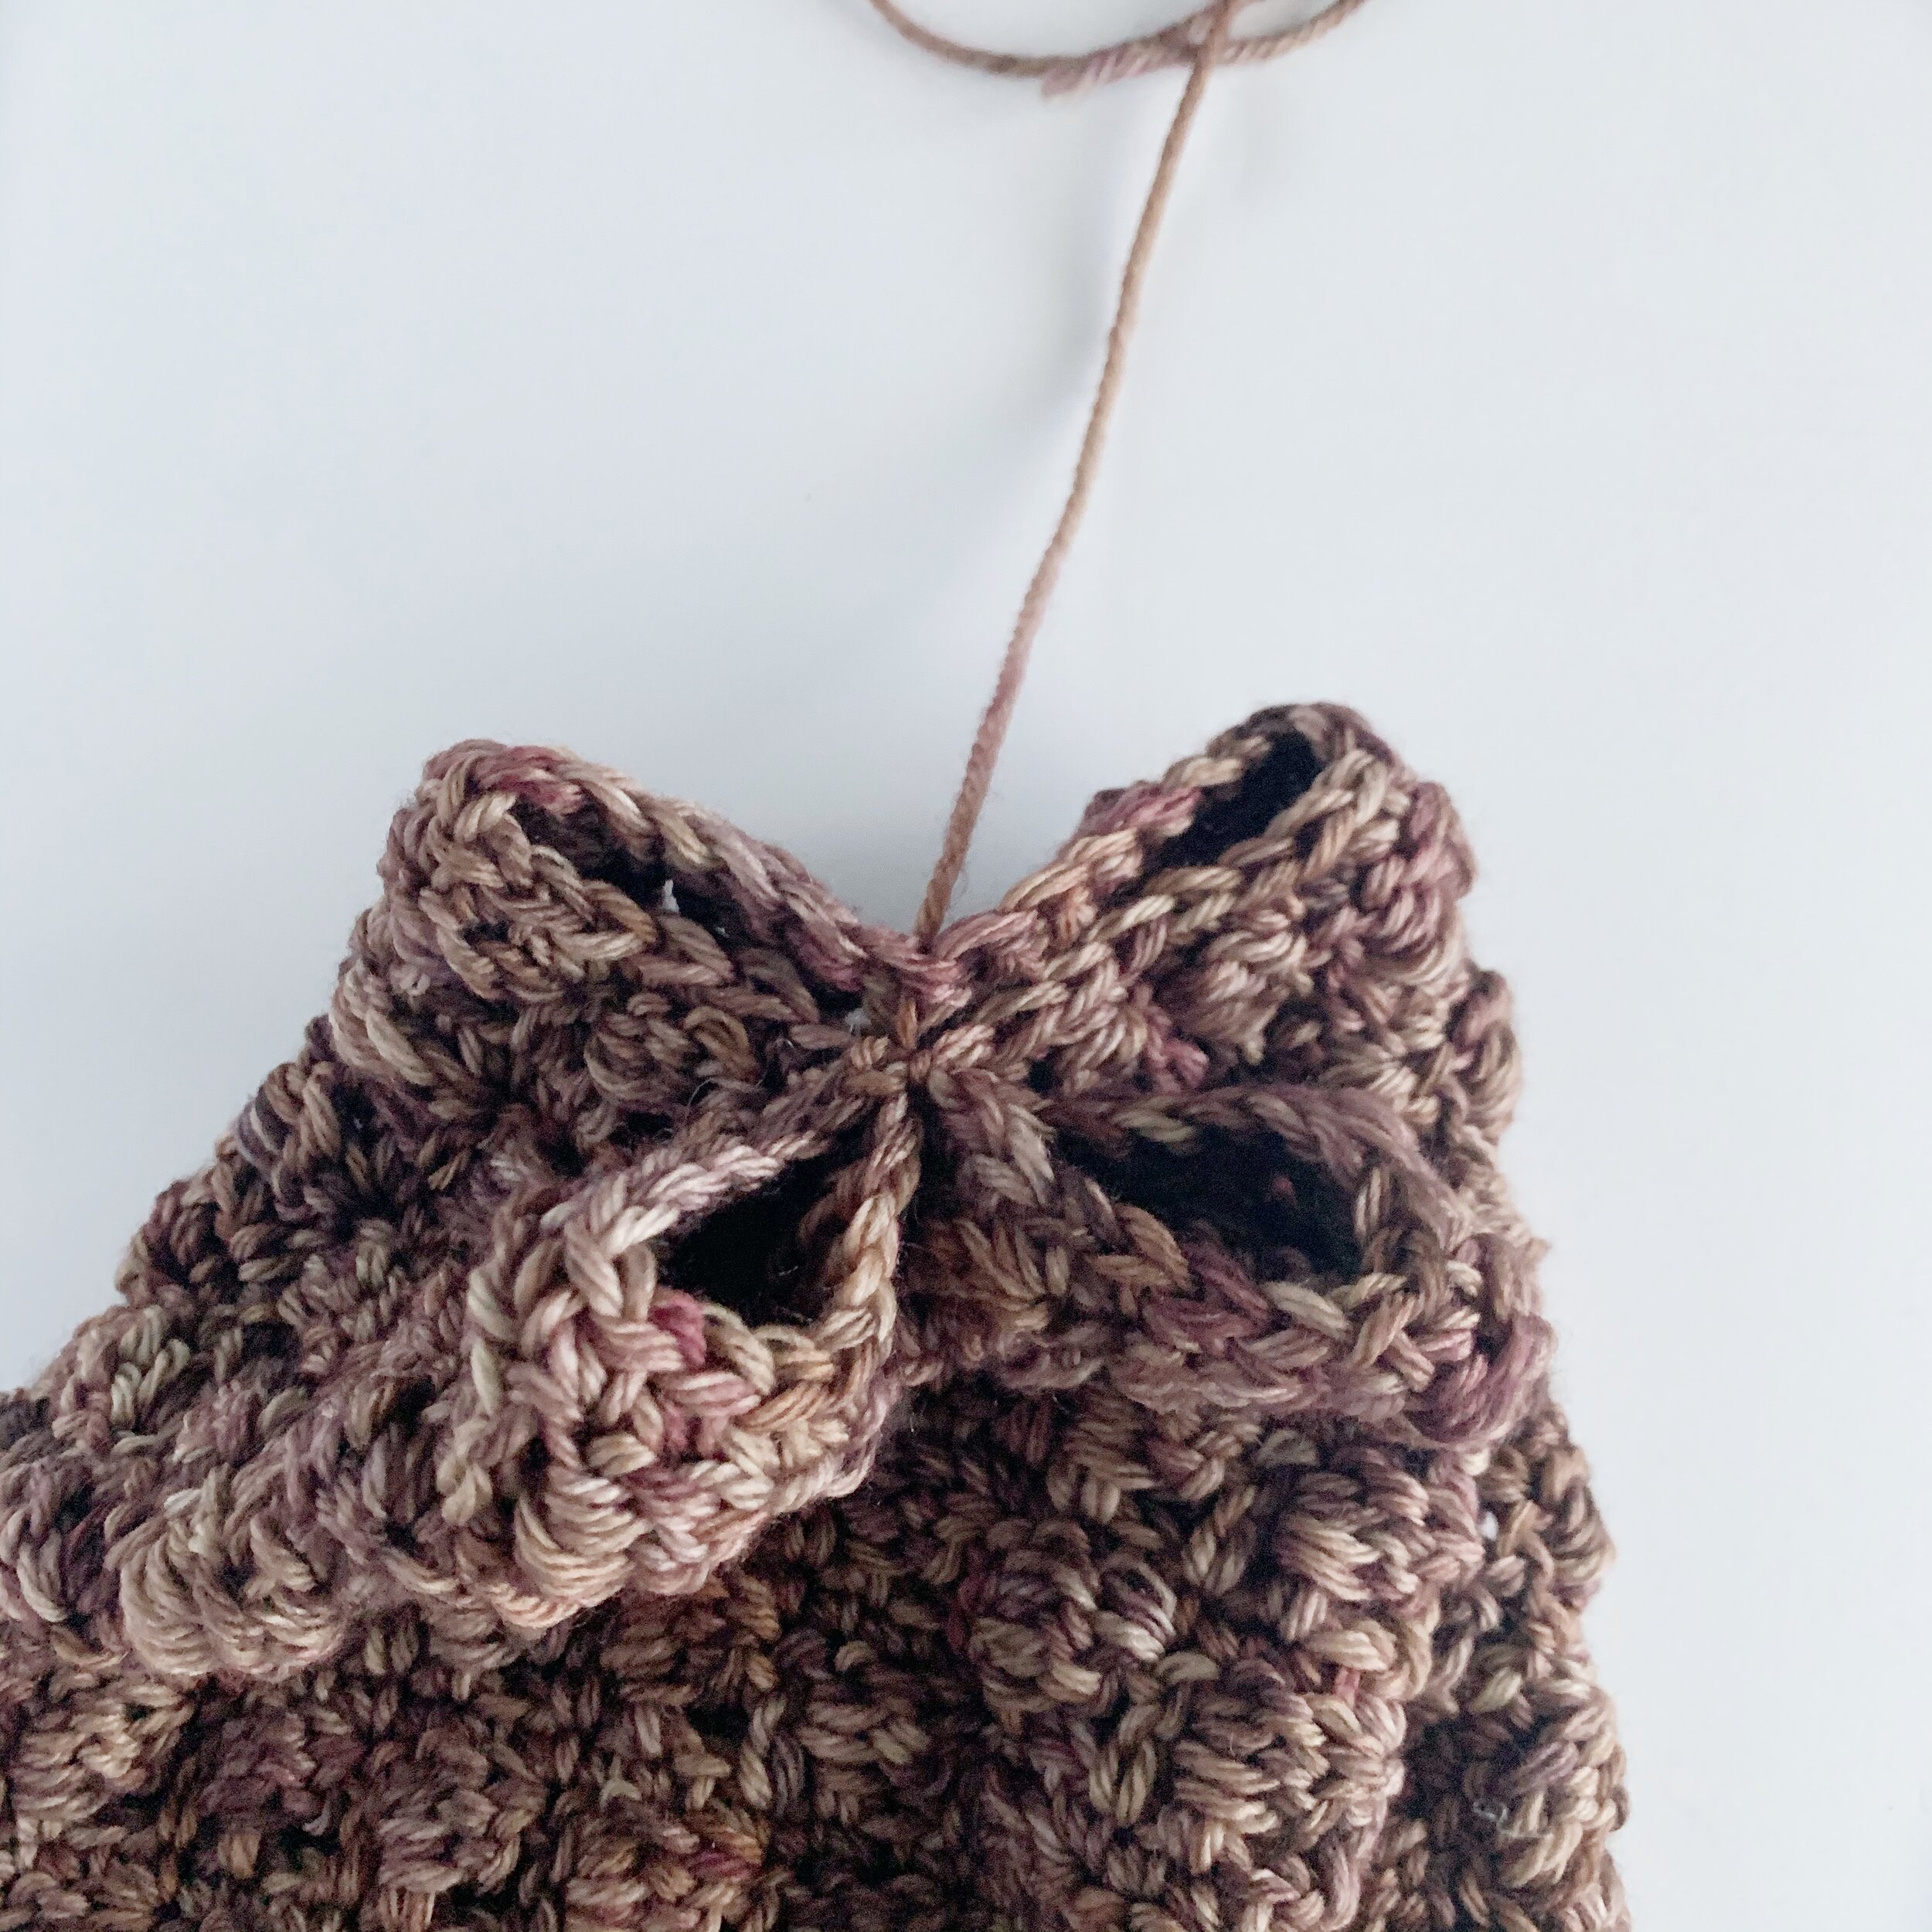
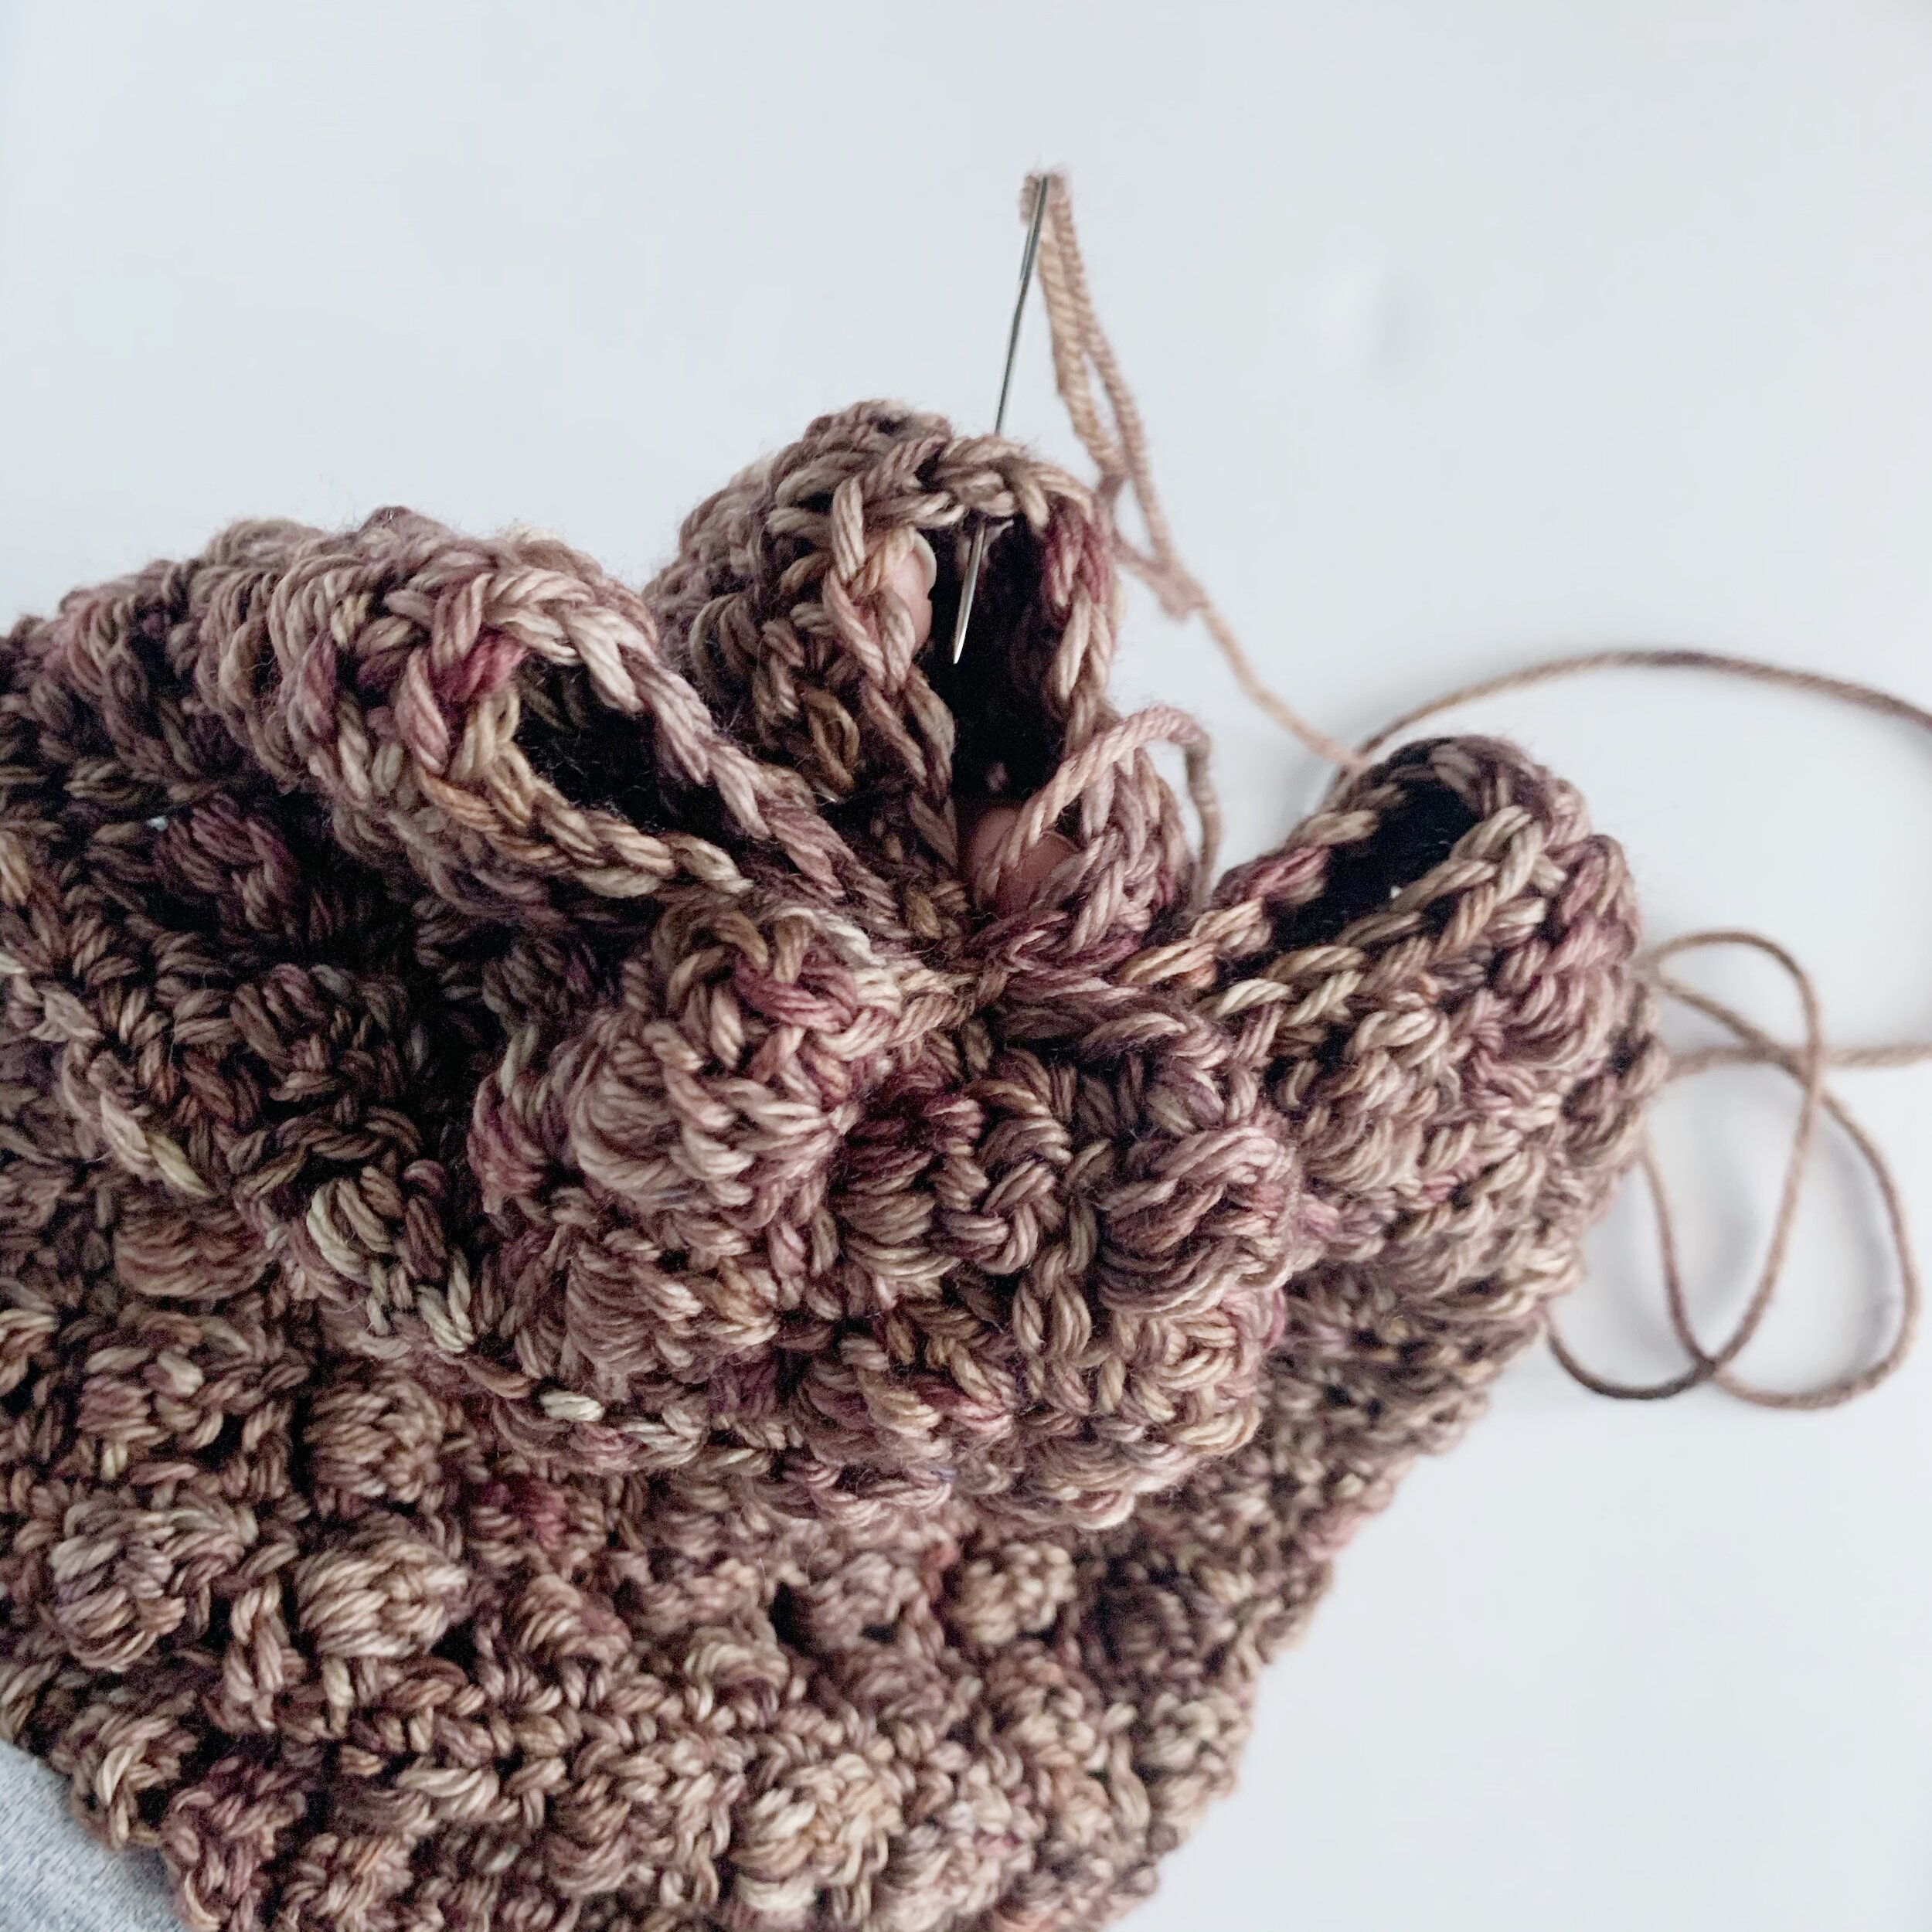
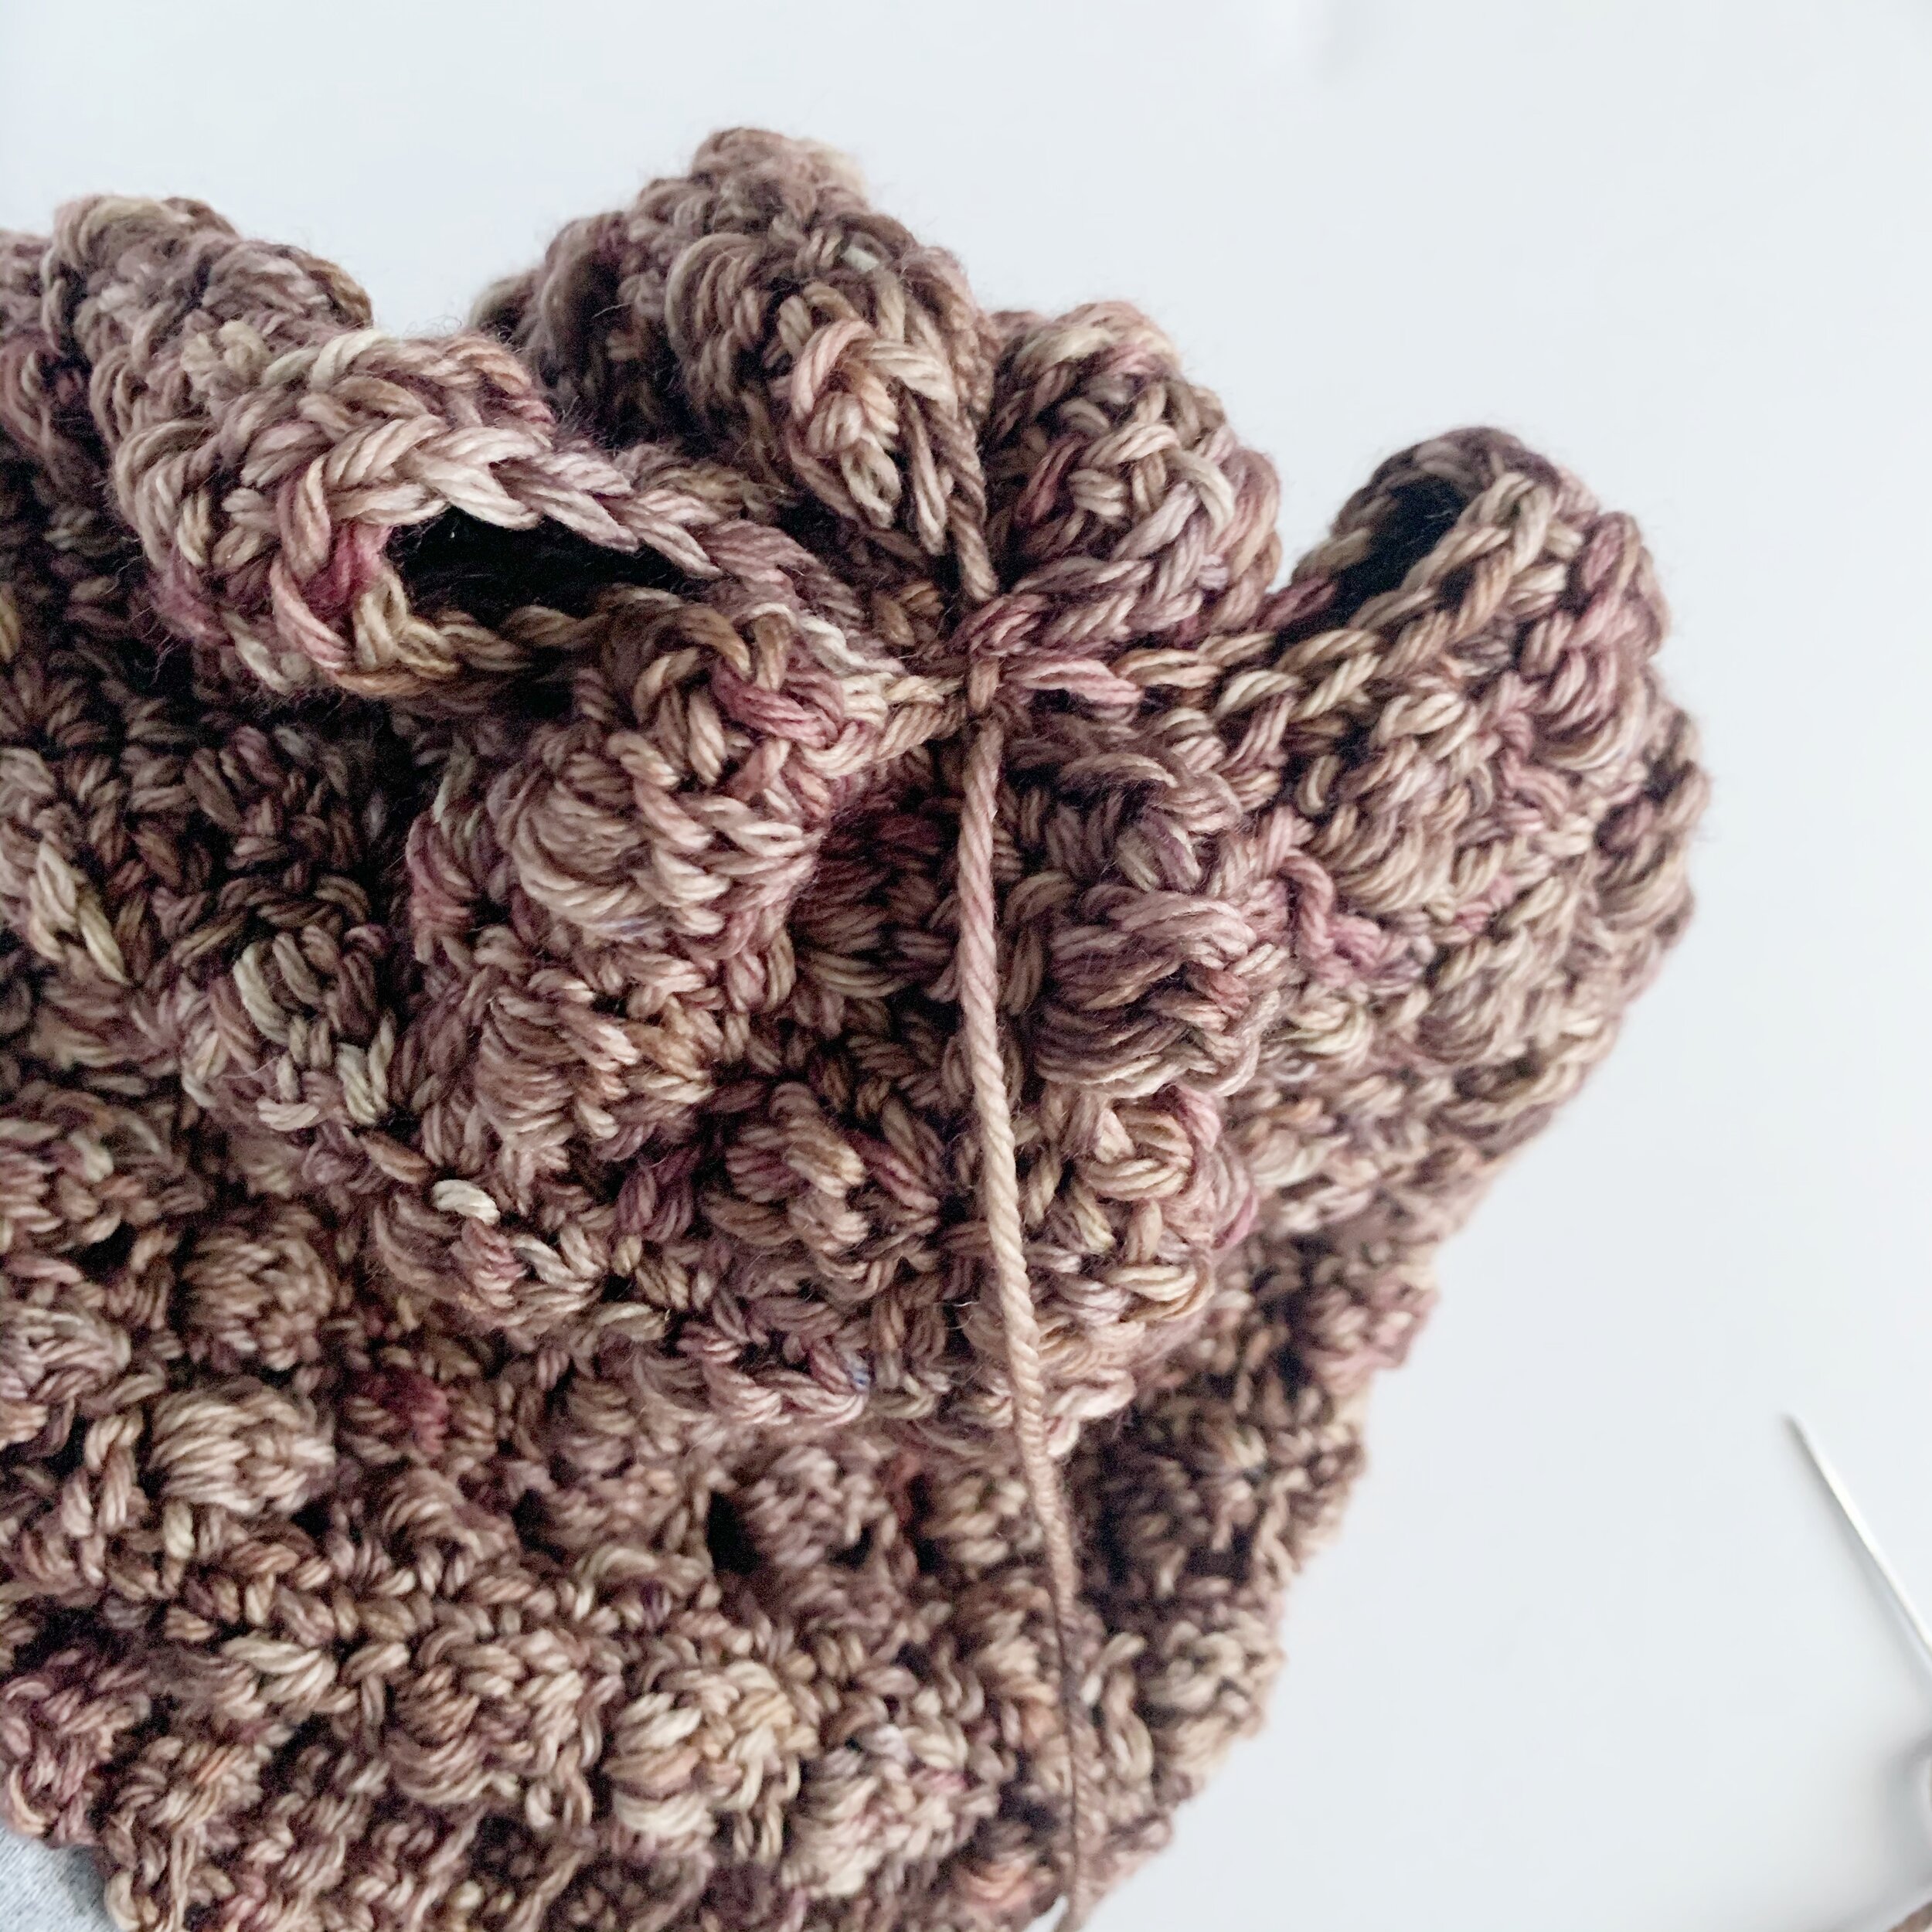
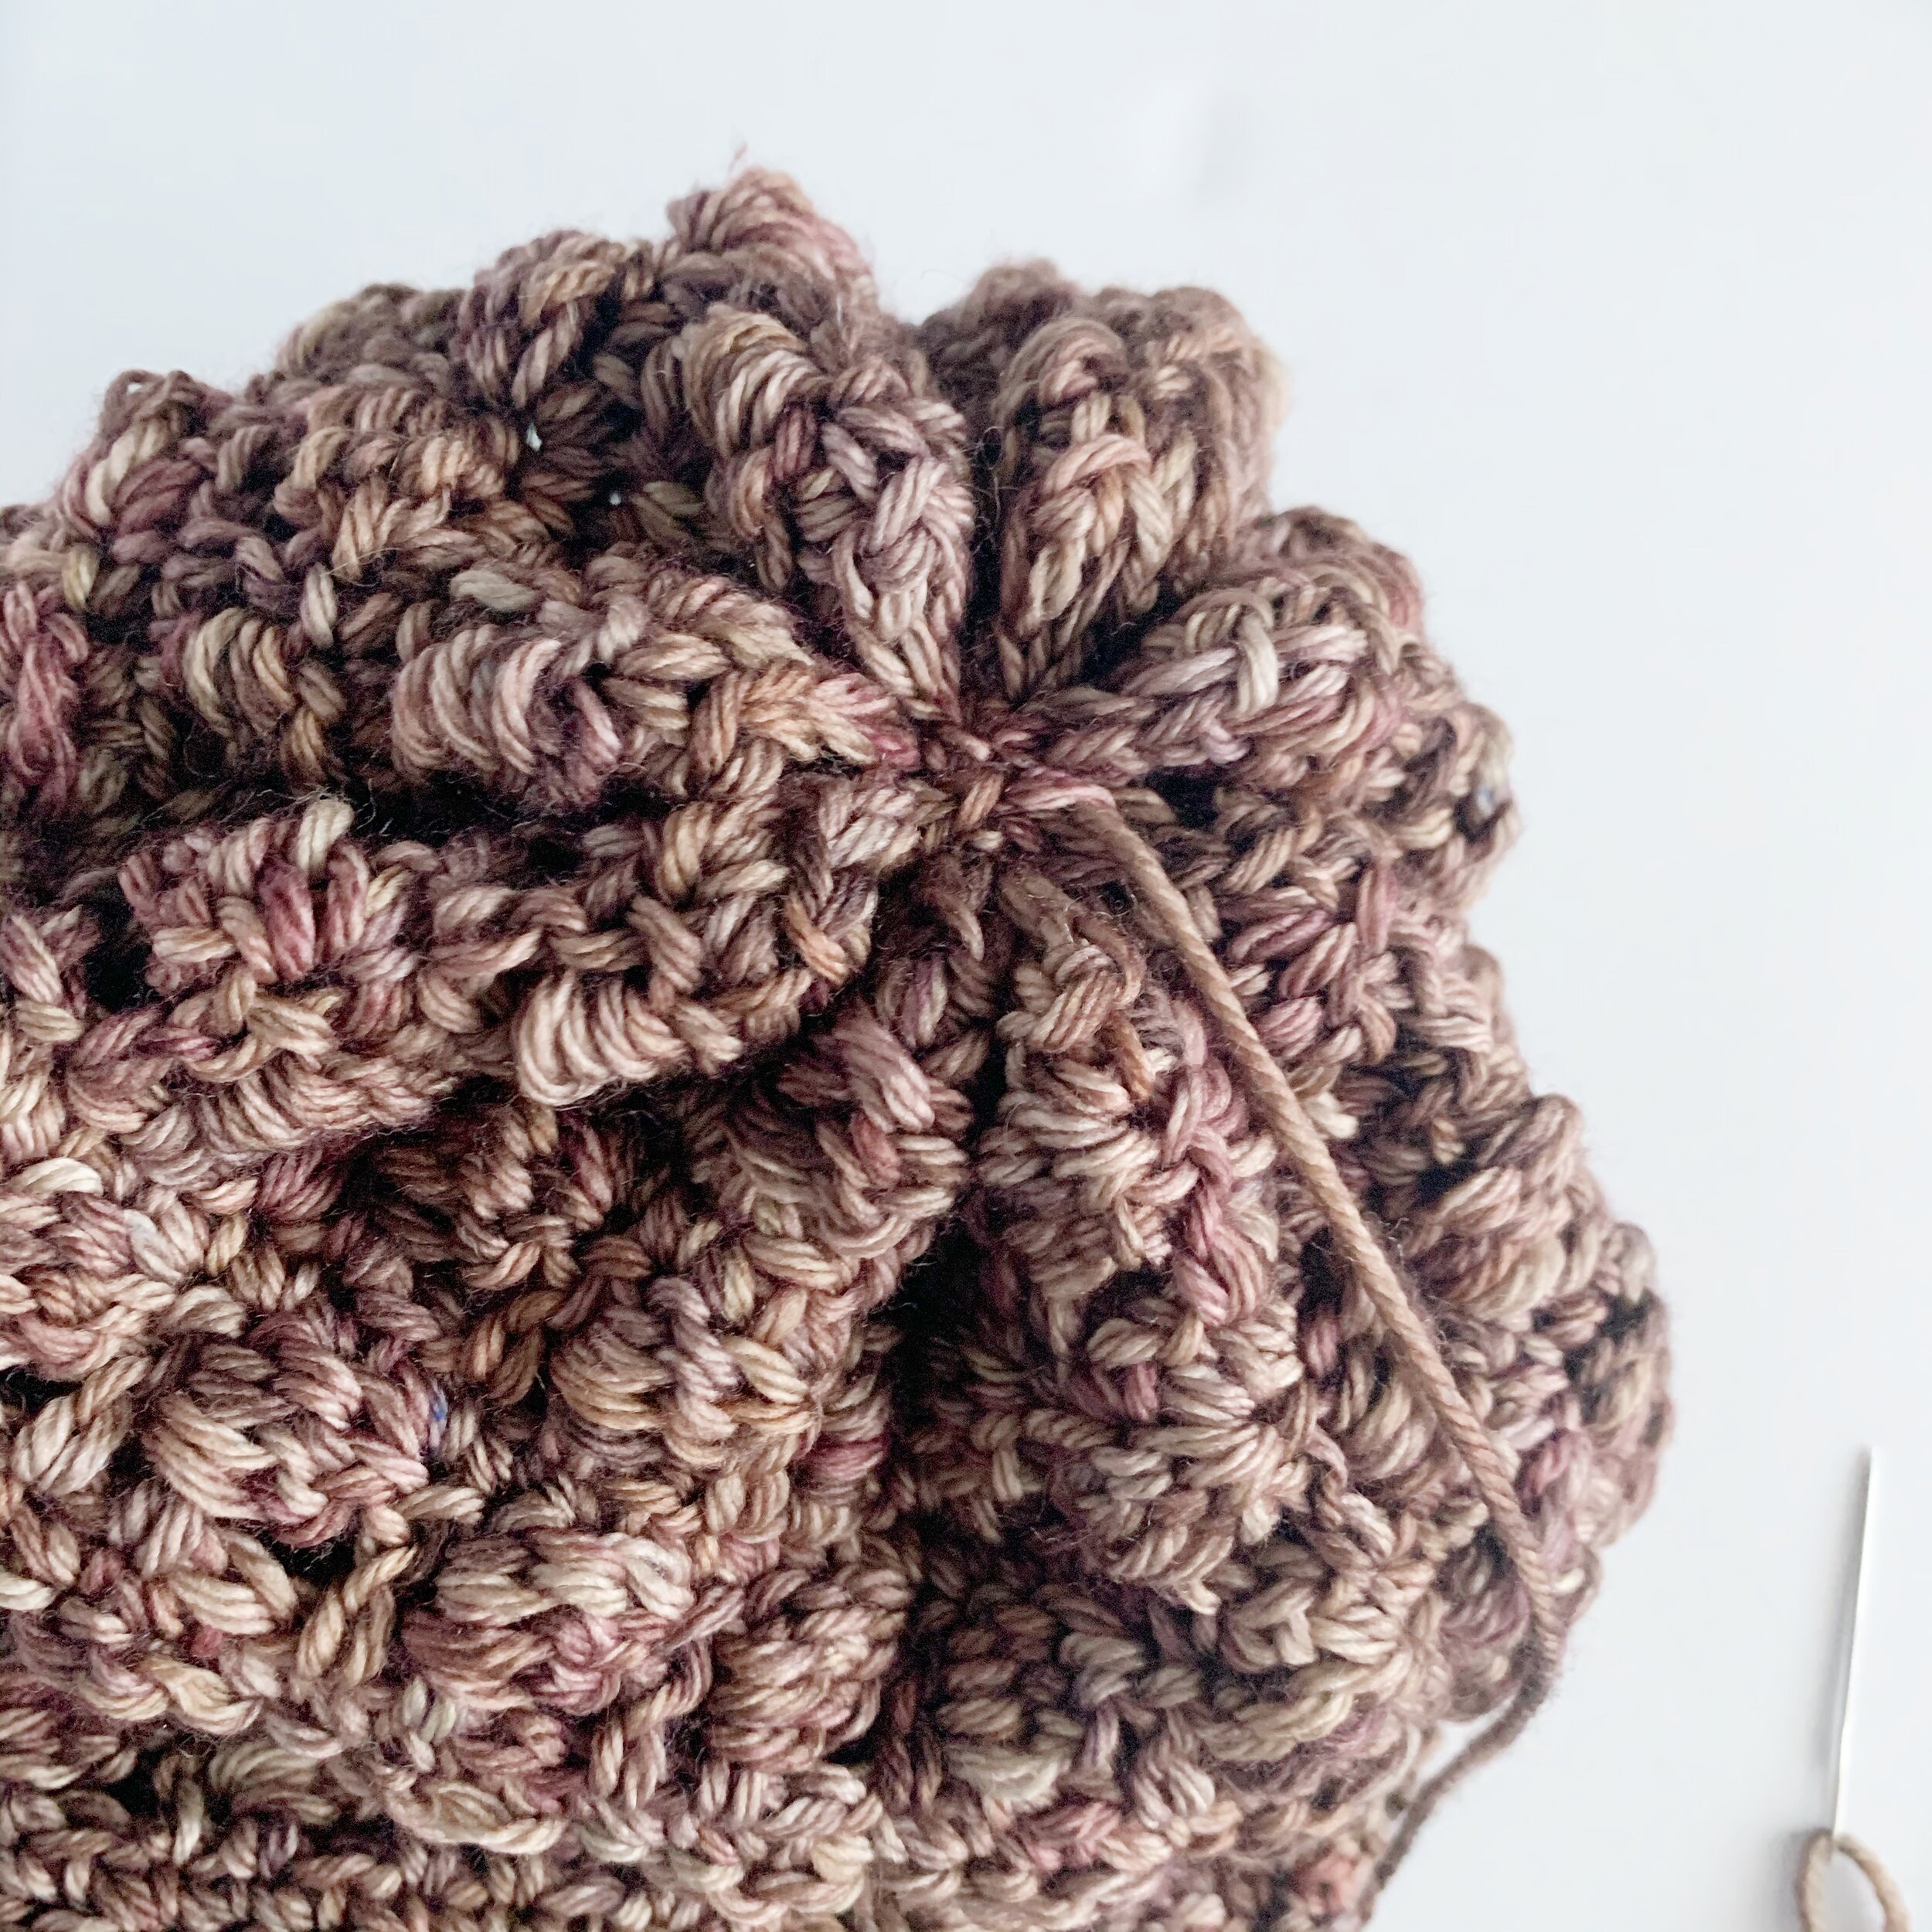
Thread a tapestry needle onto the end of the tail. Fold hat in half and make one stitch going though both sides in the center. Fold hat in half the other way and make one stitch going through each center side and middle of hat. You will now have four “loops” at the top of your hat.
Stitch the middle of each of those “loops” to the center stitch of the hat.
You will now have 8 small “loops” at the top of your hat. Stitch the middle of each of those “loops” to the center stitch of the hat to close. Bring the tail to the inside of the hat and tie and knot. Weave in all ends. Attach a faux fur pom pom to the top of the hat if desired.
Now go enjoy your new Ashby Hat! It’s the perfect weekend project and you can make one for each member of your family. Remember you can find an ad-free PDF version in my shop, Etsy or Ravelry.
If you make one, I’d love to see it! Use #meghanmakesdo and #theashbyhat on social media so I can see.
Happy Crocheting,
Meghan


