

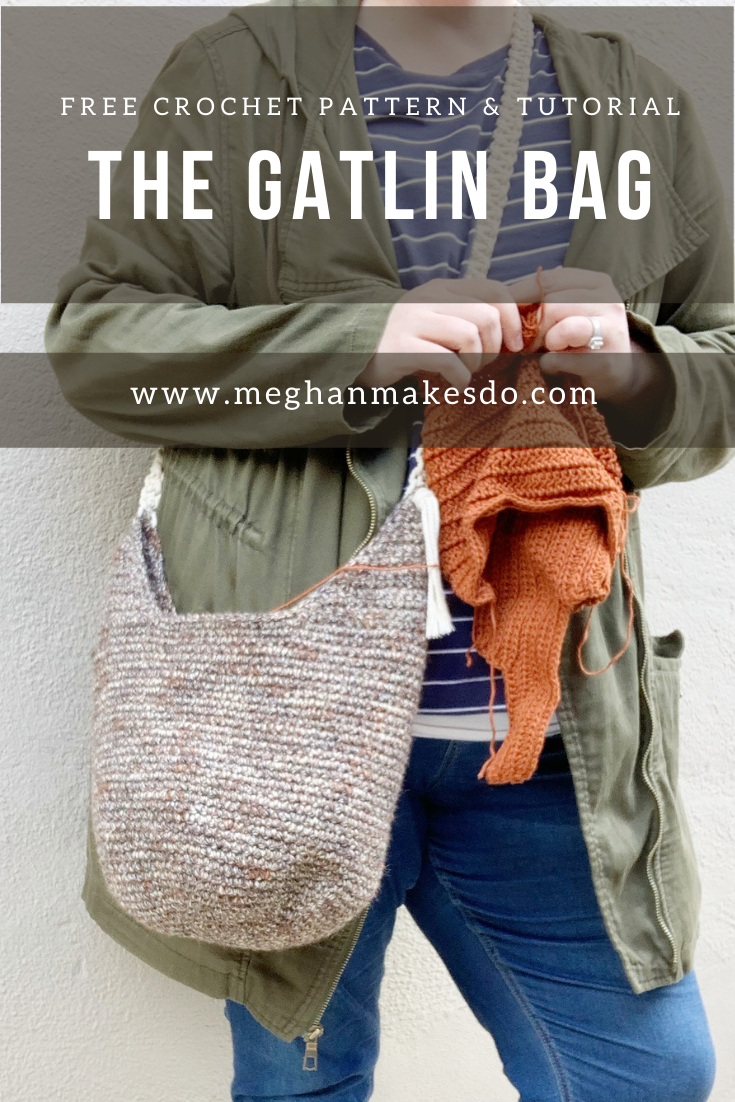
The Gatlin Bag-Free Crochet Pattern
The Gatlin Bag crochet pattern is sure to be this year’s go-to Summer make. It works up quick using just single crochets and has the most unique strap made of macrame! Find the free pattern below or grab the digital PDF in my shop.
How many of you have a few long lost skeins of yarn in your stash that you just don’t know what to do with? Don’t worry, you’re not alone. I am definitely a bit of a yarn hoarder and have made it a goal this year to get through as much of my stash as possible, starting with some discontinued Anny Blatt yarn I acquired at a Maker’s Retreat a few years back.
During the retreat we did a little yarn swap where we could bring yarns we didn’t want any more and in exchange take home yarn that another maker brought. I kept picking up with unique Anny Blatt yarn, but had not clue what to make with it until this year. It’s a yarn unlike any other yarn I’ve used before in that it is more like a jute than a yarn. It’s a worsted weight and very sturdy. I knew it would be great for creating a cross body bag.
Since this yarn is no longer available I’ve included a few alternative options in the materials list. I think any other worsted weight yarn would work or you can experiment with different yarns and weights to get the look you want. Just keep in mind that the yarn used may make a larger or smaller bag so try to get as close to gauge as possible when you swatch.
I love experimenting with new techniques and decided that this bag needed something special for the strap. I also ran out of yarn and didn’t have any left for a strap in the same color…lol. I had always been fascinated with macramé and had wanted to try it so many times. This was the perfect time to give it a go and create a strap for my new bag. It was surprisingly easy and turned out so well! And don’t worry, I’ve included detailed photos and a video tutorial to walk you through each step.
I just love how my Gatlin Bag turned out and it has been my go-to bag to bring my crochet project with me for park playdates. It is so roomy inside and the sides come up to keep everything secure.

The Gatlin Bag Crochet Pattern
Materials:
525 yards of Varsovie by Anny Blatt (59% Wool, 25% Polyamide, 16% Alpaca, 75yds/50g) or similar worsted weight yarn (ex: Wool and the Gang Buddy Hemp, Lion Brand 24/7 cotton)
16 yards of natural cotton macramé cord
Scissors
Tapestry Needle
Tape Measure
Stitch marker(s)
Abbreviations:
ch- chain
st(s)- stitch(es)
sl st- slip stitch
sc- single crochet
Size:
Finished size approx. 11” high and 13” wide when laid flat.
Gauge:
1st 7 rounds of bag = 4” diameter circle.
Notes:
1.Pattern is worked in continuous rounds until full height is reached. The sides are then made in turned rows. The strap is made using basic macramé techniques and tied to the sides of the bag. Instructions are included.
2.Entire bag is made holding two strands of yarn together. You may need to divide your skeins depending on what yarn you choose.
Pattern:
Main Body:
Holding two strands of yarn together, form a magic loop.
Round 1: work 6 sc into the magic loop and then pull tight. (6)
Round 2: 2sc in each st around. (12)
* It is helpful to start placing a stitch marker in the beginning st of each round.
Round 3: *2sc , sc, repeat from * around. (18)
Round 4: *2sc, sc 2, repeat from * around. (24)
Round 5: *2sc, sc 3, repeat from * around. (30)
Round 6: *2sc, sc 4, repeat from * around. (36)
Round 7: *2sc, sc 5, repeat from * around. (42)
Round 8: *2sc, sc 6, repeat from * around. (48)
Round 9: *2sc, sc 7, repeat from * around. (54)
Round 10: *2sc, sc 8, repeat from * around. (60)
Round 11: *2sc, sc 9, repeat from * around. (66)
Round 12: *2sc, sc 10, repeat from * around. (72)
Round 13: *2sc, sc 11, repeat from * around. (78)
Round 14: *2sc, sc 12, repeat from * around. (84)
Rounds 15-42: sc in each st around. (84)
Sides:
We will now be creating the sides for the bag, where the strap will attach. Sides are worked separately in turned rows. For the first side, ch 1, and turn.
Row 1: sc2tog, sc 23, sc2tog, ch 1, turn. (25)
Row 2: sc2tog, sc 21, sc2tog, ch 1, turn. (23)
Row 3: sc2tog, sc 19, sc2tog, ch 1, turn. (21)
Row 4: sc2tog, sc 17, sc2tog, ch 1, turn. (19)
Row 5: sc2tog, sc 15, sc2tog, ch 1, turn. (17)
Row 6: sc2tog, sc 13, sc2tog, ch 1, turn. (15)
Row 7: sc2tog, sc 11, sc2tog, ch 1, turn. (13)
Row 8: sc2tog, sc 9, sc2tog, ch 1, turn. (11)
Row 9: sc2tog, sc 7, sc2tog, ch 1, turn. (9)
Row 10: sc2tog, sc 5, sc2tog, ch 1, turn. (7)
Row 11: sc2tog, sc 3, sc2tog, ch 1, turn. (5)
Row 12: sc2tog, sc 1, sc2tog. (3)
Fasten off.
Count 15 sts from the edge of the first side and reattach yarn. Repeat Rows 1-12 for second side of bag.
When finished with second side DO NOT fasten off.
Ch 1, turn and sc evenly around top of bag, sl st to first st to join. Fasten off and weave in all ends.
Strap:
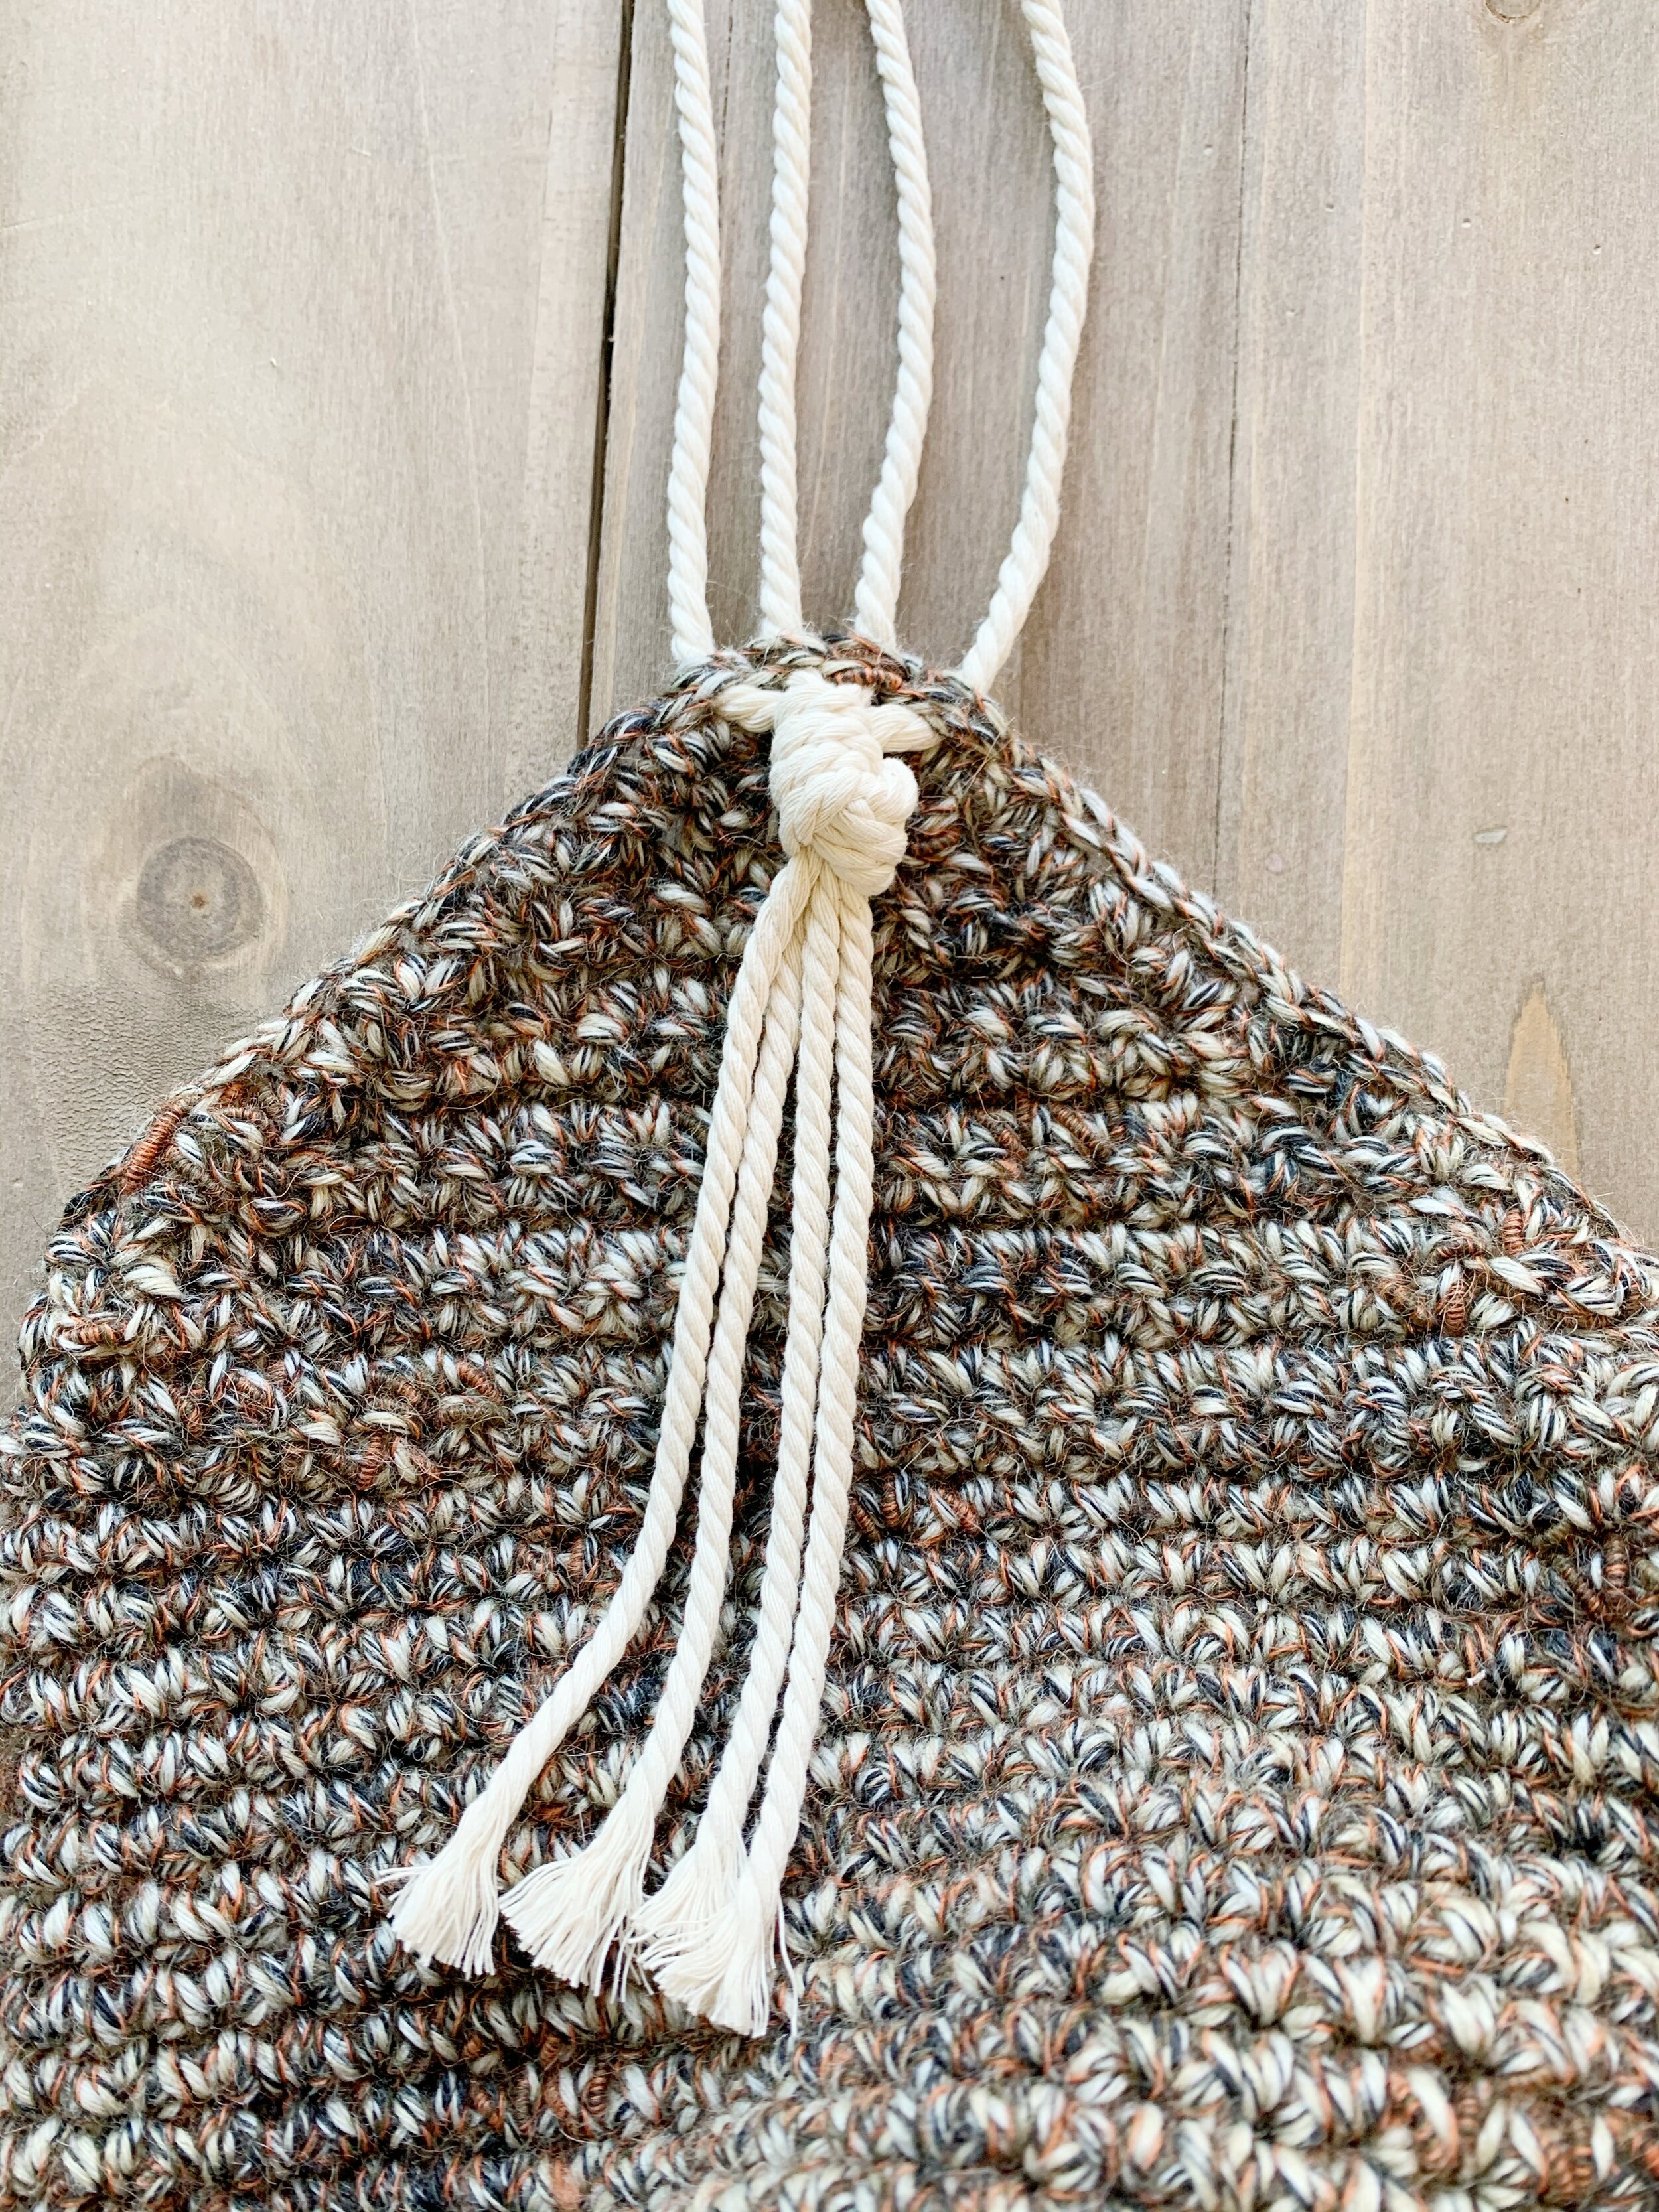
To add the strap you will need to cut two strands of macramé cord that are 3 yards long and two strands that are 5 yards long.
Lay the strands out with the 5 yard strands on the outside and the two 3 yard strands on the inside. Then pull the ends through one side of the bag, making sure one strand goes through one stitch. Then tie the strands in a knot leaving about 4-5 inch tails.


Lay the bag down on a flat surface so that they strands of macramé cord are facing you. You may want to put a heavy object on top of the bag to keep it secure while you macramé the strap.
Proceed to make square knots all the way down the strap until you have reached the desired length. For a cross body strap, create square knots until the strap is approx. 40” long. Then pull ends of strap through the other side of the bag, again making sure to pull one strand through one stitch. Tie a knot and trim ends to the same length as the other side.
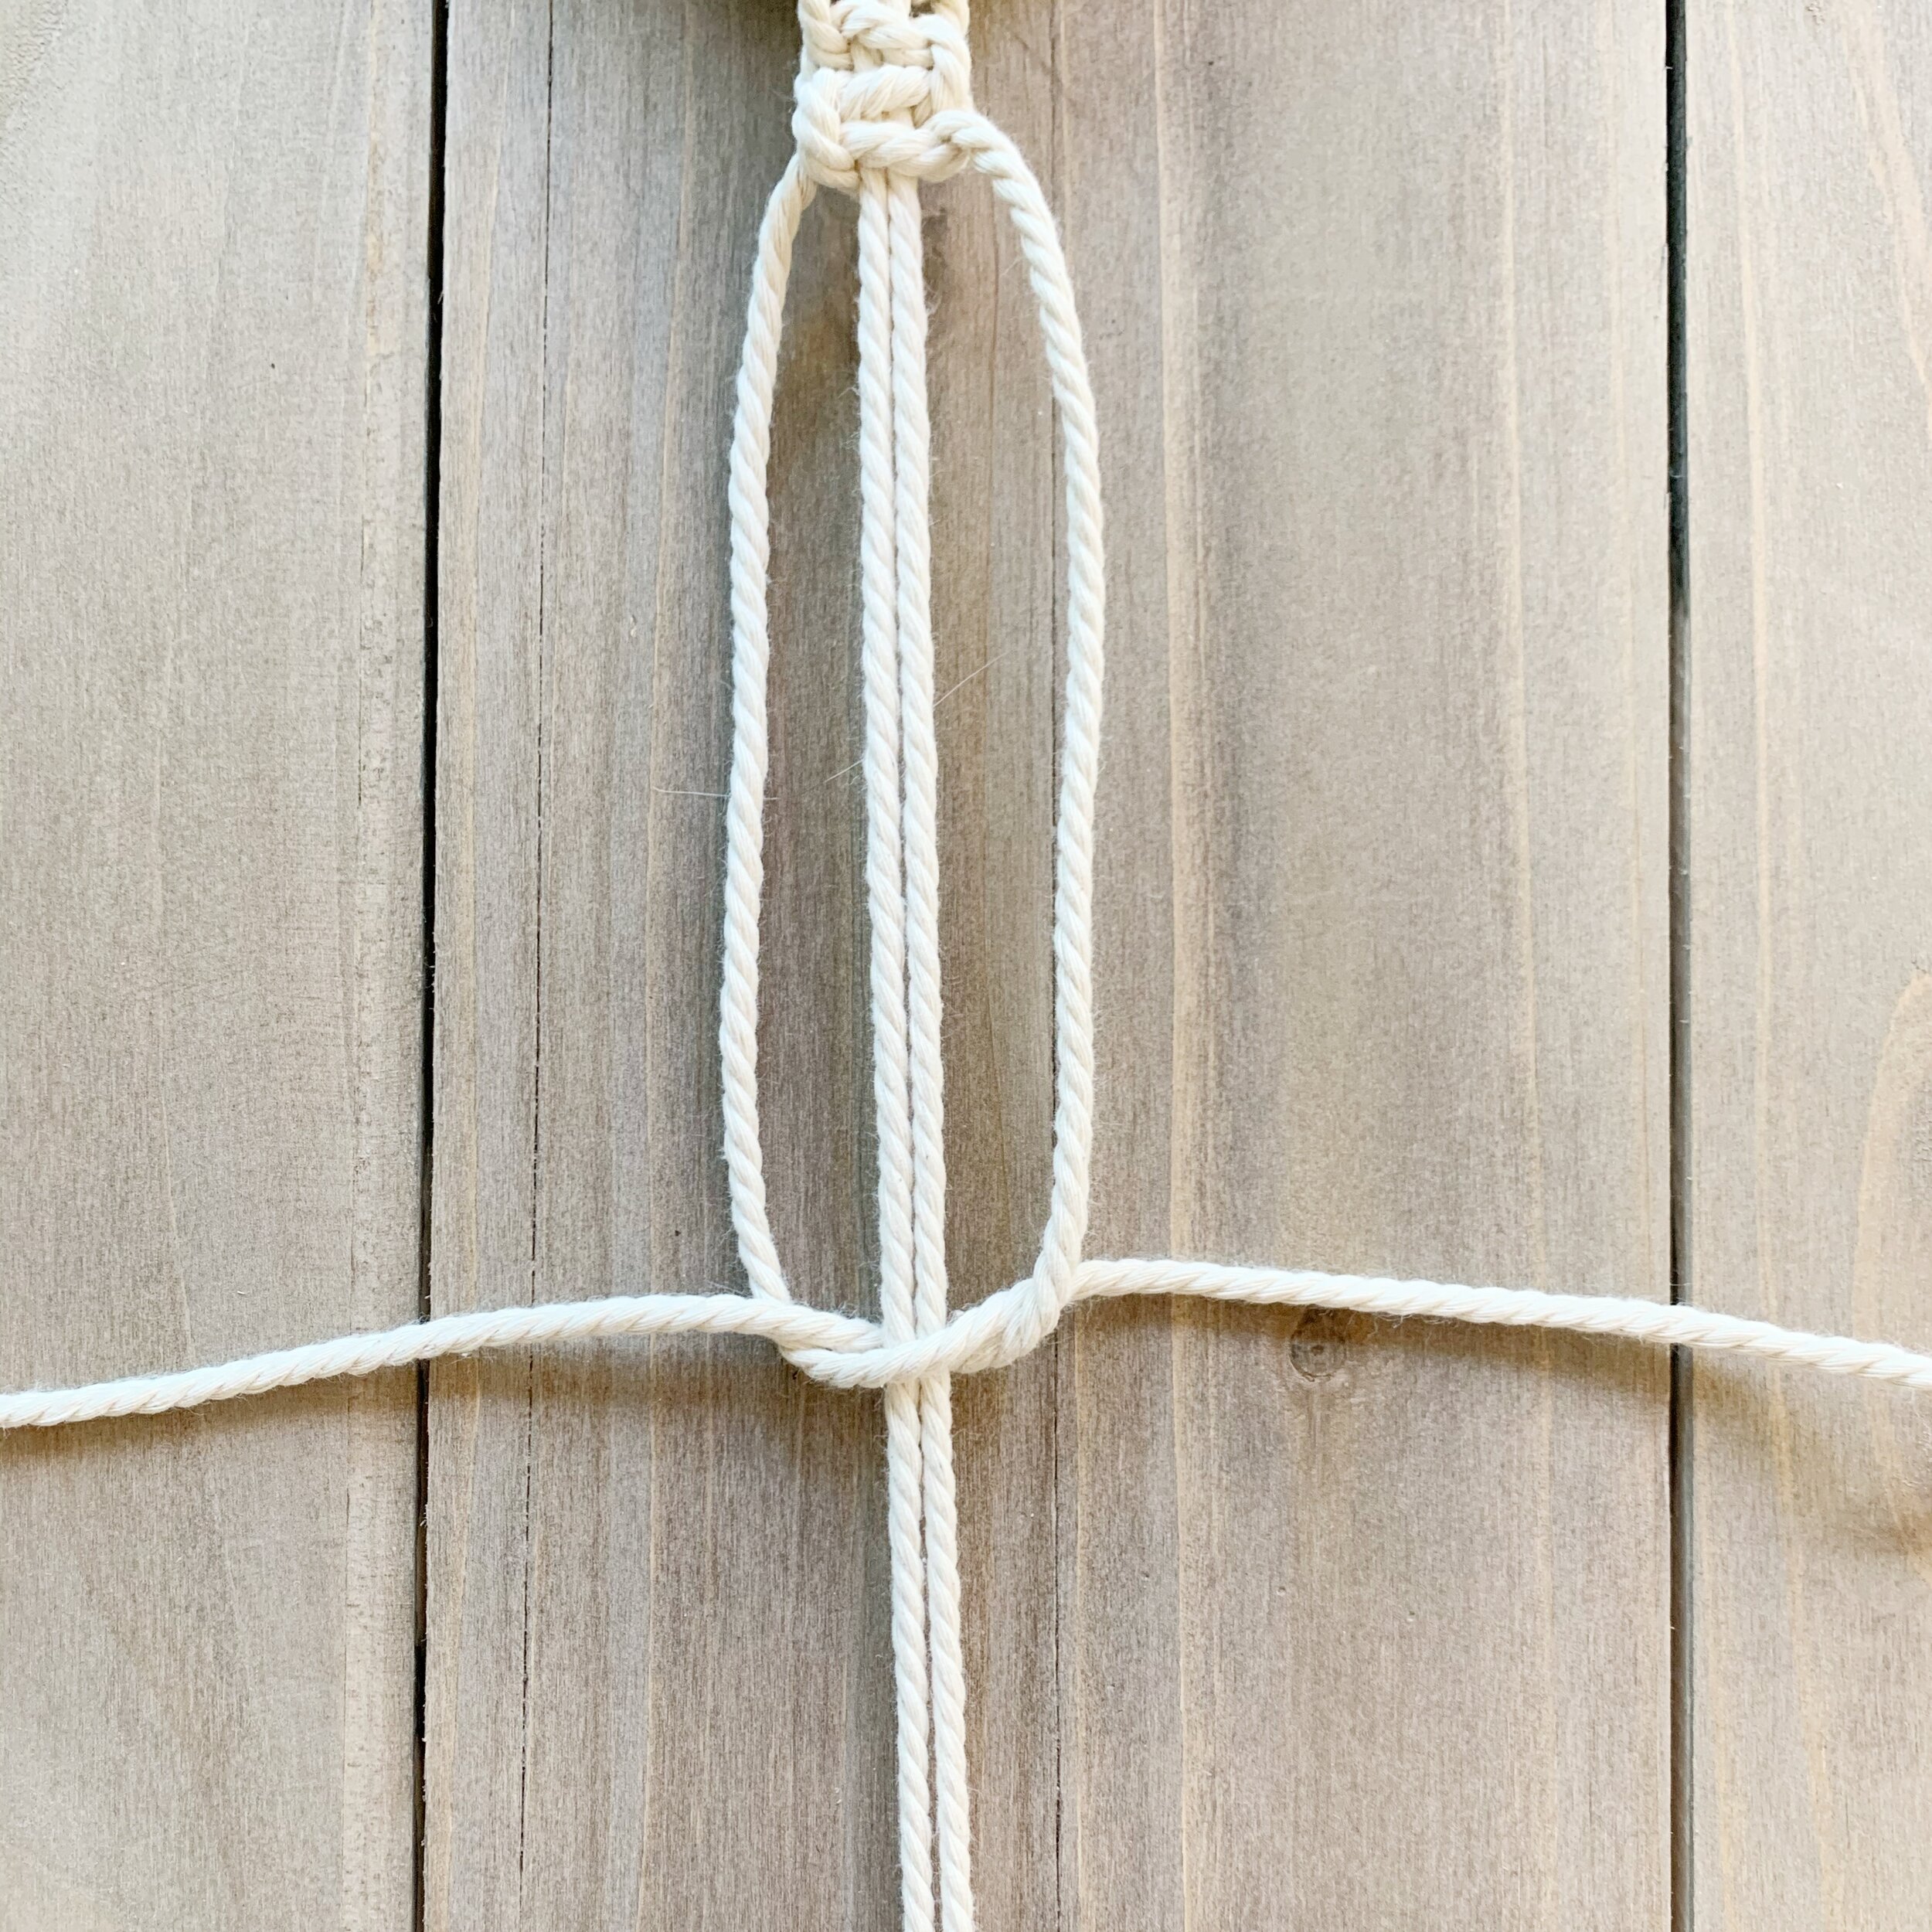
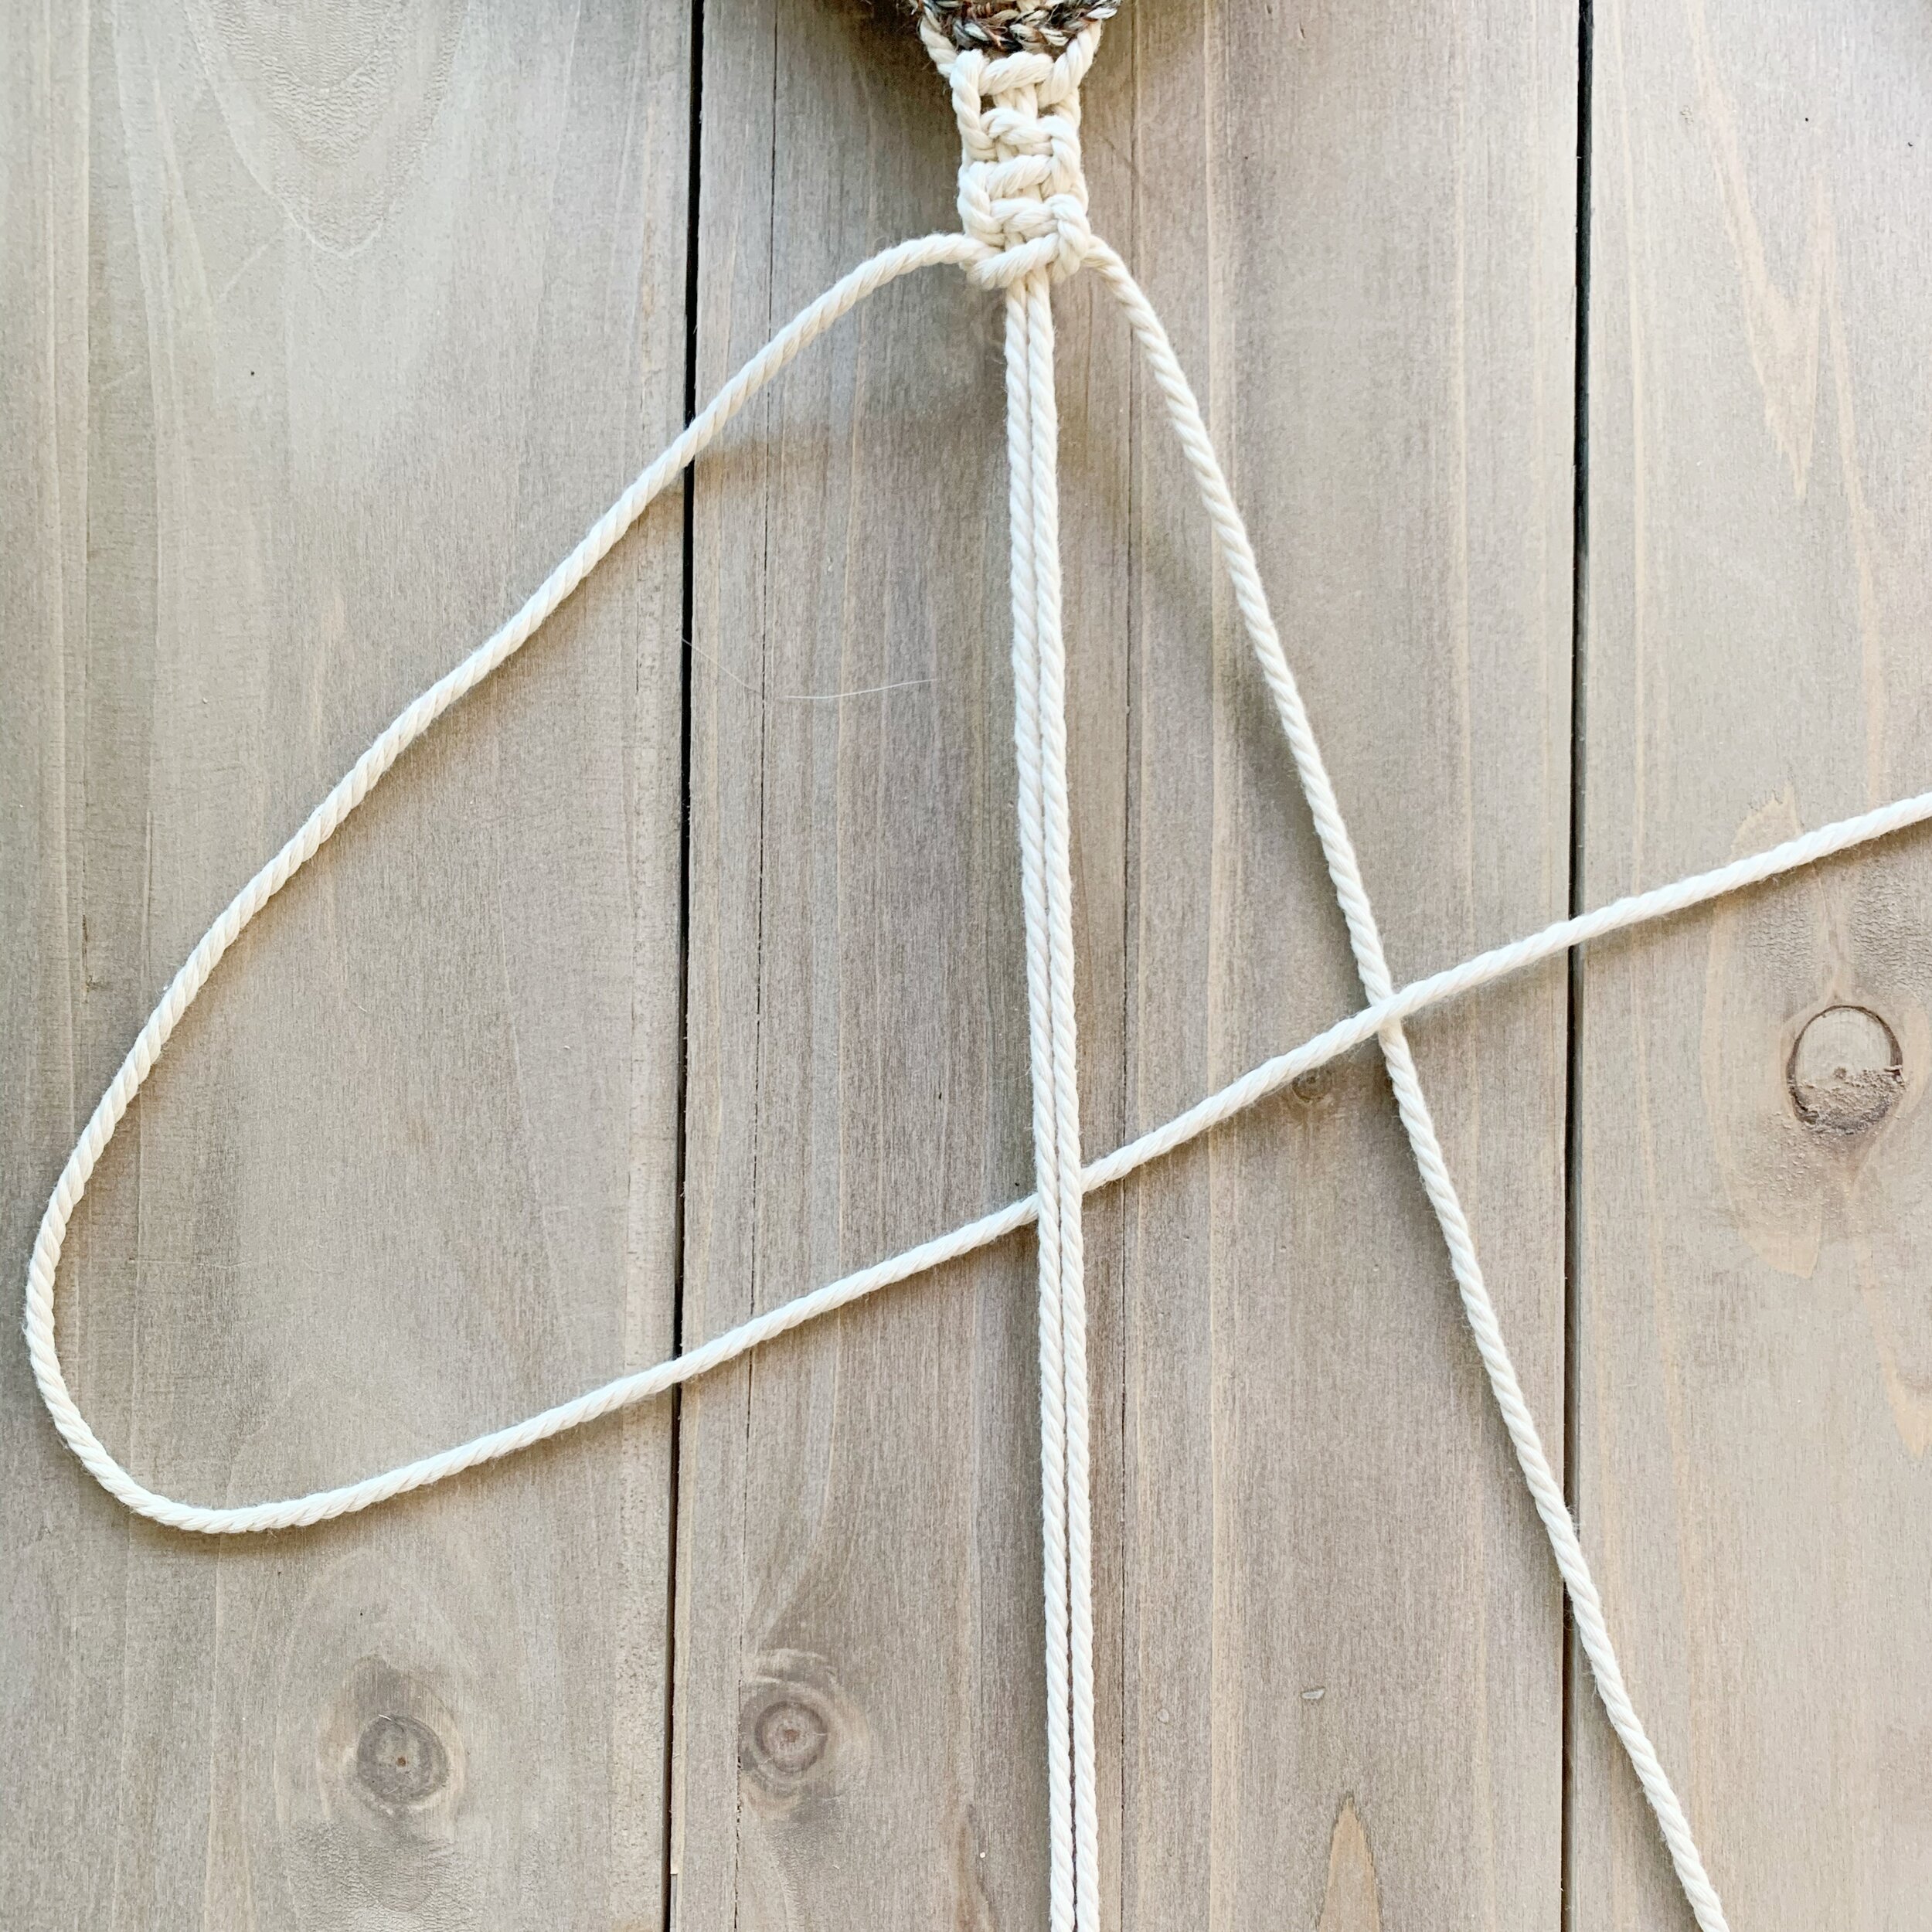
Square Knots:
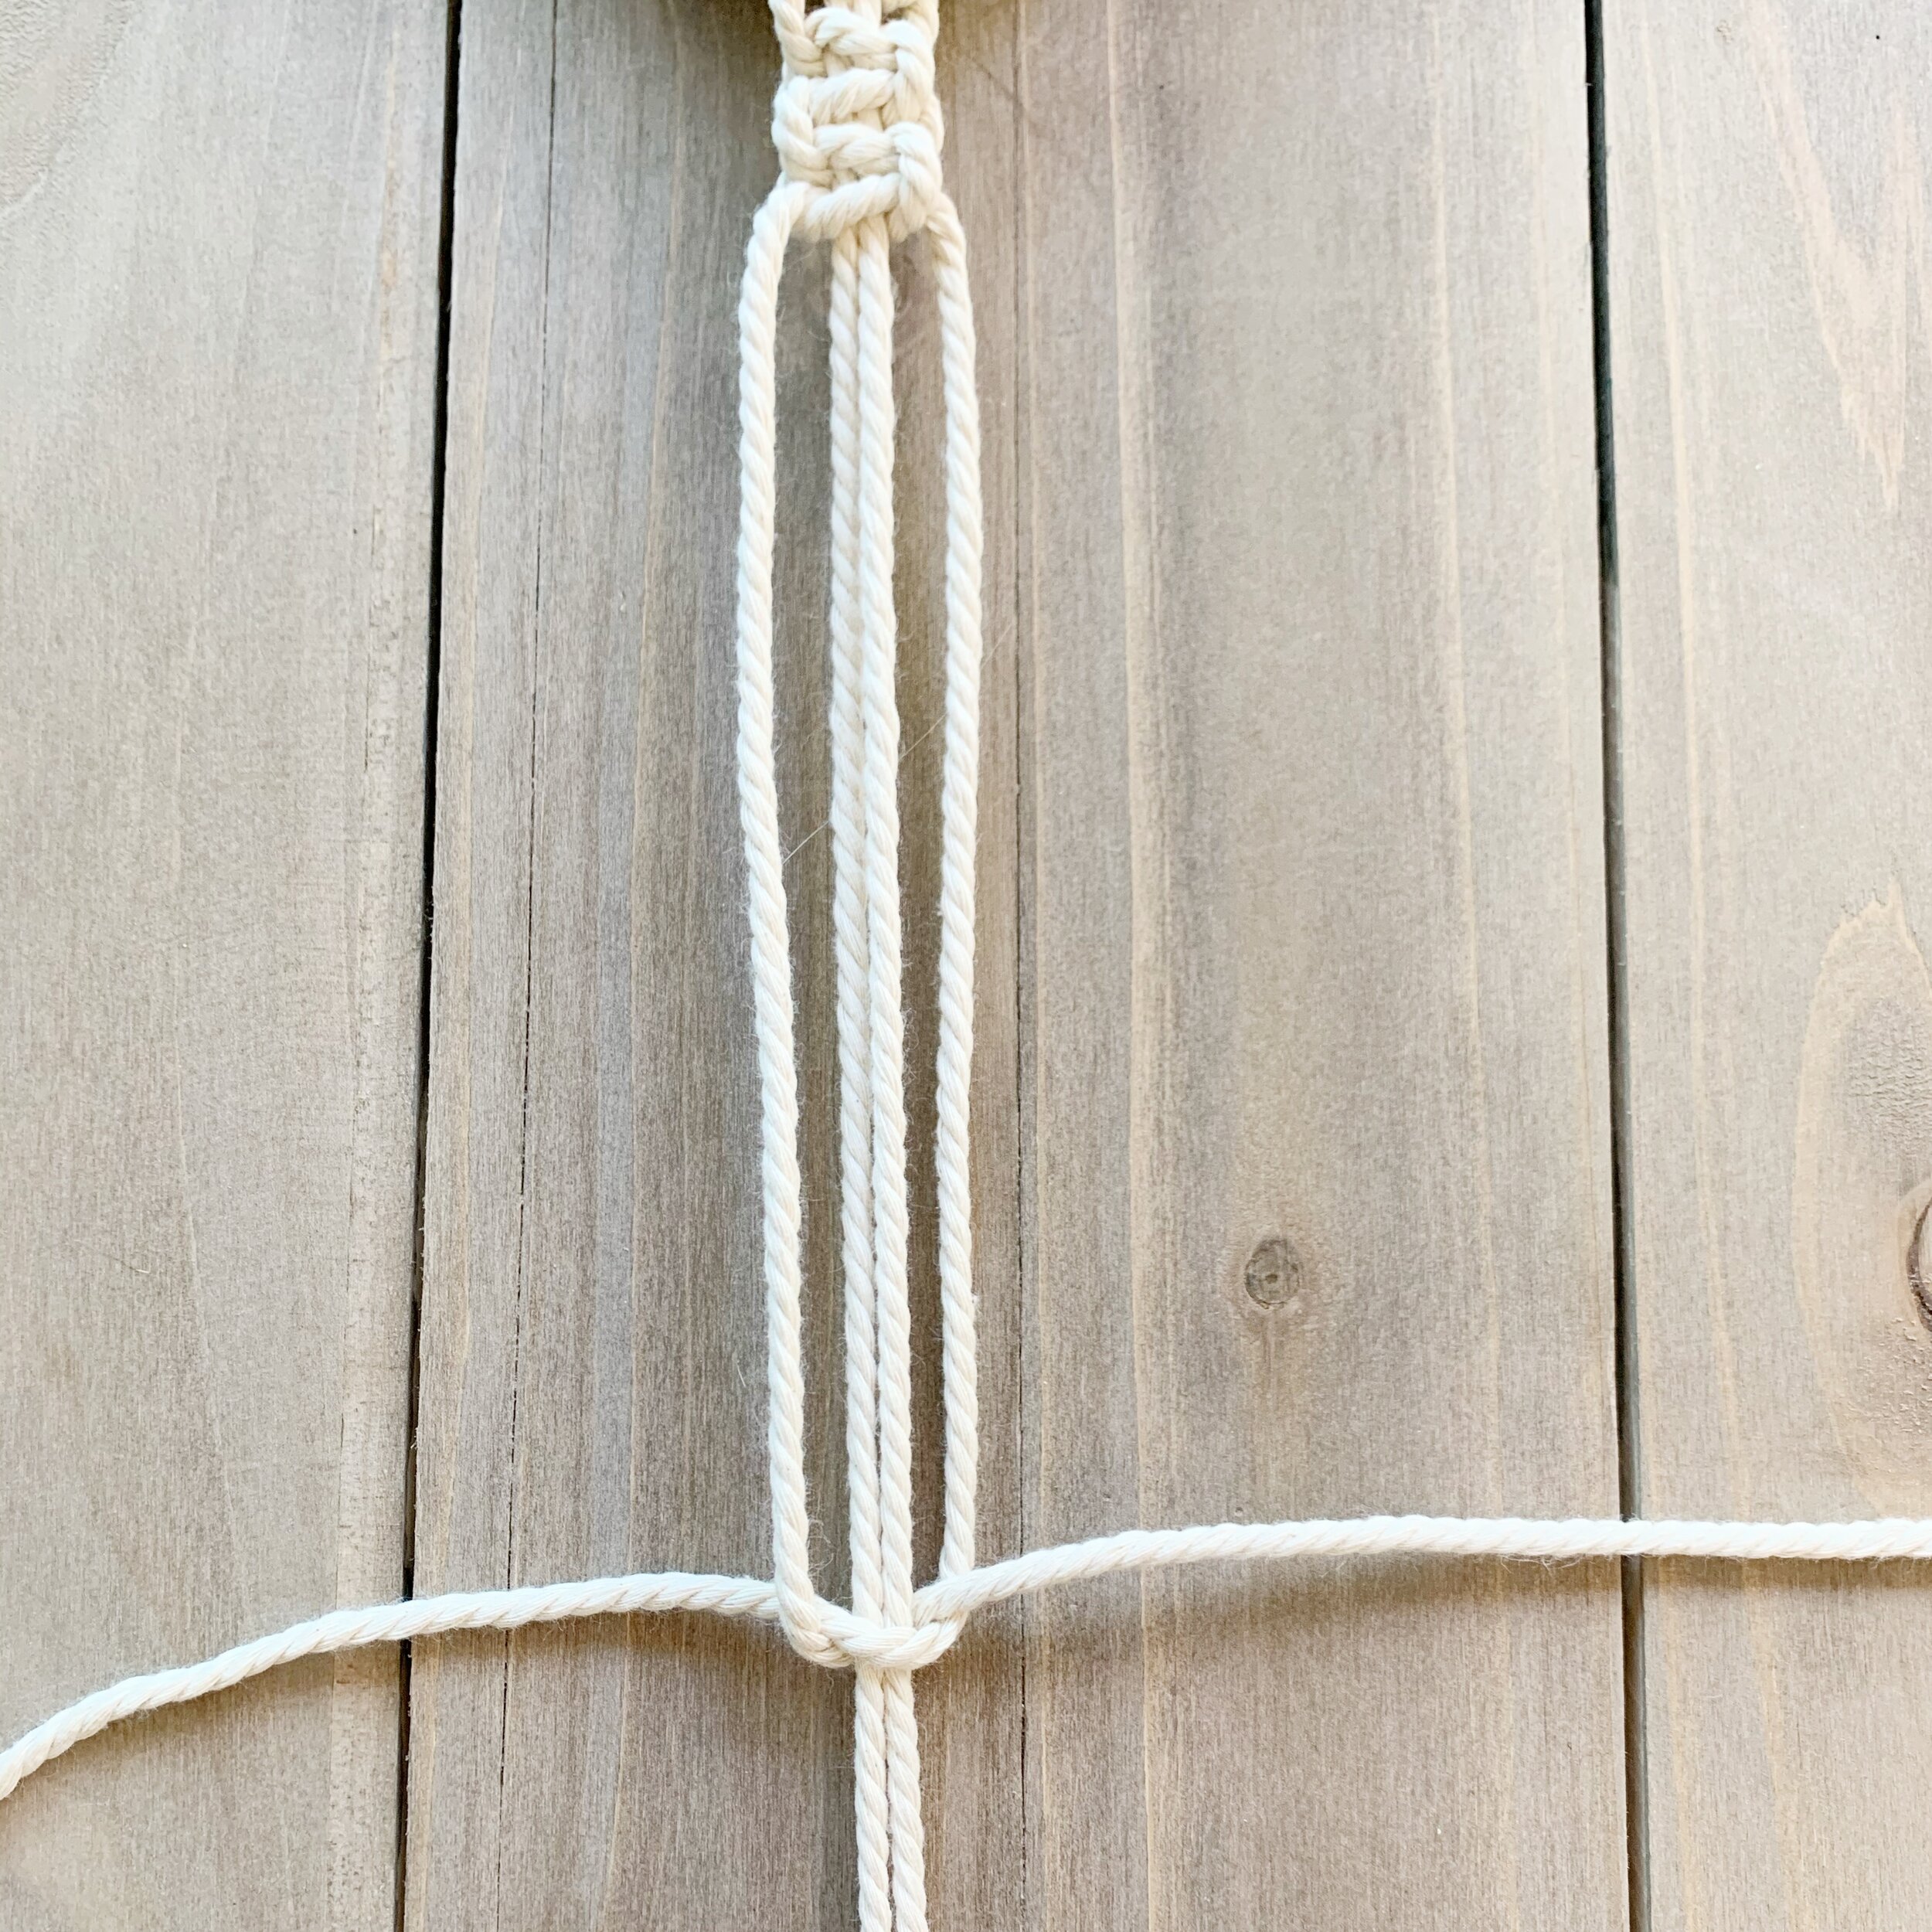
To make a square knot, you will be knotting the two outer strands around the two center strands. Start by taking the right strand and bring it under the two center strands and over the left strand. Then take the left strand and bring it over the center strands and under the right strand. Pull tight. This is the first half of the square knot.


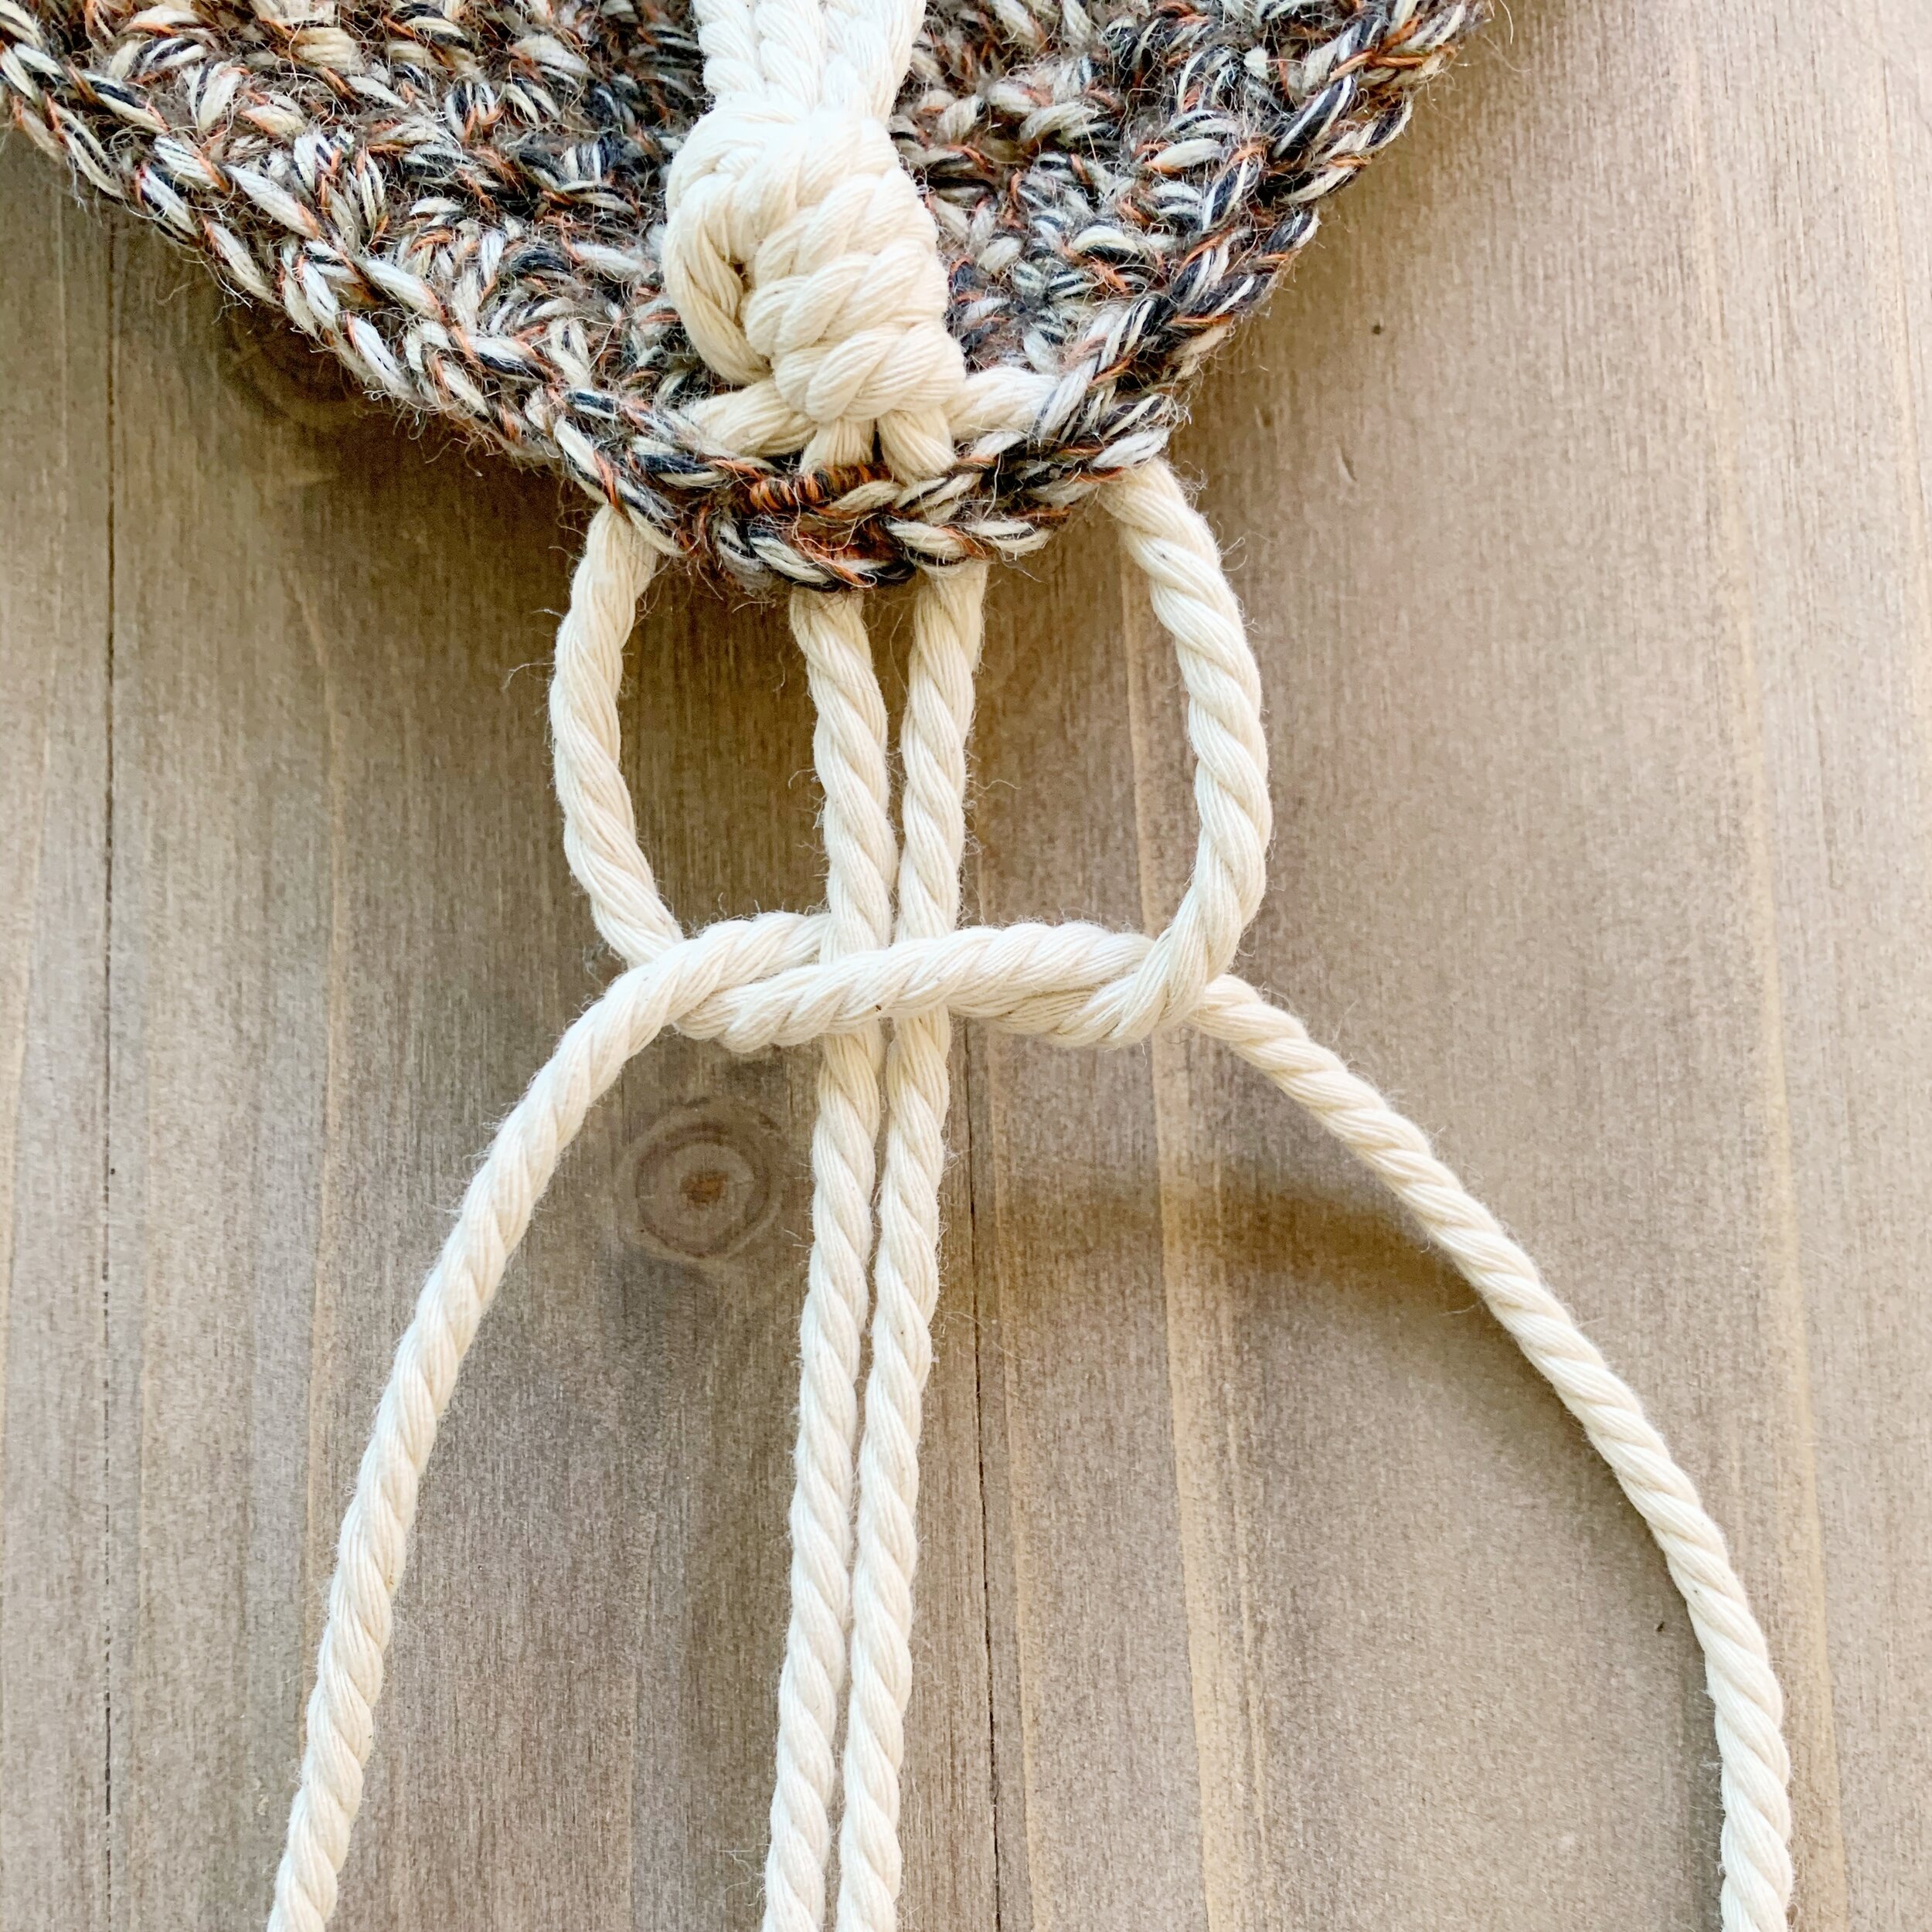
Then, take the left strand and bring it under the center strands and over the strand on the right. Take the right strand and bring it over the center strands and under the strand on the left. Pull tight. This completes the first square knot.


Repeat those two steps all the way down to create your strap.
Now go enjoy your brand new bag!
I hope that you enjoyed this free pattern. If you give it a try I’d love to see! Make sure to tag me @meghanmakesdo and use #meghanmakesdo and #gatlinbag on social media so I can see and share.
As always you can find a PDF version of this pattern in my shop, Etsy and Ravelry.
Happy Crocheting,
Meghan

