Human Body Unit for Preschool
Today I want to share with you a really fun unit that I did with the kids over the past few weeks. For some reason this unit took us a while to get through. They were both really into learning about their bodies so we spent the first week learning about the outside of our bodies and the second week learning all about the inside. There were so many activities to choose from, but my main goal was to help Emmett learn his body parts and to give Emerson a chance to learn more about the inside of her body.
Here are some of the activities that we did during our study of the human body:
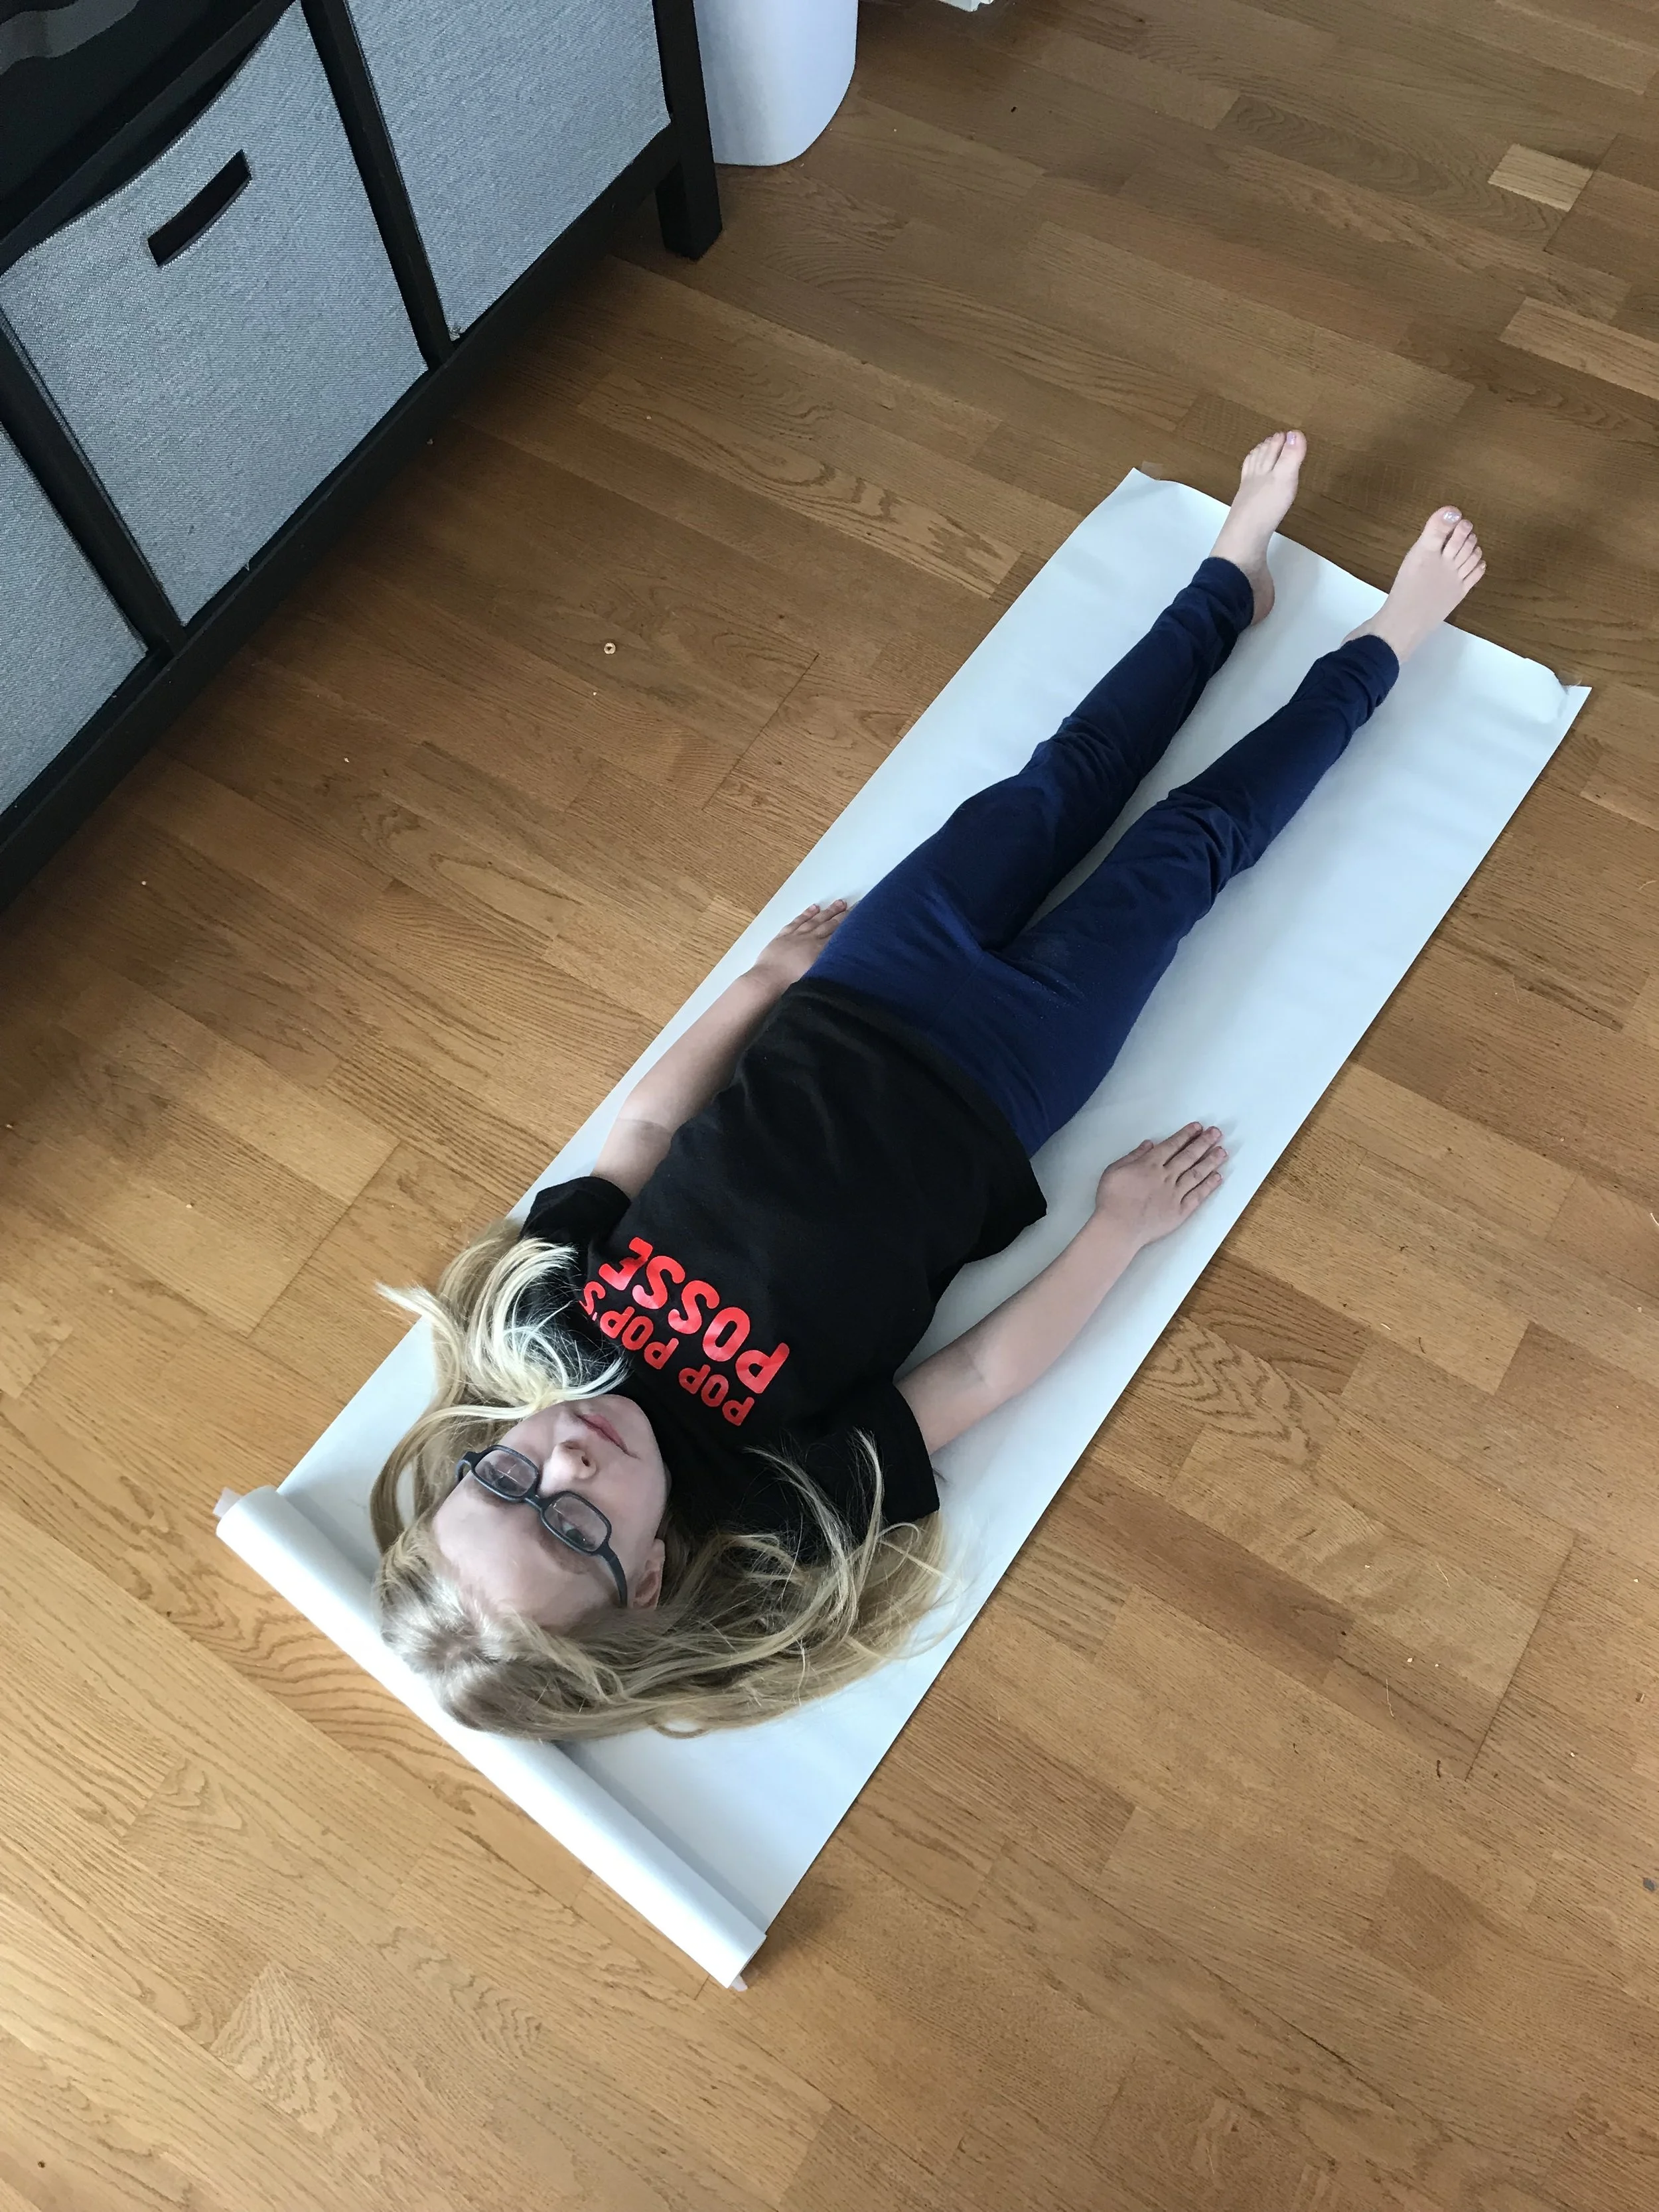
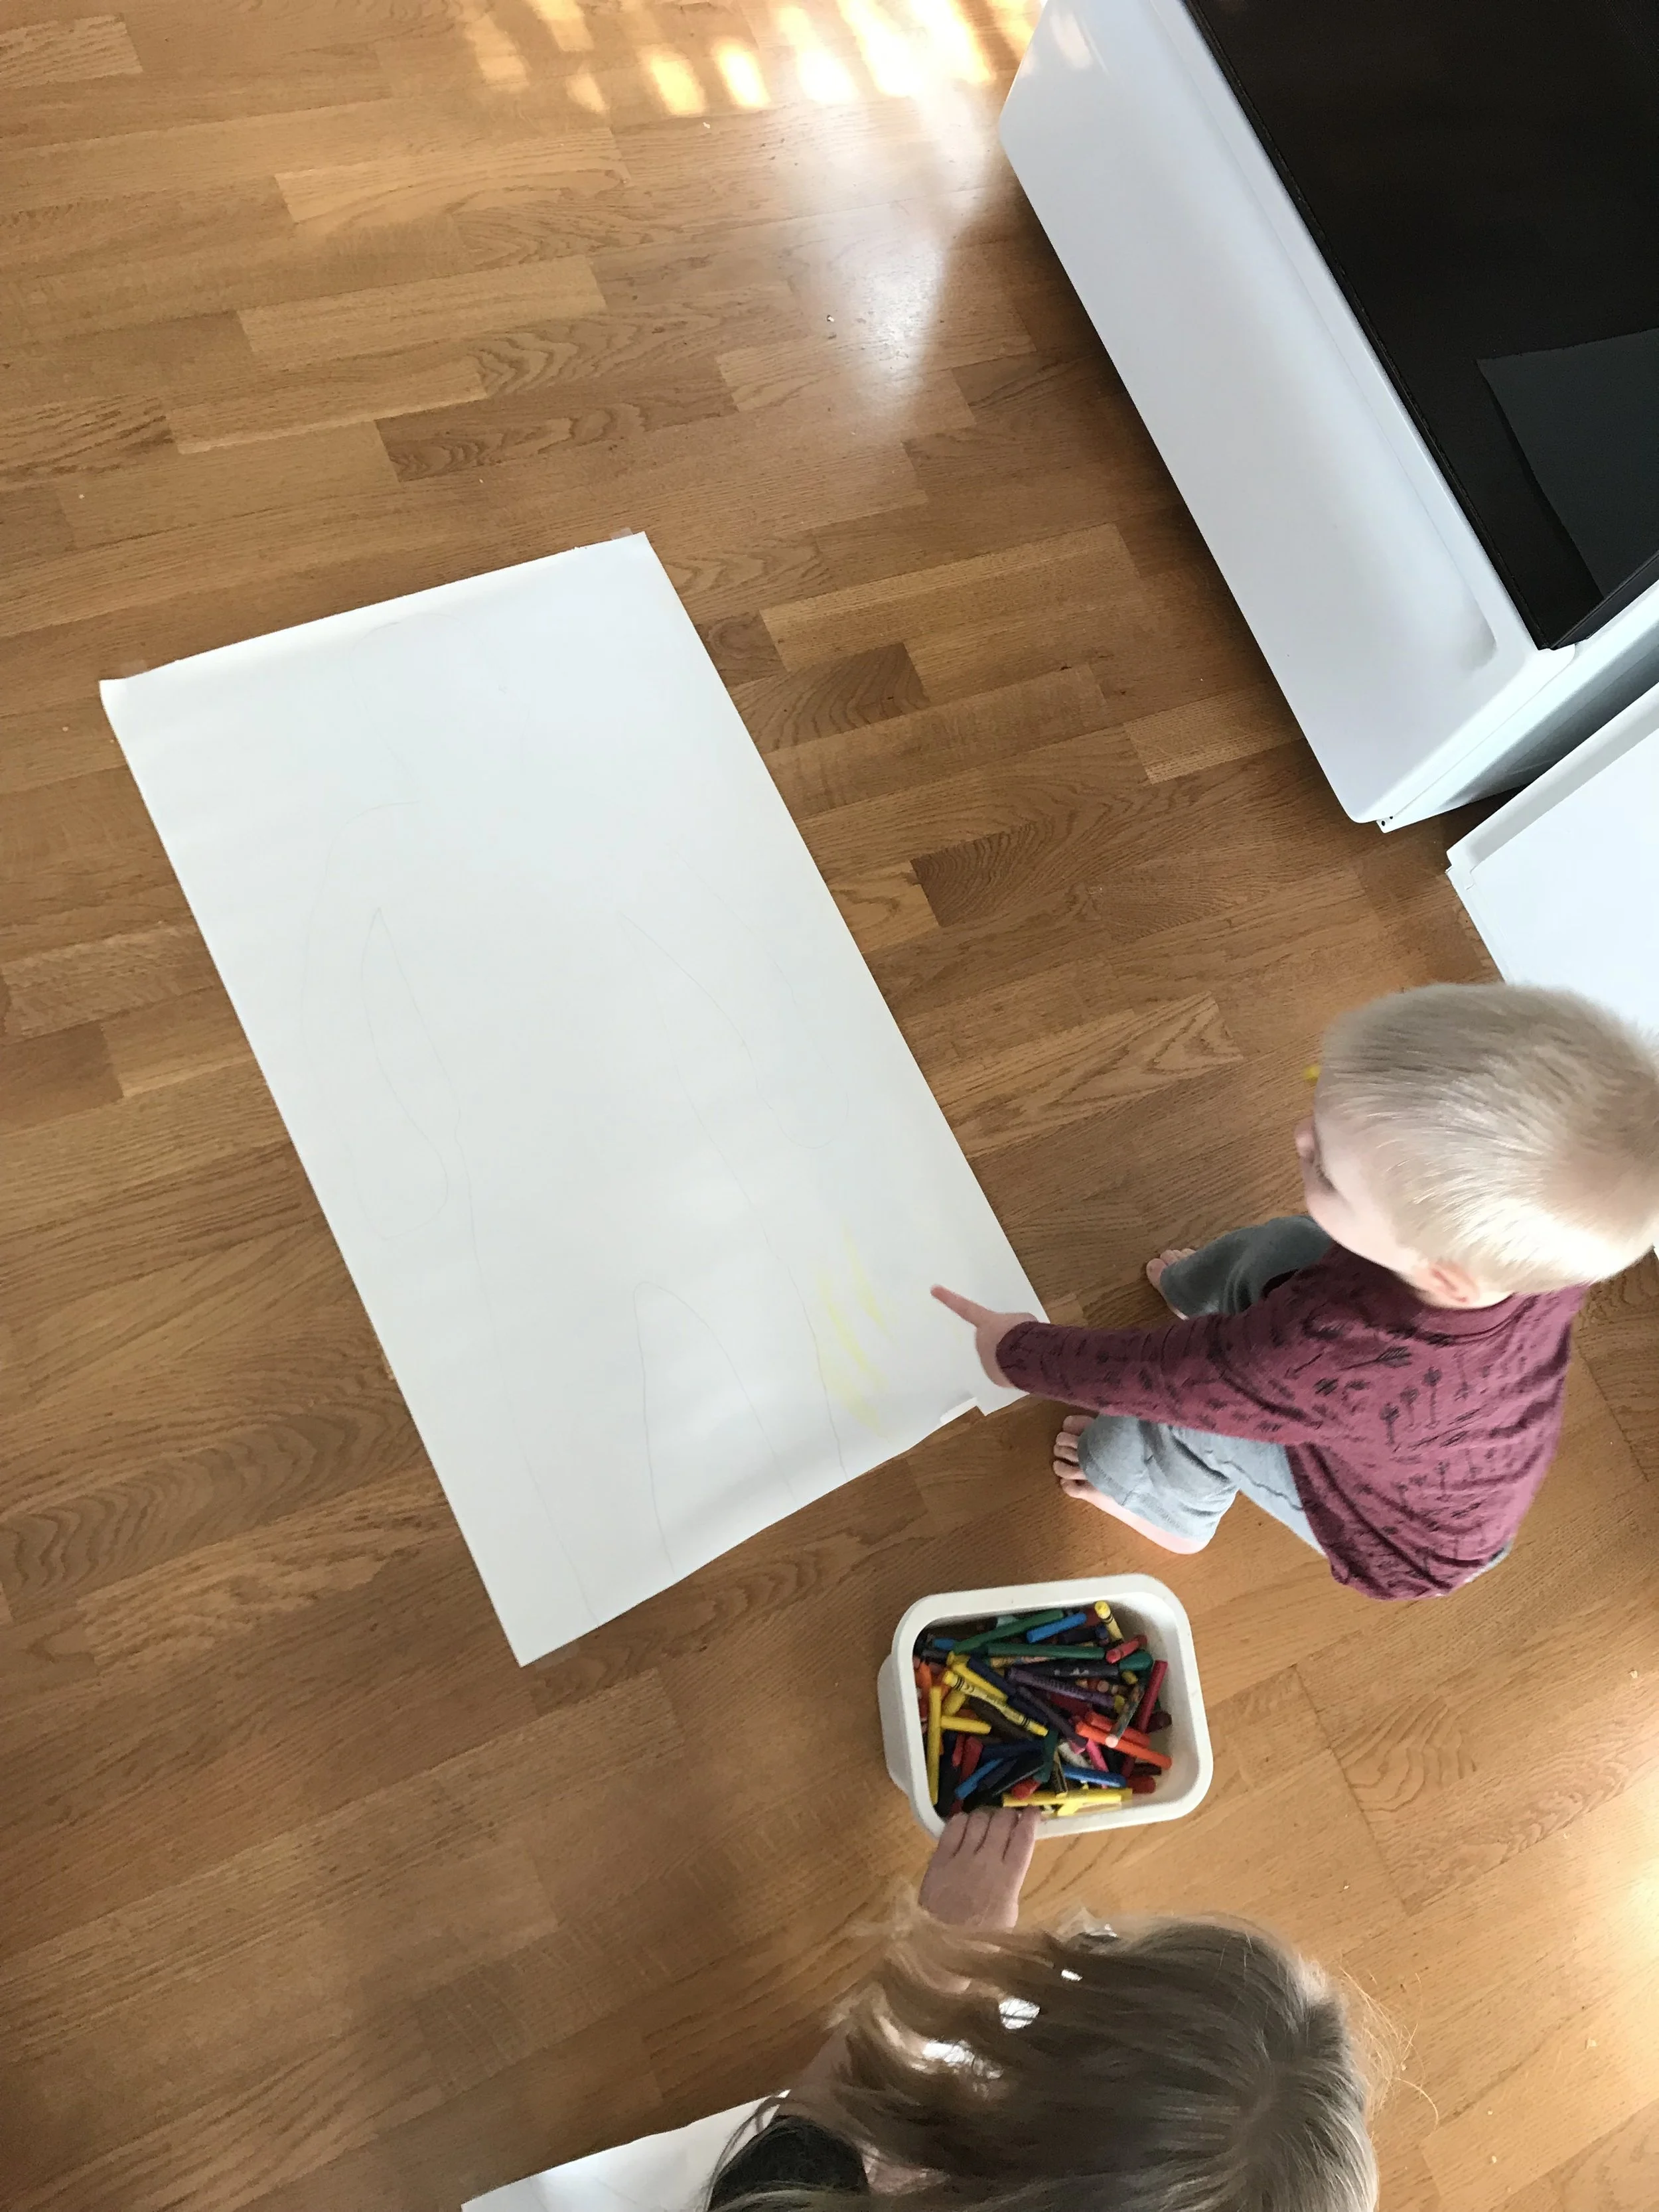
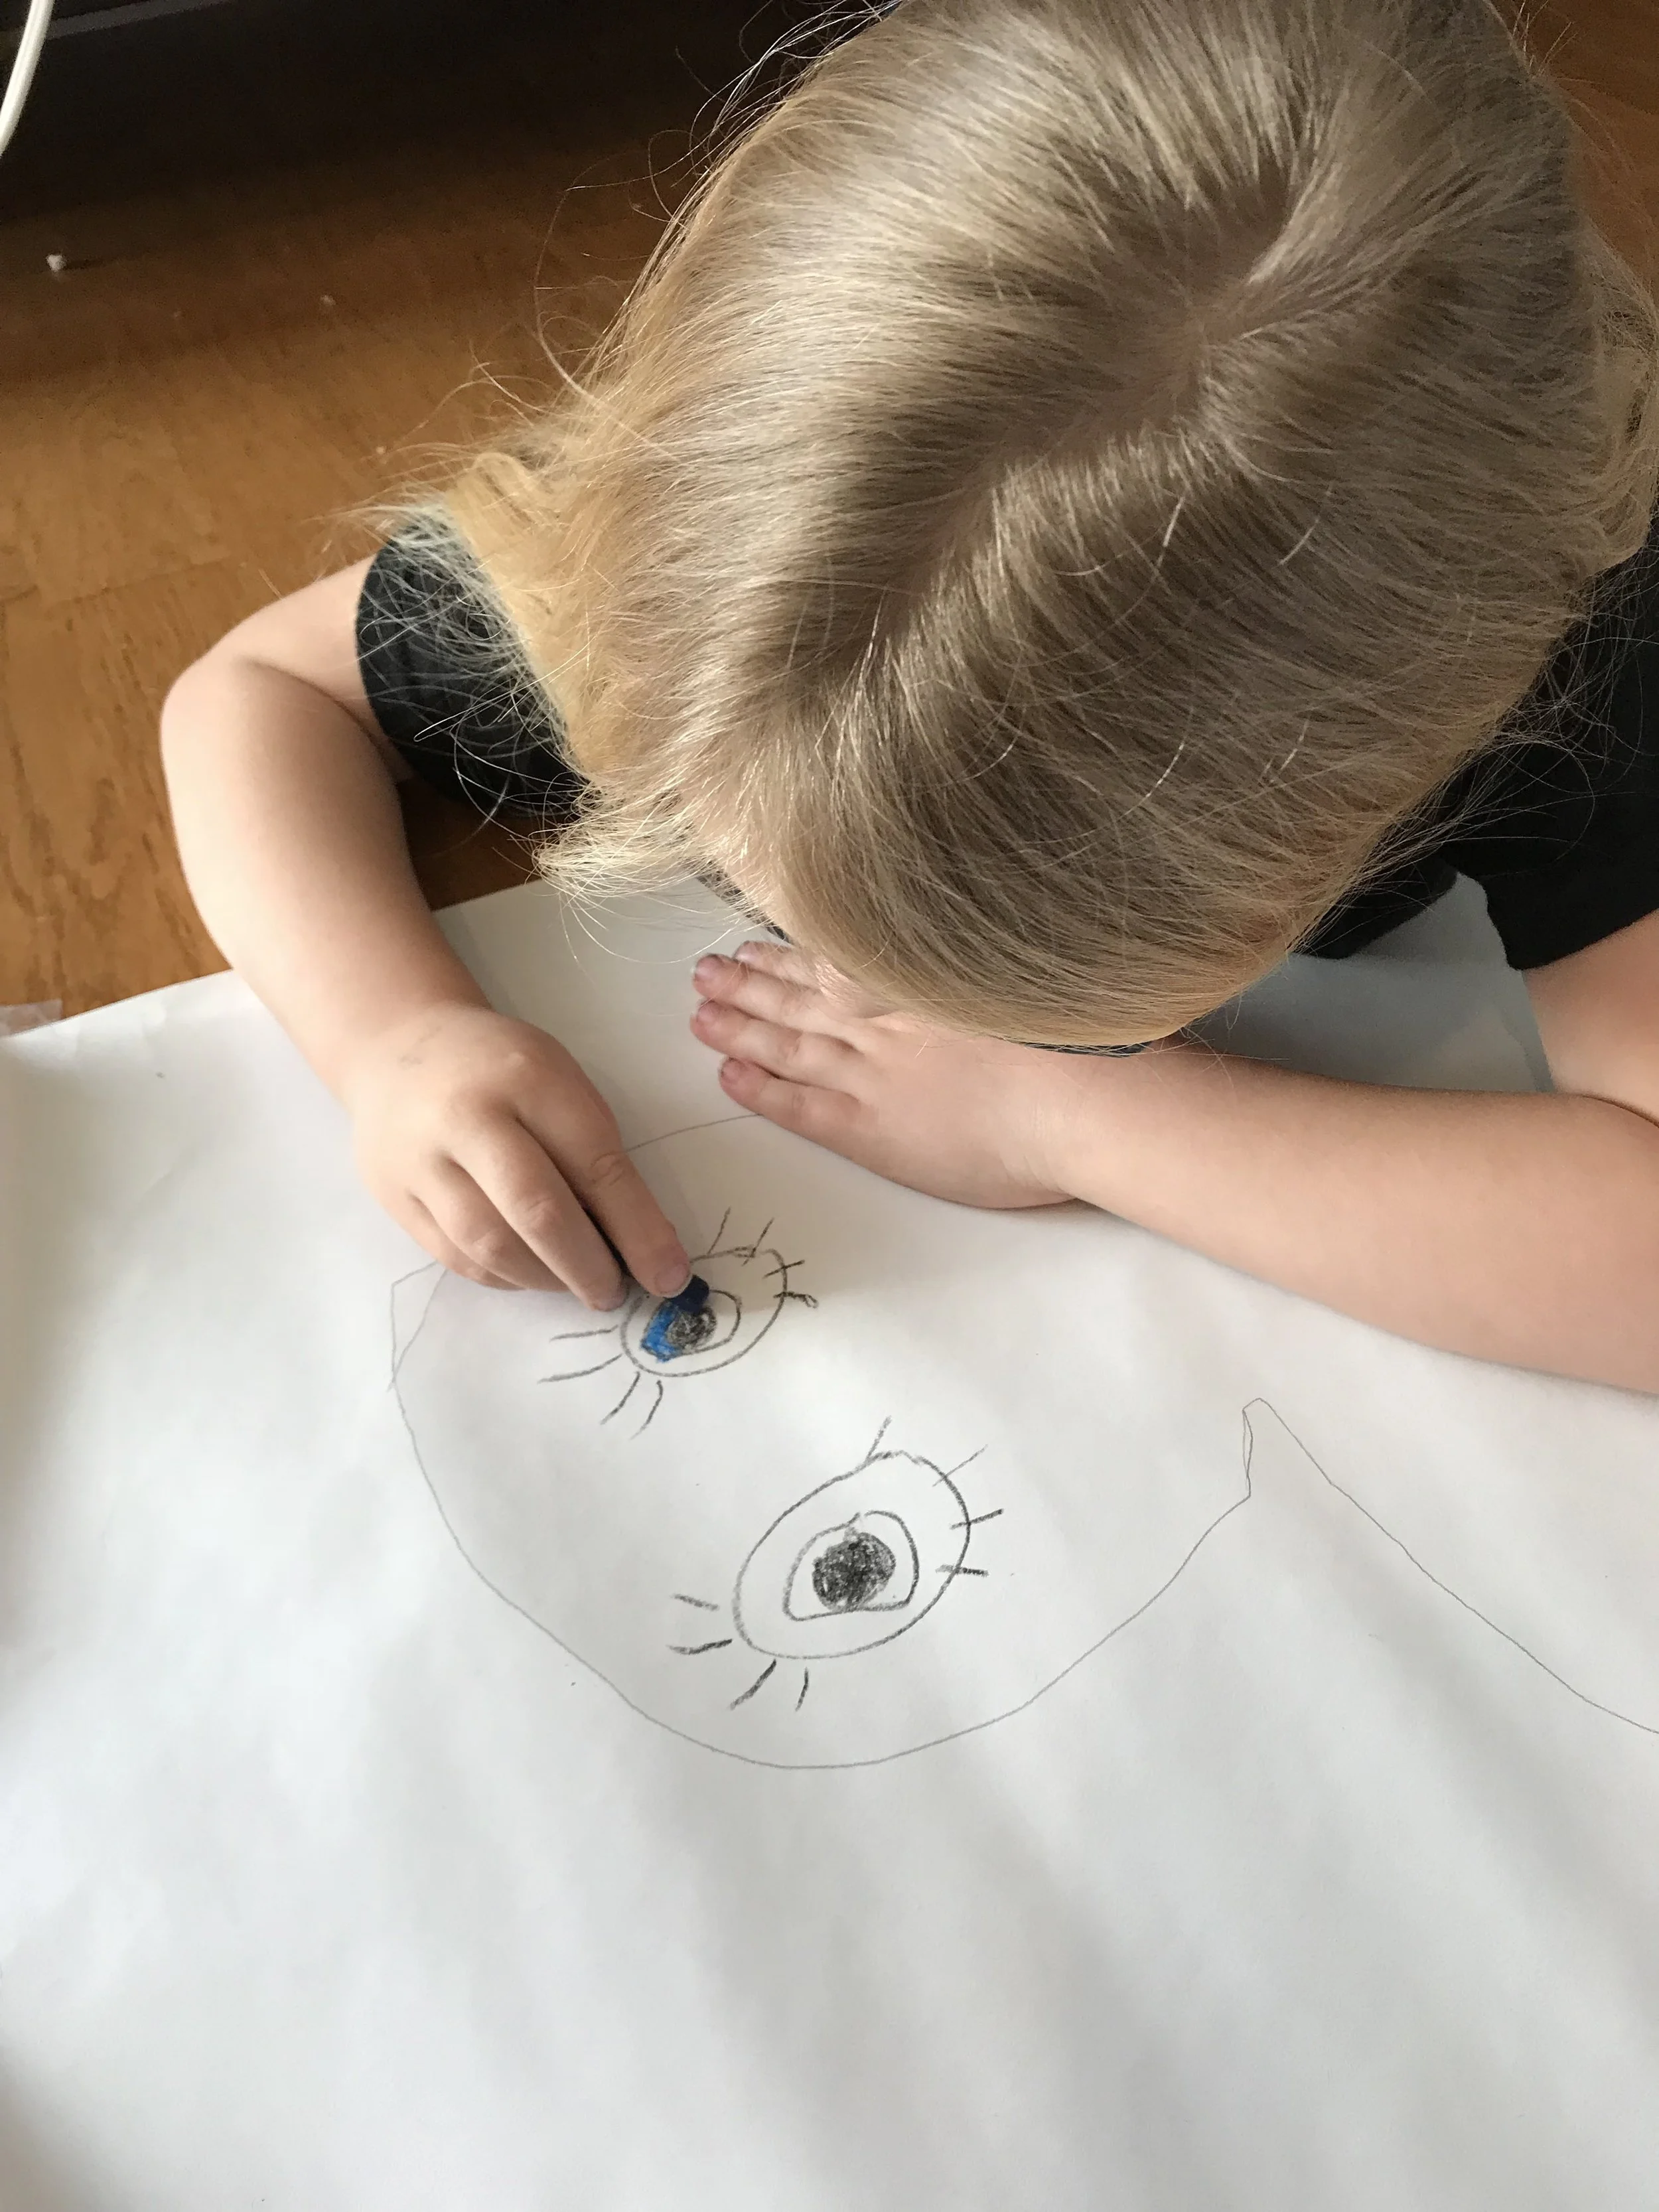
Life Size Self Portraits: I rolled out some of our large butcher paper and had the kids lay down on their paper. Then I traced all the way around each of them. We spend a few days slowly working on adding all the details so they could make life size self portraits. Emerson really loved this activity and she spent a lot of time adding every detail she could think of. Emmett thought it was pretty cool to be traced onto paper and enjoyed practicing his coloring.
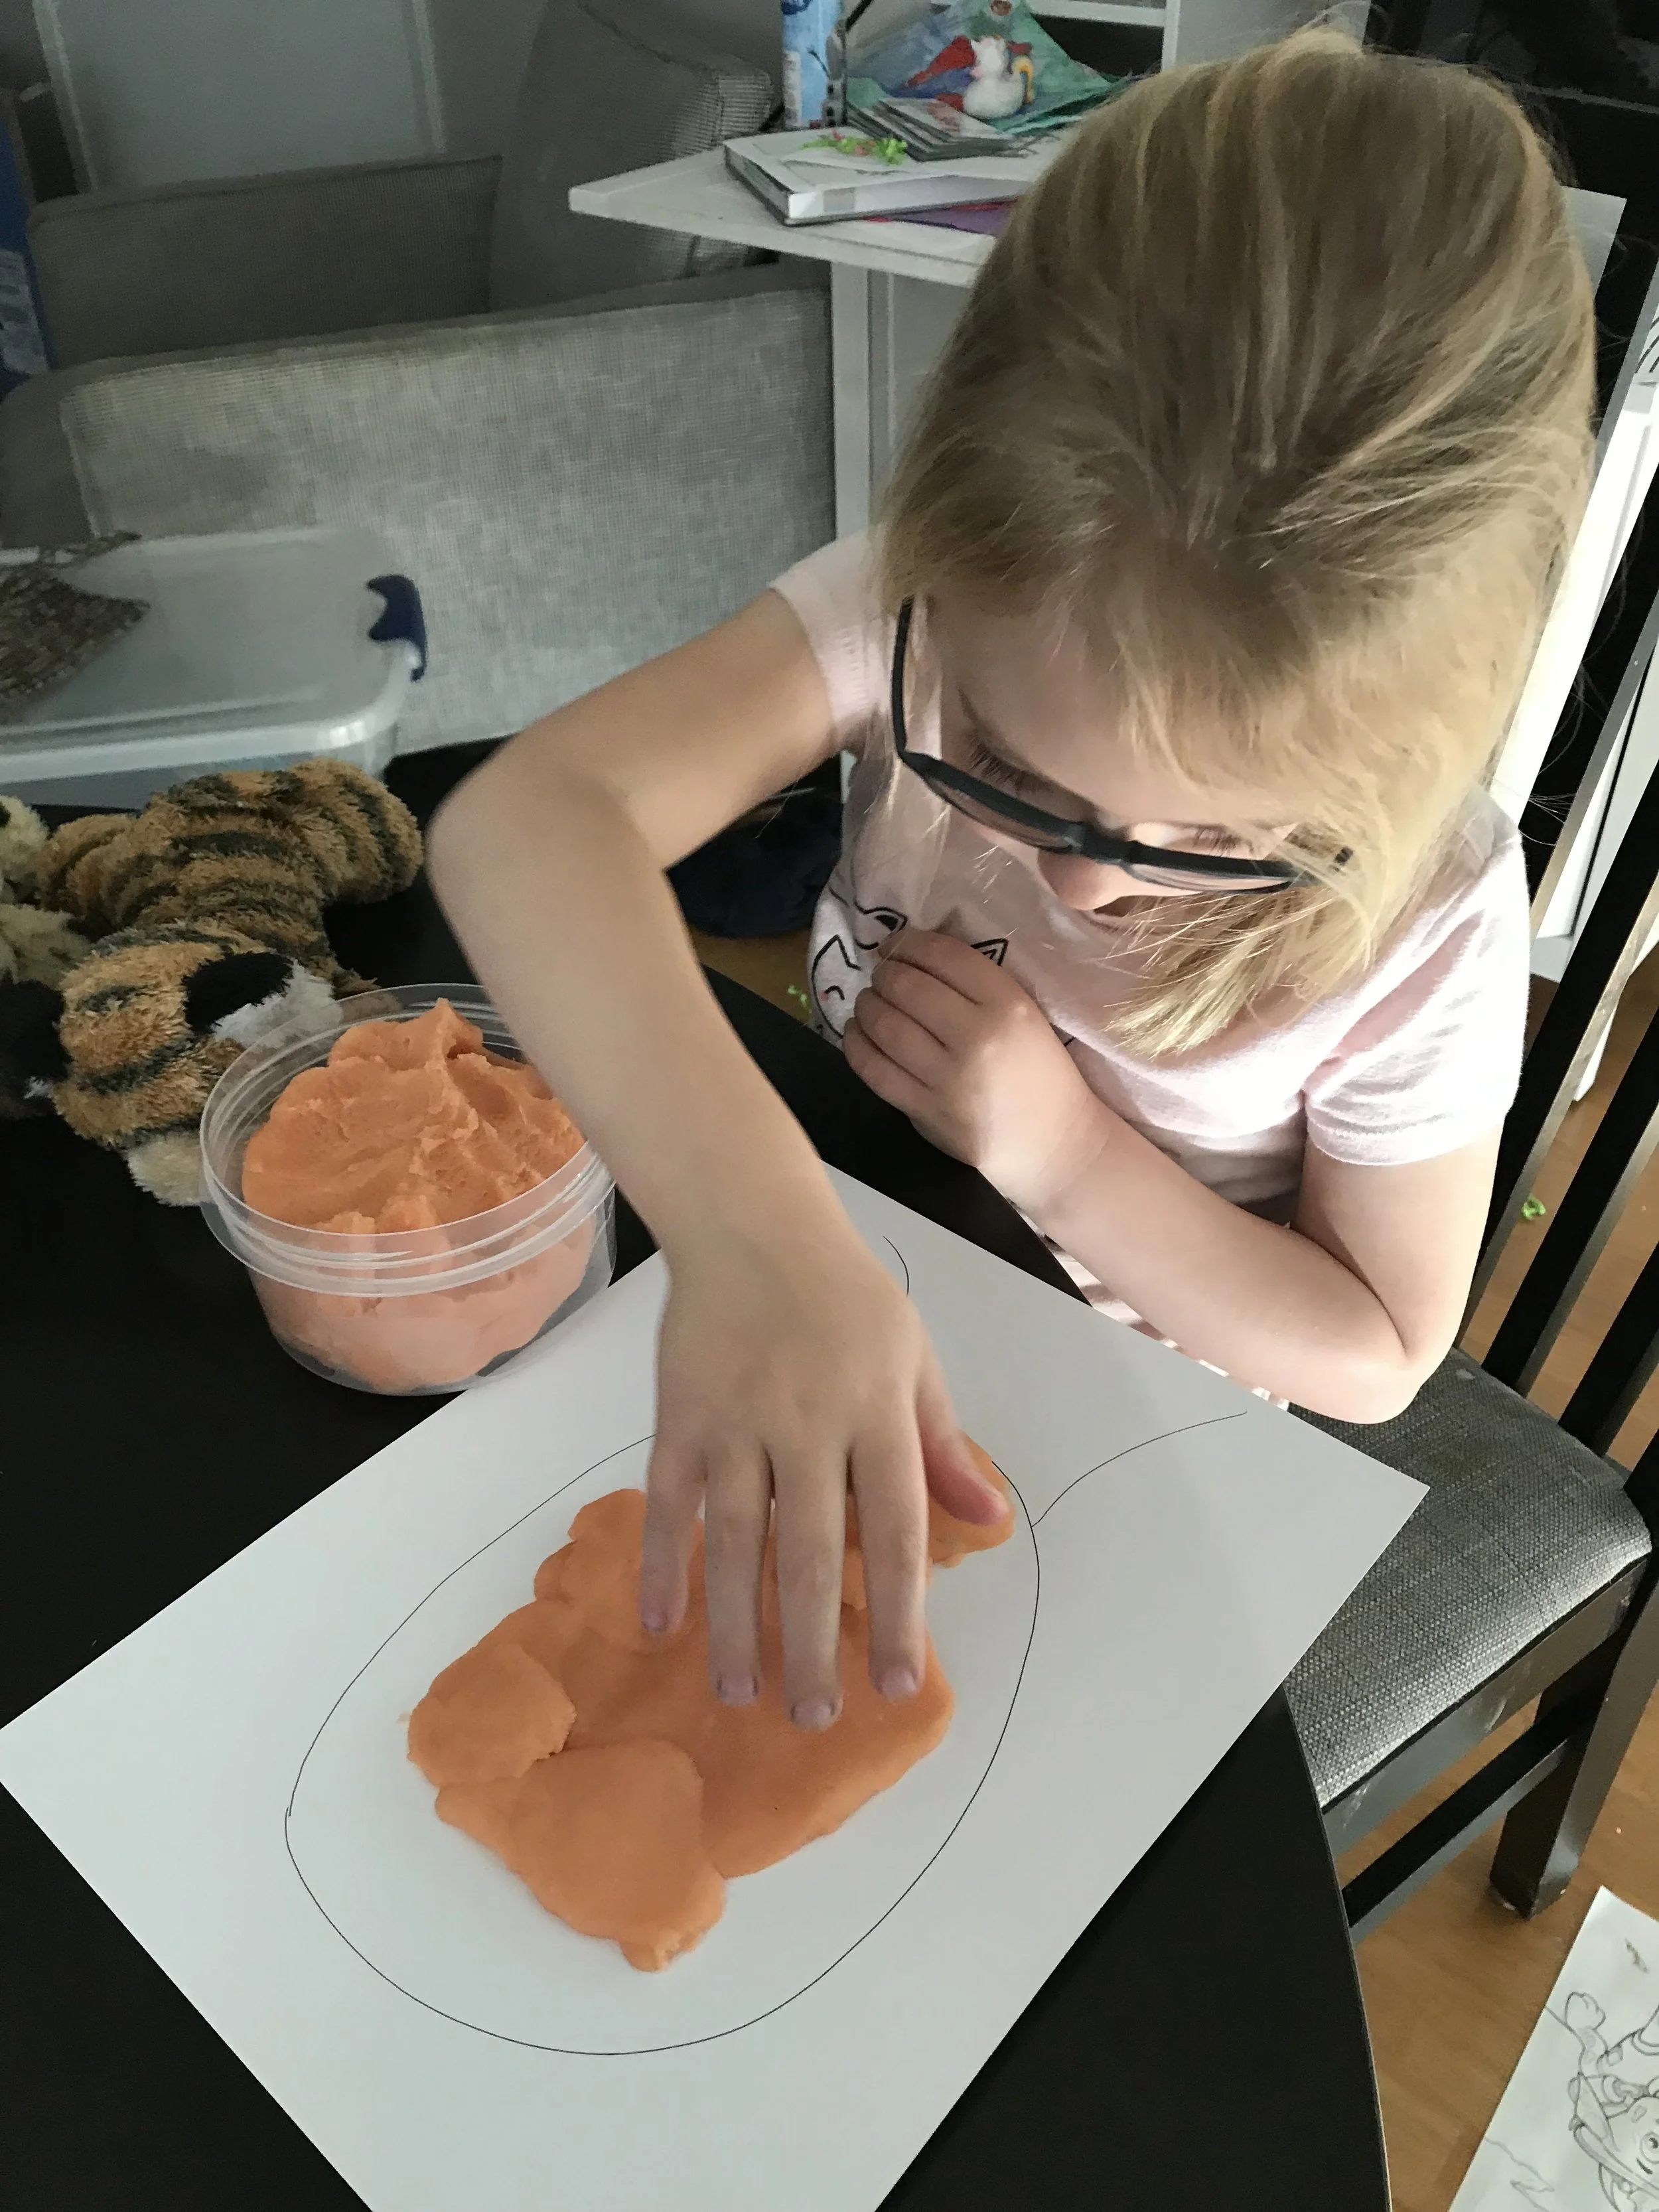
Playdoh Portraits: Emerson really enjoyed this project and she really surprised me by how creative she got. I drew a head and neck onto a piece of paper and gave her some playdoh. I asked her to use the playdoh to make a face on her head. She covered the entire head with playdoh and then added the details. She made Raphael, the Ninja turtle. Can you tell? This is a great activity to help children learn the parts of their face like eyes, nose and mouth. It also helps them work on their fine motor skills which is an added bonus!
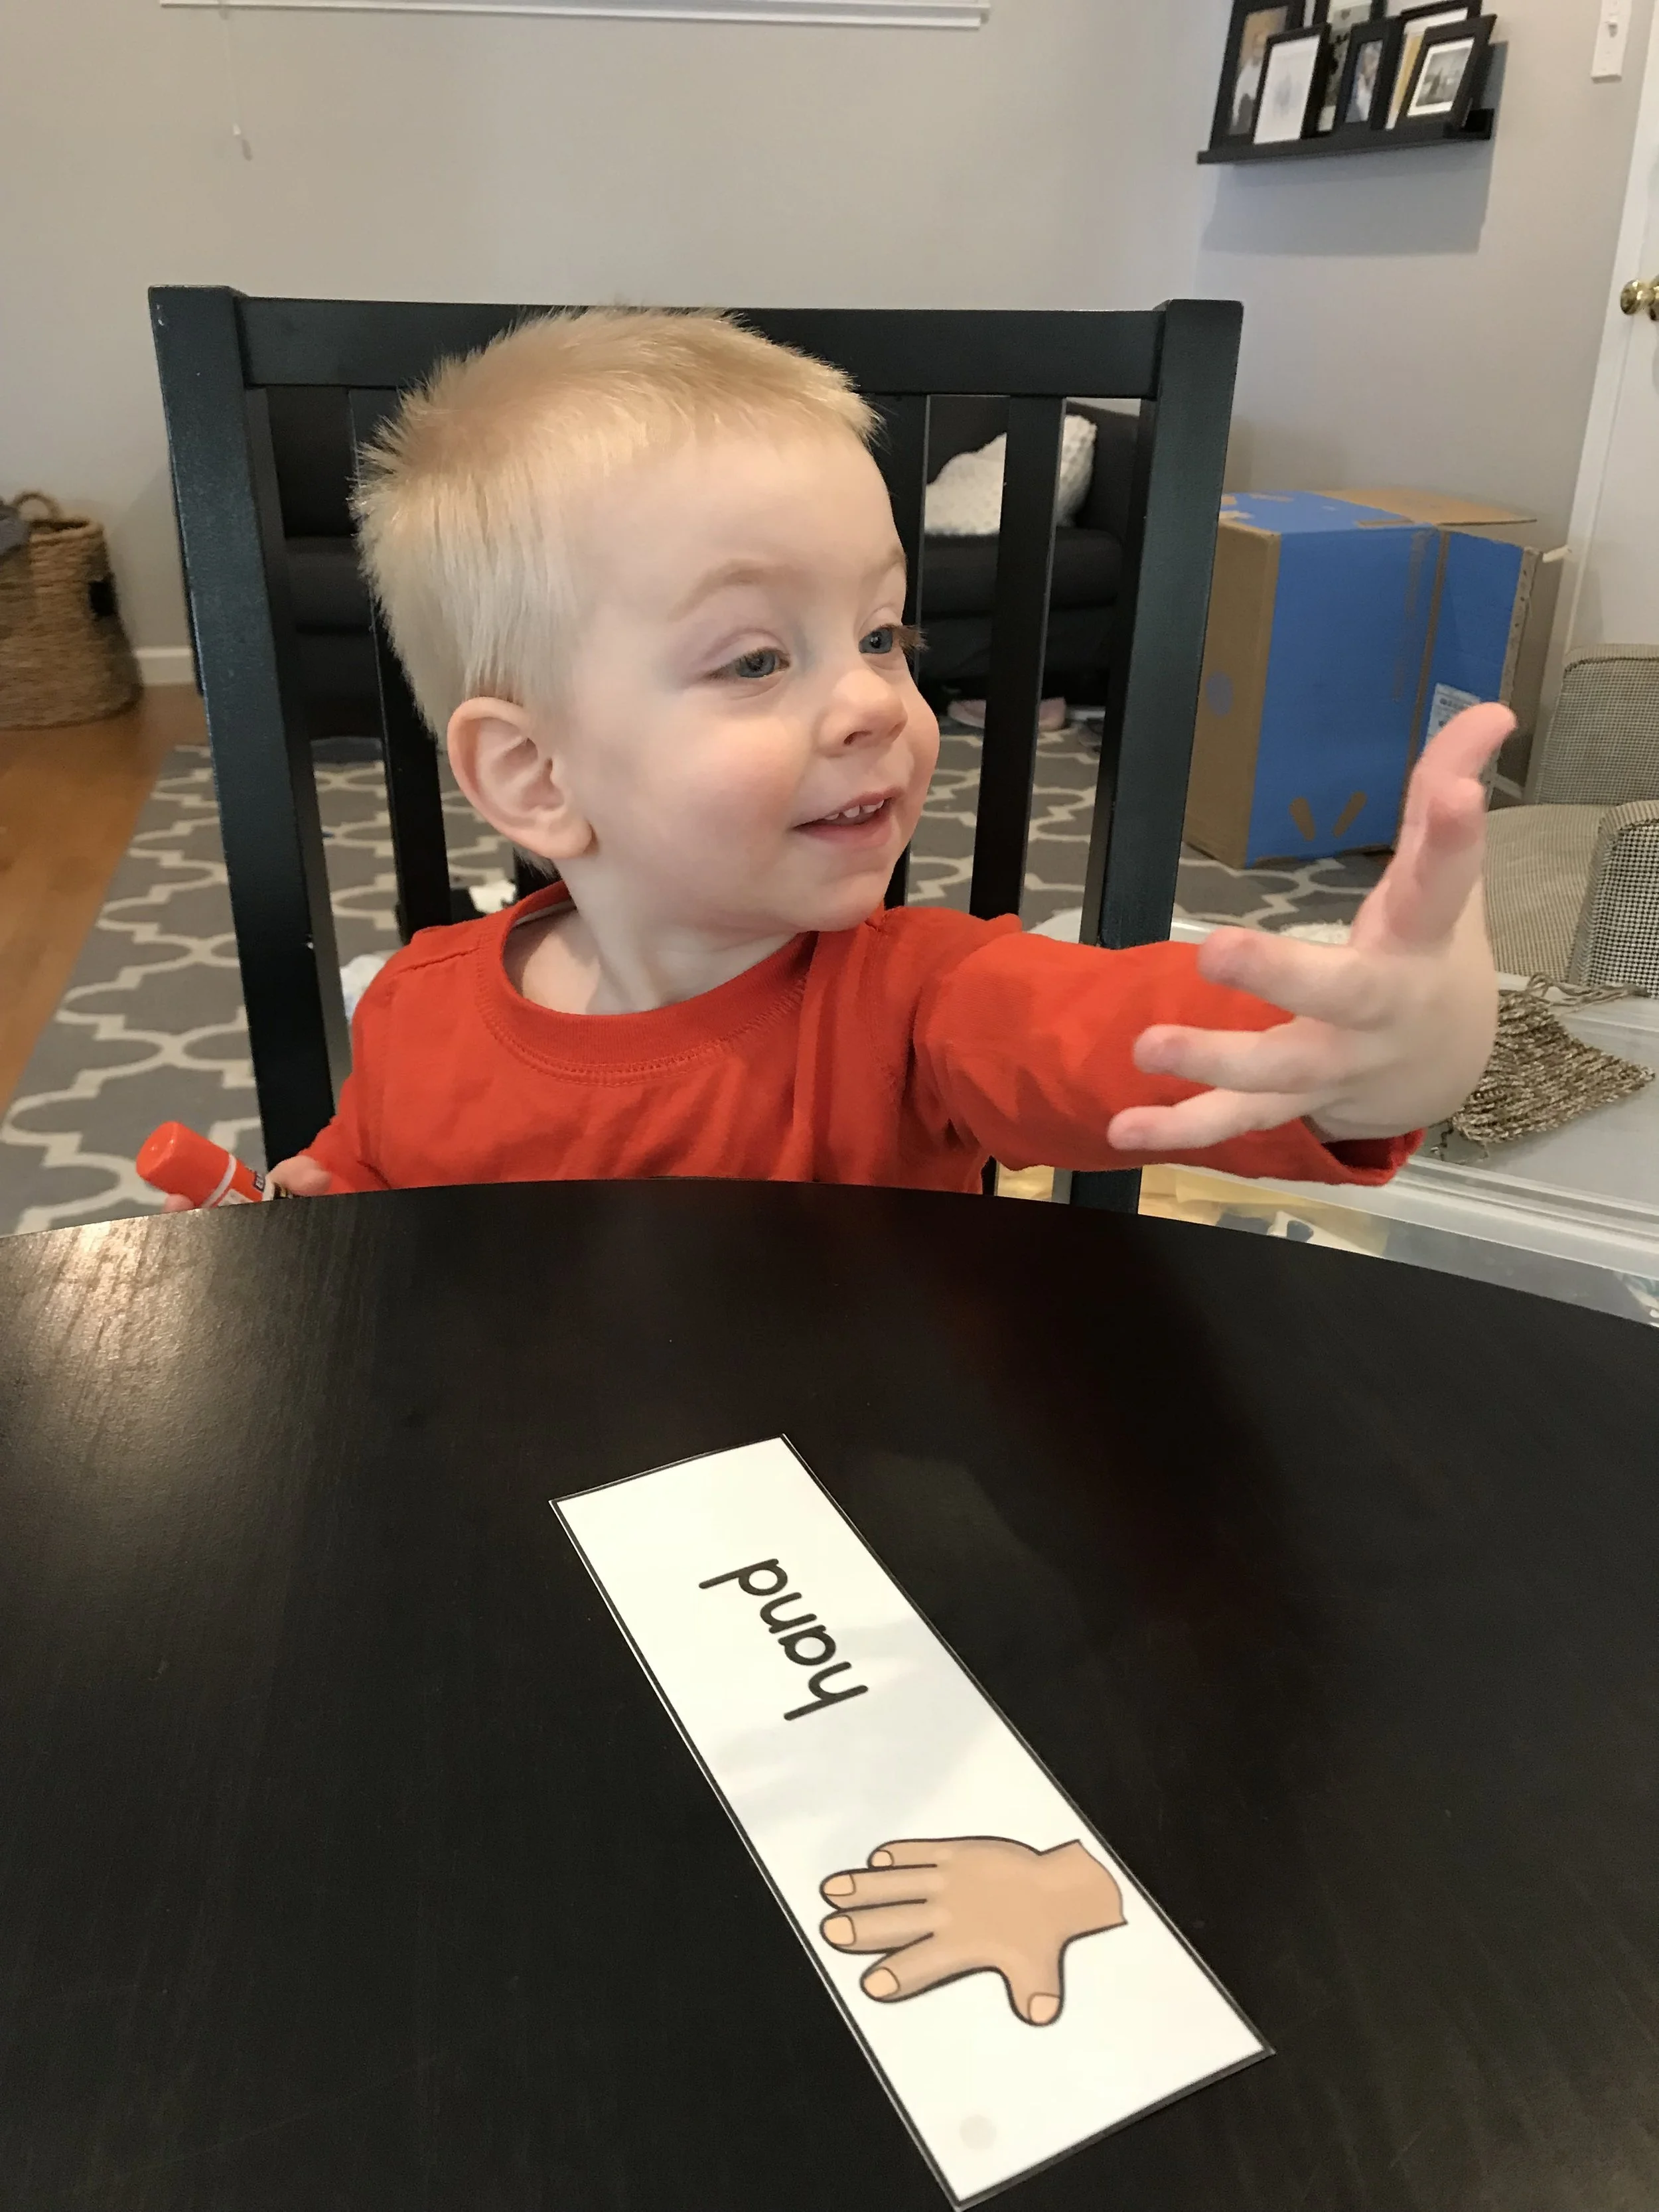
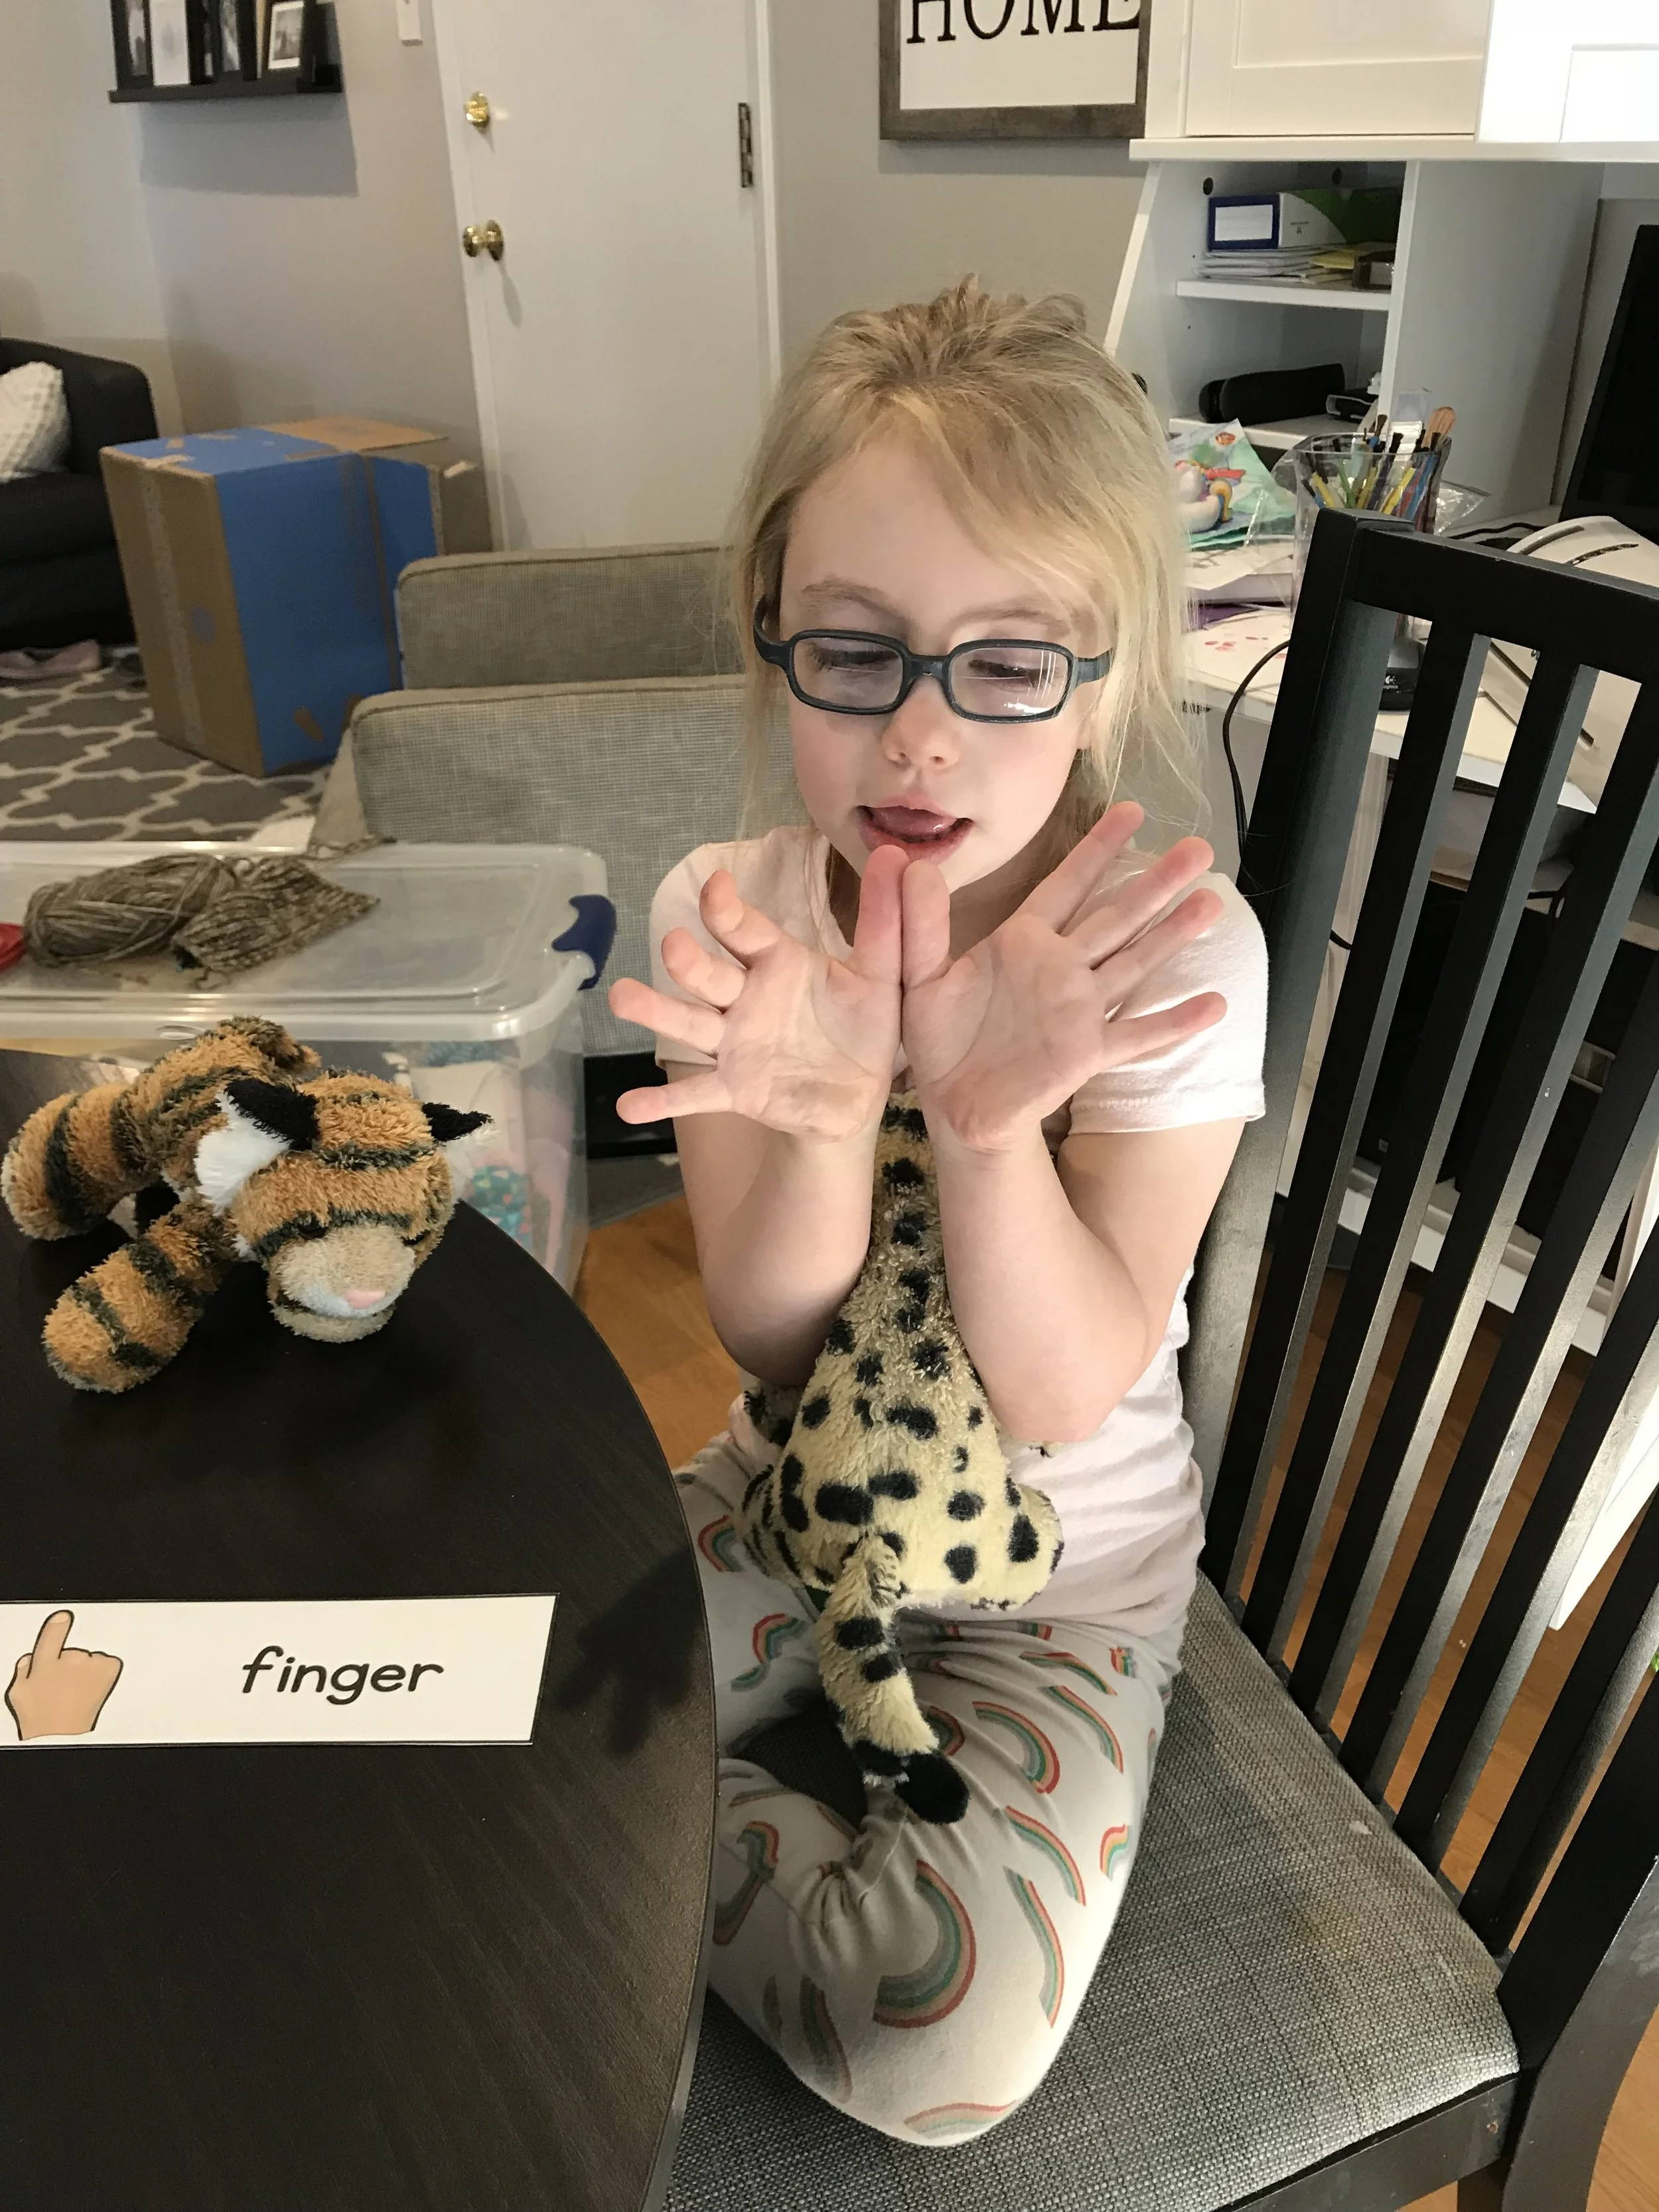
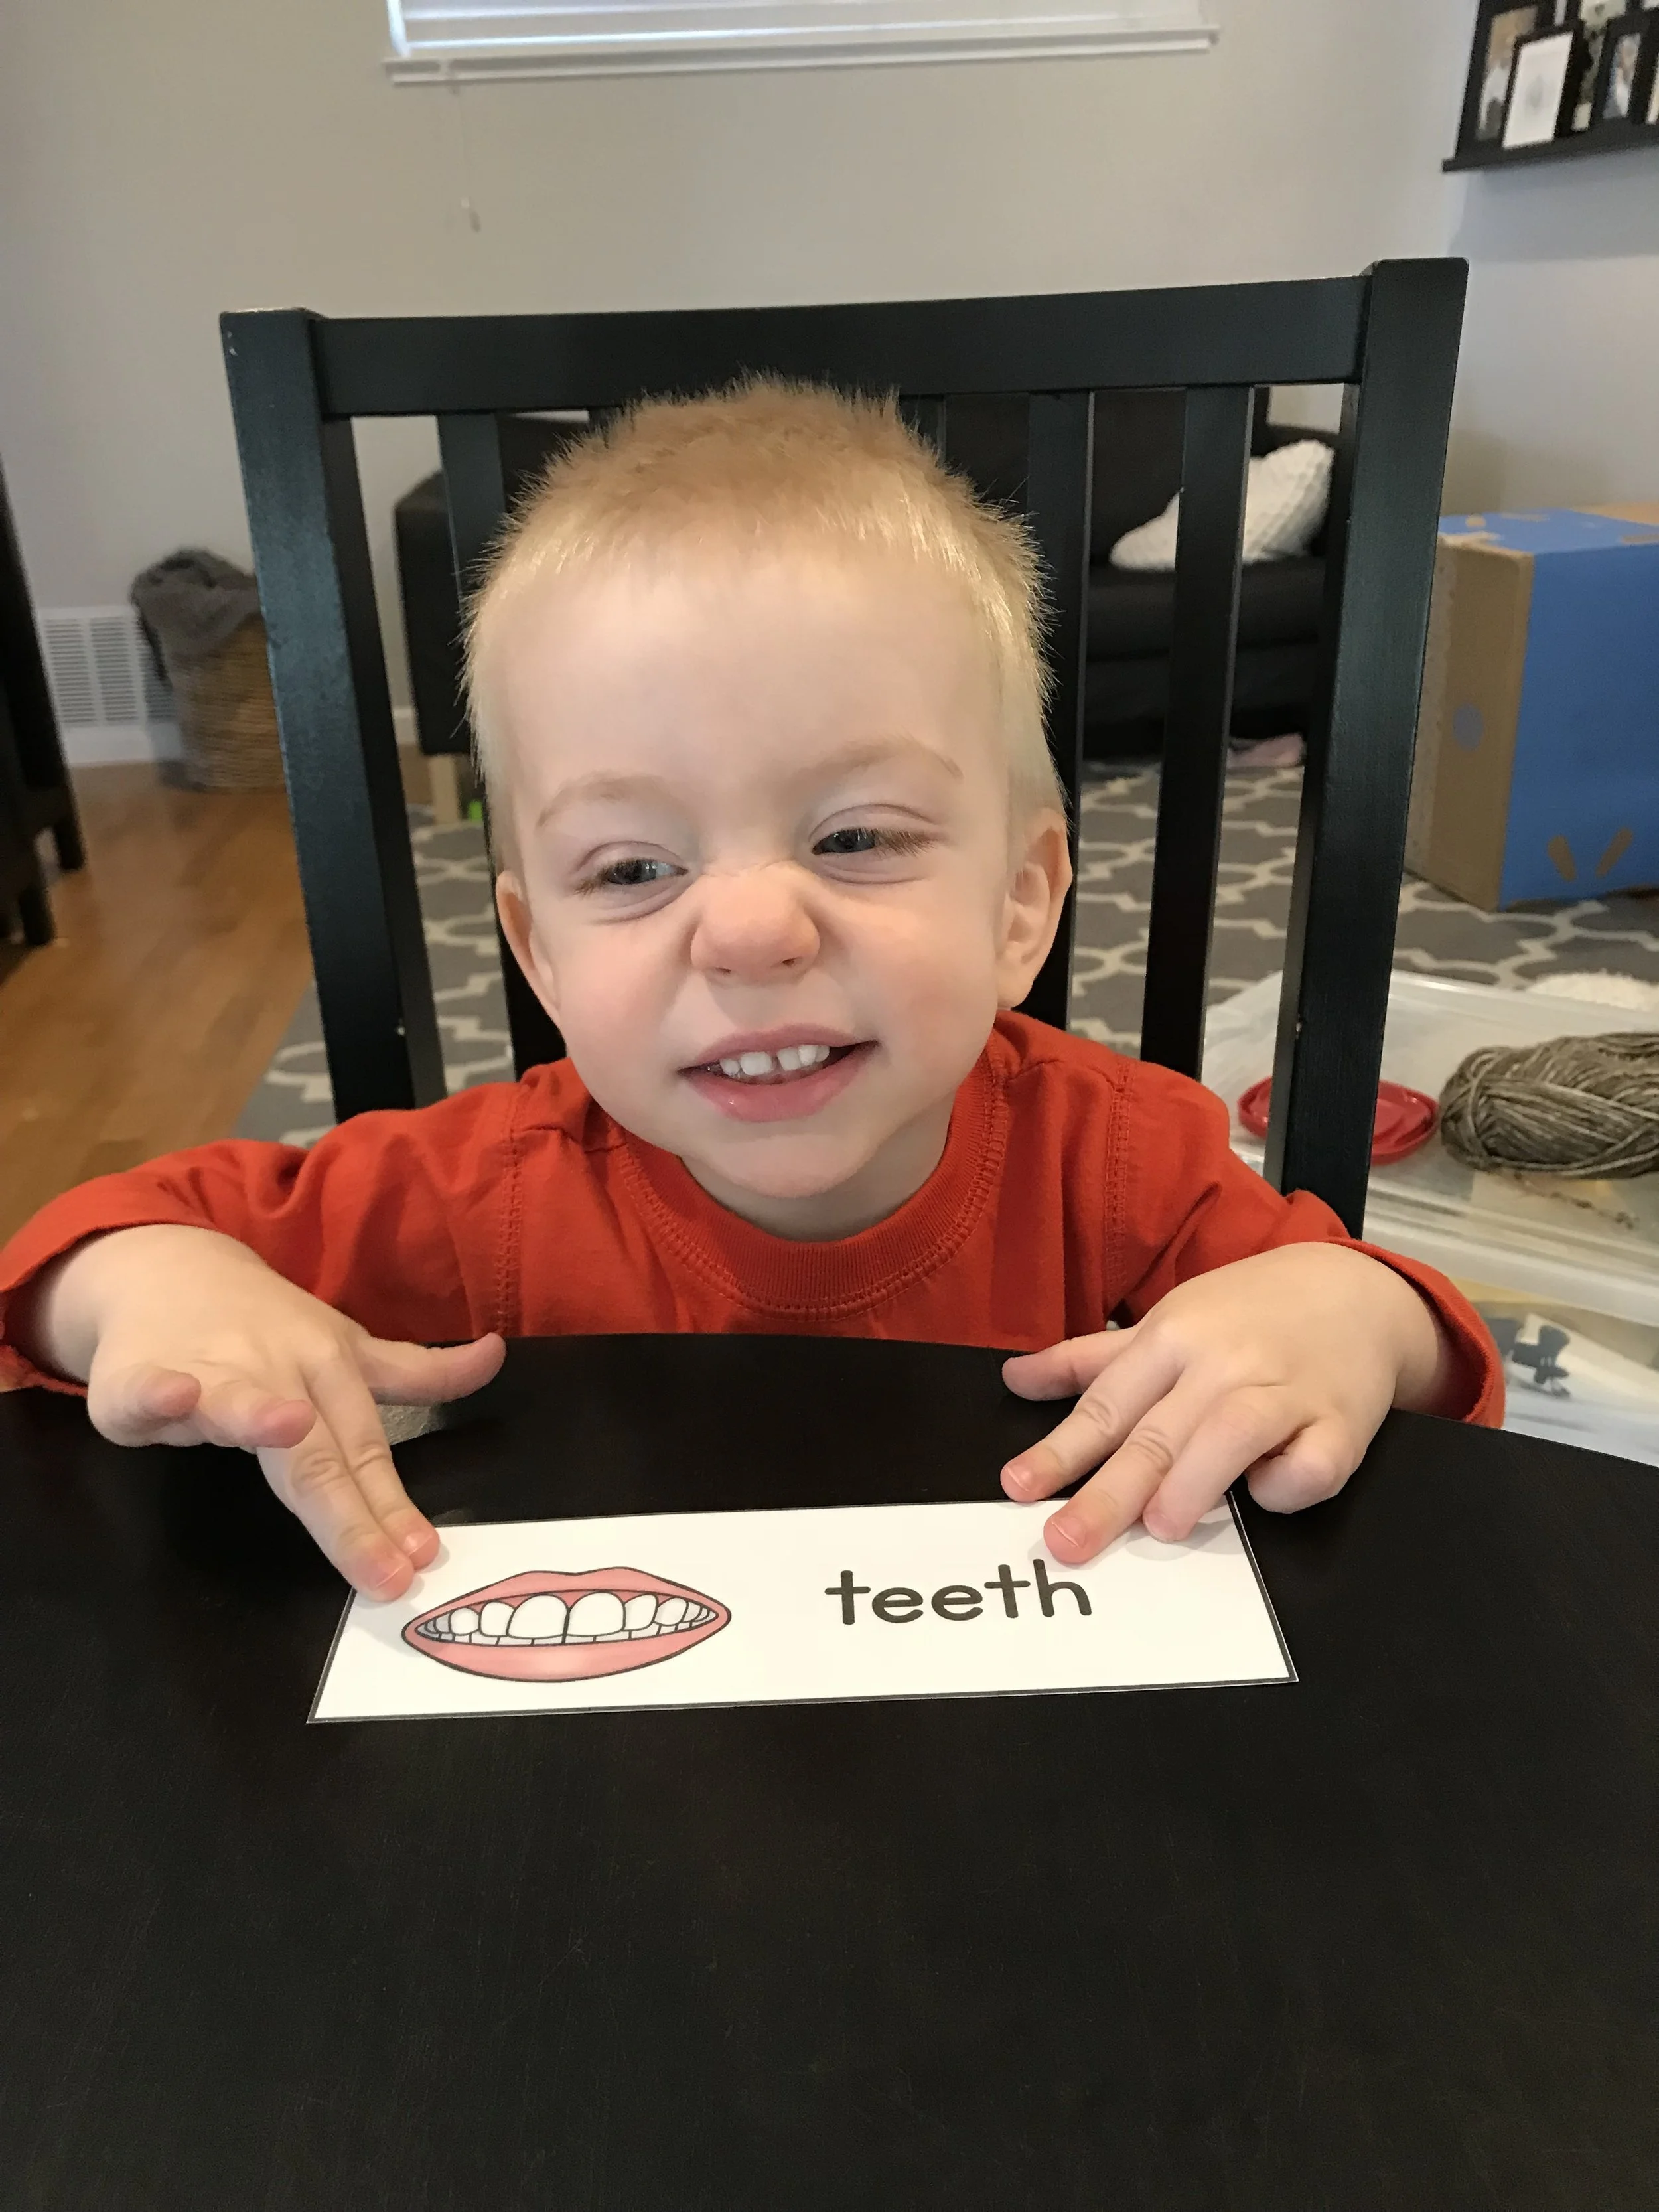
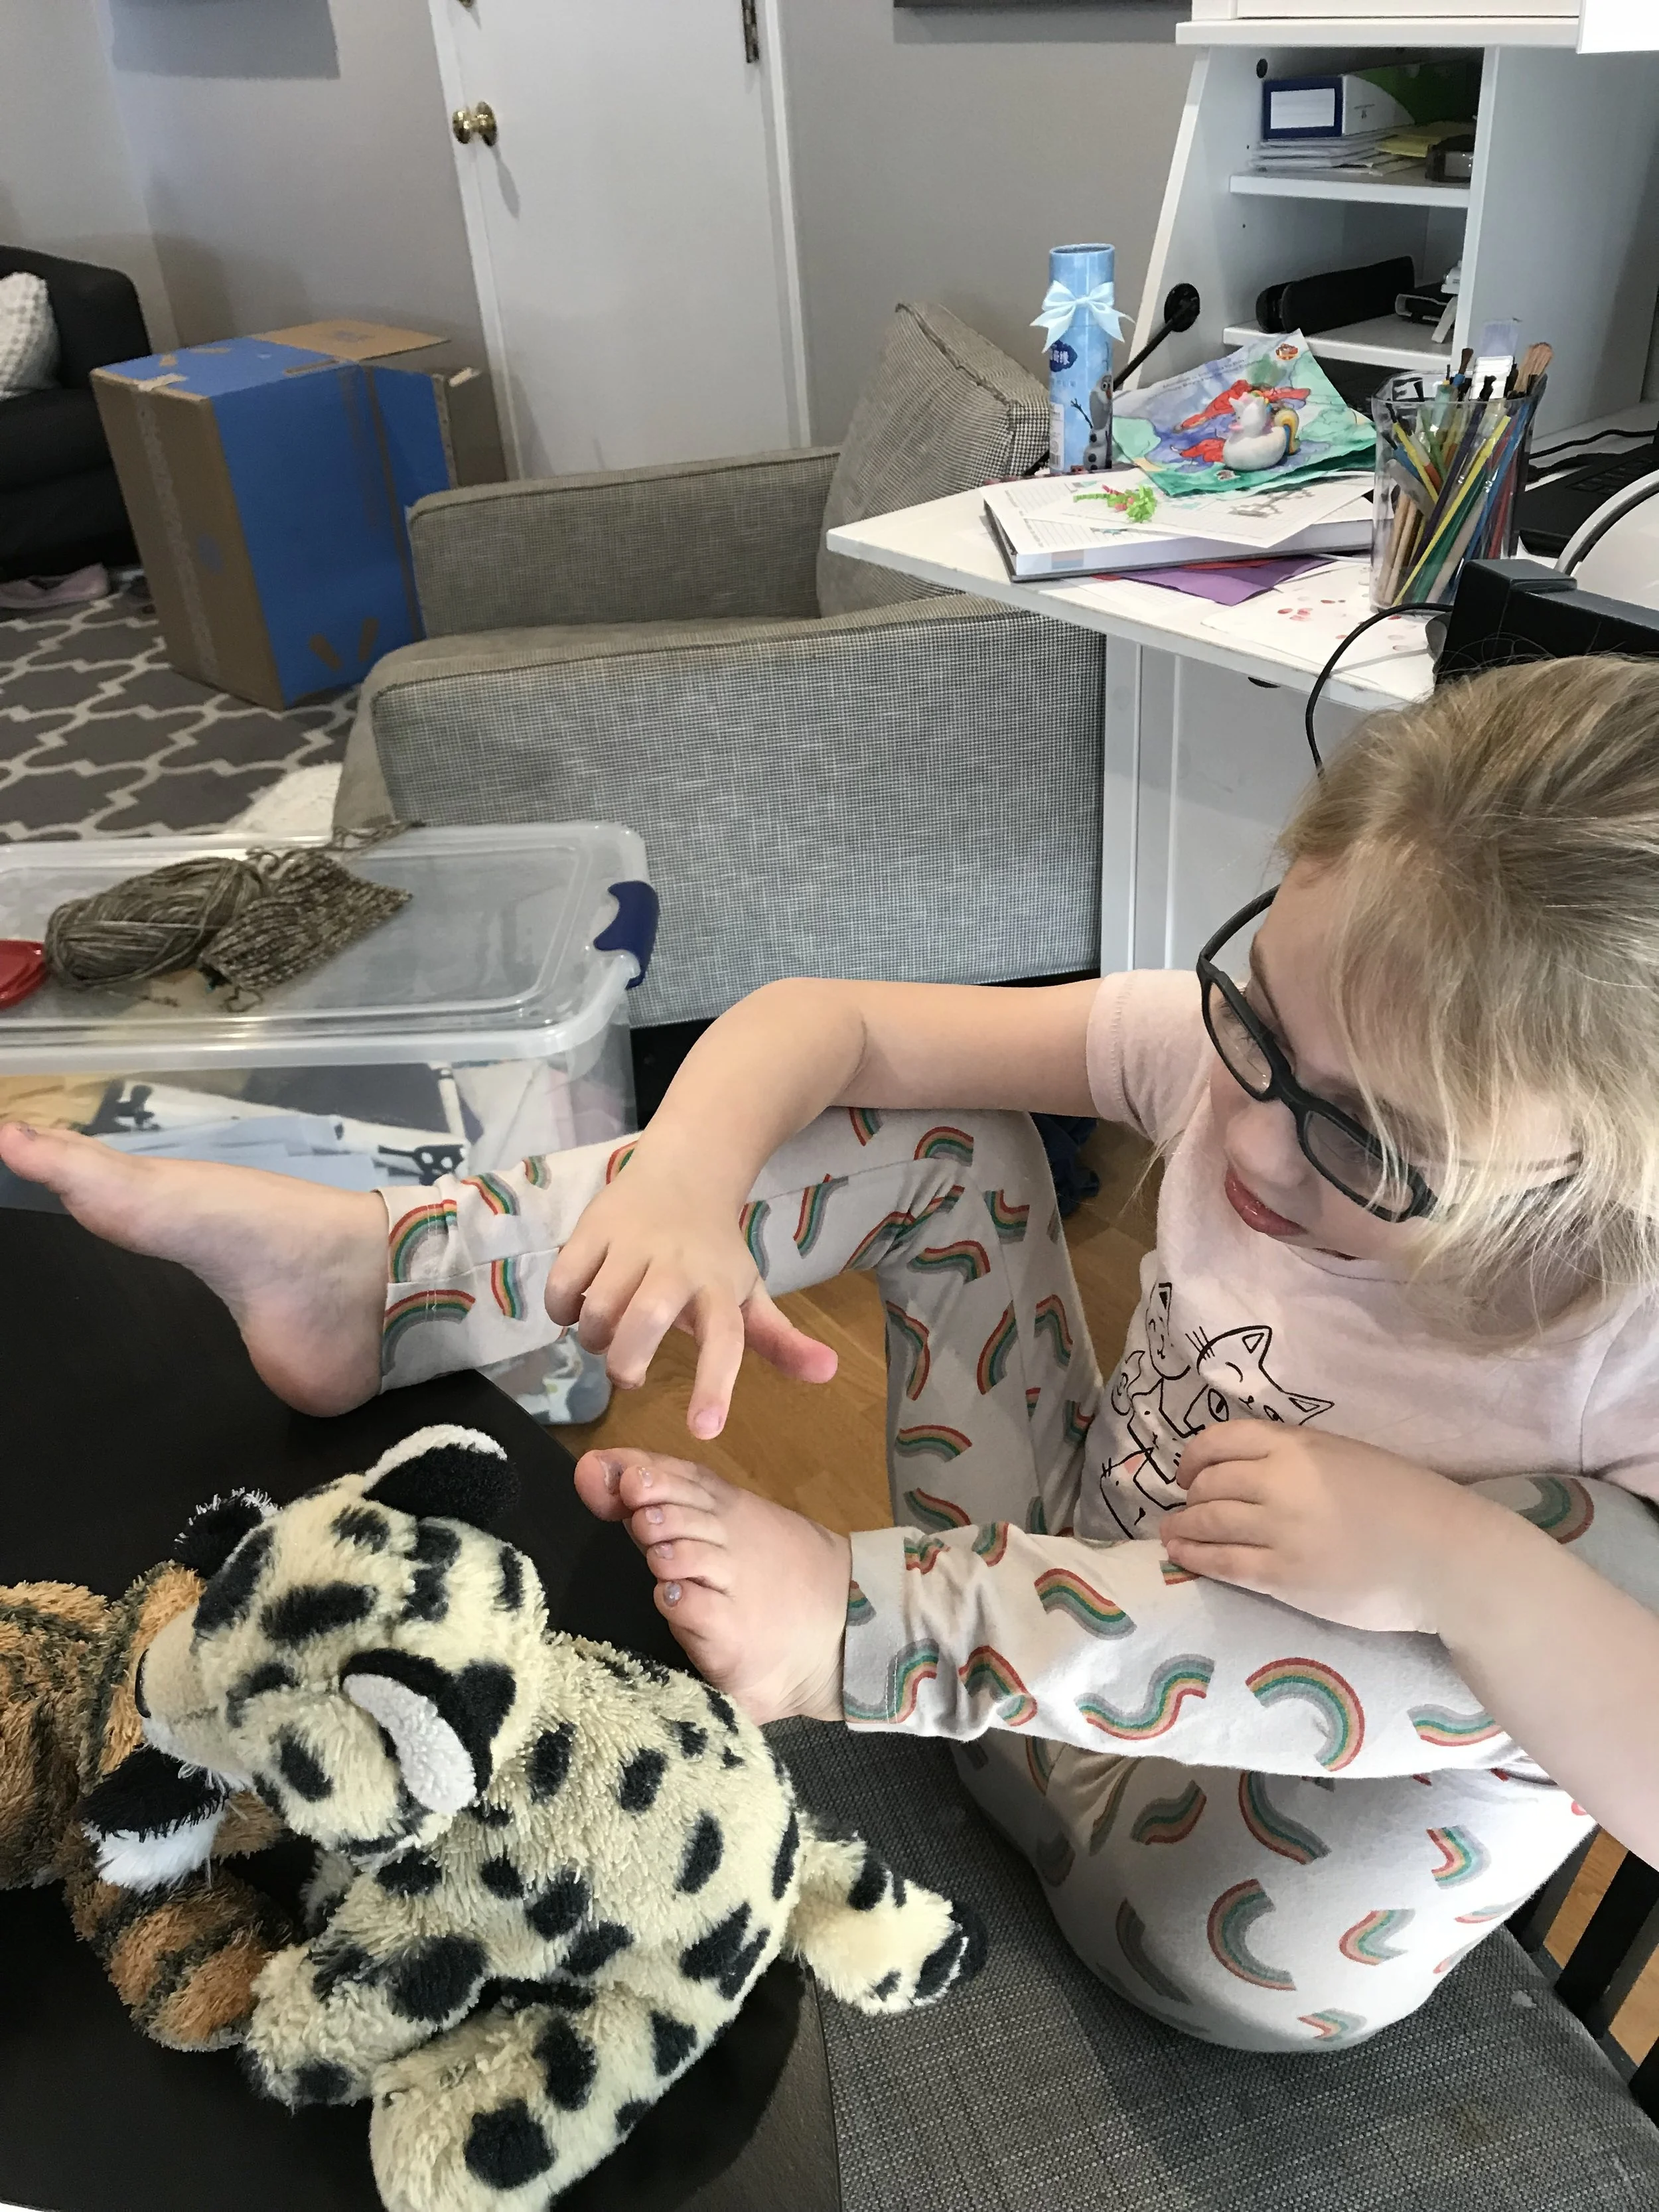
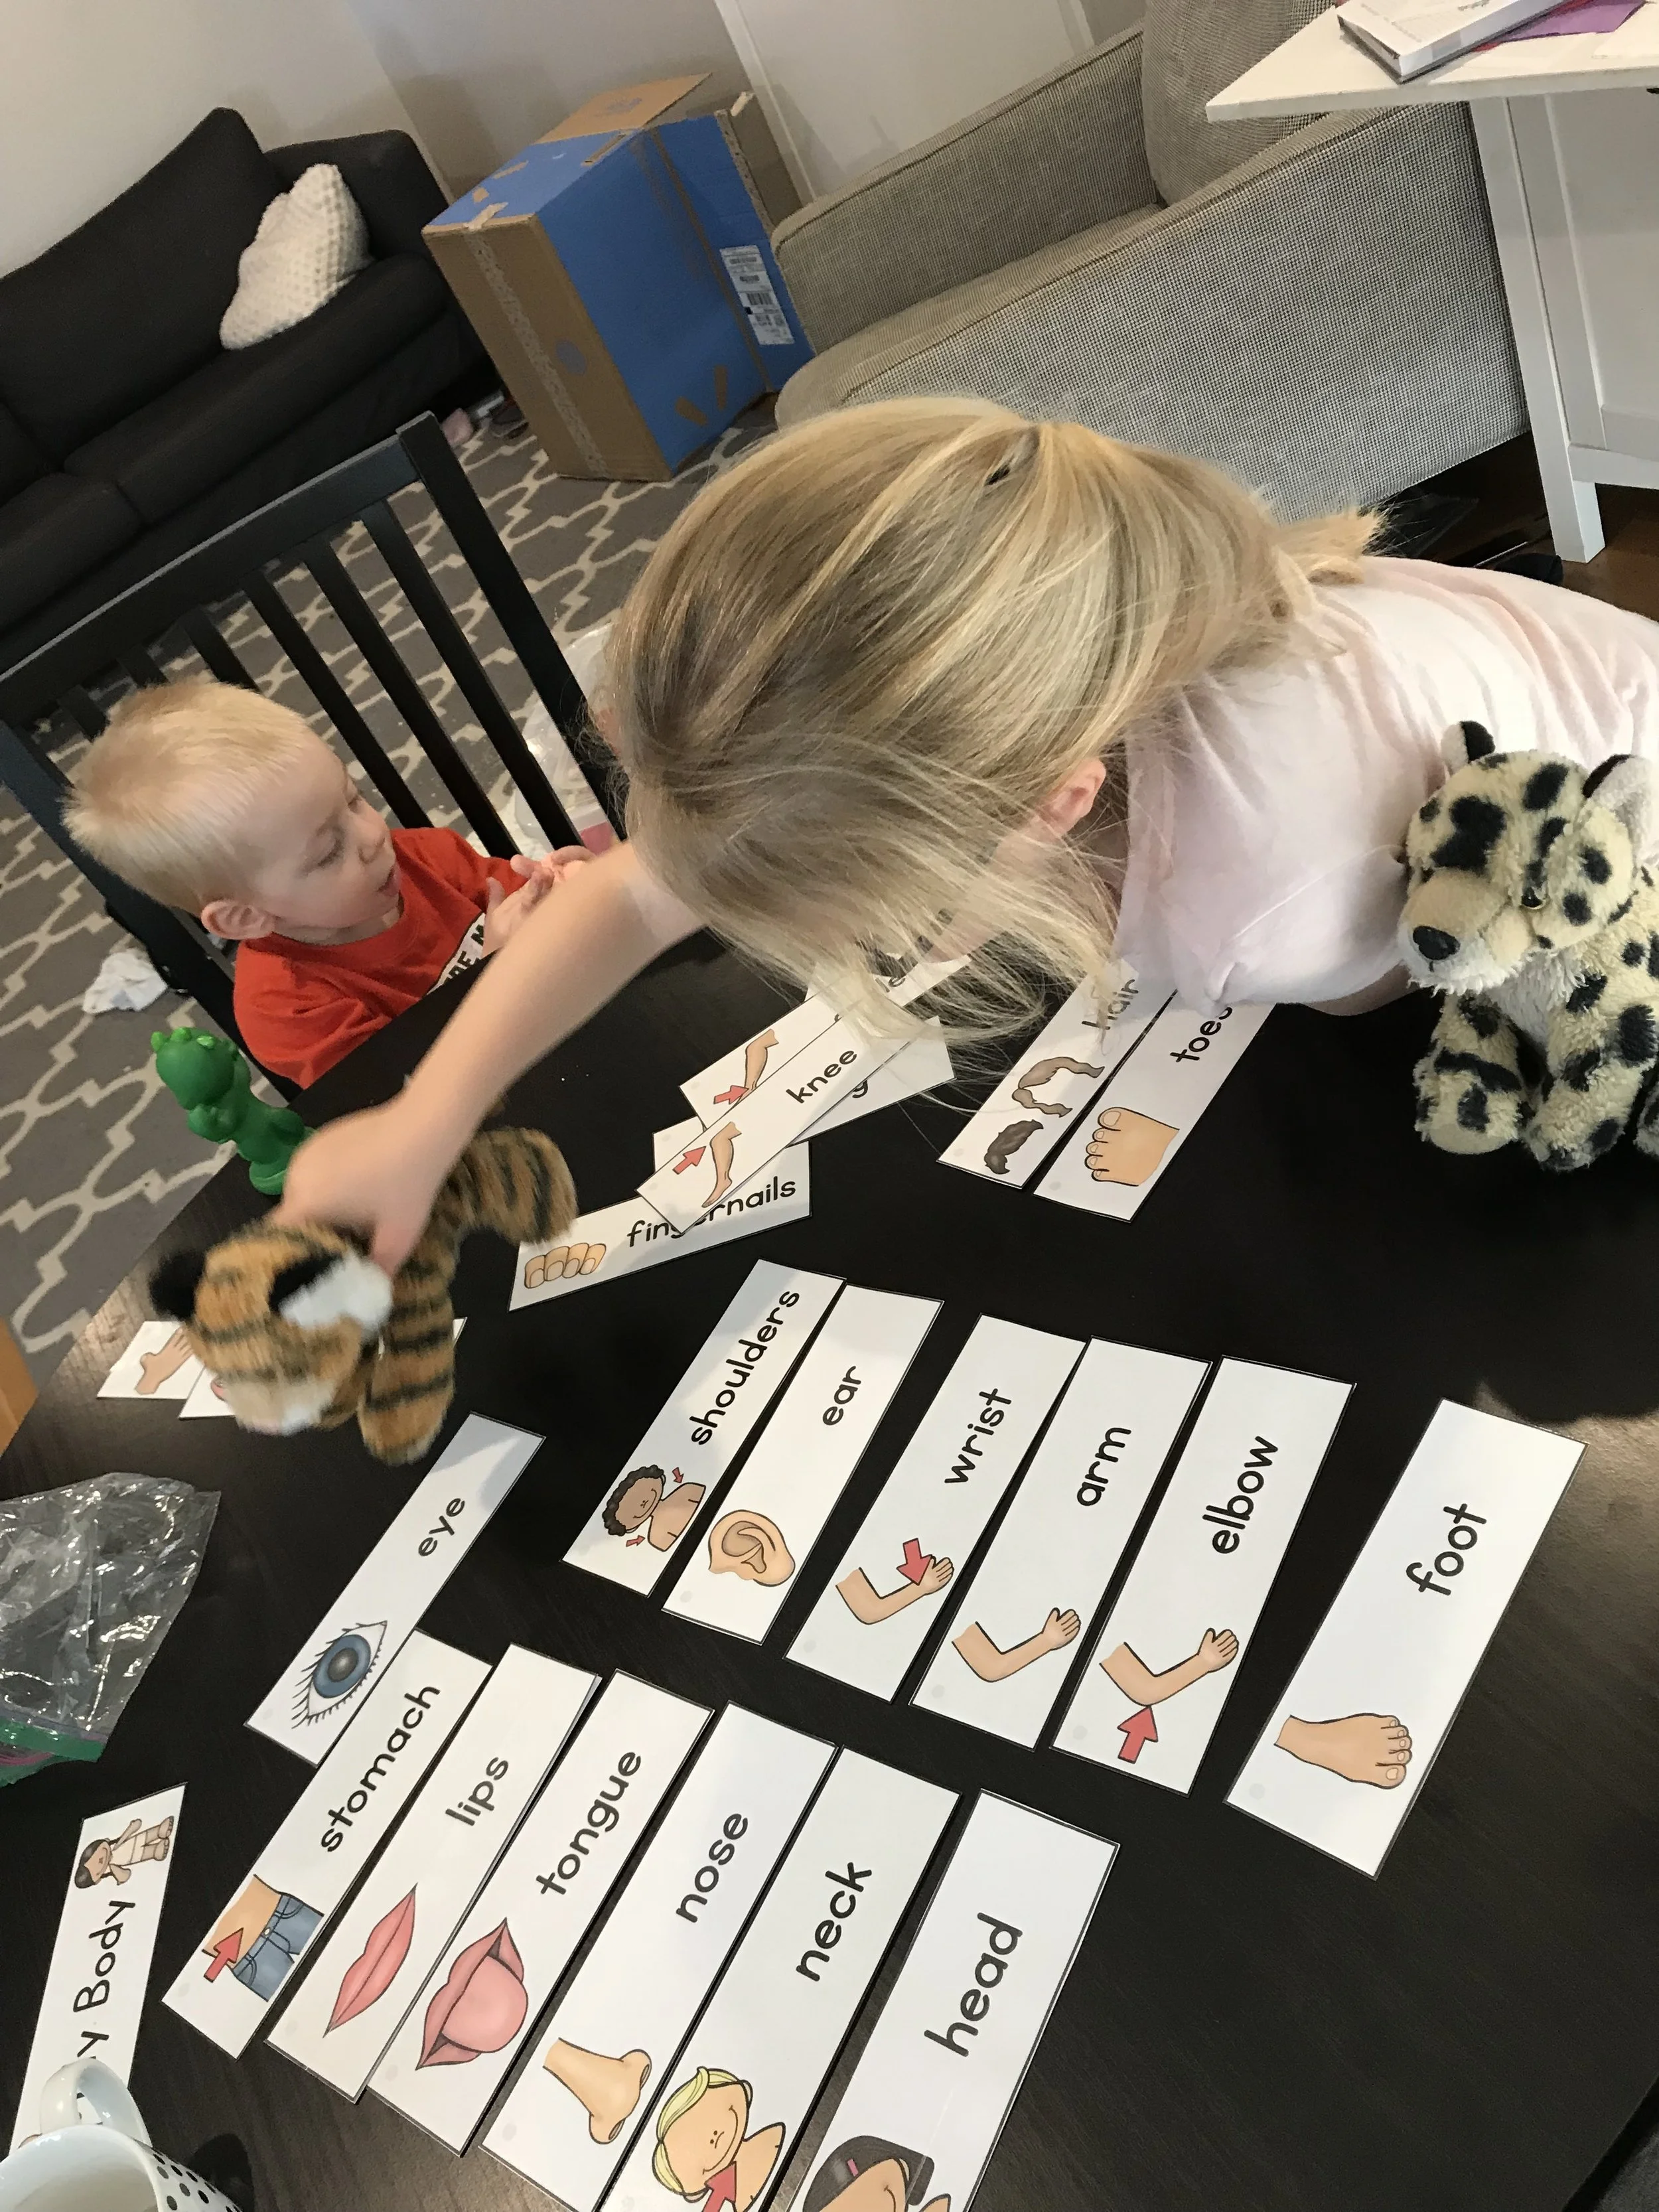
Body Part Word Cards: I found these free printable body part word cards and knew they would be perfect for helping Emmett learn about his body parts. It also gave Emerson some practice recognizing some words. I laminated the cards so they would last us longer than a day. I laid out all the cards I had Emerson find the body part I said, then we showed Emmett which body part it was. Next we decided to sort the cards according to how many of each body part we had. We made a pile for body parts we only have one of, body parts we have two of and body parts we have more than two of. This was a great way to incorporate some math skills into our work. If you want to snag your own set of body part word cards you can find them here.
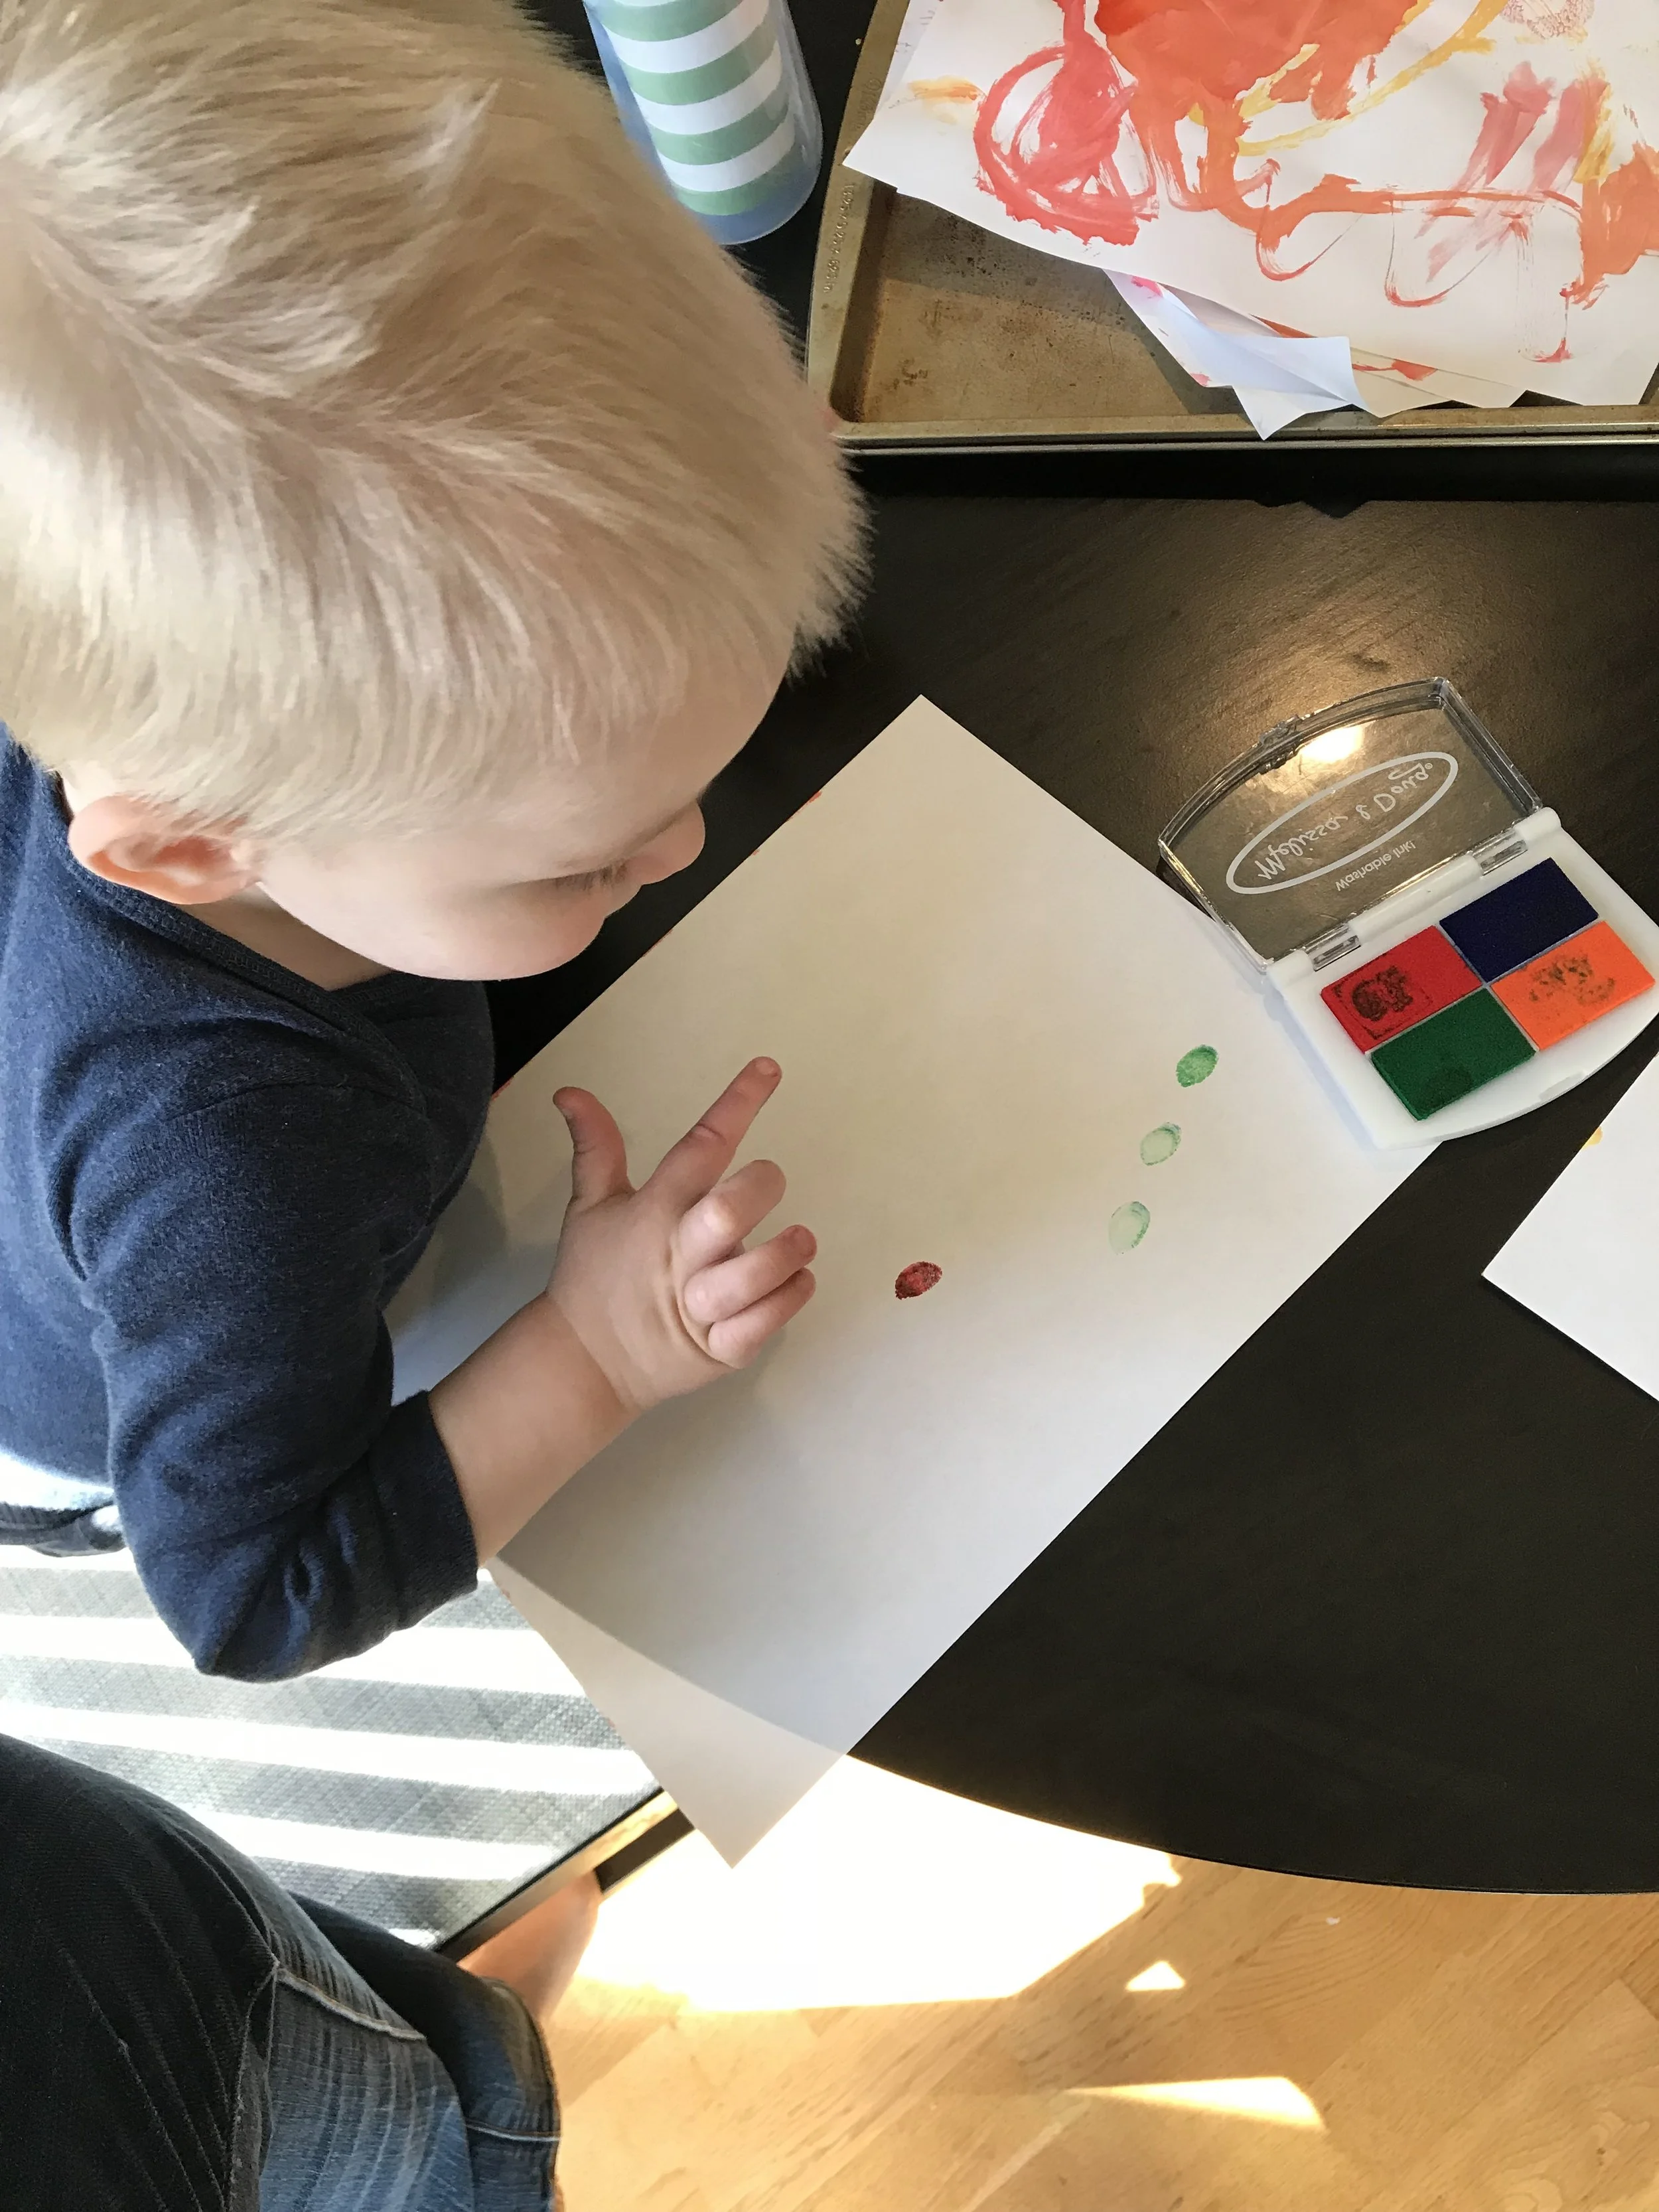
Fingerprint Art: This is a great activity to show how unique everyone really is. We talked about how everyone has their own unique fingerprint and no two fingerprints are alike. Then I gave the kids a piece of paper and an ink pad and let them see what their fingerprints look like. They had a lot of fun creating their own pictures out of their fingerprints.
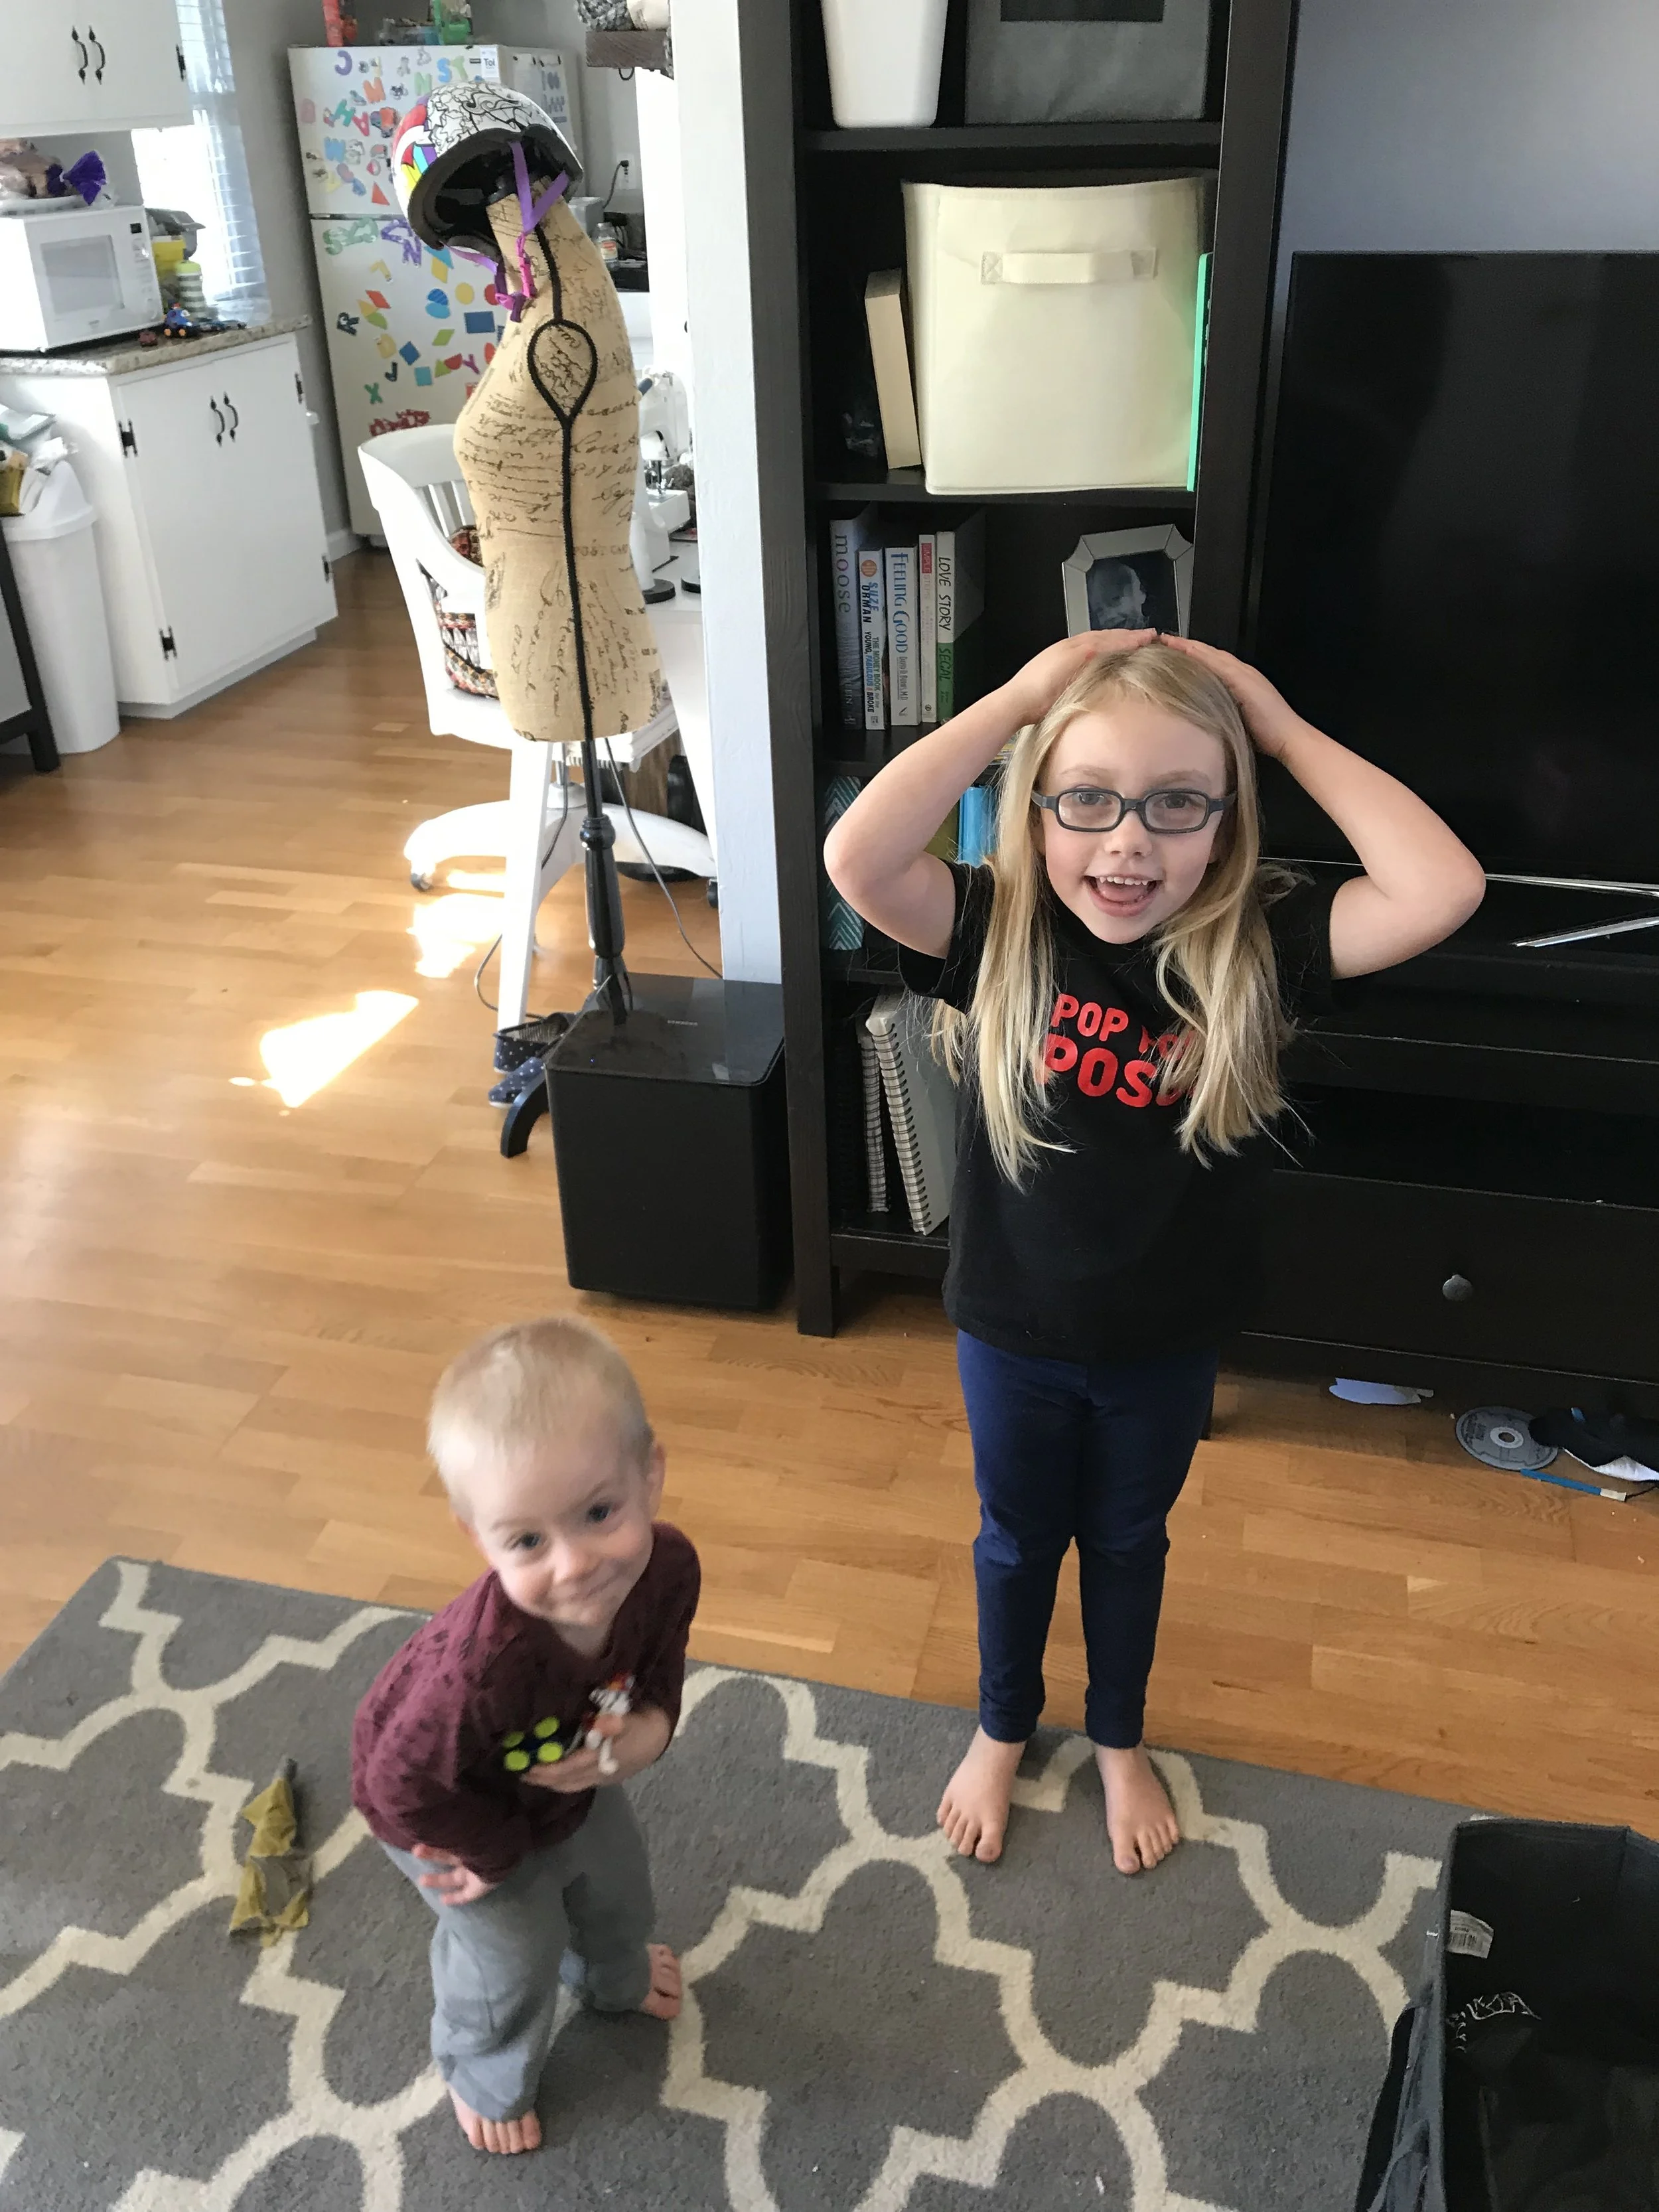
Head, Shoulders, Knees & Toes: We enjoyed incorporating a bit of music and movement into our lessons by singing Head, Shoulders, Knees and Toes a few times through each day. It was a great way to reinforce learning the different body parts for Emmett and was a great challenge for Emerson when we got faster each time we sang it. Another great song that we sang as well is the Hokey Pokey. We did all sorts of body parts for that one, but it was hard to get a picture while we were dancing.
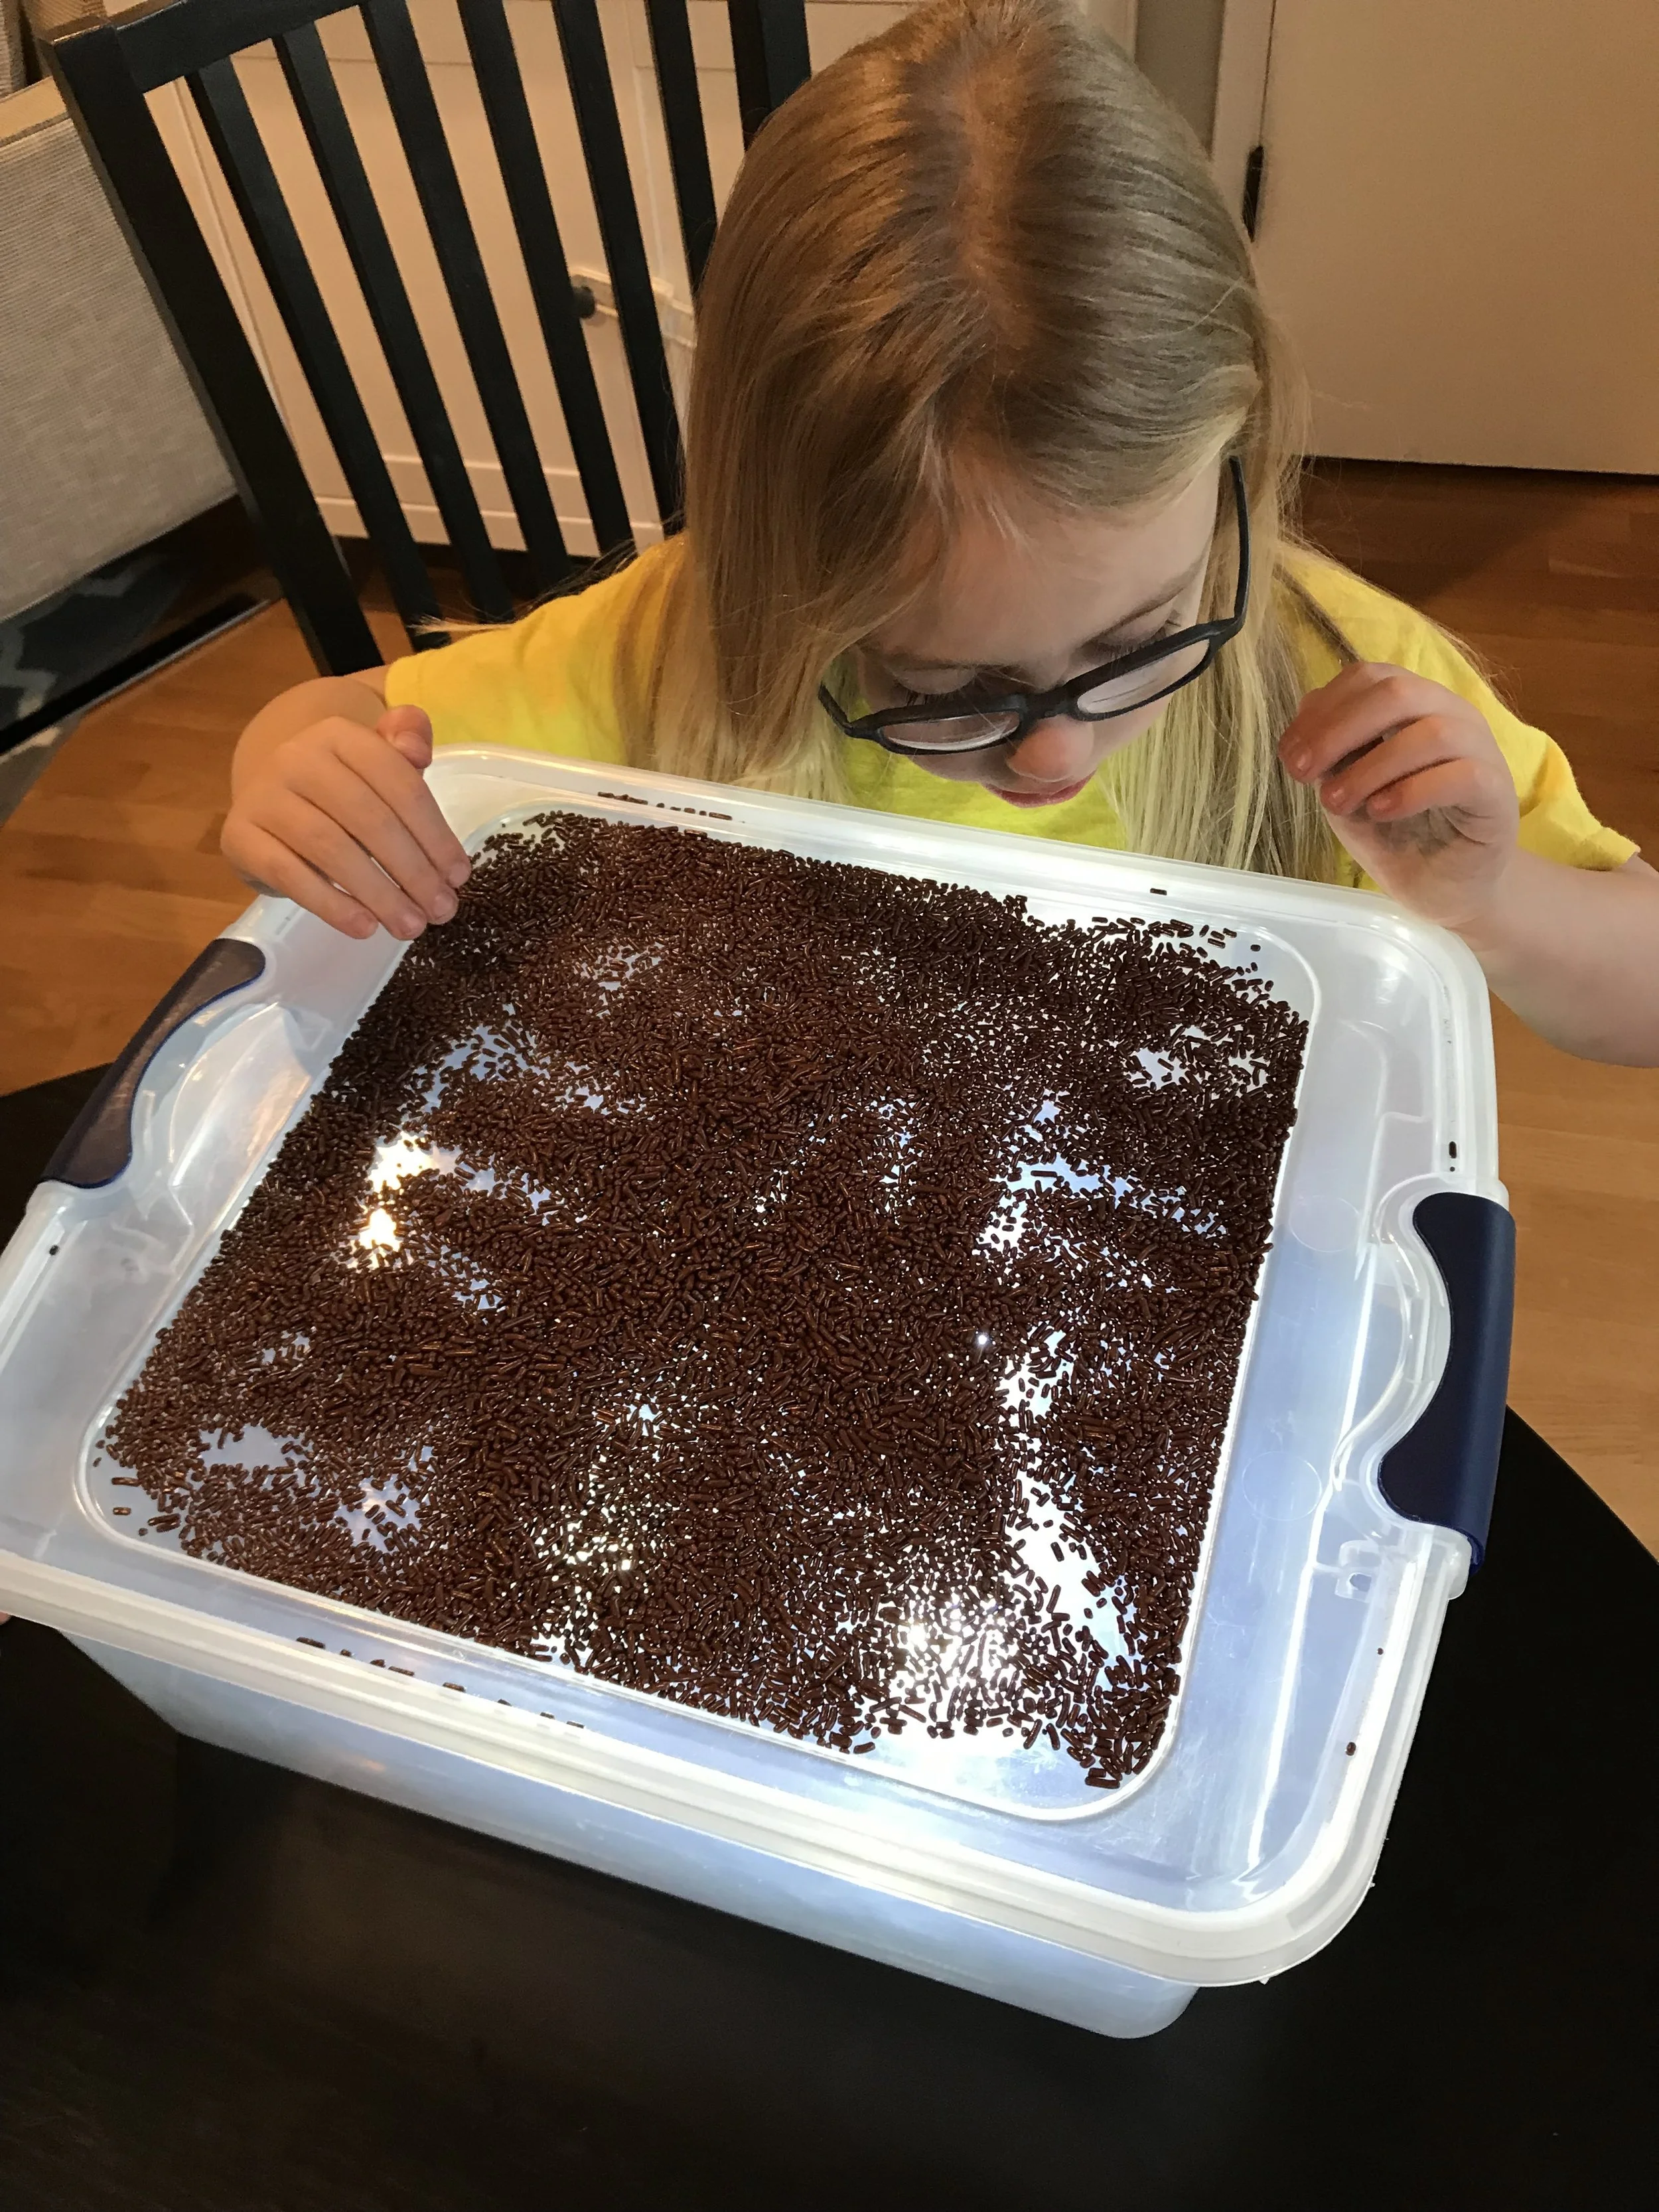
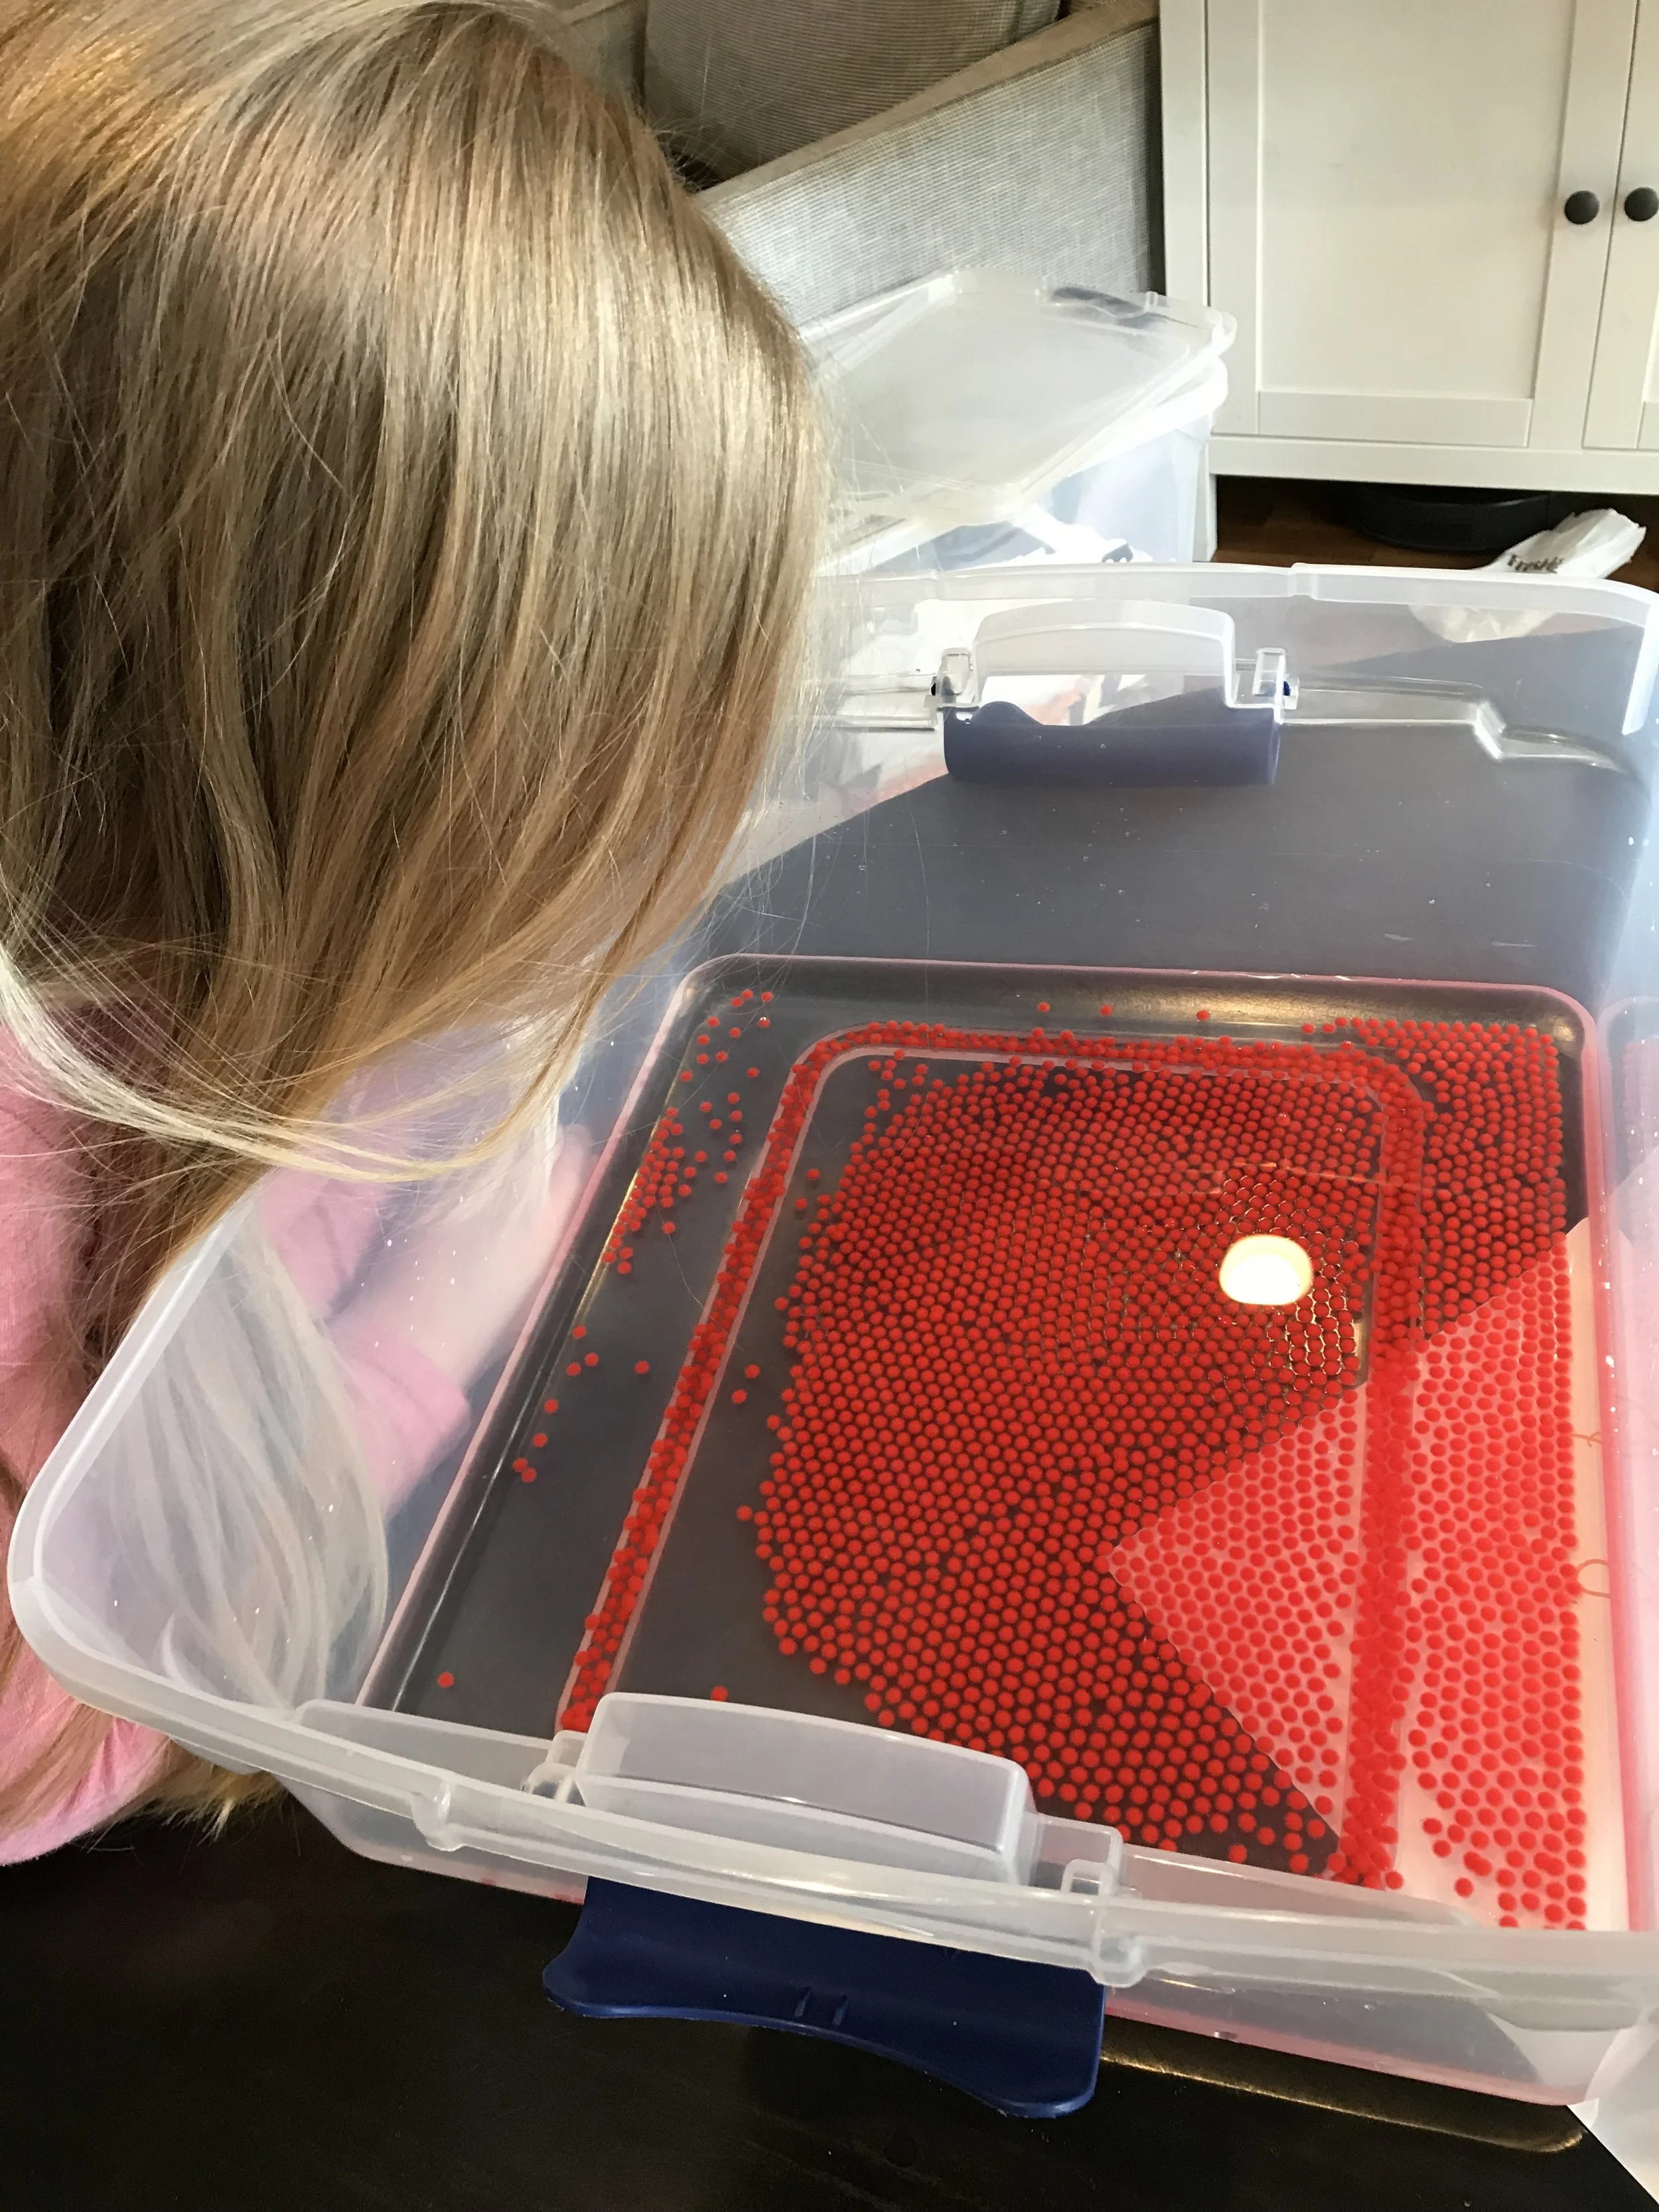
X-Ray Writing: I found this activity on pinterest. I don't have a light box, but we easily created our own from a large clear plastic bin and some click lights. I put the click lights inside the bin and then secured the lid. Then I added some chocolate sprinkles to make it appear like an x-ray when written on. Emerson practiced writing letters and Emmett used his fine motor skills. As many of our food sensory activities go, it ended shortly after they discovered how tasty the sprinkles were. We repeated this activity a few times through out our unit.
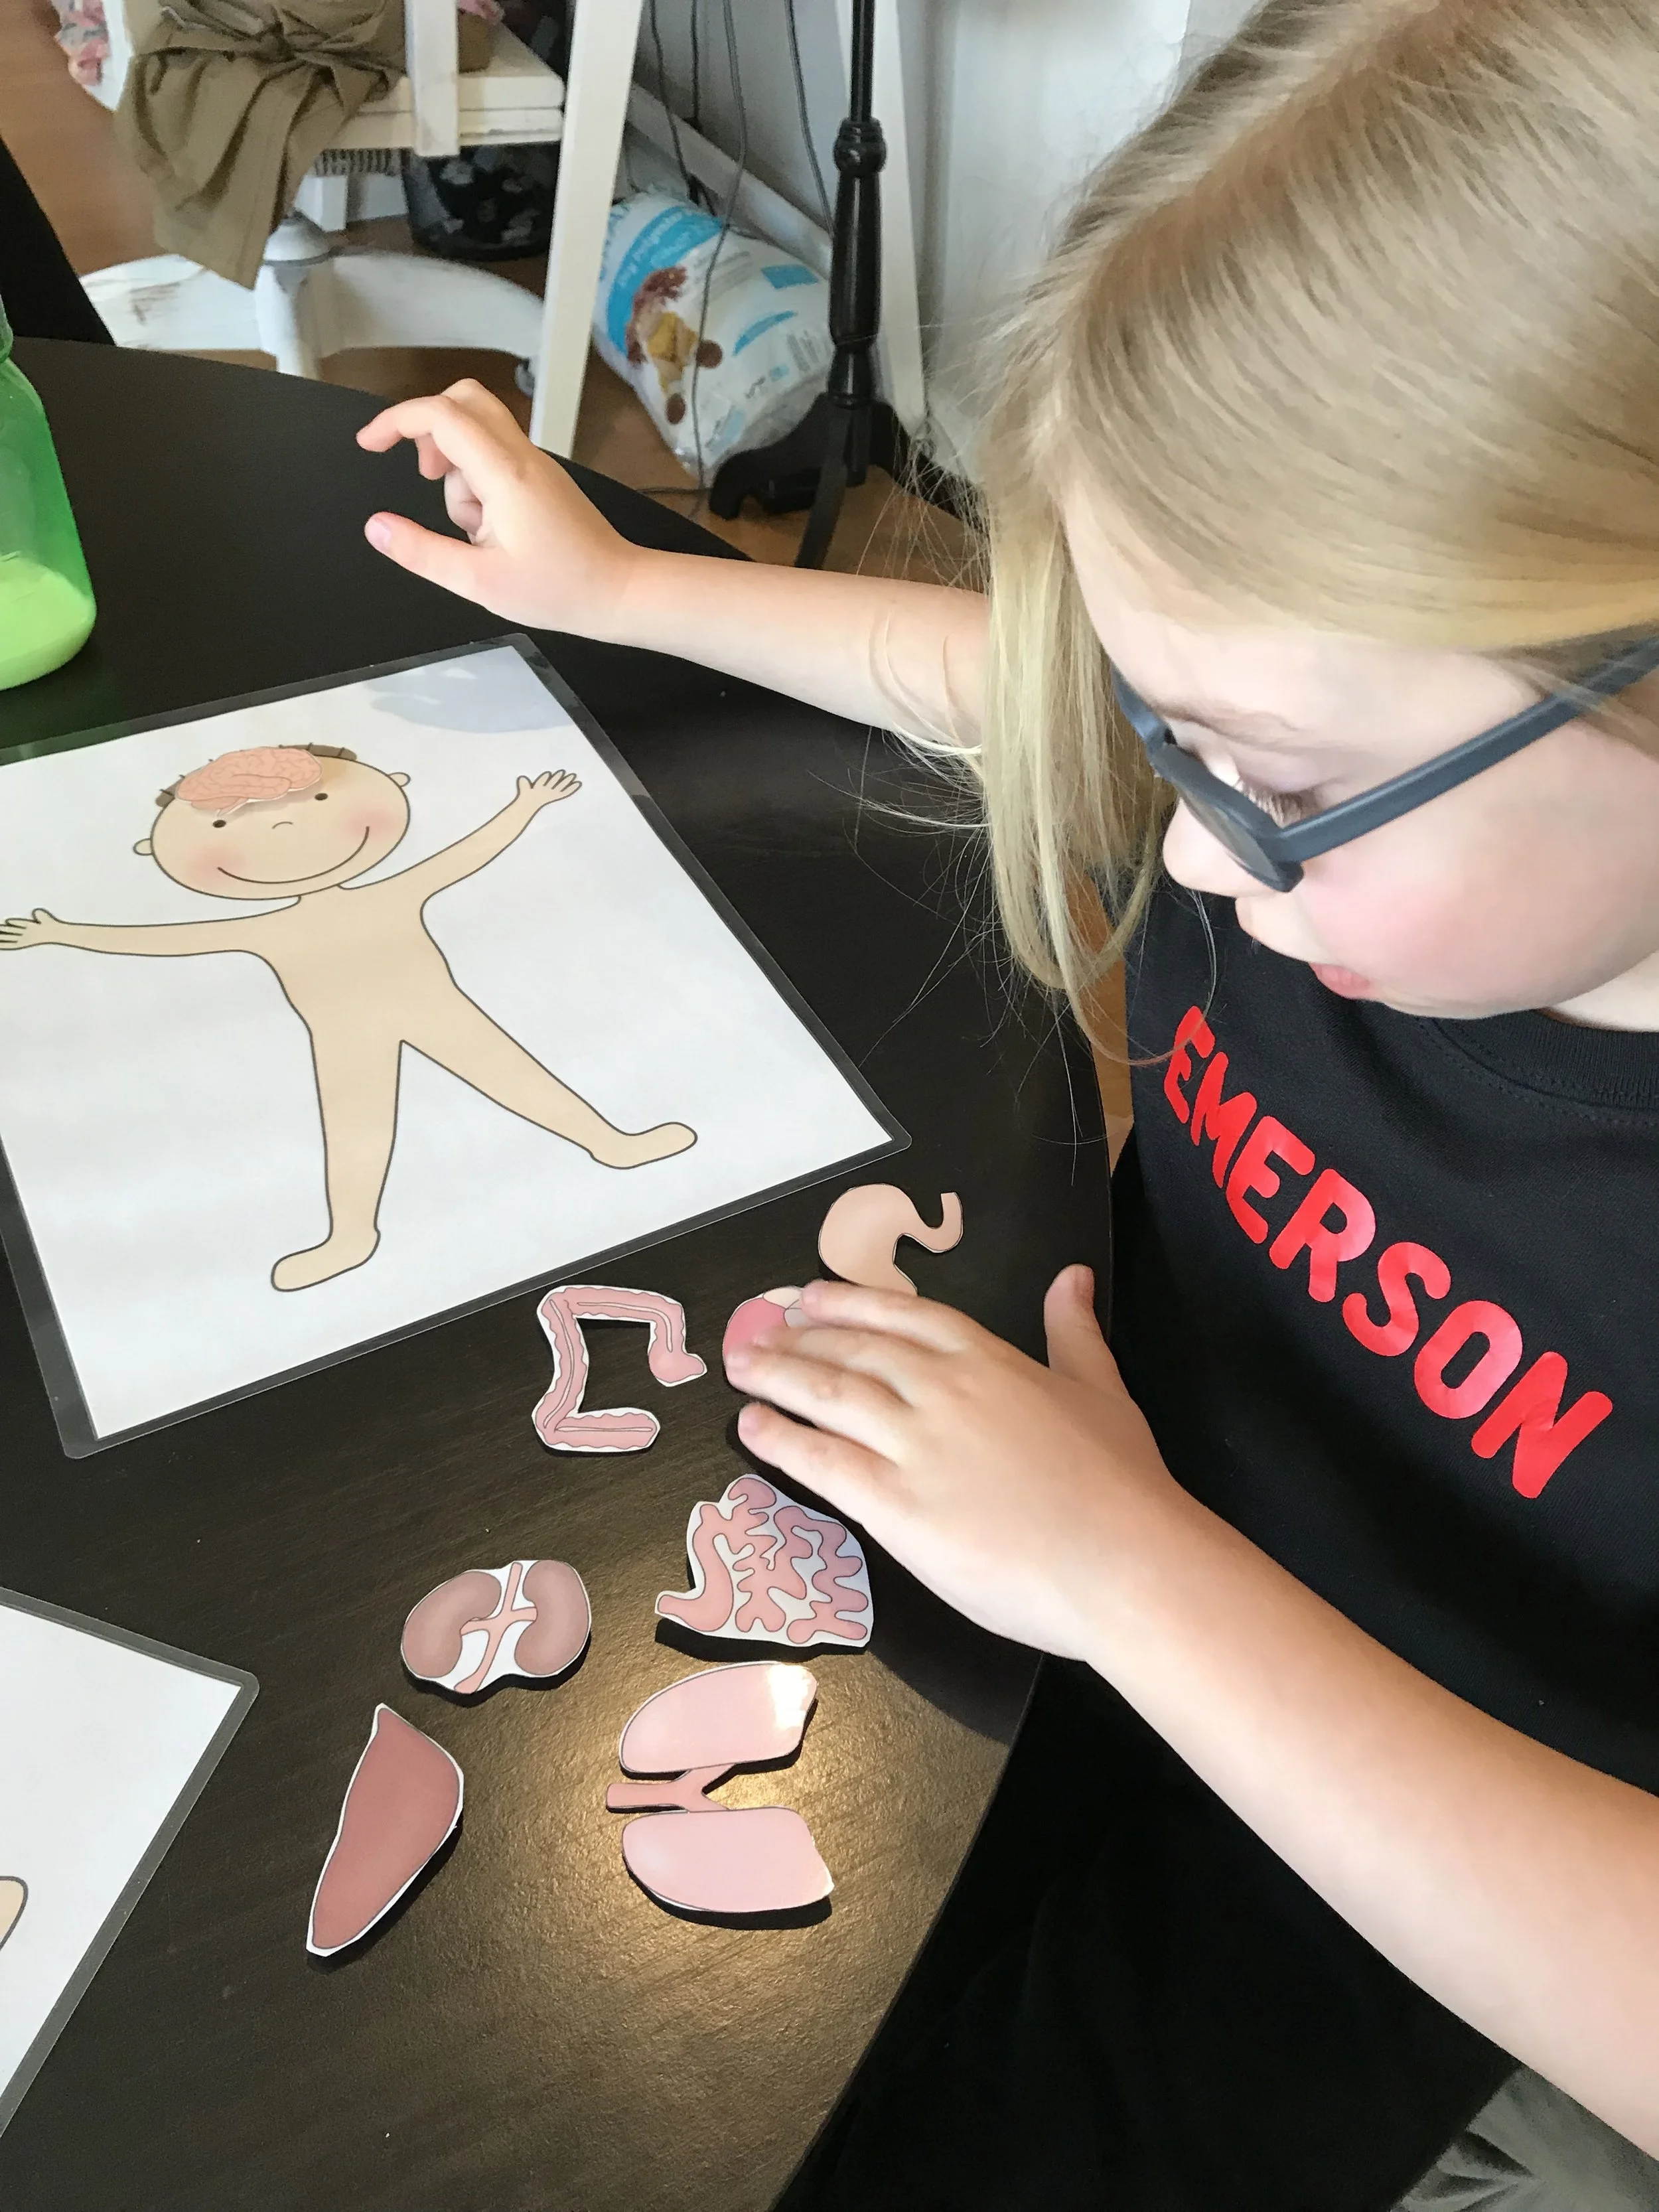
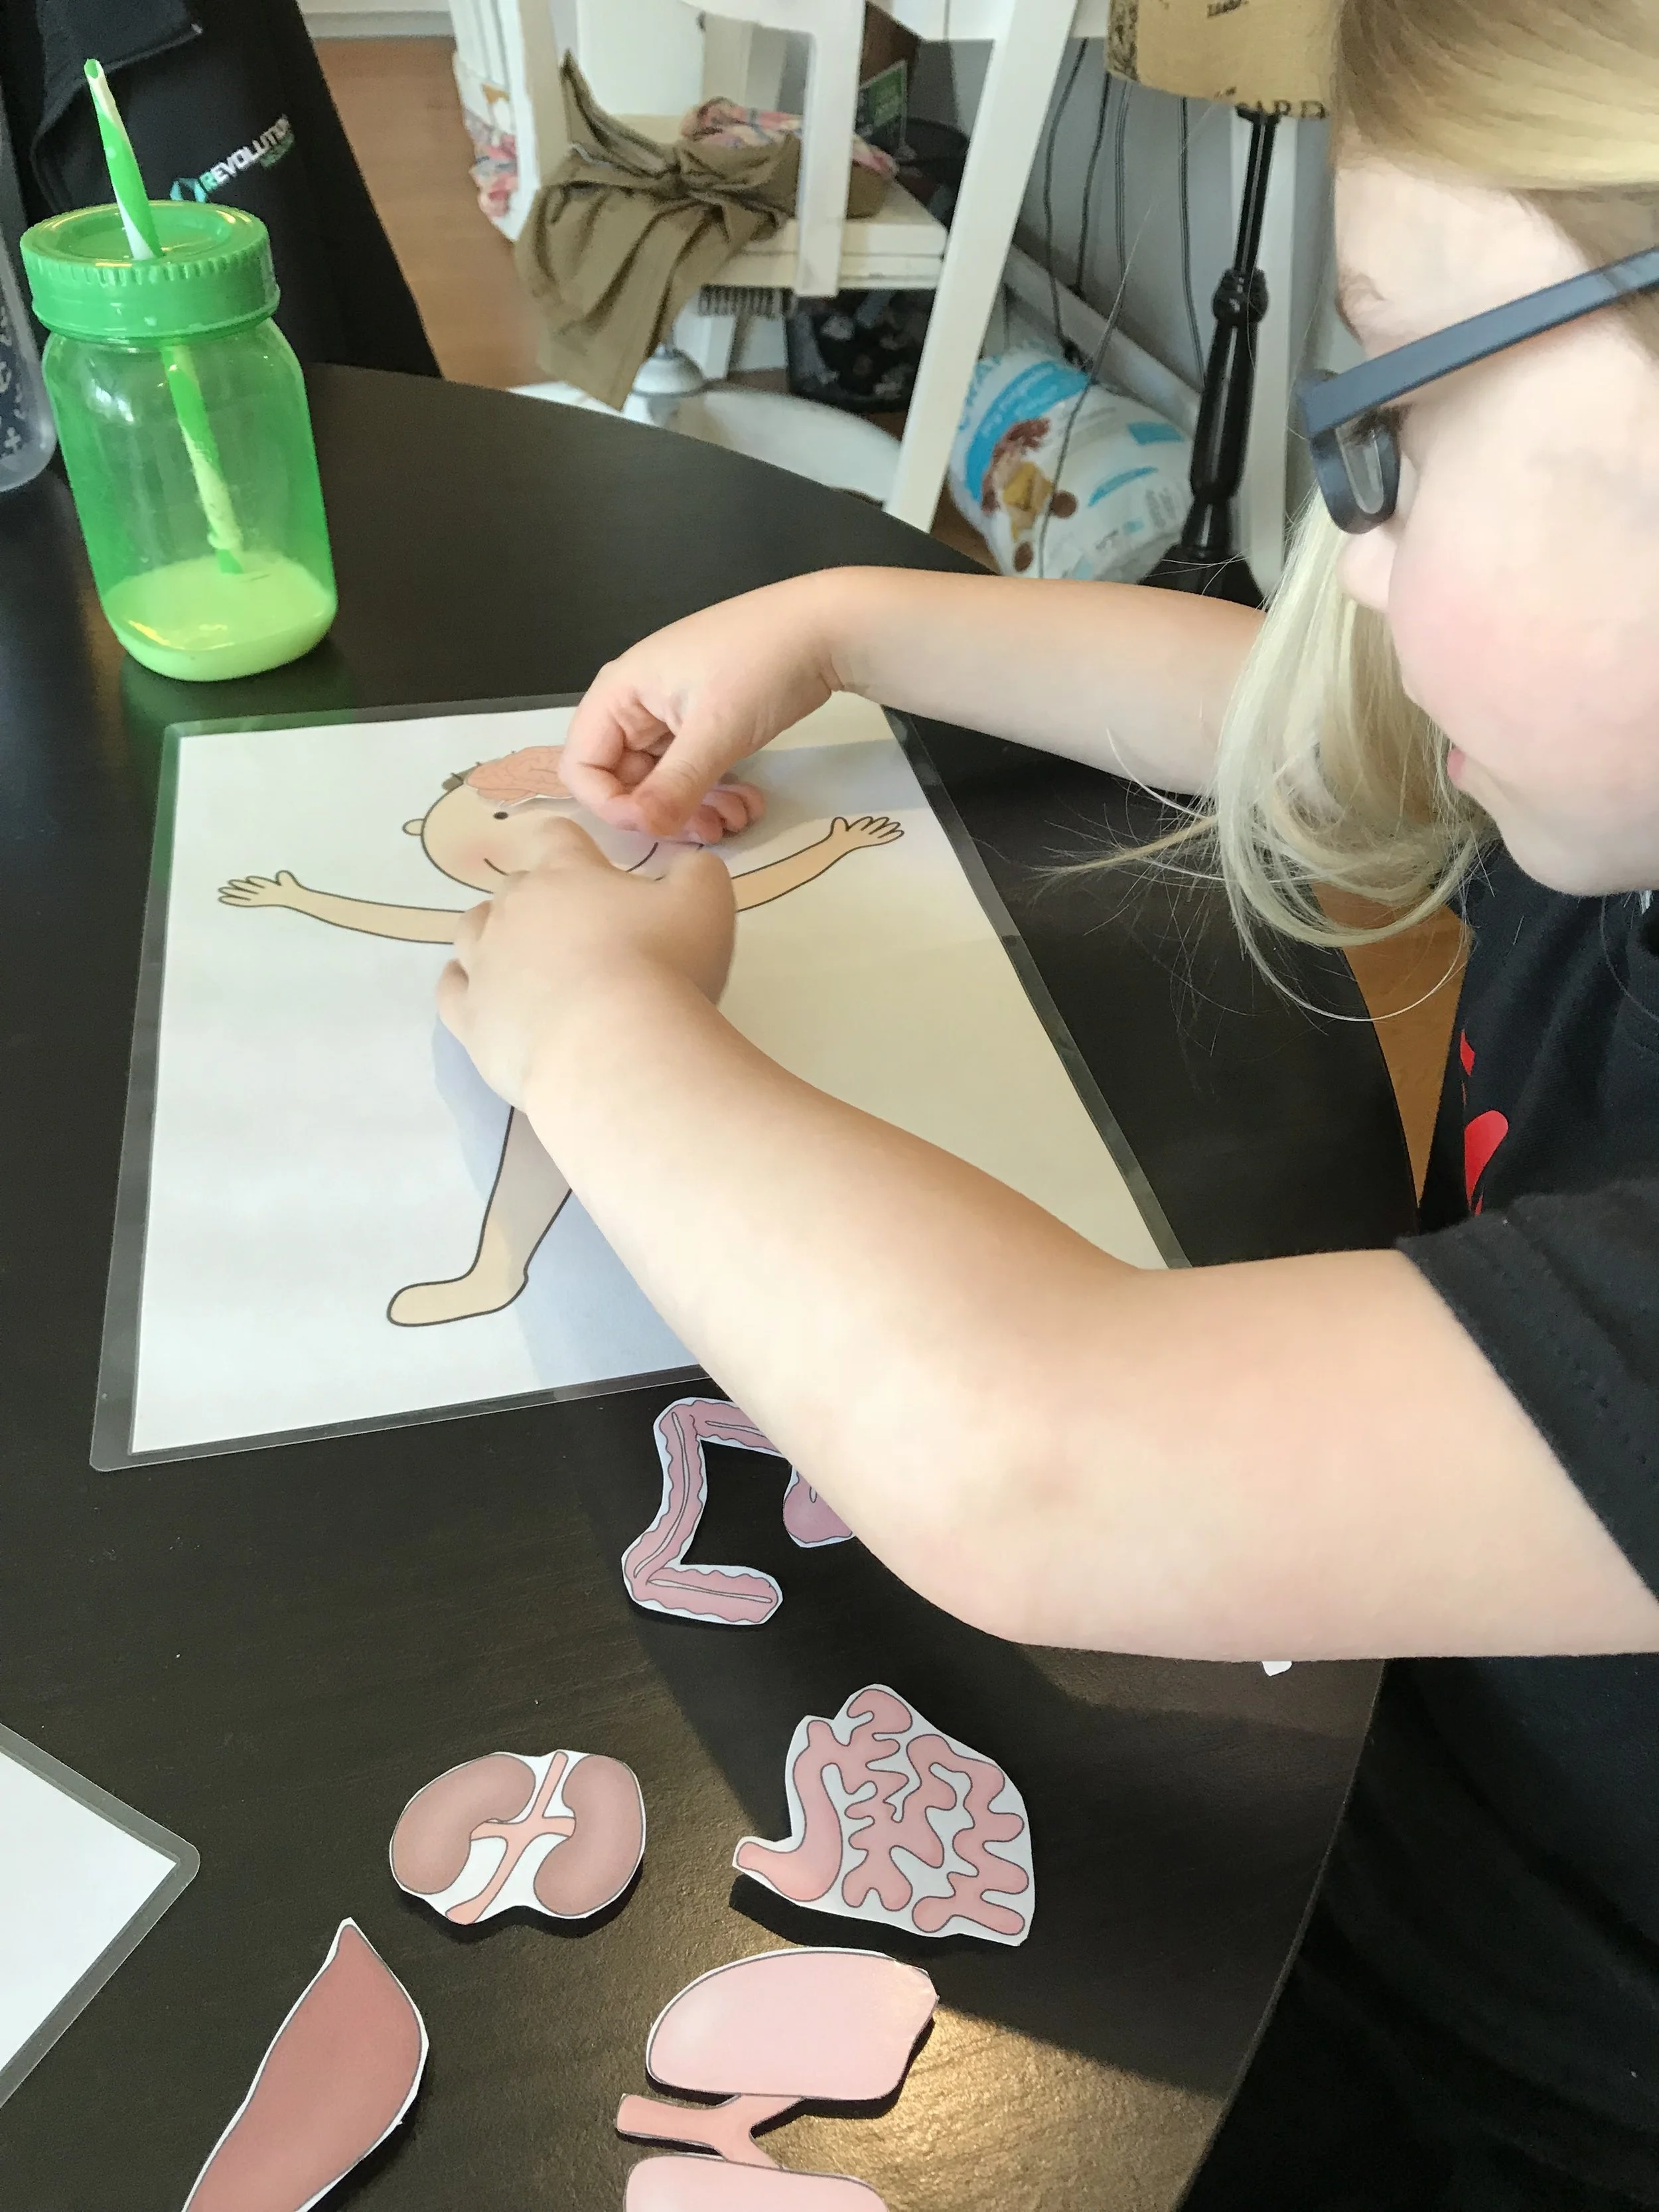
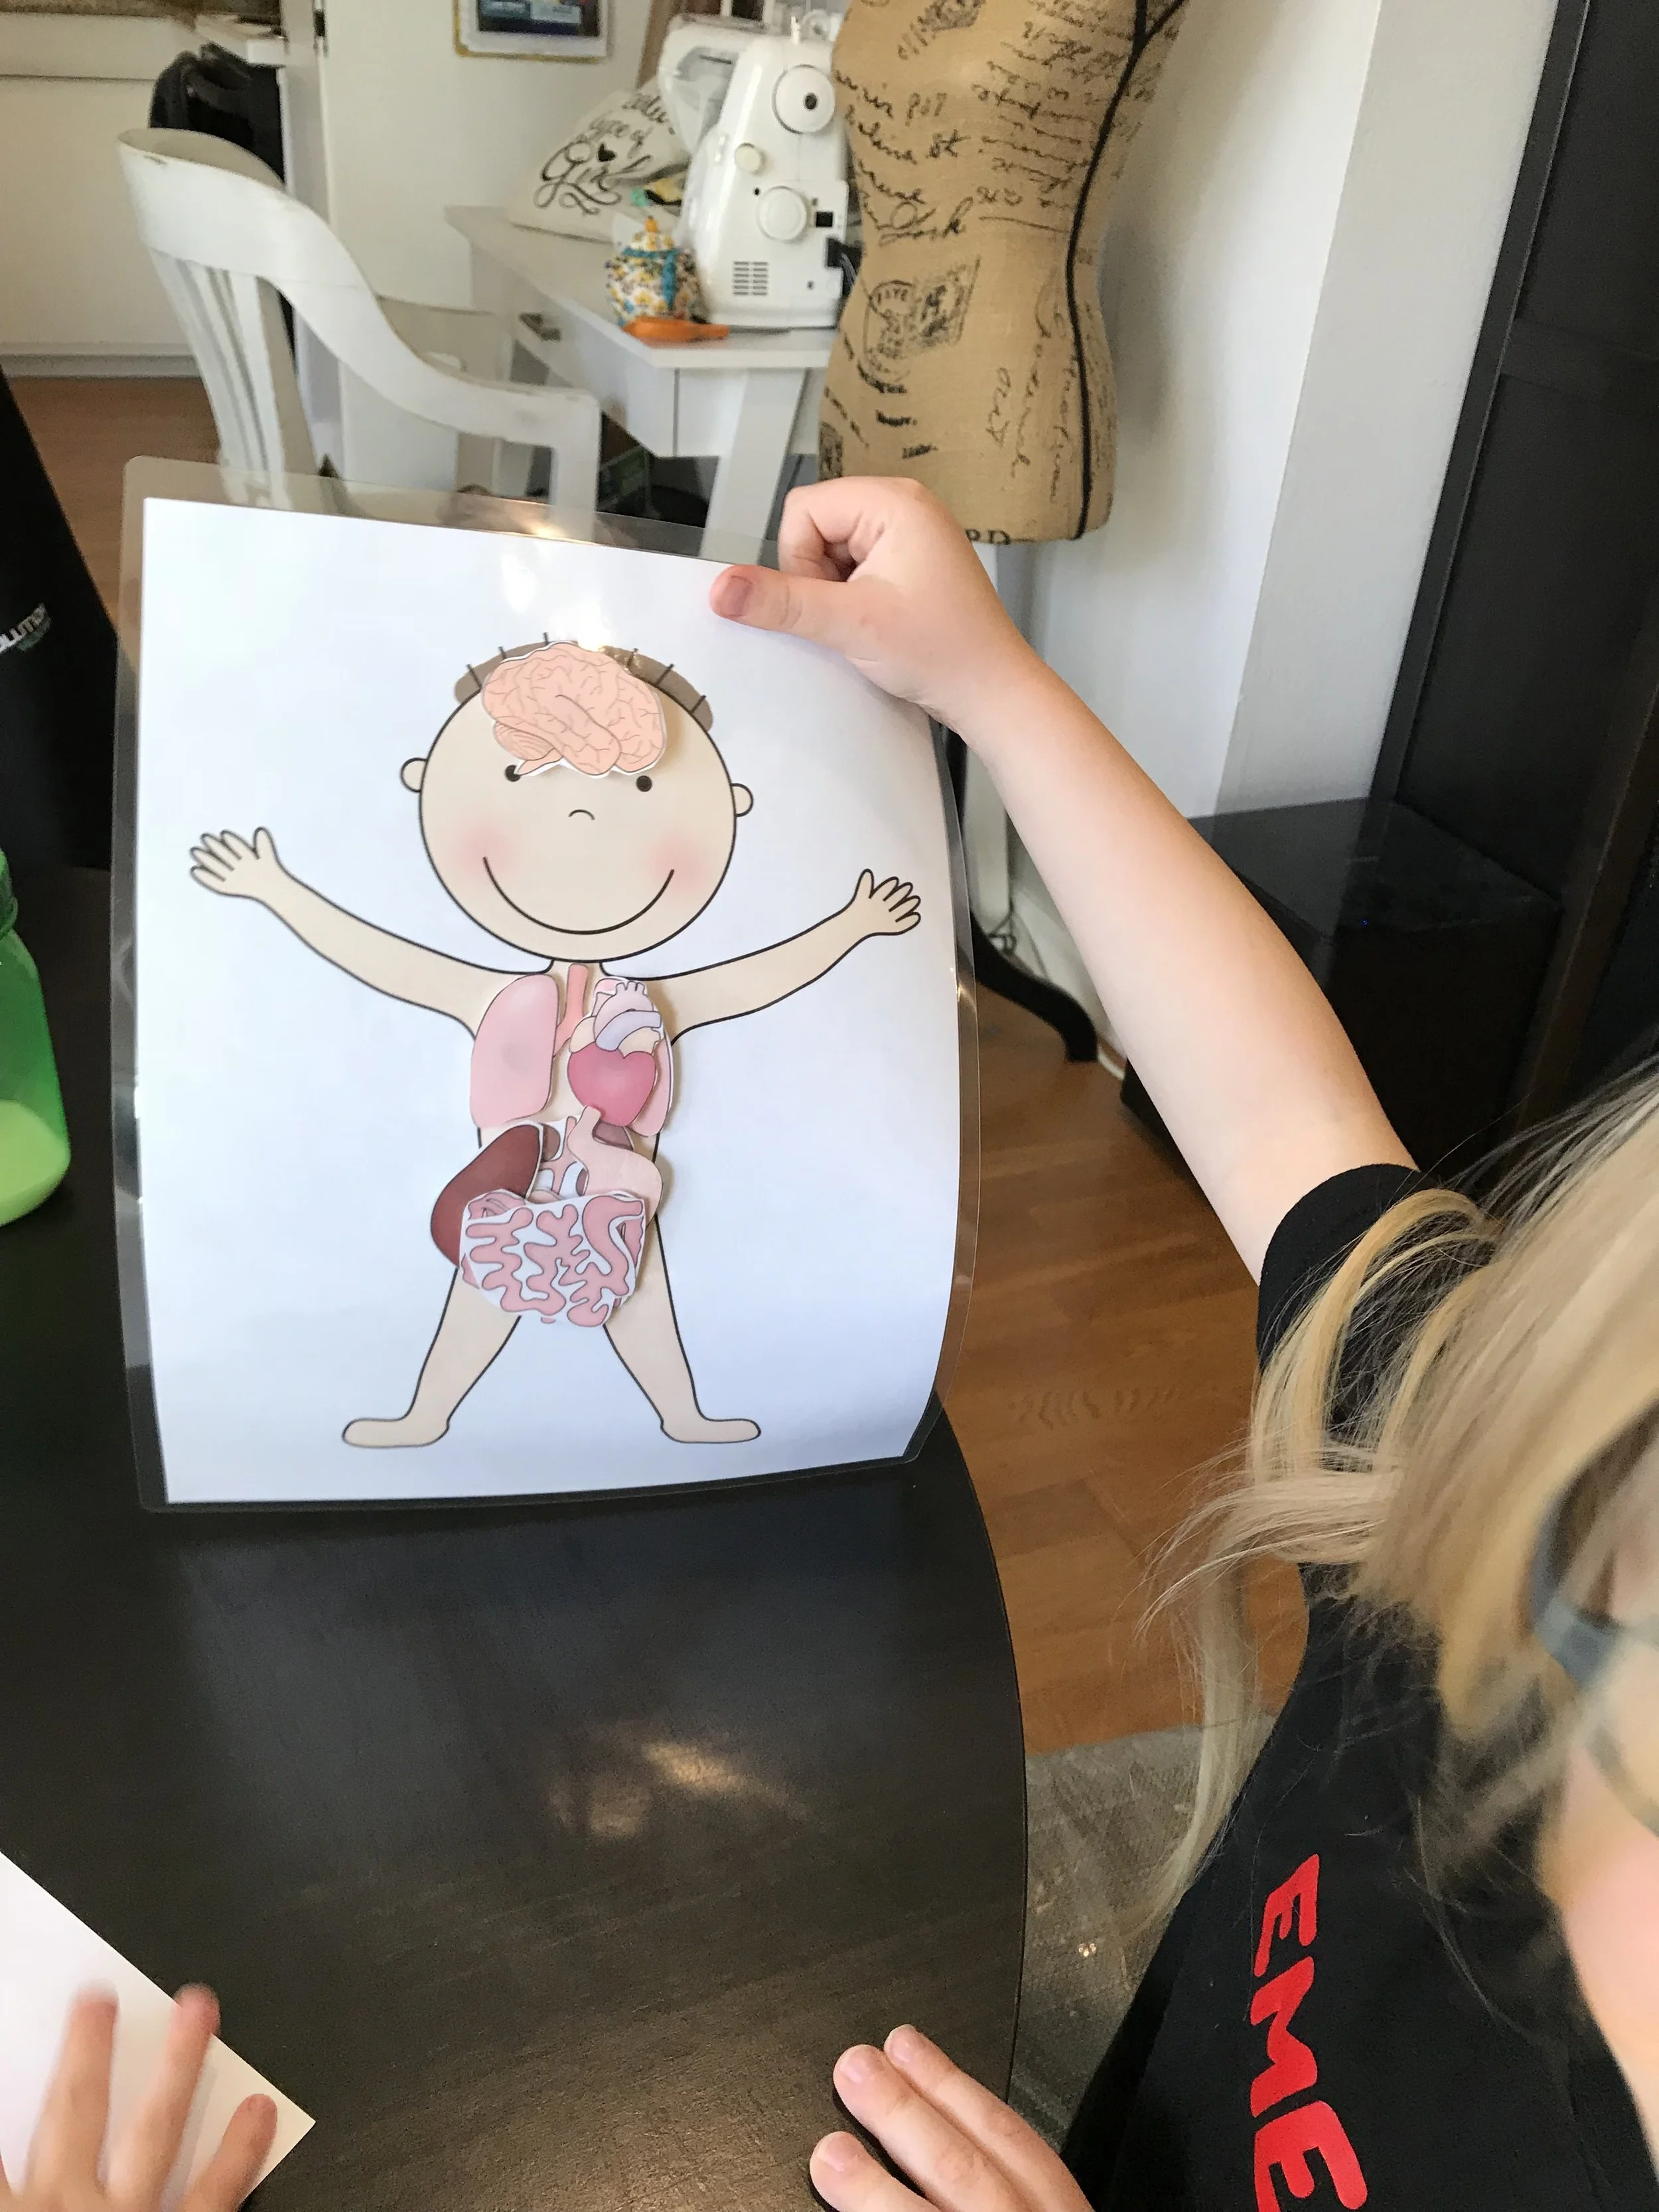
A Look Inside Our Body Printable: As we moved on to learning about the insides of our bodies I wanted to find a fun way to show Emerson all our organs. I found a great free printable here. I cut out and laminated the pieces and Emerson and I talked about all the different organs we have. She could easily figure out where the brain, heart and lungs went, but needed some help for the others. Luckily there was an answer key included because it's been a while since I've taken an anatomy class. ;)
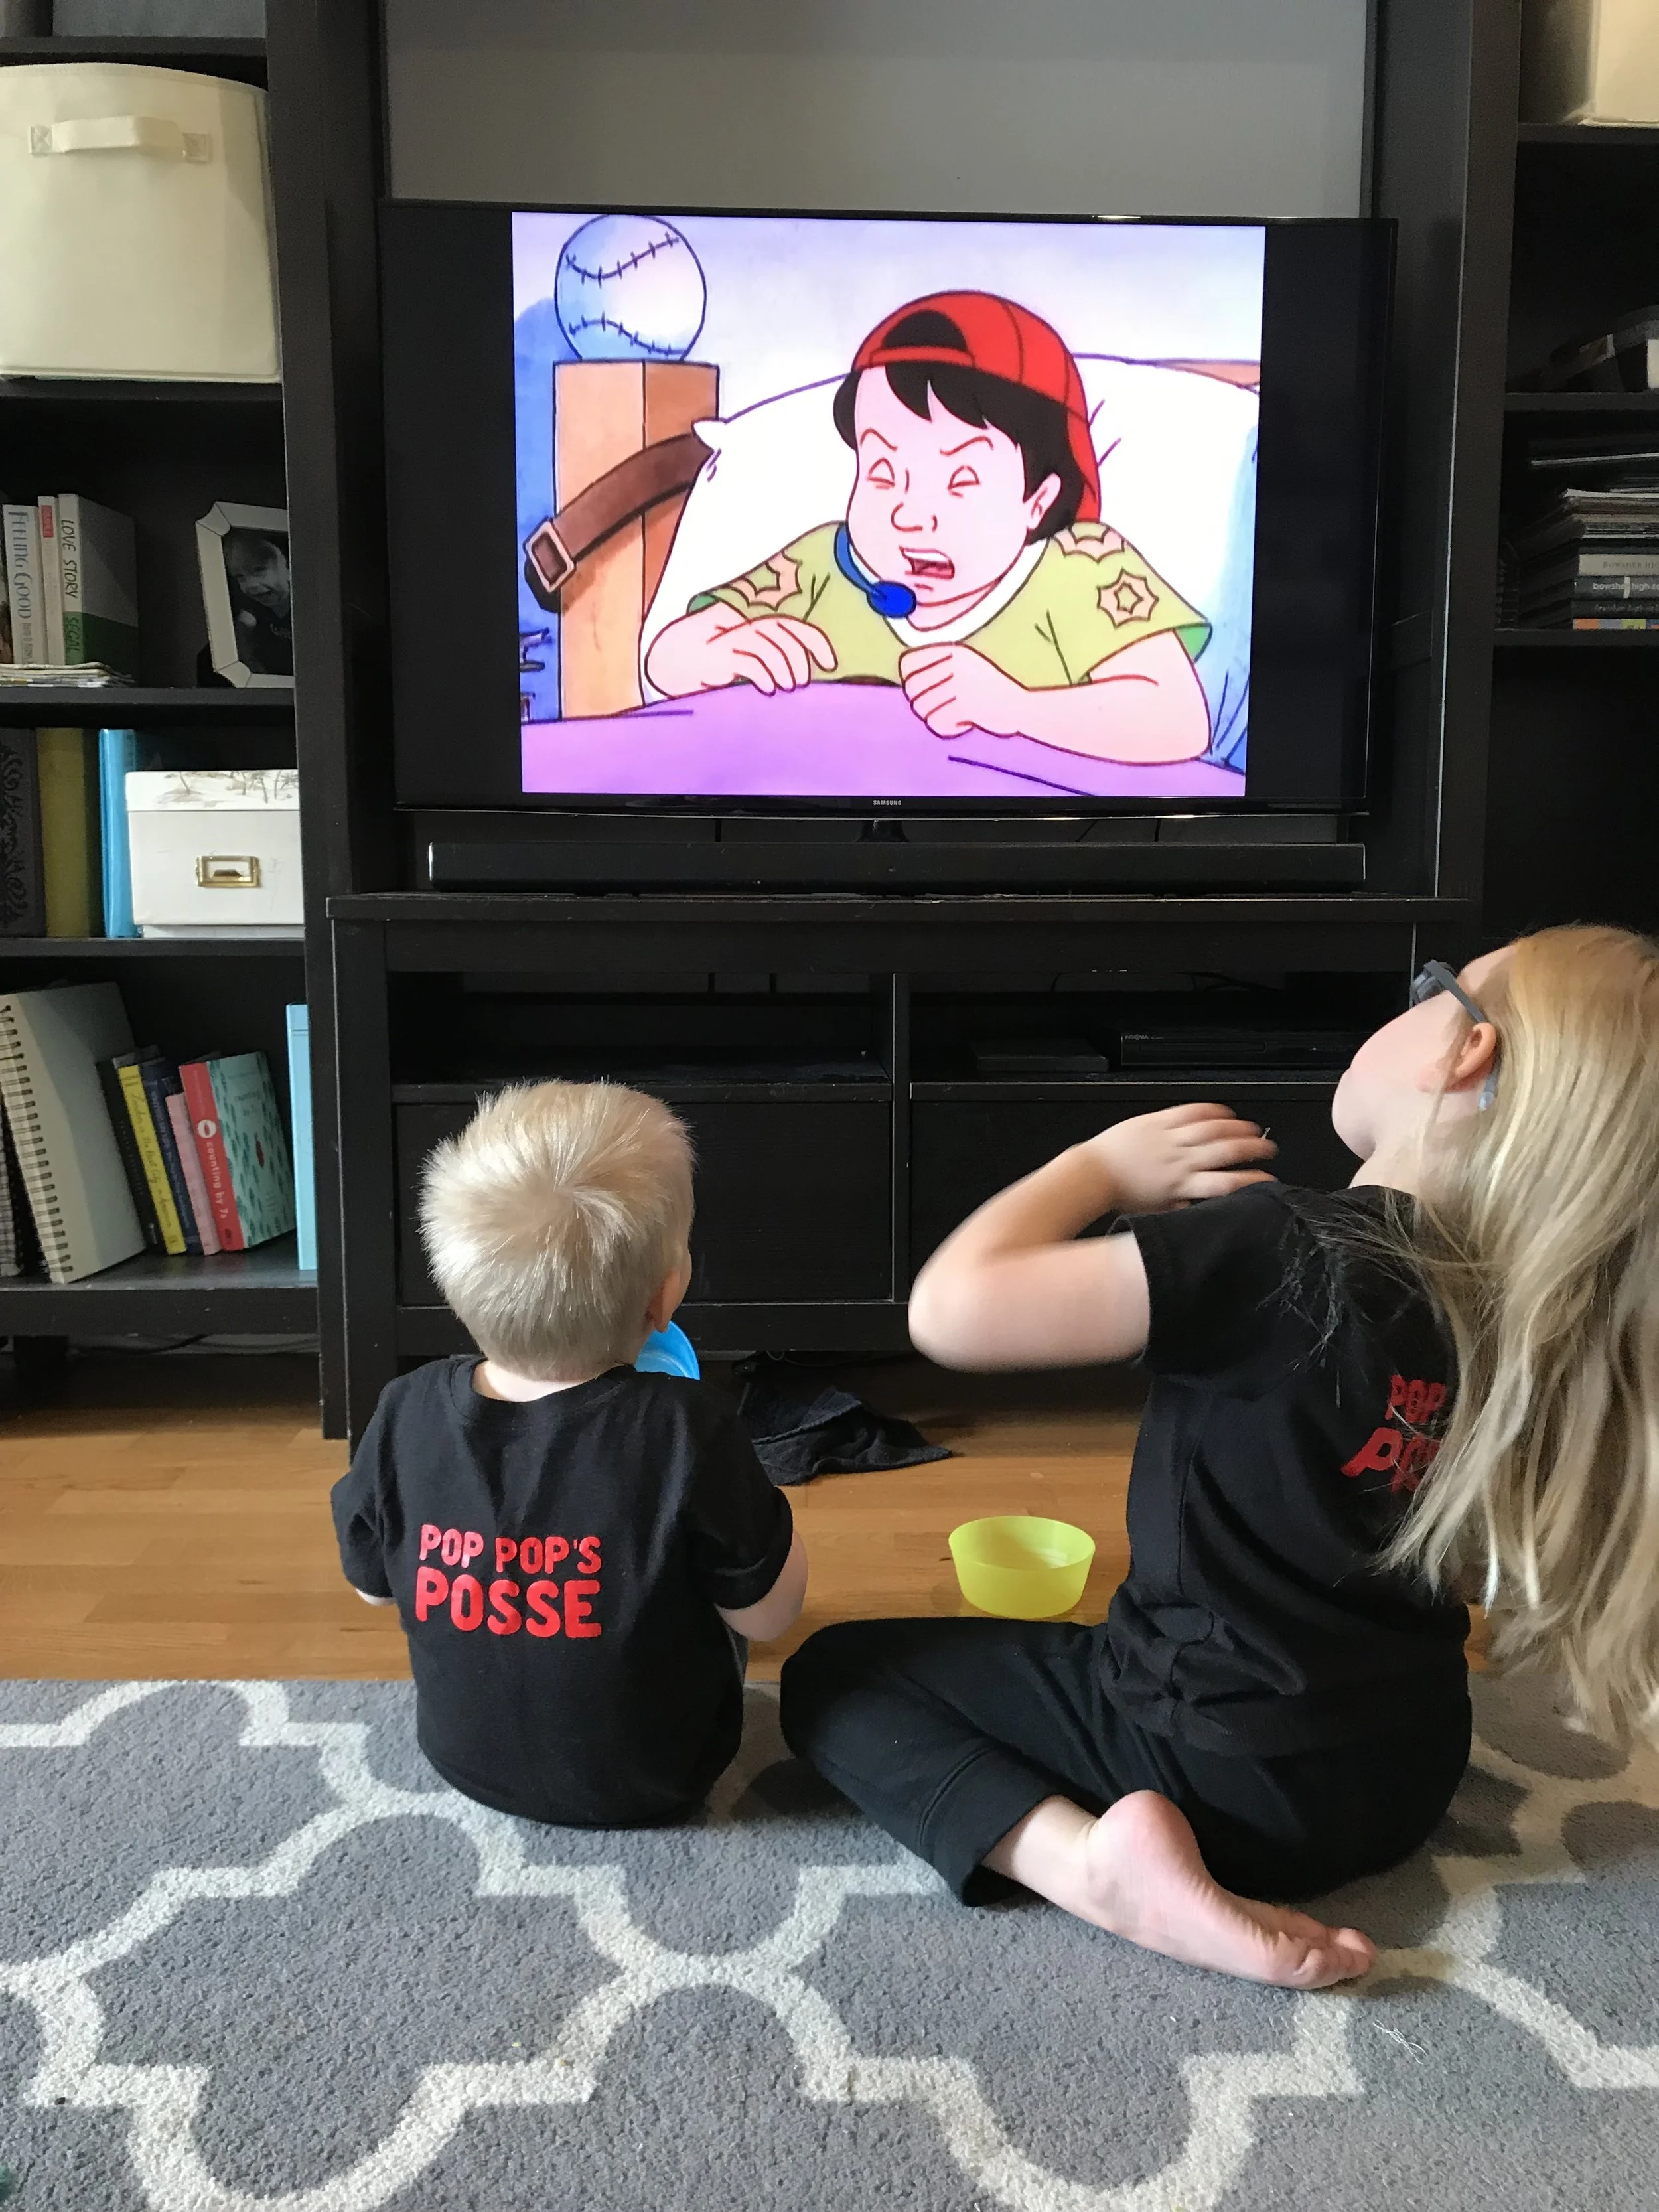
Magic School Bus: I loved watching the Magic School Bus as a kid and I was so excited when I saw it was on Netflix. There is even a new one called The Magic School Bus Returns. I knew when we started our human body unit that the episode where they go inside Ralphie would be perfect! We checked out the book from the library and after reading it I let the kids watch that episode too. We also watched the one where they go inside Arnold and the episode about the nervous system from the new version of the show. It was a great way to give the kids a glimpse inside the human body in a fun and educational way.
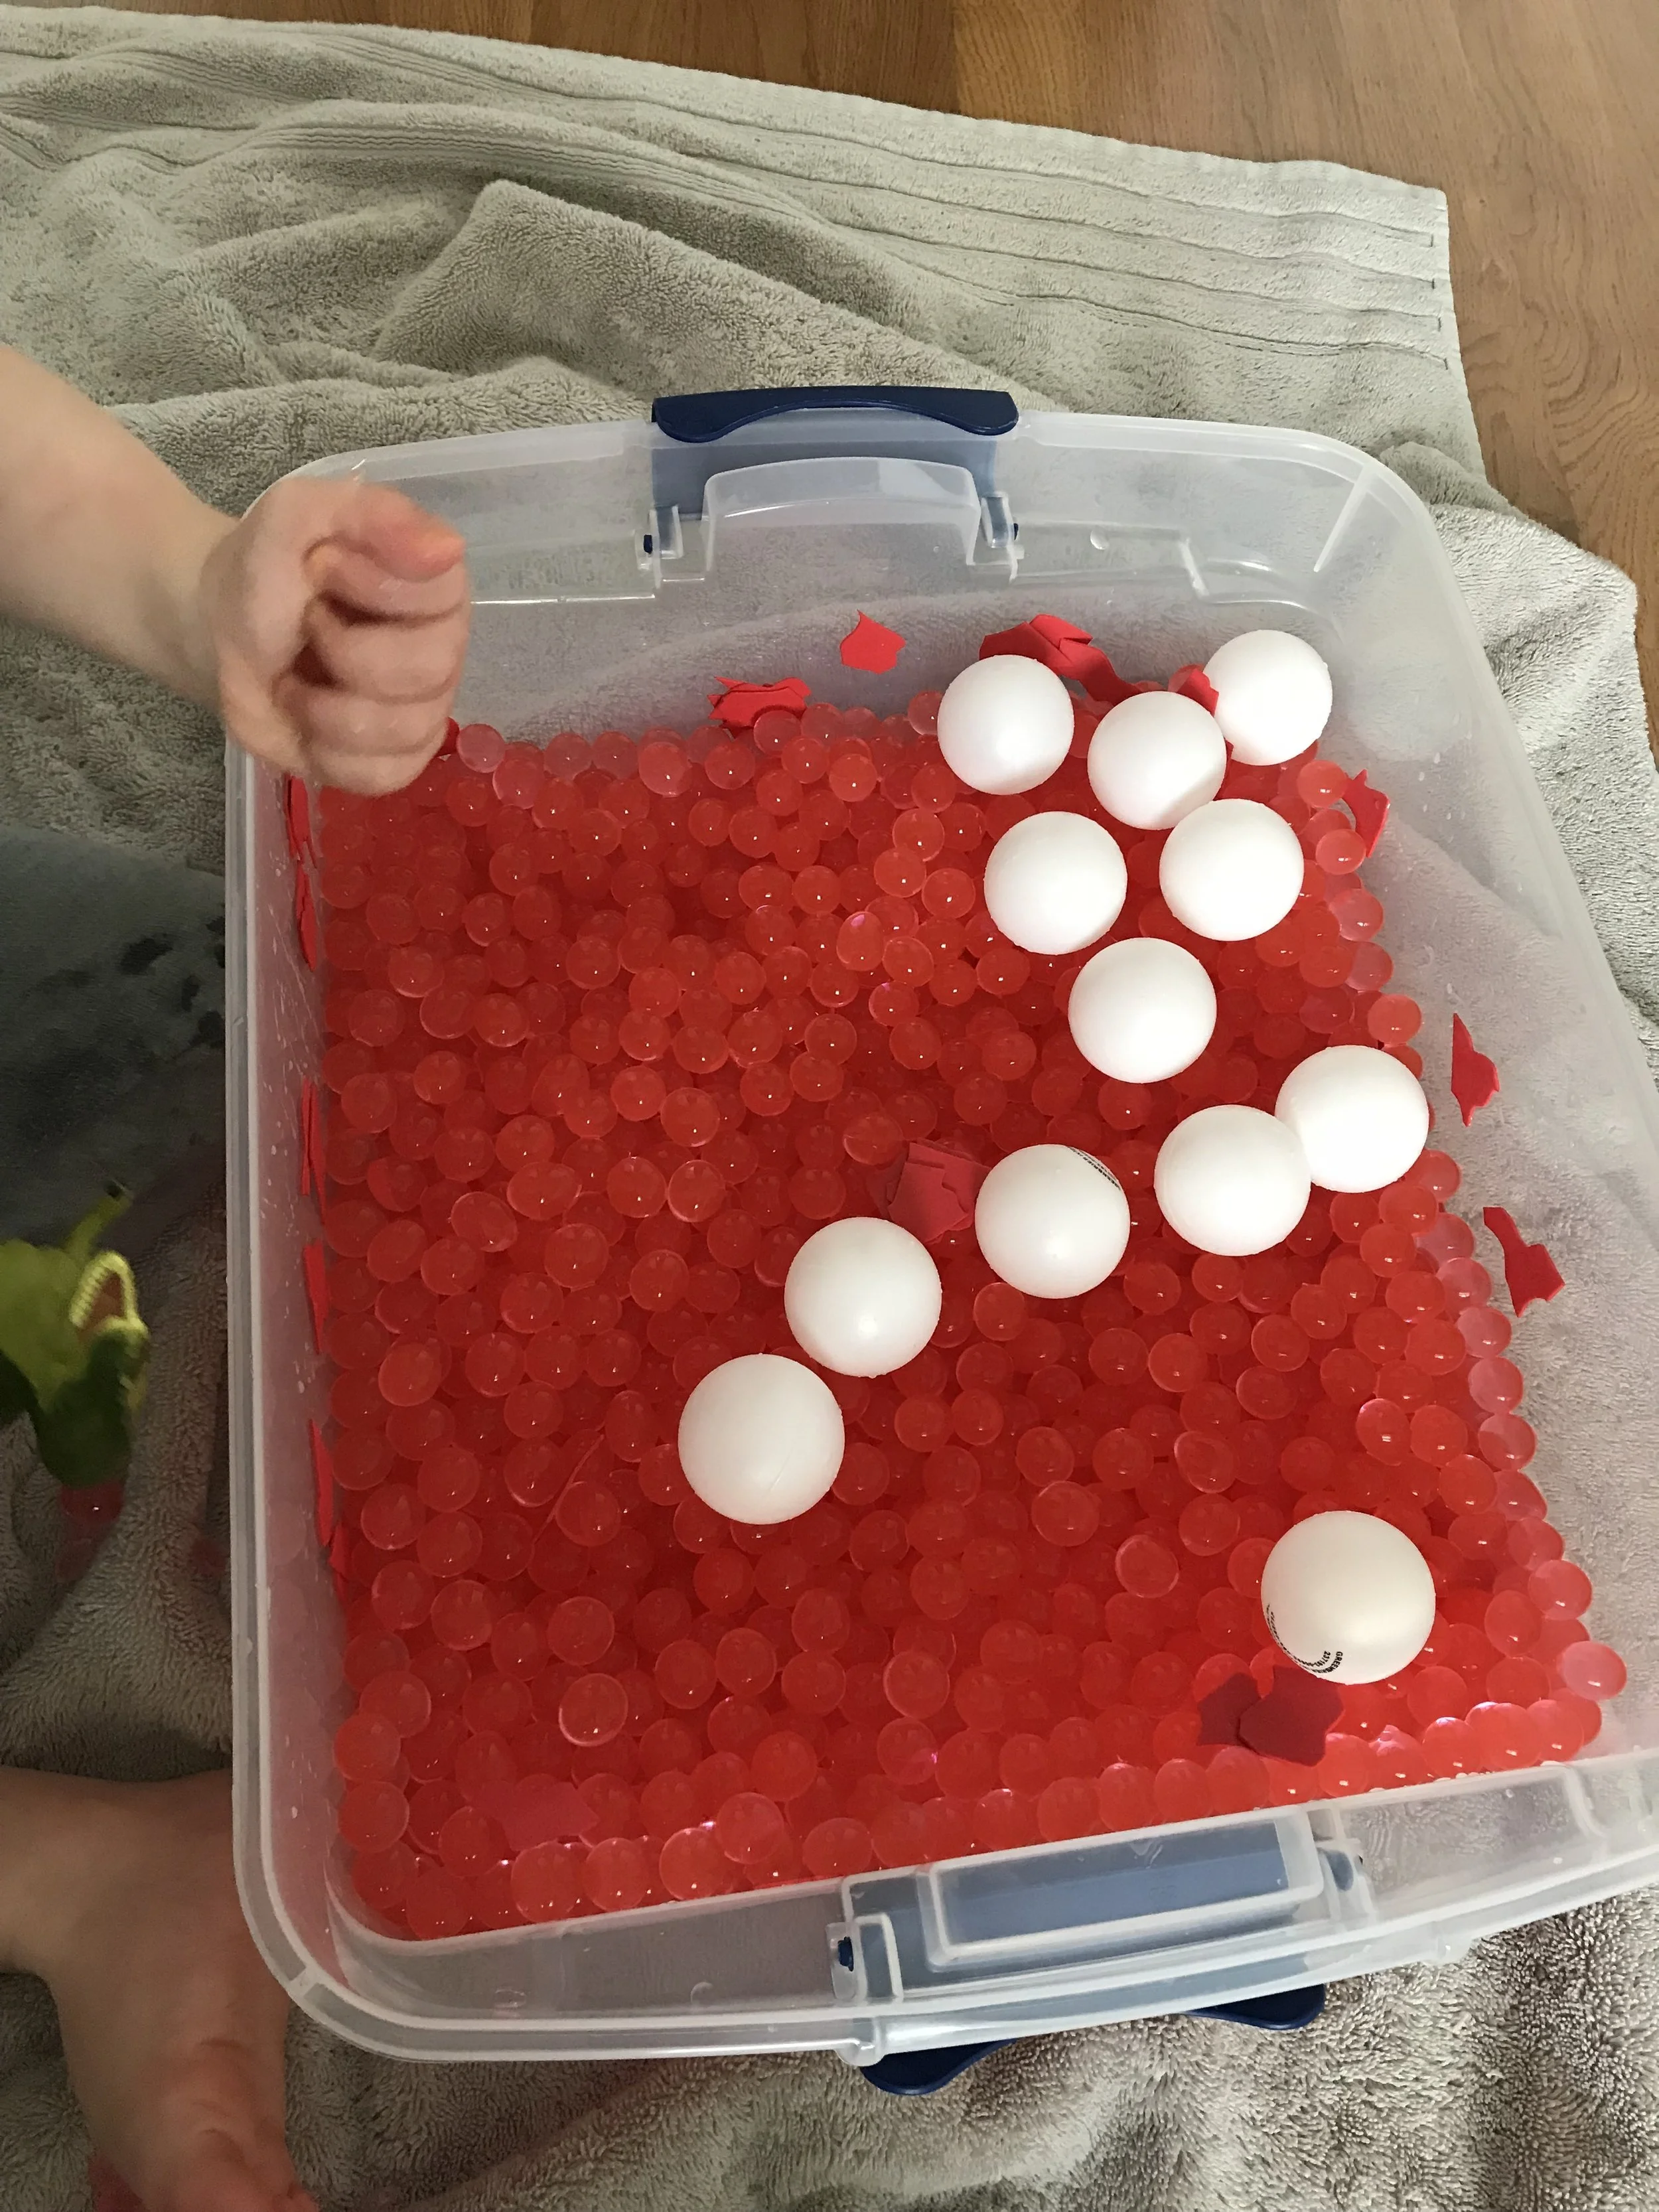
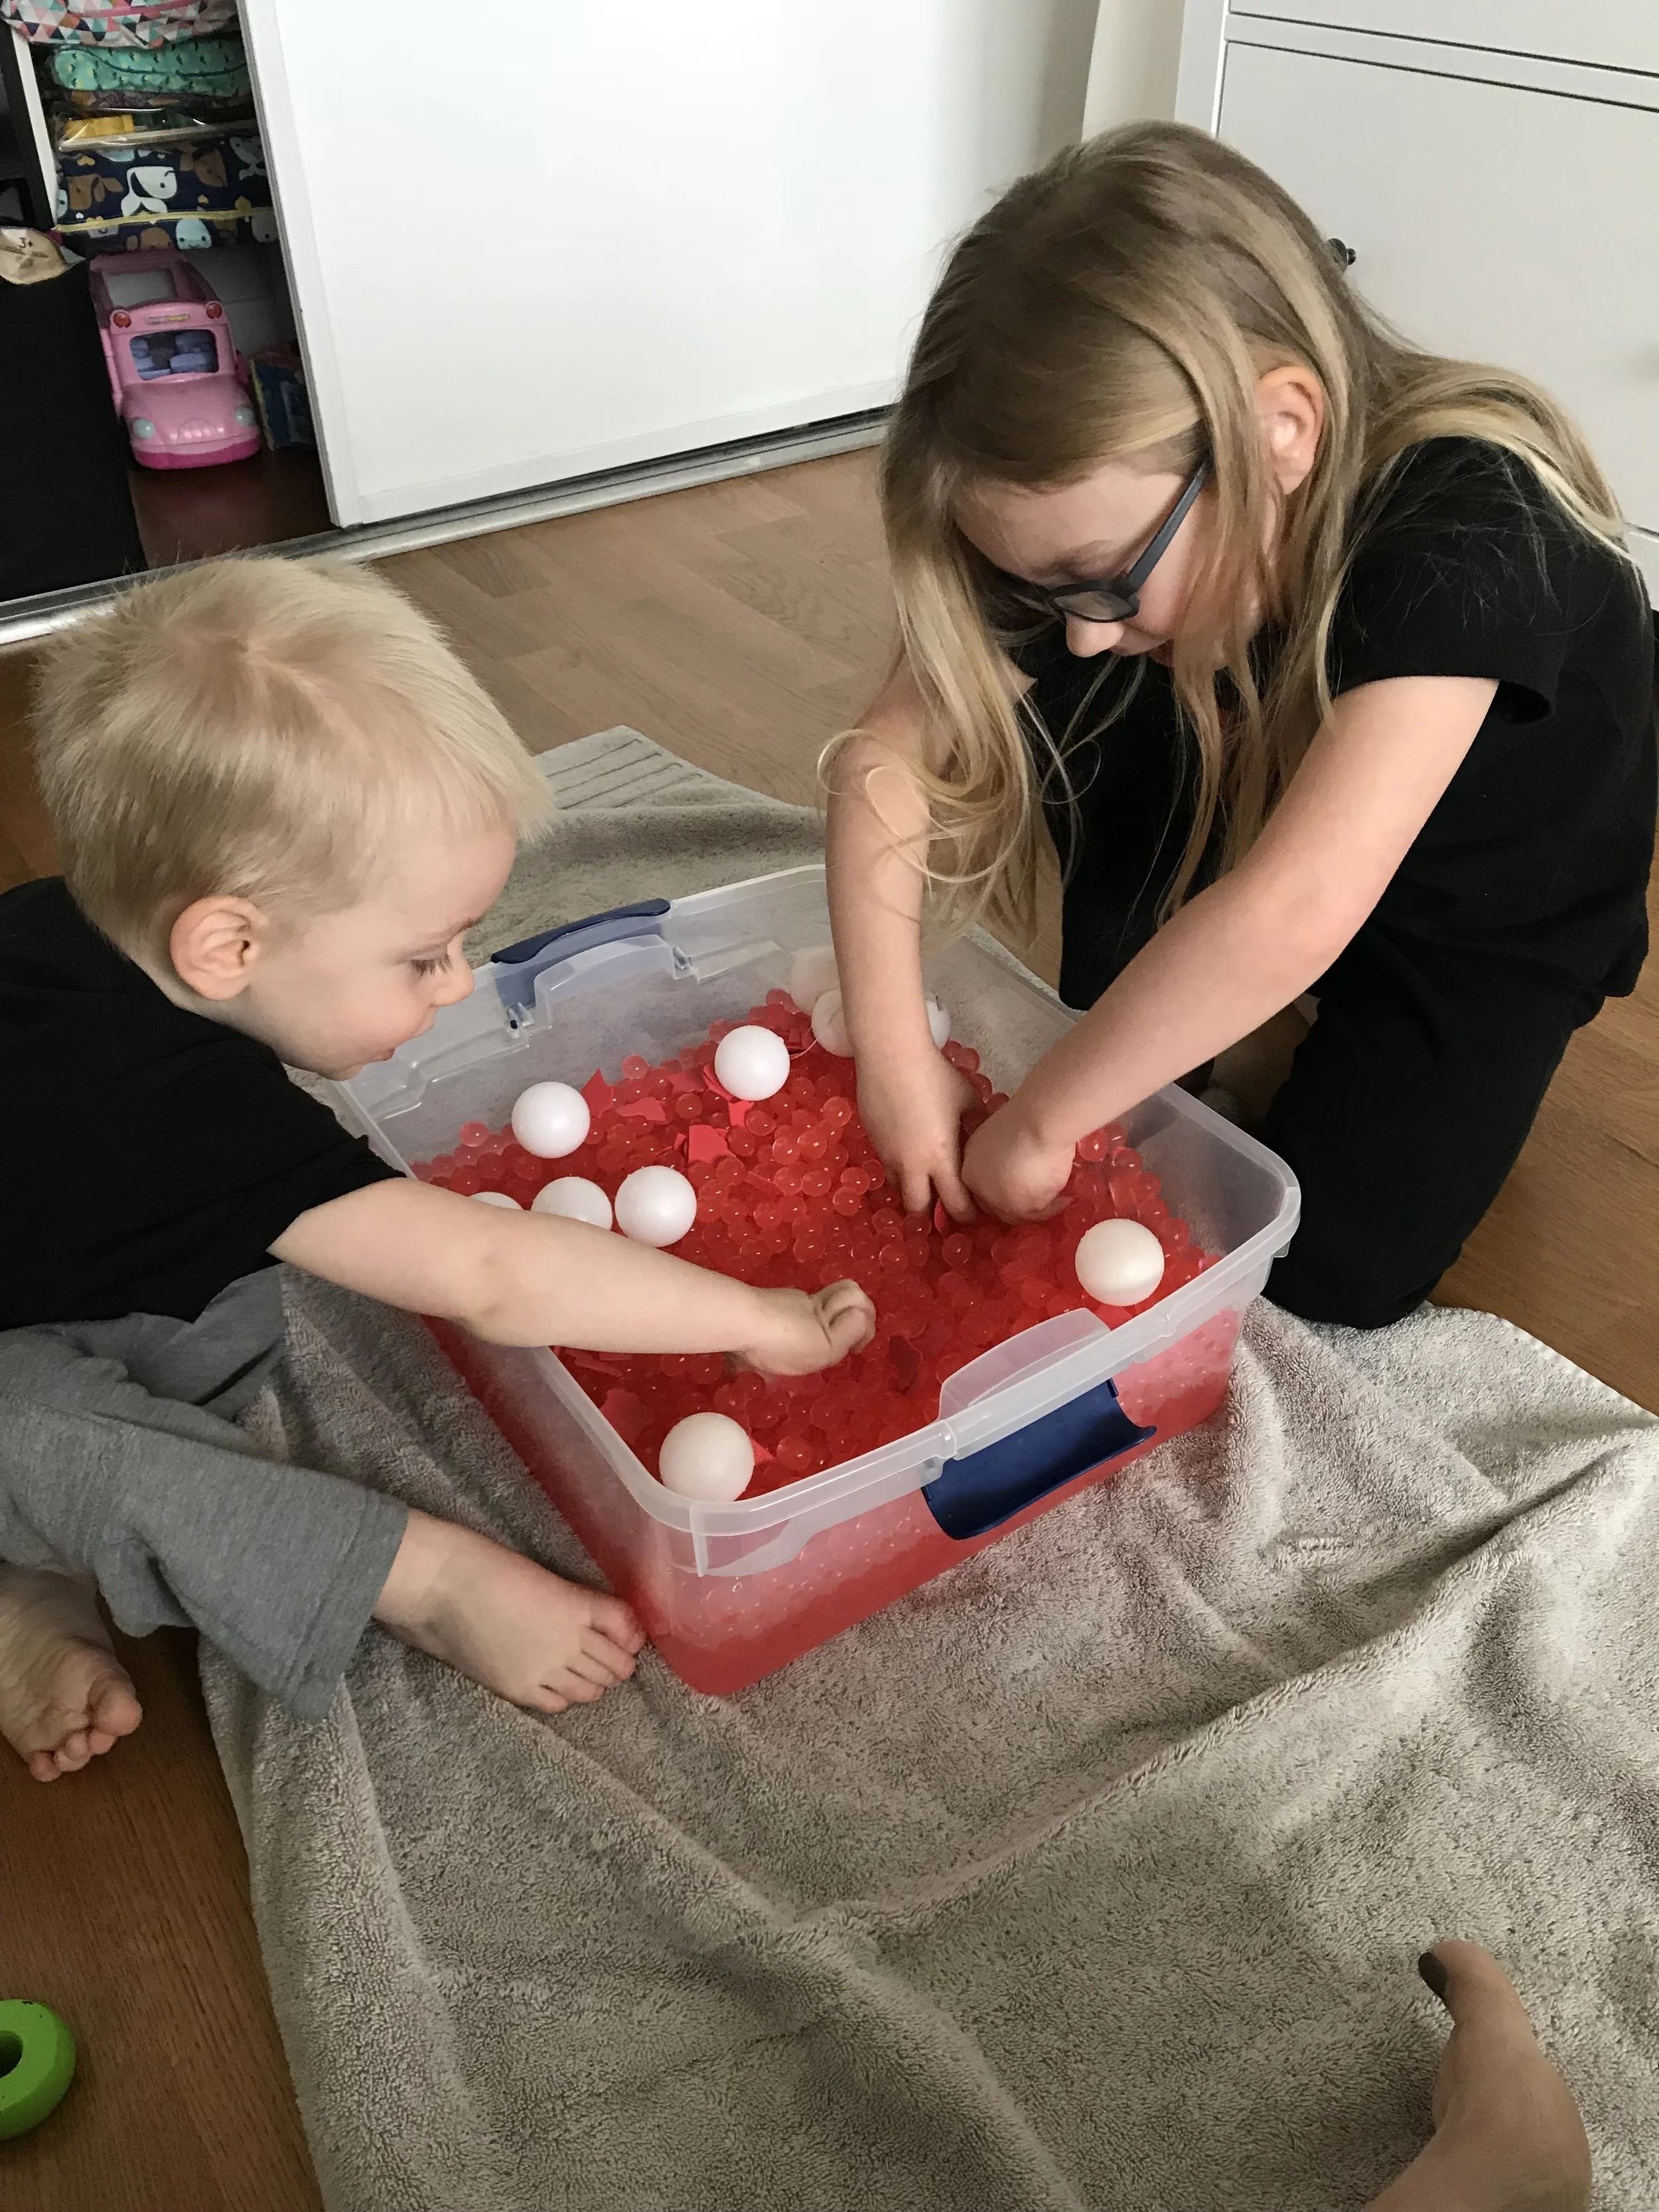
Blood Sensory Bin: After watching The Magic School Bus and seeing how the white blood cells attack germs I knew that a blood sensory bin would be a perfect way to show the different parts of the blood. I found this idea here. I ordered some red water beads from Walmart.com and Emerson helped me get them all soaked in water. It took about a day for them to fully expand. Then I added some red cut up pieces of foam to act as platelets and white ping pong balls for the white blood cells. This sensory bin was a huge hit! I couldn't stop playing with the water beads either, they felt so cool. We talked about all the different parts of the blood, red blood cells which carry oxygen, platelets which help our blood to clot, white blood cells that fight infection and the plasma (water) that helps to transport nutrients. When we talked about what the white blood cells do Emerson added some toys and then I would send all the white blood cells (ping pong balls) over to the toy and pretended they were attacking it.
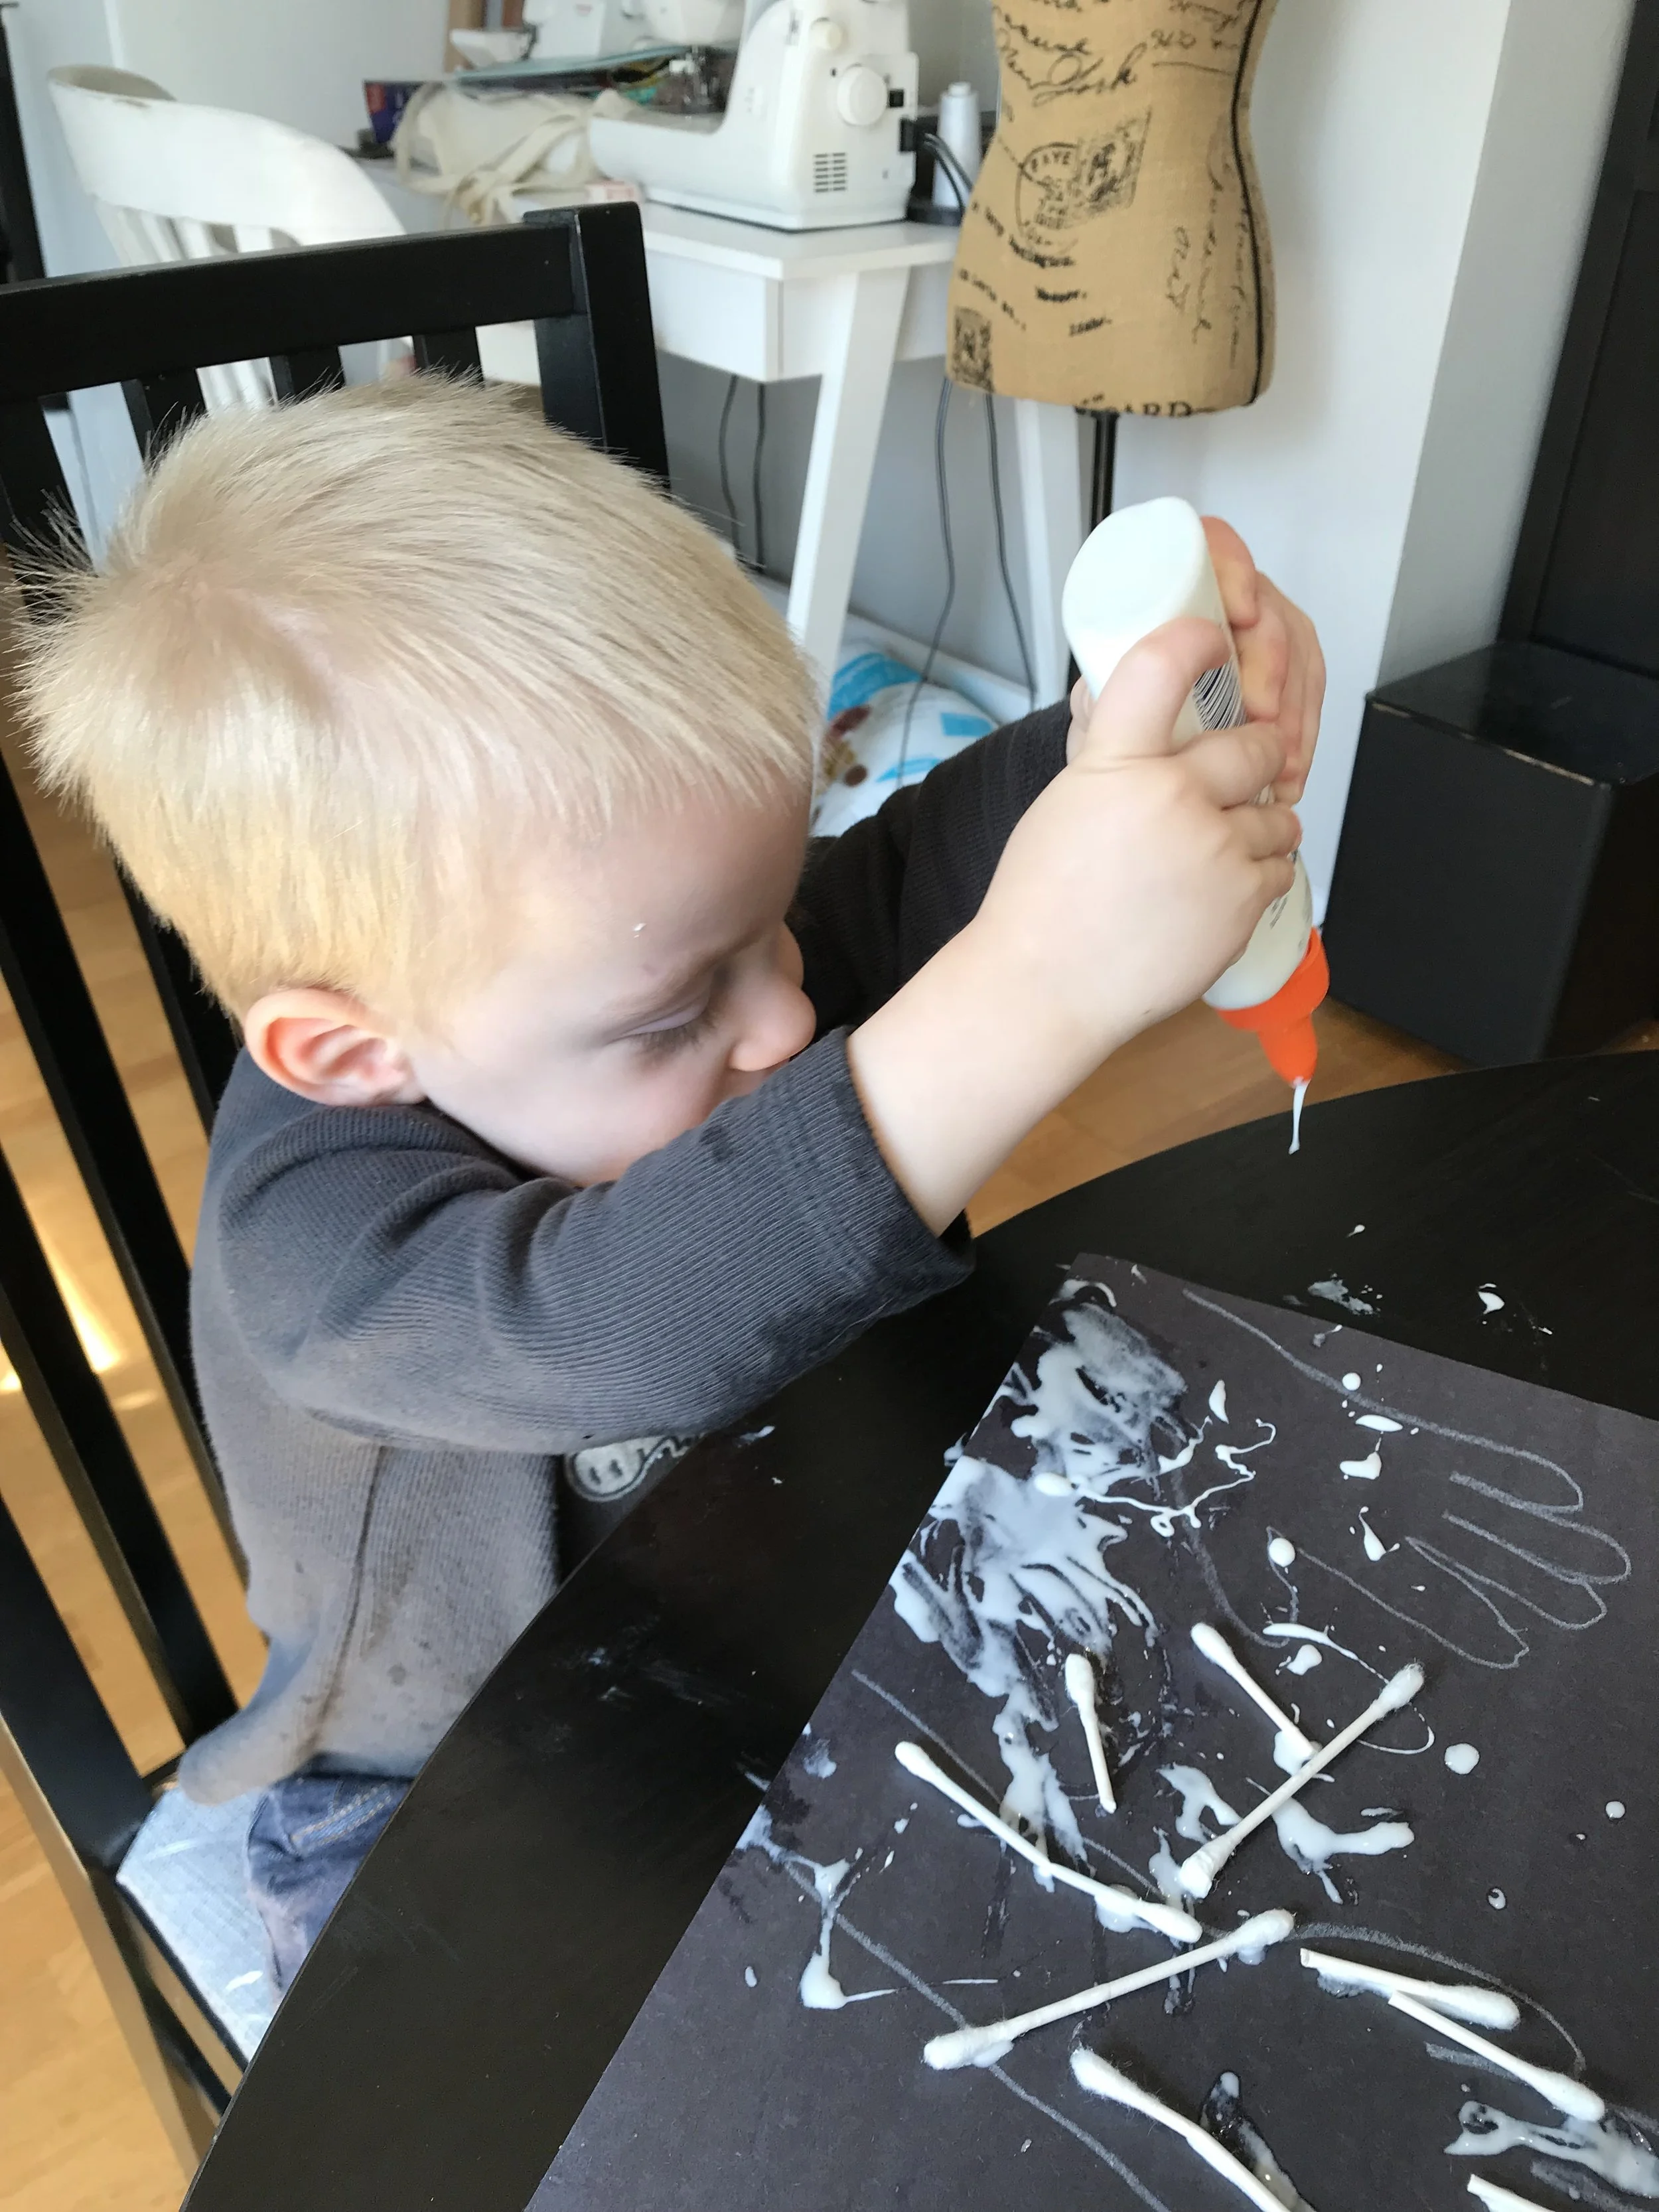
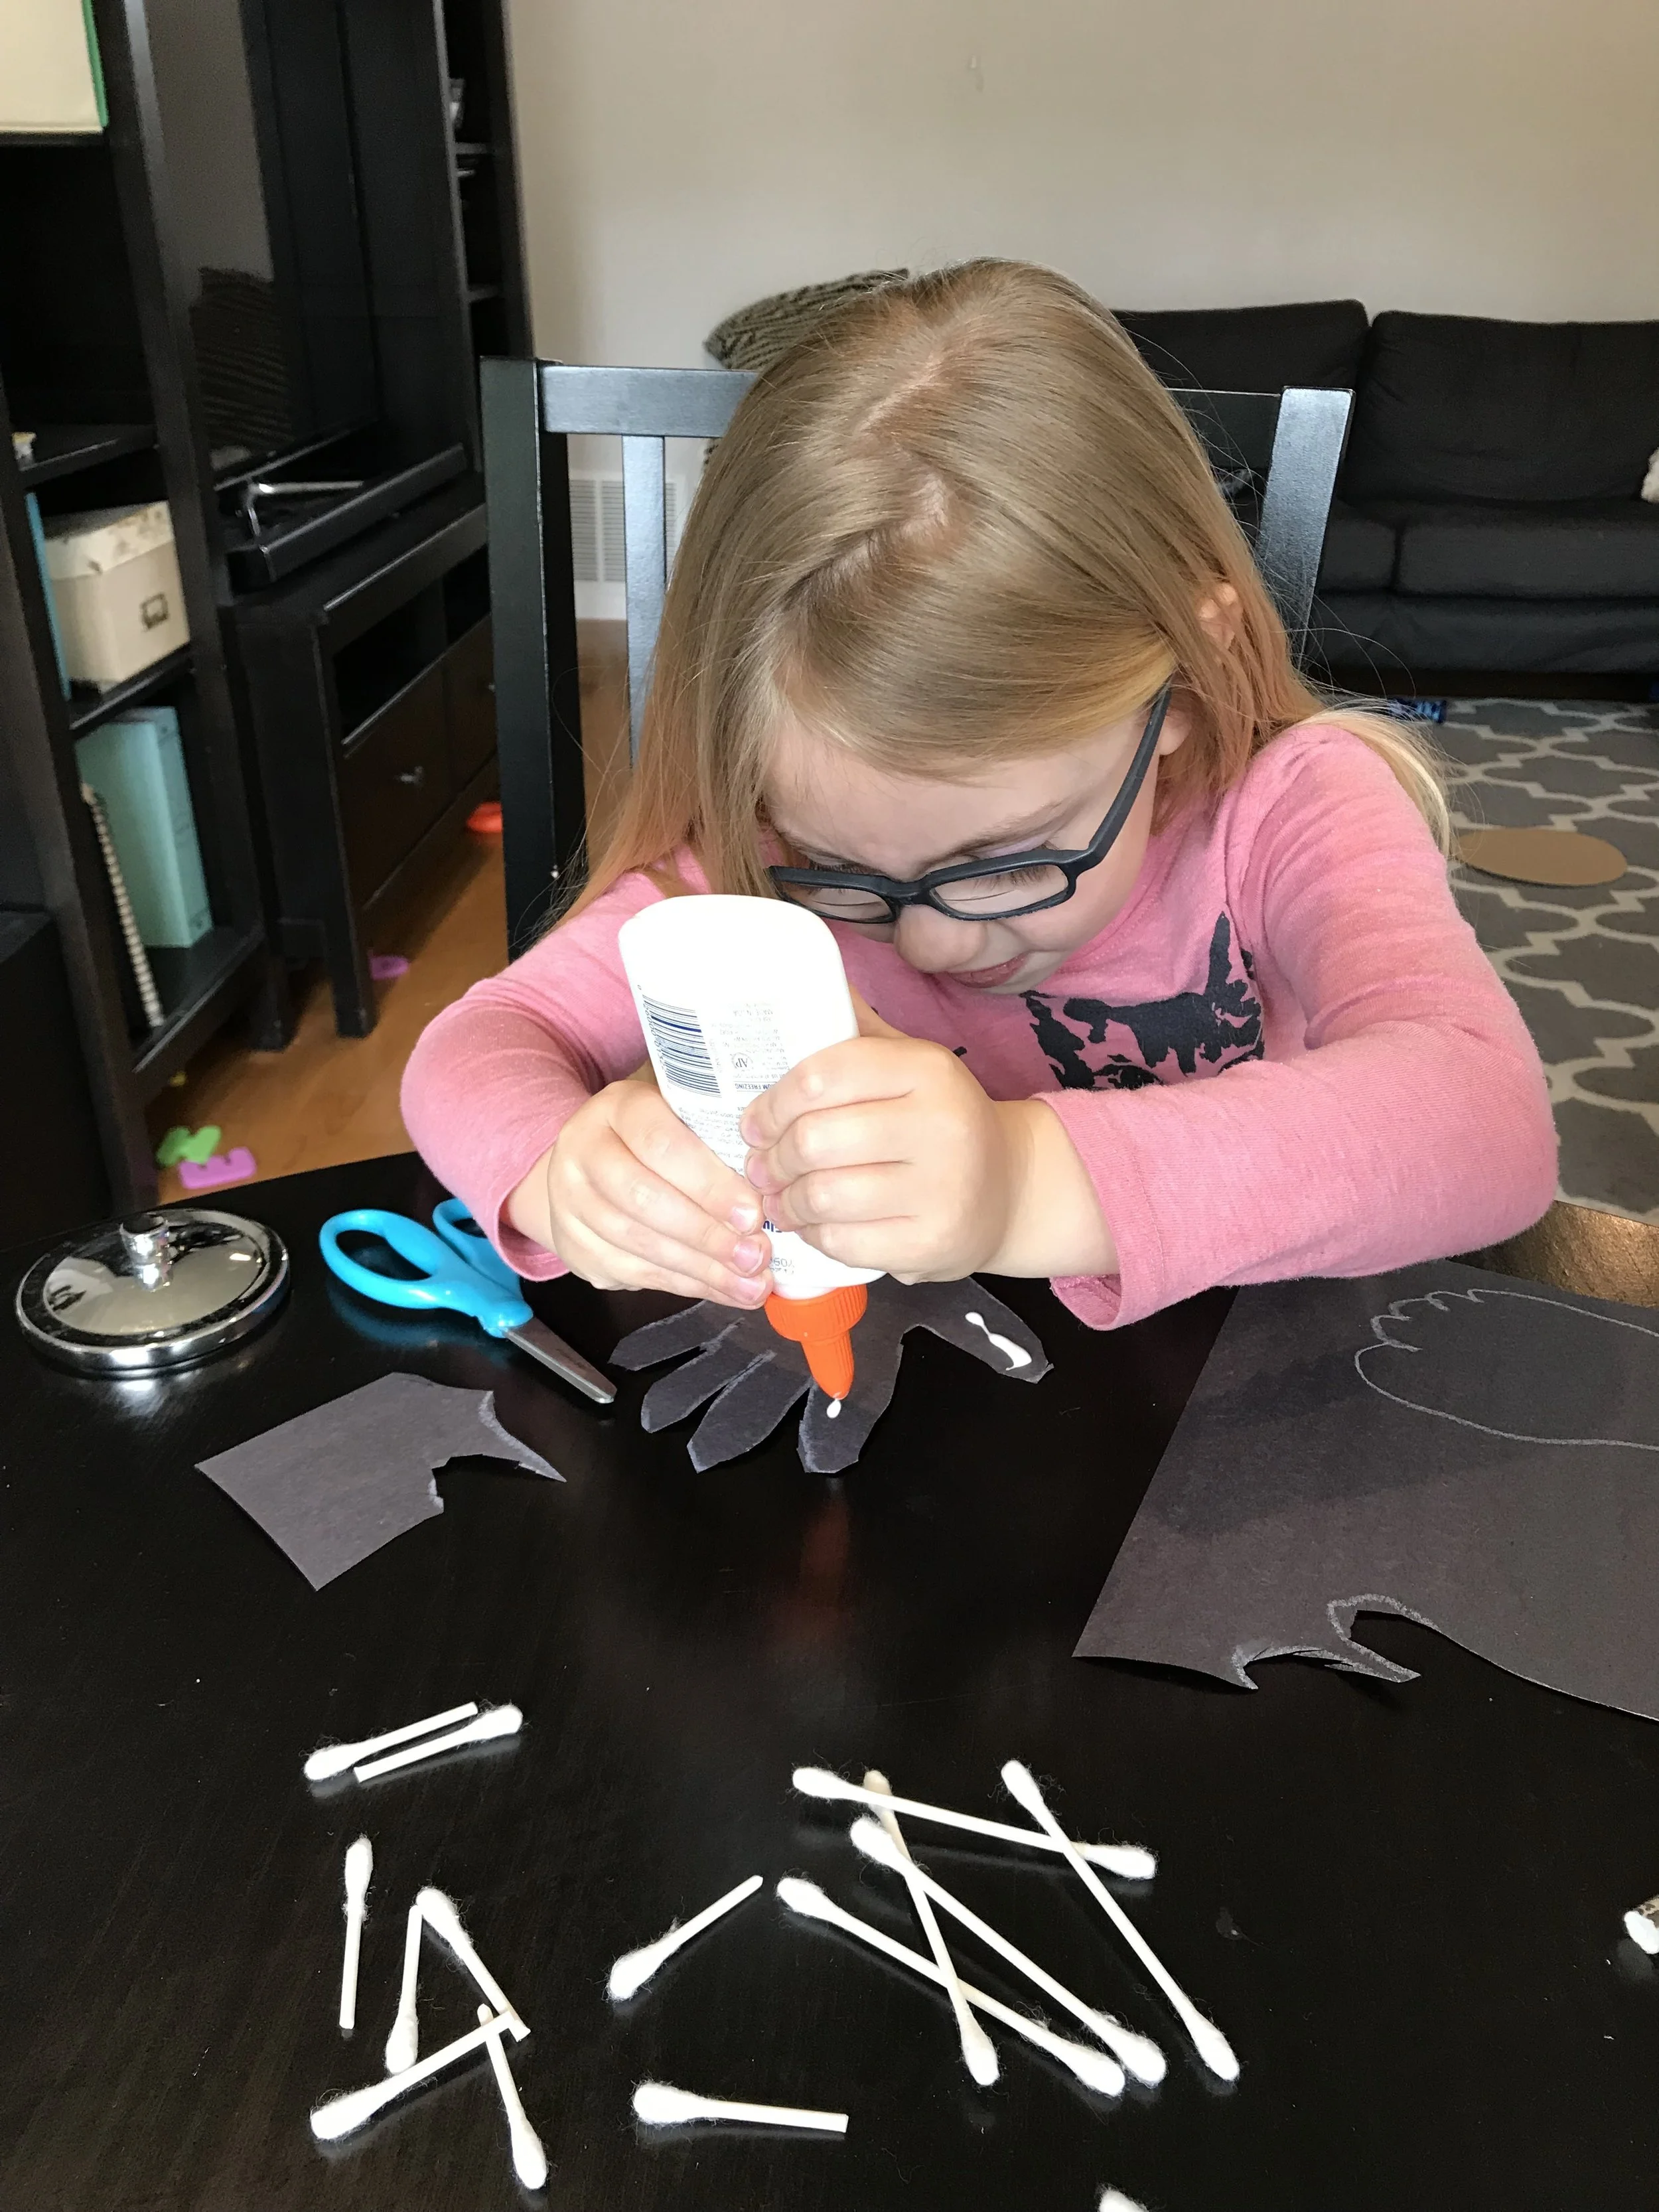
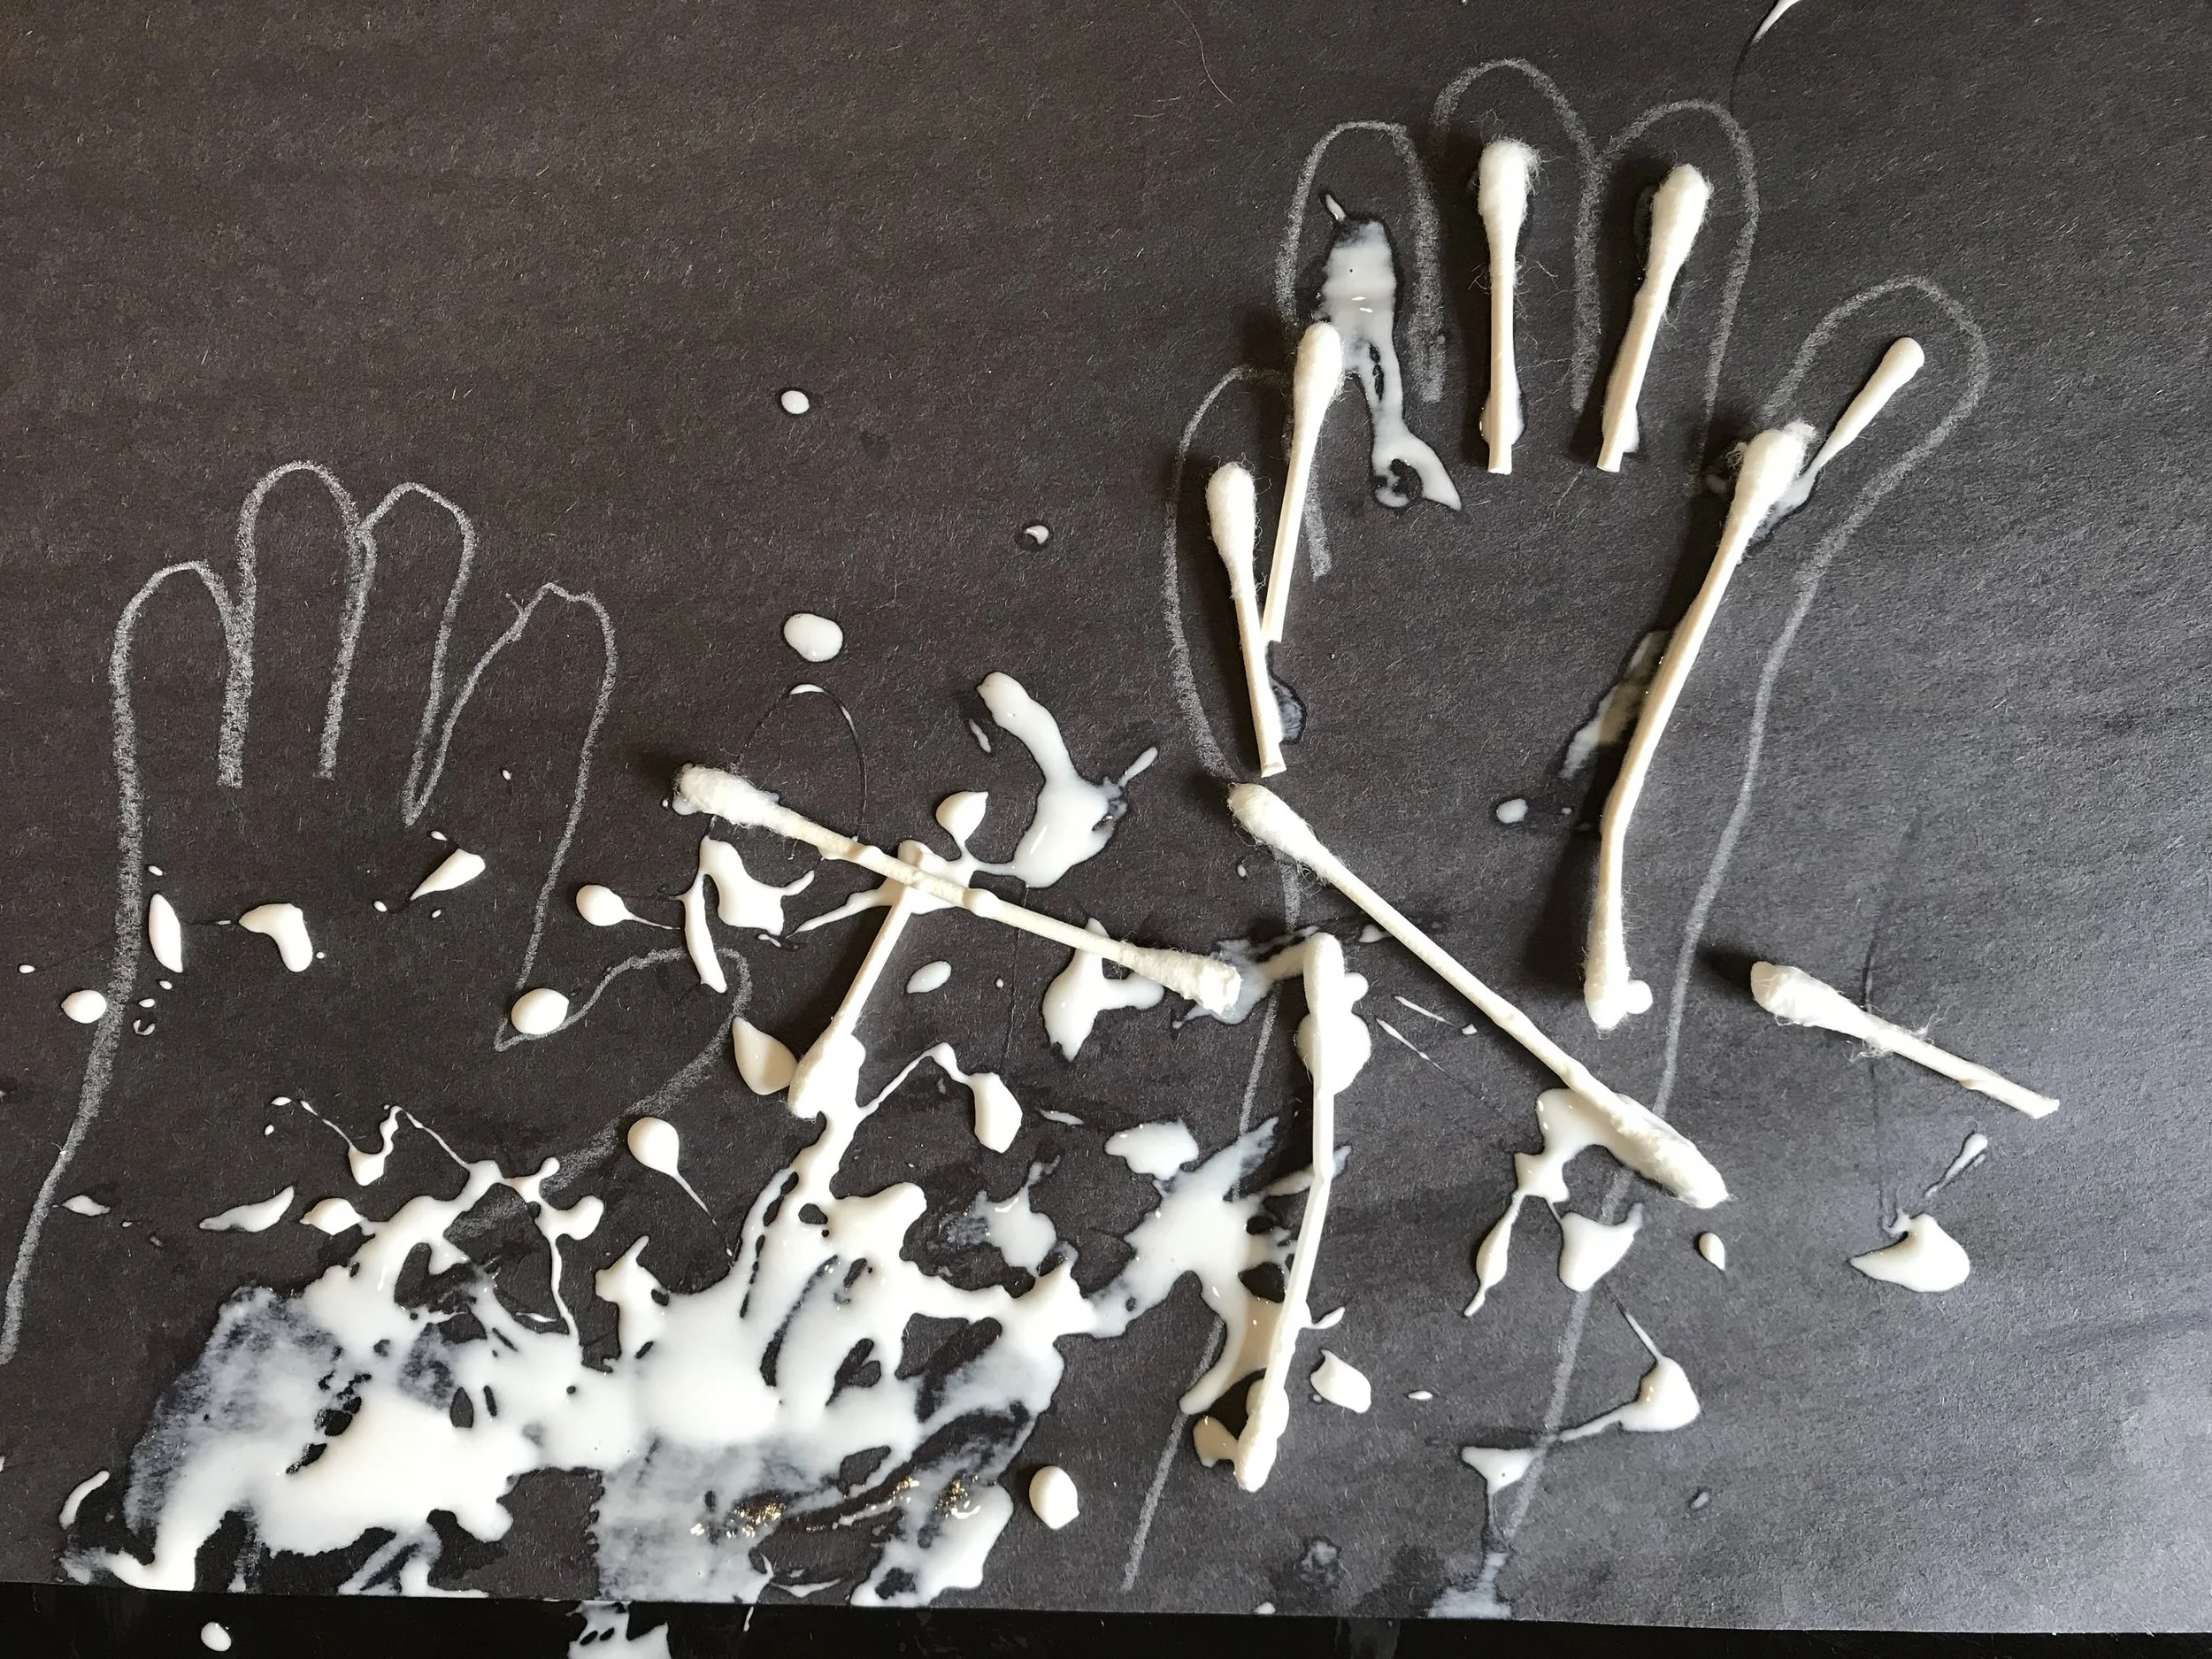
Q-Tip Bones: As a way to show the kids that we have bones holding us up we created our own bones with q-tips. I traced their hands on a piece of black paper and then gave them some glue and q-tips and let them glue bones inside their hands. Emerson decided to make a foot too. We talked about how our bones help keep us from being I pile of skin and that our blood is made in our bones. Emmett loved being able to control the glue and it was a great hand strengthening activity for him.
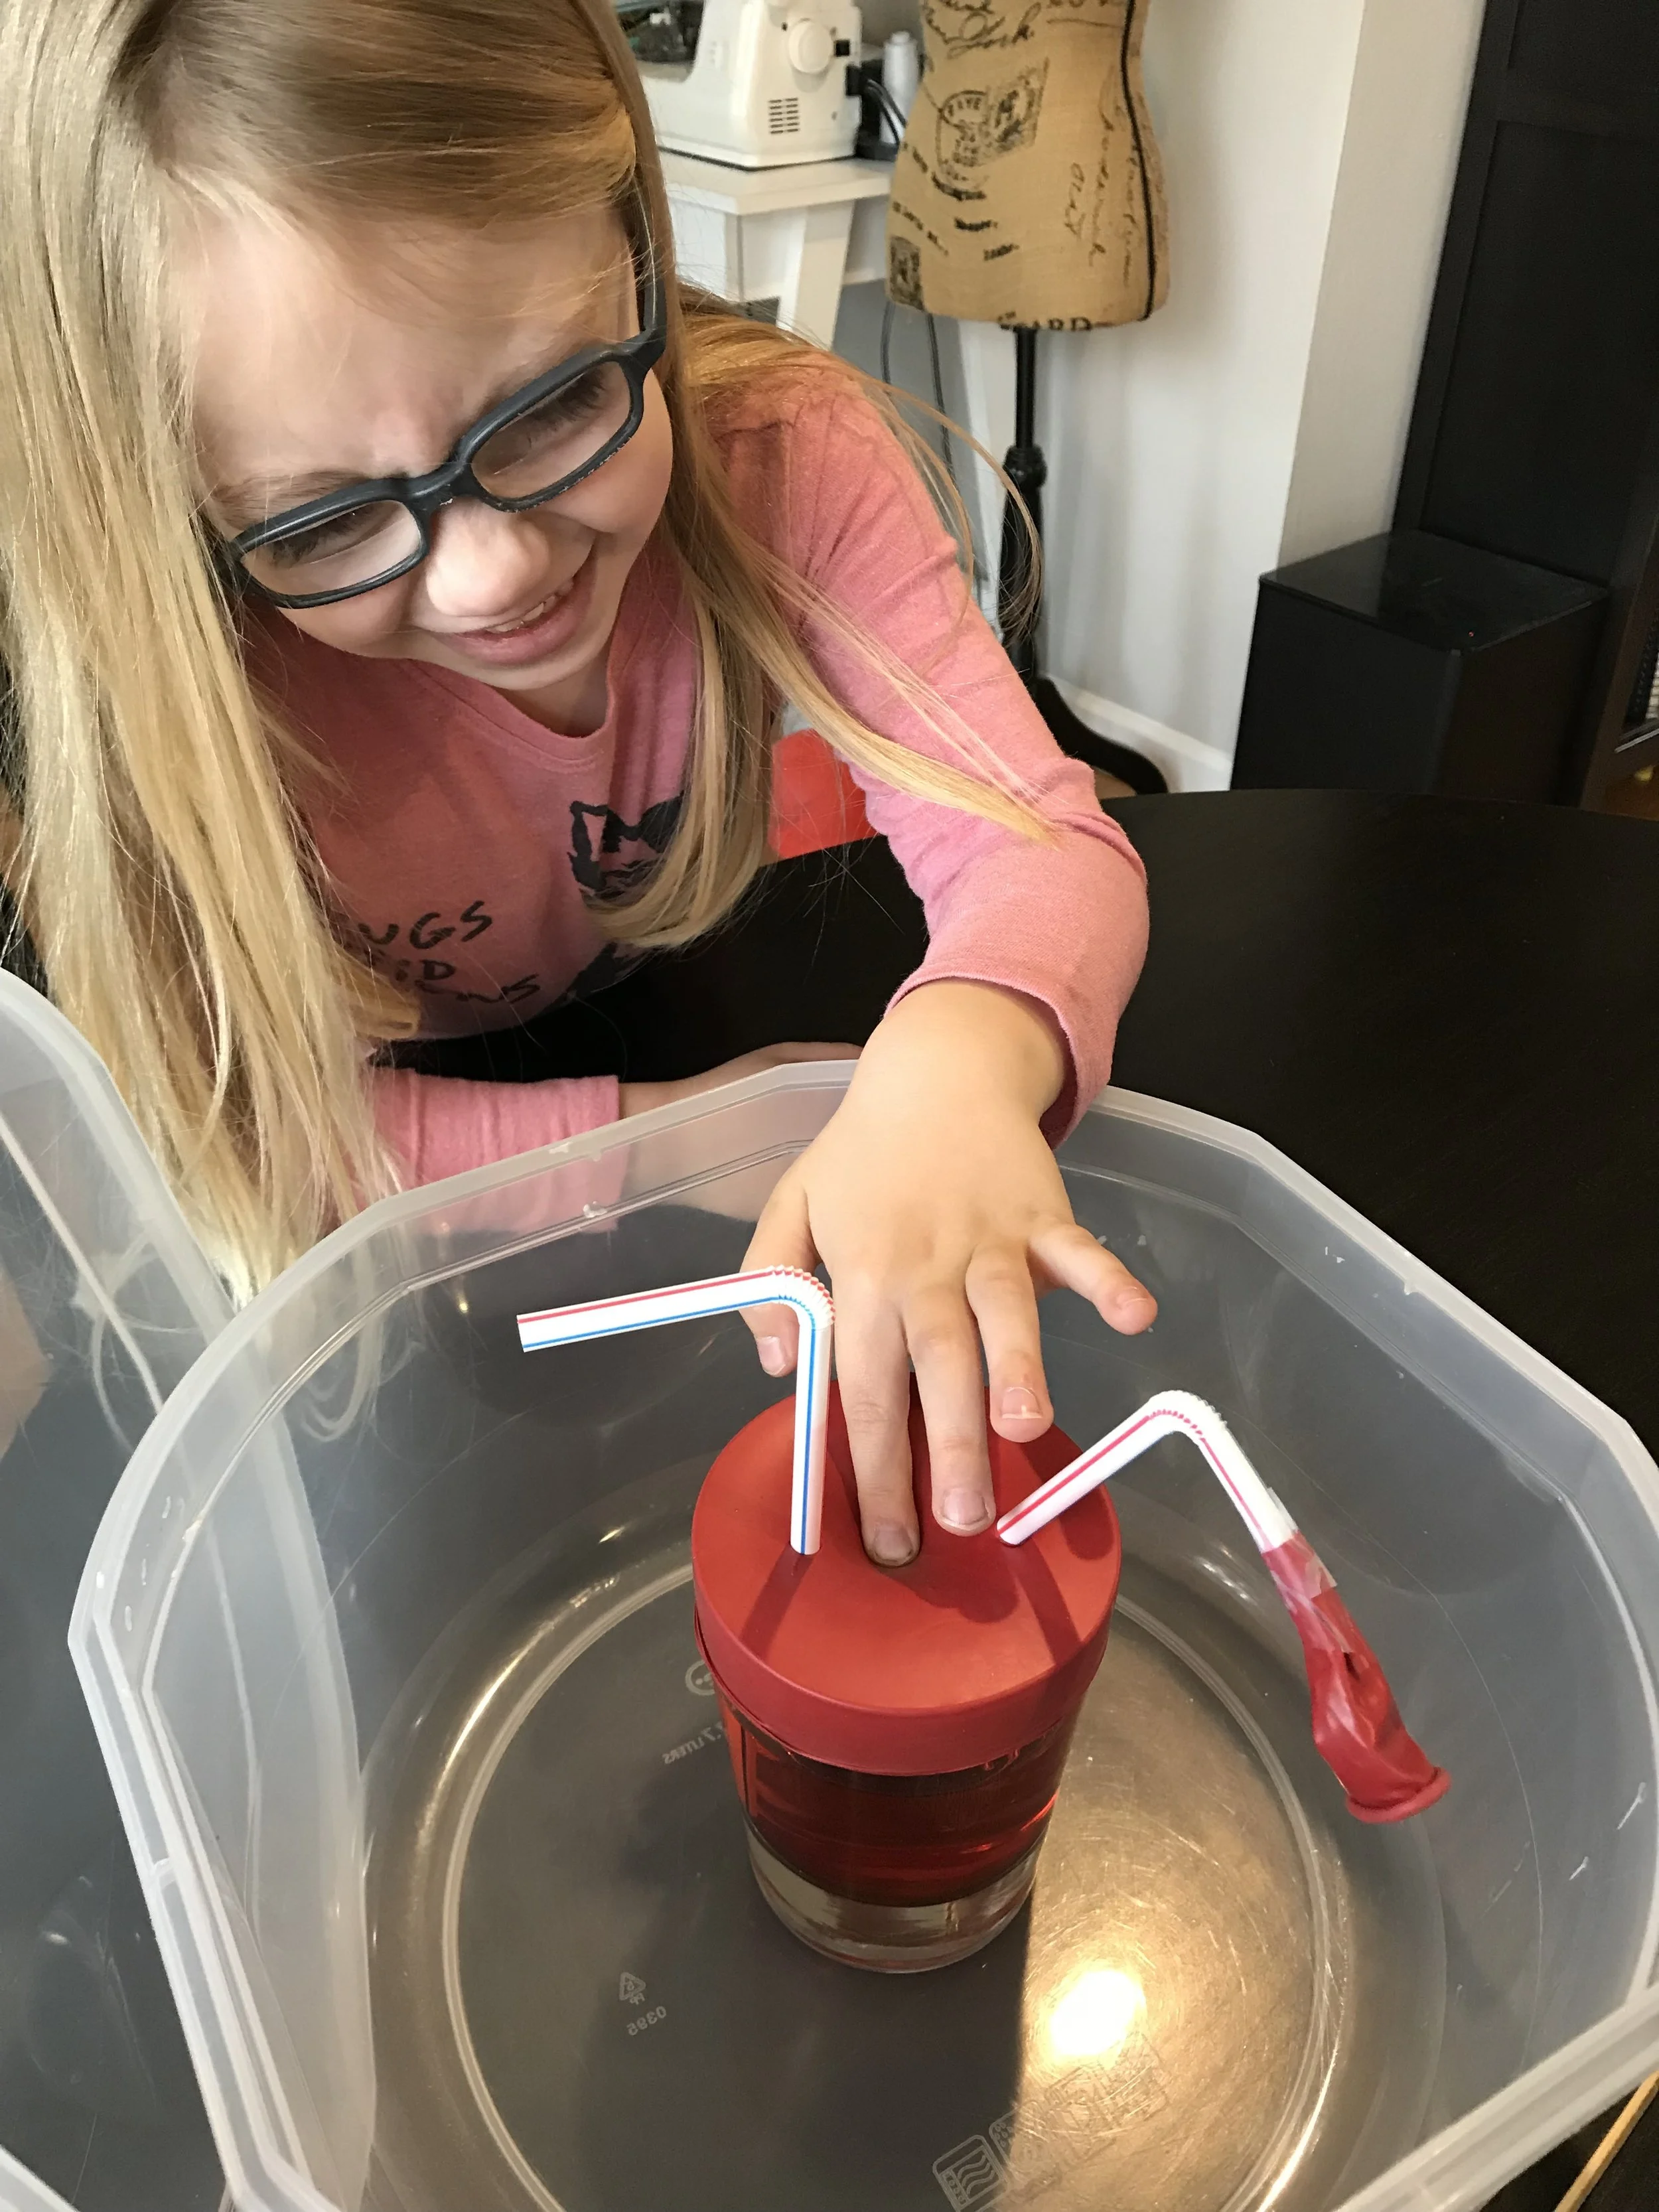
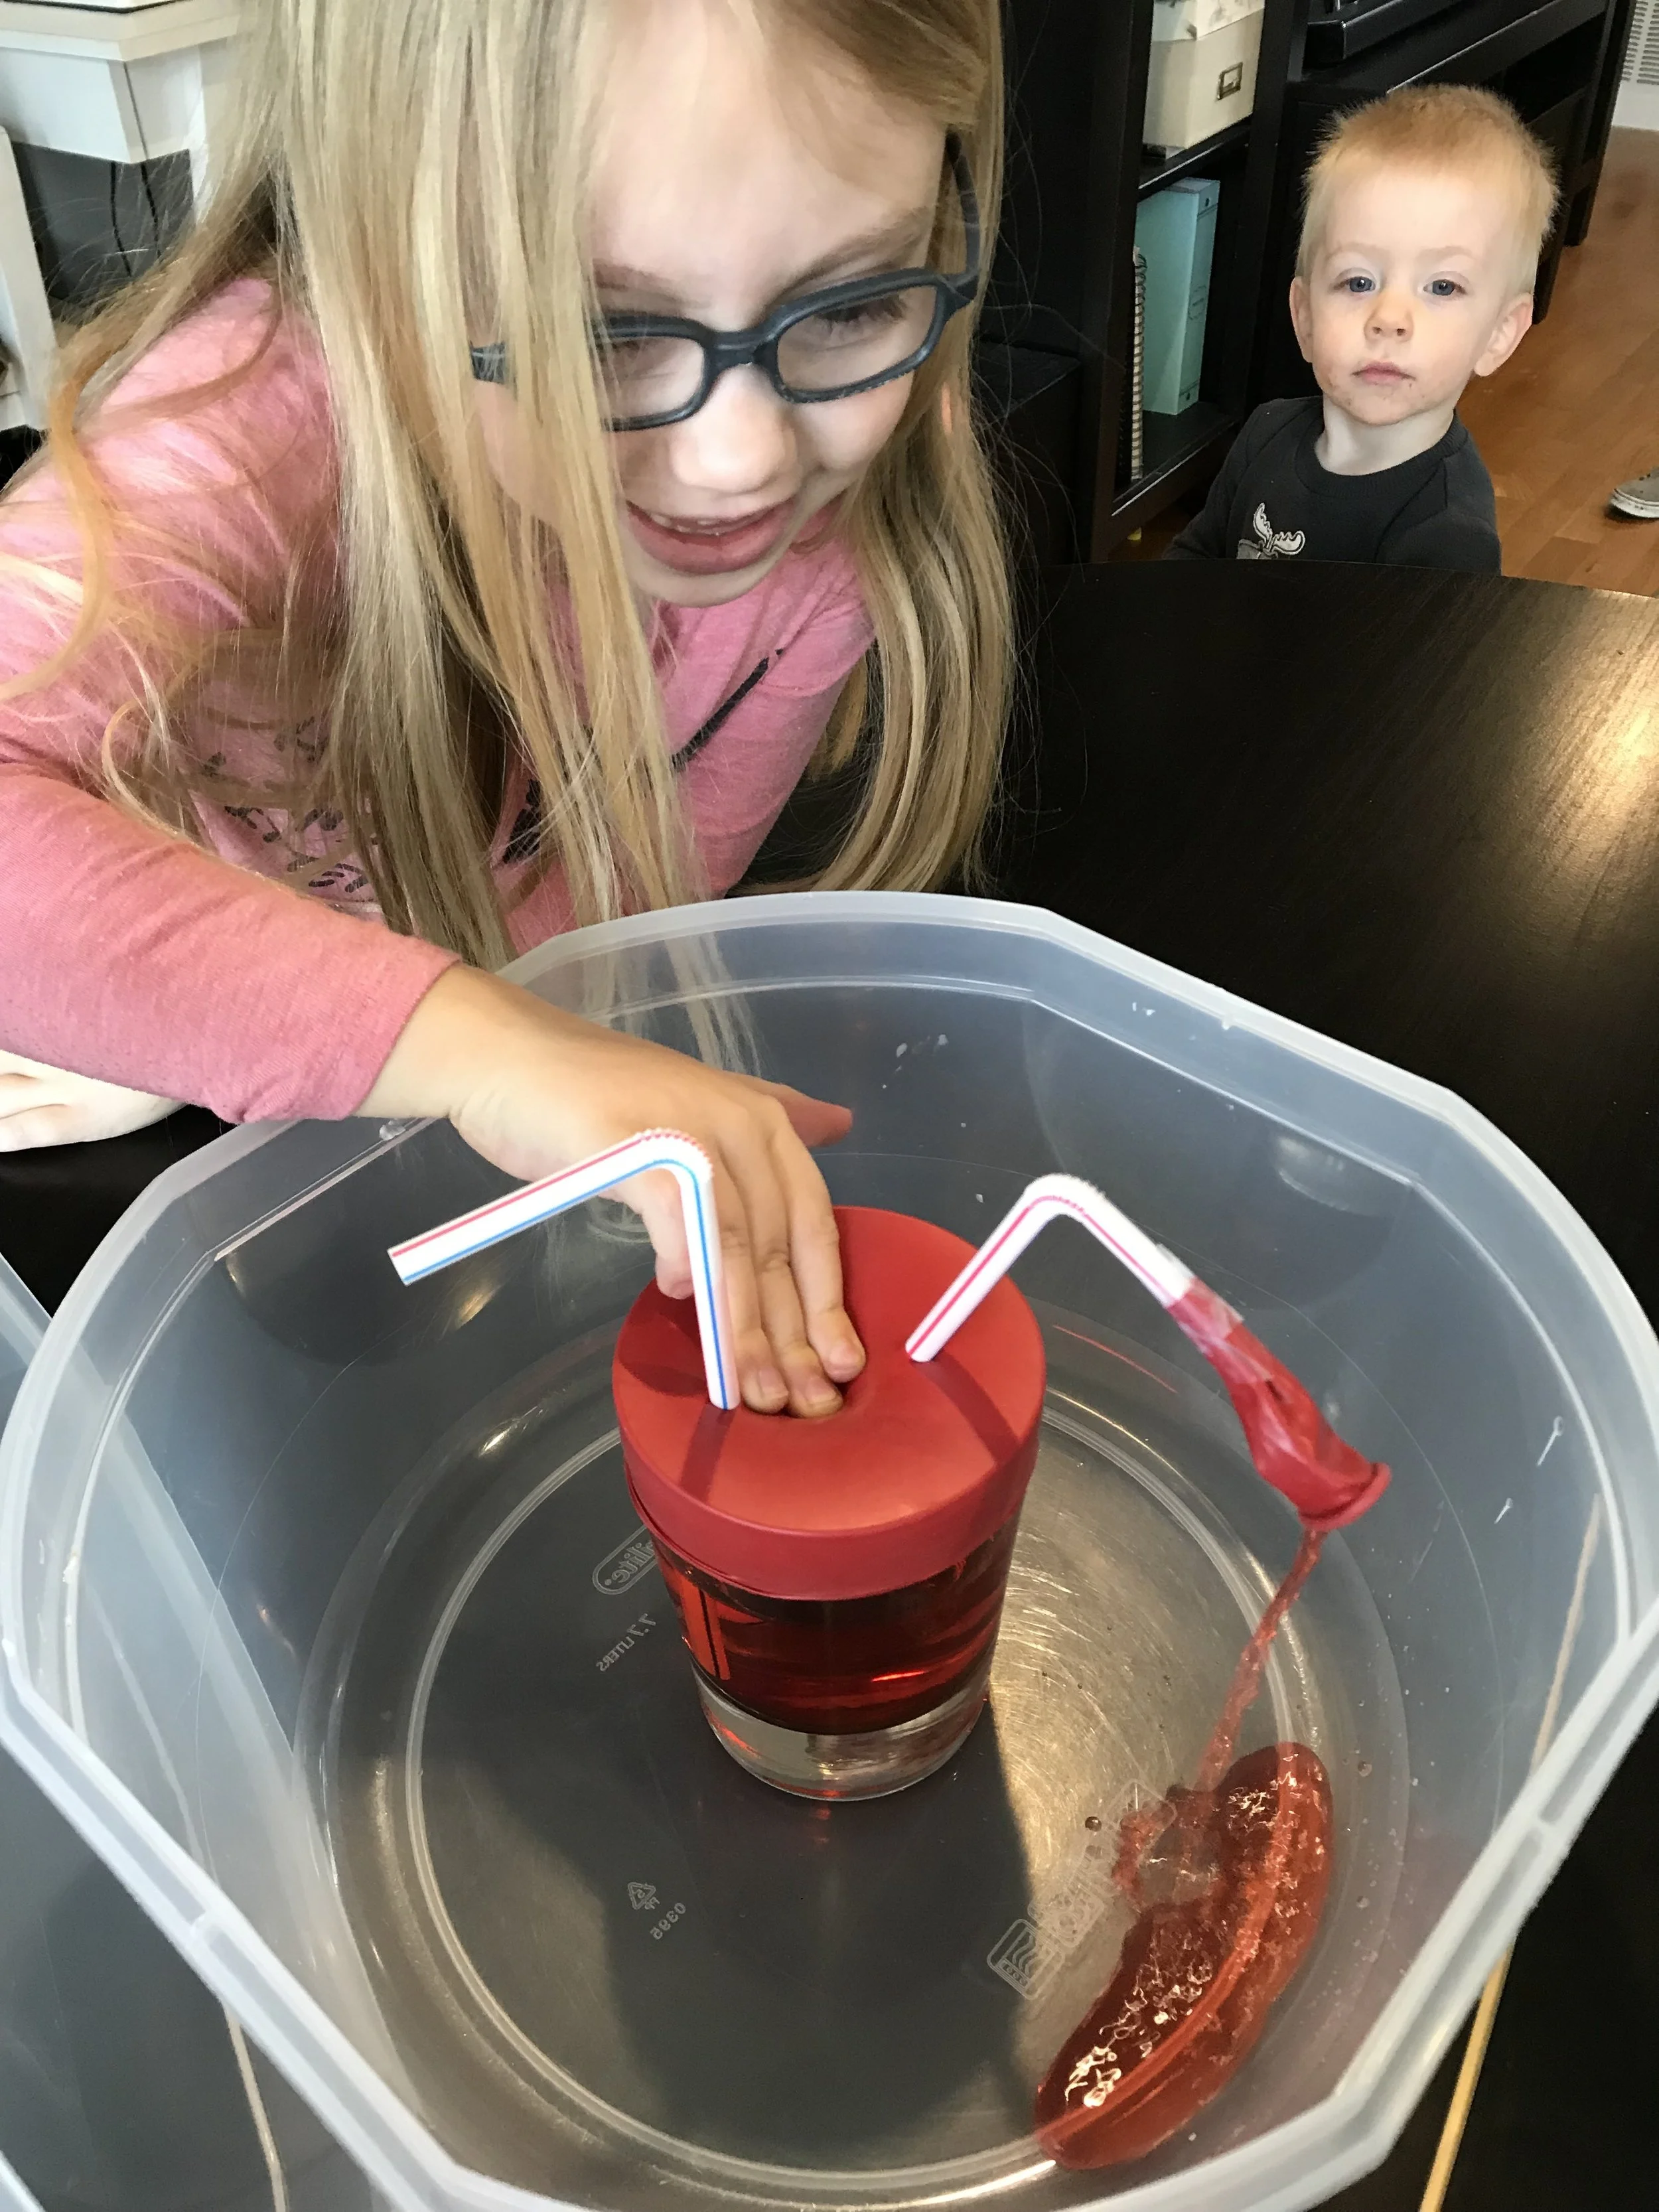
Heart Simulator: This was a really cool activity to show the kids how their heart pumps blood. I found the instructions for this activity here. We made sure to put our "heart" in a large plastic cut so it didn't squirt blood everywhere. Once Emerson got the hang of pumping the blood it was gone pretty quick and we tried to do it again, but with the balloon and glass now all wet I couldn't get the balloon to stay. So if you want to demonstrate the heart multiple times you will need a fresh balloon and dry glass each time.
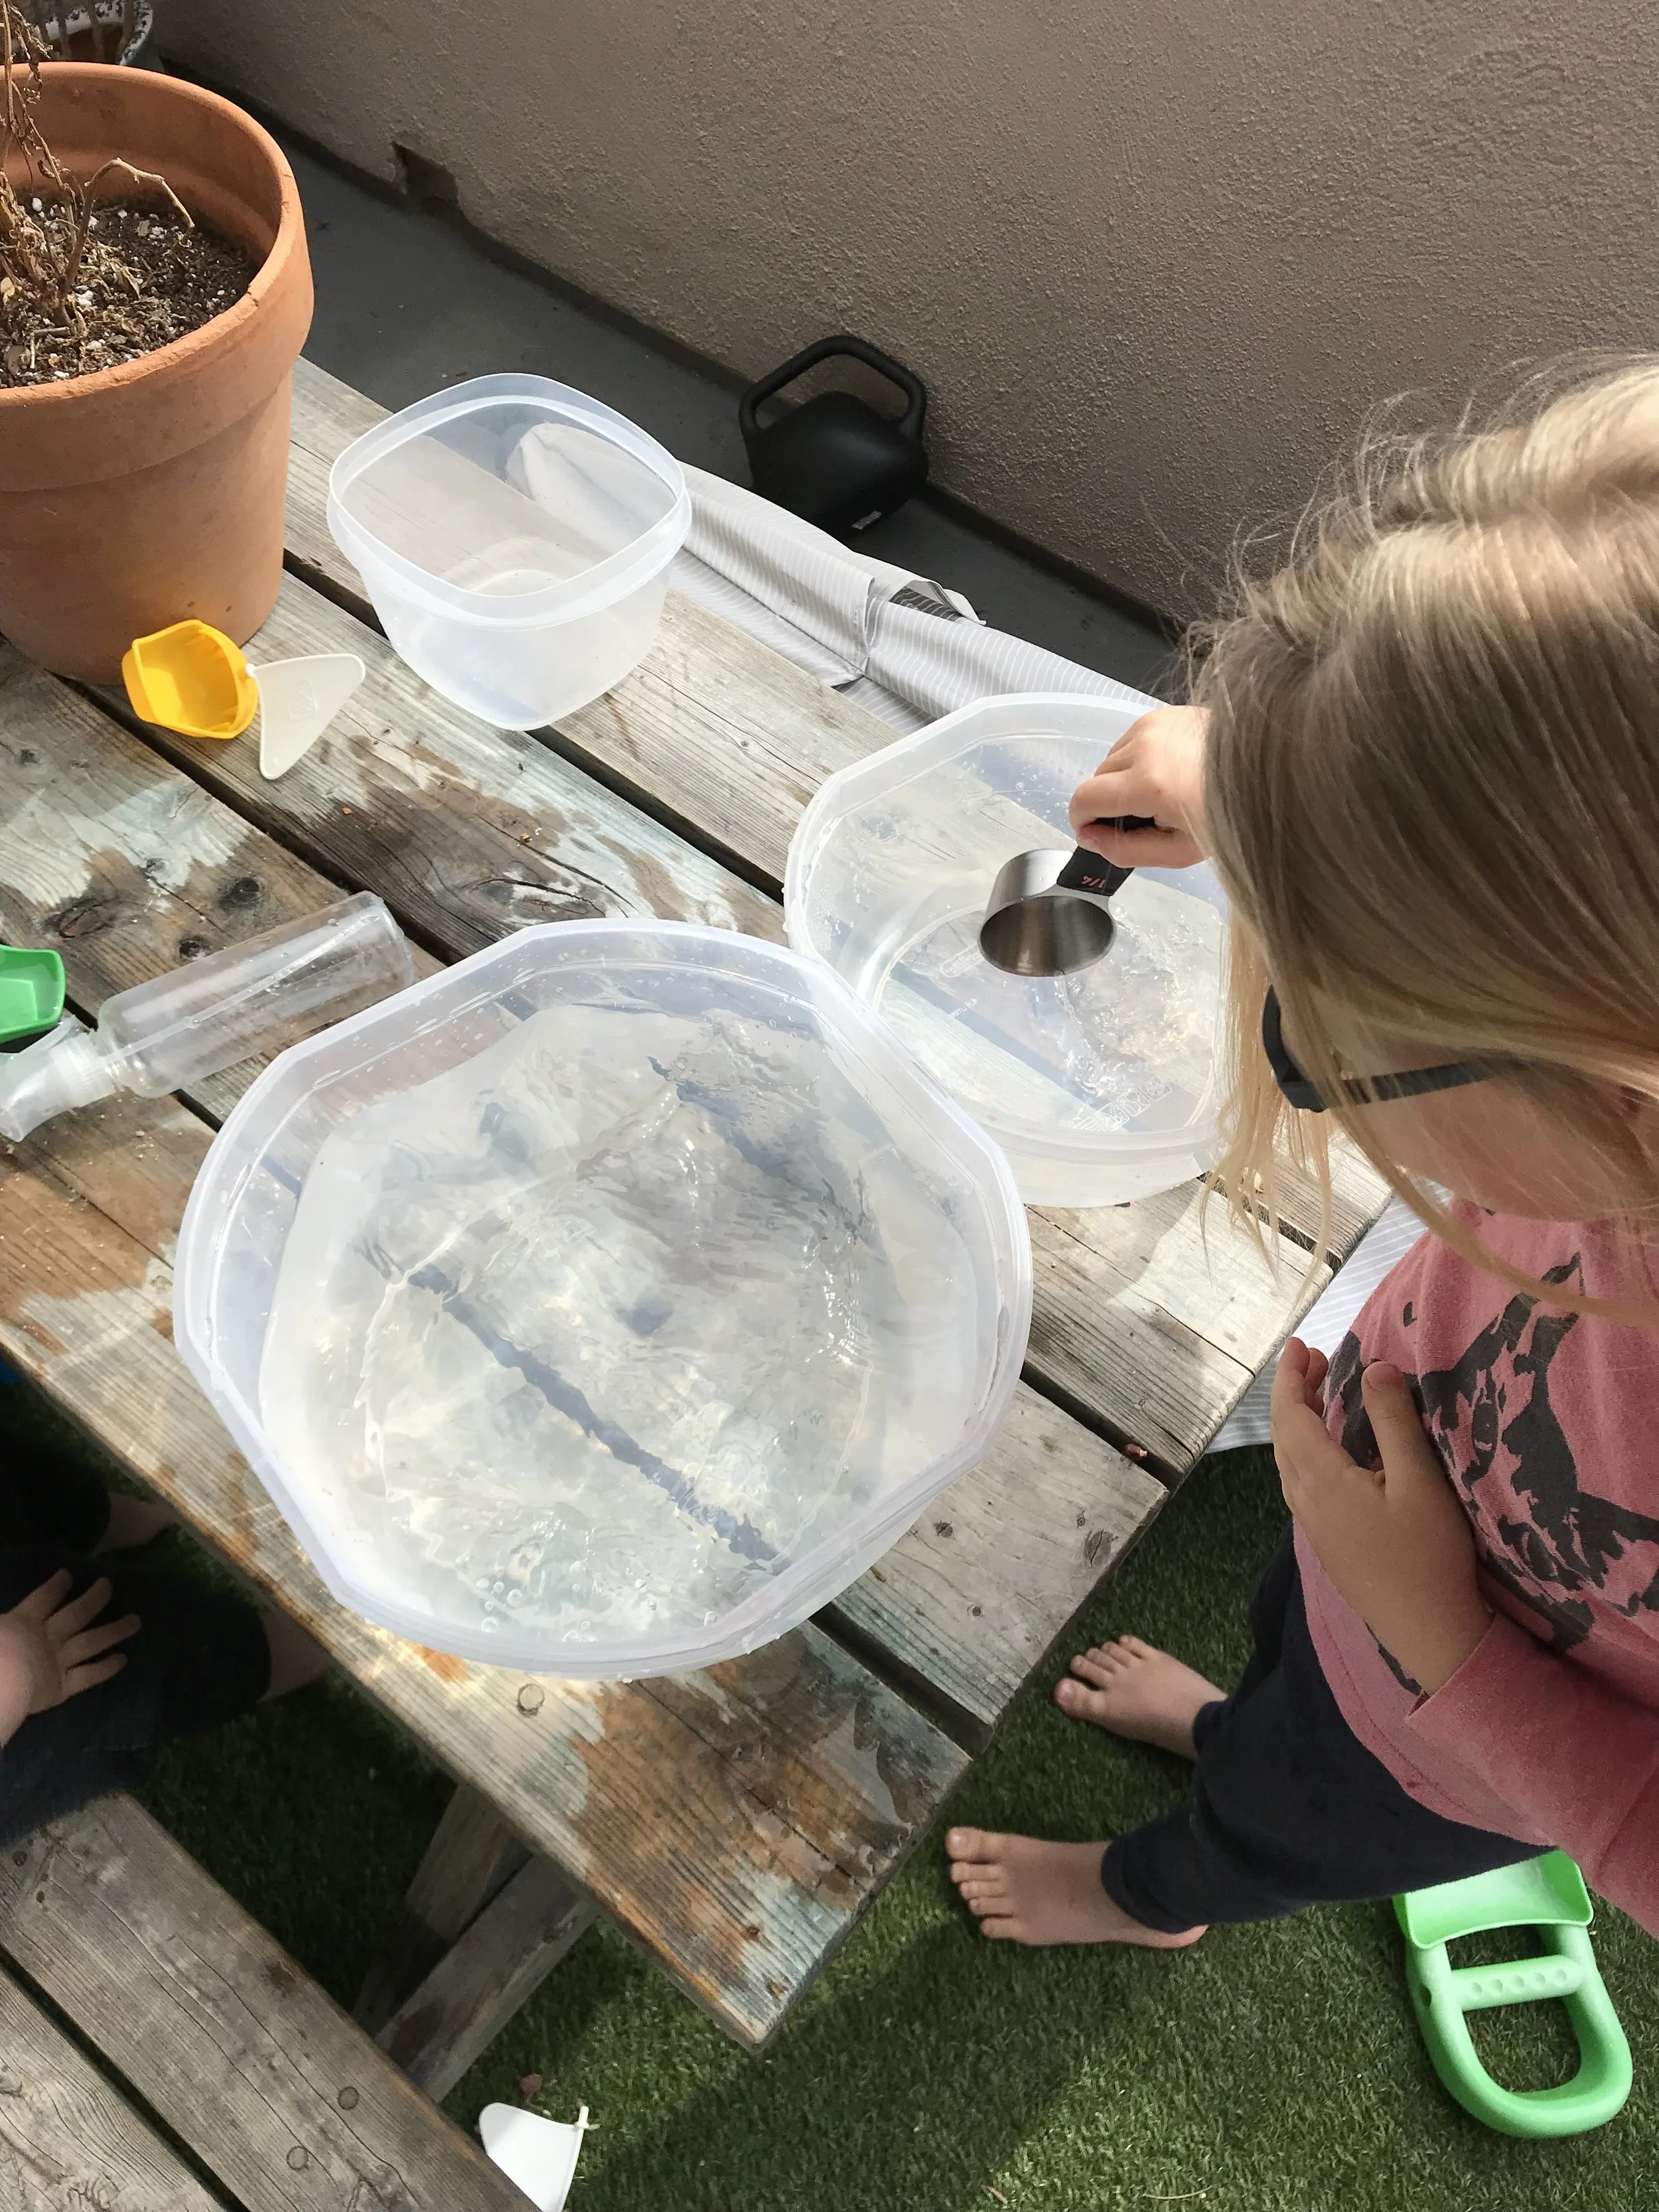
Race the Heart: Anther fun science activity to help learn about the heart is to have a race. I filled a large container with water and gave Emerson a 1/4 cup measuring cup. I set an large empty container next to the one filled with water and set my timer for one minute. Emerson had to use the 1/4 cup to scoop the water from one container to the other as fast as she could. The human heart can pump about 1.3 gallons of water a minute. I made sure to have at least a gallon of water in the largest container. She had fun trying to beat the clock, but when she wasn't able to do it she got a bit frustrated. It was a great way to show how strong our hearts are and how hard they work all day with no breaks.
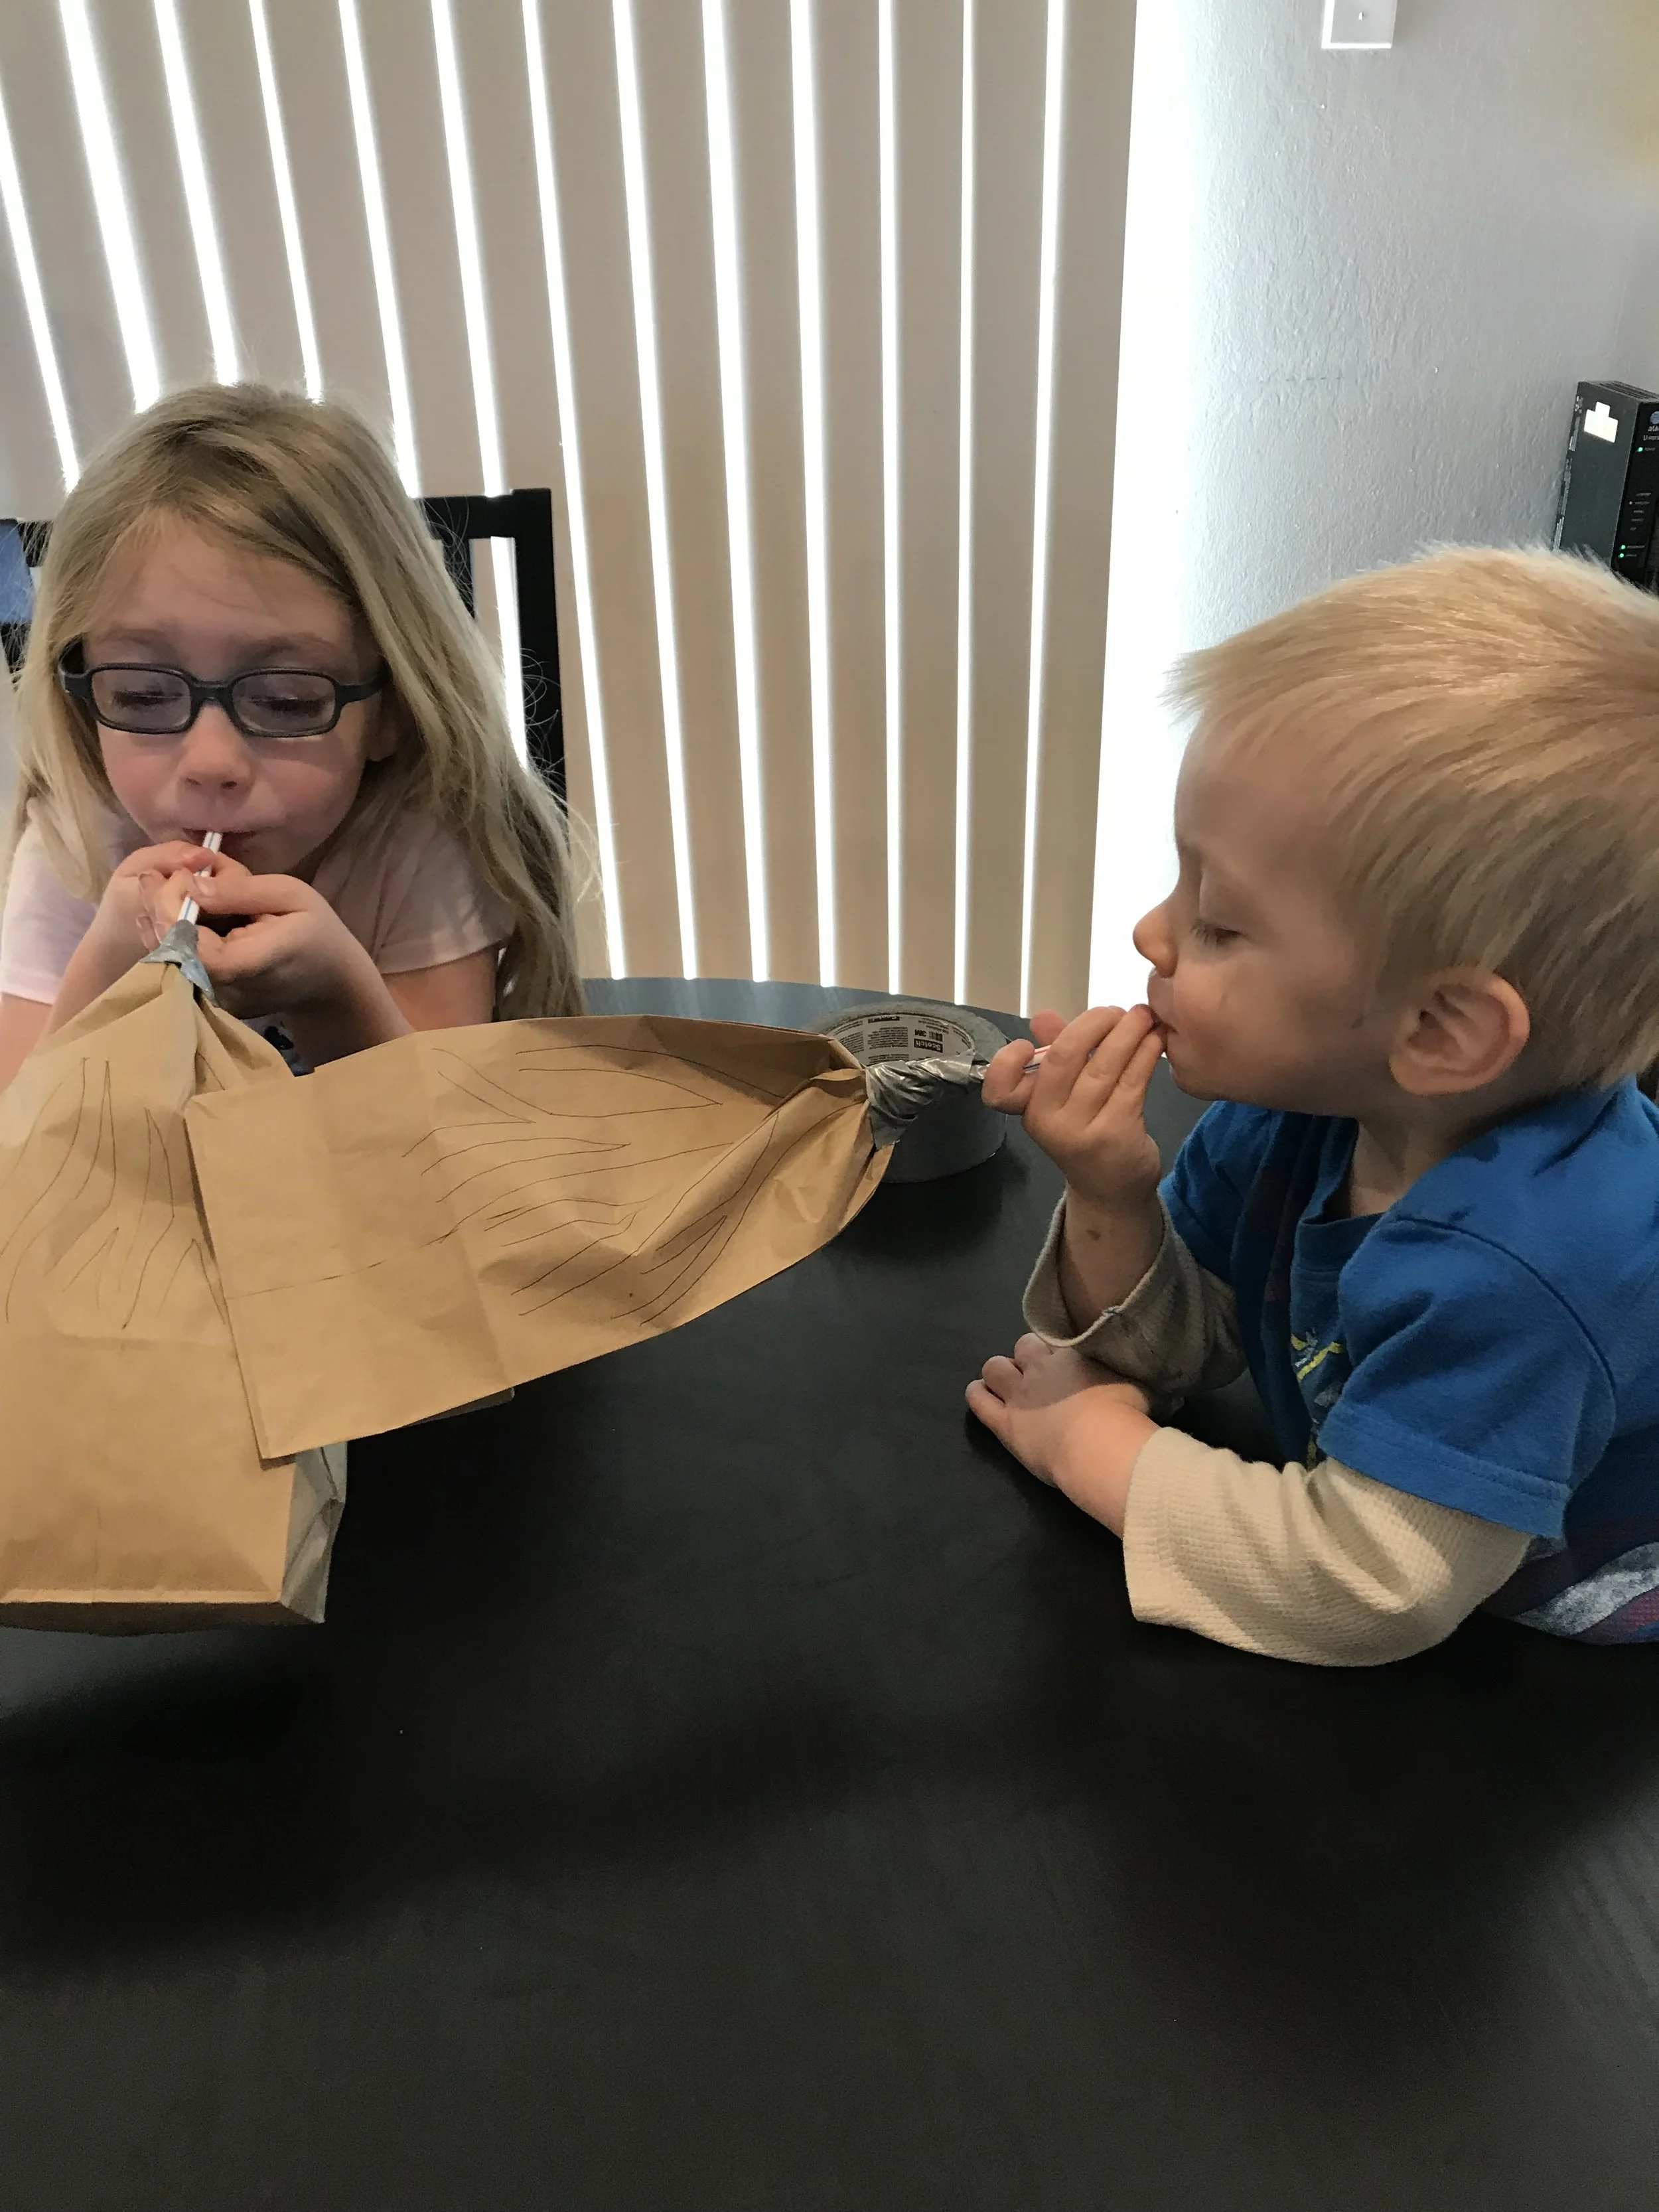
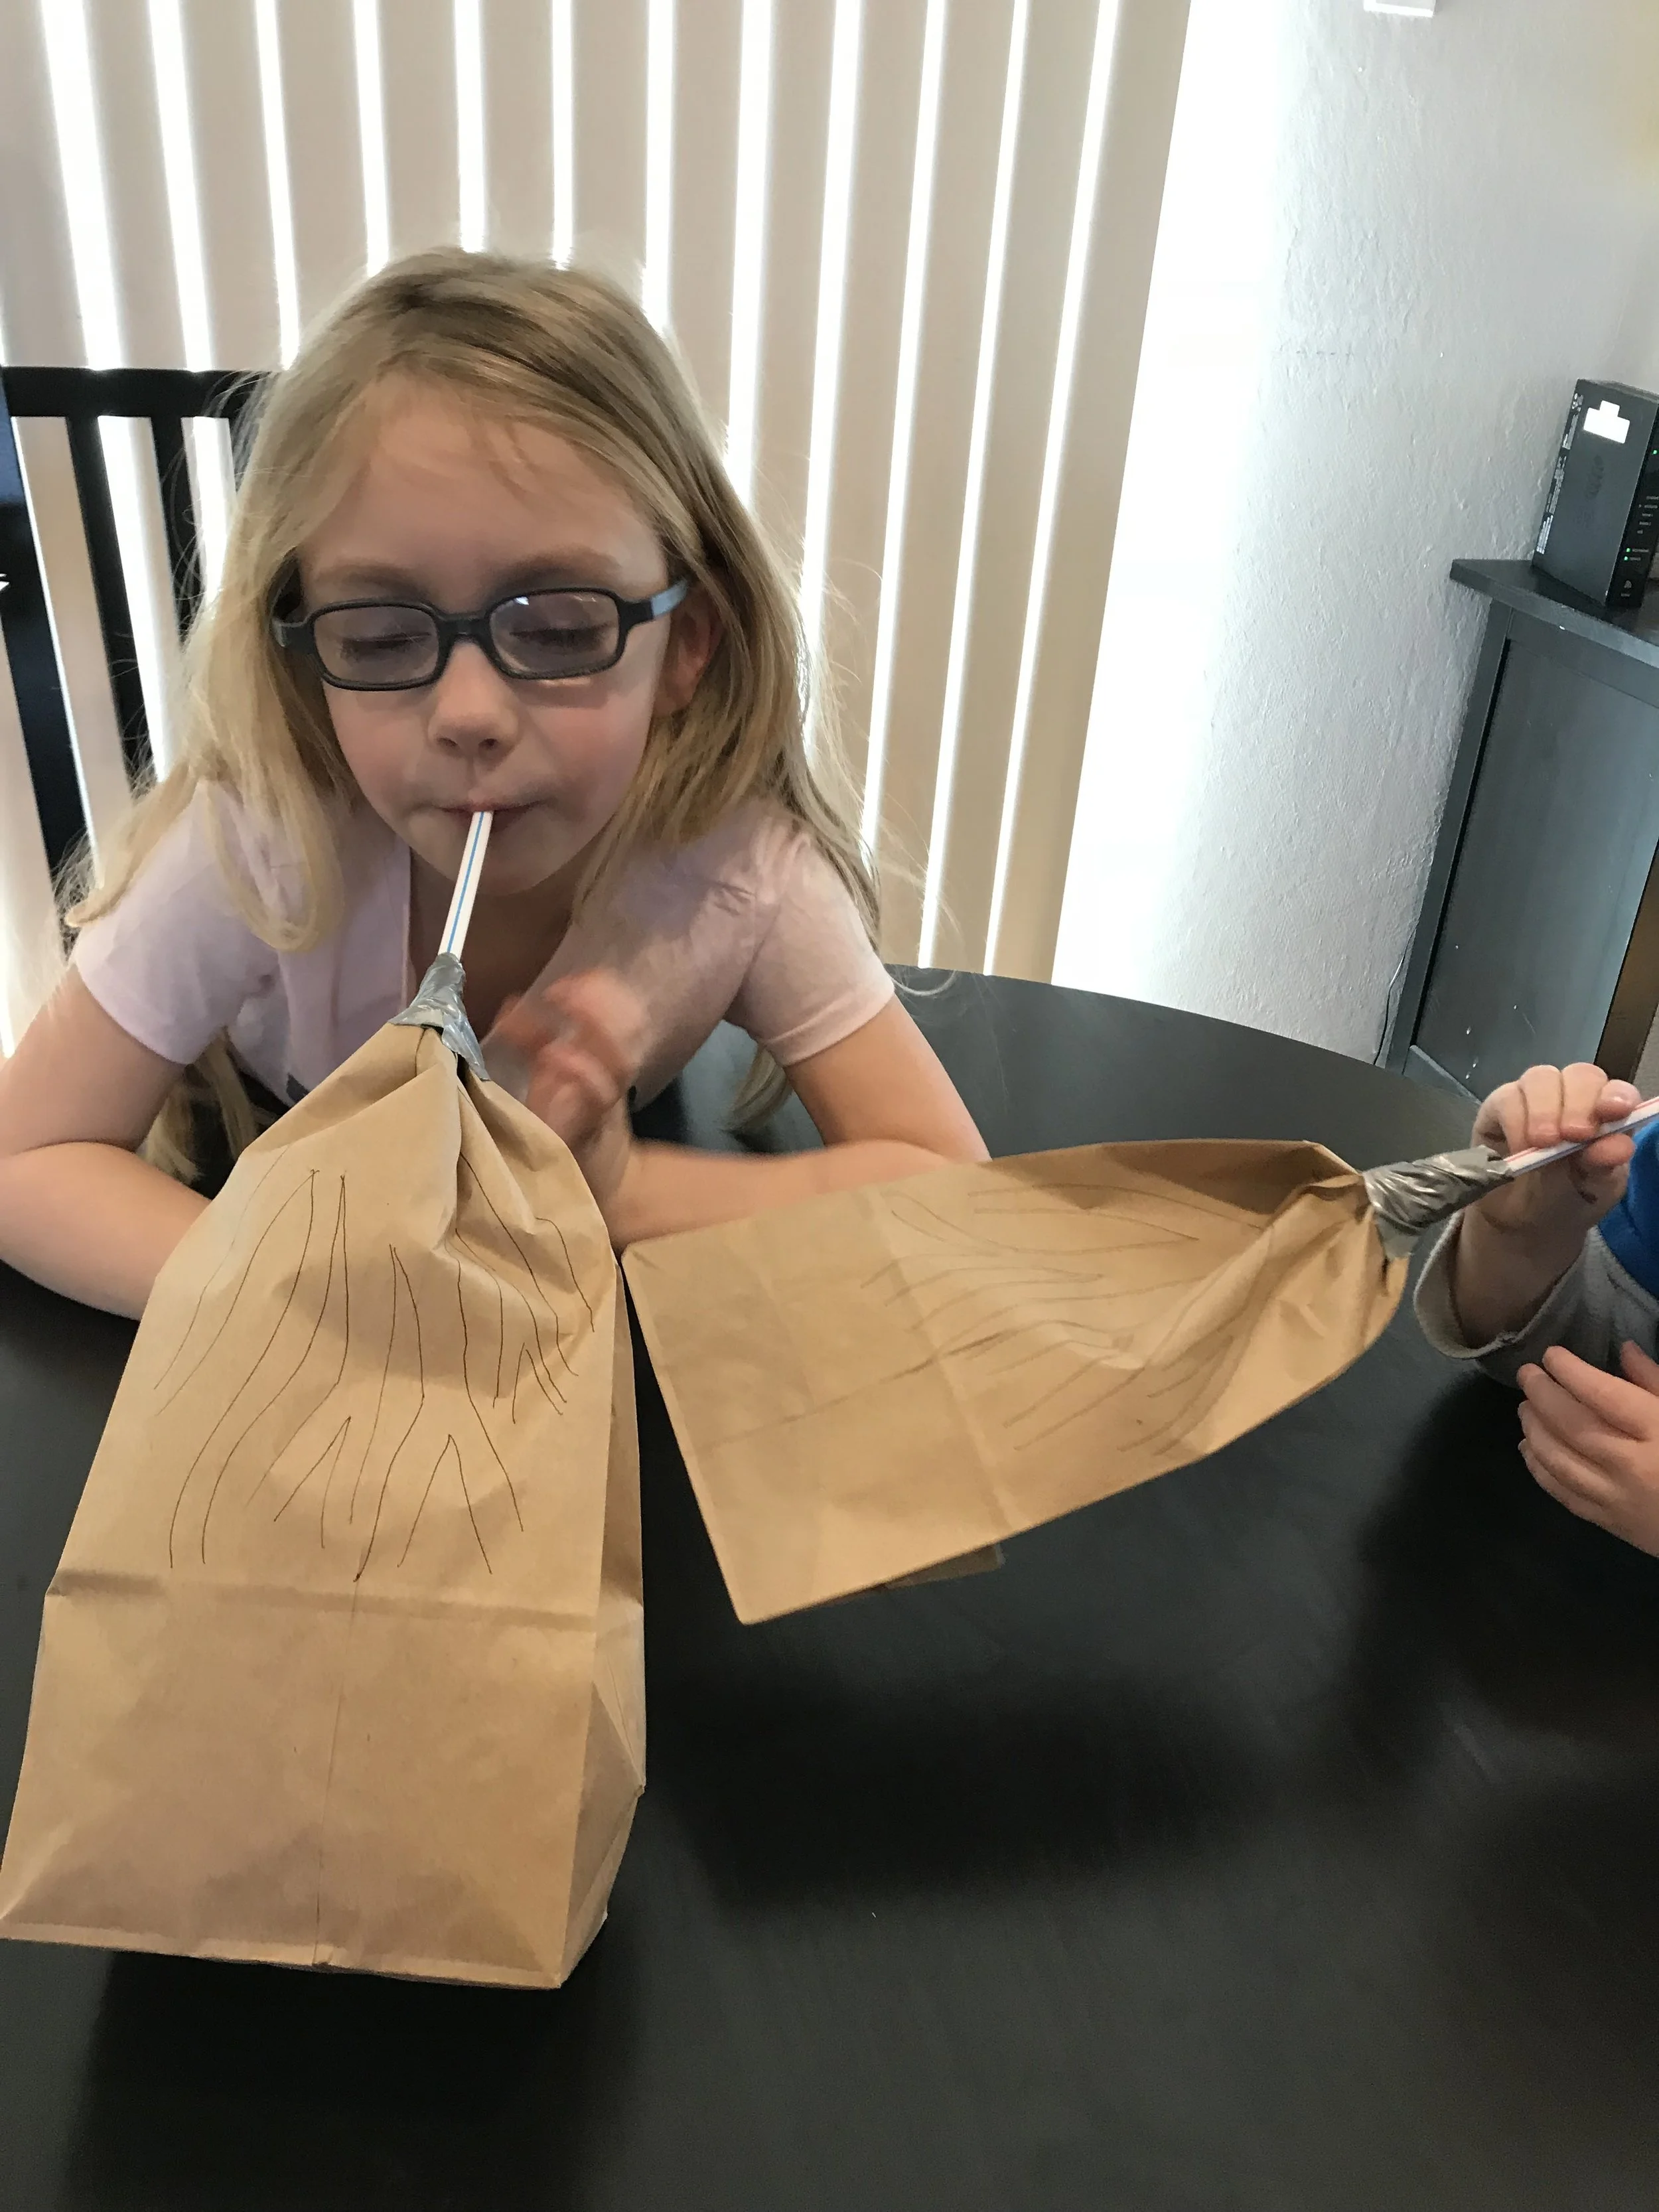
Paper Bag Lungs: A cheap and easy way to show how our lungs work is to use paper bags and straws. I attached the open paper bags to the straws with duck tape and had the kids blow in and out of the straw to inflate and deflate the bags. We talked about how when we breath in and out this is what our lungs do. We took some deep breaths and watched as our chests rose and fell as our lungs inflated and deflated.
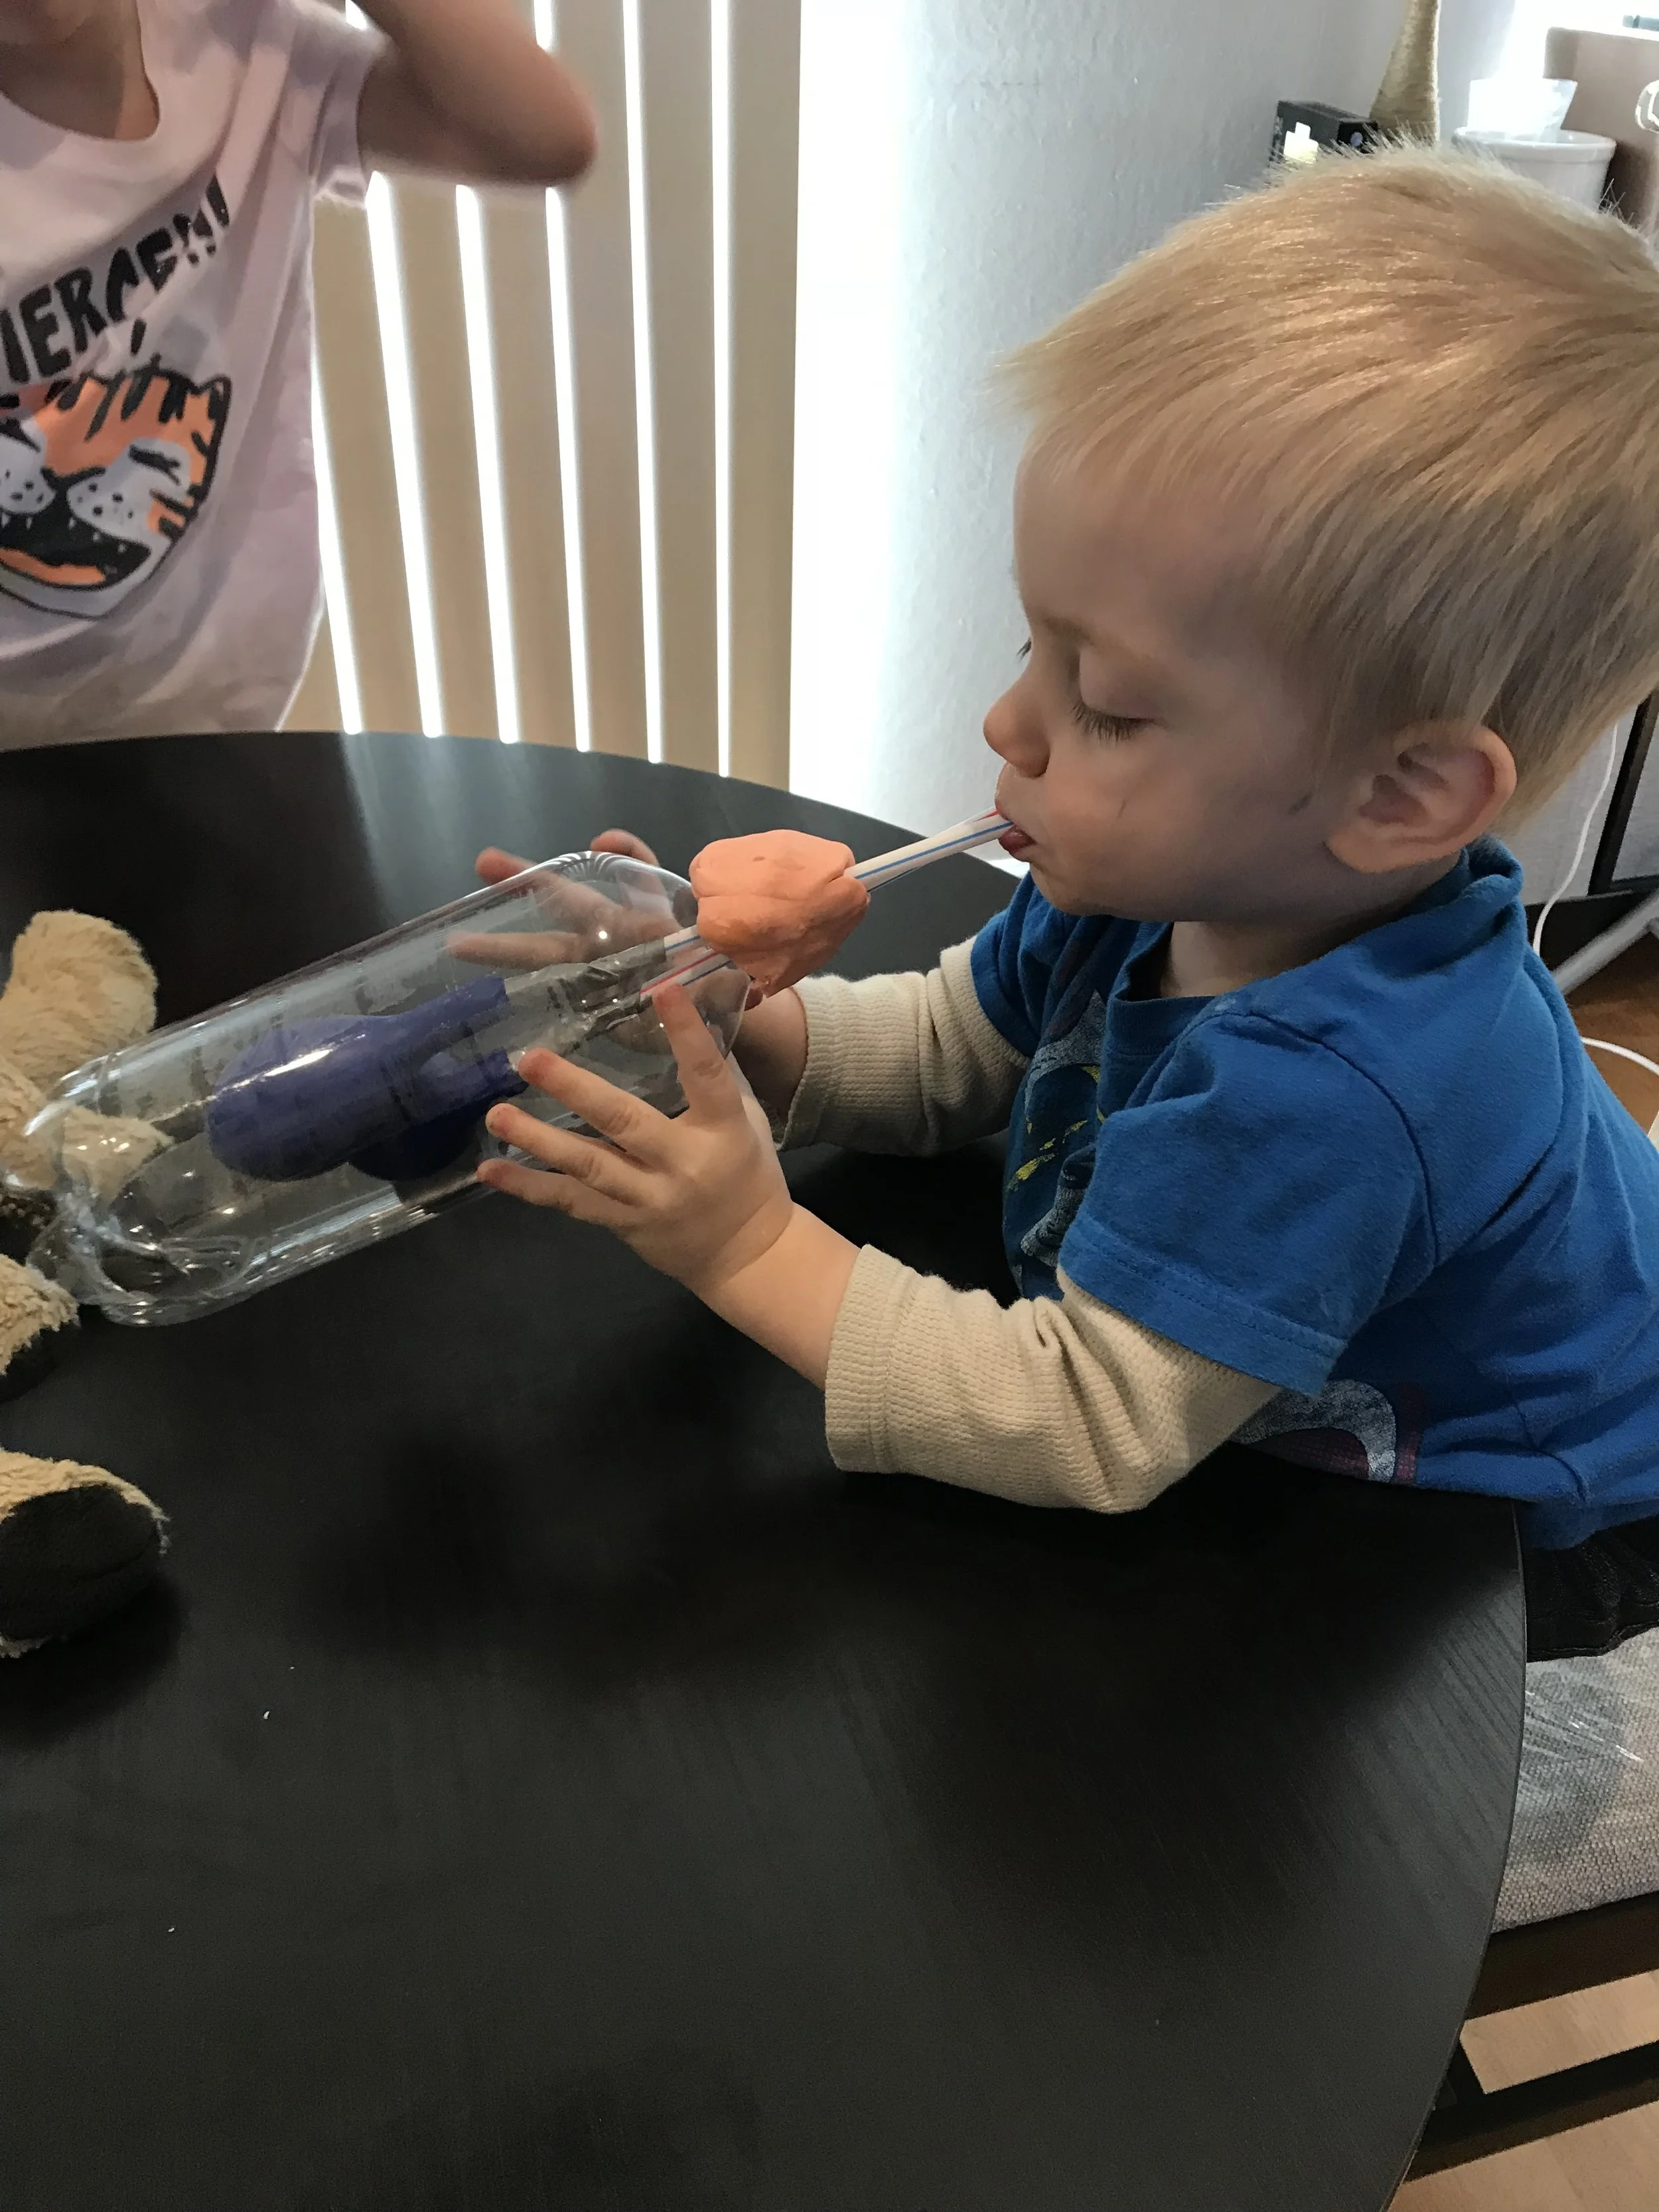
Lung Simulator: Another way we simulated our lungs was with a plastic bottle, two straws, two balloons and a bit of playdoh. I attached the balloons the ends of the straws with tape and then inserted them into the plastic bottle. I secured the straws with a bit of playdoh and it was ready to go. Both kids did their best to blow into the straws to inflate the balloons. When they squeezed the sides of the bottle the balloons would then deflate. It was a bit harder than the paper bag lungs, but they still had fun seeing the "lungs" in action.
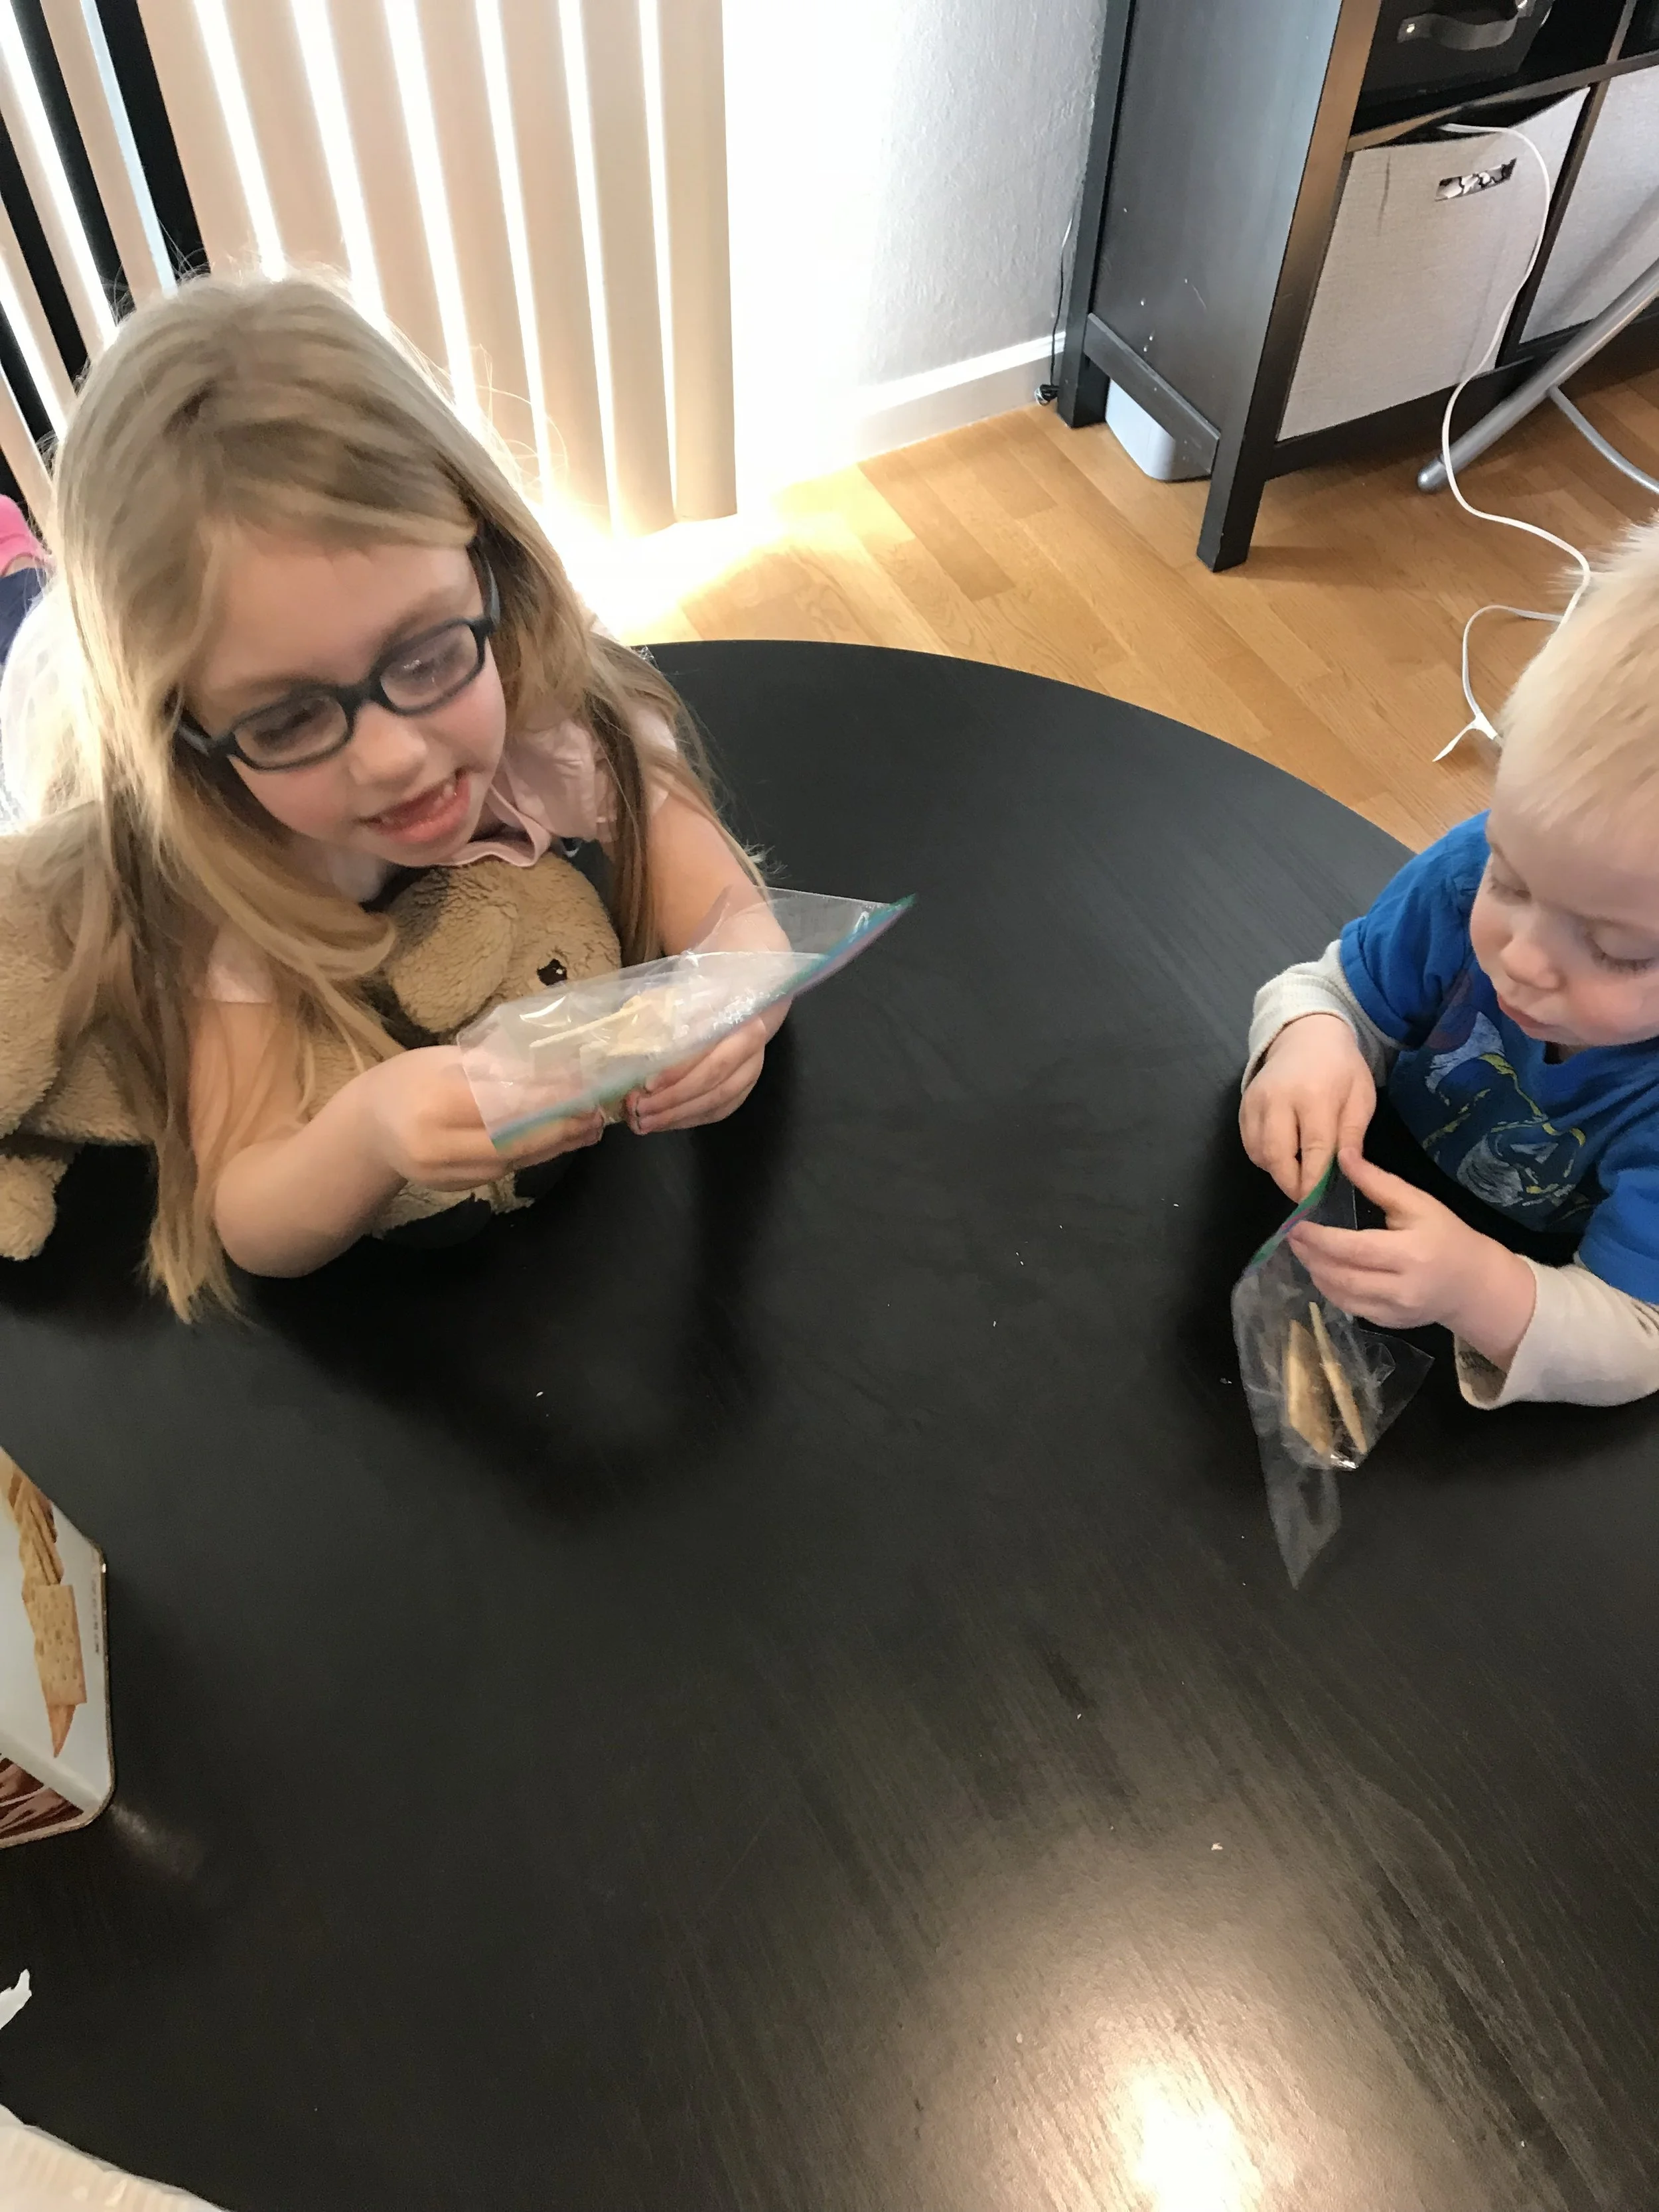
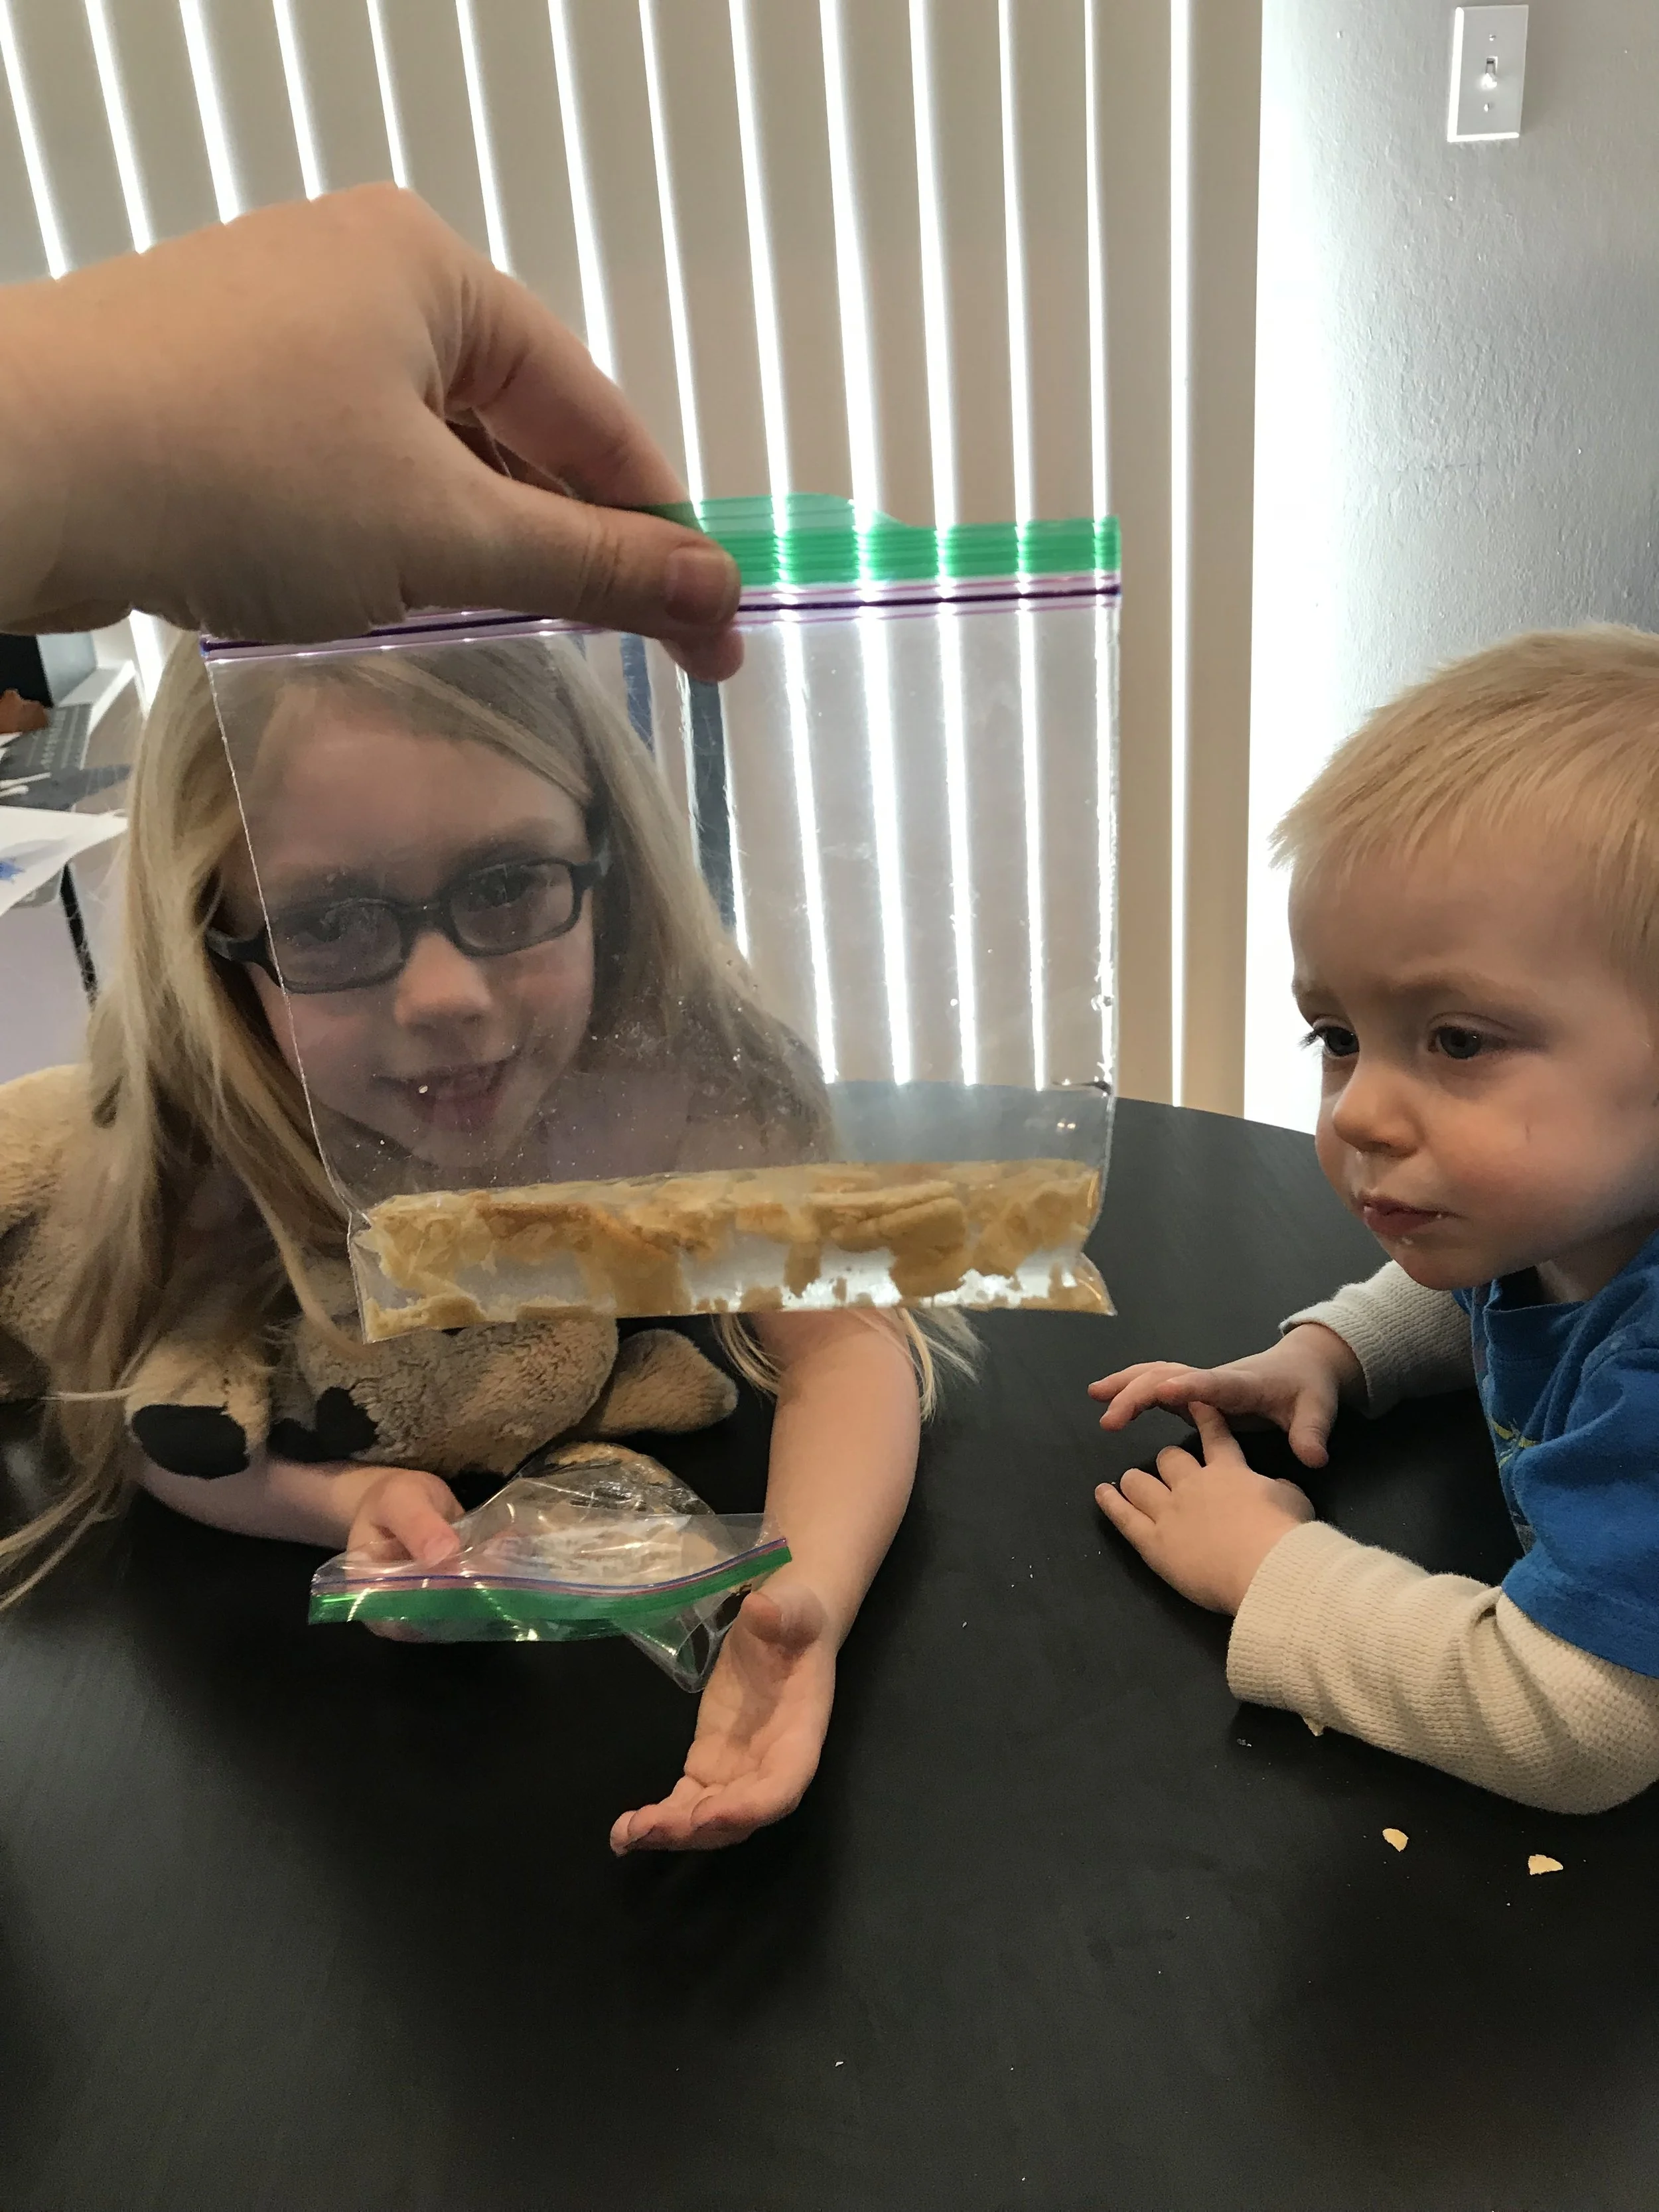
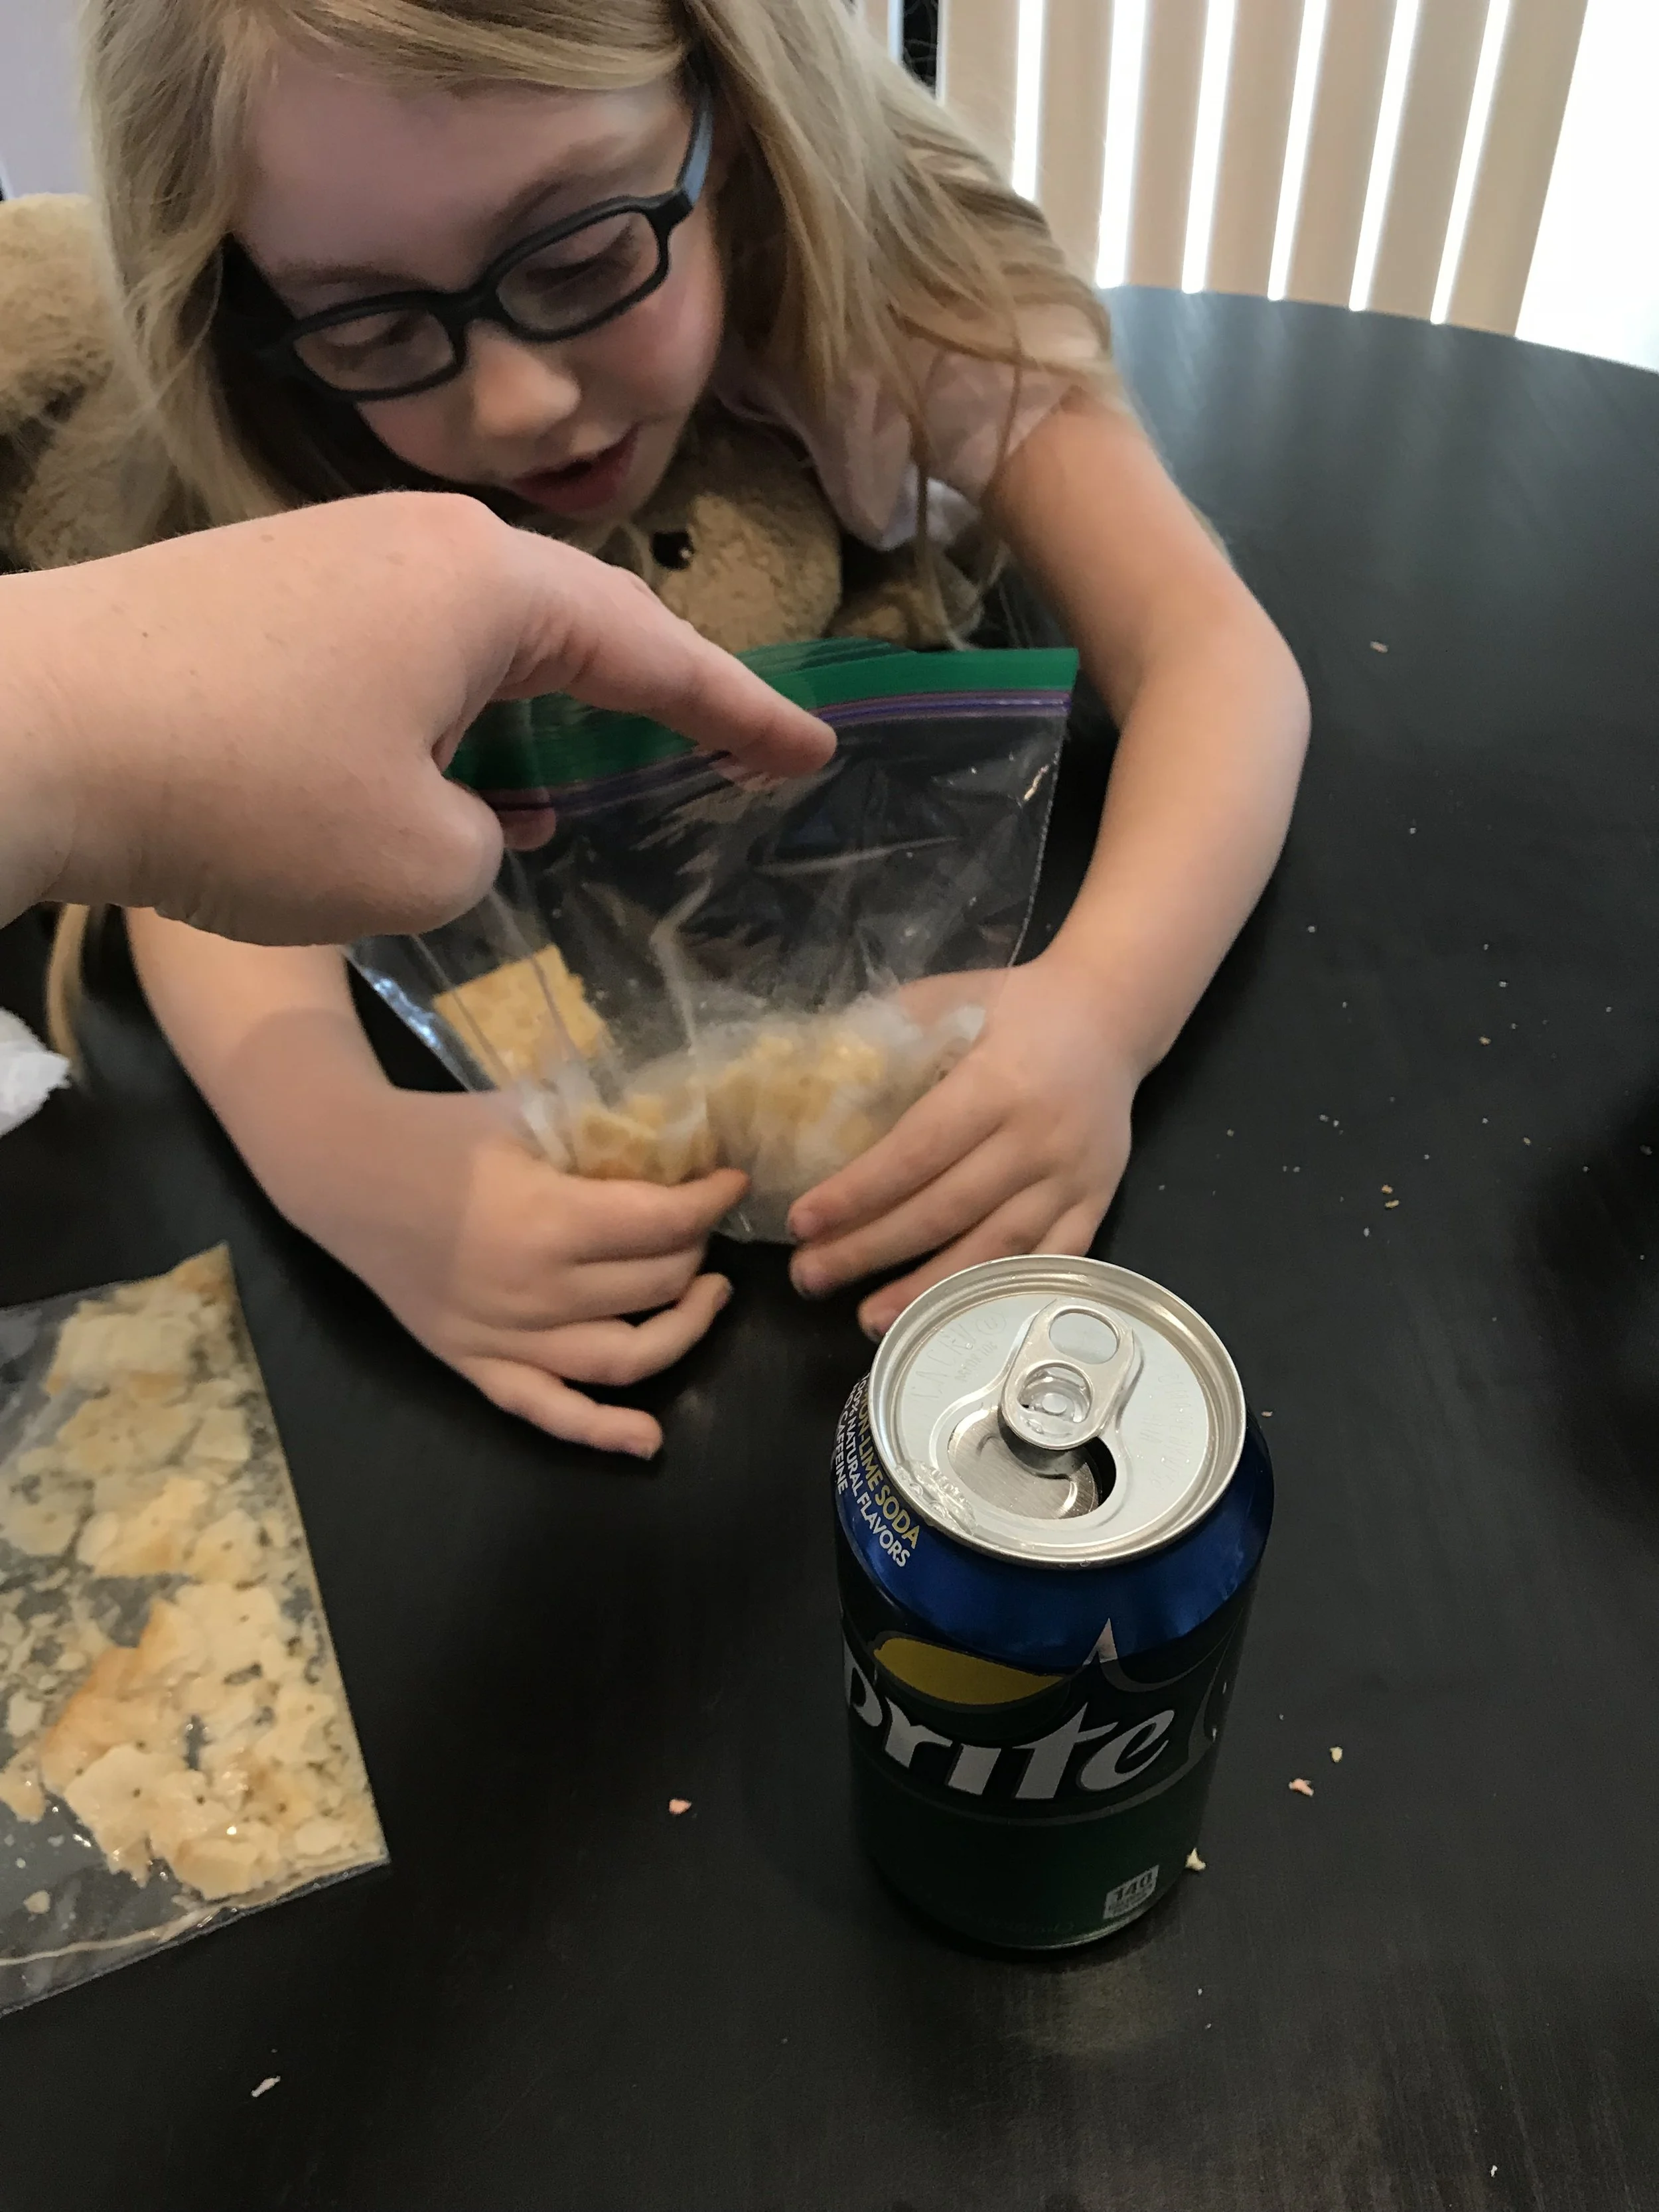
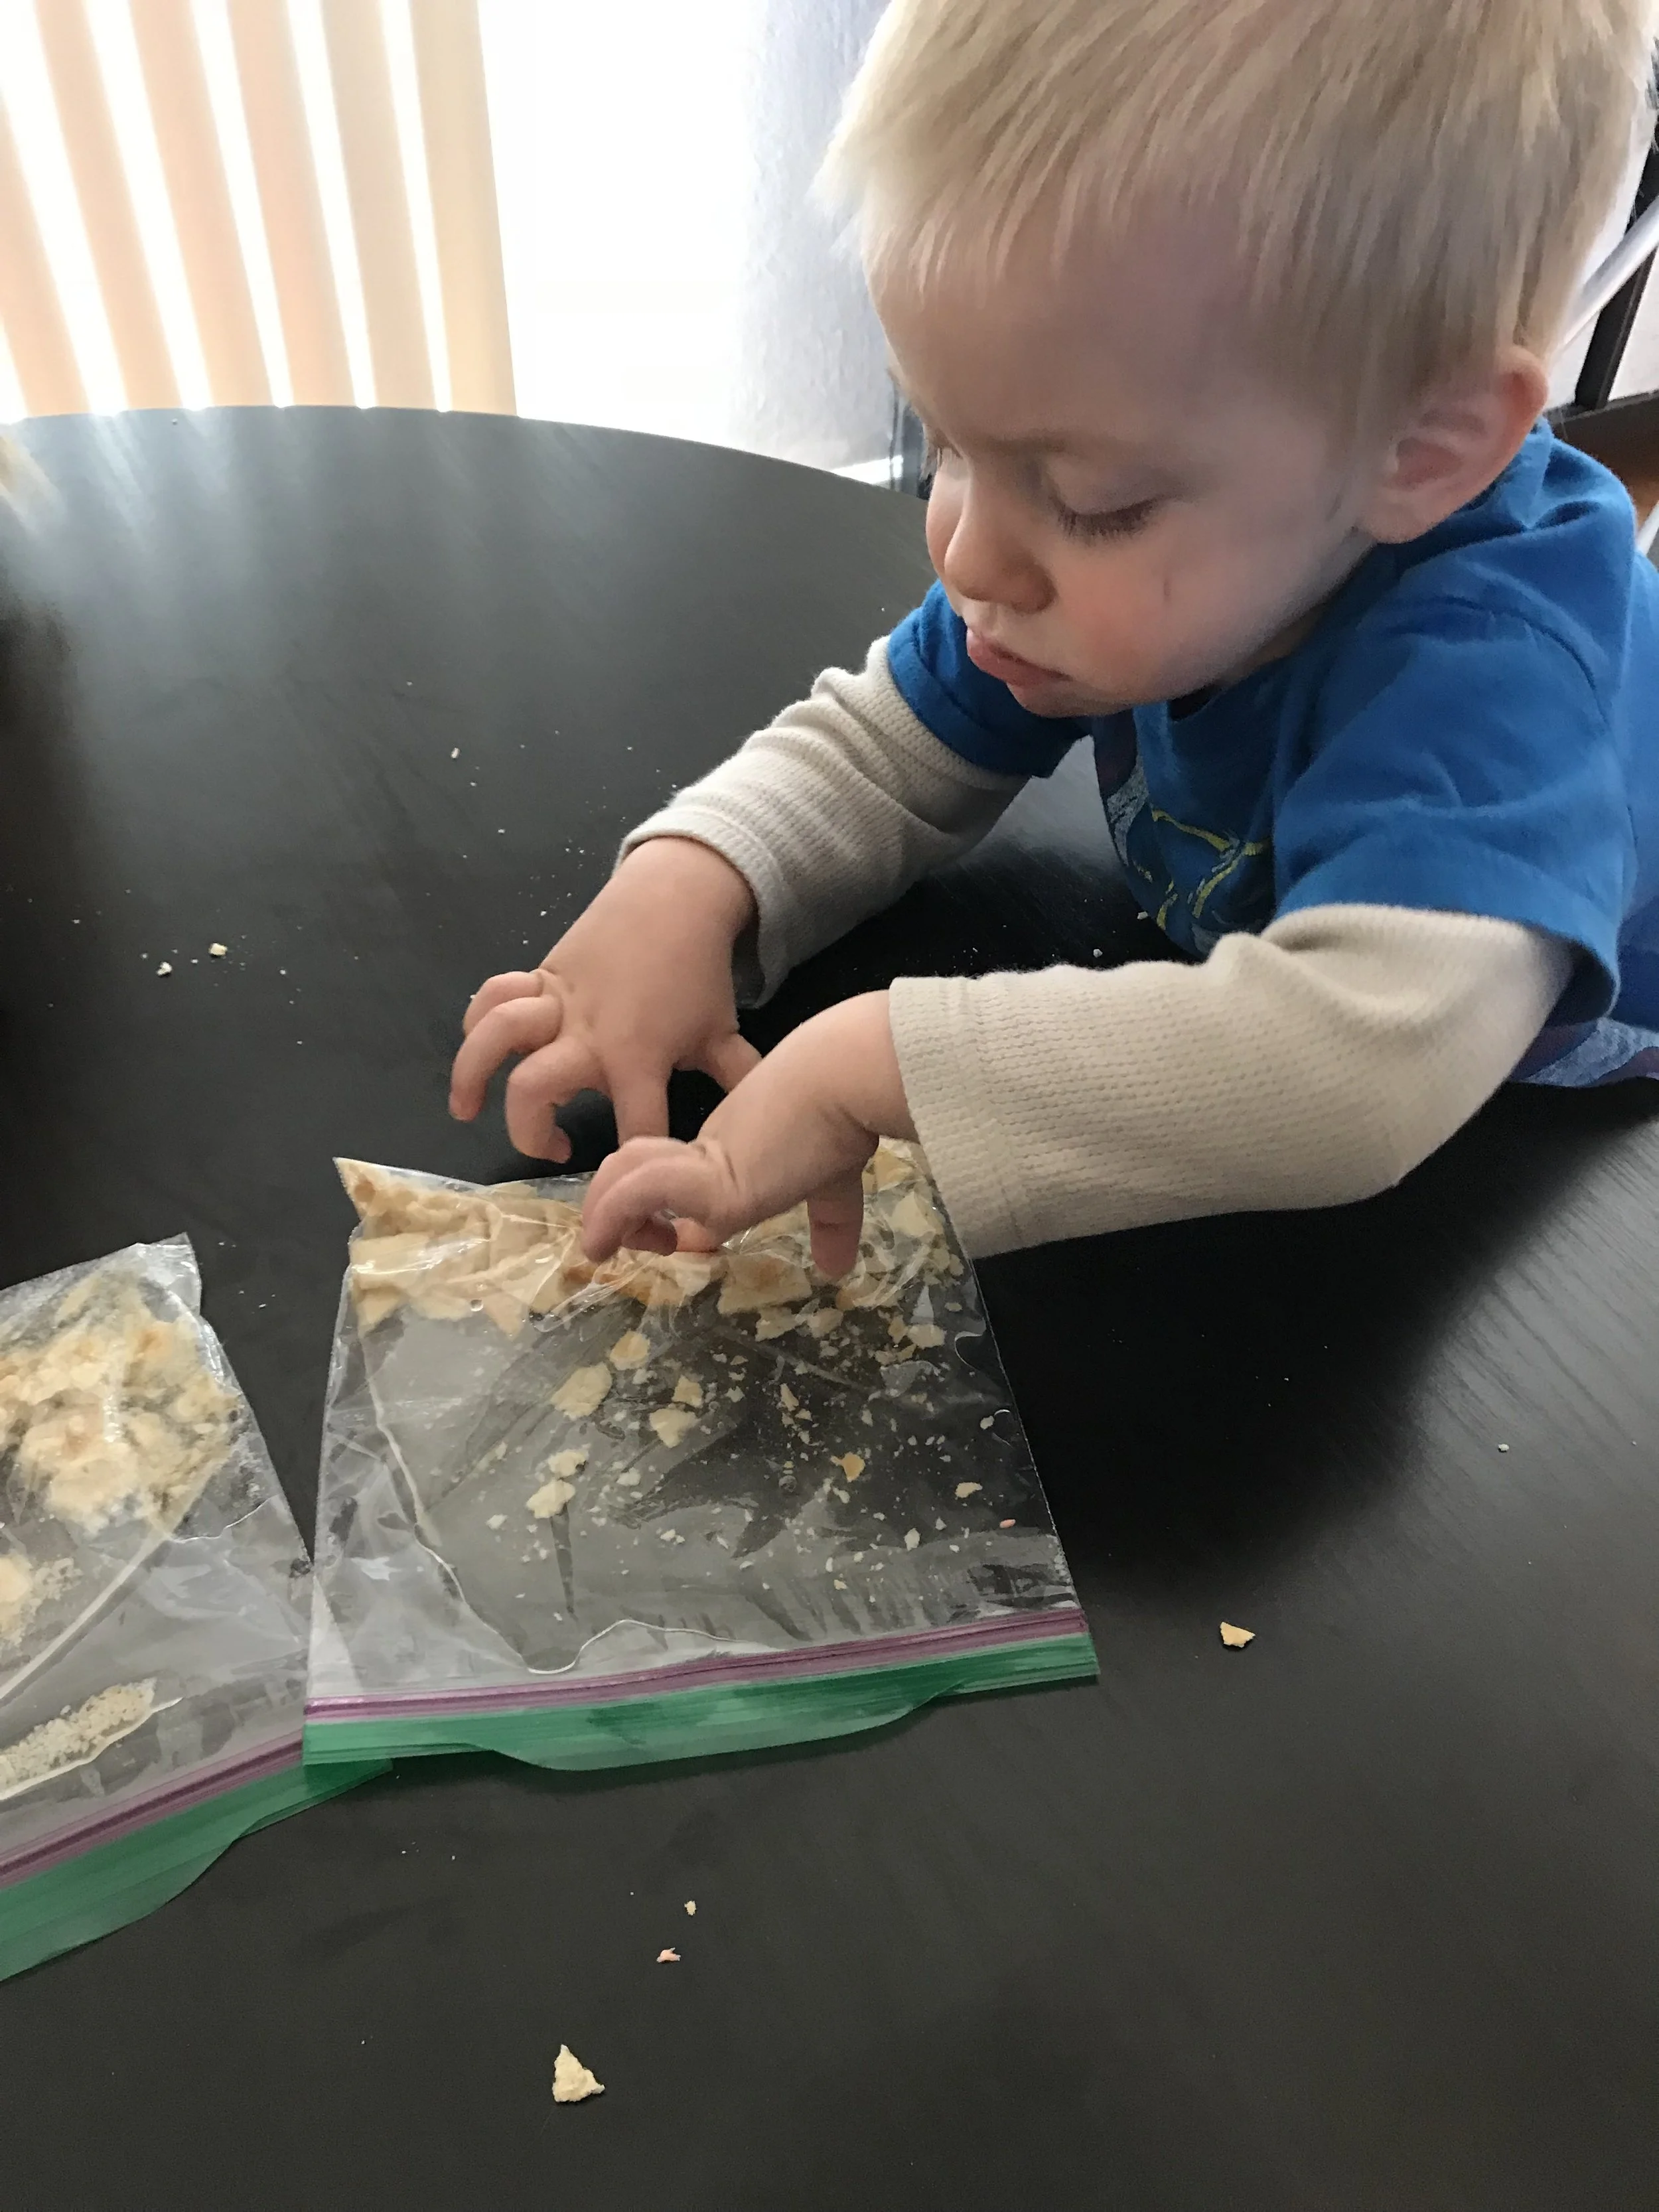
Make Your Own Stomach: This is a great activity to show how our food is digested. We started by putting some saltines into plastic baggies. Then I had the kids pound on the bags a little bit to break them up to show what happens to our food when we chew it. Then we opened the bags and added some sprite to act as stomach acid. We let the bags sit for a bit and when we came back we saw how the crackers had become like mush in the baggies. I explained that the acid in our stomachs does the same thing to the food we eat which helps our bodies absorb the nutrients it needs and then gets rid of the rest.
We had such a great time learning all about our bodies! I hope you enjoyed seeing what we did. If you try any of the activities above I'd love to hear about it!
Also, if you haven't checked out Kiwico yet go give them a try. They even have a Kiwicrate all about the human body with little plush organs! I wish I would have found that before we did our unit because it would have been perfect! Click the picture above to start your subscription or order a single crate today!


