How To Corner To Corner Crochet
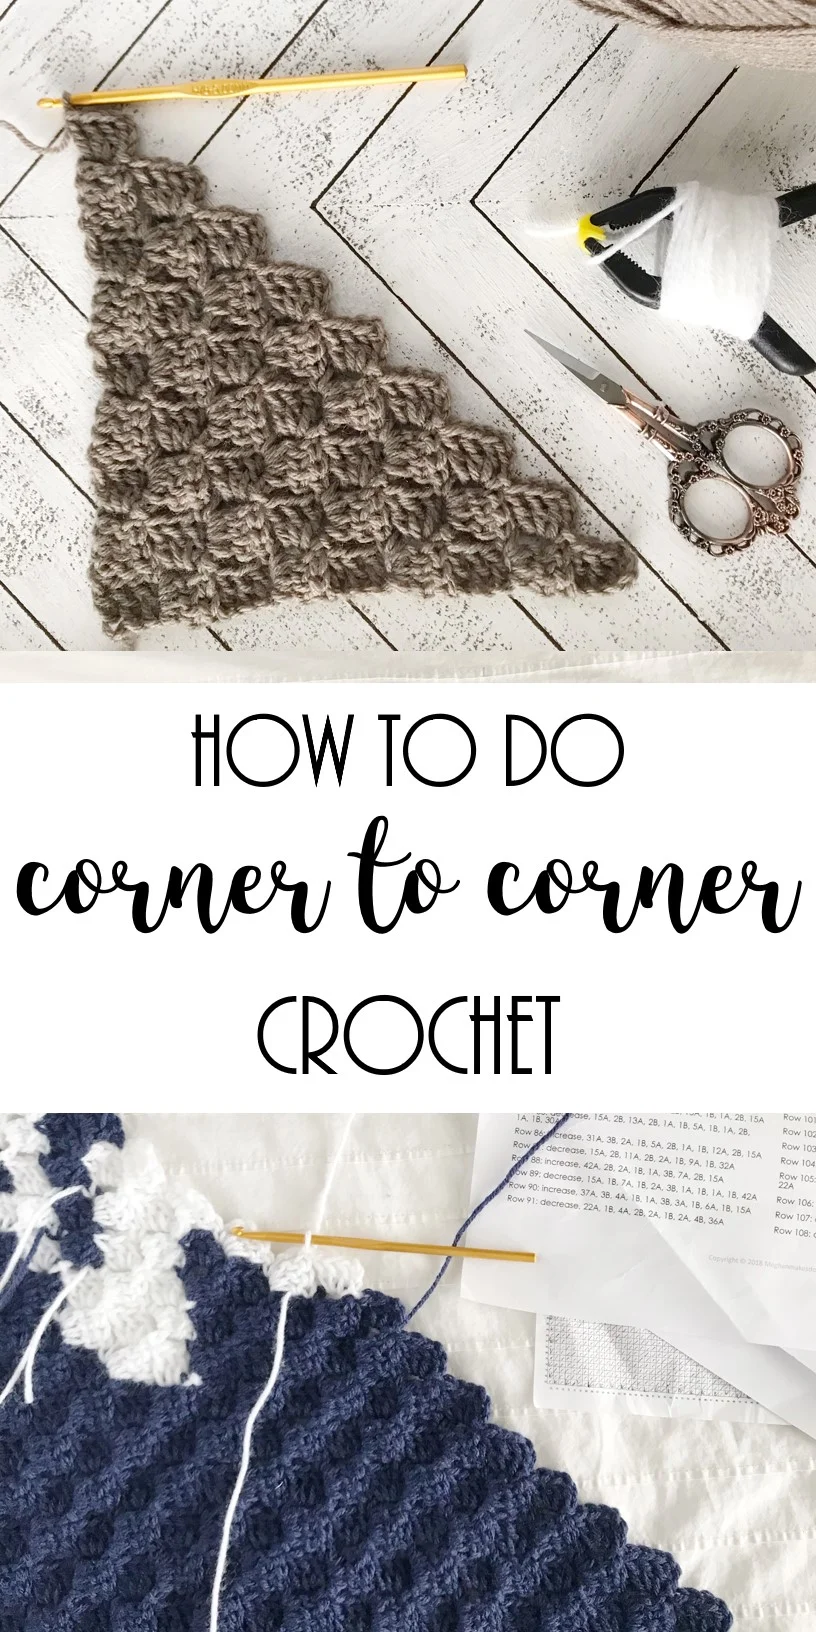
If you’ve been following me on Instagram then you’ve probably seen my super ambitious project of designing not one, but FOUR corner to corner Holiday Graphgans. I am so excited about these patterns, but realized that not everyone knows how to do corner to corner (c2c) crochet. So before I start releasing the patterns I thought I would provide you with some detailed instructions on the c2c method.
The Basics
Corner to corner is a way of crocheting that produces little squares. Each square consists of a ch3 and 3 double crochet stitches.
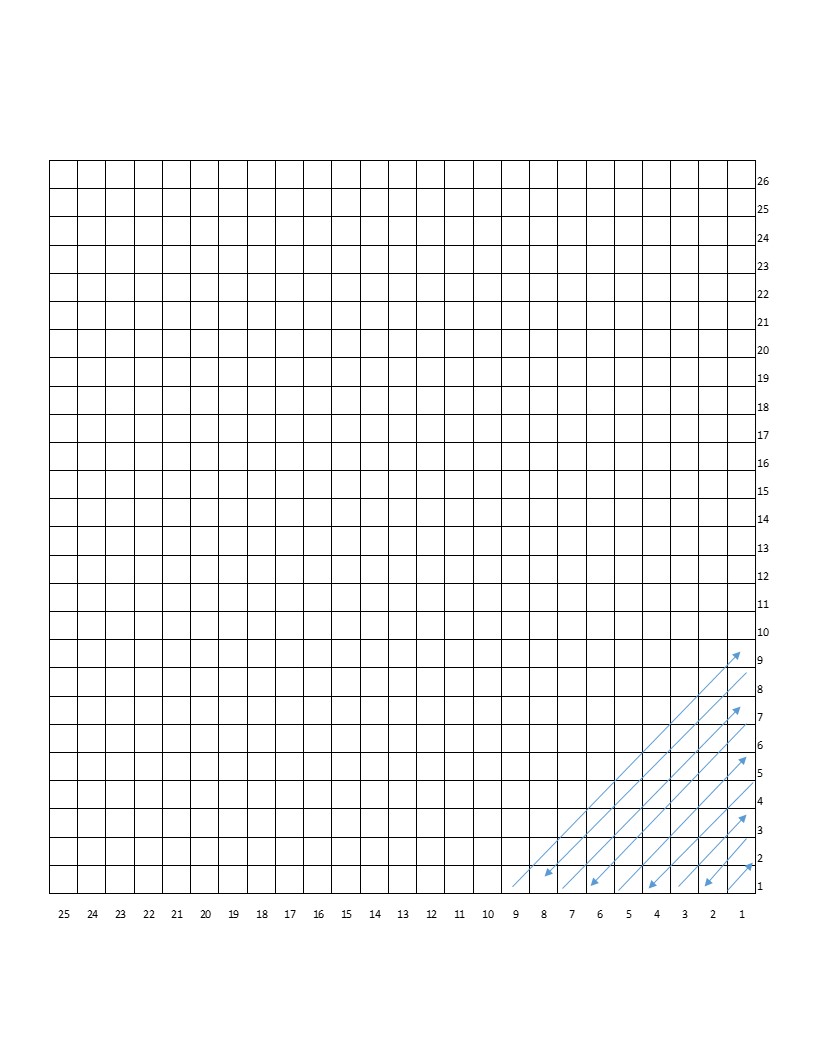
Since the method creates squares, many c2c patterns will include a graph as well as written instructions, much like tapestry crochet. The graphs are read from the bottom right corner up to the top left corner. You will be creating your squares on the diagonal and reading the rows back and forth from left to right, then right to left.
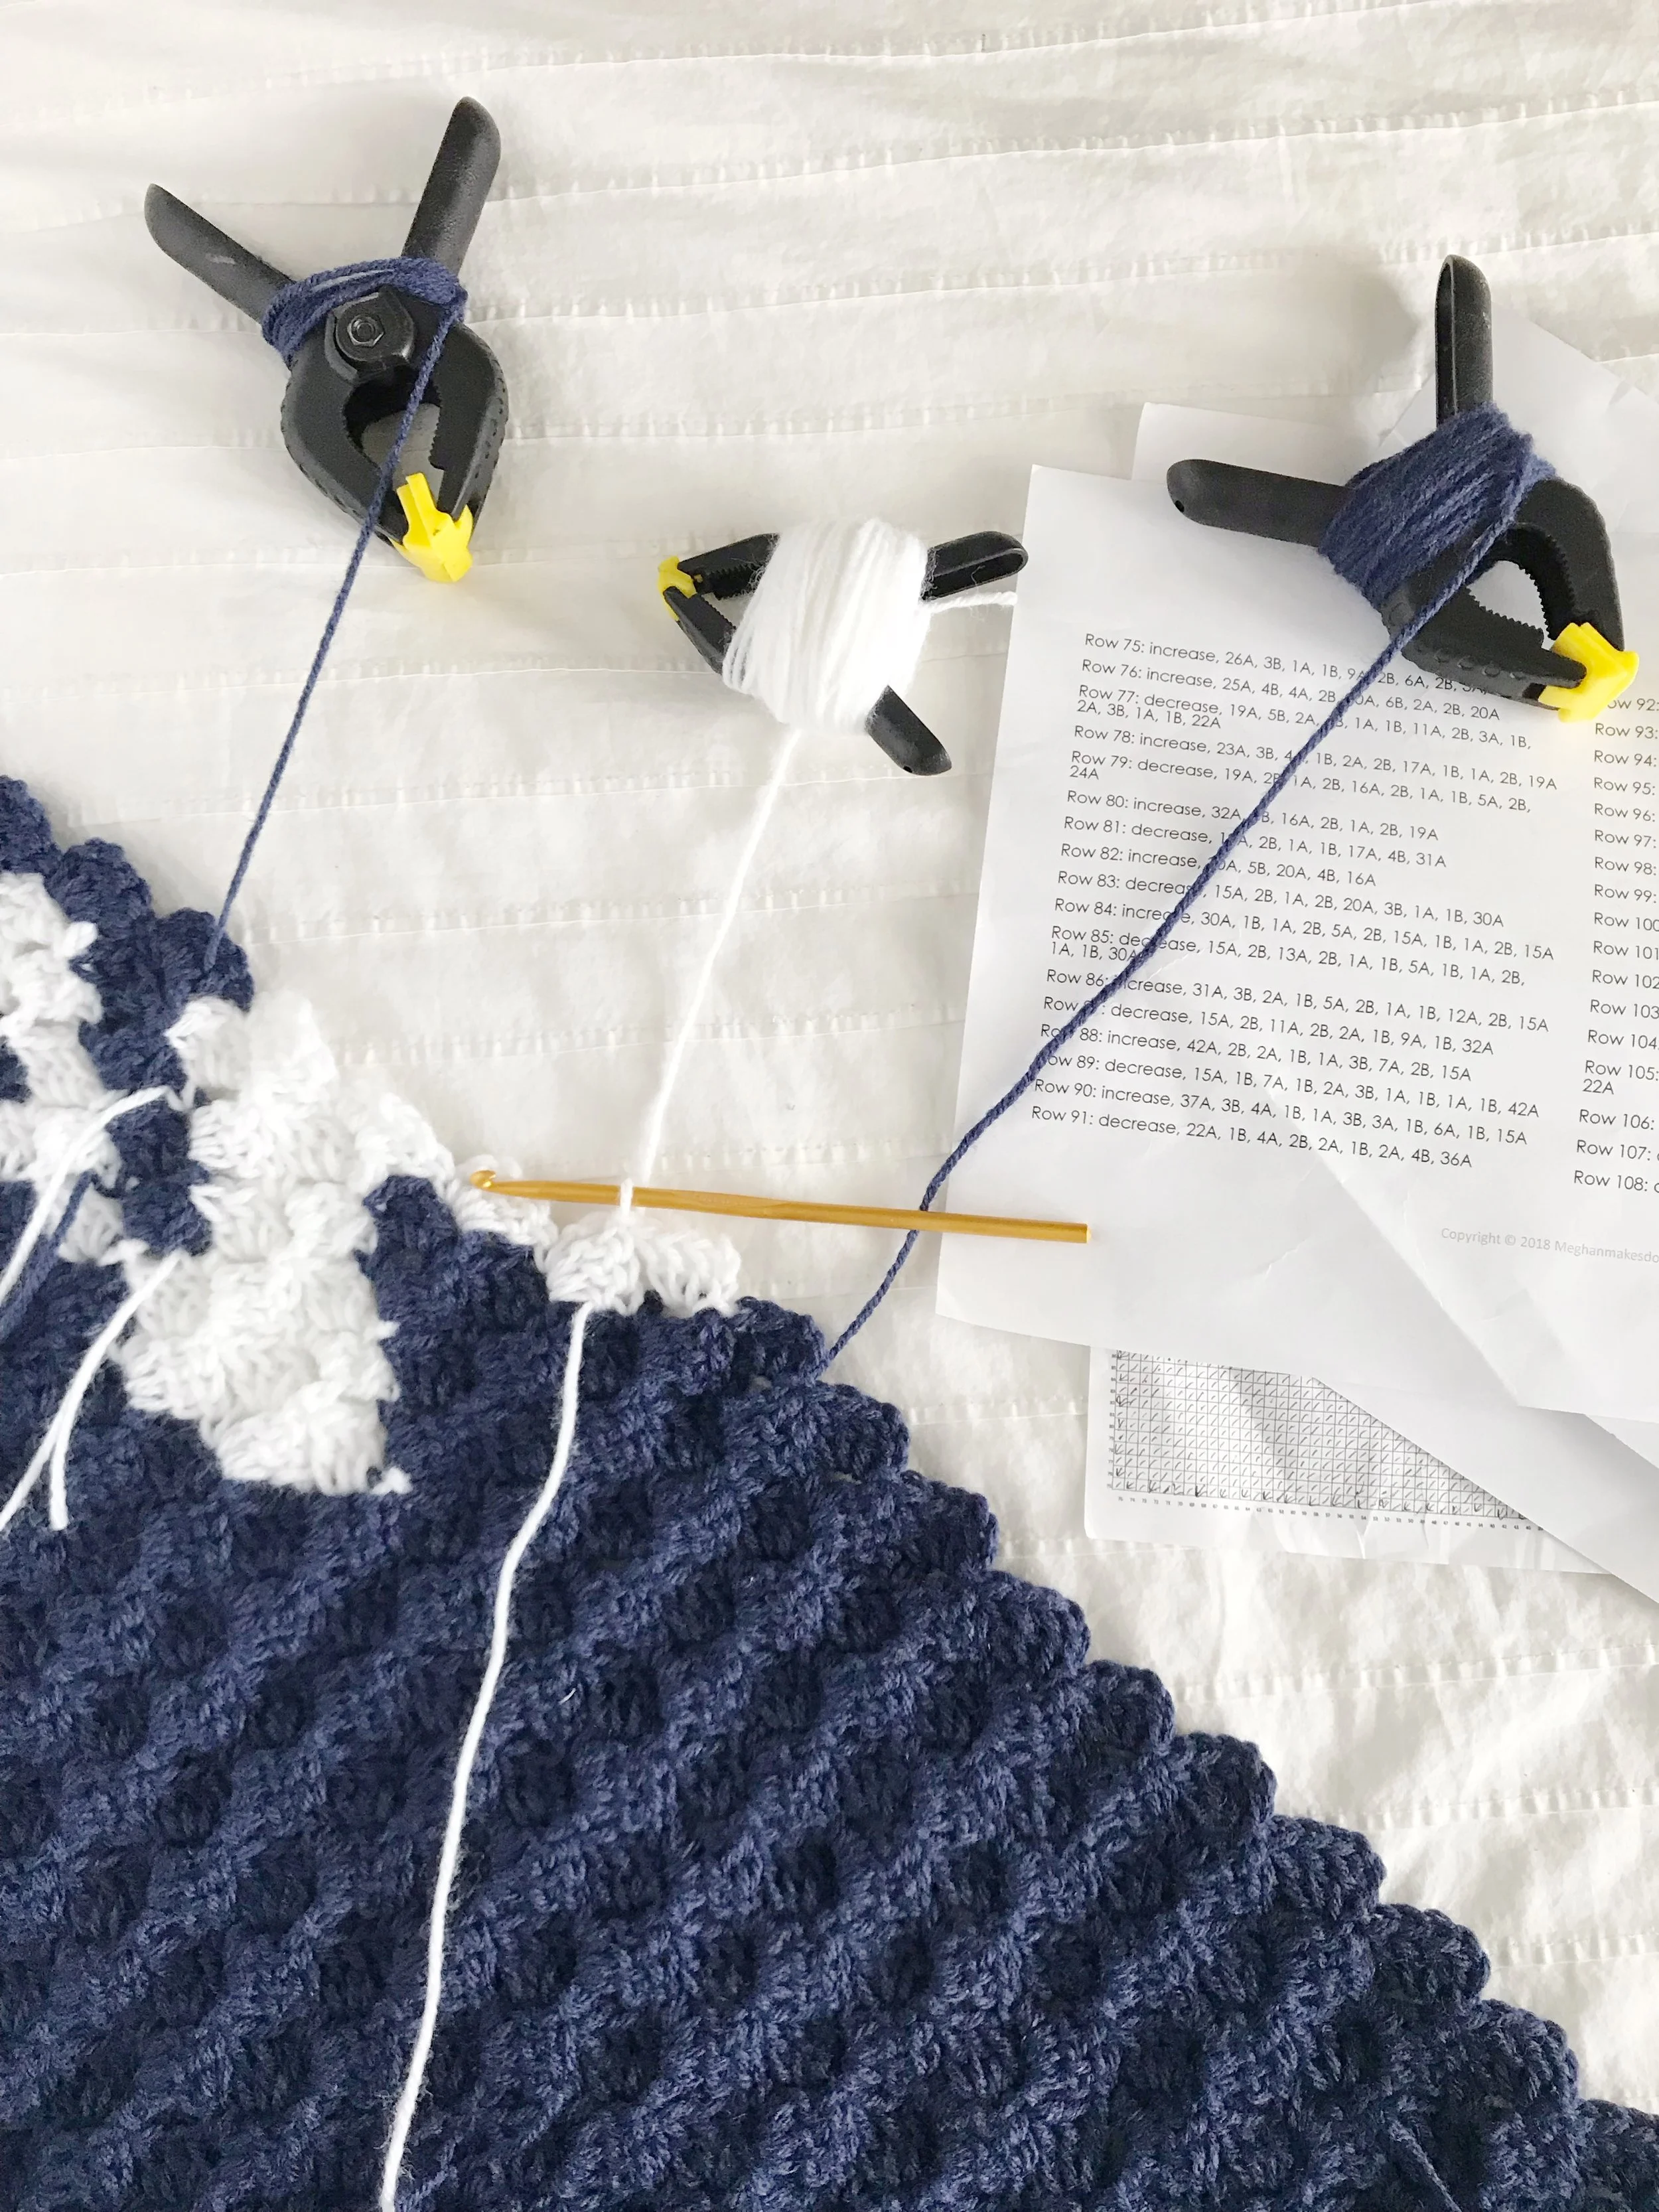
If working directly from a graph, with no written instructions it can be helpful to draw lines through each row as you work and put a little arrow in the direction each row is going. That way if you have to put your project down you will know which direction you were working on. If reading the written instructions each color will be assigned a letter and the rows will be written out like this Row 10: 3A, 2B, 5A. This means for row ten you will create 3 “squares” in color A, then 2 in color B, then 5 in color A.
How To Start
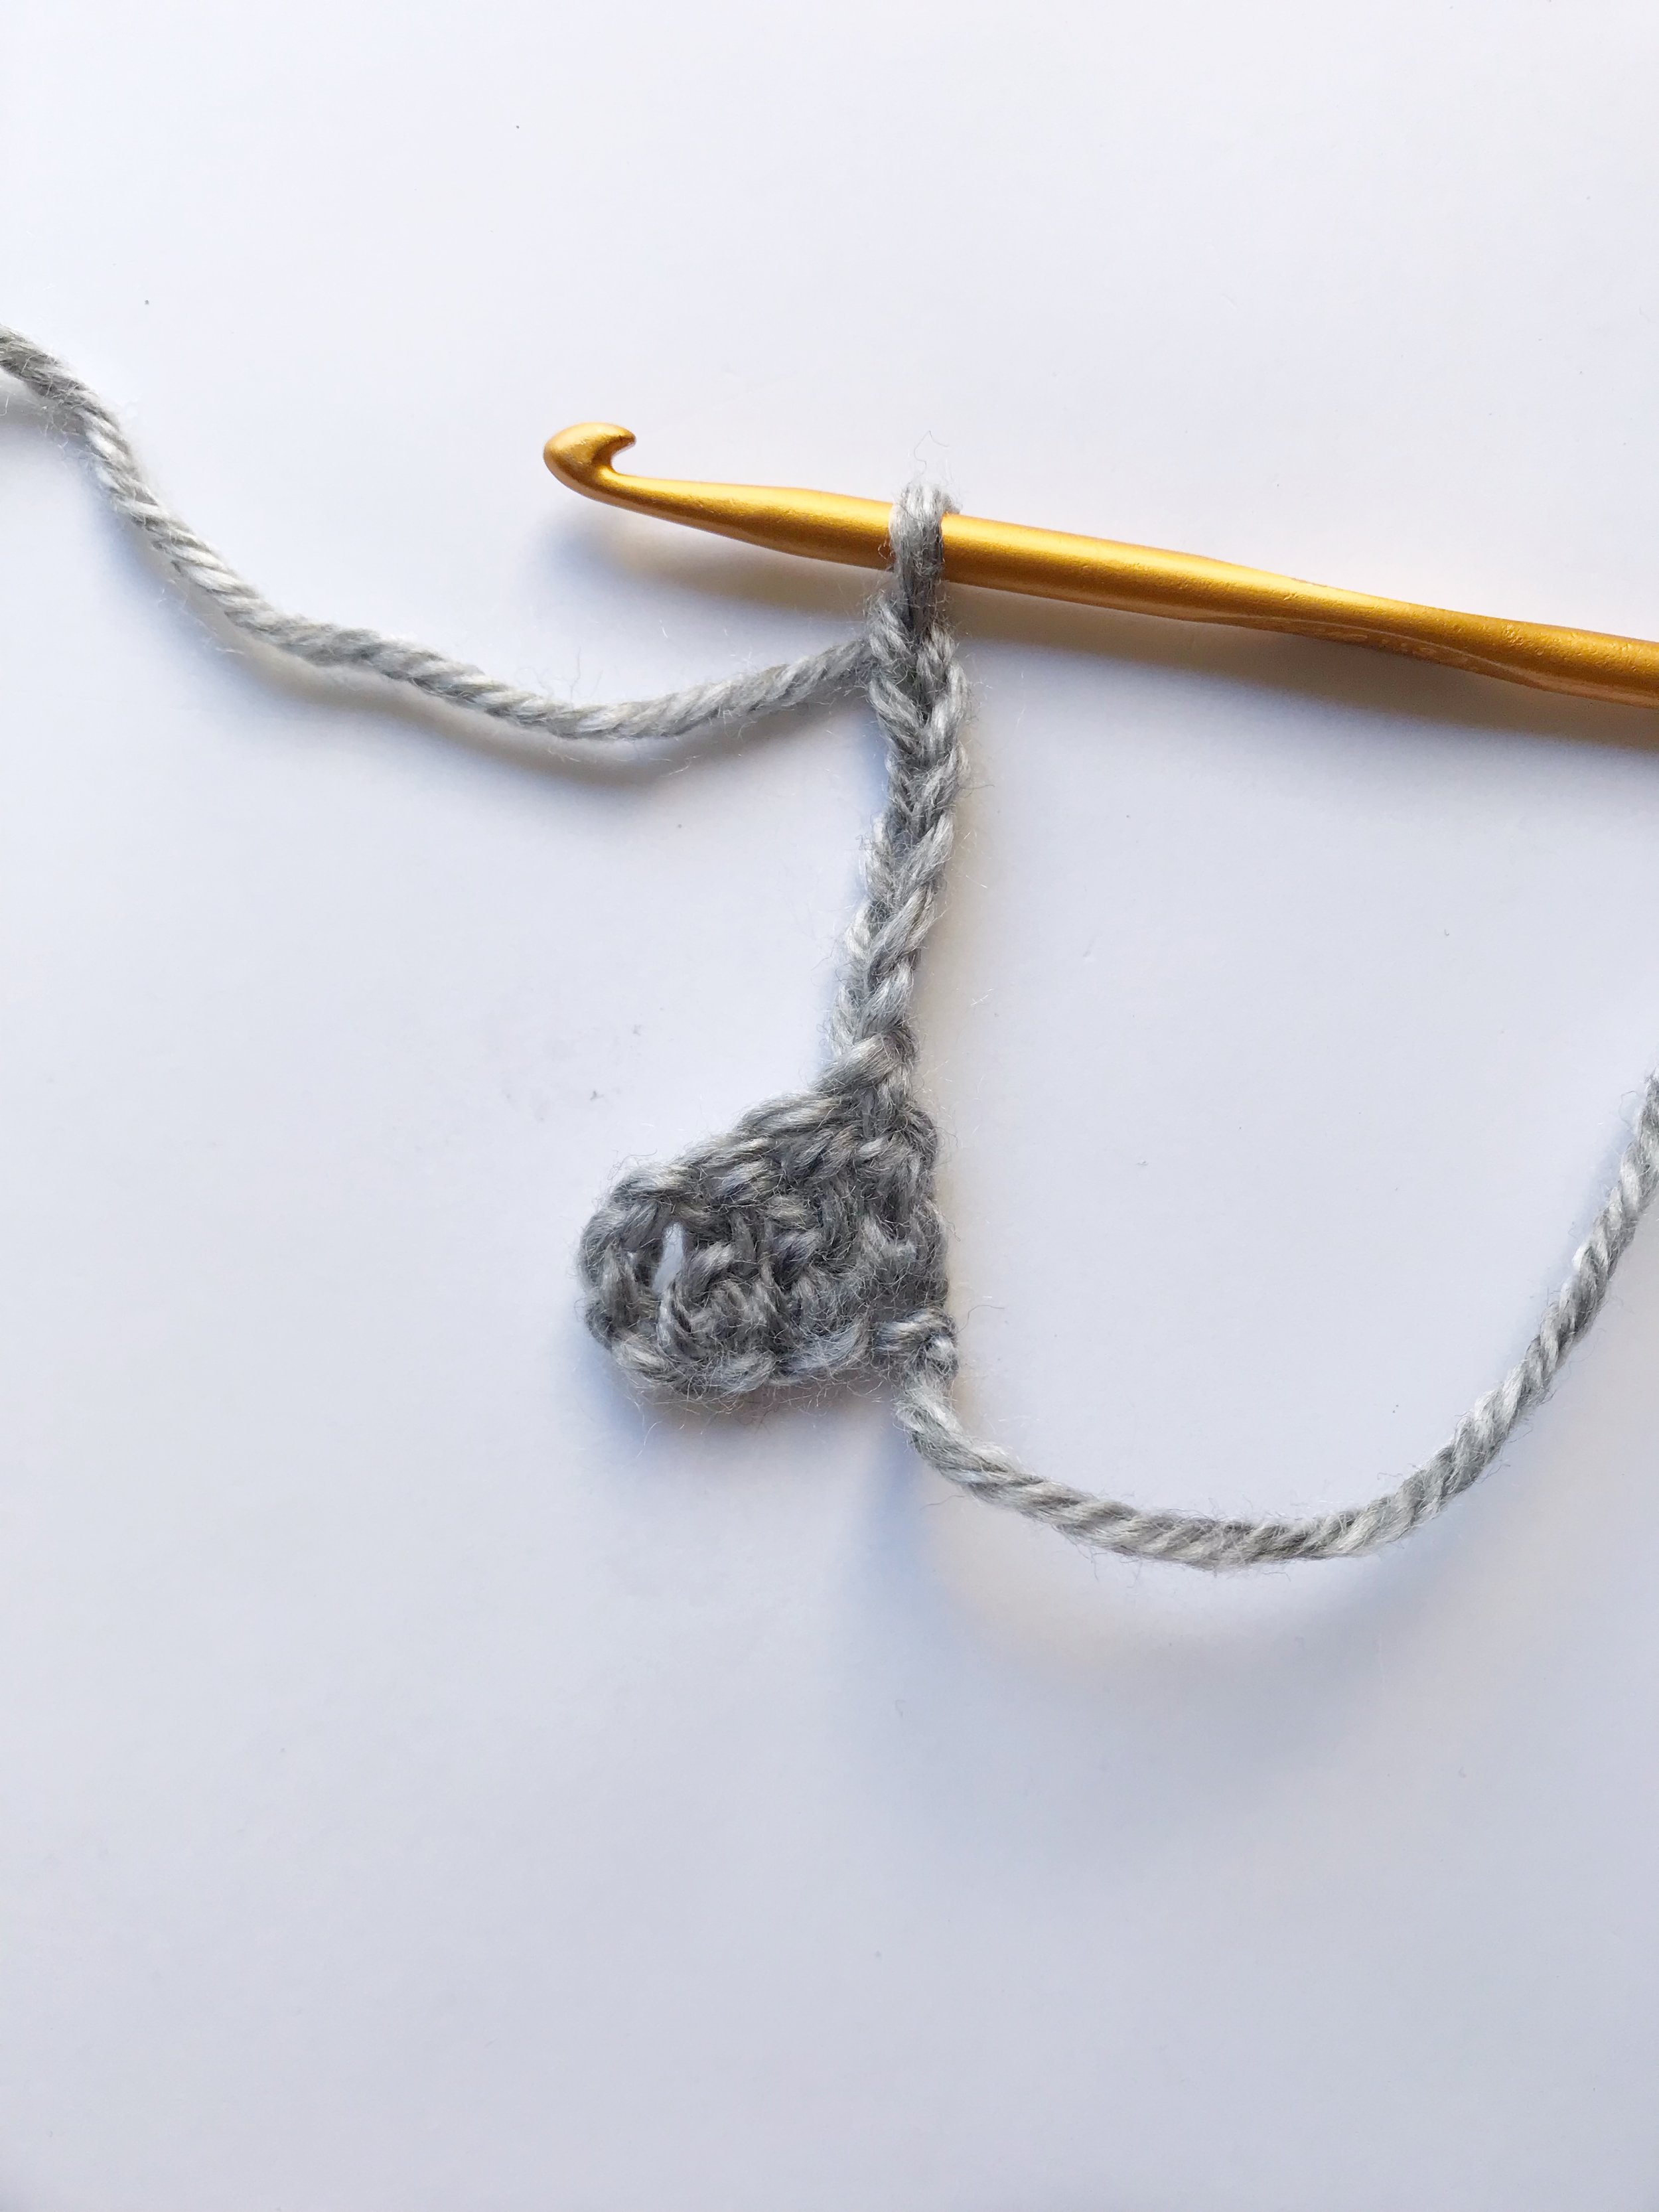
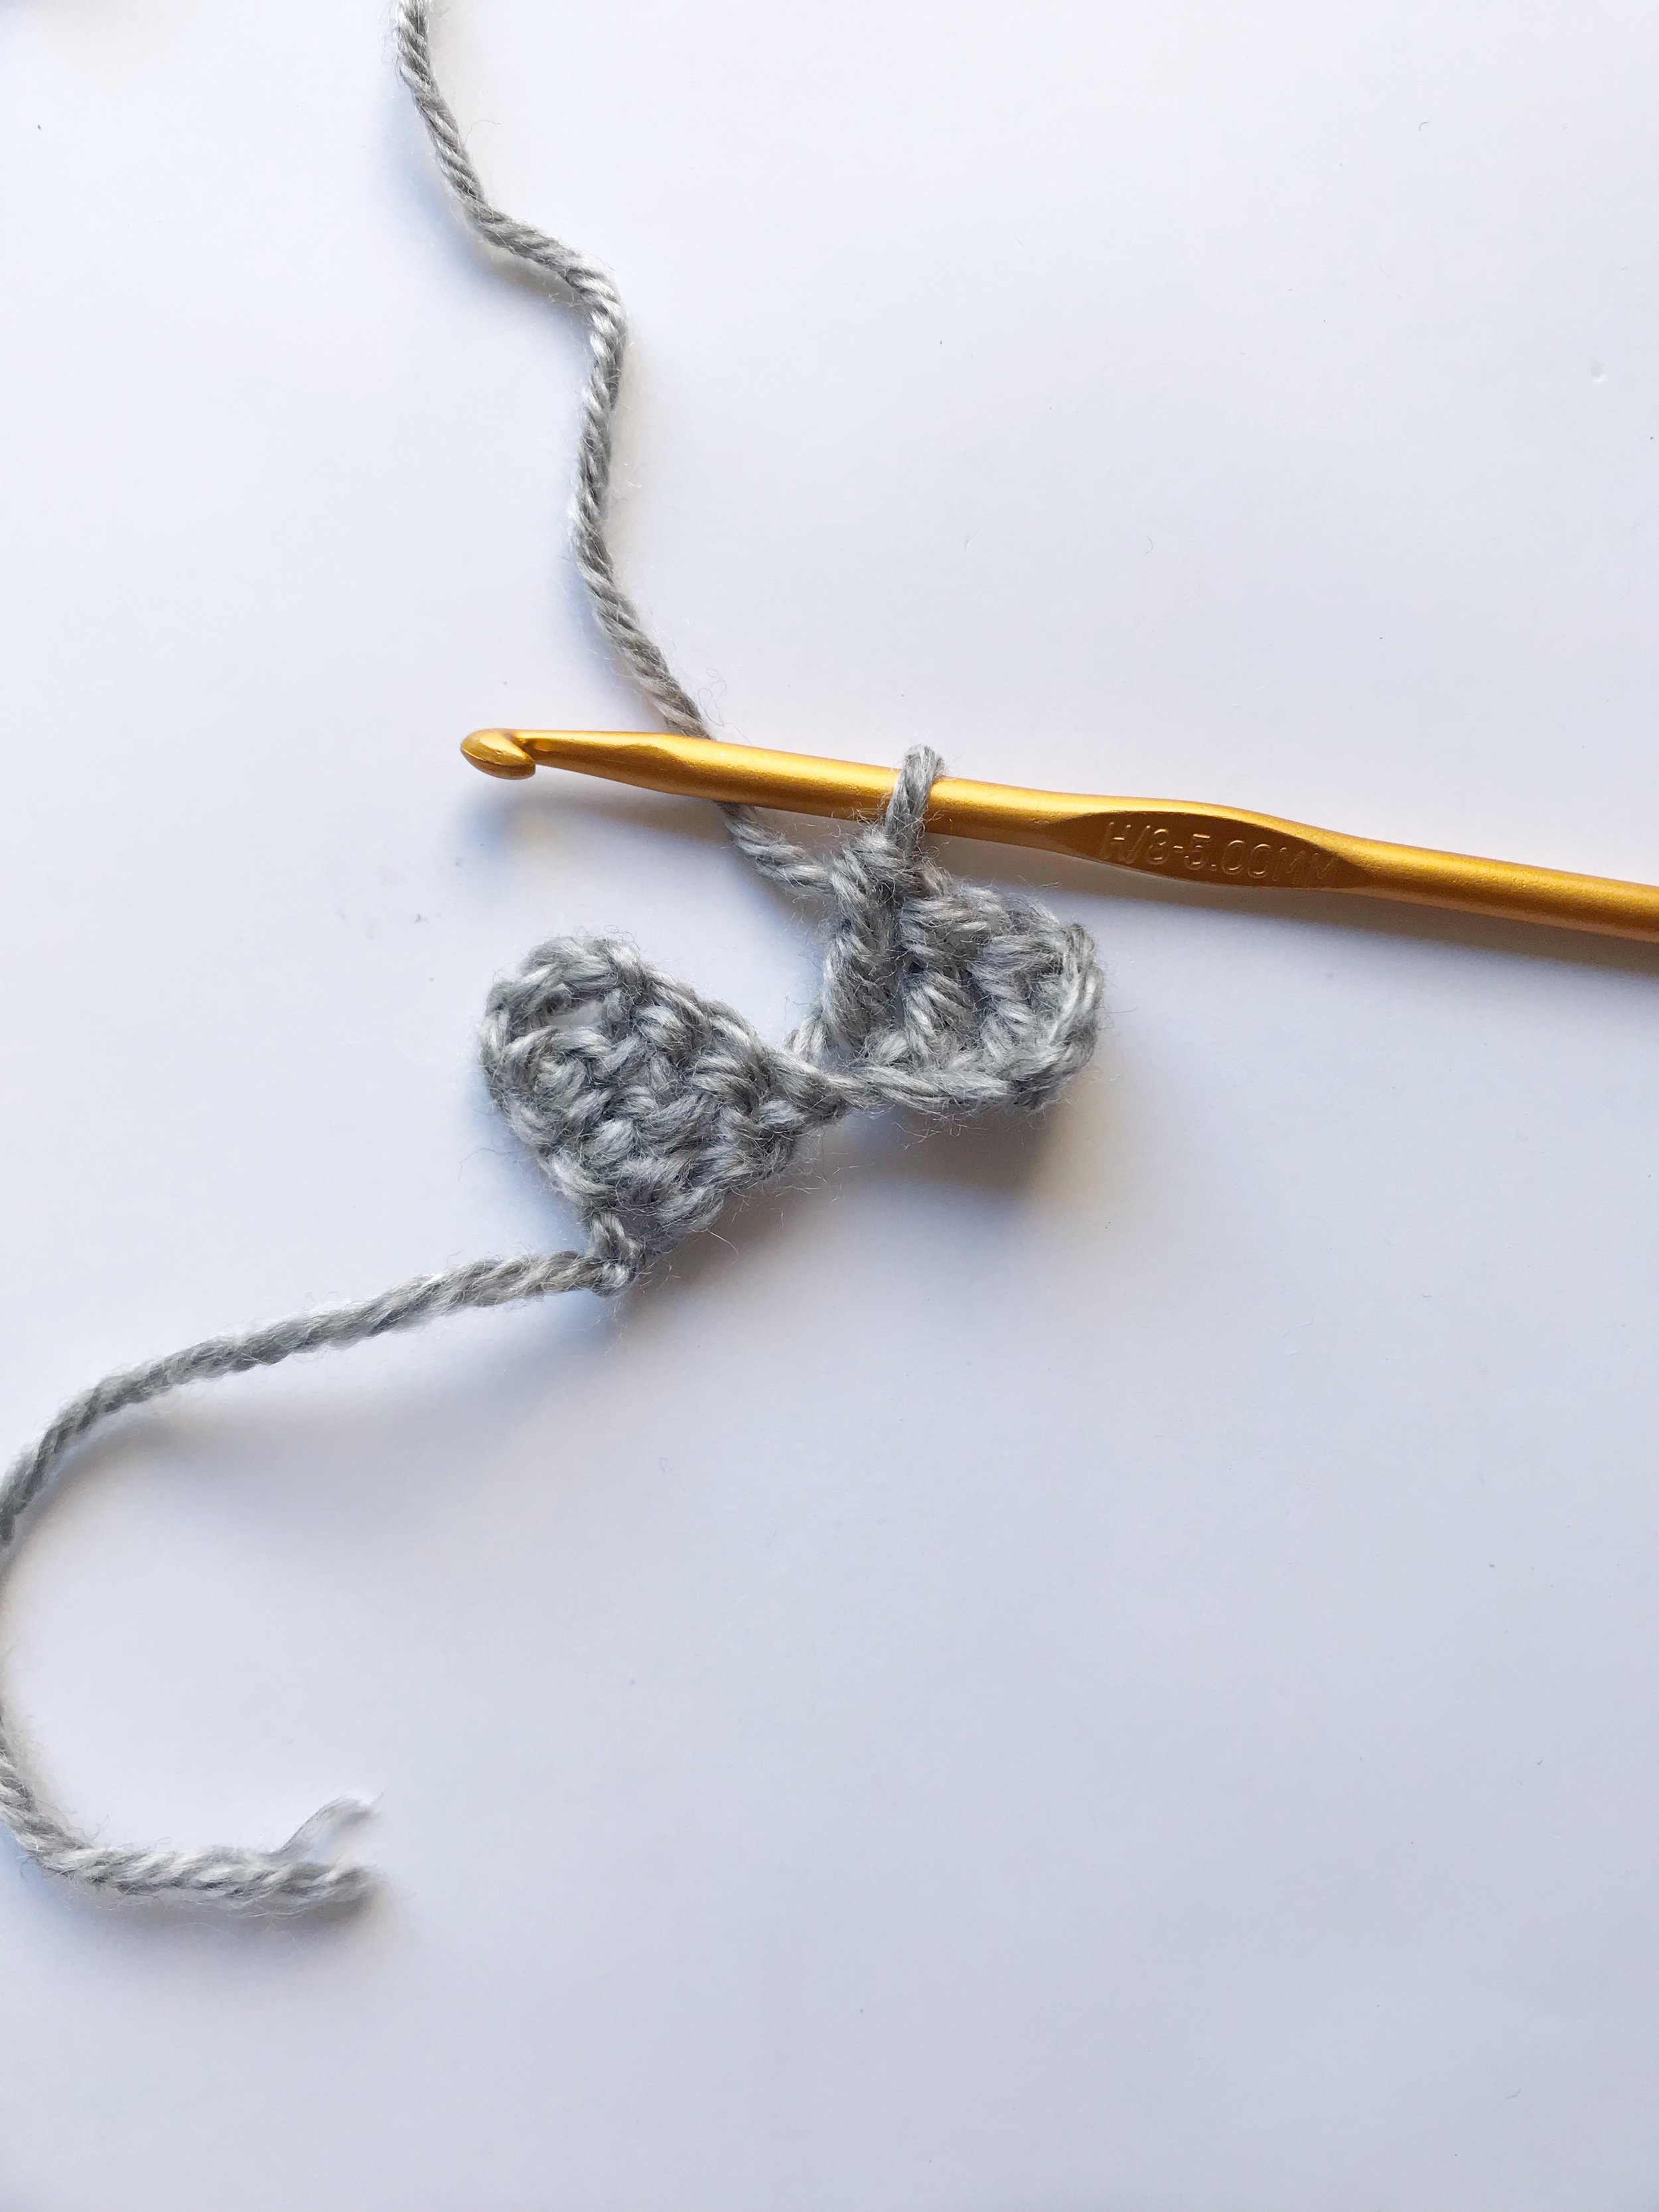
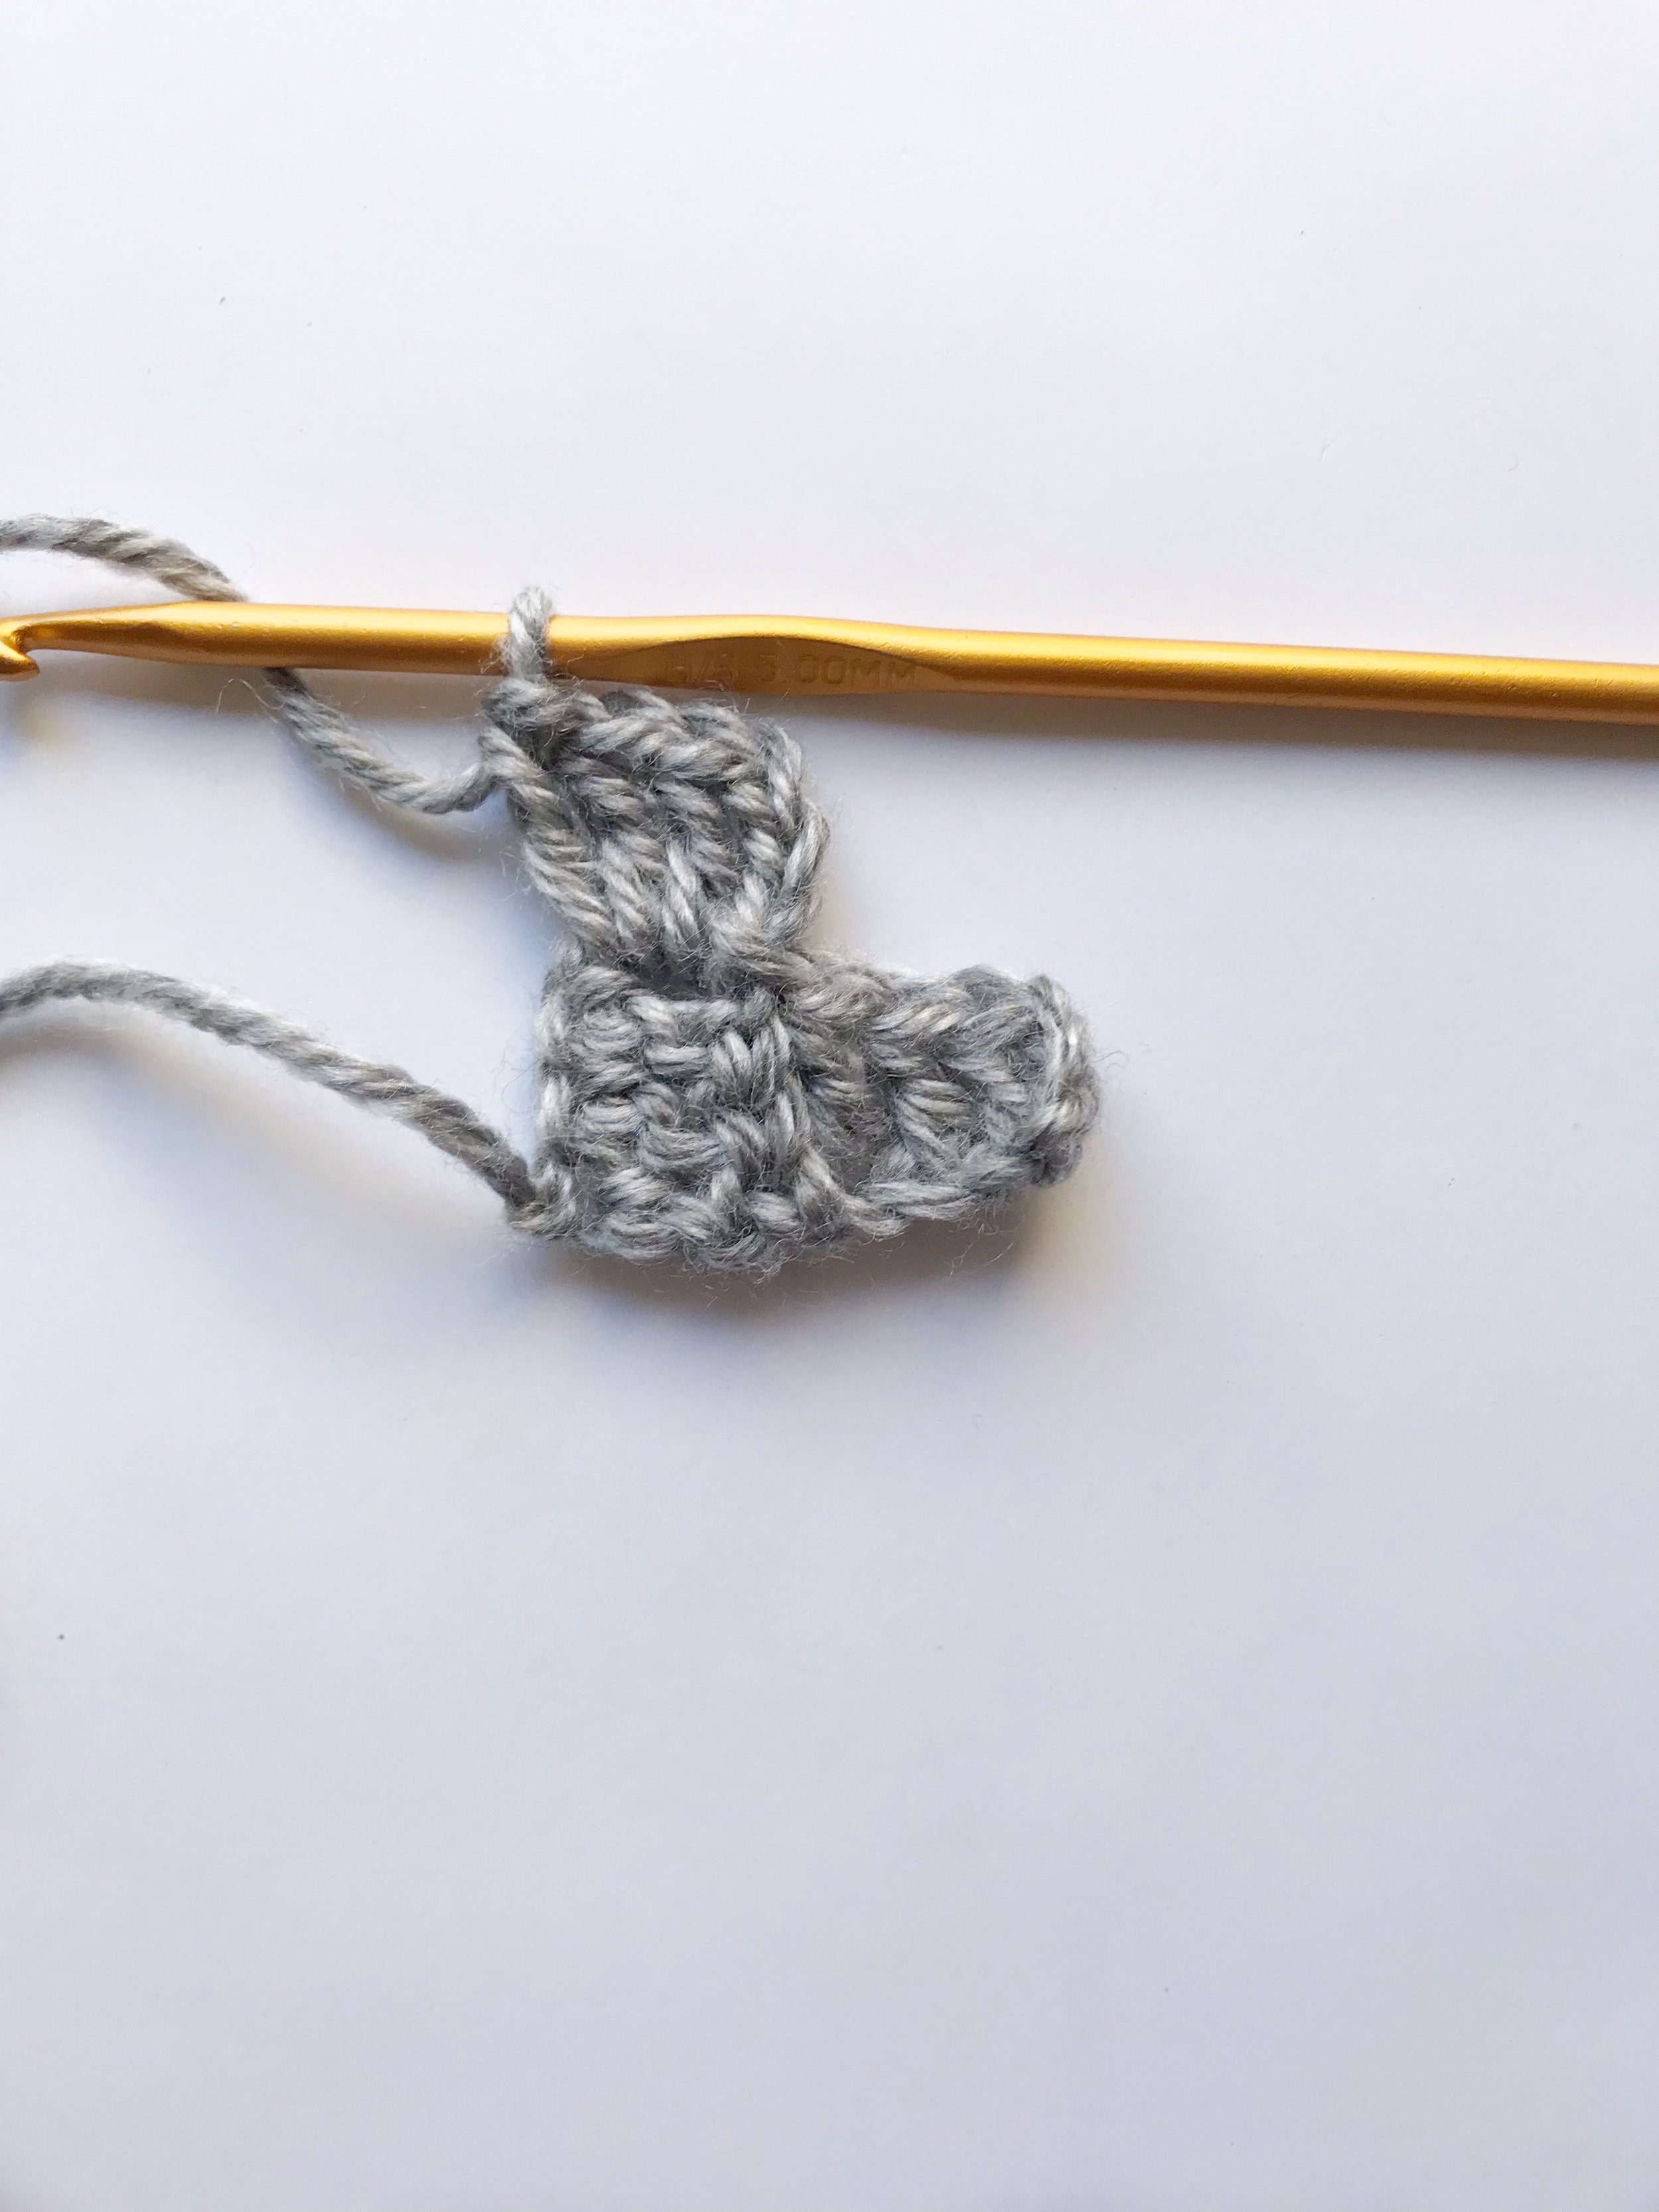
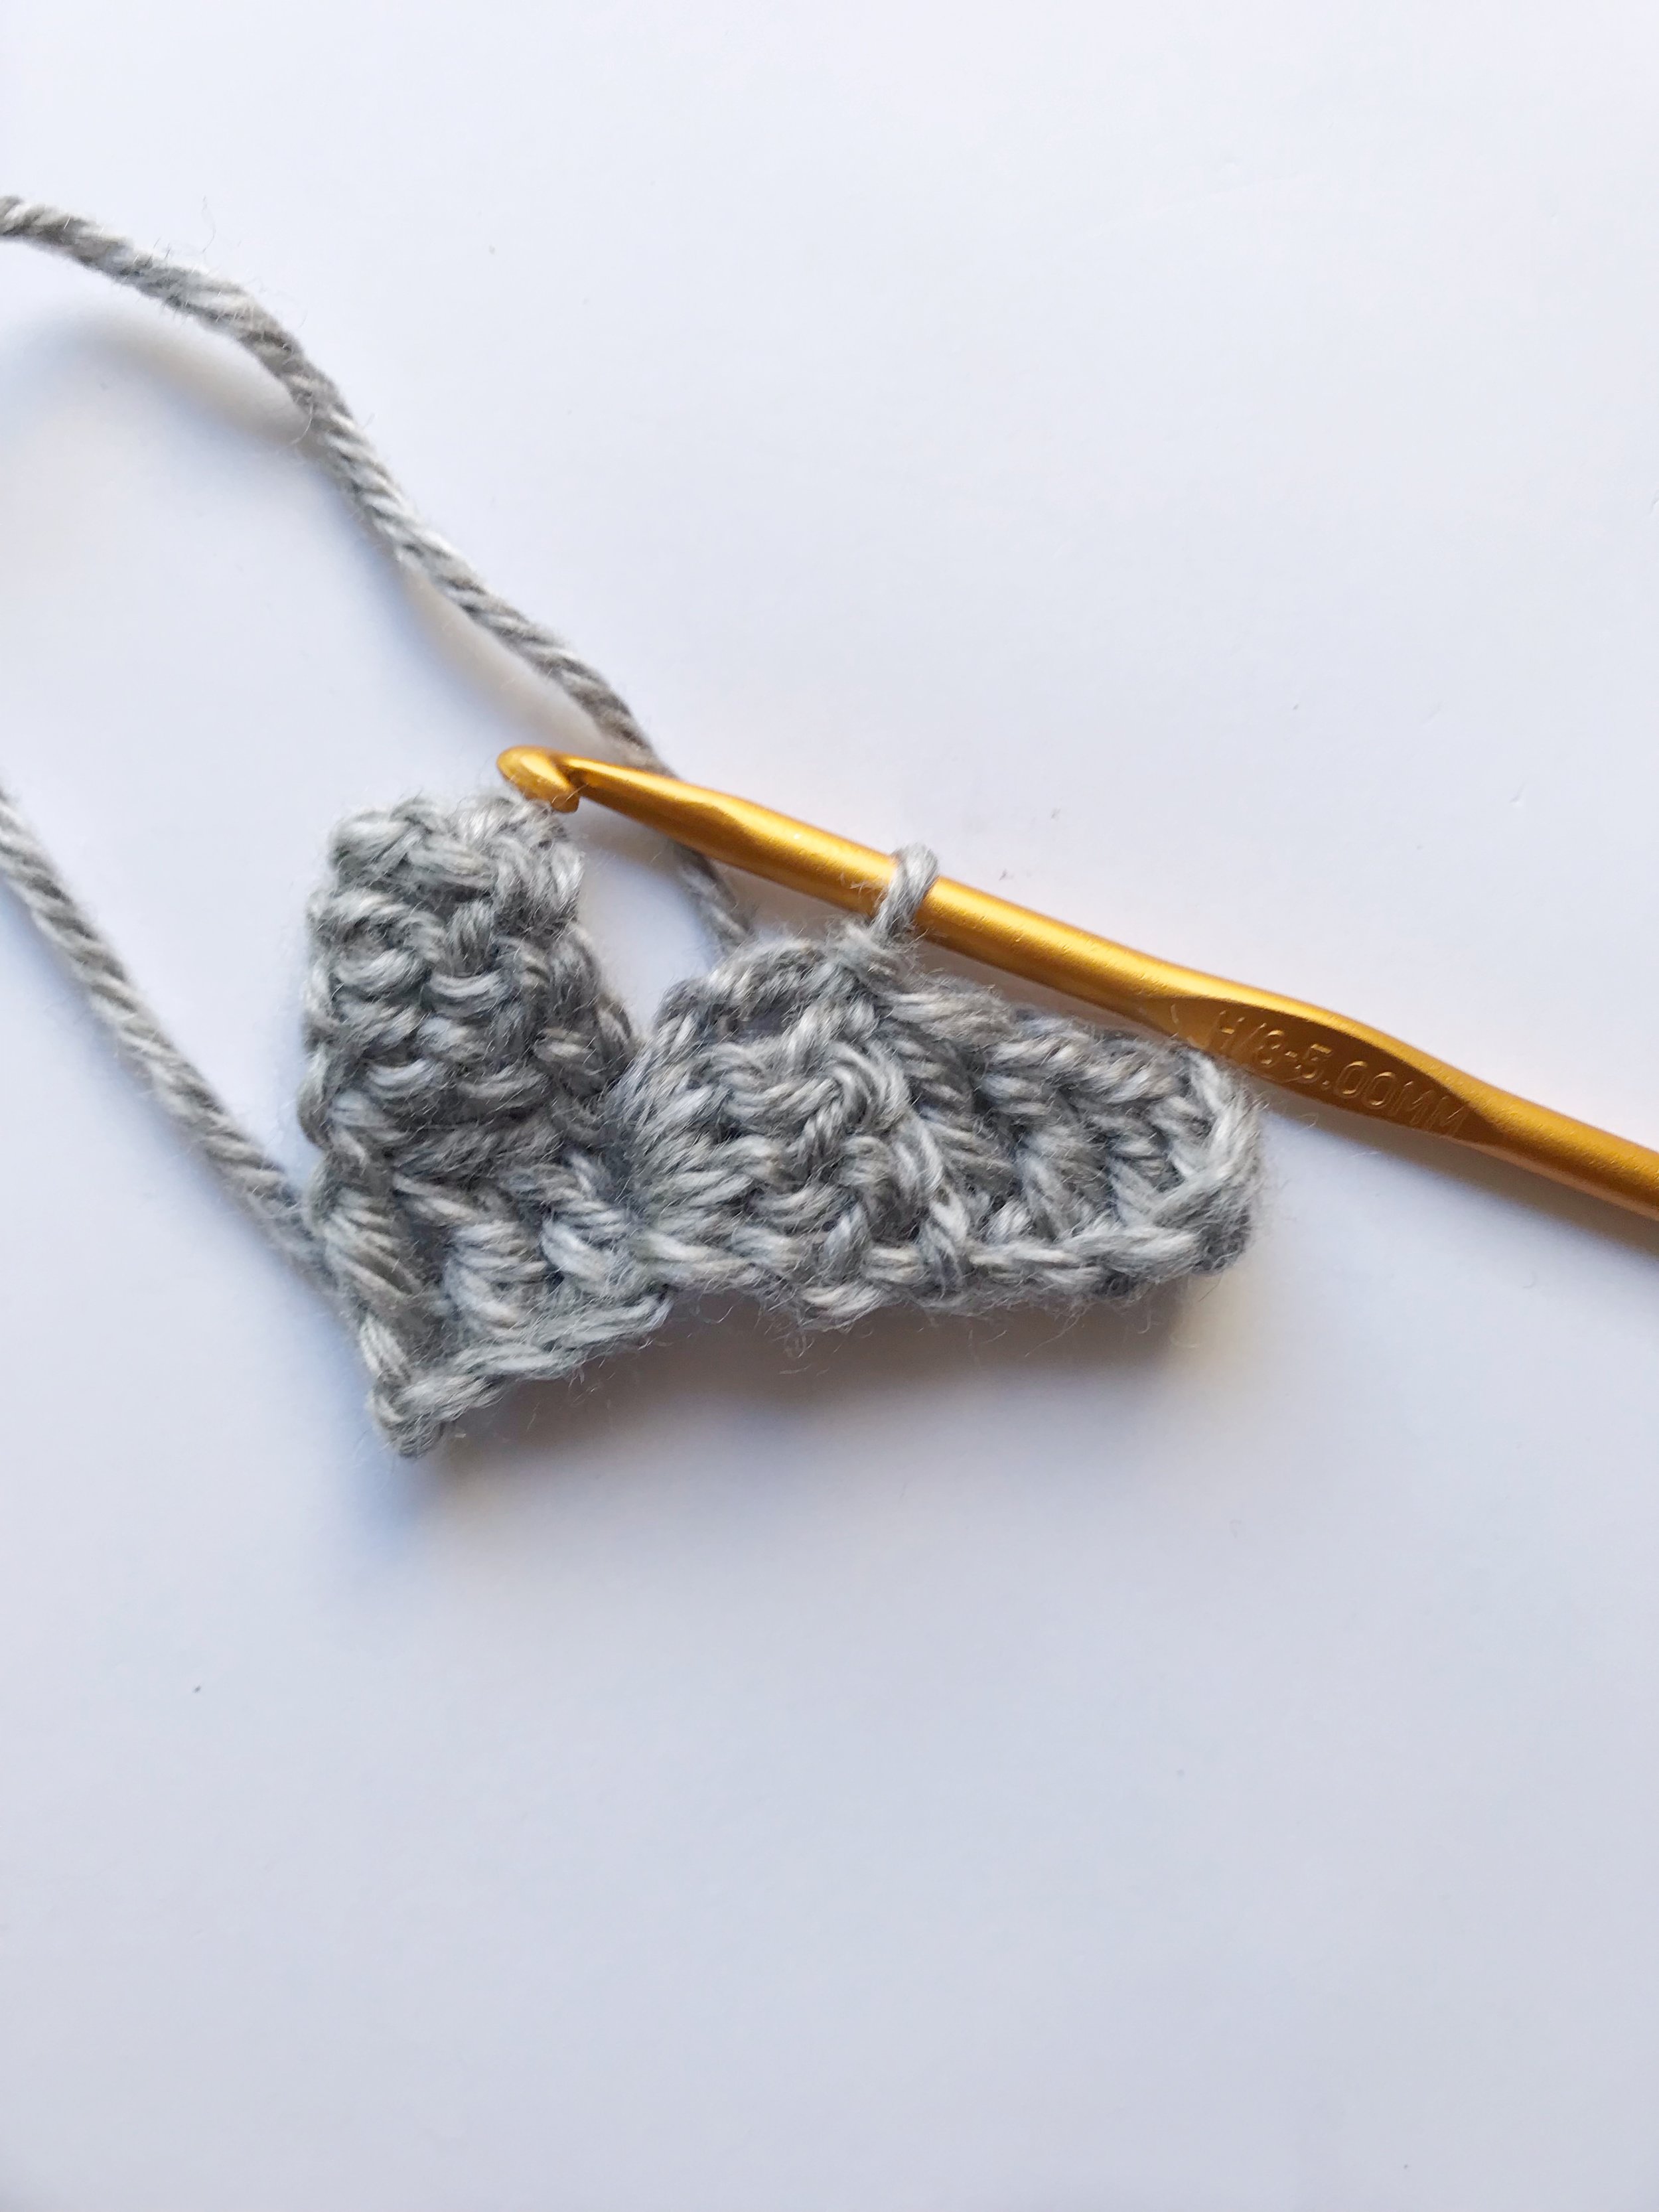
To start a corner to corner project you will need yarn and a crochet hook. Ch6, then dc into the 4th ch from the hook and in the next two chs.
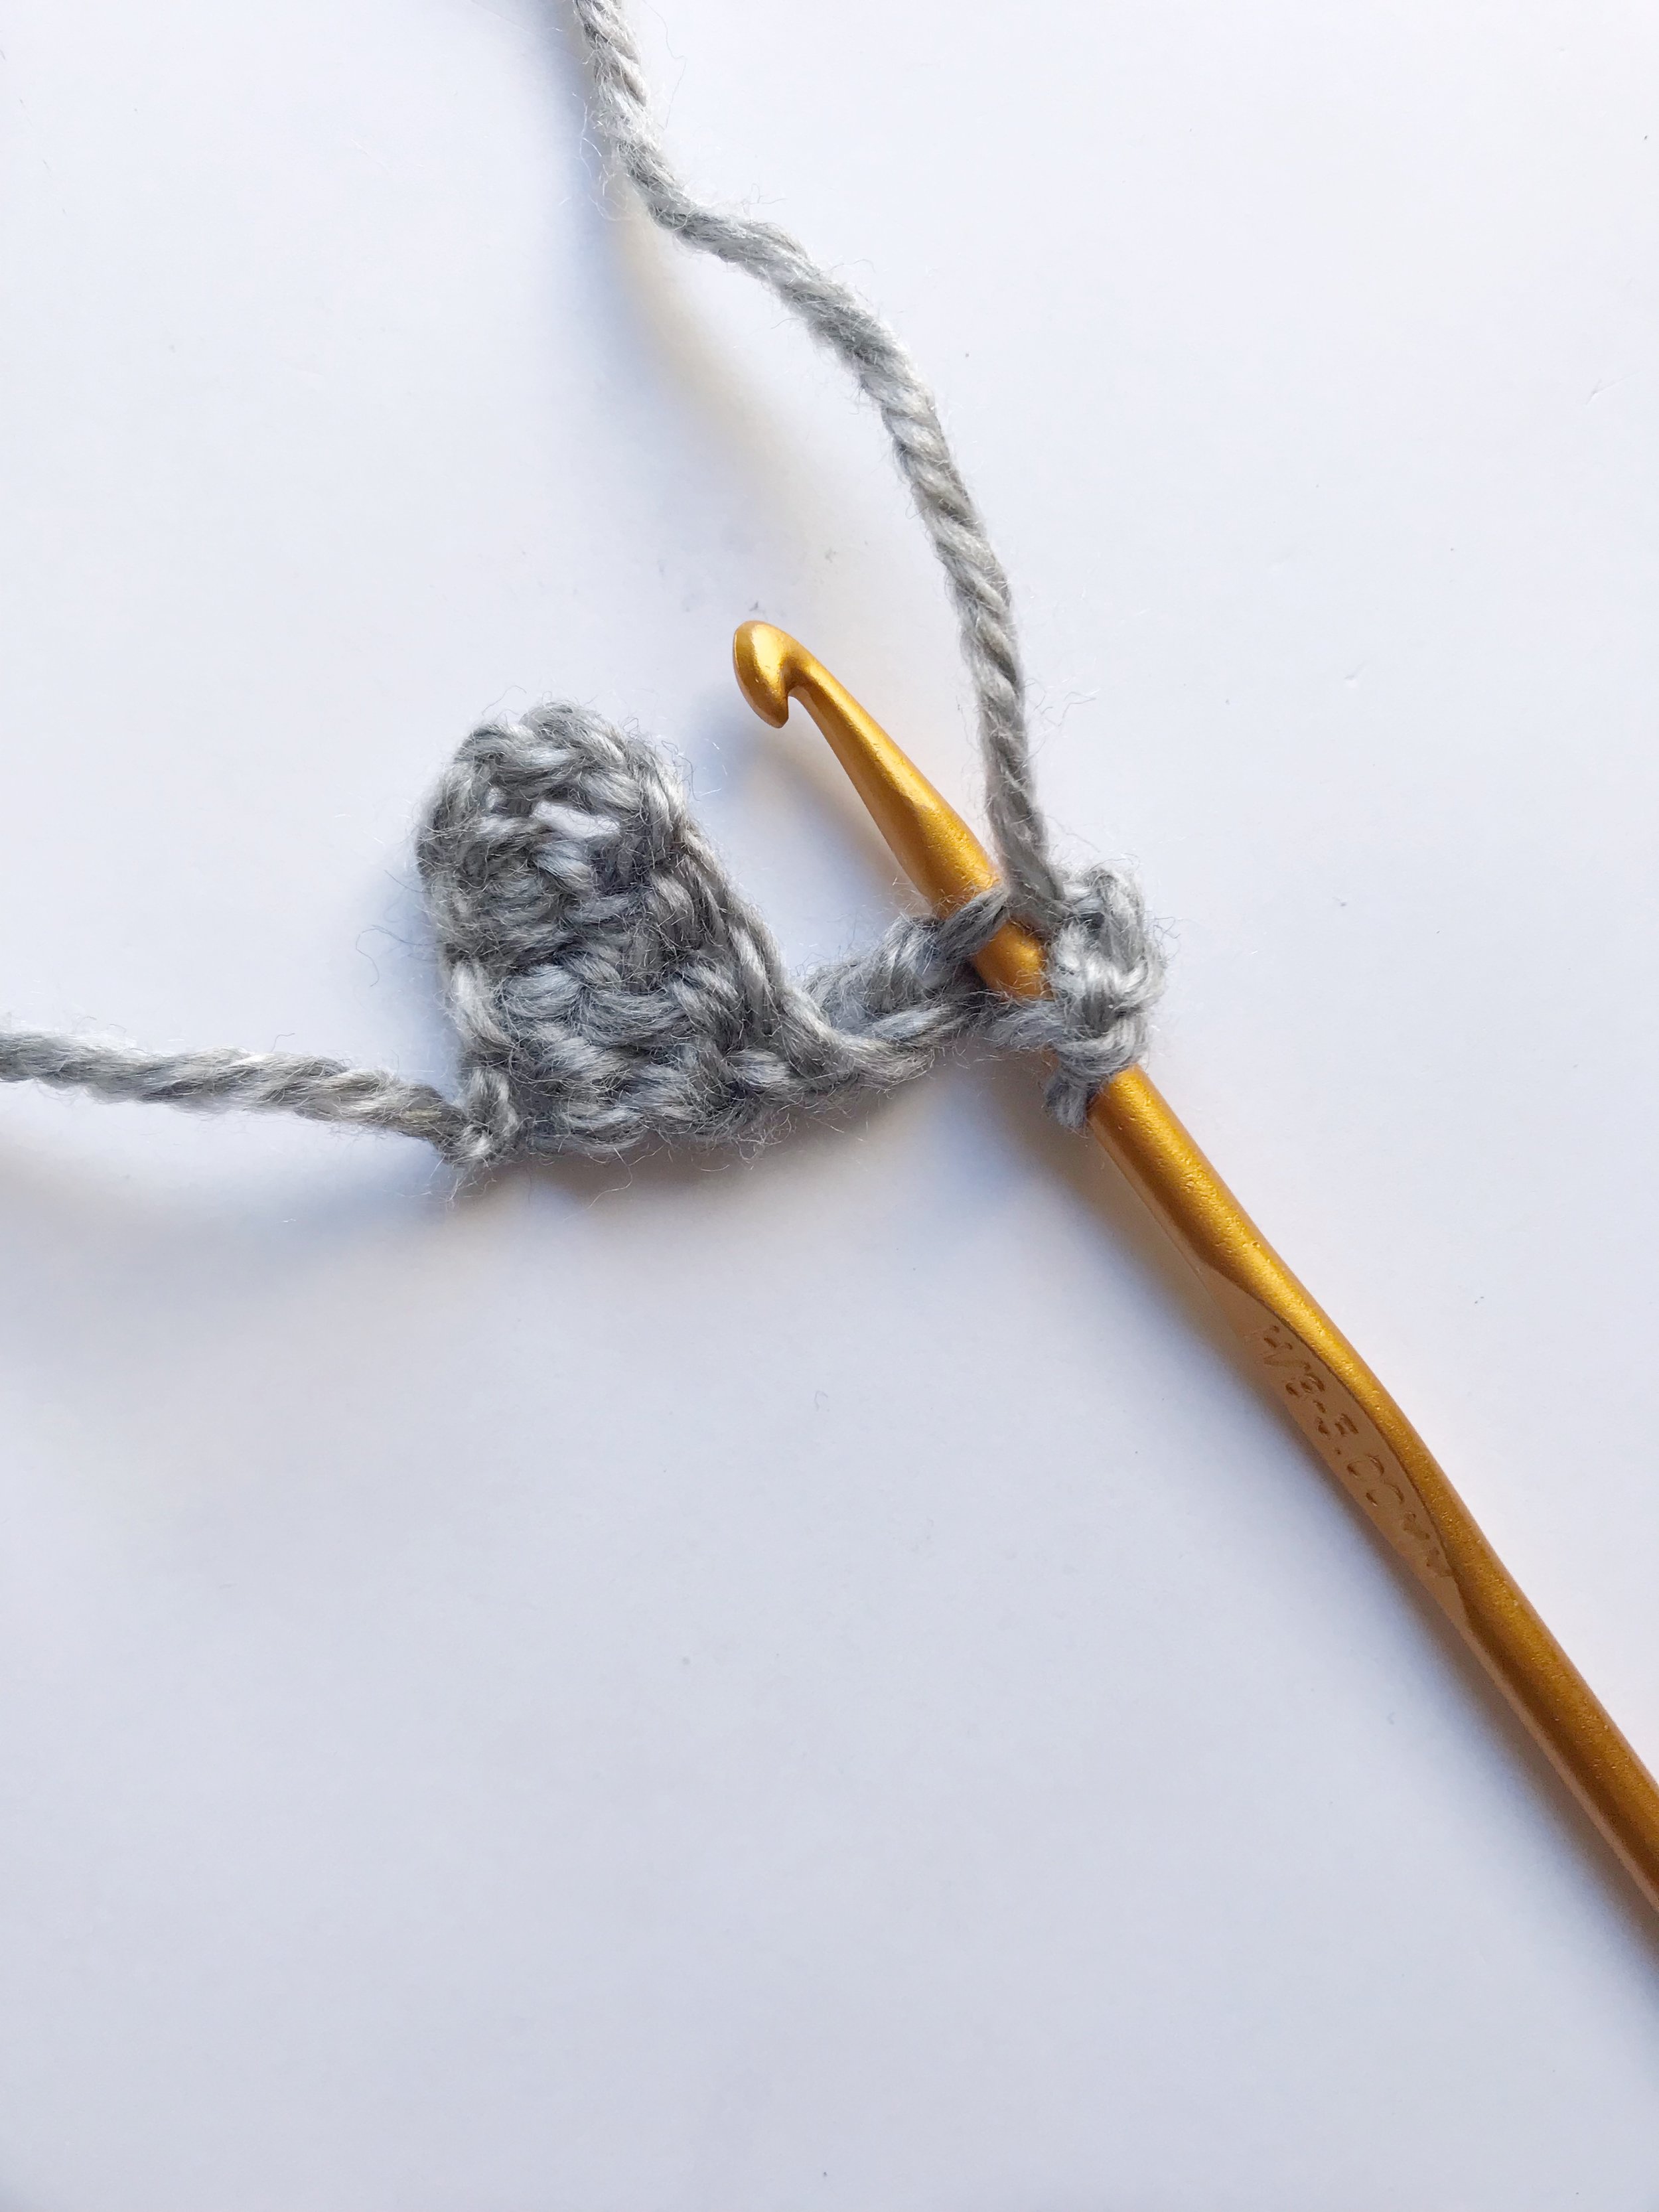
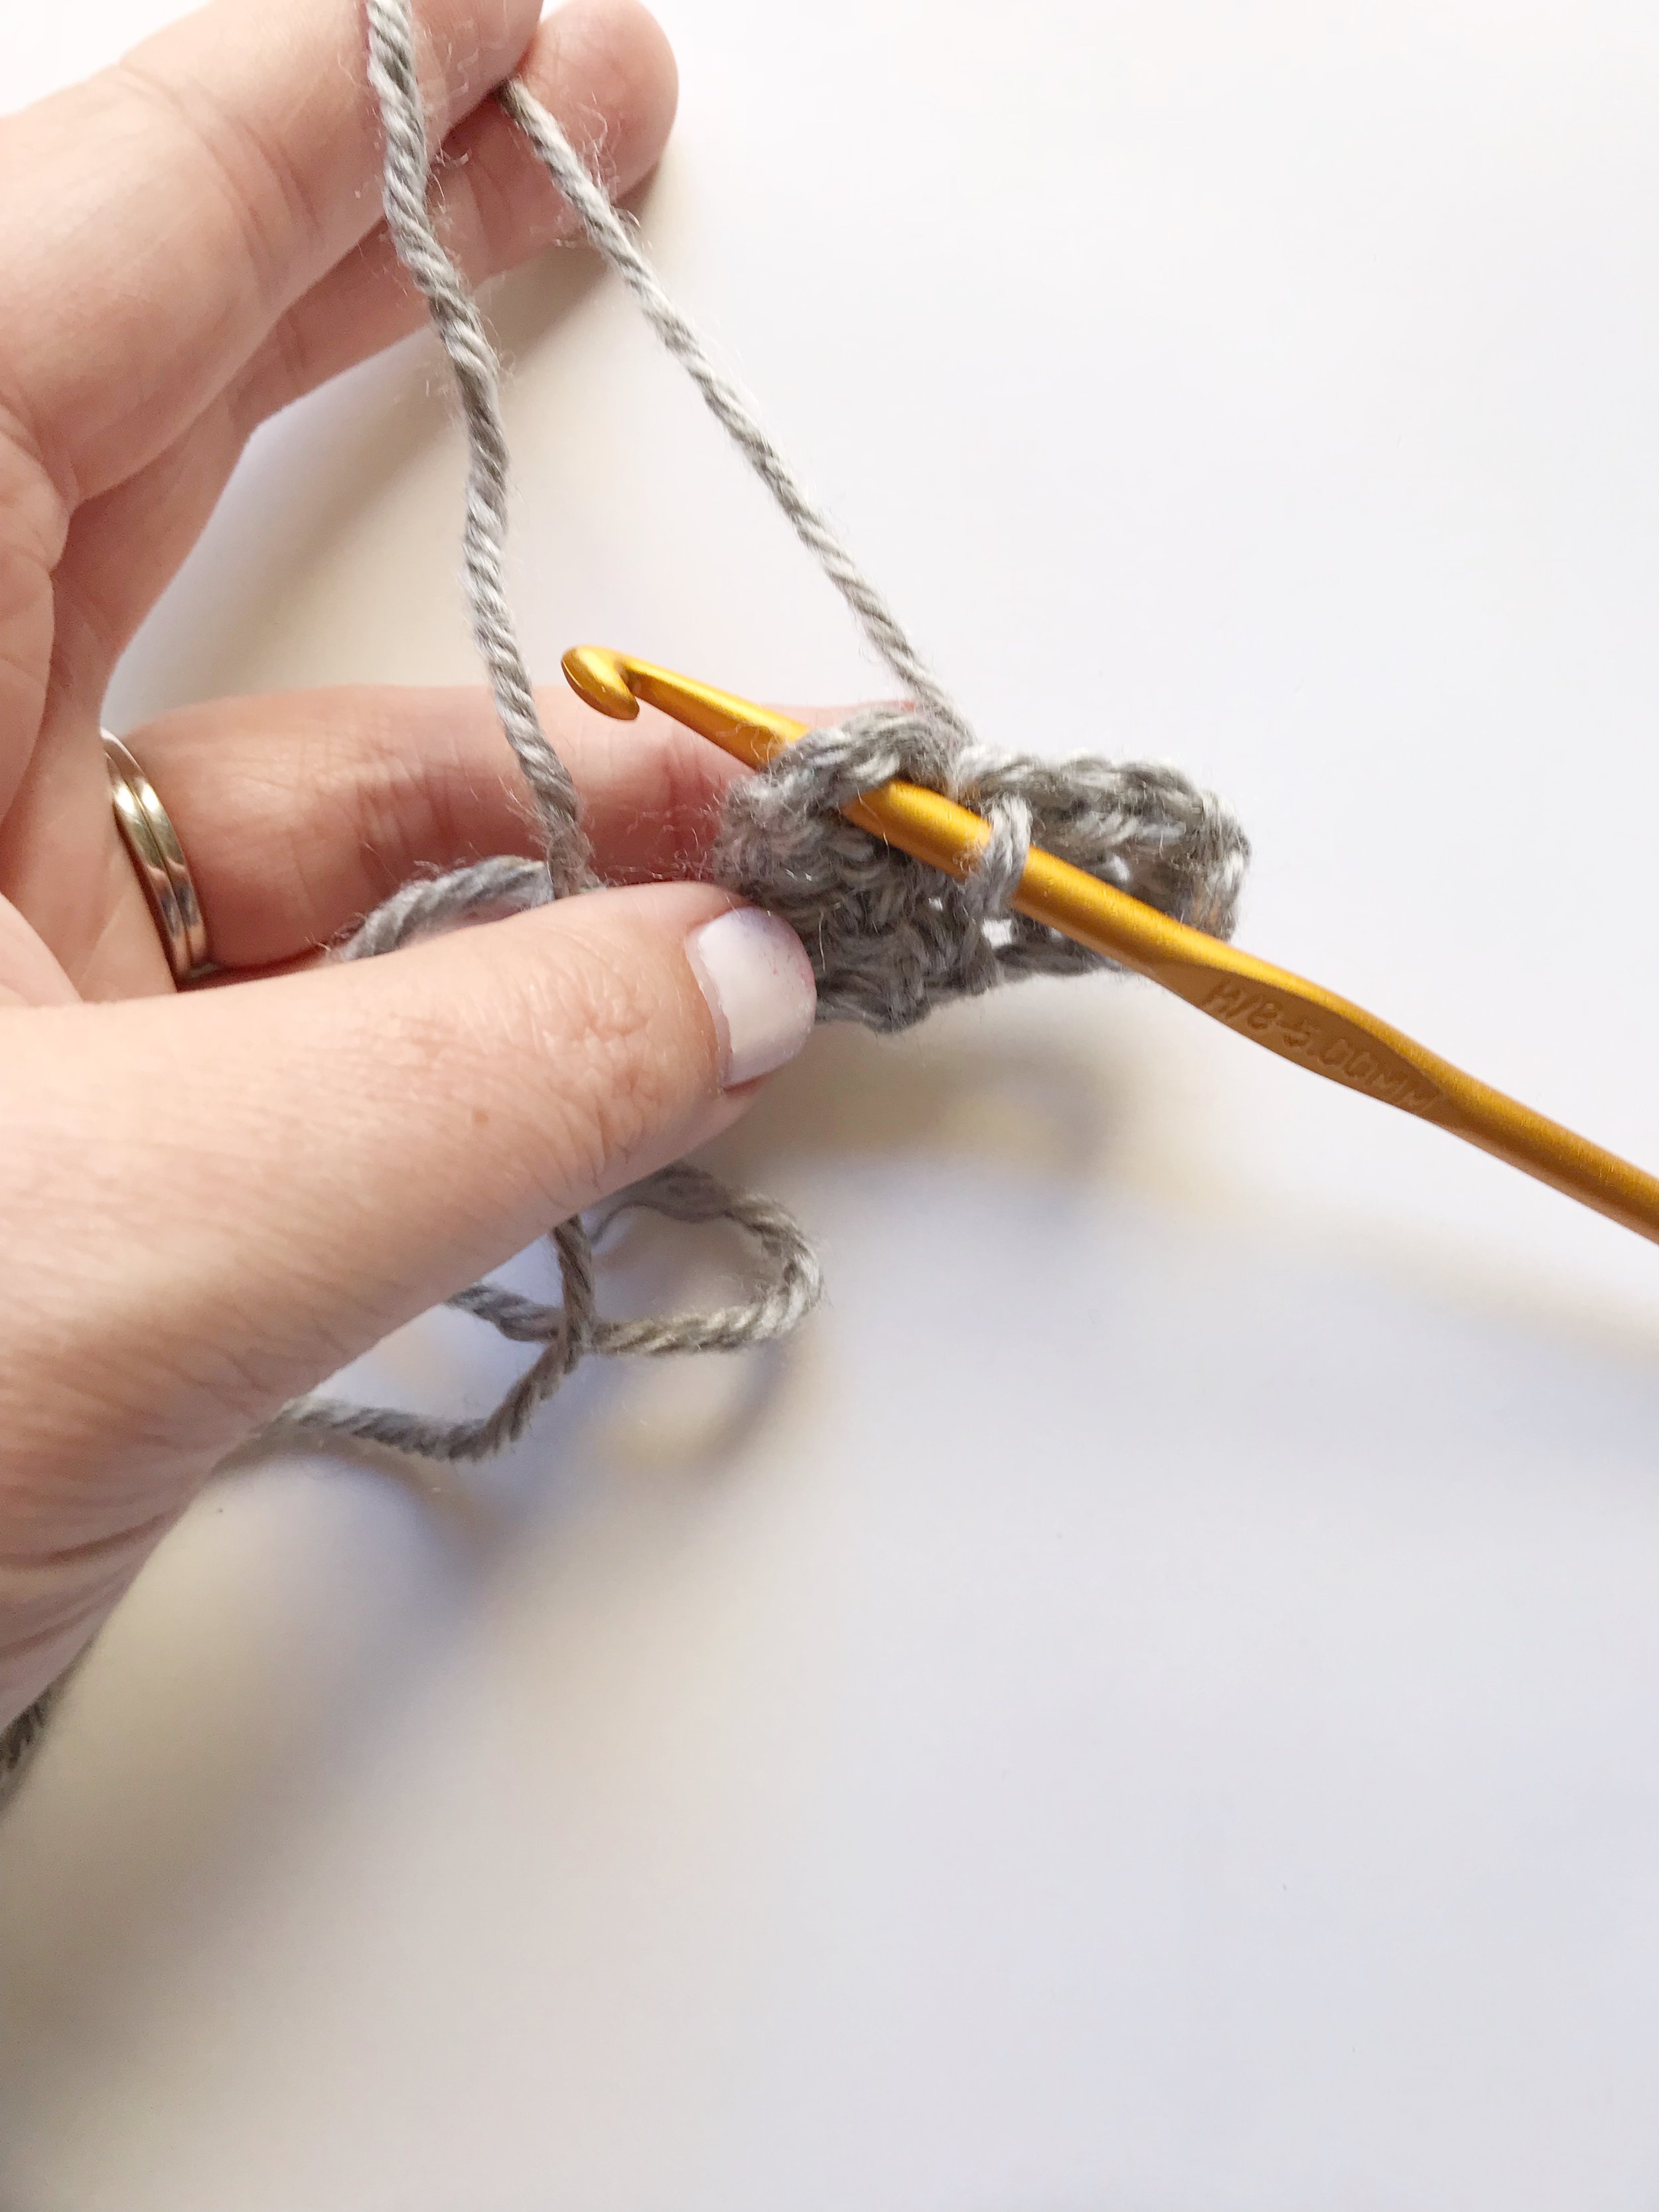
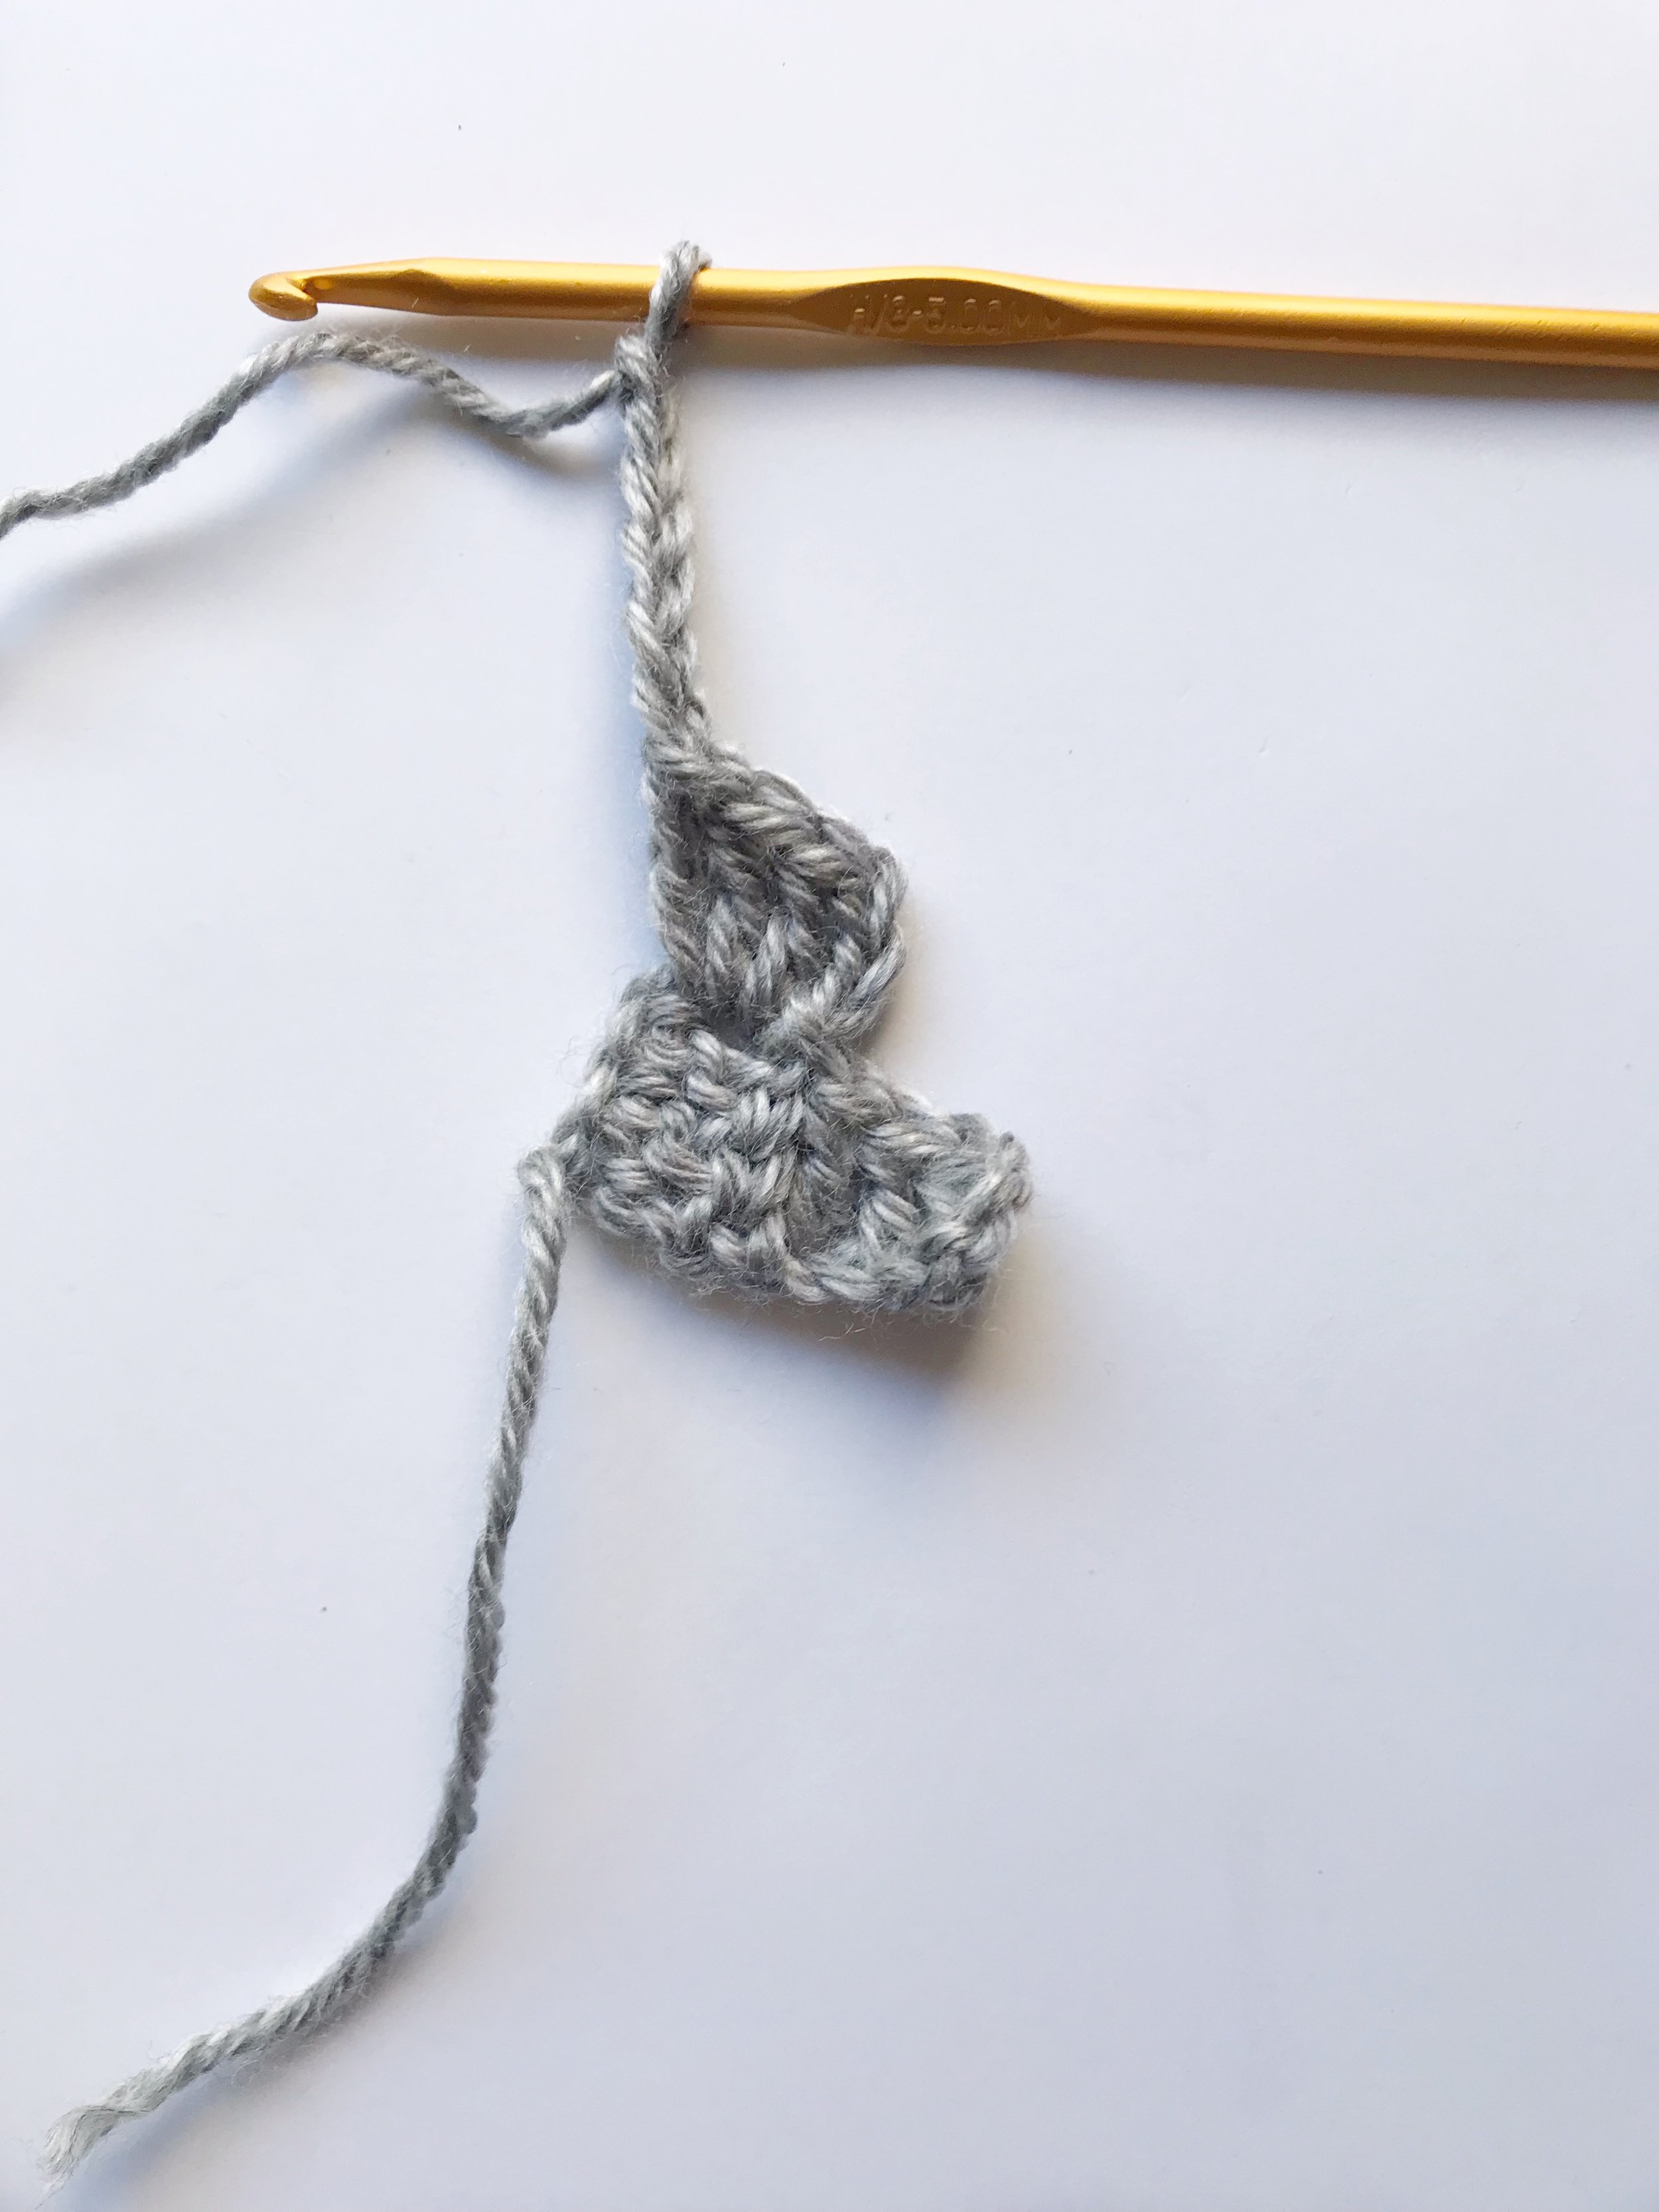
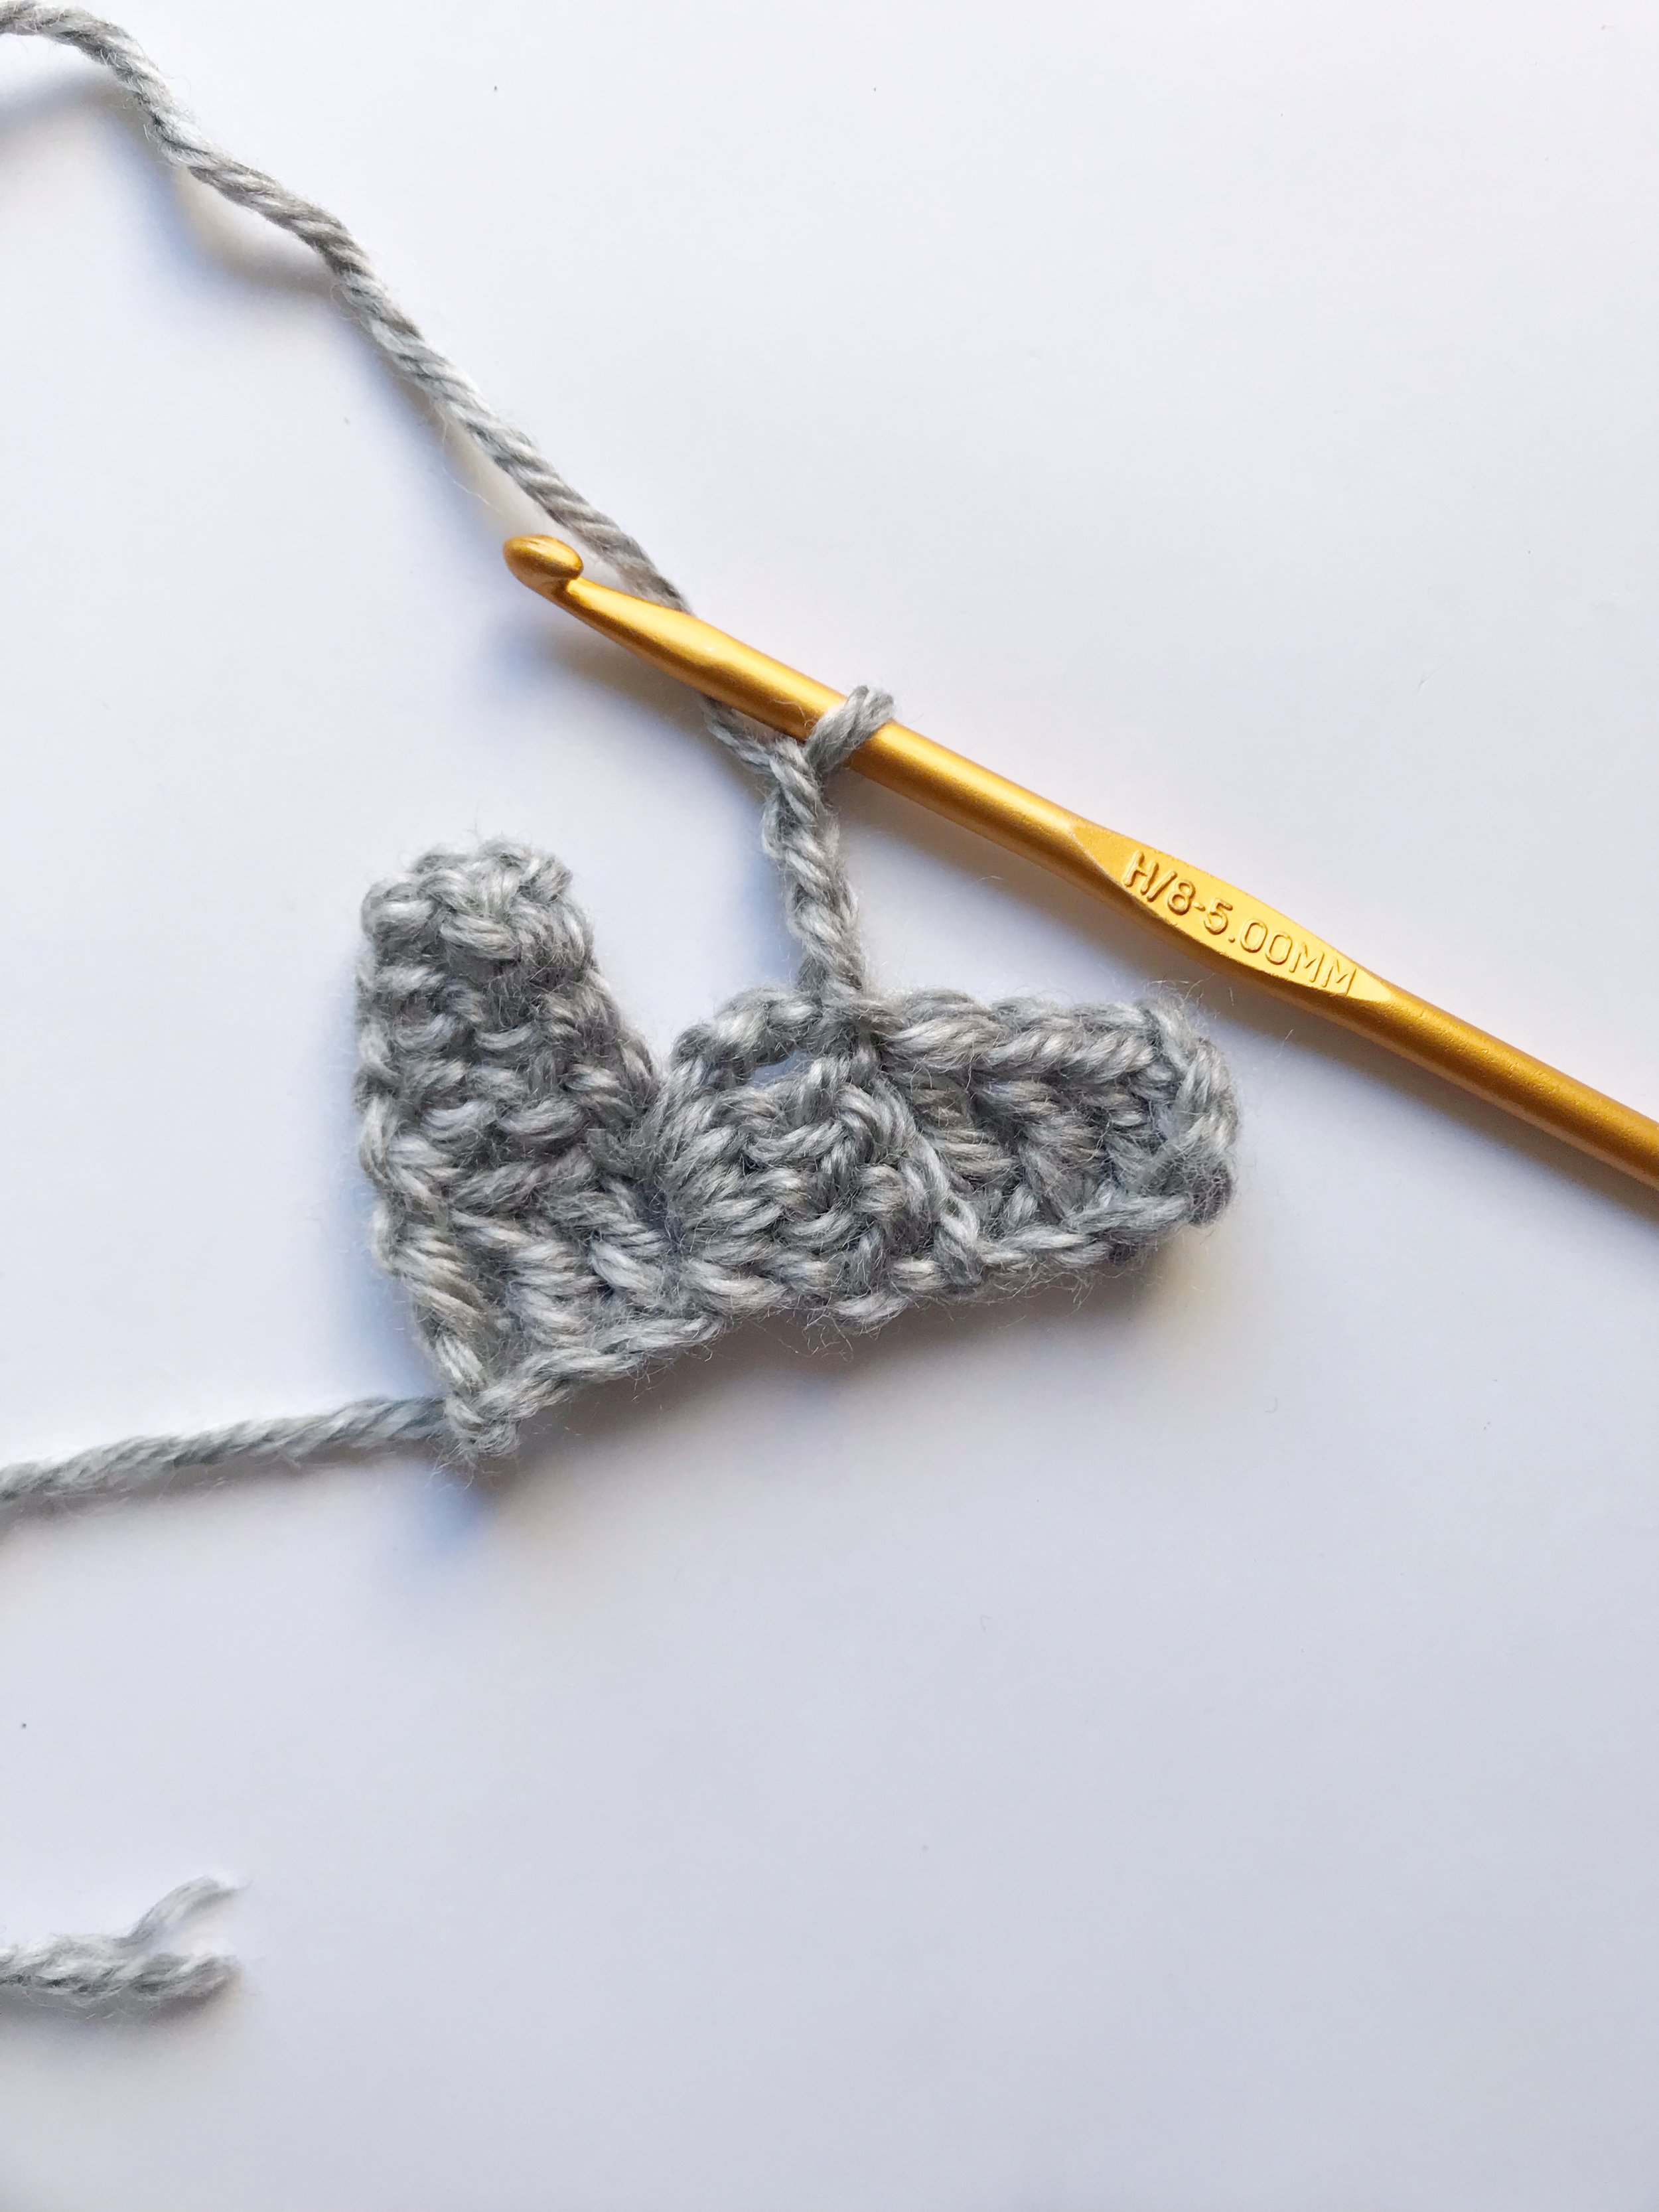
Ch 6 again and dc in the 4th ch from hook and the next two chs just as you did for the first tile. Now you will have two tiles, attach them by slip stitching into the ch 3 from the first tile made. You will have to twist the first tile back in order to sl st into it. You will now work into that ch 3 for the next tile.
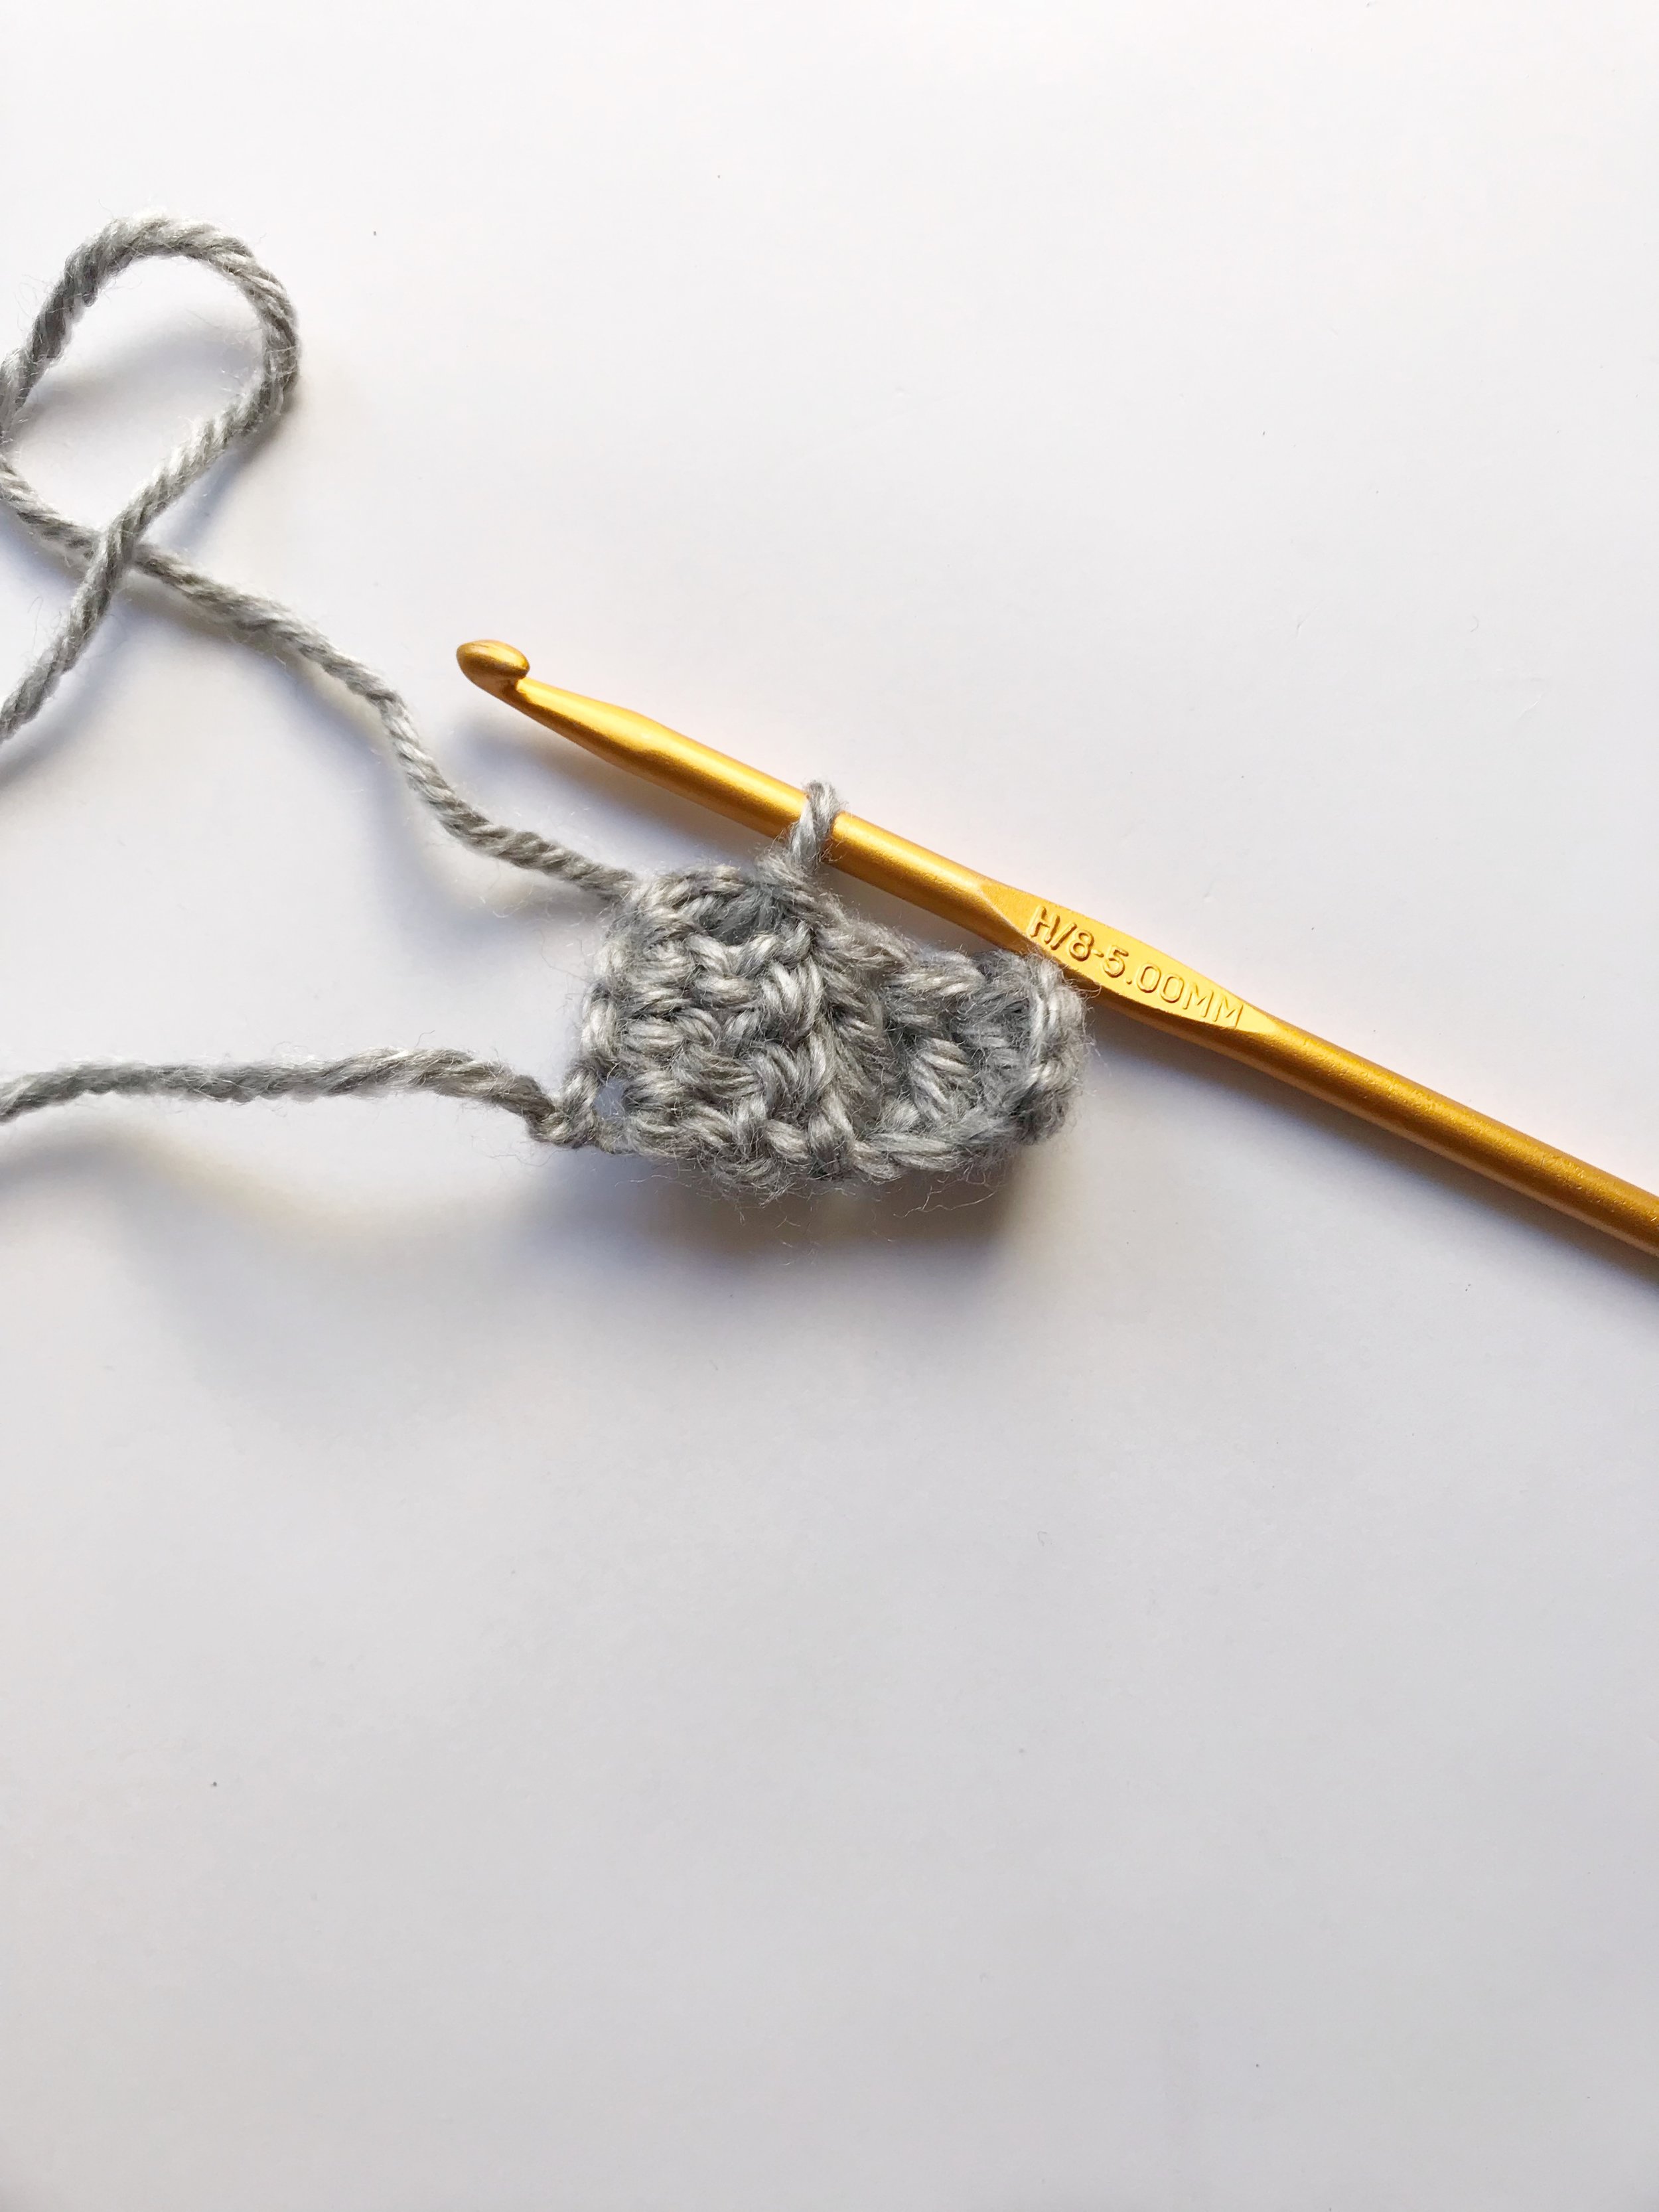
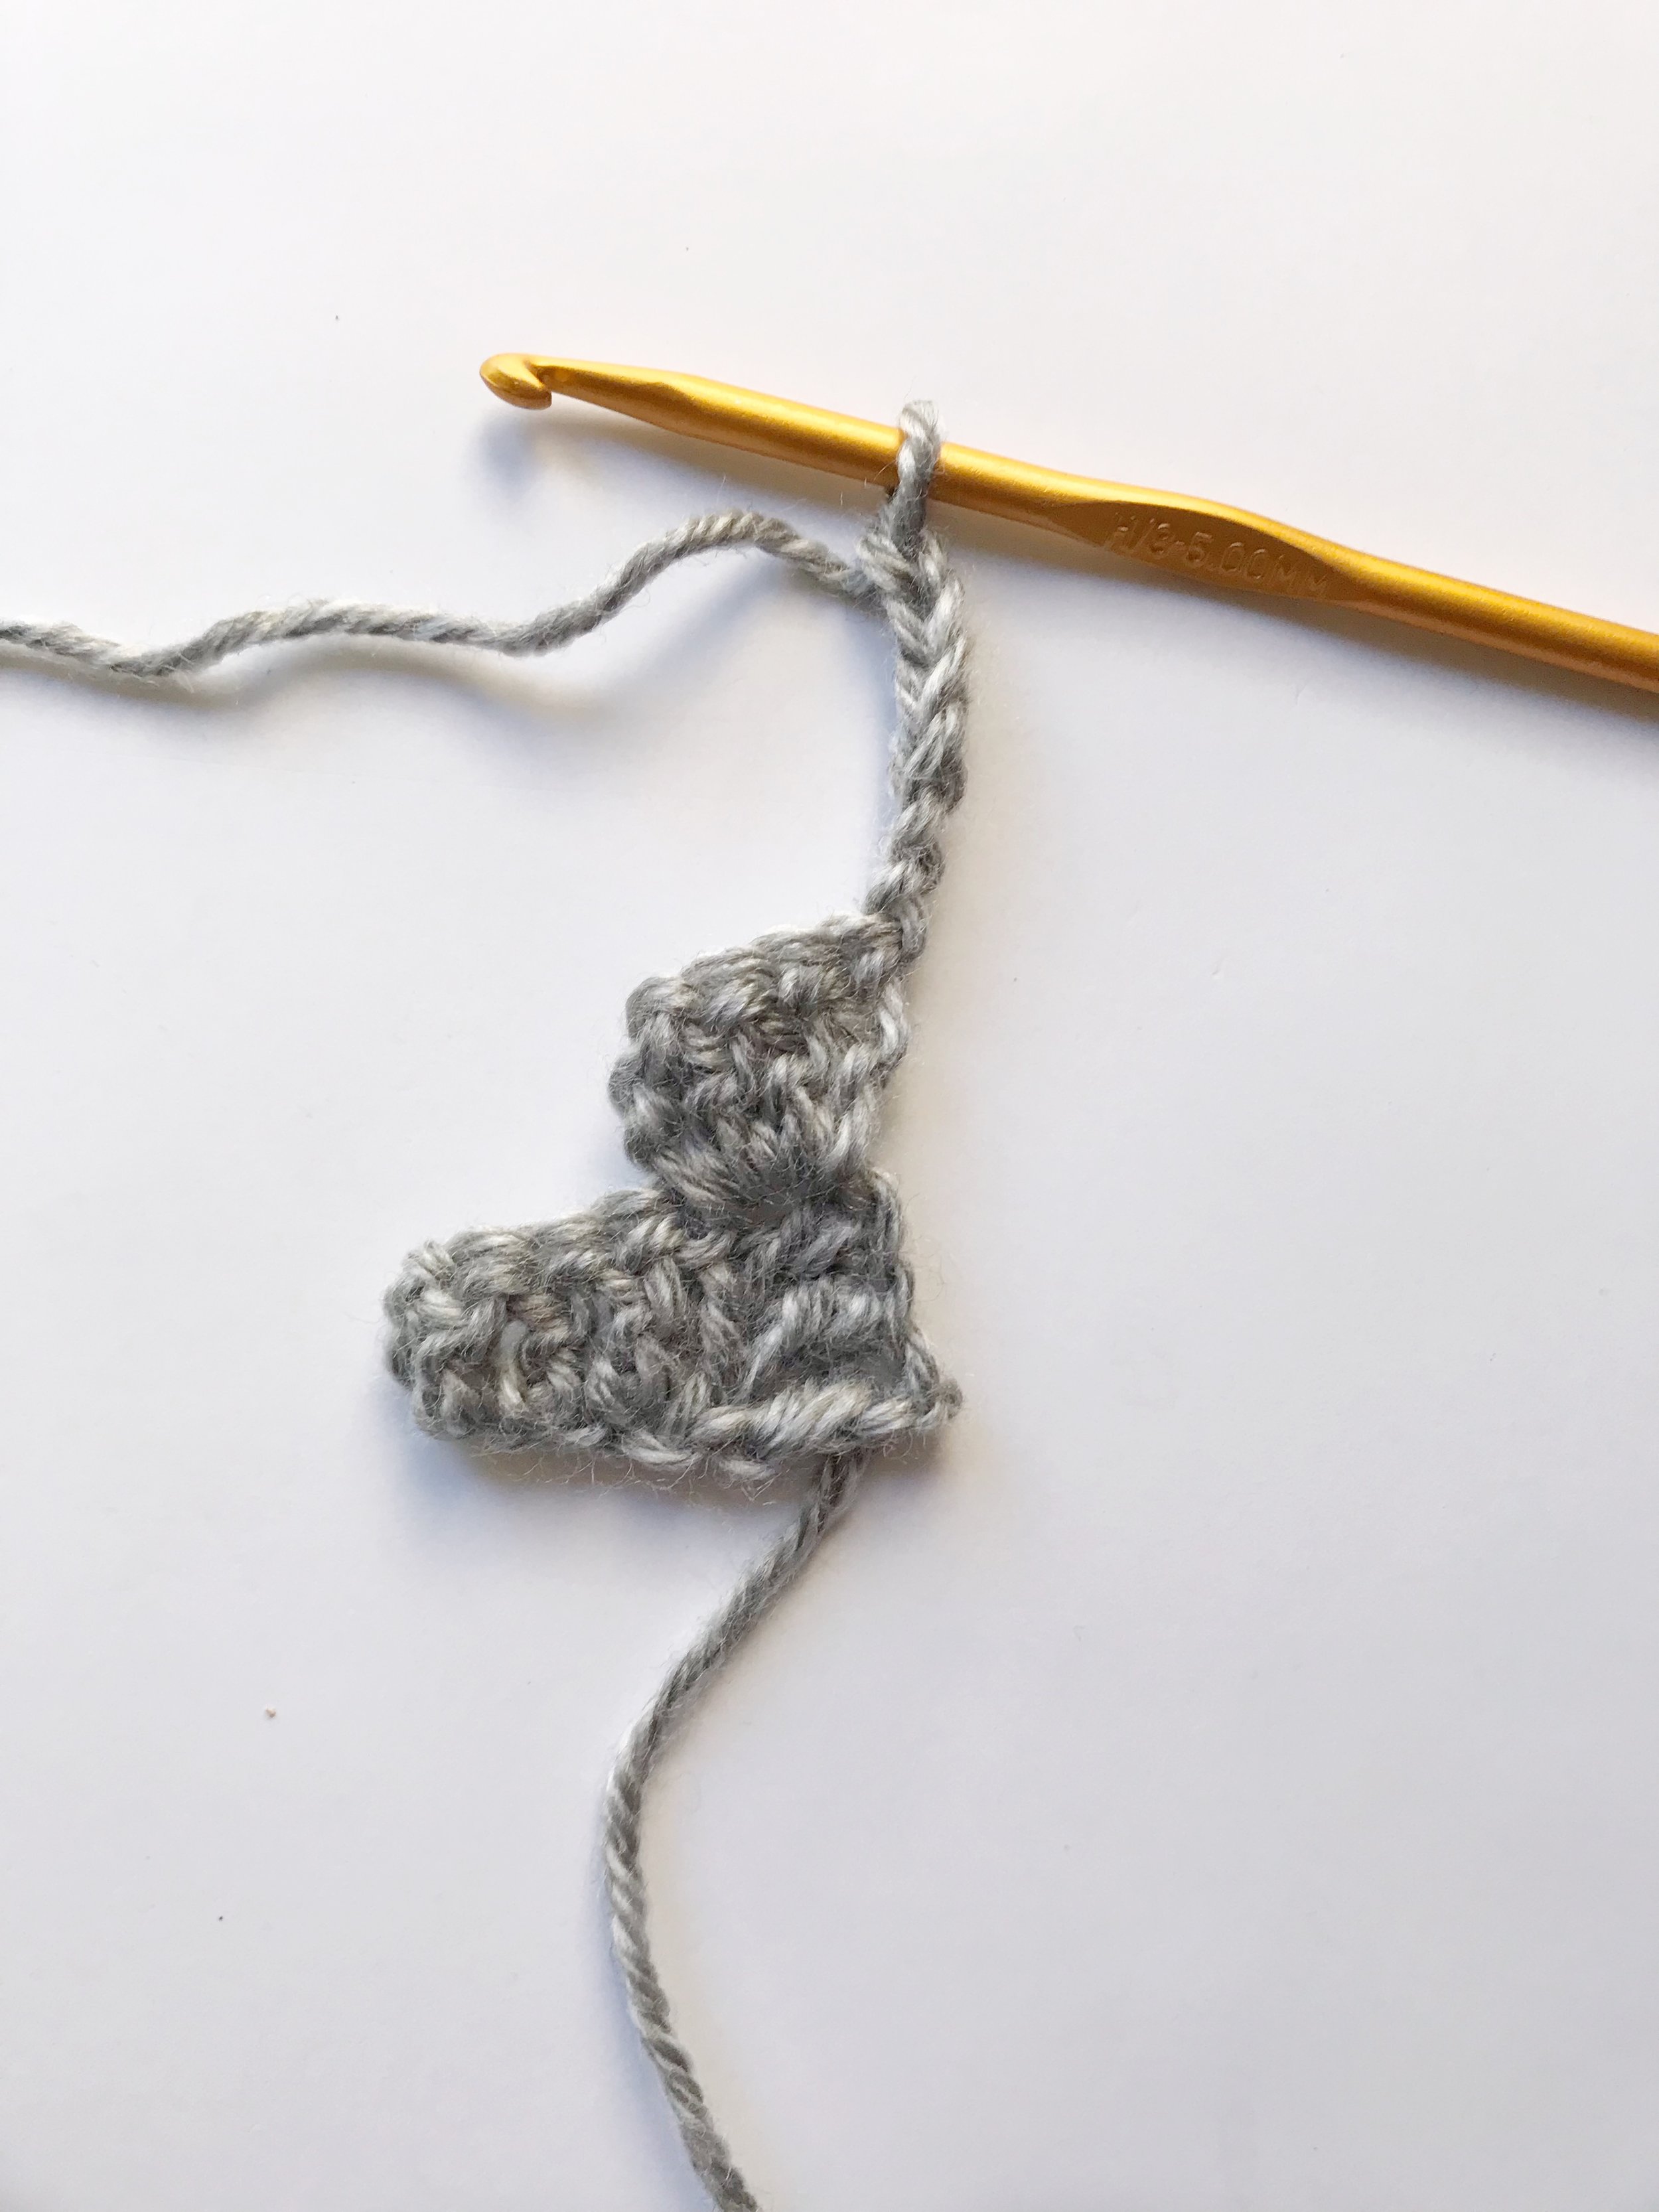
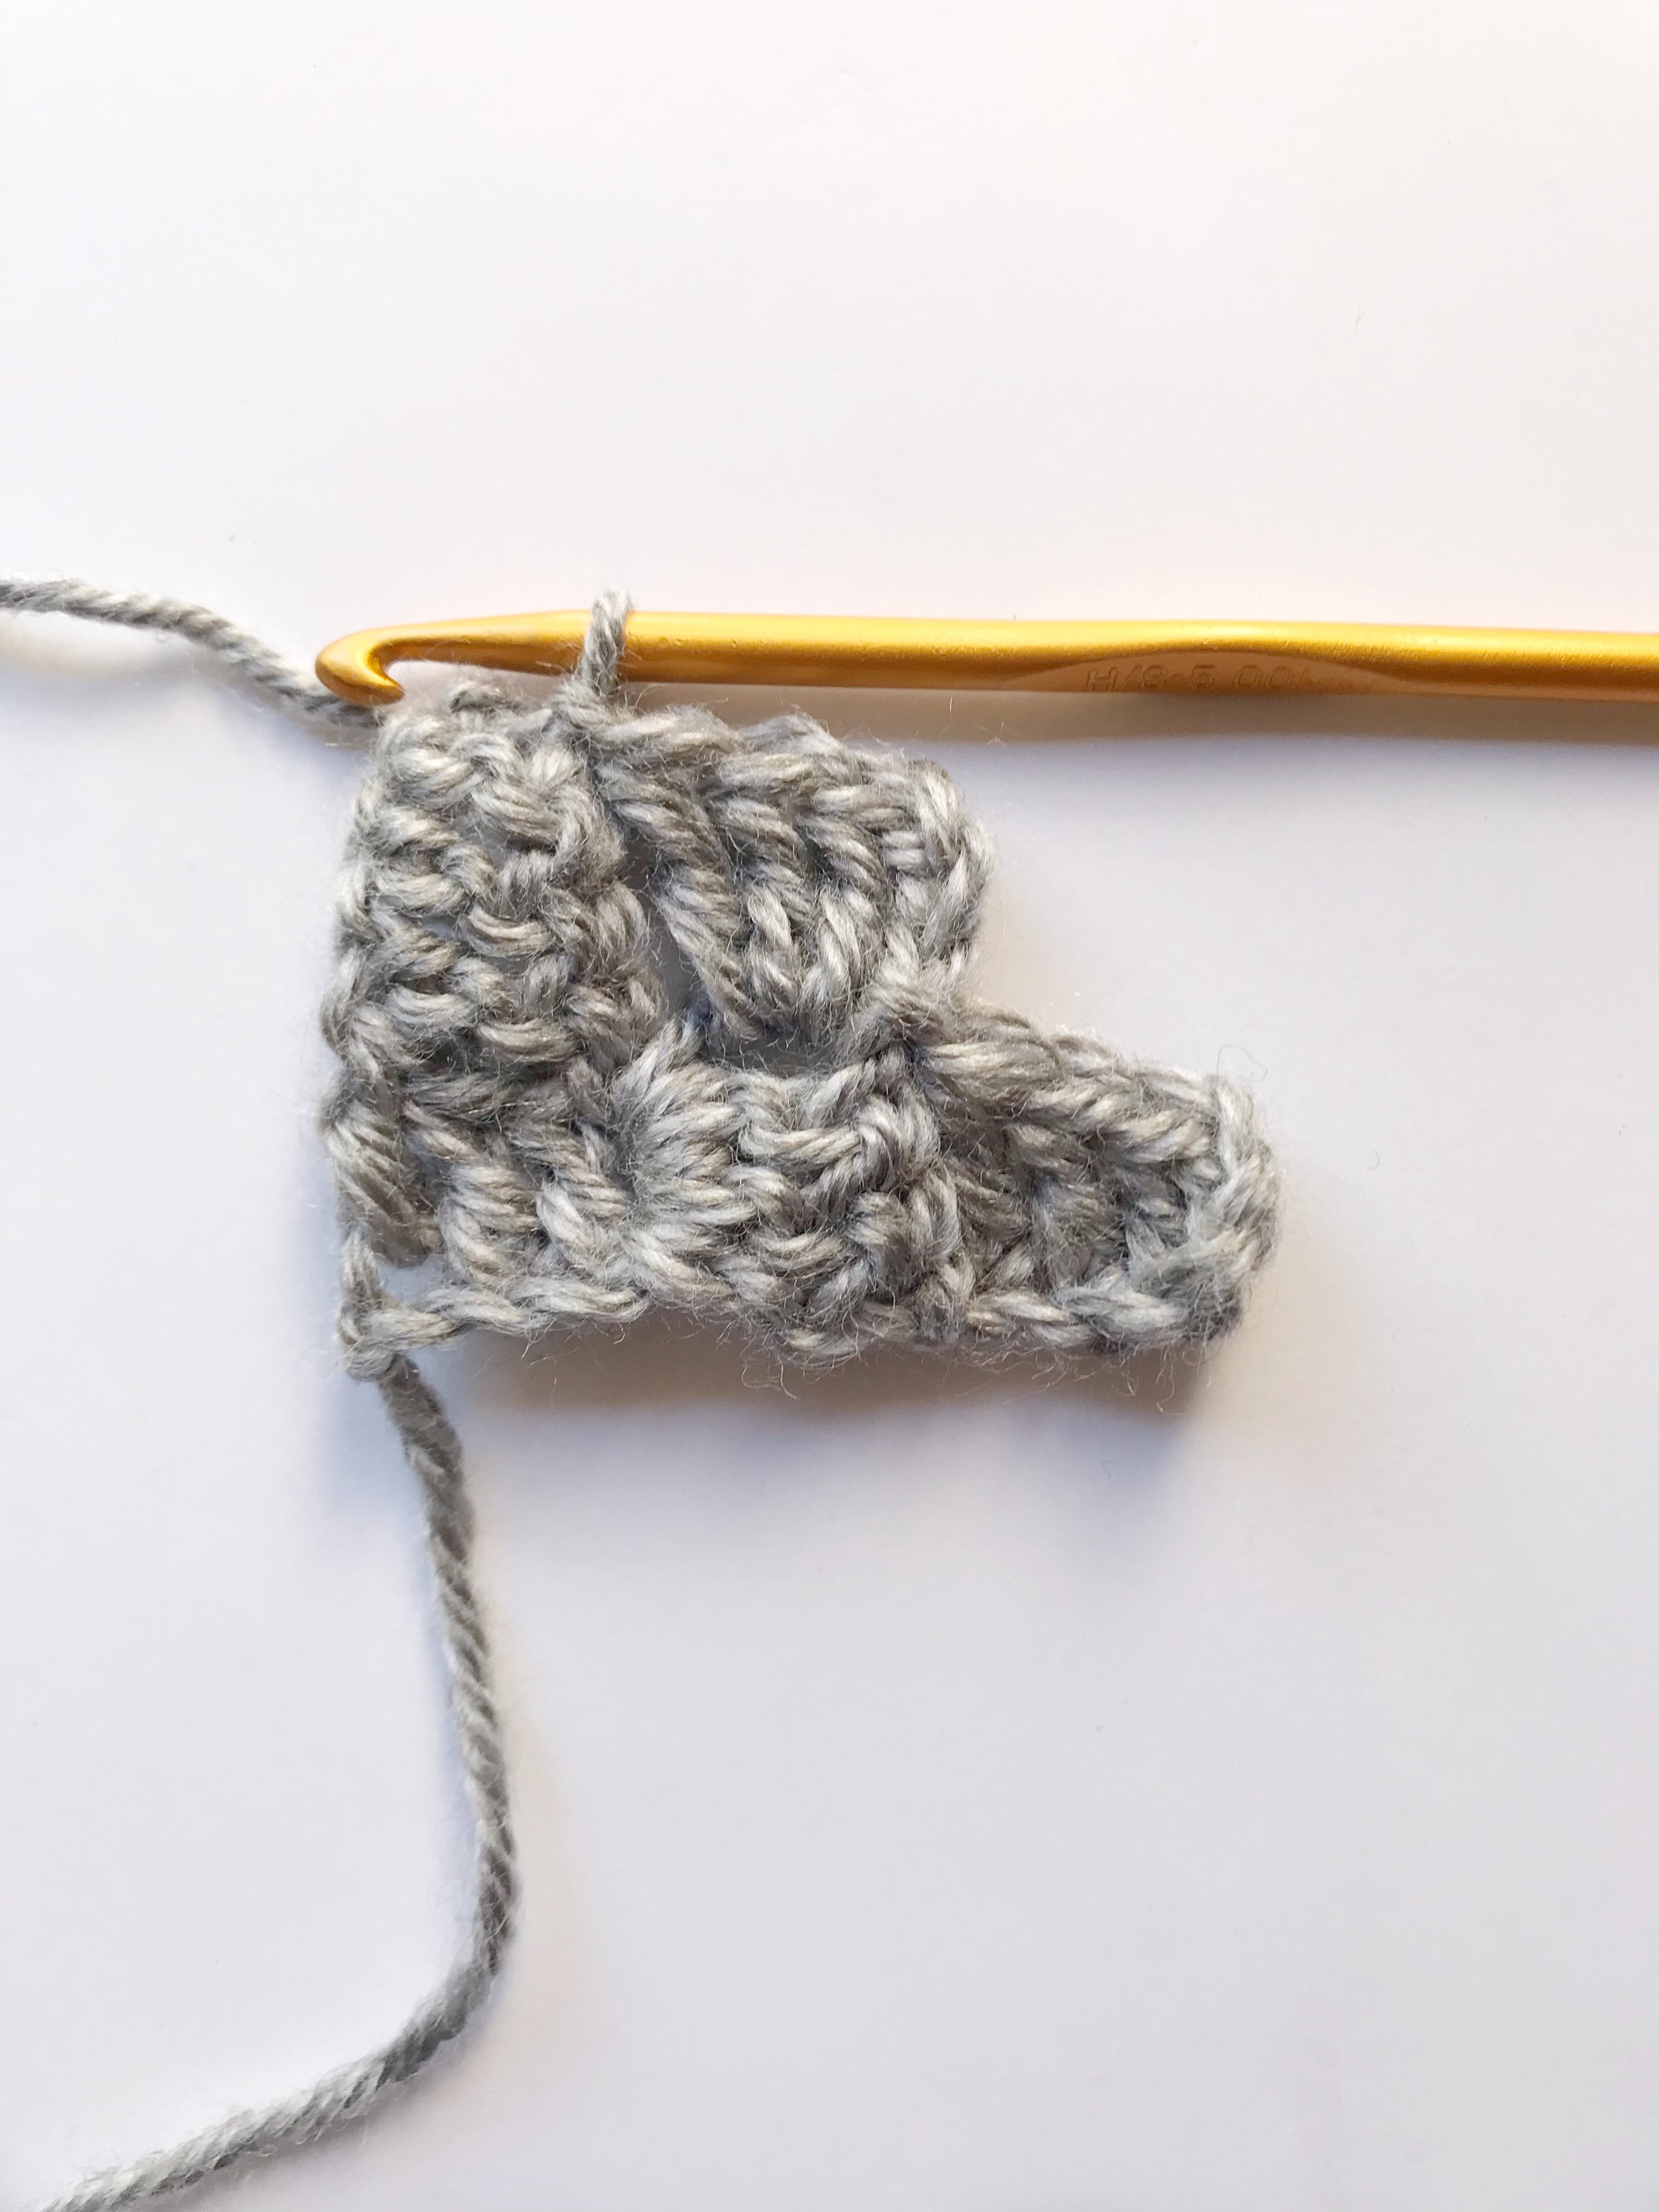
Ch3, work 3dc into the ch 3 from previous row. You have just completed the second row of a c2c project.
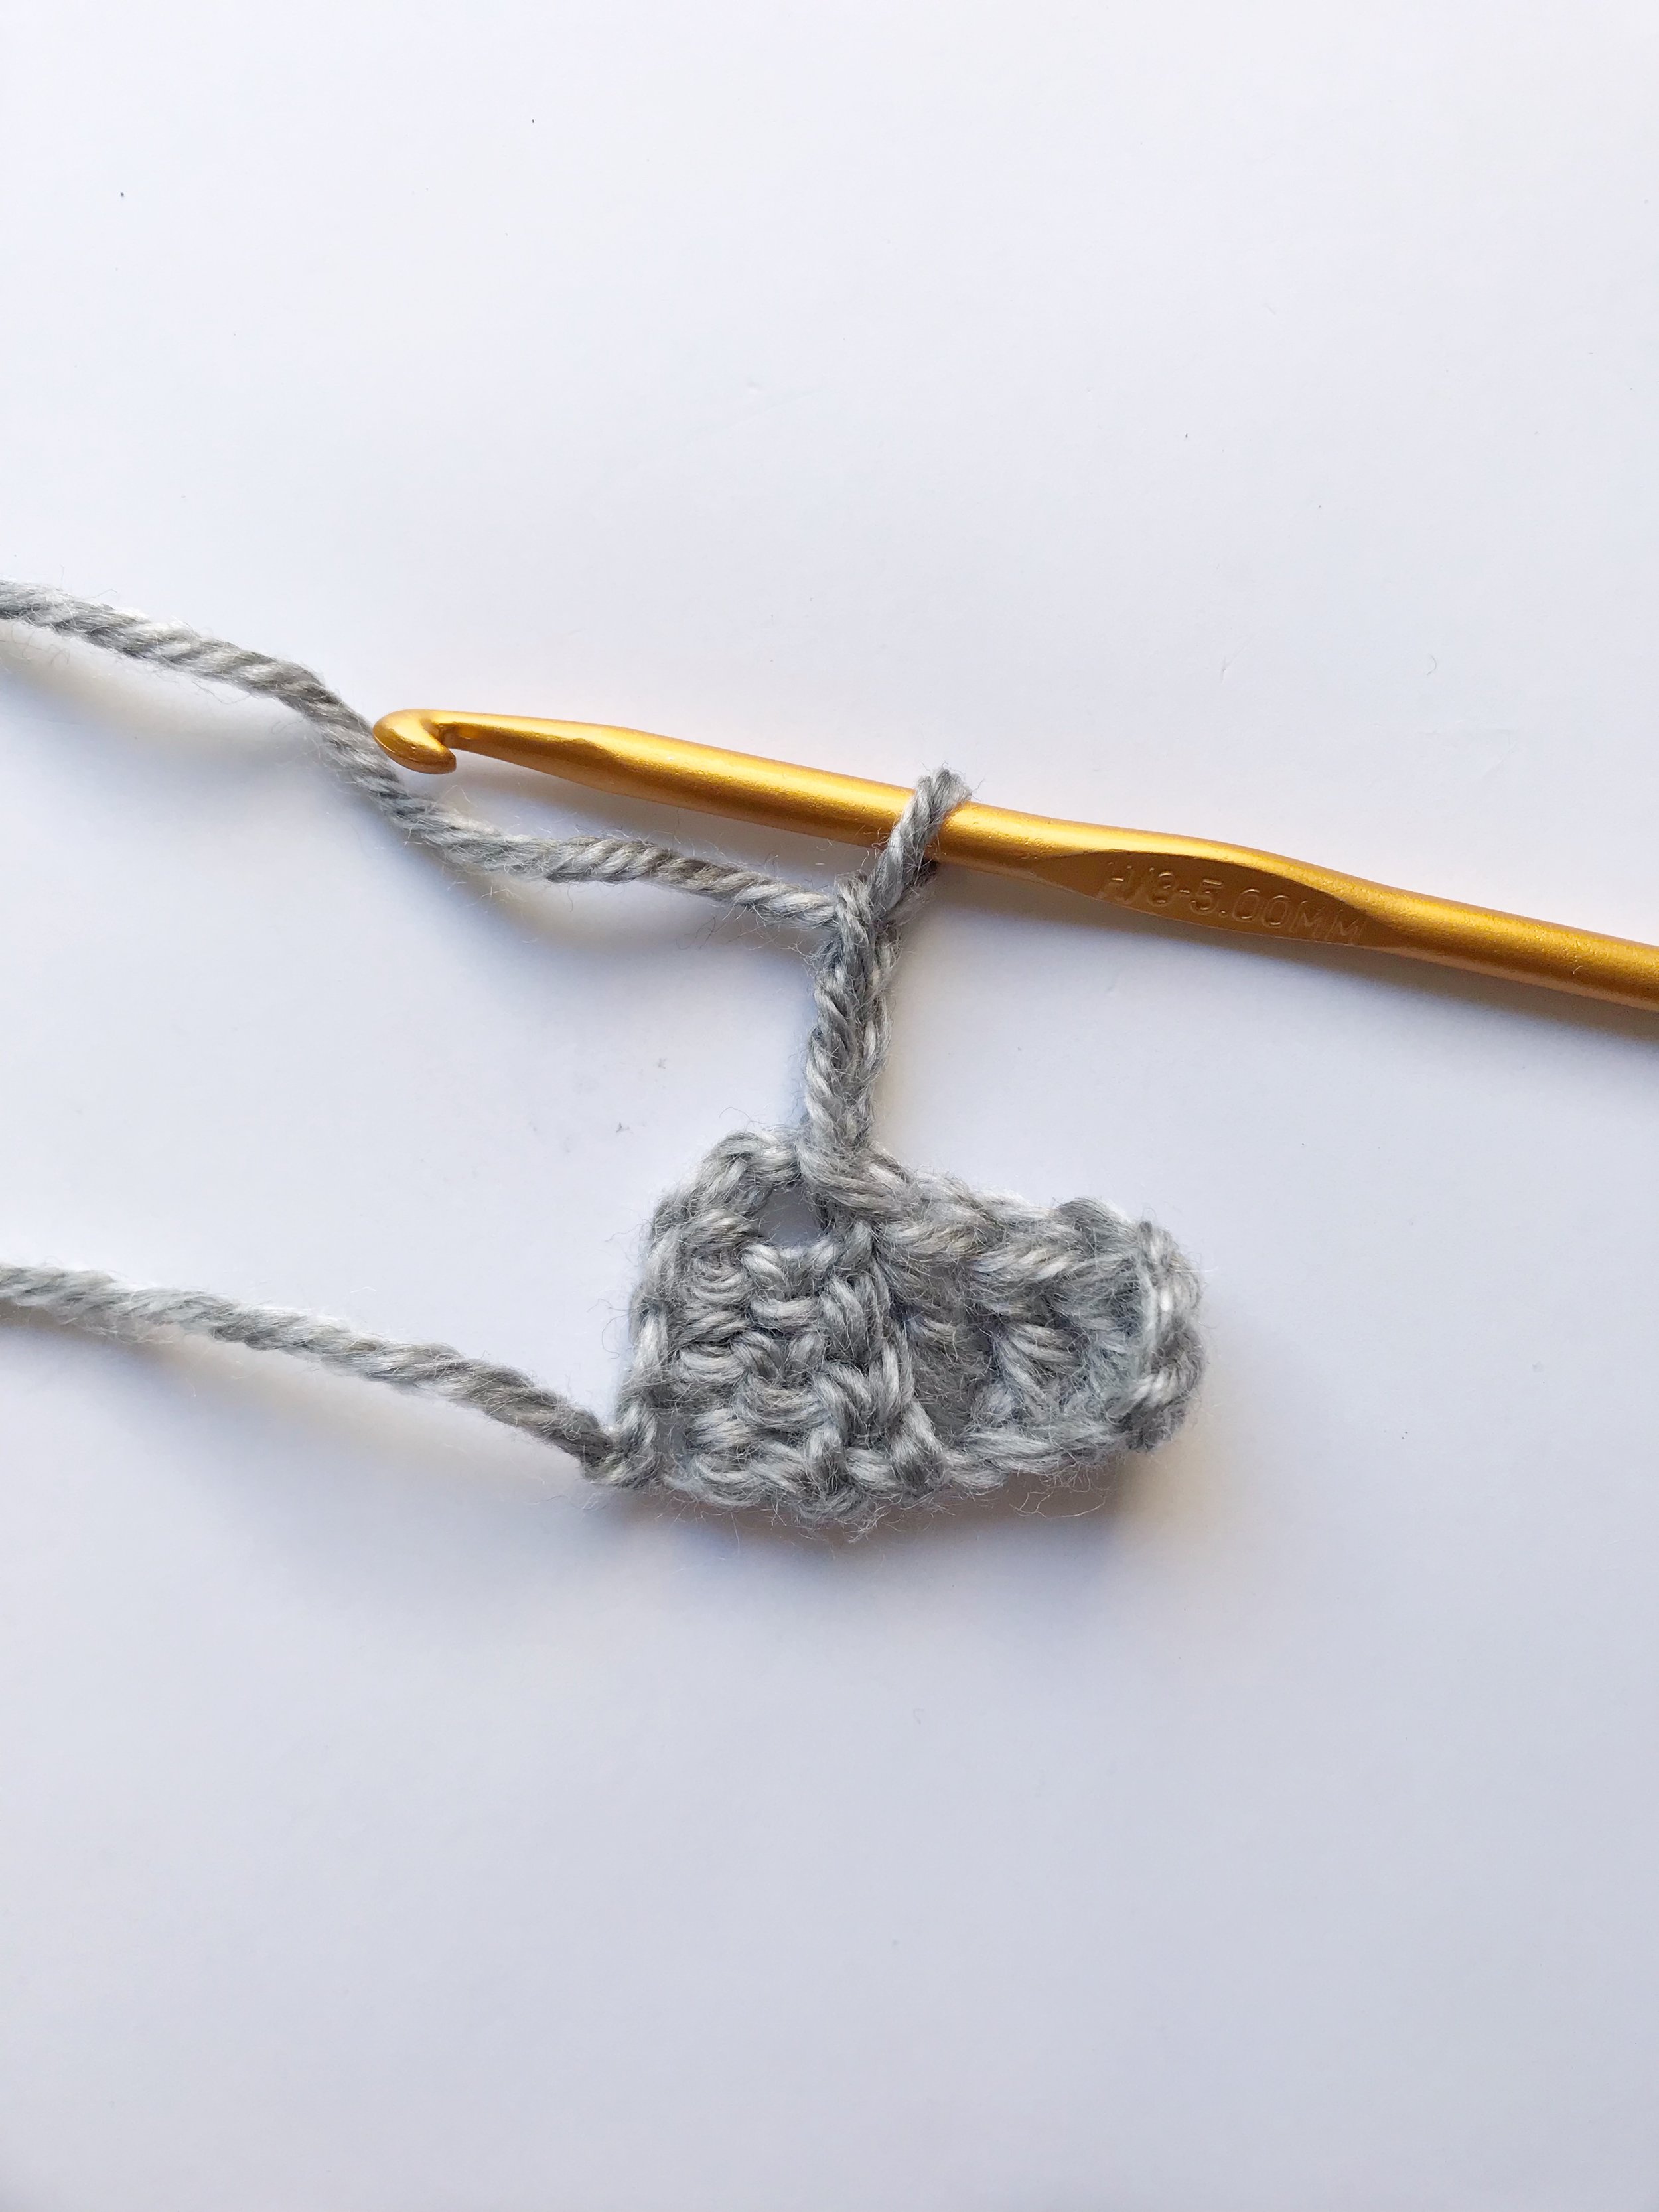
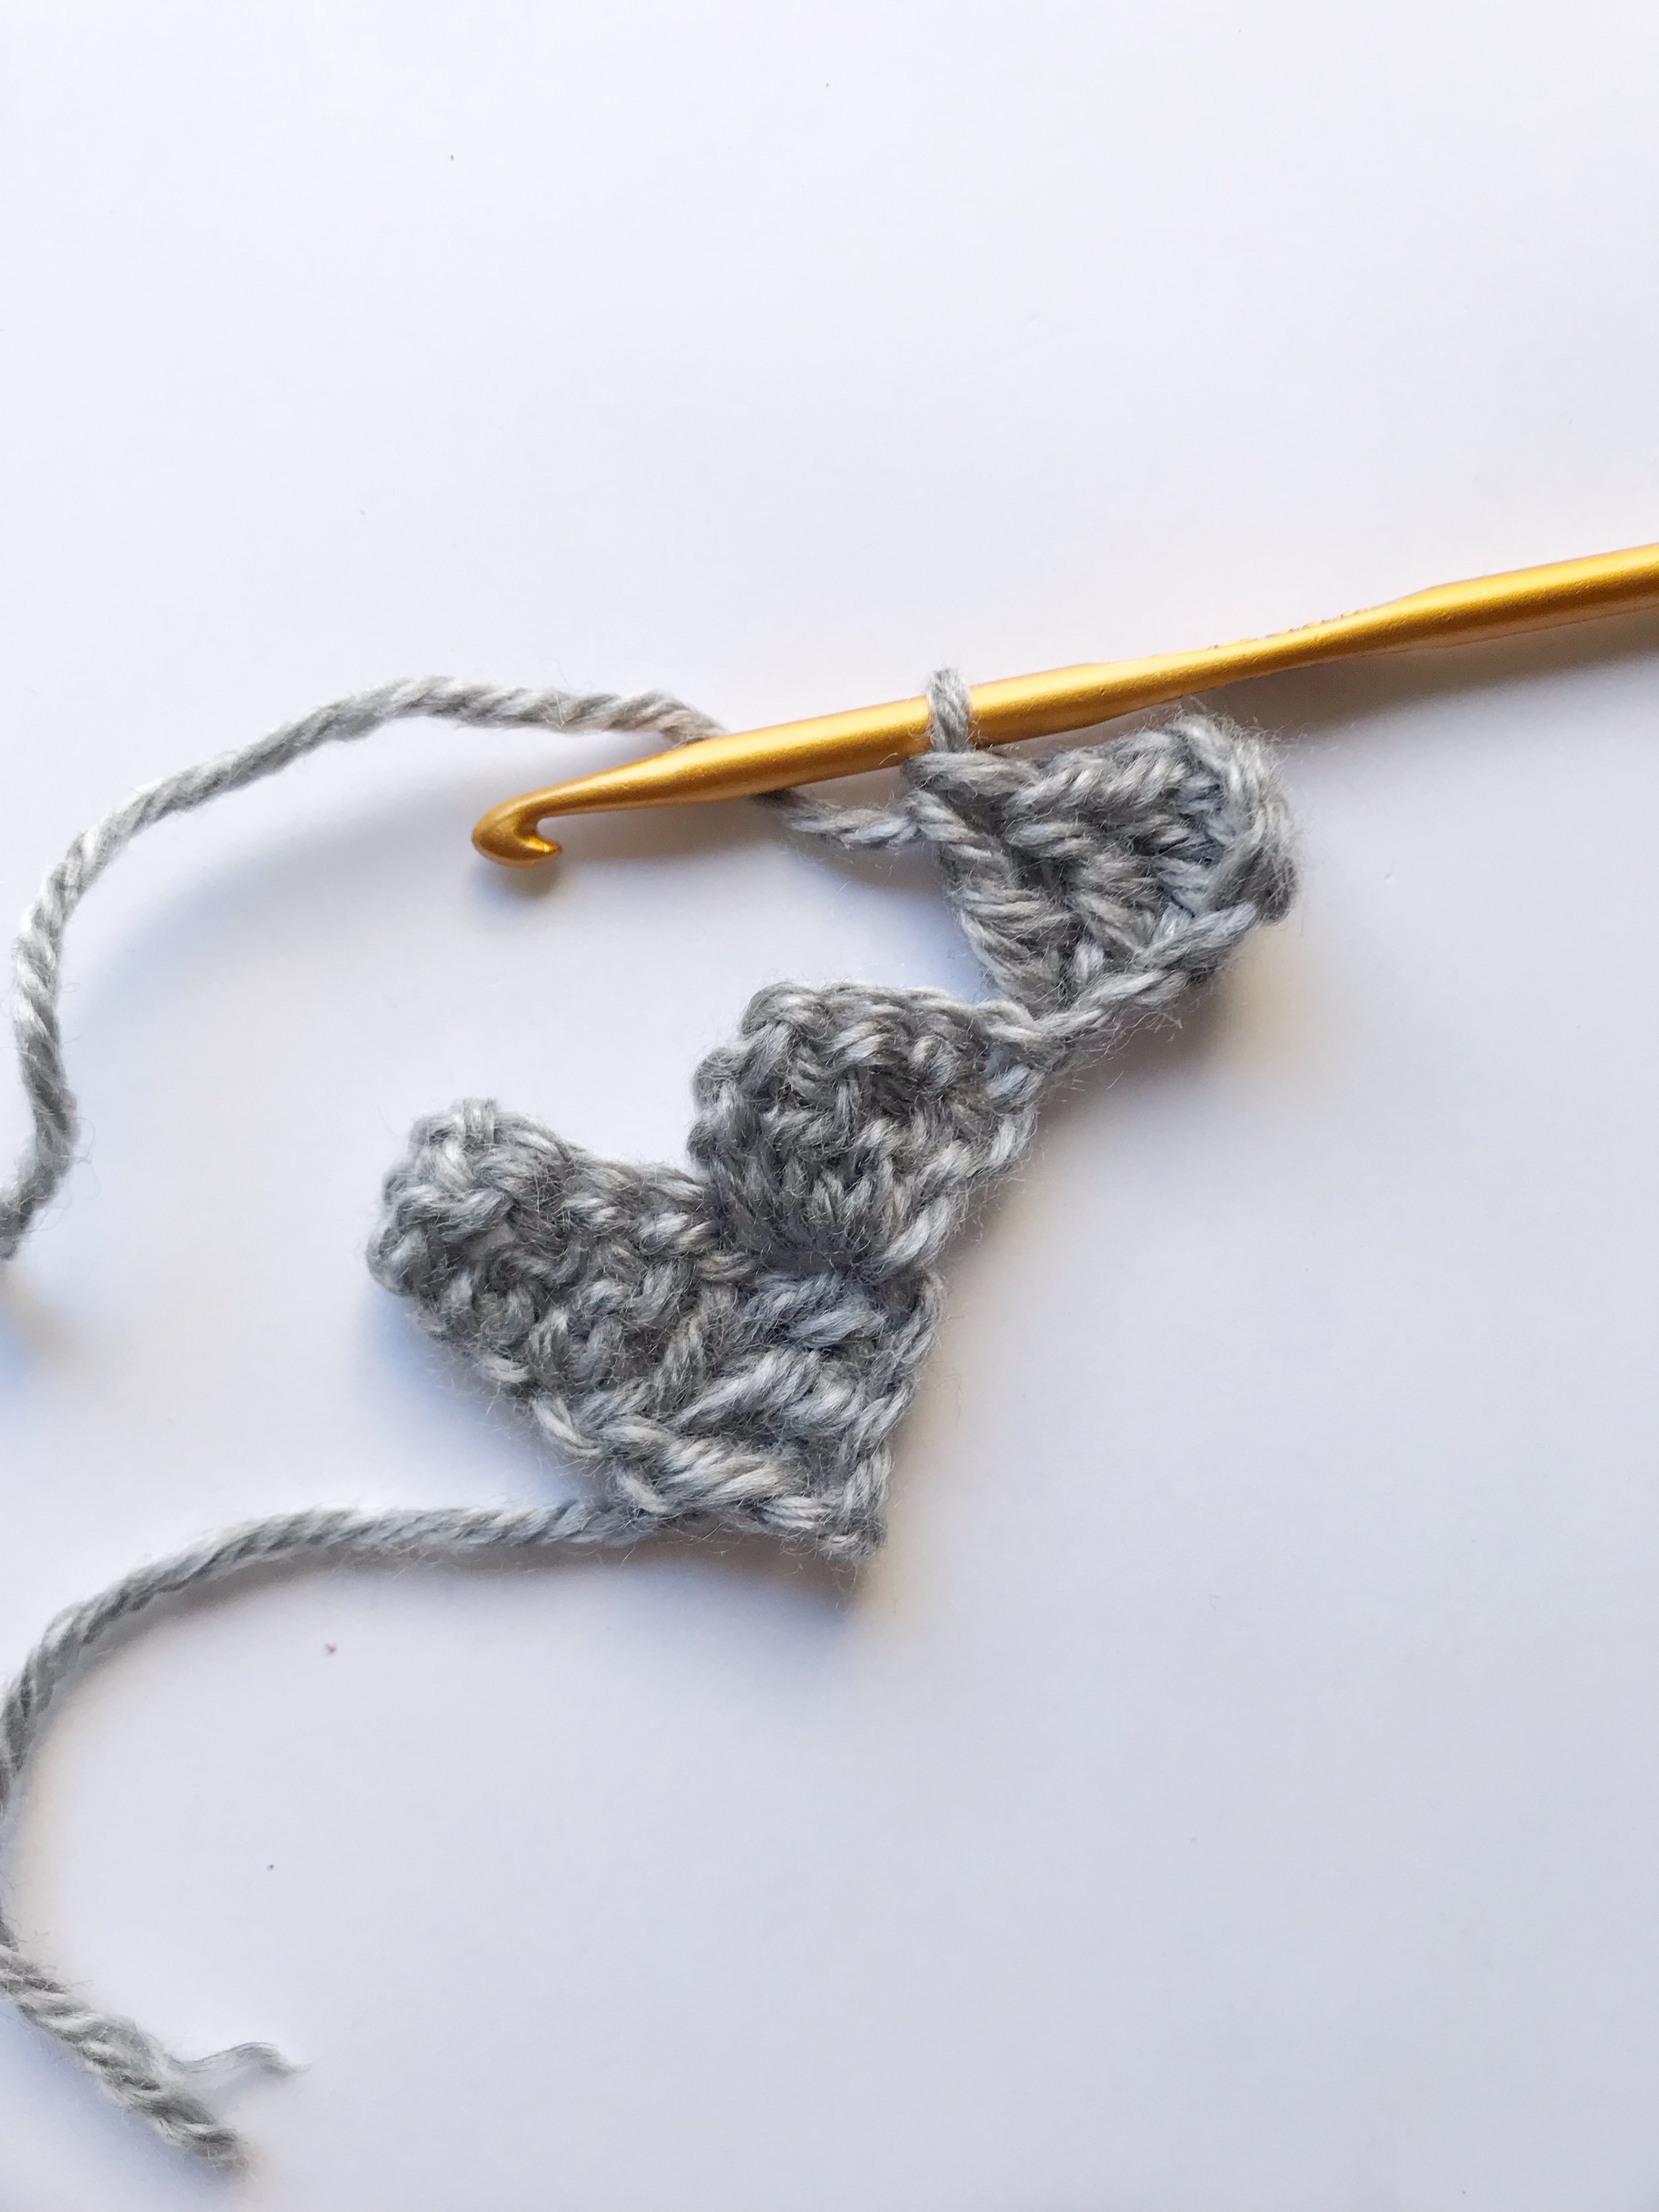
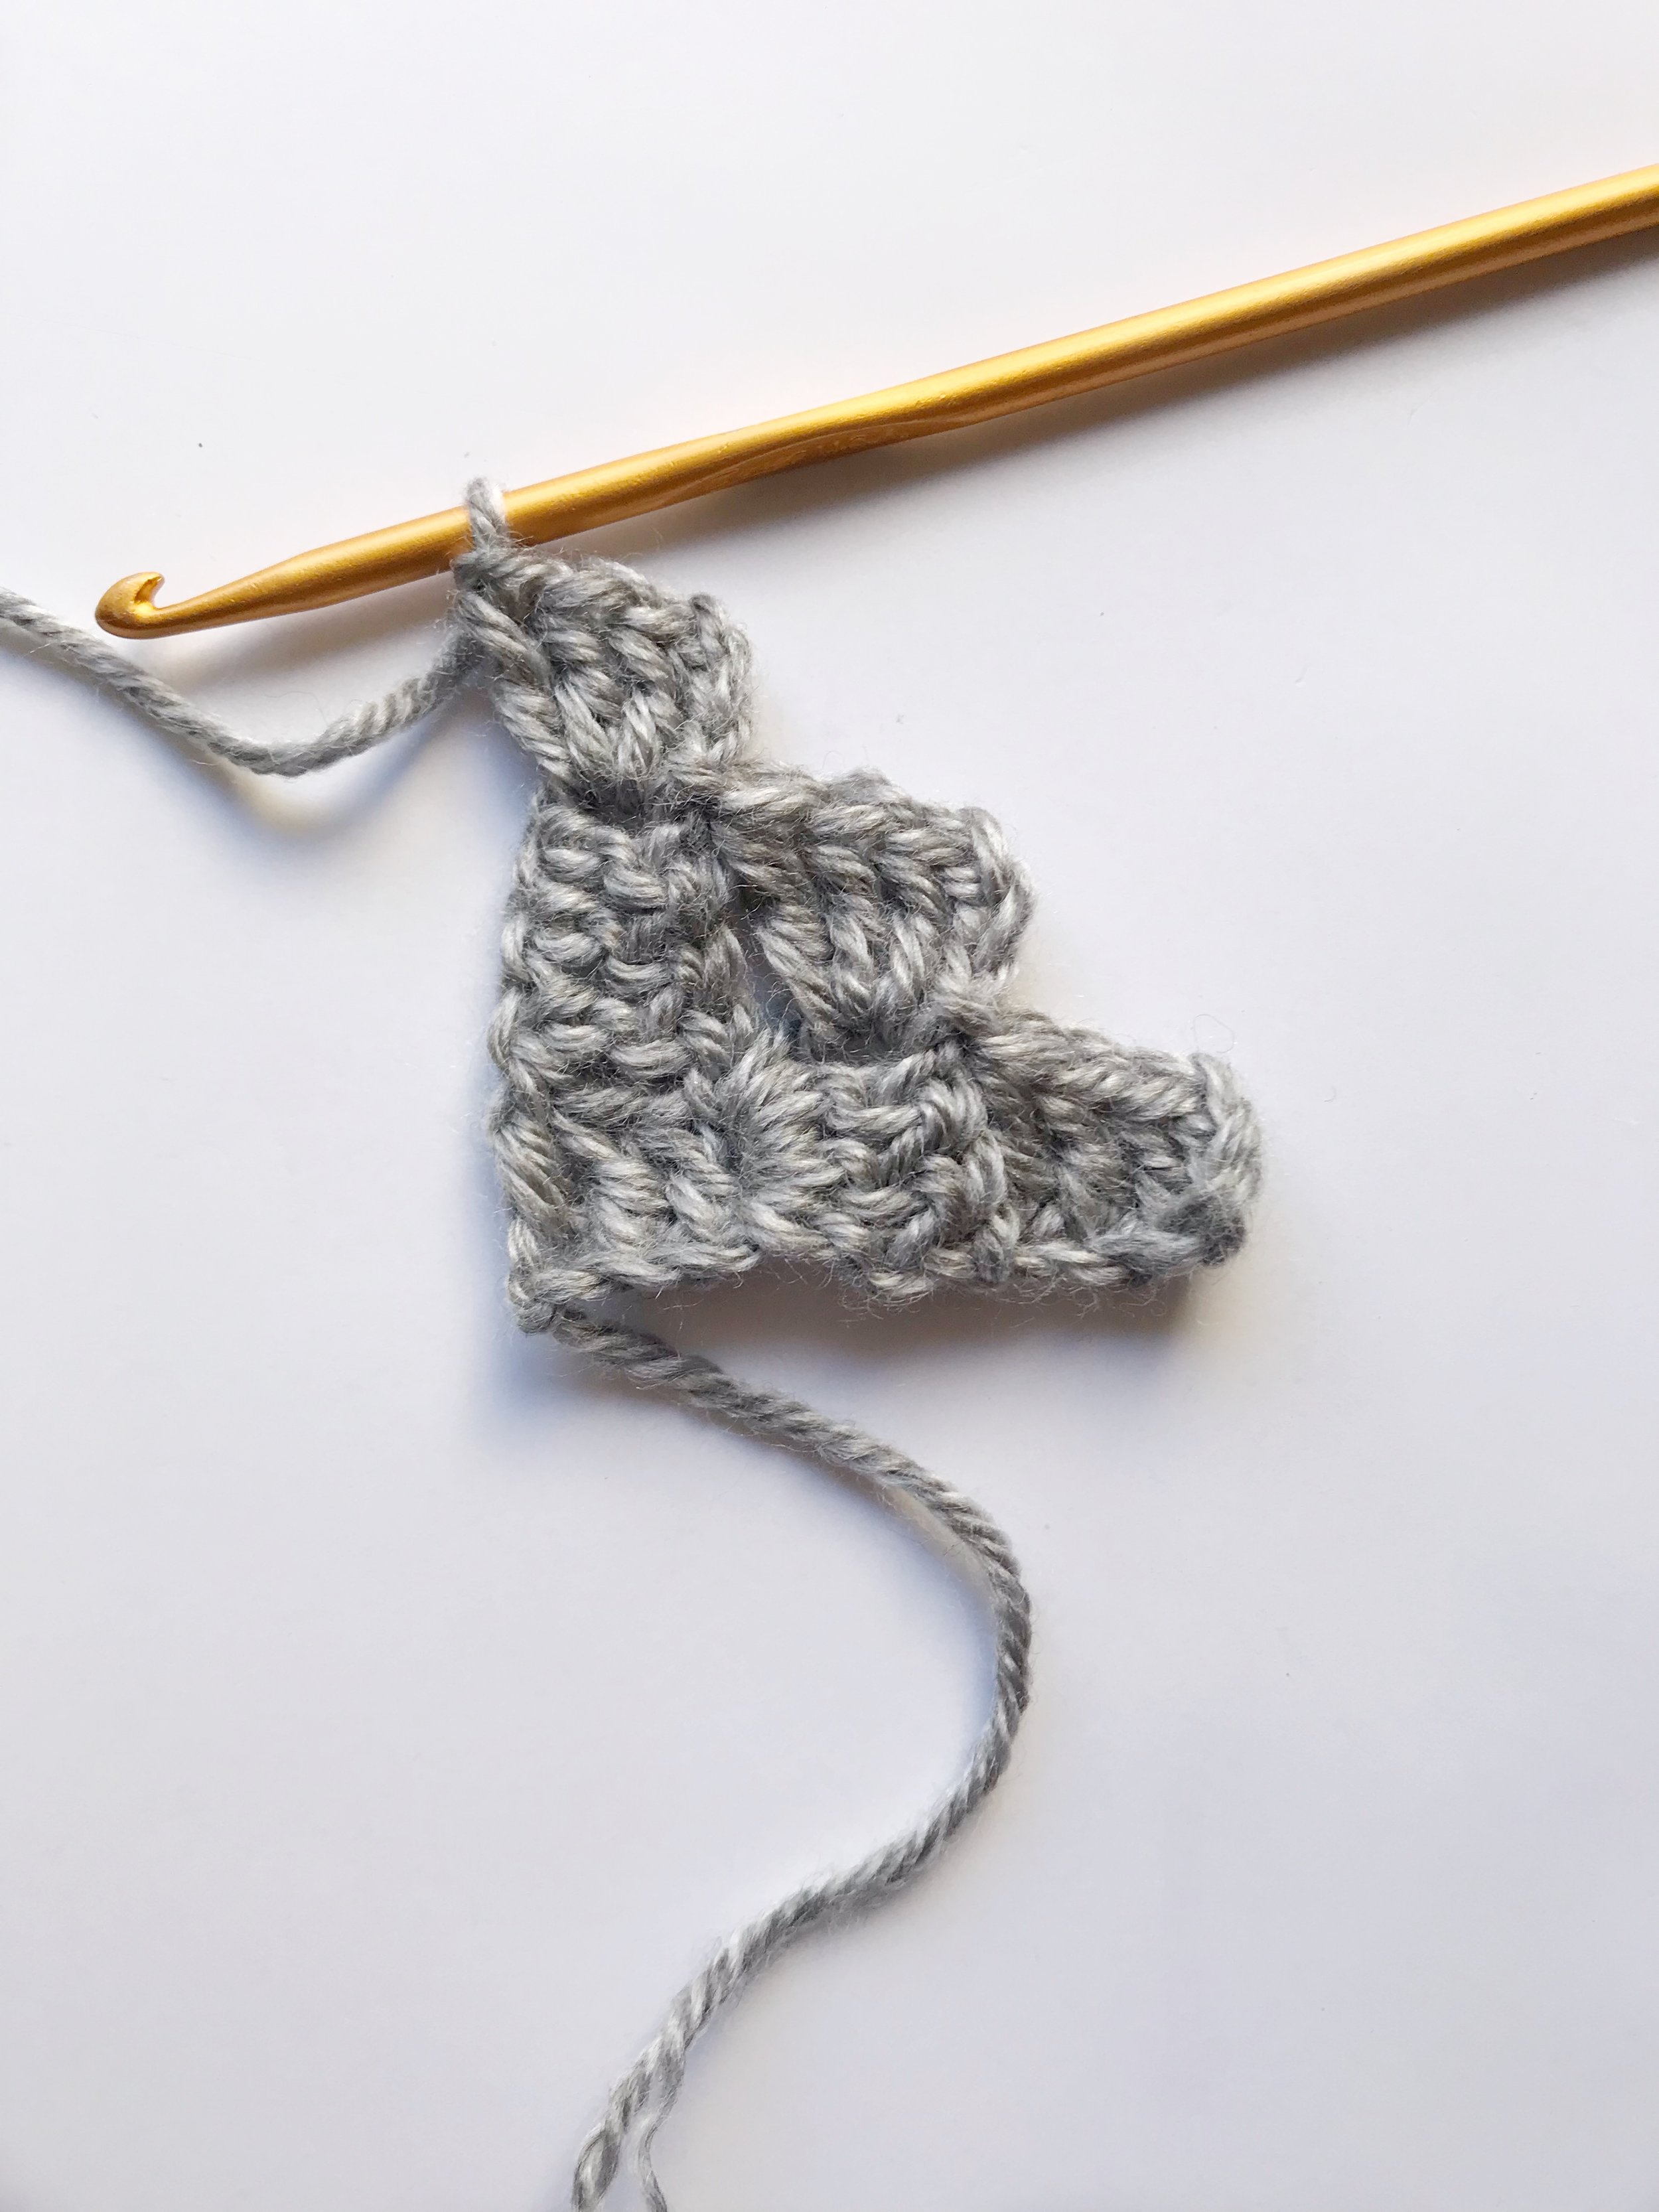
Continue to add rows in the same manner. Start by working an increase (ch6, dc in 4th ch from hook and in next two stitches), then work the rest of your tiles into the ch 3 spaces from the previous row. Each row will be increasing by one tile.
Increasing & Decreasing
Now that you know how to start, let’s talk about how to increase and decrease. Most c2c projects are squares or rectangles. The rectangle will be increasing on the bottom and right hand sides and decreasing on the left side and top.
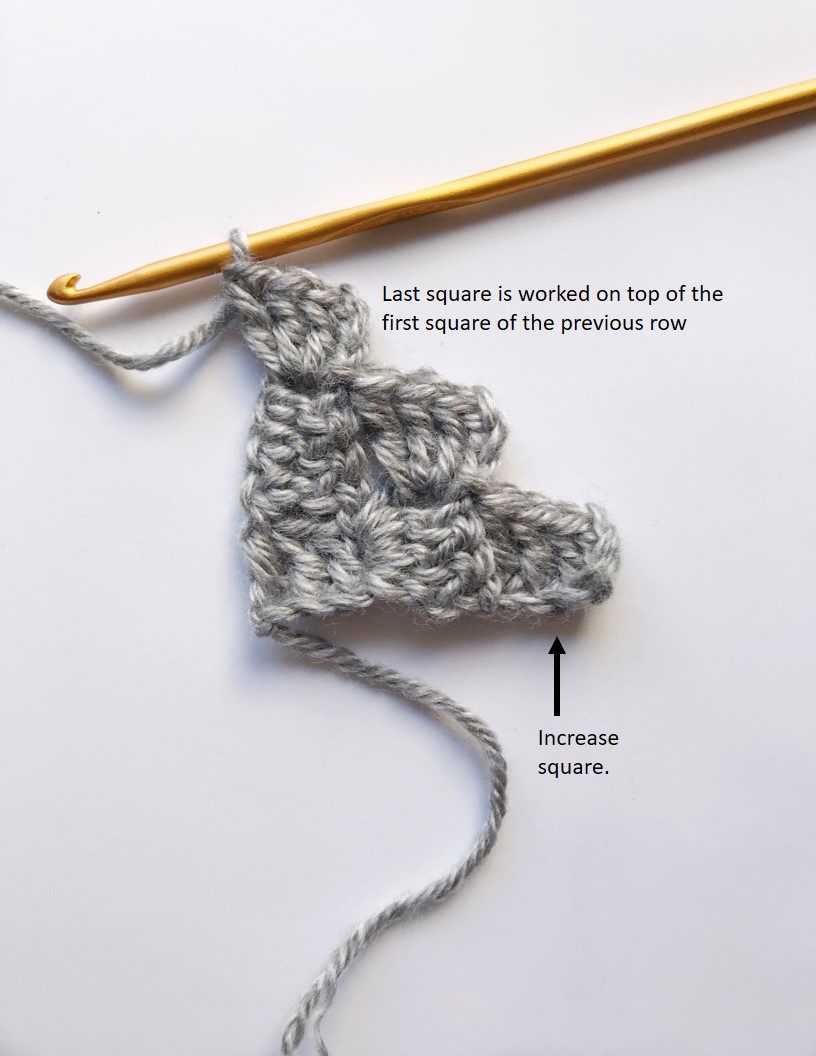
Since you will be working back and forth in rows you will only need to increase or decrease at the beginning of each row. When you are first starting it will appear as if both sides are increasing, but you are only actually adding one square to each row. Every increase is made by chaining 6 and then working a double crochet into the 4th ch from the hook and the next two chains. The reason it appears that both sides are increasing is because you are working the last “square” on top of the first “square” of the previous row.
Once you reach the bottom left corner you start decreasing. To decrease you will turn your work, then slip stitch across the 3 dc from the last “square” in the row you just finished and then work one more slip stitch into the ch 3 space. From there you will continue to work your “squares” as normal.
If your project has not reached the desired height yet then you will be decreasing on the left side and increasing on the right. So until you reach the top right corner you will have the same number of “squares” in each row. Once you do reach the top right corner you will begin decreasing at the beginning of each row. Keep in mind that it may look as if you are decreasing by two in each row because you will be working the last “square” next to the first “square” of the previous row, but really you are only decreasing the amount of “squares” in each row by one.
Once you have reached the top left corner with one “square” in the last row you are done!
I hope you found this tutorial helpful! To learn about how to color change in corner to corner click here. If you are ready to start your next corner to corner project then check out my new Holiday Graphgan patterns here.
Happy Crocheting!
Meghan


