
Changing Color in Corner To Corner Crochet
I hope you enjoyed part one in my corner to corner series about how to use the corner to corner crochet method. If you missed it, head over now and check it out! Today I am going to go over everything you need to know about how to change colors when making a c2c project.

The Basics
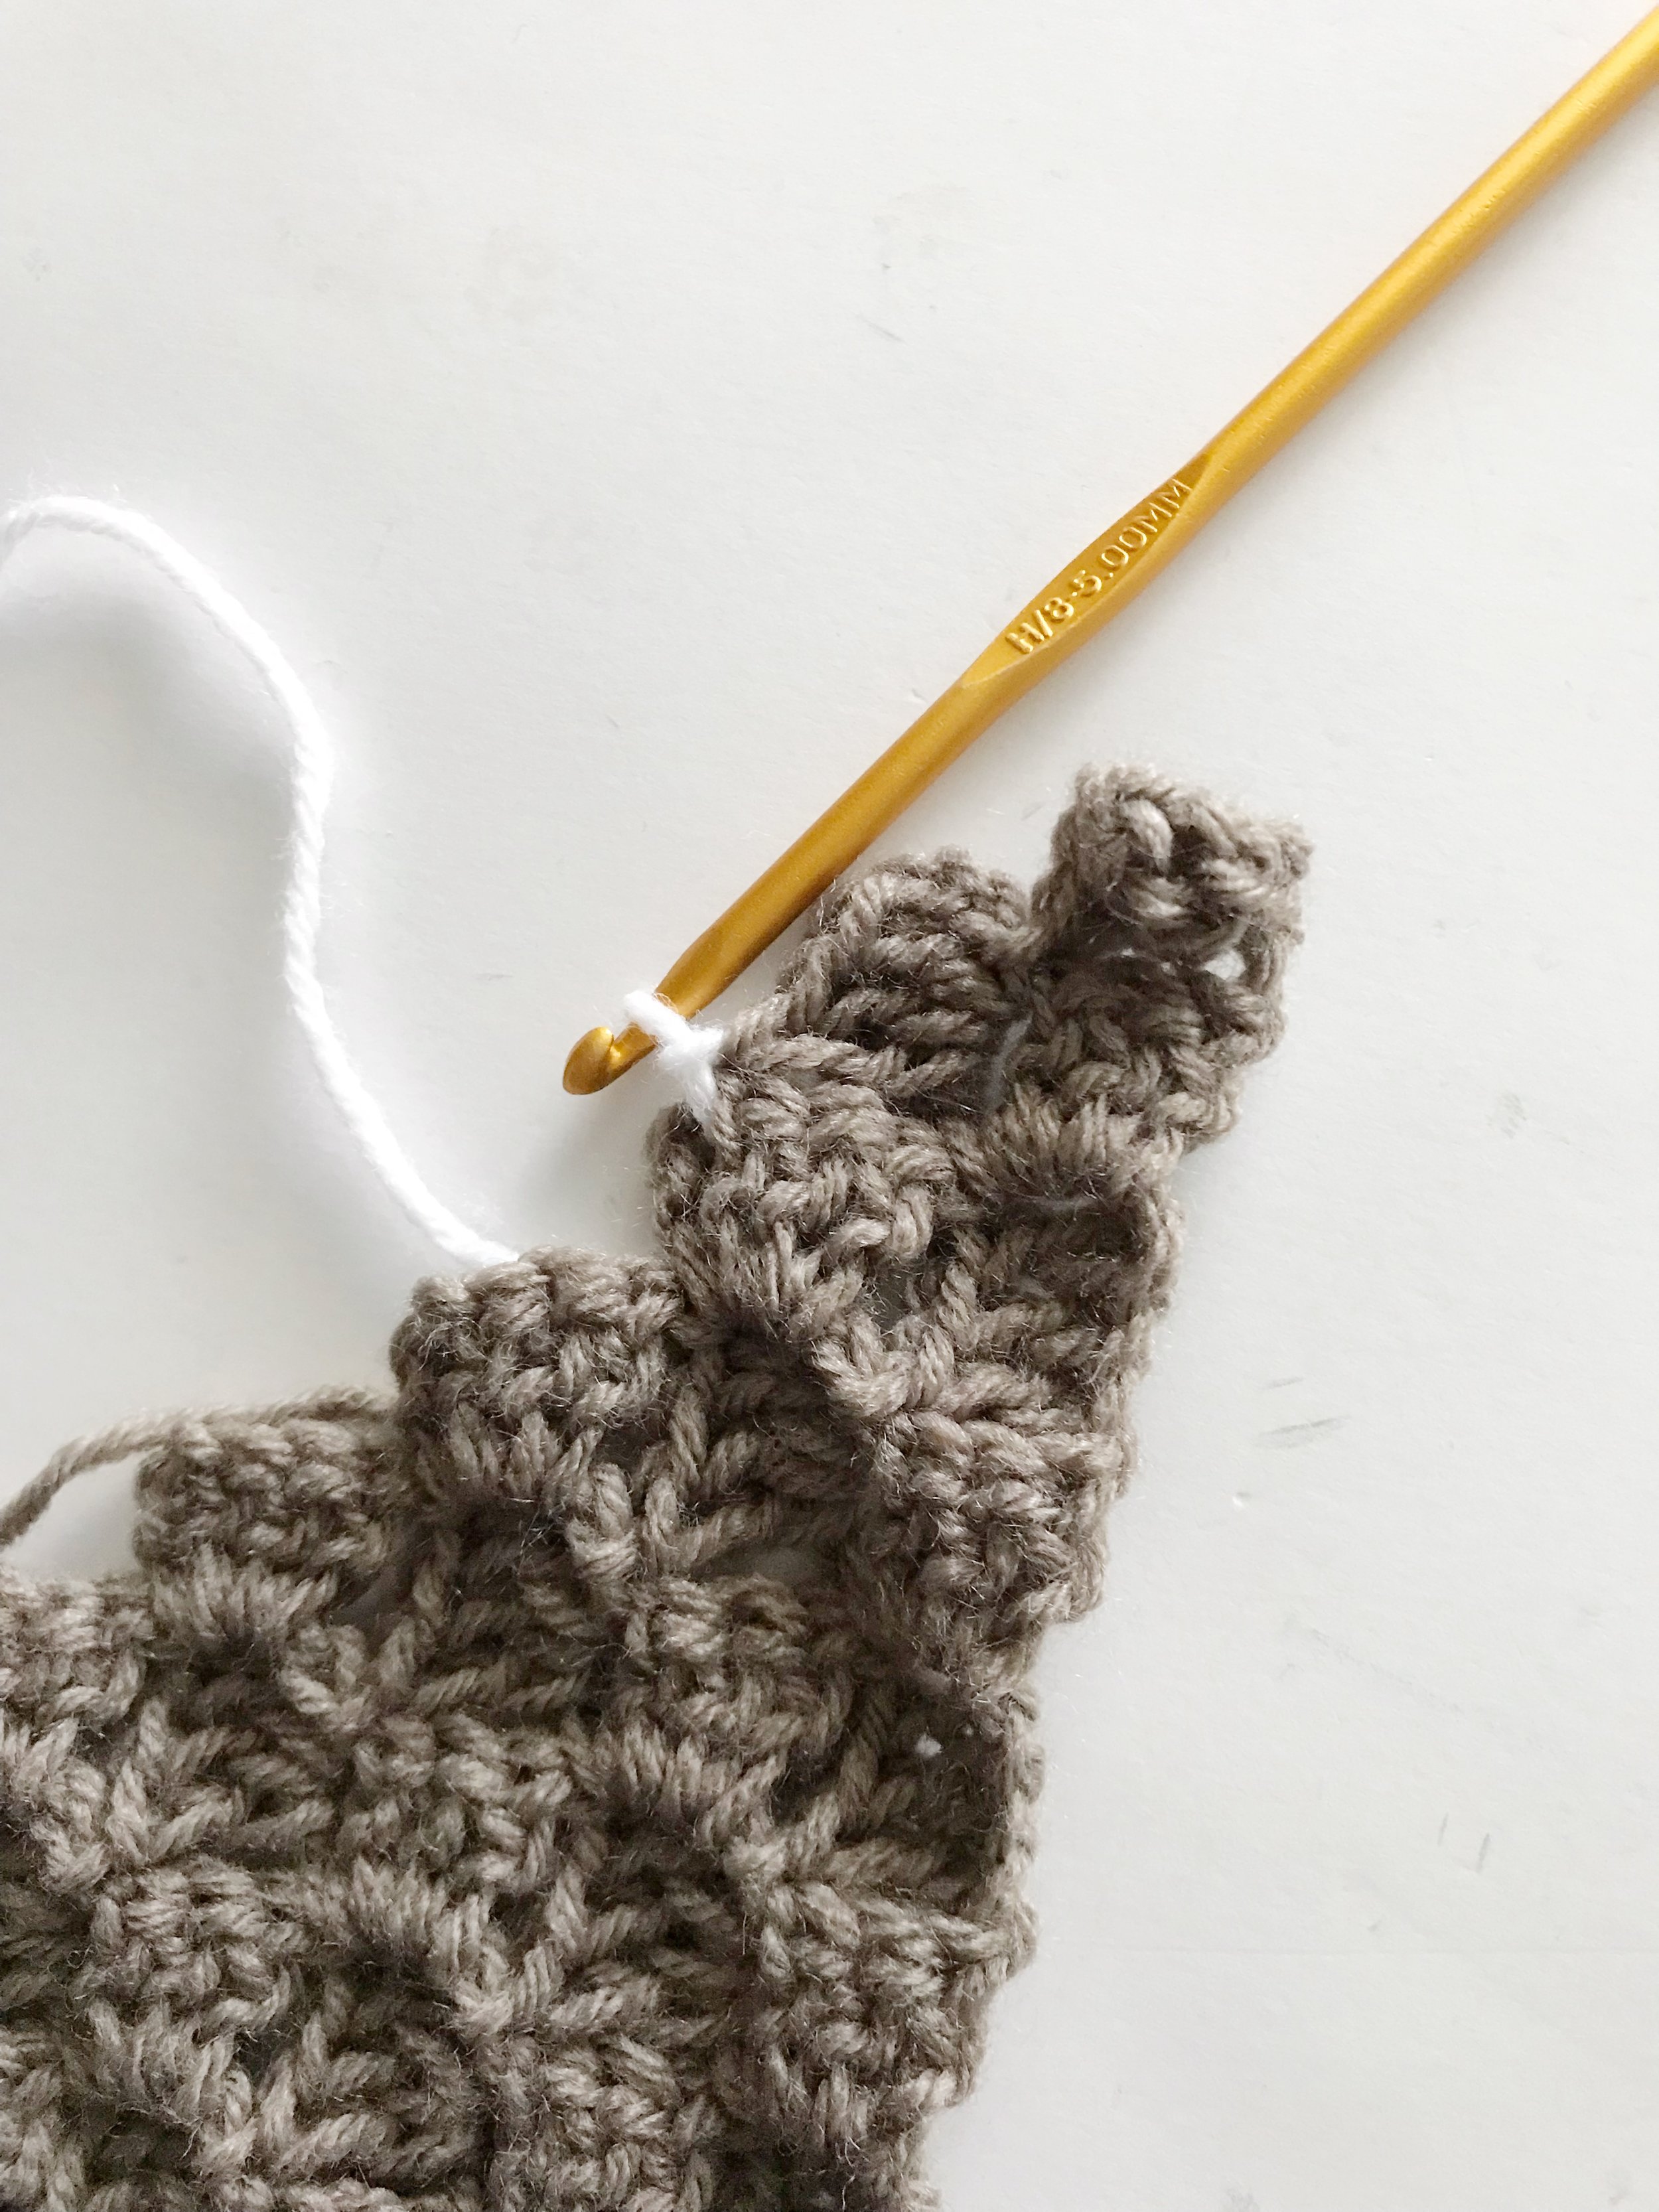
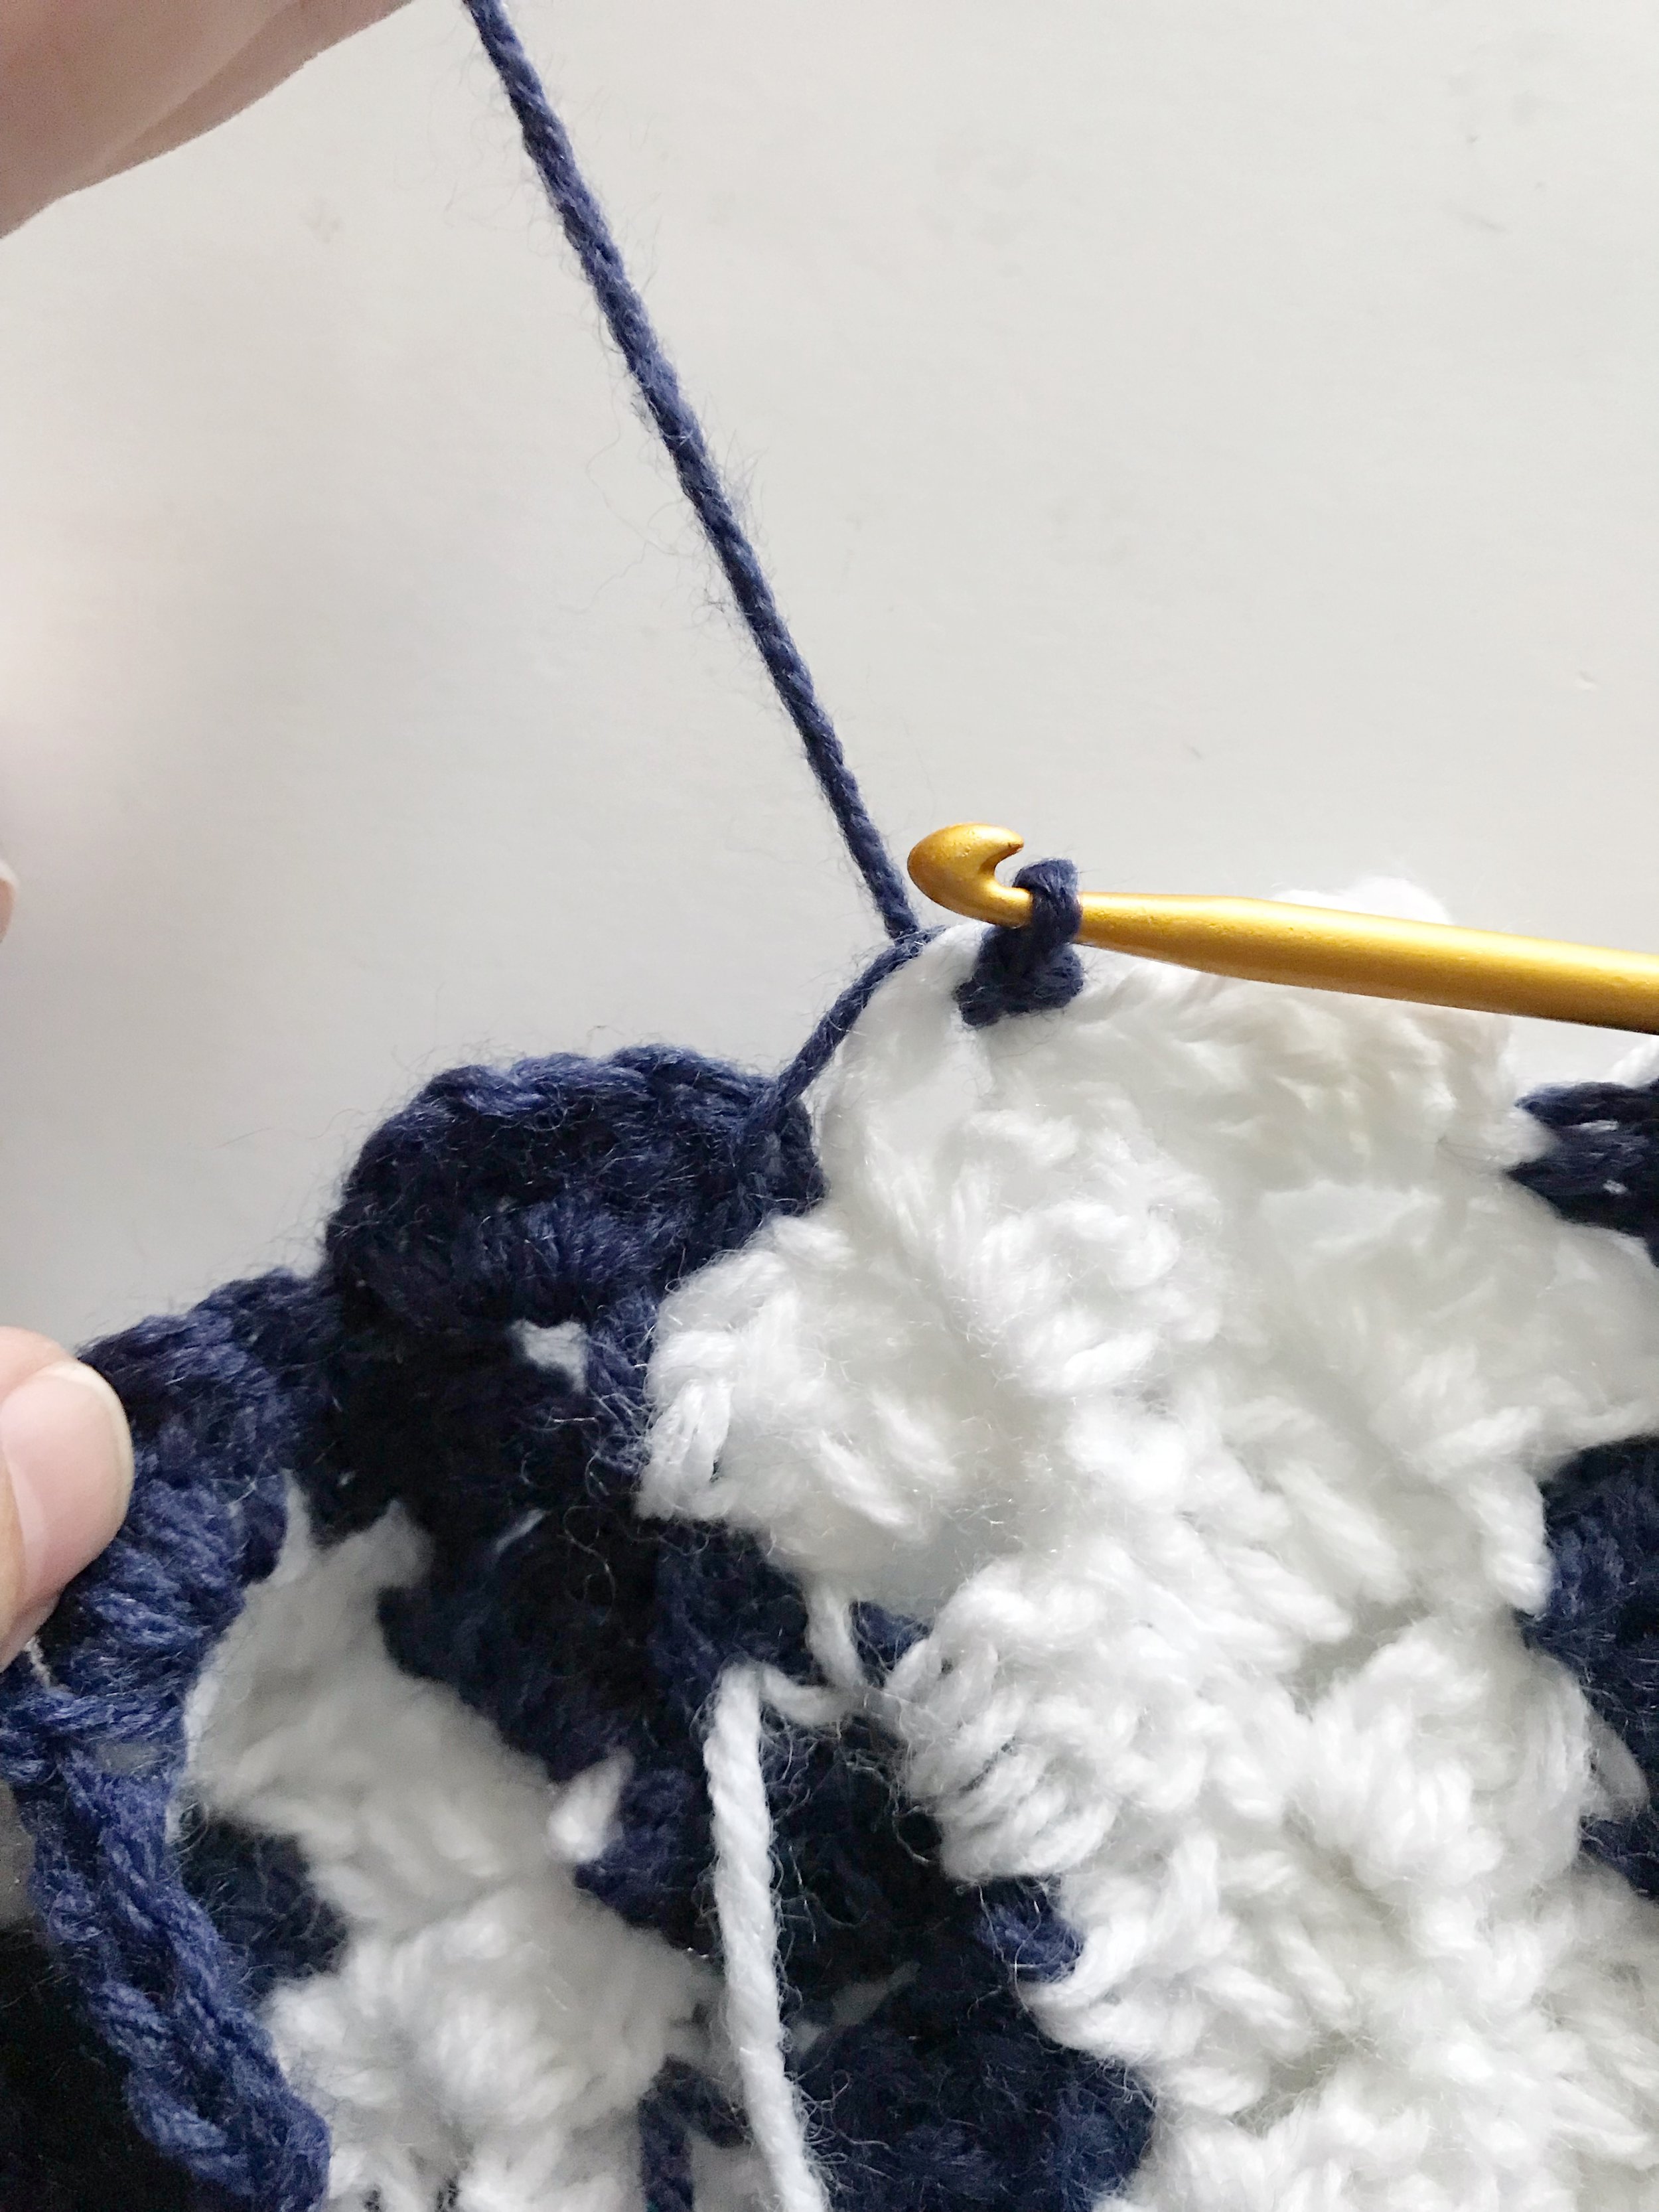
A basic color change is made by switching to the next color before you finish the last dc of the “square”. Yo and finish the dc with the new color. Then slip stitch into the ch 3 and continue on for as many “squares” as needed with the new color.


Using Bobbins
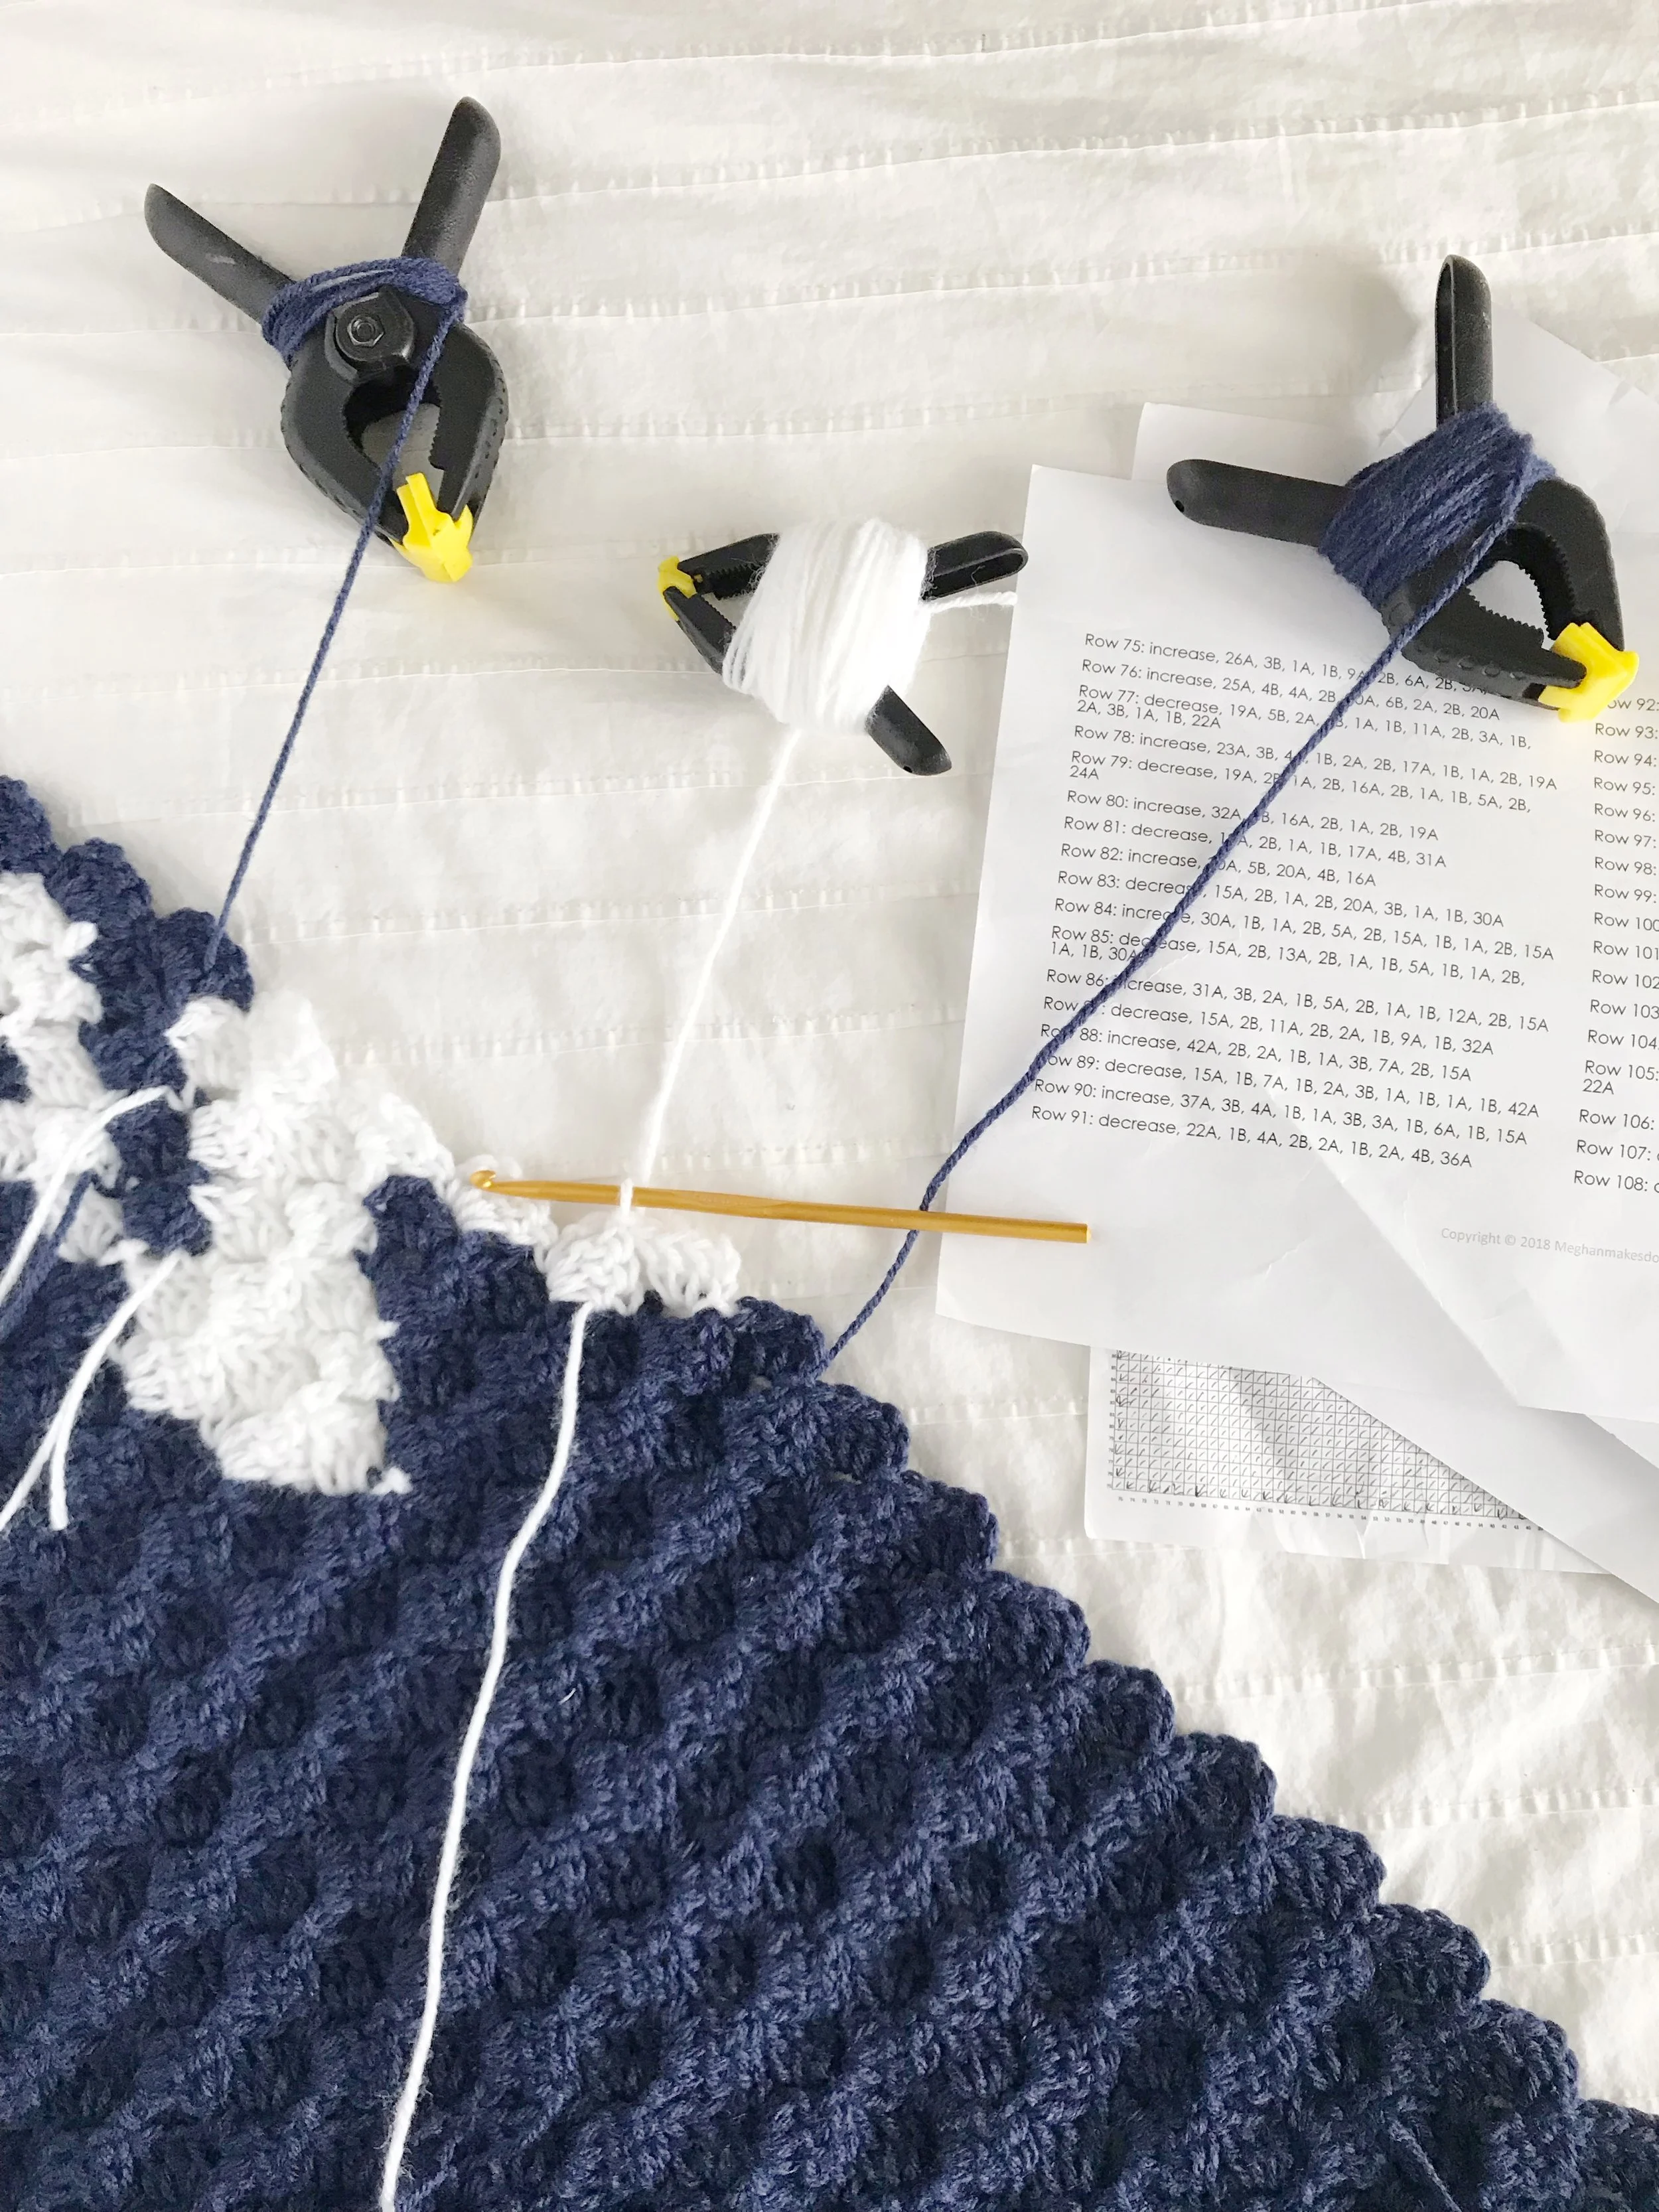
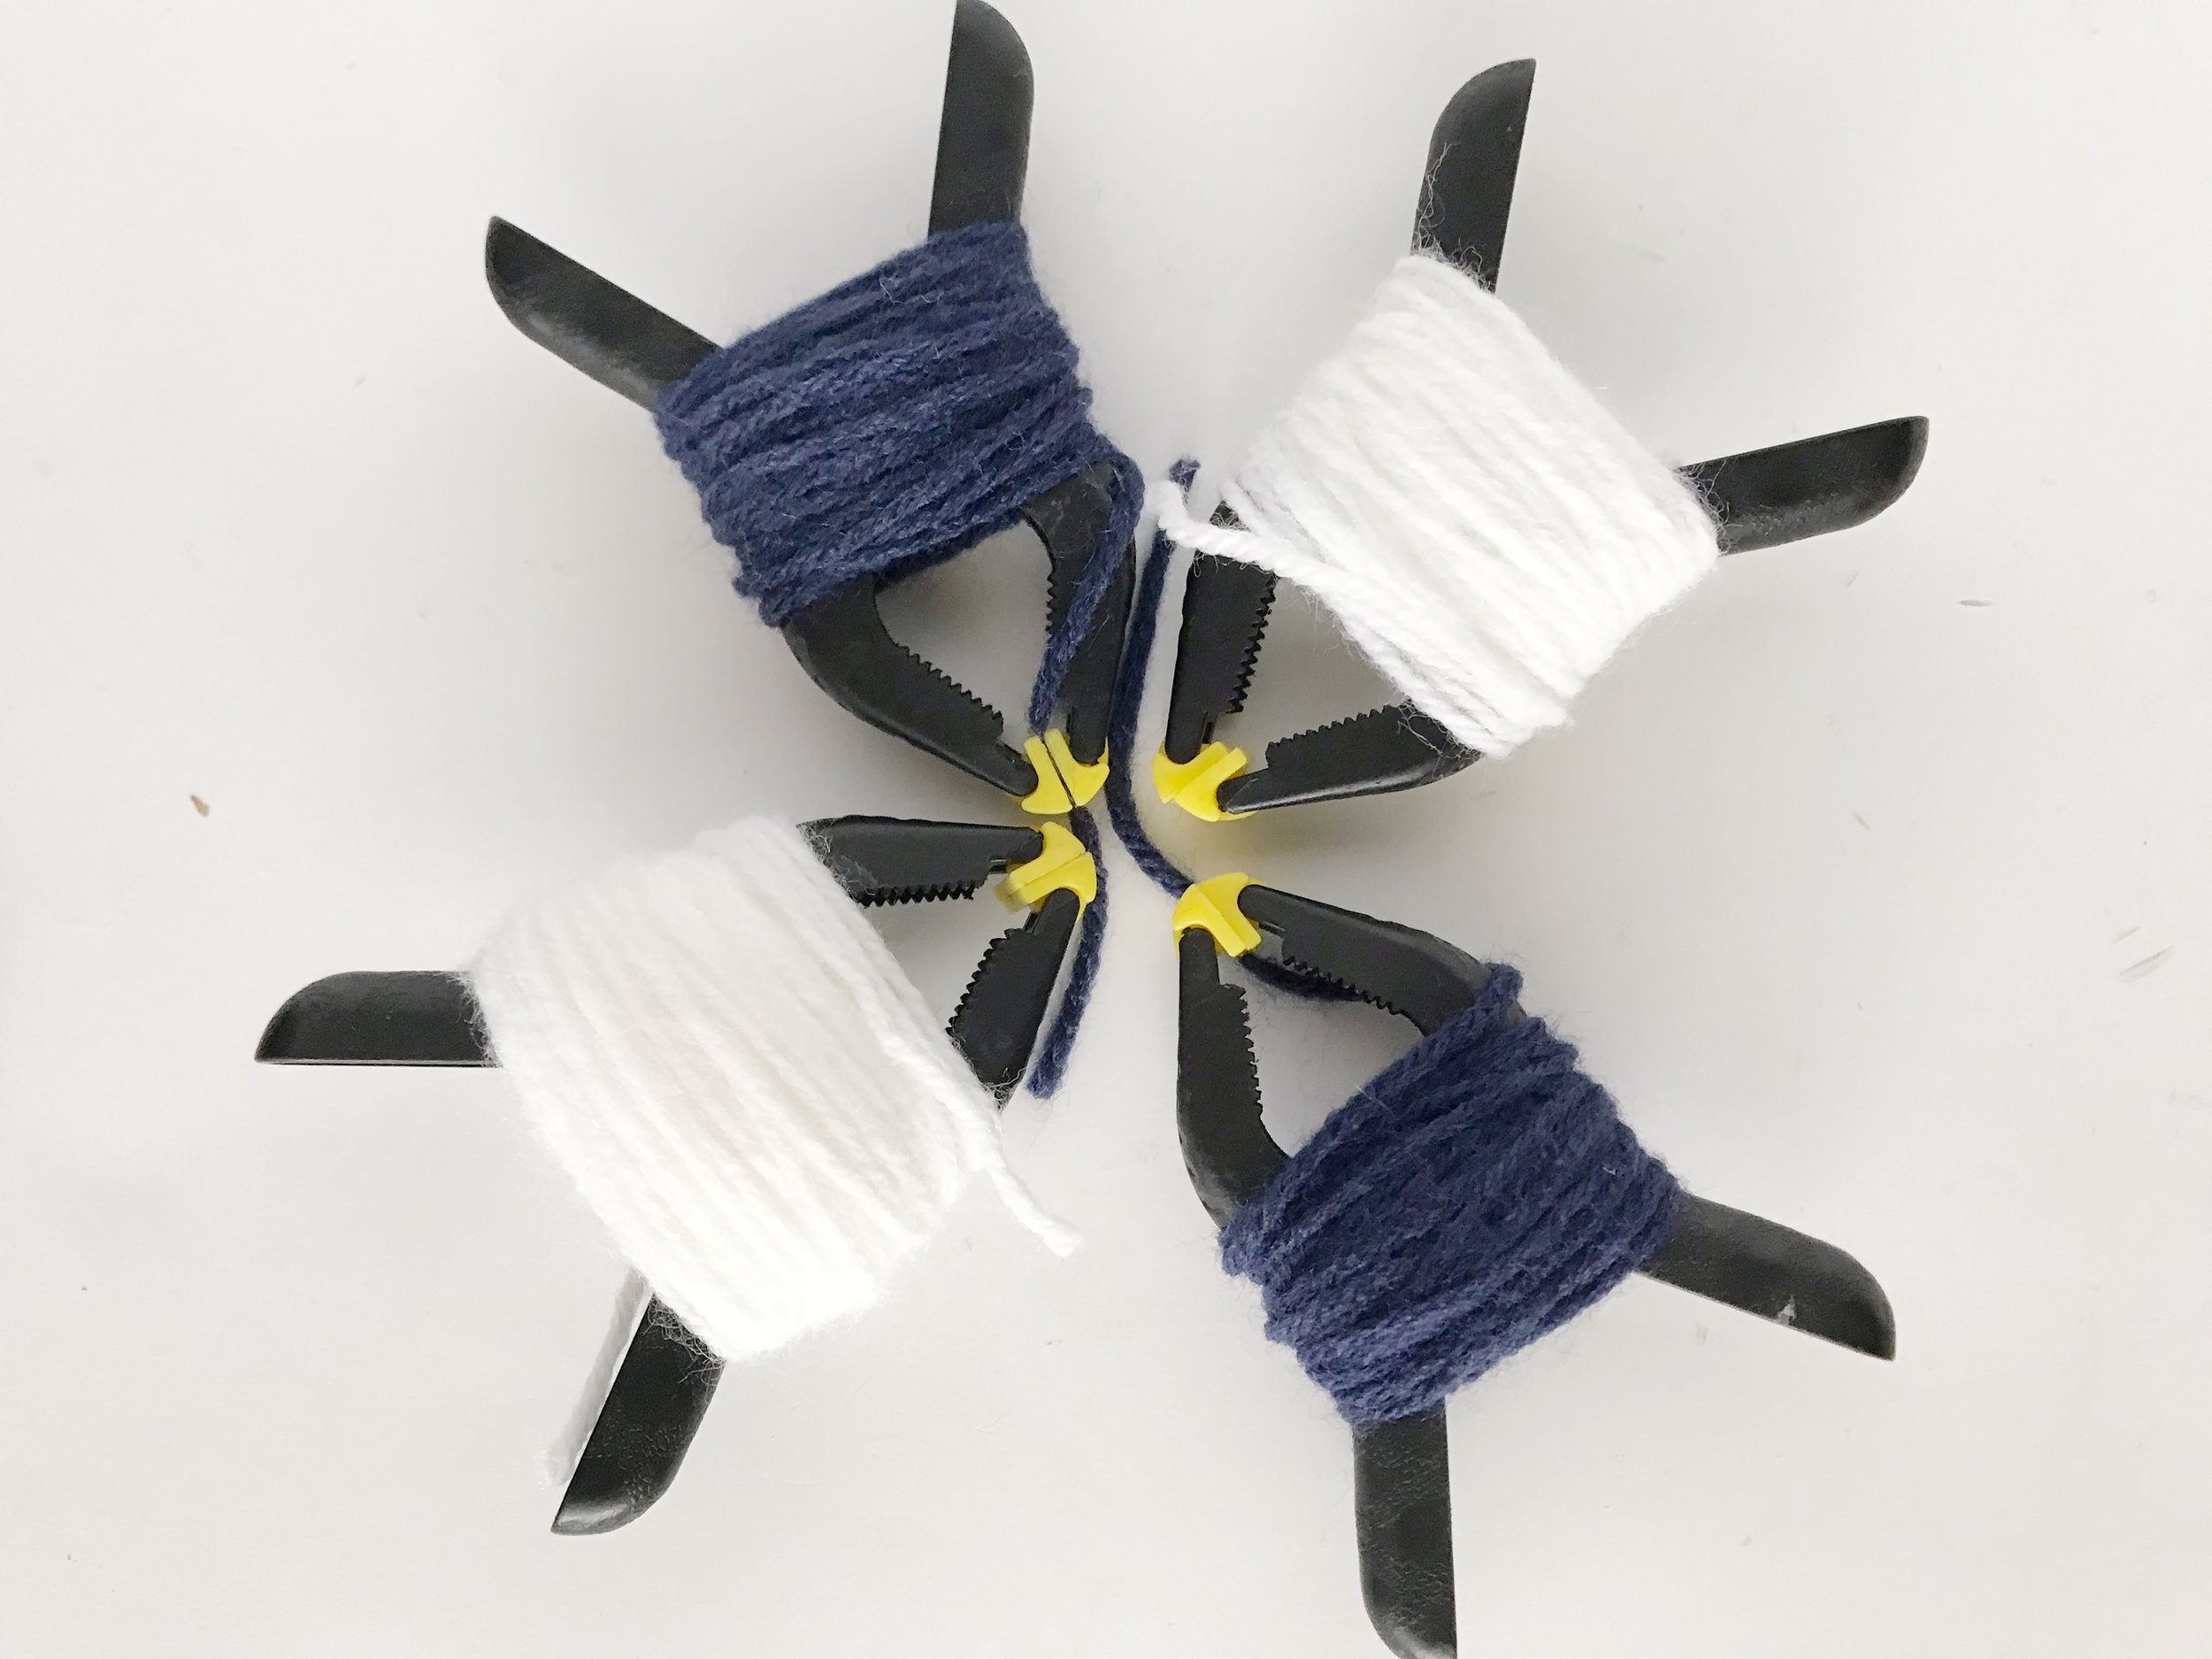
When working on a pattern that includes many color changes, such as my Holiday Graphgans, it can be helpful to create bobbins for your yarn. I like to use large clamps to create my bobbins. I wrap as much yarn as possible around the clamp as I can, then after I attach the working end to my project I am able to clamp in onto the edge of the blanket when it is not in use. This keeps my yarns from tangling and helps eliminate some ends being woven in because I can leave my yarn in place to use on the next row.


Carrying Yarn
In order to minimize the amount of ends to weave in, it isn’t always necessary to drop a color and cut it off. There are a few instances where you are able to carry your yarns along. If you are using the bobbin method for changing colors then this makes carrying your yarn a bit easier.
Keep in mind that carrying your yarn is not always a good idea. I recommend only carrying your yarn if the color you are carrying is directly touching that same color in the previous row or the color you are currently working with. The carried yarn will follow the row in a zig zag fashion. For example take a look at the chart below. I can carry the grey along the top of the inside tail of the n, but if I carry it on any of the rows above that it will show thru. Having the bobbins in place allows me to drop the white and then pick up the grey for the middle section, then drop it and pick up a white bobbin again.

There are a few different ways to carry your yarn depending on where the next color is on your graph. I will show you all of the basic instances where you may want to carry your yarn to reduce the amounts of ends to weave in.
Sometimes one color will end and the next color will be right there from the previous row. Simply change to the new color and continue on.
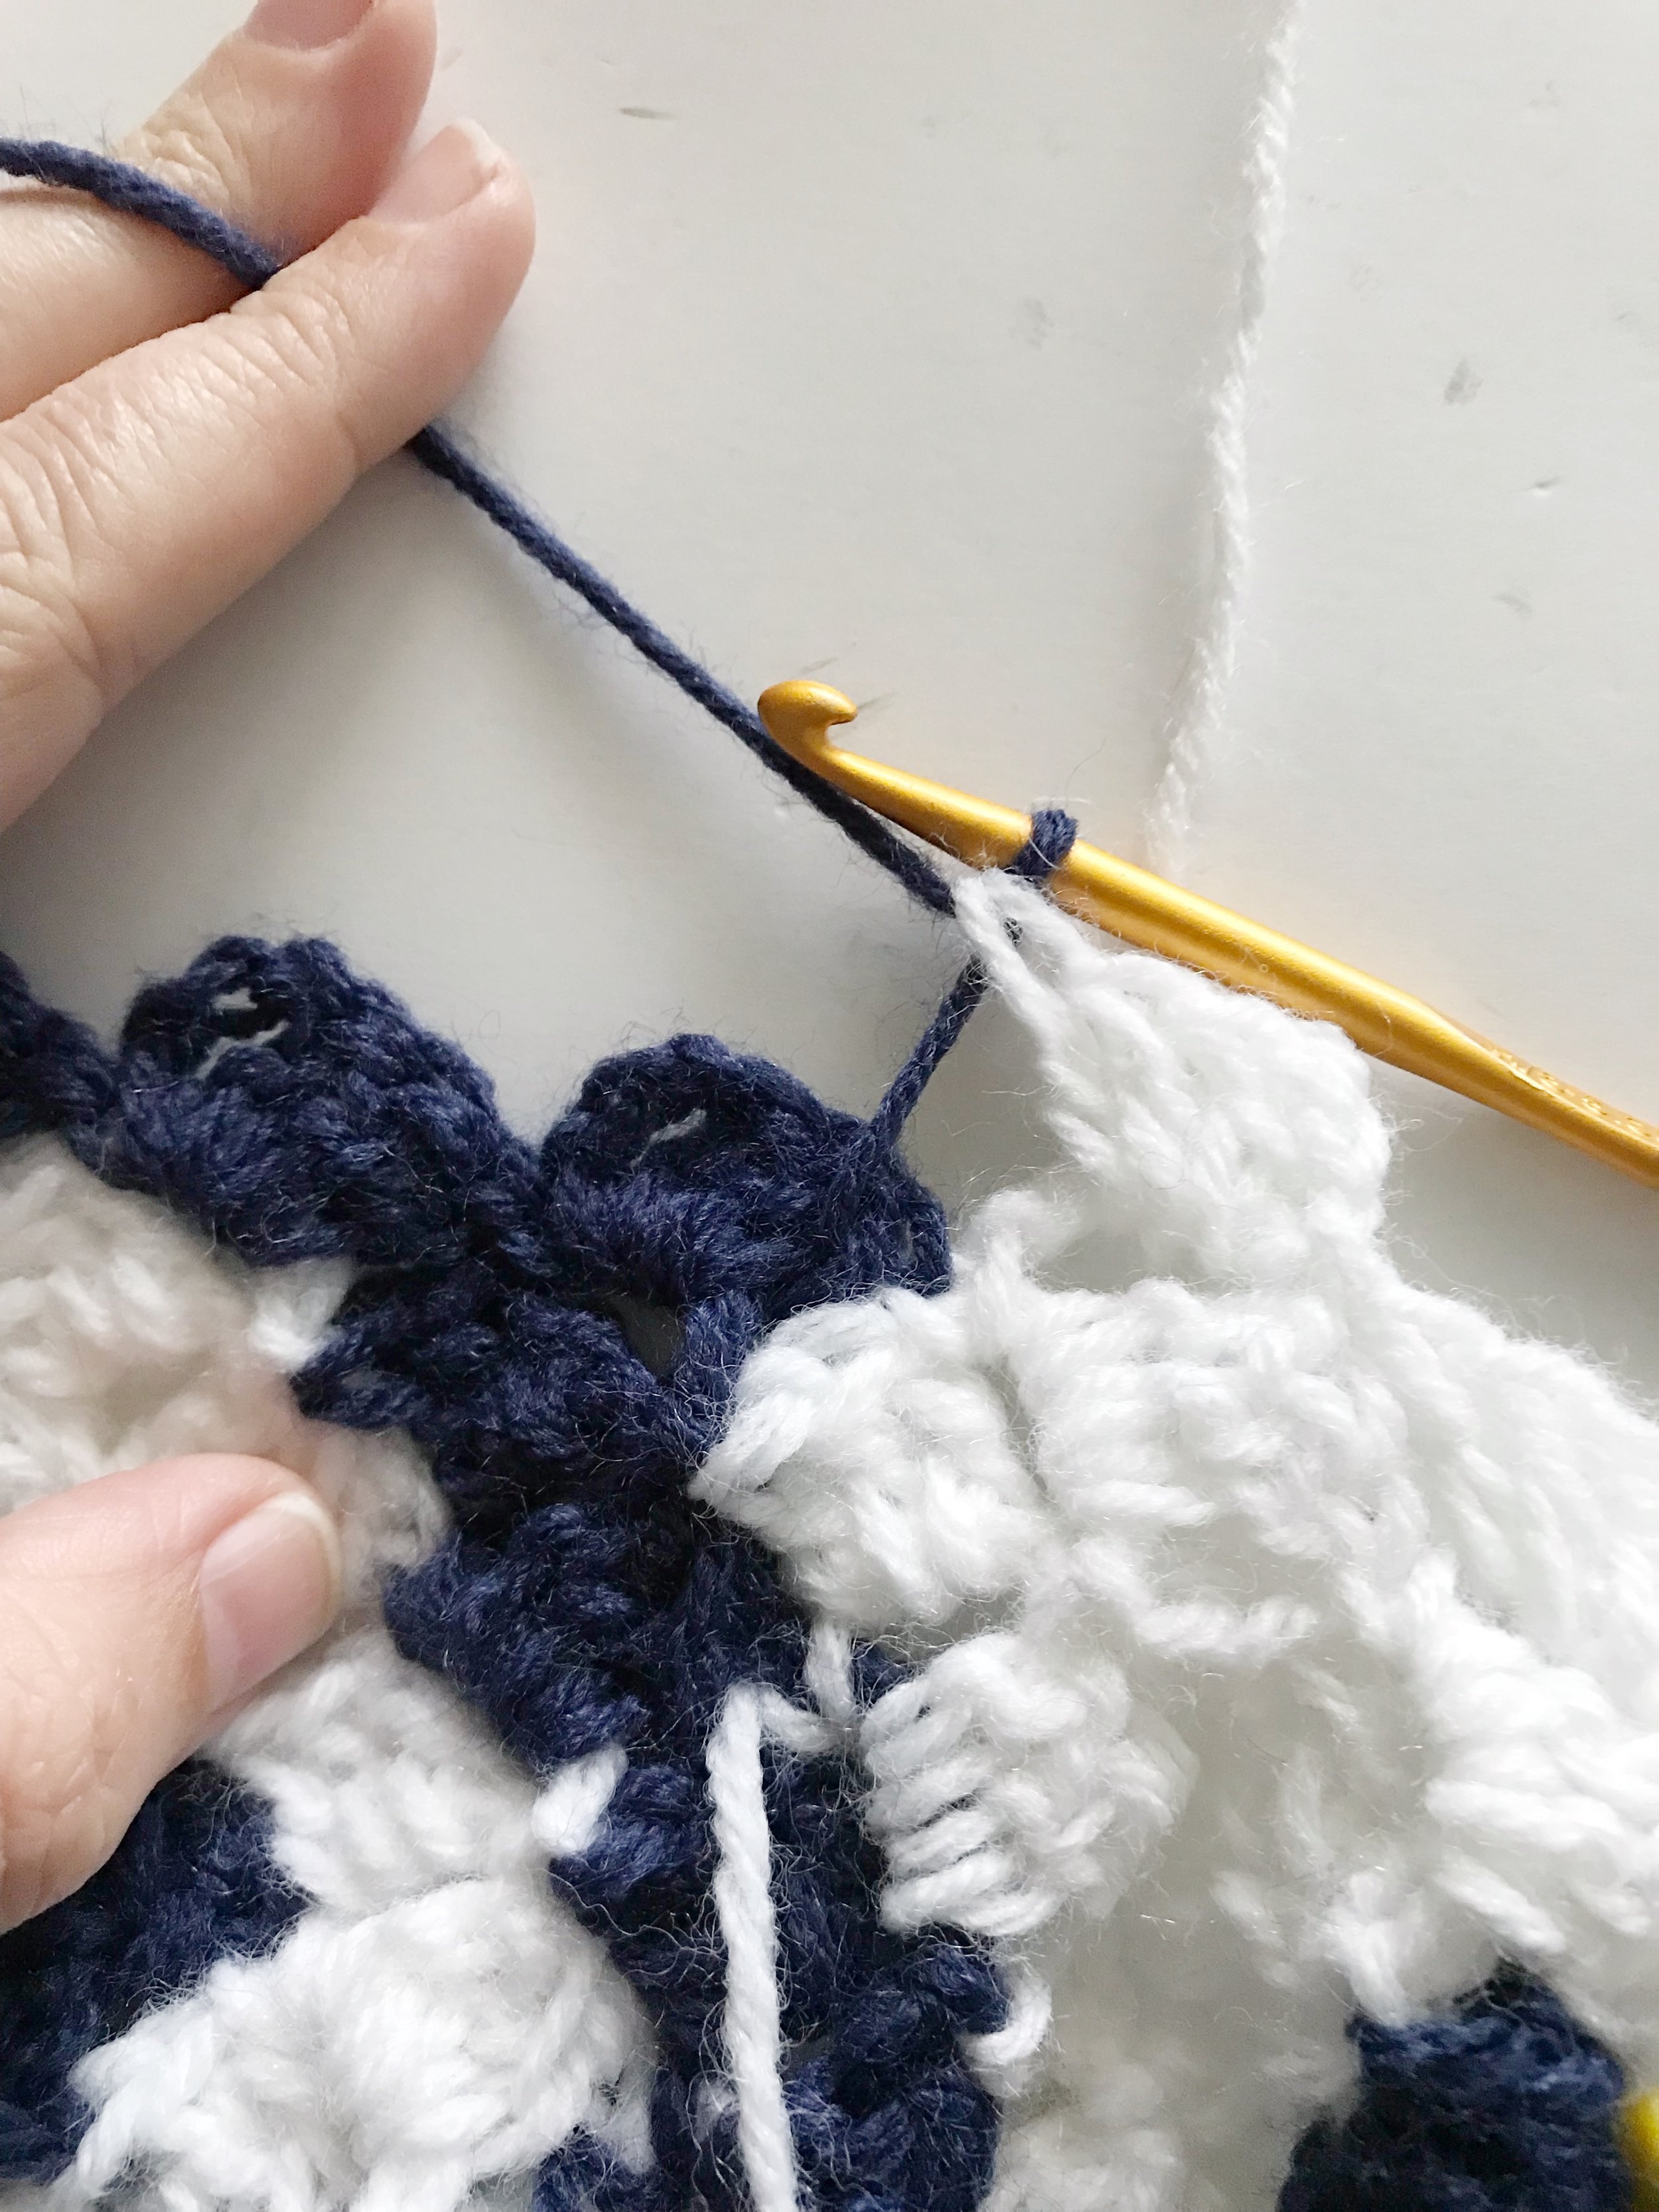
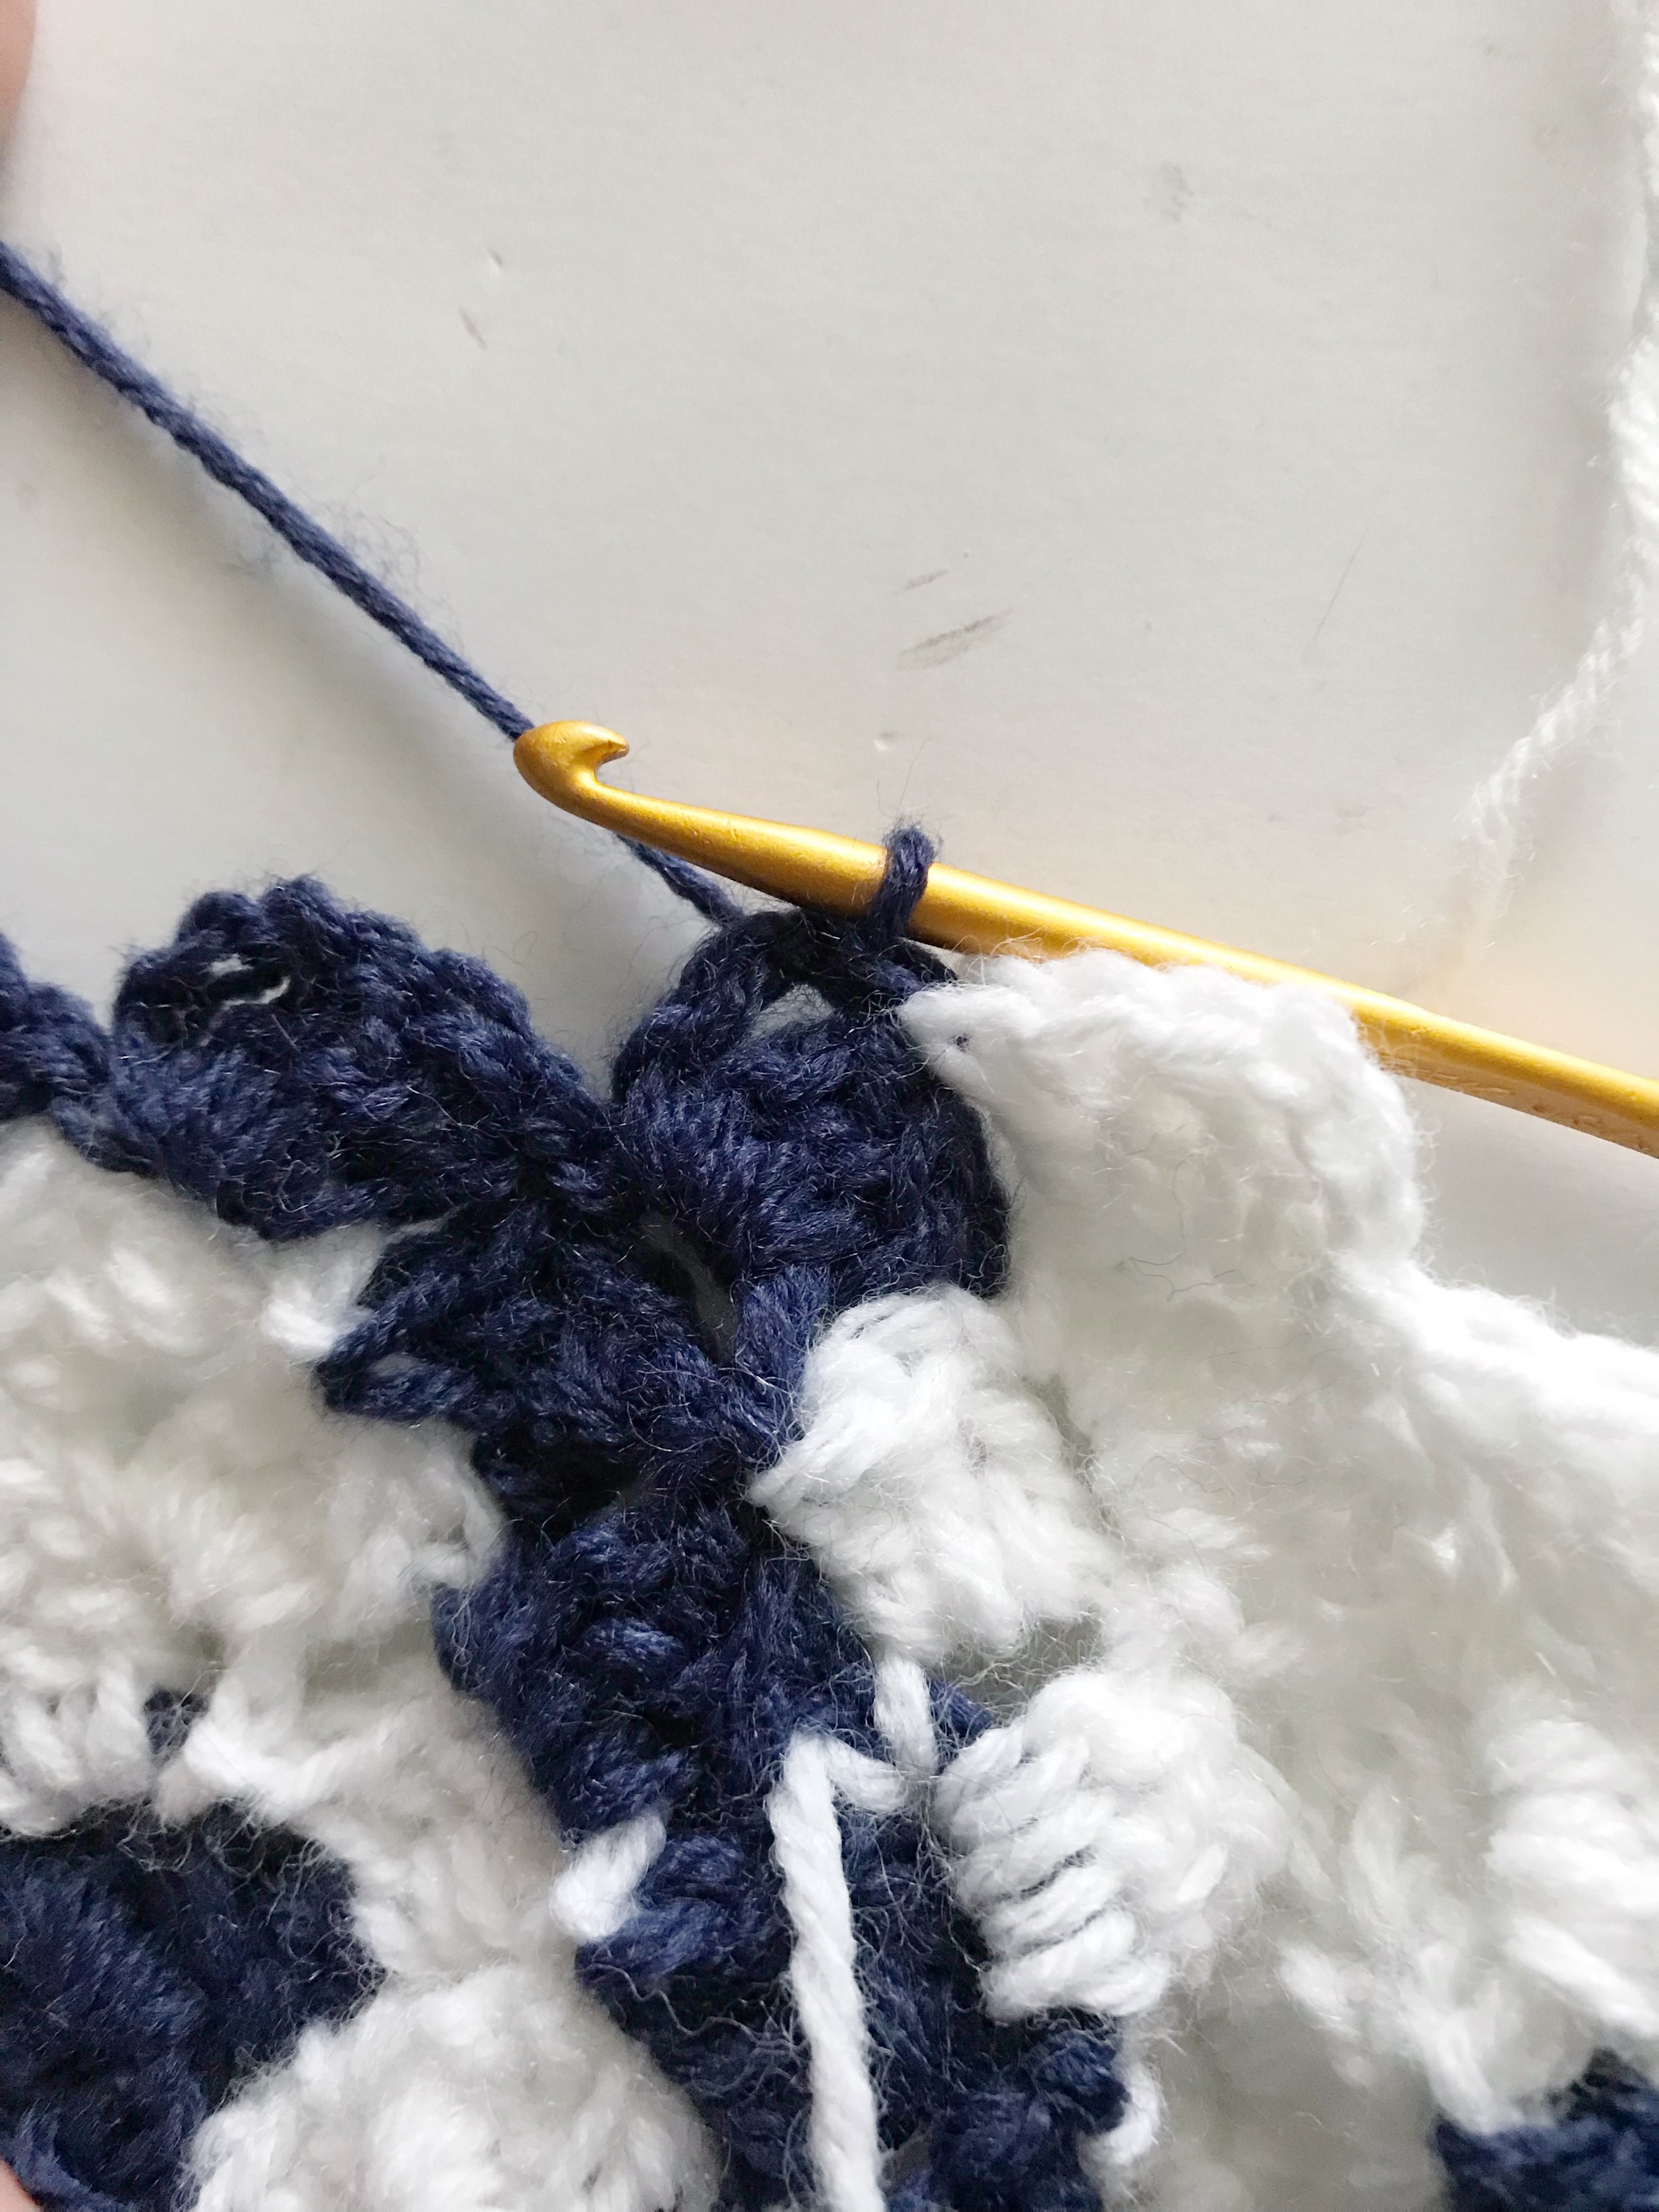
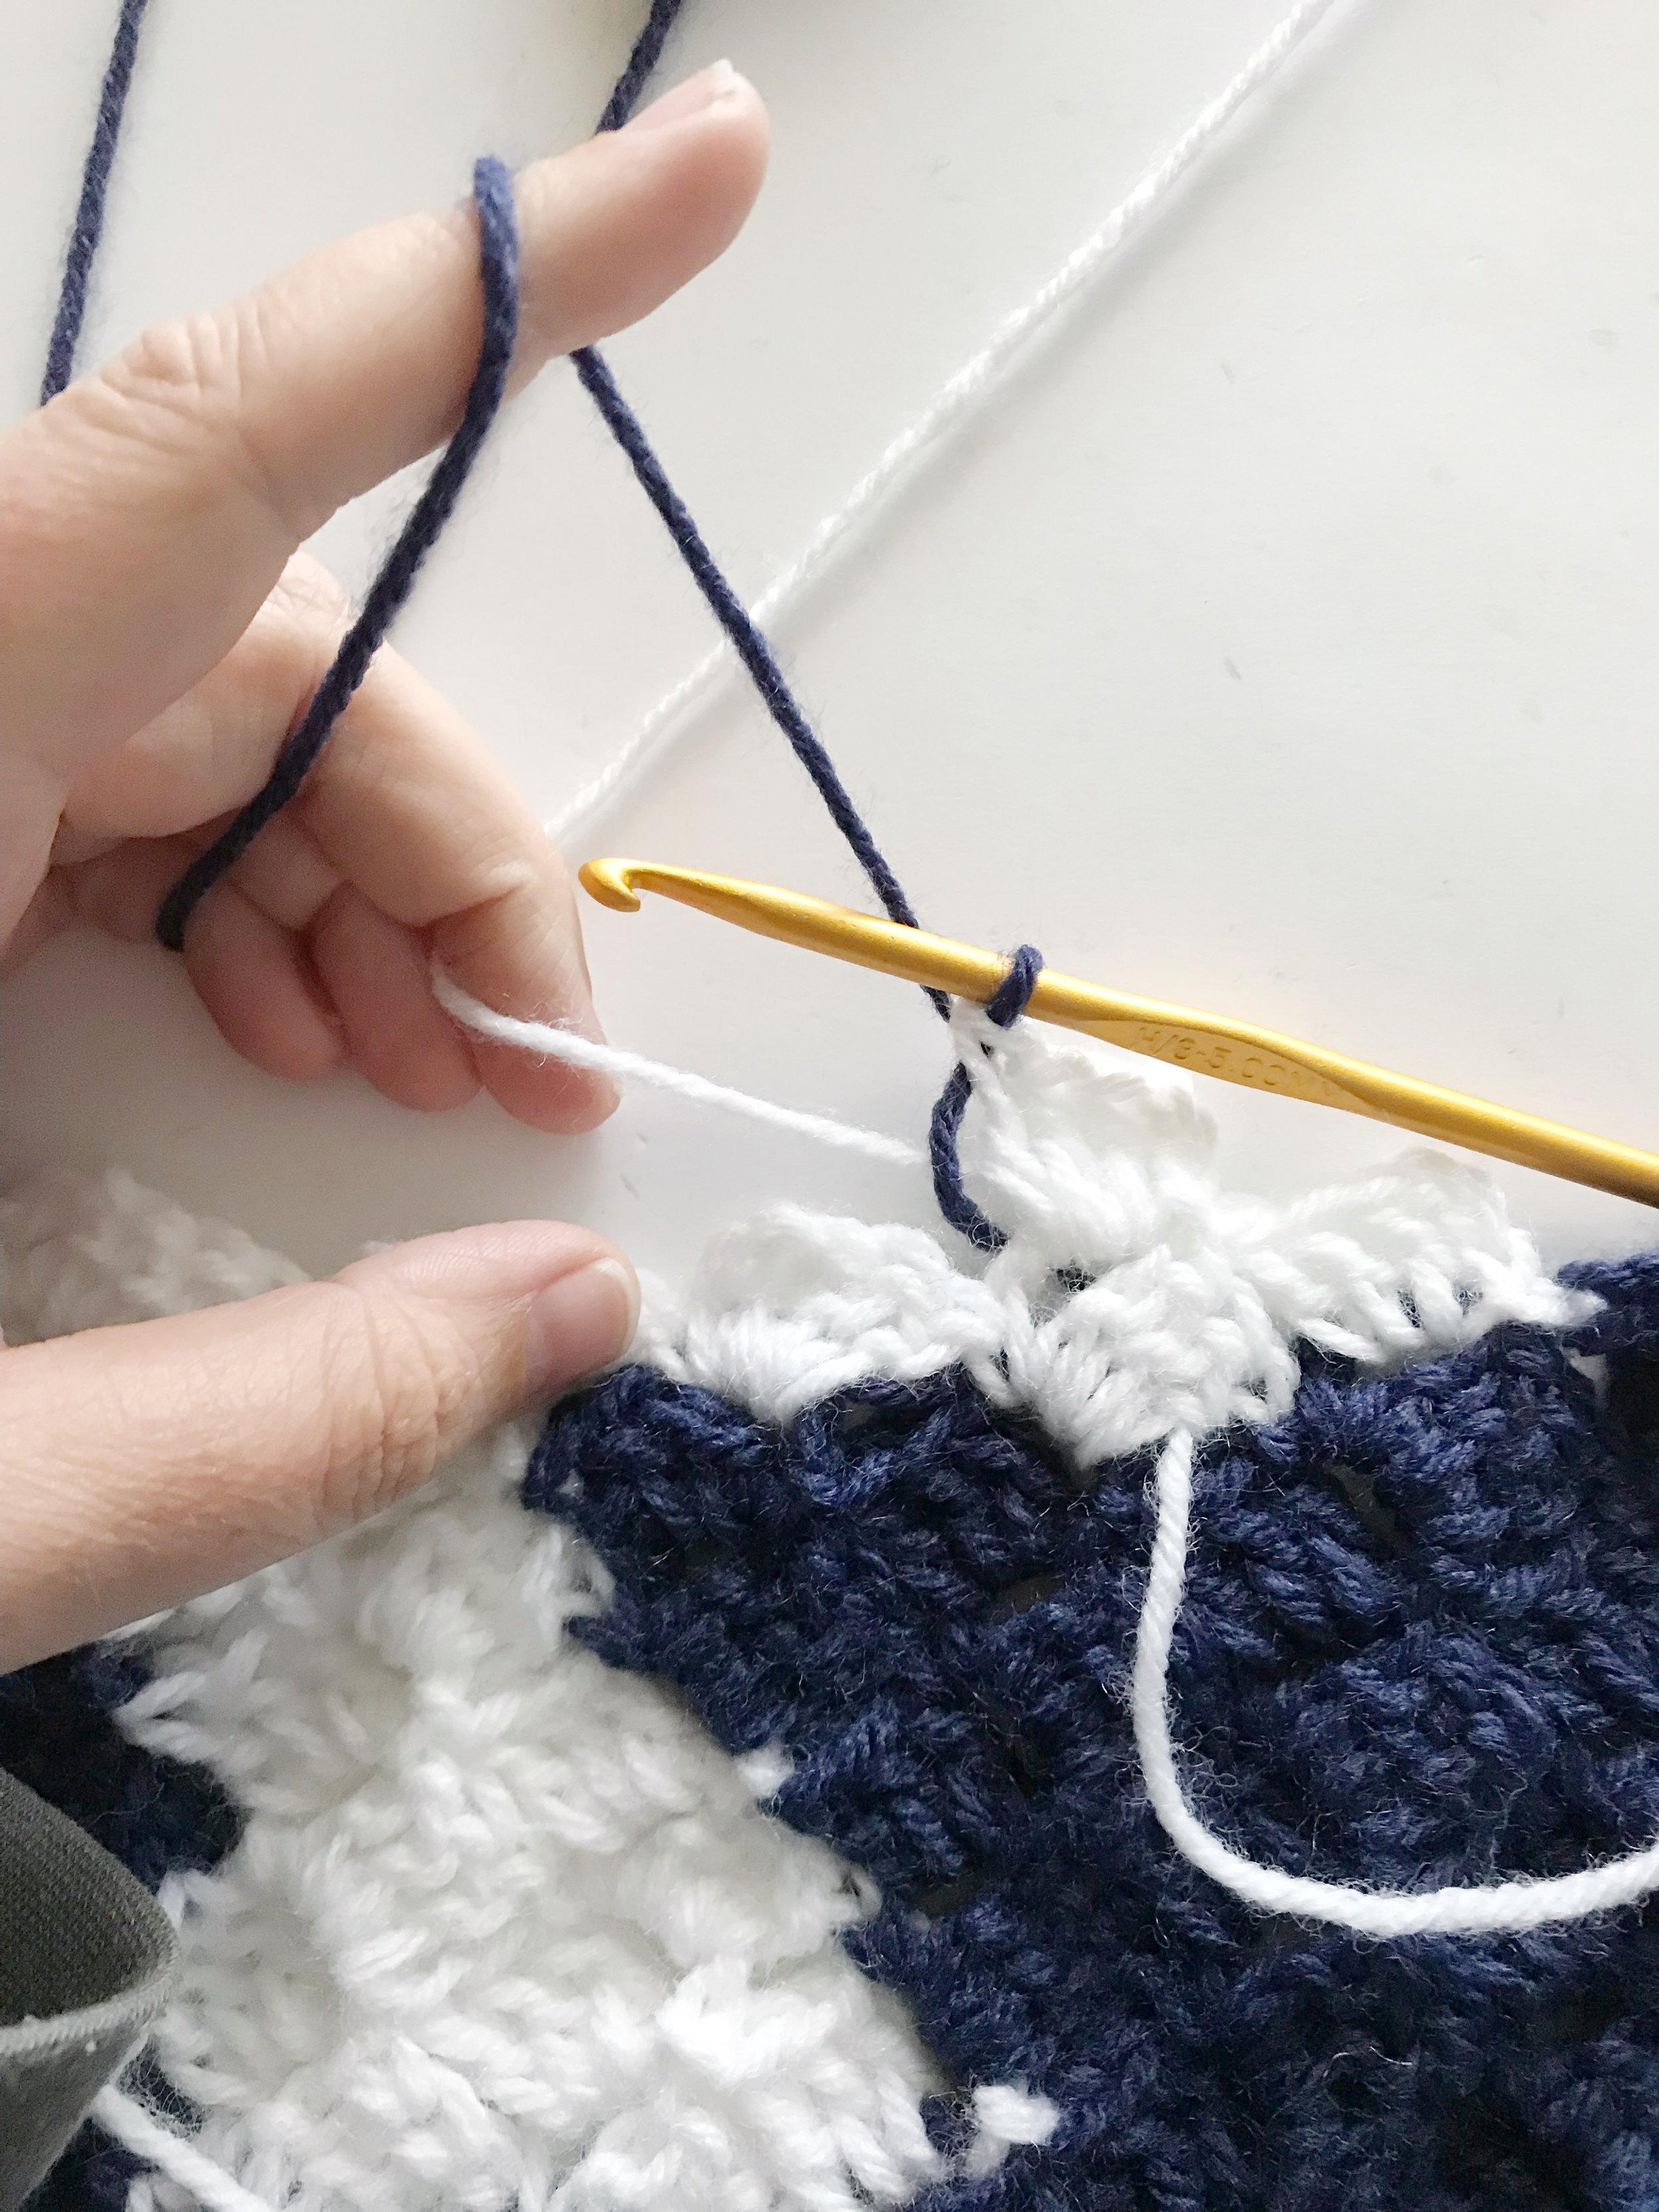
Other times the next color may be just one square away. Simply change colors making sure to leave enough slack in the yarn to allow you to lay the new color over the ch 3 of the next stitch. Then slip stitch into the next stitch, making sure to also go under the strand of the new color. Work your stitches around both the ch 3 and the extra strand so that it is covered.
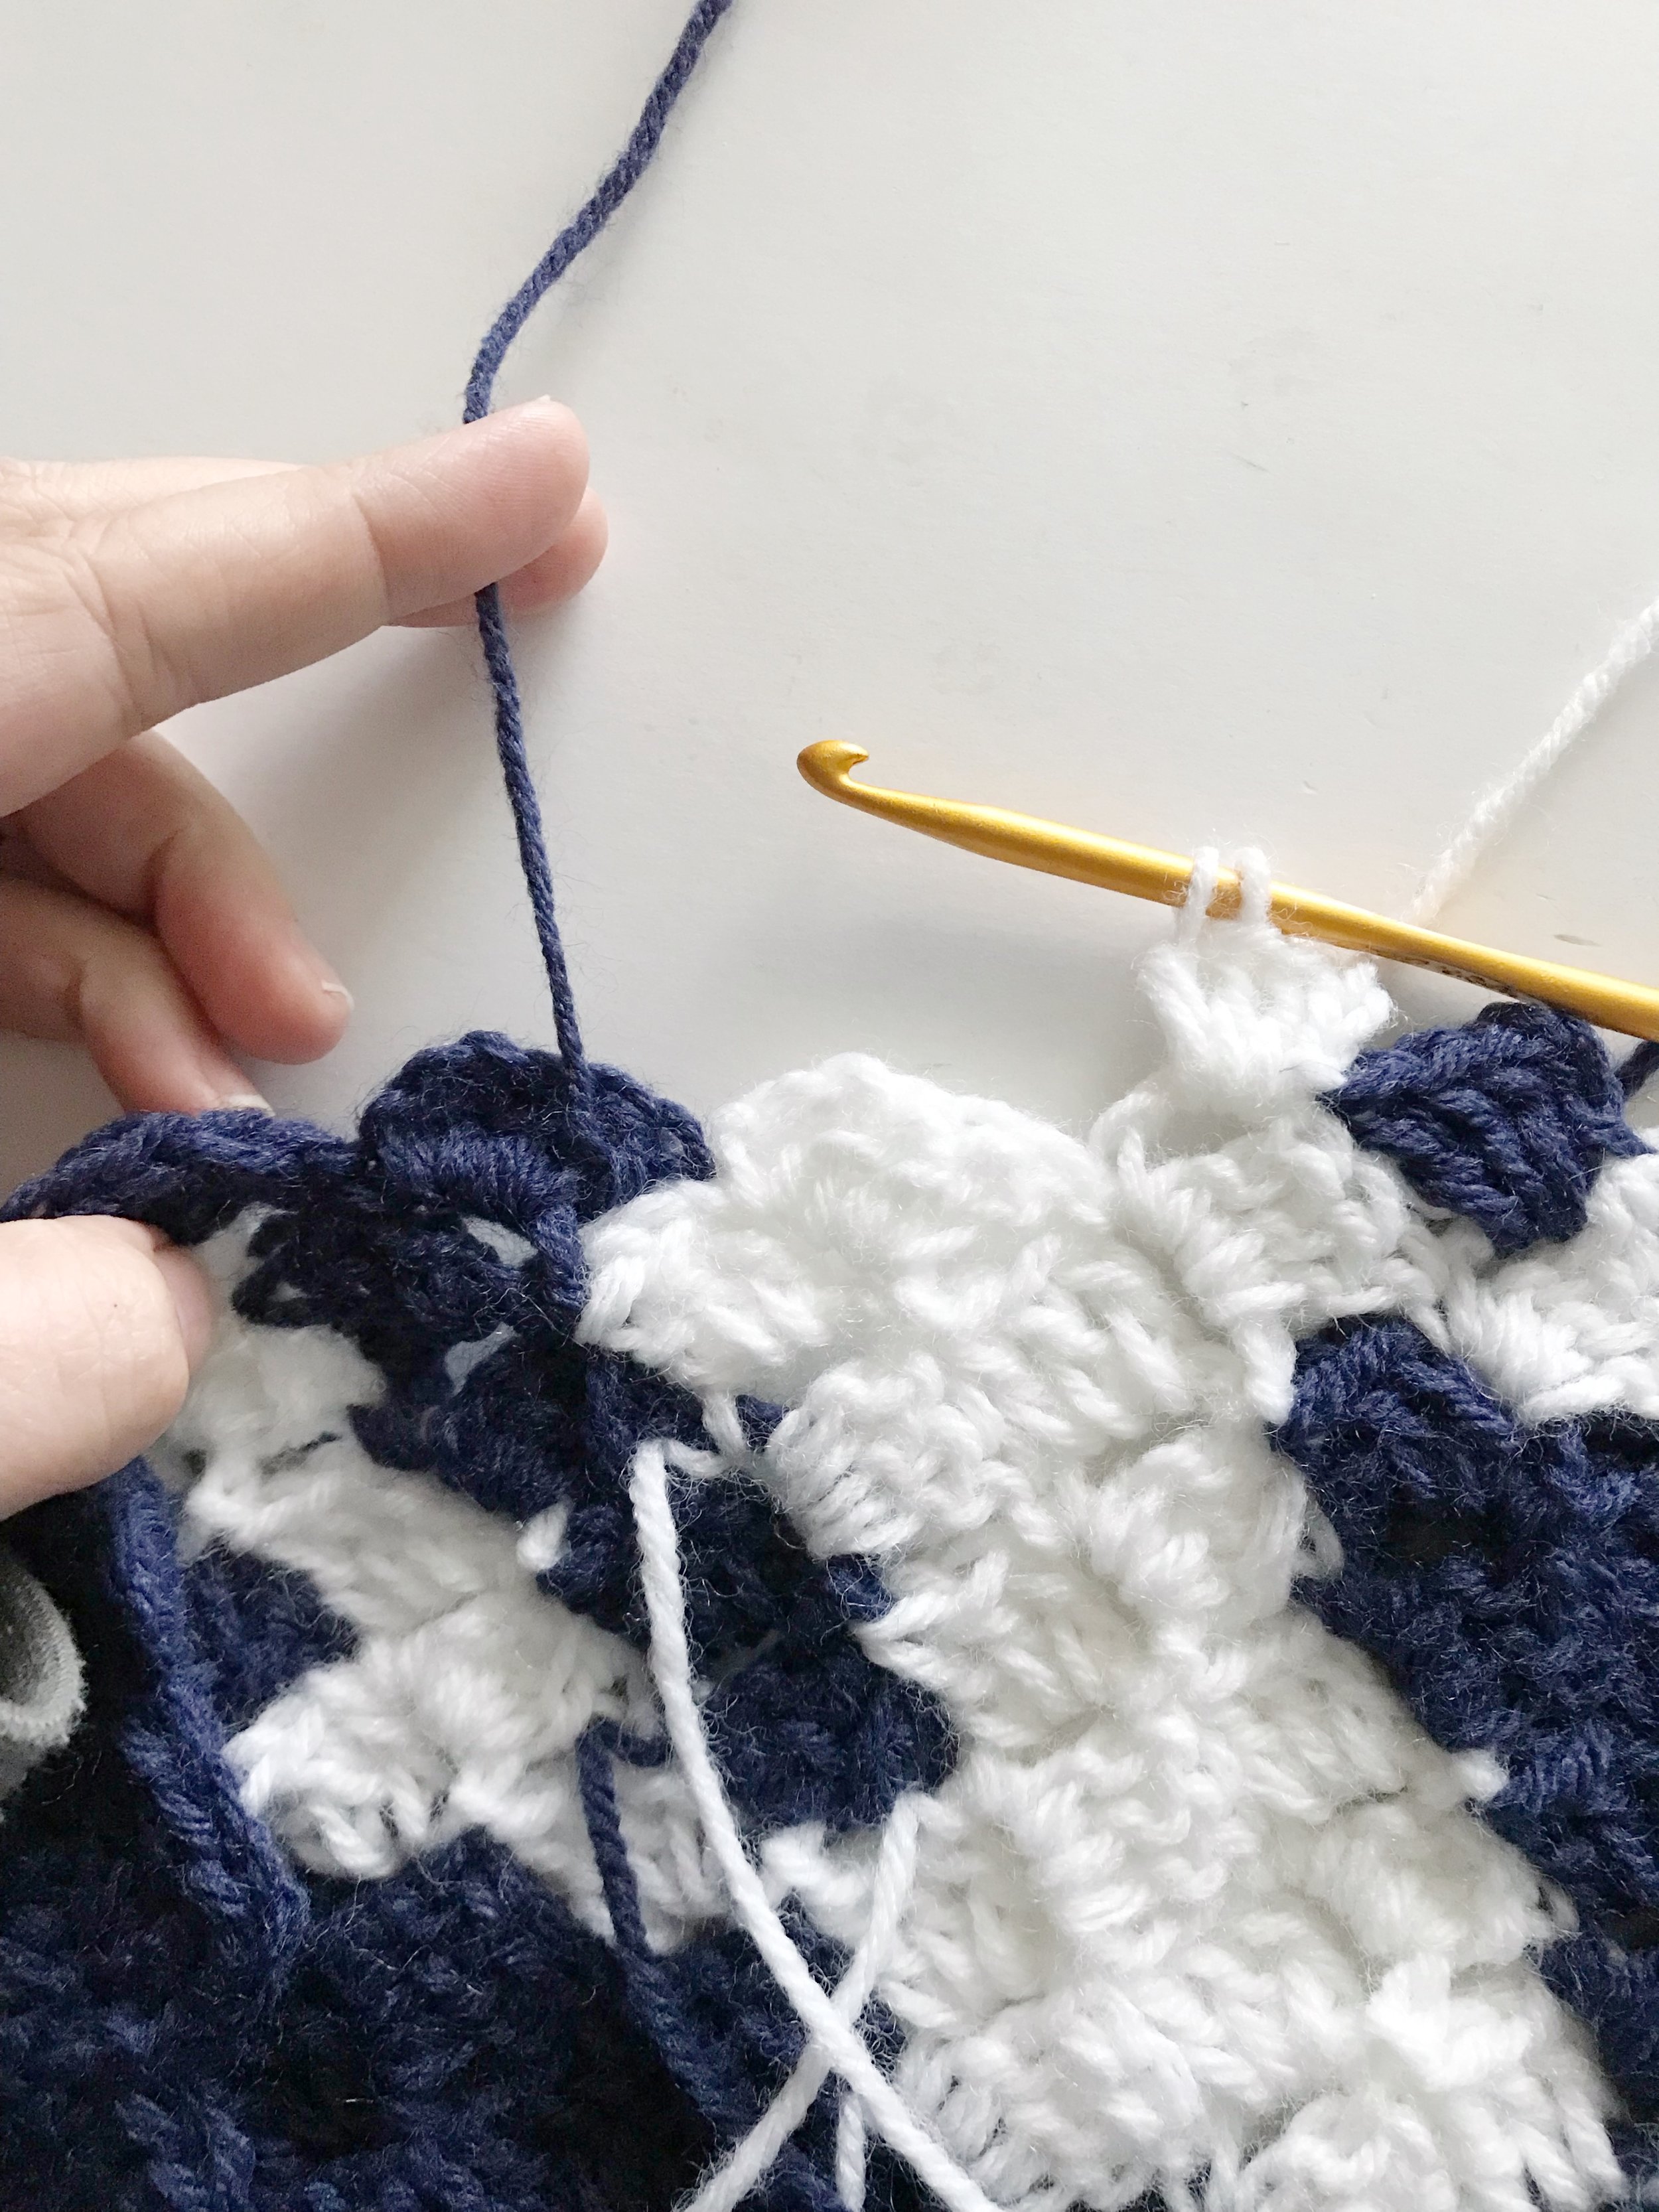
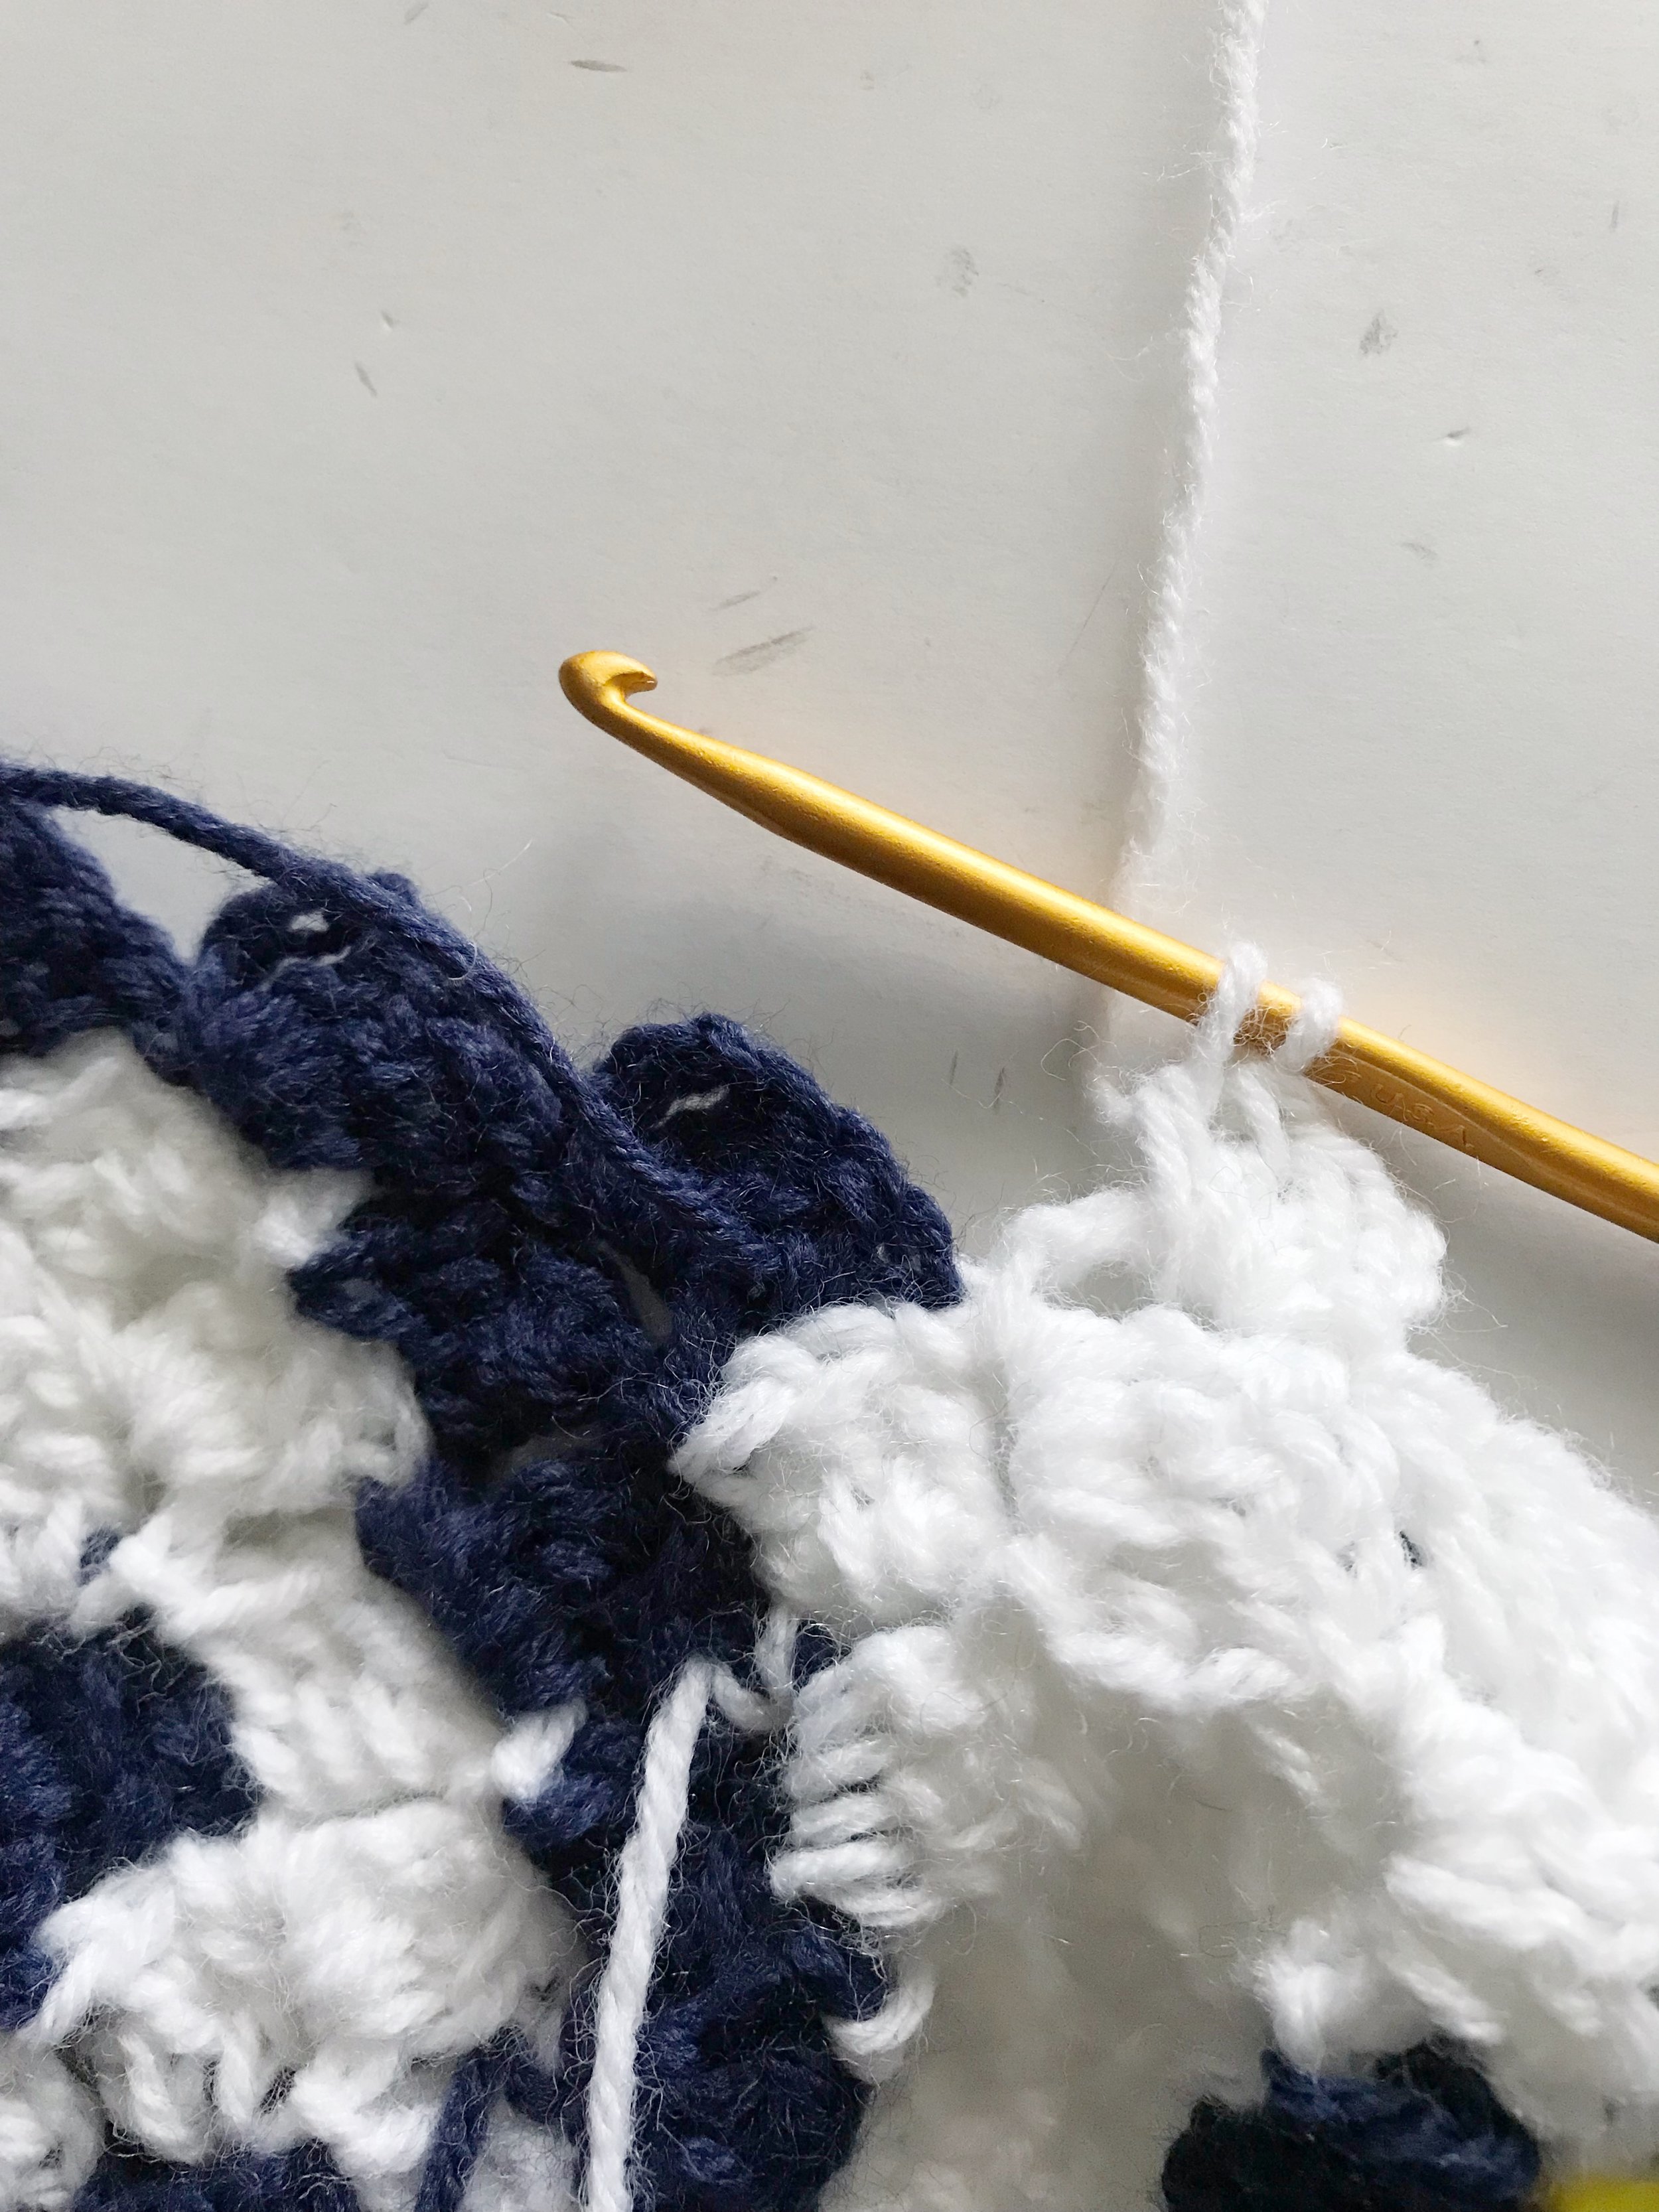
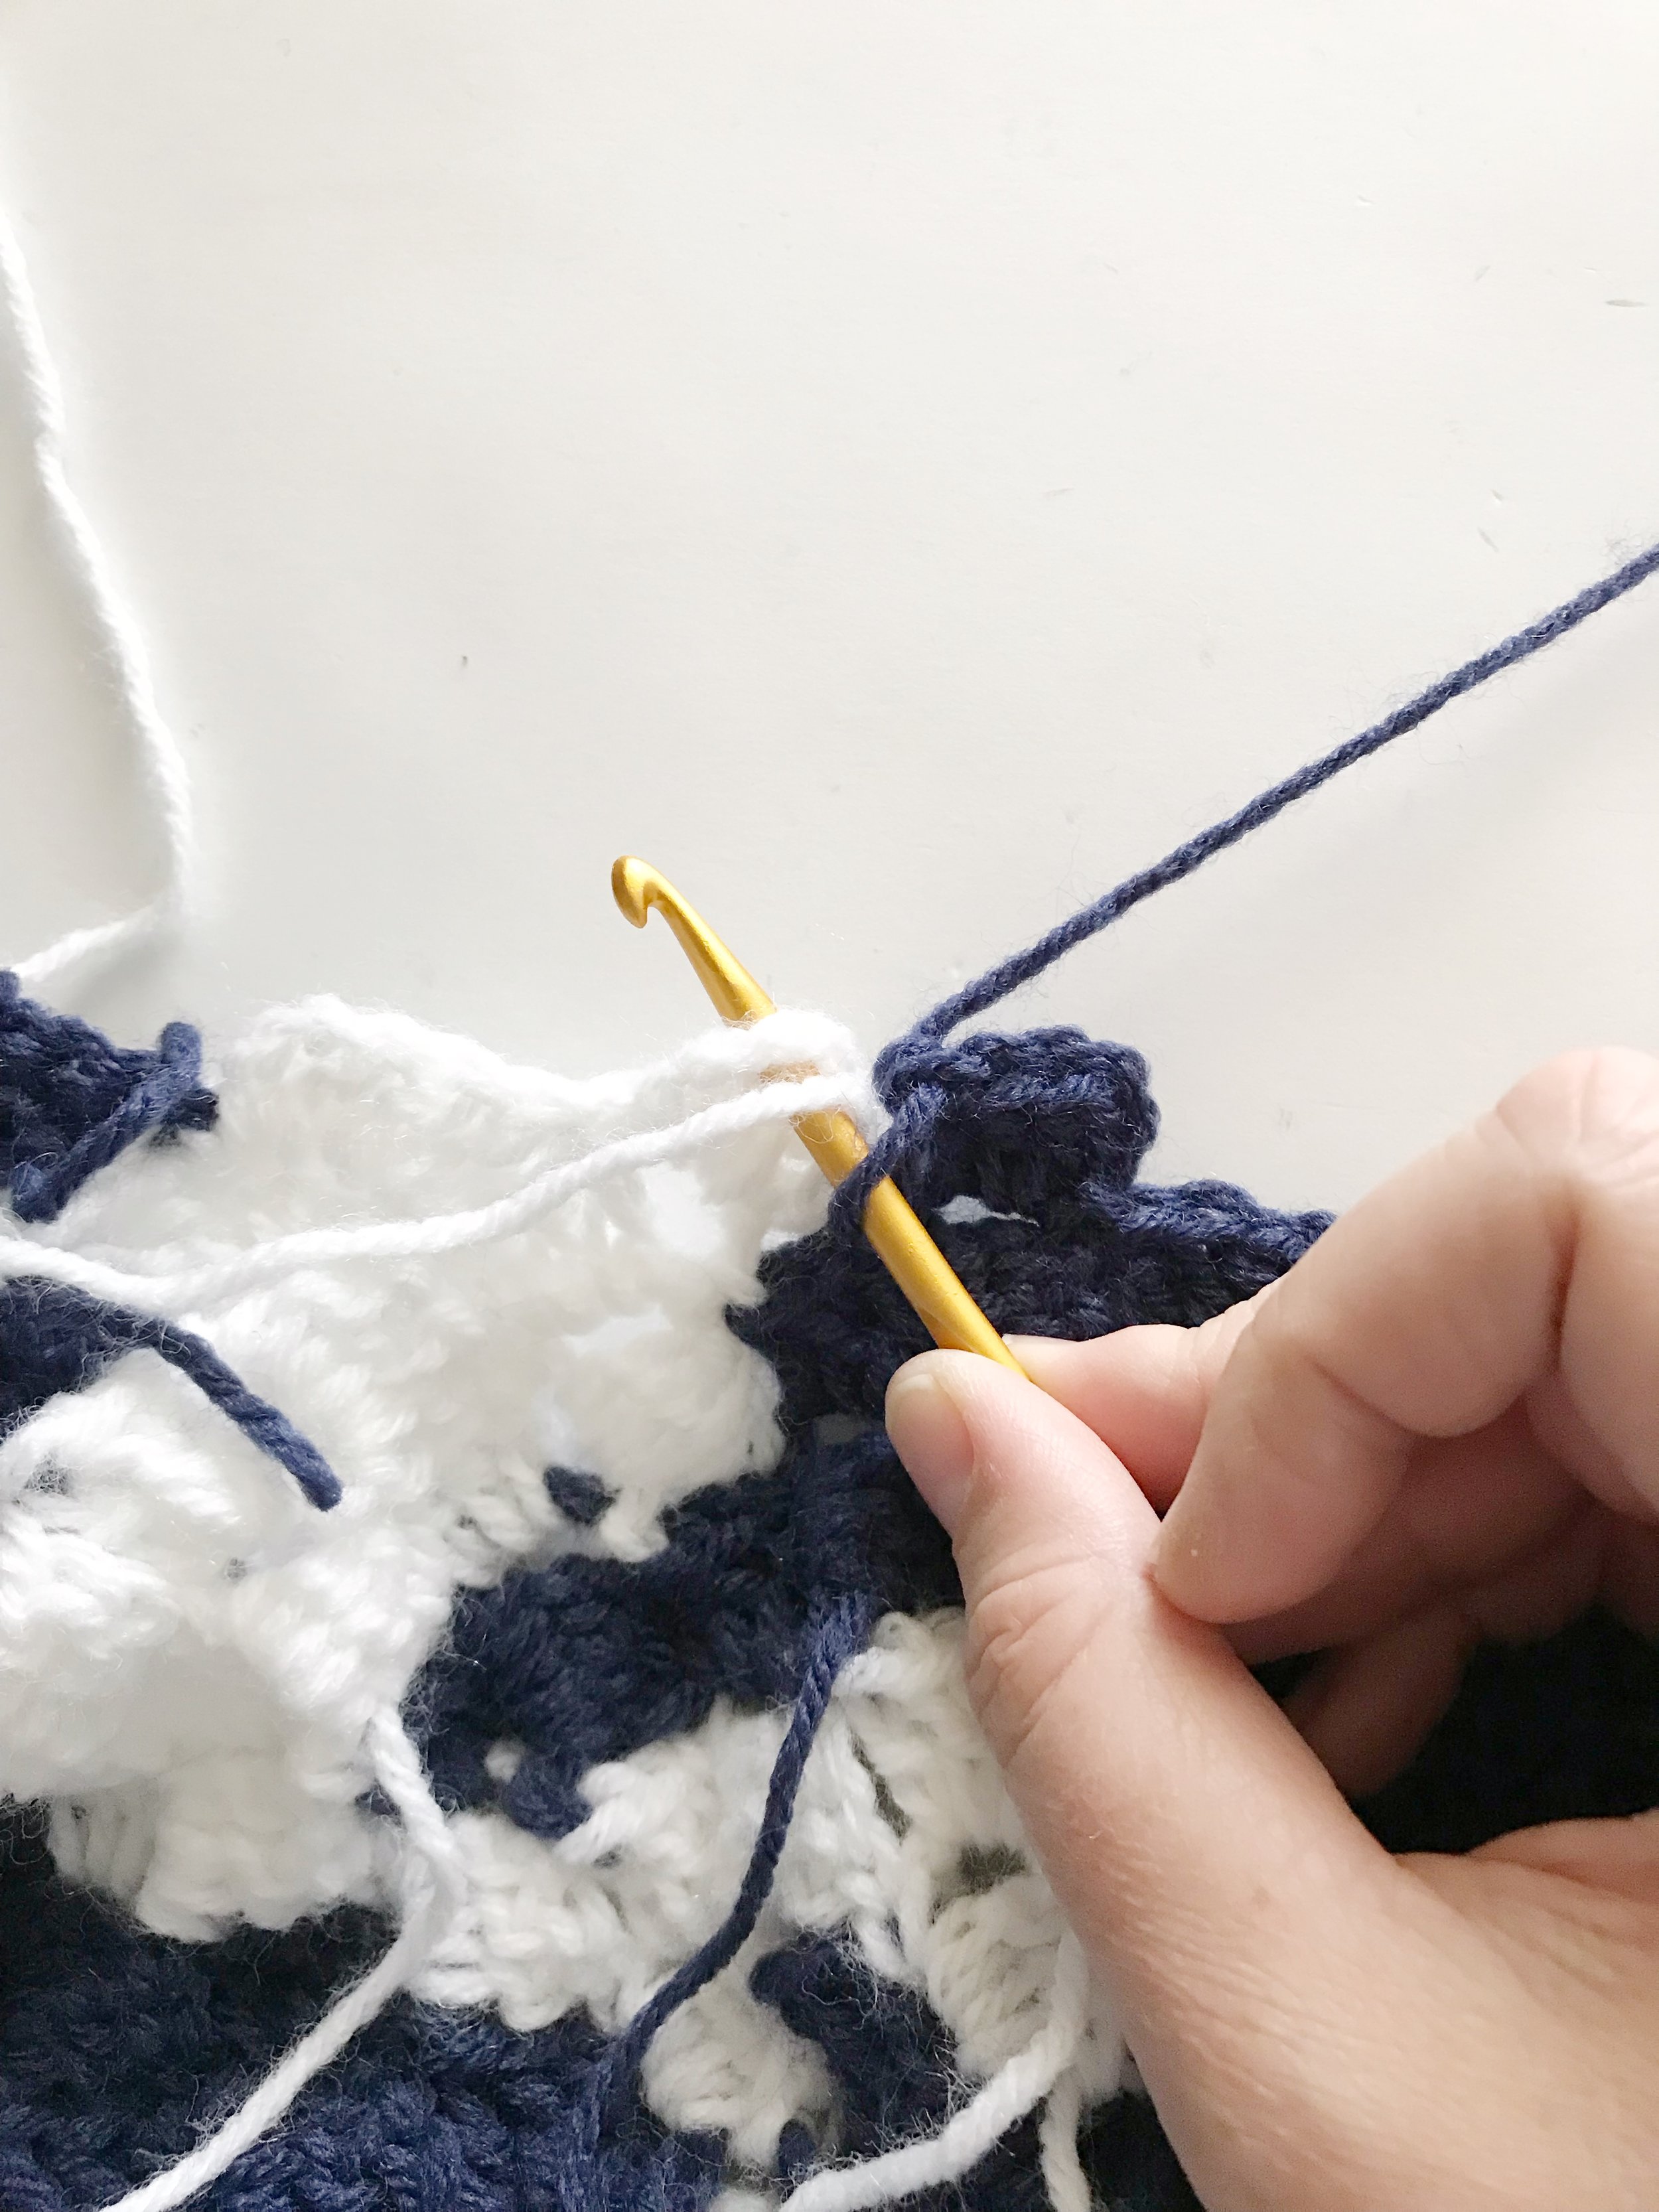
Then there are times when your next color is quite a few squares away. It is possible to carry your second color across multiple squares as long as you leave enough slack and you make sure that the new color won’t show thru. In this instance the white yarn is the being worked above the navy and will blend in with all the white stitches. Don’t carry this way for more than 2-4 squares or you may have some puckering. Change to the second color leaving a long slack of yarn across the previous row. Ch 3 and start working your next stitches making sure to catch the slack of yarn along the way.


There will be times where the yarn you are working with can be carried thru the next color change to be used again for the color change after that. Such as in the graph of the letter n above. You can carry the grey yarn through the first stitch of white yarn at the bottom of the curve of the tail. Simply change to the second color and when you work the first sl st into the next ch 3 bring your first color behind and make sure to work the double crochets around both the ch 3 and the first color of yarn. Continue in this manner for as many stitches as needed and then drop the second color and pick up the first again.


Lastly you may come across a time when the color you need will end up behind the working stitch. You can pick up this color and carry it along for a stitch or two so that it is available for the next color change. Again just make sure that the color you are carrying is directly touching the same color below it. For example you might not want to carry the second color along if it is going to be carried between two rows of the first color.
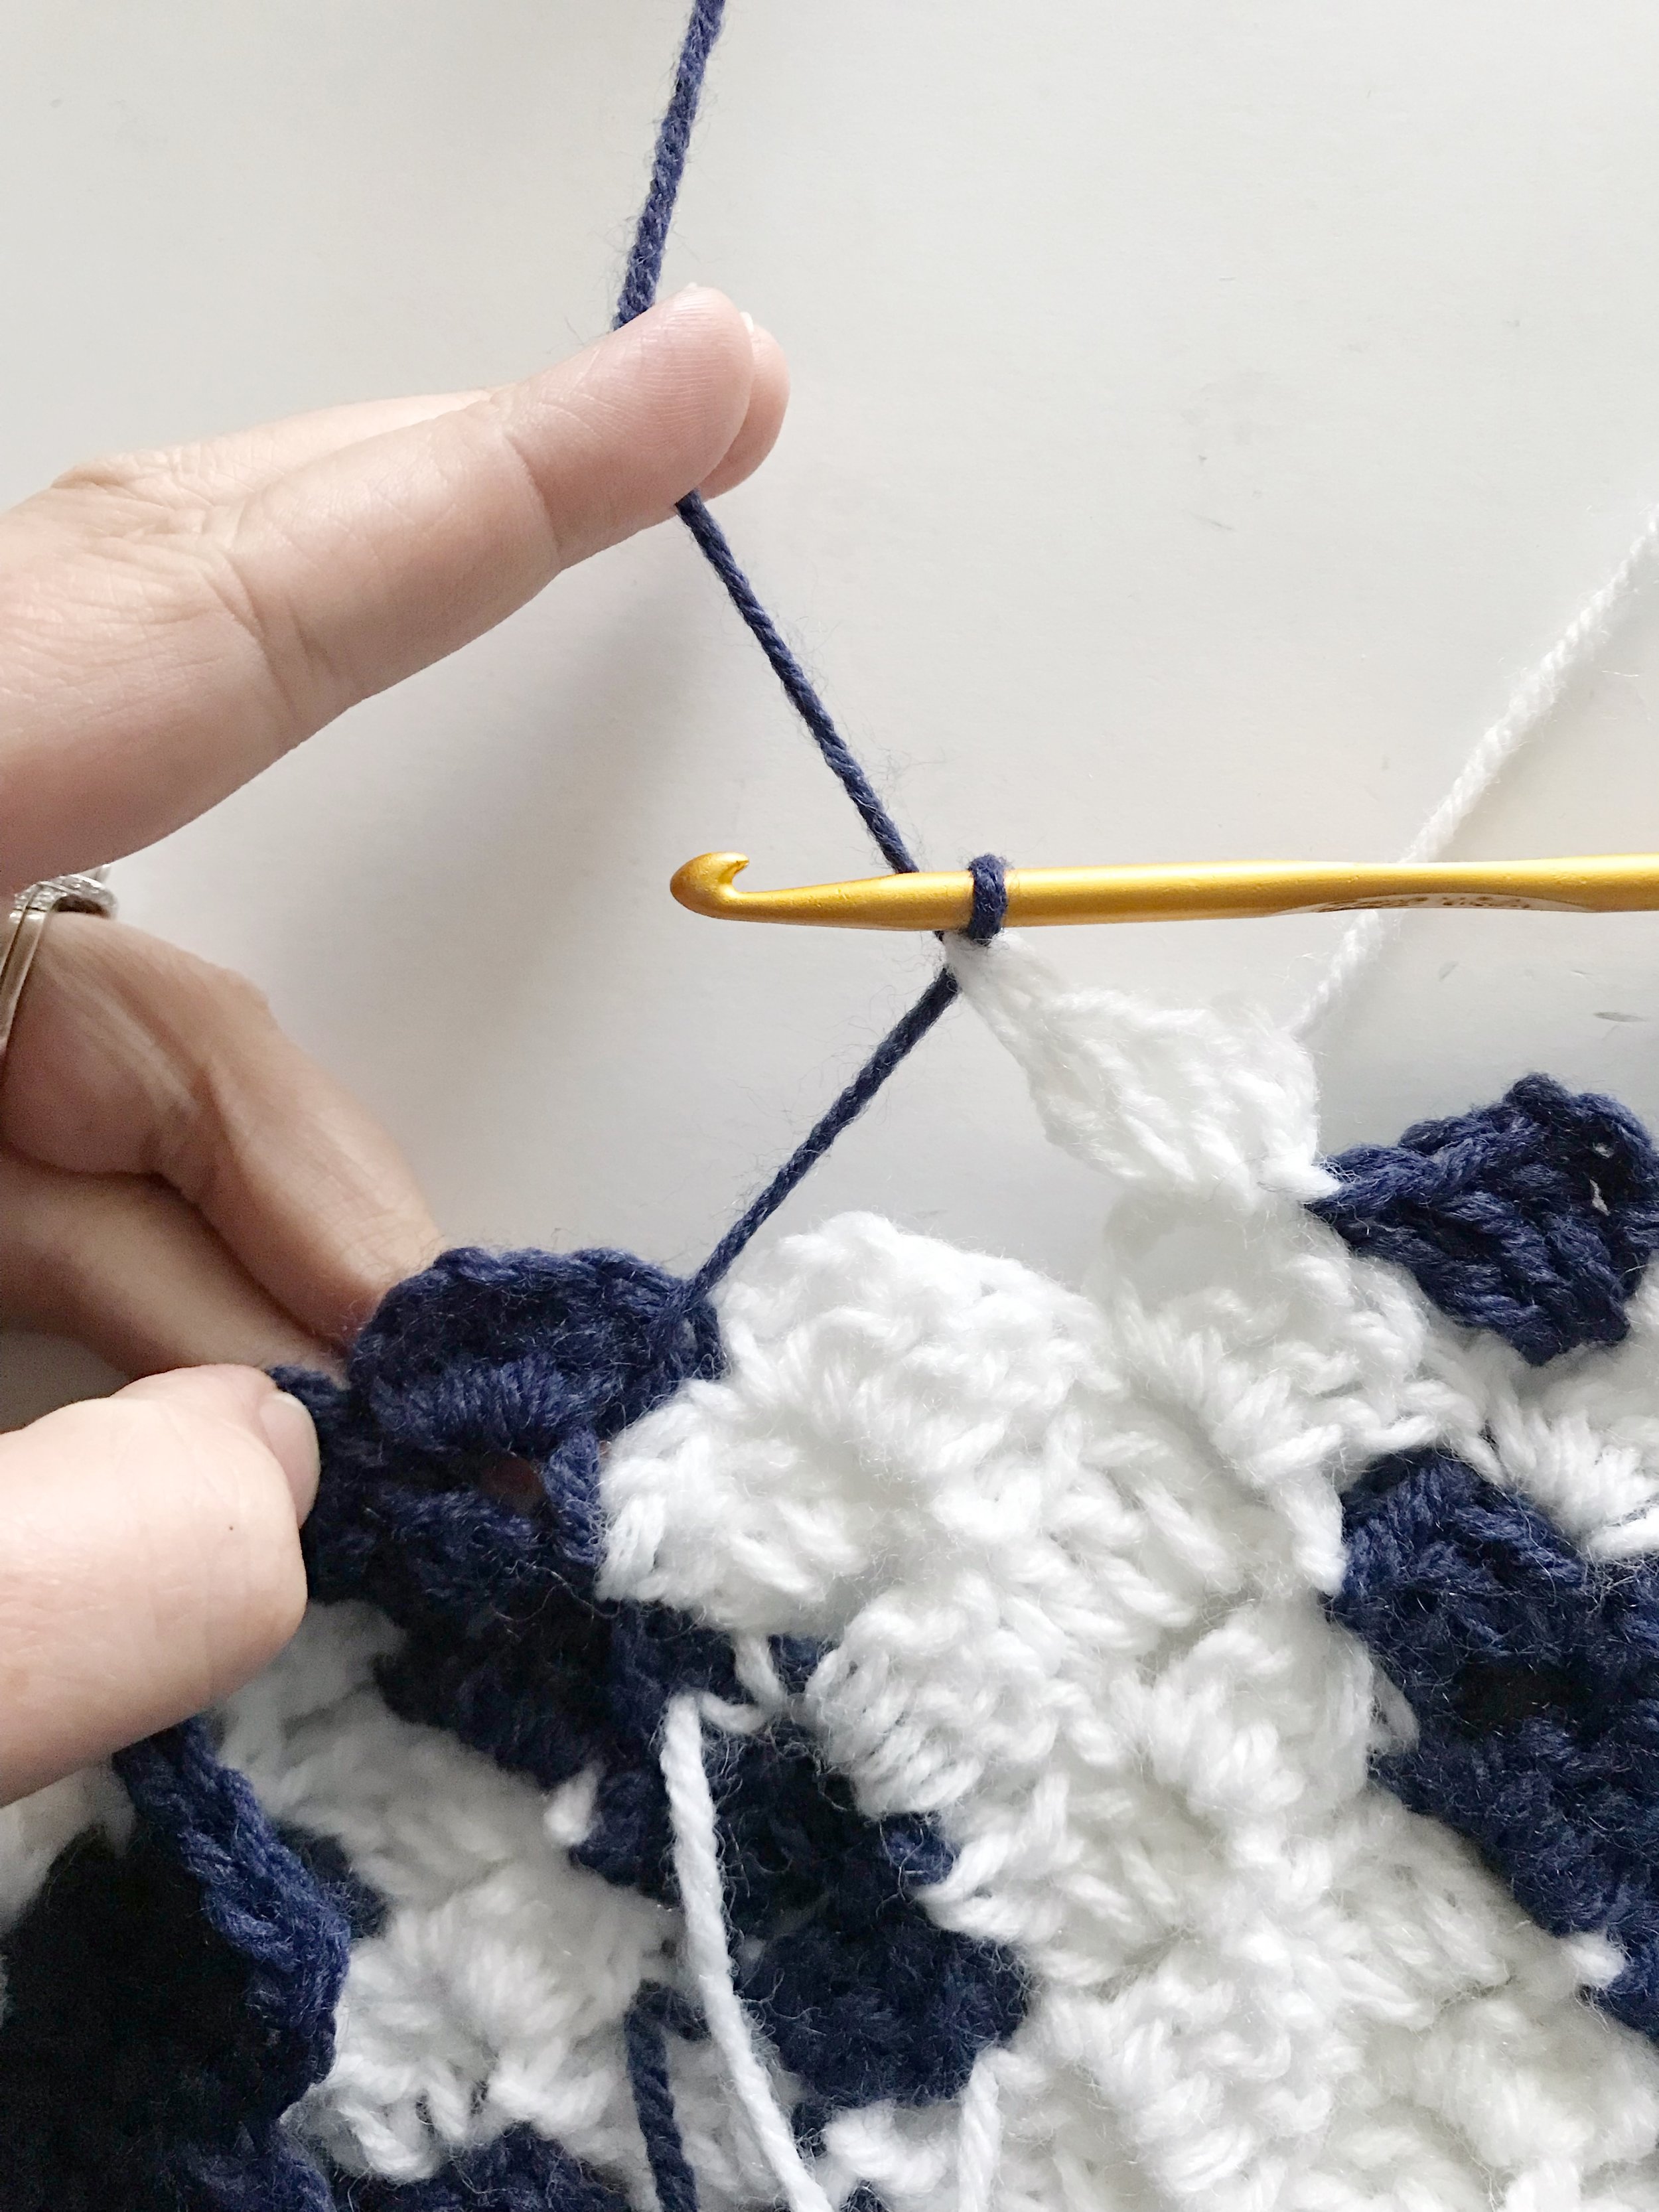
When you reach the color you want to carry slip your hook underneath it so you bring it up to the ch 3 of the stitch you will work on next. Slip stitch over both the yarn you want to carry and the ch 3. Continue to carry the yarn along for as many stitches as needed making sure to catch it and lay it across the ch 3 for each stitch.


I think I covered just about every color change situation you may come across. If the carrying techniques are still making you nervous, you can always cut off your yarn for each color change and leave a tail for weaving in. Even with using the carrying methods I usually have quite a few ends to weave in. I always bring all my ends to the wrong side of the blanket and weave in on that side so the front has a nice clean look.
If you are ready to tackle a fun corner to corner pattern check out my Holiday Graphgan Patterns. They are free on the blog and also available as a PDF in my shop. If you have any questions at all about c2c or color changing don’t hesitate to ask!
Happy Crocheting!
Meghan

