DIY Wall Art
I've been slowly getting our little apartment decorated. I figure it's about time to get things on the wall since we have been there almost 3 years! One of the reasons it has taken me so long is because I'm a bit of a DIY addict and even though I could buy ready made art work, I much prefer to do it myself.
Today I want to share with you how easy (and inexpensive) it can be to make your own home decor. I'll show you exactly how I did it from start to finish. Here is what you will need:

A picture frame with a solid backing or canvas, like this one
white gesso or while acrylic paint
small roller or large paint brush
black acrylic paint
fine tip paint brush
Paper, printer and Microsoft Publisher (or other word processing program)
pencil
tape

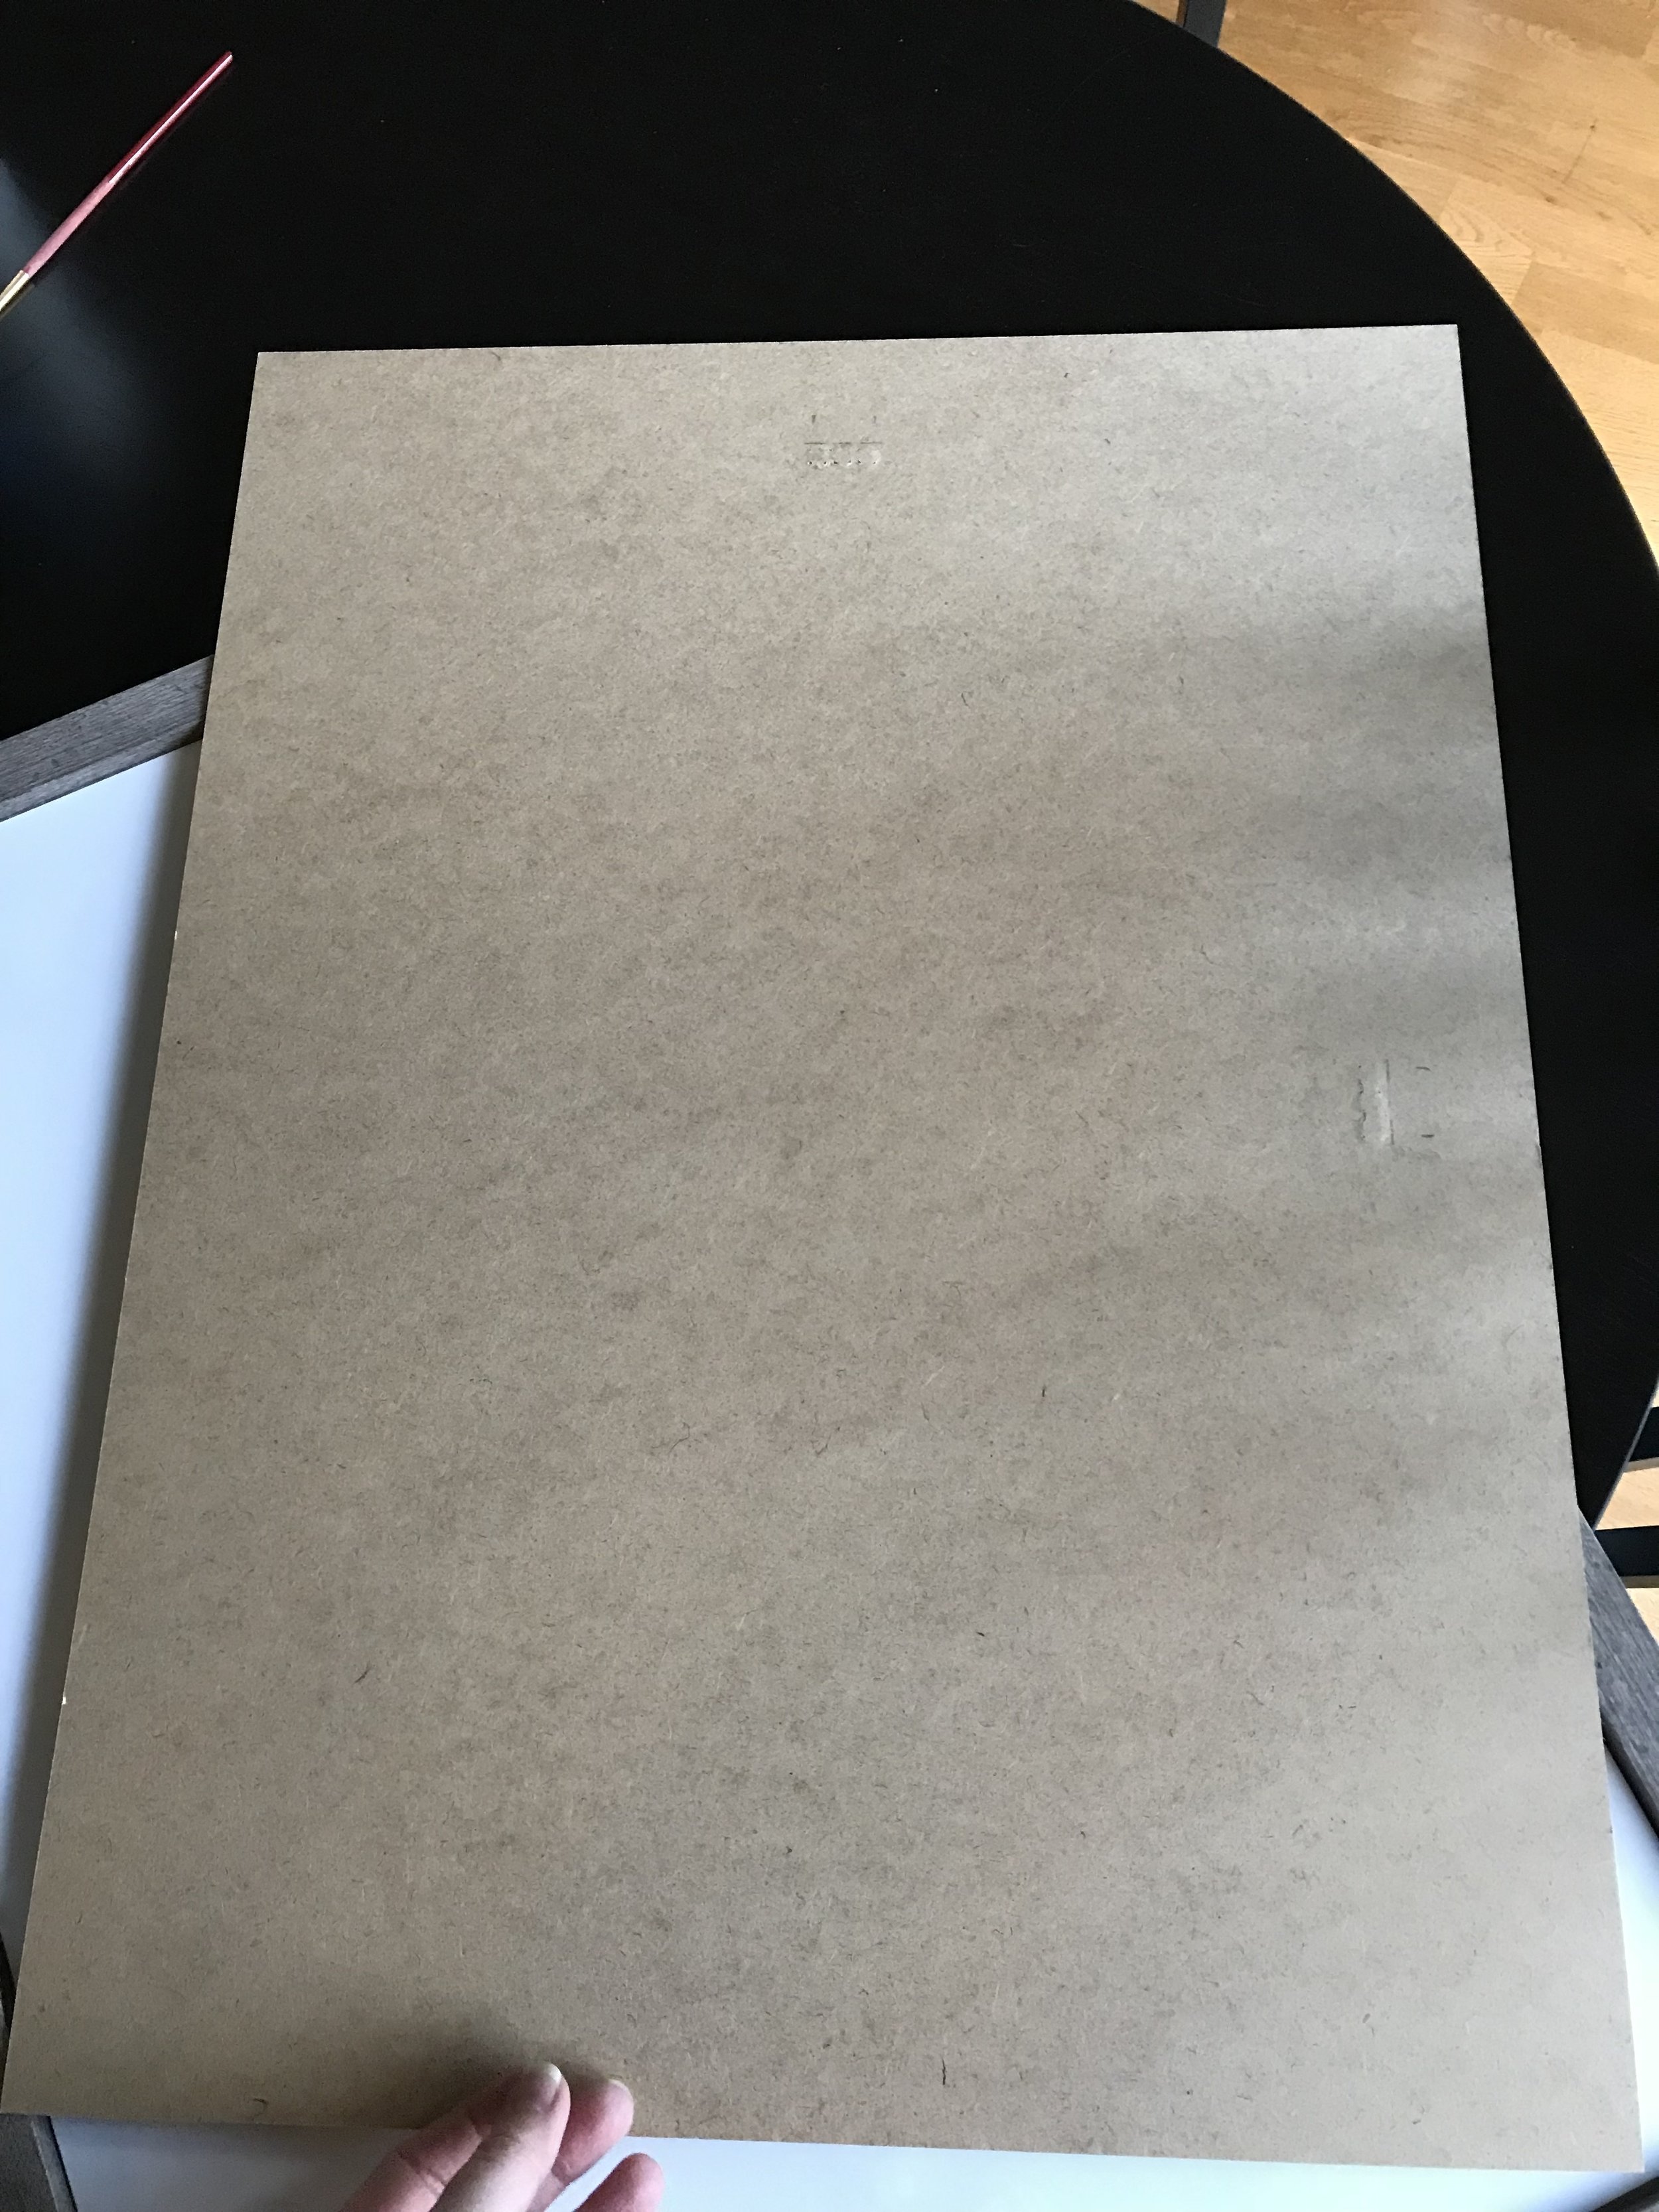
Step 1: Find a a frame in the size and shape that you want your wall art to be. I found an 18"X24" picture frame at Michael's. It was 60% off so only cost me around 12 dollars. You could also use a blank wrapped canvas if you prefer the unframed look.

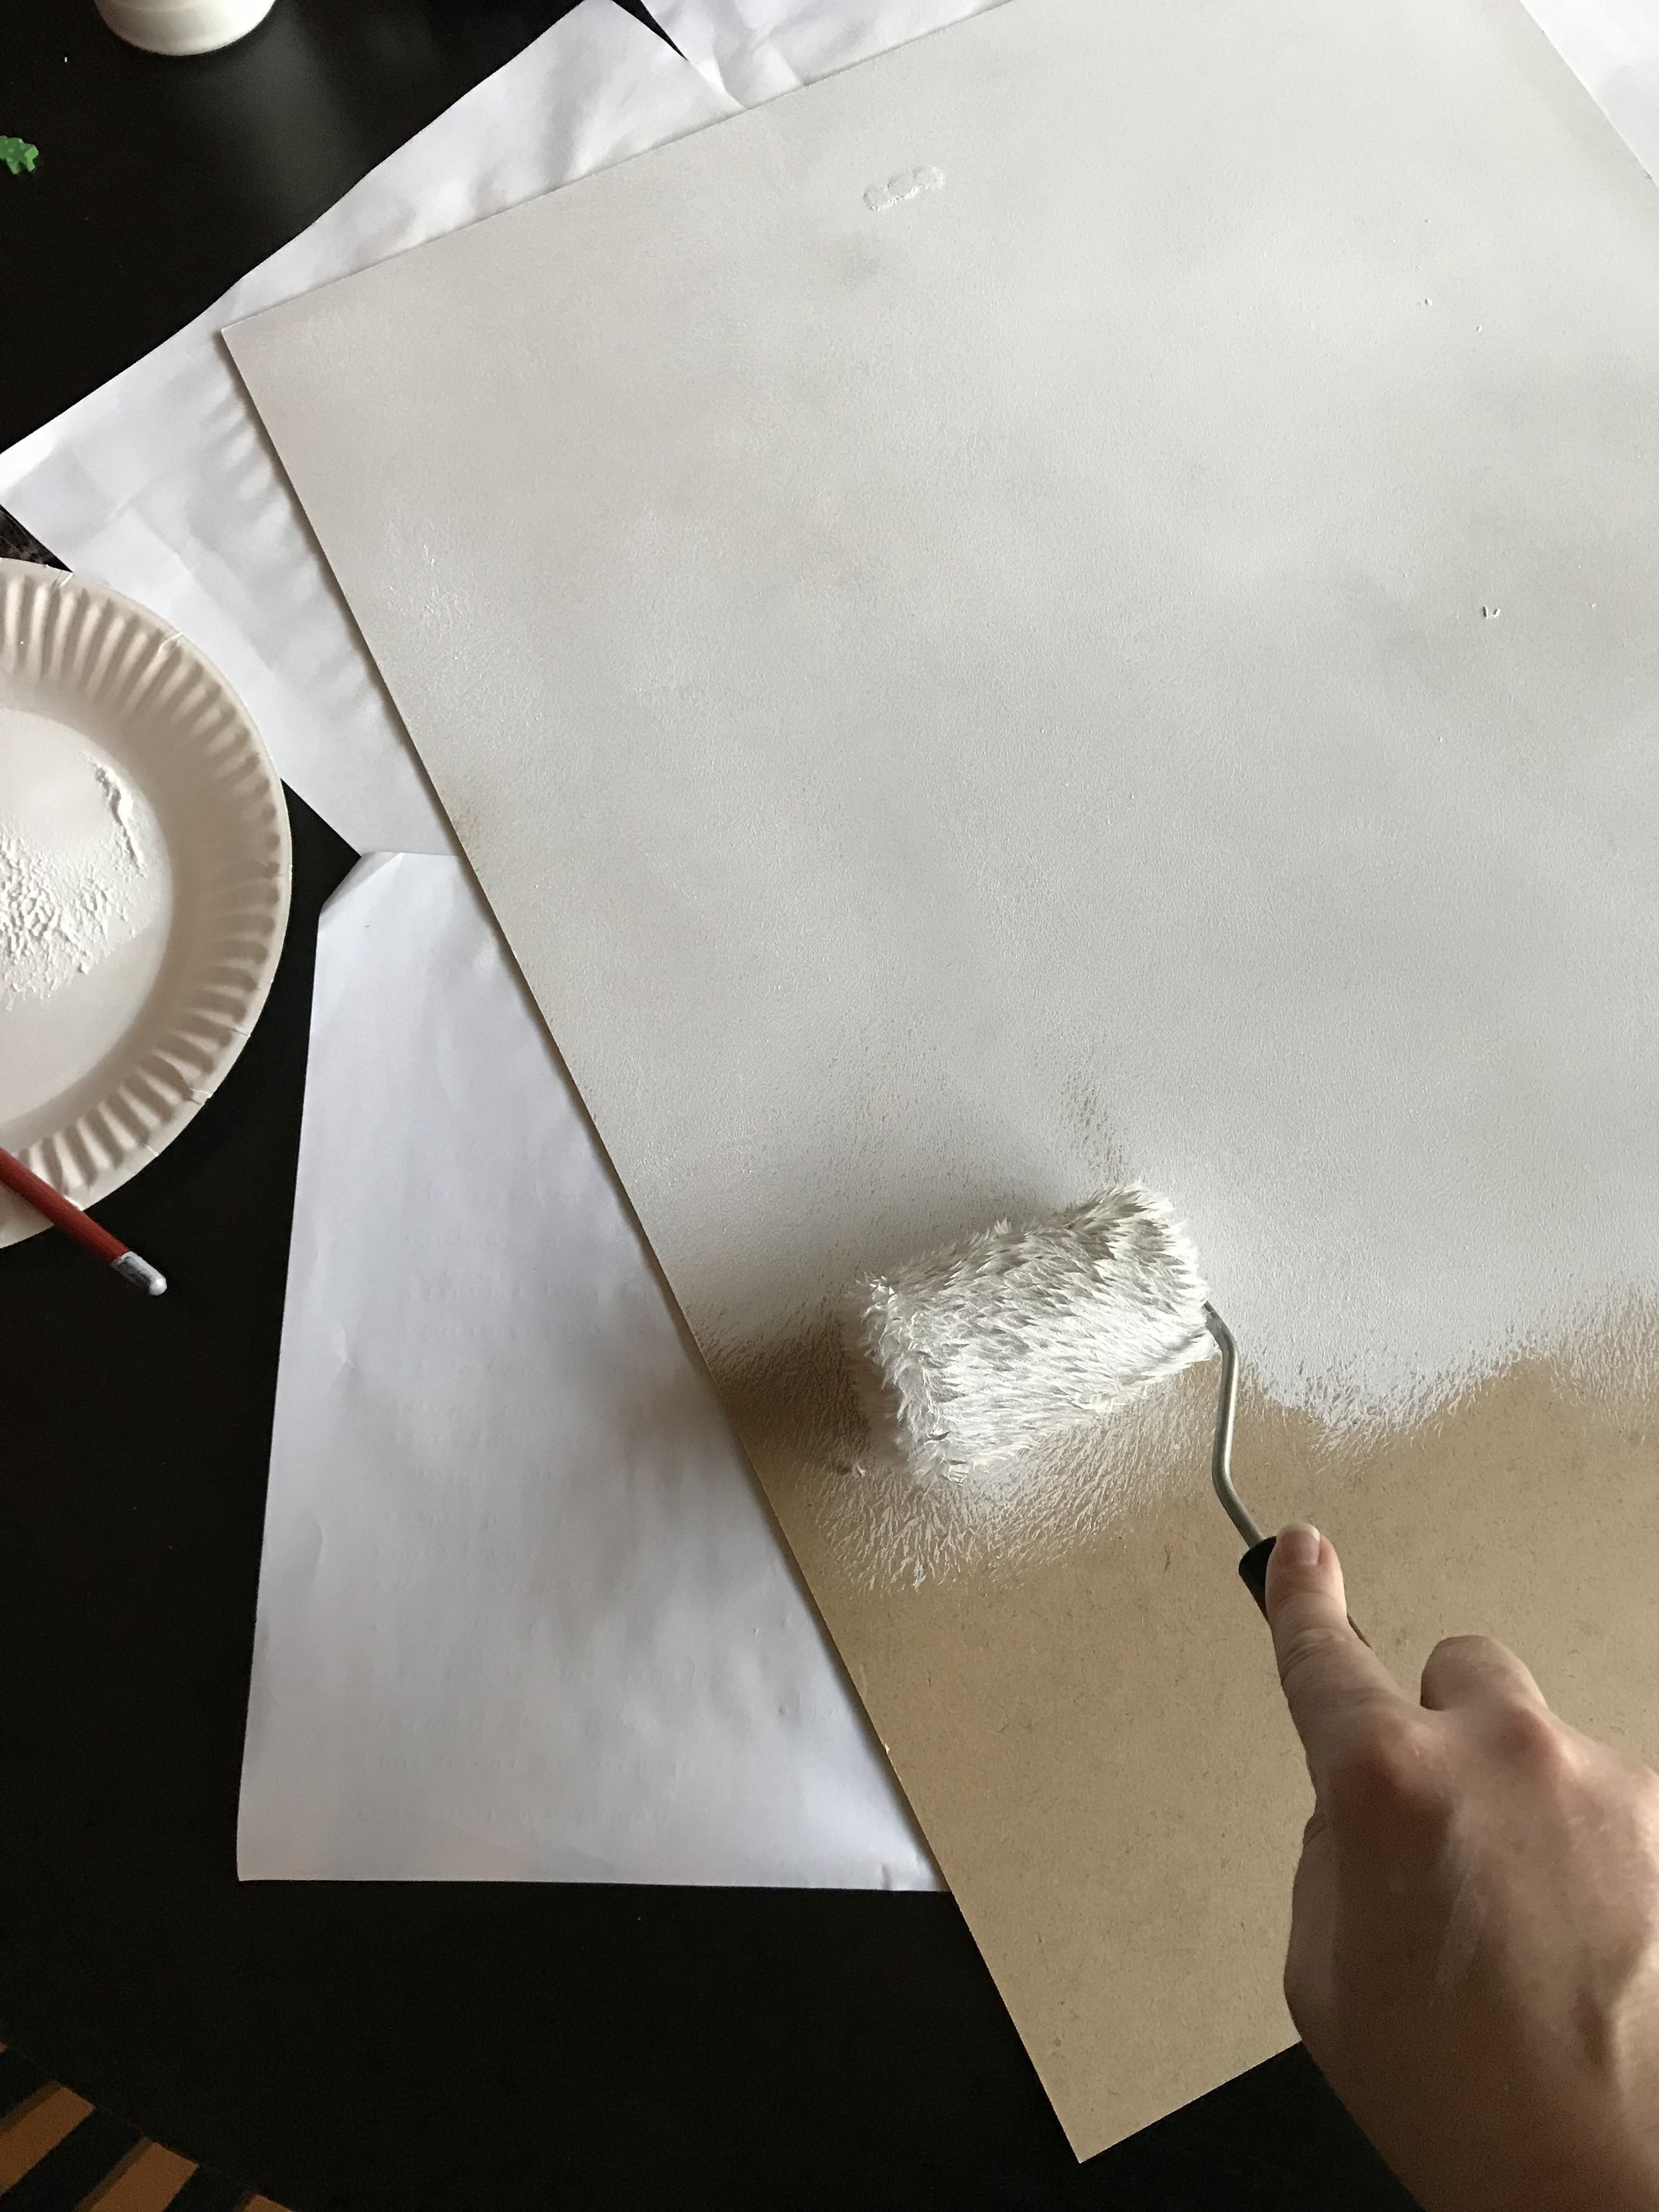
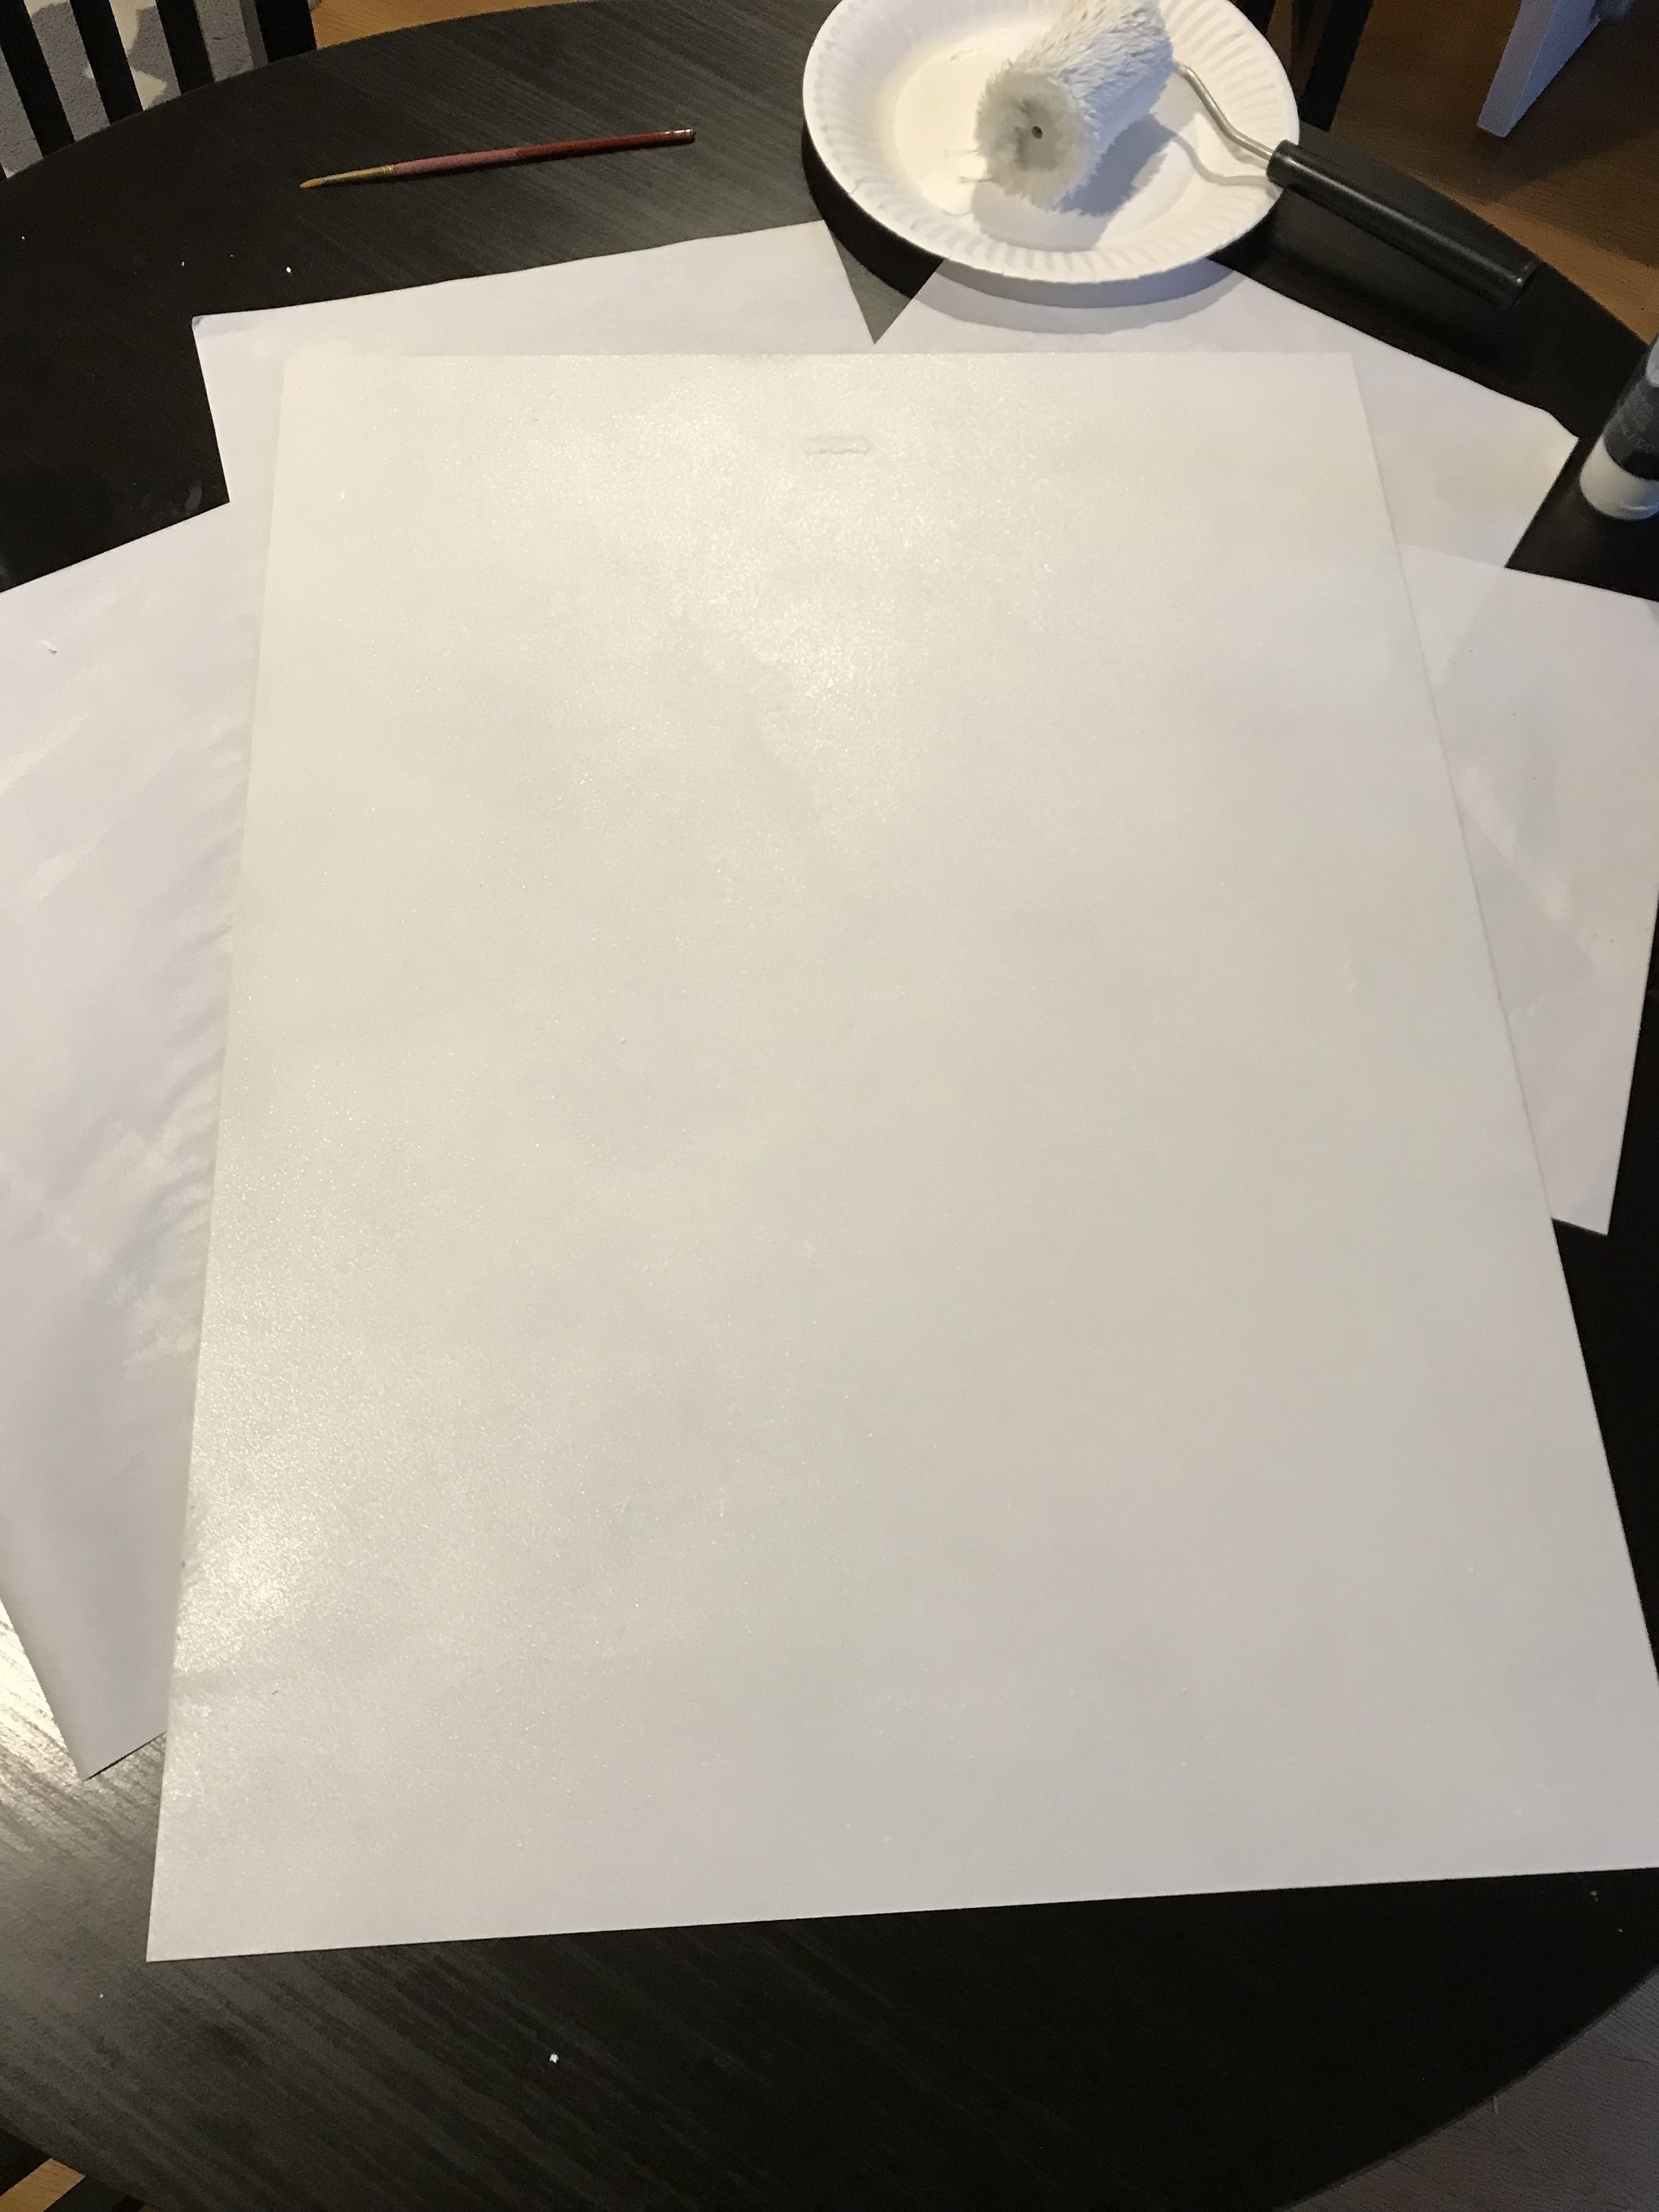
Step 2: Take the back off of the frame. The backing piece will be your canvas. Use gesso or acrylic paint to create a white background. I used Gesso to try to fill in the little spots where the hanging hardware was showing through. I did one coat of gesso and two coats of white acrylic paint.
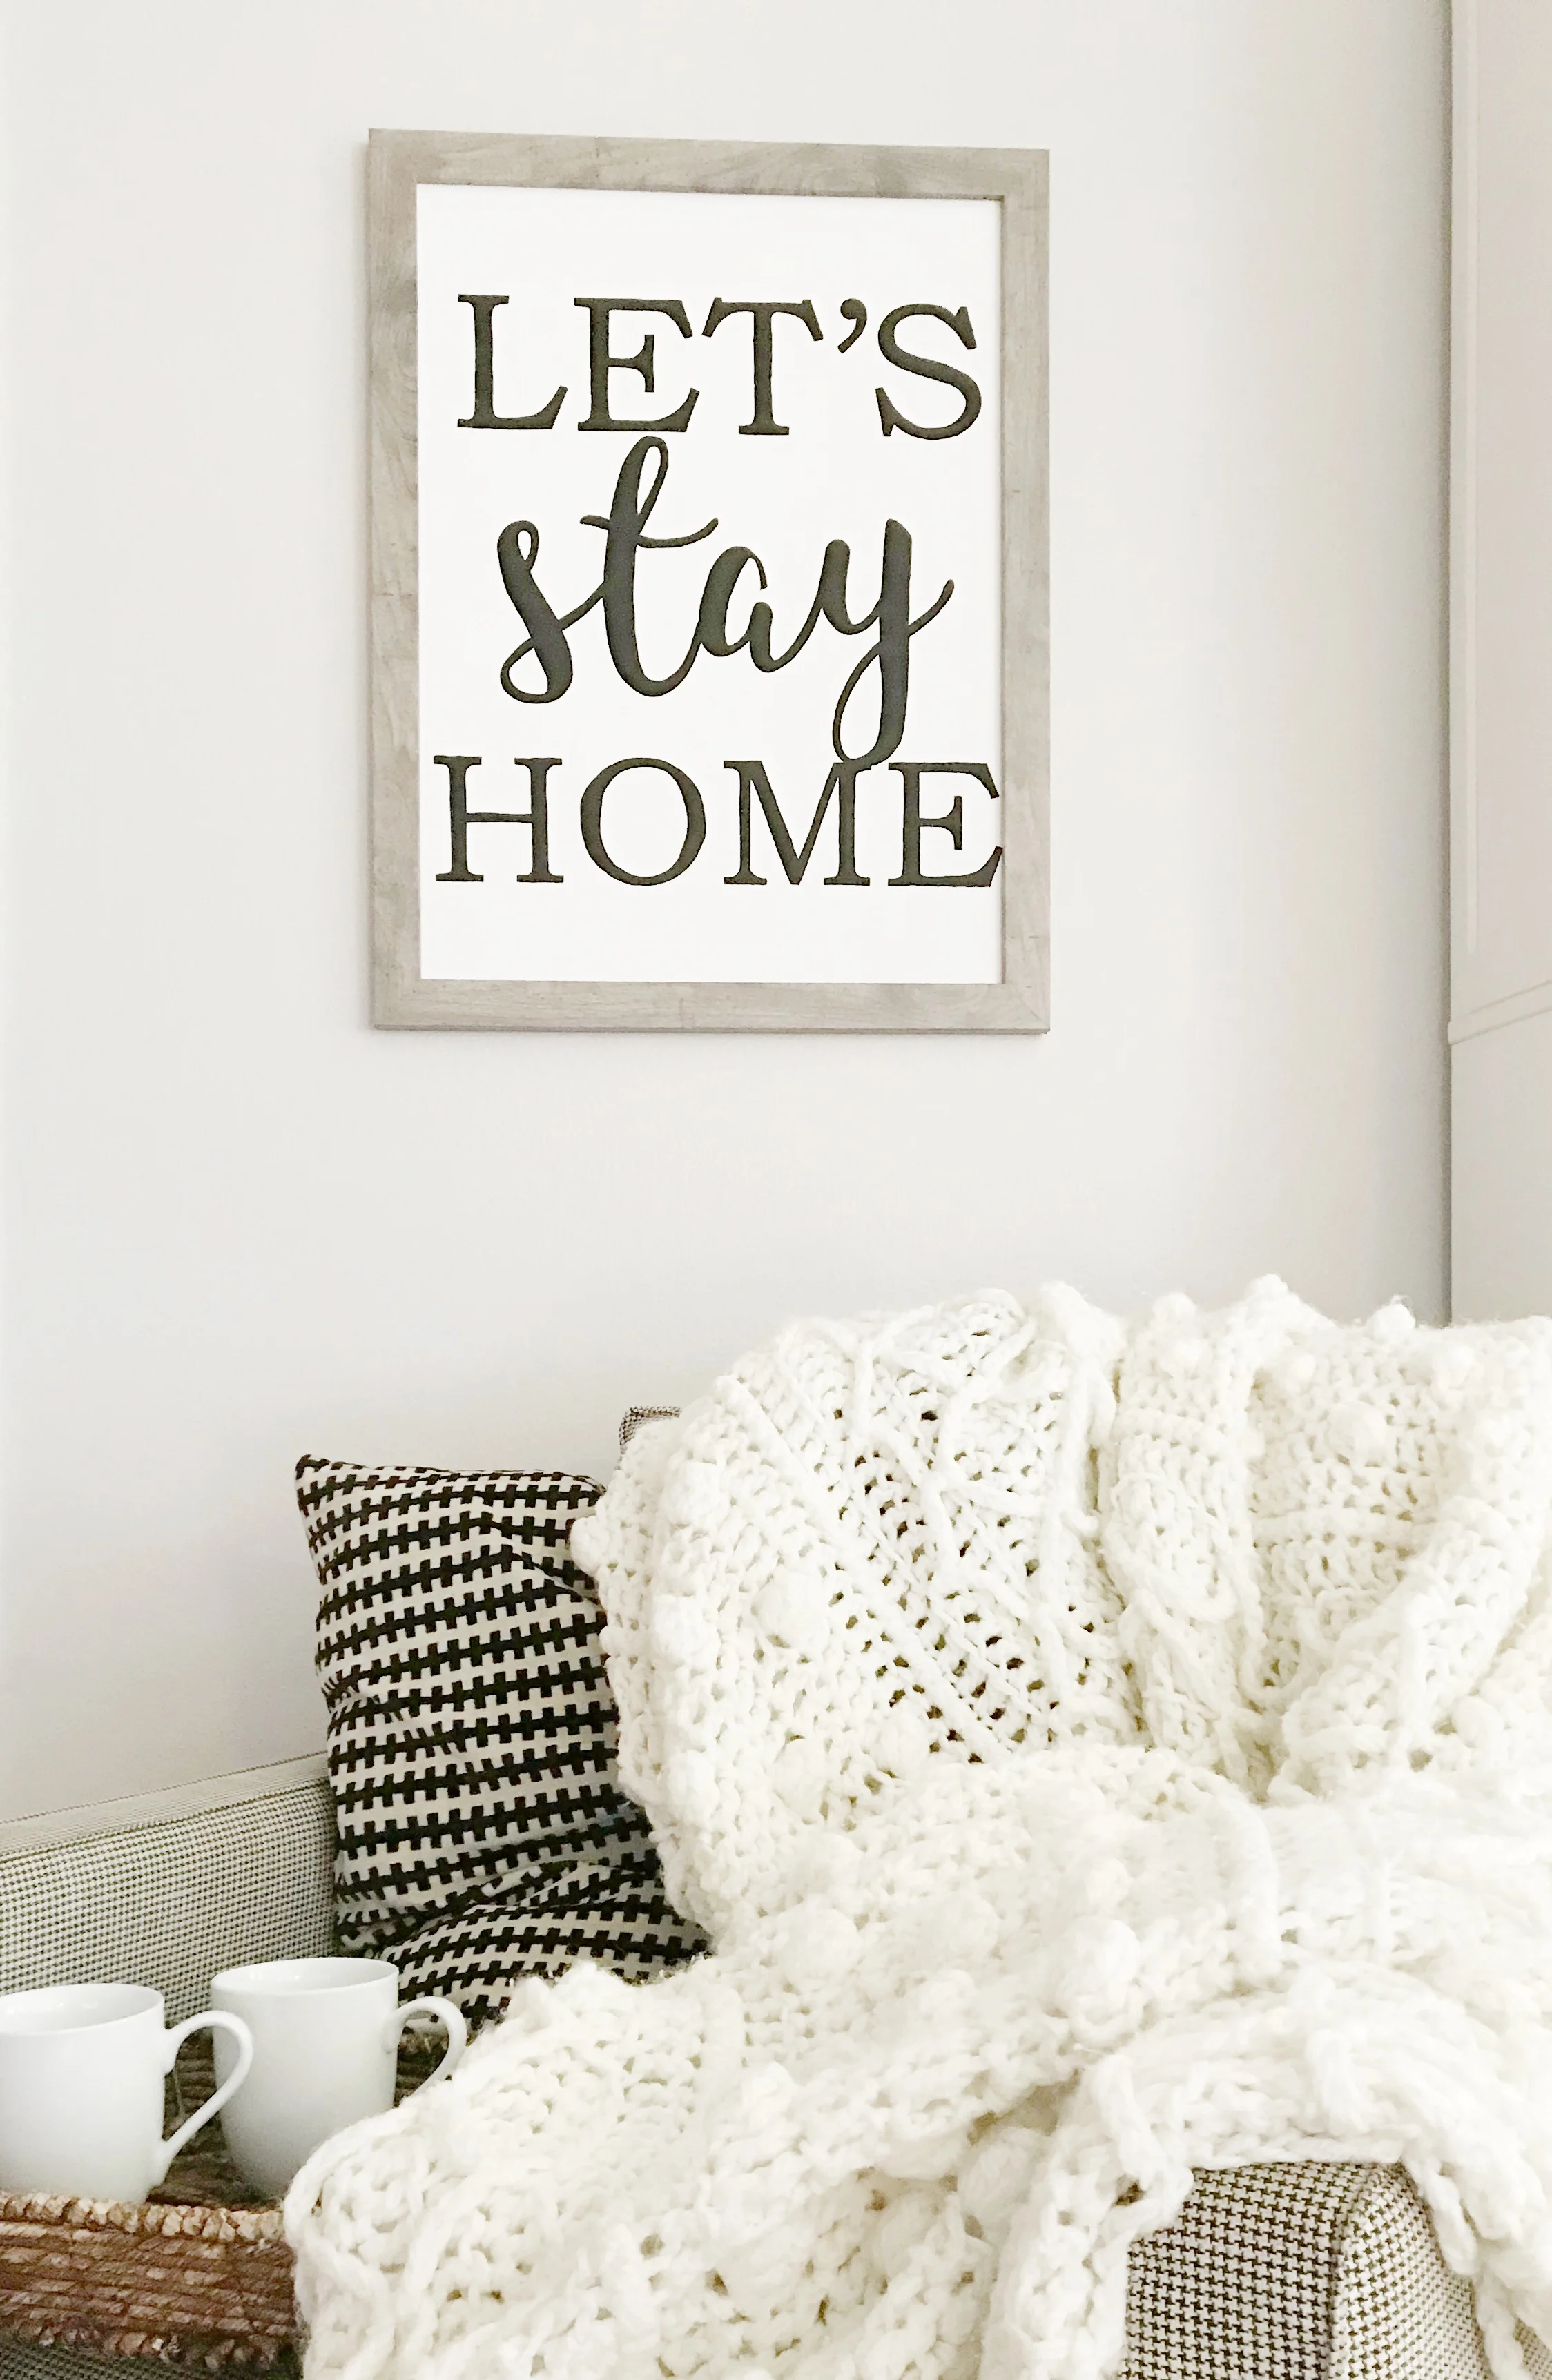
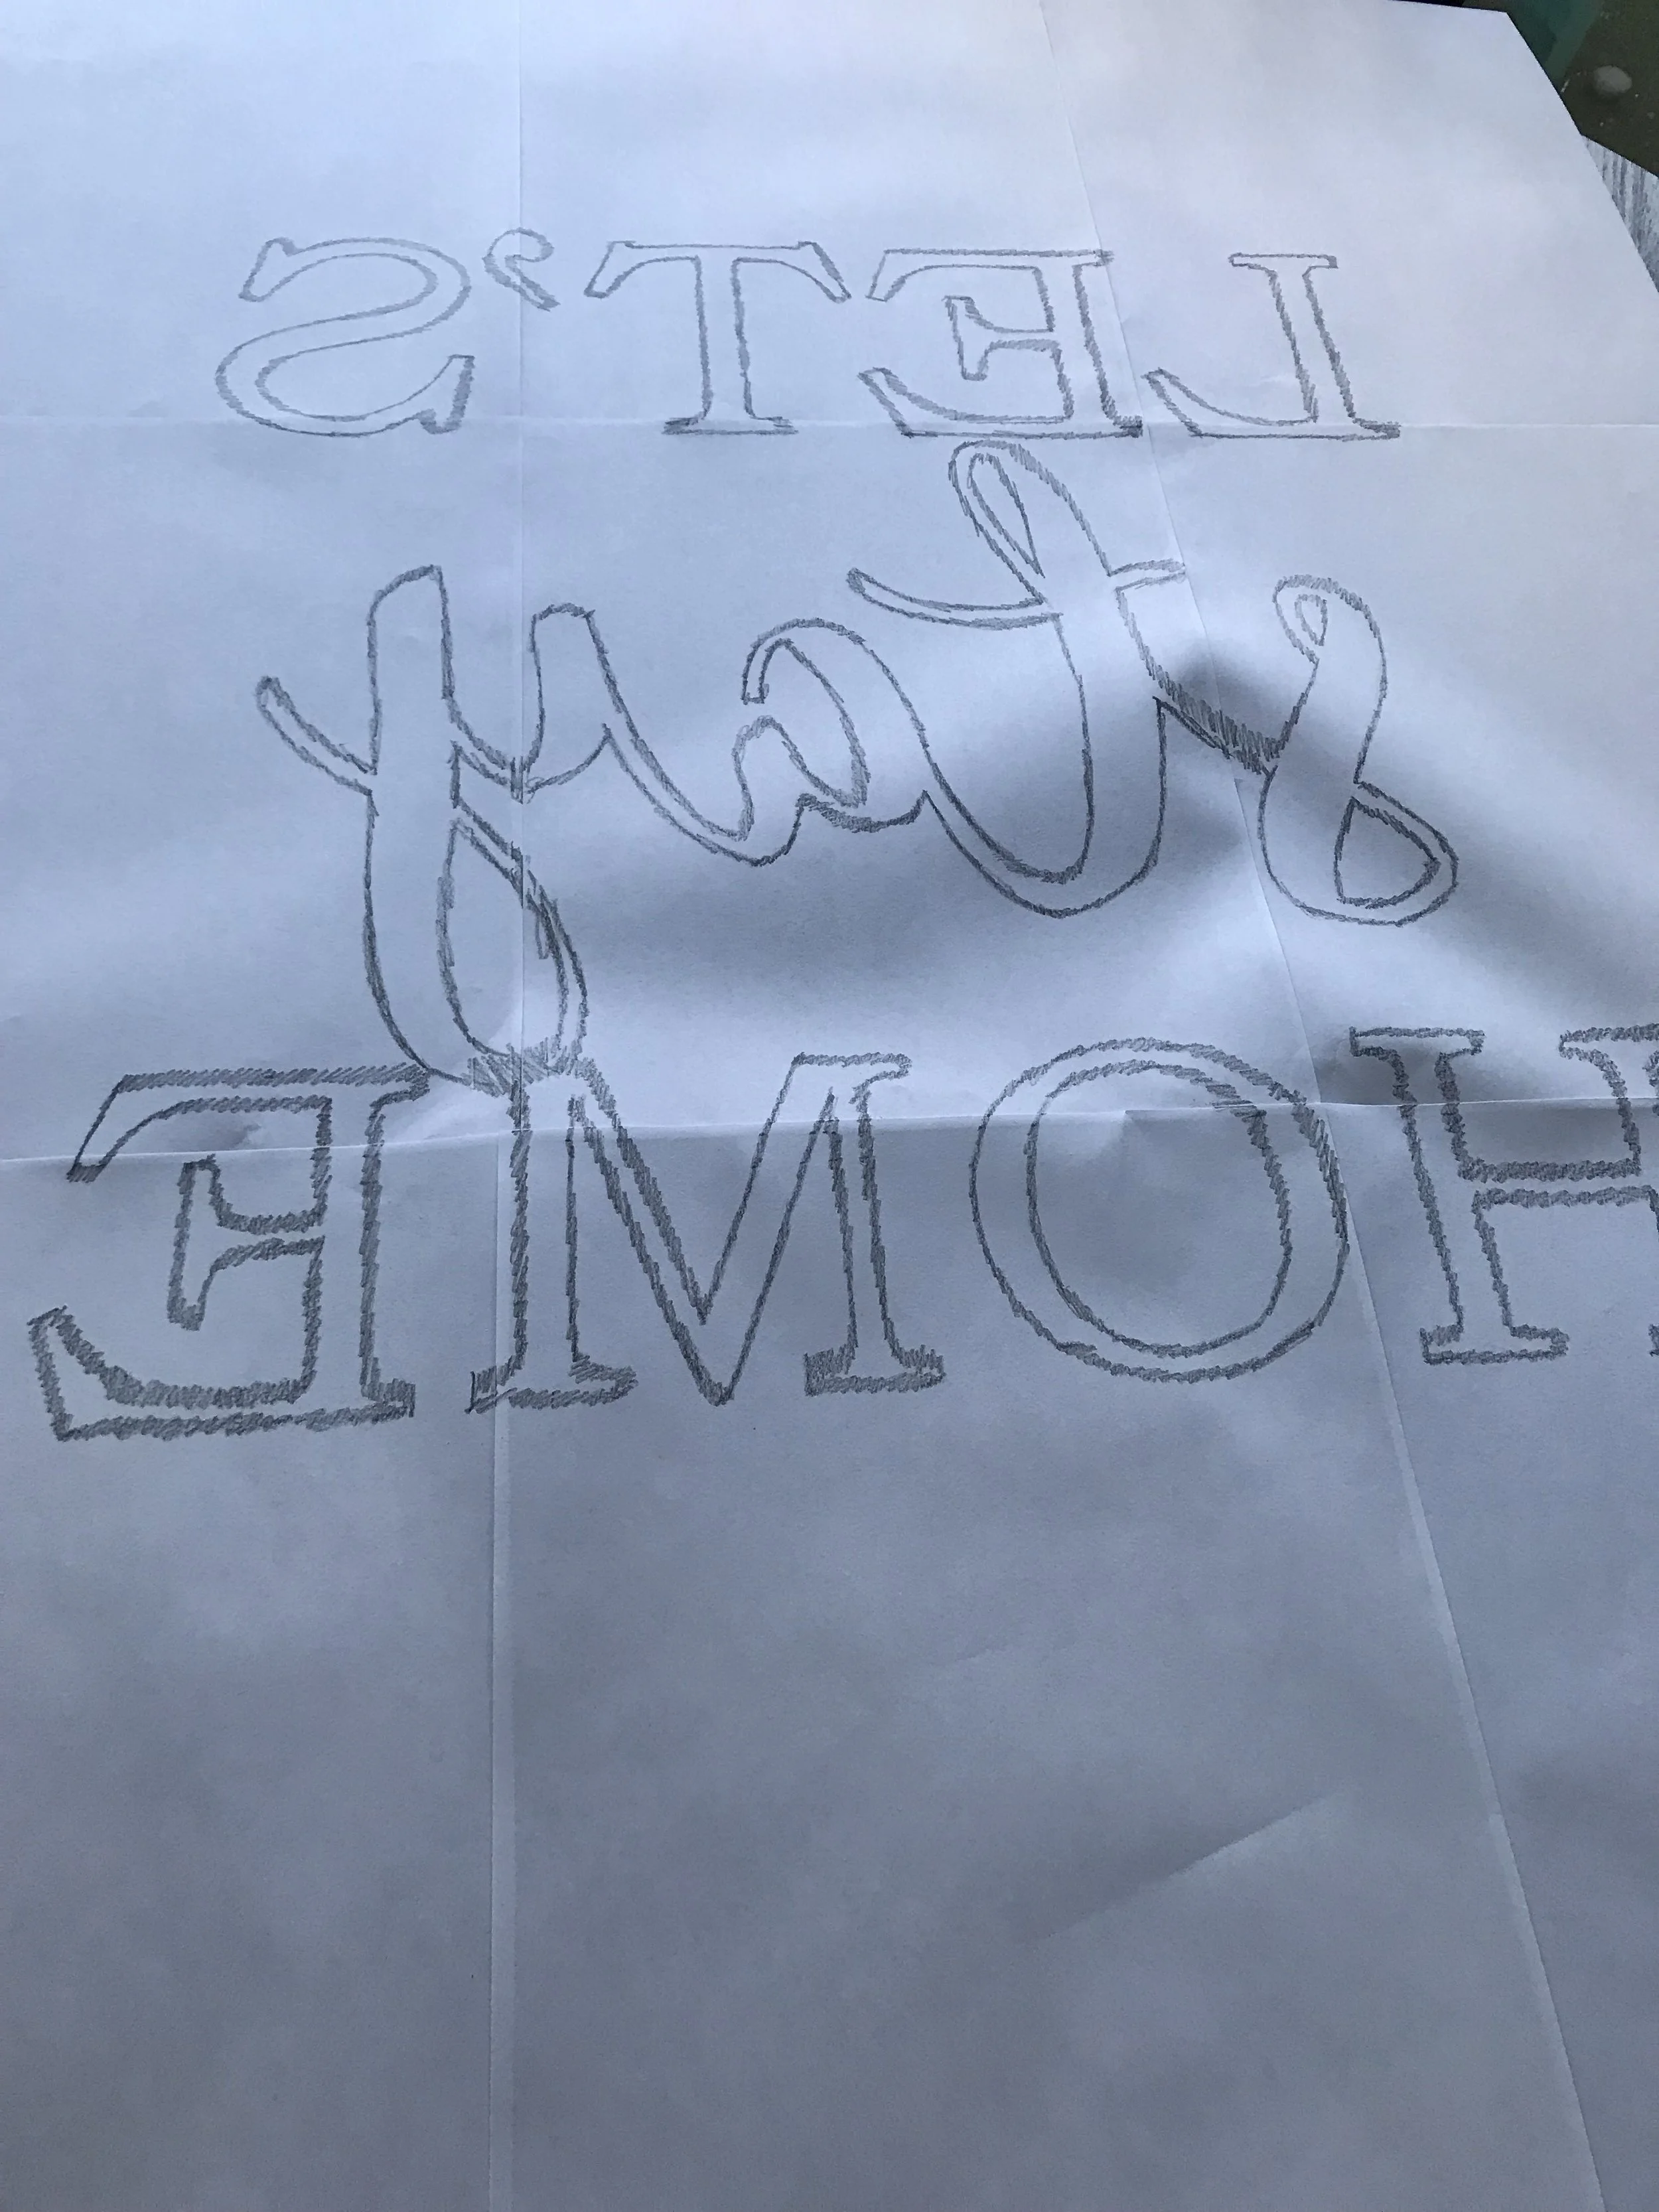
Step 3: While the backing dries, design and print your artwork. I used Microsoft Publisher to create my design for the saying "let's stay home."

When you first open a new document you will need to change the size of the document to fit the size of your frame. You can see above that for width and height I changed it to match the size of my frame. This will ensure that when you print your design it will fit on your canvas properly.

I also made sure that my page orientation matched the way I want my art work to be too.
I find it easiest to create a separate text box for each word in the saying so I have more control over the spacing between the words. I also like to use a mix of fonts, usually with at least one script font. In the image above you can see that each word is in it's own text box.
Take your time with the design part until you are happy with your image. You can change up the fonts and sizing until you get the desired look.
Once you have decided on a design, you will want to make all your words or shapes are outlines only. This will help save you some ink and make it a bit easier when tracing your design onto the canvas.

To change the words to outlines only, click on the text box and then click on format at the top under "text box tools." You will see a box where you can change the fill and outline of the text. You can change the text there or if you click on the bottom right corner of that box a larger box will pop up and you can change it there. (see above image)

Here is what my design looked like once I had all the text outlined only.
Now you will need to print your design. Since you already made your document the same size as your frame it should automatically offer you the option to tile your image for printing.

In the print screen you will be able to select the tiled option and you will see a preview of what it will look like once printed. If your frame is smaller than a regular piece of paper than you won't need to worry about the tiled print option.

Step 4: Print your design and cut and tape the pages together.
Step 5: Transfer your design to your canvas. The easiest way I've found to accomplish this is to flip the paper over and color on top of the outline with pencil.

If you are having trouble seeing the design from the back you can tape it to a large window or door to create a light box effect. Simply rub your pencil back and forth in small strokes around the outline of the words or design.
Once you have gone over the whole design you will have a mirror image on the back of your paper.

Make sure your canvas/backing is dry. Then lay down your design right side up so it is where you want it to be. You can see the outline of my backing under the paper design. You can also cut down your design so it doesn't hang off the edge of your canvas. Then you can tape it down so it won't move for the next step.
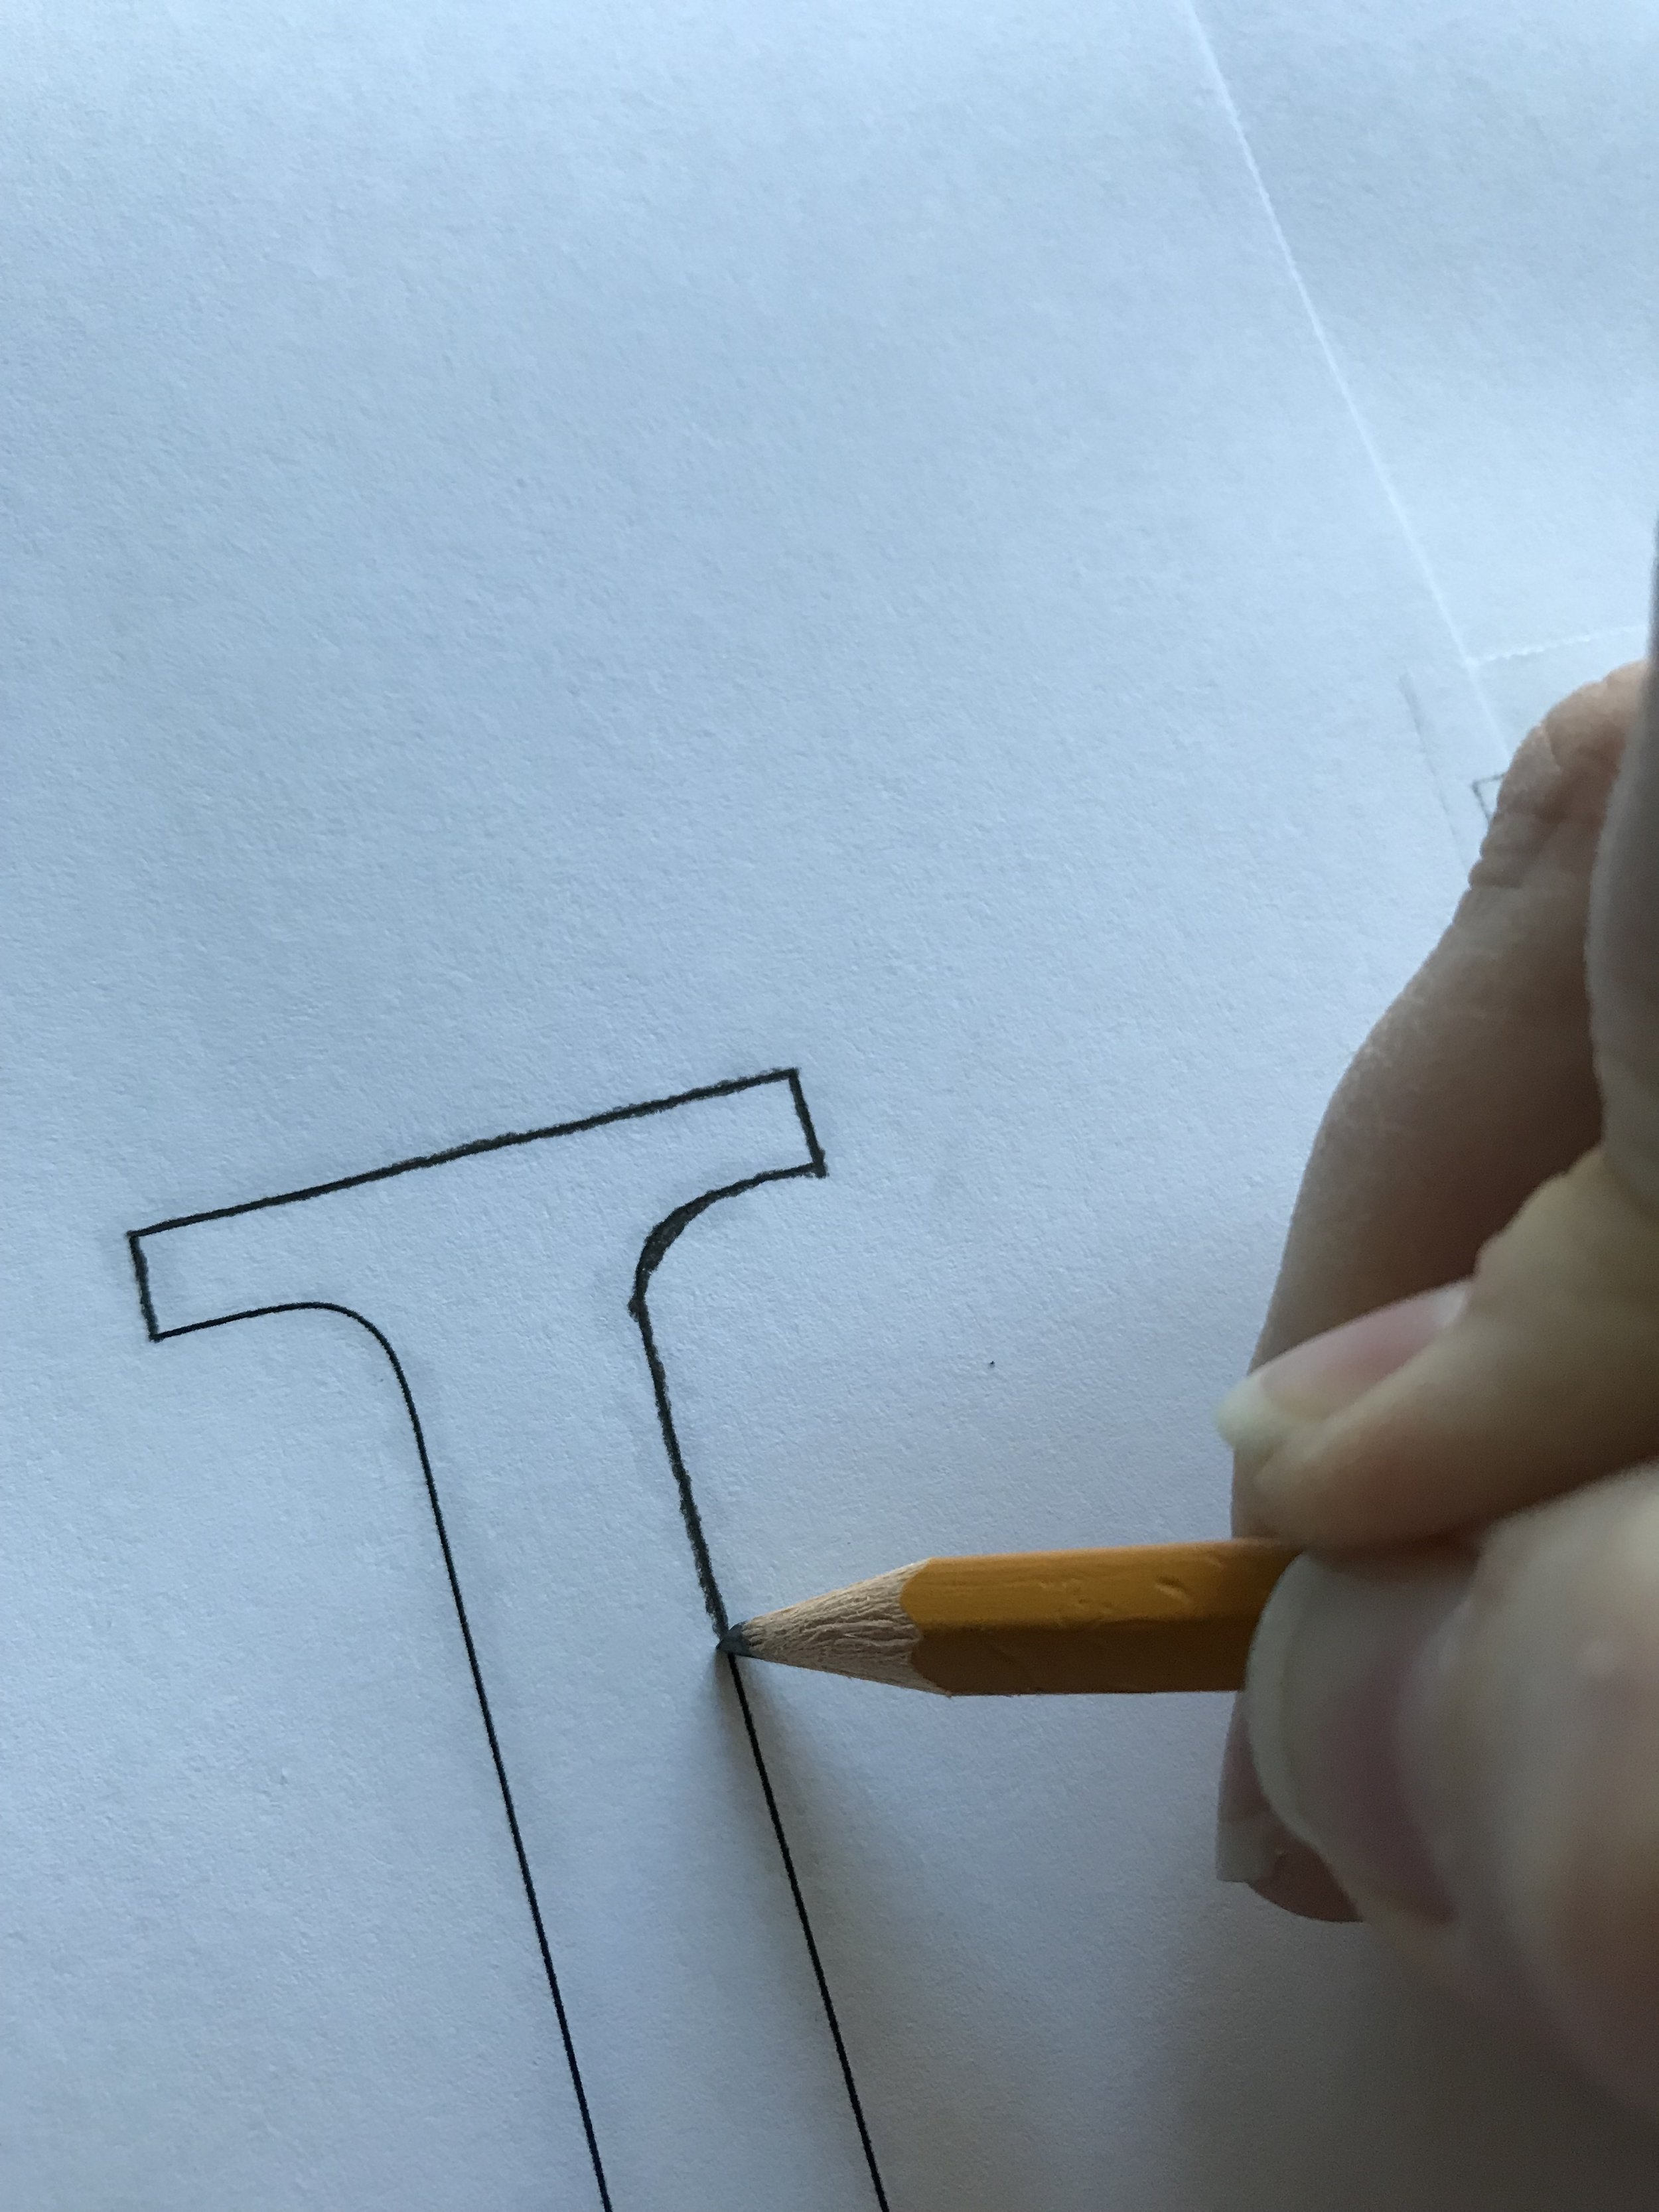
Step 6: Pressing firmly trace over the whole design with a pencil.

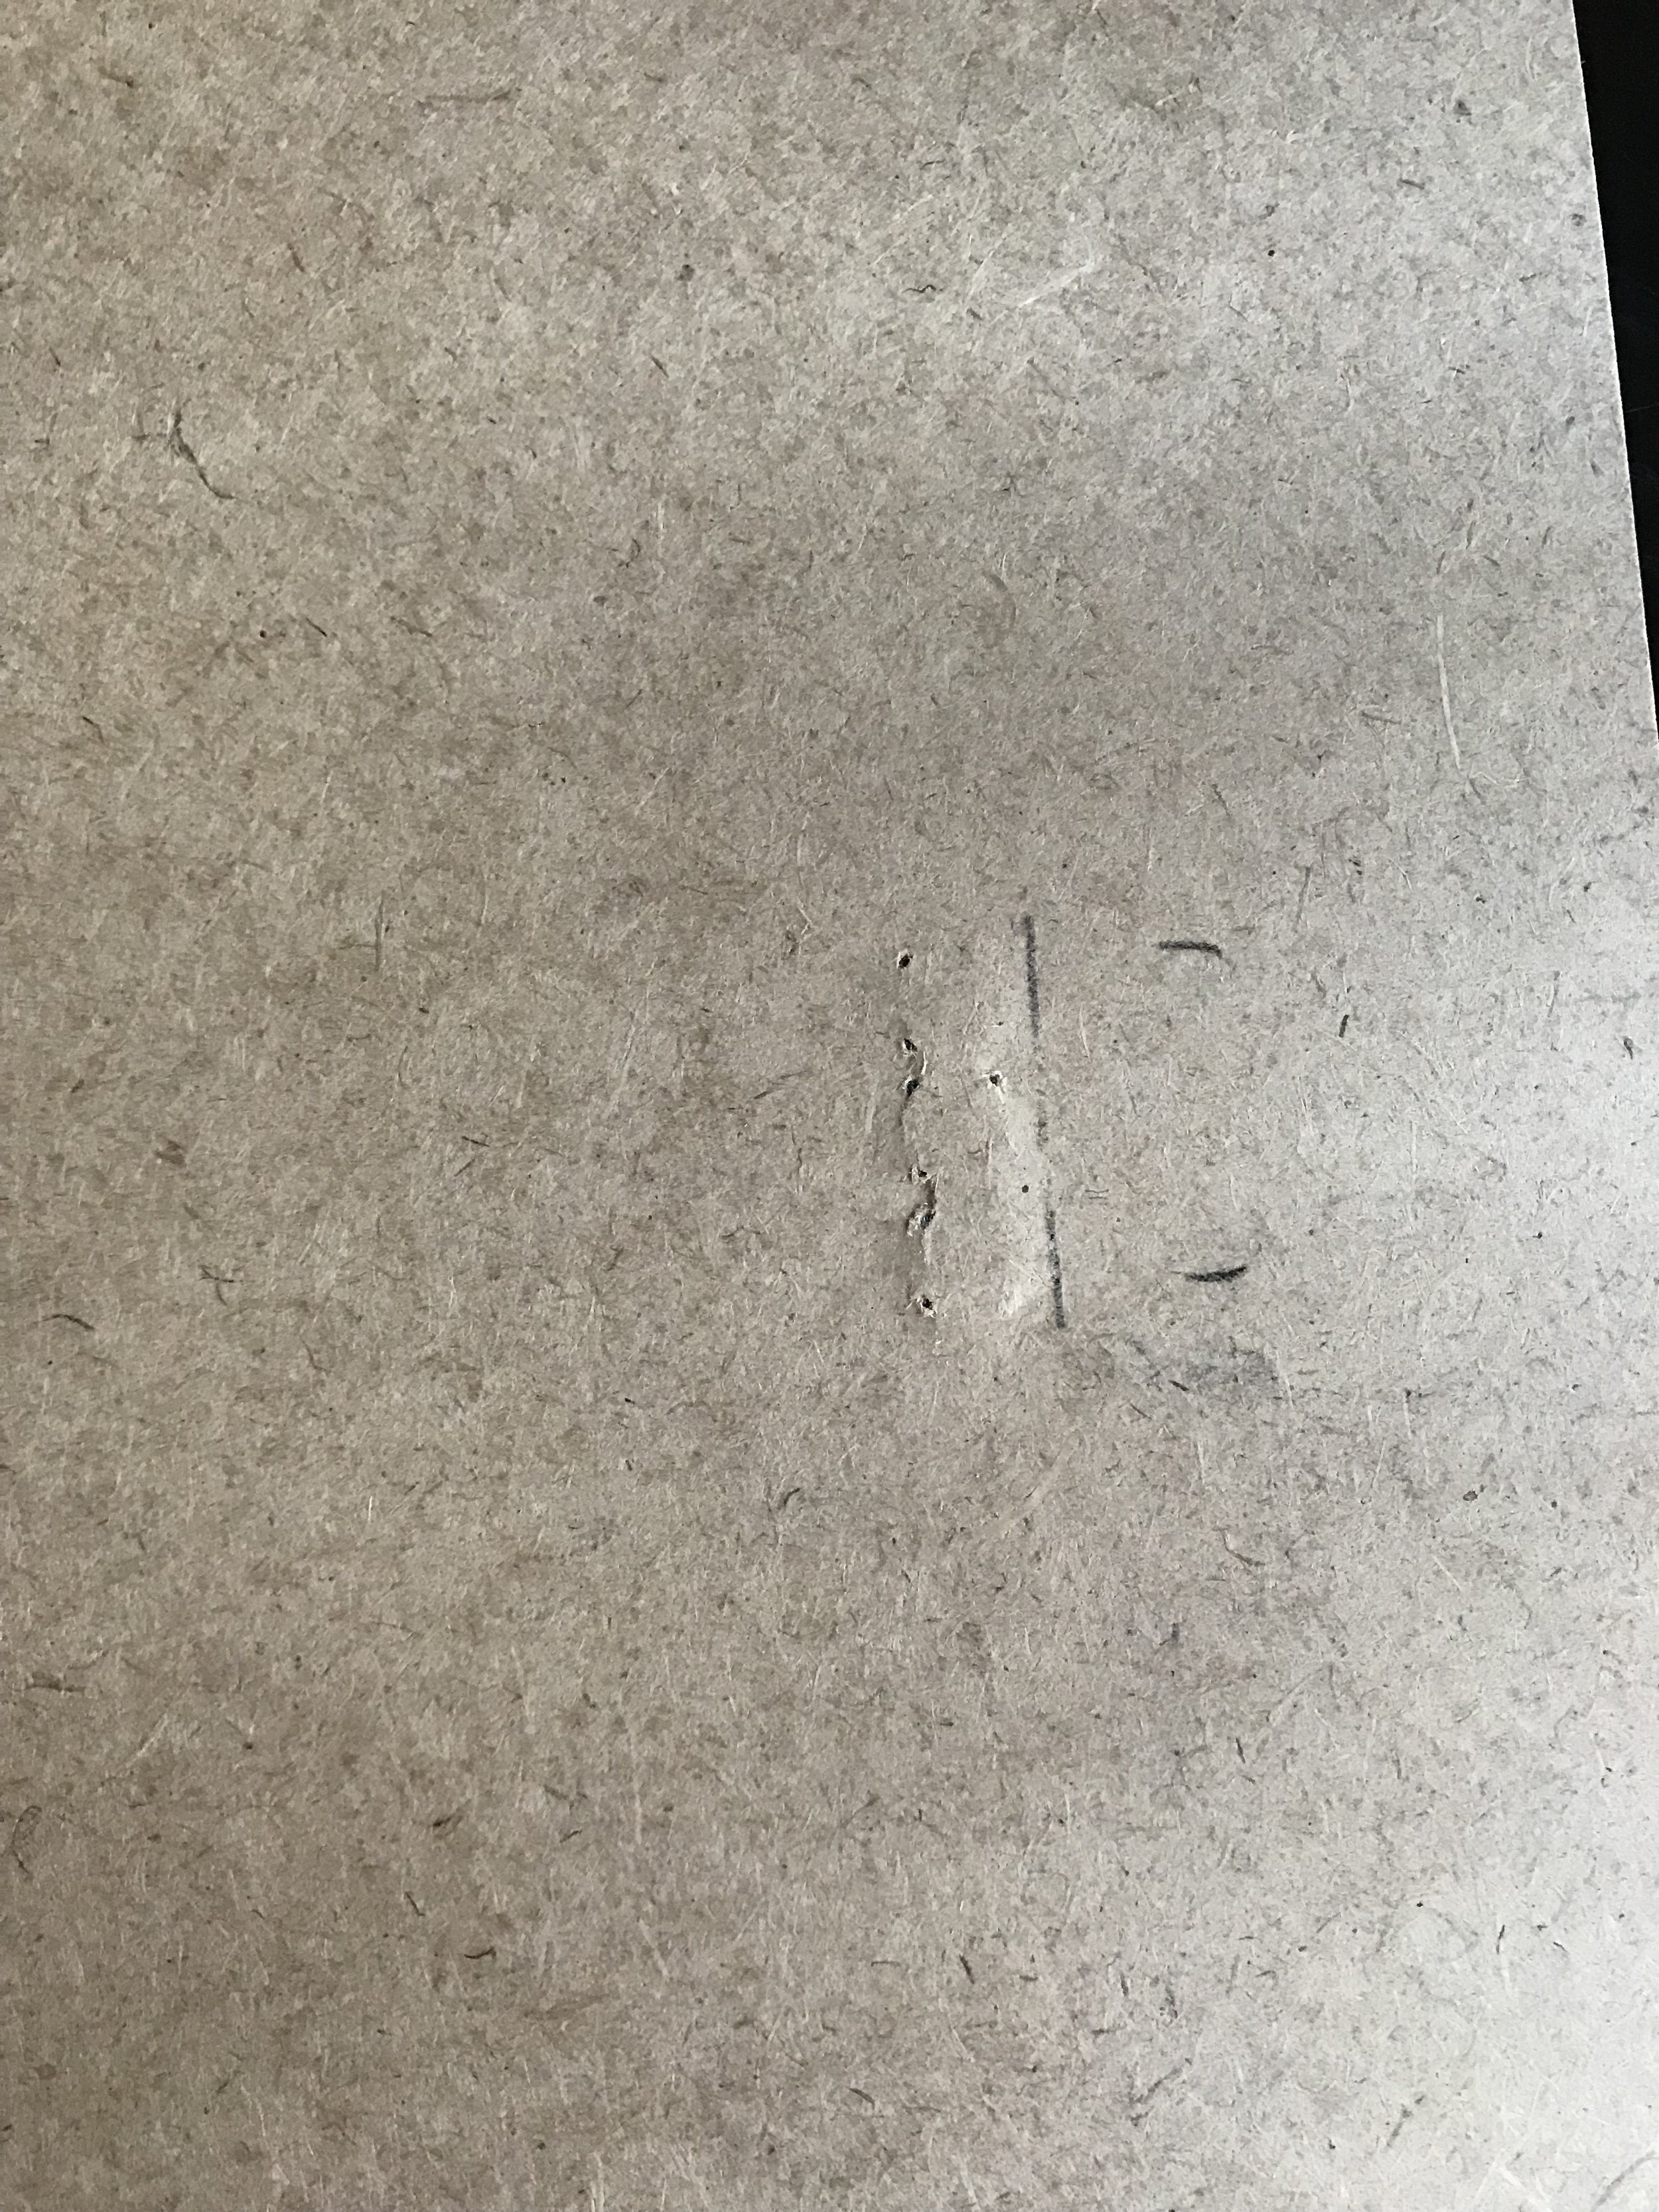
Because of the pencil rubbing on the back, when you trace over the front your design will transfer to the canvas perfectly. (Don't mind the little chunks of gesso on my backing, I don't mind the texture :)

Here is what mine looked like once I had traced the whole design.
Hello, World!

Step 7: Using a fine tip paint brush fill in the words with black paint. I find it helpful to paint the outline first and then fill in the rest. I go very slow and try to be as careful as I can. It probably took me about 2-3 hours to paint this sign, but it was worth it for me since it saved me so much money!
Step 8: Once the paint has dried completely, put the backing back into the frame. I chose not to put the glass back in because I didn't like the glare on my artwork. Either way will work.

I recommend using 3M picture hanging hooks to hang your piece when finished, especially if you used the backing as your canvas.
Then hang your piece and enjoy your new handmade art work!