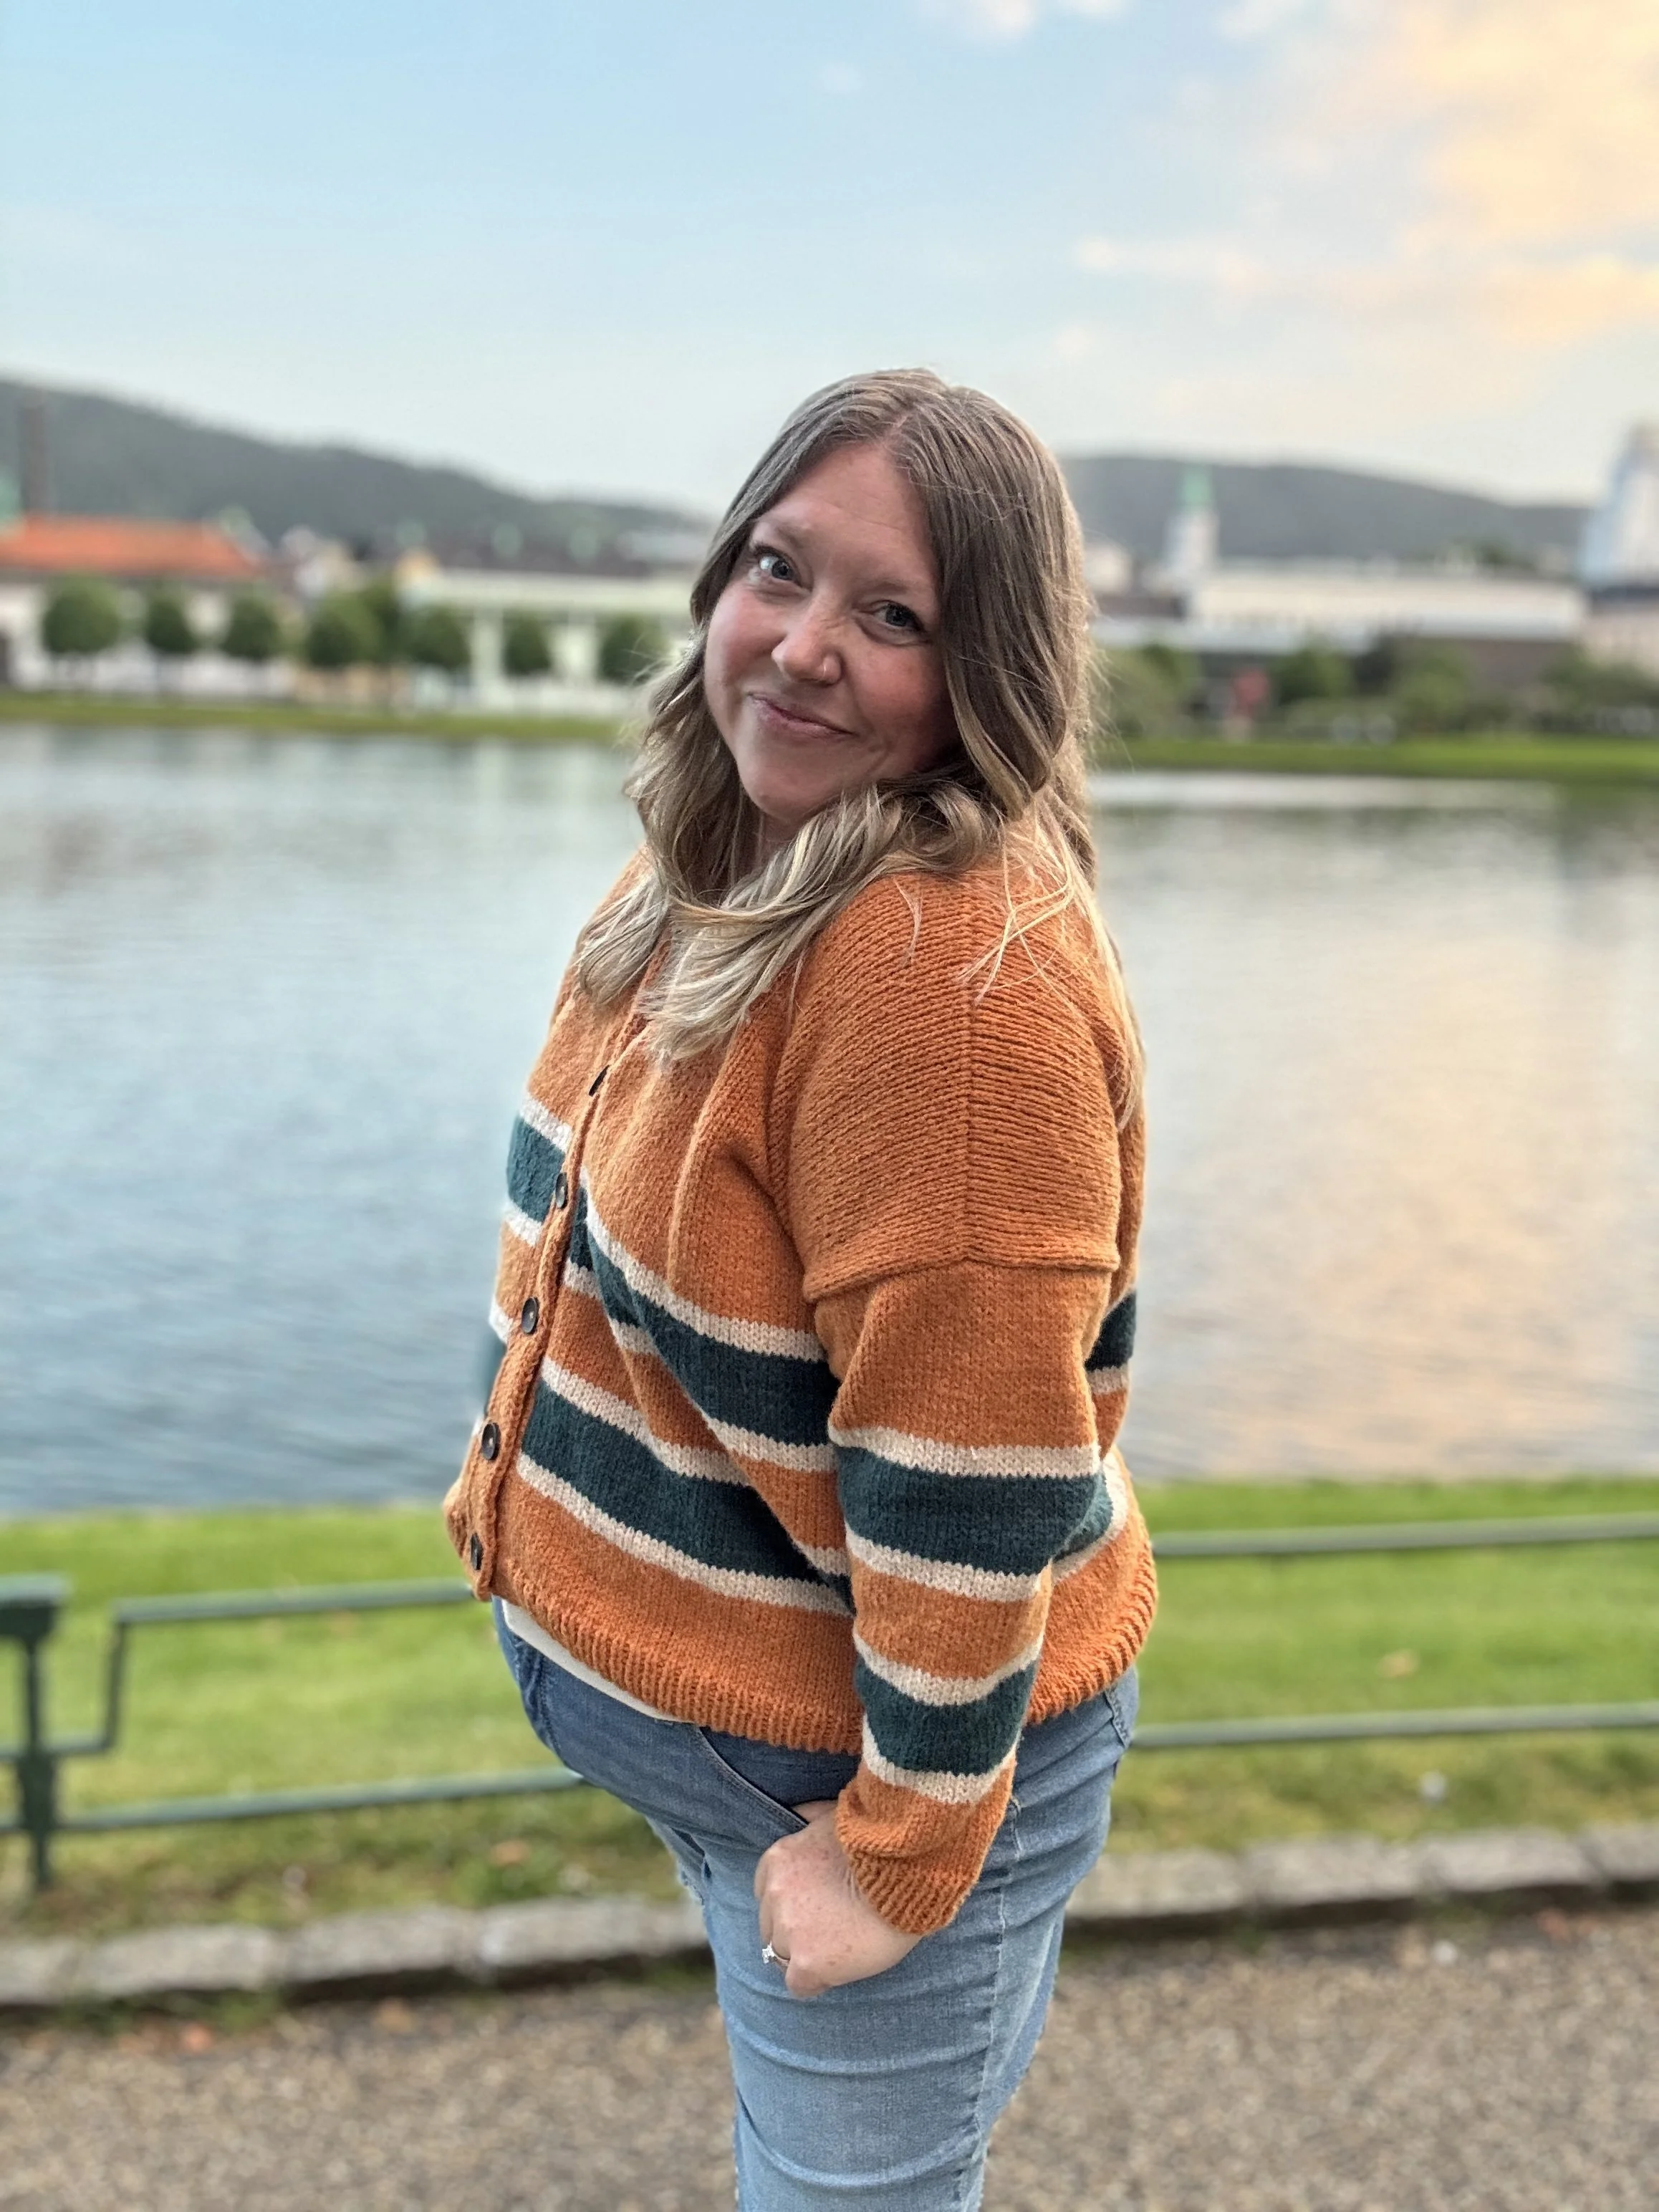
The Raynee Cardigan- Free Knitting Pattern
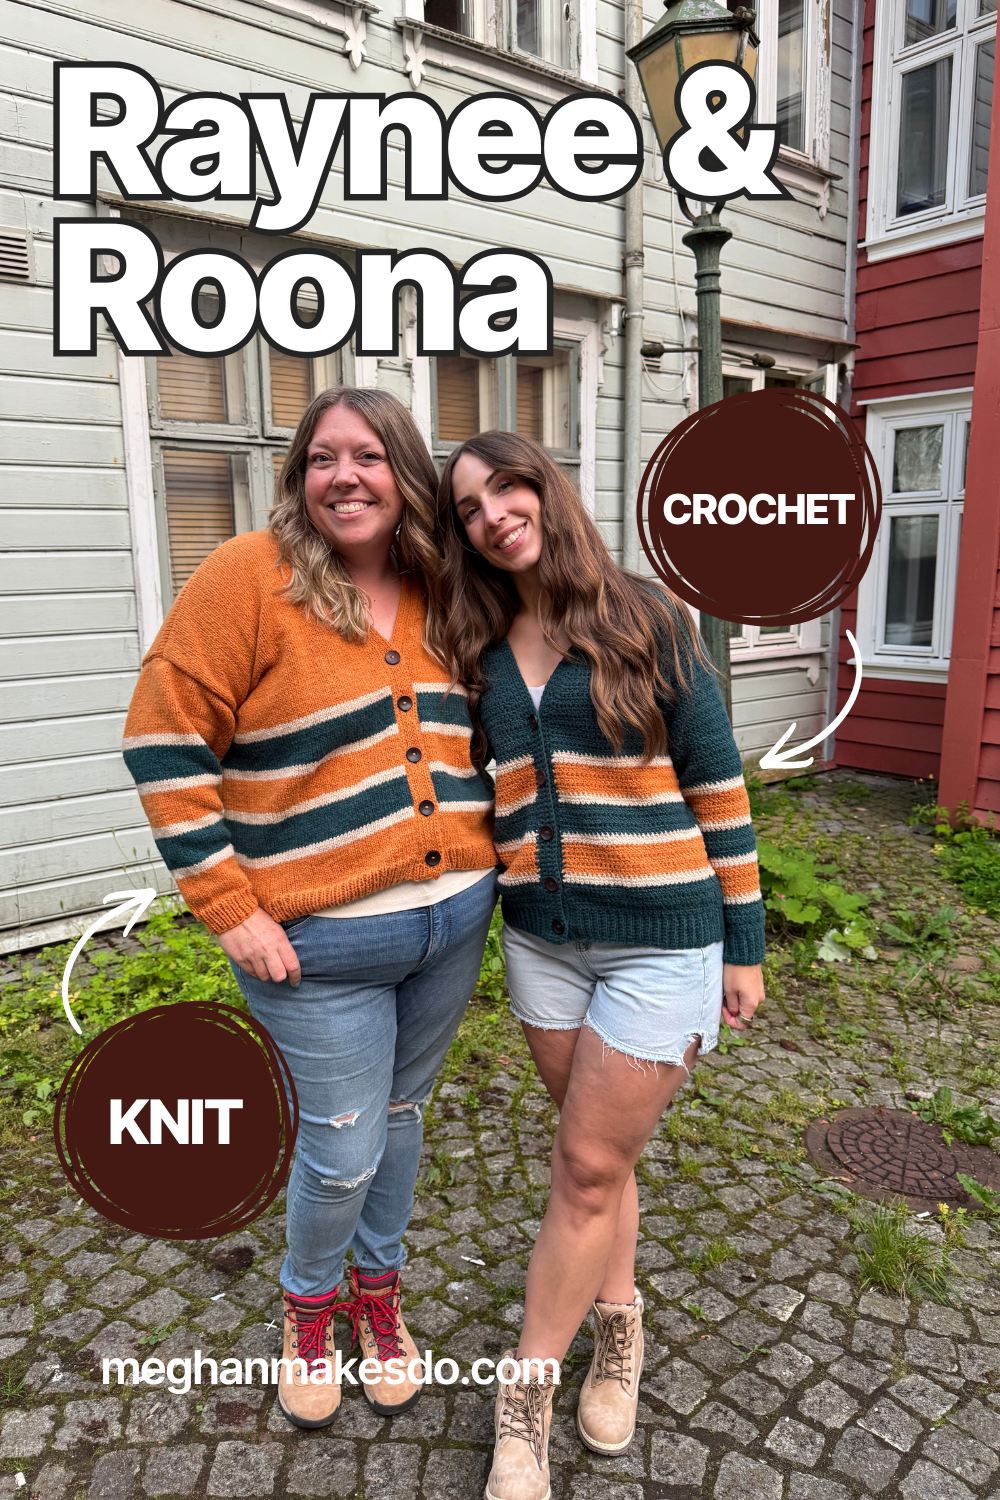
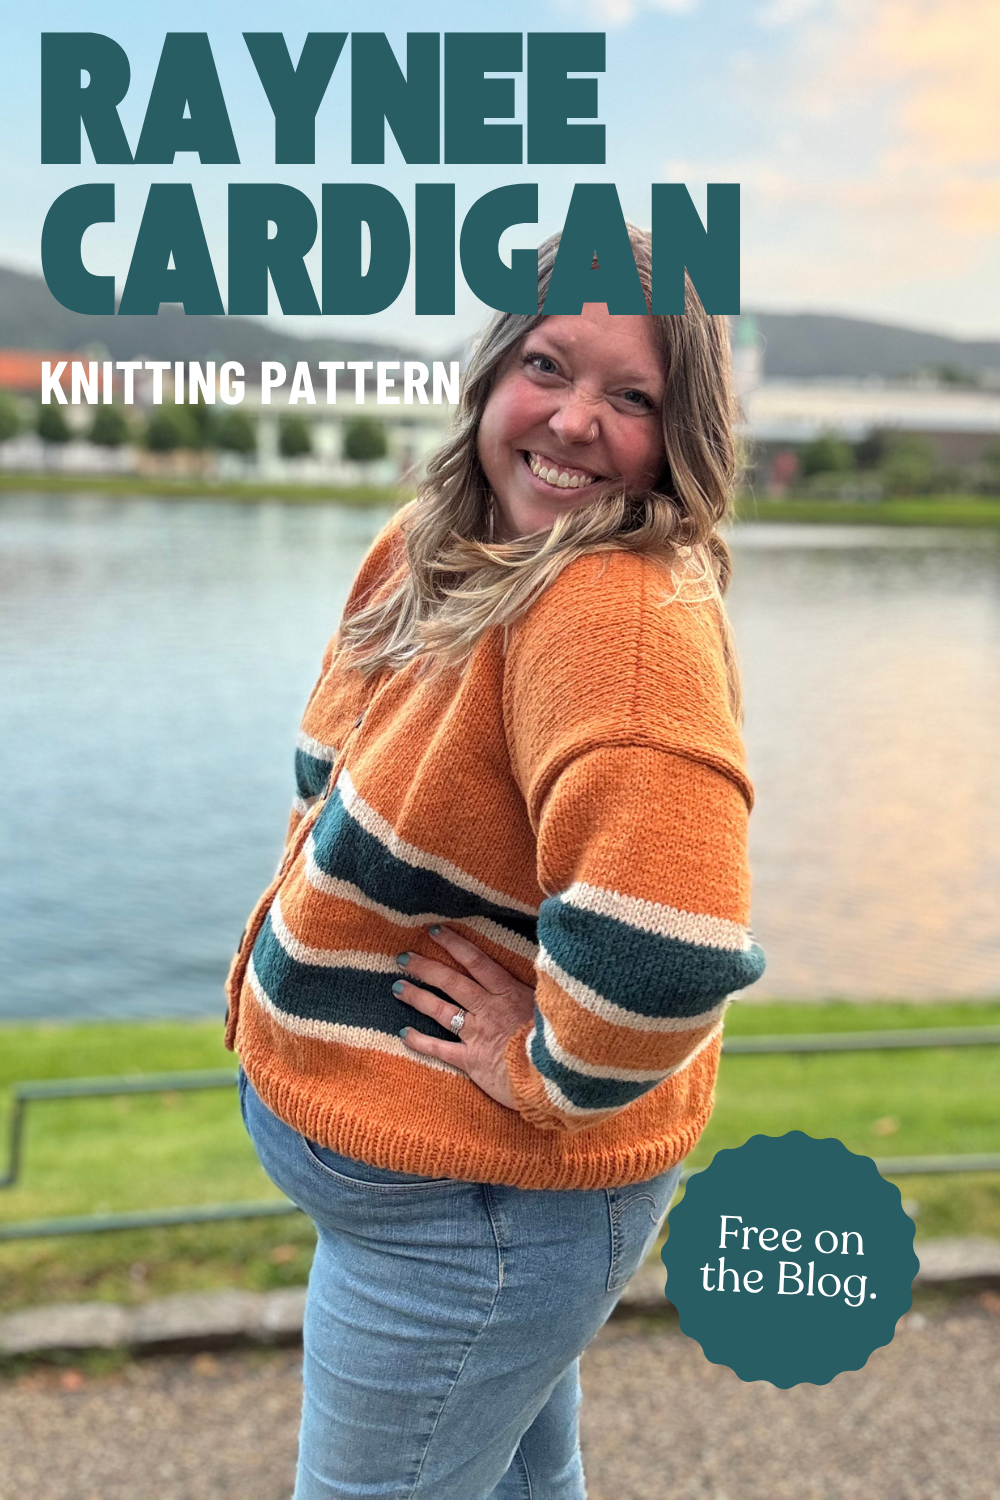
The Raynee Cardigan is a cozy and modern knitting pattern featuring a relaxed drop shoulder, button-front design, flattering V-neckline, bold stripes, and tapered sleeves. Made with Lion Brand’s Re-Make yarn in three colors, this cardigan is perfect for creating a statement piece that is as fun to knit as it is to wear. Raynee is also the sister design to Evelyn and Peter’s Roona crochet pattern, bringing a beloved look to knitters!
You can find the free pattern below, grab a digital PDF in my shop or treat yourself to the complete kit from Lion Brand Yarn.
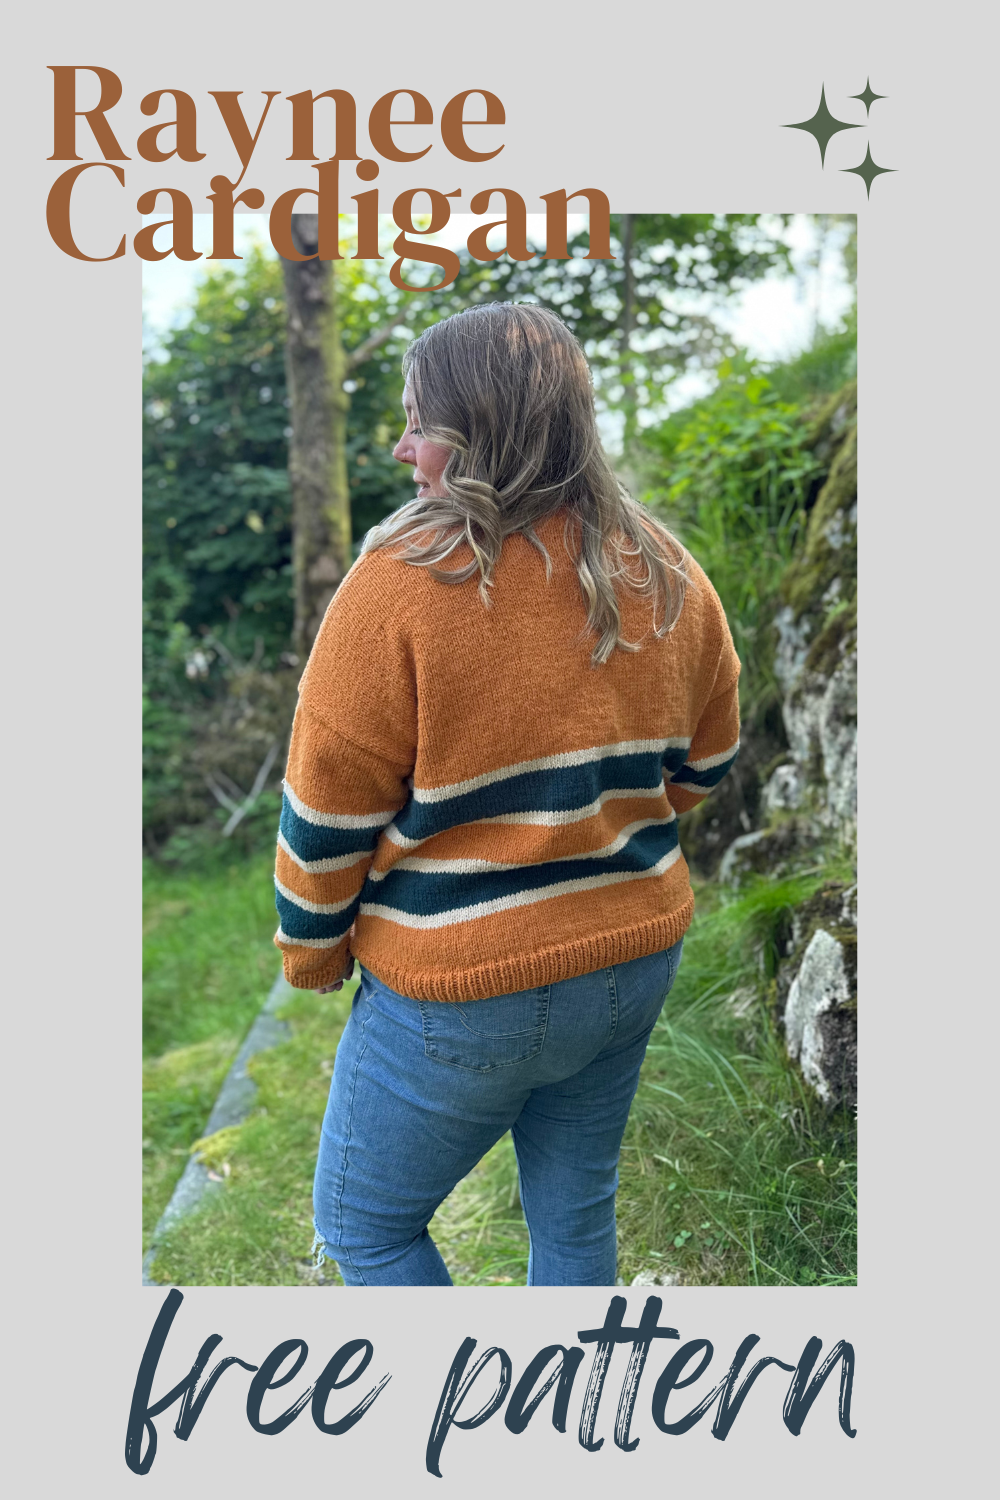
It’s hard to believe that last September I was booking a knitting trip to Norway with my bestie, Rachel of Evelyn and Peter and now a year later we are finally sharing our latest collaboration.
As soon as we booked the trip we both had the same idea…let’s design something and take pictures in Norway!
Rachel and I have done a handful of collaborations before, but the one thing we haven’t been able to do is take photos together. This was finally our chance and it was quite the adventure.
We had lots of conversations about what type of project we wanted to make, what yarn we wanted to use and of course what colors. That may have been the hardest part!
We loved the idea of a button front cardigan with big bold stripes. I’m so glad we went with this idea because the stripes are actually very similar to the stripe pattern in the Norwegian flag. We didn’t even notice that until we got there. LOL. It must have been meant to be.
Rachel and I had both recently used Lion Brand’s Remake and loved how soft it is so we knew it would be the perfect yarn for our cozy cardigans. We probably spent a week deciding on colors. There are so many to choose from and I’m sure when you make your own you’ll love all the options. It would be the perfect cardigan to make in your favorite team’s colors too.
I of course had to use Amber as my main color and Rachel loved the Peacock. Then it was just picking a nice neutral to balance them out. I had used Hazelnut for my Flynn Pullover and knew it would be perfect.
I’d love to say that we worked on our cardigans throughout the 9 months before our trip, but we both had very full schedules and didn’t actually start on them until May. I was actually finishing up my collar on my flight to Rachel’s the day before we left. She also had the buttons I needed so those were attached at her house the day before too. I know, I know, I’m a procrastinator, but I always manage to get things done.
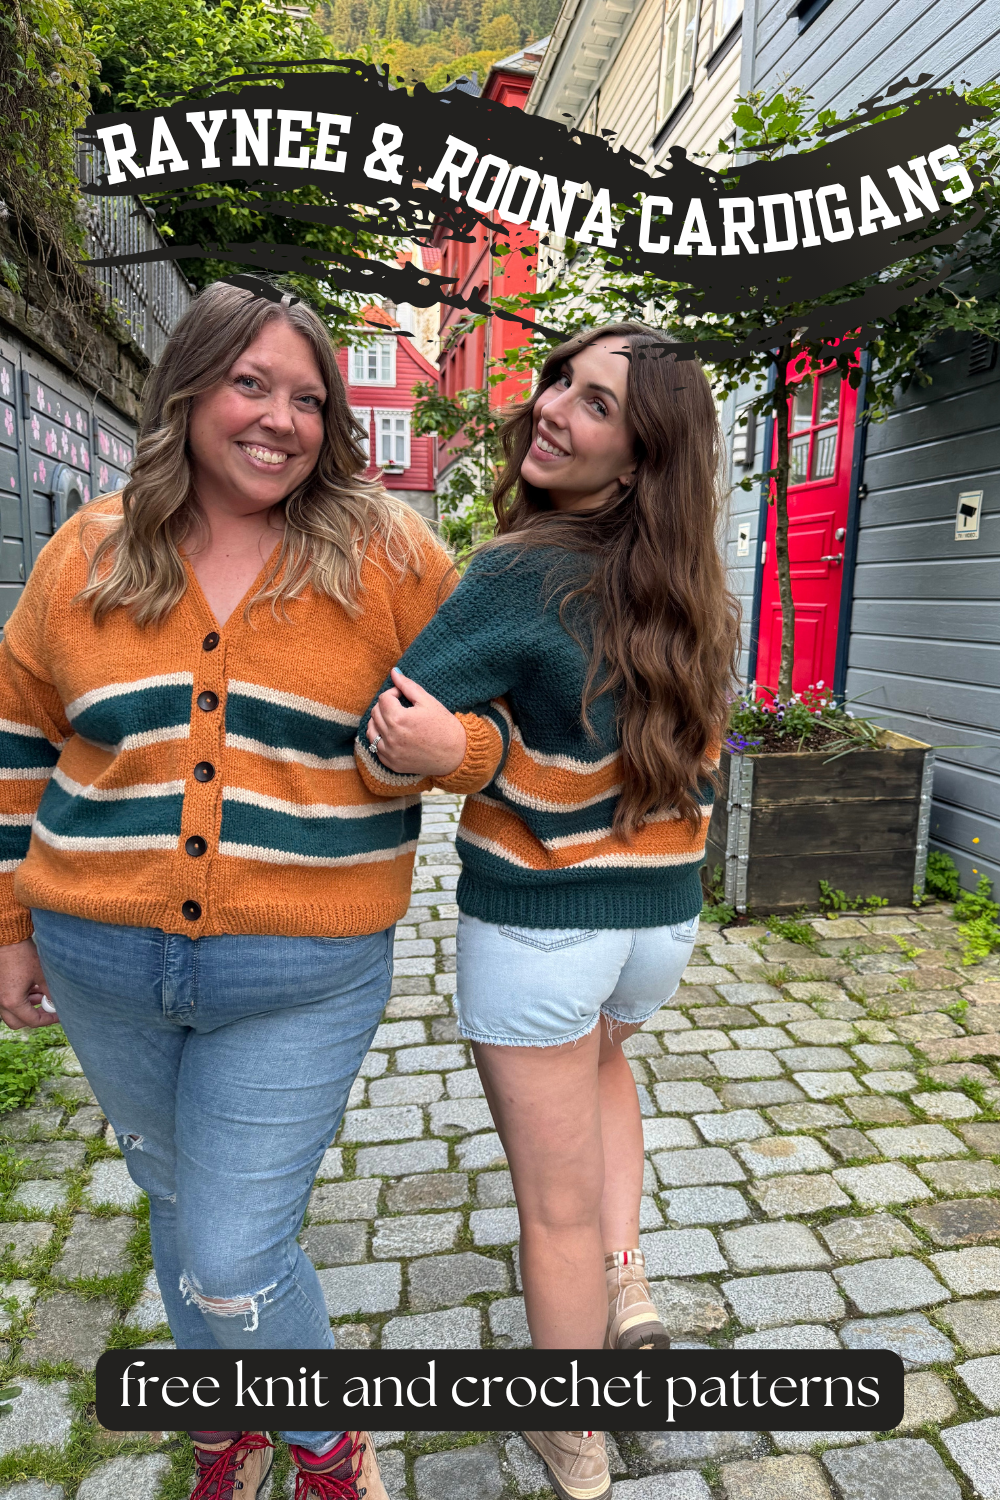
On our second night in Norway we decided to head out to some spots around Bergen that we had toured earlier in the day to see if we could get some photos. Do yourself a favor and find a maker bestie that is willing to do silly photo shoots in alleyways of a foreign country with you while strangers give you funny looks. Needless to say it took us a bit to get some good ones, but we did it! It was also unexpectedly hot the whole week we were there so it was not ideal for taking photos of cardigans. We did what we could that first time, but planned to take more at our next stop.
It turned out so much better. We were staying at a super cute inn in Skjerjehamn and we had amazing views of the fjords. We also were the only group staying at the inn so we could wander around the property and get photos without anyone around.
I just love how special the Raynee and Roona cardigans are. Not only did I get to collaborate with my best friend but we also got to make lasting memories on our trip to Norway.
I hope you enjoy making your Raynee Cardigan and hey maybe you can even stitch one up with a friend.
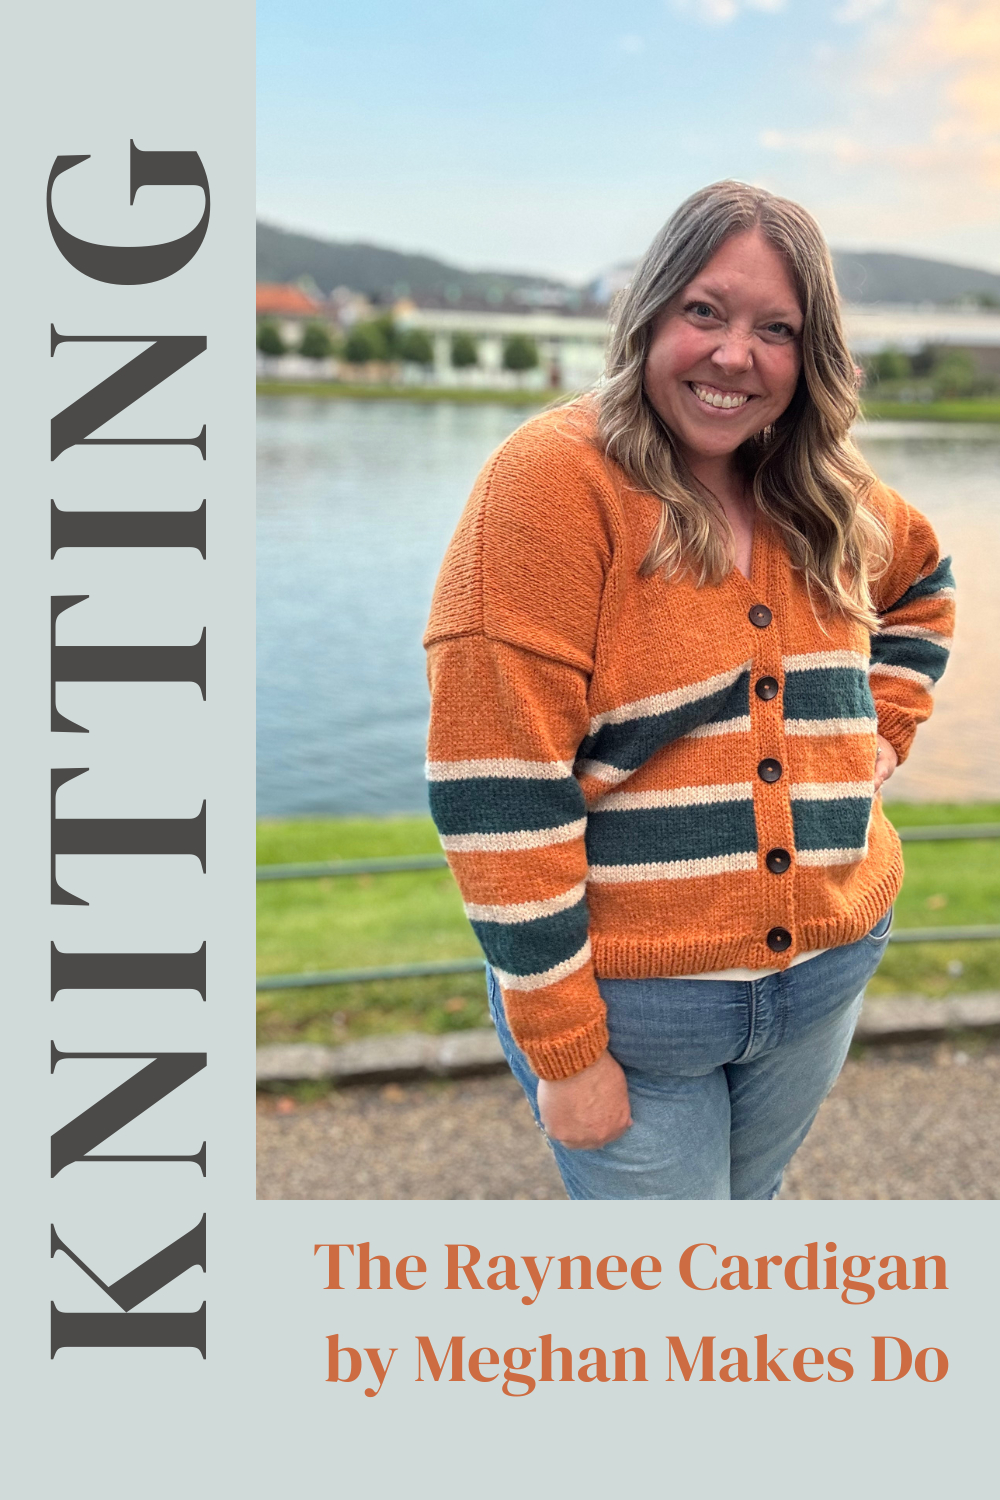
The Raynee Cardigan Knitting Pattern
Materials:
647-1028 yards (3-5 skeins) of Lion Brand ReMake (3.5oz/100g; 217yd/199m; 100% recycled polyester) Shown in the color Amber for Color A
103-183 yards (3-5 skeins) of Lion Brand ReMake (3.5oz/100g; 217yd/199m; 100% recycled polyester) Shown in the color Hazelnut for Color B
154-258 yards (3-5 skeins) of Lion Brand ReMake (3.5oz/100g; 217yd/199m; 100% recycled polyester) Shown in the color Peacock for Color C
US 8 (5mm) 40” circular knitting needles
stitch markers
(5) 1” buttons
Tapestry needle, scissors, tape measure
Abbreviations:
CO- cast on
BO- bind off
st(s)- stitch(es)
yo- yarn over
K- knit
P- purl
K2tog- knit two together
SSK- slip slip knit
M1L- make one left
M1R- make one right
tbl- through back loop
s1wyif- slip 1 with yarn in front
Notes:
1.Pattern is made in five pieces (back, front panels, sleeves), and then seamed together. The button band is then worked directly onto the neckline of the cardigan.
2.All pieces are made in turned rows on circular needles. You can use straight needles if desired. You will need at least a 40” circular needle for the button band.
3.Pattern is written in sizes XS(S, M, L, XL, 2X, 3X, 4X, 5X). It is recommended to go through and highlight your size in all sections.
Gauge:
18 sts X 25 rows = 4” X 4” in stockinette
Size:
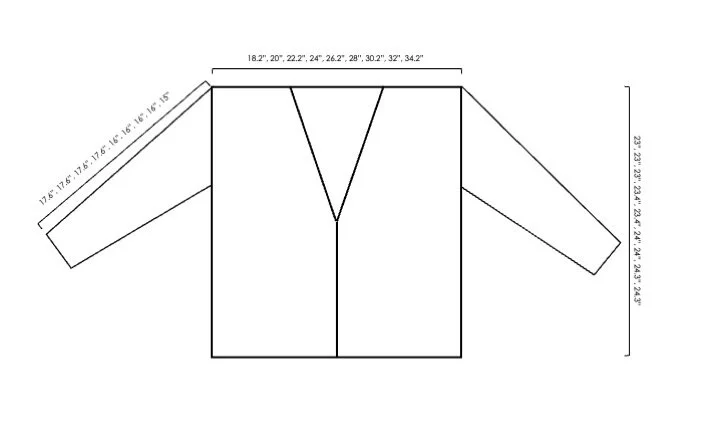
XS: fits bust 28-30” (Color A 647 yards/3 skeins; Color B 103 yards/1 skein; Color C 154 yards/1 skein)
S: fits bust 32-34” (Color A 689 yards/4 skeins; Color B 109 yards/1 skein; Color C 163 yards/1 skein)
M: fits bust 36-38” (Color A 739 yards/4 skeins; Color B 119 yards/1 skein; Color C 176 yards/1 skein)
L: fits bust 40-42” (Color A 798 yards/4 skeins; Color B 125 yards/1 skein; Color C 188 yards/1 skein)
XL: fits bust 44-46” (Color A 847 yards/4 skeins; Color B 139 yards/1 skein; Color C 203 yards/1 skein)
2X: fits bust 48-50” (Color A 910 yards/5 skeins; Color B 145 yards/1 skein; Color C 212 yards/1 skein)
3X: fits bust 52-54” (Color A 943 yards/5 skeins; Color B 166 yards/1 skein; Color C 233 yards/2 skeins)
4X: fits bust 56-58” (Color A 1,000 yards/5 skeins; Color B 173 yards/1 skein; Color C 243 yards/2 skeins)
5X: fits bust 60-62” (Color A 1028 yards/5 skeins; Color B 183 yards/1 skein; Color C 258 yards/2 skeins)
Video Tutorial:
Pattern:
Back Panel
Ribbing:
With Color A and 24” needles CO 82(90, 100, 108, 118, 126, 136, 144, 154) sts.
Row 1: *K1, P1, repeat from * across, turn. (82(90, 100, 108, 118, 126, 136, 144, 154)
Rows 2-10: Repeat Row 1.
Main Body:
Row 1(RS): K all sts across, turn. (82(90, 100, 108, 118, 126, 136, 144, 154)
Row 2(WS): P all sts across, turn. (82(90, 100, 108, 118, 126, 136, 144, 154)
Rows 3-14: Repeat Rows 1 & 2.
Change to Color B
Rows 15-18: Repeat Rows 1 & 2.
Change to Color C
Rows 19-30: Repeat Rows 1 & 2.
Change to Color B
Rows 31-34: Repeat Rows 1 & 2.
Change to Color A
Rows 35-46: Repeat Rows 1 & 2.
Change to Color B
Rows 47-50: Repeat Rows 1 & 2.
Change to Color C
Rows 51-62: Repeat Rows 1 & 2.
Change to Color B
Rows 63-66: Repeat Rows 1 & 2.
Change to Color A
Rows 67-134(134, 134, 136, 136, 140, 140, 142, 142): Repeat Rows 1 & 2.
BO all sts leaving a long tail for seaming.
Front Panels- make two
Ribbing:
With Color A and 24” needles CO 38(42, 46, 50, 56, 60, 64, 68, 75) sts.
Row 1: *K1, P1, repeat from * across, turn. (38(42, 46, 50, 56, 60, 64, 68, 75)
Rows 2-10: Repeat Row 1.
Main Body:
Row 1(RS): K all sts across, turn. (38(42, 46, 50, 56, 60, 64, 68, 75)
Row 2(WS): P all sts across, turn. (38(42, 46, 50, 56, 60, 64, 68, 75)
Rows 3-14: Repeat Rows 1 & 2.
Change to Color B
Rows 15-18: Repeat Rows 1 & 2.
Change to Color C
Rows 19-30: Repeat Rows 1 & 2.
Change to Color B
Rows 31-34: Repeat Rows 1 & 2.
Change to Color A
Rows 35-46: Repeat Rows 1 & 2.
Change to Color B
Rows 47-50: Repeat Rows 1 & 2.
Change to Color C
Rows 51-62: Repeat Rows 1 & 2.
Change to Color B
Rows 63-66: Repeat Rows 1 & 2.
Change to Color A
Rows 67-76(76, 76, 78, 78, 82, 82, 84, 84): Repeat Rows 1 & 2.
Complete one front panel following instructions for Upper Front Right and the other front panel following instructions for Upper Front Left.
Upper Front Left:
Row 1(RS): K all sts across until 3 sts remain, k2tog, K1, turn. (37(41, 45, 49, 55, 59, 63, 67, 74)
Row 2(WS): P all sts across, turn. (37(41, 45, 49, 55, 59, 63, 67, 74)
Row 3: K all sts across, turn. (37(41, 45, 49, 55, 59, 63, 67, 74)
Row 4: P all sts across, turn. (37(41, 45, 49, 55, 59, 63, 67, 74)
Rows 5-56: Repeat Rows 1-4.
Each 4 row repeat will decrease the stitch count by one. Stitch count after completing Row 56 will be 24(28, 32, 36, 42, 46, 50, 54, 60)
XS(S, XL, 2X, 5X)-ONLY
Row 57-58: Repeat Rows 1-2. (23(27, 41, 45, 59)
BO all sts.
M(L, 3X, 4X)-ONLY
Rows 57-58: Repeat Rows 3-4. (32(36, 50, 54)
BO all sts.
Upper Front Right:
Row 1(RS): K1, SSK, K across, turn. (37(41, 45, 49, 55, 59, 63, 67, 74)
Row 2(WS): P all sts across, turn. (37(41, 45, 49, 55, 59, 63, 67, 74)
Row 3: K all sts across, turn. (37(41, 45, 49, 55, 59, 63, 67, 74)
Row 4: P all sts across, turn. (37(41, 45, 49, 55, 59, 63, 67, 74)
Rows 5-56: Repeat Rows 1-4.
Each 4 row repeat will decrease the stitch count by one. Stitch count after completing Row 56 will be 24(28, 32, 36, 42, 46, 50, 54, 60)
XS(S, XL, 2X, 5X)-ONLY
Row 57-58: Repeat Rows 1-2. (23(27, 41, 45, 59)
BO all sts.
M(L, 3X, 4X)-ONLY
Rows 57-58: Repeat Rows 3-4. (32(36, 50, 54)
BO all sts.
Sleeves- make two
Ribbing:
With Color A and 24” needles CO 38(38, 40, 42, 42, 42, 46, 46, 48) sts.
Row 1: *K1, P1, repeat from * across, turn. (38(38, 40, 42, 42, 42, 46, 46, 48)
Rows 2-10: Repeat Row 1.
Main Body:
Sizes split off here. Make sure to follow the instructions for the size you are making. You will continue in stockinette stitch while increasing on both sides at set intervals.
XS(S, M, L)- ONLY
Row 1(RS): K2, M1R, K all sts across until 2 sts remain, M1L, K2, turn. (40(40, 42, 44)
Row 2(WS) and all even rows: P all sts across, turn. (40(40, 42, 44)
Rows 3 & 5: K all sts across, turn. (40(40, 42, 44)
Row 7: K2, M1R, K all sts across until 2 sts remain, M1L, K2, turn. (42(42, 44, 46)
Rows 9-13: Repeat Rows 3-7. (44(44, 46, 48)
Change to Color B
Rows 15 & 17: K all sts across, turn.
Change to Color C
Row 19: K2, M1R, K all sts across until 2 sts remain, M1L, K2, turn. (46(46, 48, 50)
Rows 21 & 23: K all sts across, turn.
Rows 25-29: repeat Rows 19-23. (48(48, 50, 52)
Change to Color B
Row 31: K2, M1R, K all sts across until 2 sts remain, M1L, K2, turn. (50(50, 52, 54)
Row 33: K all sts across, turn.
Change to Color A
Row 35: K all sts across, turn.
Row 37: K2, M1R, K all sts across until 2 sts remain, M1L, K2, turn. (52(52, 54, 56)
Row 39: K all sts across, turn.
Rows 41-45: repeat Rows 35-39. (54(54, 56, 58)
Change to Color B.
Row 47: K all sts across, turn.
Row 49: K2, M1R, K all sts across until 2 sts remain, M1L, K2, turn. (56(56, 58, 60)
Change to Color C
Rows 51 & 53: K all sts across, turn.
Row 55: K2, M1R, K all sts across until 2 sts remain, M1L, K2, turn. (58(58, 60, 62)
Rows 57-61: repeat Rows 51-55. (60(60, 62, 64)
Change to Color B
Rows 63 & 65: K all sts across, turn.
Change to Color A
Row 67: K2, M1R, K all sts across until 2 sts remain, M1L, K2, turn. (62(62, 64, 68)
Row 69 & 71: K all sts across, turn.
Rows 73-77: repeat Rows 67-71. (64(64, 66, 68)
XS-ONLY
Rows 79-99: K all sts across, turn. (64)
Work Row 100 then BO all sts leaving a long tail for seaming.
*add or subtract rows to fit.
S(M)-ONLY
Rows 79-89: repeat Rows 67-71. (68(70)
Rows 91-99: K all sts across, turn. (68(70)
Work Row 100 then BO all sts leaving a long tail for seaming.
*add or subtract rows to fit.
L-ONLY
Rows 79-95: repeat Rows 67-71. (74)
Rows 97-99: K all sts across, turn. (74)
Work Row 100 then BO all sts leaving a long tail for seaming.
*add or subtract rows to fit.
XL(2X, 3X, 4X, 5X)-ONLY
Row 1(RS): K2, M1R, K all sts across until 2 sts remain, M1L, K2, turn. (44(44, 48, 48, 50)
Row 2(WS) and all even rows: P all sts across, turn. (44(44, 48, 48, 50)
Row 3: K all sts across, turn. (44(44, 48, 48, 50)
Row 5: K2, M1R, K all sts across until 2 sts remain, M1L, K2, turn. (46(46, 50, 50, 52)
Rows 7-13: Repeat Rows 3-5. (50(50, 54, 54, 56)
Change to Color B
Row 15: K all sts across, turn.
Row 17: K2, M1R, K all sts across until 2 sts remain, M1L, K2, turn. (52(52, 56, 56, 58)
Change to Color C
Row 19: K all sts across, turn.
Row 21: K2, M1R, K all sts across until 2 sts remain, M1L, K2, turn. (54(54, 58, 58, 60)
Rows 23-29: repeat Rows 19-21. (58(58, 62, 62, 64)
Change to Color B
Row 31: K all sts across, turn.
Row 33: K2, M1R, K all sts across until 2 sts remain, M1L, K2, turn. (60(60, 64, 64, 66)
Change to Color A
Row 35: K all sts across, turn.
Row 37: K2, M1R, K all sts across until 2 sts remain, M1L, K2, turn. (62(62, 66, 66, 68)
Rows 39-45: repeat Rows 35-37. (66(66, 70, 70, 72)
Change to Color B
Row 47: K all sts across, turn.
Row 49: K2, M1R, K all sts across until 2 sts remain, M1L, K2, turn. (68(68, 72, 72, 74)
Change to Color C
Row 51: K all sts across, turn.
Row 53: K2, M1R, K all sts across until 2 sts remain, M1L, K2, turn. (70(70, 74, 74, 76)
Rows 55-61: repeat Rows 51-53. (74(74, 78, 78, 80)
Change to Color B
Row 63: K all sts across, turn.
Row 65: K2, M1R, K all sts across until 2 sts remain, M1L, K2, turn. (76(76, 80, 80, 82)
Change to Color A
Row 67: K all sts across, turn.
Row 69: K2, M1R, K all sts across until 2 sts remain, M1L, K2, turn. (78(78, 82, 82, 84)
Rows 71-77: repeat Rows 67-69. (82(82, 86, 86, 88)
XL(2X)-ONLY
Rows 79-91: K all sts across, turn. (82(82)
Work Row 92 then BO all sts leaving a long tail for seaming.
3X-ONLY
Rows 79-89: K all sts across, turn. (86)
Work Row 90 then BO all sts leaving a long tail for seaming.
*add or subtract rows to fit.
4X-ONLY
Rows 79-85: repeat Rows 67-69. (90)
Rows 87-89: K all sts across, turn. (90)
Work Row 90 then BO all sts leaving a long tail for seaming.
*add or subtract rows to fit.
5X-ONLY
Rows 79-81: repeat Rows 67-69. (90)
Rows 83: K all sts across, turn. (90)
Work Row 84 then BO all sts leaving a long tail for seaming.
*add or subtract rows to fit.
Seaming:
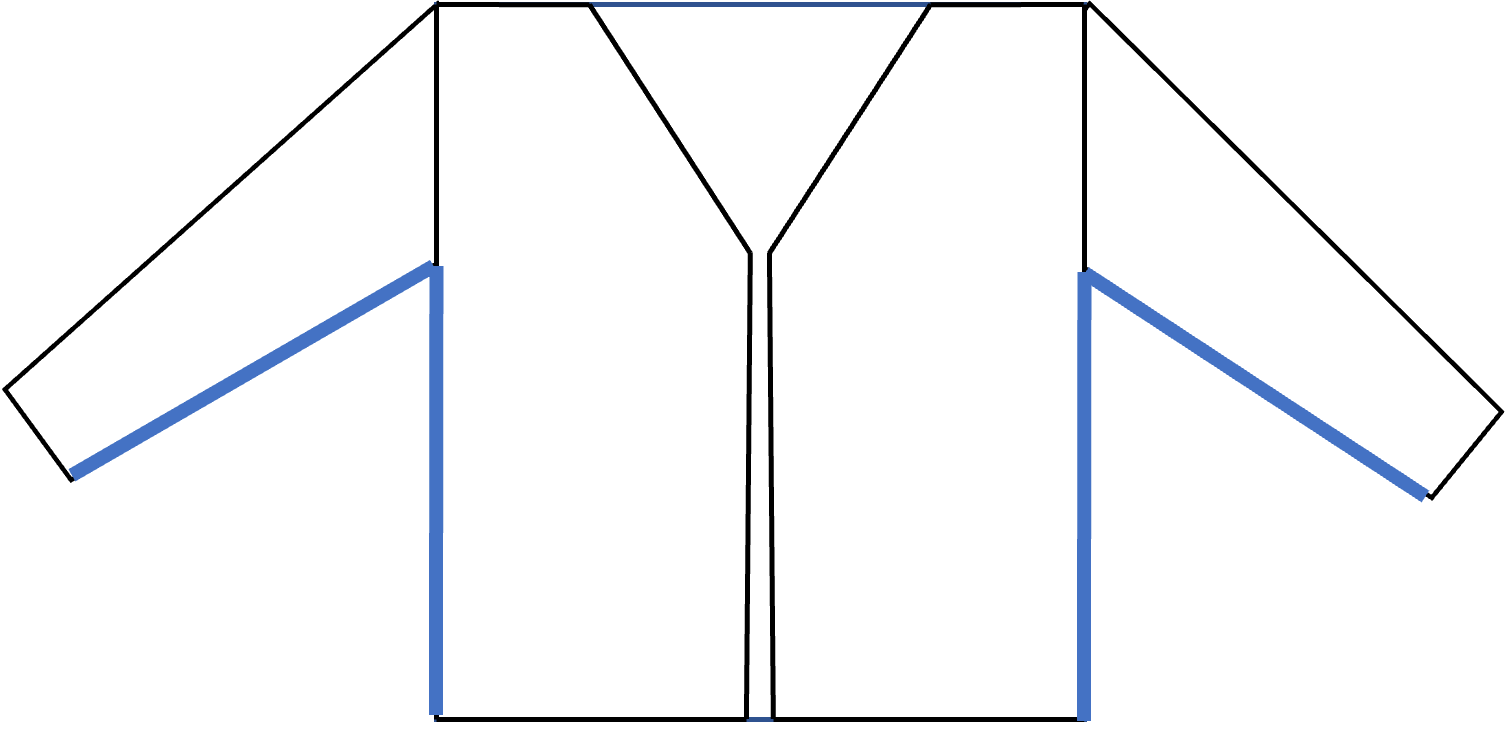
Lay Back Panel and two Front Panels together at the shoulders with RS facing each other. Using your preferred seaming method attach front panels to back panel. There will be 36 sts unseamed in the center of the back panel.
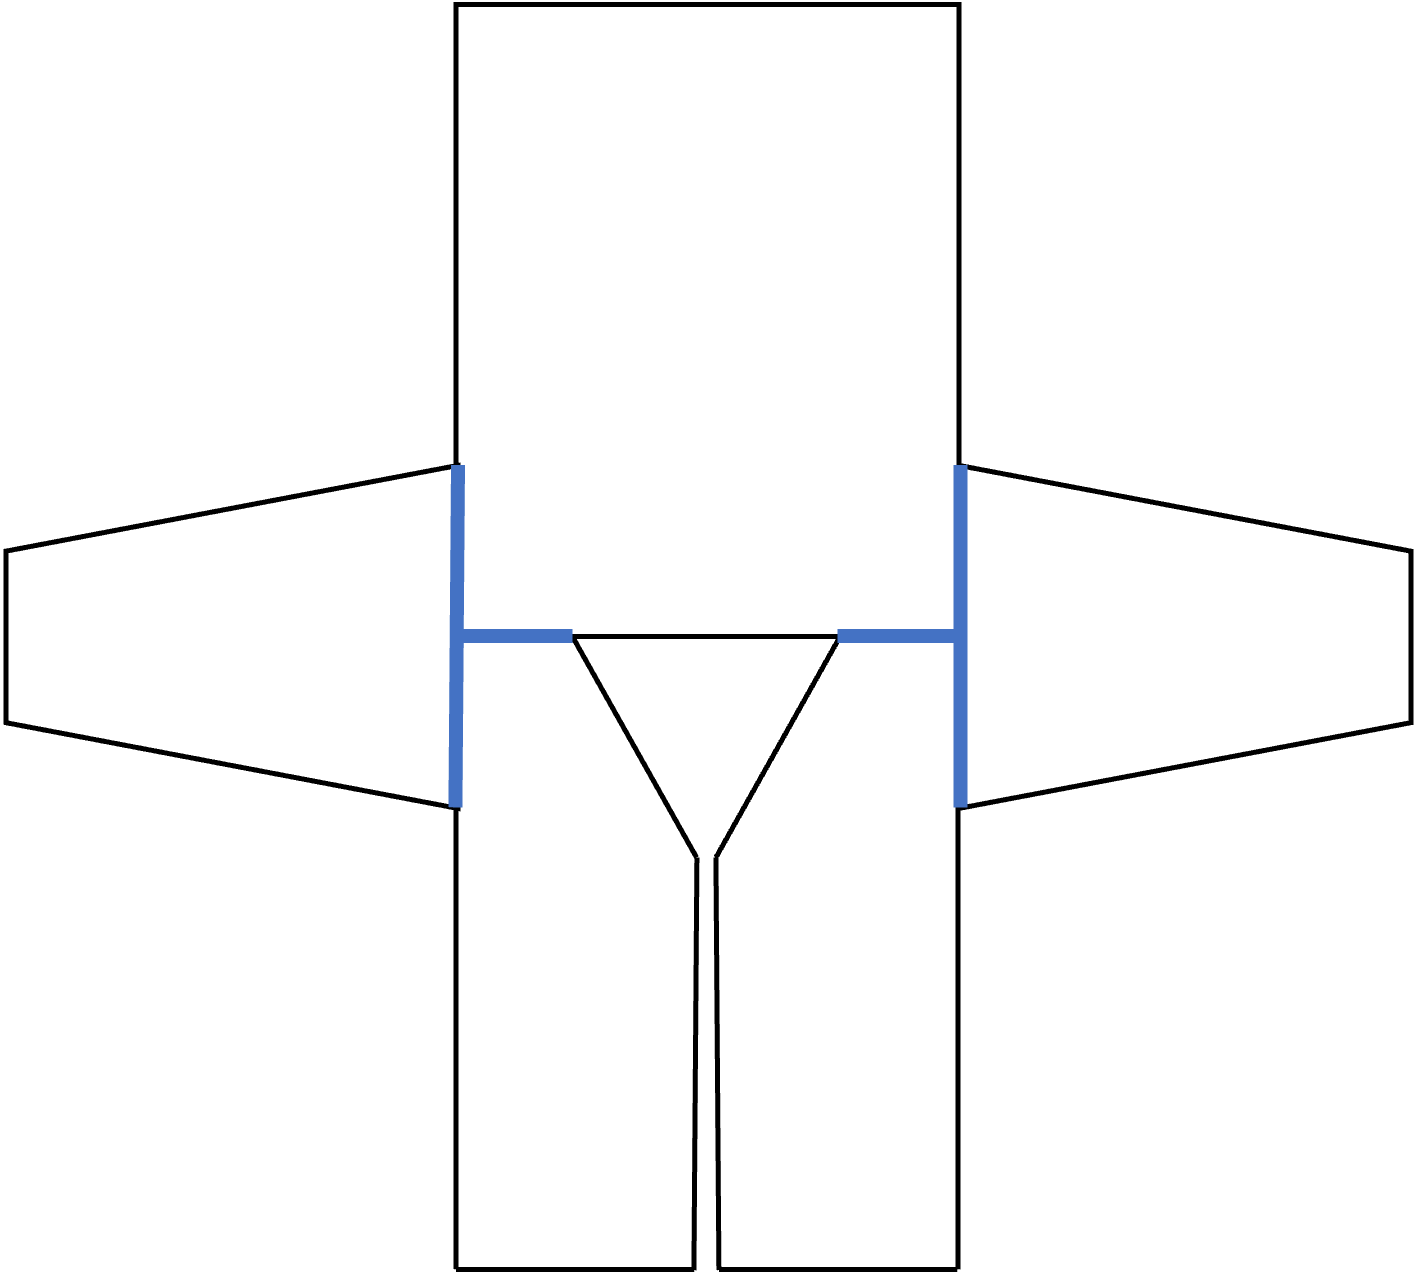
Attach the sleeves to the sides of the cardigan, using your preferred seaming method, making sure to align the center of the sleeve with the shoulder seam. Make sure the sleeves are attached evenly from the center shoulder seam, down the sides. Using stitch markers to hold the sleeve in place is recommended.
Fold cardigan so that the back and front panels are on top of each other. Then seam the sleeves from the underarm to the cuff. Seam the sides from the underarm down to the bottom.
Button Band:
Using at least 40” circular 5mm needles, pick up stitches all the way around the the front edge of the cardigan starting at the bottom right side with the RS facing you. Pick up stitches evenly along the front edges skipping every 5th row and pick up stitches evenly around the back neckline, making sure to have the same number of stitches picked up on the left and right sides. Approx. (268(268, 268, 270, 270, 276, 276, 280, 280)
Fasten off leaving a long tail for weaving in. You will be using these same needles to create the button band.
Using locking stitch markers, mark where the button holes will be along the right edge of the cardigan. Each button hole will be 3 sts tall.
XS(S, M, L, XL)-ONLY
Place a stitch marker on the cord after the 6th, 9th, 20th, 23rd, 34th, 37th, 48th, 51st, 62nd and 65th sts.
2X(3X, 4X, 5X)-ONLY
Place a stitch marker on the cord after the 5th, 8th, 21st, 24th, 37th, 40th, 53rd, 56th, 69th, and 72nd sts.
Starting at the bottom right side of the cardigan and with the WS facing you, CO 11 sts. This will be the starting stitches of the double knit button band.
Row 1: *k1, sl1wyif, repeat from * until 1 st remains, k last st and 1st picked up st on cardigan together tbl, turn. (11)
Row 2: *sl1wyif, k1, repeat from * until 1 st remains, sl1wyif, turn. (11)
Row 3: *k1, sl1wyif, repeat from * until one st remains, k last st and next picked up st on cardigan together tbl, turn. (11)
Repeat Rows 2 & 3 until you have reached the 1st st marker. Remove marker and work another Row 2 repeat.
Button Hole:
You will now be creating a button hole by working just the sts on the right side and then just the stitches on the left side.
Right Side:
Row 1: *k1, sl1wyif, repeat from * 3 times, turn. (6)
Row 2: *sl1wyif, k1, repeat from *, turn. (6)
Row 3: *k1, sl1wyif, repeat from *, turn. (6)
Row 4: *sl1wyif, k1, repeat from *, turn. (6)
Row 5: *k1, sl1wyif, repeat from *, turn. (6)
Cut yarn, leaving a tail for seaming.
Left Side:
With new yarn and RS facing you, start the 1st row of the left side of the button hole.
Row 1: *k1, sl1wyif, repeat from * until 1 st remains, k last st and next picked up st on cardigan together tbl, turn. (5)
Row 2: *sl1wyif, k1, repeat from * until 1 st remains, s1wyif, turn. (5)
Row 3: *k1, sl1wyif, repeat from * until 1 st remains, k last st and next picked up st on cardigan together tbl, turn. (5)
Row 4: *sl1wyif, k1, repeat from * until 1 st remains, s1wyif turn. (5)
Row 5: *k1, sl1wyif, repeat from * until 1 st remains, k last st and next picked up st on cardigan together tbl, turn. (5)
Remove next st marker and then work a Button Band Row 2 repeat across all 11 sts to rejoin.
Continue to repeat Rows 2 and 3 up the right side of the cardigan, repeating the instructions for above for each button hole. Once all button holes have been created, continue with repeats of Rows 2 and 3 until you have reached the bottom left hand side of the cardigan making sure to end on a Row 2 repeat. BO using your preferred method.
Sew buttons to left side of button band in line with each button hole. To get buttons lined up correctly it can be helpful to pin the right side of band on top of the left and then place stitch markers or pins on the left side of the band where the center of the button hole is.
Weave in all ends and block.
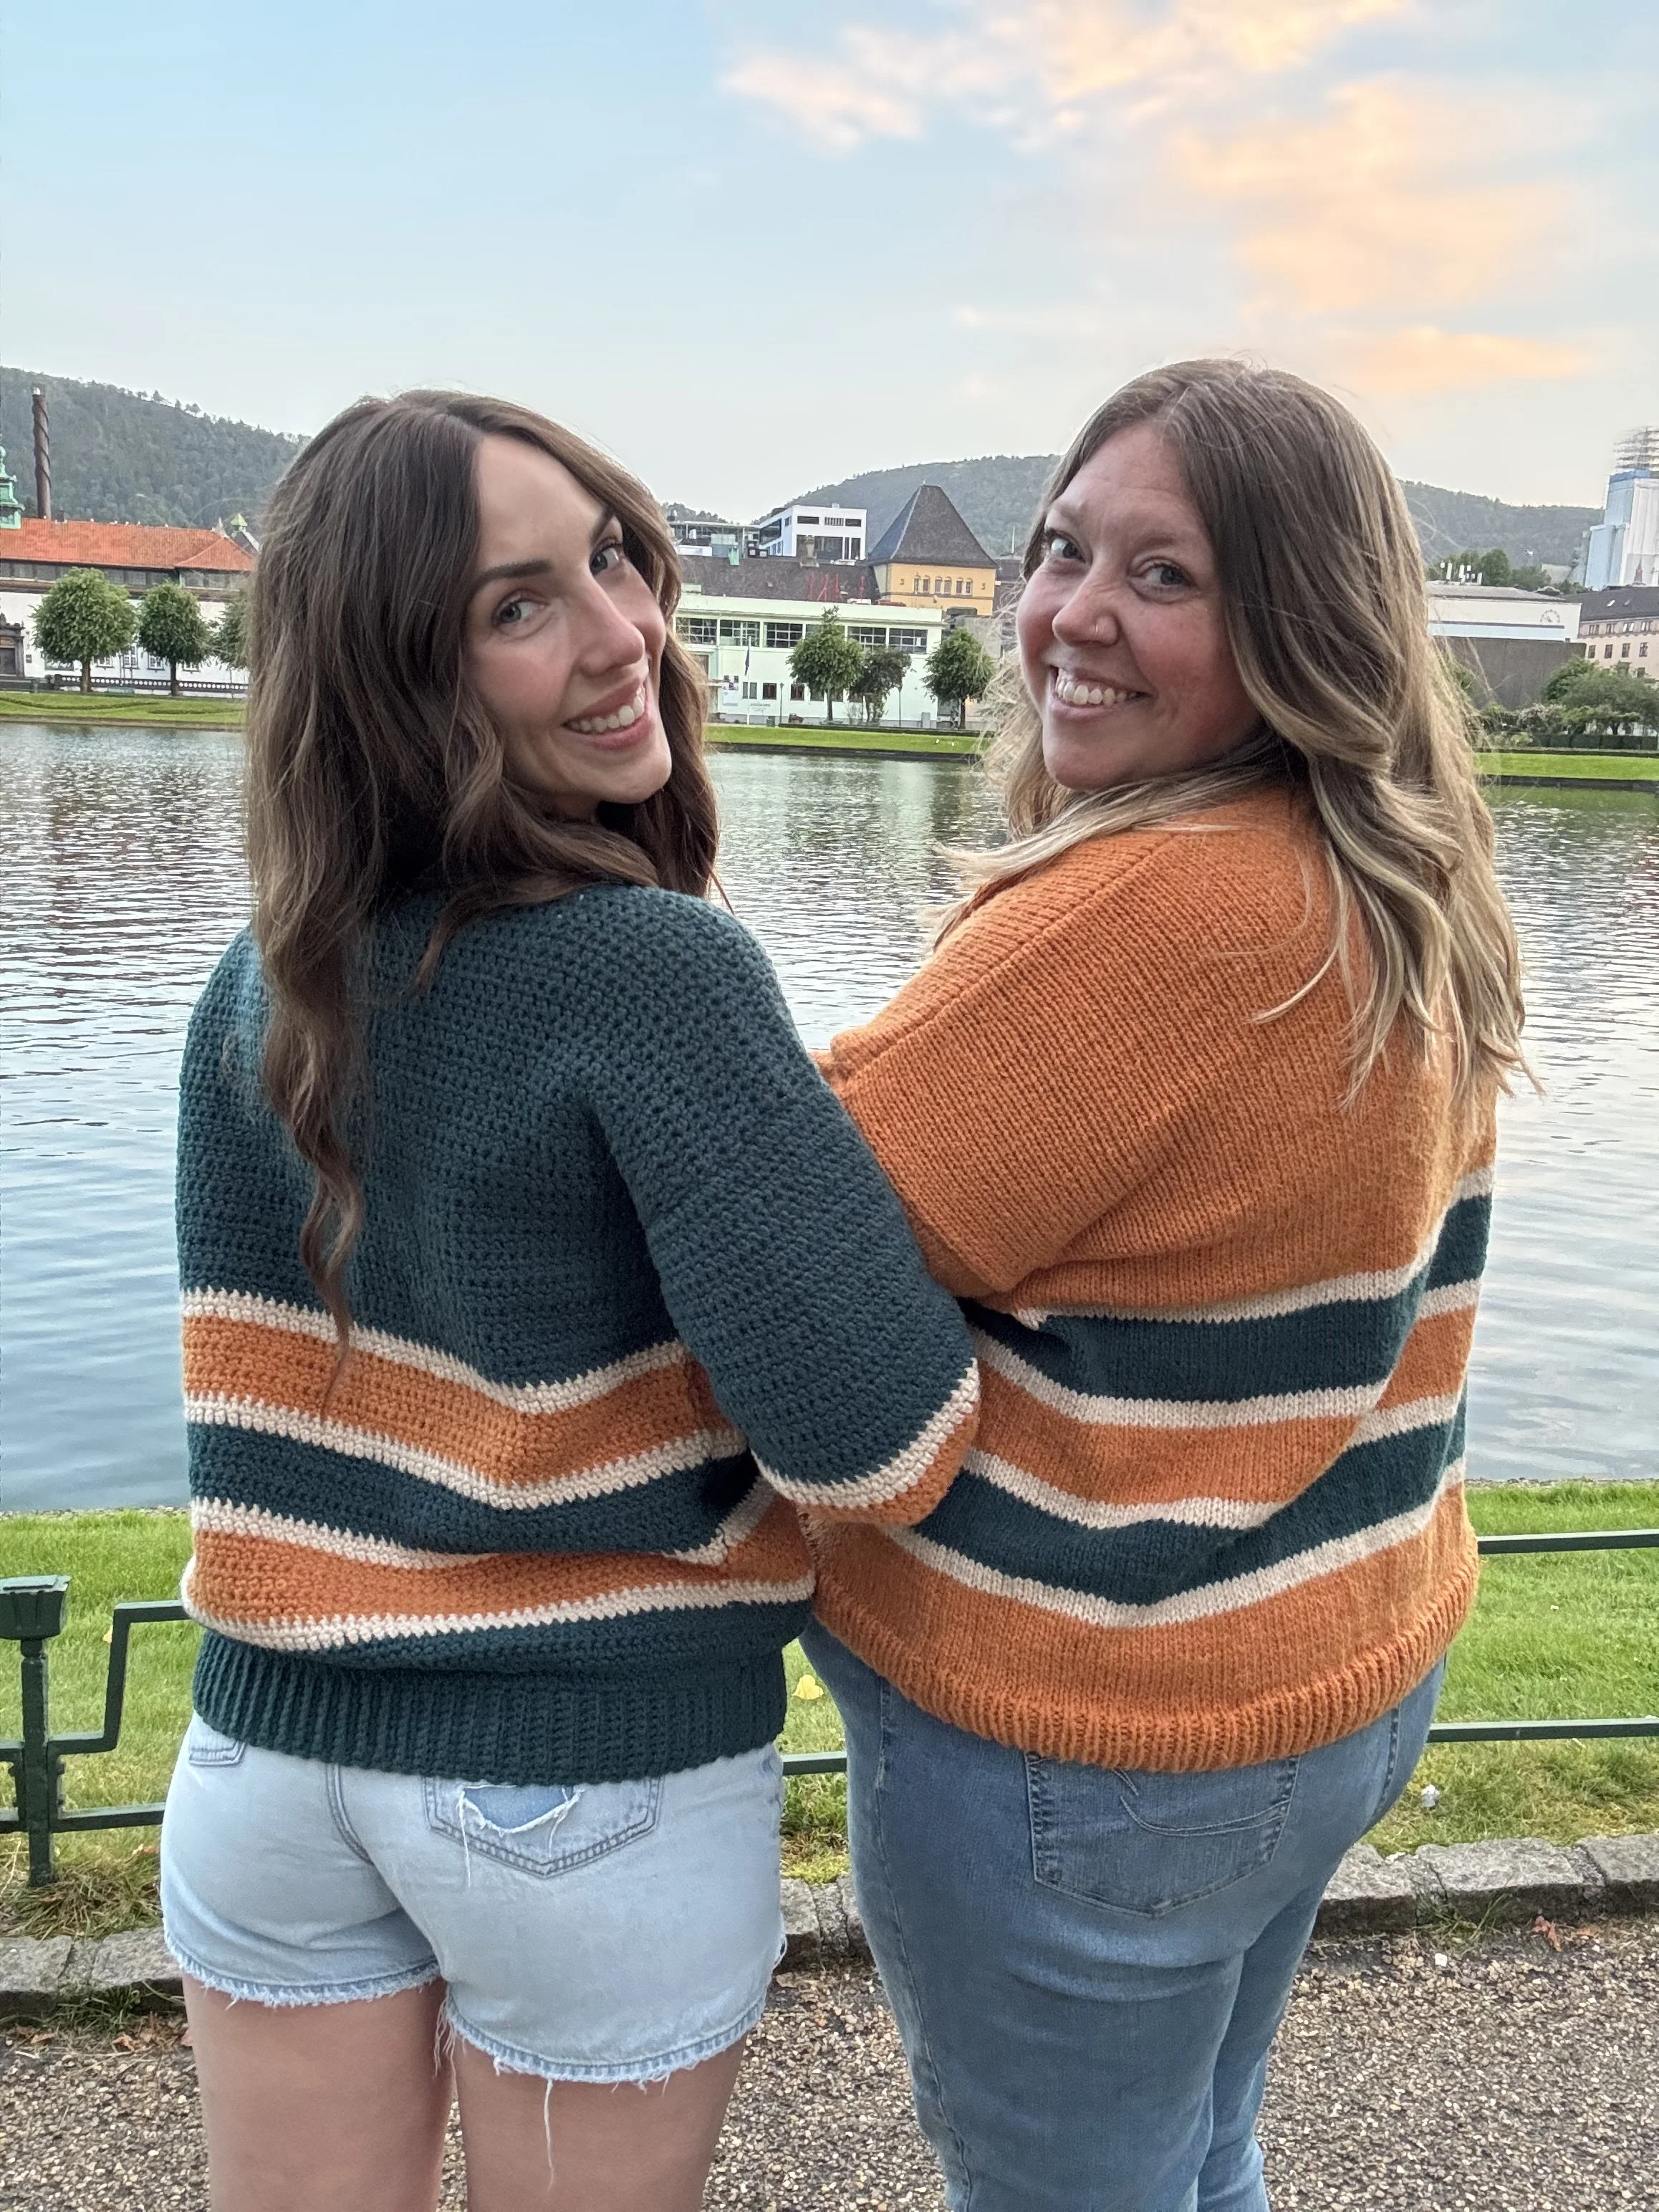
Now go celebrate your new make with your bestie! If you make a Raynee Cardigan I’d love to see it. Make sure to tag me @meghanmakesdo and use #therayneecardigan so I can see and share.
As always you can find a digital PDF of this pattern in my shop, Etsy and Ravelry or as a complete kit from Lion Brand Yarn.
Happy Knitting,
Meghan