The Newport Set- Free Crochet Patterns
The Newport Set is a cozy trio of crochet patterns featuring a cowl, beanie, and fingerless mitts perfect for layering through the colder months. Designed with Lion Brand’s Color Theory yarn, each piece highlights modern texture and easy color changes that’s both fun and beginner-friendly. Every pattern includes step-by-step video tutorials, making it easy to create your own matching handmade set. Keep scrolling for the free patterns, head to the shop for a printable PDF or treat yourself to a complete kit from Lion Brand Yarn.

It’s been getting chilly here in the Bay Area, which means I’ve officially entered the season of grabbing every extra layer within arm’s reach. Thankfully, the timing couldn’t be better — I just put the finishing touches on my latest designs, and they’re absolutely perfect for easing into the winter months in style and warmth.
Say hello to The Newport Set!
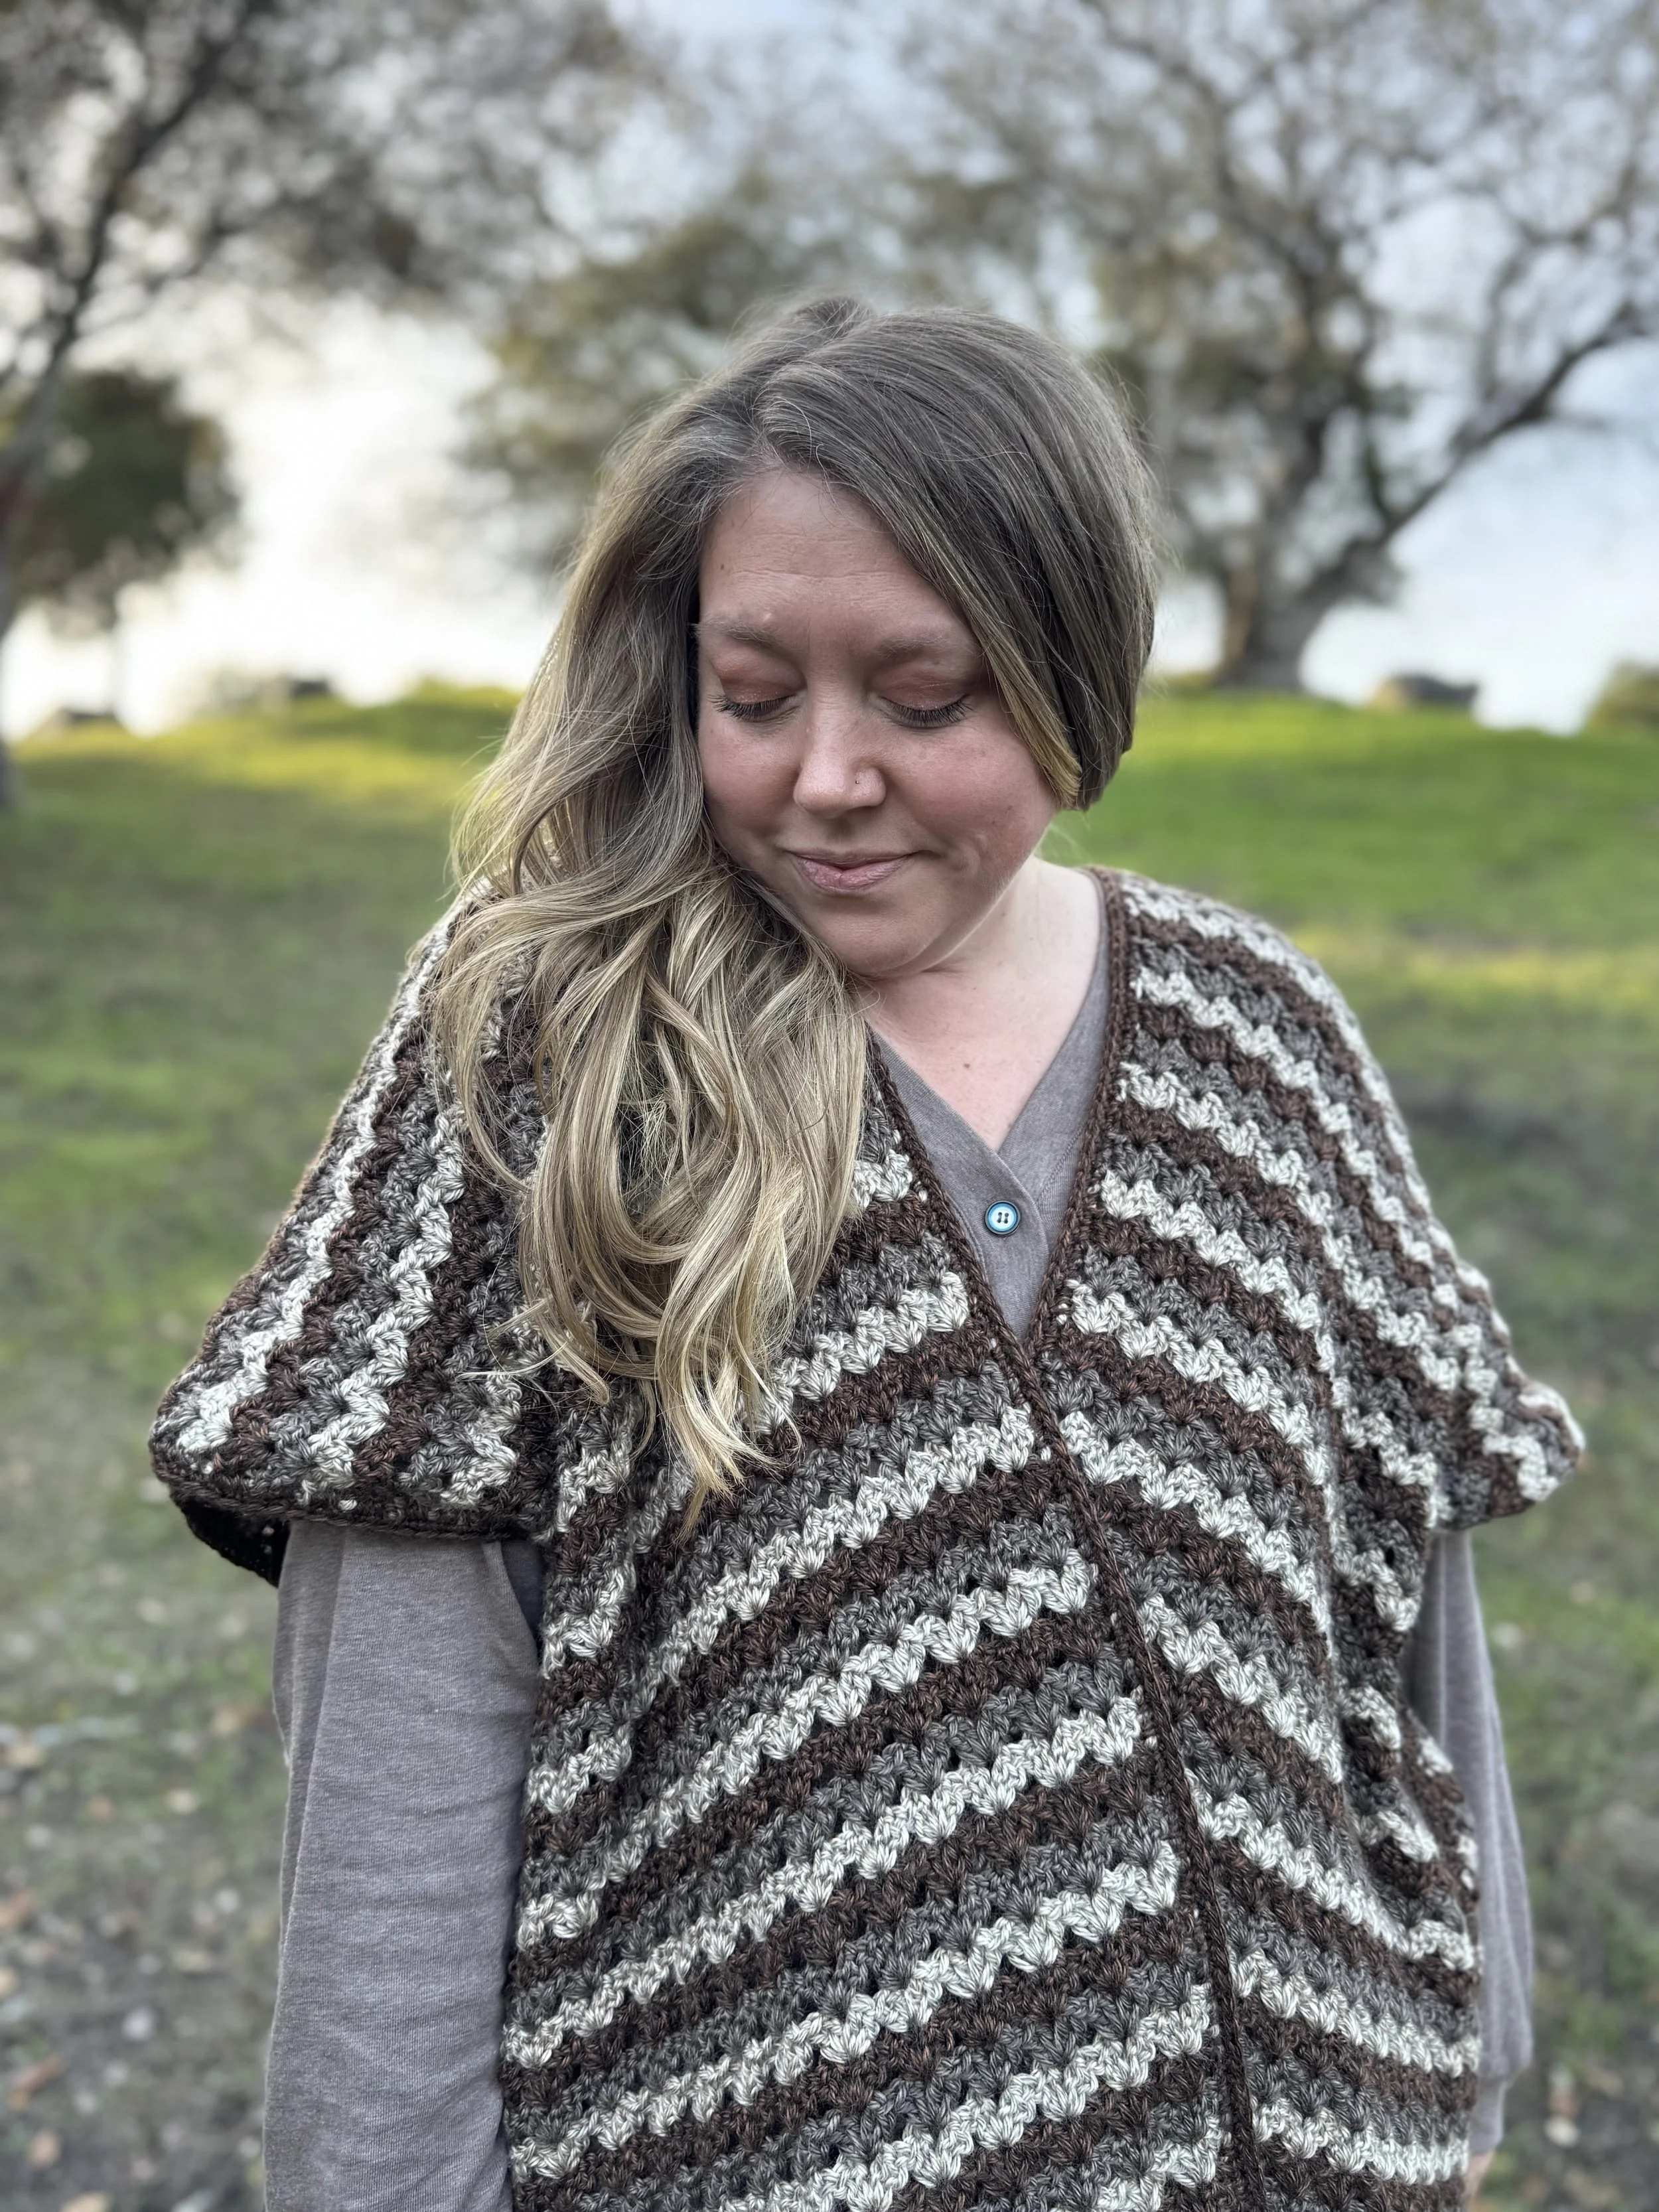
This set has been a long time coming, starting with the cowl — an older design that originally appeared in a Crochet Society subscription box. After the box was released, I realized I’d never shared the pattern on my own, and it’s been sitting patiently on my to-do list ever since. Instead of releasing it on its own, I thought it deserved a little glow-up, and what better way than by adding coordinating pieces to complete the look?
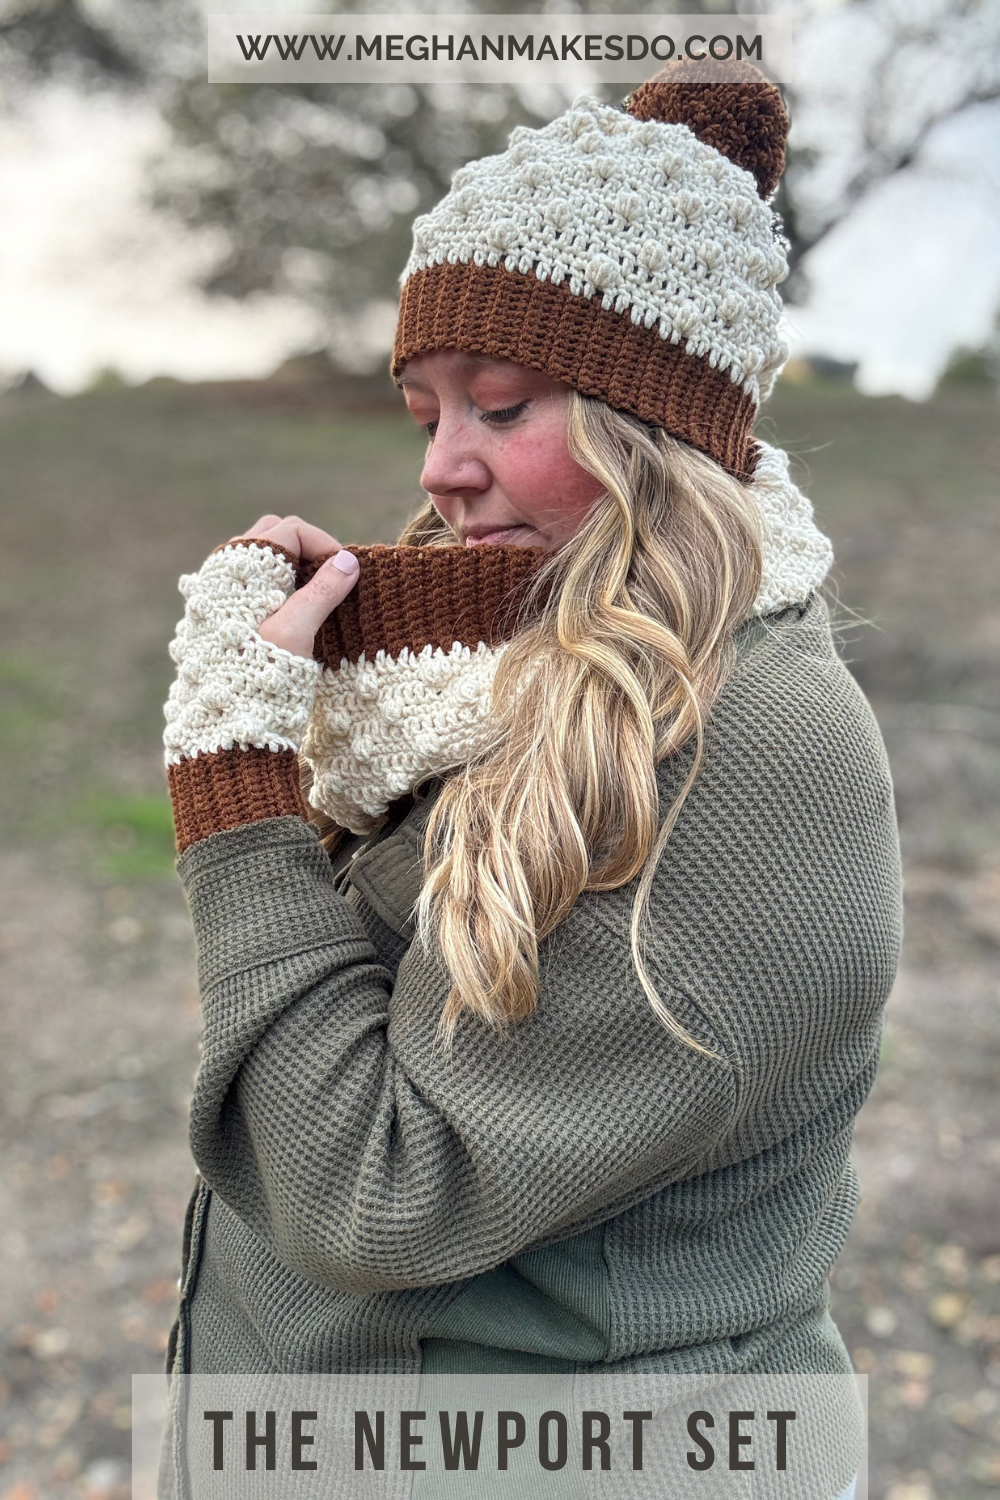
The Newport Set includes patterns for a cowl, beanie, and fingerless mitts, all featuring the same cozy stitch texture and modern color-blocking style. Worked up in Lion Brand’s Color Theory, the pieces are soft, durable, and available in a gorgeous range of coordinating shades, making it nearly impossible to pick just one combination. No matter which two colors you choose, your set is sure to turn heads.
Pattern Features
Each piece in the Newport Set was designed to be both practical and enjoyable to make. The stitches are rhythmic and beginner-friendly while still offering enough interest to keep more experienced crocheters engaged. And to make the process even easier, every pattern includes step-by-step video tutorials that walk you through exactly how to work the techniques used throughout the set. If you’re a visual learner or trying something new, you’ll feel supported every step of the way.
The result? A polished, mix-and-match accessory set you’ll reach for all season long — and one that makes a fantastic handmade gift, too.
Find the Patterns on Your Favorite Platform

The Newport Set Crochet Patterns
Materials:
445 yards (2 skeins) of Lion Brand Color Theory in Main Color (MC) (Ivory)
285 yards (2 skeins) of Lion Brand Color Theory in Contrasting Color (CC) (Spice)
US size G(4mm) & H(5mm) crochet hooks
Tapestry needle, scissors, tape measure
pom-pom maker (optional)
Abbreviations:
Ch(s)- chain(s)
st(s)- stitch(es)
sc- single crochet
dc- double crochet
3dccl- 3 double crochet cluster (see special stitches)
dc2tog- double crochet two stitches together
BLO- back loop only
RS- right side
WS- wrong side
Gauge:
16 sts X 13 rows = 4” X 4” in single crochet BLO with 5mm hook
Notes:
1.Cowl is made of two ribbings made in rows and then seamed together to form loops. The main body is worked directly into the lower ribbing and the upper ribbing is attached during the last round of the main body. The main body is worked in joined rounds, do not turn at the end of rounds, use a stitch marker to mark the end of the round.
2.Beanie is made ribbing first, with the main body worked directly into the ribbing edges in joined rounds. The top is sewn closed and the pom-pom is added last.
3.The fingerless mitts are made ribbing first and the main bodies are worked directly into the ribbing in joined rounds.
4.ch 1s do not count as a stitch. Ch 3s do count as a stitch for the cowl, but do not count as a stitch in the hat and mitts.
Size:
one size fits most adults
Cowl
32” circumference x 10.5” height
Hat
18” circumference x 9.5” height without pom-pom
Fingerless Mitts
7”circumferencex7”height

Patterns
Cowl
Ribbing: make two
With CC and 5mm hook, ch 11
Row 1: sc in 2nd ch from hook and each ch across, ch 1, turn. (10)
Row 2: scBLO in each st across, ch 1, turn. (10)
Repeat Row 2 for a total of 107 rows.
Bring starting edge up to working edge and sl st ends together going through the BLO of working edge stitches and the ch stitches of the starting edge. Fasten off and weave in ends.
Turn lower ribbing so RS is facing out and attach MC to seam.
Main Body:
Using MC, work main body into the edge of the lower ribbing.
Rnd 1(RS): ch 3, dc in the end of each row of bottom ribbing, sl st to top of ch 3 to join. (108)
Rnd 2: ch 1, sc in same st as join, sc 2, 3dccl, *sc 5, 3dccl, repeat from * around until 2 sts remain, sc 2, sl st to 1st st to join. (108)
Rnd 3: ch 3, dc 107, sl st to top of ch 3 to join. (108)
Rnd 4: ch 1, 3dccl in same st as join, sc 5, *3dccl, sc 5, repeat from * around, sl st to 1st st to join. (108)
Rnd 5: ch 3, dc 107, sl st to top of ch 3 to join. (108)
Rnds 6-13: repeat Rnds 2-5. (108)
Rnd 14: repeat Rnd 2. (108)
The last round will be worked while also attaching the upper ribbing to the cowl. Slide the upper ribbing over the cowl so the RS are facing and the edge of the ribbing is lined up with the working edge of the cowl.
Rnd 15: ch 3, then remove hook from loop, insert the hook into the seam of upper ribbing from WS to RS, put working loop back on hook and pull through ribbing, dc in next stitch of cowl. *Again remove hook from loop, insert the hook into the edge of the upper ribbing from WS to RS, put working loop back on hook and pull through ribbing, dc in next st of cowl, repeat from * all the way around. (108)
Fasten off and weave in ends.
Beanie
Ribbing:
With CC and 4mm hook, ch 11
Row 1: sc in 2nd ch from hook and each ch across, ch 1, turn. (10)
Row 2: scBLO in each st across, ch 1, turn. (10)
Repeat Row 2 for a total of 72 rows.
Bring starting edge up to working edge and sl st ends together going through the BLO of working edge stitches and the ch stitches of the starting edge. Fasten off.
Turn ribbing so RS is facing out and attach MC to seam.
Main Body:
Using MC and 5mm hook, work main body into the edge of the ribbing.
Rnd 1(RS): ch 3, dc in the end of each row of ribbing, sl st to top of 1st st to join. (72)
Rnd 2: ch 1, sc in same st as join, sc 2, 3dccl, *sc 5, 3dccl, repeat from * around until 2 sts remain, sc 2, sl st to 1st st to join. (72)
Rnd 3: ch 3, dc in same st as join and in each st around, sl st to top of 1st st to join. (72)
Rnd 4: ch 1, 3dccl in same st as join, sc 5, *3dccl, sc 5, repeat from * around, sl st to 1st st to join. (72)
Rnd 5: ch 3, dc in same st as join and in each st around, sl st to top of 1st st to join. (72)
Rnds 6-17: repeat Rnds 2-5. (72)
Rnd 18: ch 1, sc in same st as join and in each st around, sl st to top of 1st st to join. (72)
Rnd 19: ch 3, dc in same st as join and in next 3 sts, dc2tog, *dc 4, dc2tog, repeat from * around, sl st to 1st st to join. (66)
Fasten off leaving a long tail for sewing the top closed.
Finishing:
Using a tapestry needle and the long tail, fold hat in half and make one stitch going though both sides in the center. Fold hat in half the other way and make one stitch going through each center side and middle of hat. You will now have four “loops” at the top of your hat. Stitch the middle of each of those “loops” to the center stitch of the hat. You will now have 8 small “loops” at the top of your hat. Stitch the middle of each of those “loops” to the center stitch of the hat to close. Bring the tail to the inside of the hat and tie and knot. Weave in all ends.
Use the remaining yarn and a pom-pom maker to make a large pom-pom. Attach to the top of the hat and secure with a knot inside. (optional)
Fingerless Mitts (make two)
Ribbing:
With CC and 4mm hook, ch 11
Row 1: sc in 2nd ch from hook and each ch across, ch 1, turn. (10)
Row 2: scBLO in each st across, ch 1, turn. (10)
Repeat Row 2 for a total of 30 rows.
Bring starting edge up to working edge and sl st ends together going through the BLO of working edge stitches and the ch stitches of the starting edge. Fasten off.
Turn ribbing so RS is facing out and attach MC to seam.
Main Body:
Using MC, work main body into the edge of the ribbing.
Rnd 1(RS): ch 3, dc in the end of each row of ribbing, sl st to top of 1st st to join. (30)
Rnd 2: ch 1, sc in same st as join, sc 2, 3dccl, *sc 5, 3dccl, repeat from * around until 2 sts remain, sc 2, sl st to 1st st to join. (30)
Rnd 3: ch 3, dc in same st as join and in each st around, sl st to top of 1st st to join. (30)
Rnd 4: ch 1, 3dccl in same st as join, sc 5, *3dccl, sc 5, repeat from * around, sl st to 1st st to join. (30)
Rnd 5: ch 3, dc in same st as join and in each st around, sl st to top of 1st st to join. (30)
Rnds 6-7: repeat Rnds 2-3. (30)
Note that Rnd 8 will be different depending on which hand you are making. Make one mitt following instructions for Left and one mitt following instructions for Right.
Left Rnd 8: ch 1, 3dccl in same st as join, sc in next 4 sts, ch 6, sk 6, sc, *3dccl, sc 5, repeat from * around, sl st to 1st st to join.
Right Rnd 8: ch 1, 3dccl in same st as join, sc 5, [3dccl, sc 5] twice, 3dccl, sl st into same st as 3dccl, ch 6, sk 6, sc 5, sl st to 1st st to join. (30)
Rnd 9: ch 3, dc in same st as join and in each st around, sl st to top of 1st st to join. (30)
Rnds 10-13: Repeat Rnds 2-5. (30)
Change to CC,
Rnd 14: ch 1, sc in same st as join and in each st around, sl st to top of 1st st to join. (30)
Fasten off and weave in all ends.
Now go stay cozy in your Newport Set! I hope you love it. If you make one I’d love to see. Make sure to tag me @meghanmakesdo on social media and use #thenewportset so I can share.
As always you can find this set as a digital PDF in my shop, Etsy and Ravelry or as a kit with Lion Brand Yarn.
Happy Crocheting,
Meghan