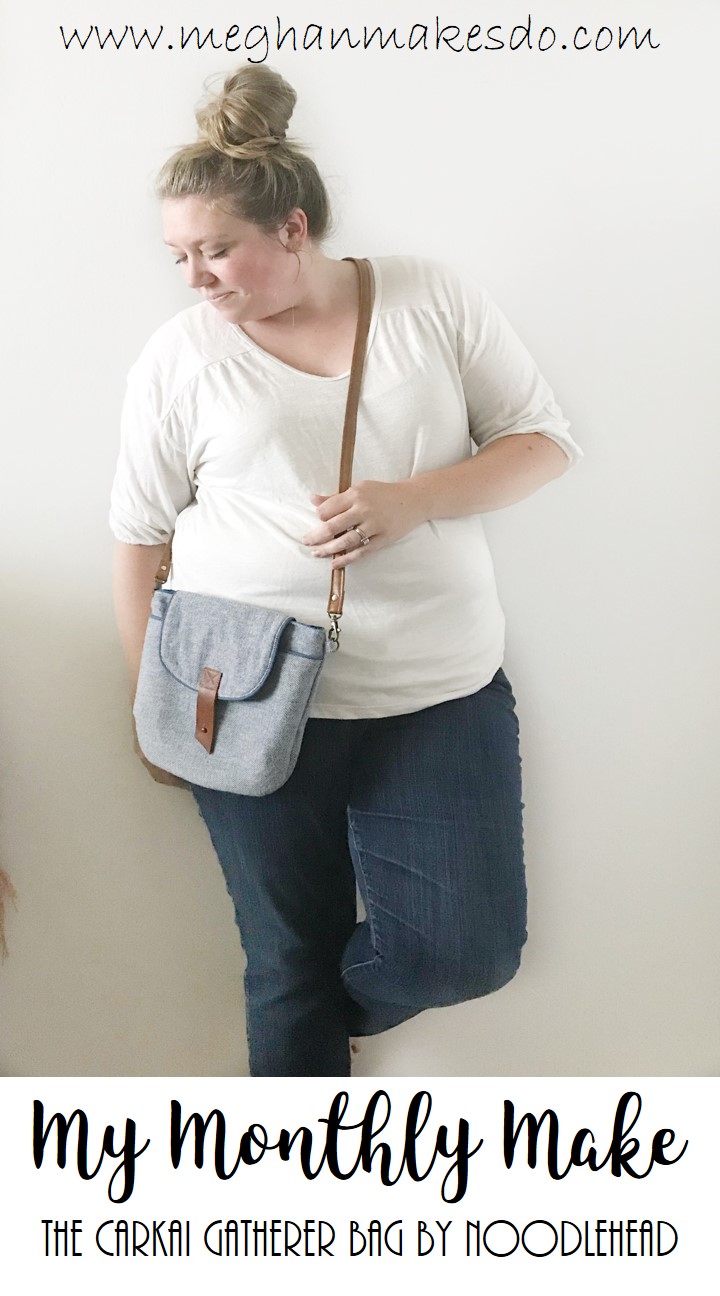
My Monthly Make-The Carkai Gatherer Bag
Is it just me or did July just fly by? It's been a busy month getting ready for the Oakland Art & Soul Festival, but I still managed to squeeze in some sewing just for me. I decided to go with a quick little sewing project for my monthly make and let me tell you, you can make this baby in just an hour or so! Well, if you can dedicate one solid hour to just making. I made mine over a few days because...kids! It's crazy how many little interruptions happen throughout a day. Anyway, here she is in all her glory, The Carkai Gatherer Cross-Body Bag by Anna Graham of Noodlehead.
I'm kind of in love with this bag. I've always loved bags and Anna's designs are all so beautiful. I love how the simple design let's the fabric choices really shine thru. Anna is an amazing designer based in Wisconsin and she has so many amazing patterns. She shares some for free on her blog, a few are available for purchase in her shop and she even has a book called Handmade Style! You can learn more about Anna and her business Noodlehead over on her website or go give her a follow on Instagram.
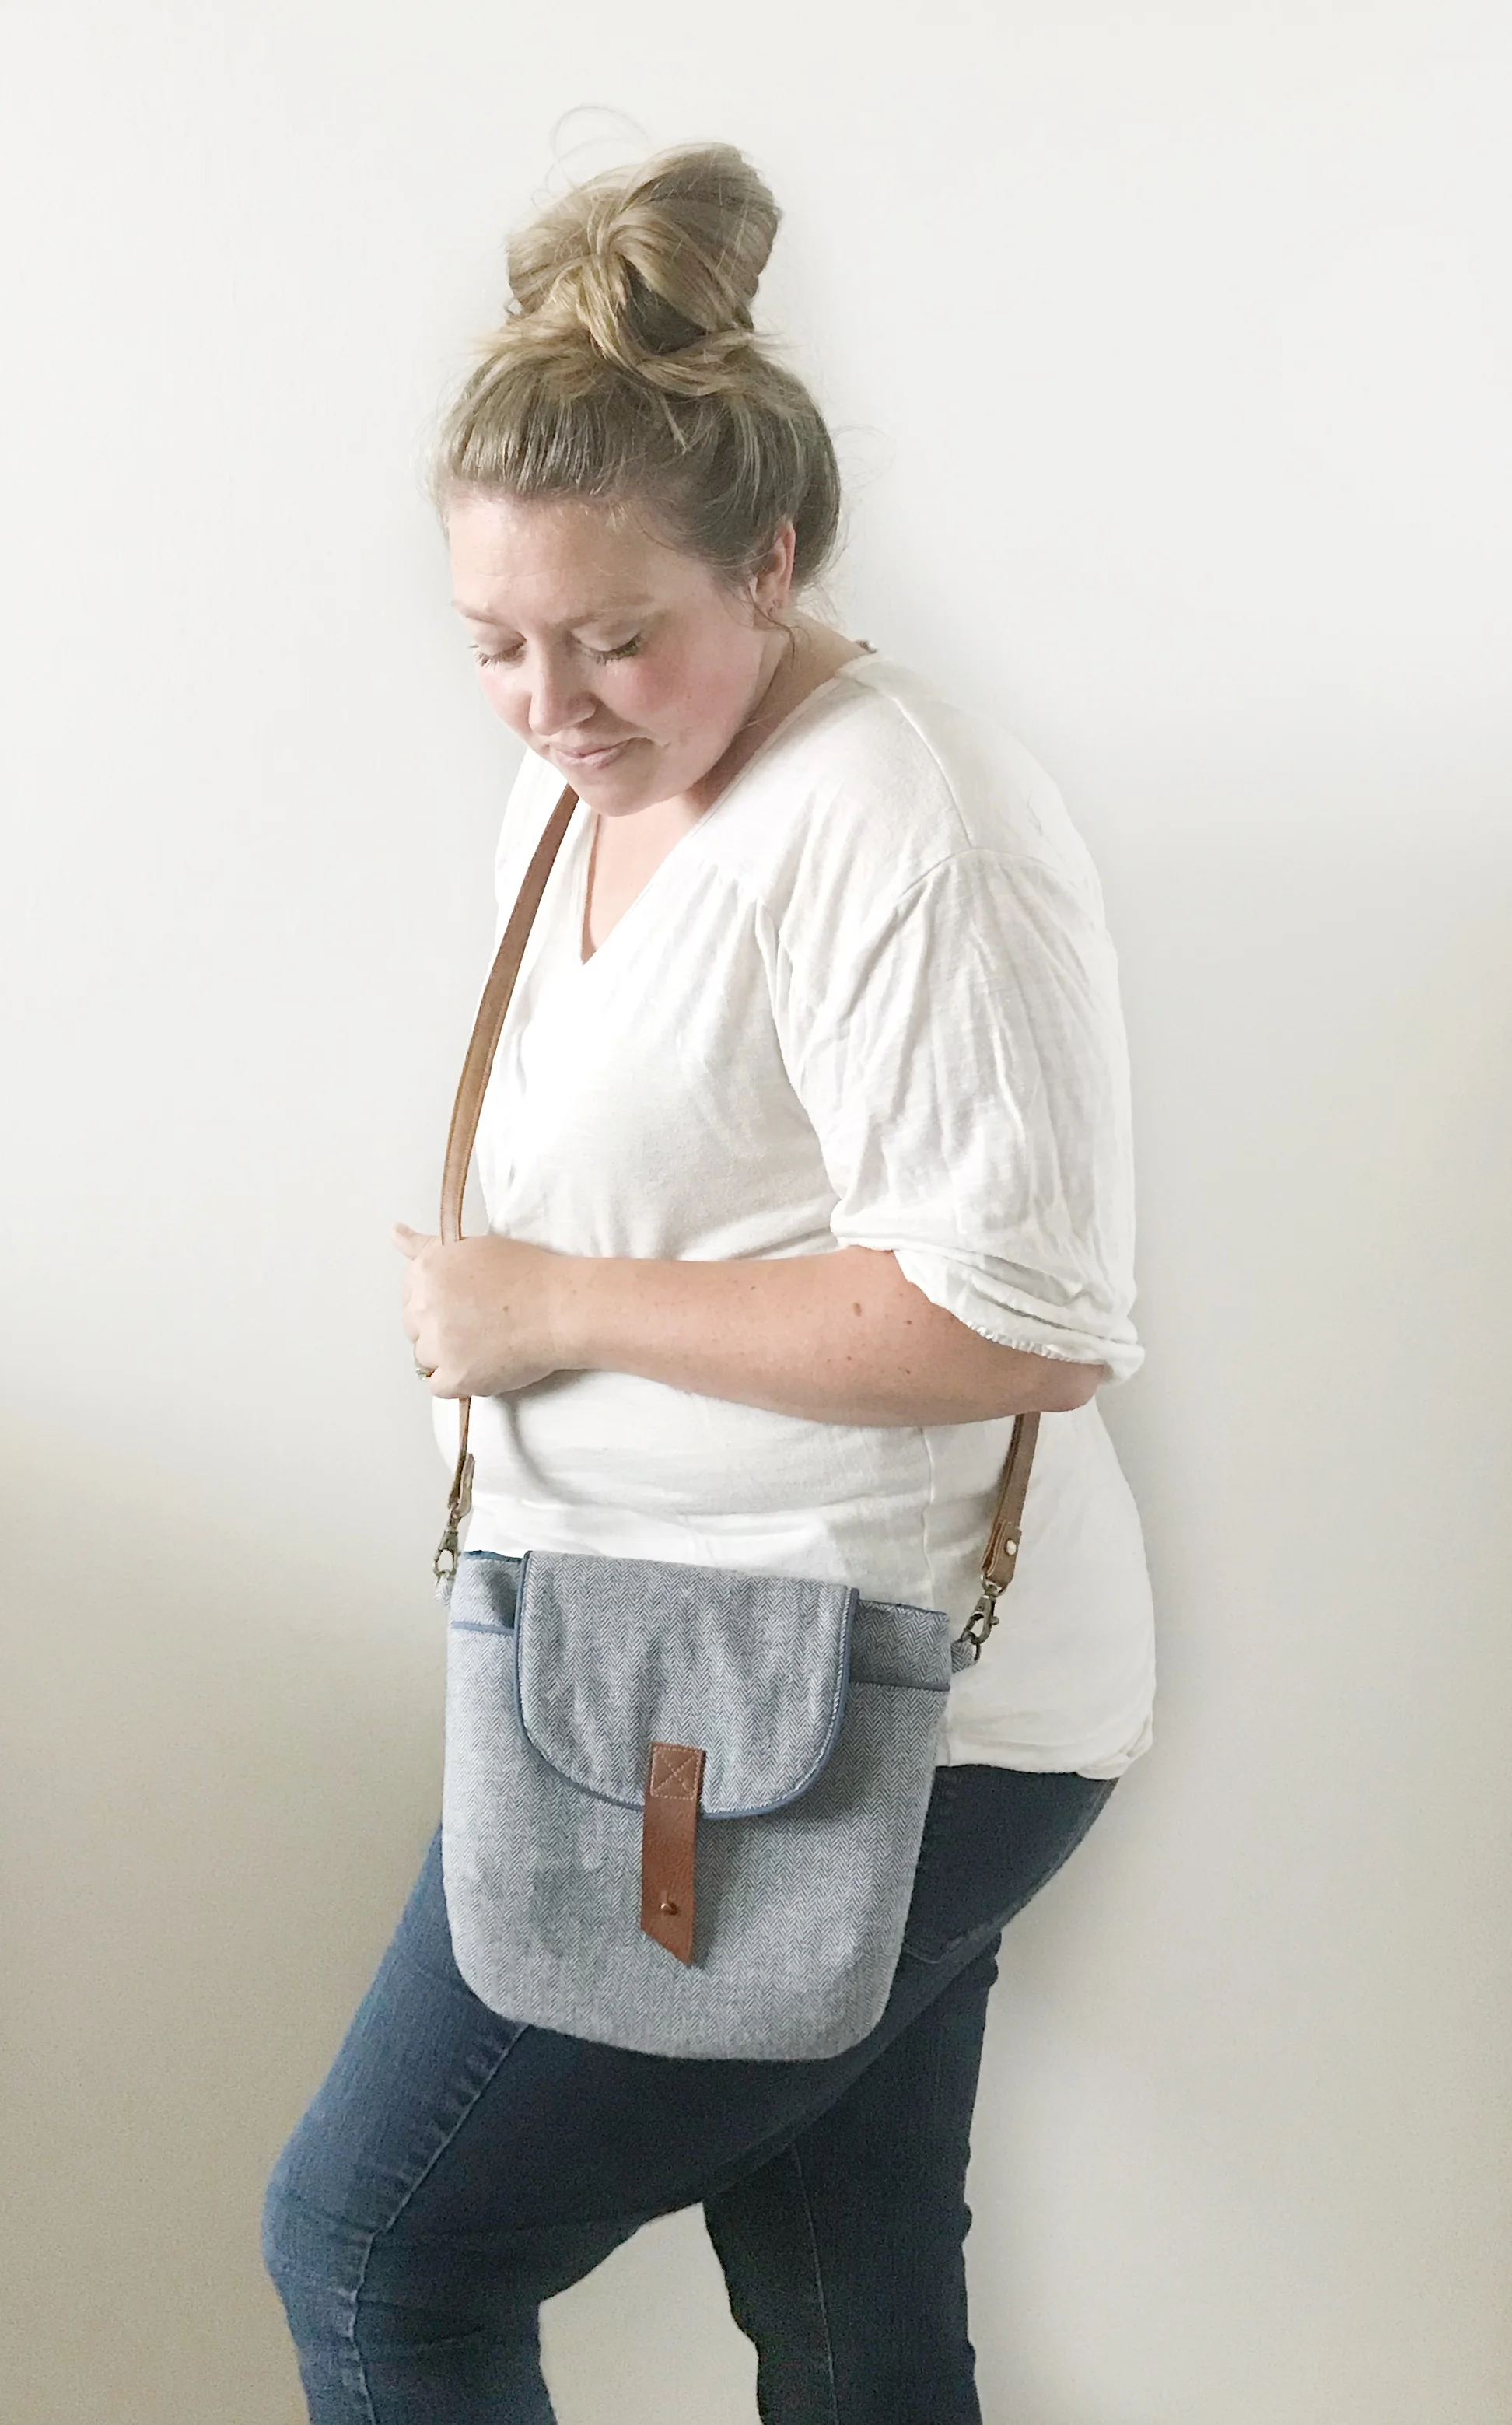
Since I knew I was limited on personal making time this month, I decided to make a quick cross-body bag. I've been wanting to make a small cross-body bag for a while since I'm very close to being ready to ditch the large backpack/diaper bag I currently have. I realized that right now that's the only bag I have and when I make quick solo trips to the fabric store or head out for a mom's night out, I have to lug around a giant bag too.
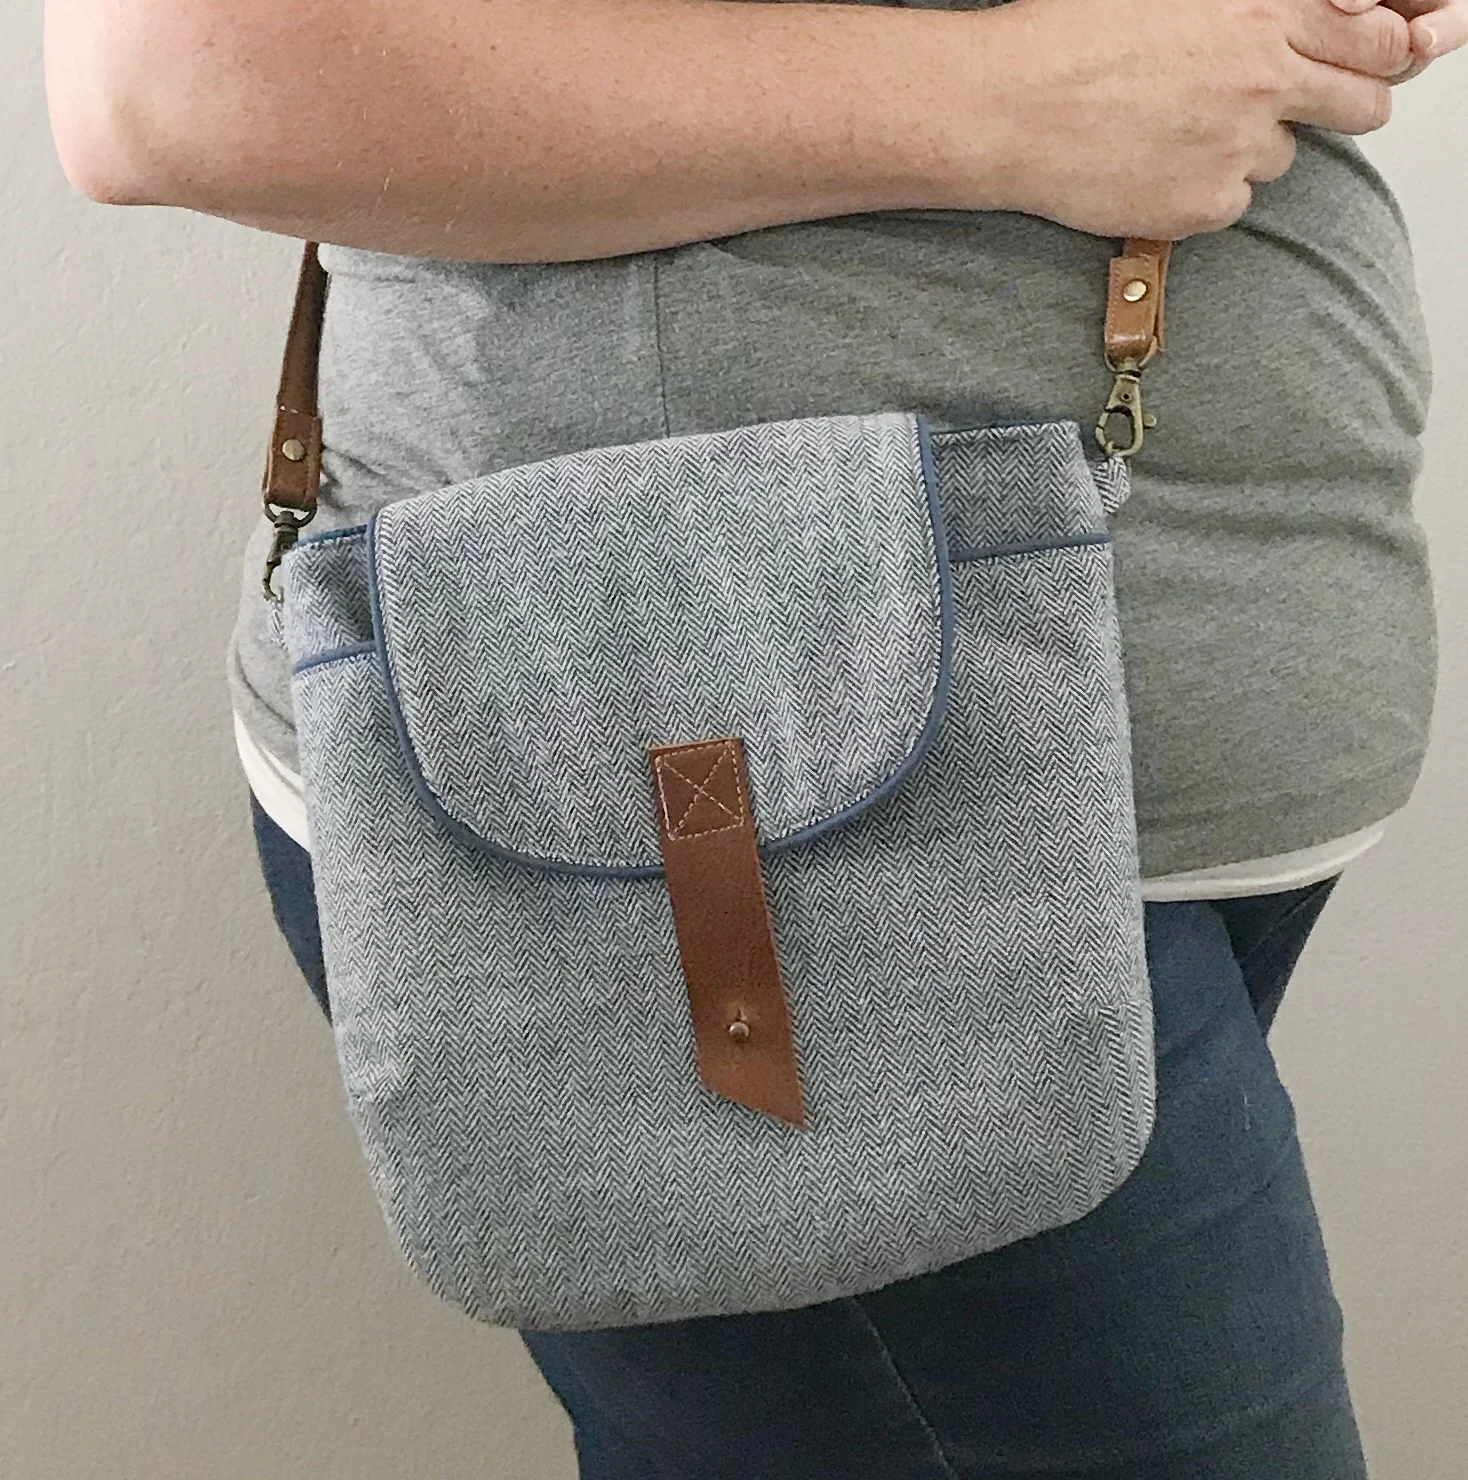
The Gatherer bag is perfect for me and I love that it has an extra front pocket too. I love when a bag has multiple areas to store things. This one can hold all the essentials, plus a small crochet project because you know I never leave home without one.
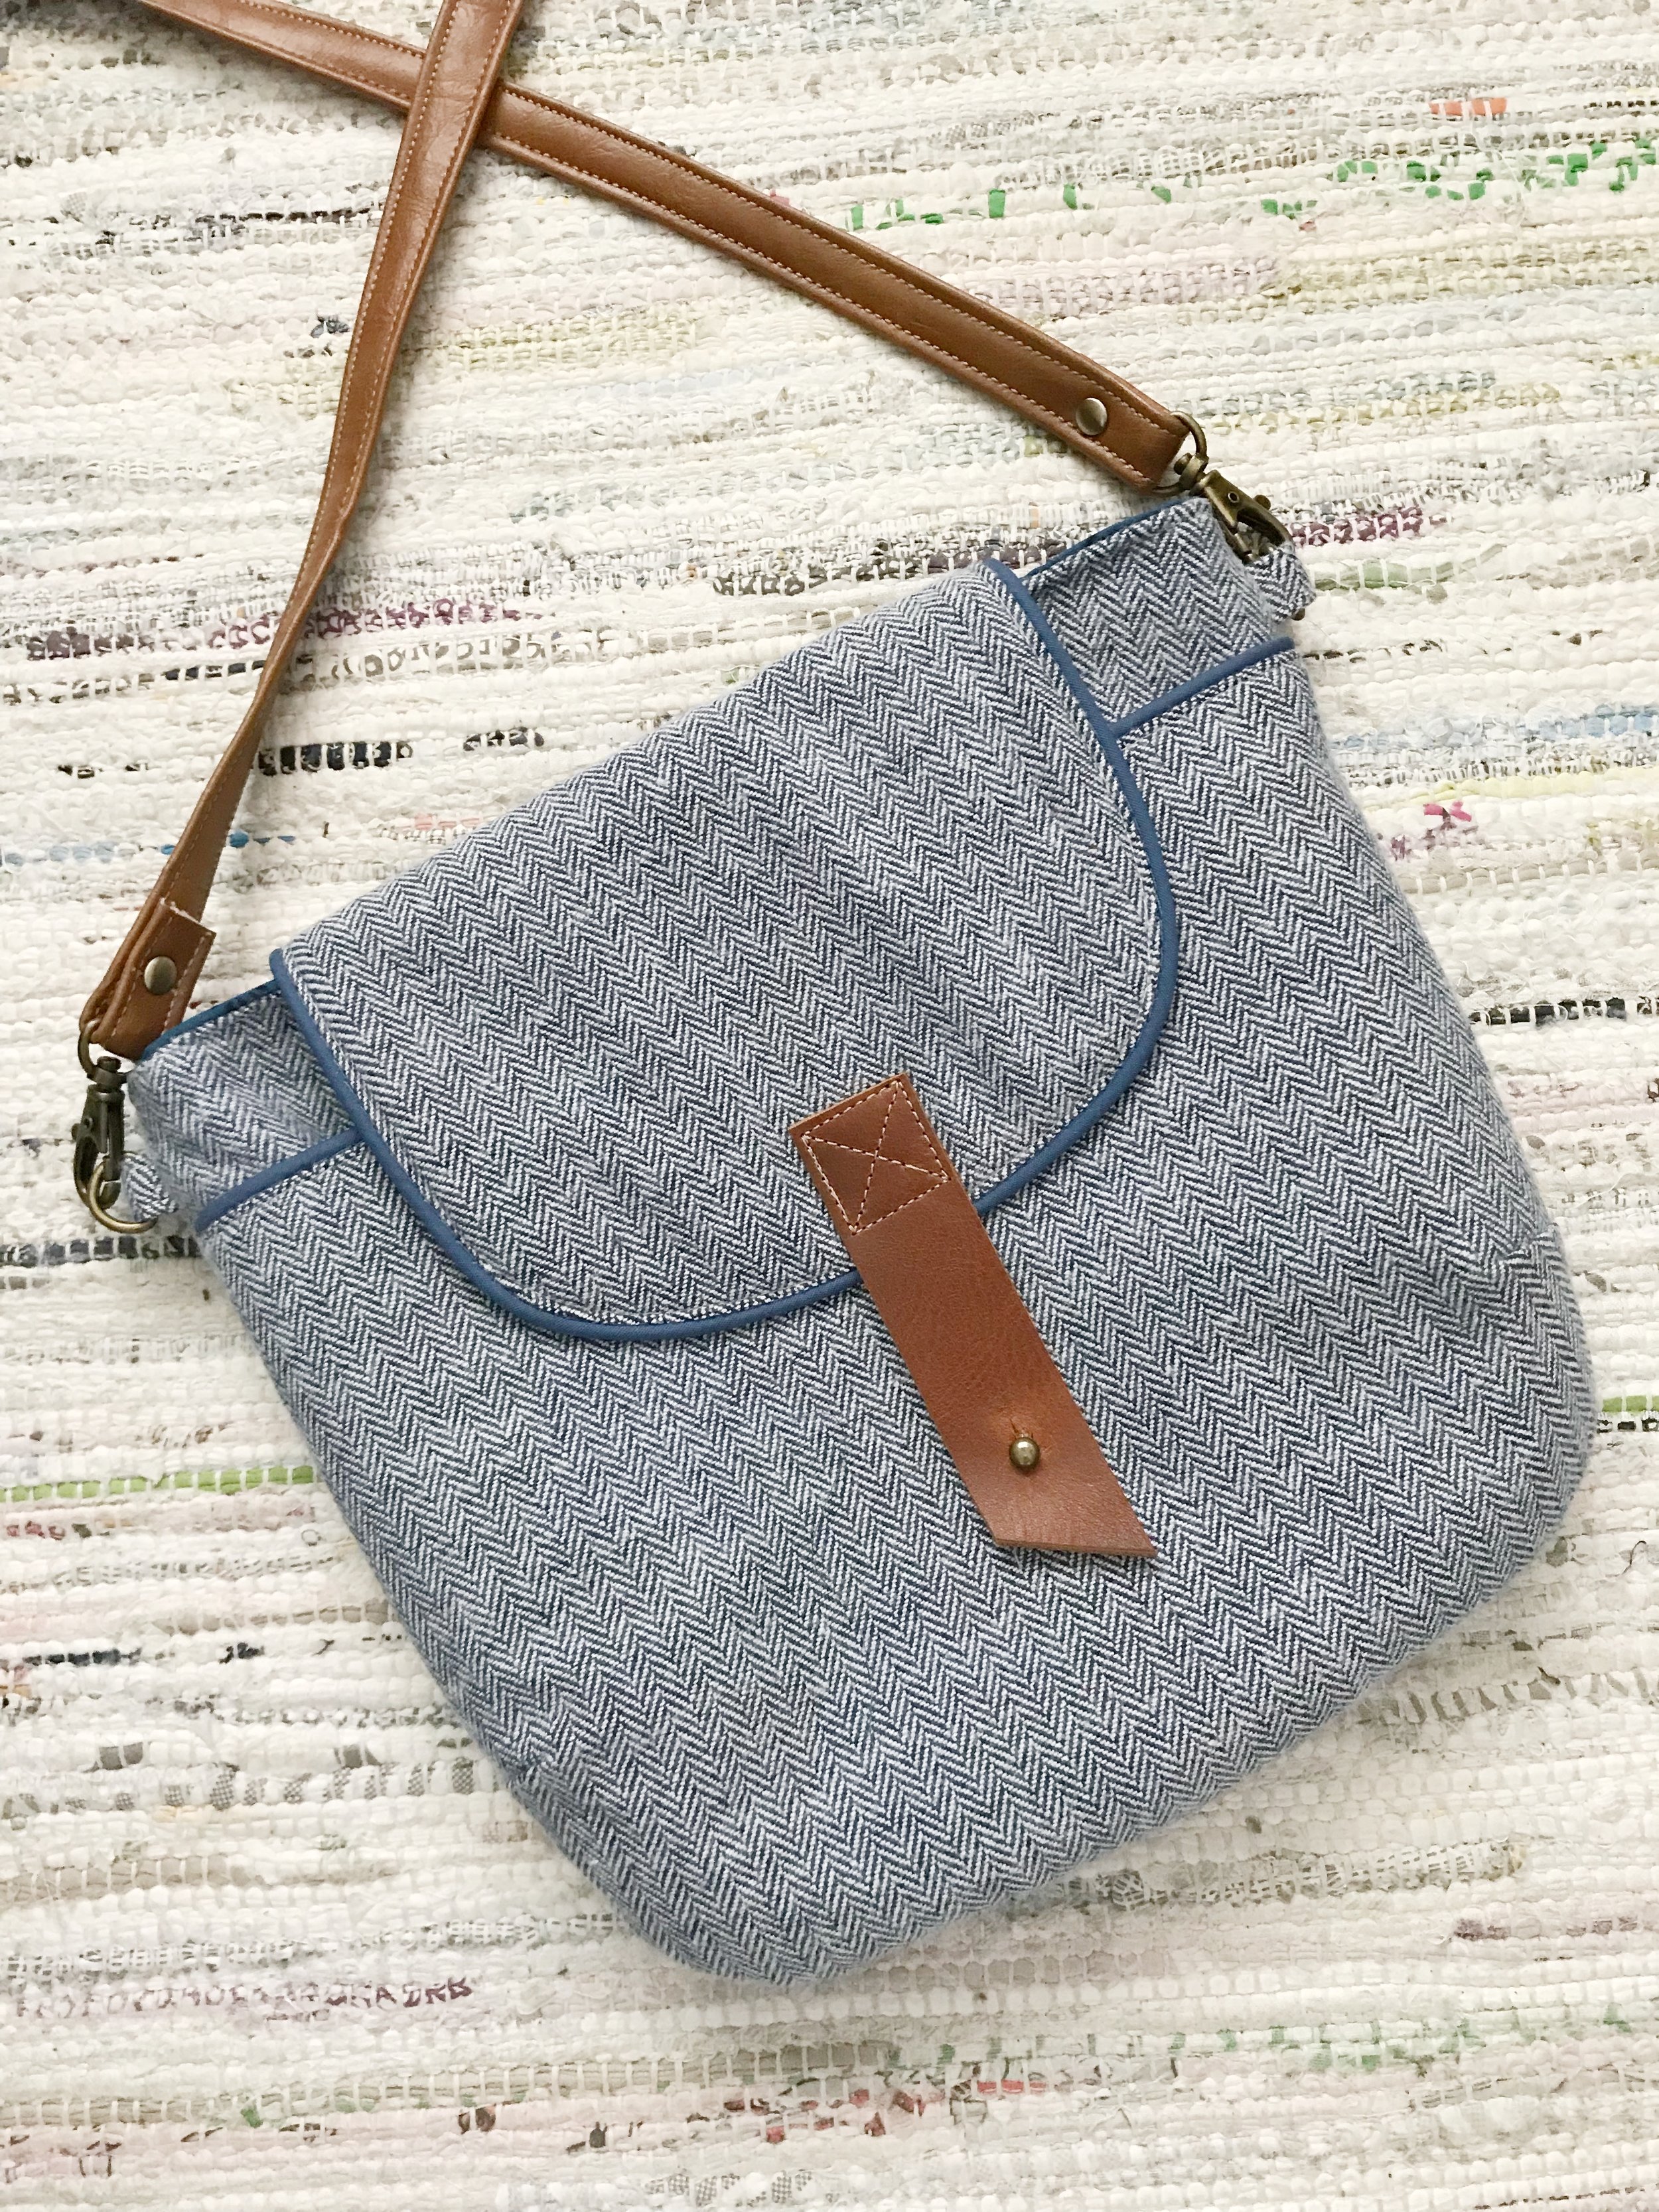
The original pattern called for simple fabric straps, but I've been really into using faux leather for straps lately and already had the strap hardware. I love how the faux leather and the real leather compliment each other.
This was also my first time using piping! I decided to go with the already made kind even though you can always make your own. I totally forgot to bring a swatch of fabric with me so I ended up buying a navy and a grey. It was a bit tough to choose which one to use in the end, but ultimately the navy won out and I think it looks perfect.

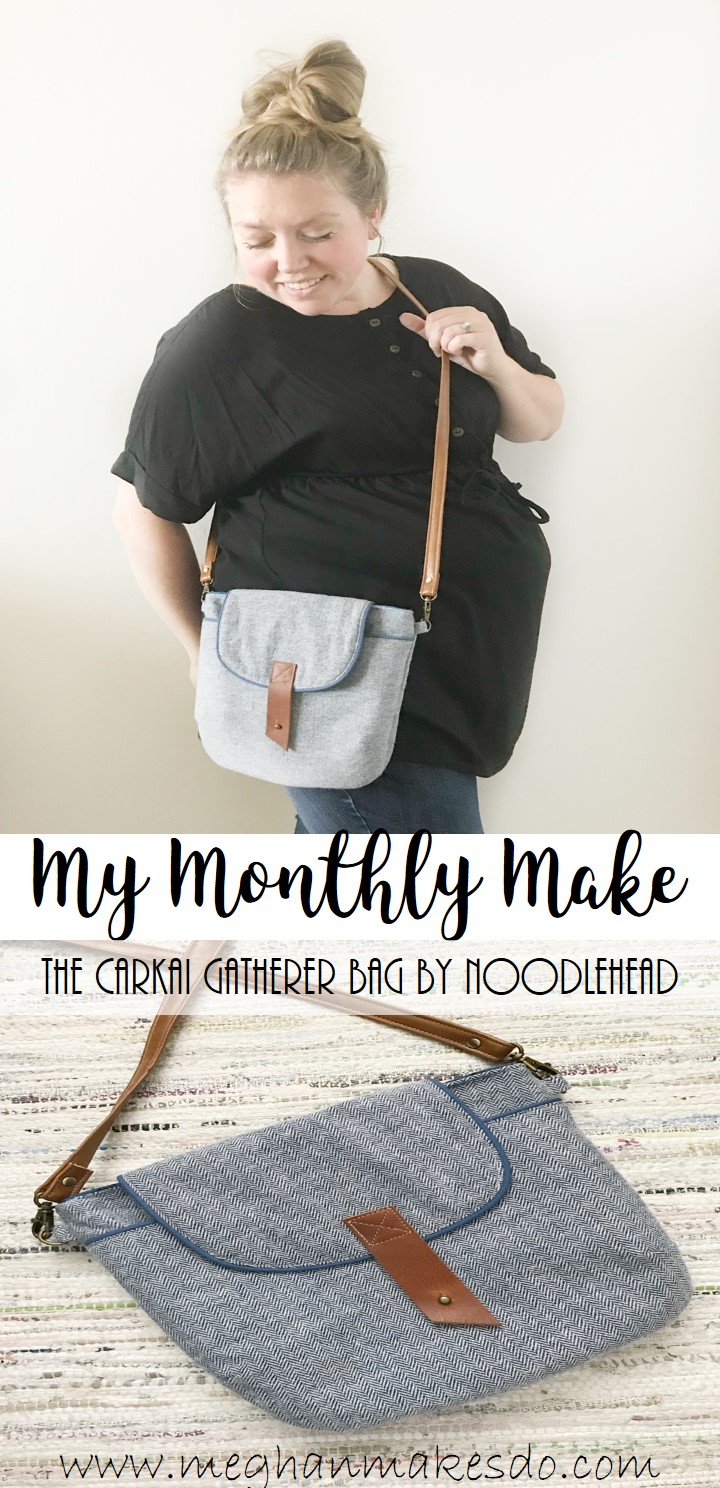
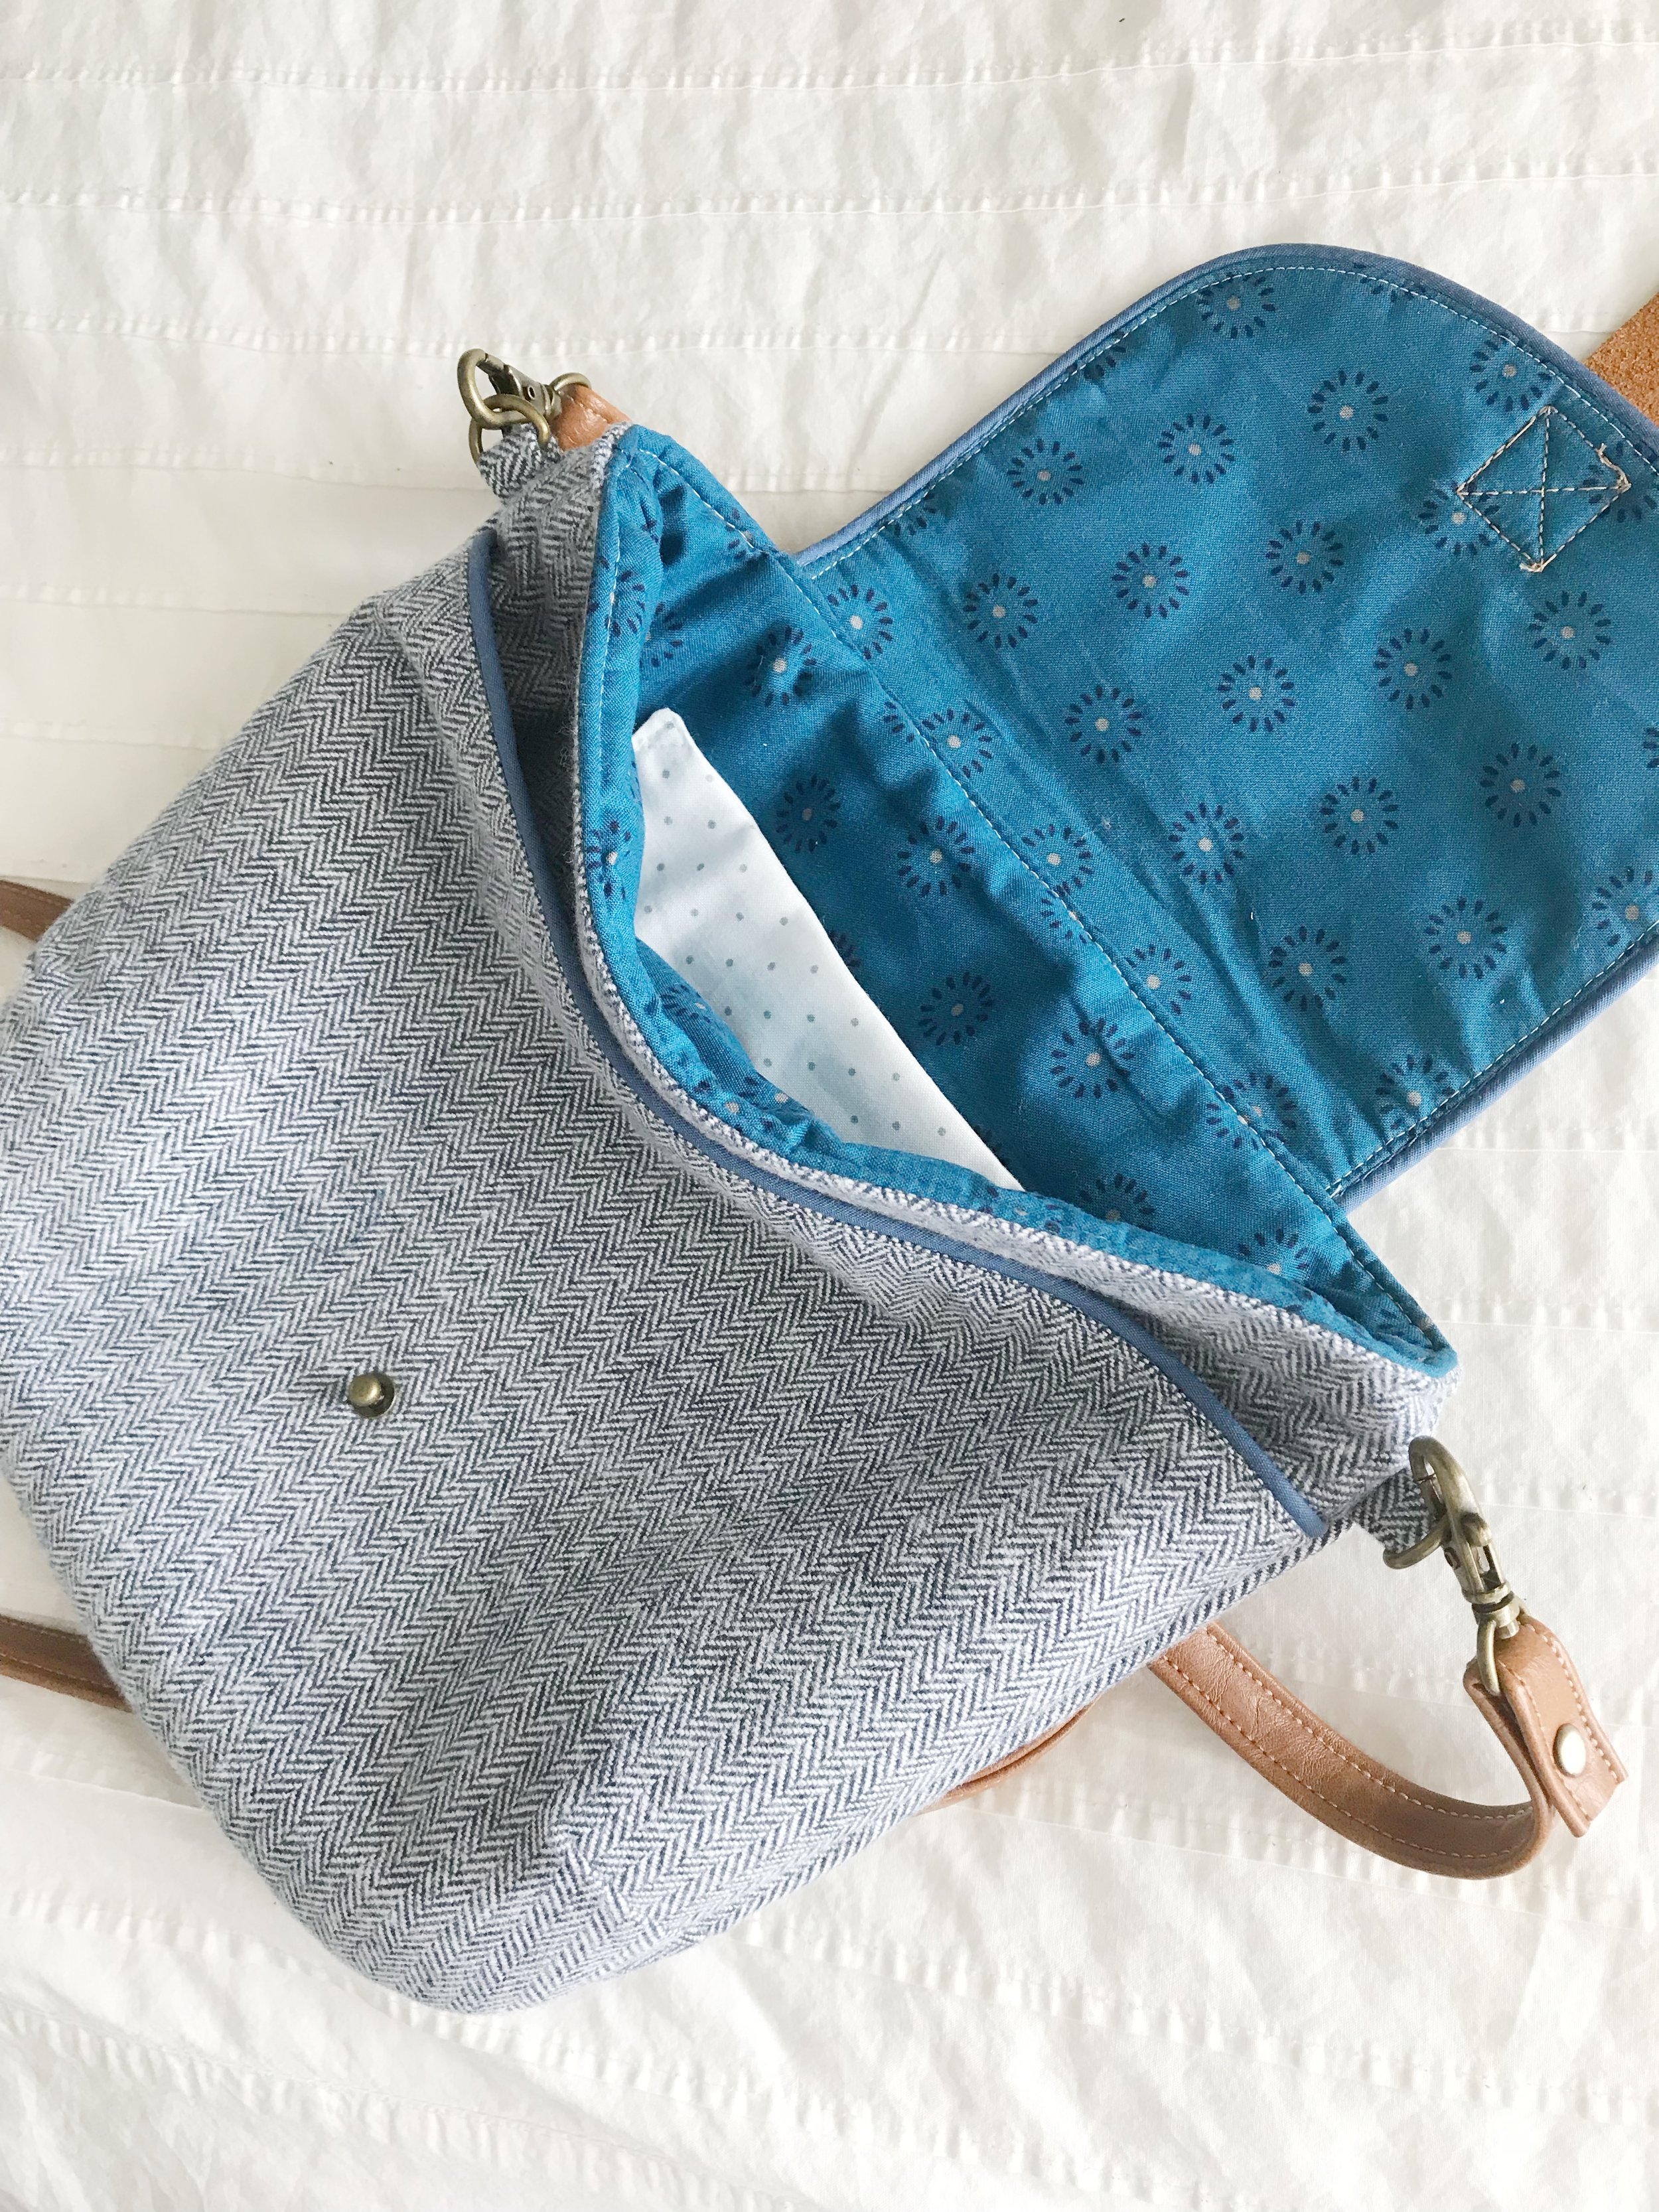
I used fabrics I already had on hand and the blues compliment each other really well. I chose to add a little pop of white with my interior pocket, which is a fun little surprise when you open it.
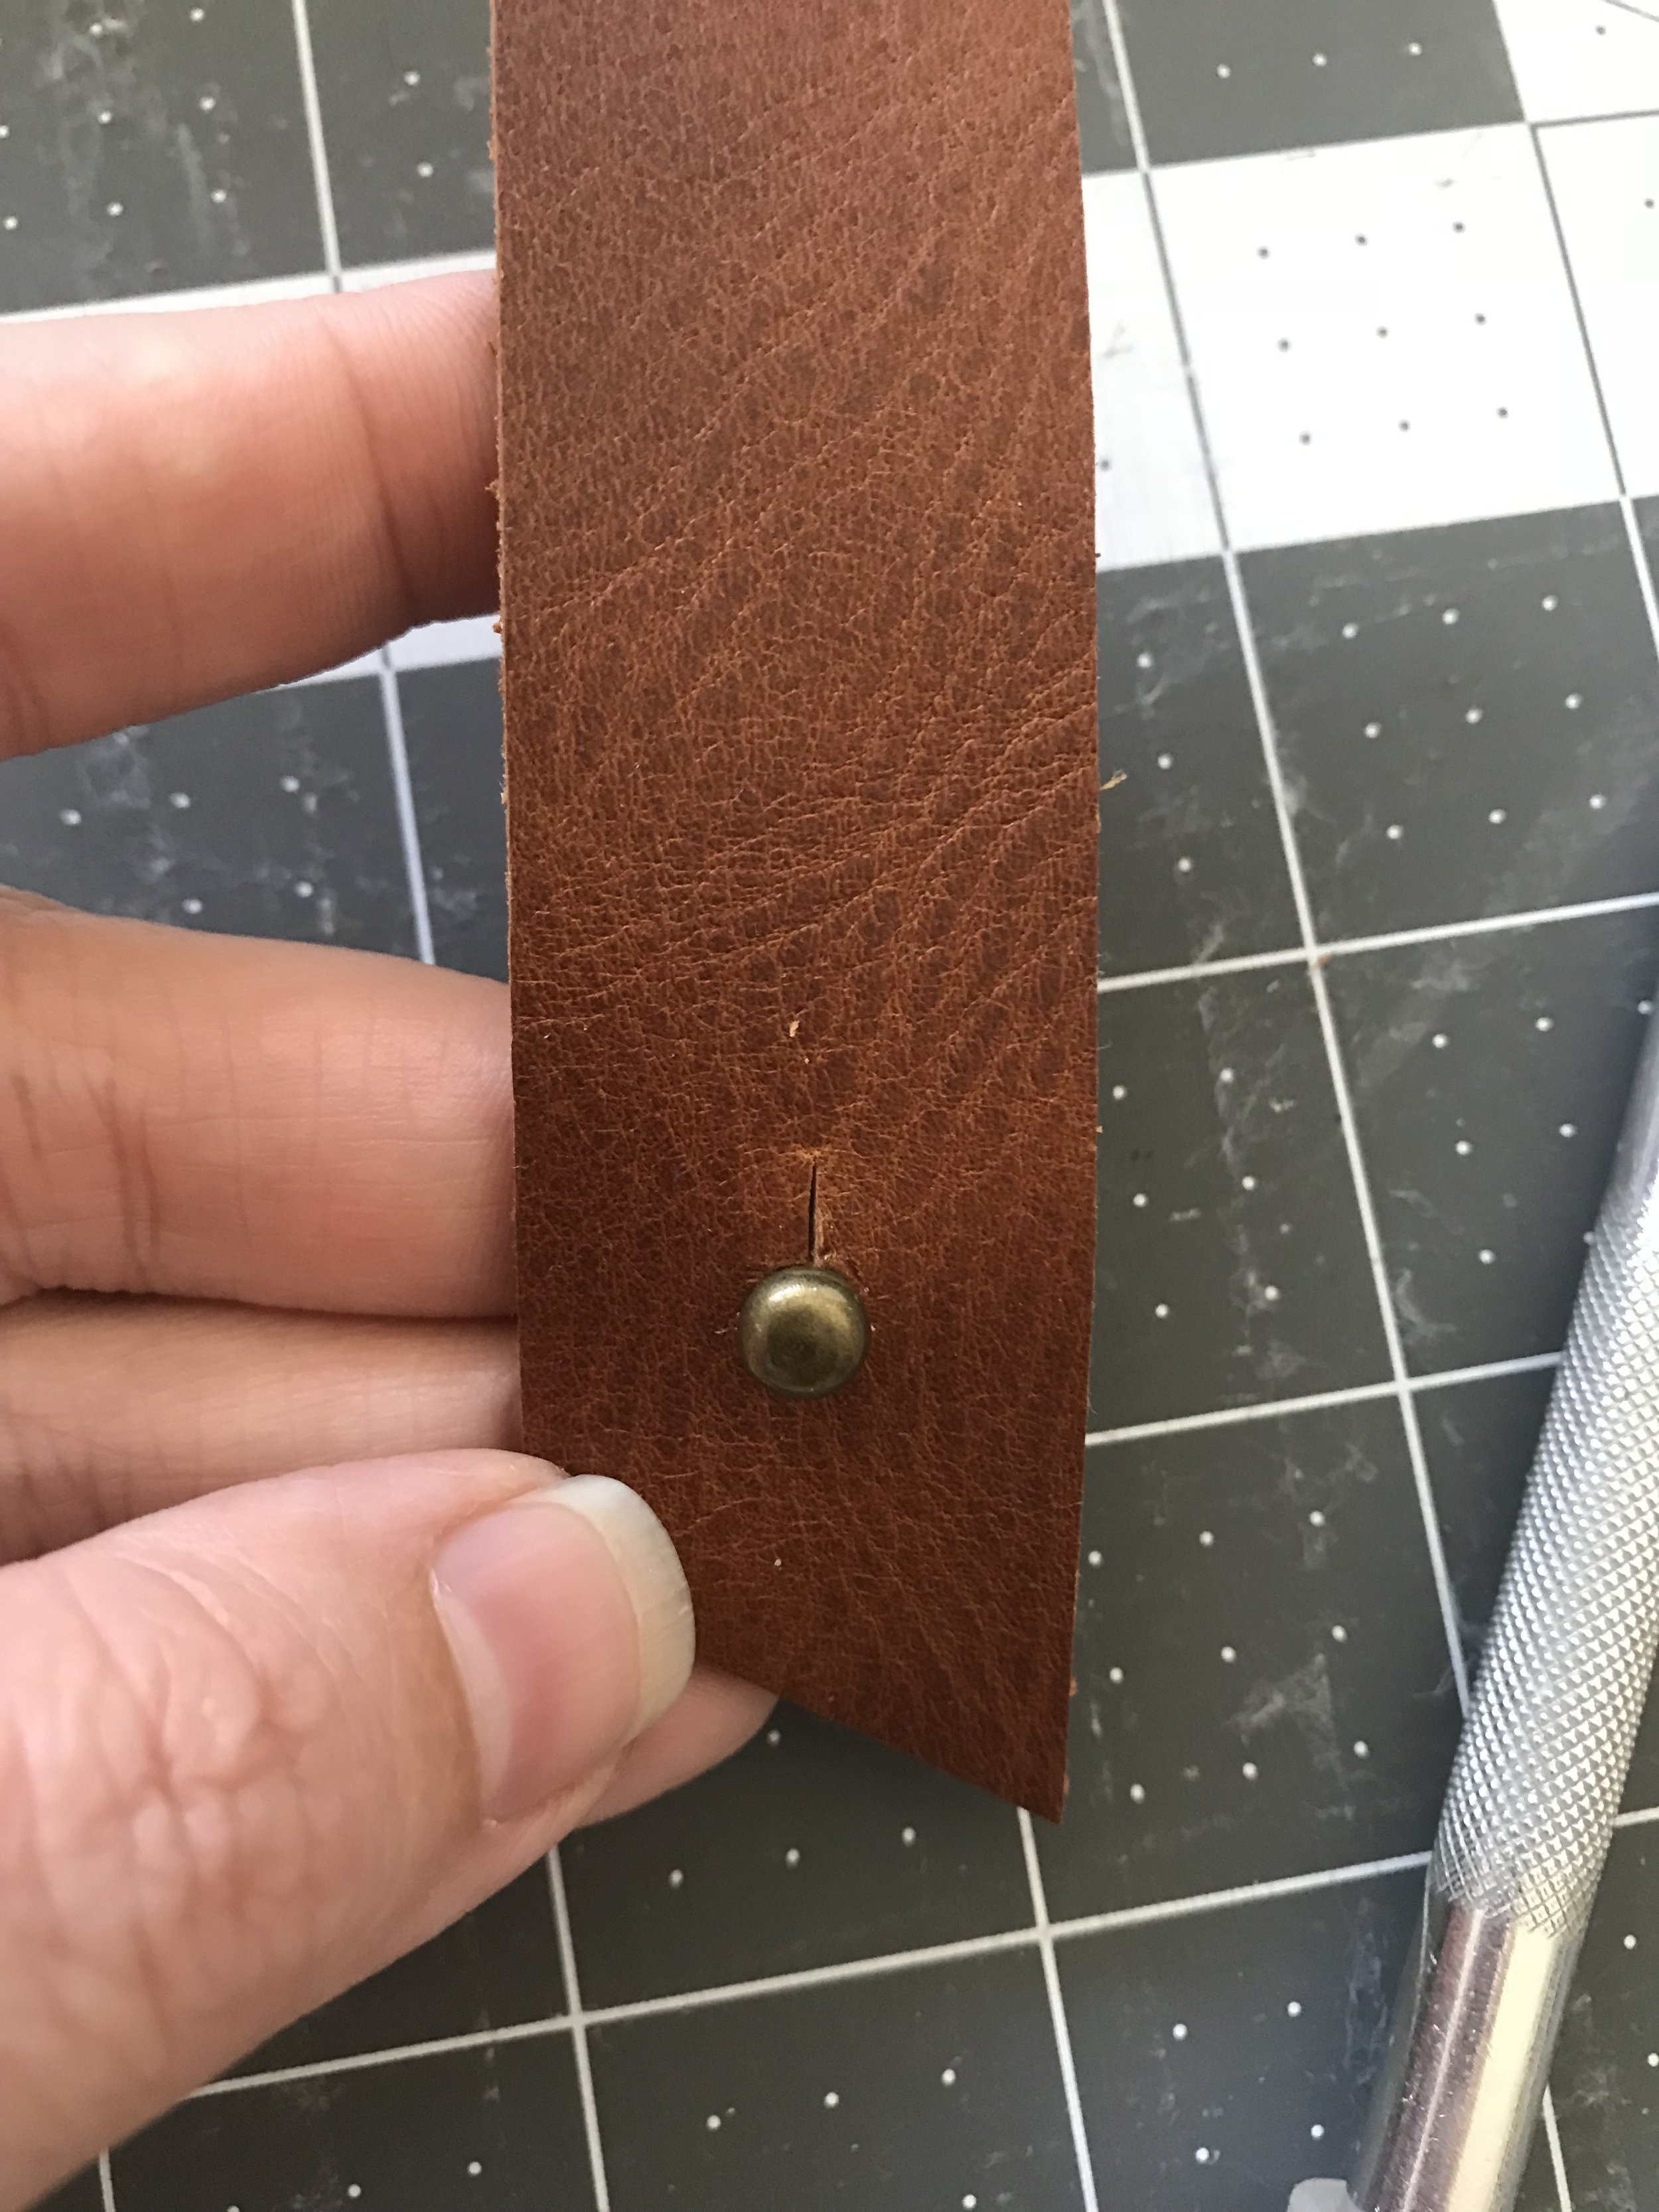
This was also my first time using a button stud. I found a pack that matched my strap hardware at Michael's. They come in packs of 10 so I will have to figure out a way to use the rest. I'm thinking I'll have to create some new sewing patterns. I was a little nervous to install them since you have to punch a hole through the front pocket and once you do there's no turning back. It screwed in place easily and adds such a nice little detail on the bag.
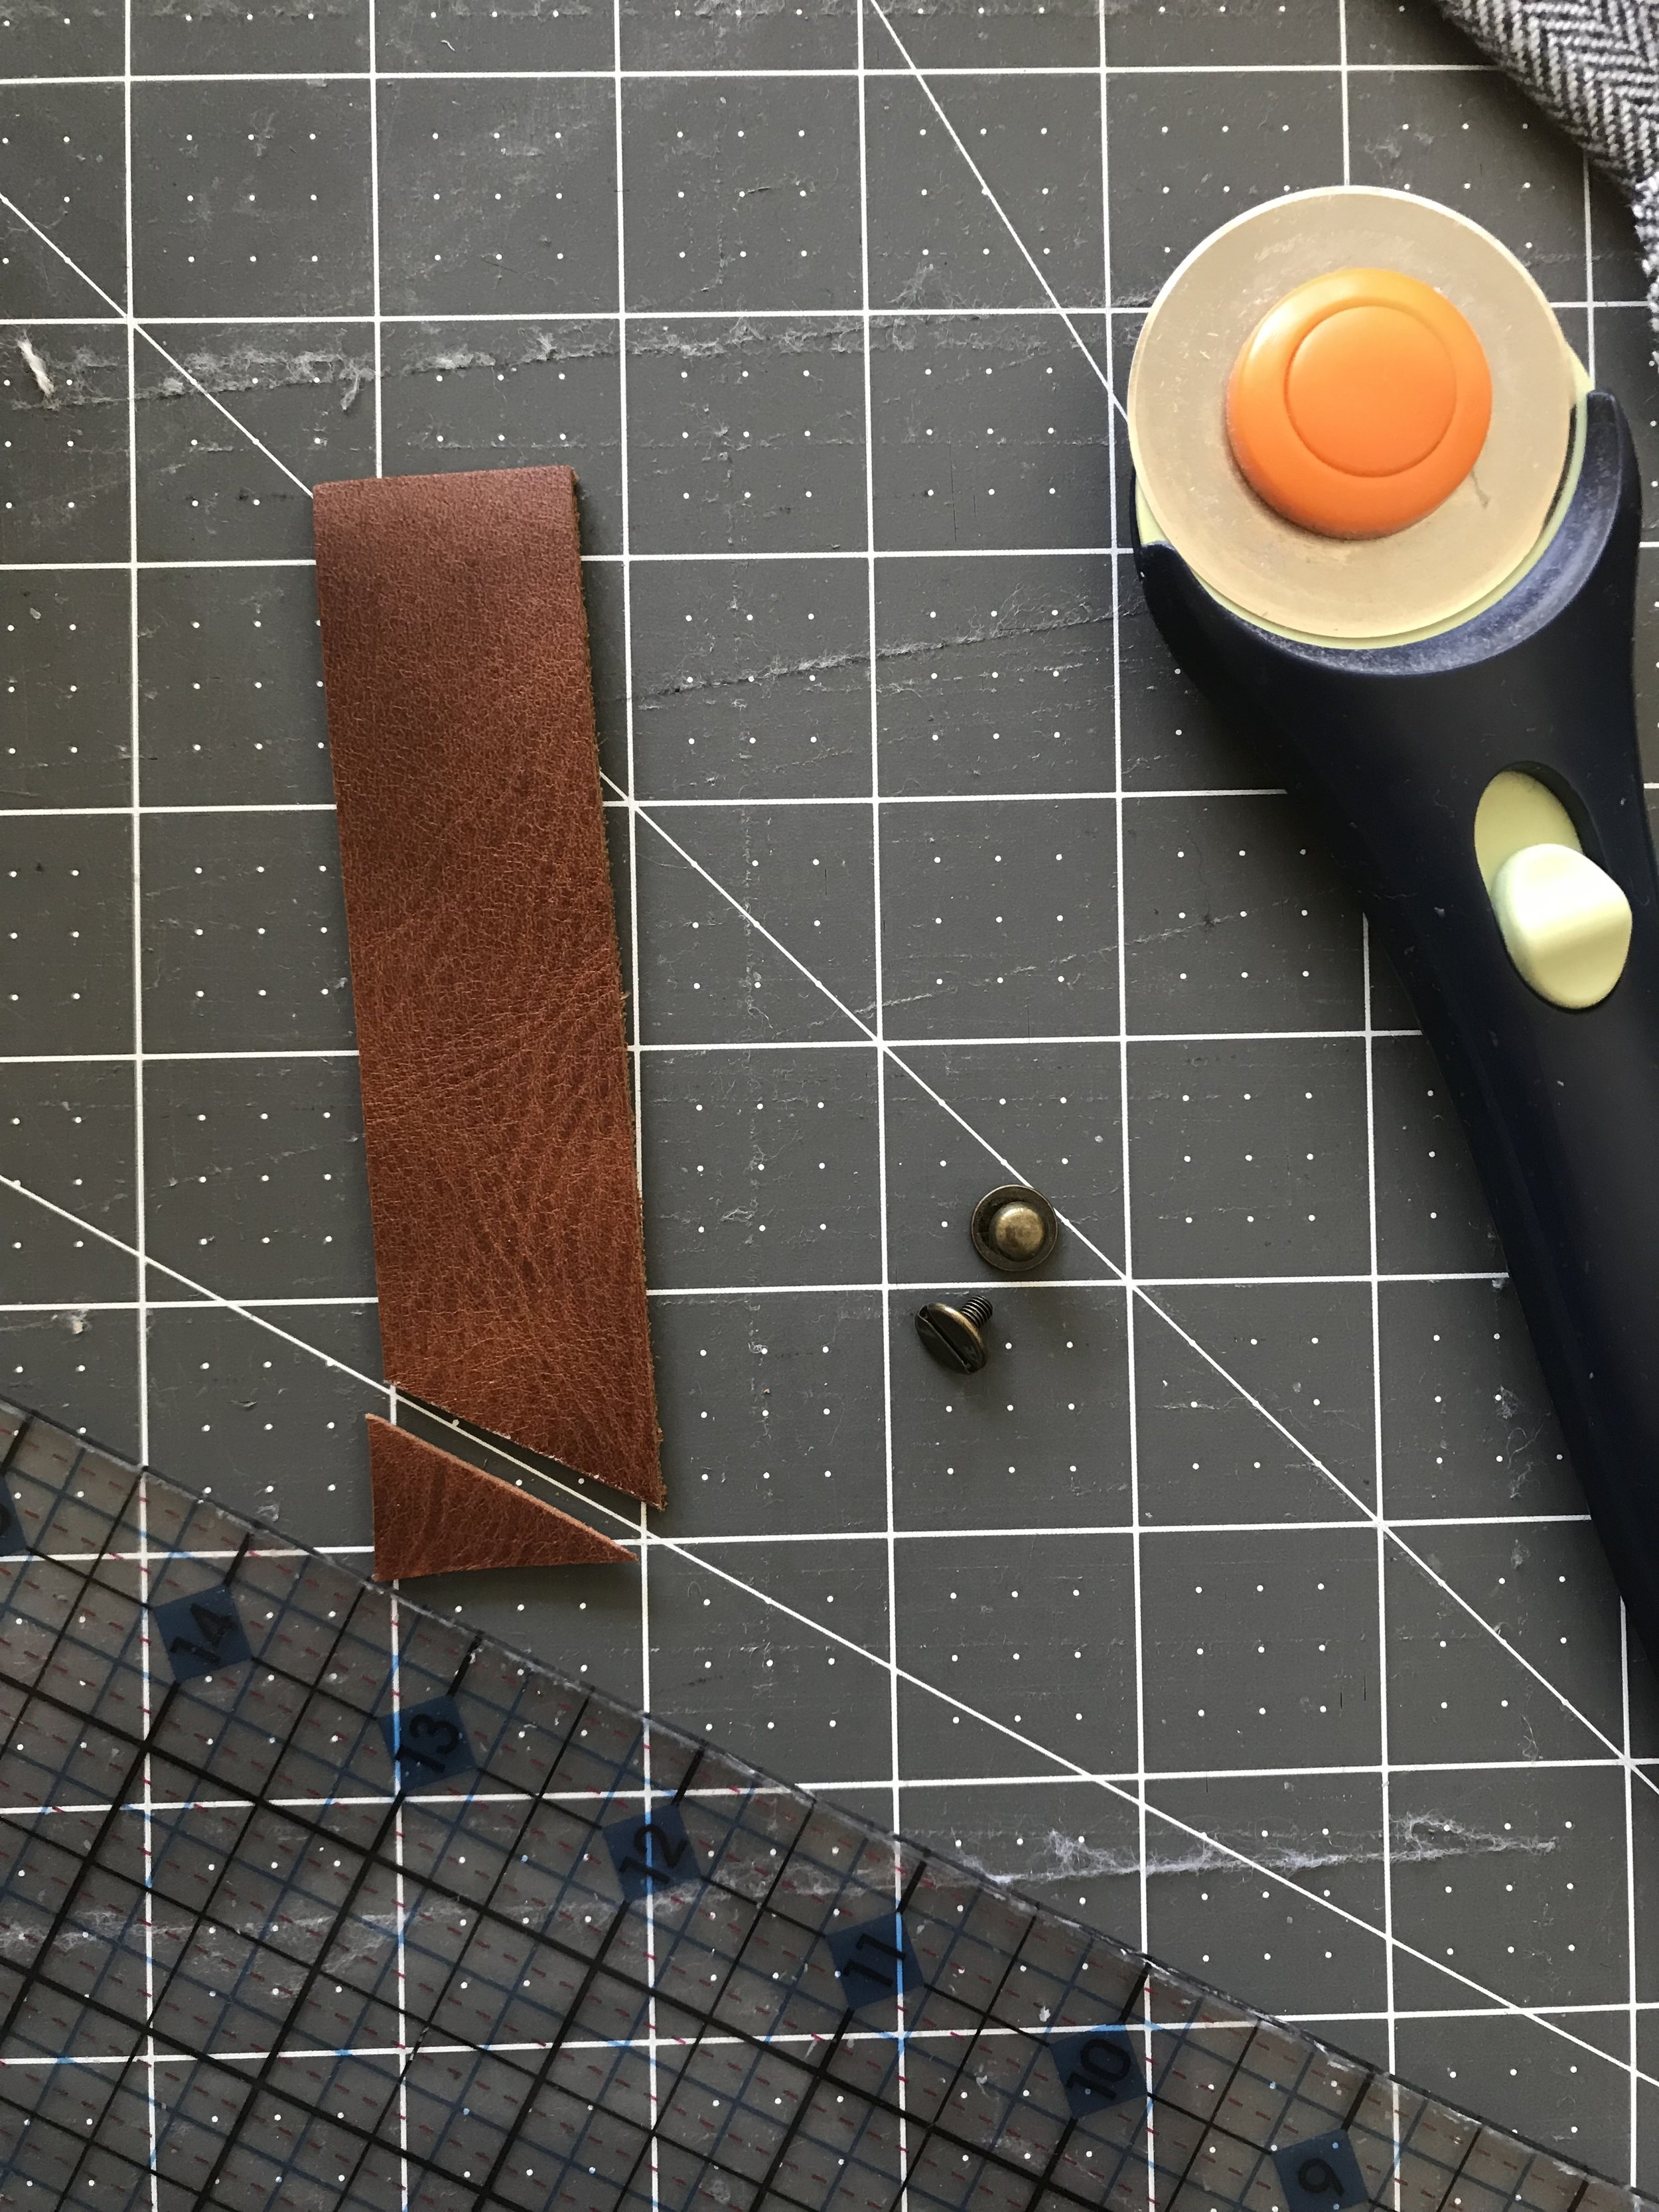
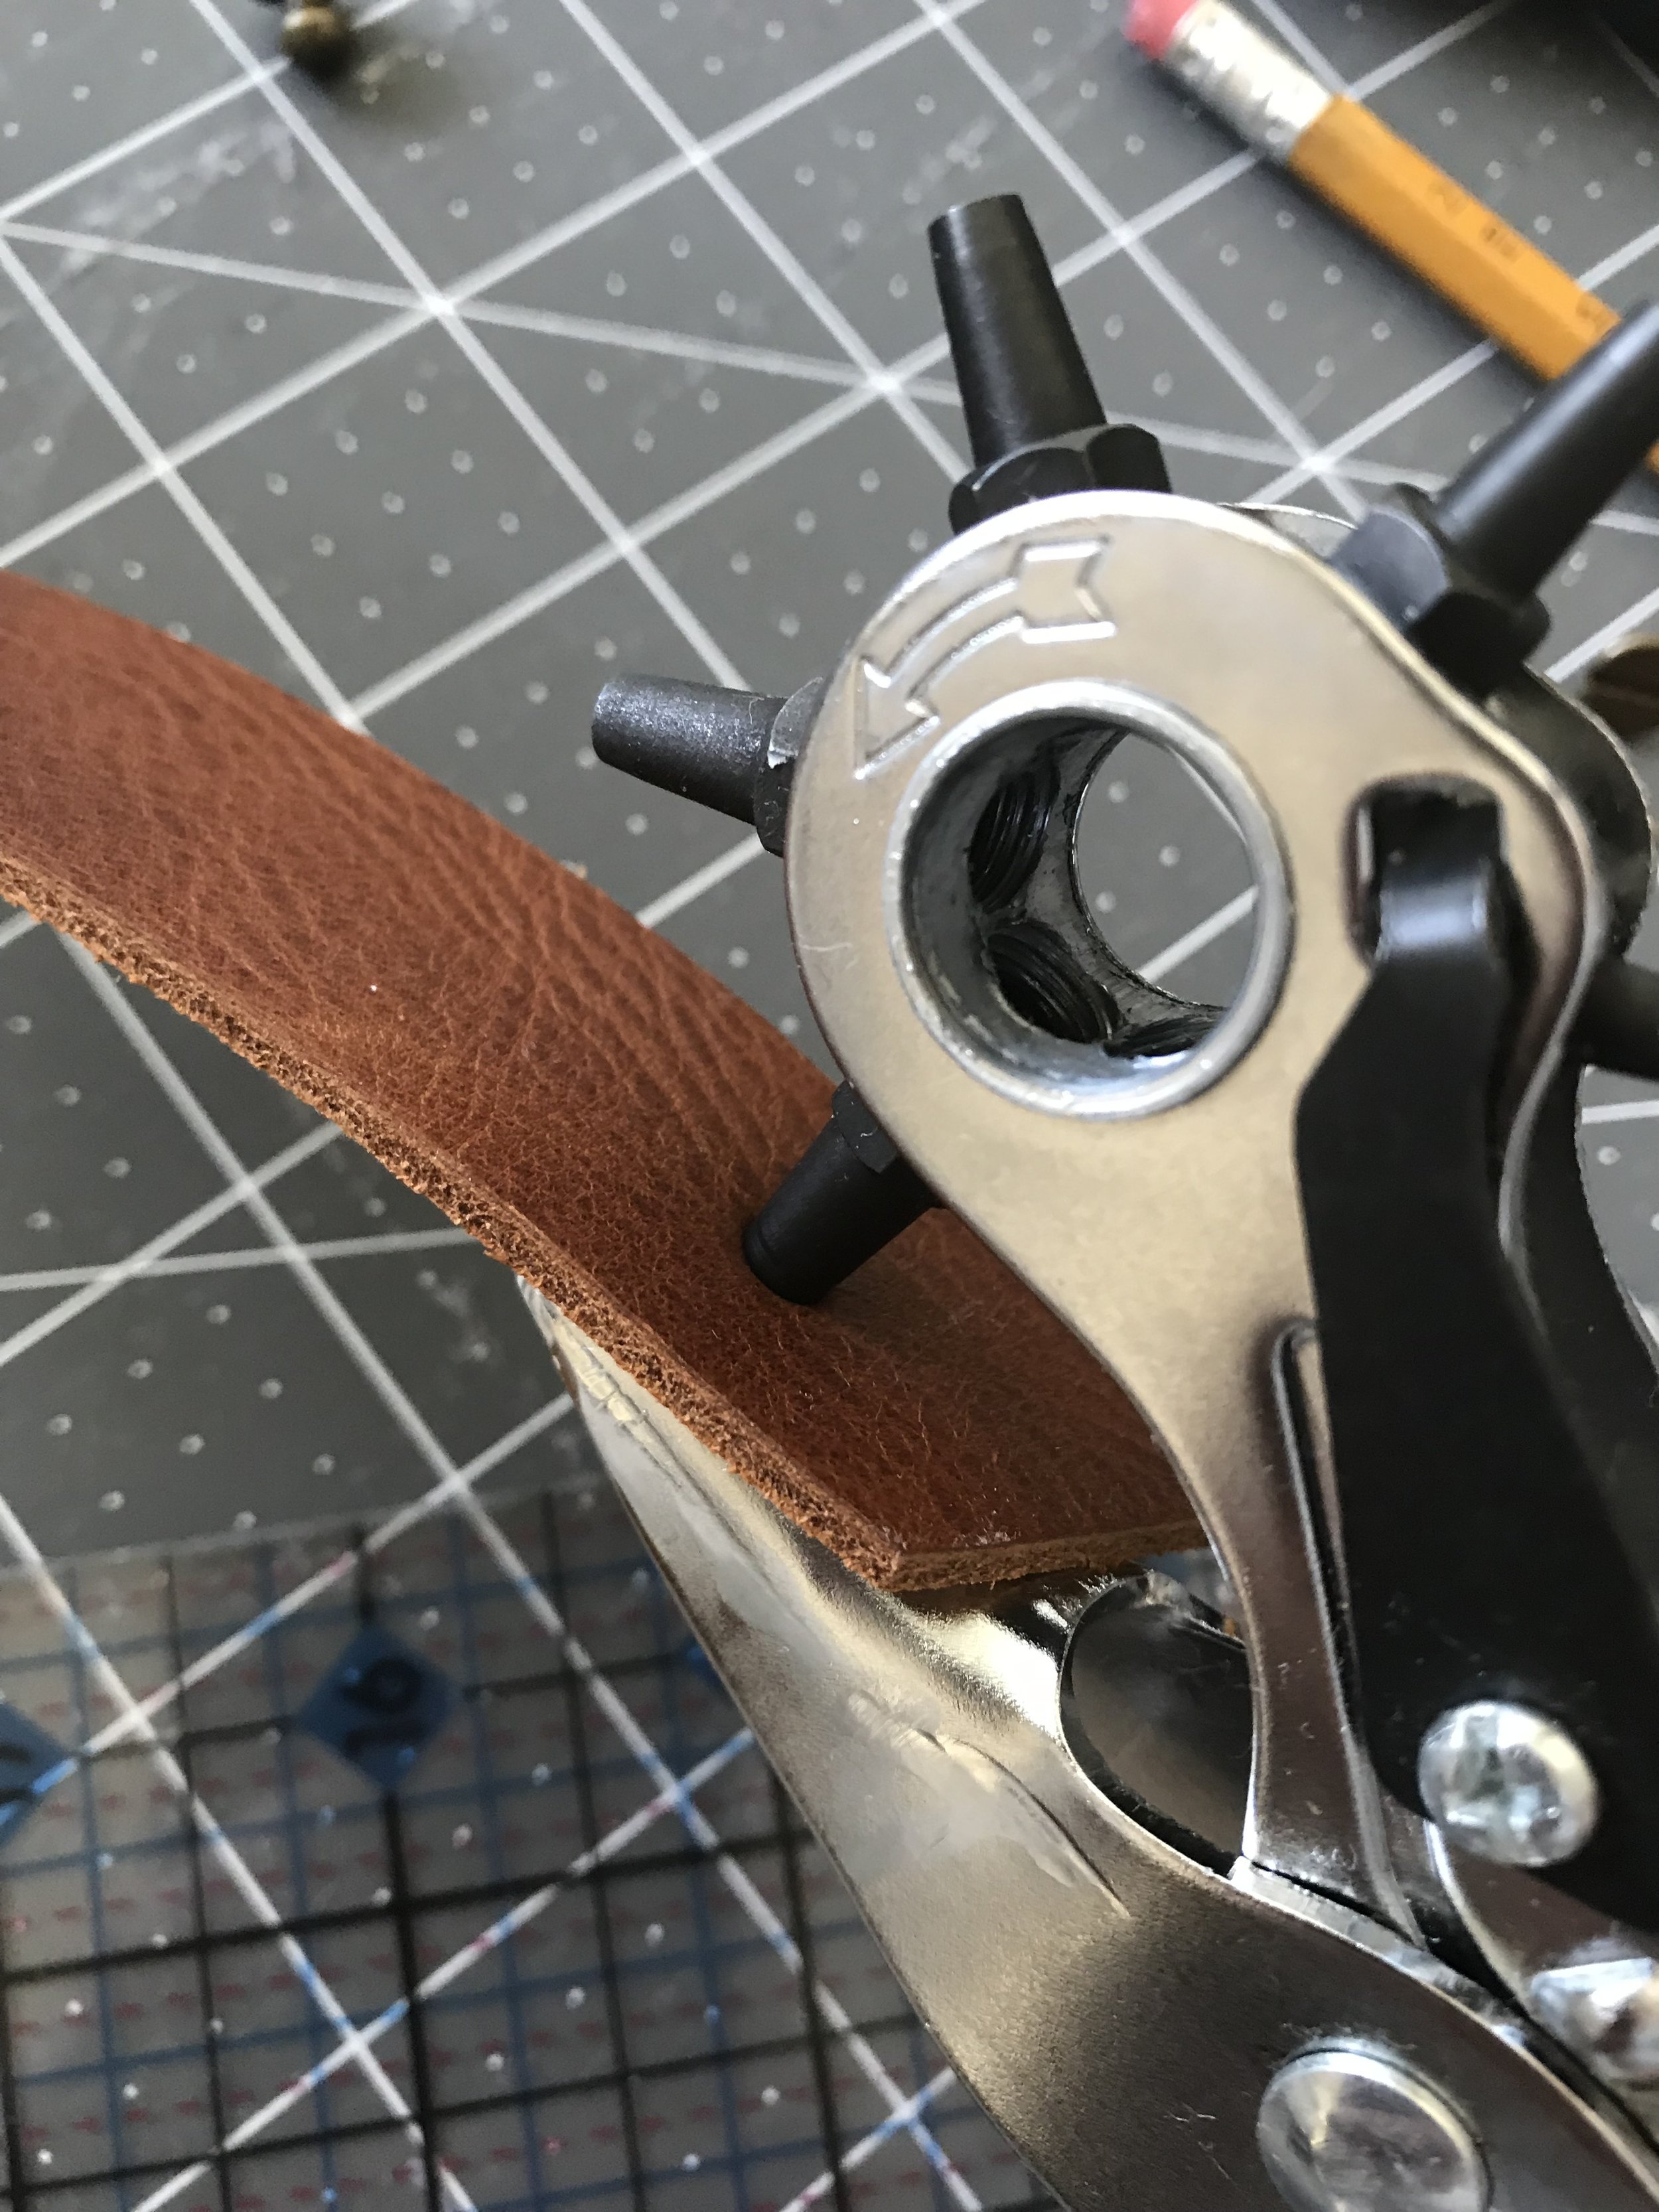
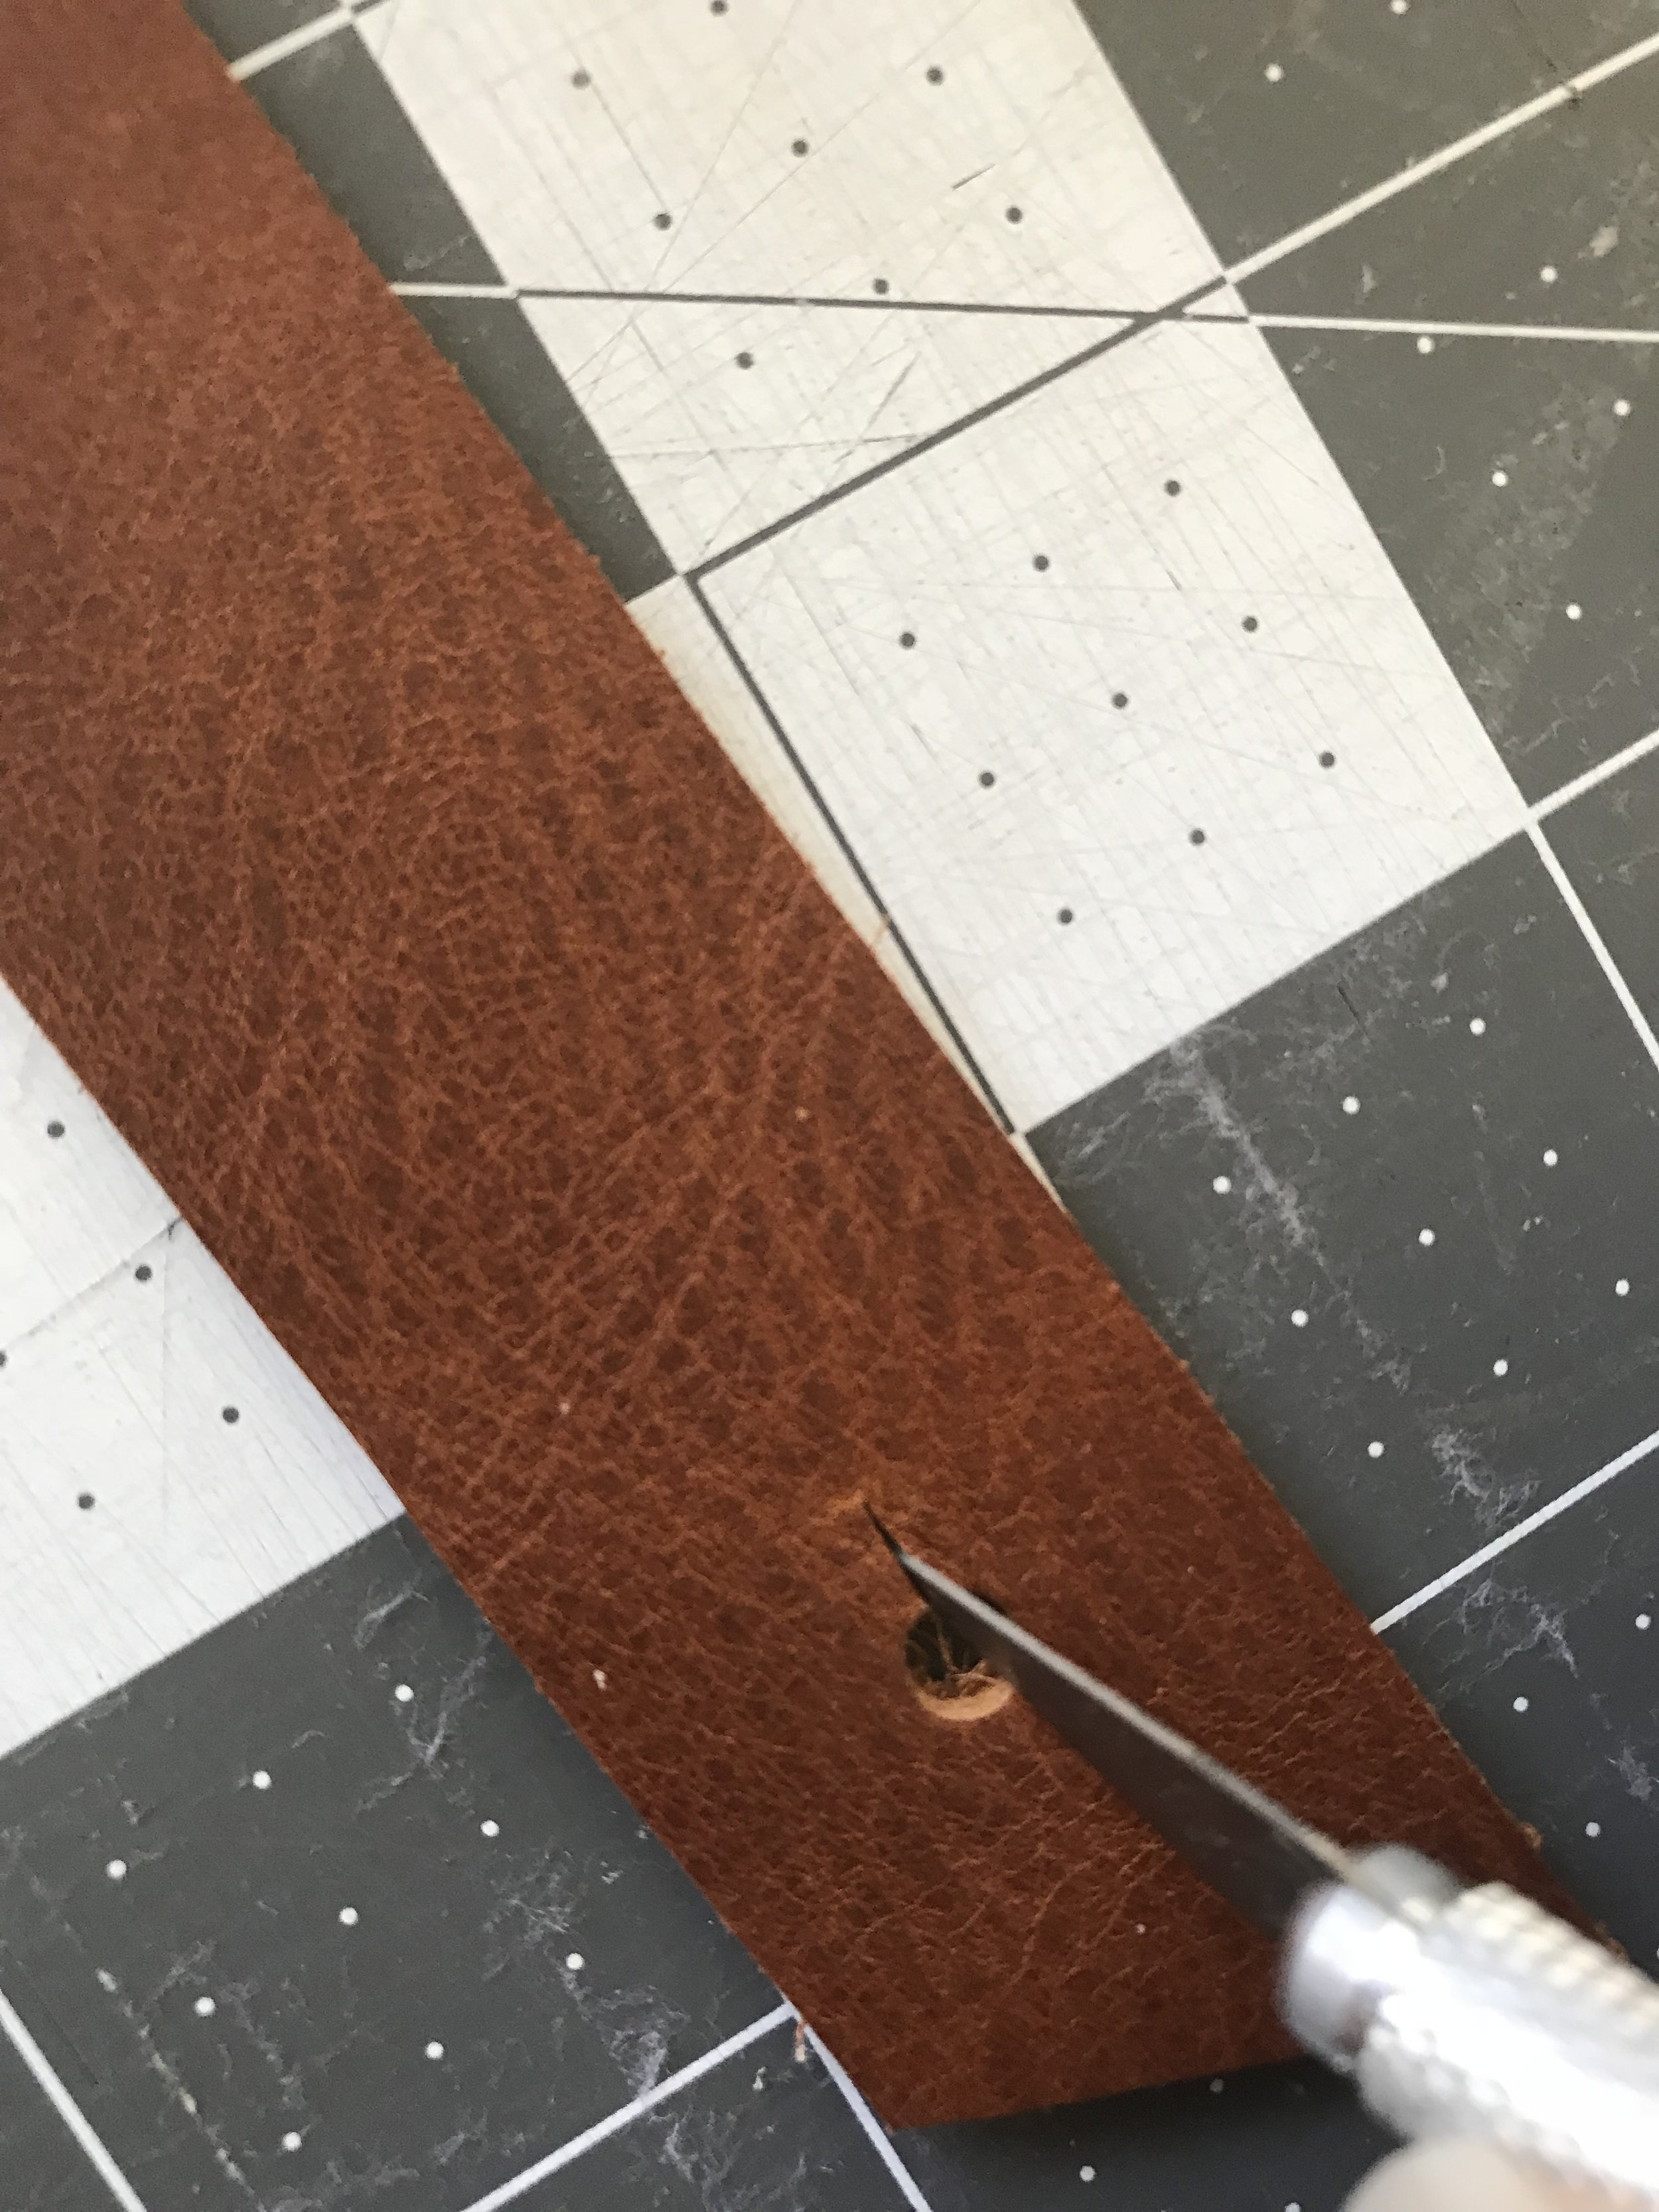
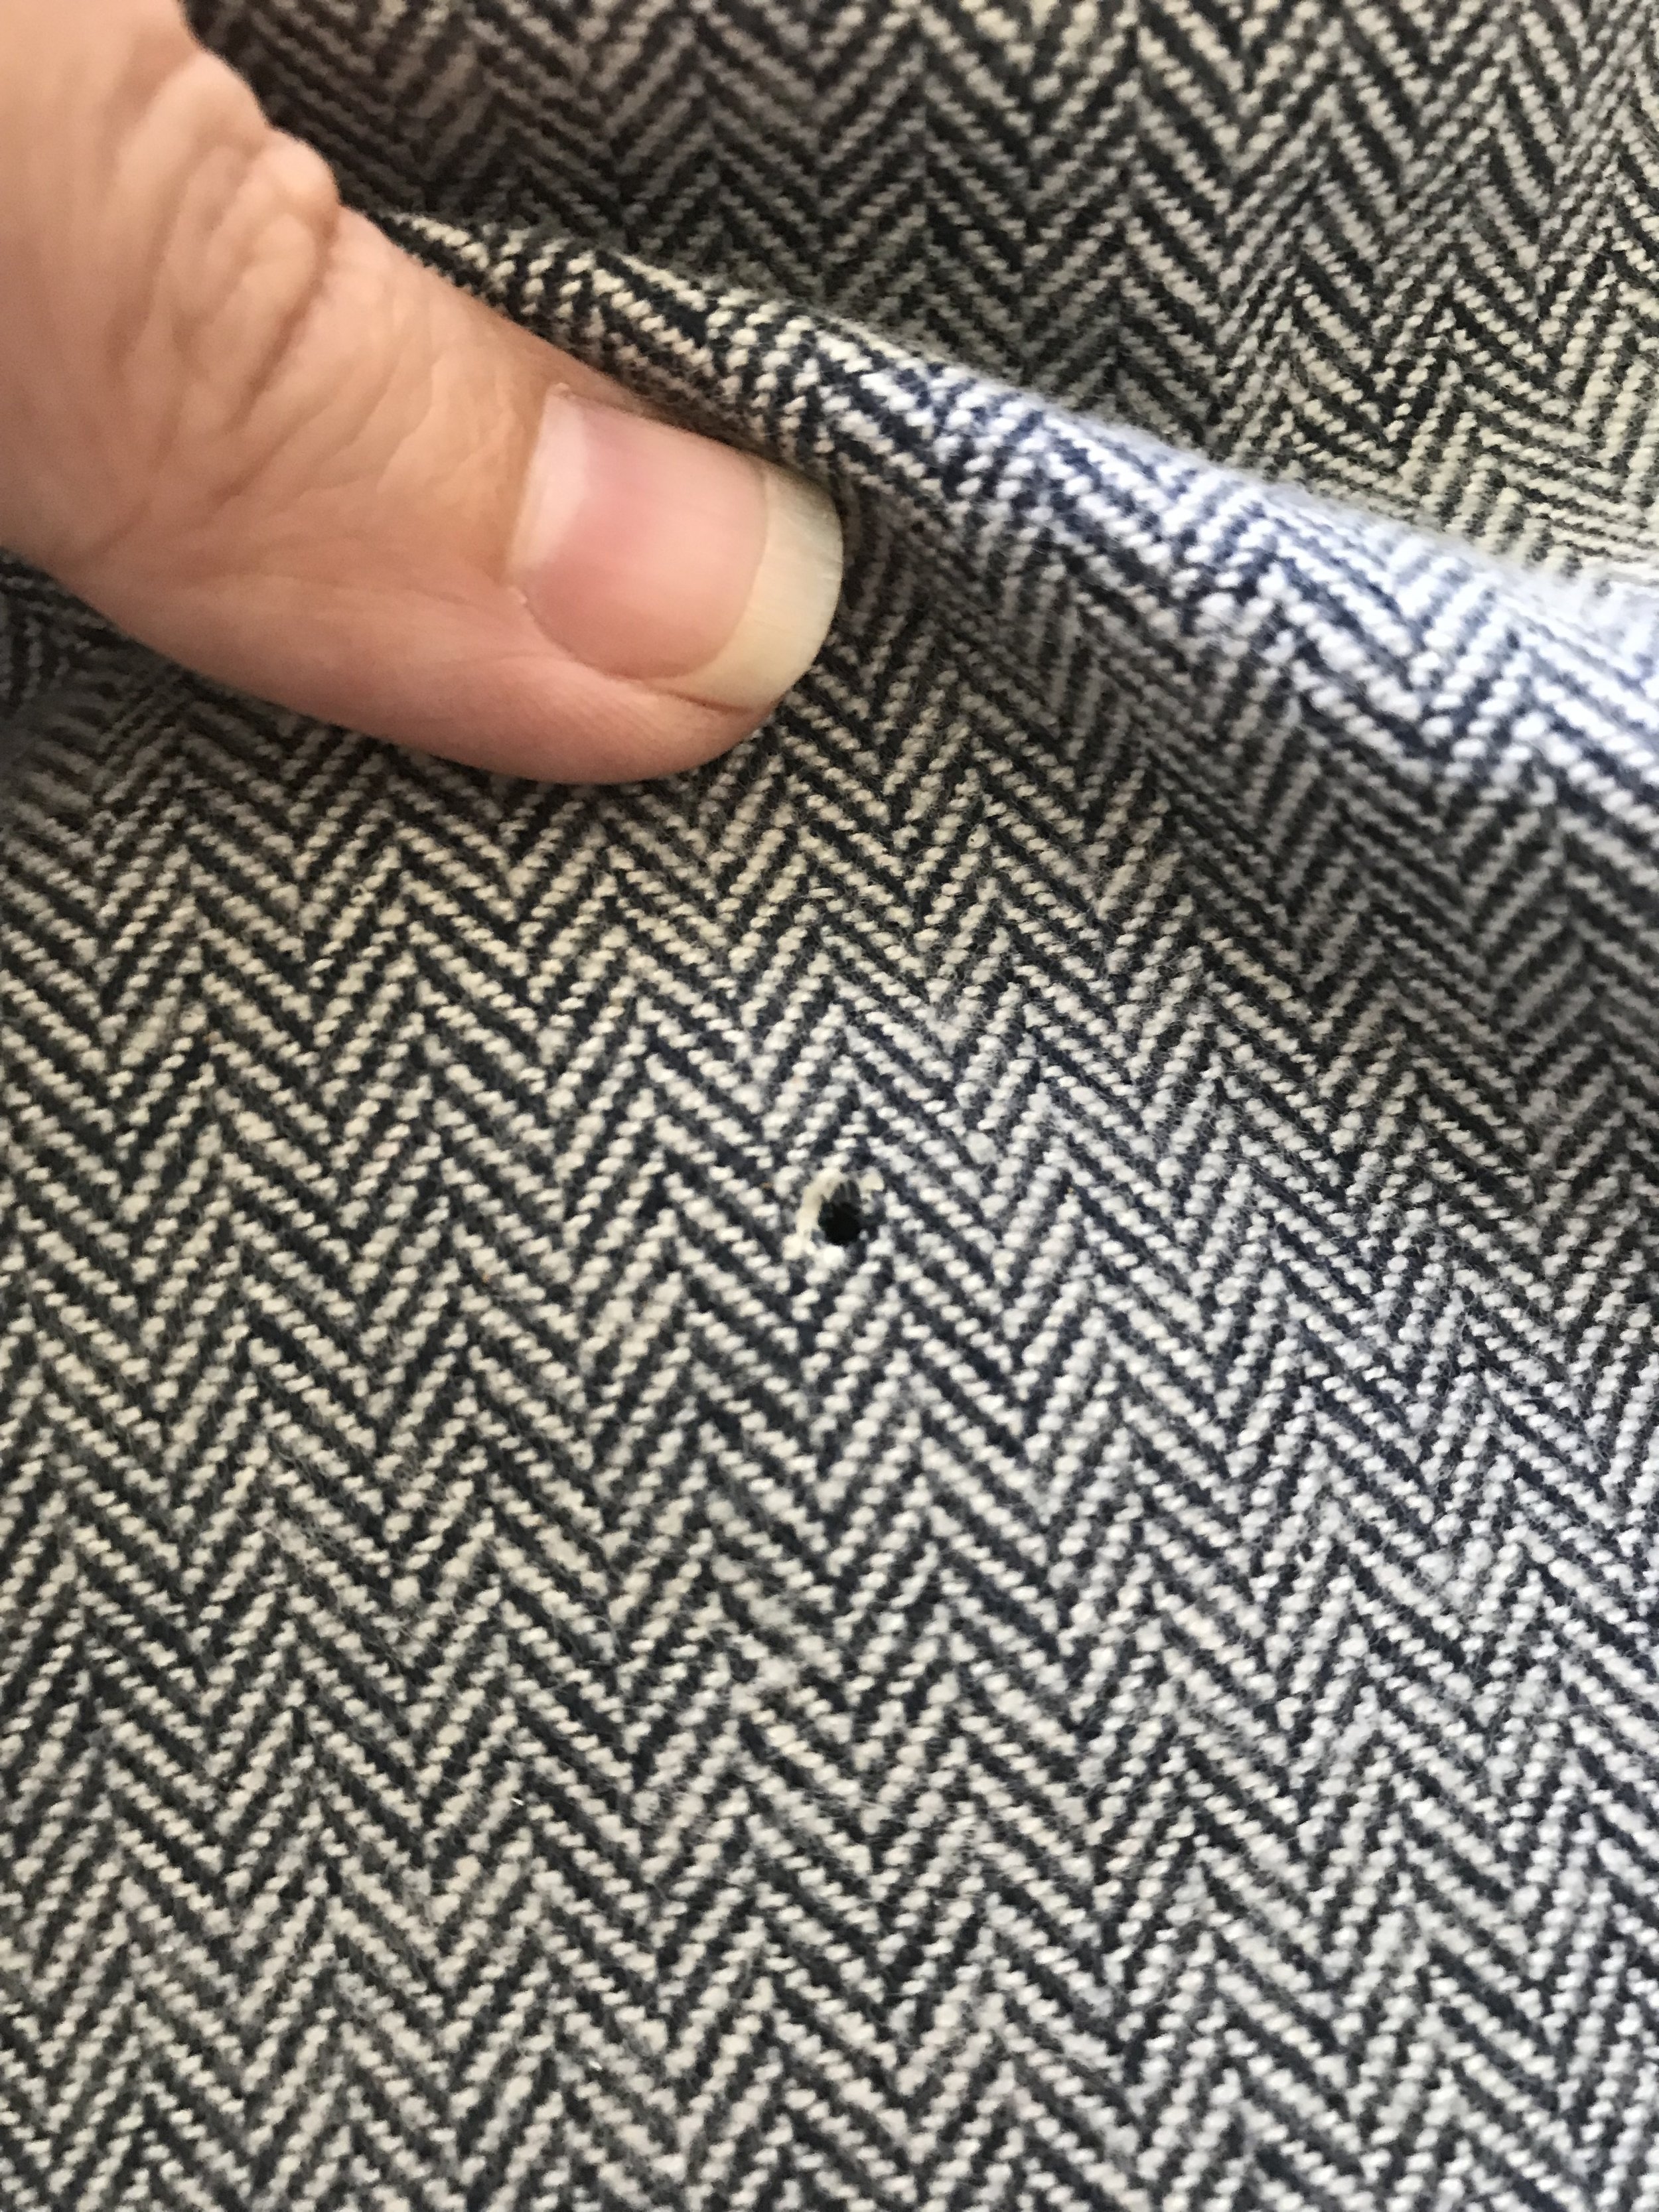


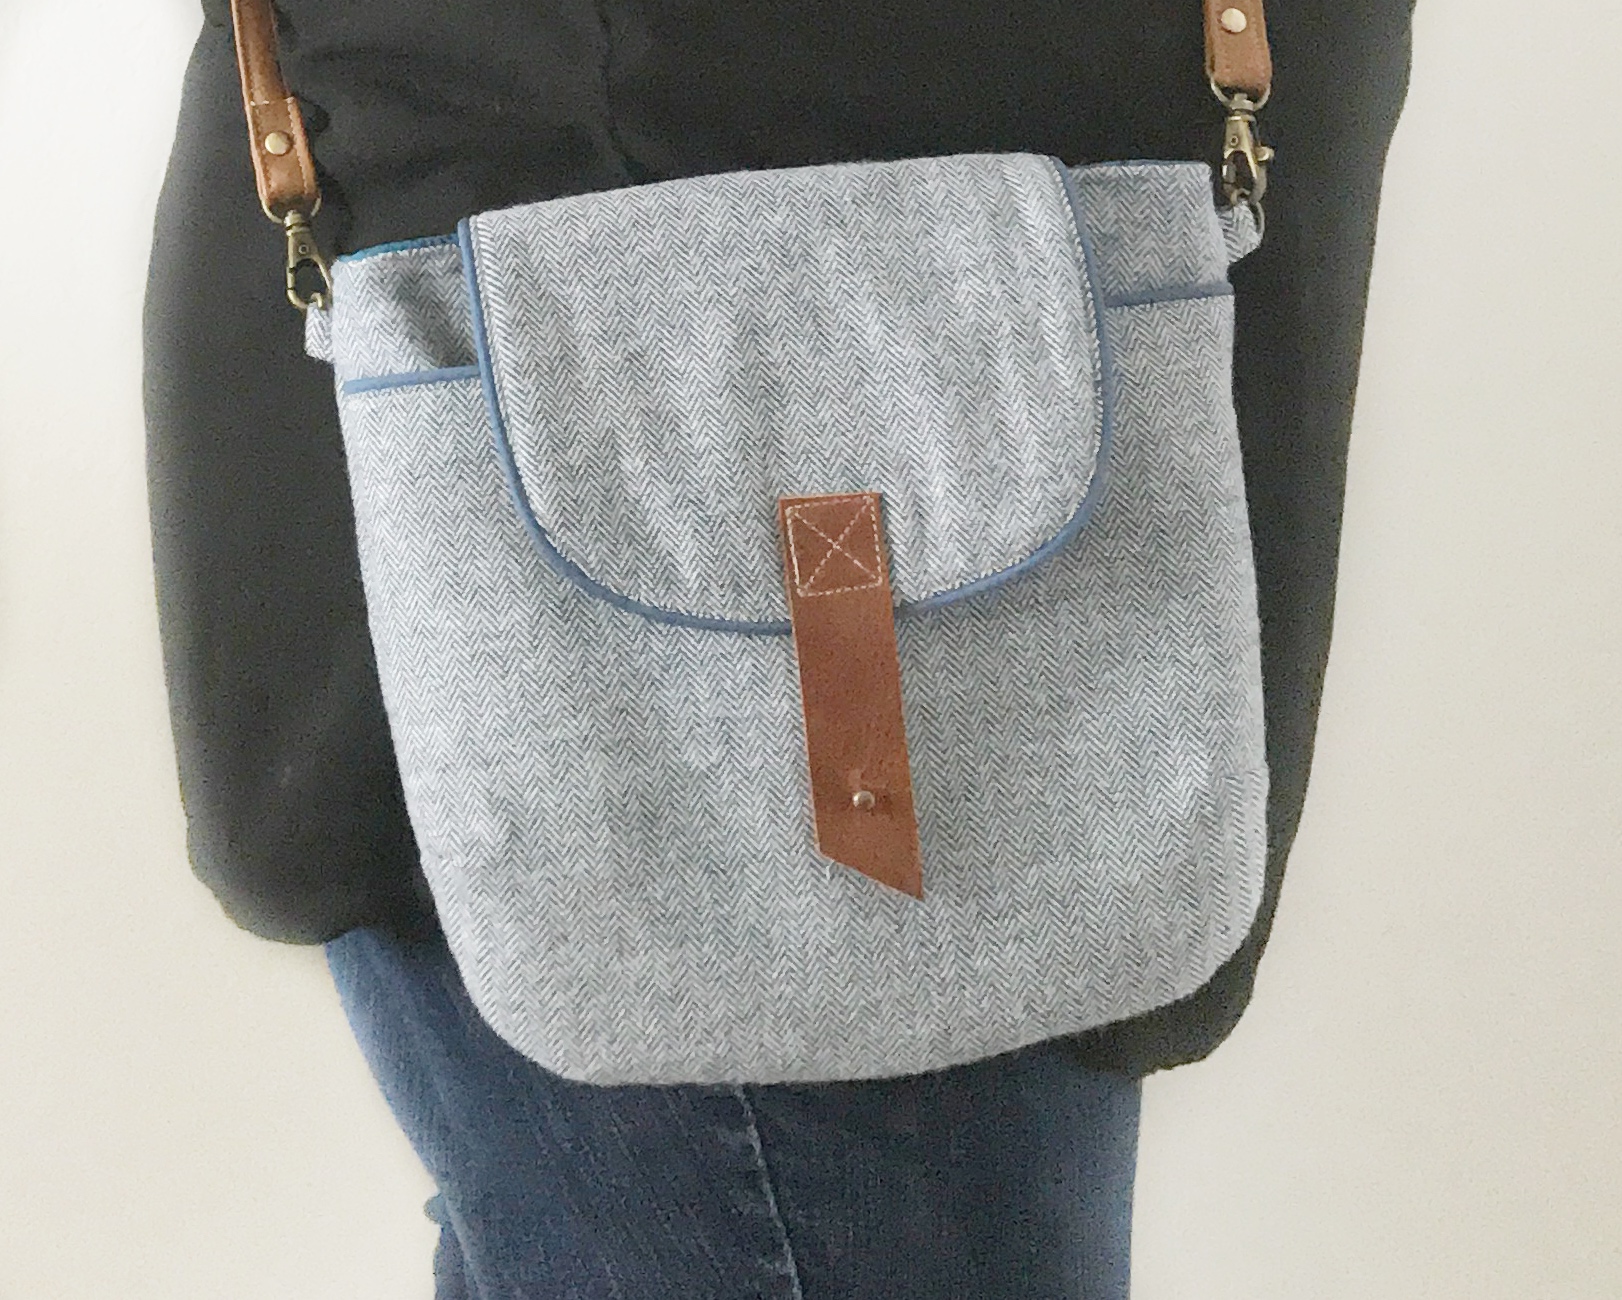
To make the holes in the leather and in the front pocket I used my leather punch I got from Michael's. I love this punch! It can punch multiple sized holes and is very affordable. I used an Exacto knife to create the small slit at the top of the hole so the button stud can easily fit thru.
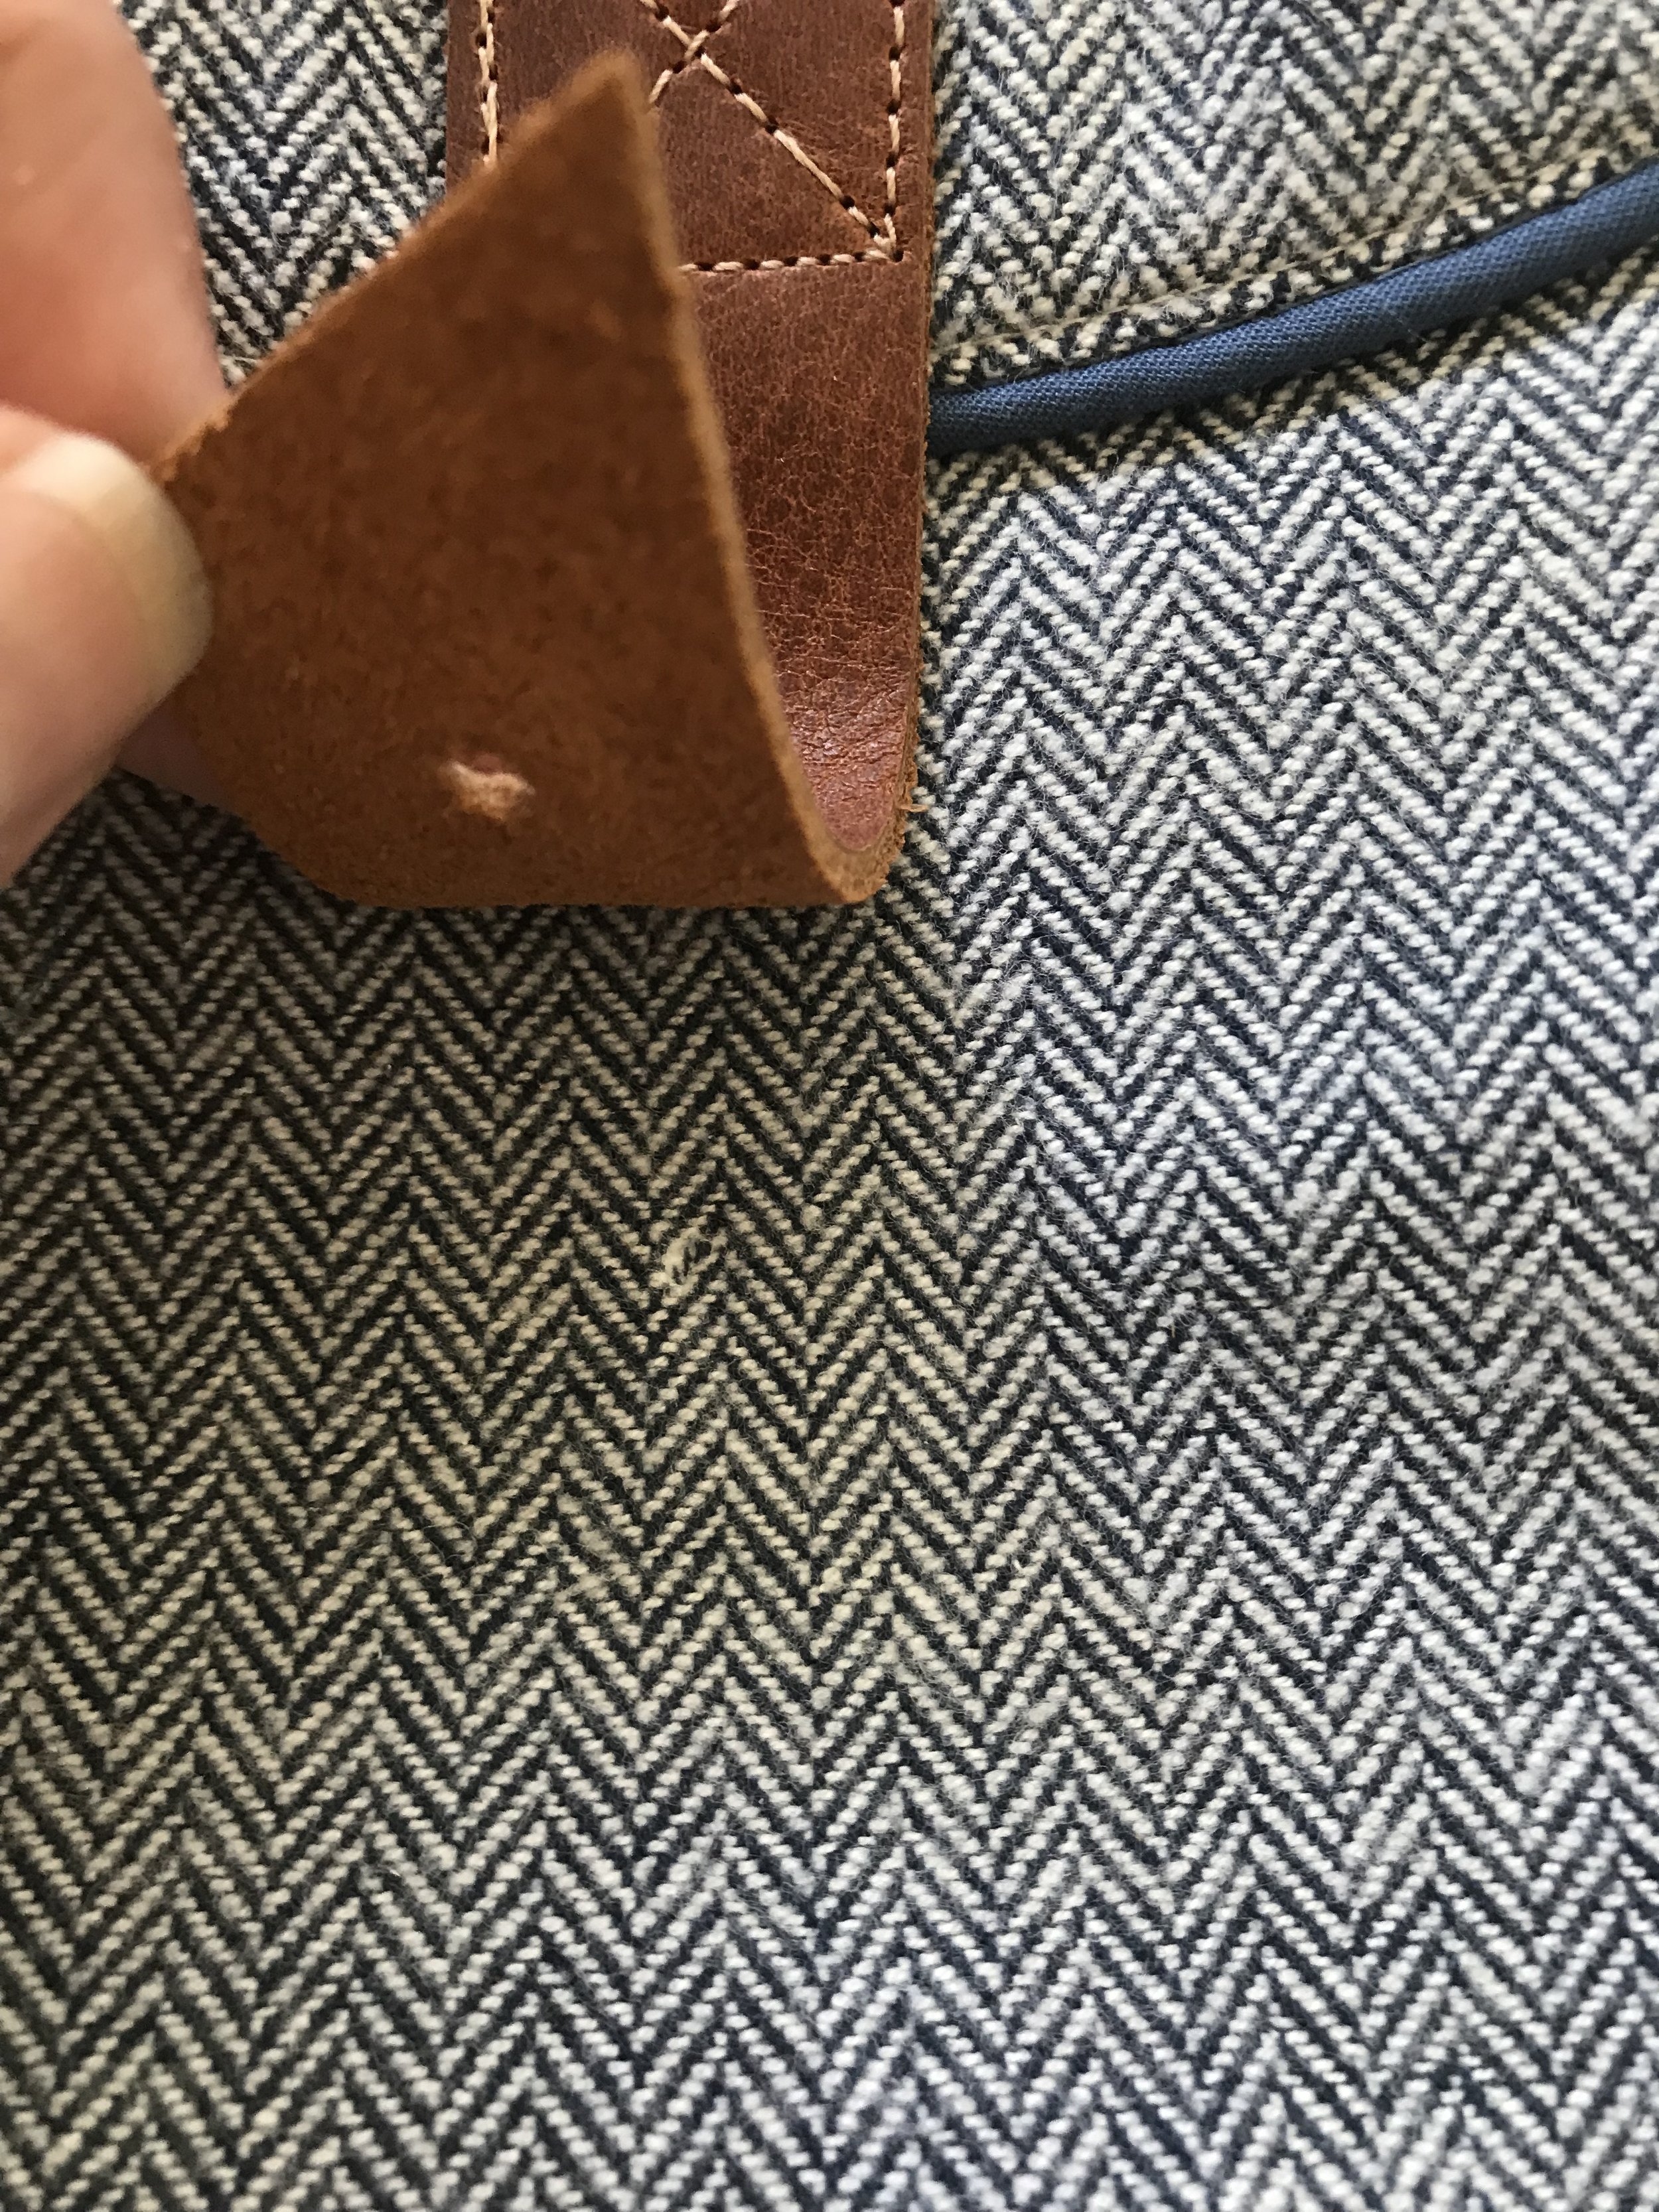
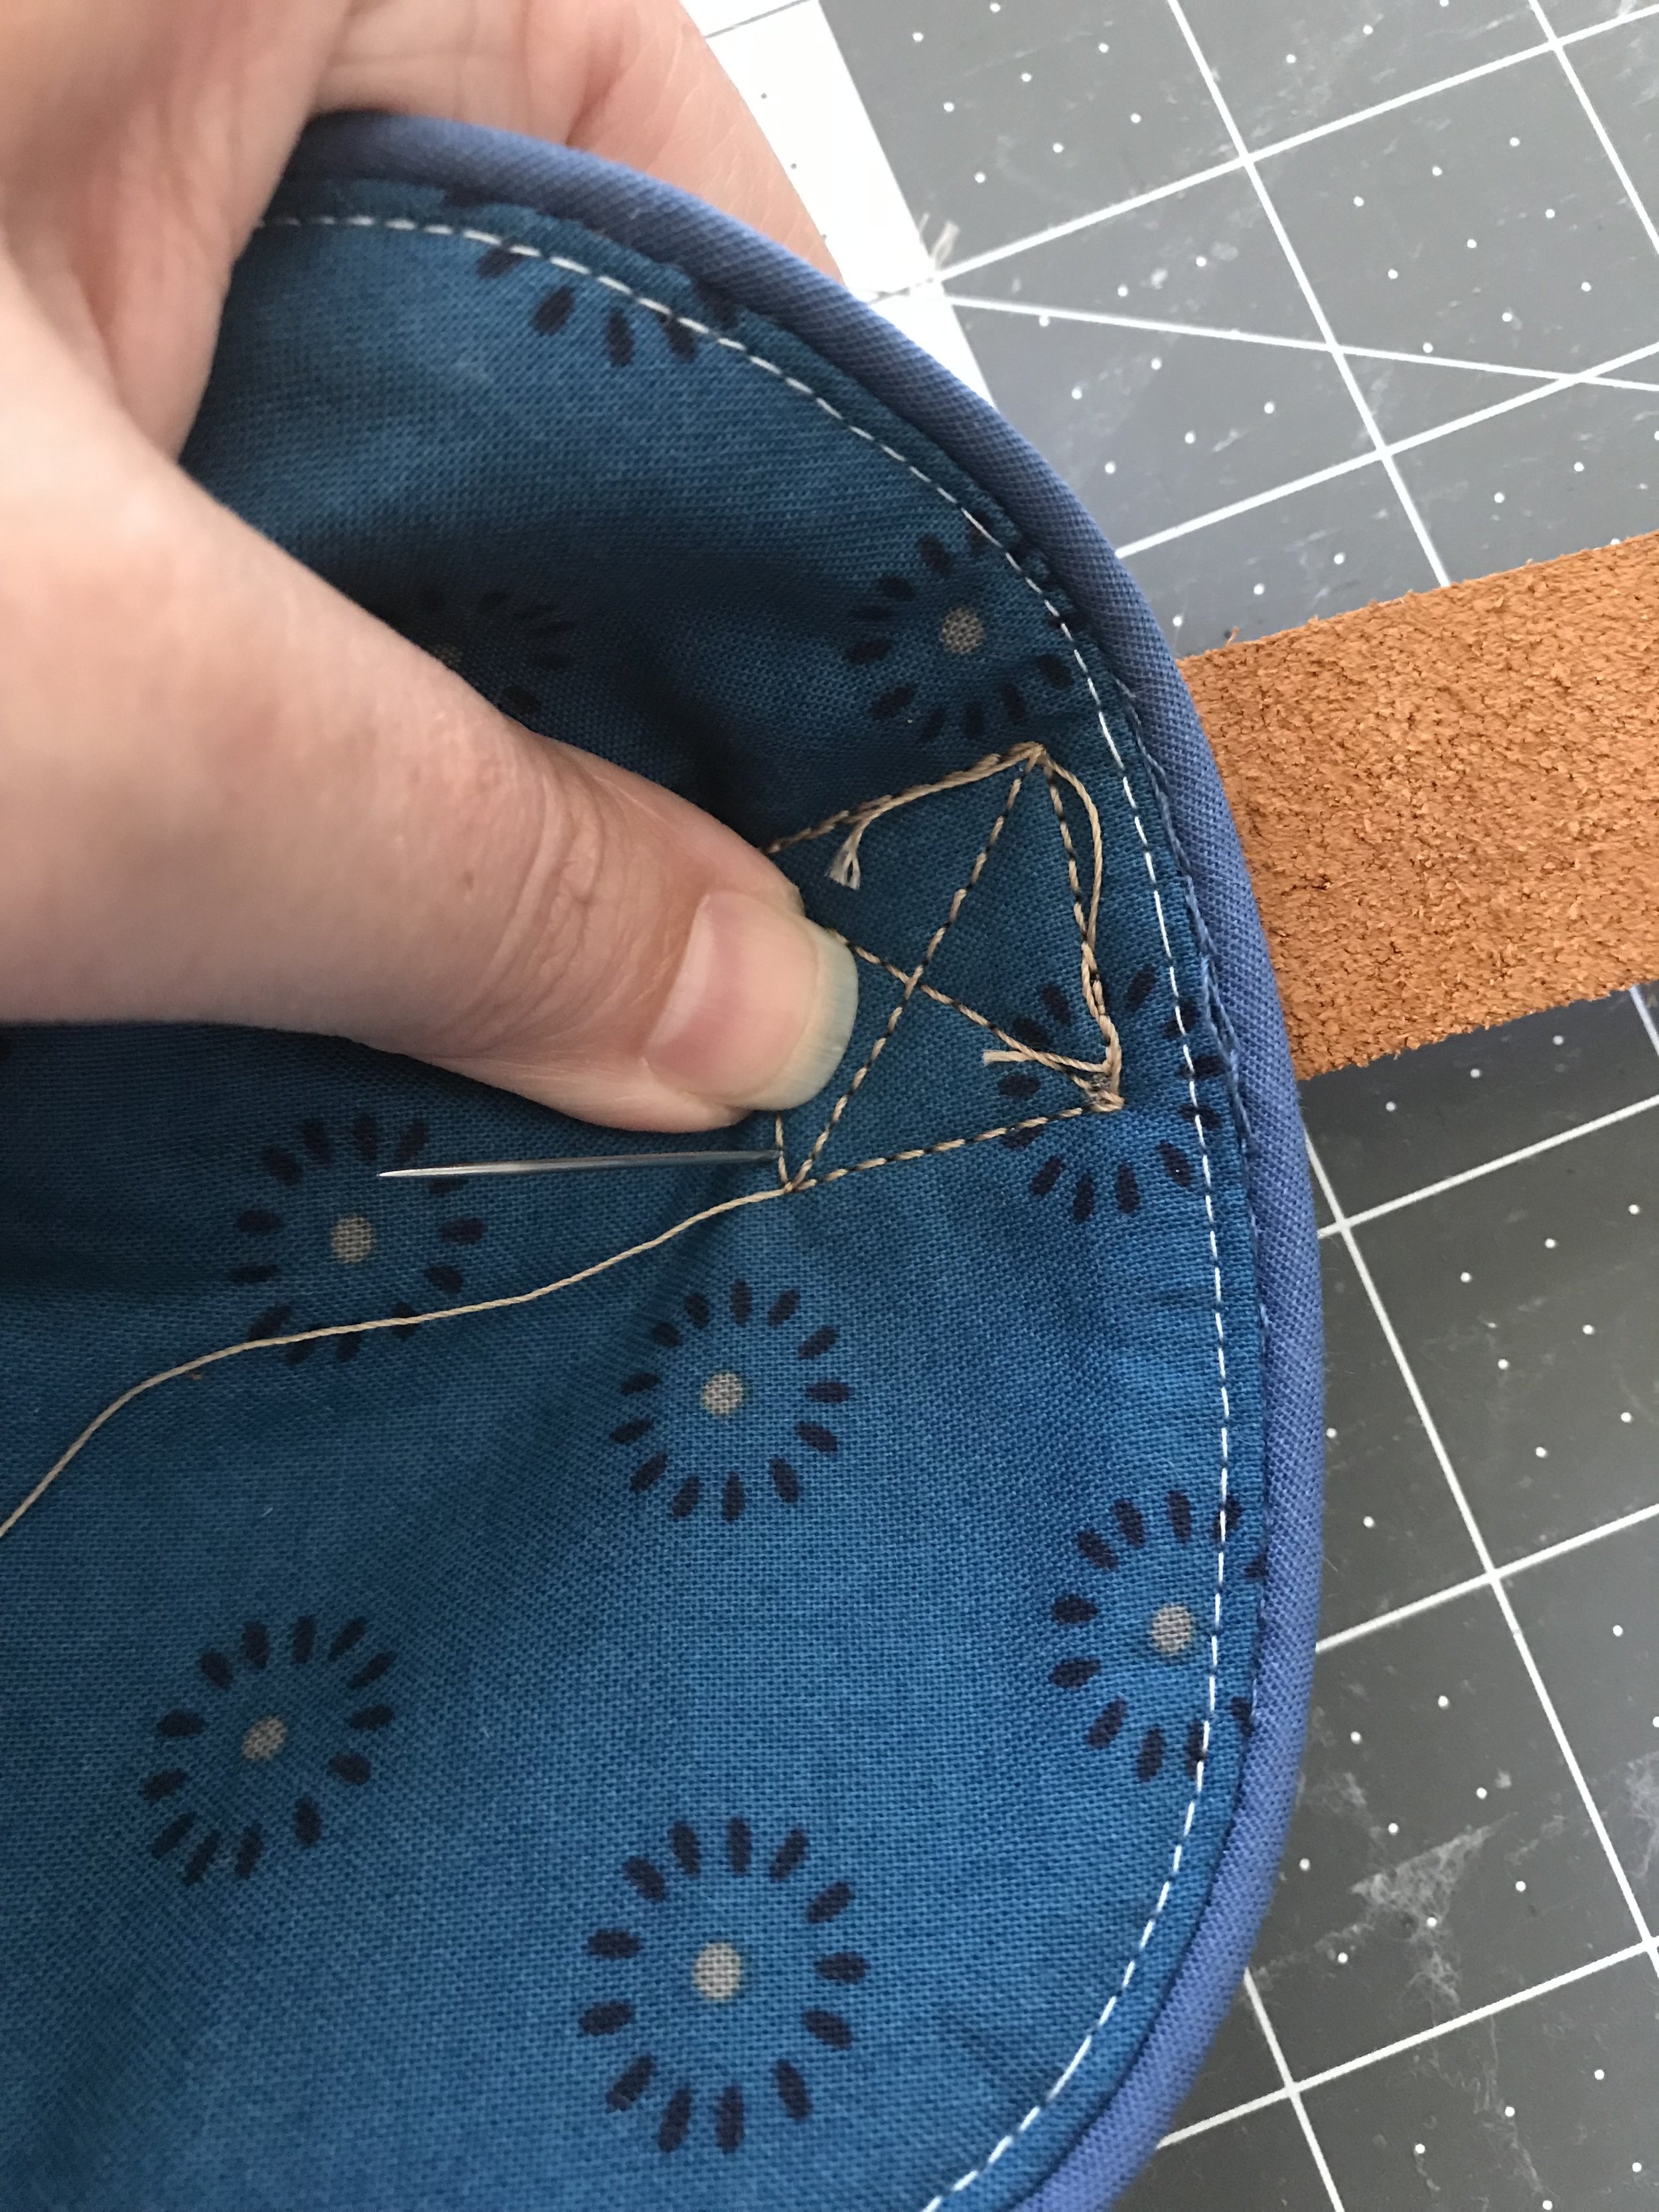
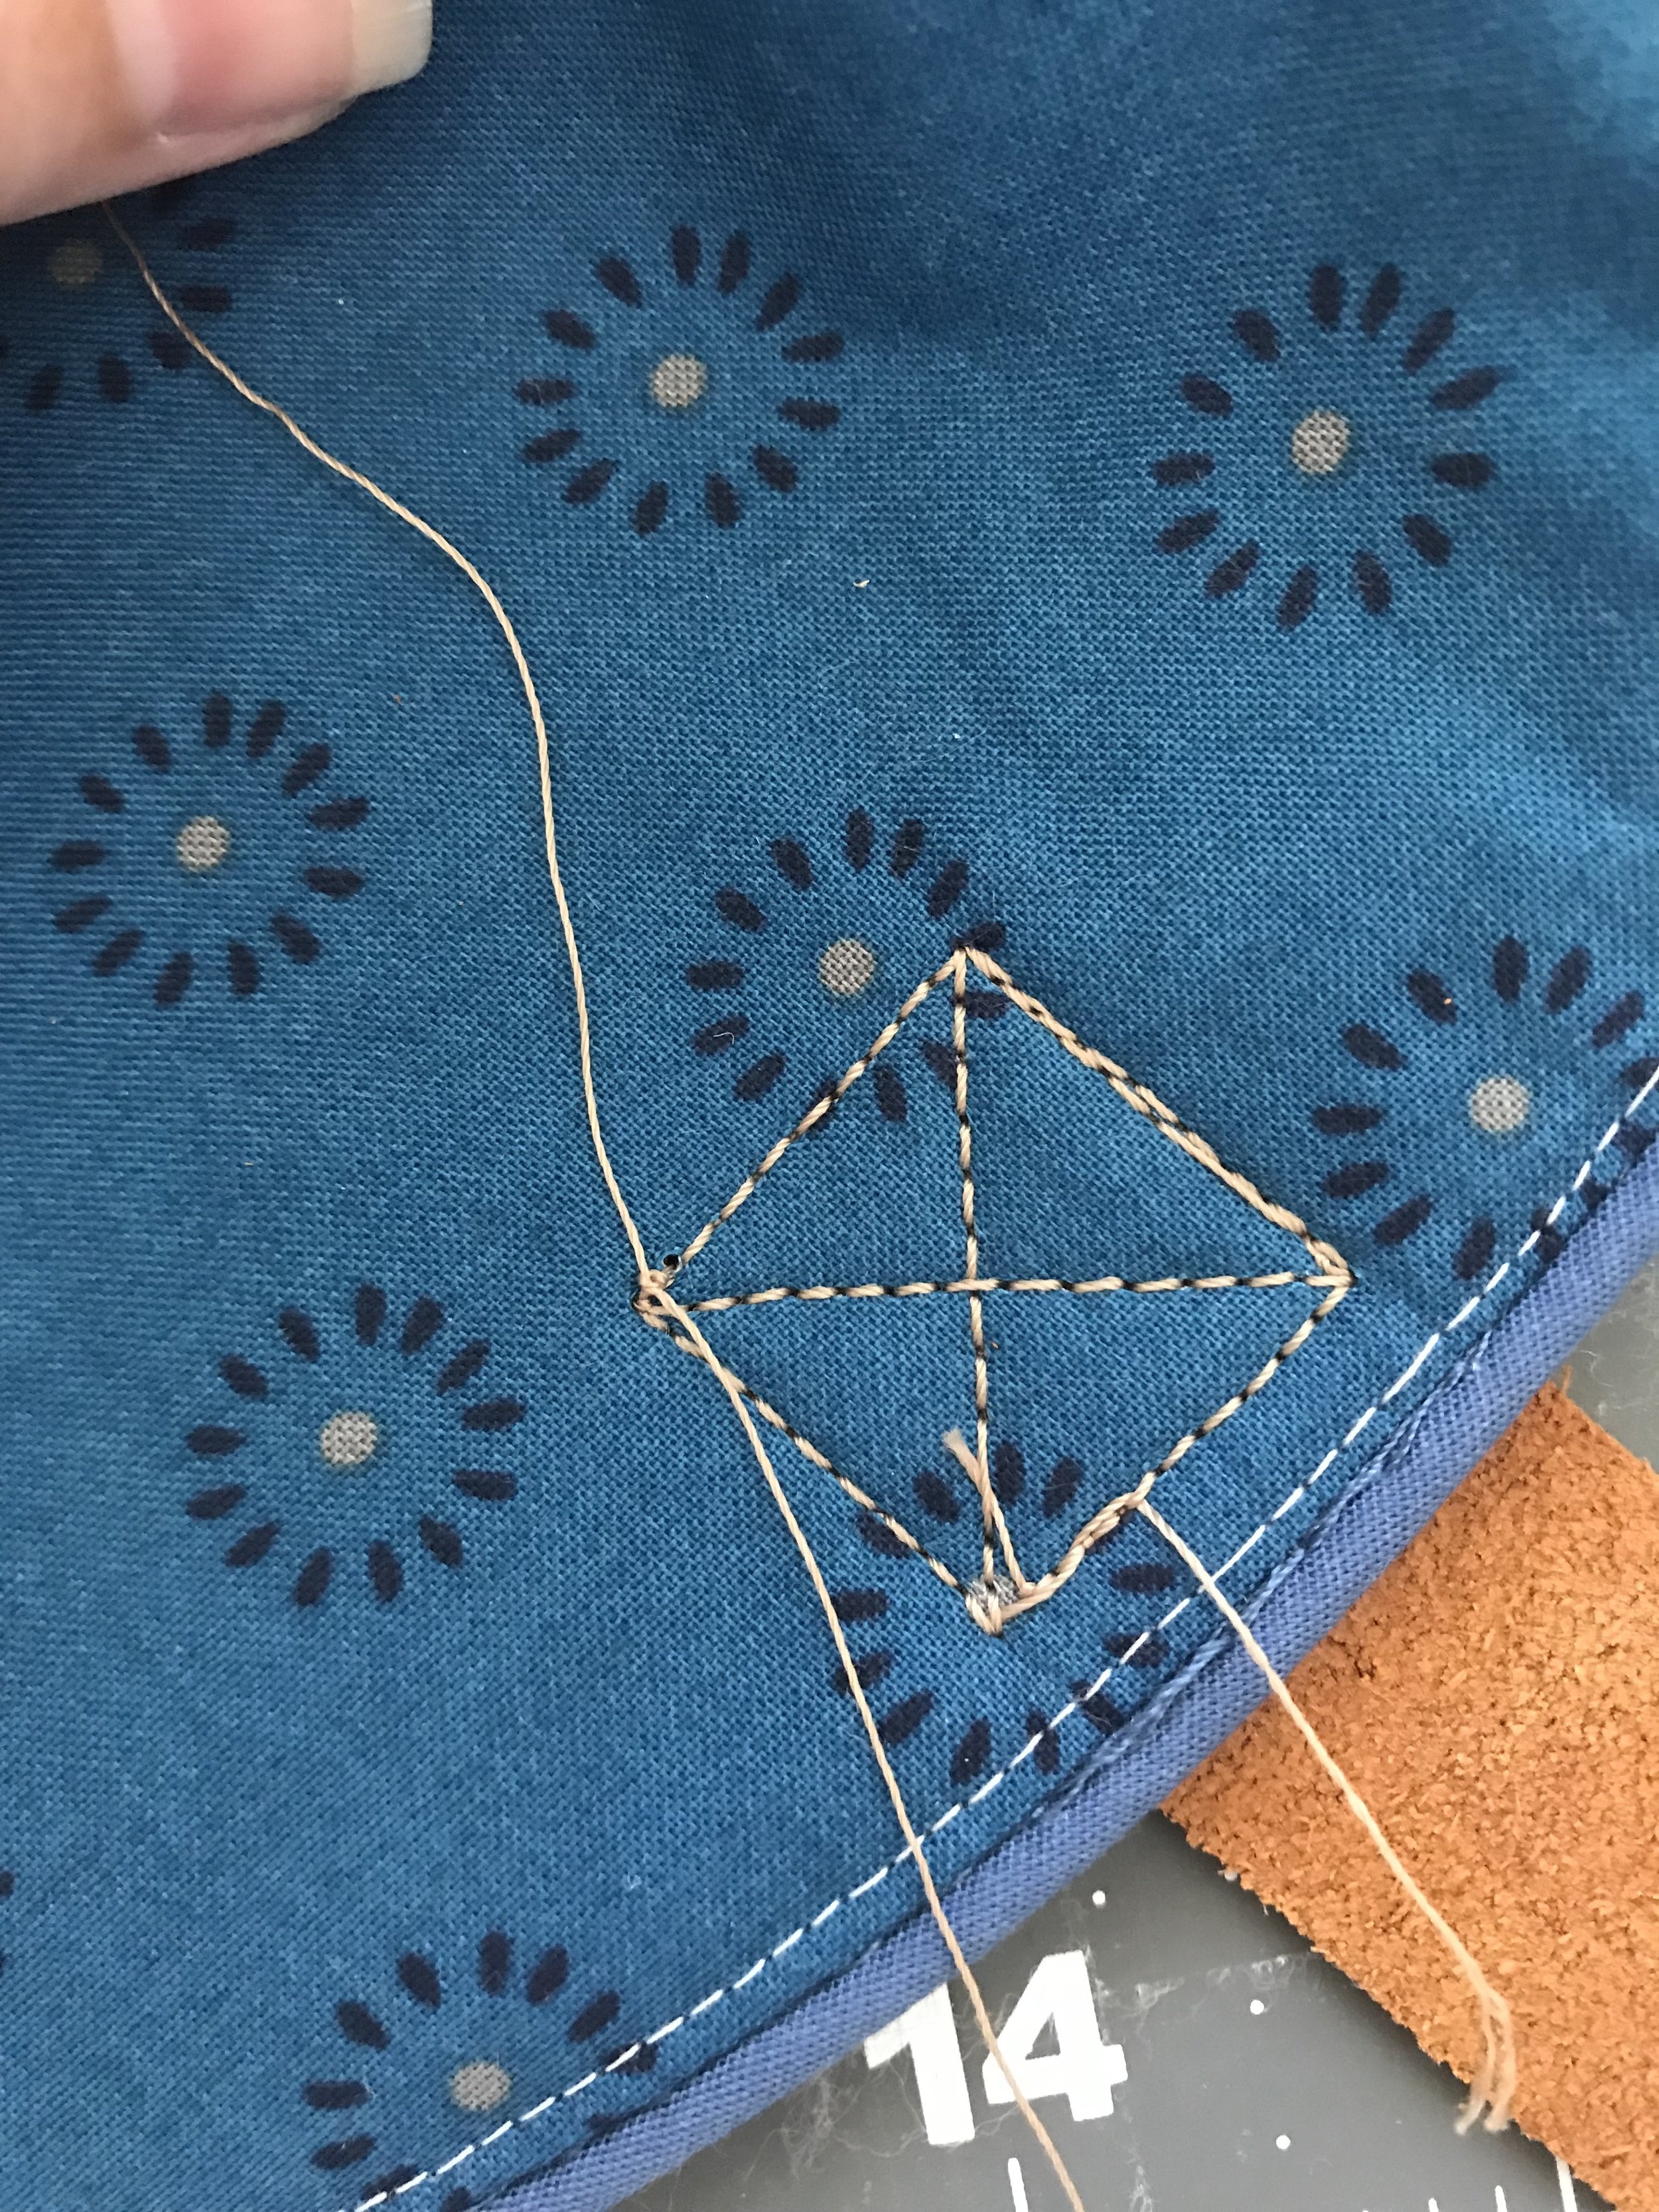
For the leather piece I used a scrap piece I had left over from making my Market Bags. I used my Baby Lock Jane sewing machine to install it with a heavy duty needle. If you have a smaller sewing machine I recommend sewing the leather on by hand so you don't ruin your machine or break a needle. Even on the Jane which is a semi-industrial machine I had to go very slow and take my time so the needle wouldn't break. If you sew it on by hand make sure you punch your holes first and use some heavy duty thread. Pull your threads to the back of your piece instead of back stitching so you don't poke unnecessary holes in your leather.
All in all this was a great sewing project and I loved how quickly it worked up. I'm so happy with how this project turned out and I can't wait to use it!
Happy Making!
Meghan