

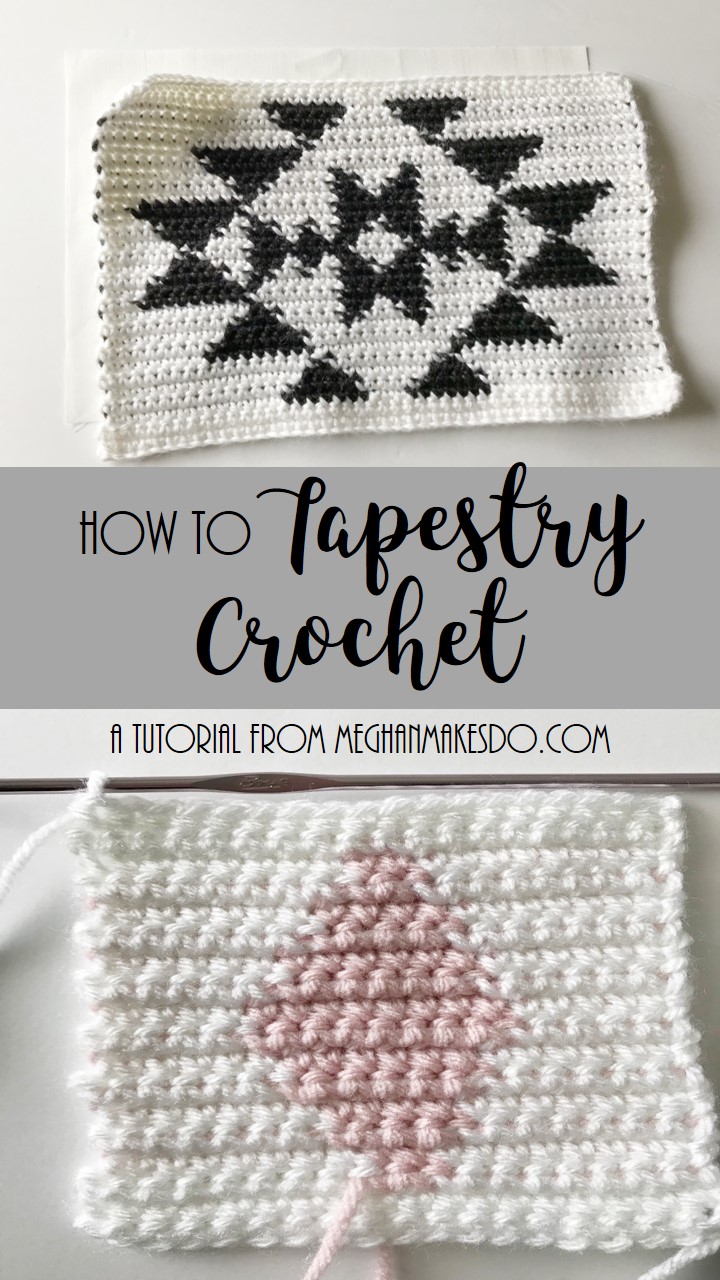
How To Tapestry Crochet
Today I have something super exciting to show you! You may have already seen my little Clara Clutch floating around on Instagram and today I'm going to show you the technique I used to make her.

When first designing this pattern I had never tried tapestry crochet and was shocked at how easy it was. Tapestry crochet is a way of creating multiple colored fabrics without having to continuously stop and start yarns. You simply carry each color along and crochet around the strands of yarn so they are hidden in the fabric that you create.
Tapestry crochet is done in all single crochet and can be done in the round or back and forth in rows. Since I was making one rectangular panel for my clutch I did it in rows. Most tapestry crochet patterns will include a chart for you to follow as well as written instructions. Here I will be showing you step by step how to use the tapestry crochet technique. For this tutorial we will be using a simple little pattern of a colored diamond. Here is what you will need:
50 yards of worsted weight yarn in pink and white (I used Lion Brand Vanna's Choice)
scissors
tapestry needle

Here is a graph of the pattern we will be making. Each square represents one single crochet. You can see that we will be making a row of 18 single crochet and then crocheting for 18 rows as well. Since our pattern is symmetrical we don't have to worry about which way to read the graph. If the pattern you are using is not symmetrical then you will need to read the odd rows left to right and the even rows right to left. Or just follow along with the written instructions if those have been included.
With white, ch 19.
Row 1: sc in the second ch from hook and in each st across, ch 1, turn. (18)
Row 2: sc in each st across, ch 1, turn. (18)

Row 3: sc 8 in white, sc 2 in pink, sc 8 in white, ch 1, turn.
Row three is where you want to attach your pink yarn and make a color change.

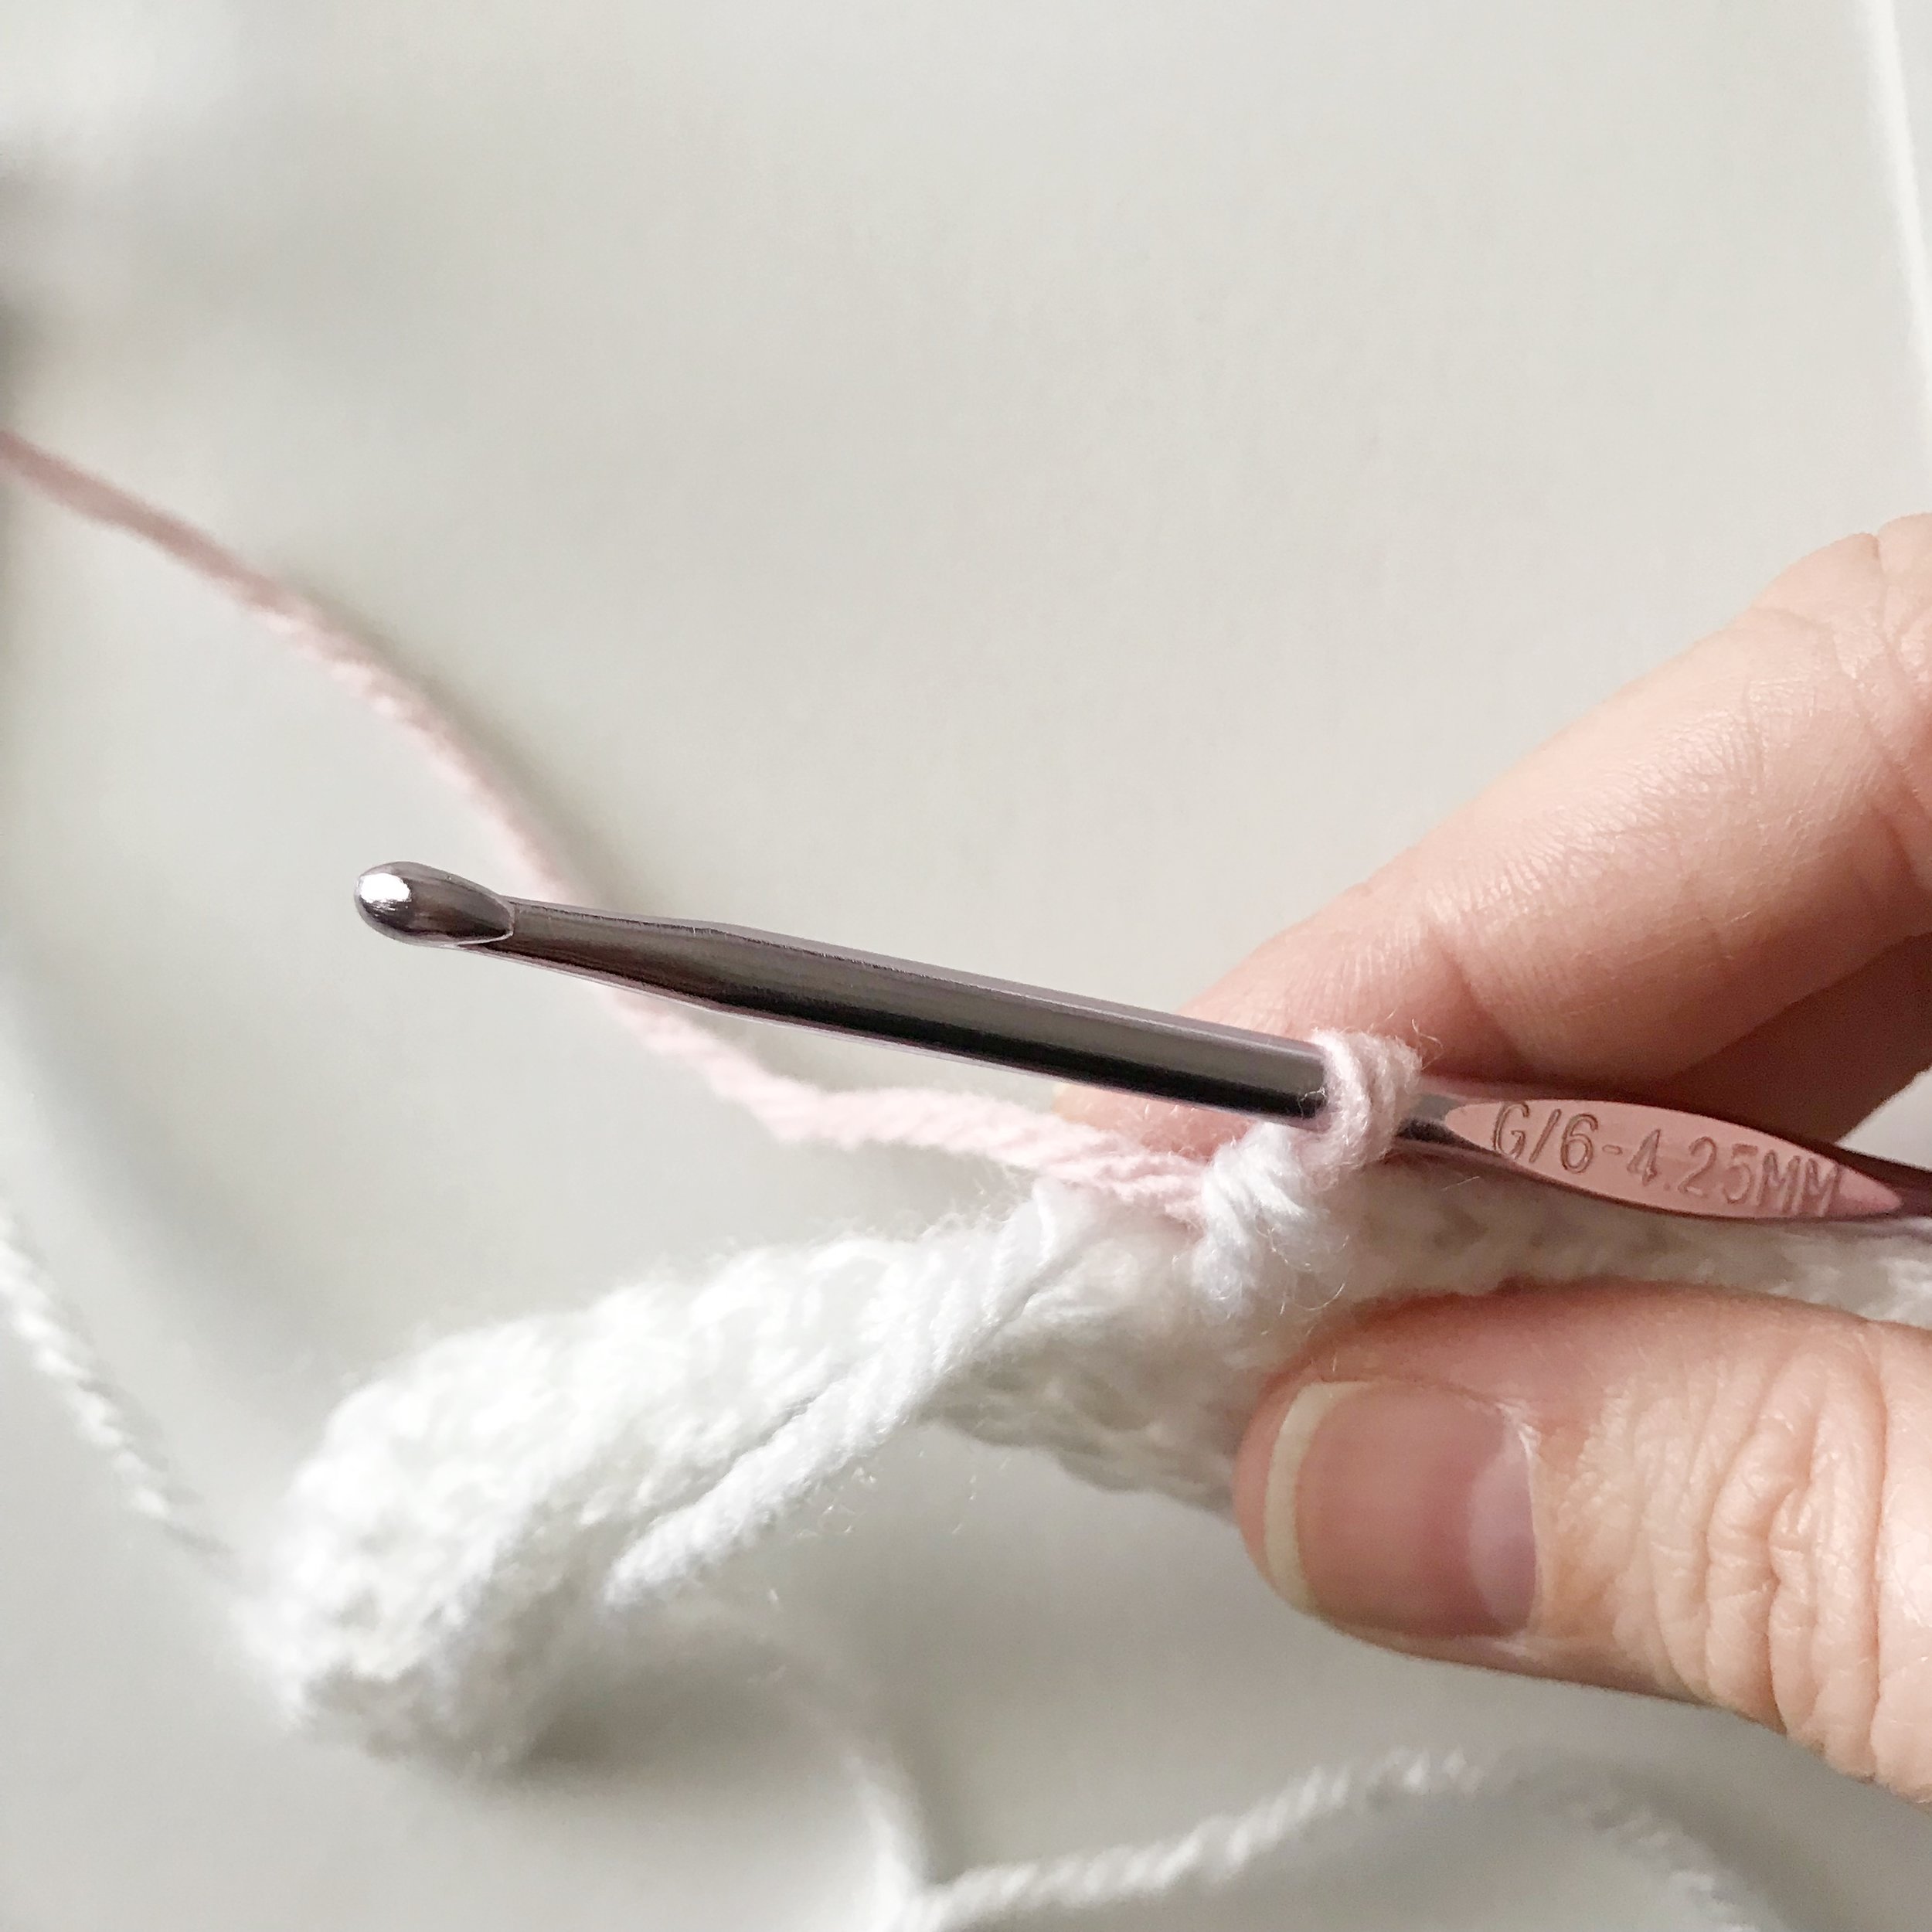
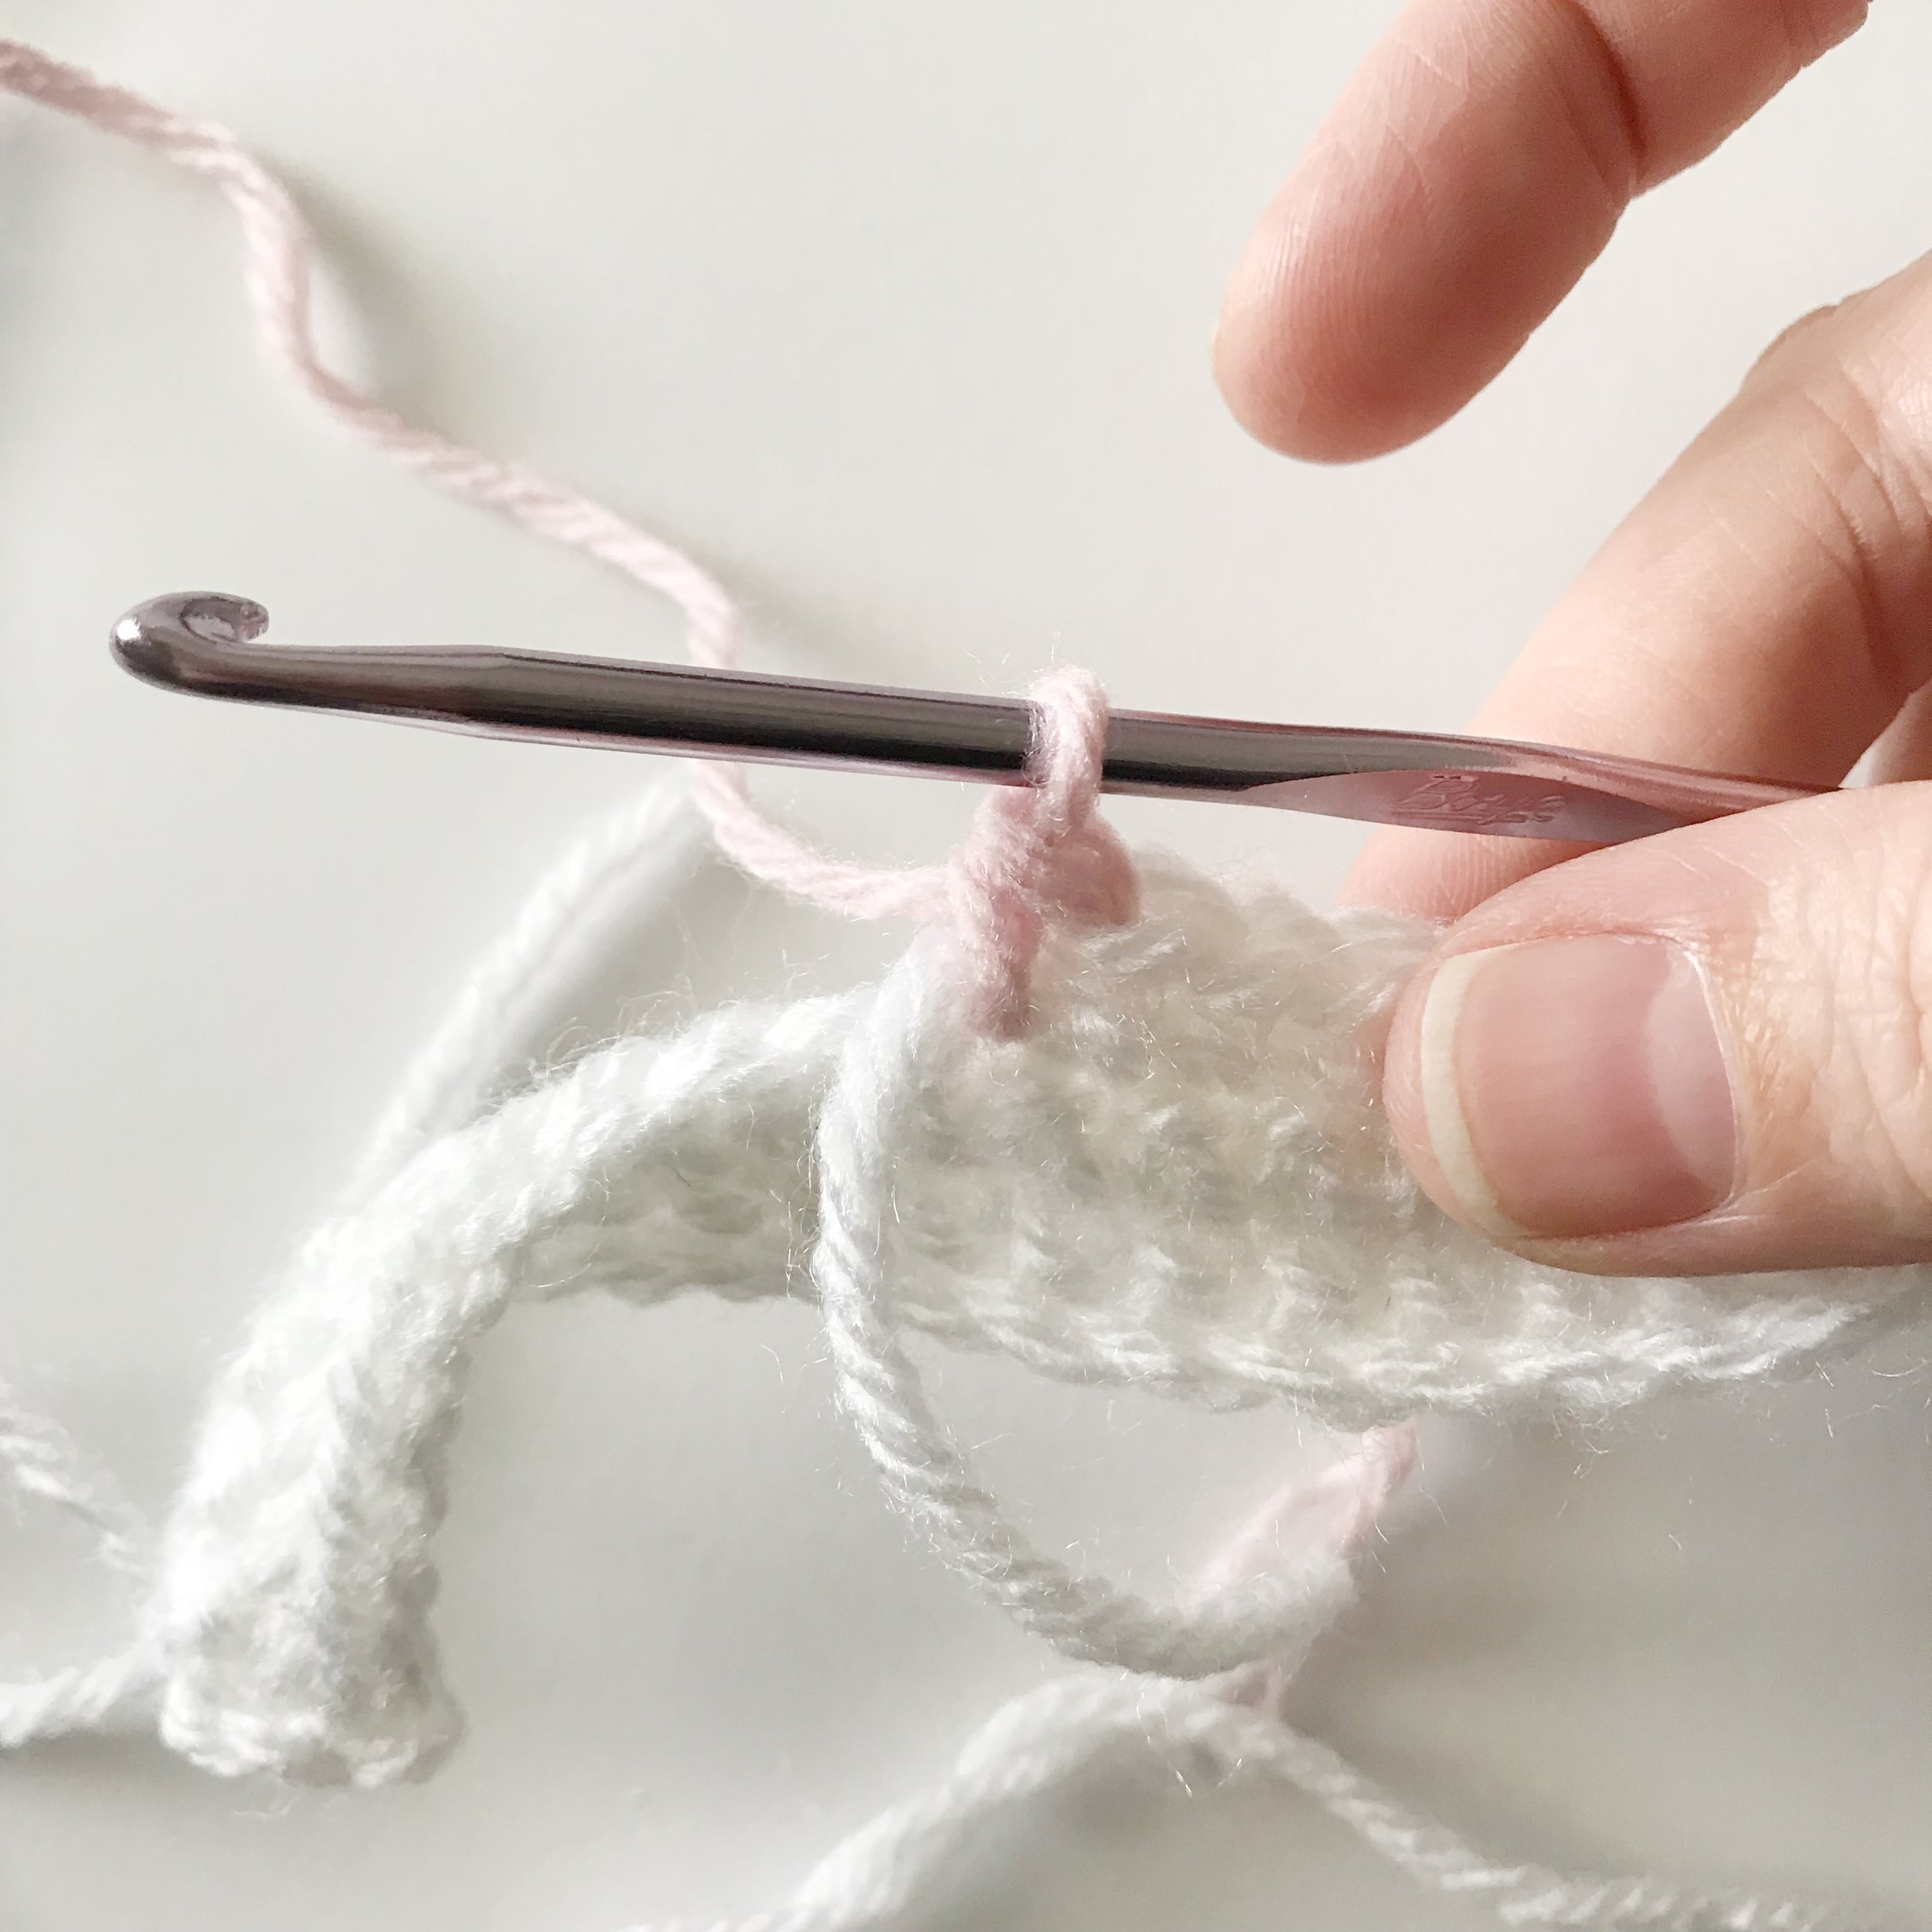
To do this, start by single crocheting the first 8 stitches. On the 8th stitch stop before you finish the stitch, when you have two loops on your hook.

Finish the 8th stitch with pink. This is how you will change colors throughout the piece. Always change colors on the last stitch of the previous color. This way the top of each stitch will match.
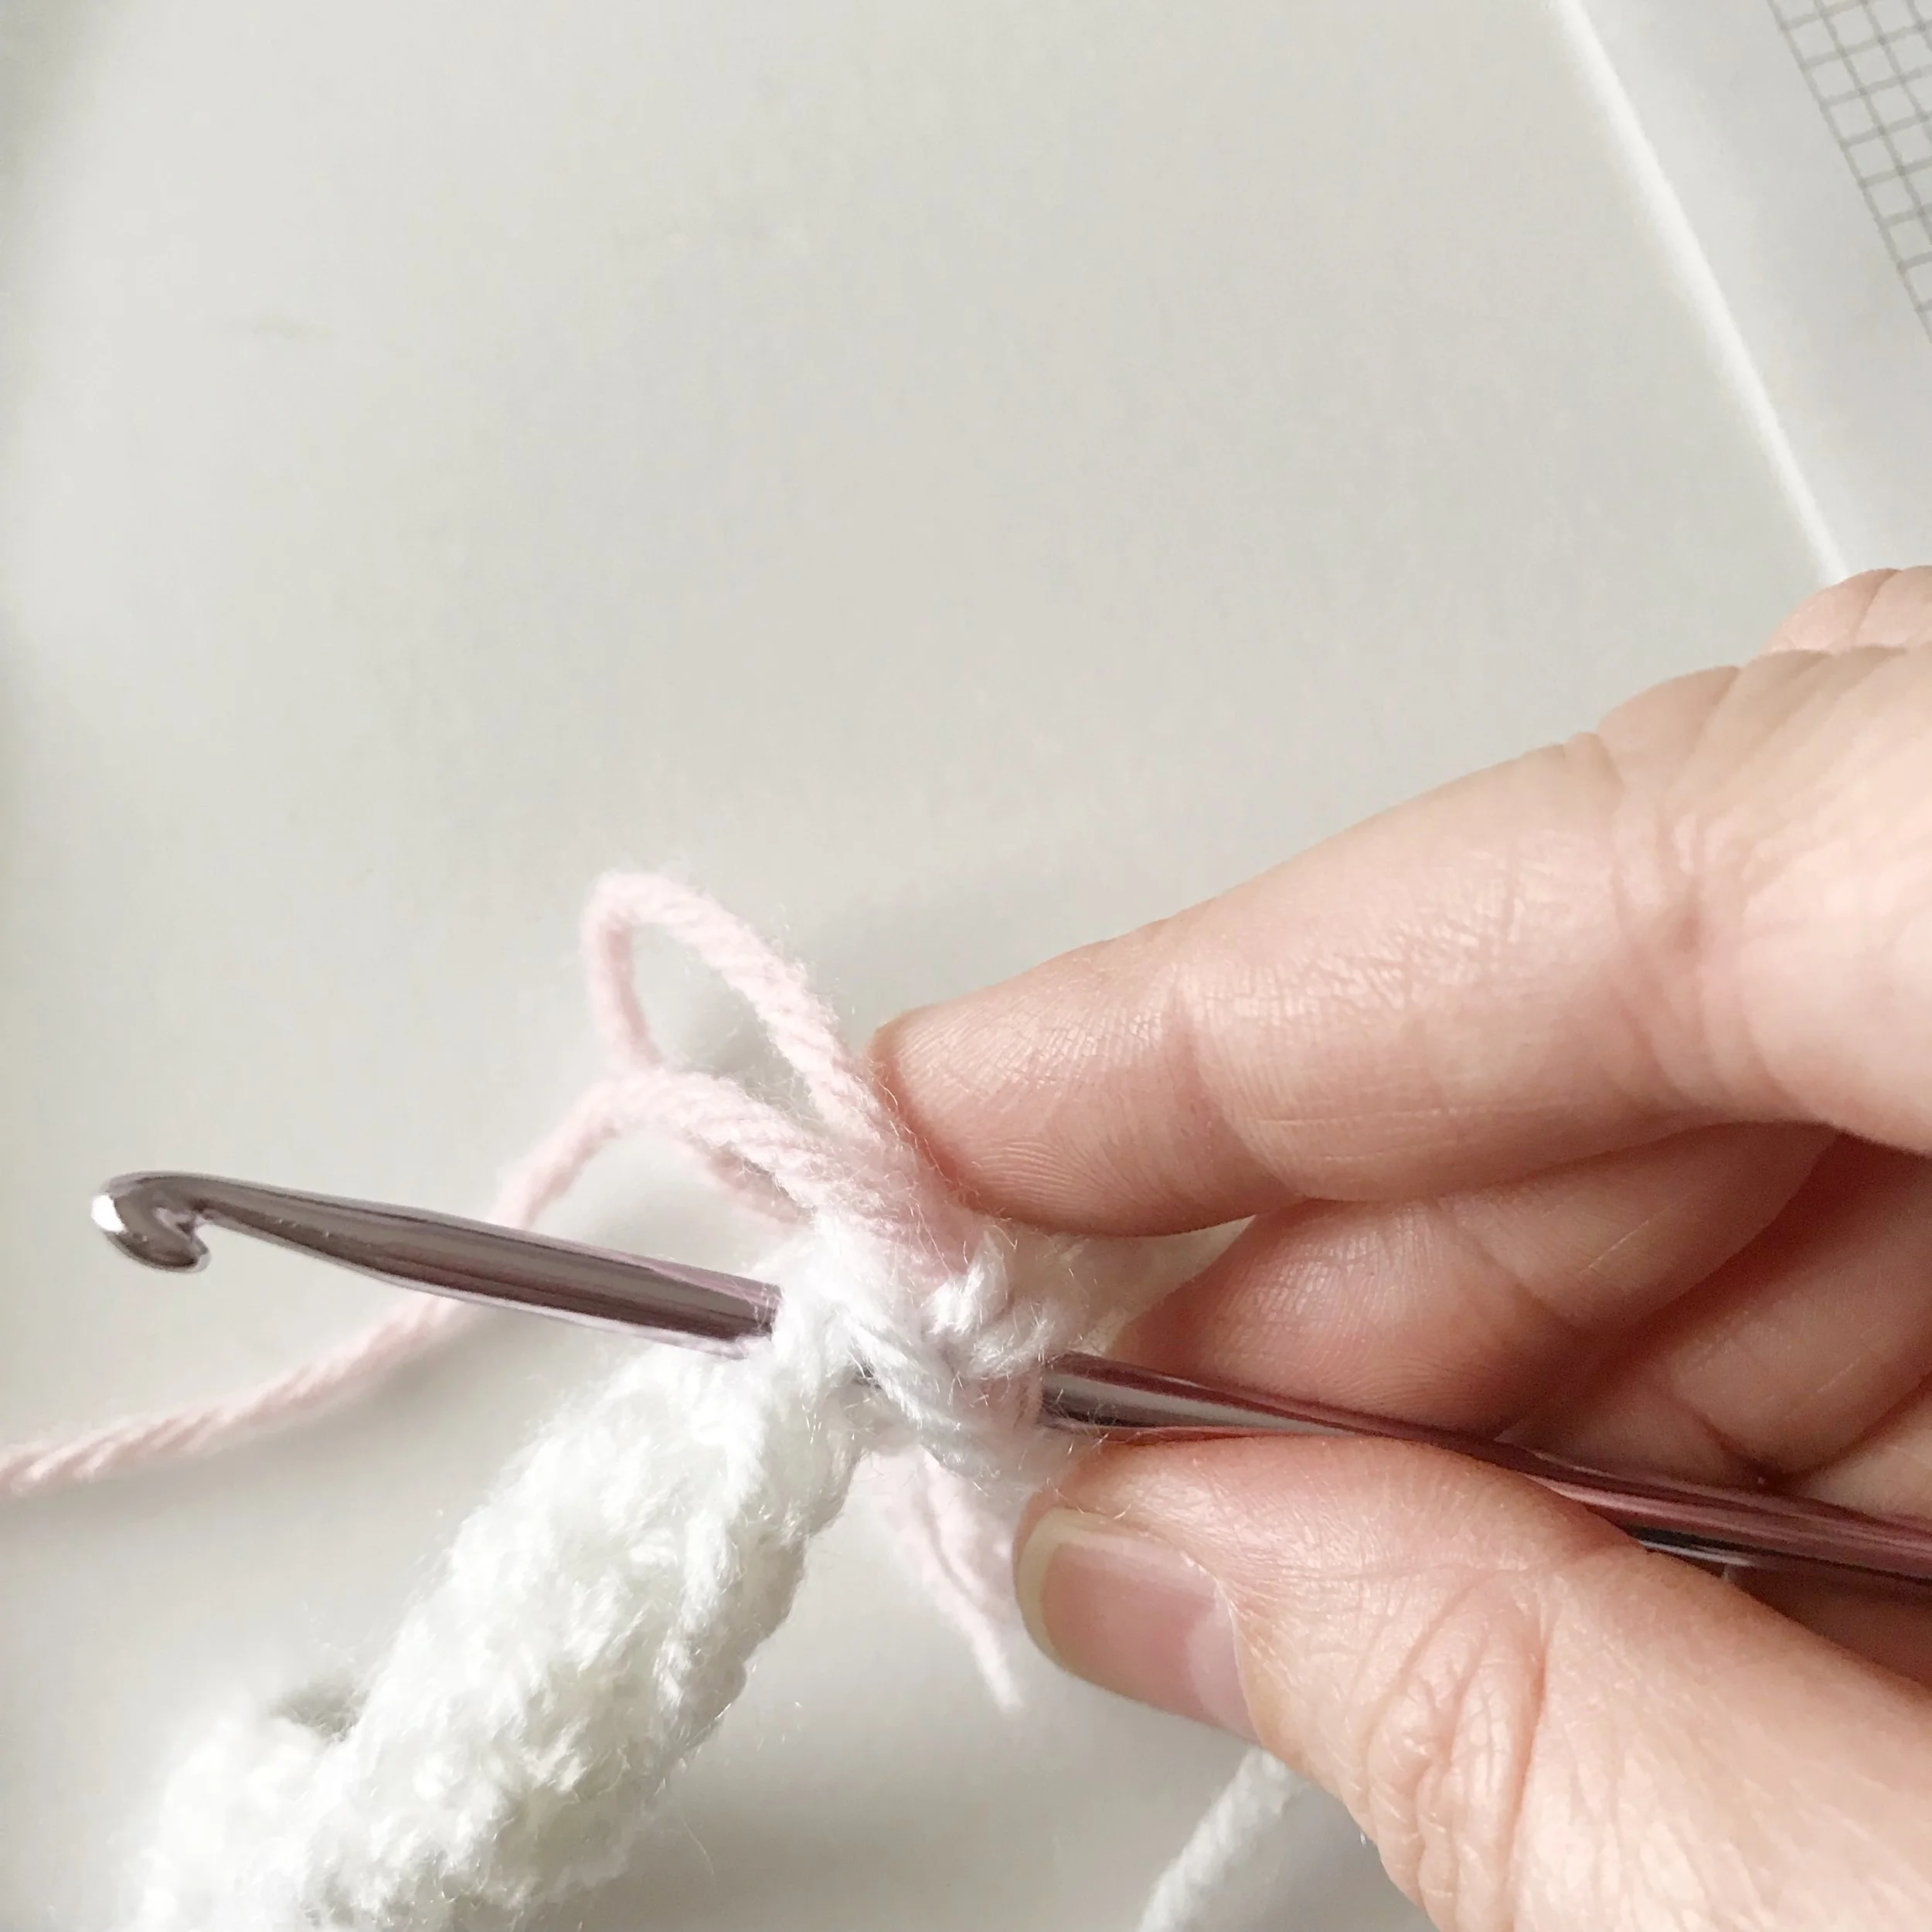
I like to pull the non-working yarn to the front as I carry it along. As you continue to crochet you will slip your hook under the non-working yarn first and then into the next stitch. Then pull up a loop and finish your stitch as normal.

Change back to white and continue til the end of the row.

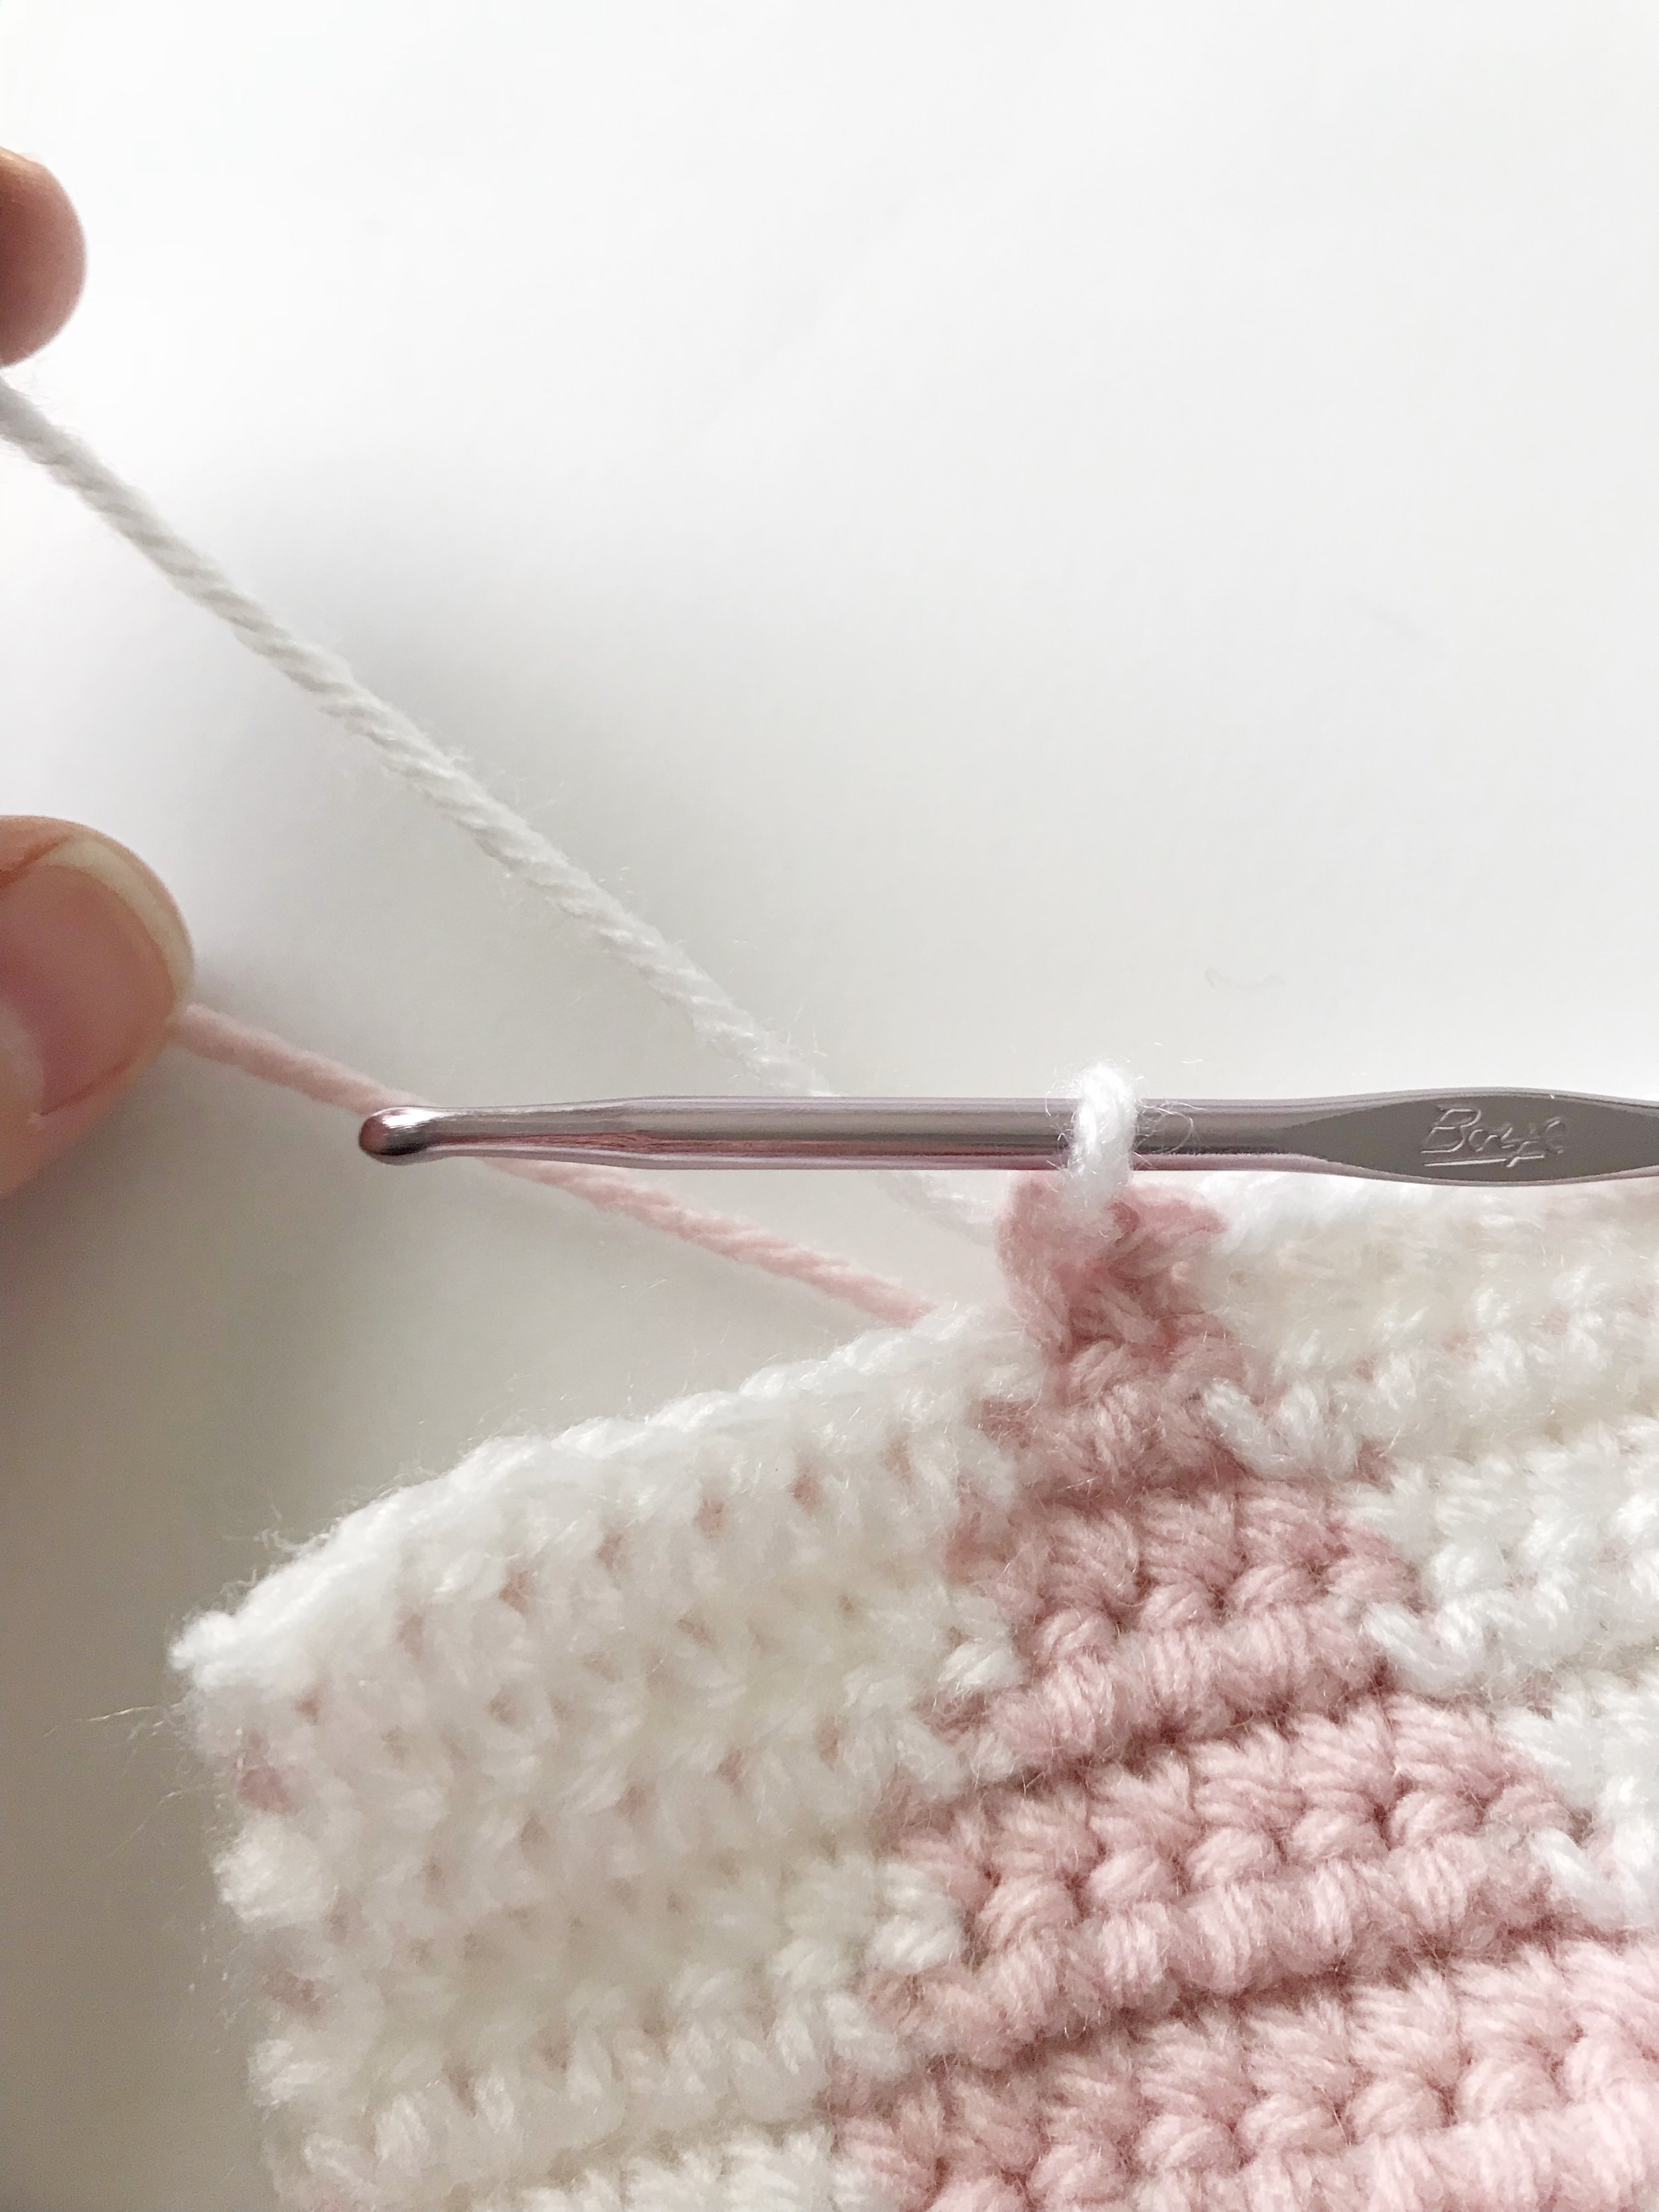
Here is what you will have after row 3. You can see that the white yarn was carried through the pink stitches and the pink yarn was carried through the white stitches.

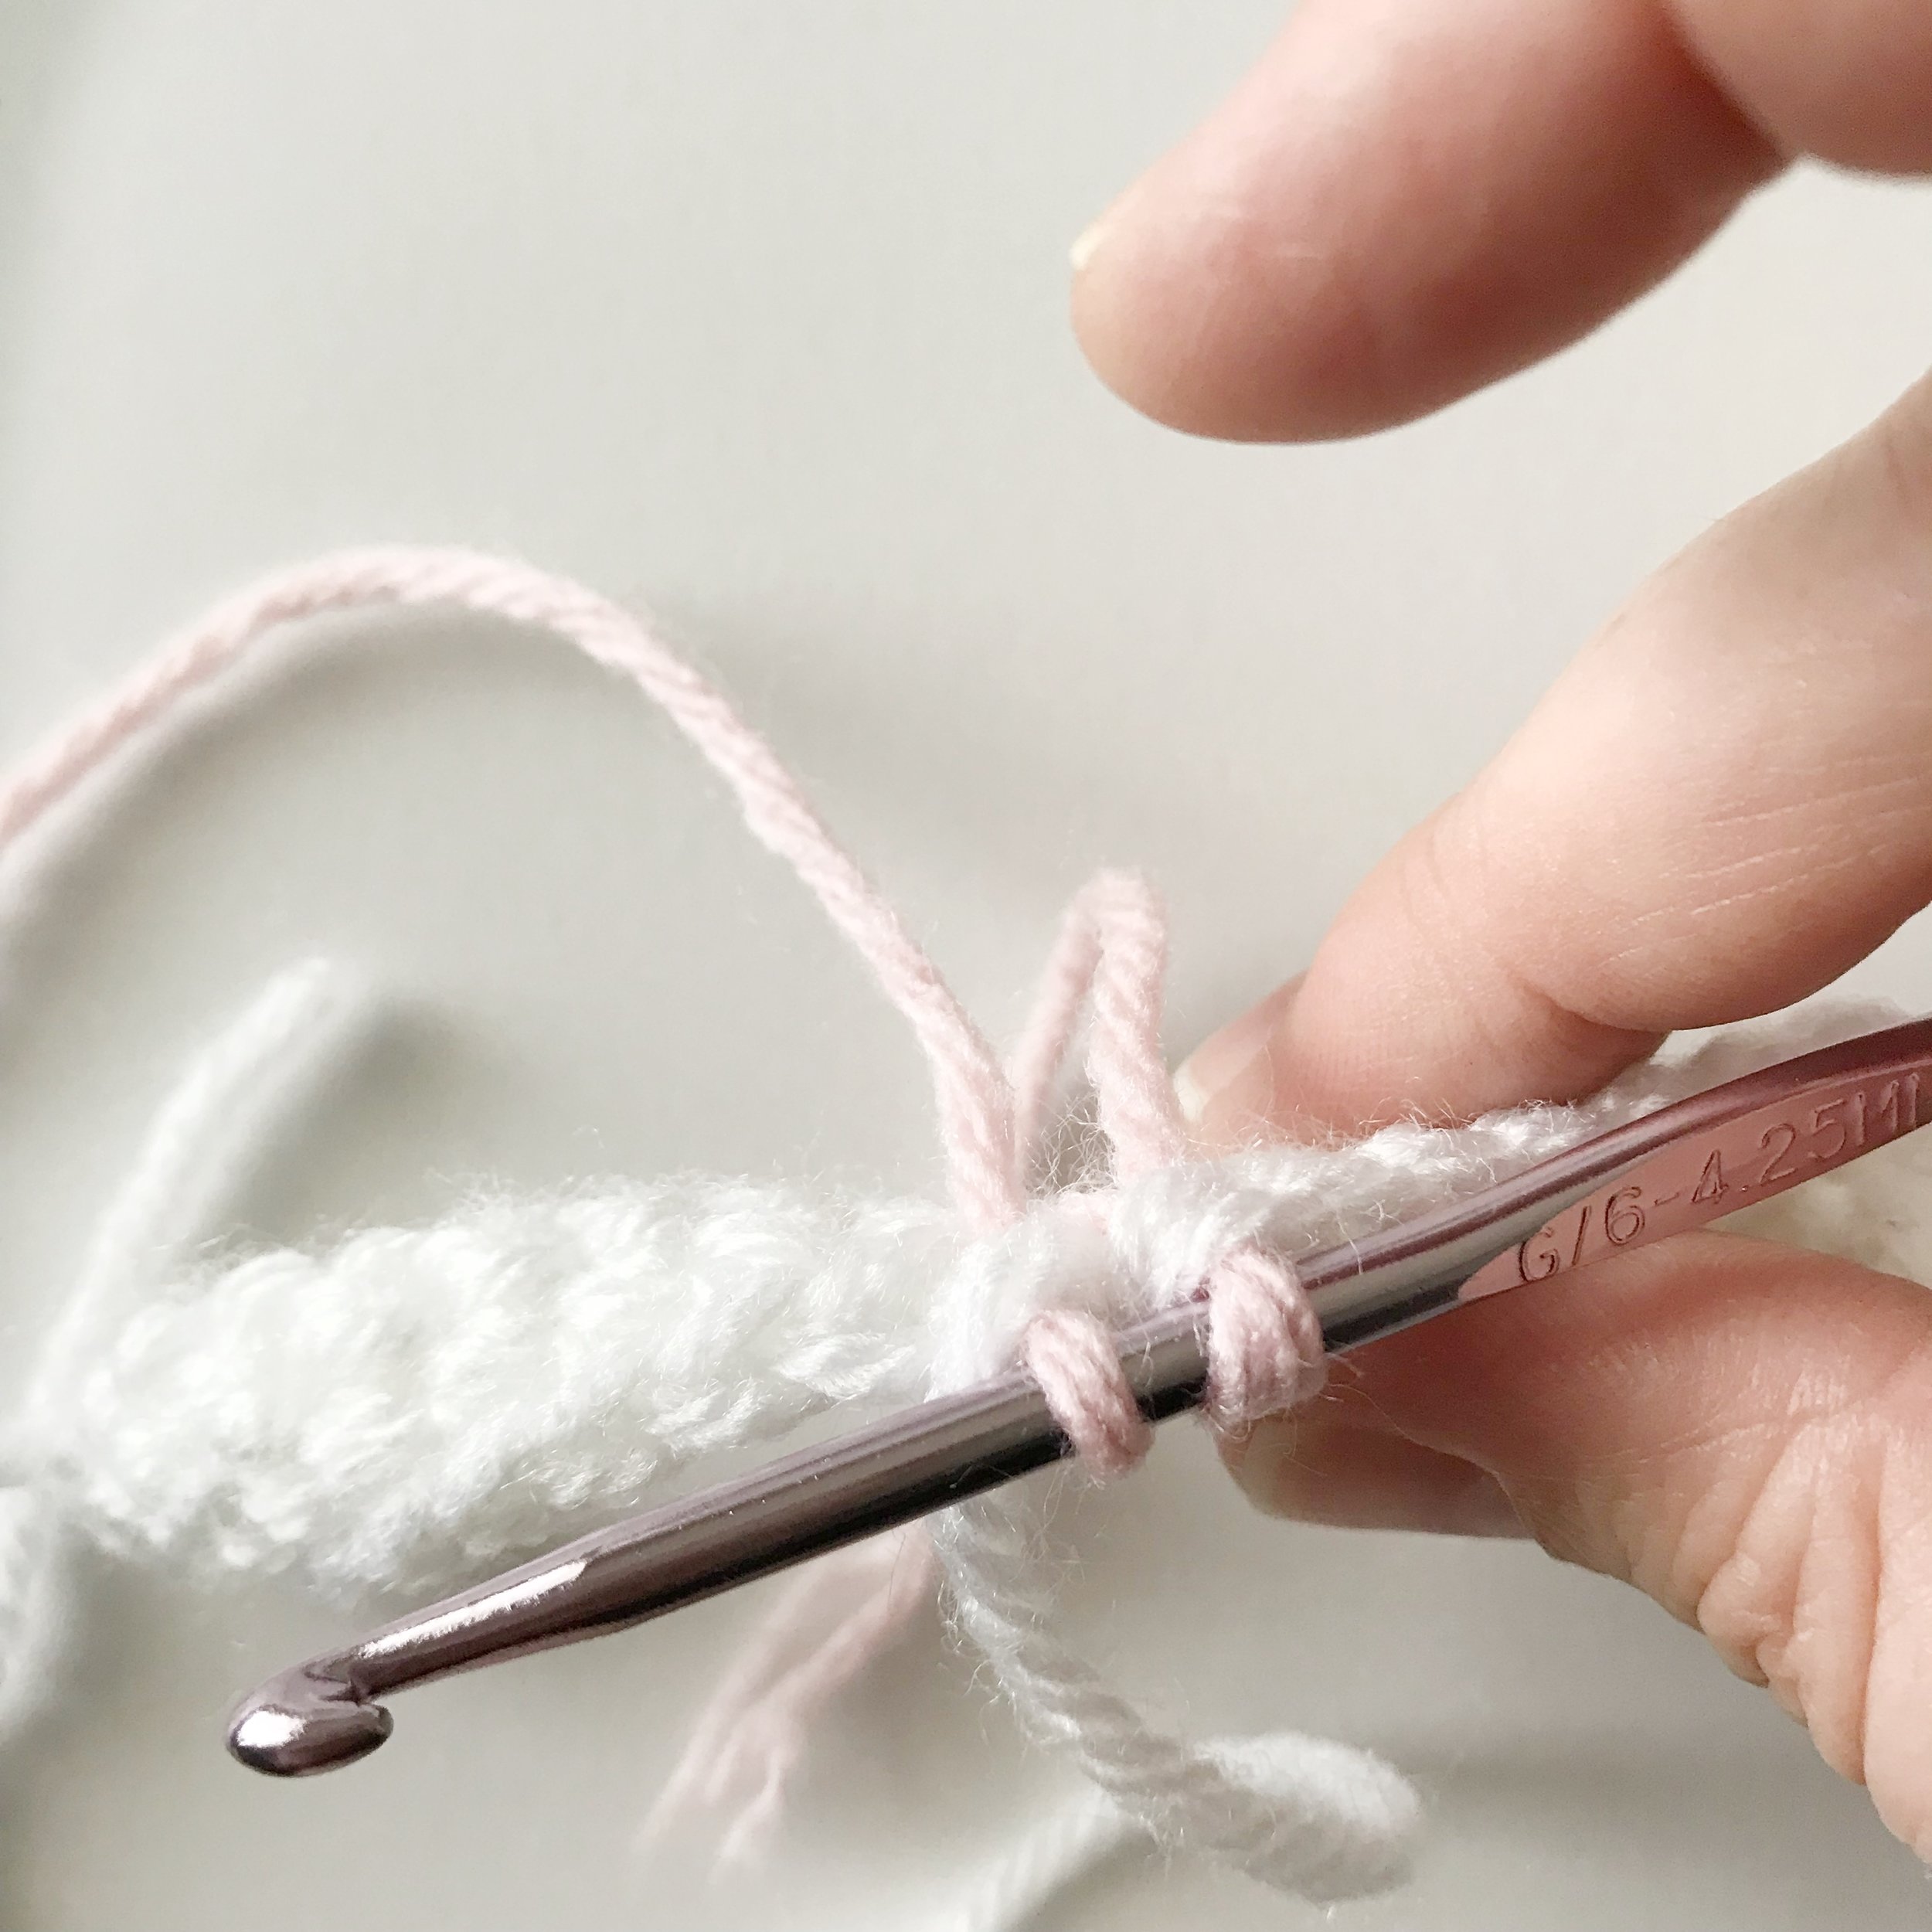
After turning for the next row, bring the pink yarn to the front and make sure to slip your hook under the pink yarn before inserting it into the first stitch.
Row 4: sc 8 in white, sc 2 in pink, sc 8 in white, ch 1, turn.
Row 5: sc 7 in white, sc 4 in pink, sc 7 in white, ch1, turn.
Row 6: repeat row 5.
Row 7: sc 6 in white, sc 6 in pink, sc 6 in white, ch 1, turn.
Row 8: repeat row 7.
Row 9: sc 5 in white, sc 8 in pink, sc 5 in white, ch 1, turn.

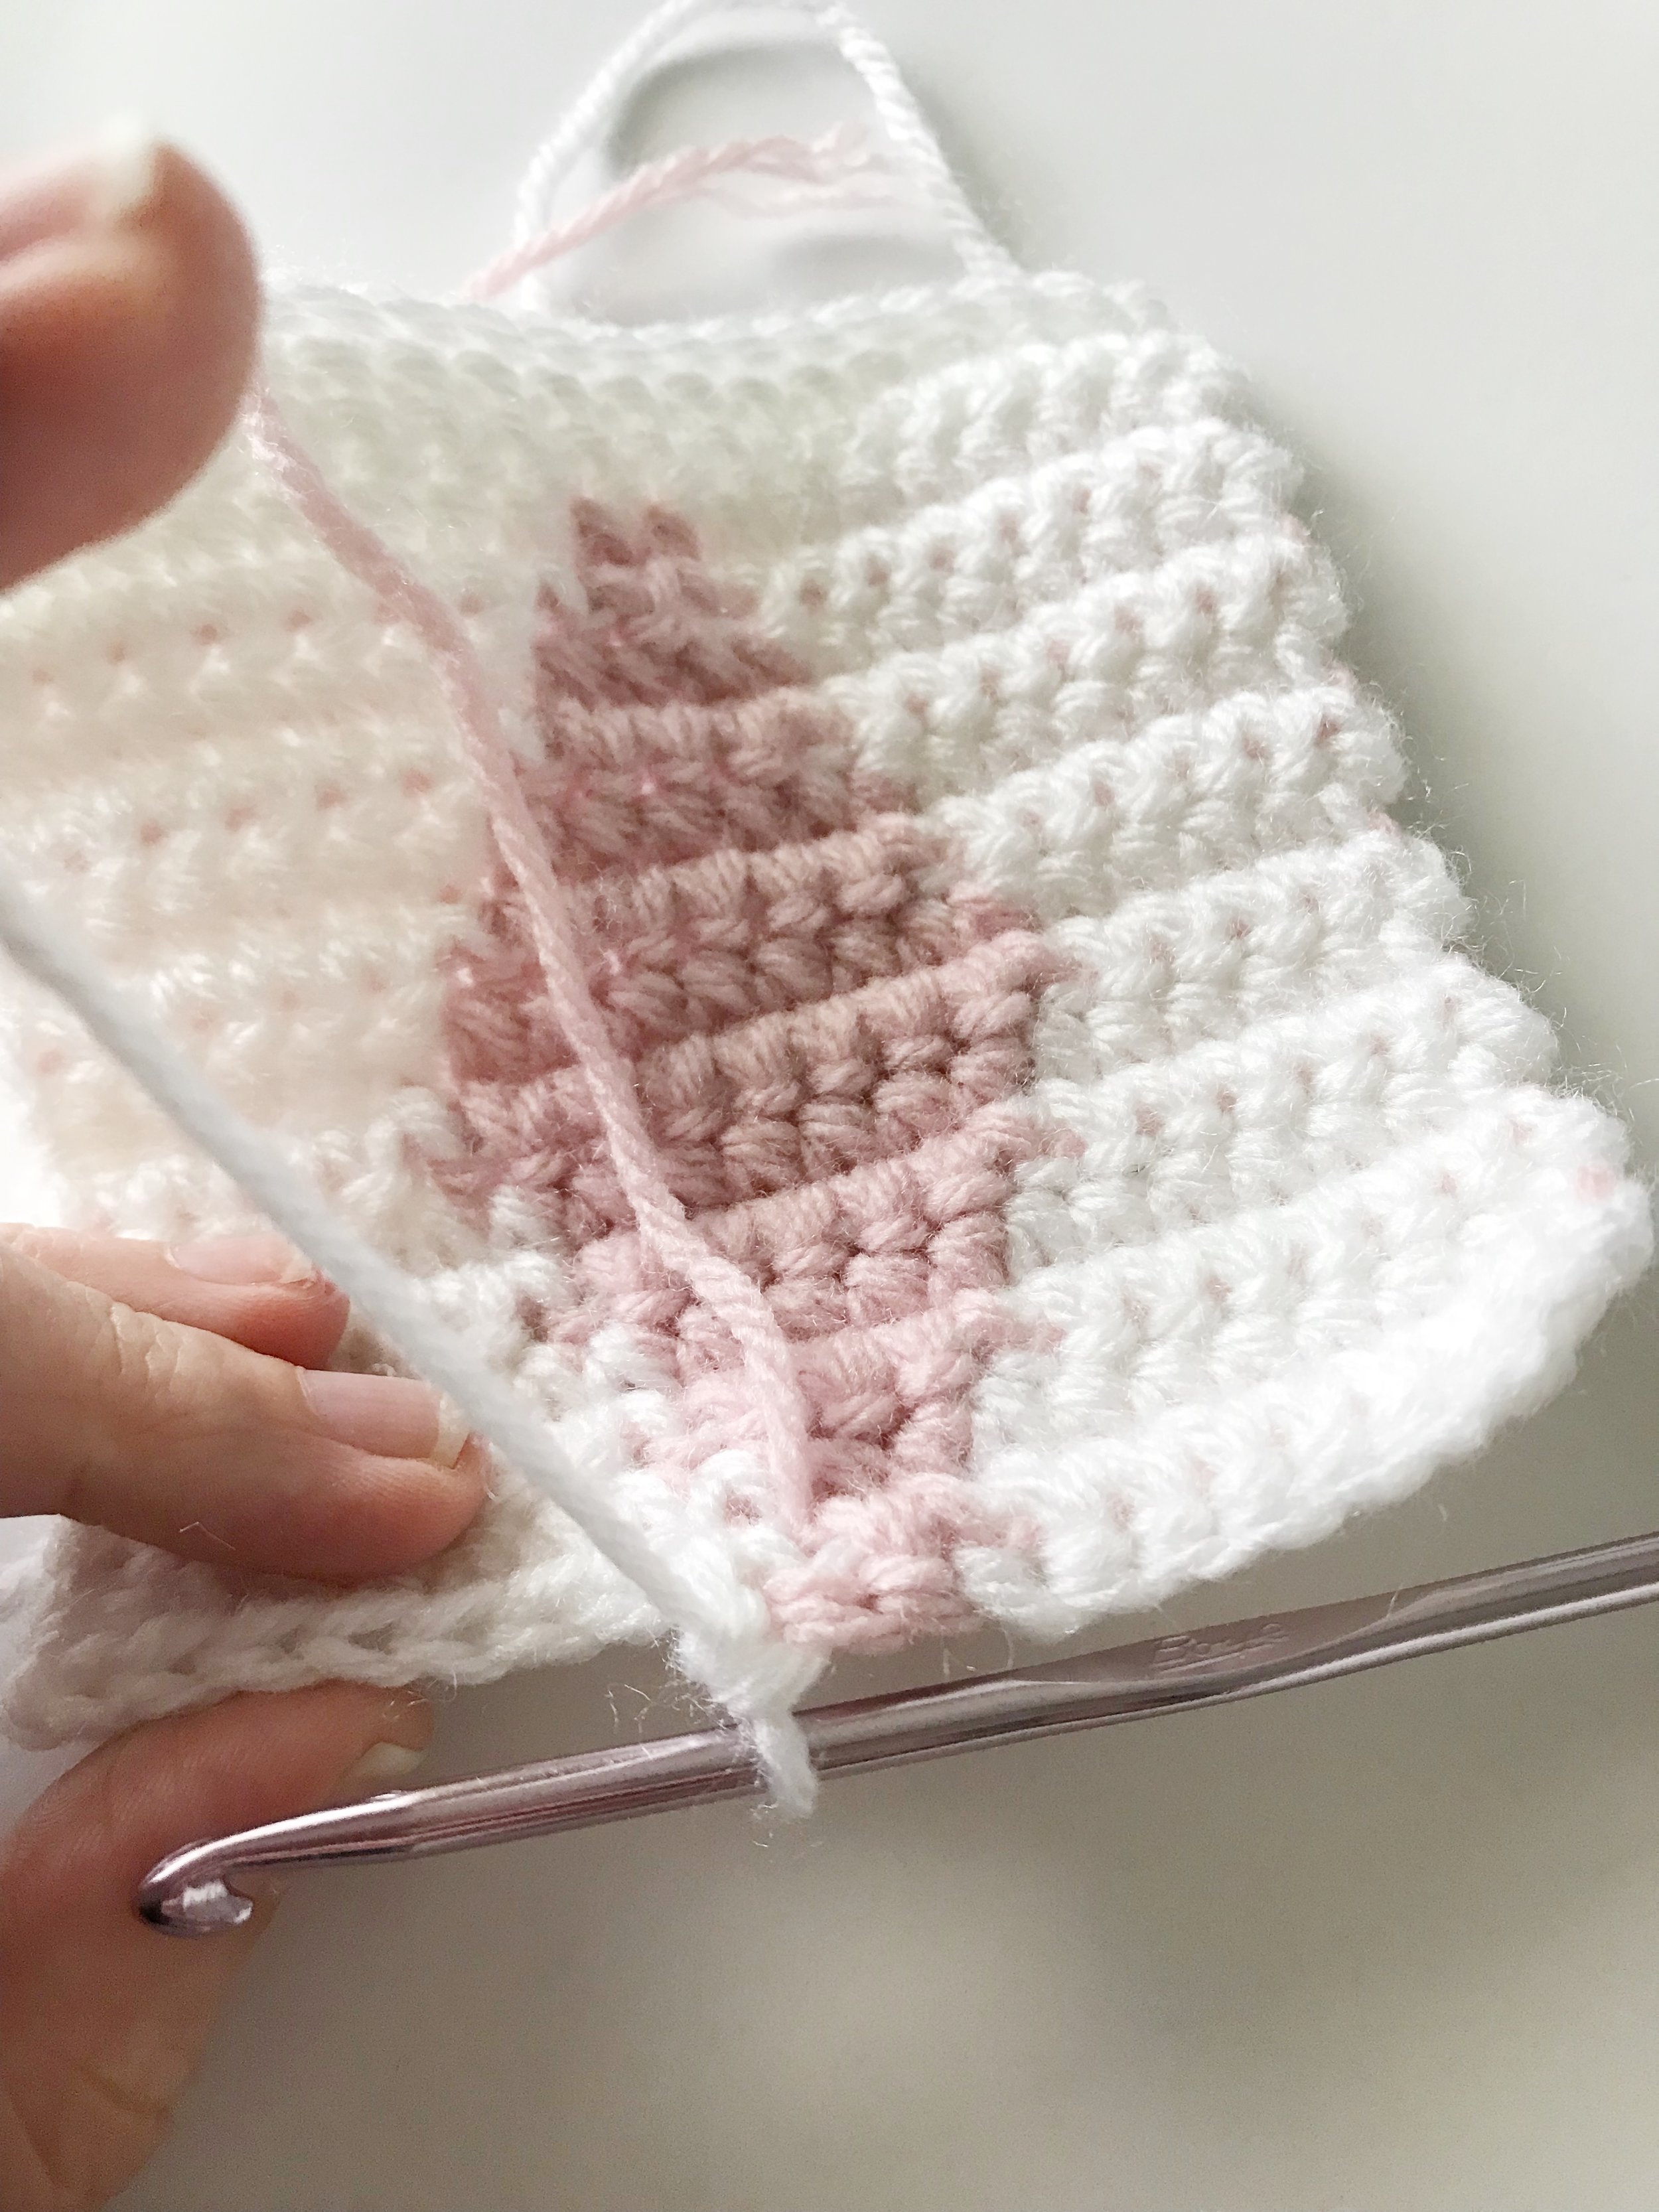
Here's what you should have now that we are half way through.
Row 10: repeat row 9.
Row 11: sc 6 in white, sc 6 in pink, sc 6 in white, ch 1, turn.
Row 12: repeat row 11.
Row 13: sc 7 in white, sc 4 in pink, sc 7 in white, ch 1, turn.
Row 14: repeat row 13.
Row 15: sc 8 in white, sc 2 in pink, sc 8 in white, ch 1, turn.
Row 16: repeat row 15.
In row 16, after the two sc in pink you can drop your pink yarn and continue the rest of the row using only white. I like to do this so when I weave in my ends I can weave the pink into the pink sections and the white into the white sections.
Rows 17&18: sc across in white.
Fasten off and weave in ends.
Congratulations you just finished learning how to do tapestry crochet! I hope you found this little tutorial helpful. If you want to try a larger tapestry crochet project check out my Clara Clutch pattern over in my shop.
Happy crocheting!
Meghan

