DIY Rustic Shelves
Today I'm going to share with you the first project I did for our new place in California. Being a renter can be tough sometimes, especially if you are like me and love to DIY. I wanted to make our place feel more like home and was excited that I might actually have the time to put some stuff on the walls.
There were two areas that needed some extra storage and decoration. I needed some storage above my sewing table and the kitchen had a blank wall above the sink just begging for some pretty rustic shelves.
If you want to do it yourself here is what you'll need:
2 inch high planks of wood. (We bought two 2"x8'' boards and had them cut in half so we ended with four 4 foot boards)
Electric sander or sand paper
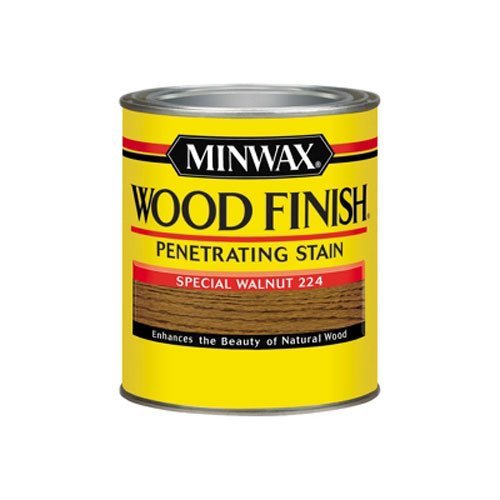
Wood stain in the color of your choice (we used Minwax in walnut)
Polyurathane (again we used miniwax satin poly)
Old rags or brushes for staining
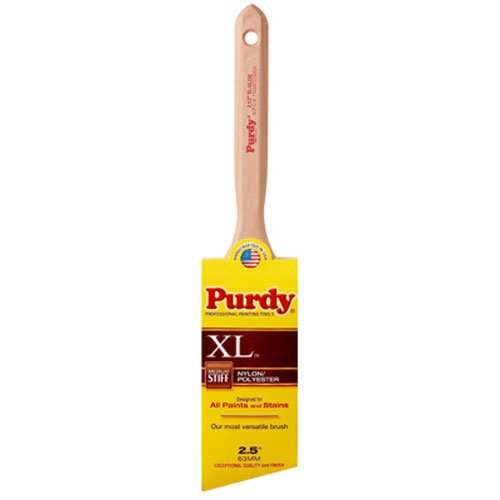
Good quality brushes to apply poly (we like purdy brushes)
Shelving hardware (brackets, screws, anchors, drill and screwdriver or whatever you will need to safely secure your shelves to the wall)

My beautiful planks of wood.
To start you will need to sand your boards until they are nice and smooth. We splurged and purchased an electric sander for this project to make it go faster. It has definitely come in handy since then so I think it is a great investment. Even though I heard over and over that this was my project, Steve wanted to test out the sander and ended up doing it all! I think he secretly likes all my crazy projects.

Make sure you get all sides including the ends which will be rough from being cut in half. The whole process took a few hours, but that might be because my husband is a bit of a perfectionist.
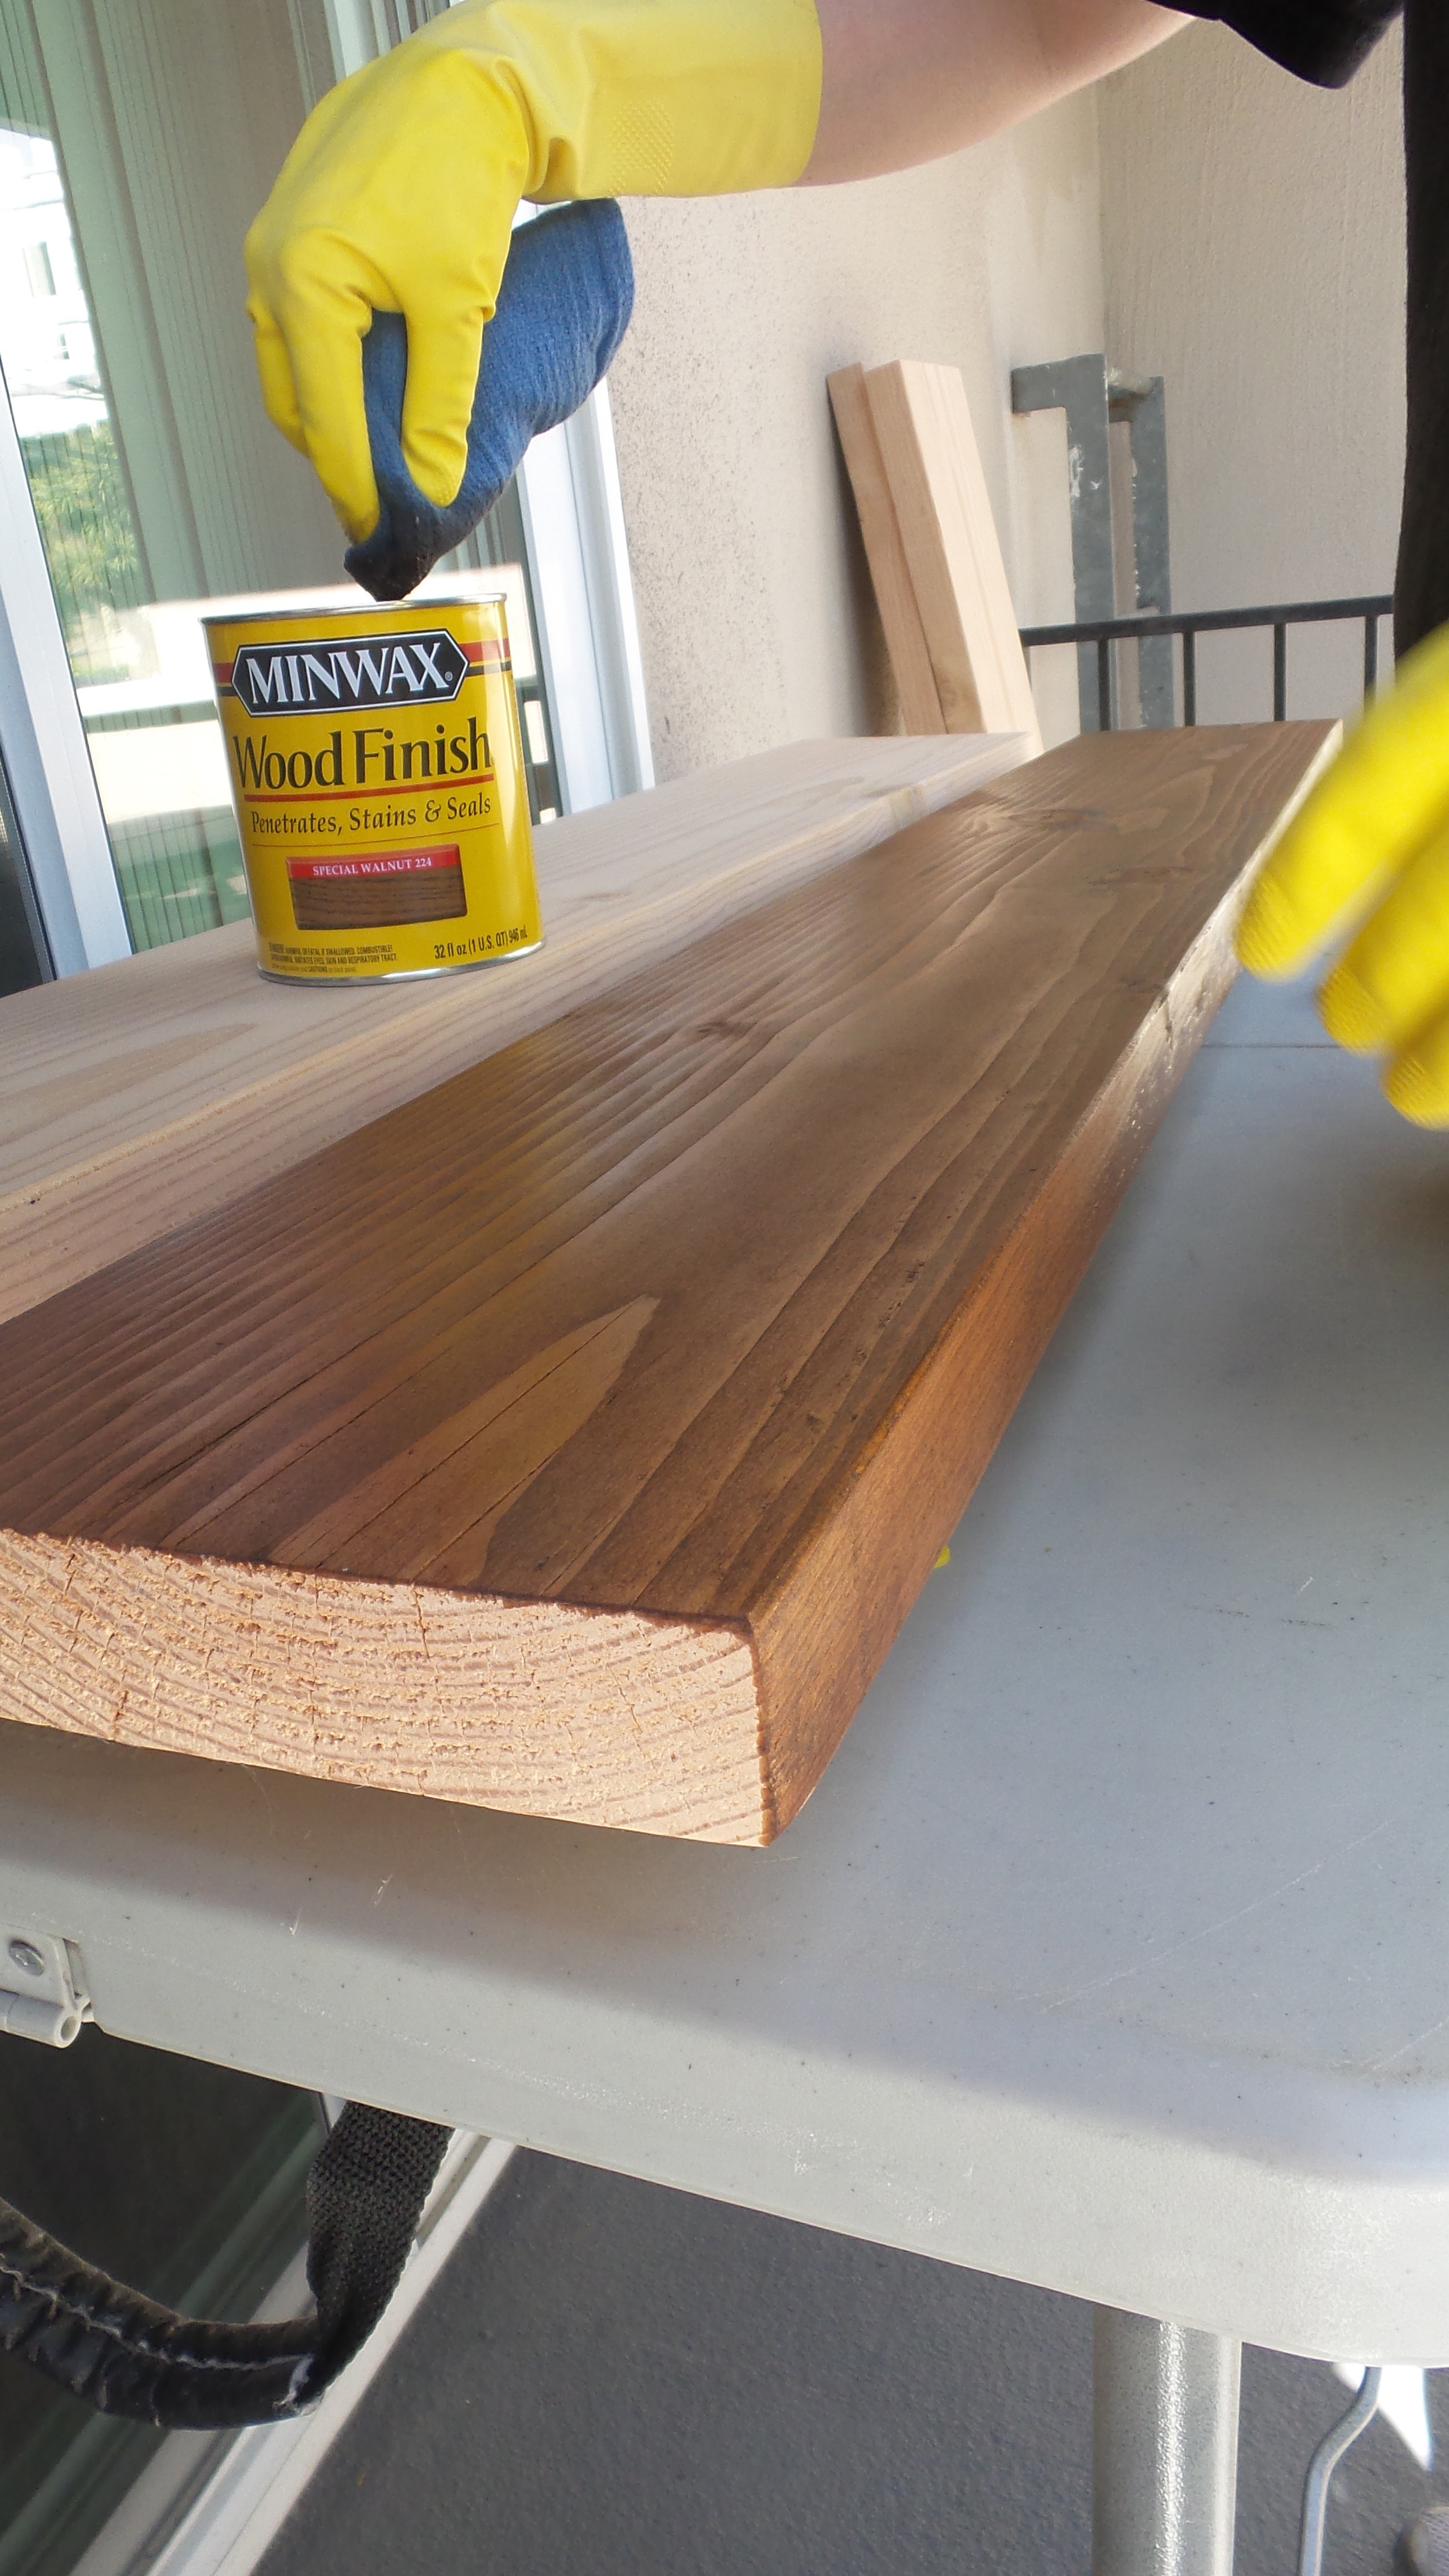
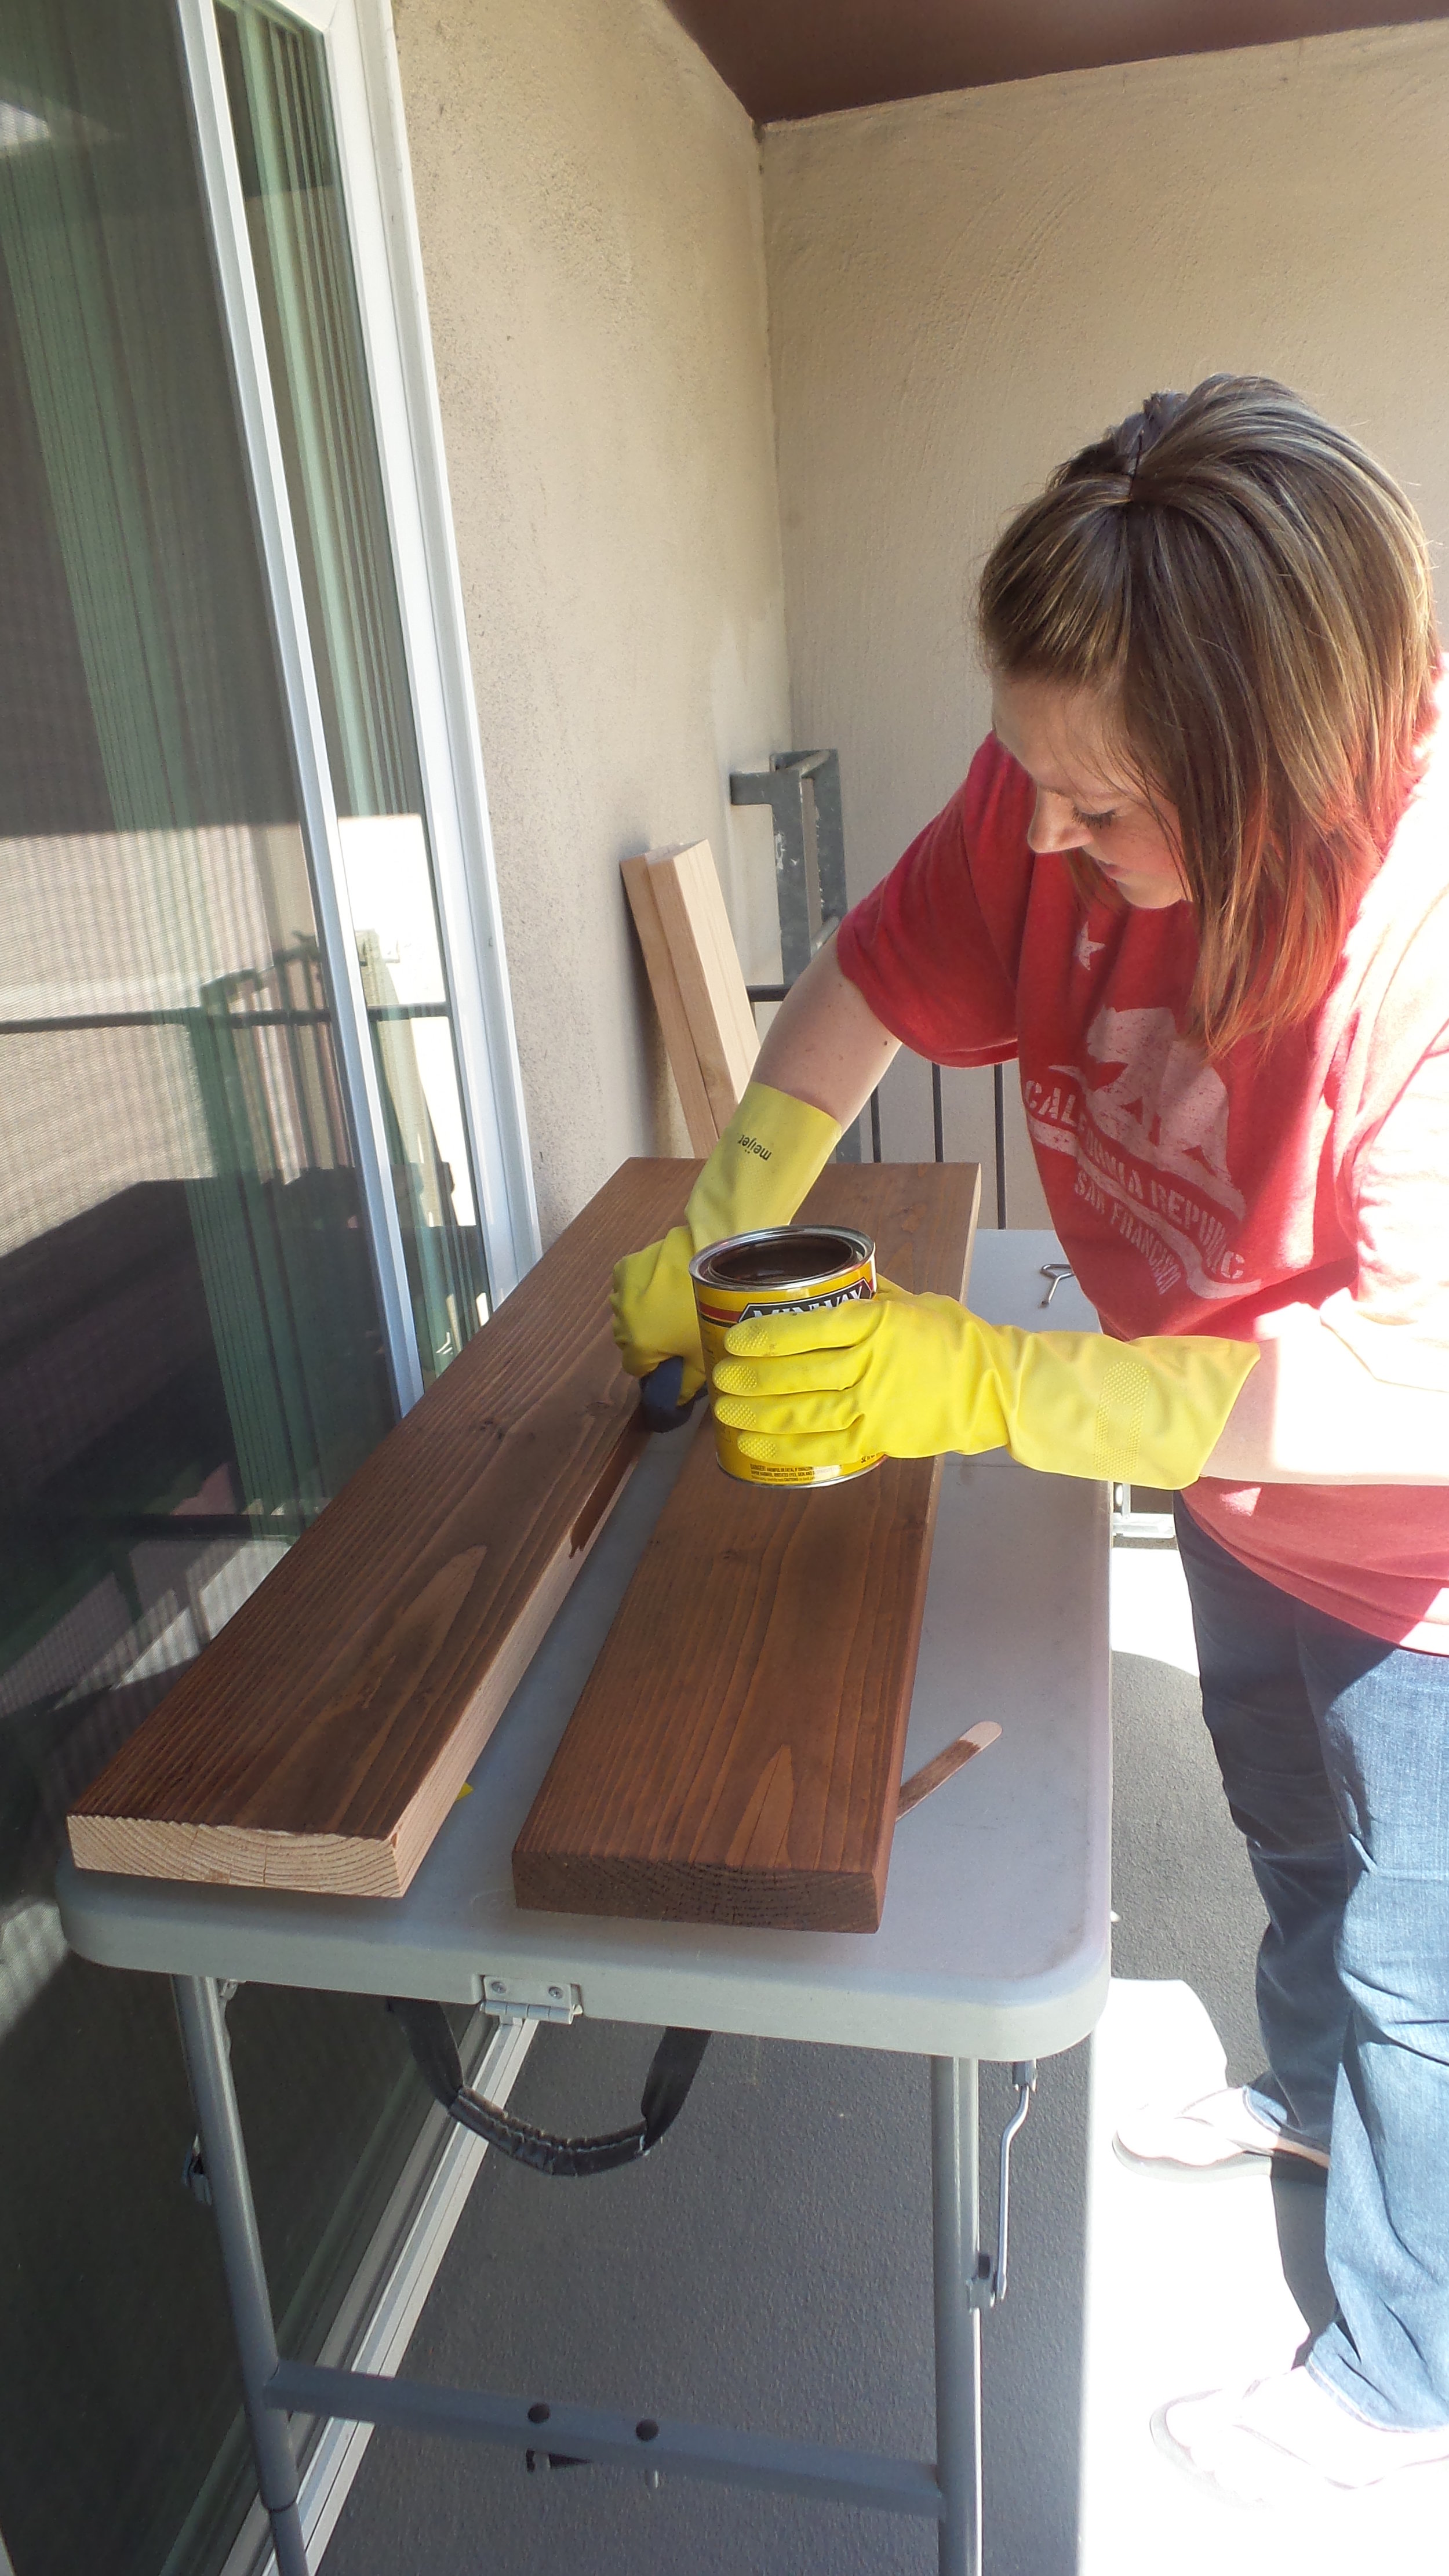
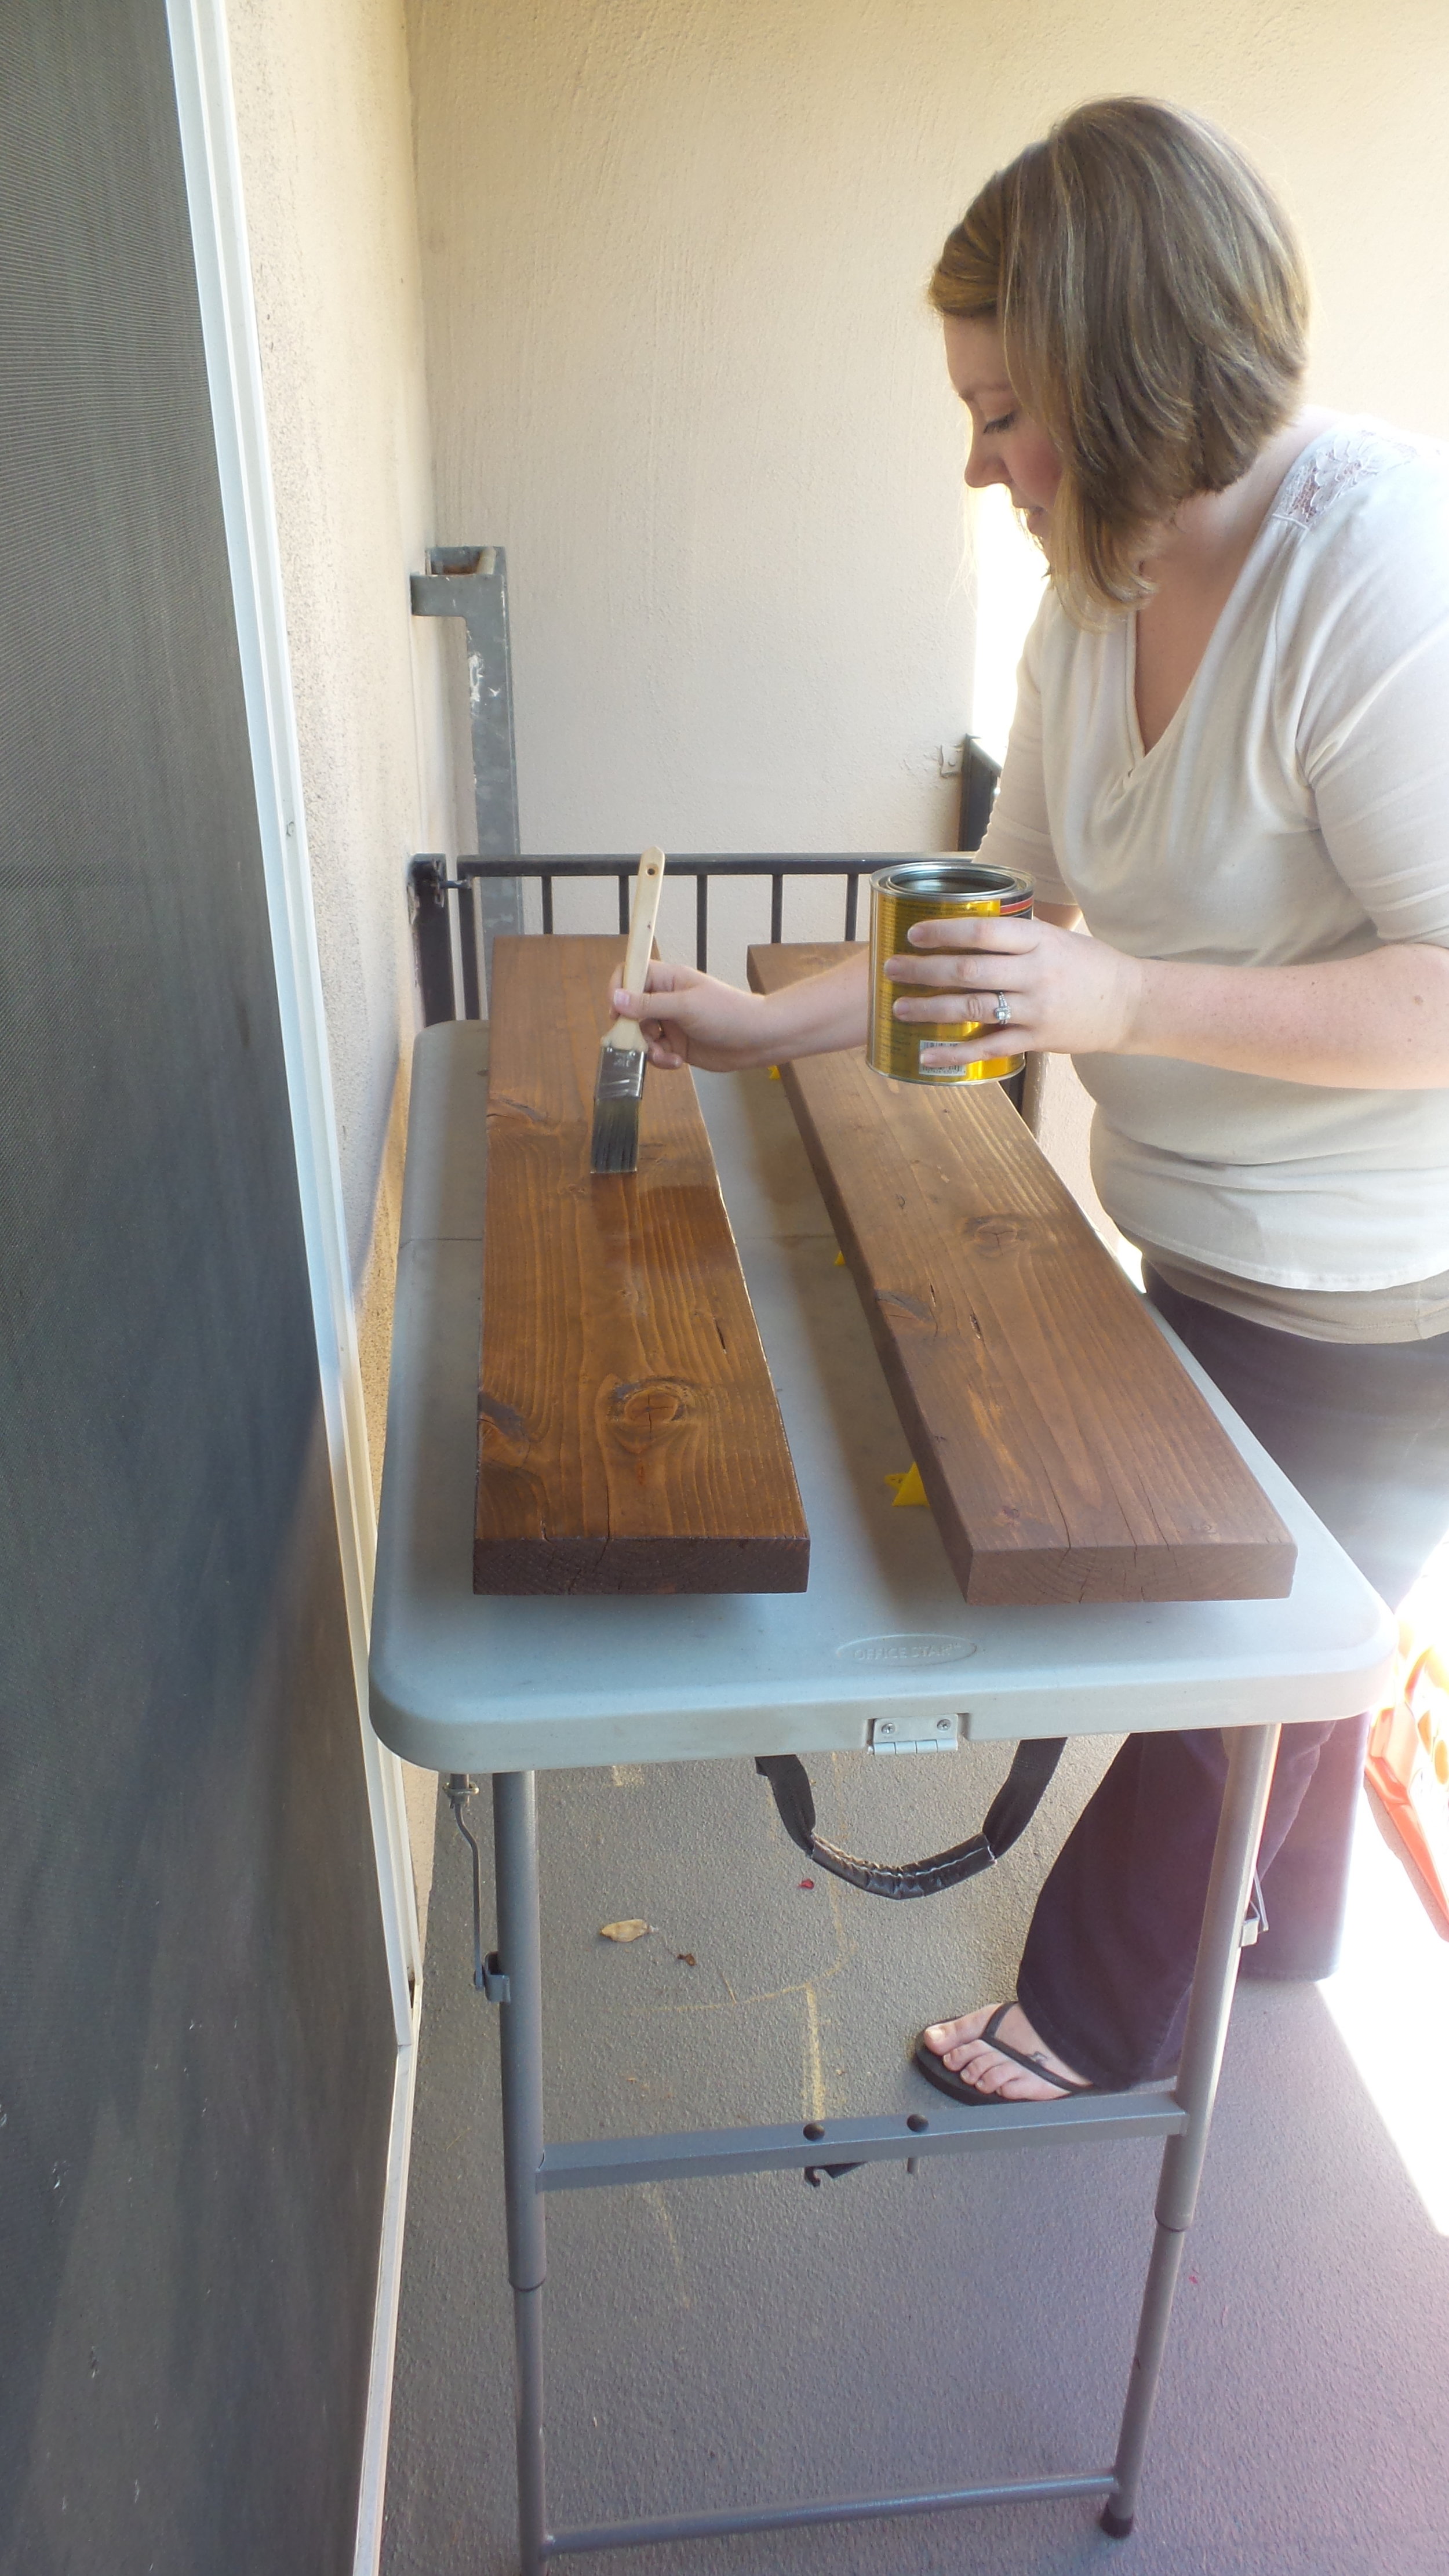
Next up it's time to apply the stain. I recommend wearing rubber gloves especially if you use a rag. I was a bit nervous to apply the stain, but once I started it was so much easier than I expected. Follow the directions on the can and apply as many coats as you want until you achieve the desired color. I did two coats and was very happy with the results.
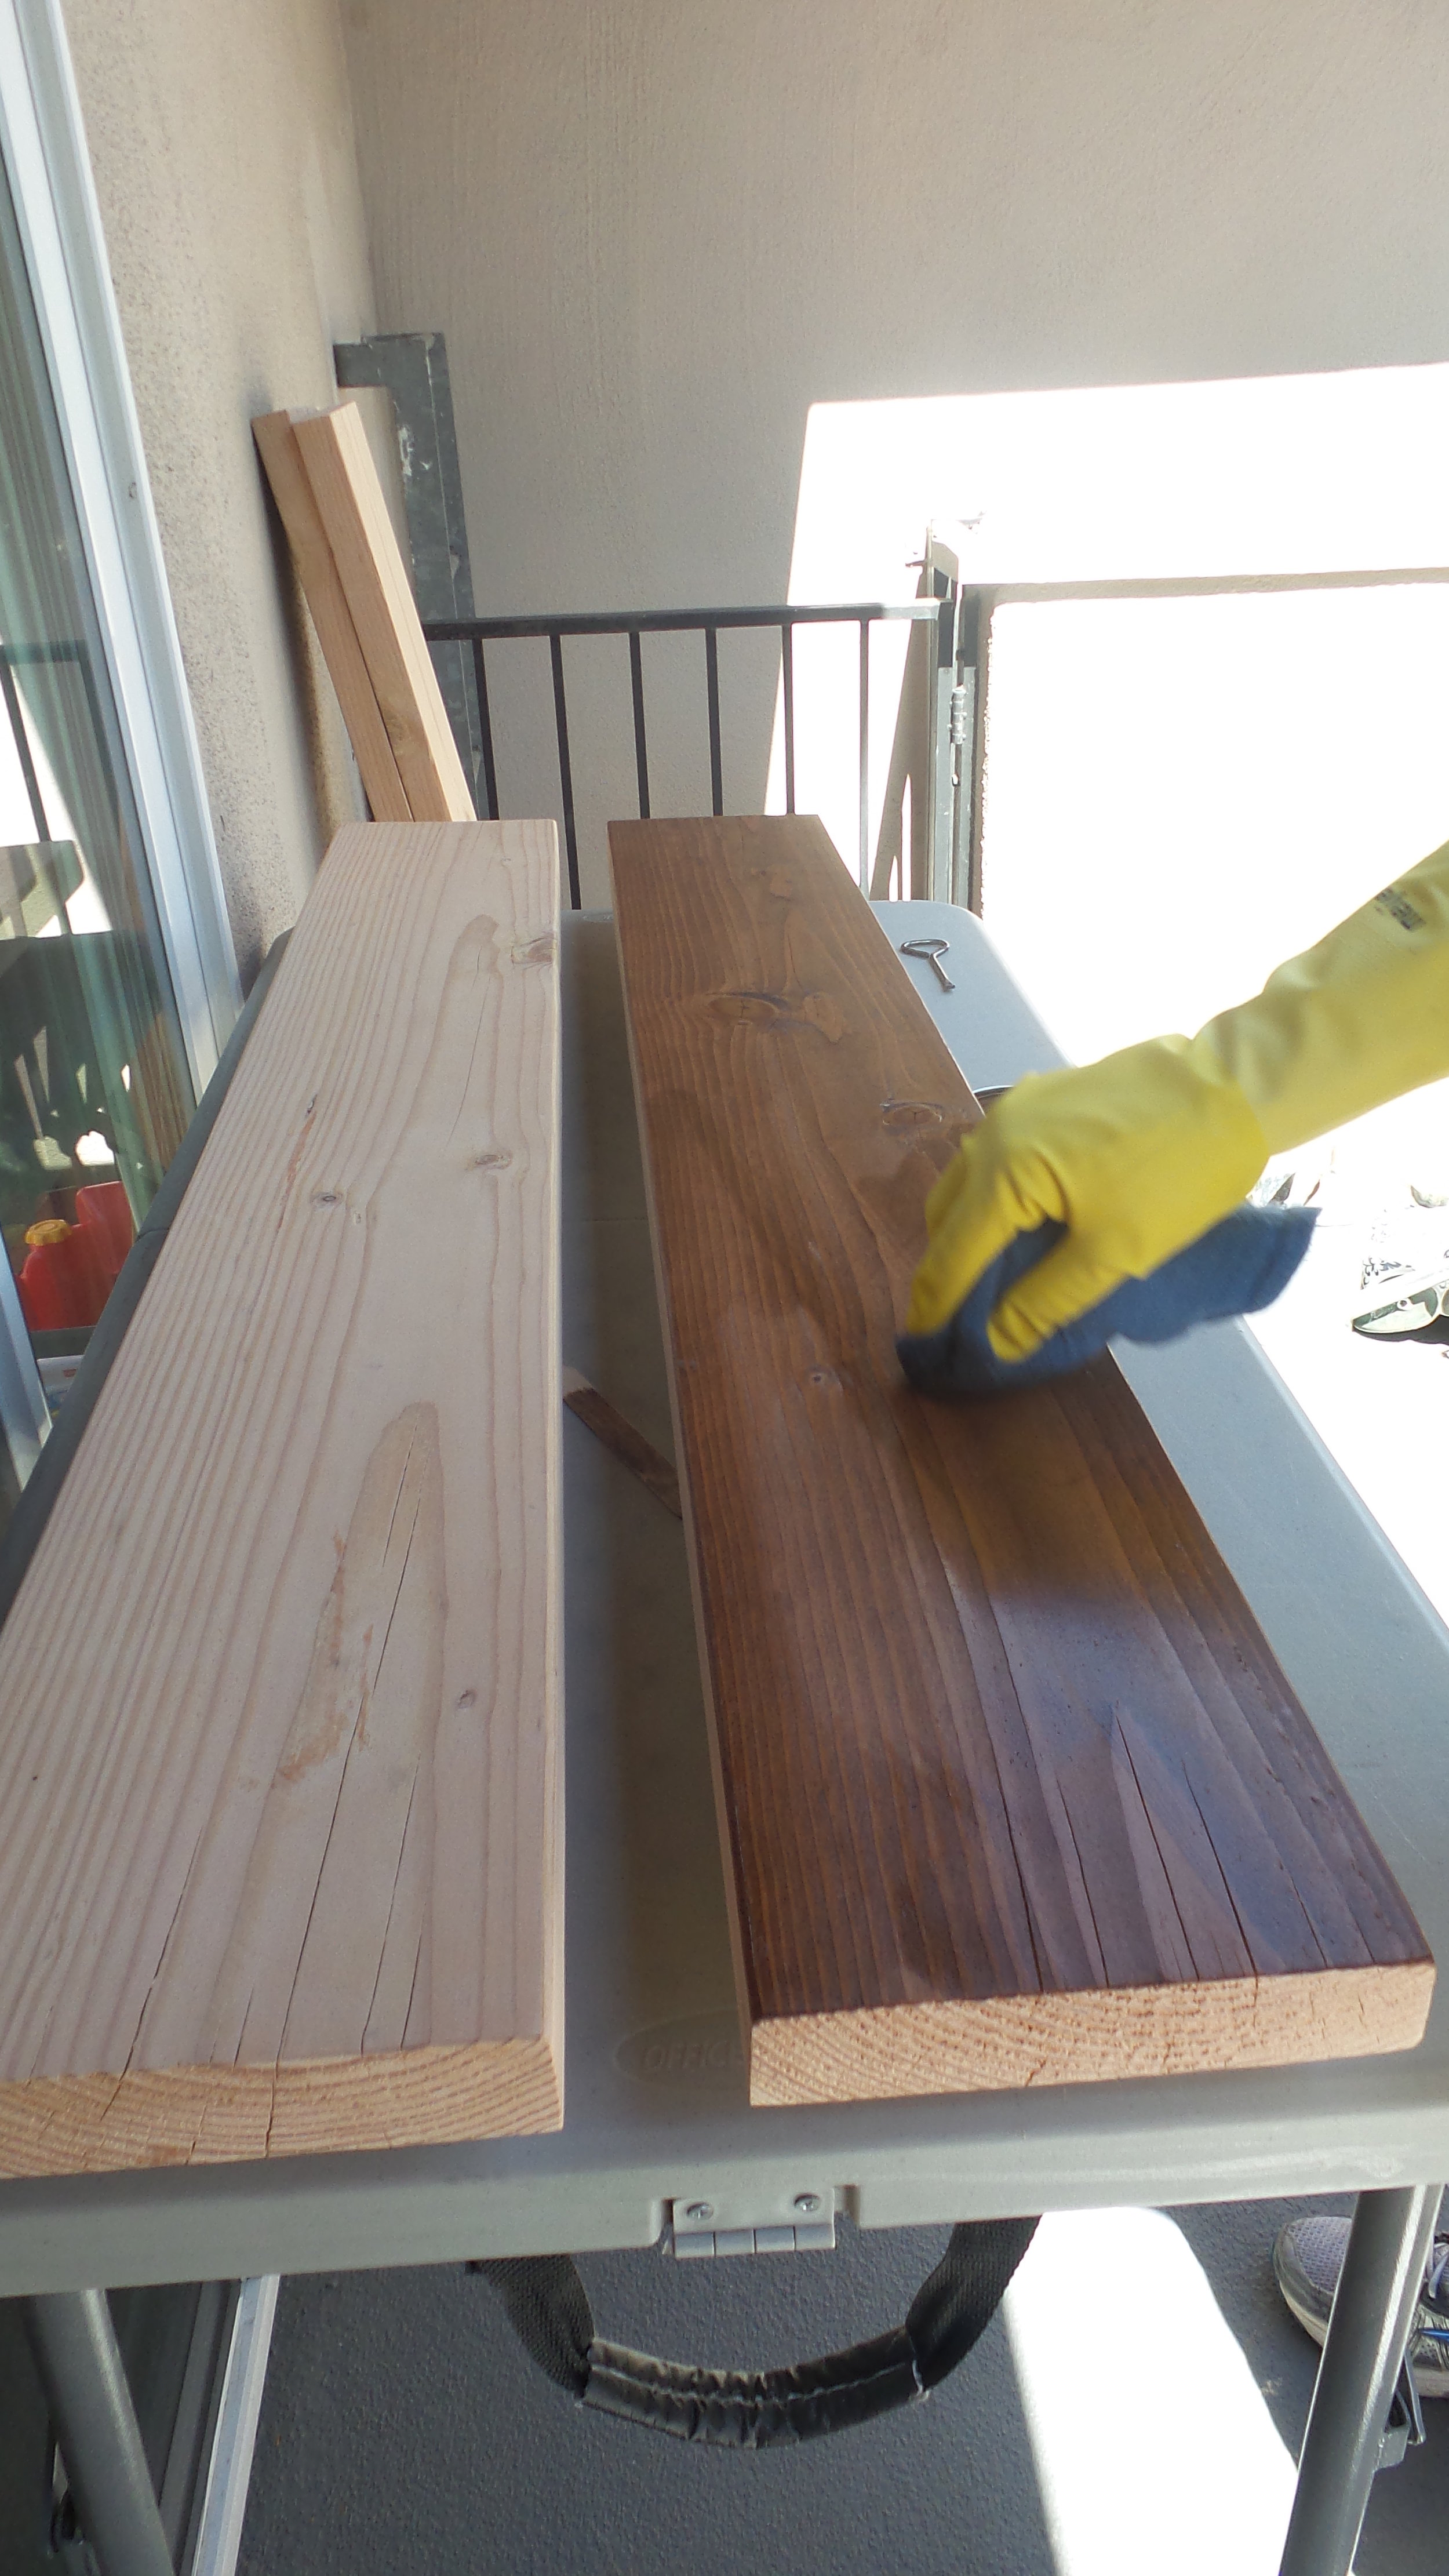
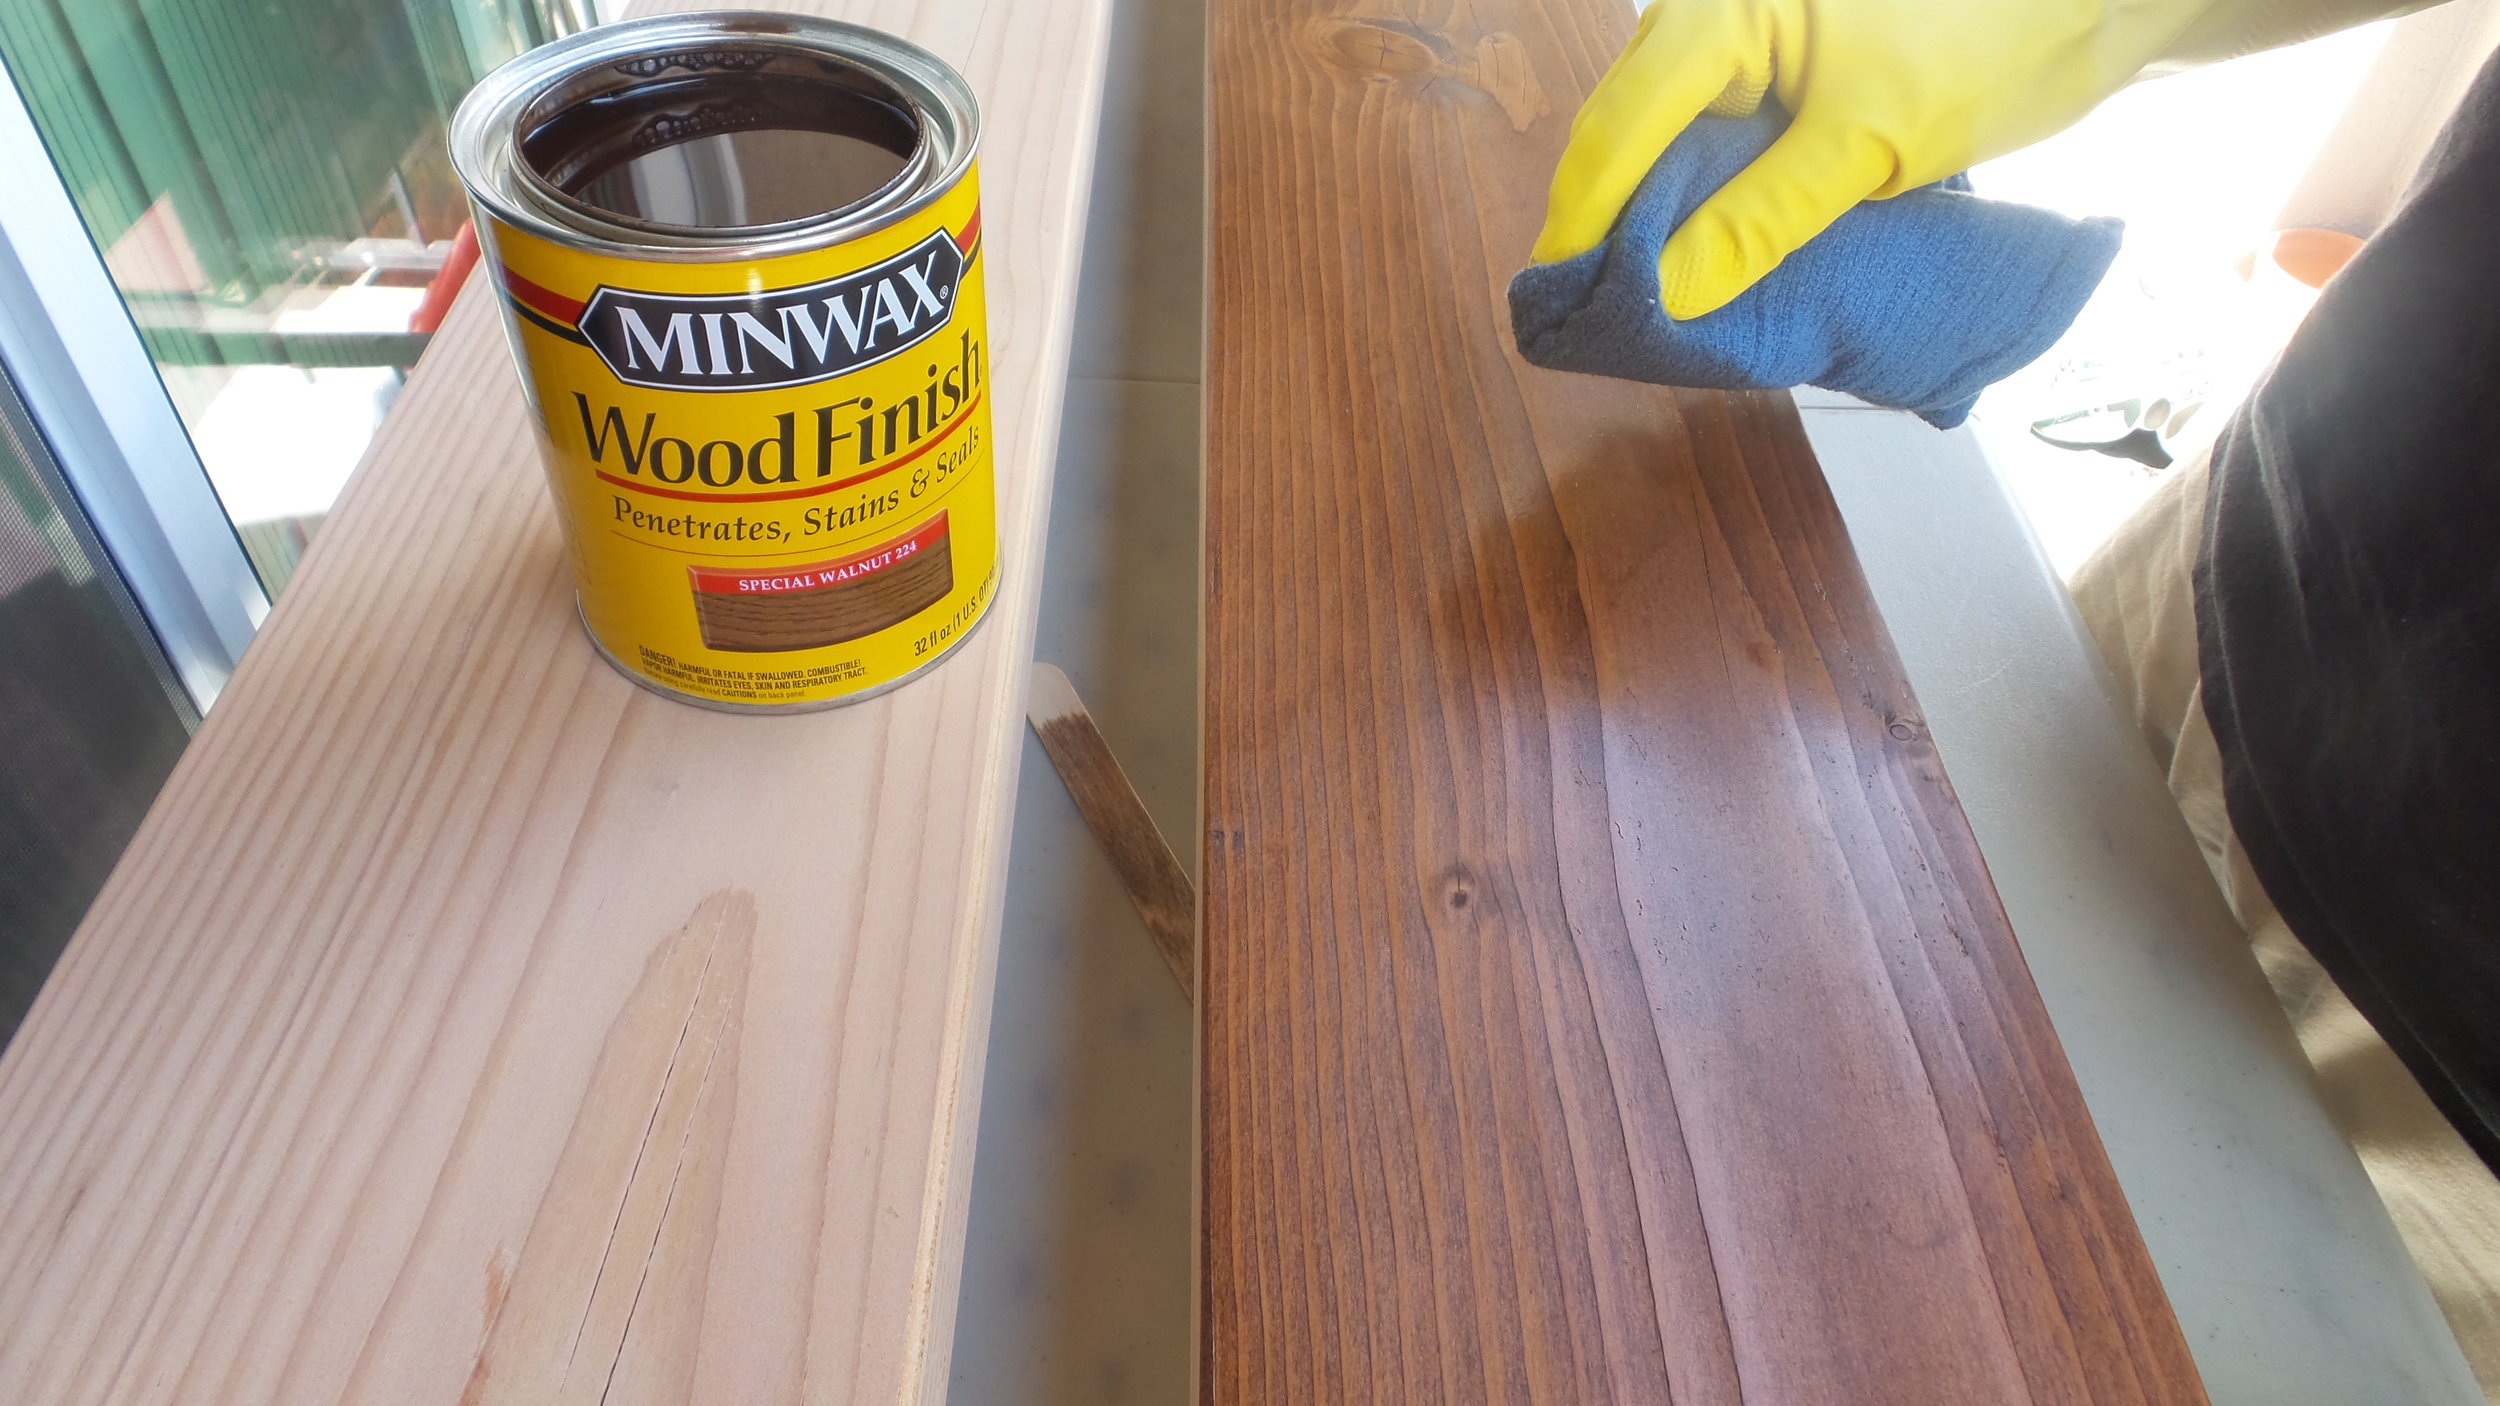
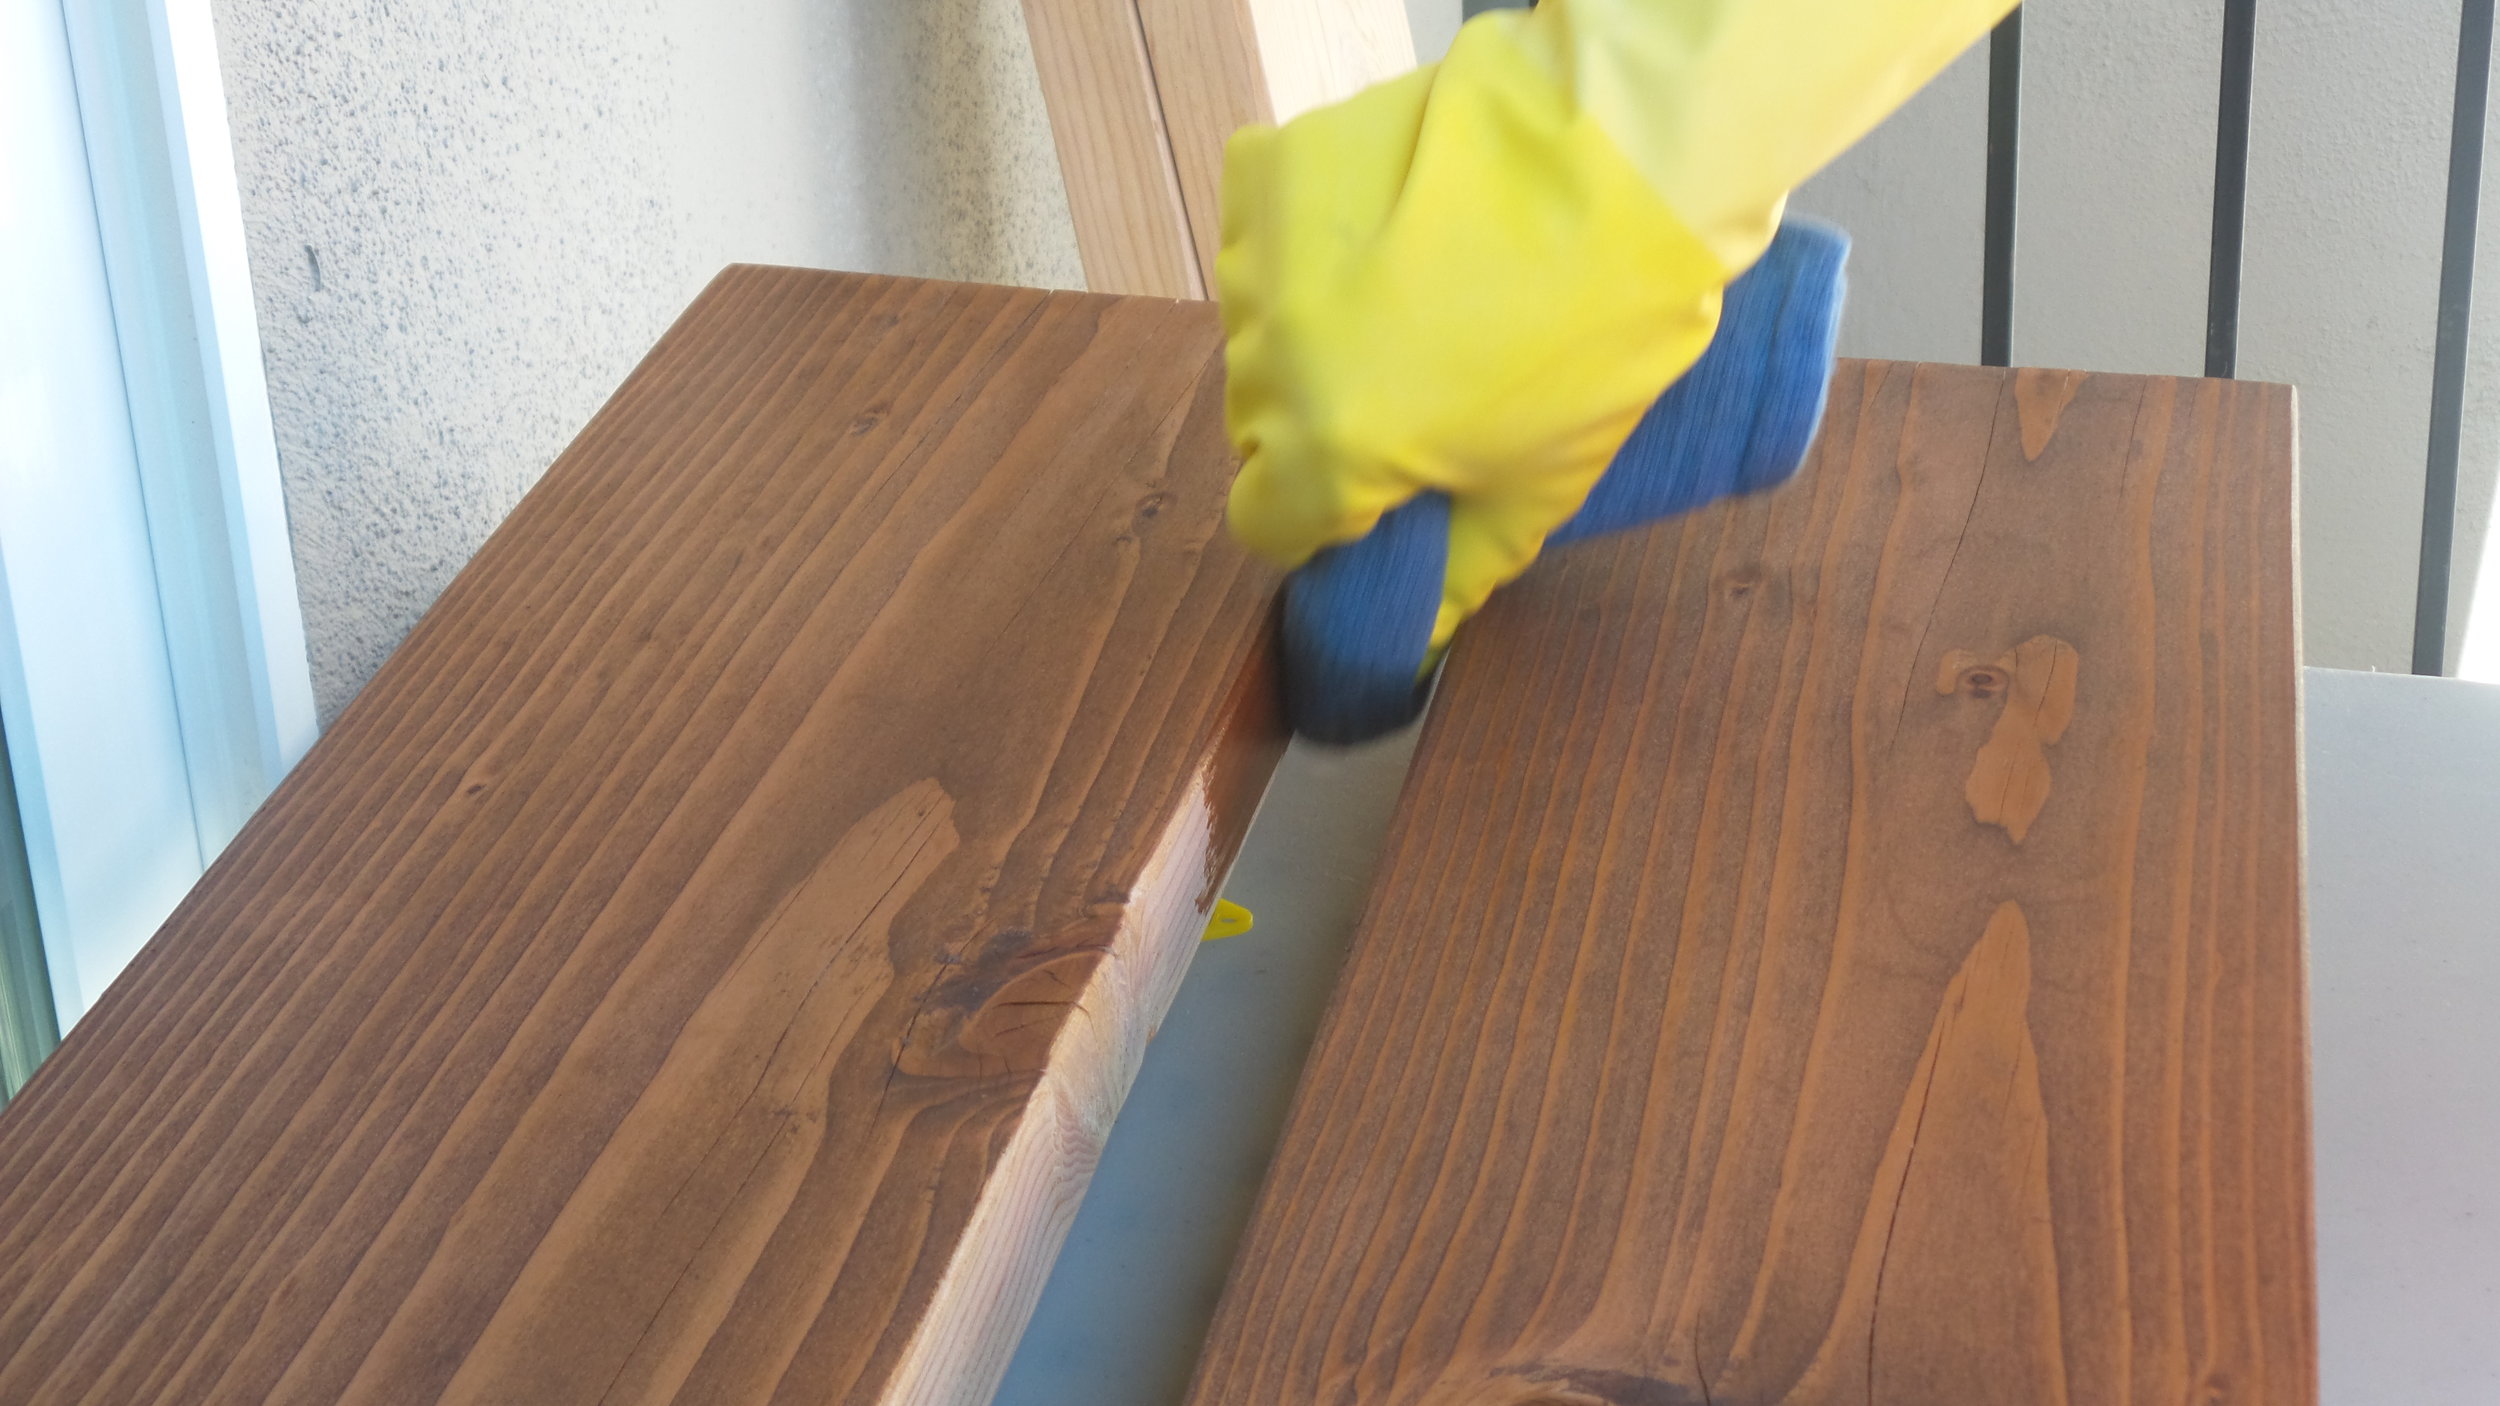

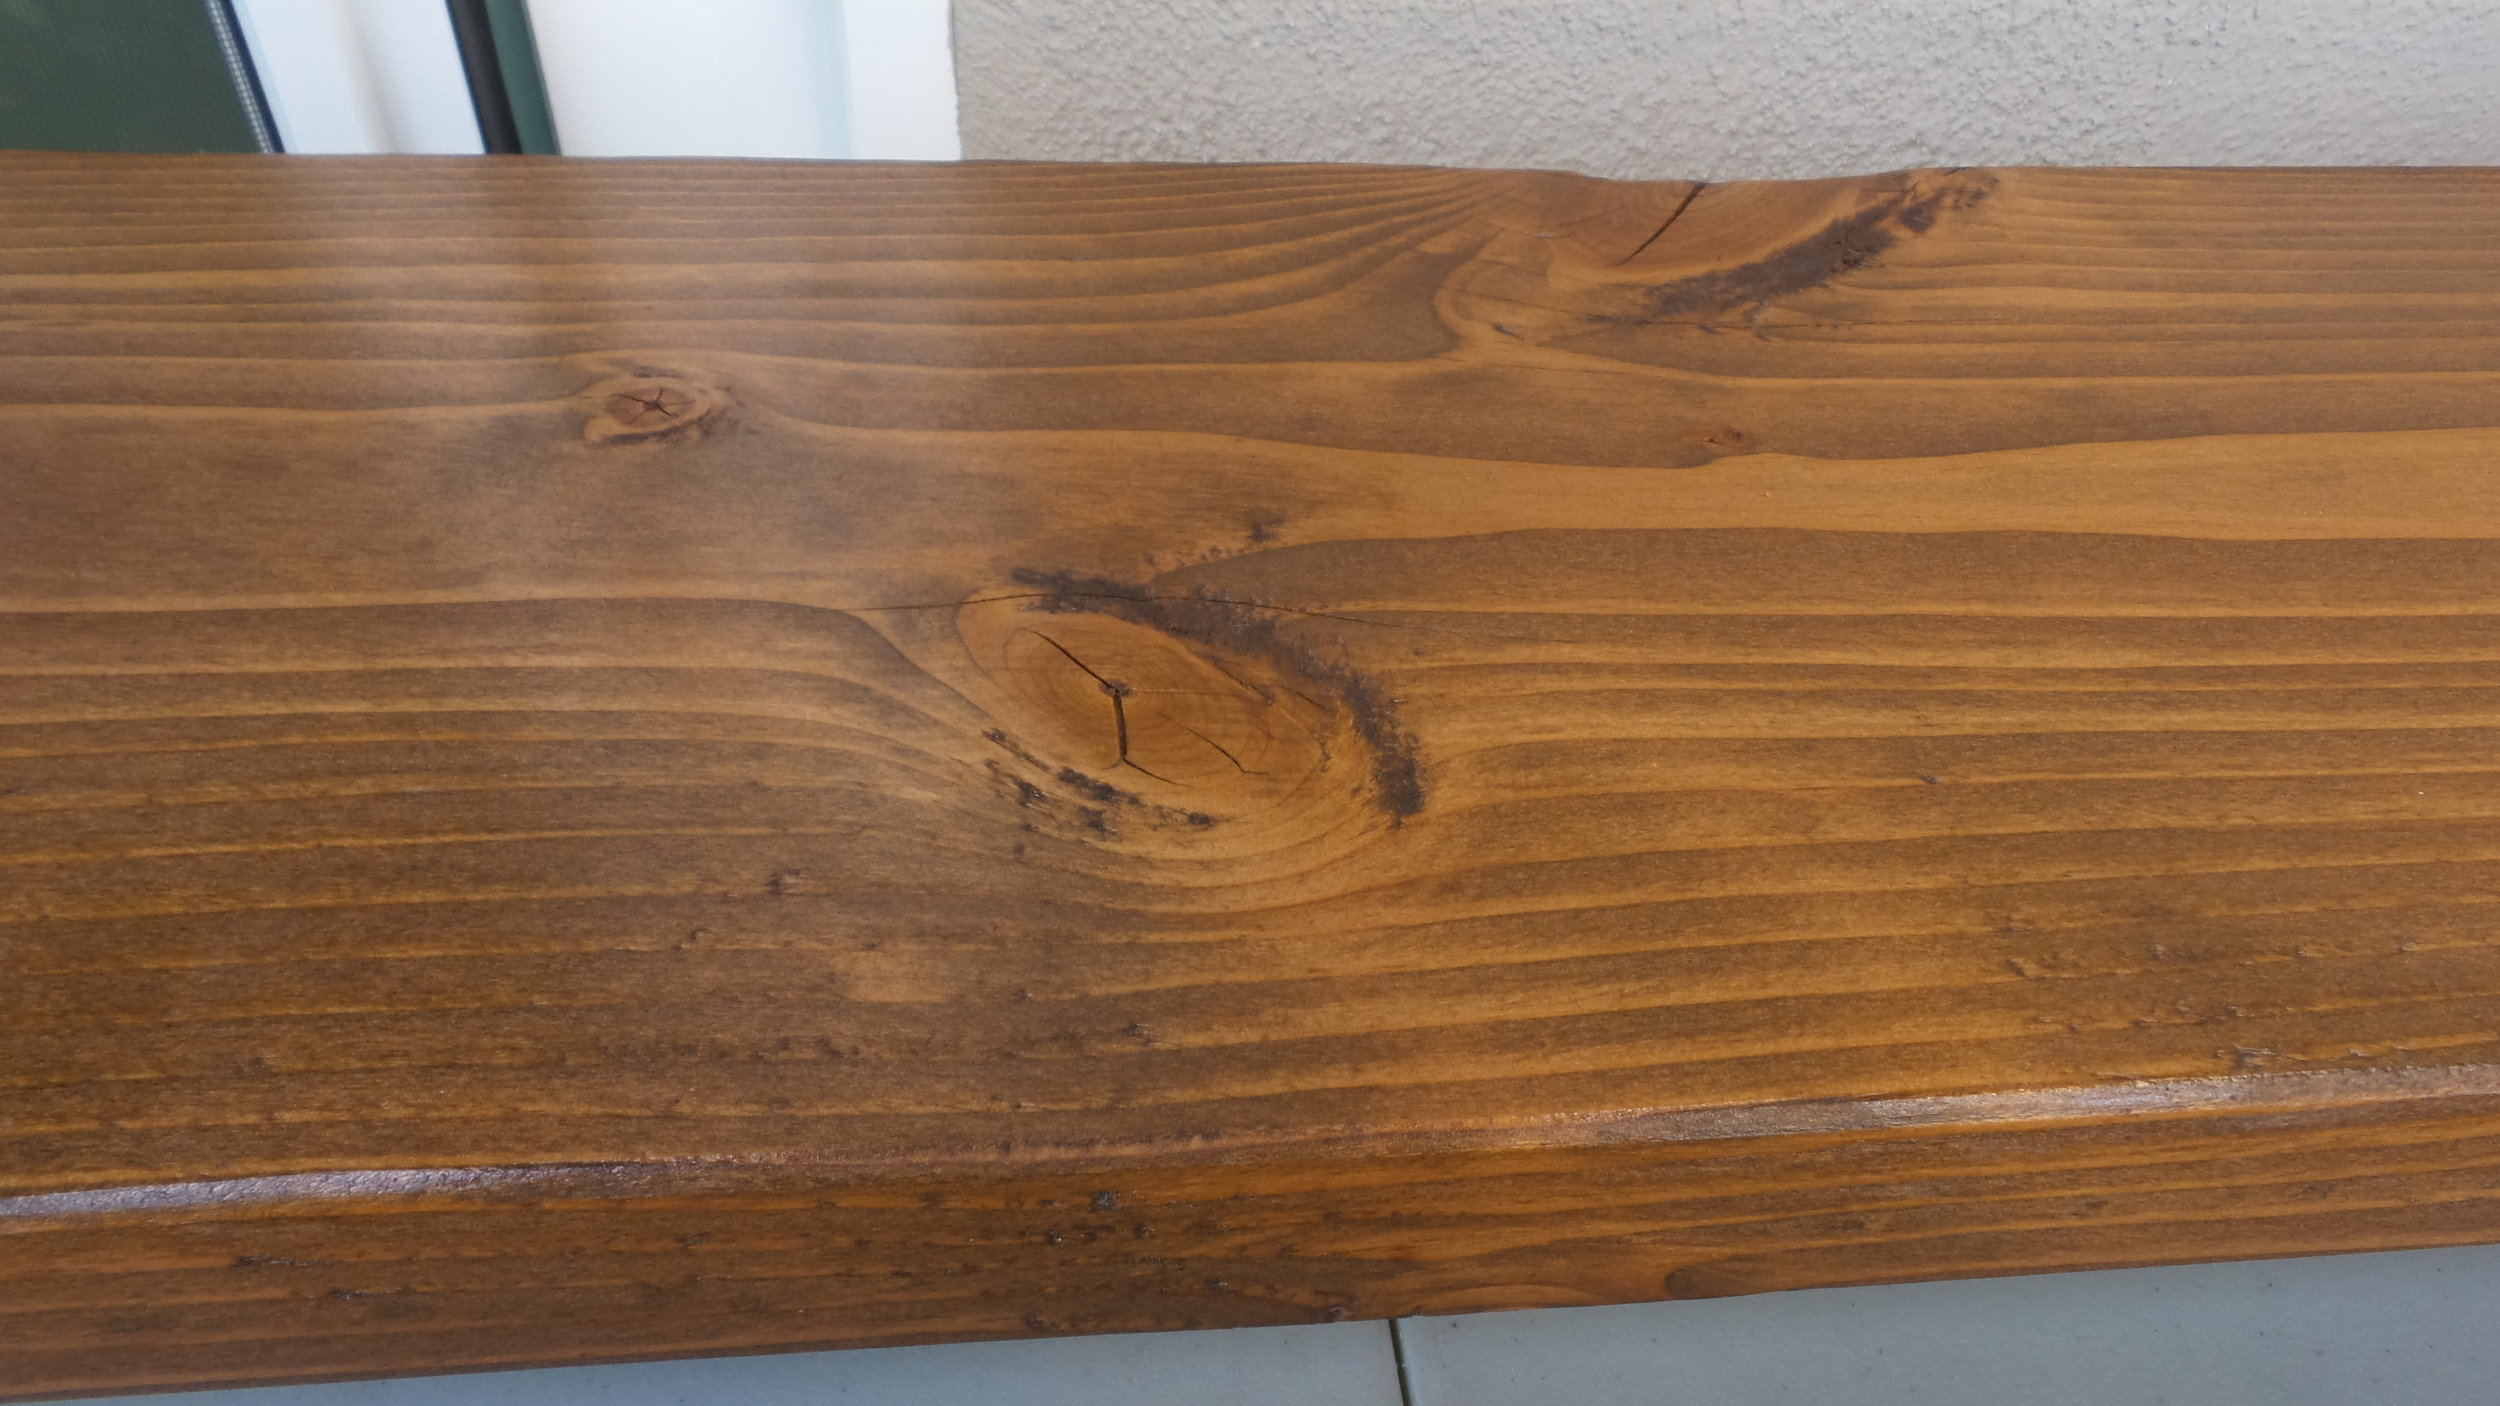
I loved how the grain and the knots really stood out once I applied the stain. There were some imperfections on some of the edges, but I think it added a bit of character and charm that you wouldn't get from a store bought shelf.
I let the stain dry overnight in order to make sure it was fully dry and to see how I liked the color once totally set. We used painter's pyramids so I was able to flip the boards over in order to apply one coat on all sides and didn't have to wait for one side to dry.
Beware of sap!
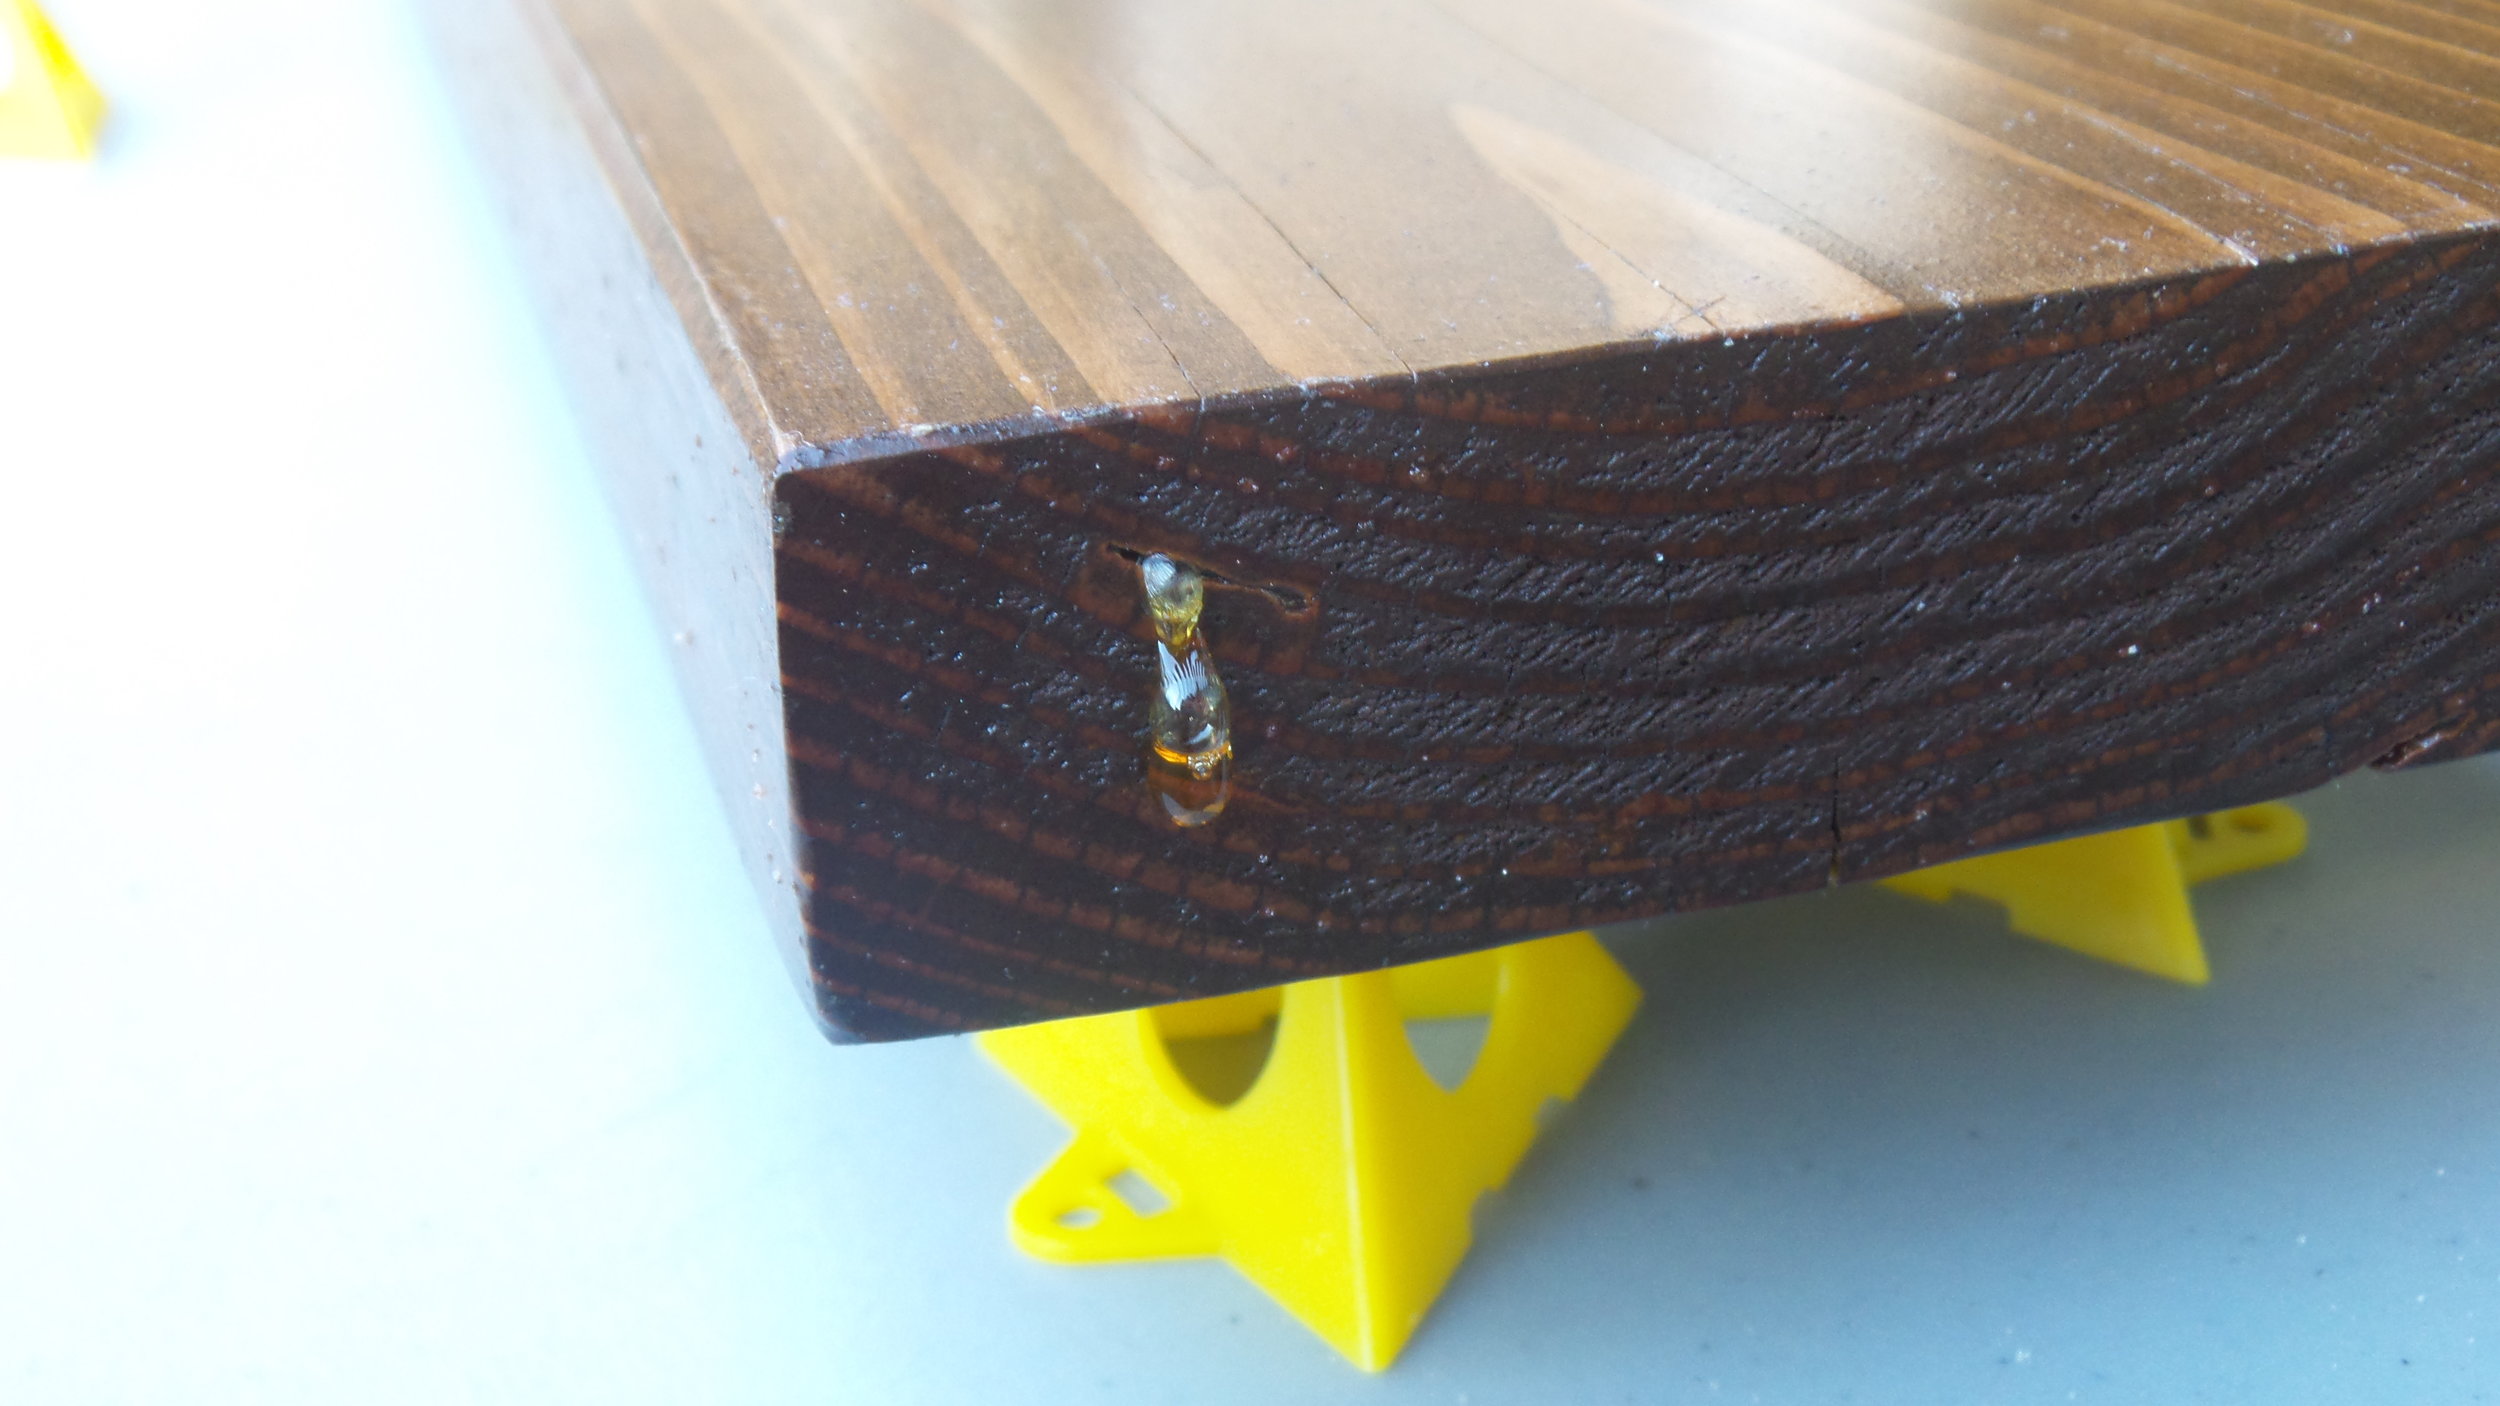
When I came out the next day I noticed sap was leaking out on the edges. After a quick Google search it seems like it may have been caused by being in the direct sunlight. If you can do it in a garage or somewhere where the boards won't get direct sunlight for long periods of time. In order to fix the problem, I just scraped the sap off with a puddy knife and went on my merry way. I tend to make it up as I go along, so I'm sure that wasn't the proper way, but it worked! Once I added the polyurethane I didn't see any more sap.
Next, it's time to apply the poly. I was so nervous about this part because I had never used it before and didn't want to mess up my beautiful shelves.
I used a brush to apply the polyurethane and tried to be as careful as possible so as to avoid making bubbles. I applied two coats of poly to all sides of the boards with a 24 hr dry time in between. I used the painter's pyramids again and I could see small indentations after it dried where they had been, but they were so small I didn't mind.
Look at how gorgeous the wood looked after two coats of poly!
Once all the boards were completely dry it was time to hang them up. Steve attached our brackets to the boards first and then used anchors and screws to attach them to the walls. The final result was well worth all the time and effort.
![IMG_8442[1].JPG](https://images.squarespace-cdn.com/content/v1/5522f983e4b0b2e878096910/1505456880251-JBJOUWPA7FKIO6XBQFRF/IMG_8442%5B1%5D.JPG)
![IMG_8443[1].JPG](https://images.squarespace-cdn.com/content/v1/5522f983e4b0b2e878096910/1505456966415-KIHTDNDAV03XZOFA044C/IMG_8443%5B1%5D.JPG)
![IMG_8444[1].JPG](https://images.squarespace-cdn.com/content/v1/5522f983e4b0b2e878096910/1505457058457-OB3PYUNFS5R40ETM100K/IMG_8444%5B1%5D.JPG)
![IMG_9279[1].JPG](https://images.squarespace-cdn.com/content/v1/5522f983e4b0b2e878096910/1506061821899-VZEVPT52G3JE22X6CBWD/IMG_9279%5B1%5D.JPG)
Now, sit back and admire your gorgeous new shelves!