DIY Blanket Coat/Cape
I'm so excited to share this quick and easy DIY blanket coat/cape tutorial with you. I bought this beautiful plaid flannel last year and can't believe it took me so long to make this, especially since it only took about 30 minutes!
This is a great project for when you want to be crafty but don't have a ton of time. It's also perfect for the fall/winter season because it will keep you nice and warm. It literally feels like I'm all snuggled up in a comfy blanket when I wear it. And the best part is you only need 2 yards of fabric which means if you use a coupon it can cost as little as $8!
Here is what you will need:
![IMG_5313[2].JPG](https://images.squarespace-cdn.com/content/v1/5522f983e4b0b2e878096910/1512201636013-O8PDV6Z649RSDBDI6MZ5/IMG_5313%5B2%5D.JPG)
2 yard of flannel or similar weight fabric
scissors
measuring tape or ruler
pins
tailor's chalk or pen
sewing machine
serger (optional)

Lay your fabric out on a large surface.
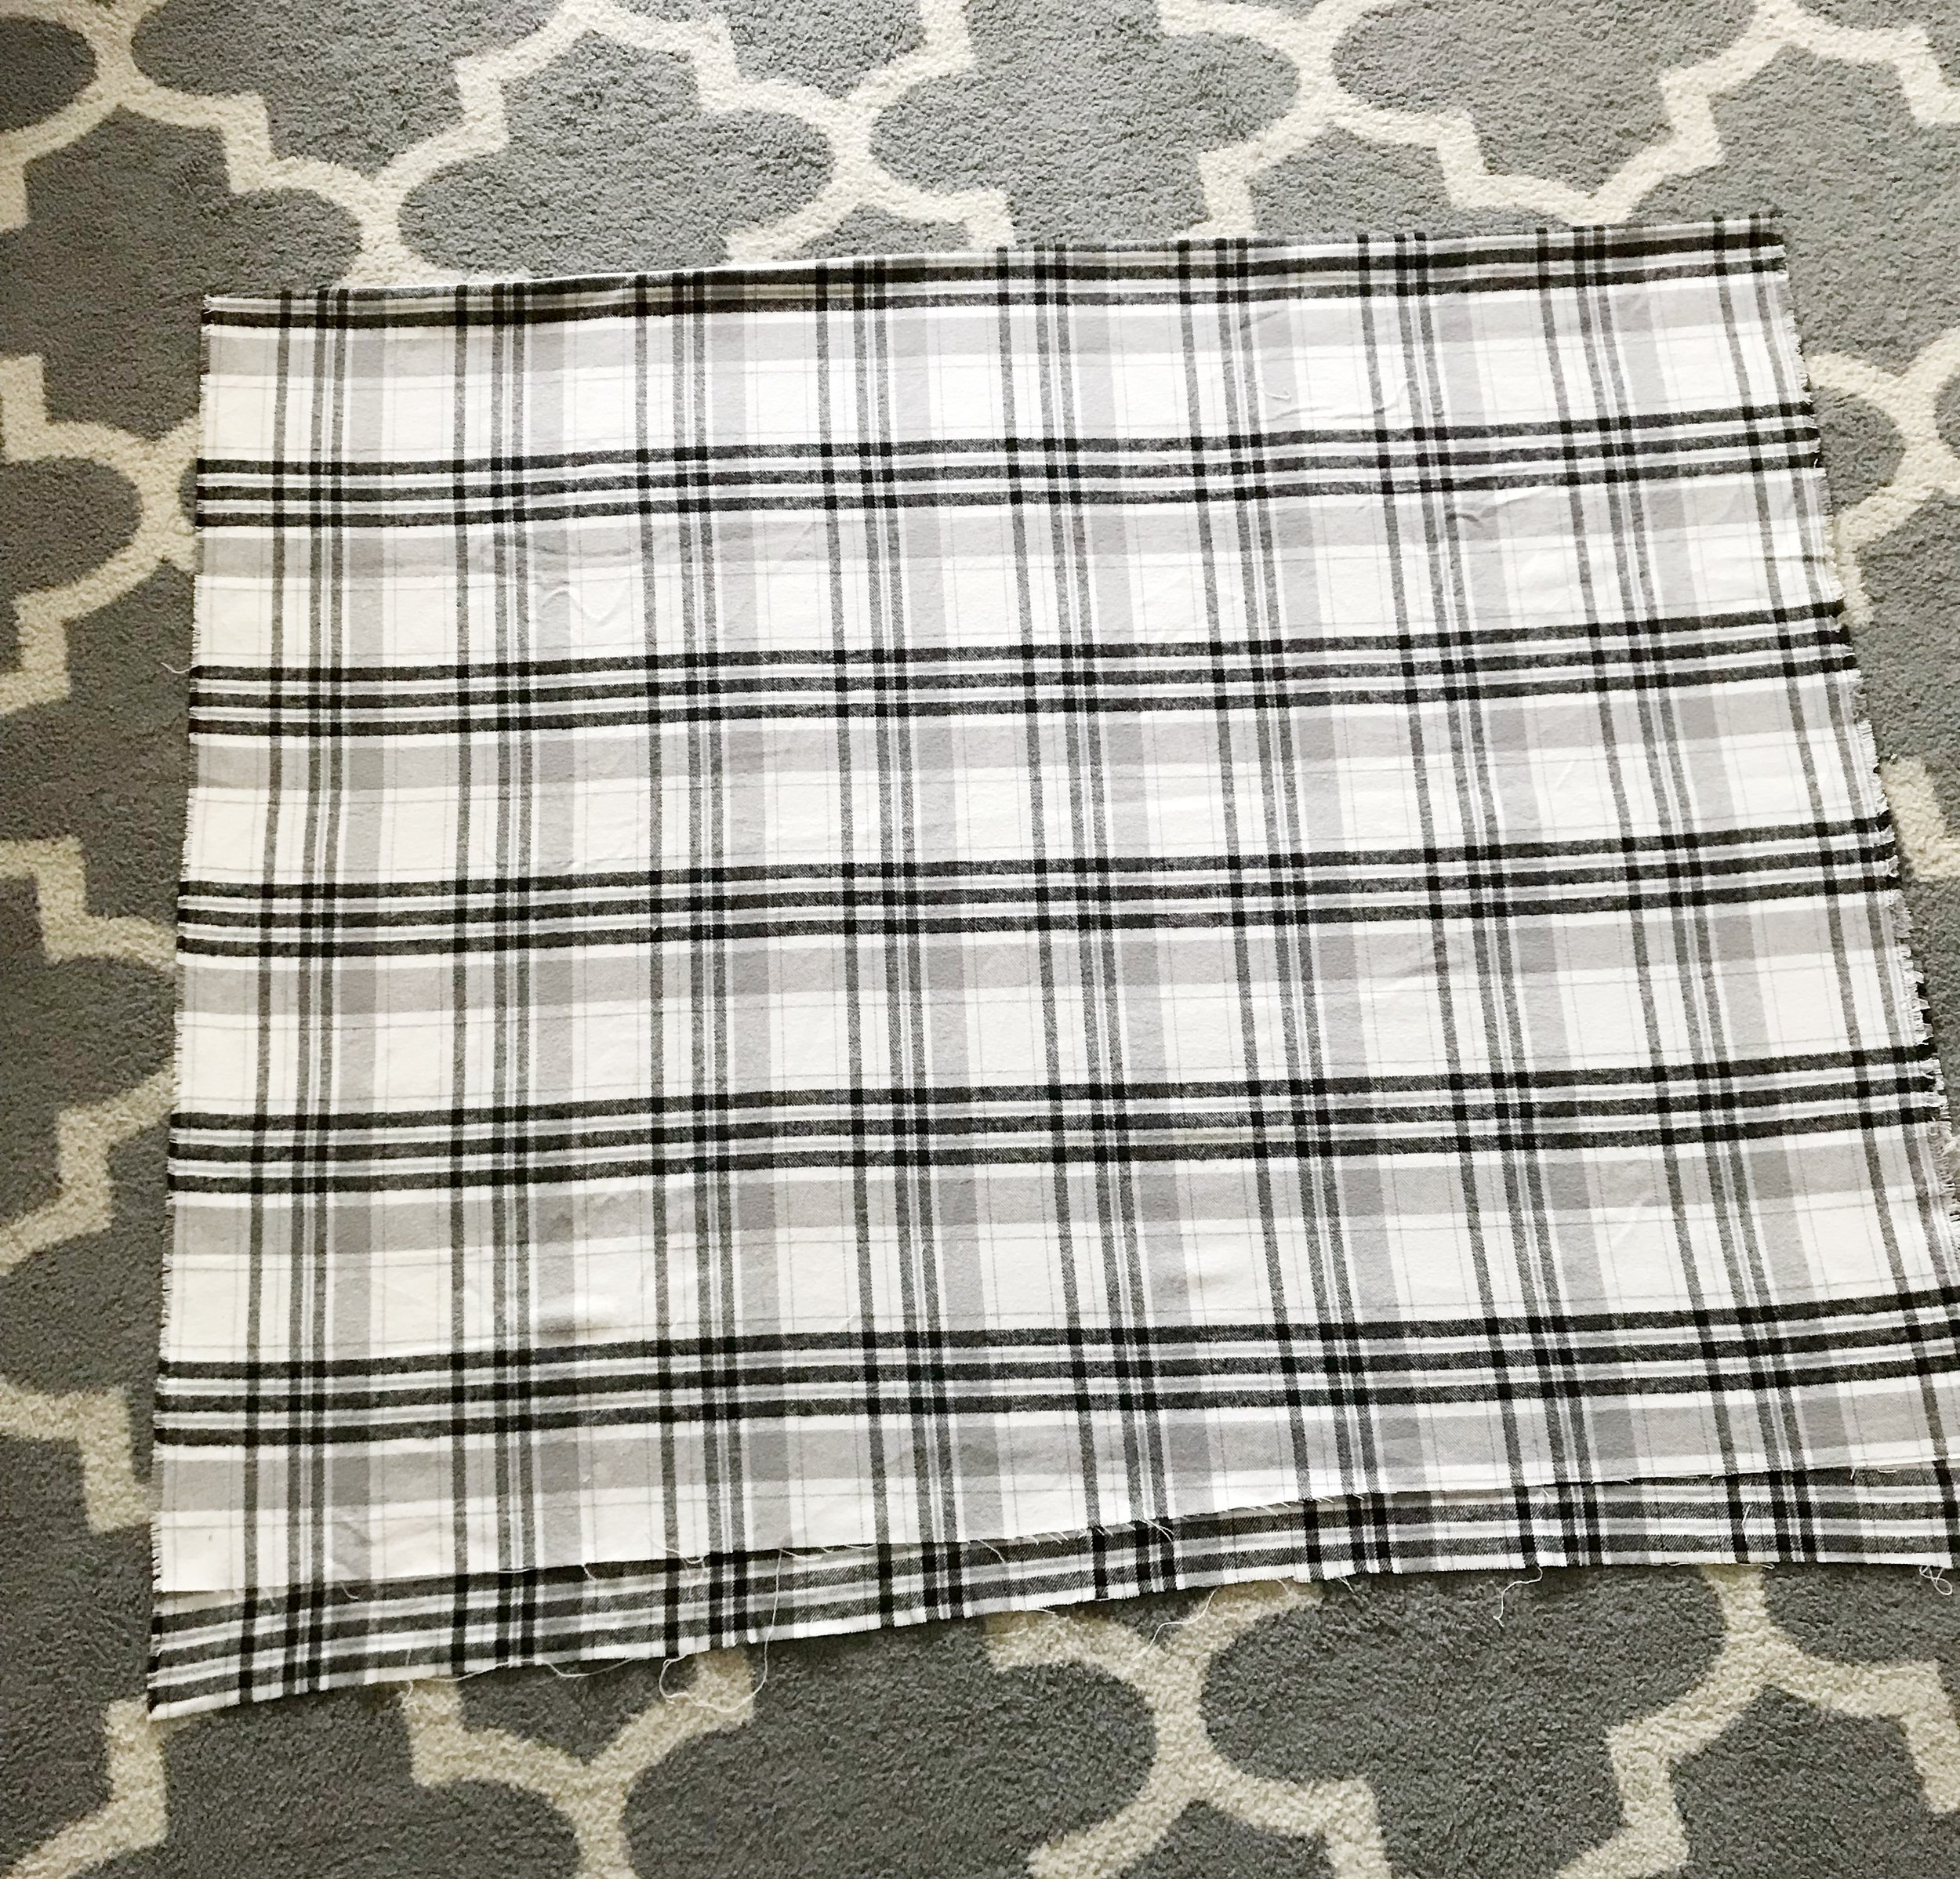
Fold your fabric in half. I wanted my cape to be shorter in the front and longer in the back so I folded mine with the top layer a few inches higher.
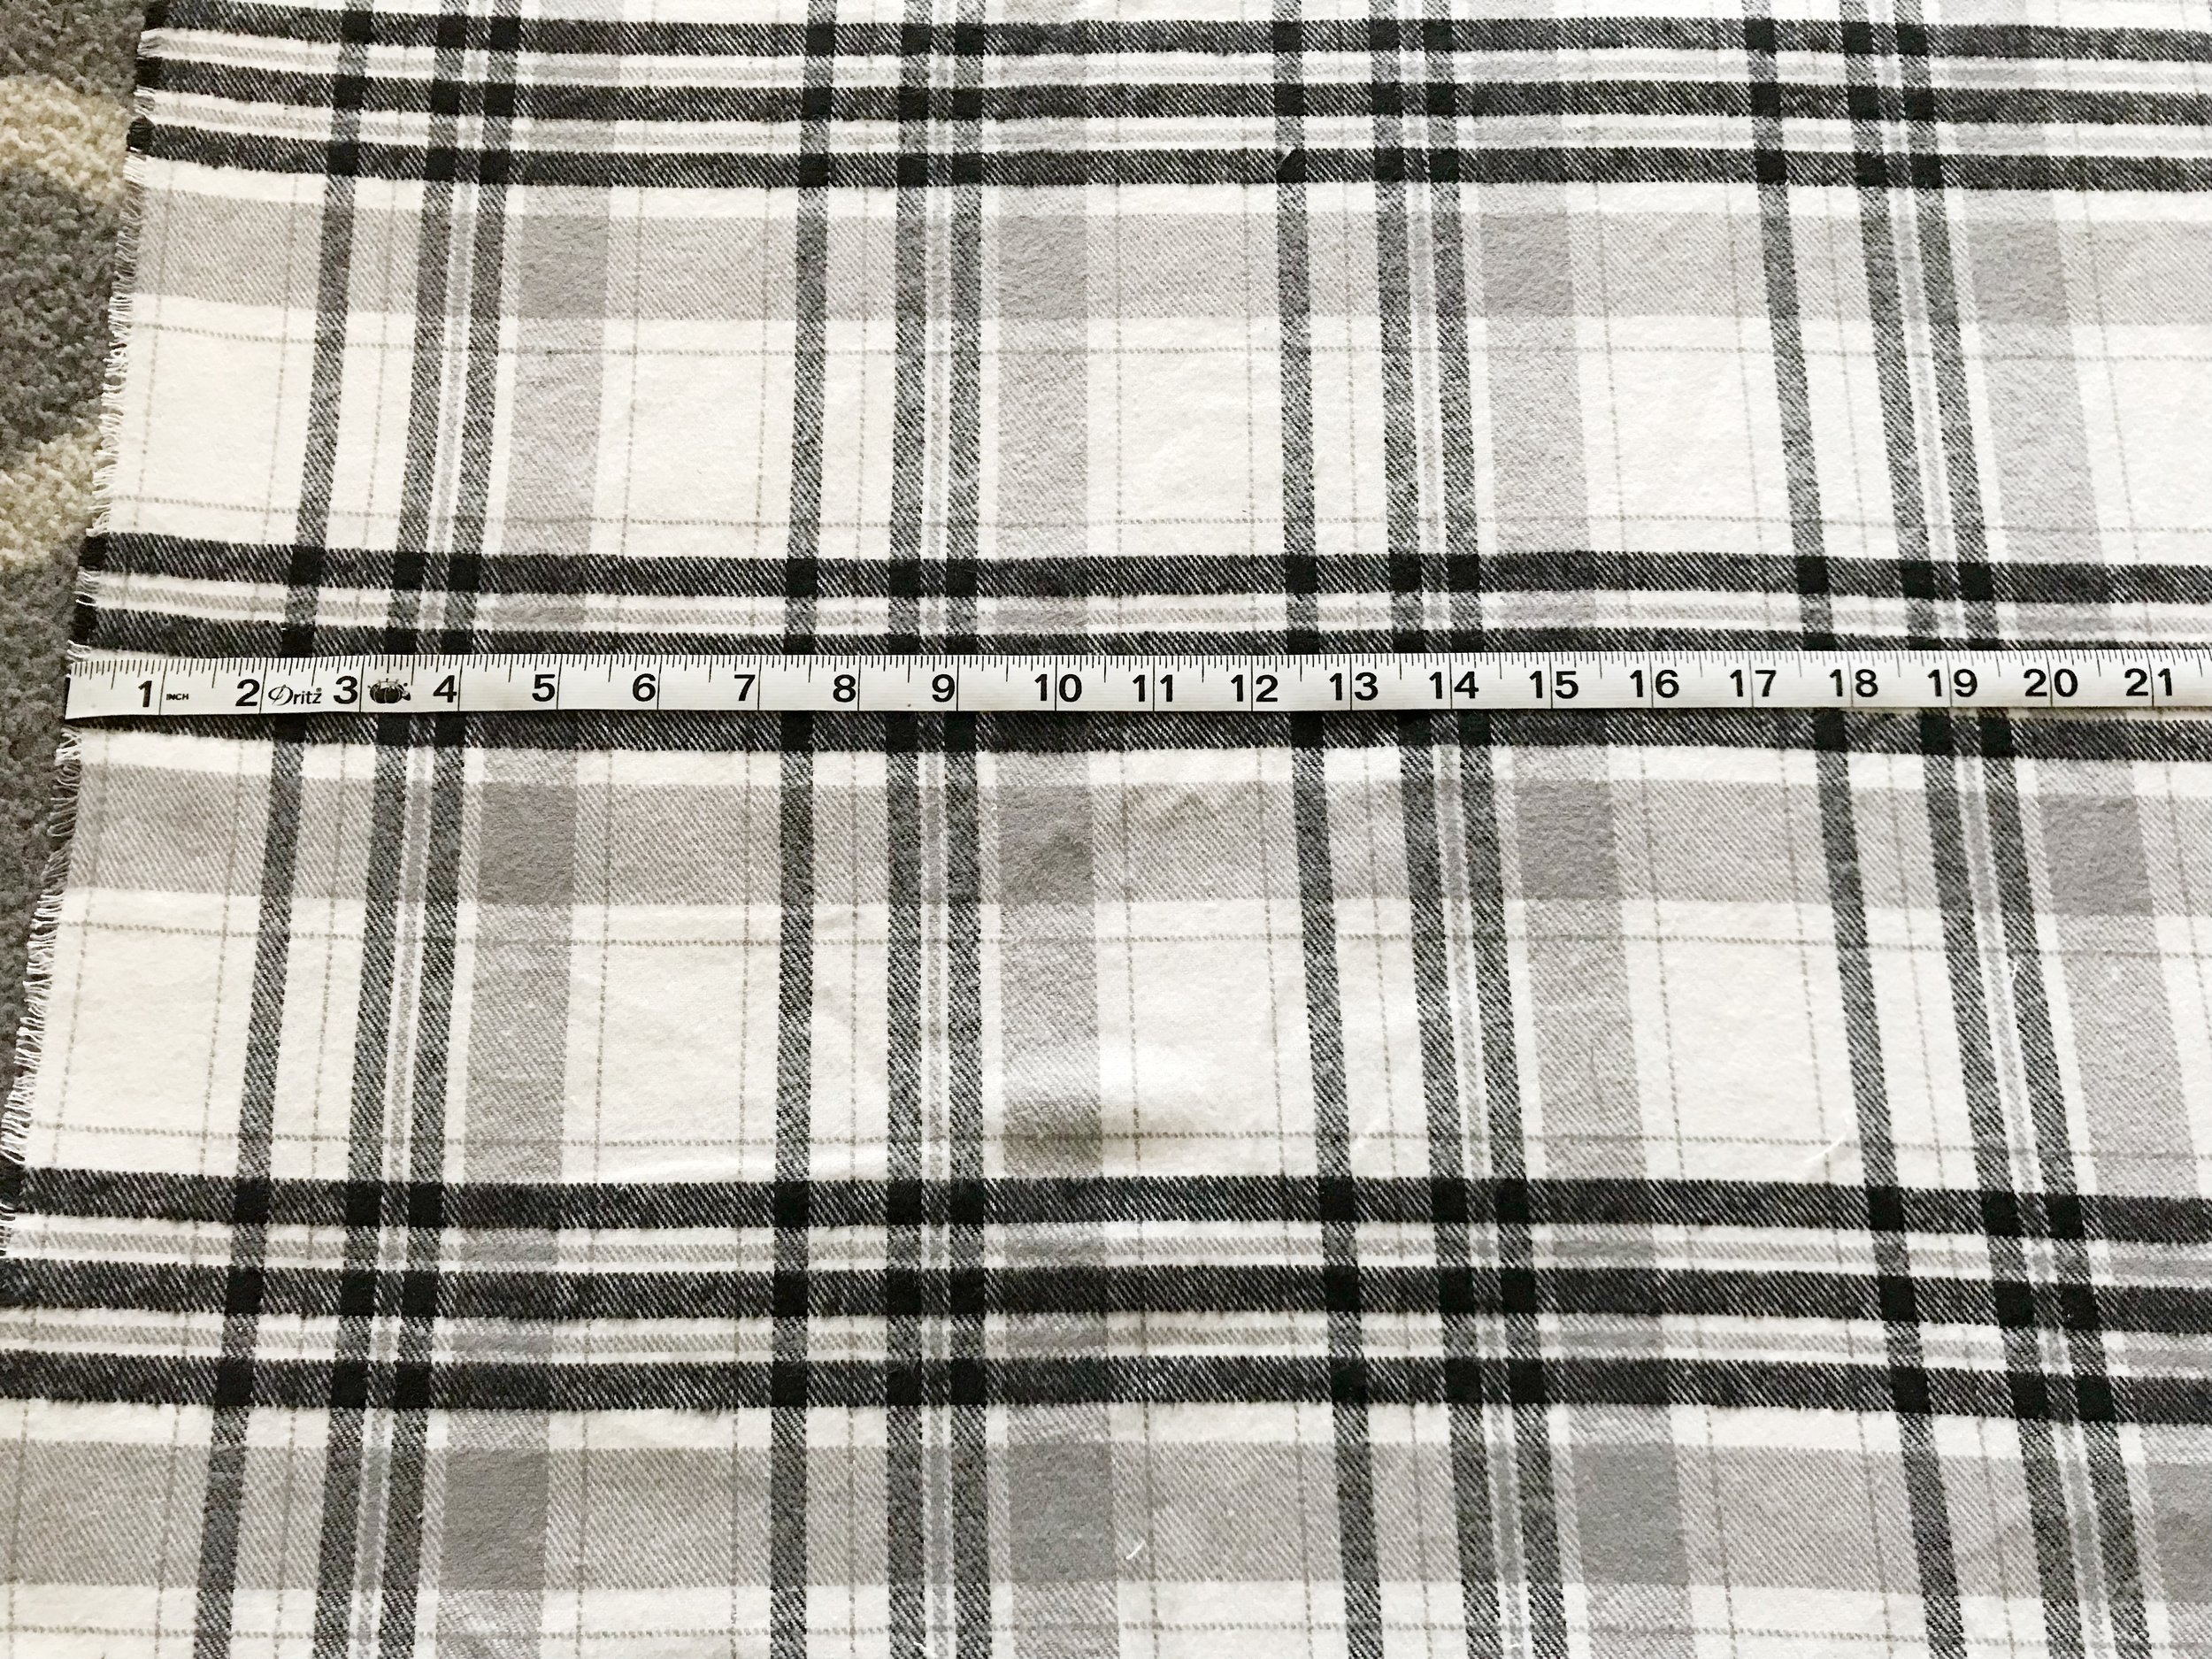
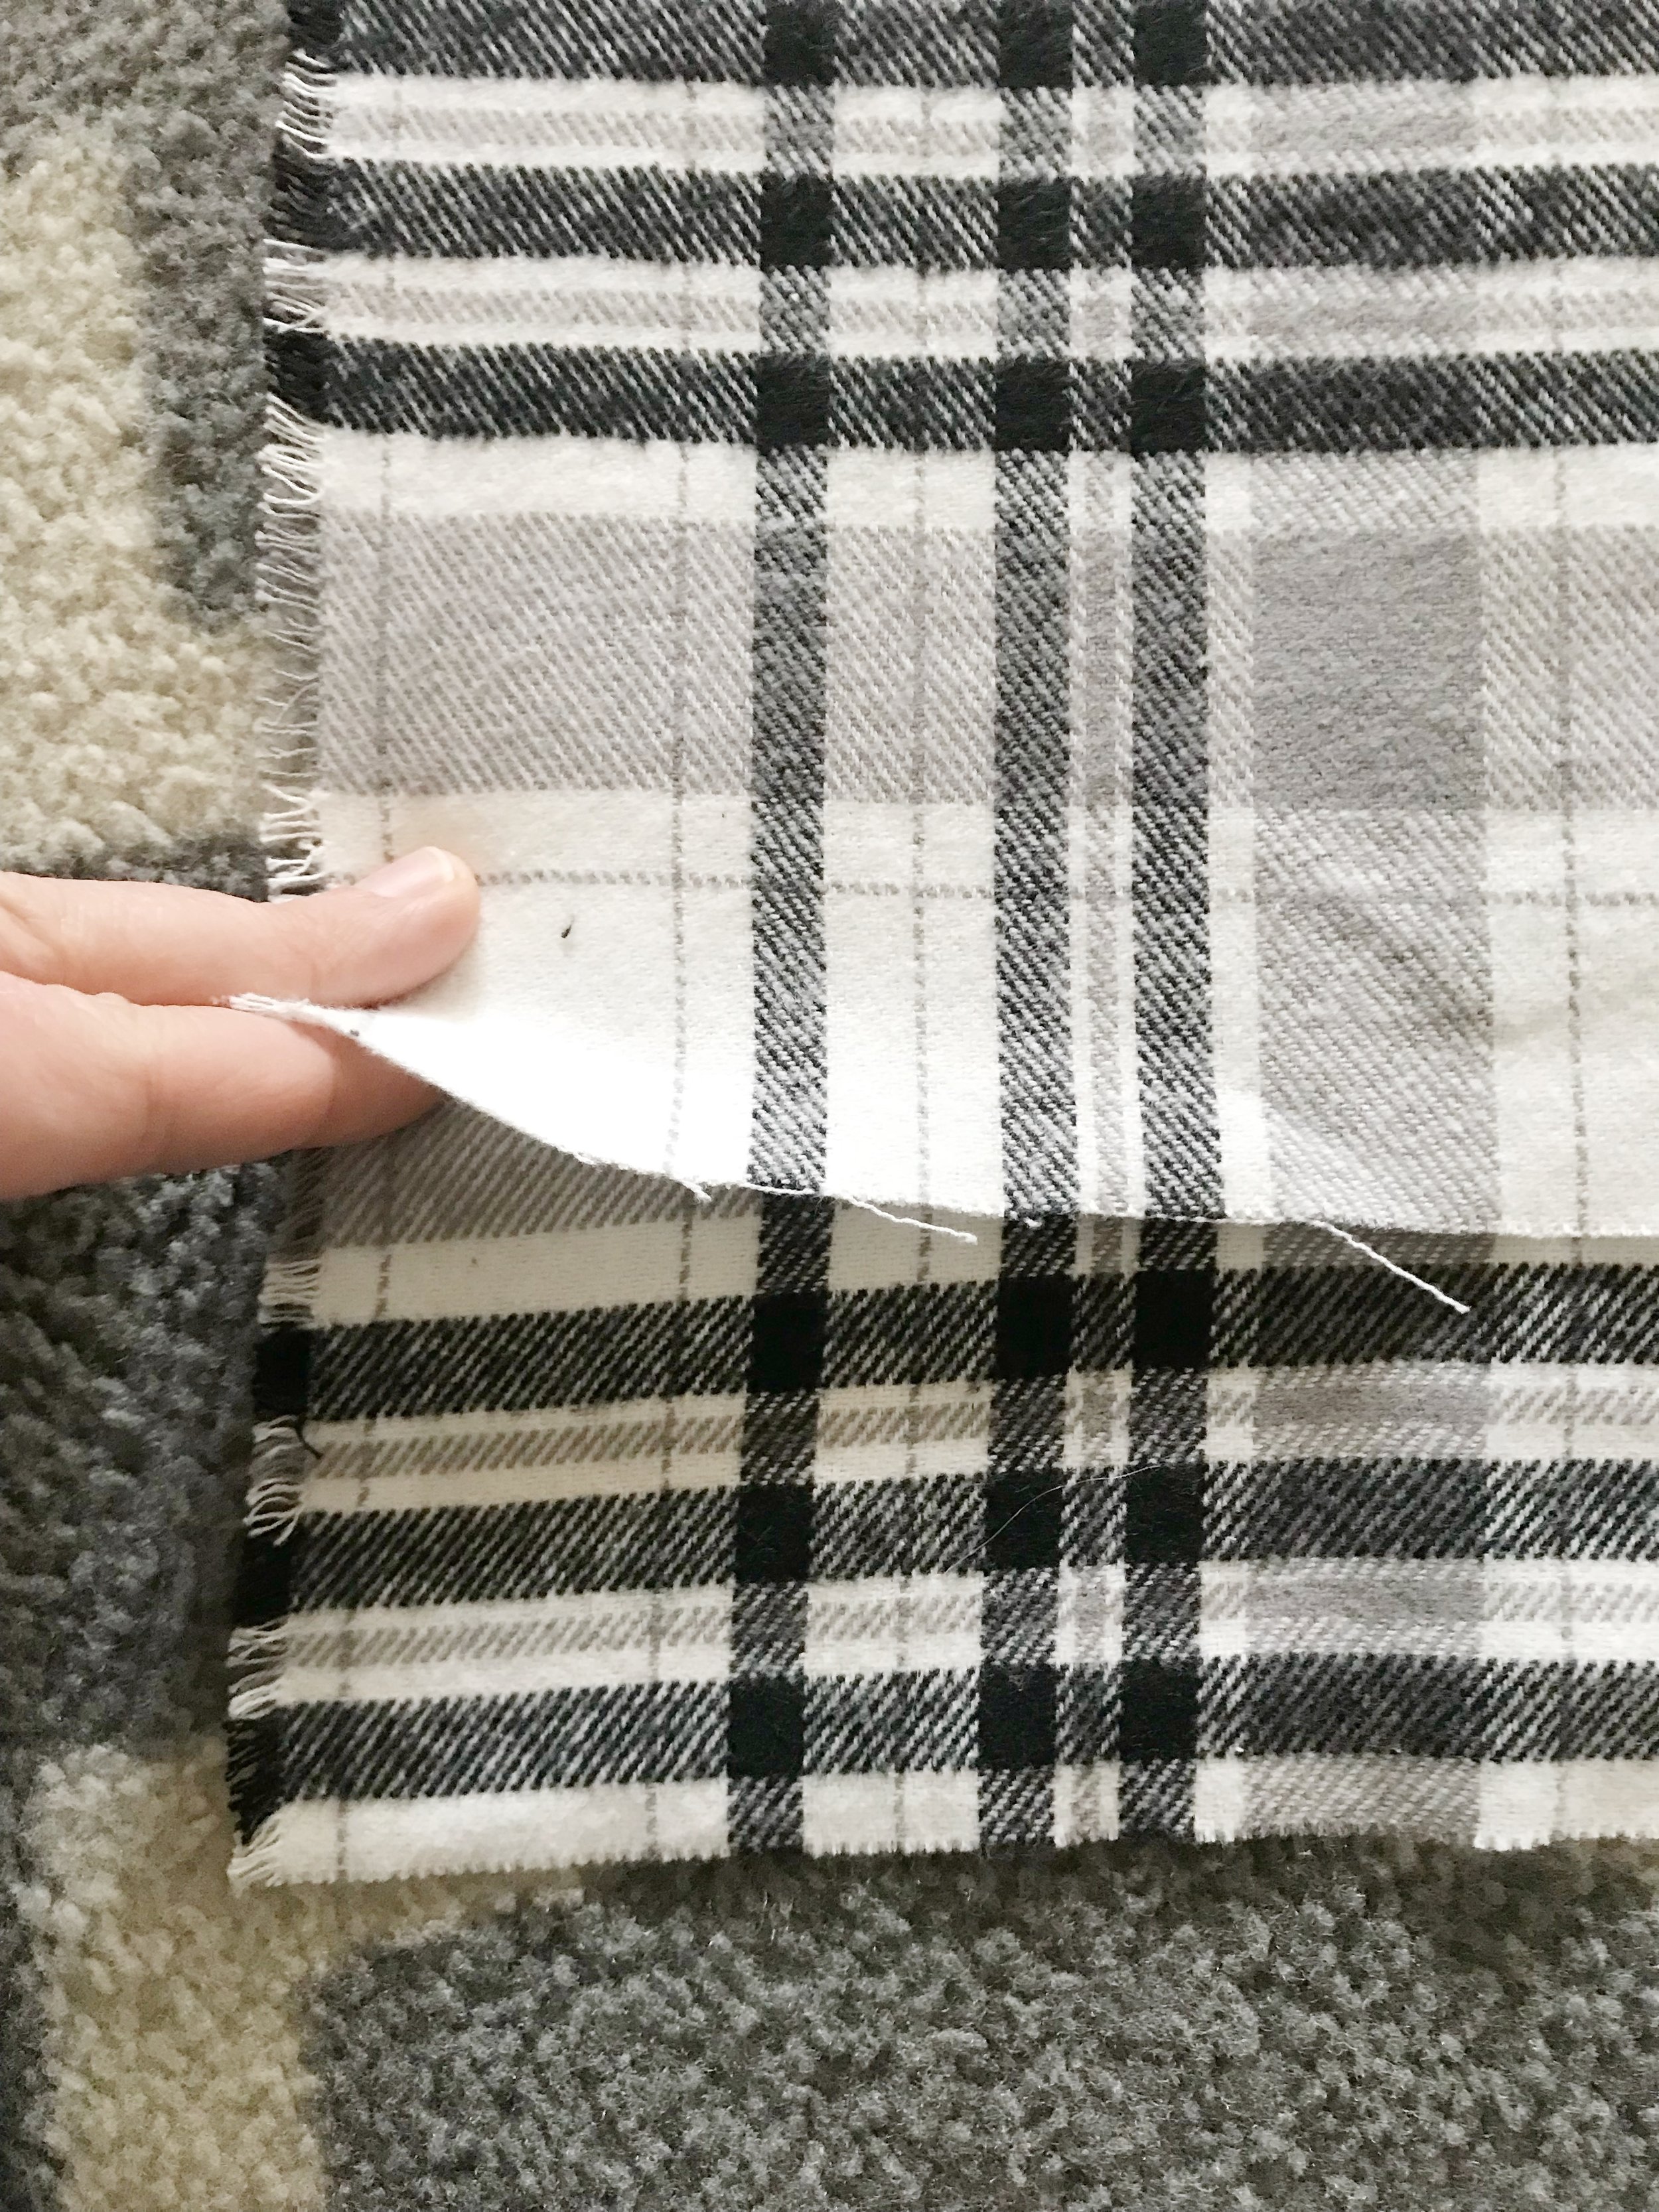
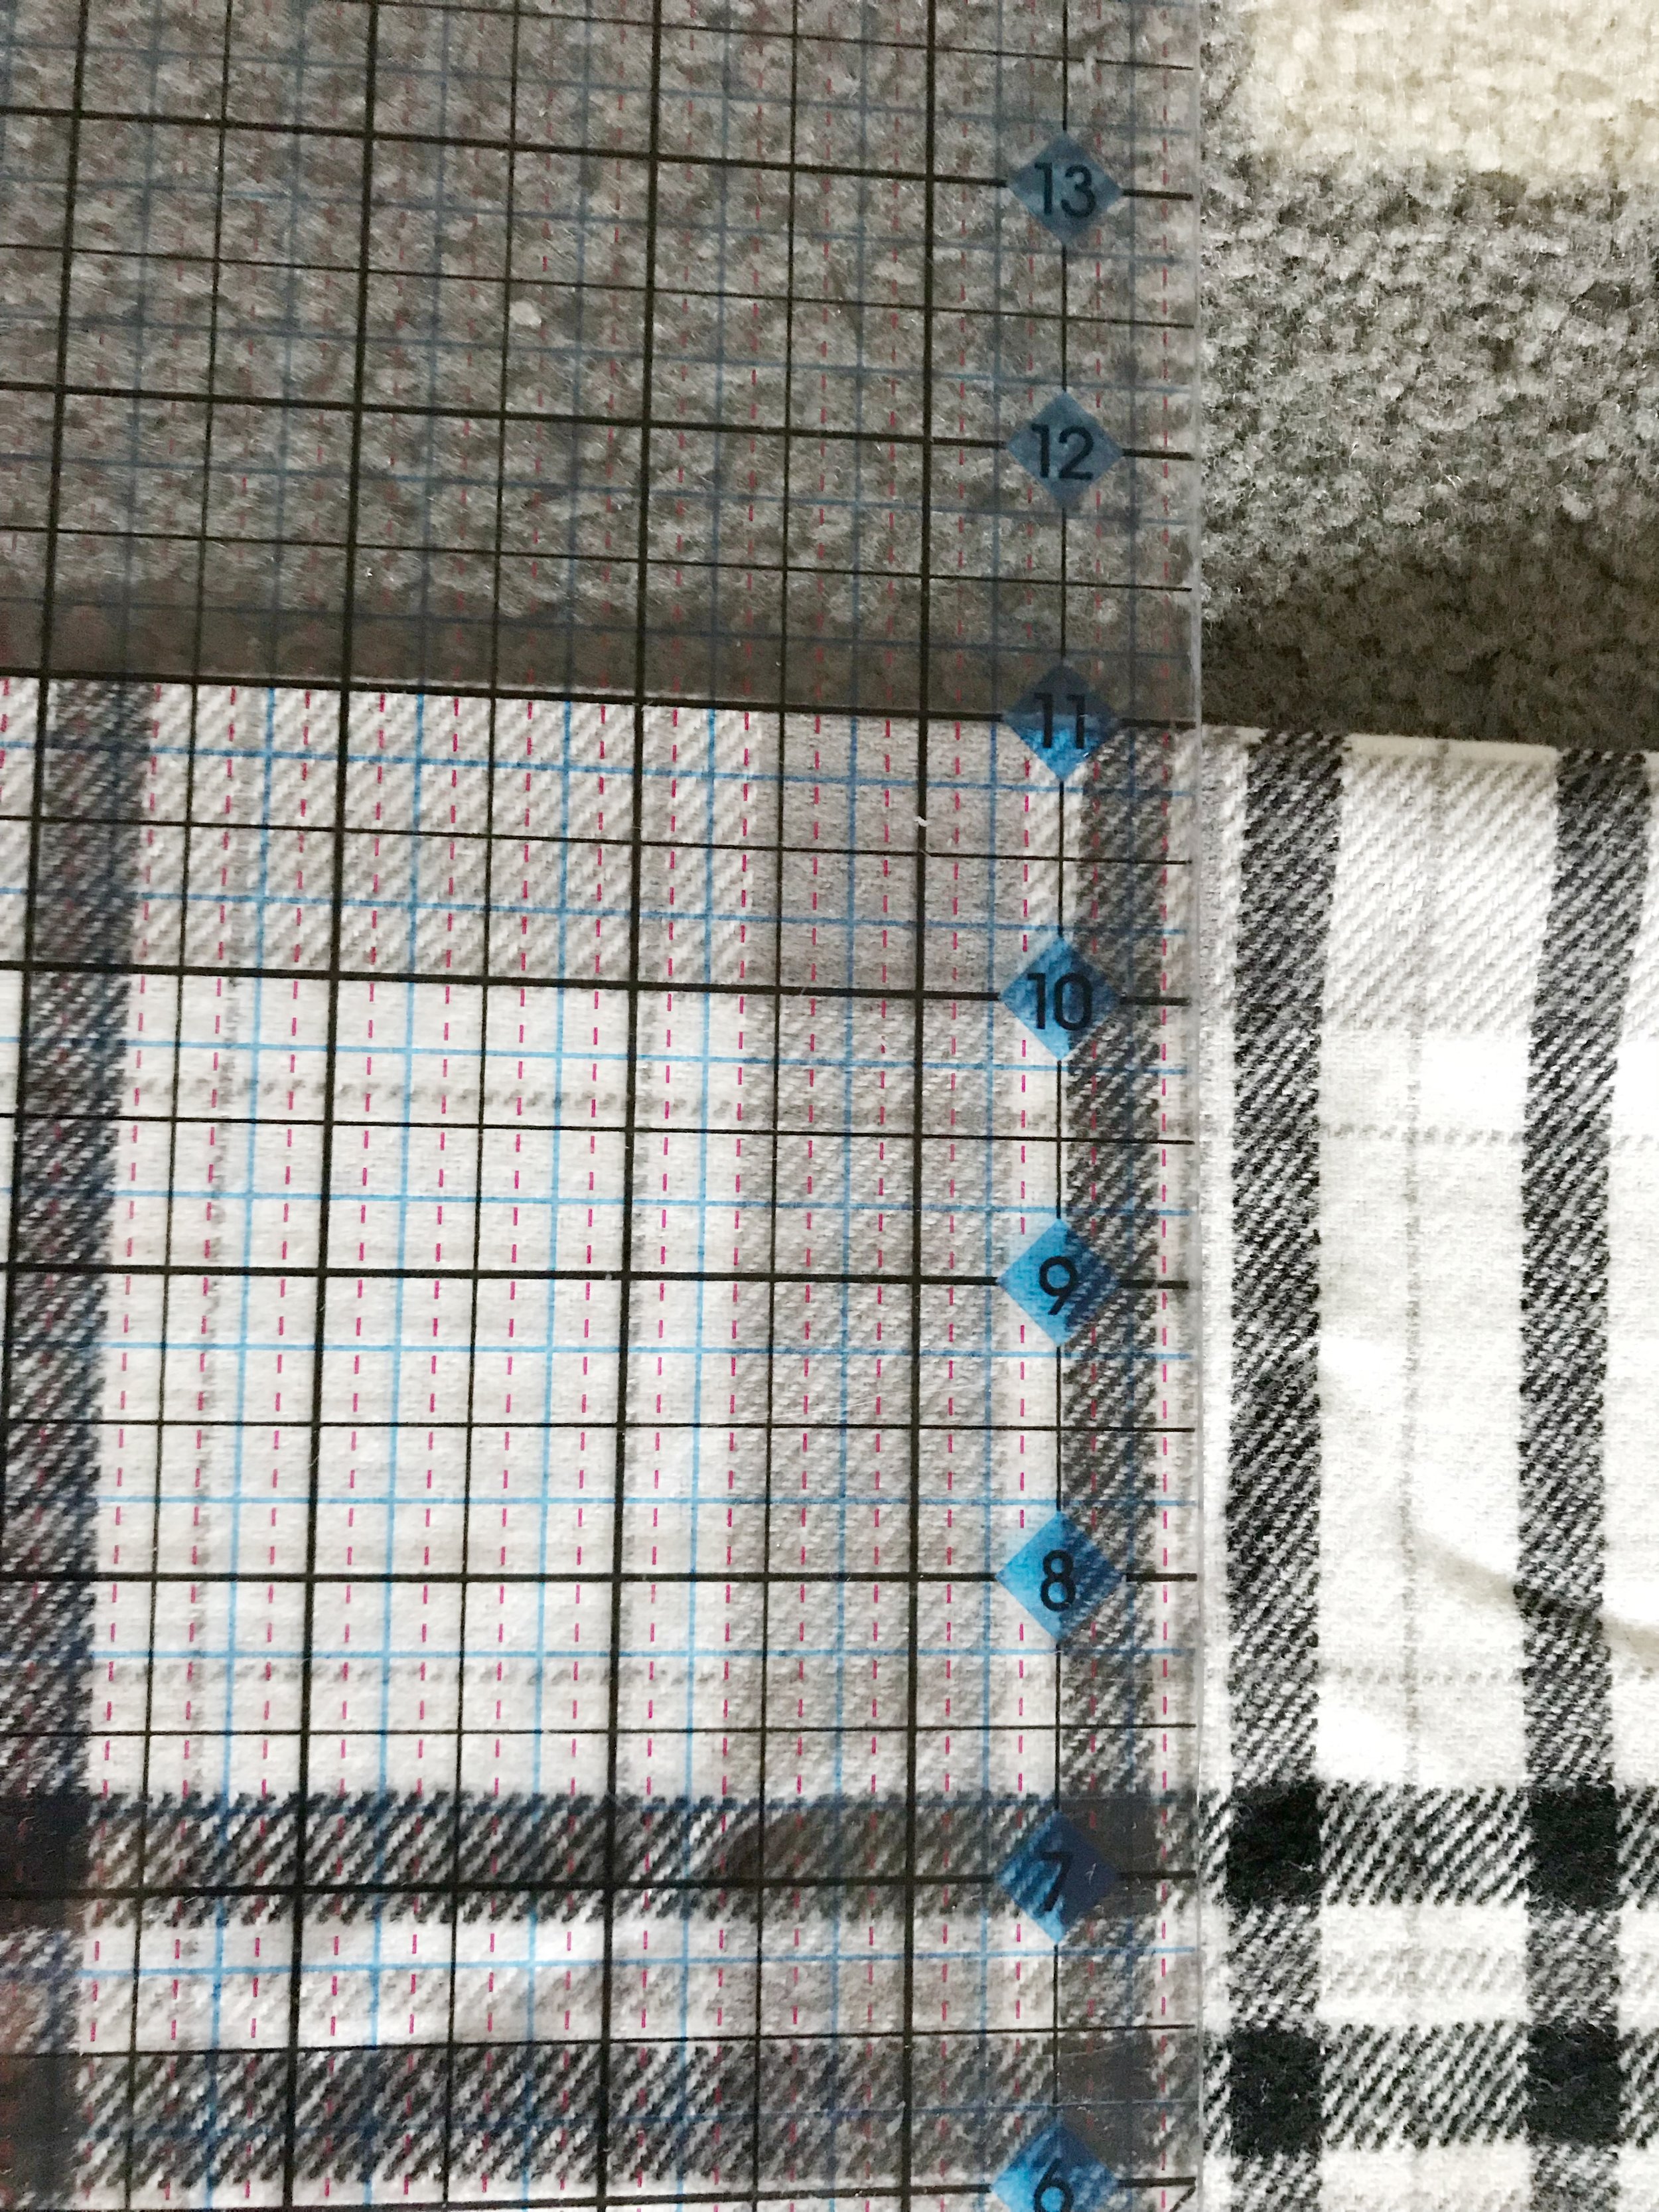
Measure the width of your fabric and divide in half. Mark the halfway point on the fabric with tailor's chalk or pen. You can mark all the way from the top to the bottom or if you are using a plaid like I did you can just use the plaid lines as your guide.
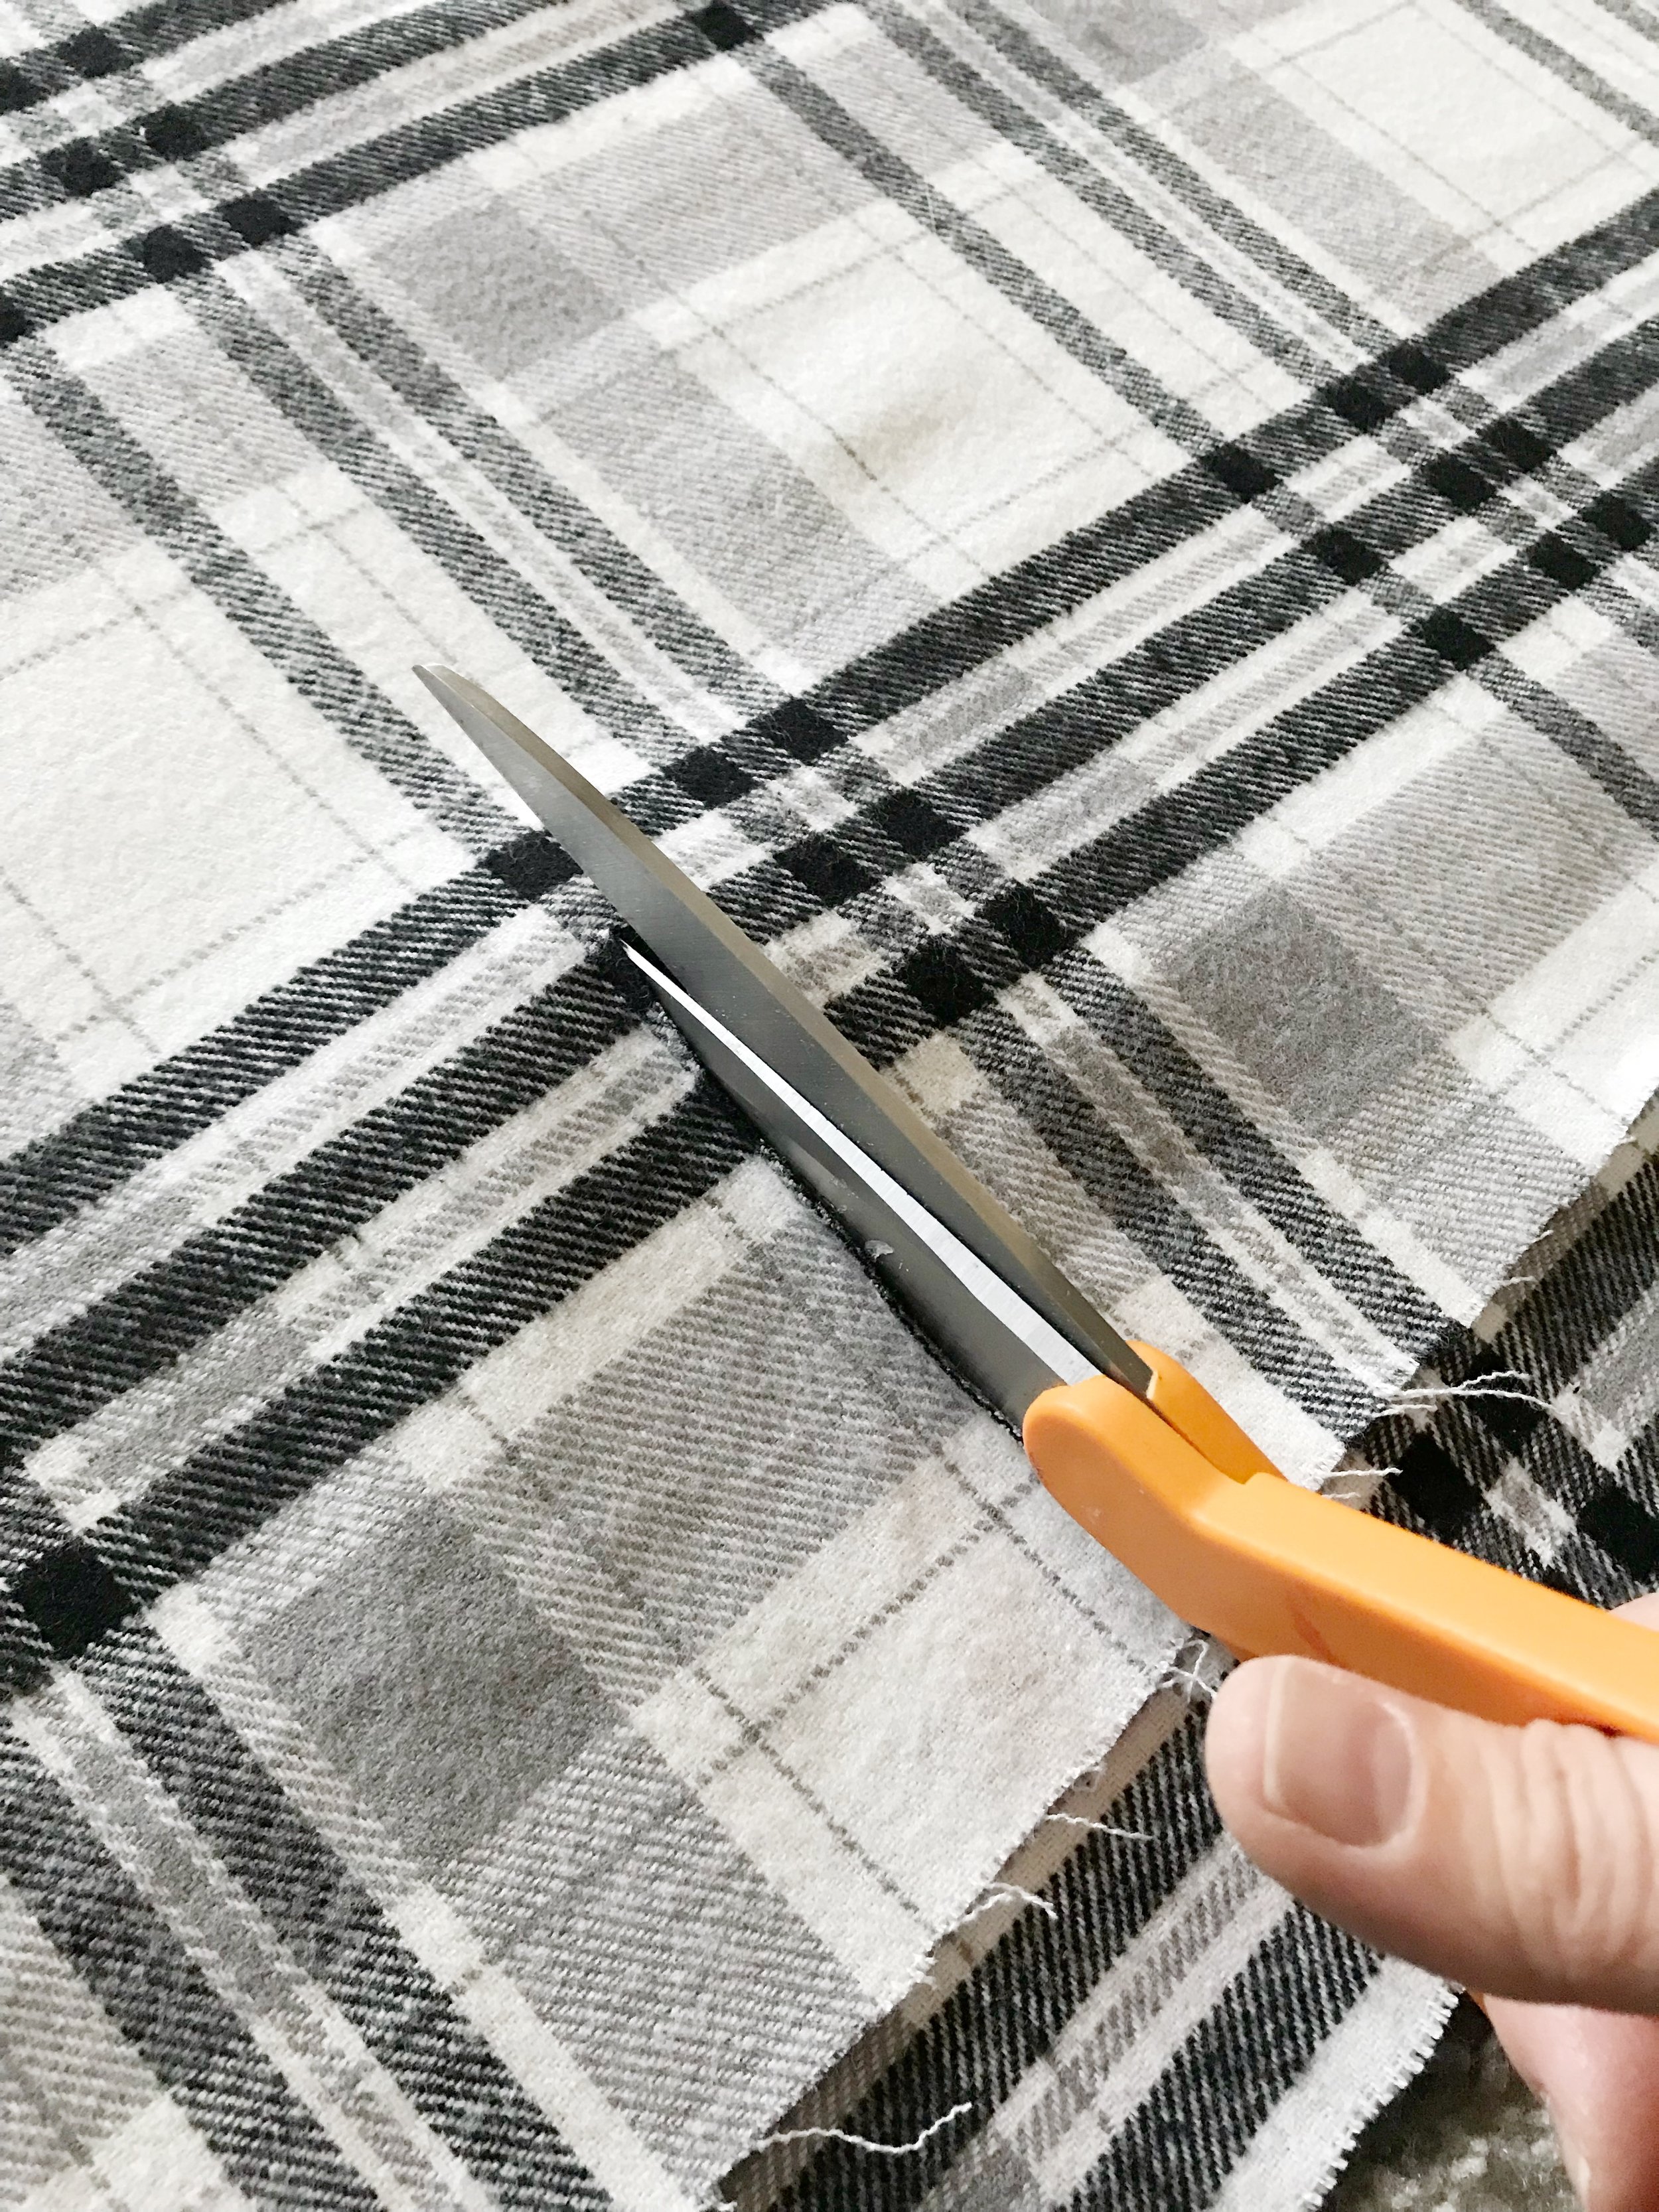
Now cut only the top layer of fabric from the bottom all the way to the fold. Be careful not to cut the bottom layer.
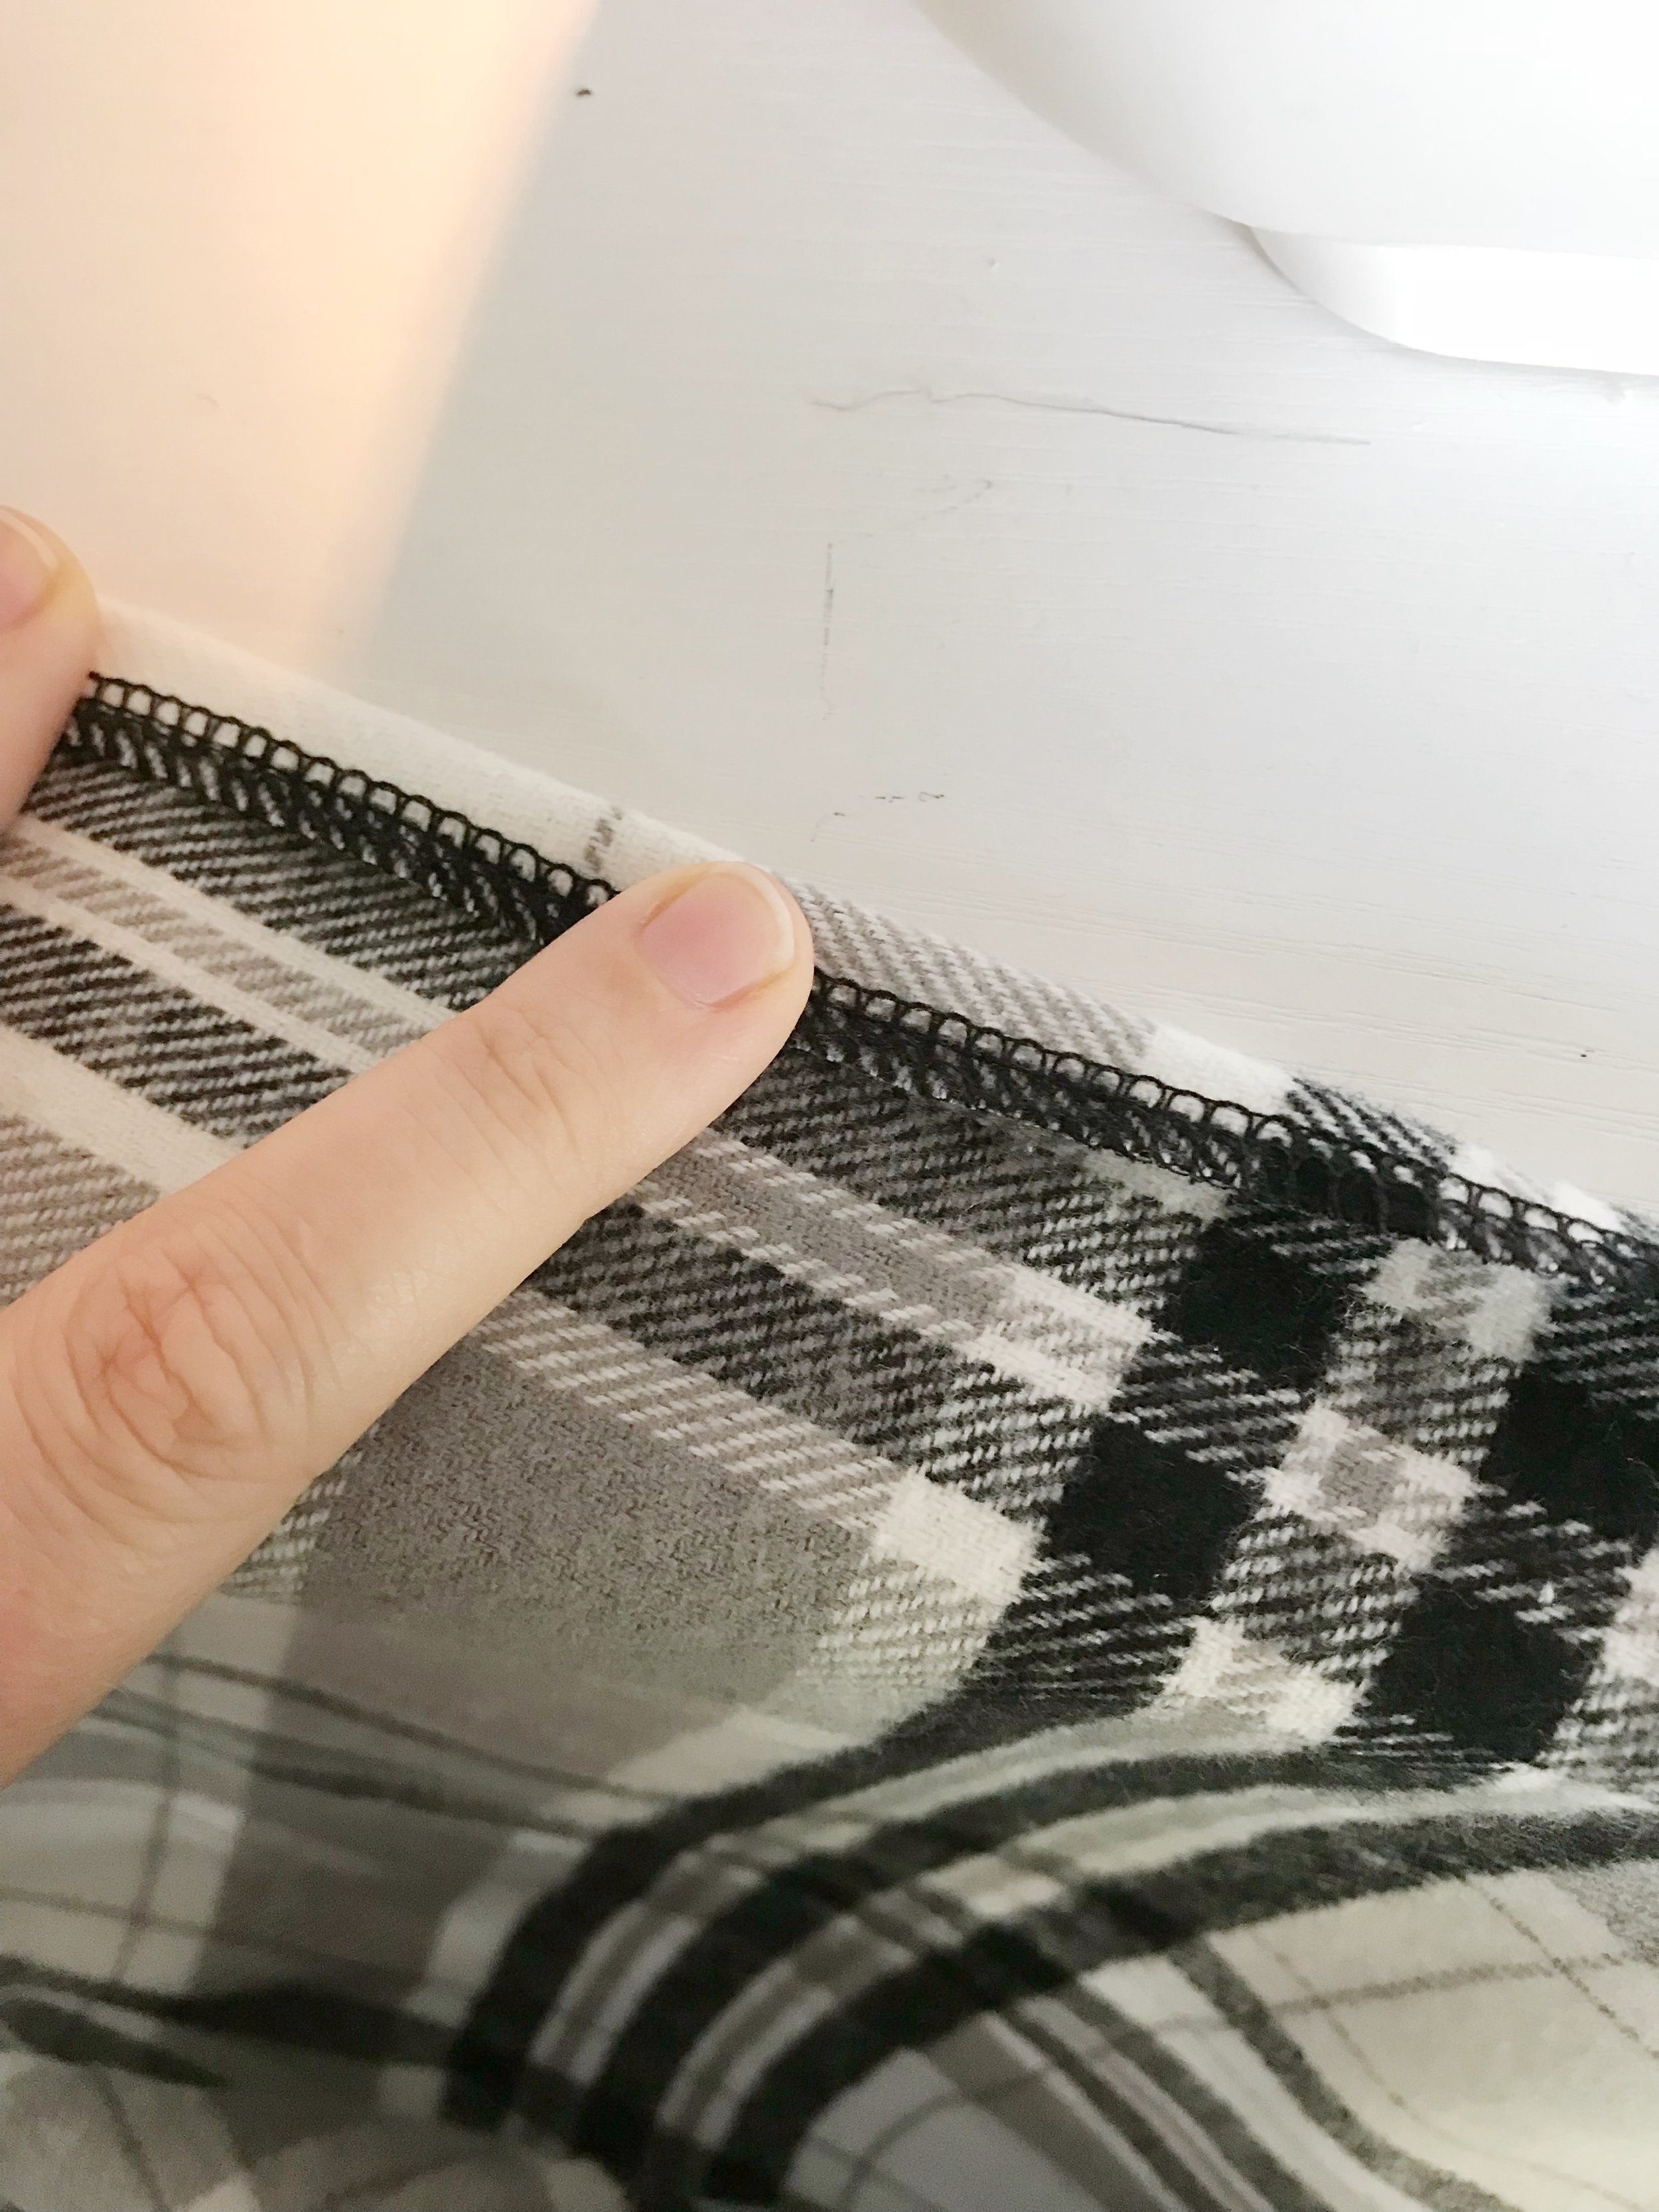
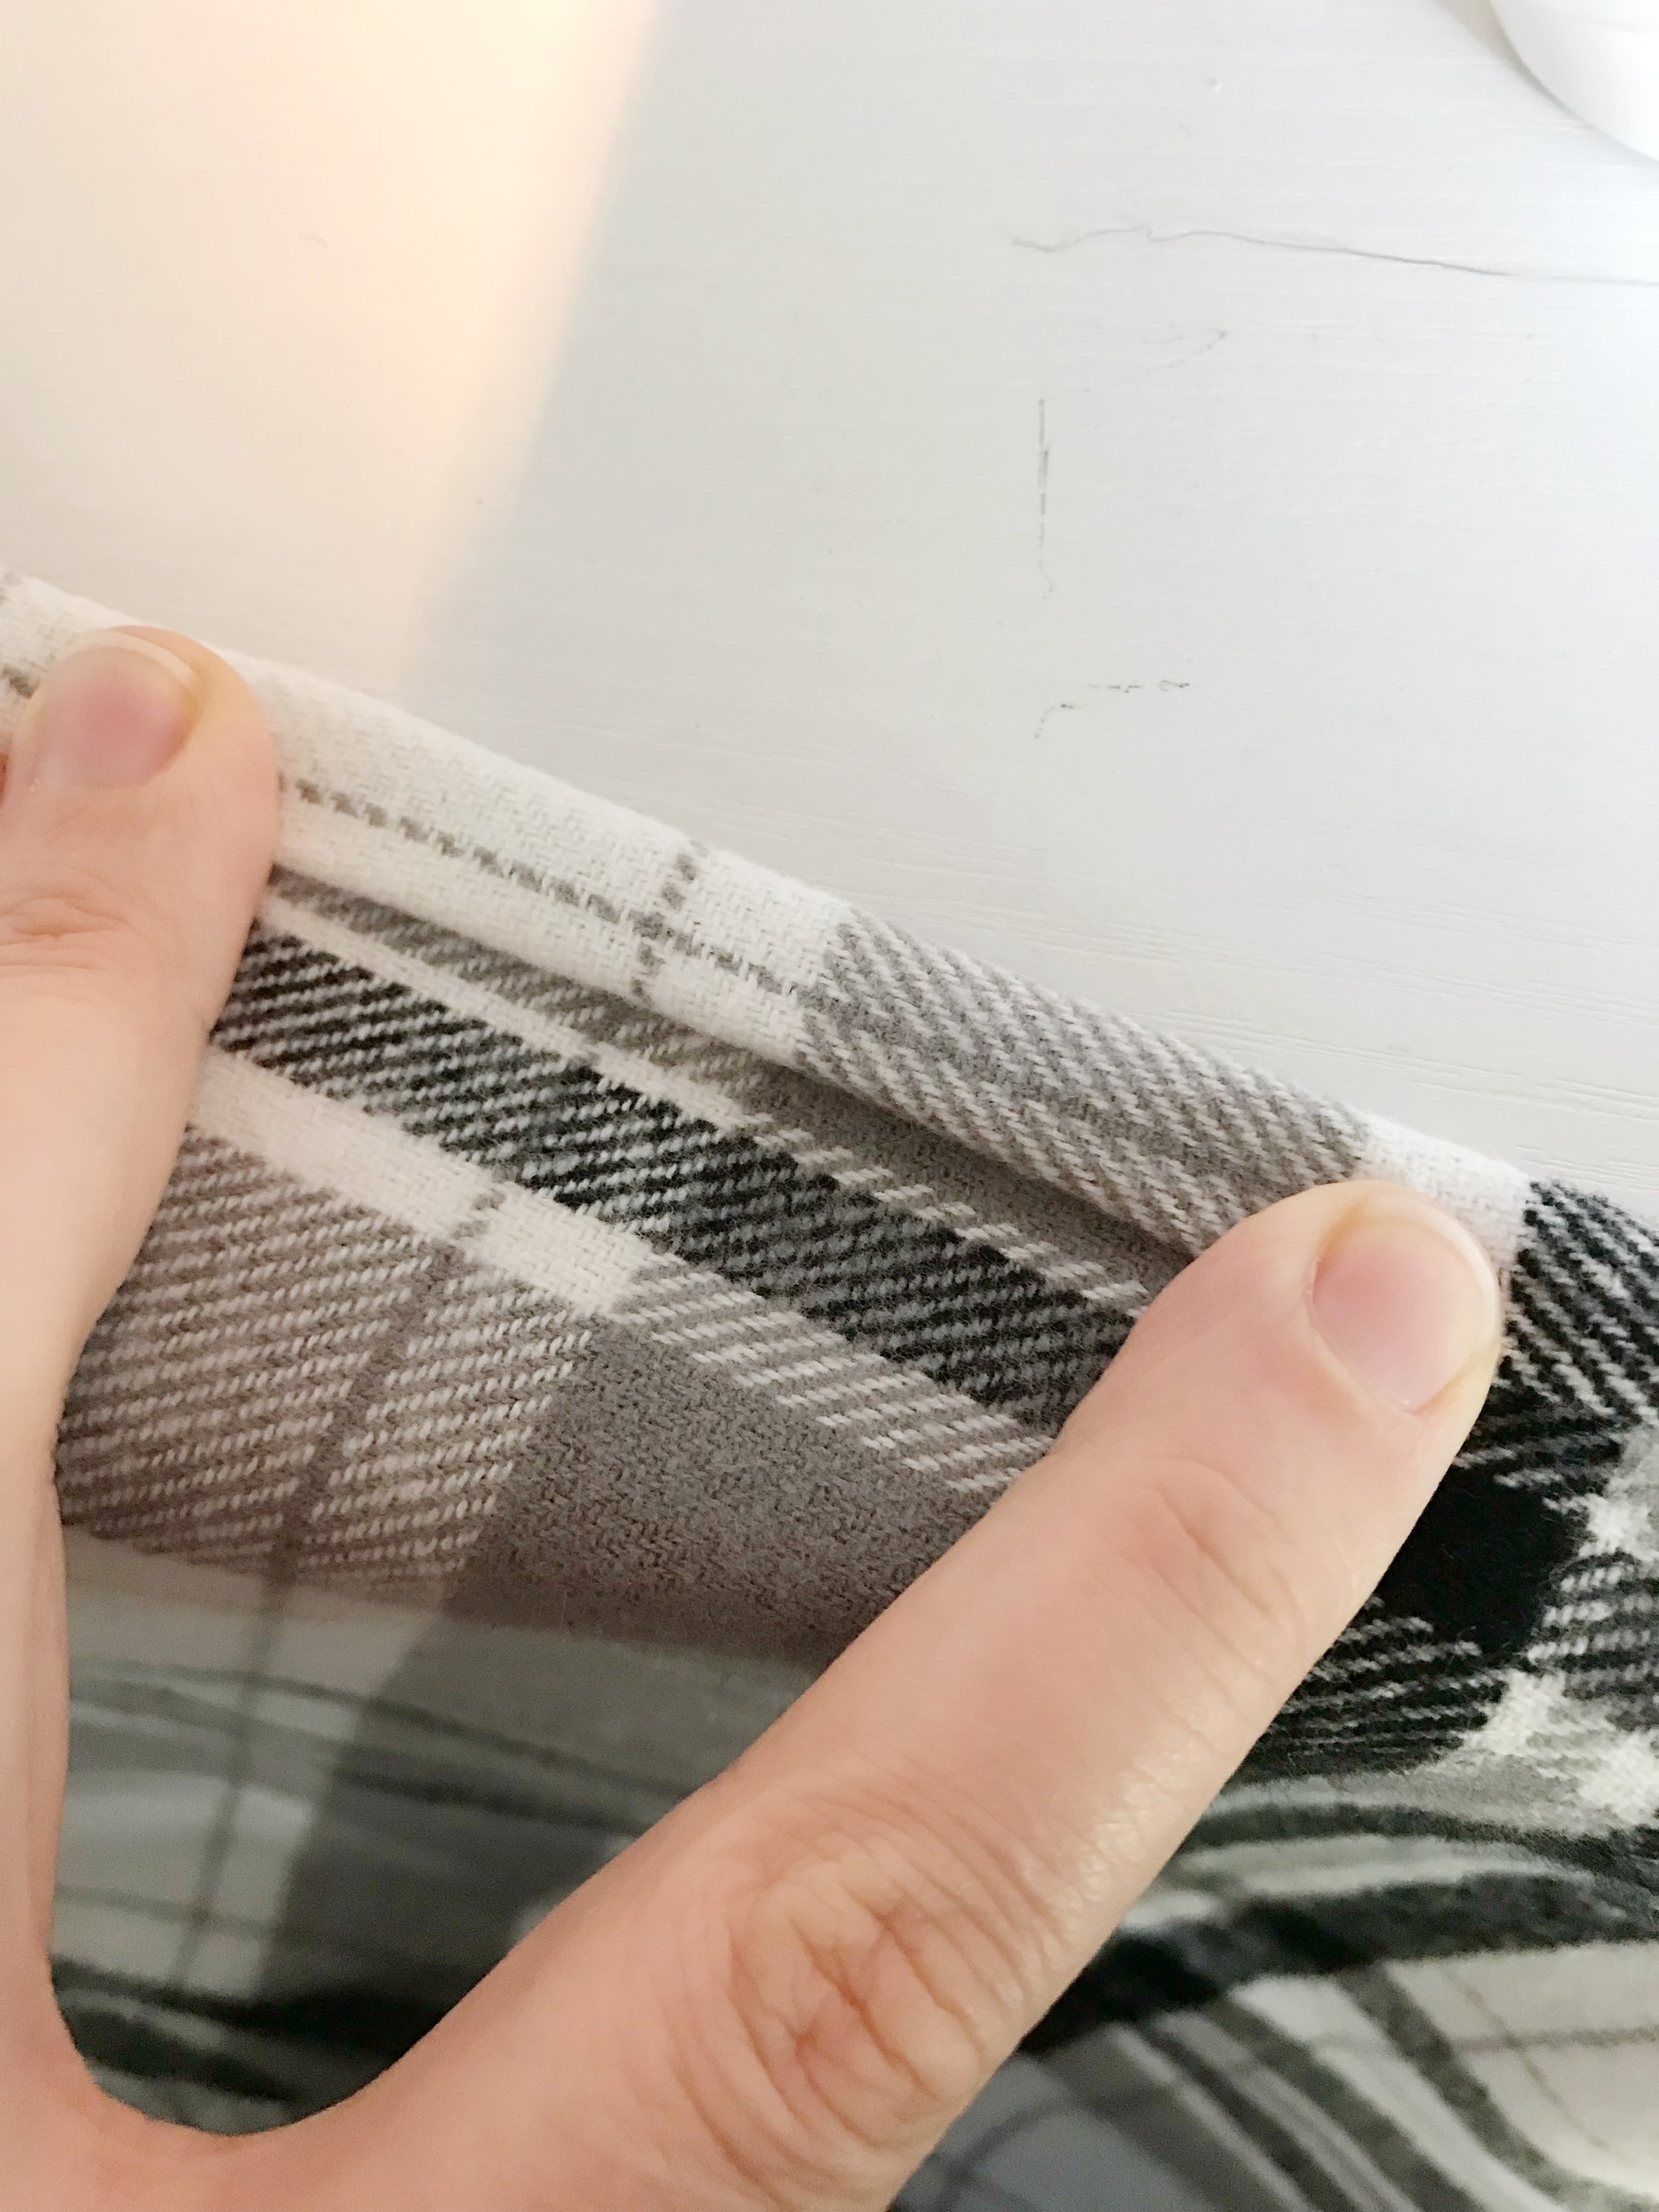
Next you will hem the fabric all along the cut line you made. If you have a serger you can serge the edges before hemming. Then roll the edge over twice and sew all the way around. The top by the fold may be a bit tricky to maneuver so go slow and take your time adjusting the fabric as you go.
You will also need to hem the bottom, unfinished edges of the cape too. I just serged the ends and left it, but you can also do a rolled hem like you did for the neckline.

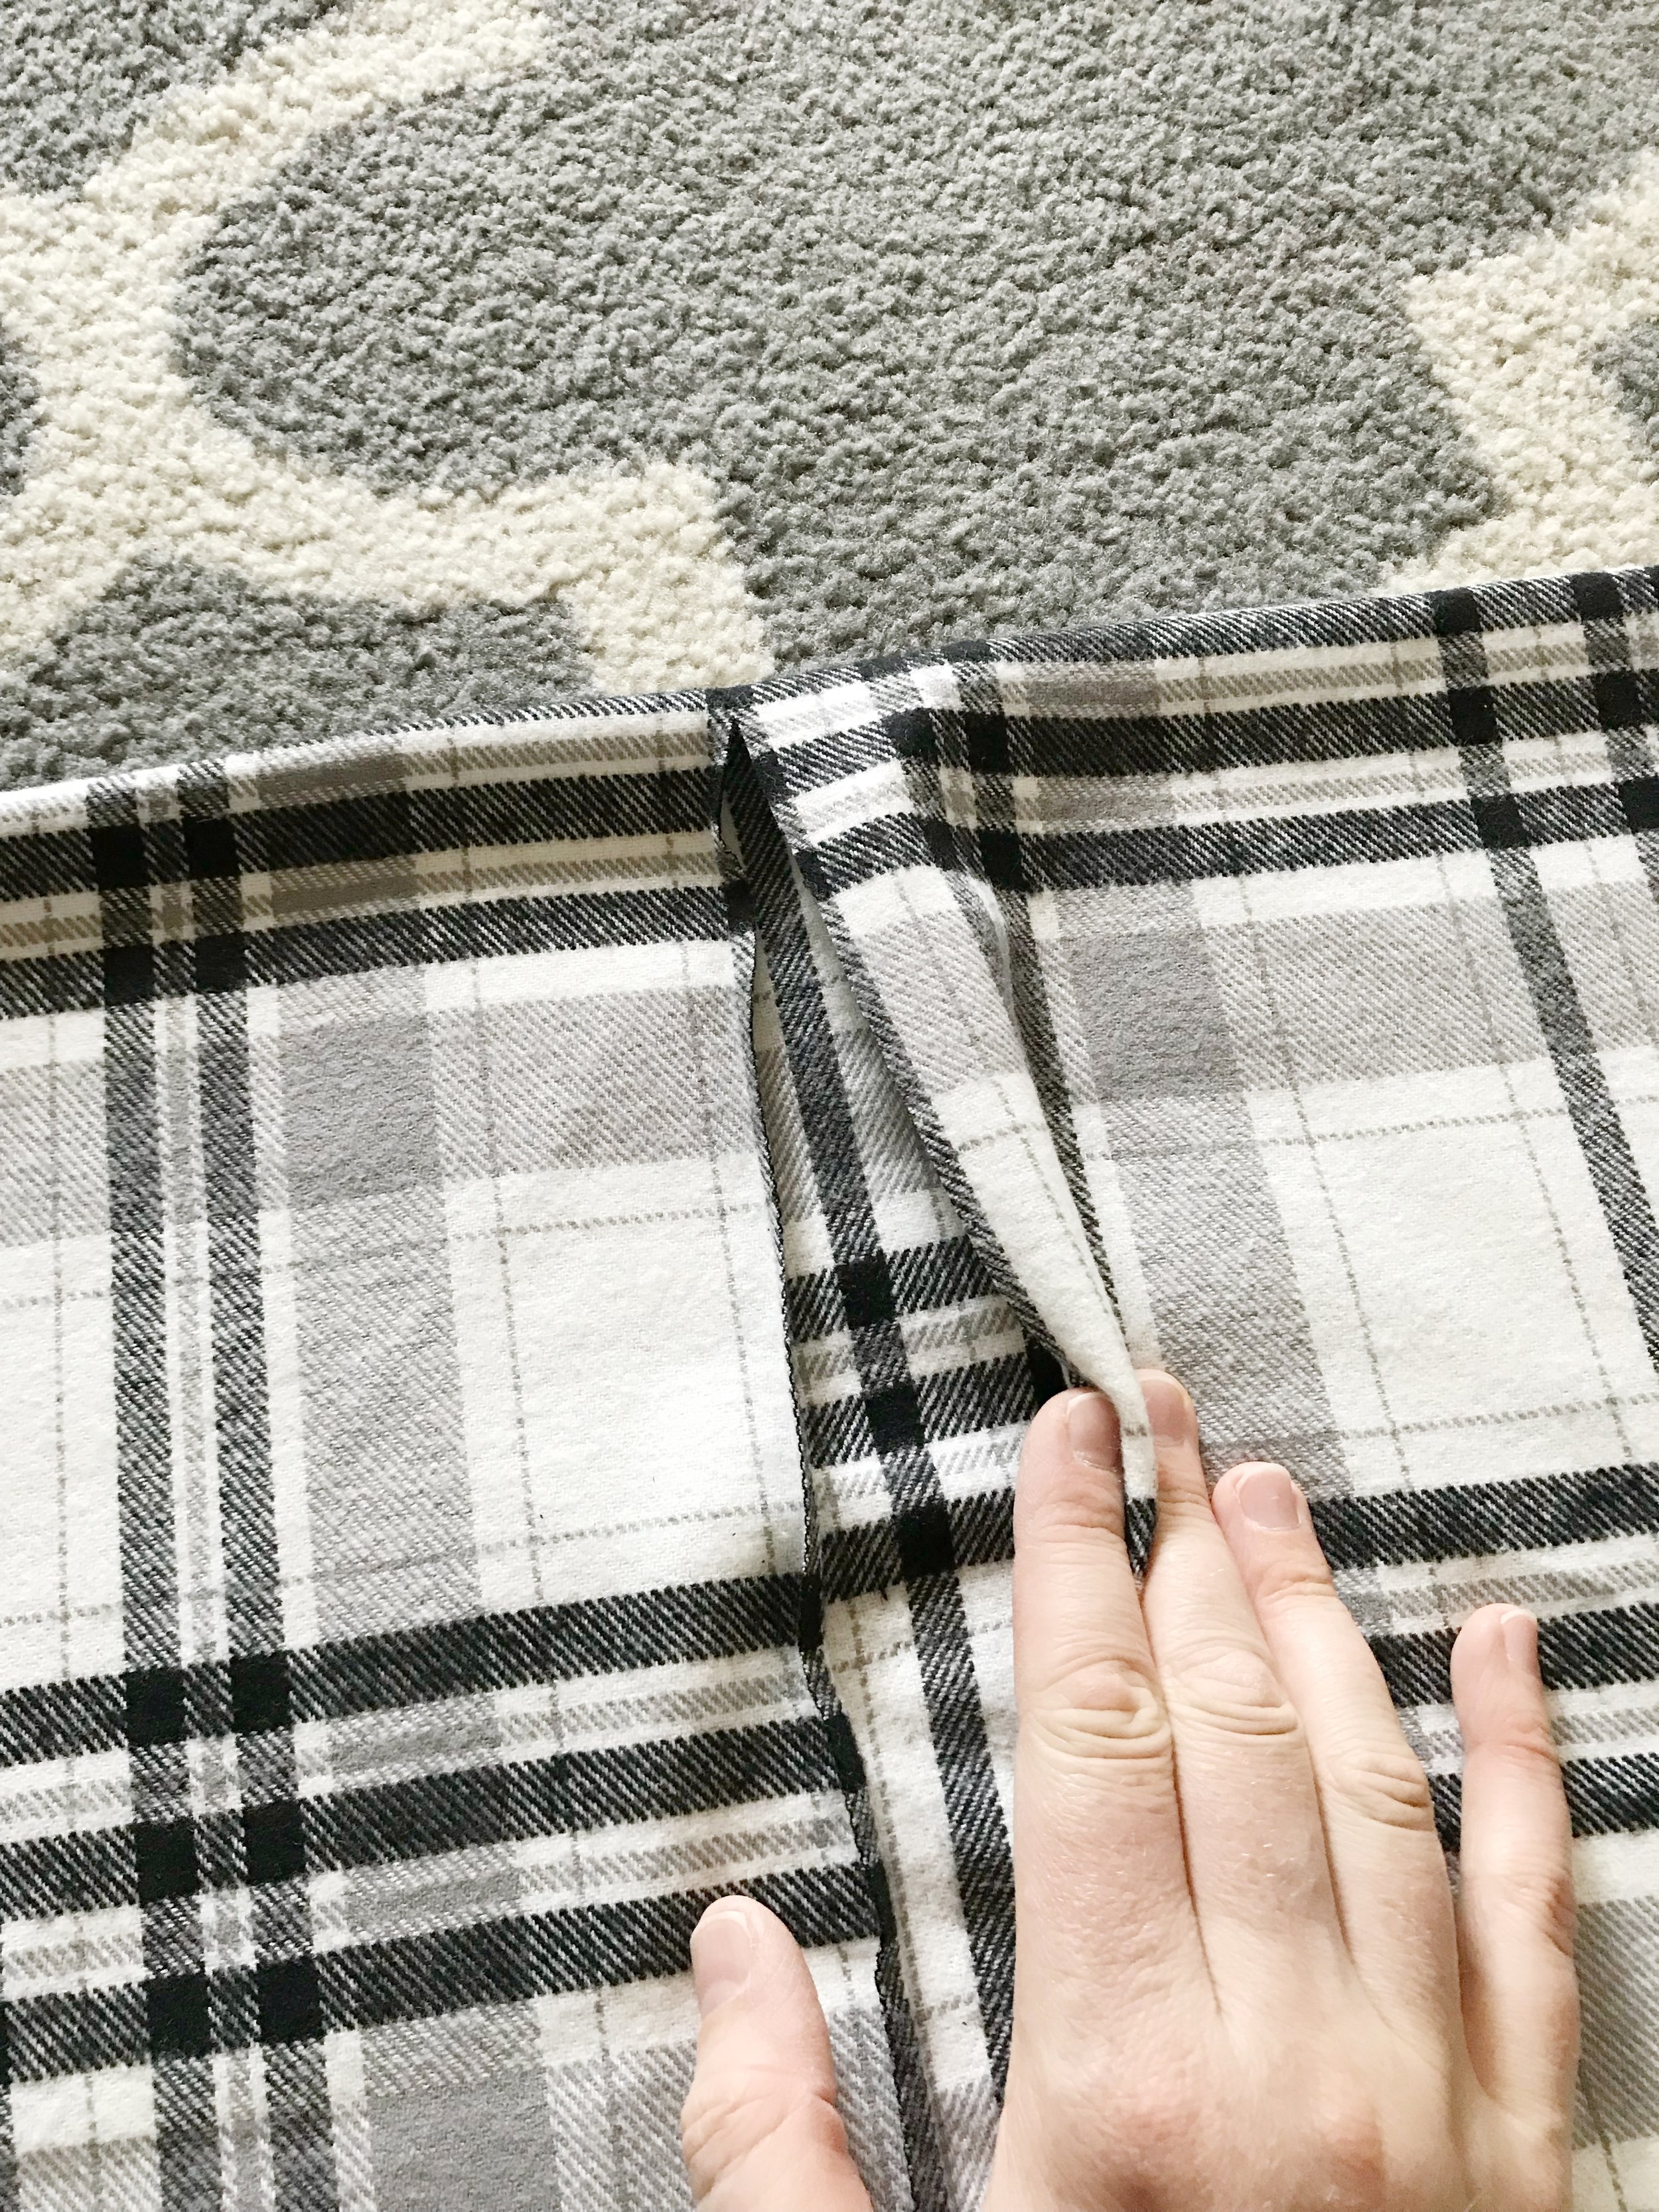
Lay your cape out again with right sides facing out. In order for the cape to lay right when you wear it you will need to add some seams on each side to create arm holes.
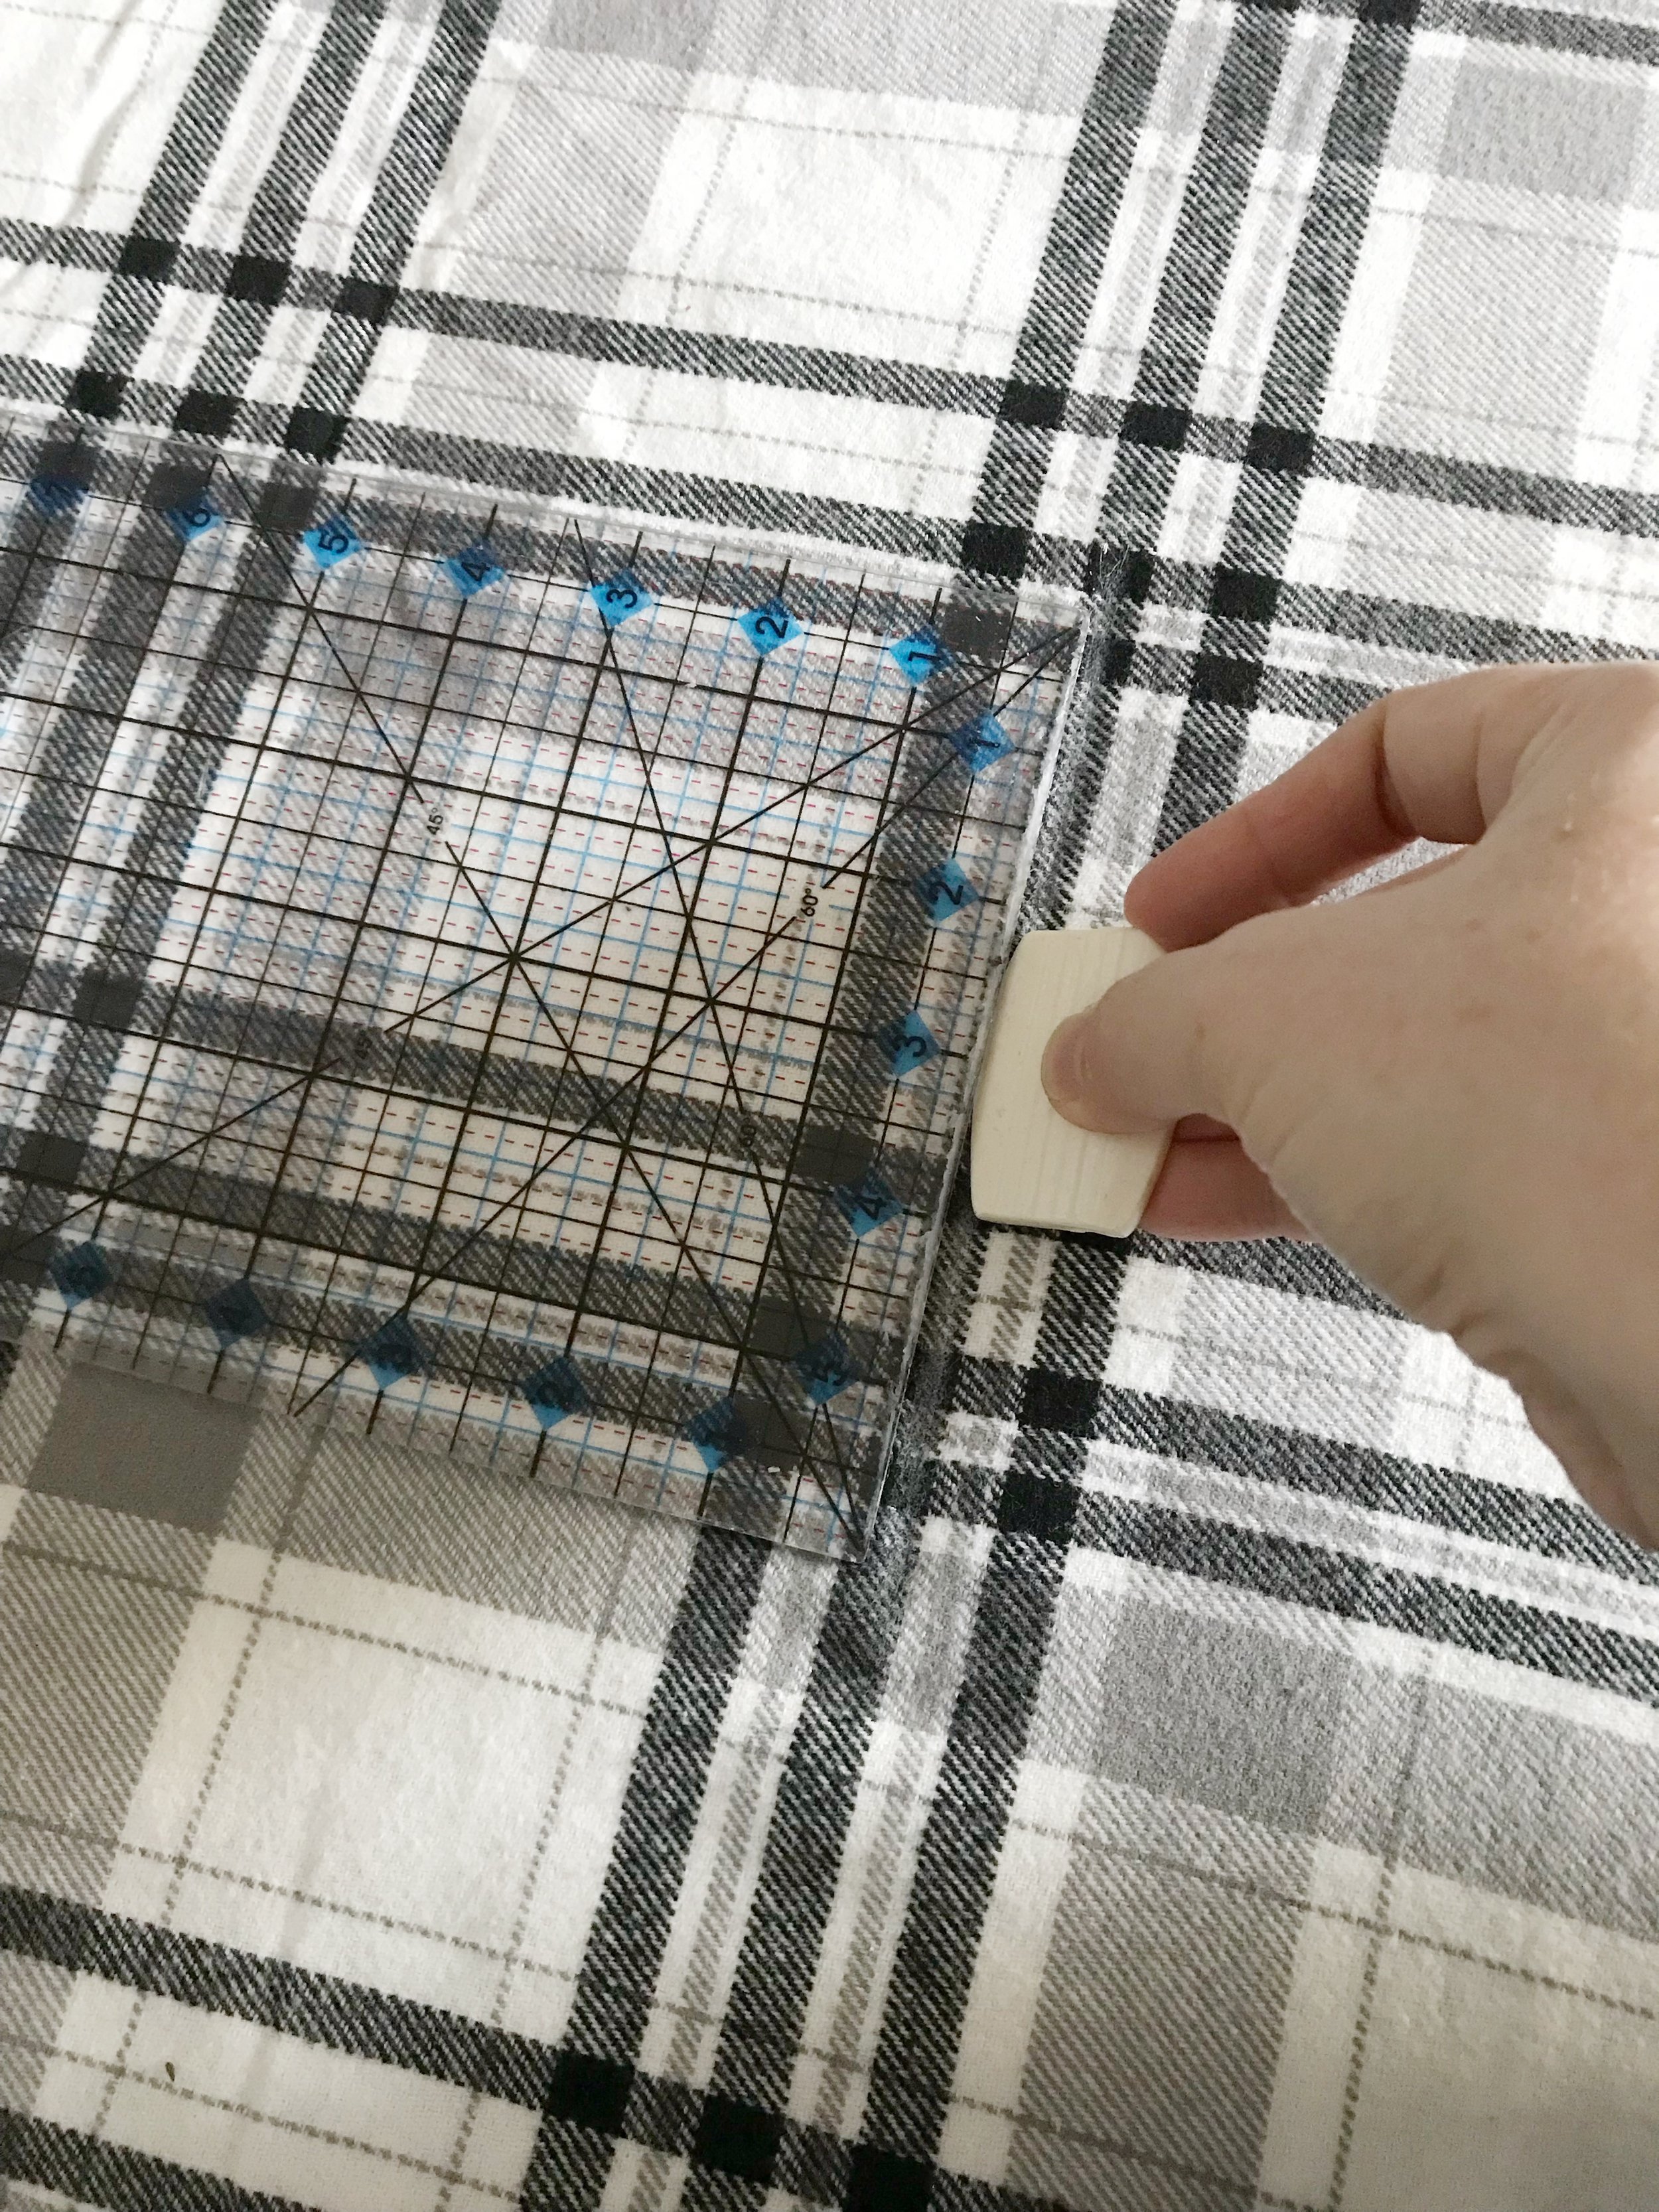
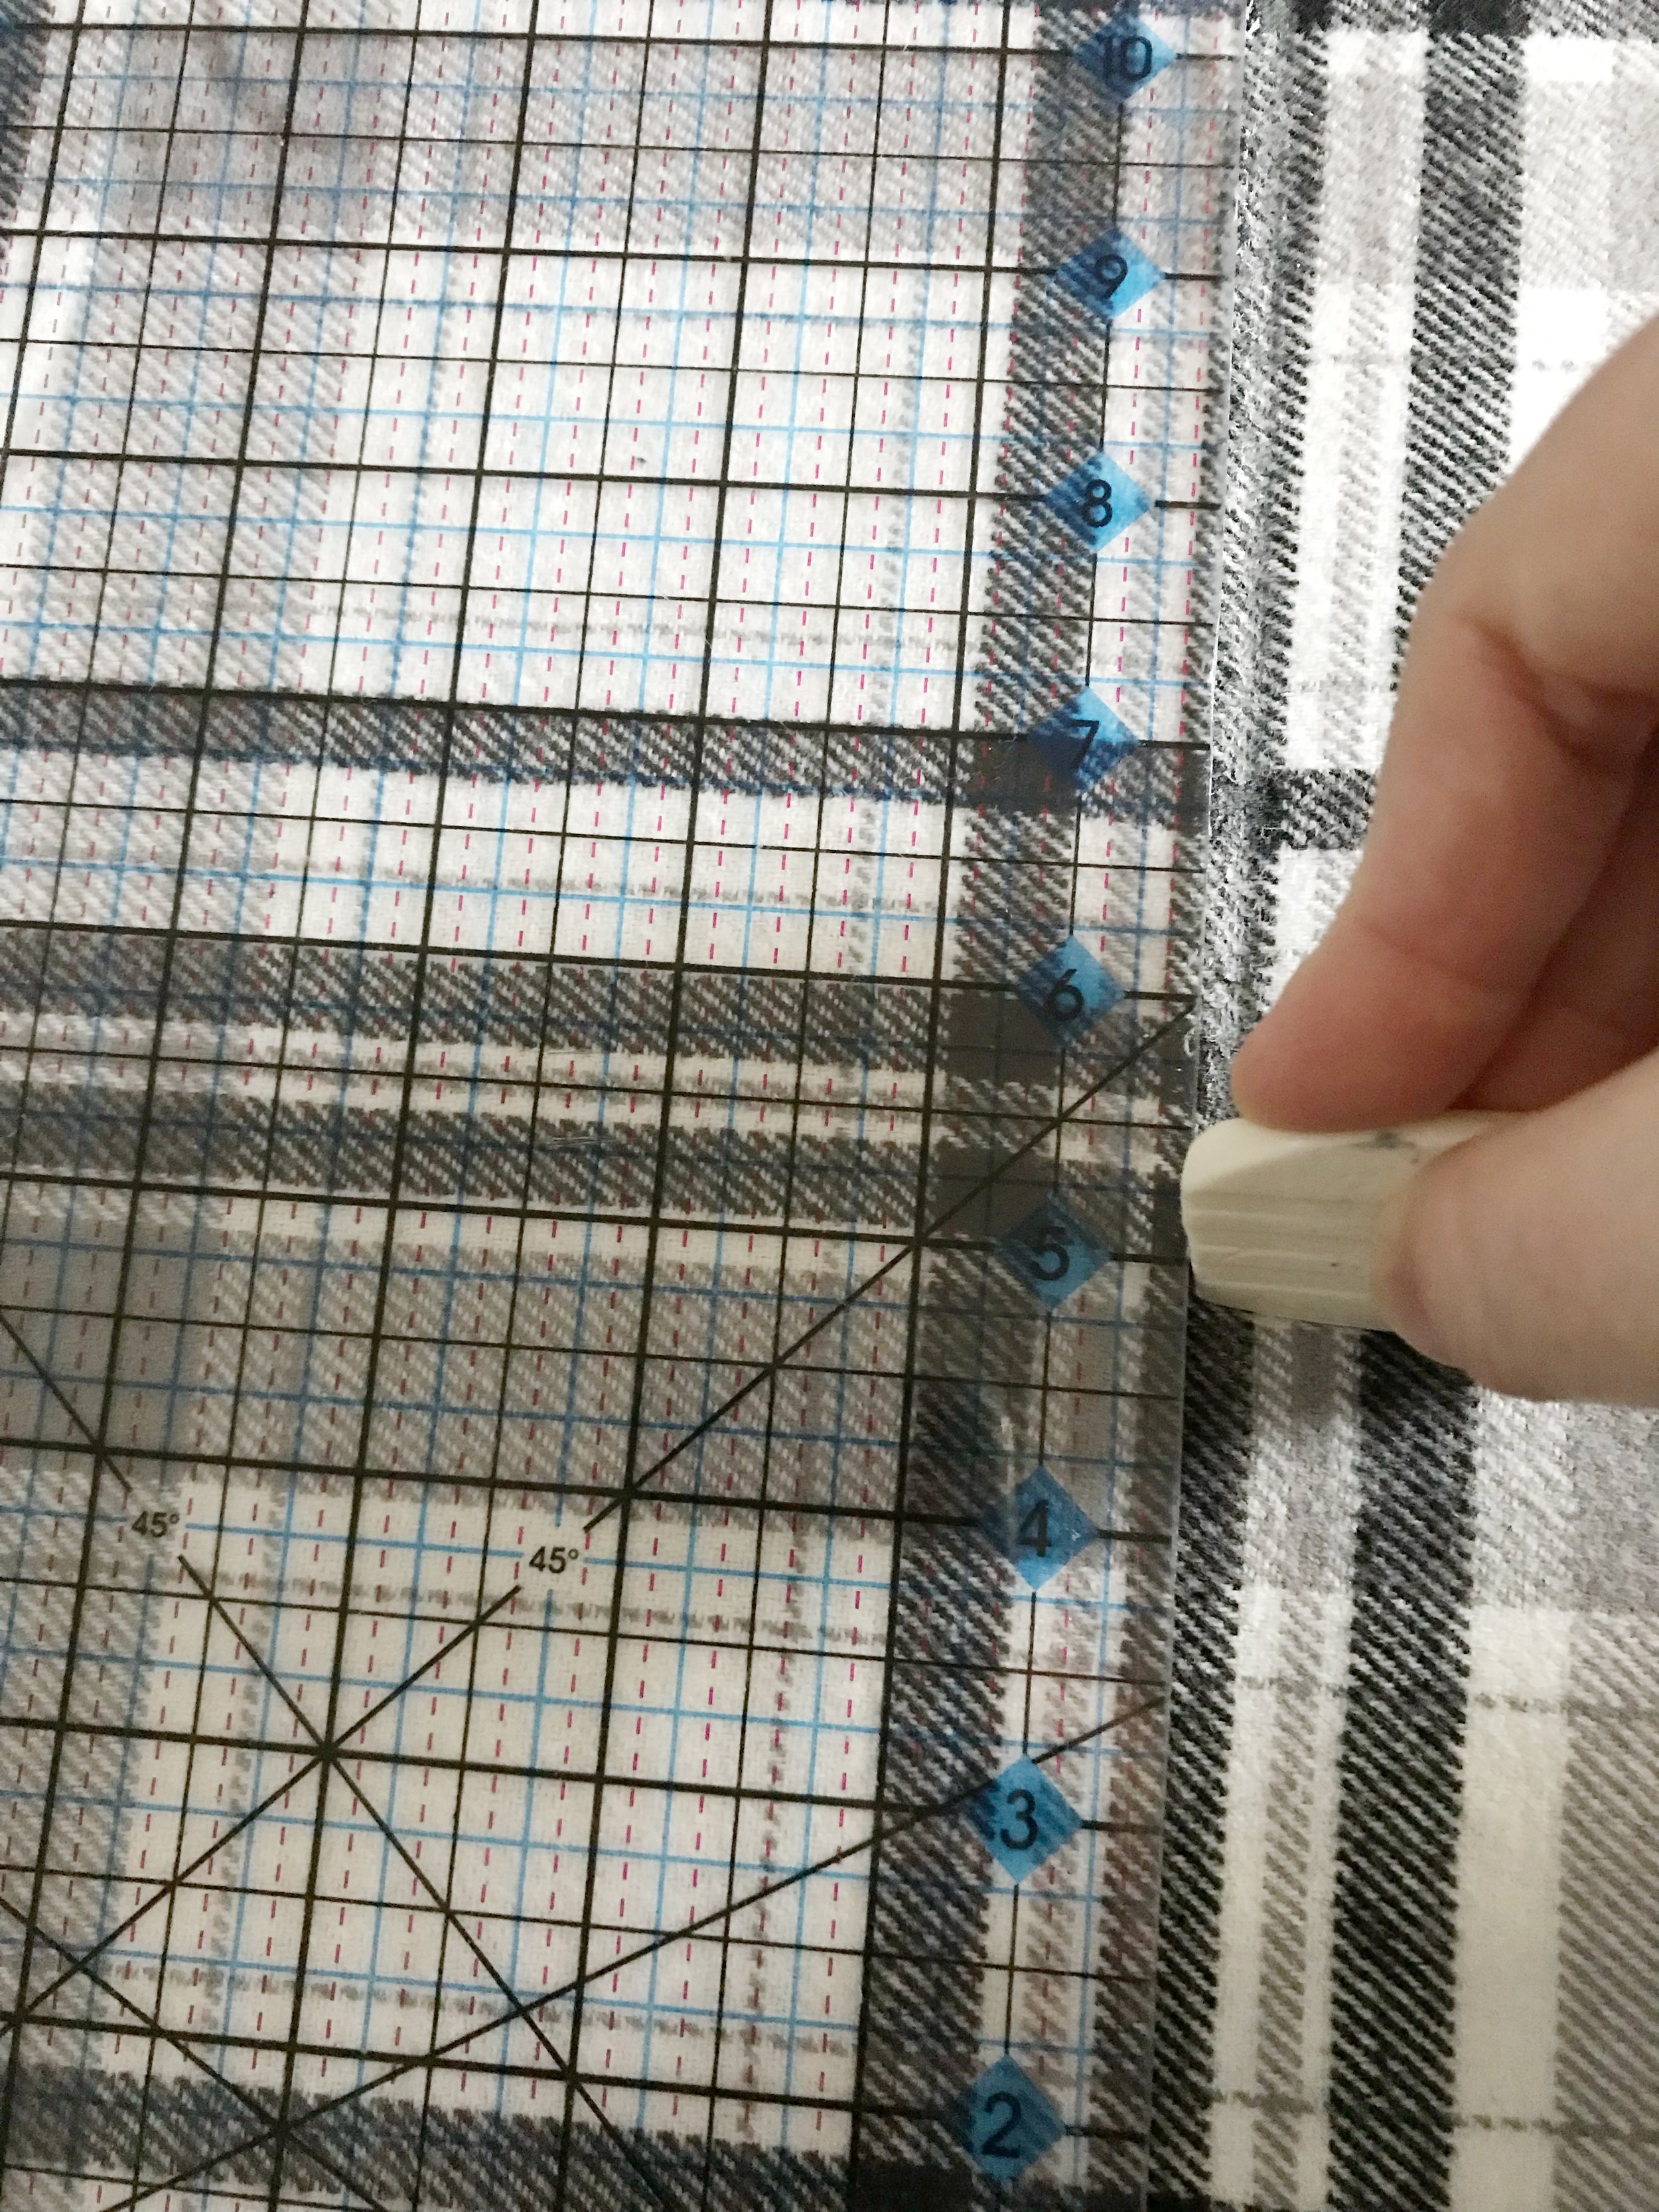
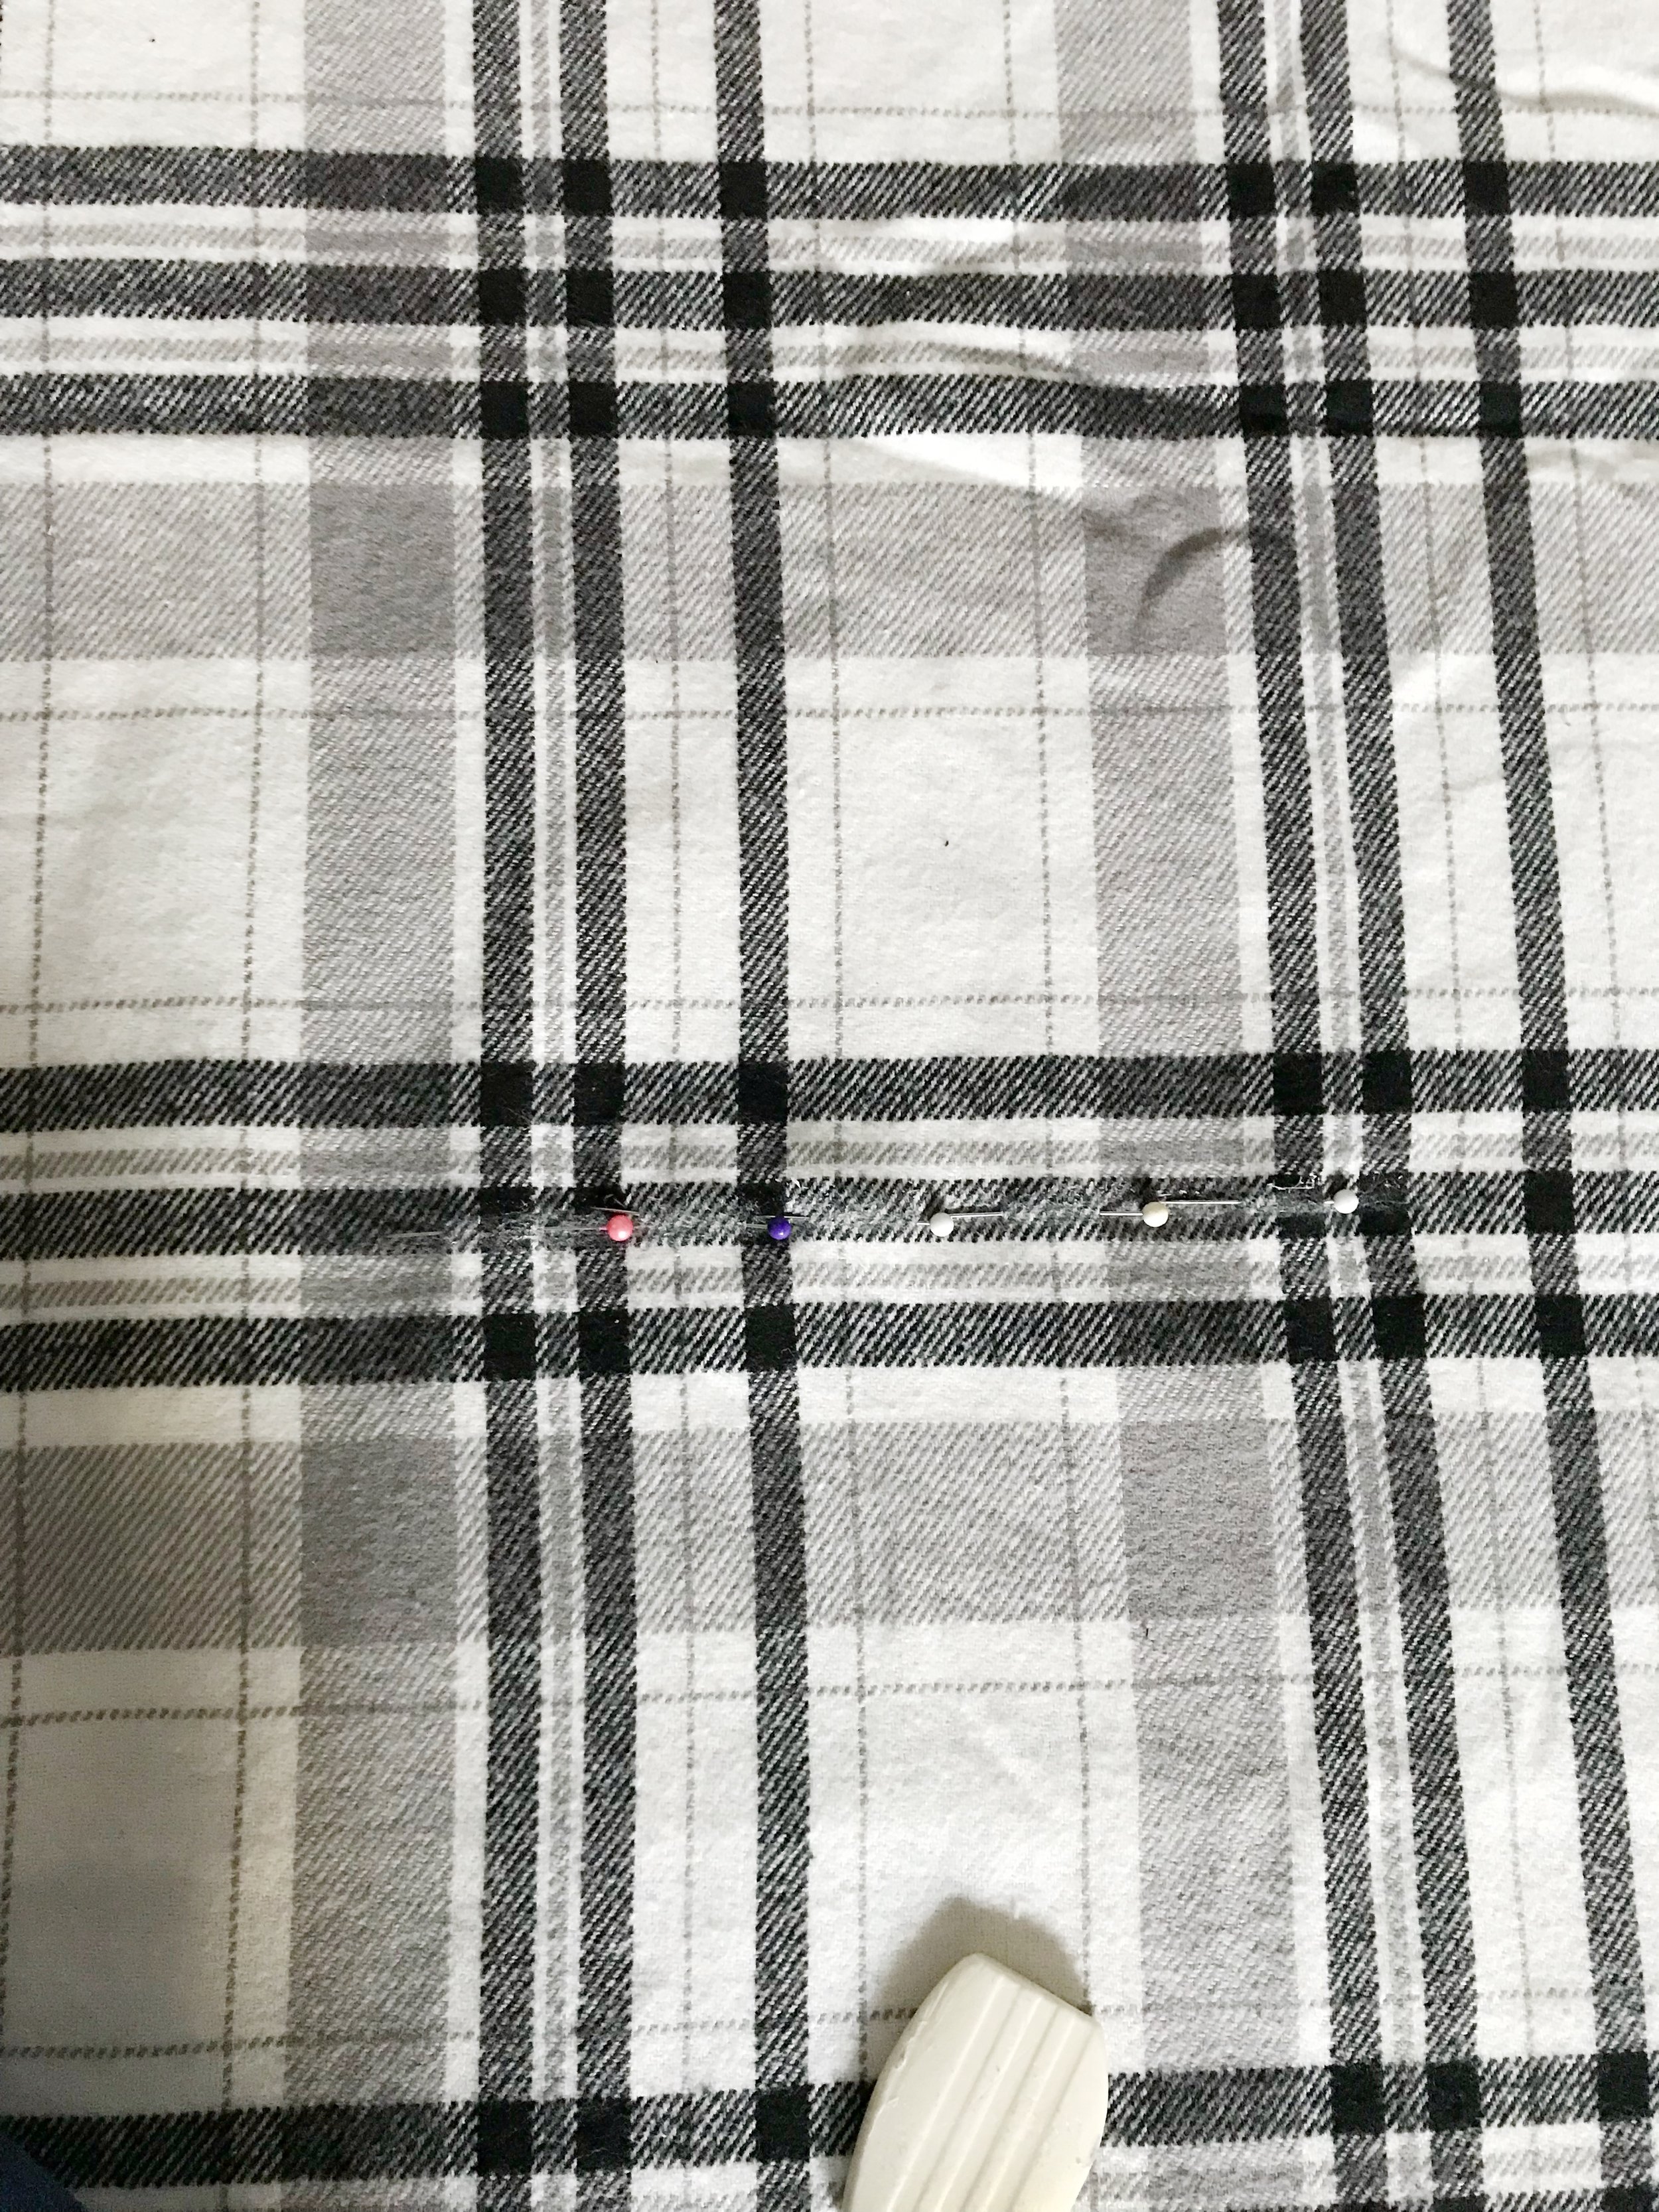
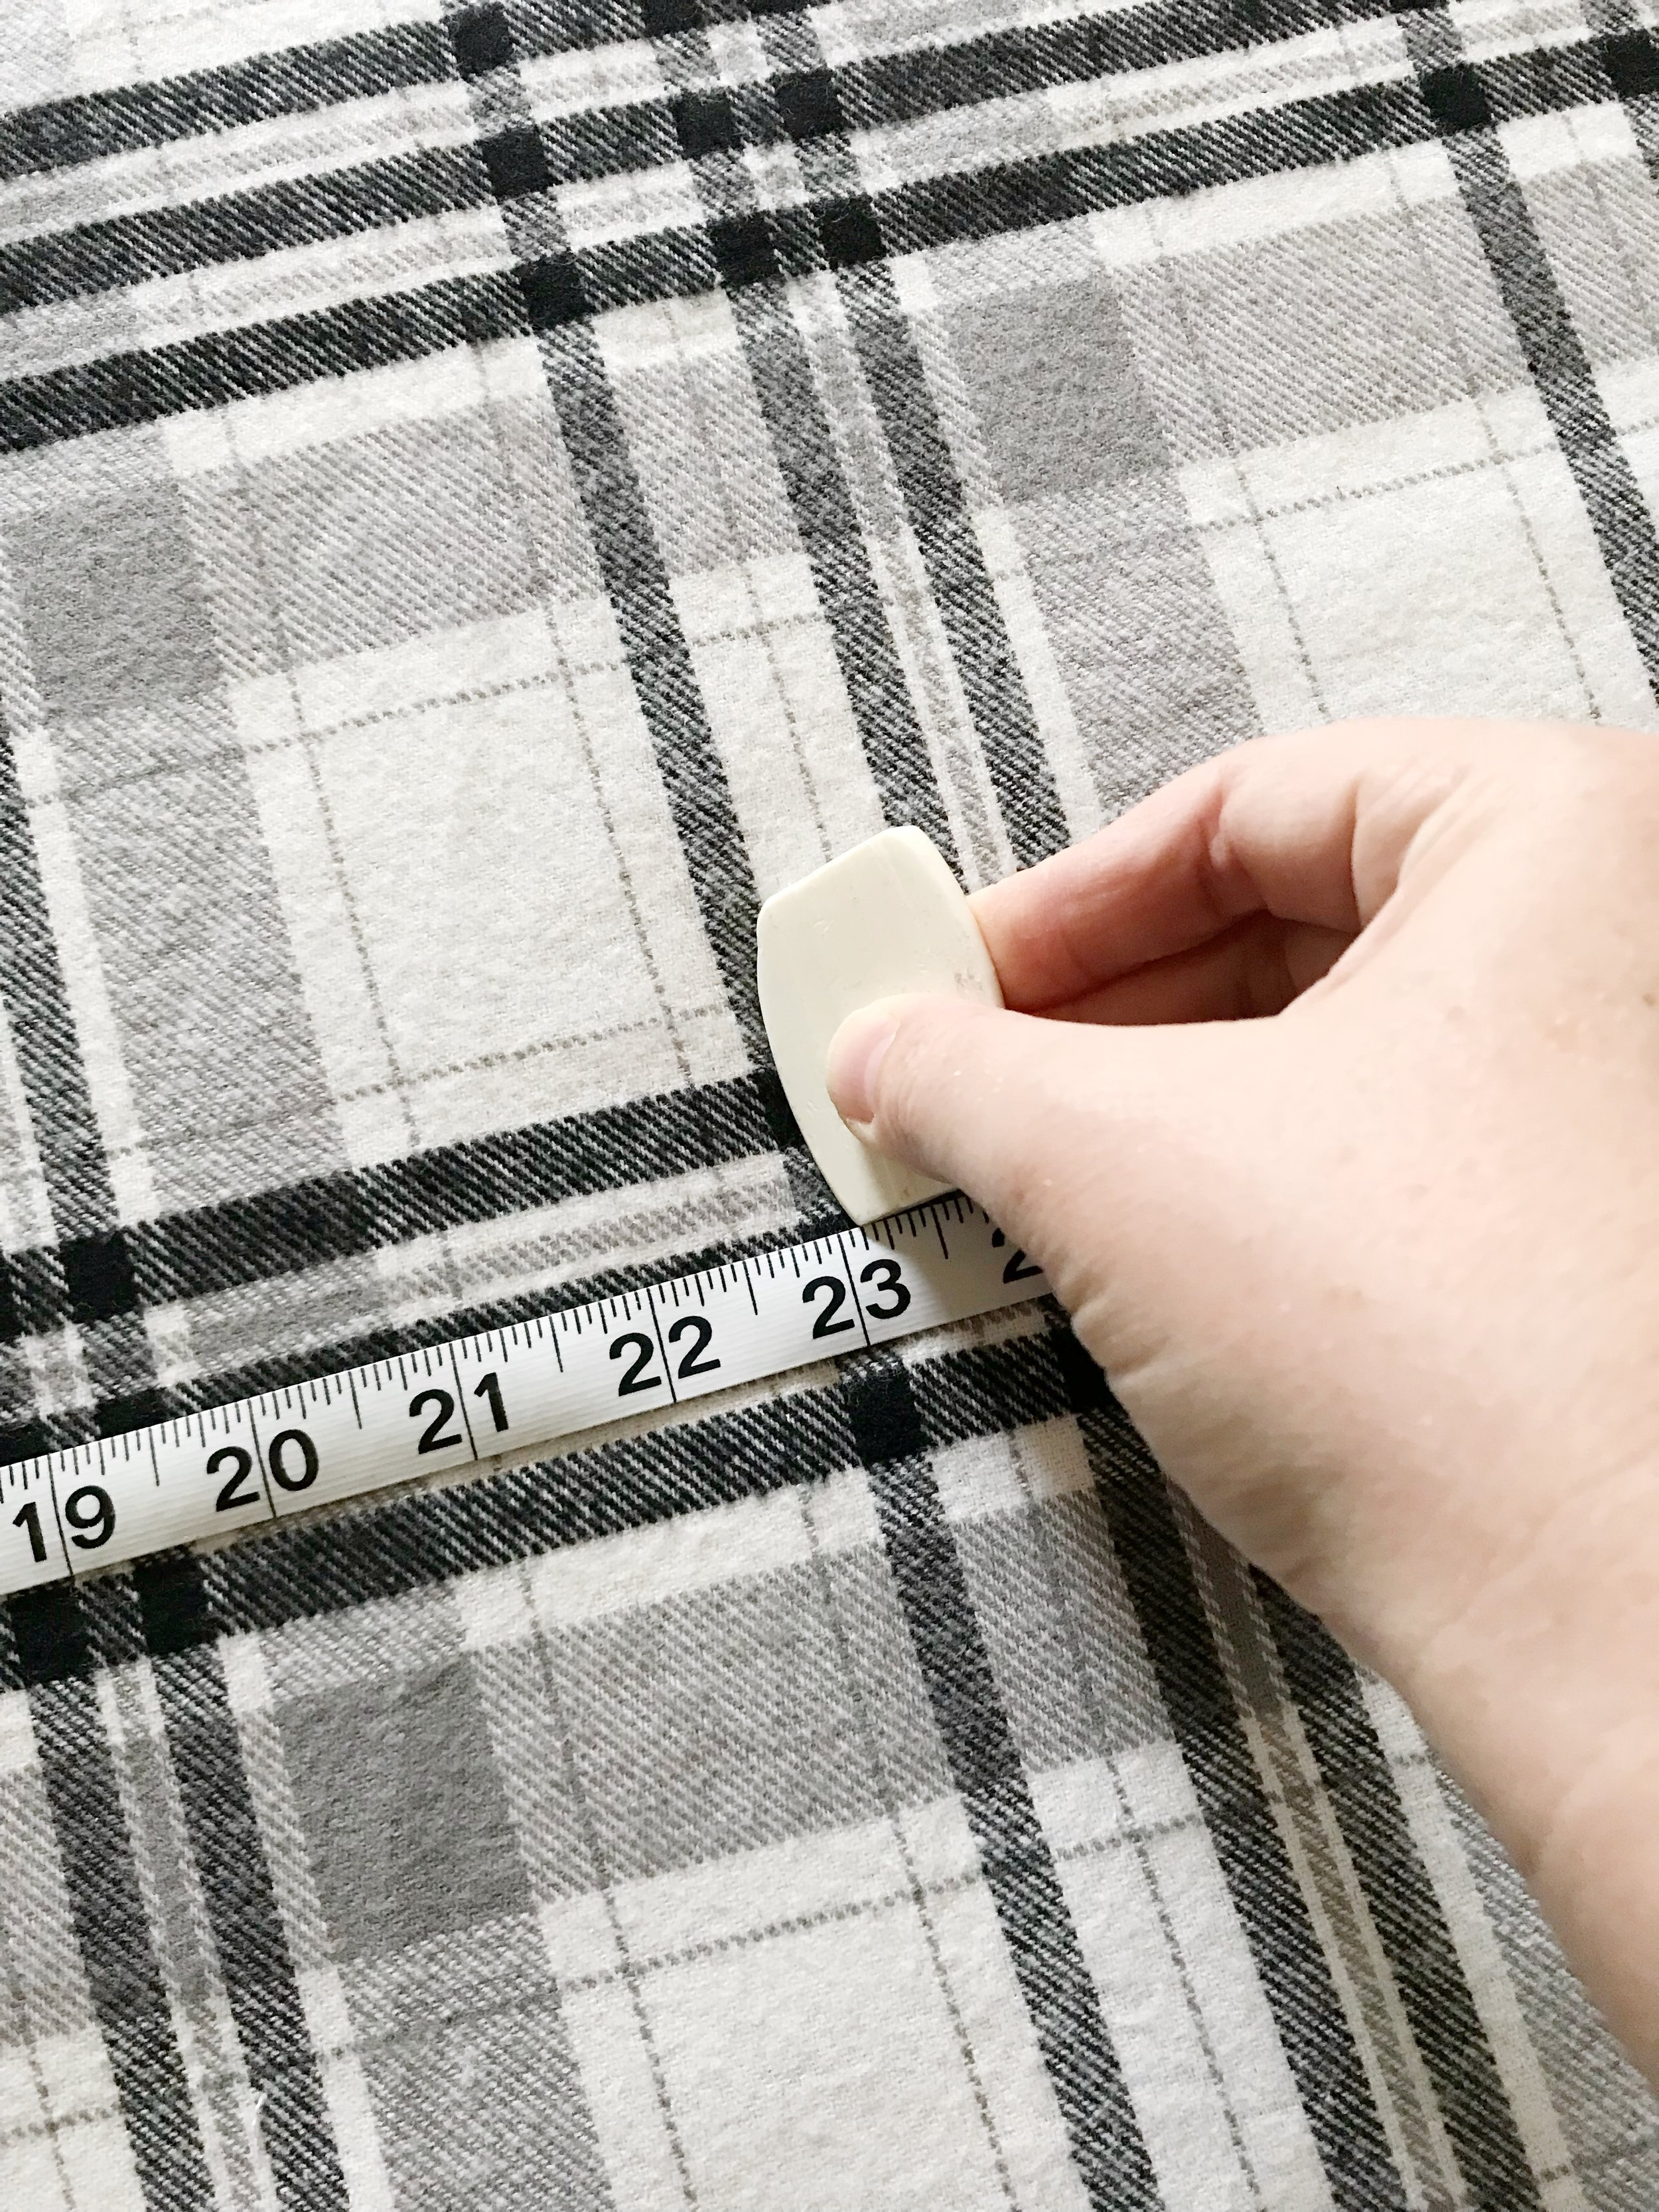
Measure 11 inches down and 5 inches in to find where to start your seams. Make the seams about 6 inches long. First mark where the seam will be with tailor's chalk or pen and then put some pins along the line to hold both layers together. Sew along the line and you are done!

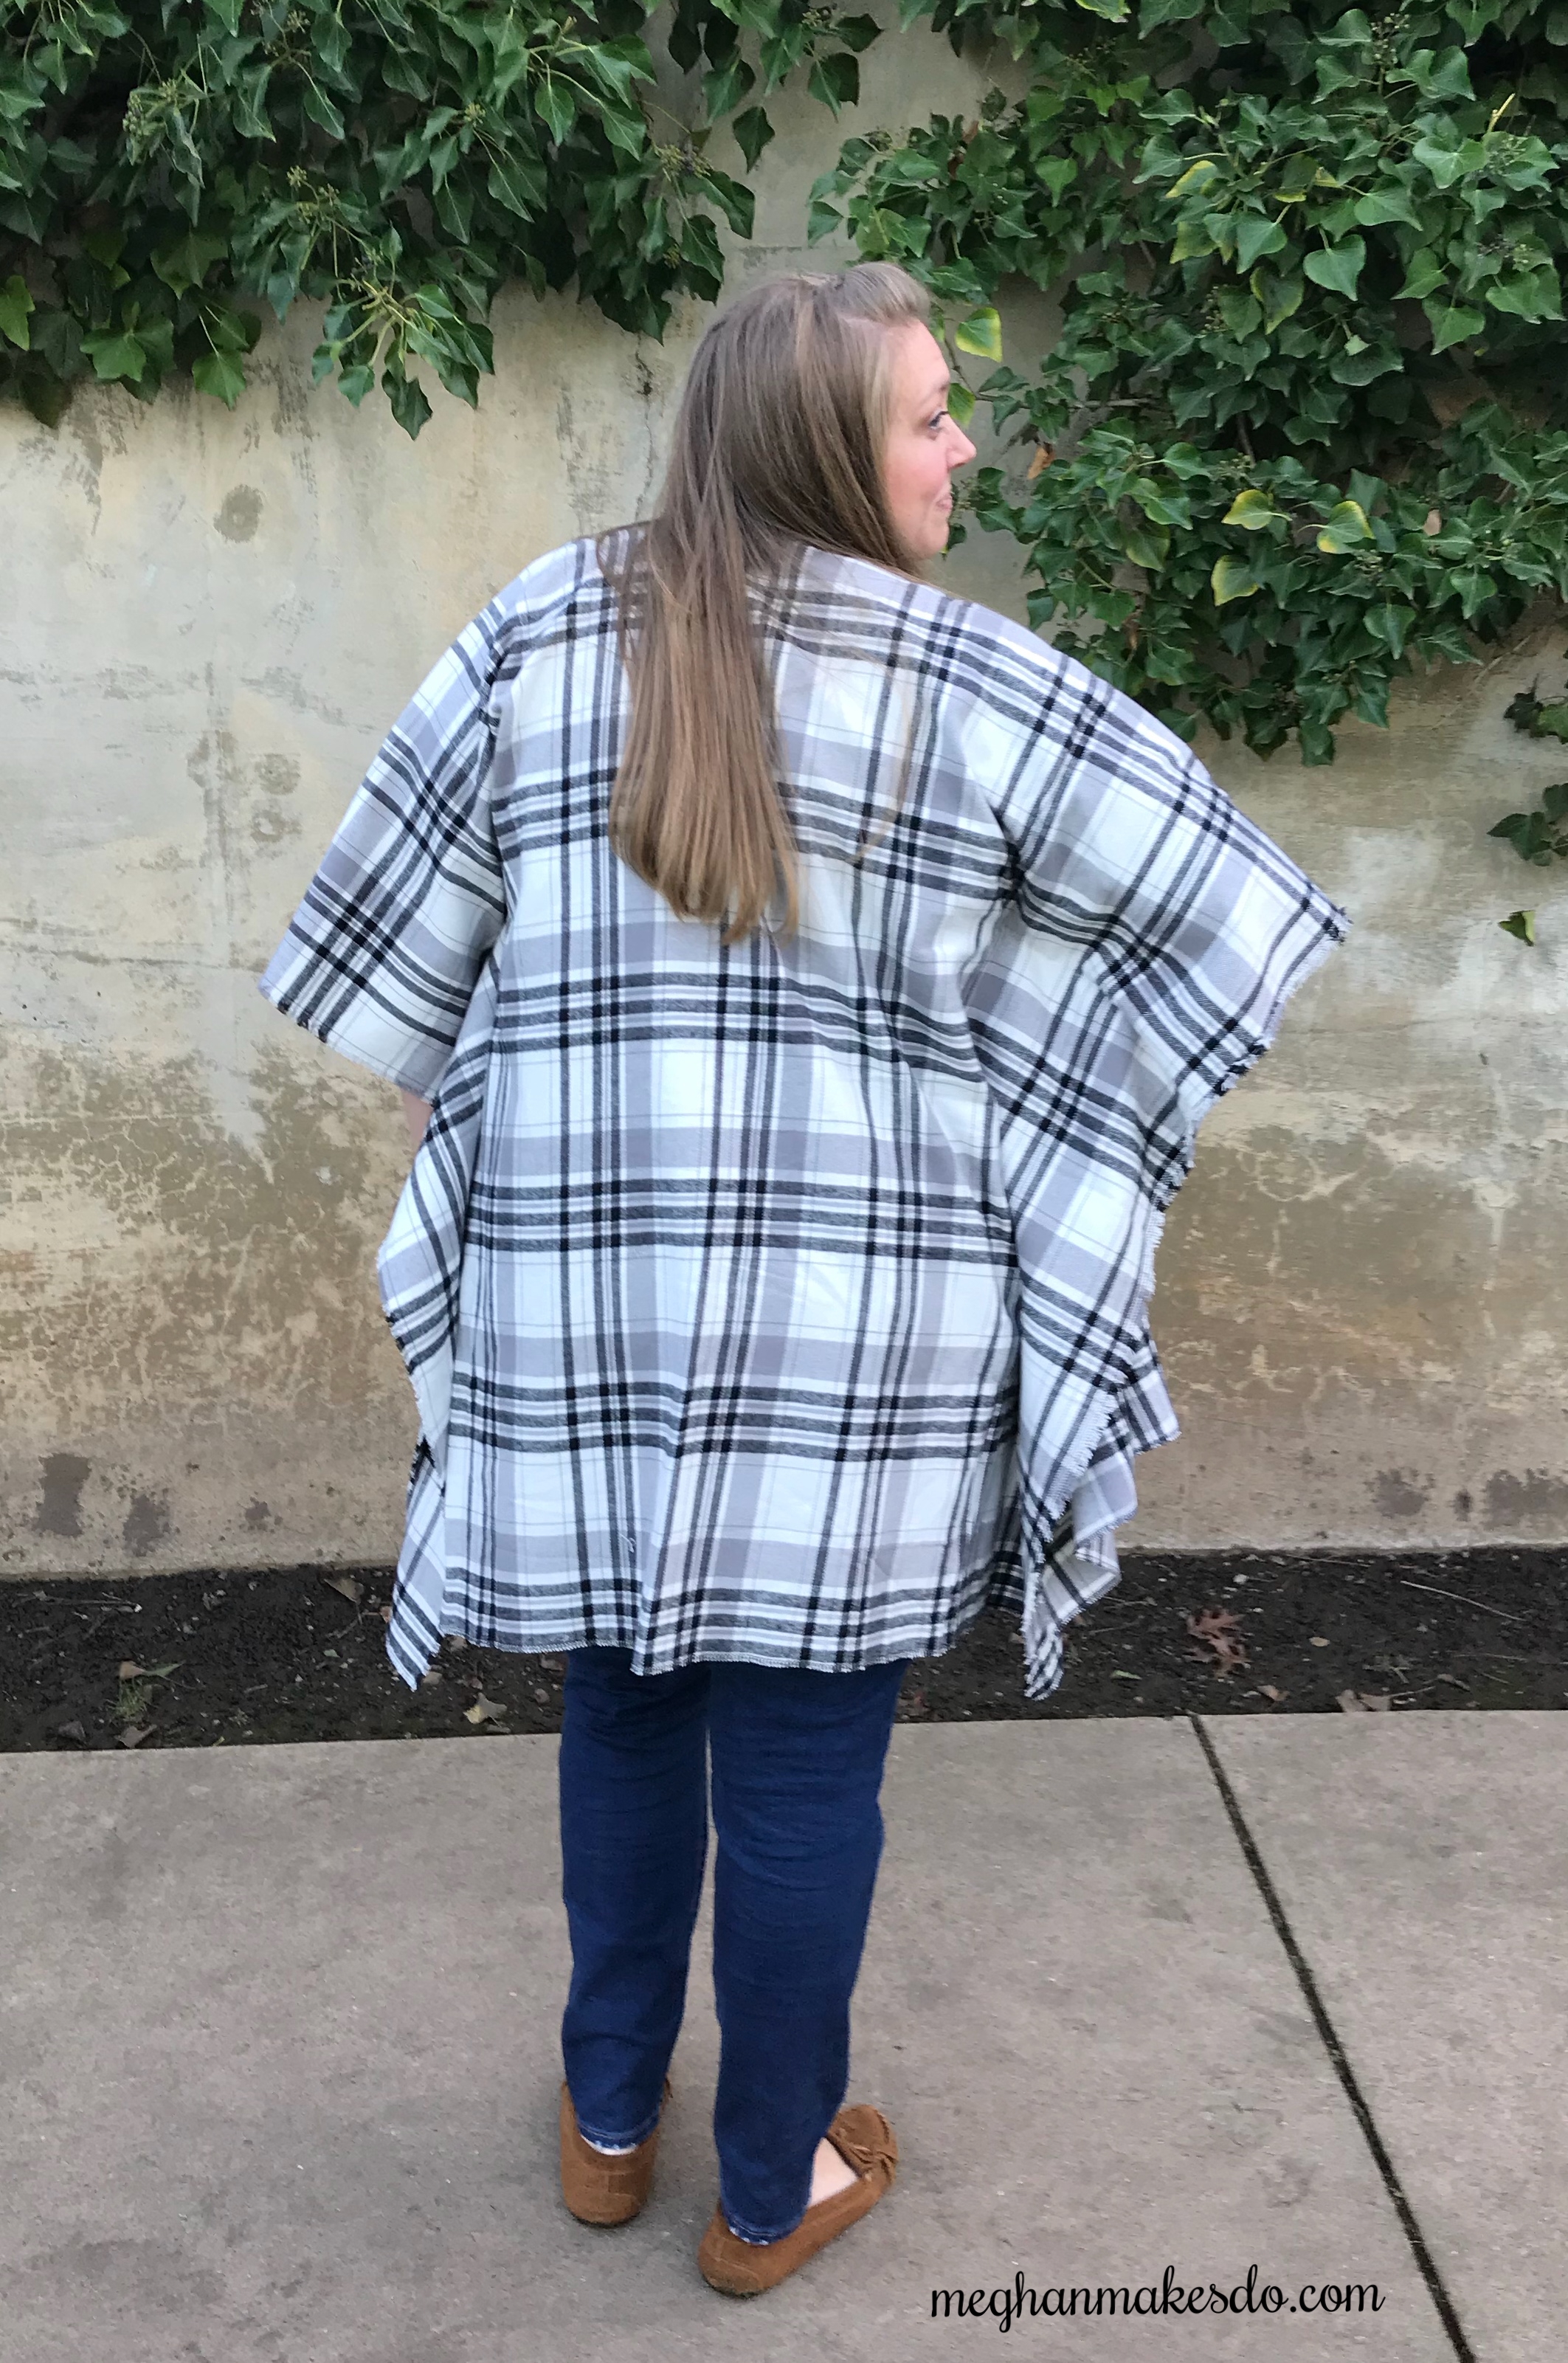
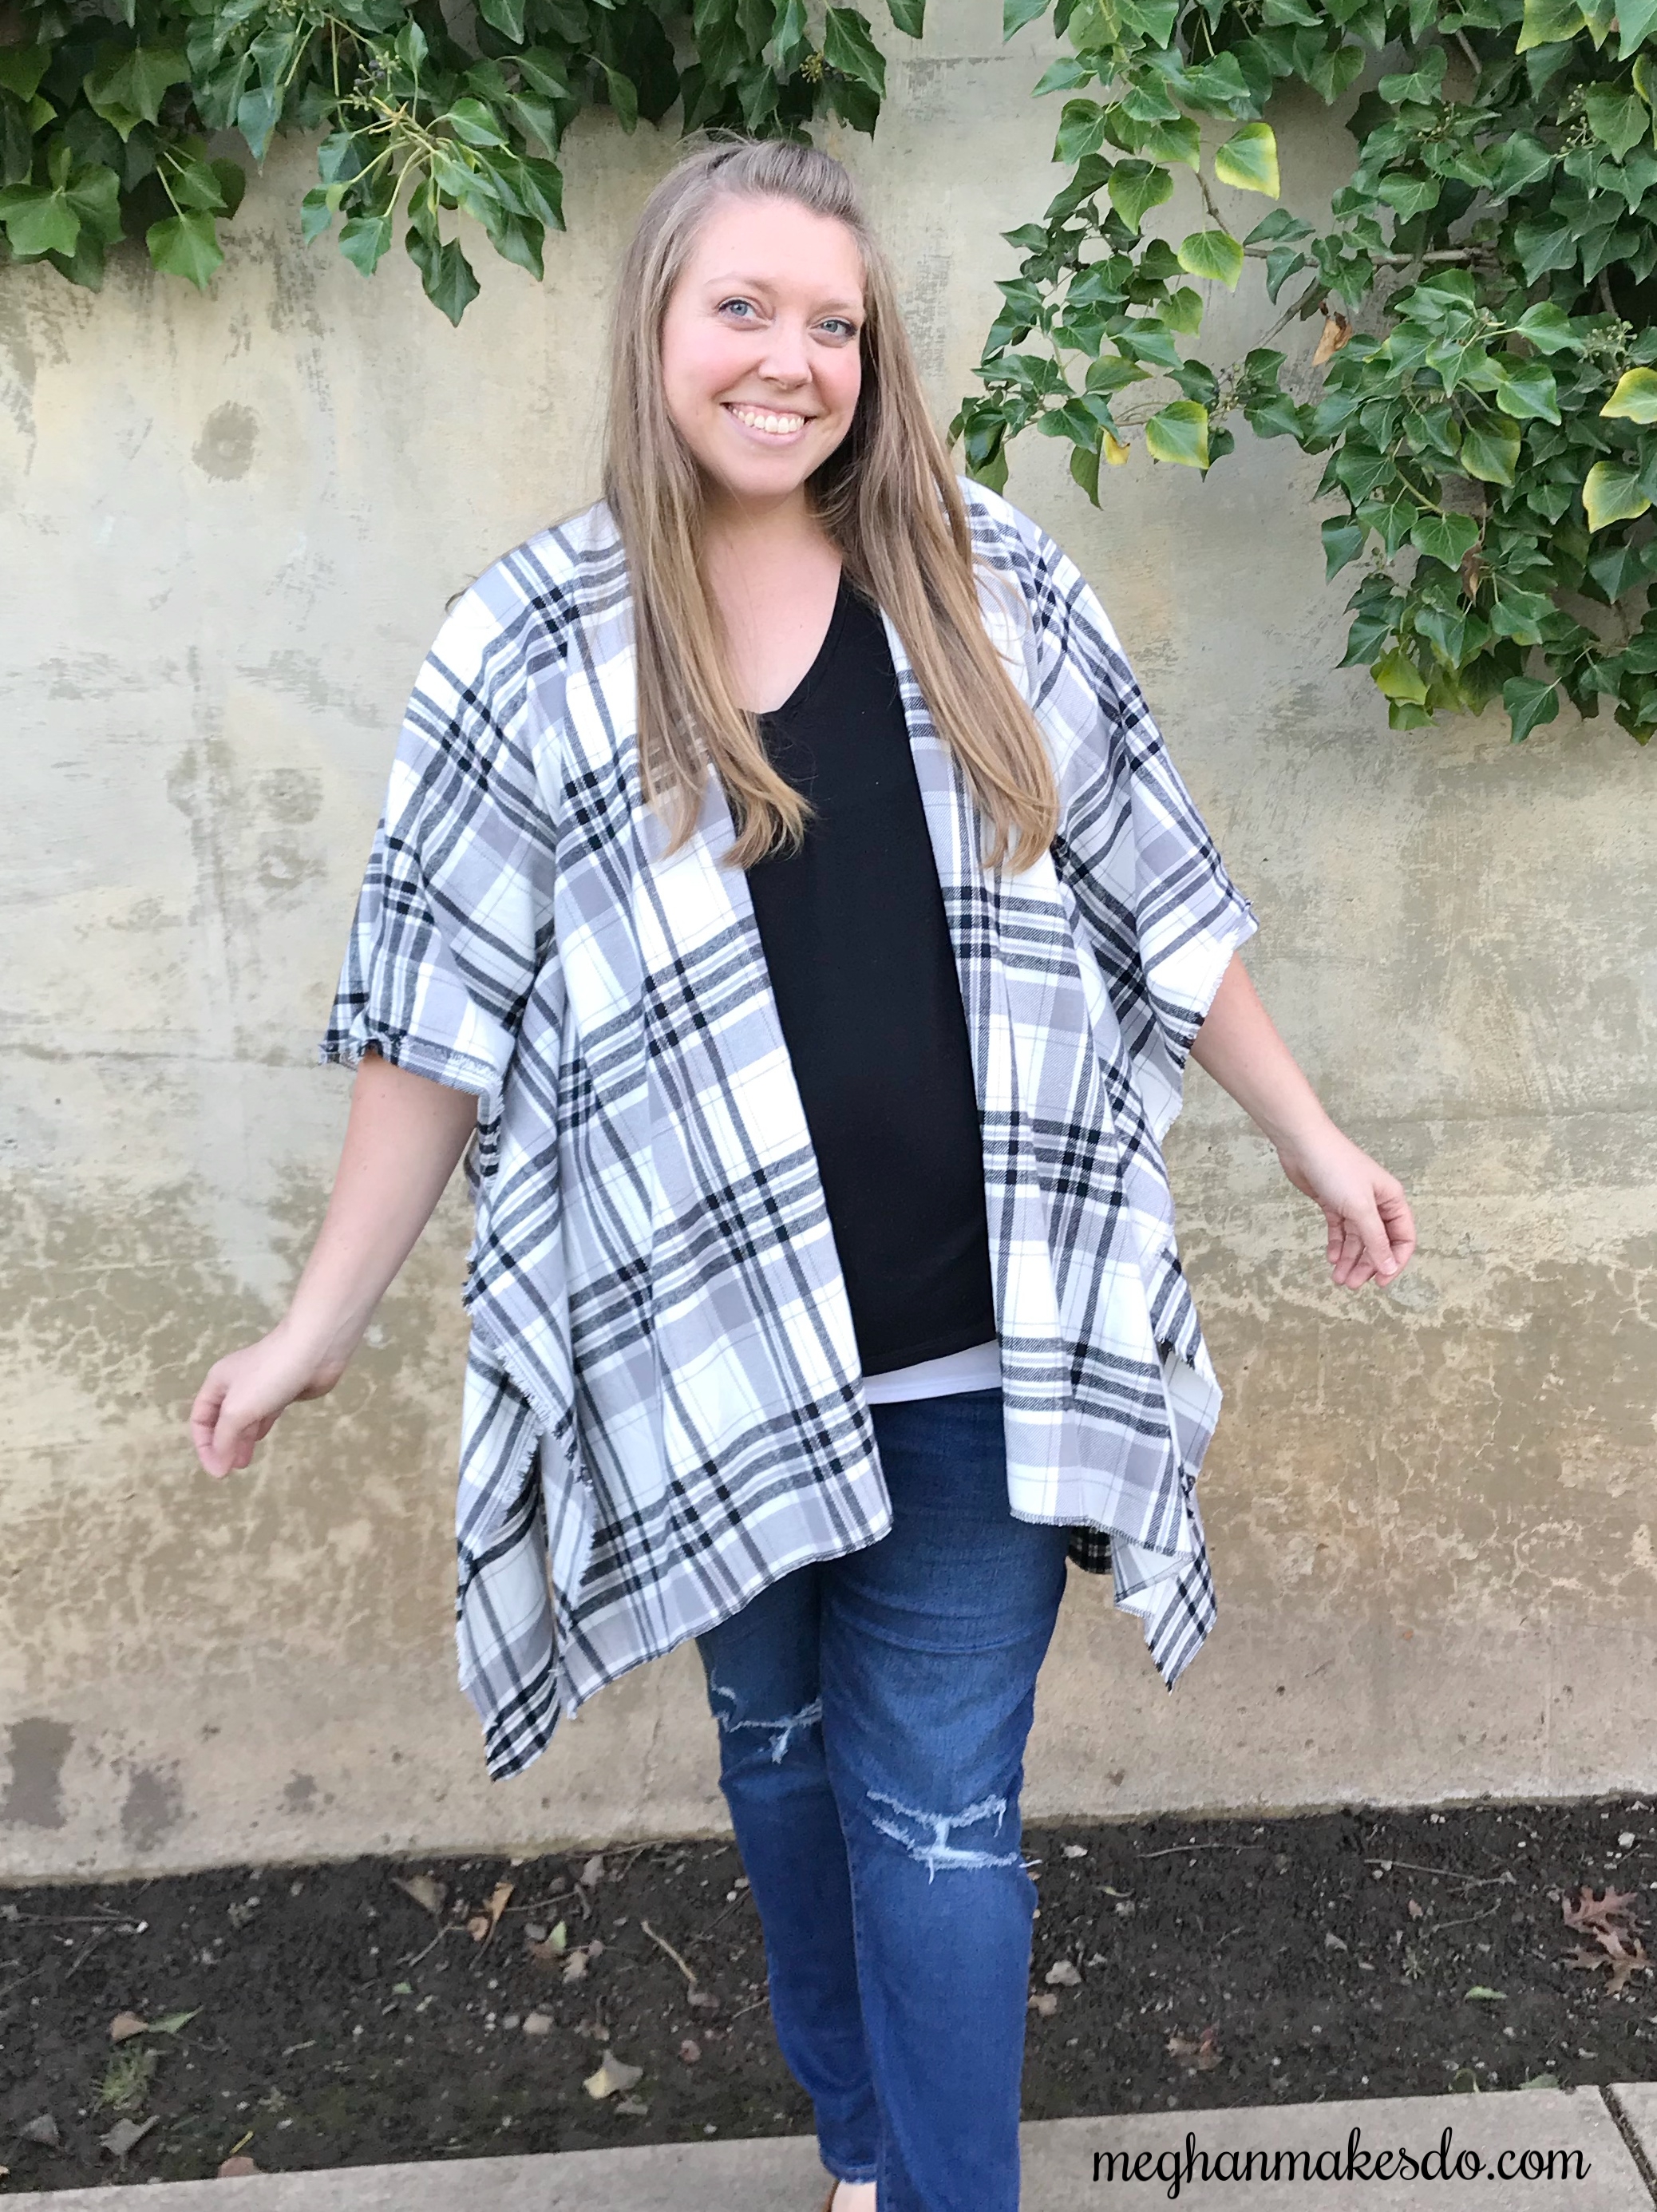
This was seriously the easiest project. I felt a bit silly that I hadn't made it sooner. I wore it out the next day and got a lot of compliments. It's light weight, but warm so it's perfect for fall and early winter weather. You could also pull the side across the front and add a belt to make it create a whole new look.

Go grab some of your favorite flannel fabric and make one for yourself! I'd love to see what you make so use #meghanmakesdo on social media to share.