

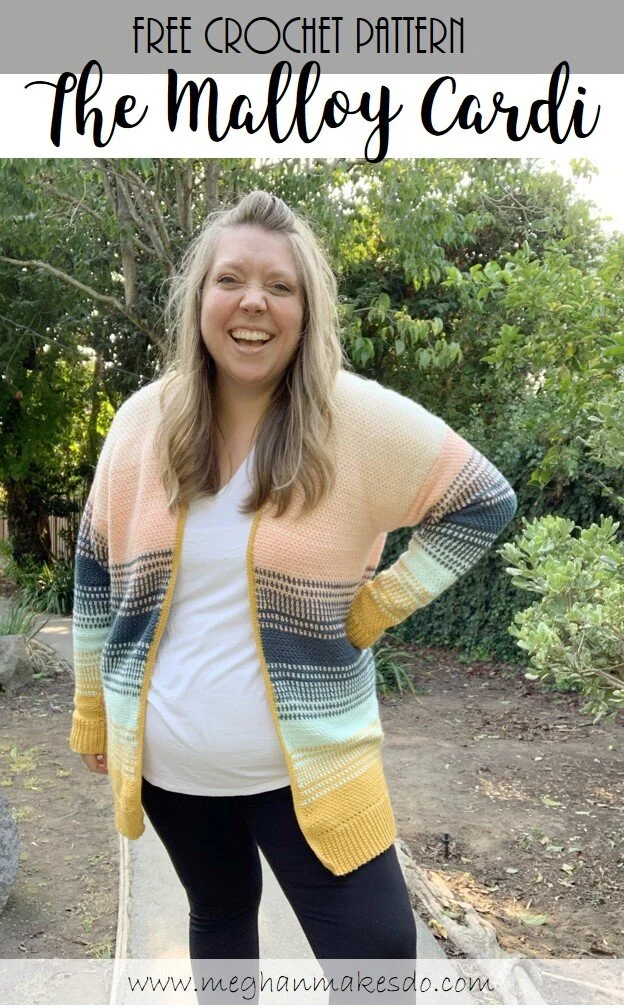
The Malloy Cardi- Free Crochet Pattern
This post contains affiliate links. If you make a purchase through one of those links I may receive a small commission. It’s an easy way to support this blog at no additional cost to you.
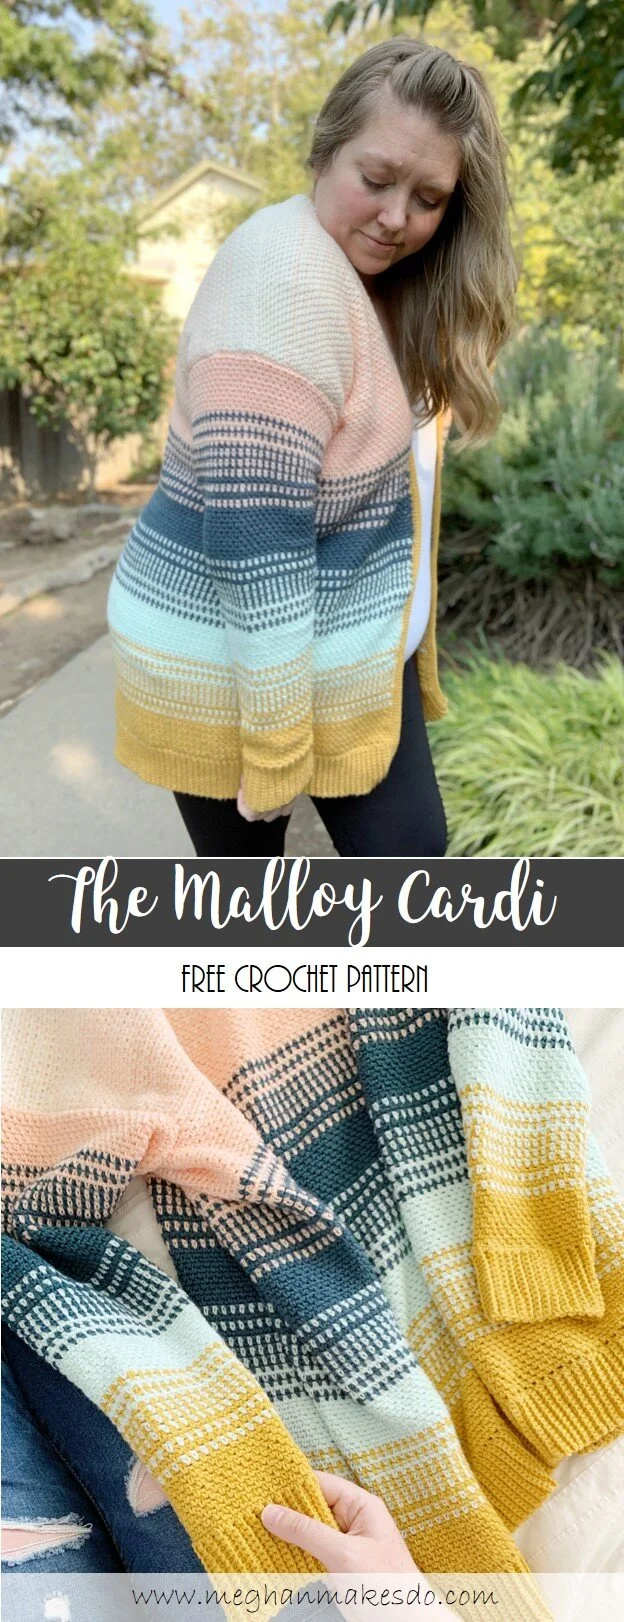
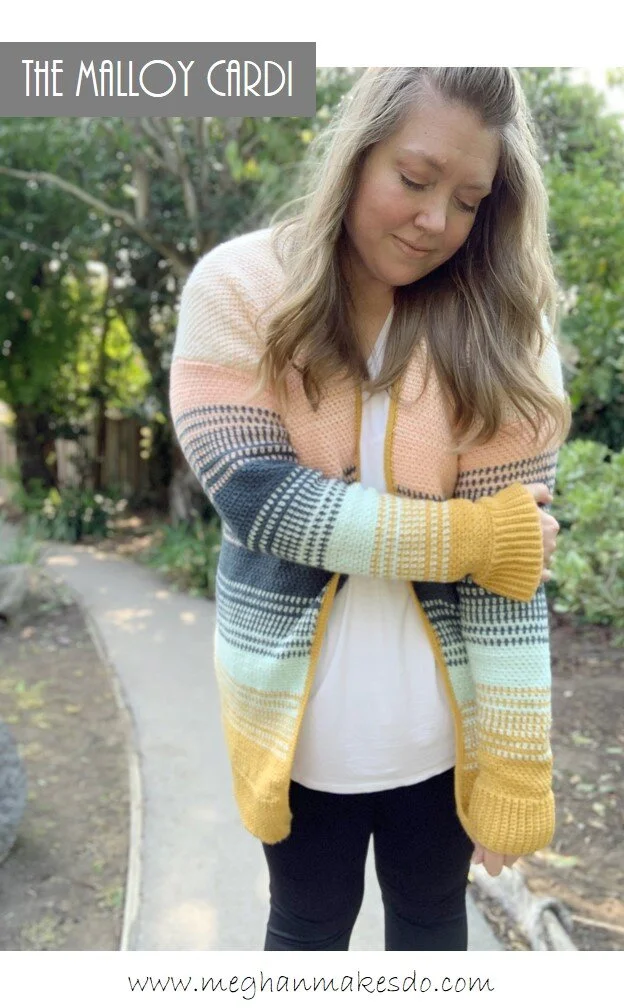
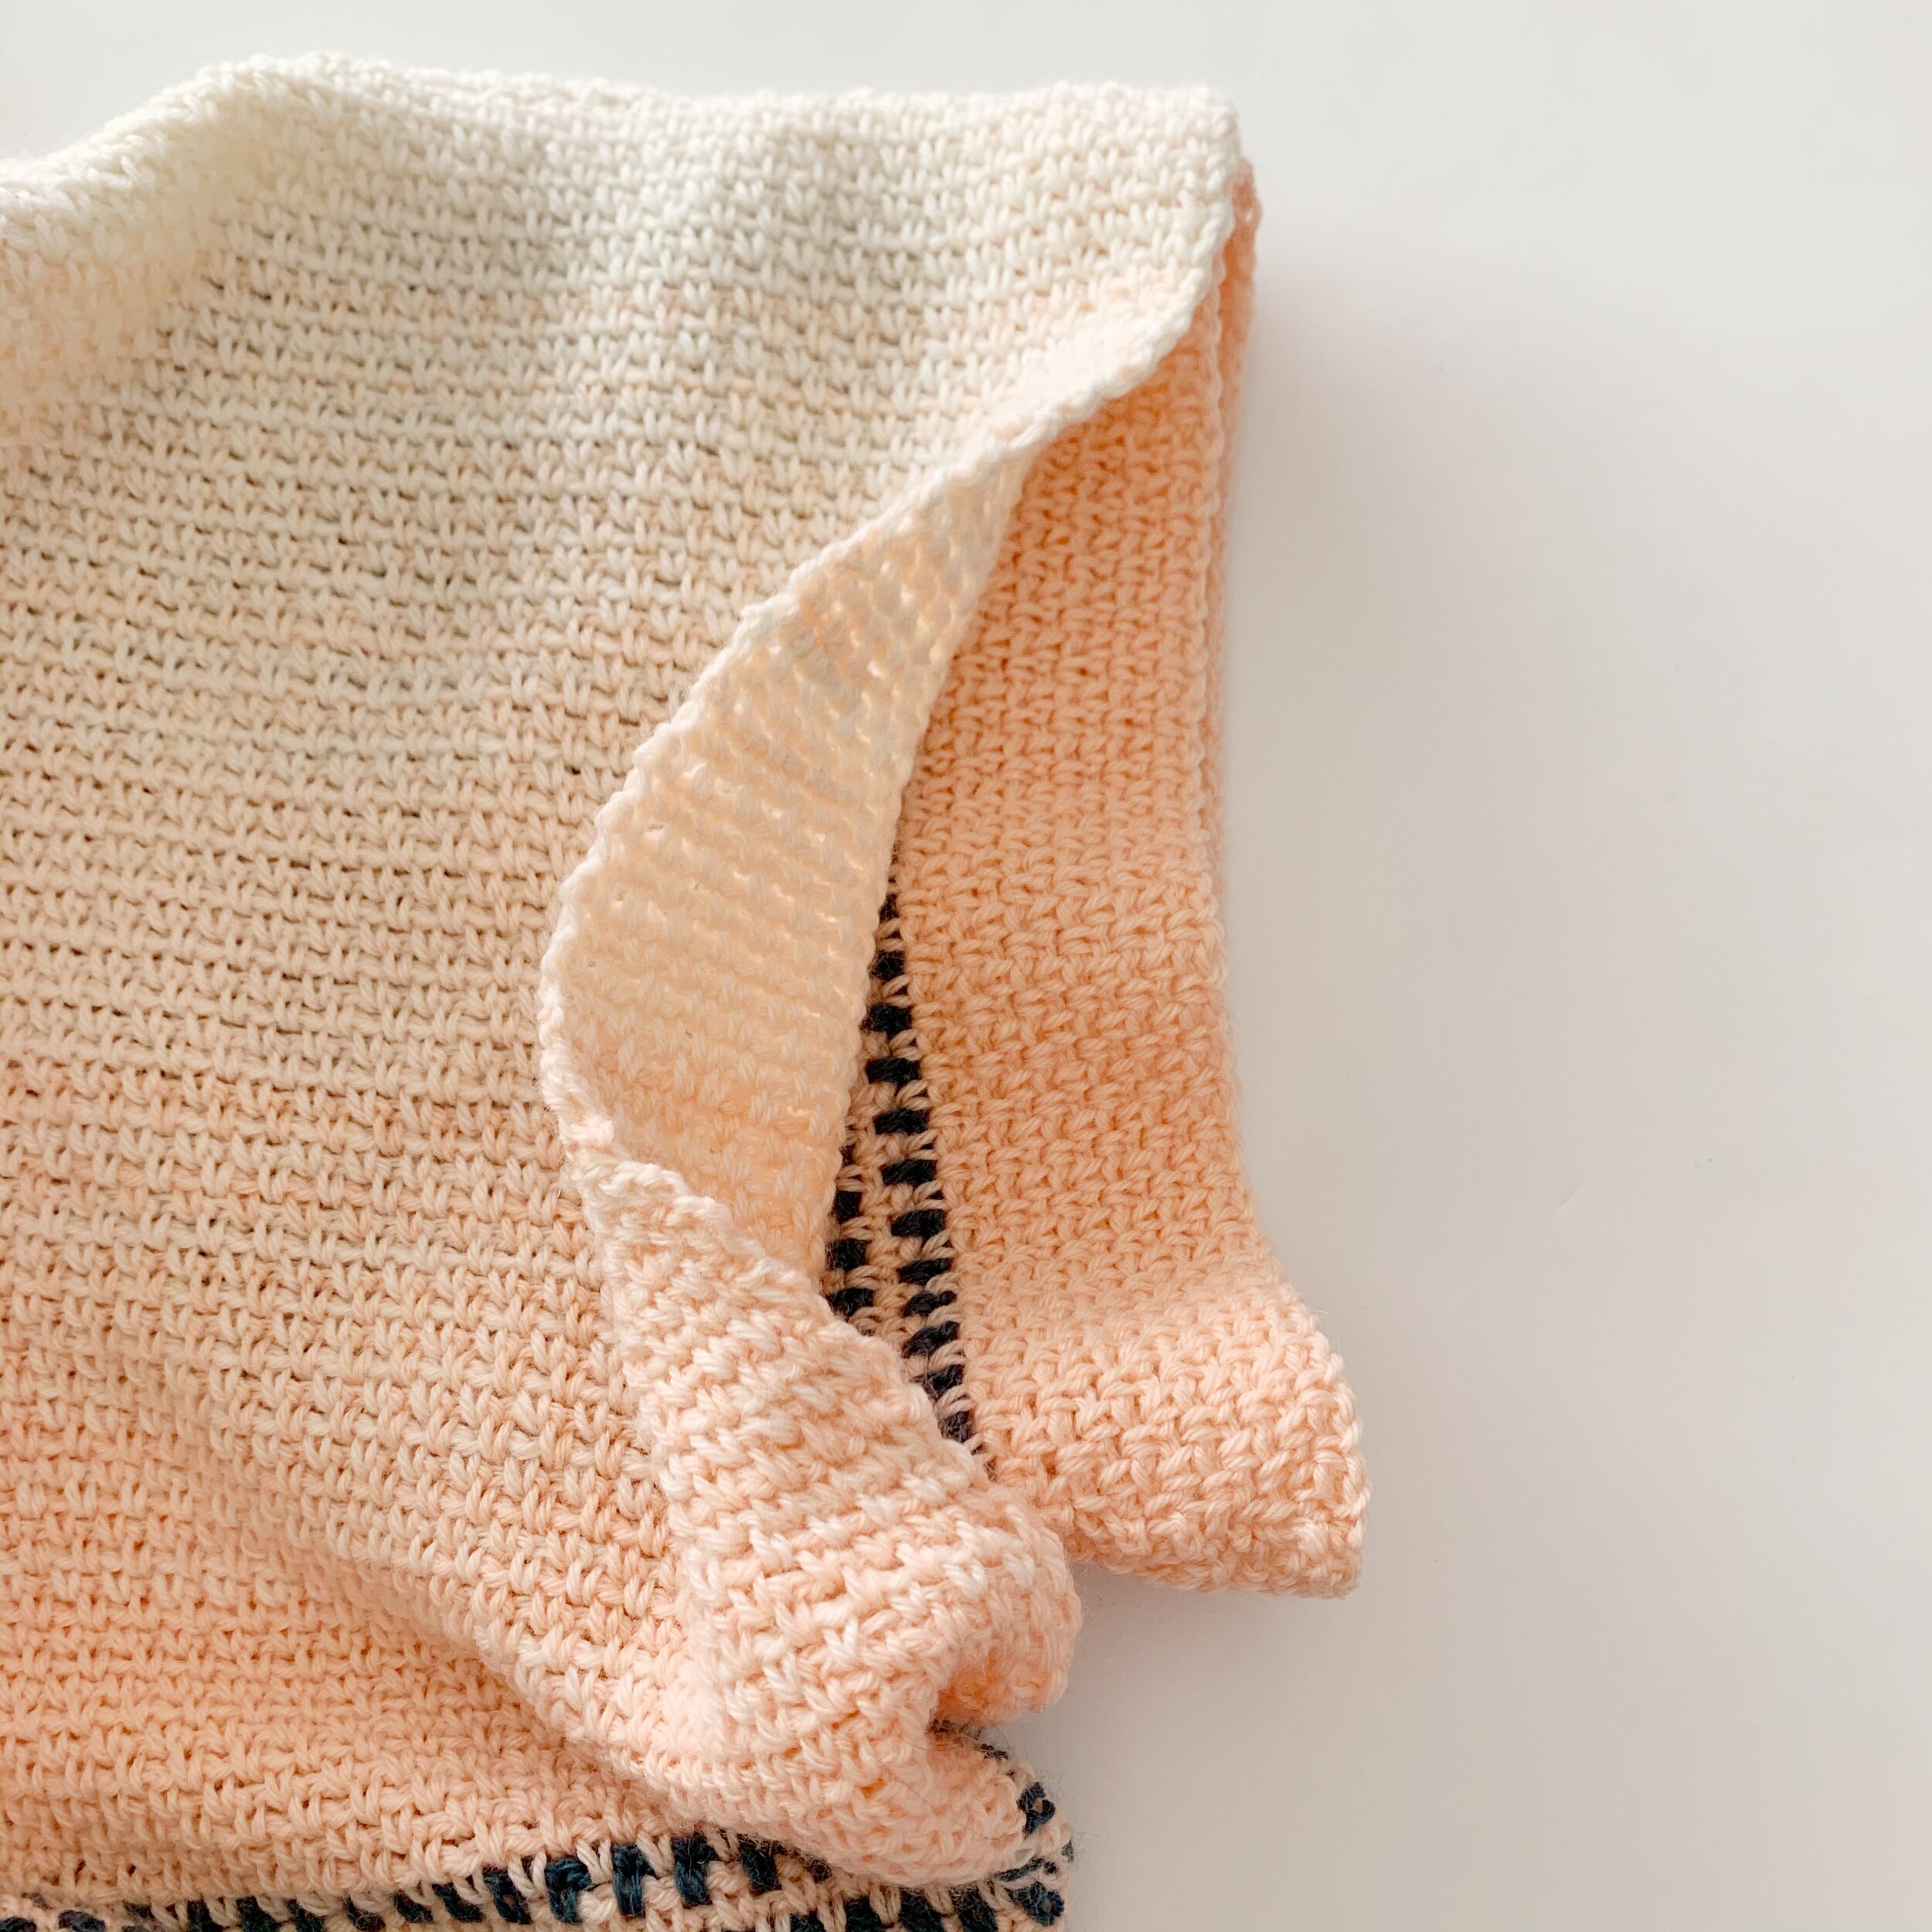
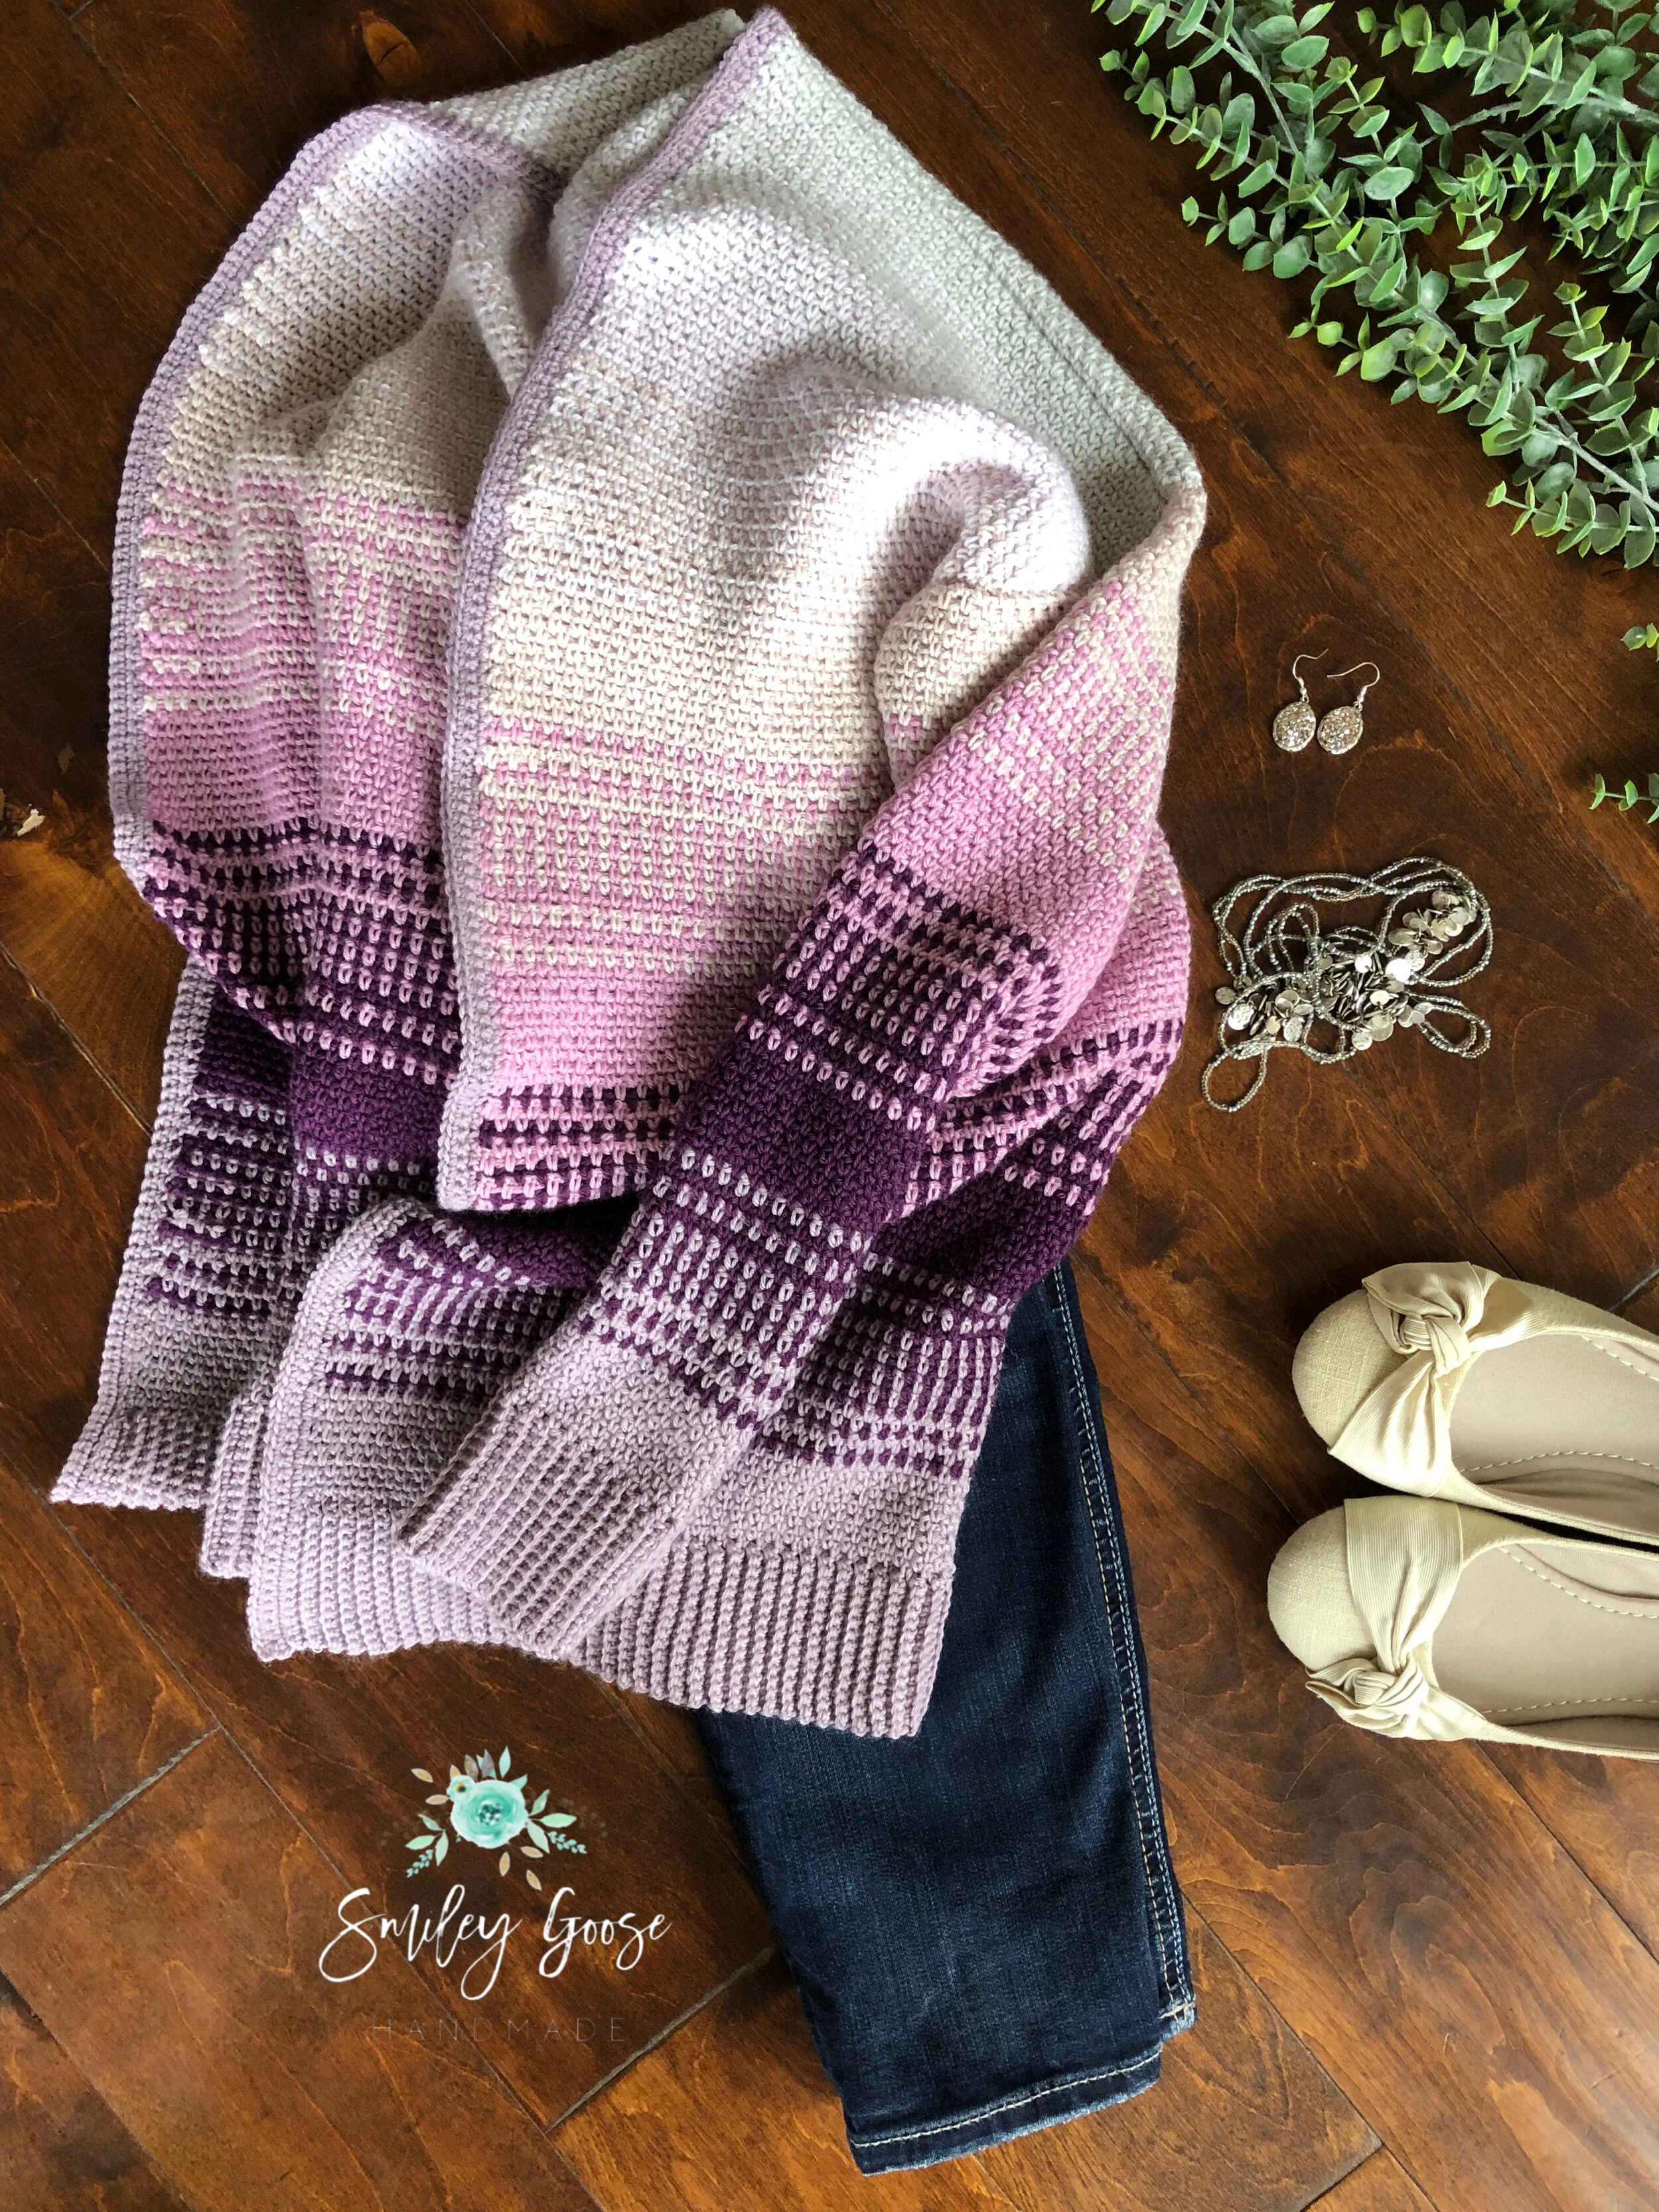
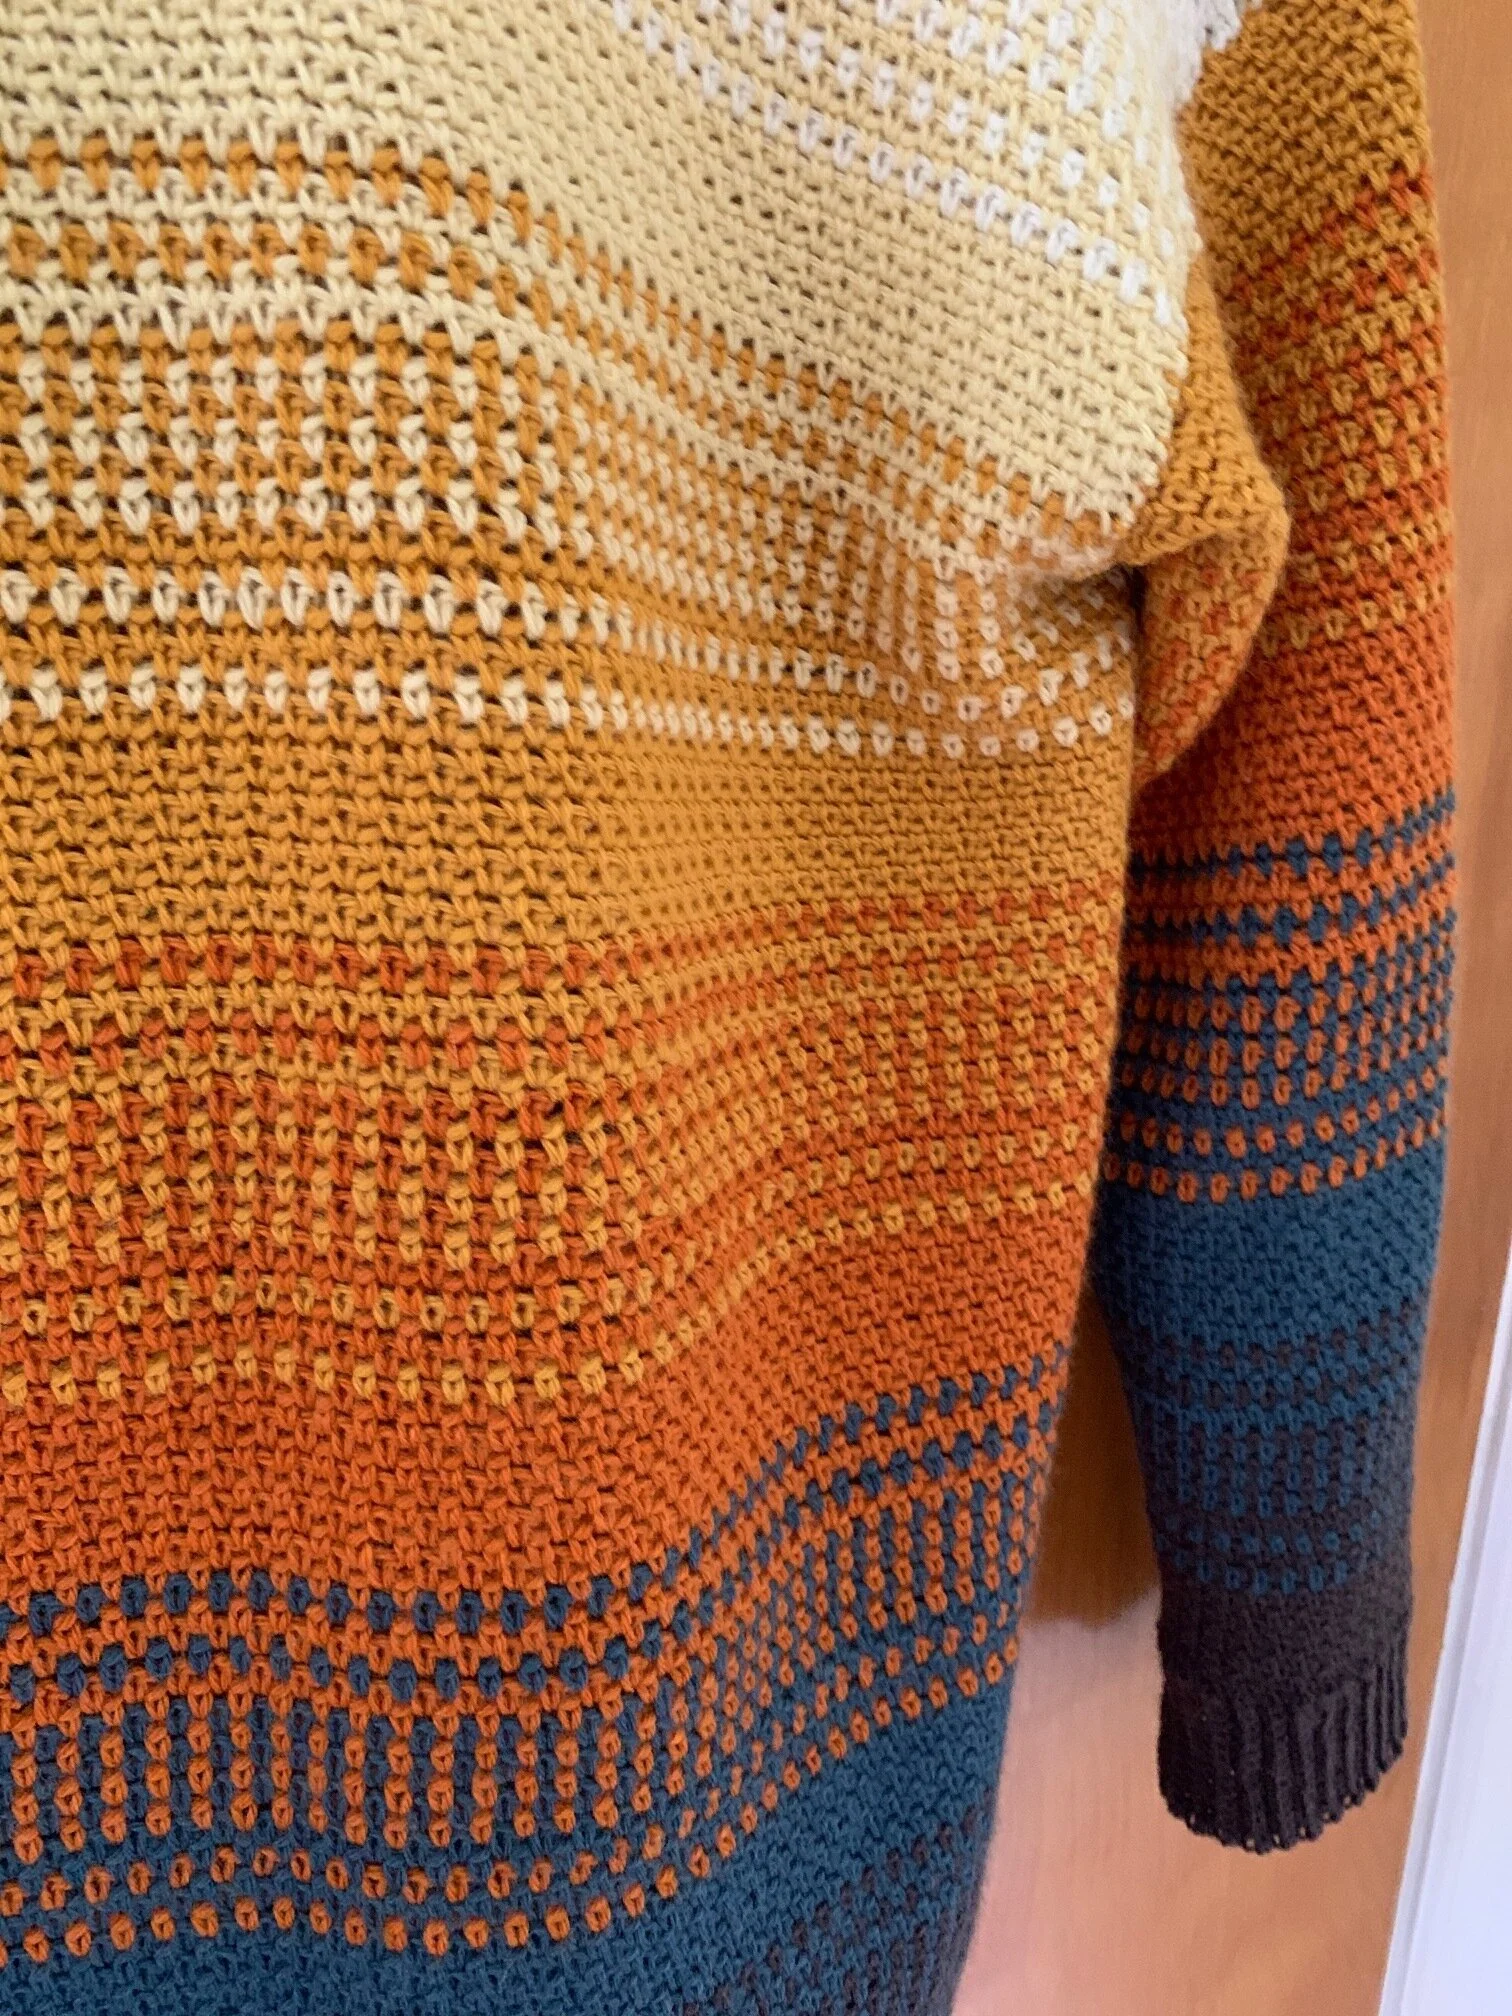
The Malloy Cardi is finally here! Get ready for Fall with this stunning color fade cardigan. Using simple stitches and 6 different colors you’ll be ready for cozy crocheting during those crisp Fall nights. Scroll down for the free pattern or grab a printable PDF in my shop.
Do you ever come across a color palette and it literally makes your heart skip a beat? That’s exactly what happened when I first spotted this gorgeous set of colors in the Pigment and Fiber stack from Yarn Bee. It was love at first sight. At the time I didn’t know exactly what I would make with it, but I knew I just had to have it. I picked up a few skeins and then life happened and they sat in my stash for over a year!
With the craziness of 2020 I needed a project that I could slowly work on and use as my little reprieve from the rest of my busy schedule. The tiny stitches were easy to get lost in and provided much needed comfort for me during the first few months of the pandemic. Each new color change gave me so much excitement and encouraged me to keep going.
I challenged myself with this design in so many ways. The tiny yarn, the color fade and tapered sleeves were all firsts for me. I’m thrilled to finally be bringing this design into the world and know I’ll be wearing it for years to come. You can find the free pattern below or grab a digital PDF in my shop, Etsy or Ravelry.
The Malloy Cardi Crochet Pattern
Materials:
1594-3506 yards of Yarn Bee Pigment and Fiber or similar light fingering weight 1 yarn (see size for exact amounts)
Scissors
Stitch markers
Abbreviations:
ch- chain
st(s)- stitch(es)
sk- skip
sp- space
sl st- slip stitch
sc- single crochet
WS- wrong side
RS- right side
BLO- back loop only
Notes:
1.Pattern is worked in sections starting with a large rectangle for the lower front and back. The upper front and back are worked directly into the top of the large rectangle and shoulders are then seamed. Sleeves are worked separately and then seamed into the armholes.
2.Chains at beginning of rows do not count as a stitch unless otherwise noted.
3. Pattern is written with little to no positive ease. The fronts of the cardigan will not touch when finished. See size chart for finished sizes. For a looser fit size up.
4. Moss stitch tends to work up tightly. Make a larger than normal gauge swatch to insure accurate measurements. Make sure to keep chain stitches loose when working across each row. You can find a detailed moss stitch tutorial here.
Size:
XS: fits bust 28-30” (approx. 1594 yards) 4 skeins
S: fits bust 32-34” (approx. 1815 yards) 4 skeins
M: fits bust 36-38” (approx. 2014 yards) 5 skeins
L: fits bust 40-42” (approx. 2266 yards) 5 skeins
XL: fits bust 44-46” (approx. 2443 yards) 6 skeins
2X: fits bust 48-50” (approx. 2661 yards) 6 skeins
3X: fits bust 52-54” (approx. 2906 yards) 7 skeins
4X: fits bust 56-58” (approx. 3229 yards) 7 skeins
5X: fits bust 60-62” (approx. 3506 yards) 8 skeins
*skein counts listed are for Pigment and Fiber. If using a different yarn, skein counts will vary.


Gauge:
25 sts and 24 rows in moss stitch = 4” square

Main Body:(left) read bottom to top. Fade areas are all worked the same. Solid areas have a different amount of rows depending on size.
Sleeves: (right) read top to bottom. Number of stitches are included for increase rows.
Pattern:
Ribbing:
With color A, ch 15
Row 1: sc in 2nd ch from hook and in each ch across, ch 1, turn. (14)
Row 2: sc in BLO in each st across, ch 1, turn. (14)
Rows 3-175(201, 225, 251, 275, 301, 323, 351, 377): repeat Row 2. (14)
Turn piece 90 degrees and start Main Body by working into the ends of the rows of the ribbing. Follow the color chart for your size starting with Row 1.
Main Body:
Row 1: ch 1, sc in first st, ch 1, sk 1, *sc in next, ch 1, sk 1, repeat from * across ending with a sc in the last st, ch 1, turn. (175, 201, 225, 251, 275, 301, 323, 351, 377)
Row 2: sc in first st, sc in ch1-sp, *ch 1, sk 1, sc in ch1-sp, repeat from *across ending with a sc in the last st, ch 1, turn. (175, 201, 225, 251, 275, 301, 323, 351, 377)
Row 3: ch 1, sc in first st, ch 1, sk 1, *sc in next ch-1 sp, ch 1, sk 1, repeat from * across ending with a sc in the last st, ch 1, turn. (175, 201, 225, 251, 275, 301, 323, 351, 377)
Rows 4-105: repeat Rows 2 & 3 continuing to follow the color chart for your size.
You will now be working the Front Left, Front Right and Back pieces of the cardigan. You will work them directly onto the Main Body section, leaving a few sts in between for the underarms. The space in between each section will become the armholes.
Place a stitch marker in the 41st 47th, 53rd, 59th, 65th, 71st, 77th, 85th, 91st) stitch from each edge.
Front Left:
Row 1: sc in first st, sc in ch1-sp, *ch1, sk 1, sc in ch1-sp, repeat from * until 1st st marker, sc in same st as st marker, ch 1, turn. (41, 47, 53, 59, 65, 71, 77, 85, 91)
Row 2: sc in first st, ch 1, sk 1, *sc in next ch-1 sp, ch 1, sk 1, repeat from * across ending with a sc in the last st, ch 1, turn. (41, 47, 53, 59, 65, 71, 77, 85, 91)
Rows 3-39(42, 45, 48, 51, 54, 57, 60, 63): repeat Rows 1 & 2 continuing to follow the color chart for your size.
Fasten off leaving a long tail for seaming.
Place stitch markers in the 5th stitch from each of the previous stitch markers. Start and end the Back in those stitch markers.
Back:
Row 1: sc in first st, ch 1, sk 1, *sc in next ch-1 sp, ch 1, sk 1, repeat from * across ending with a sc in the last ch-1 sp where your next st marker is, ch 1, turn. (85, 99, 111, 125, 137, 151, 161, 173, 187)
Row 2: sc in first st, sc in ch1-sp, *ch1, sk 1, sc in ch1-sp, repeat from * until 1 st remains, sc in last st, ch 1, turn. (85, 99, 111, 125, 137, 151, 161, 173, 187)
Rows 3-39(42, 45, 48, 51, 54, 57, 60, 63): repeat Rows 1 & 2 continuing to follow the color chart for your size.
Fasten off leaving a long tail for seaming.
Front Right:
Attach yarn in next st marker.
Row 1: sc in first st, sc in ch1-sp, *ch1, sk 1, sc in ch1-sp, repeat from * across until 1 st remains, sc in last st, ch 1, turn. (41, 47, 53, 59, 65, 71, 77, 85, 91)
Row 2: sc in first st, ch 1, sk 1, *sc in next ch-1 sp, ch 1, sk 1, repeat from * across ending with a sc in the last st, ch 1, turn. (41, 47, 53, 59, 65, 71, 77, 85, 91)
Rows 3-39(42, 45, 48, 51, 54, 57, 60, 63): repeat Rows 1 & 2 continuing to follow the color chart for your size.
Fasten off and weave in all ends except for the long tails for seaming.
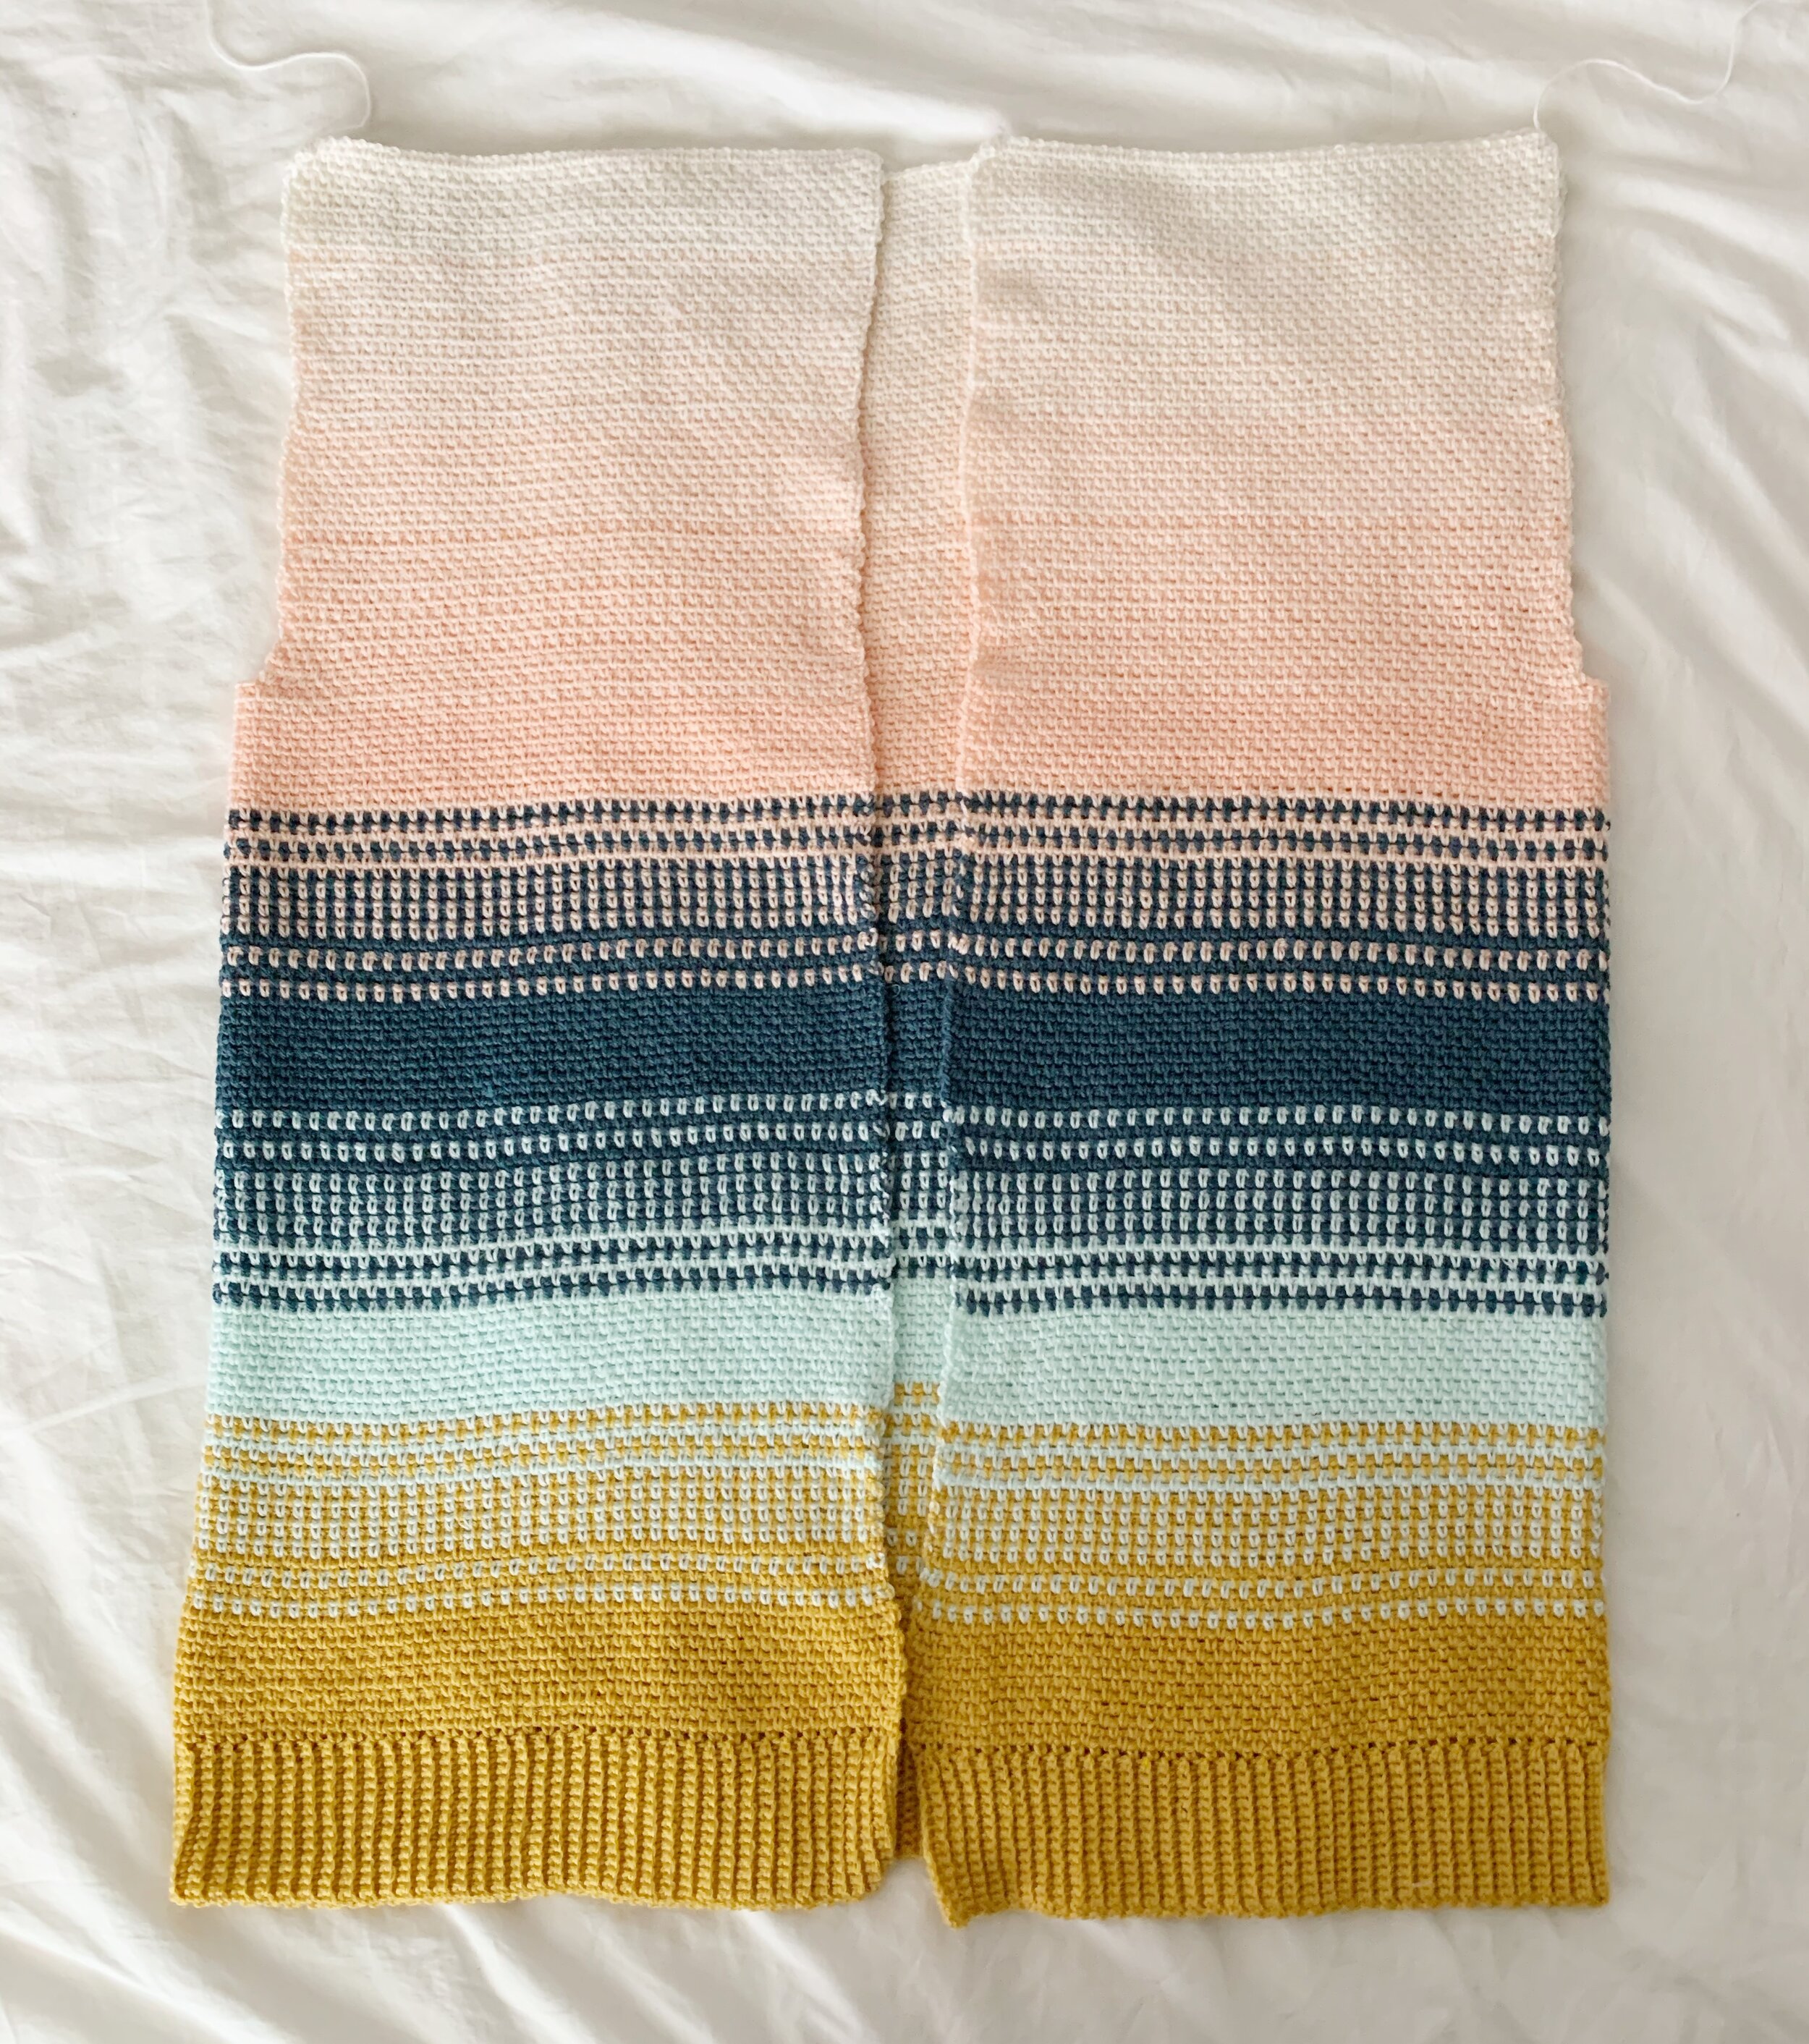
Fold Front Right and Front Left sides into the center of the piece. Then seam the shoulder seams together using your preferred method of seaming. There will be a 3(5, 5, 7, 7, 9, 7, 3, 5)stitch gap between the Front and Left panels where they attach to the Back.
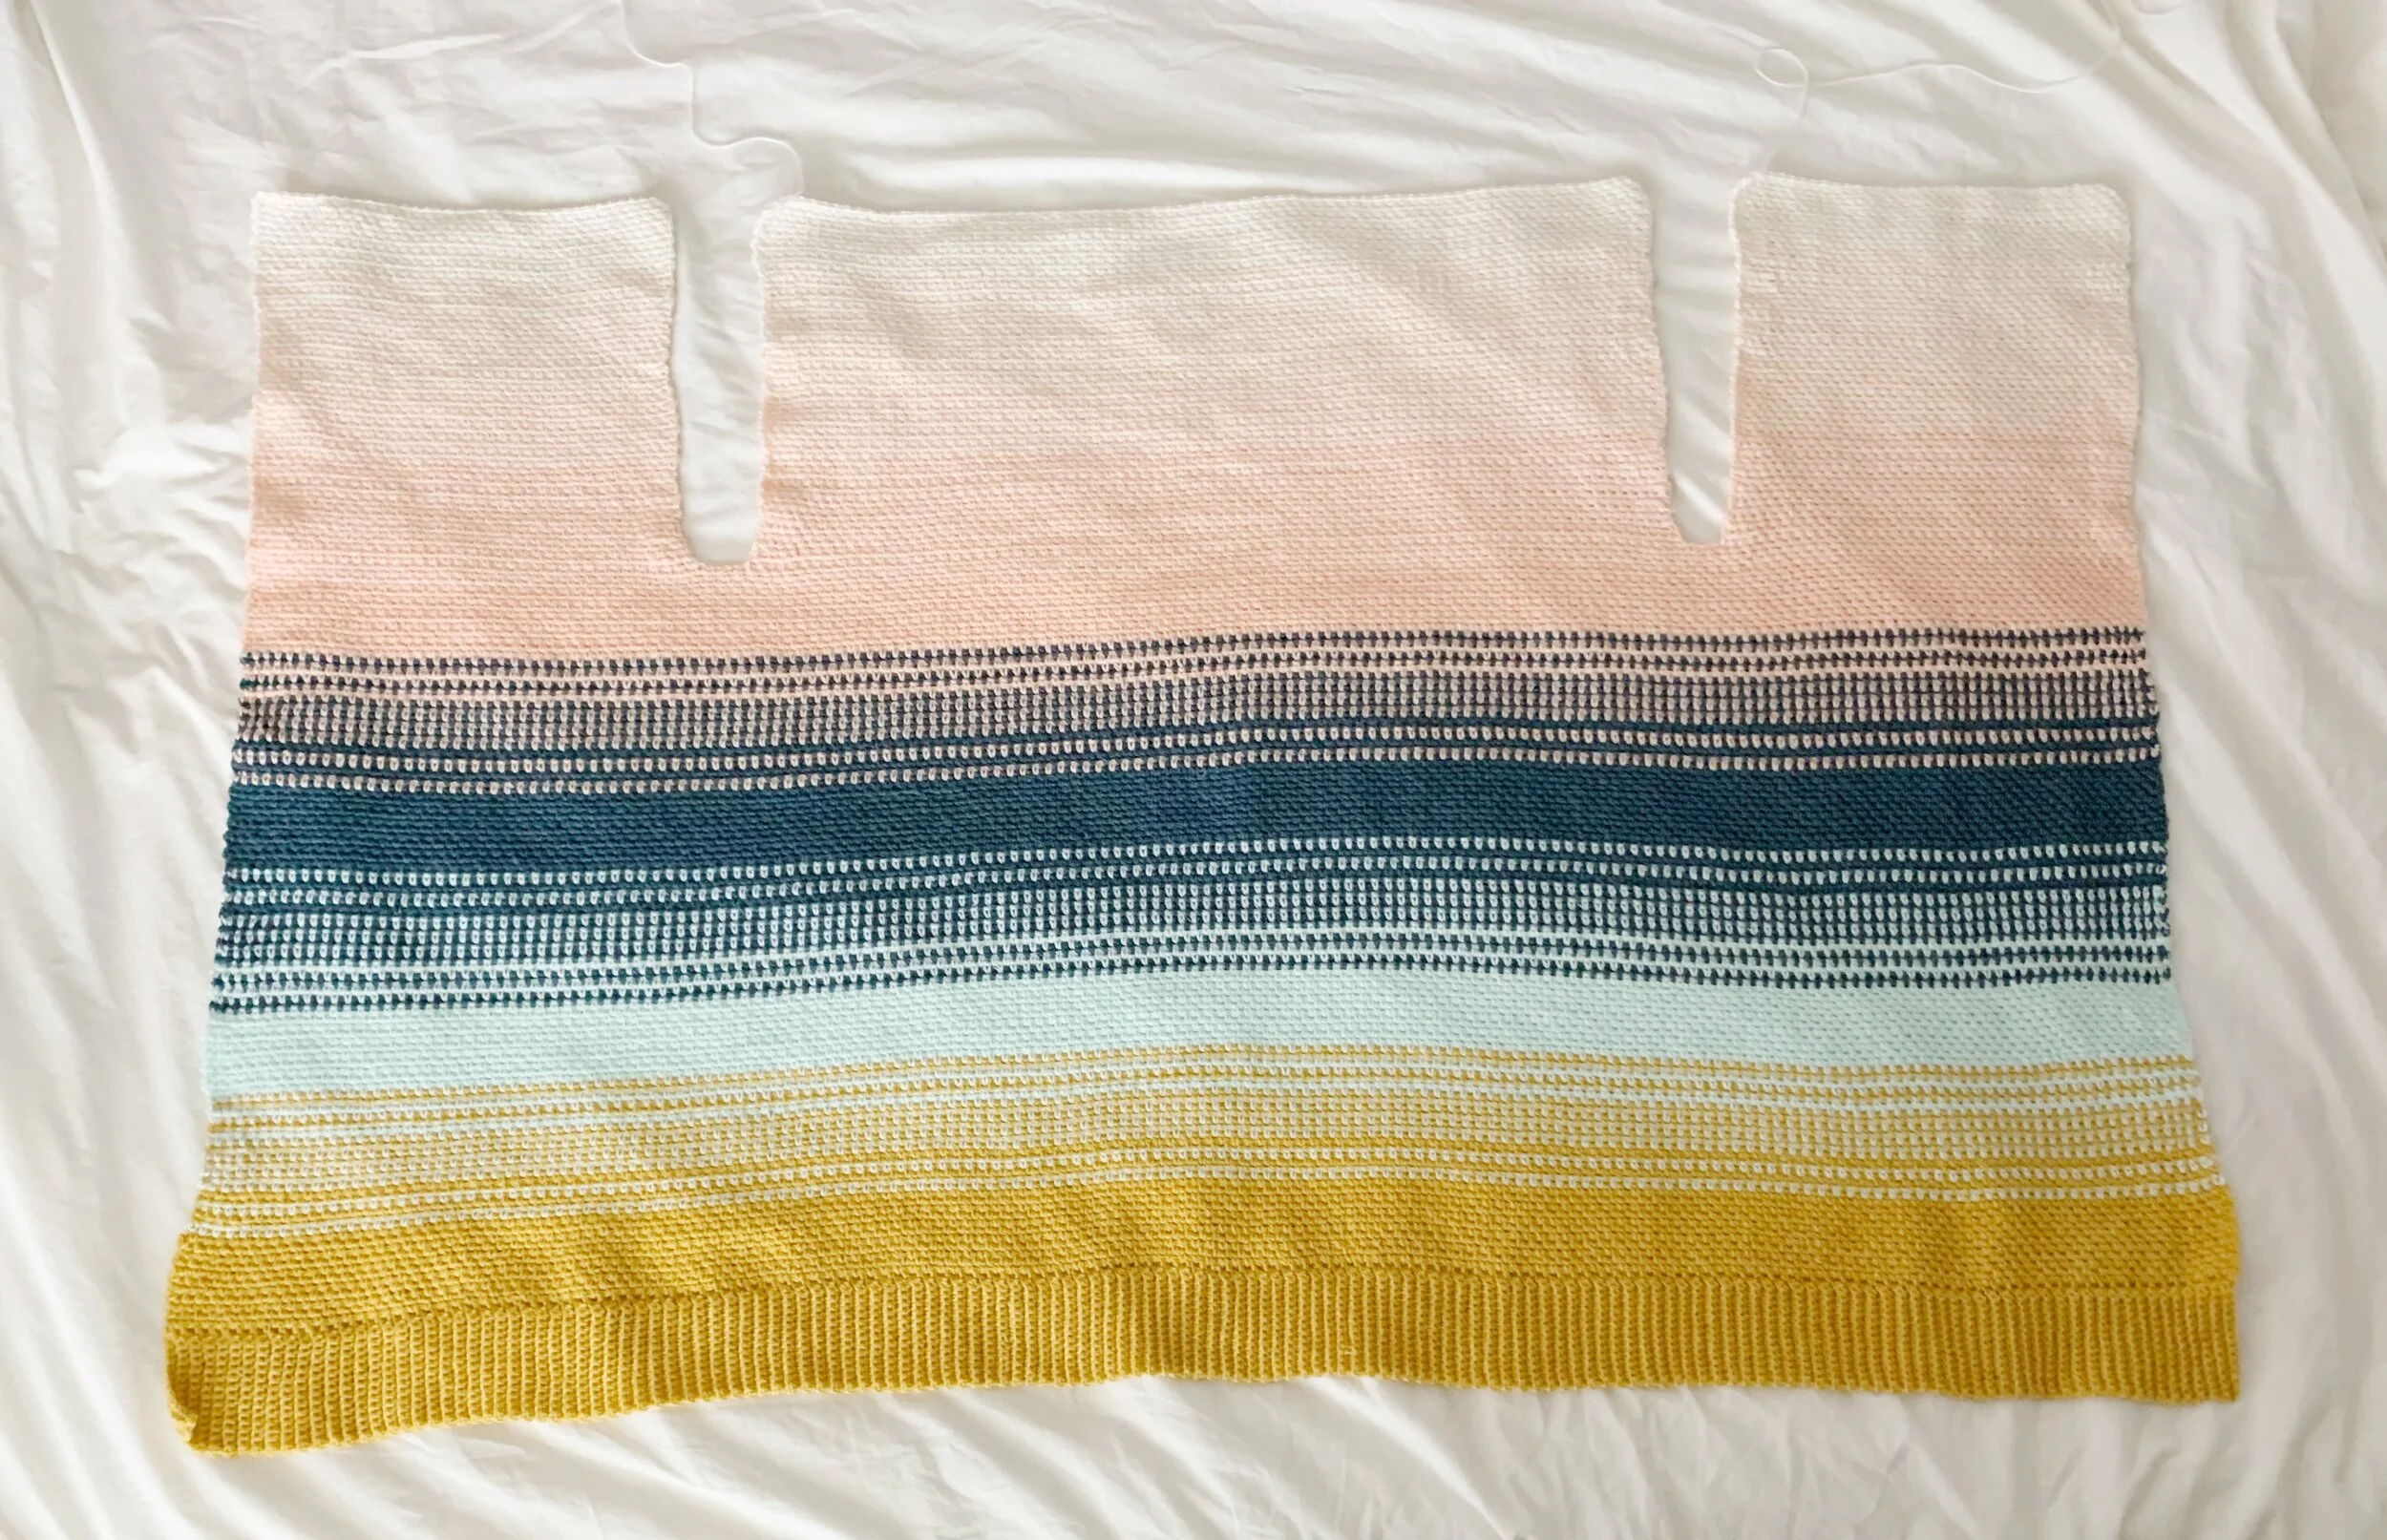
This is a great time to try on your cardigan to make sure it is fitting properly. The front sections will come about 1/3 of the way across your body and will not touch. The arm holes should have adequate space and drop slightly off your shoulders.

Sleeves: (make two)
Ribbing:
With color A, ch 15
Row 1: sc in 2nd ch from hook and in each ch across, ch 1, turn. (14)
Row 2: sc in BLO in each st across, ch 1, turn. (14)
Rows 3-49(49, 53, 53, 53, 53, 55, 61, 67): repeat Row 2. (14)
Turn piece 90 degrees and start Upper Sleeve by working into the ends of the rows of the ribbing.
Work all Upper Sleeve rows following the color chart for your size.
Upper Sleeve:
XS
Row 1: ch 1, sc in first st, ch 1, sk 1, *sc in next, ch 1, sk 1, repeat from * across ending with a sc in the last st, ch 1, turn. (49)
Row 2: sc in first st, sc in ch1-sp, *ch 1, sk 1, sc in ch1-sp, repeat from *across ending with a sc in the last st, ch 1, turn. (49)
Row 3: repeat Row 1. (49)
Row 4: repeat Row 2. (49)
Row 5: repeat Row 1. (49)
Row 6 (increase row): sc in first st, ch 1, sc in ch1-sp, *ch 1, sk 1, sc in ch1-sp, repeat from * across until 1 st remains, ch 1, sc in last st, ch 1, turn. (51)
Row 7: repeat Row 2. (51)
Row 8: repeat Row 1. (51)
Row 9: repeat Row 2. (51)
Row 10 (increase row): 2sc in first st, *ch 1, sk 1. sc in ch1-sp, repeat from * across until 2 sts remain, ch 1, sk 1, 2sc in last st, ch 1, turn. (53)
Row 11: repeat Row 1. (53)
Row 12: repeat Row 2. (53)
Row 13: repeat Row 1. (53)
Row 14: repeat Row 1. (53)
Rows 15-87: repeat Rows 6-14, ending on a Row 6 repeat. (87)
Row 88: repeat Row 2. (87)
Row 89: repeat Row 1. (87)
Rows 90-93: repeat Rows 88 & 89. (87)
Fasten off leaving a long tail for seaming.
S/M
Row 1: ch 1, sc in first st, ch 1, sk 1, *sc in next, ch 1, sk 1, repeat from * across ending with a sc in the last st, ch 1, turn. (49, 53)
Row 2: sc in first st, sc in ch1-sp, *ch 1, sk 1, sc in ch1-sp, repeat from *across ending with a sc in the last st, ch 1, turn. (49, 53)
Row 3: repeat Row 1. (49, 53)
Row 4: repeat Row 2. (49, 53)
Row 5 (increase row): 2sc in first st, *ch 1, sk 1. sc in ch1-sp, repeat from * across until 2 sts remain, ch 1, sk 1, 2sc in last st, ch 1, turn. (51, 55)
Row 6: repeat Row 1. (51, 55)
Row 7: repeat Row 2. (51, 55)
Row 8: repeat Row 1. (51, 55)
Row 9 (increase row): sc in first st, ch 1, sc in ch1-sp, *ch 1, sk 1, sc in ch1-sp, repeat from * across until 1 st remains, ch 1, sc in last st, ch 1, turn. (53, 57)
Row 10: repeat Row 2. (53, 57)
Row 11: repeat Row 1. (53, 57)
Row 12: repeat Row 2. (53, 57)
Rows 13-92: repeat Rows 5-12. (93, 97)
S only
Rows 93-96: repeat Rows 1 & 2, ending on a Row 2 repeat. (93)
M only
Rows 93-96: repeat Rows 5-8. (99)
Fasten off leaving a long tail for seaming.
L
Row 1: ch 1, sc in first st, ch 1, sk 1, *sc in next, ch 1, sk 1, repeat from * across ending with a sc in the last st, ch 1, turn. (53)
Row 2: sc in first st, sc in ch1-sp, *ch 1, sk 1, sc in ch1-sp, repeat from *across ending with a sc in the last st, ch 1, turn. (53)
Row 3: repeat Row 1. (53)
Row 4 (increase row): sc in first st, ch 1, sc in ch1-sp, *ch 1, sk 1, sc in ch1-sp, repeat from * across until 1 st remains, ch 1, sc in last st, ch 1, turn. (55)
Row 5: repeat Row 2. (55)
Row 6: repeat Row 1. (55)
Row 7: repeat Row 2. (55)
Row 8 (increase row): 2sc in first st, *ch 1, sk 1. sc in ch1-sp, repeat from * across until 2 sts remain, ch 1, sk 1, 2sc in last st, ch 1, turn. (57)
Row 9: repeat Row 1. (57)
Row 10: repeat Row 2. (57)
Row 11 (increase row): 2sc in first st, *ch 1, sk 1. sc in ch1-sp, repeat from * across until 2 sts remain, ch 1, sk 1, 2sc in last st, ch 1, turn. (59)
Row 12: repeat Row 1. (59)
Row 13: repeat Row 2. (59)
Row 14: repeat Row 1. (59)
Row 15 (increase row): sc in first st, ch 1, sc in ch1-sp, *ch 1, sk 1, sc in ch1-sp, repeat from * across until 1 st remains, ch 1, sc in last st, ch 1, turn. (61)
Row 16: repeat Row 2. (61)
Row 17: repeat Row 1. (61)
Row 18 (increase row): sc in first st, ch 1, sc in ch1-sp, *ch 1, sk 1, sc in ch1-sp, repeat from * across until 1 st remains, ch 1, sc in last st, ch 1, turn. (63)
Rows 19-99 : repeat Rows 5-18, ending on a Row 15 repeat. (107)
Fasten off leaving a long tail for seaming.
XL/2X/3X
Row 1: ch 1, sc in first st, ch 1, sk 1, *sc in next, ch 1, sk 1, repeat from * across ending with a sc in the last st, ch 1, turn. (53, 53, 55)
Row 2: sc in first st, sc in ch1-sp, *ch 1, sk 1, sc in ch1-sp, repeat from *across ending with a sc in the last st, ch 1, turn. (53, 53, 55)
Row 3: repeat Row 1. (53, 53, 55)
Row 4 (increase row): sc in first st, ch 1, sc in ch1-sp, *ch 1, sk 1, sc in ch1-sp, repeat from * across until 1 st remains, ch 1, sc in last st, ch 1, turn. (55, 55, 57)
Rows 5-91: repeat Rows 2-4. (113, 113, 115)
XL only
Rows 92-99: repeat Rows 2 & 3. (113)
Fasten off leaving a long tail for seaming.
2X/3X
Rows 92-102: repeat Rows 2-4. (119, 121)
Fasten off leaving a long tail for seaming.
4X/5X
Row 1: ch 1, 2sc in first st, ch 1, sk 1, *sc in next, ch 1, sk 1, repeat from * across ending with 2sc in the last st, ch 1, turn. (63, 69)
Row 2: sc in first st, ch 1, sk 1, *sc in next, ch 1, sk 1, repeat from * across ending with a sc in the last st, ch 1, turn. (63, 69)
Row 3: sc in first st, sc in ch1-sp, *ch 1, sk 1, sc in ch1-sp, repeat from *across ending with a sc in the last st, ch 1, turn. (63, 69)
Row 4 (increase row): 2sc in first st, *ch 1, sk 1. sc in ch1-sp, repeat from * across until 2 sts remain, ch 1, sk 1, 2sc in last st, ch 1, turn. (65, 71)
Rows 5-105 : repeat Rows 2-4. (131, 137)
Fasten off leaving a long tail for seaming.
All Sizes:
Weave in ends on sleeves, leaving the long tail. With WS facing up use the mattress stitch to seam sides together. Use coordinating colors where you can to make seaming yarn as invisible as possible.
Then insert sleeves inside arm hole so sleeve is tucked into the cardigan and RS are together. The seam of the sleeve should line up with the middle of the underarm. Place stitch markers around arm hole to secure sleeve and ensure even spacing. Using a long piece of yarn mattress stitch or sl st the sleeve to the arm hole. Weave in ends and then turn sleeve right side out.

Collar:
With color A and RS of cardigan facing you, attach yarn to bottom right side.
Row 1: ch 1, sc evenly (1 st in end of every row) around front right side, neck and front left side of cardigan, ch 1, turn.
Row 2: sl st in BLO in each st across, ch 1, turn.
Rows 3-5: repeat Row 2.
For a wider collar keep repeating Row 2 until desired width.
Fasten off and weave in ends.
Wet or steam block.


Extra shout out to my amazing testers for this project. They did an amazing job in helping to make this pattern truly great!
Top (left to right): @ceruleancrochet; @coycrochet; @creatingwithkristen
Bottom (left to right): @sewistbynight; @smileygooseshop; @sweetteaandcrochet
Now go enjoy your brand new Malloy Cardi! I’d love to see your finished piece so remember to tag me on social media @meghanmakesdo and use #themalloycardi and #meghanmakesdo so I can see.
Don’t forget you can also find a digital PDF version of the pattern in my shop, Etsy and Ravelry.
Happy Crocheting!
Meghan

